Community Brag Posts

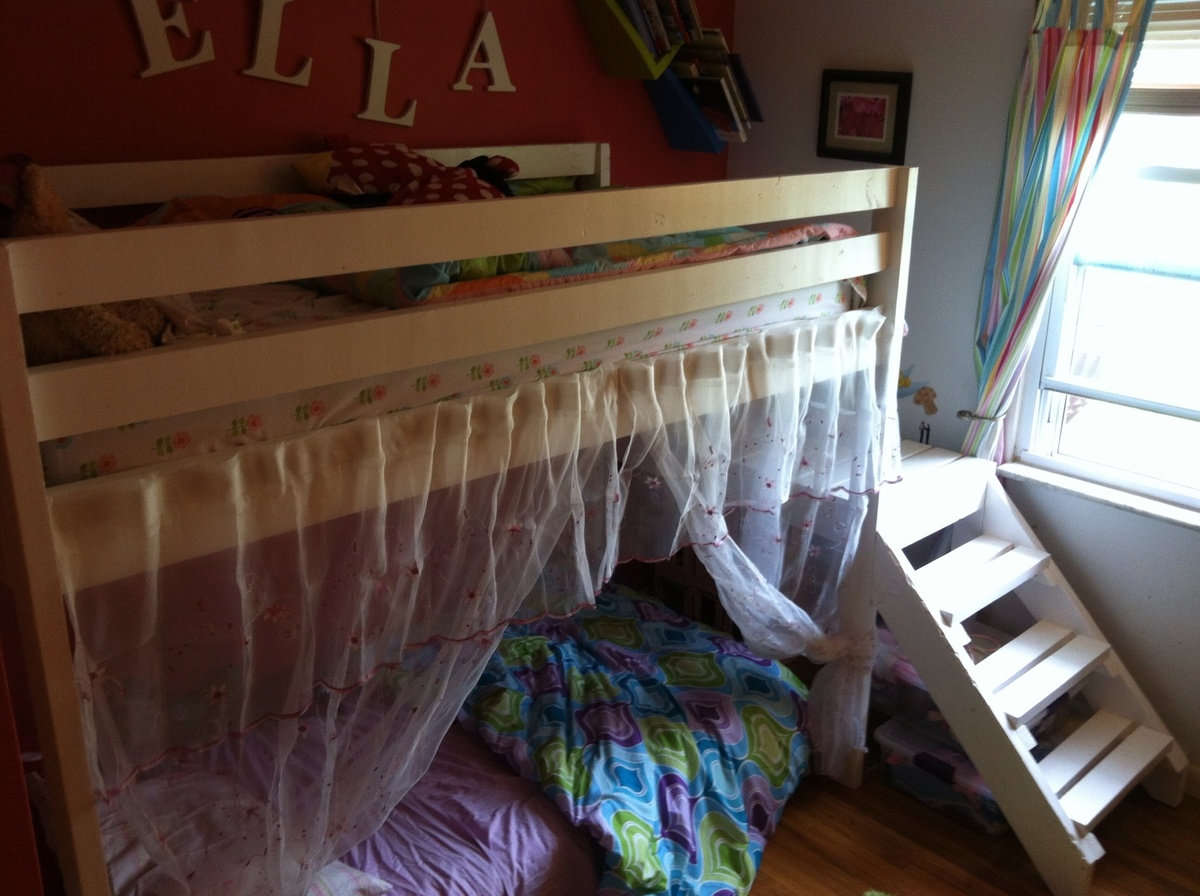
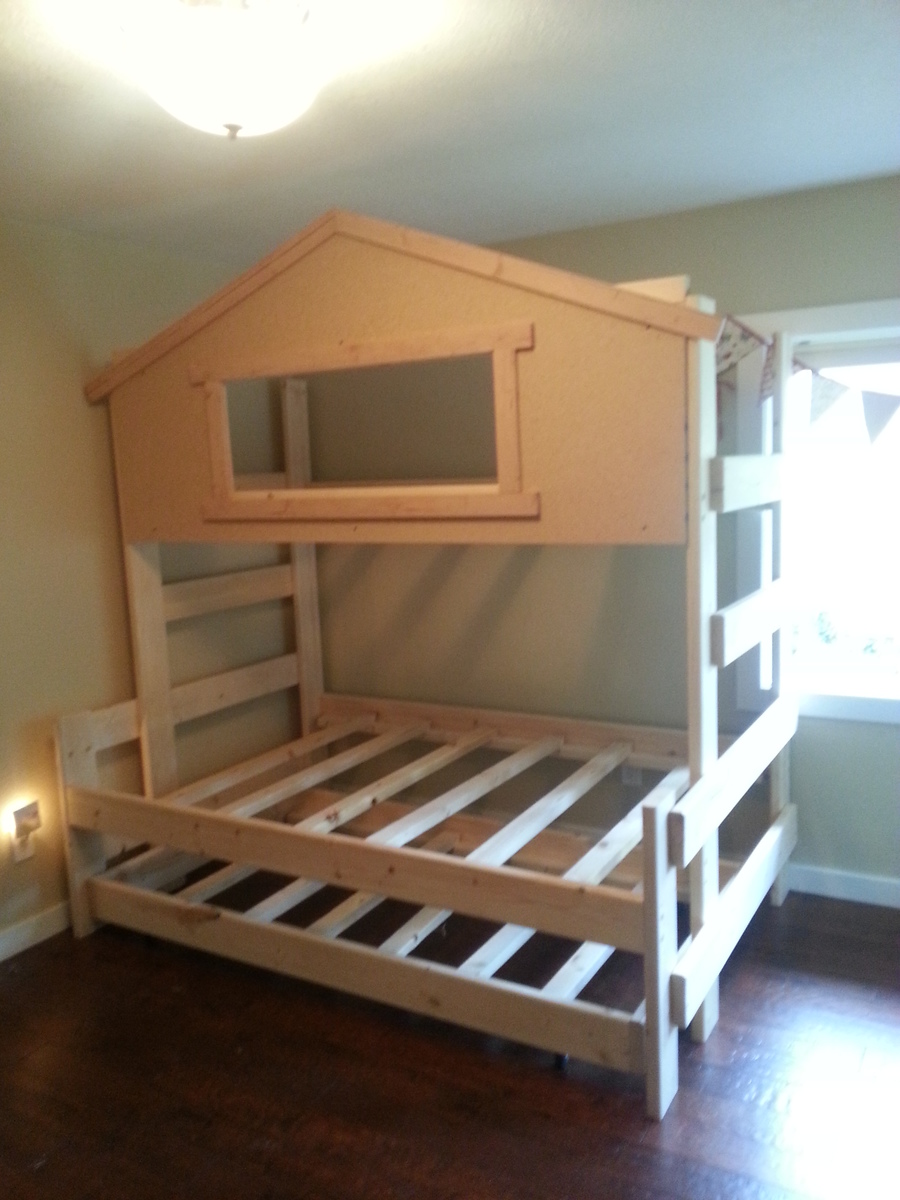
Traditional Wood Toddler Bed w/ Straight Headboard and Footboard

Submitted by tducote on Tue, 06/14/2022 - 13:01

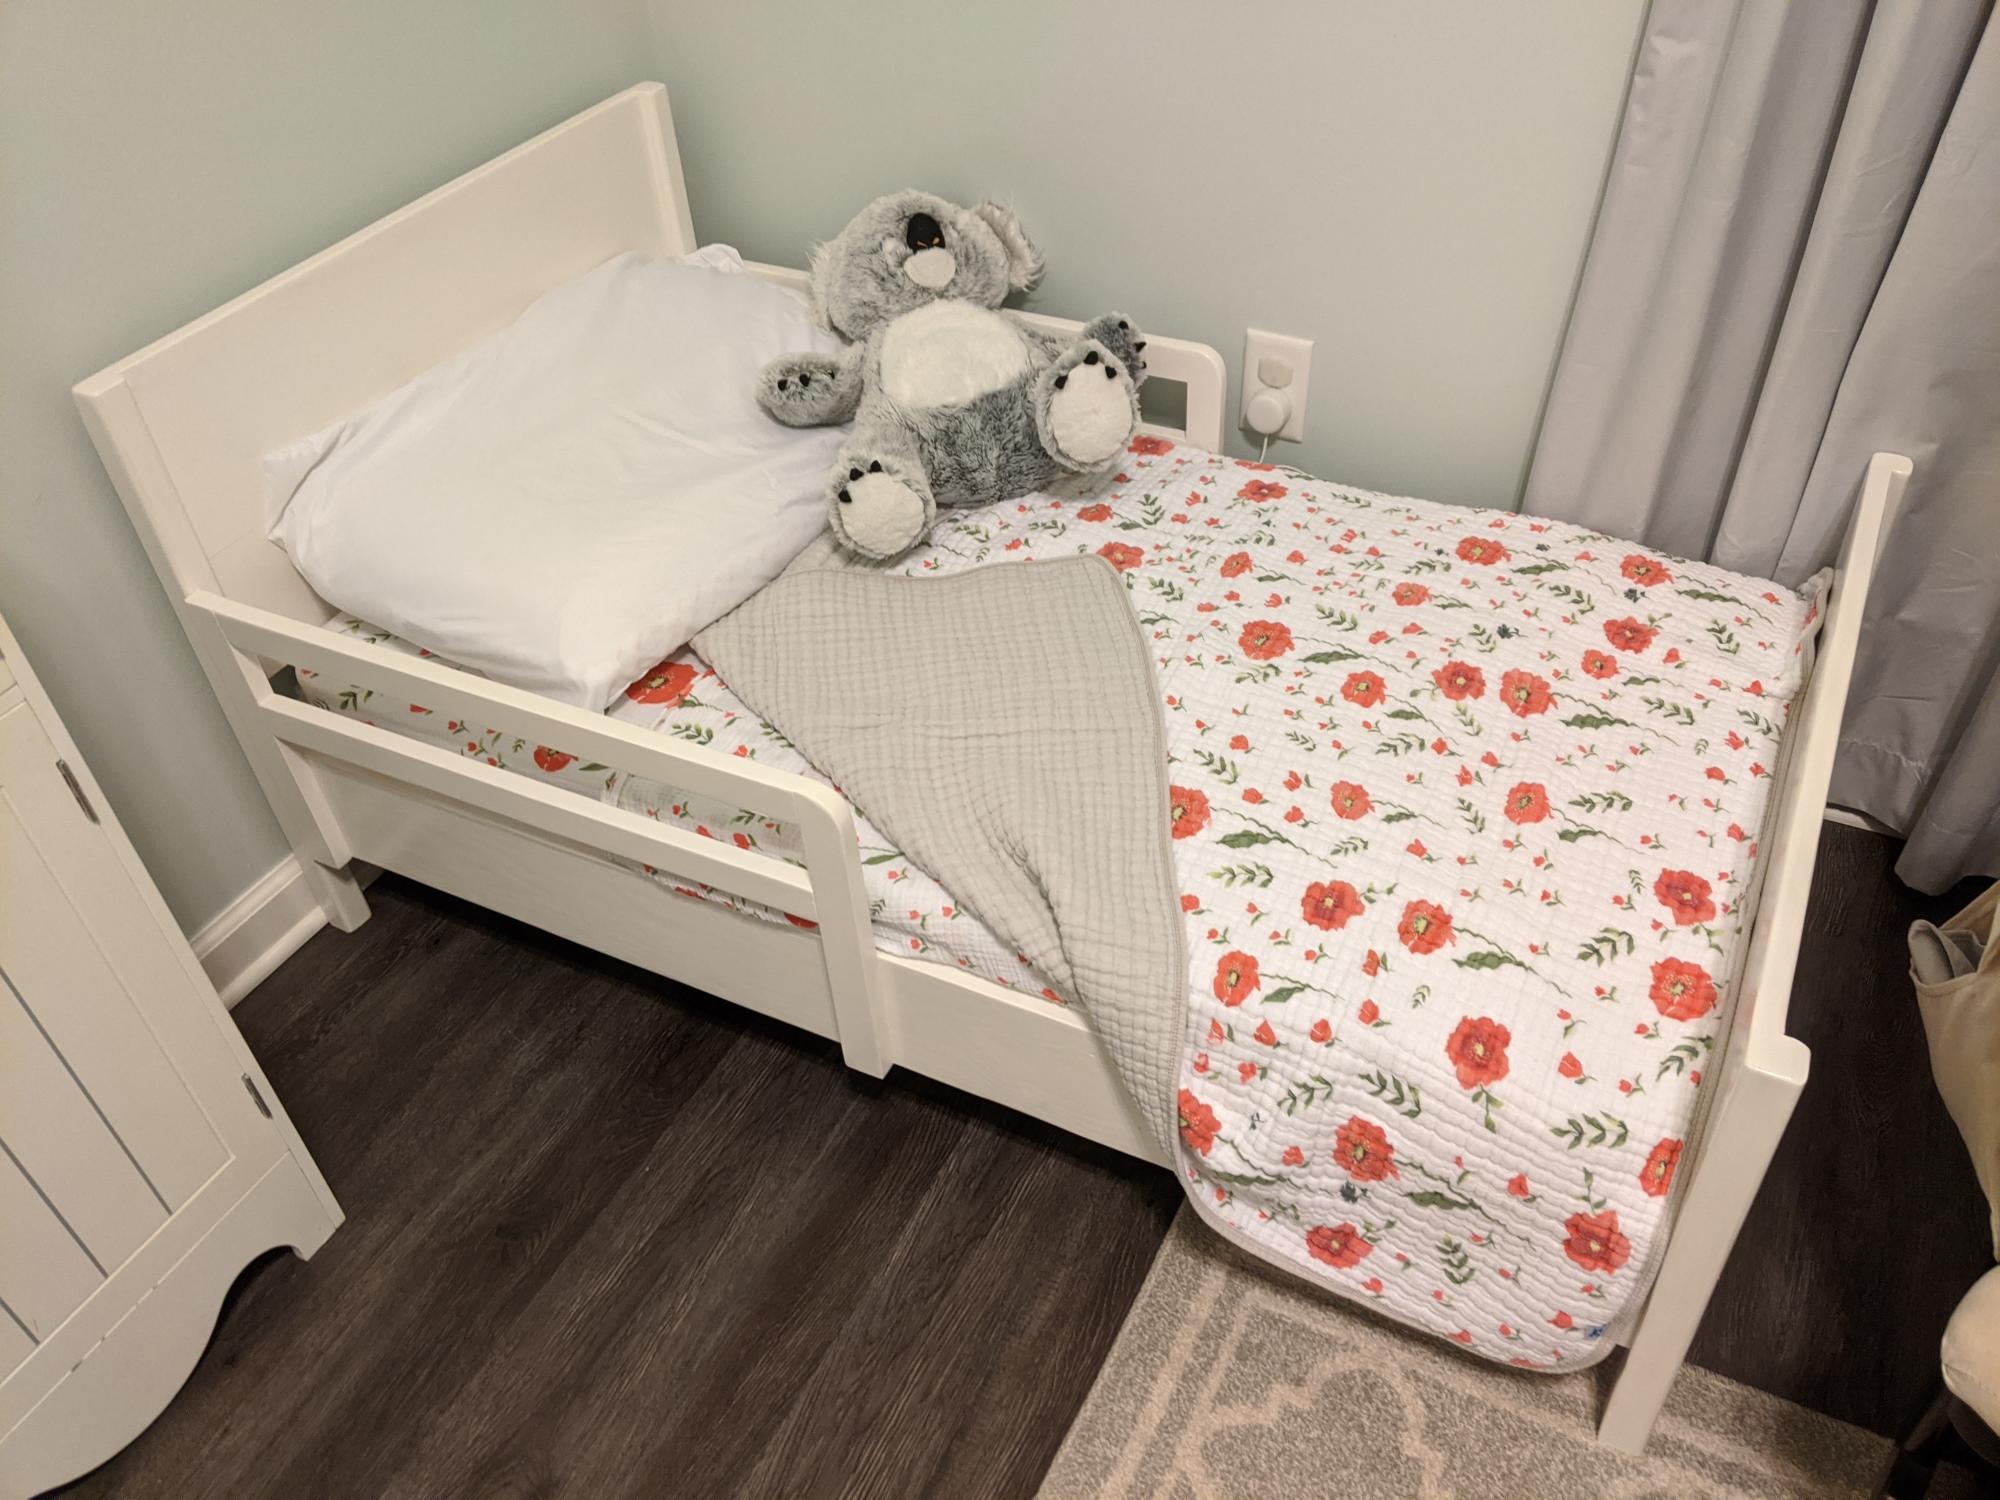
I completed this project back in February of 2020. I'm just realizing that I never posted about it here. The bed had held up phenomenally for the past 2+ years.

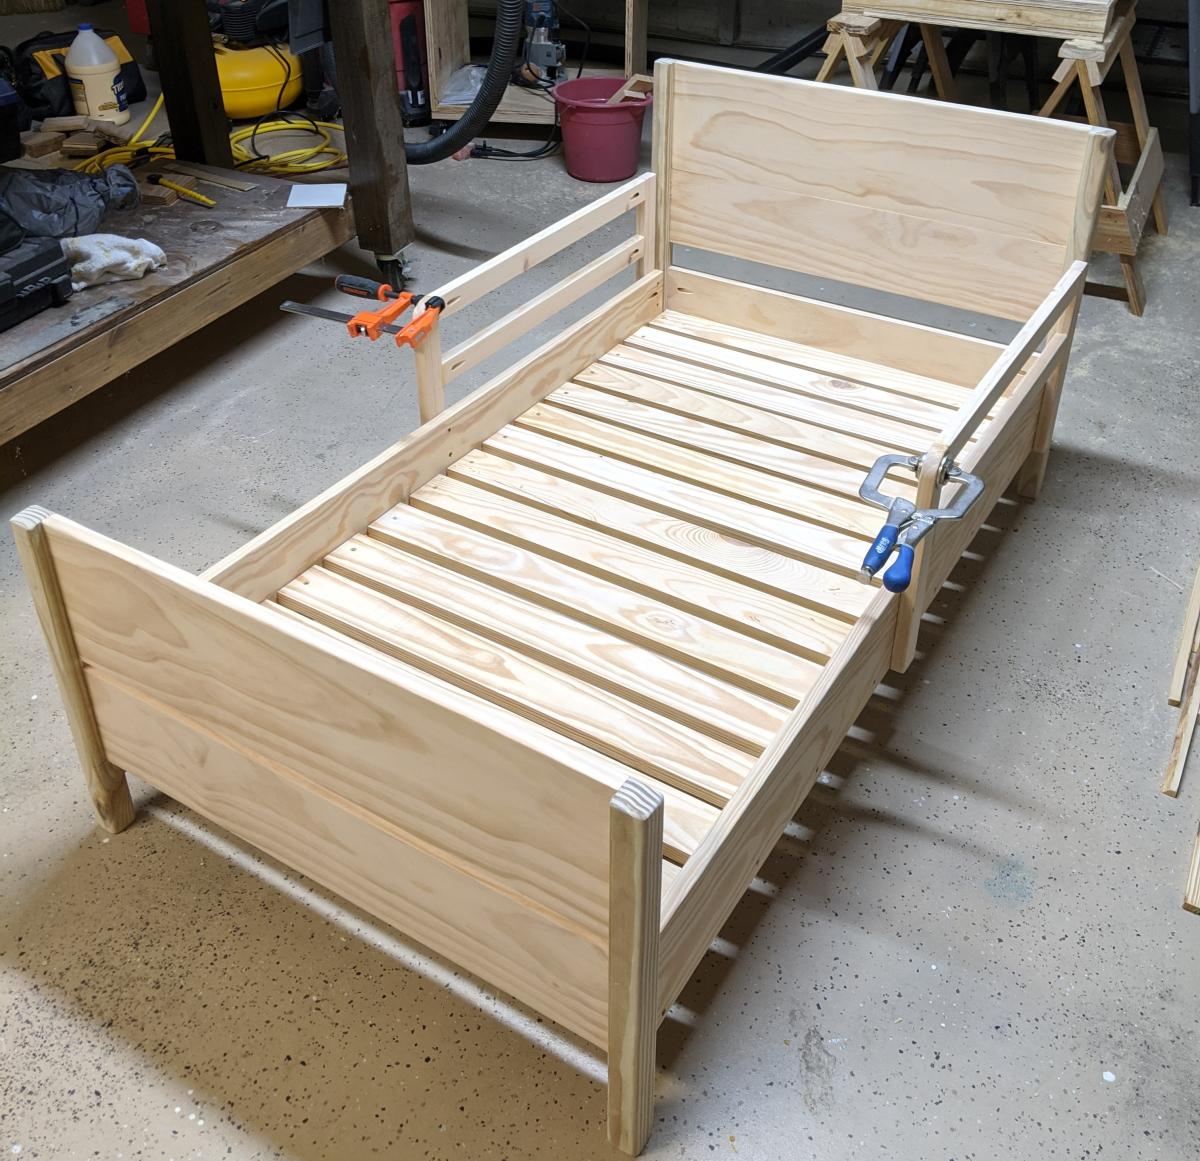
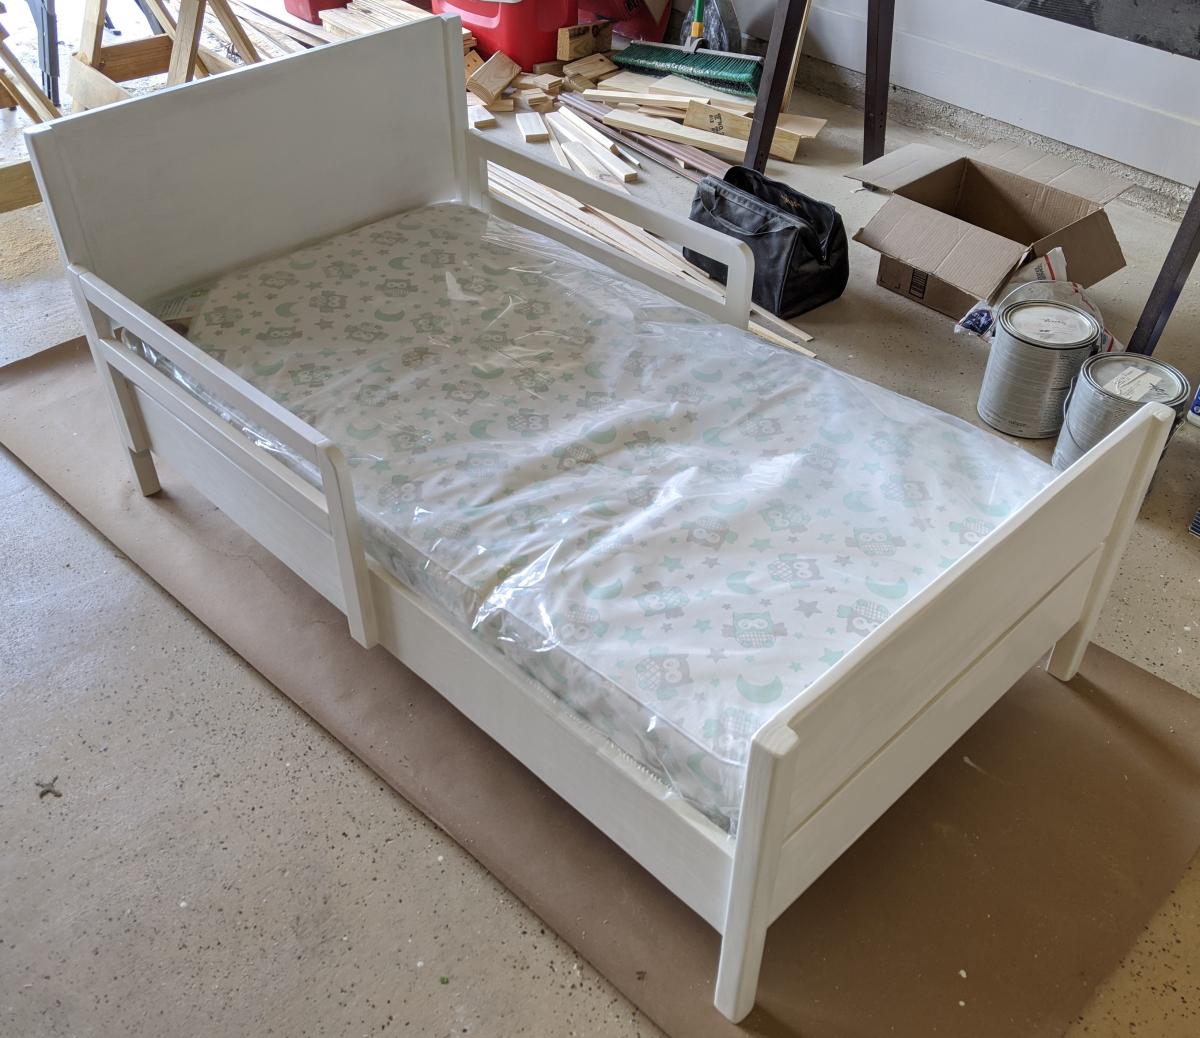
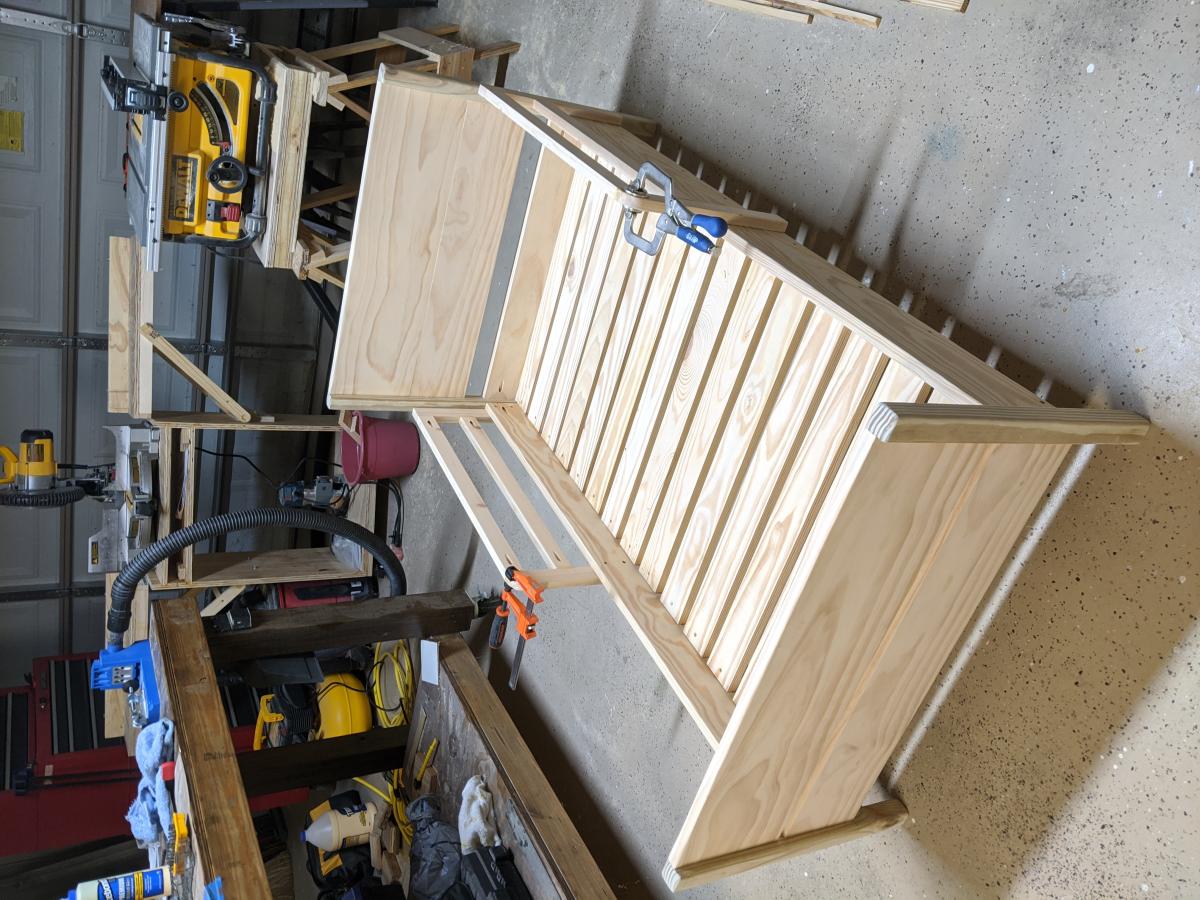
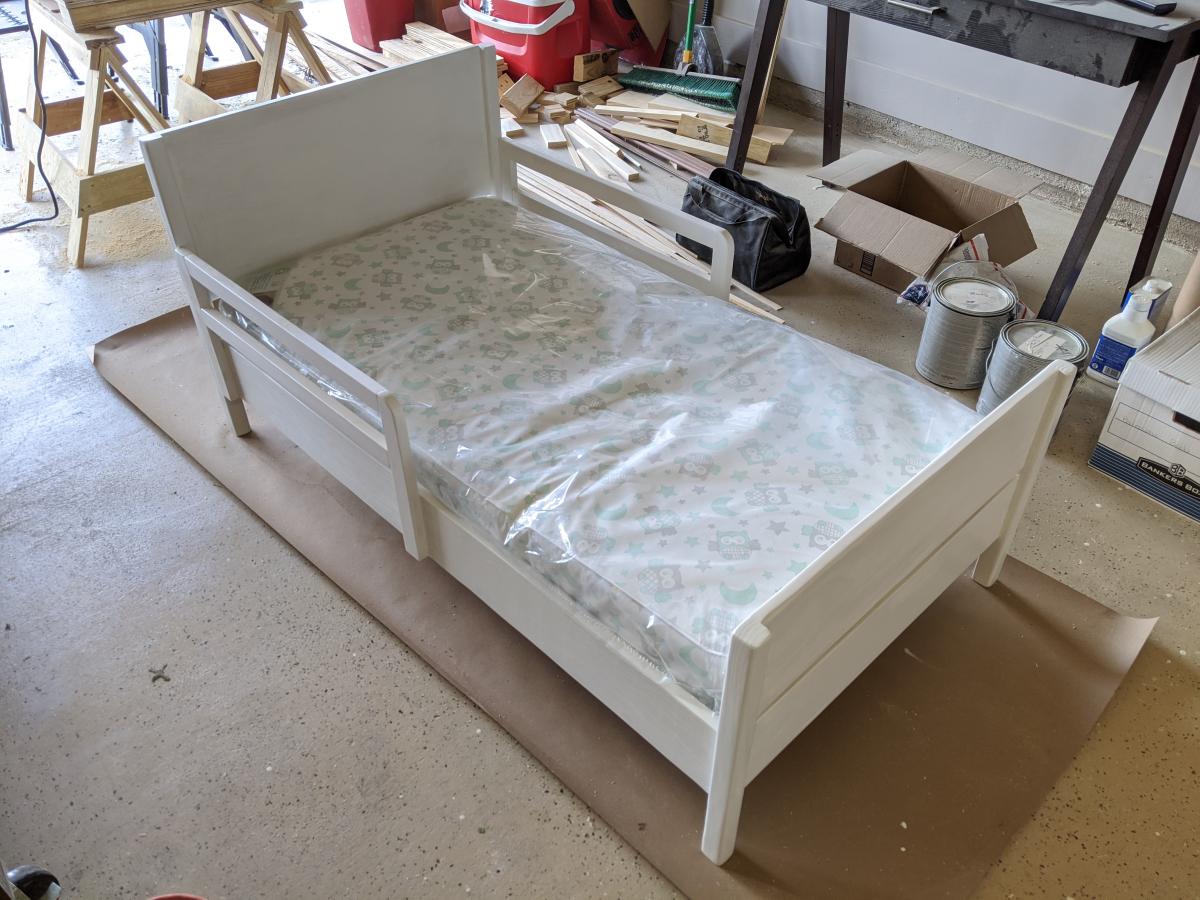
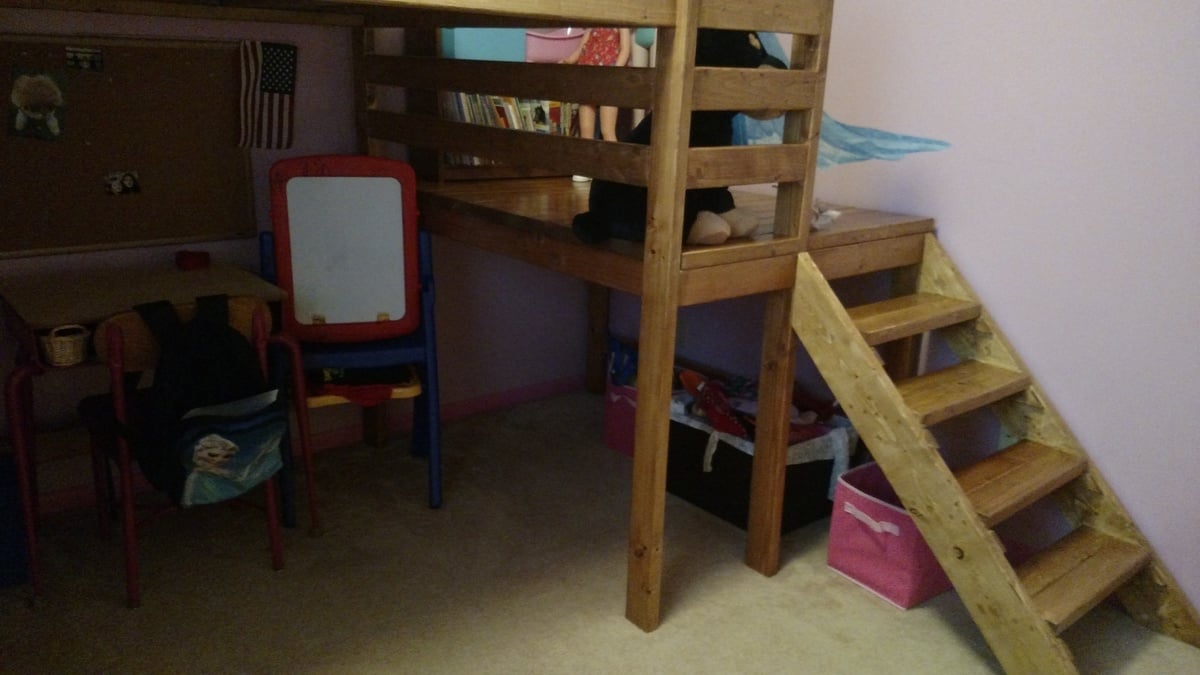
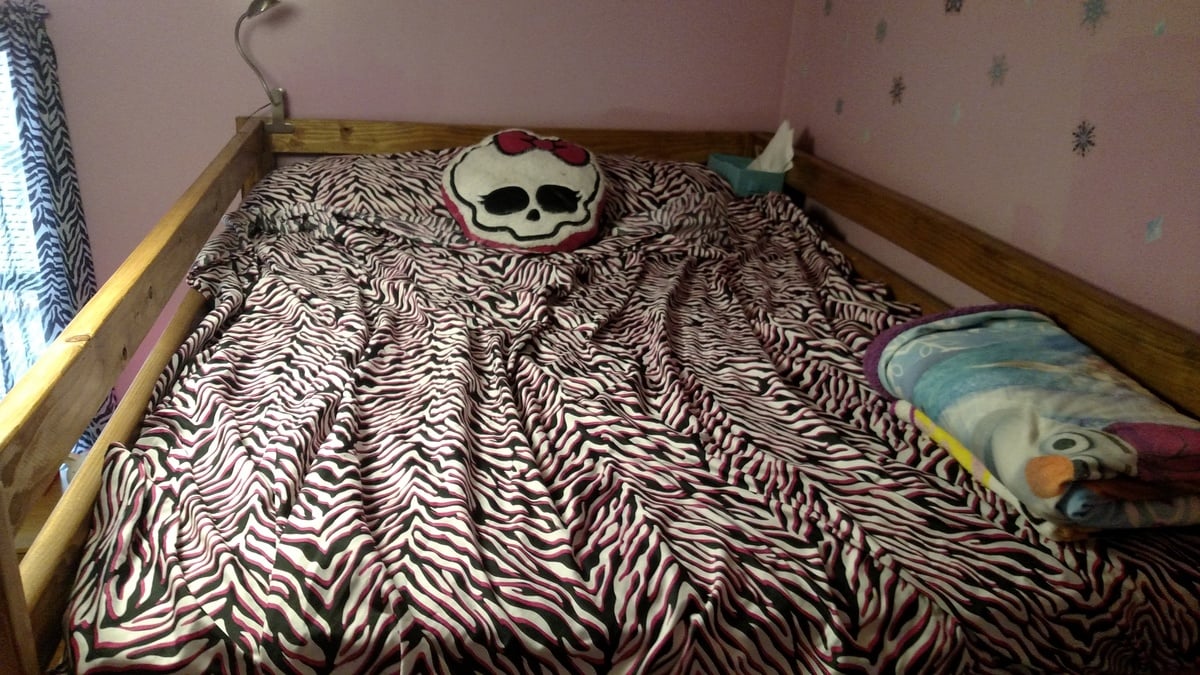
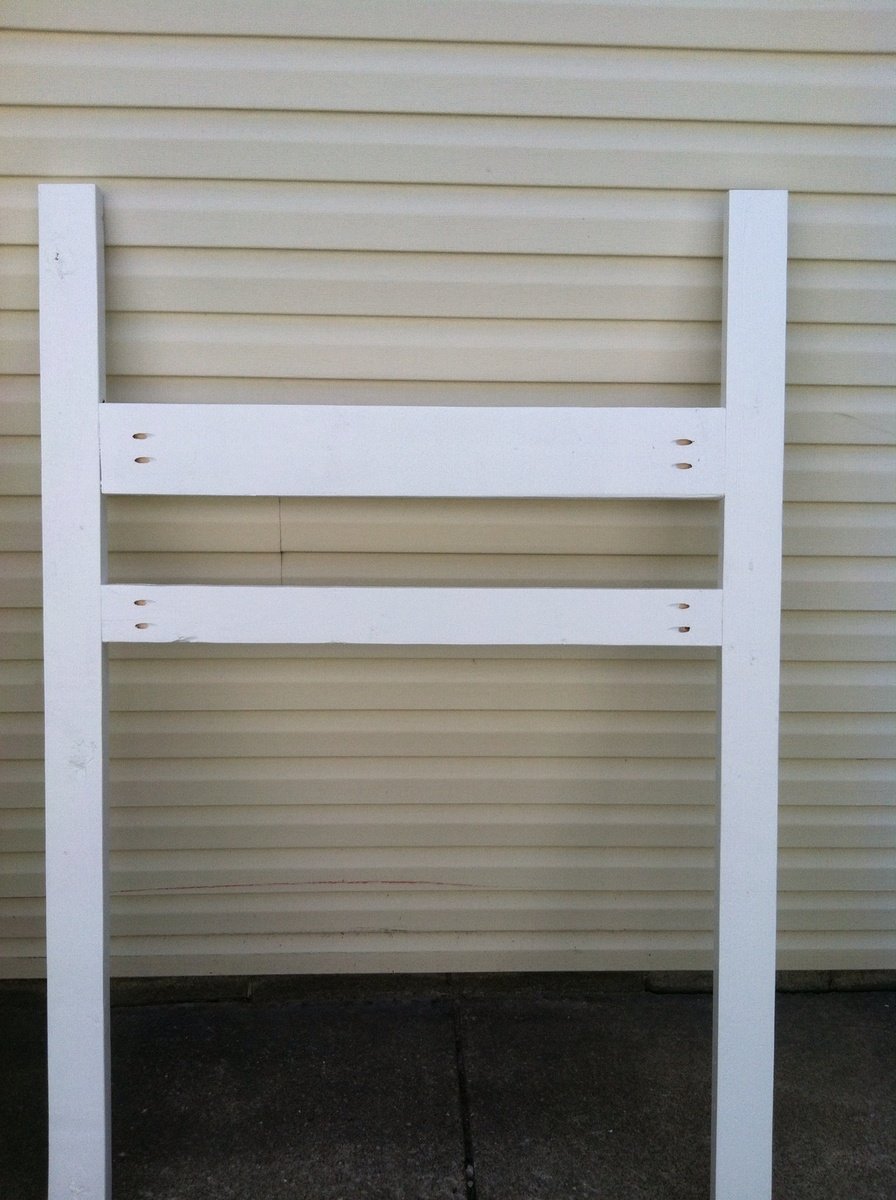
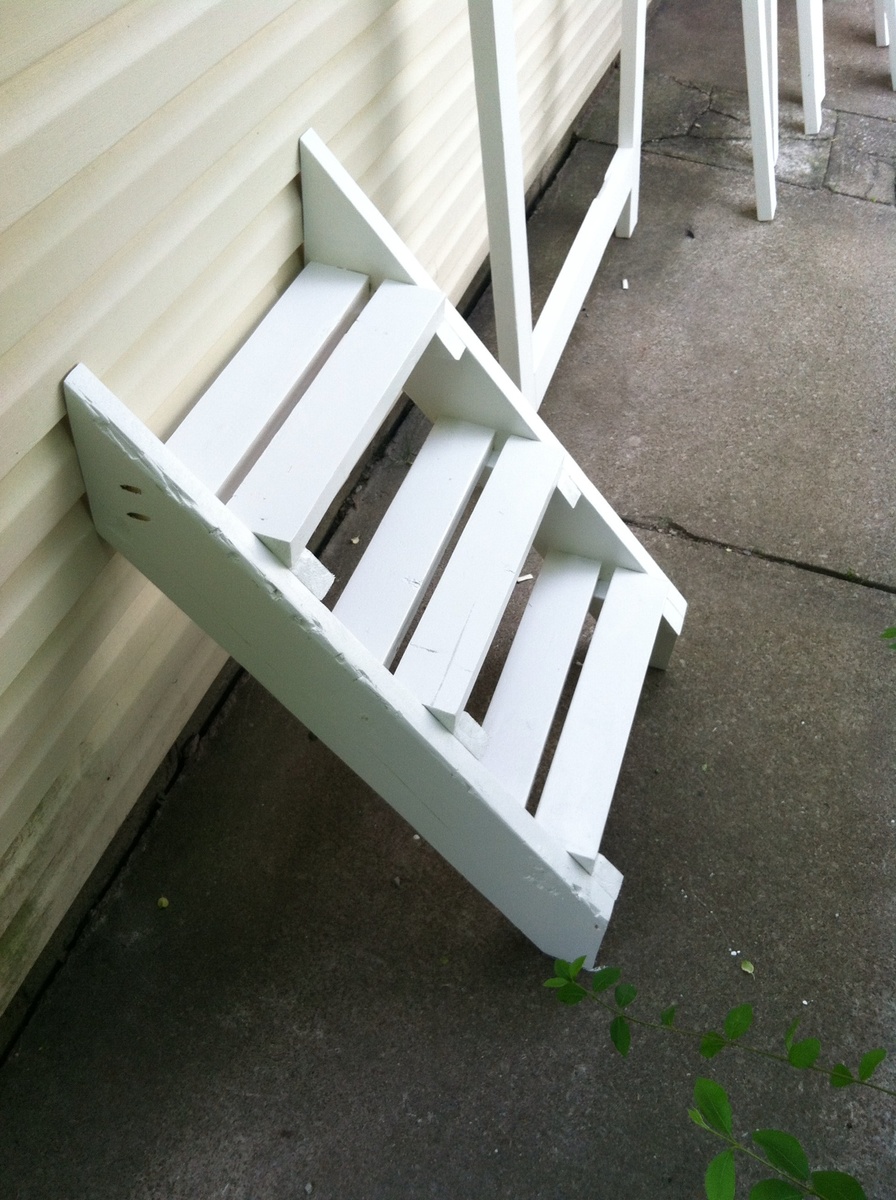
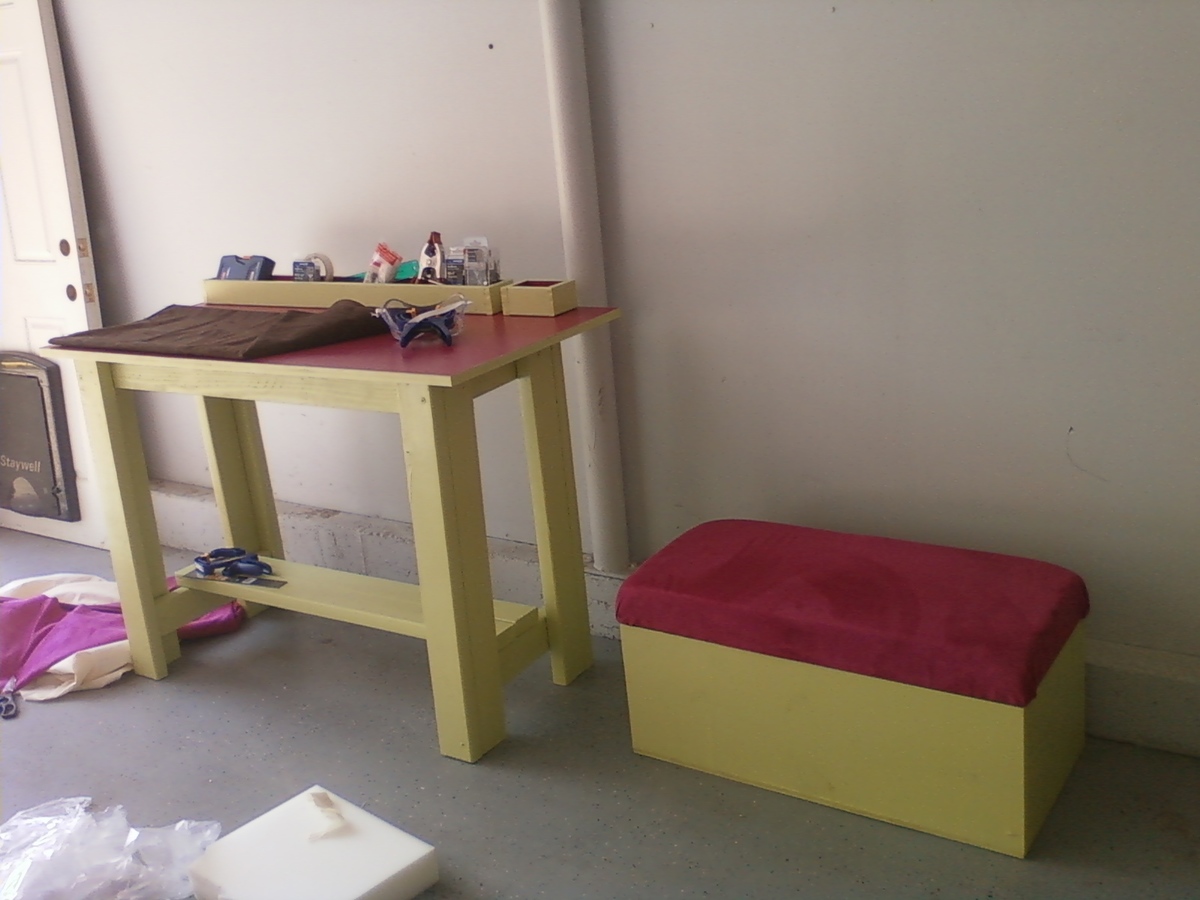
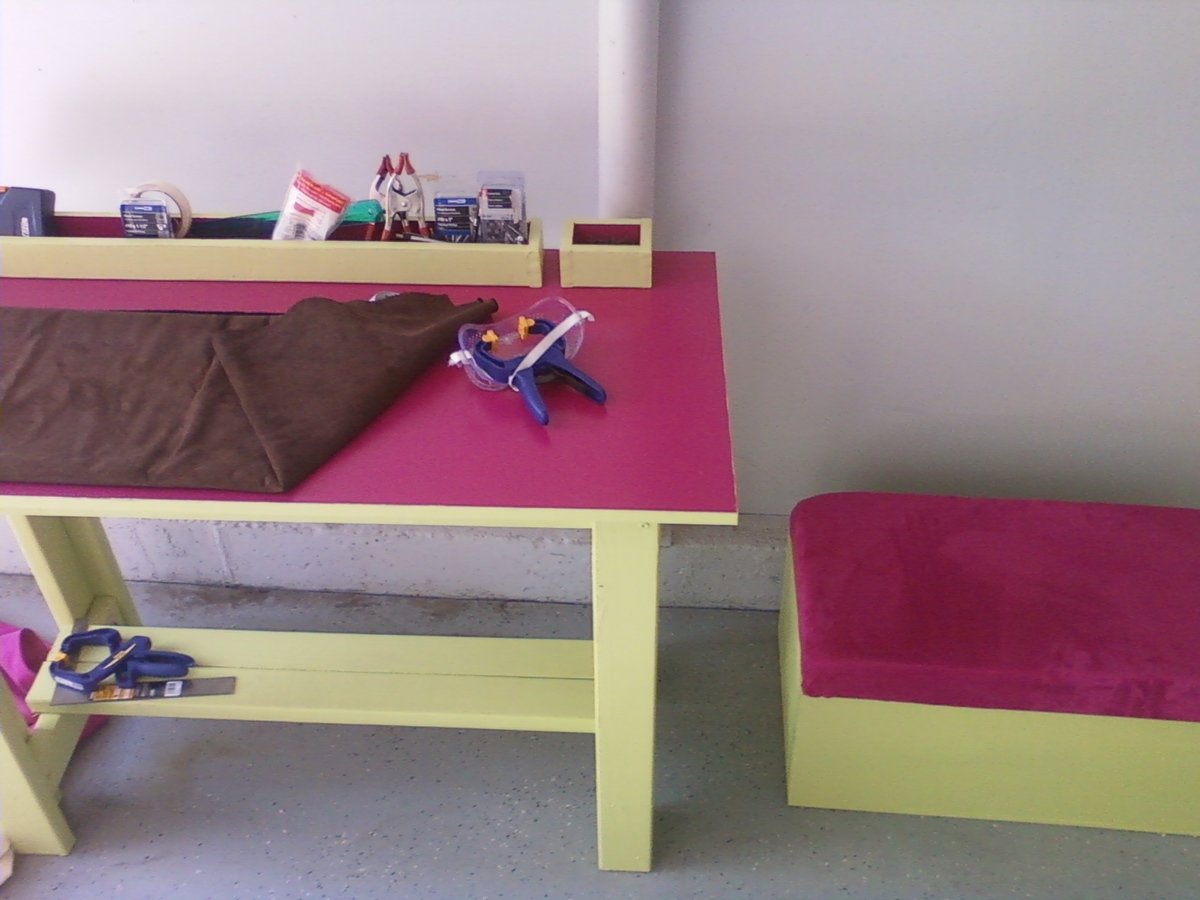
This was an excellent little project. It was just a little challenging and very fun. I changed the headboard and added a footboard to the bed by using extra 1x6 boards and elongating the feet about 6 inches to make it work. The construction part of this project (including cutting and assembly) took just one evening. I stayed up pretty late working on it, but I was able to complete it in one night. Painting took a few more days.

One note about the guardrails: the pocket screws split the vertical rails that were rounded off at the end. I glued and clamped the splits back together (note the clamps in one of the pictures), so no big deal. But I would recommend maybe not rounding them as much as I did. If I were to build it again, I'd probably just use my little disk sander to take the corners off, instead of taking off as much as I did using a jig saw.

Built from Plan(s)

Comments

Farmhouse Table

This is my very first woodworking project (except for a Paper Towel Holder in High school over twenty years ago).I have always wanted a long farmhouse table, so when I saw the plans,I was excited to try building my own. Thanks so much Ana for making this doable! 

Estimated Cost
Under $200.00
Estimated Time Investment
Week Long Project (20 Hours or More)
Finish Used
Minwax Special Walnut #224 and Polyurethane
Recommended Skill Level
Beginner

Comments

Puzzle Bookcase

This was my first attempt at DIY - had to convert to Metric! thank goodness I calculated right - end product is awesome. I lined the back panels with textured Silver wallpaper - gives an awesome contrast.

I'm Hooked, already looking for my next project!

Finish Used
Matt sheen enamel paint and wallpaper
Recommended Skill Level
Starter Project

Full Size Camp Loft

Submitted by jcygan on Wed, 09/30/2015 - 16:37

We modified the plans for the Camp Loft Bed to accommodate a full size mattress.  We also extended the platform so that the bed spread wall to wall in the bedroom.  Since the platform was extended, we added a short railing to prevent falls.  The height was pushed up to make it taller than the junior size of the original design.  This way we were able to place a desk and add 2 pine shelves underneath the head of the bed.  

We added a board along the long side at the bottom to take out some wiggling.  The bed itself still seemed a little shaky until we attached the platform and now it is rock solid.  We have had 1-2 adults and multiple kids up there at the same time with no problem.

The bed itself could have been built in a weekend.  However, the time it took to sand, stain, and clear coat added many more hours.  Those hours were definitely worth it for a finished product.

Estimated Cost
$500
Estimated Time Investment
Week Long Project (20 Hours or More)
Finish Used
We used the medium warm stain used on the original bed. The directions are found here: http://ana-white.com/2012/07/medium-warm-stain
Recommended Skill Level
Intermediate

Comments

Albright777

Fri, 10/02/2015 - 10:43

Thank you so much for posting this.  My oldest wants a loft bed, but has a full right now.  I am building my 2 youngest the junior loft this fall and the oldest was jealous.  I was scared to build one.  Afraid it would not hold up.  Thank you for showing that it does.  Great job!!!


Island

Submitted by Anonymous (not verified) on Sun, 10/14/2018 - 14:37

3 foot by 4 foot slider wine rack island. 

Built from Plan(s)
Estimated Cost
$200
Estimated Time Investment
Weekend Project (10-20 Hours)
Finish Used
Black paint sponged on and dark walnut by minwax
Recommended Skill Level
Intermediate

Comments

Blanket ladder

Submitted by JMG on Fri, 06/24/2022 - 21:04

I built a ton of these as Christmas gifts and they were a huge hit! I used 2x3's and made them in different heights. Thanks, Ana!

Comments

Simple Trestle Table

Submitted by ajp529 on Fri, 08/23/2013 - 18:01

Built this from lumber from a daybed that I tore apart. Total cost was about $10 for the pieces for the top. Built in a small apartment with a Kreg jug and some clamps on the kitchen floor. The top is not completely even but close. Was fun to build and I am very happy with how it turned out, thanks Ana!

Estimated Cost
10
Estimated Time Investment
Afternoon Project (3-6 Hours)
Finish Used
Painted with tea, let dry, then paint with vinegar and steel wool solution, sand and shellac.
Recommended Skill Level
Starter Project

Outdoor Sectional and Cocktail Ottoman

Submitted by Annacakes on Mon, 10/05/2015 - 11:48

I made a few changes to Ana's plans to basically work with my cushions.  I found cushions on clearance at Ballard's Backroom.  I had to adjust the size of the sofas in order to fit the cushions.  I also adjusted the height of the sofa, as I found it to be a little higher than I would have liked.  The project took a while to complete, but it wasn't due to difficulty.  This was an easy project for a novice like myself.  I just primed every piece of wood with exterior primer and then painted the whole thing with 2 coats of exterior paint.  It was the drying time that added to the total project time.

I also made a cocktail ottoman out of a lounge chair cushion that I purchased at Ballard's.  Basically, the ottoman is a rectangular box built to the size of the cushion.  I added feet purchased at Home Depot just to make it look a little less box-like.  I applied a couple of coats of primer as well as the exterior paint to every piece.  

Estimated Cost
Not sure really, but I know it was a lot cheaper than the sectionals at the outdoor patio store down the street.
Estimated Time Investment
Weekend Project (10-20 Hours)
Finish Used
Binz Exterior Primer
Behr Ultra Exterior Paint in Satin Finish - Espresso Beans
Recommended Skill Level
Beginner

Comments

Garage workstation

Submitted by Anonymous (not verified) on Sun, 10/21/2018 - 20:11

Still a work in progress

Estimated Time Investment
Weekend Project (10-20 Hours)
Recommended Skill Level
Beginner

Garden Bench

Submitted by JMG on Wed, 07/06/2022 - 19:32

Combined several different plans from several different sites, but my mother in law is a master gardener who loves birds and wanted a new bench for her garden. I used 1x4's on the seat slats (instead of 2x4's- added an extra support in frame), made the seat a bit deeper, and I modified the arms to allow somewhere to rest a glass of her southern sweet tea. :) All made from box store non PT lumber and sealed for outdoors. The ideas for the "pickets" on the back and birdhouse came from "MyOutdoorPlans.com"- want to give credit where credit is due.

Built from Plan(s)

Comments

Camp loft bed

Submitted by dmather82 on Sun, 08/25/2013 - 18:15

My first build... Not perfect but it has led me down a new path... Thank you soooo much Ana! More to come and a plan of my own in the works!

Estimated Cost
$100
Estimated Time Investment
Weekend Project (10-20 Hours)
Finish Used
Semi gloss white paint
Recommended Skill Level
Beginner

outdoor dining table

Submitted by Hunter1971 on Fri, 10/09/2015 - 09:04

Farm house design. I used 4x4 for the base instead of 2x4.

Estimated Cost
80.00
Estimated Time Investment
Weekend Project (10-20 Hours)
Finish Used
Tudor color with a kona stain accent then good marine varnish since it's on the pool deck. It only took 3 hrs to make it the rest was staining. My advice is to stain the top boards before screwing it together
Recommended Skill Level
Beginner

CHARLOTTES AMERICAN GIRL TABLE AND CHAIRS

Submitted by Anonymous (not verified) on Sun, 10/28/2018 - 12:42

Thank you Anna White for the 18 inch doll chairs idea. Me and my Dad made the table from leftover pieces from the chairs. I loved making the chairs because I love to using power tools. I have an idea for you Anna. Have you done a 18 inch doll locker before?

Estimated Cost
Maybe $20
Estimated Time Investment
Afternoon Project (3-6 Hours)
Finish Used
PURPLE PAINT FOR CHAIRS WALLNUT STAIN FOR TABLE
Recommended Skill Level
Intermediate

Bench

I built this based on the rustic x bench. While I had previously built the x bench, I really had a hard time with that darned X! So I just added bottom pieces to this and called it a day. This will be put at the foot of the bed and will most certainly help me sleep better! How? Ah yes, no more hubby sitting on the edge of the bed at 4:30a.m. to put on his boots!

Built from Plan(s)
Estimated Cost
Free...all made from leftovers and reclaimed wood
Estimated Time Investment
An Hour or Two (0-2 Hours)
Recommended Skill Level
Beginner

Industrial desk

Just finished up this industrial L-shape desk.  The desk top is solid walnut.  I added a pencil drawer and a vintage locker basket mounted to a drawer slide. :) 

Estimated Cost
$500.00
Estimated Time Investment
Week Long Project (20 Hours or More)
Finish Used
dye, shellac, gel stain, arm r seal varnish
Recommended Skill Level
Advanced

Candle Holder

Submitted by mtairymd on Sun, 11/04/2018 - 06:04

This was a super quick and fun project that I made from scrap materials. I designed it to fit tapered glass candles that are readily available from online or your local big box store.

Estimated Time Investment
An Hour or Two (0-2 Hours)
Finish Used
Oil
Recommended Skill Level
Starter Project

Comments

Work Area

I finally got the chance to share my first couple of projects.

For the work bench I made organizers for tools and screws. I made them with 1x3's and made simple boxes out of them. One longer one at 36" and a couple smaller ones at 6" for easier access to nails. I painted everything with granny smith green and fuchsia pink.

I had originally planned on just making a couple of storage benches to hide my husband's video games in the house, but decided one would be perfect to hold my circular saw, drill, and other power tools while adding a comfortable place to sit. I had ordered the fabric a few months ago and didn't realize that it matched the fuschia pink paint I had bought at orange for my work bench, and I am glad it did.

Though they are in my garage, being a wife to a Staff Sergeant in the Army, we entertain a lot so having something that is useful and looks great is a wonderful thing indeed.

Since I've started building, I've been browsing Ana White's project plans for anything else that could be useful in our house... I can't wait until we move so we can choose a larger house to make way for more projects!

Thank you Ana!!! You've given purpose to my usually uneventful days while the hubs is in Iraq for the third time!

Estimated Time Investment
Day Project (6-9 Hours)
Finish Used
Granny Smith Green and Fuchsia Pink from Orange. :)
Recommended Skill Level
Beginner

Comments

MissSea

Sun, 09/18/2011 - 14:27

I have to say I love that even though this is a workbench, it's still so personal and girlie! And what a great idea for the storage unit having seating! So many times I end up sitting in the garage, sorting God-knows-what, and I really need a seat! :)

Just A Bench

Submitted by Jake on Fri, 08/30/2013 - 18:38

I had a request from a friend to build her a bench, preferably one with a back on it. The plans for the Woven Back Bench were perfect. But as you can see in the picture I moved away from the plans a little bit. The woven back is beautiful but I was sure it would become frustrating to get it right so I went with the vertical posts. It worked out well.

It is not visible in the picture but I added a cross-member to the middle of the seat to give it more strength and stability.

I avoided pocket holes to hold the back together by using the Kreg drill and drilling vertically down about 3/4 the way and inserting 2" pocket hole screws and then capping them off. The caps are visible in the picture. I did the same from the bottom of the back.

In a couple of places that called for 2x2s I used re-sawed 2x4s that I think added strength to the bench. I only used pocket holes where they would not be directly visible. Also I used a router to soften many of the edges and to add interest to the arms.

Built from Plan(s)
Estimated Cost
$50 not including primer or paint
Estimated Time Investment
Weekend Project (10-20 Hours)
Finish Used
The finish will be applied by the recipient but I am recommending that she prime and paint. Once a year she should check for any rotting.
Recommended Skill Level
Intermediate