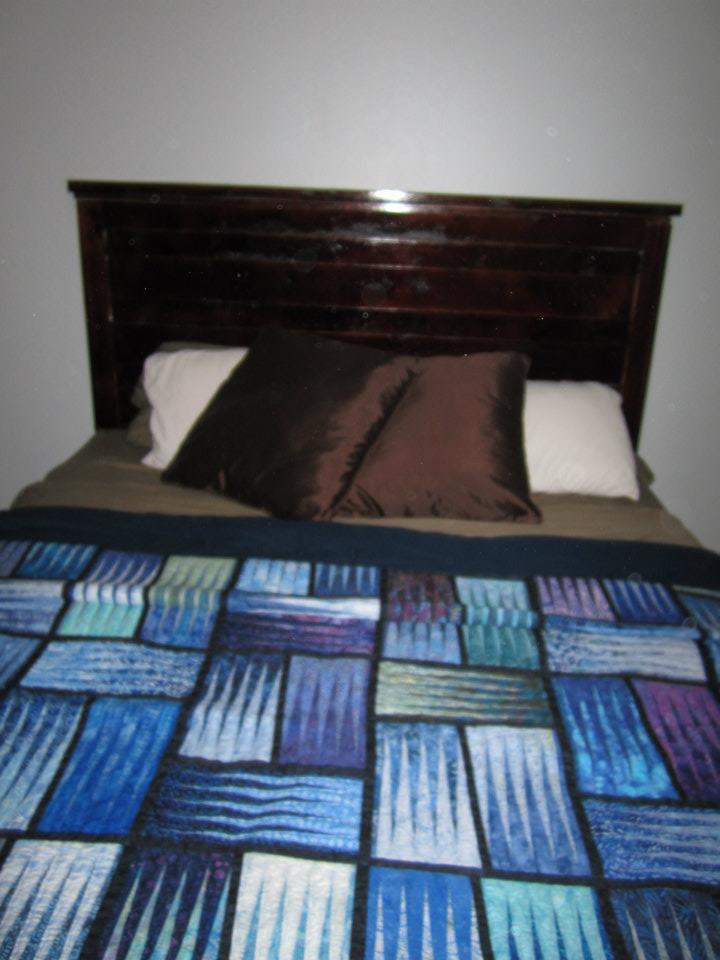
Poster bed
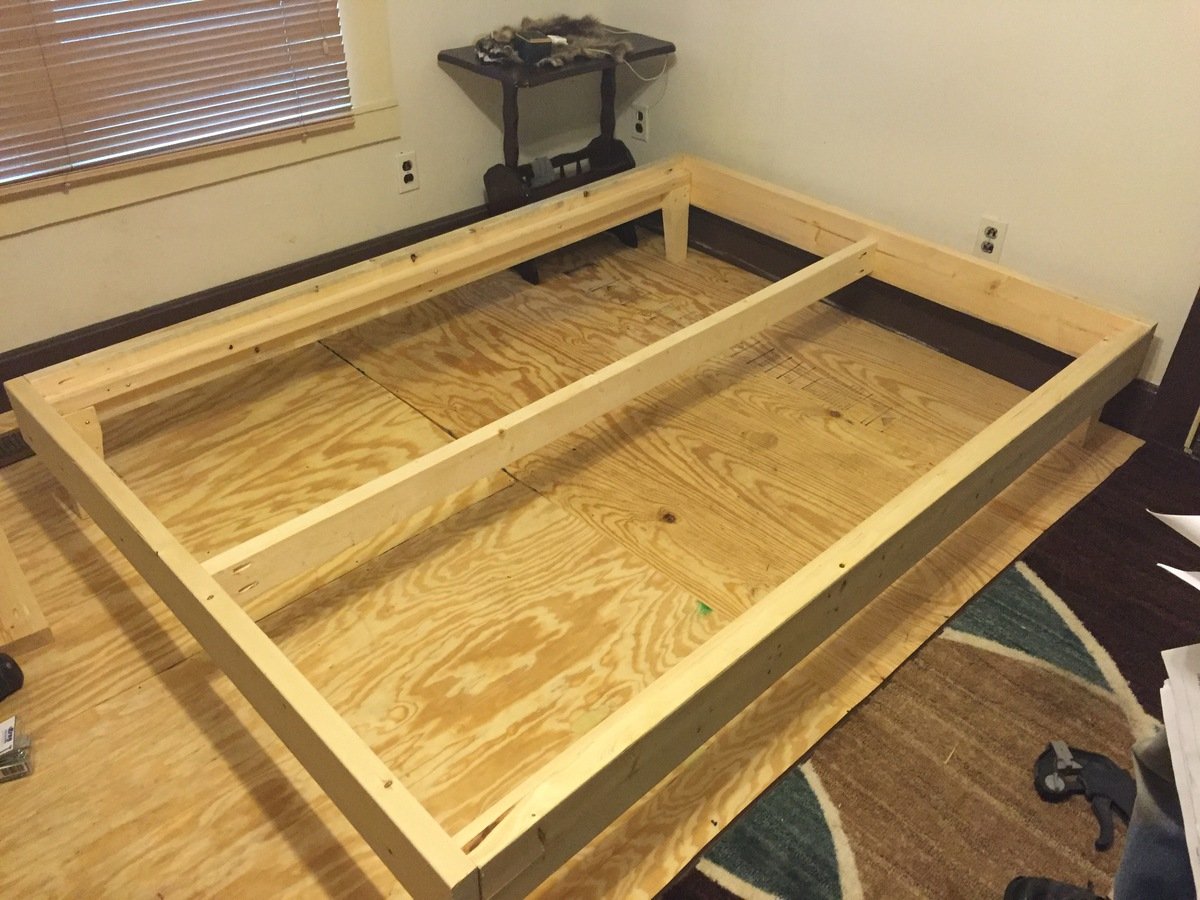
Built this
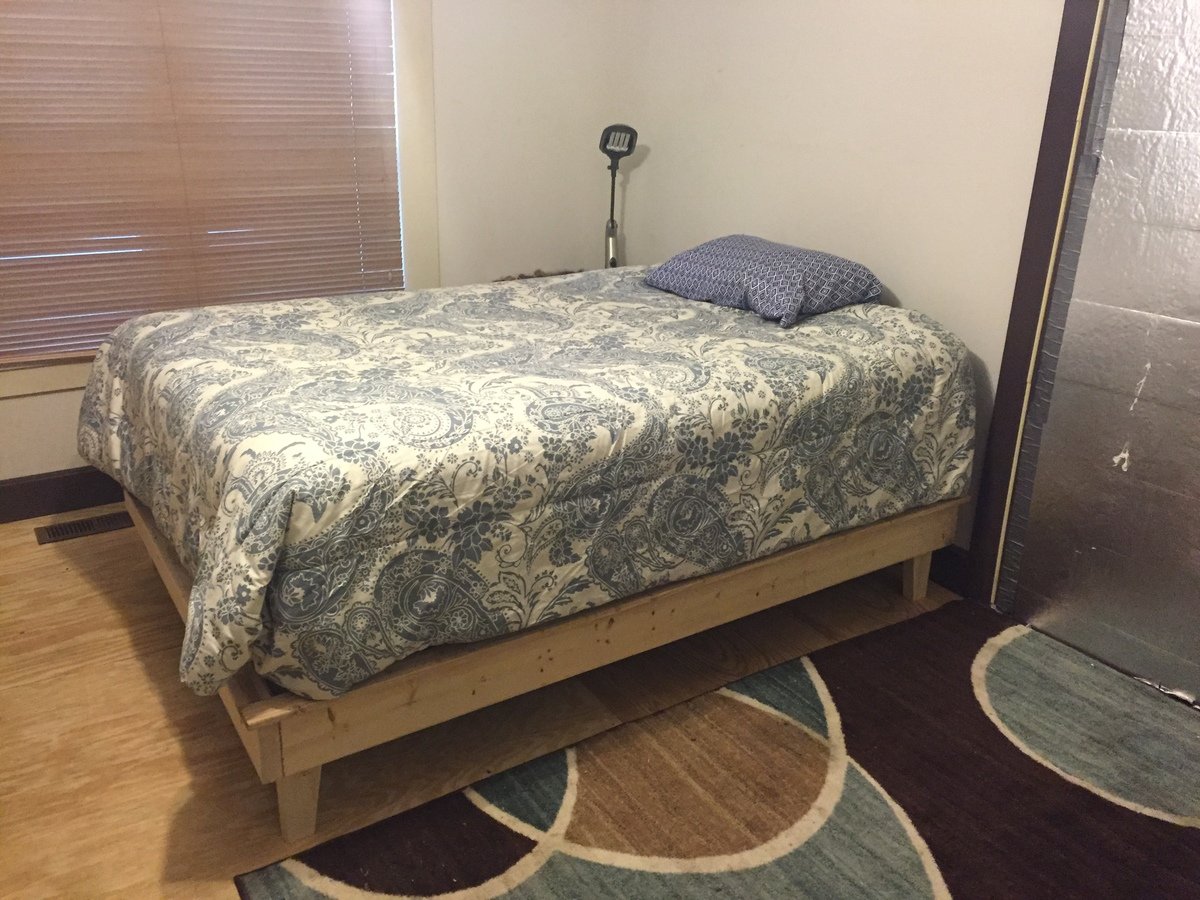

Built this

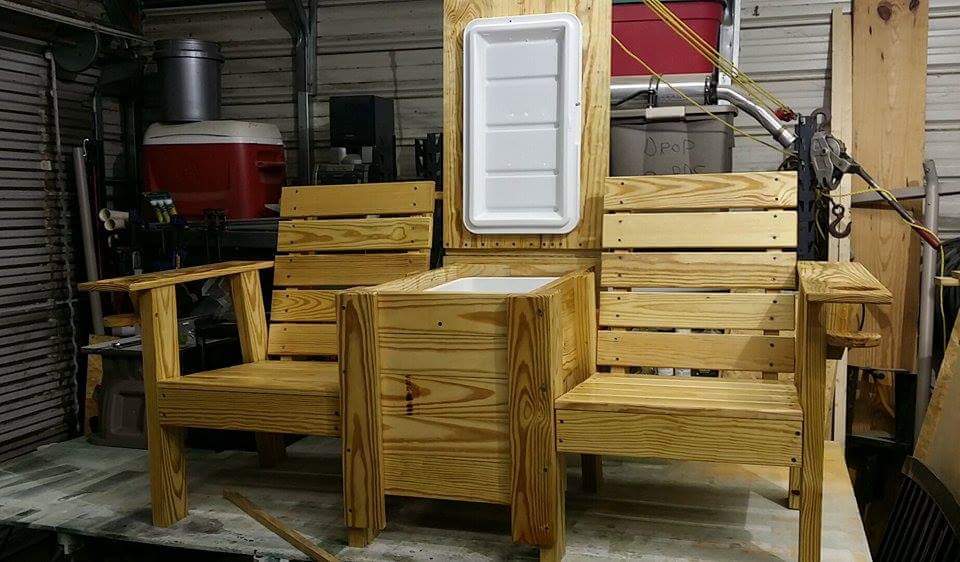
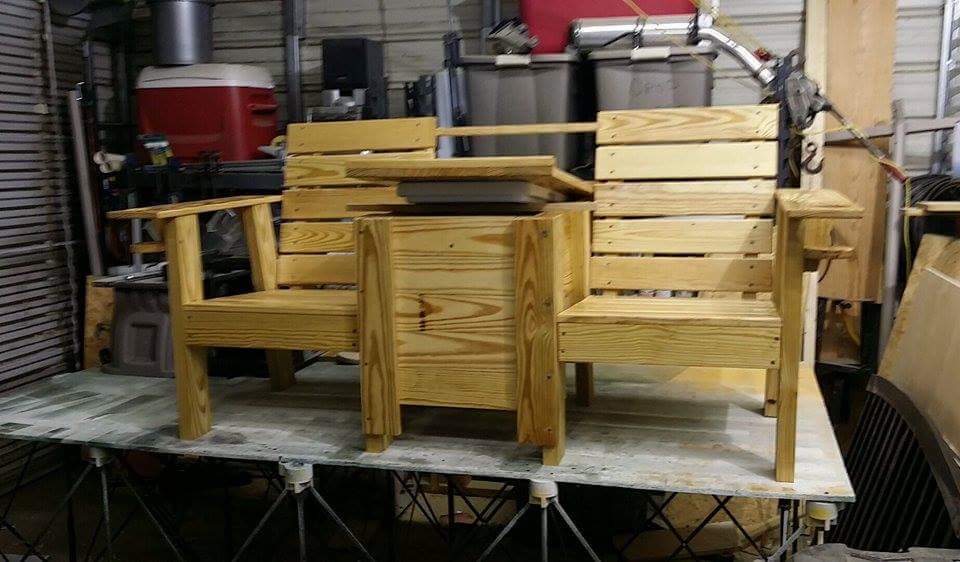
Started with bench with table but changed by adding a cooler.
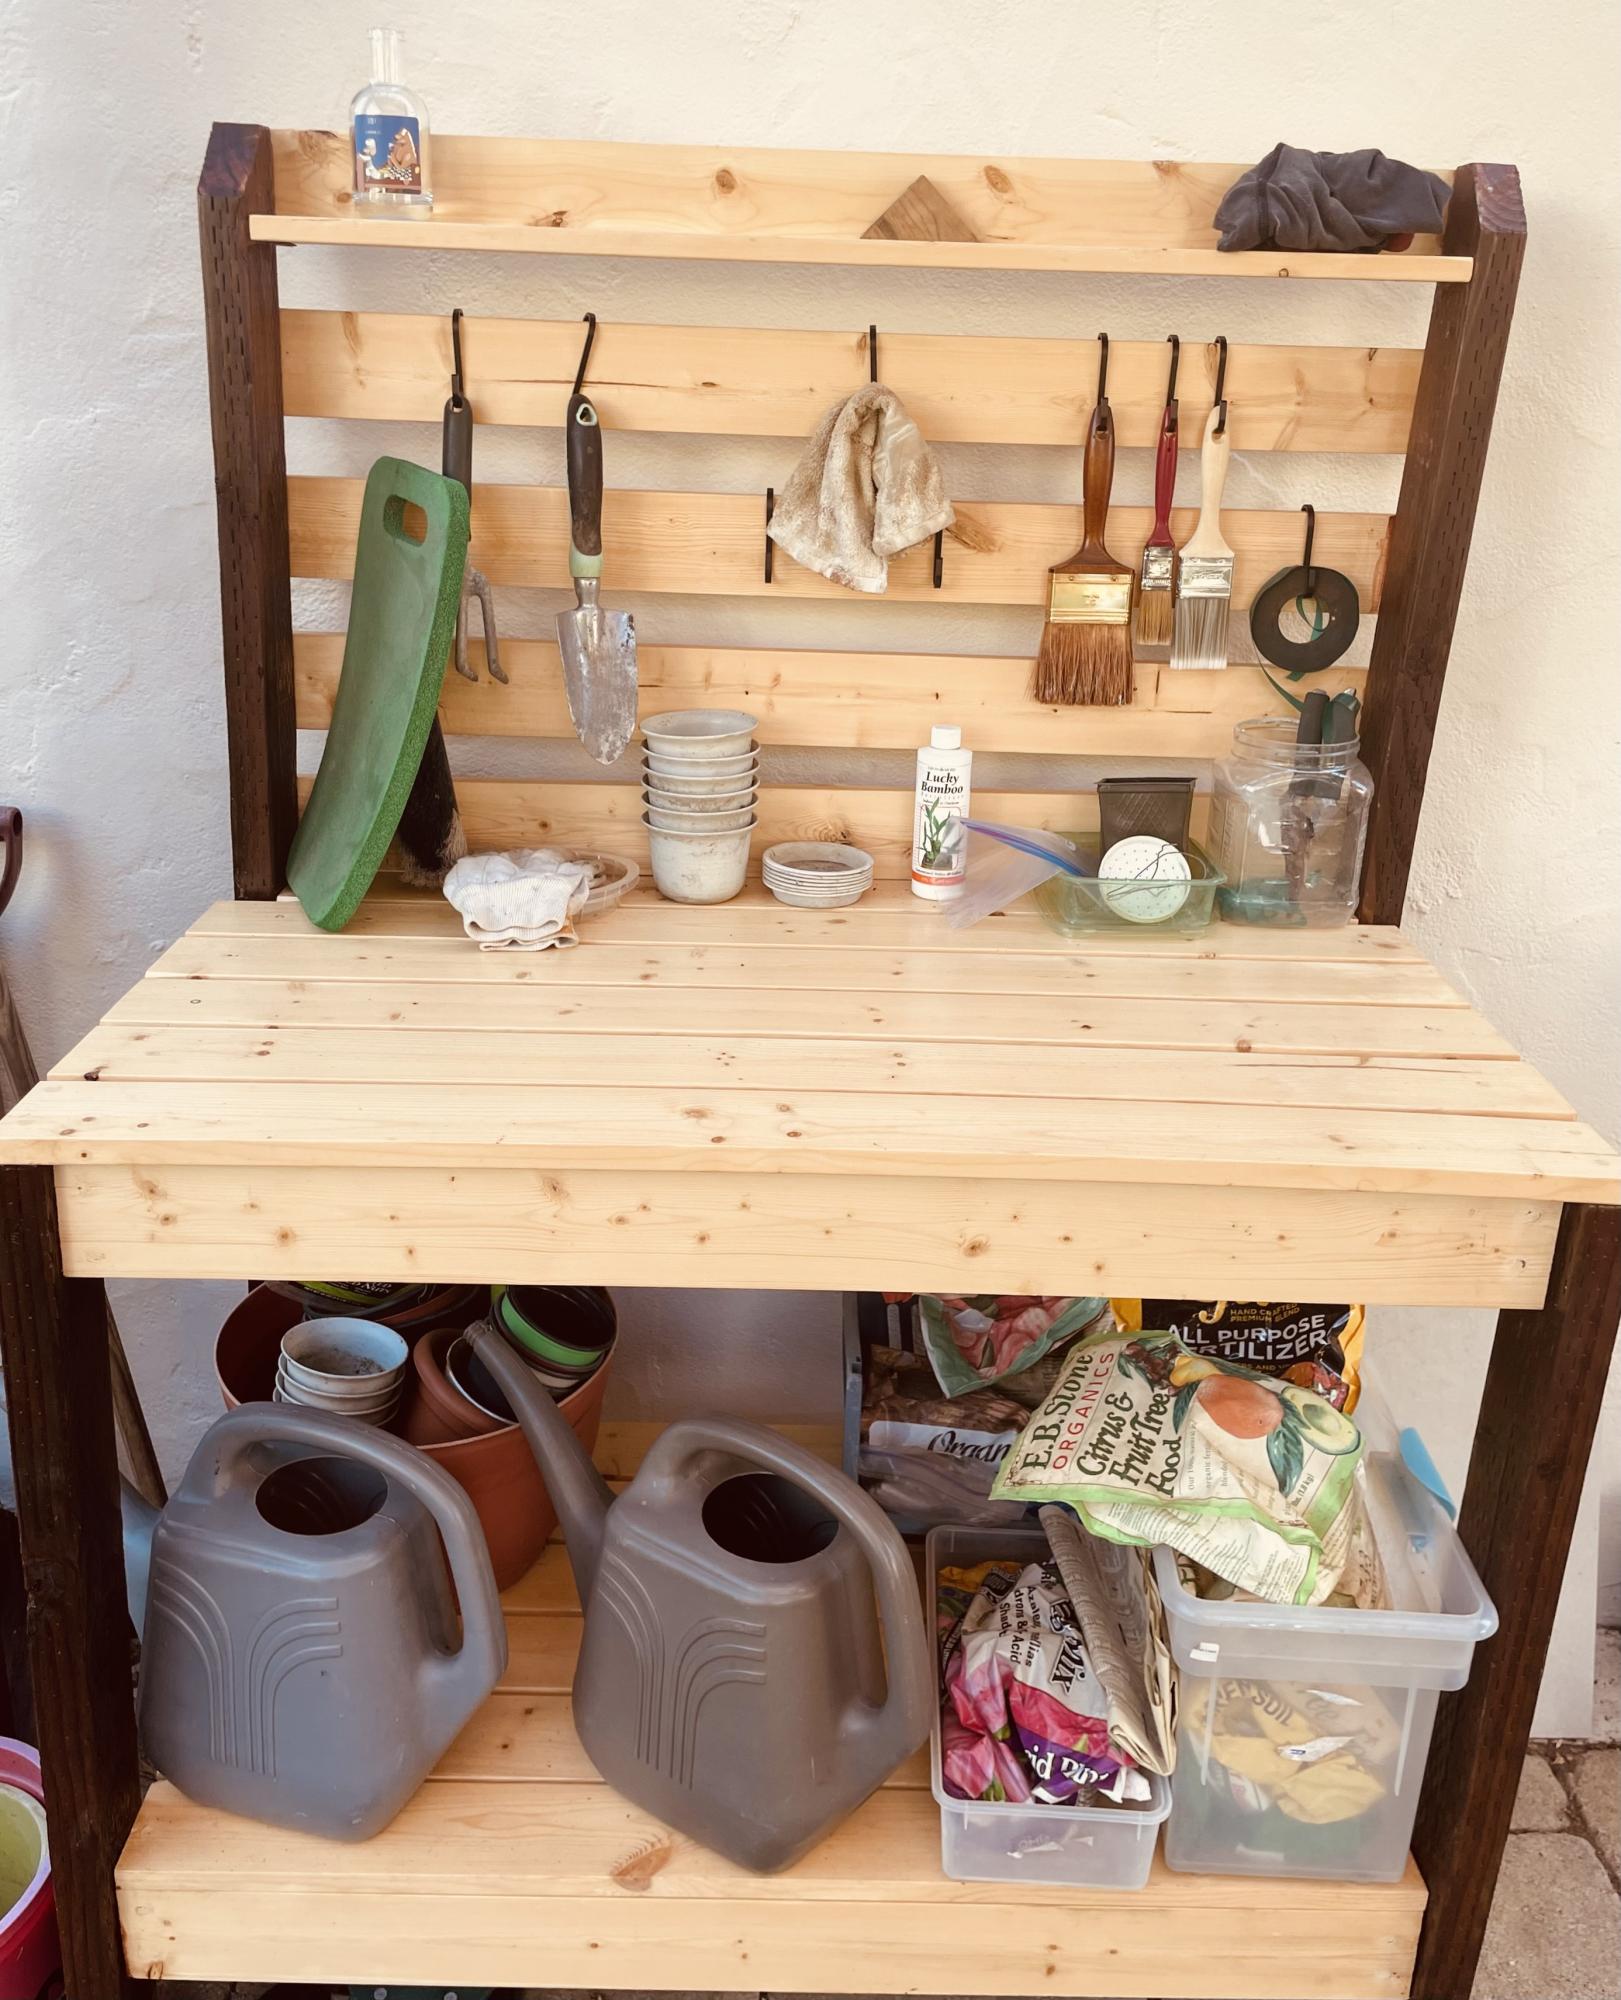
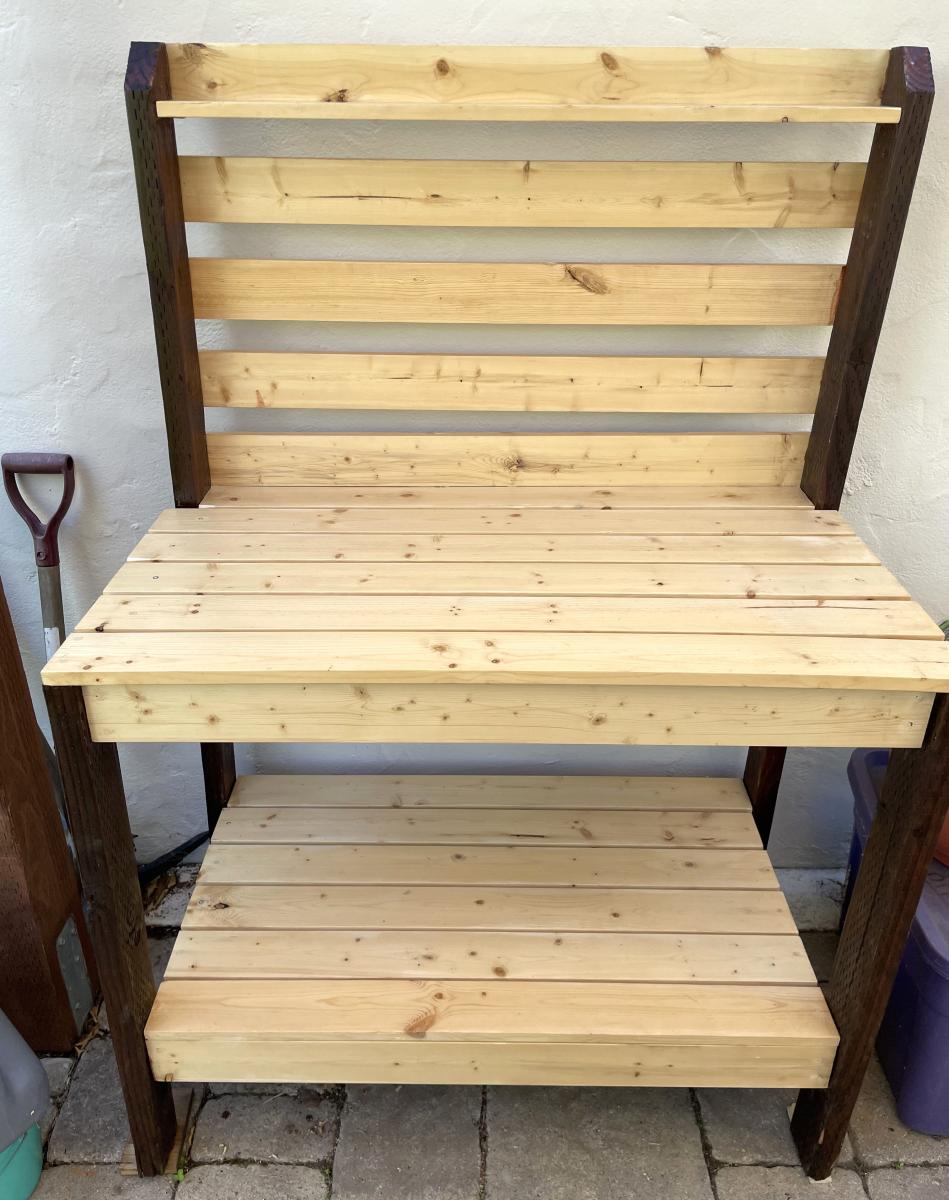
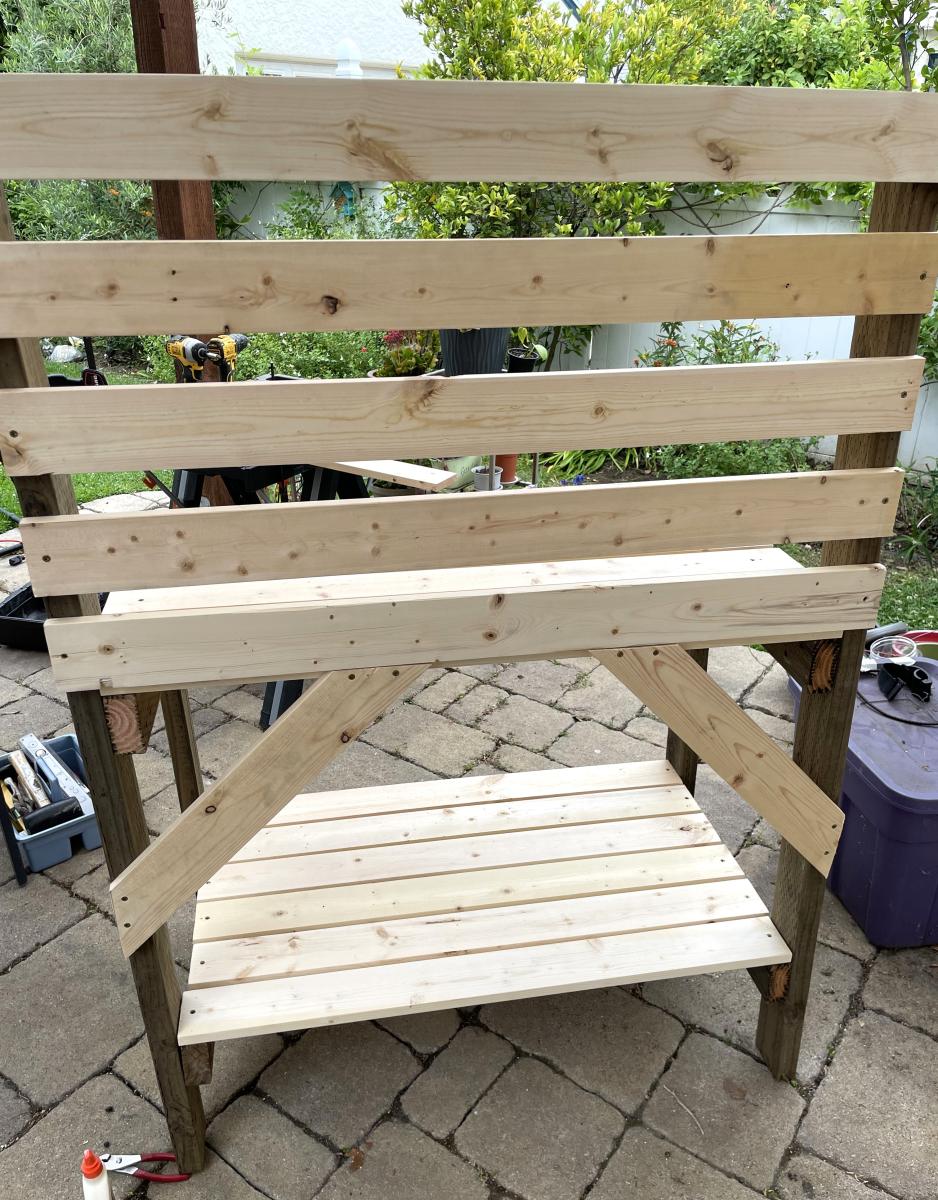
Potting bench. I had some pressure treated darker wood around and used that for the legs and frame. Pine for much of the rest. Stained the frame cherry. Polycyclic for the pine and the frame. Three times. Lots of compliments. Highly functional as well!
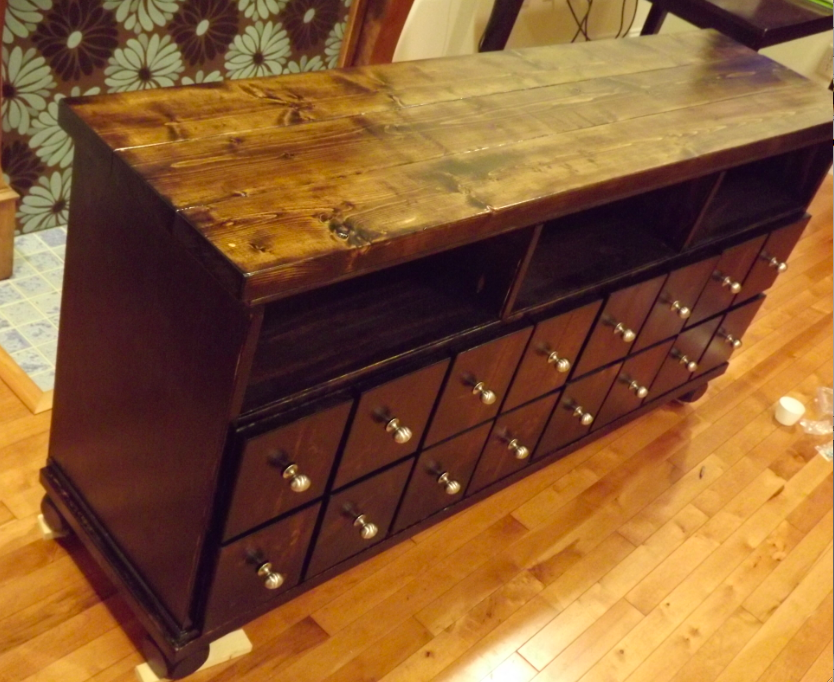
This is my 4th project. I love it! I used 2x6's on the top instead of 1x6's as I wanted a more substantial look. I also added some bunn feet by attaching a couple of 2x4's to the base and drilling the bun feet into them. All the game consoles and dvd players will go in the top slots so they'll be much more organized than what they are now.
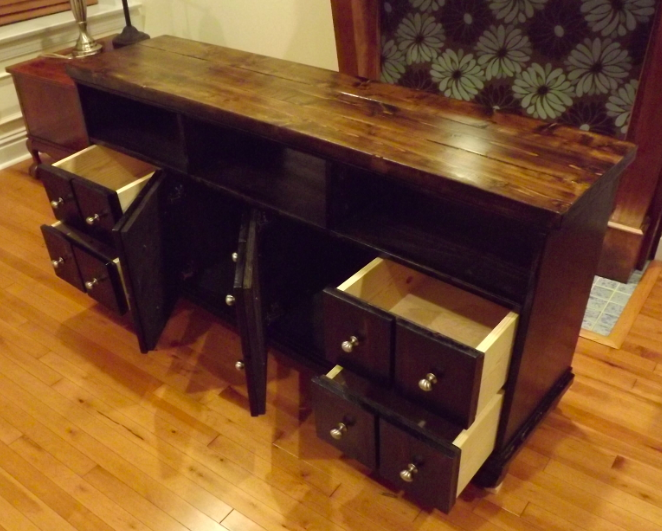
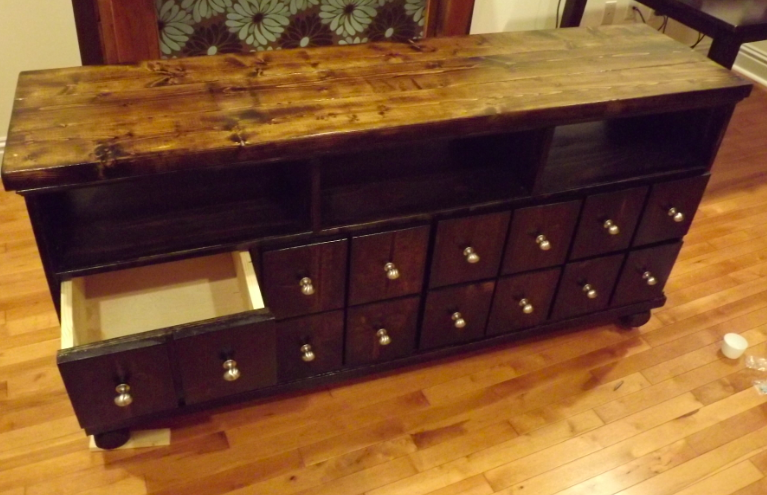
Sat, 02/18/2012 - 08:20
That turned out amazingly beautiful! I love the heft of the 2" thick top.
Sat, 03/10/2012 - 18:32
I was just wondering if you used 1/4 ply or 3/4 ply for the foe faces? I love the look of the stained console.

I utilized your toddler play stove plans- these are easy to use instructions! Thanks much!

Wed, 12/25/2013 - 04:46
This is darling! You did a wonderful job!
Merry Christmas!
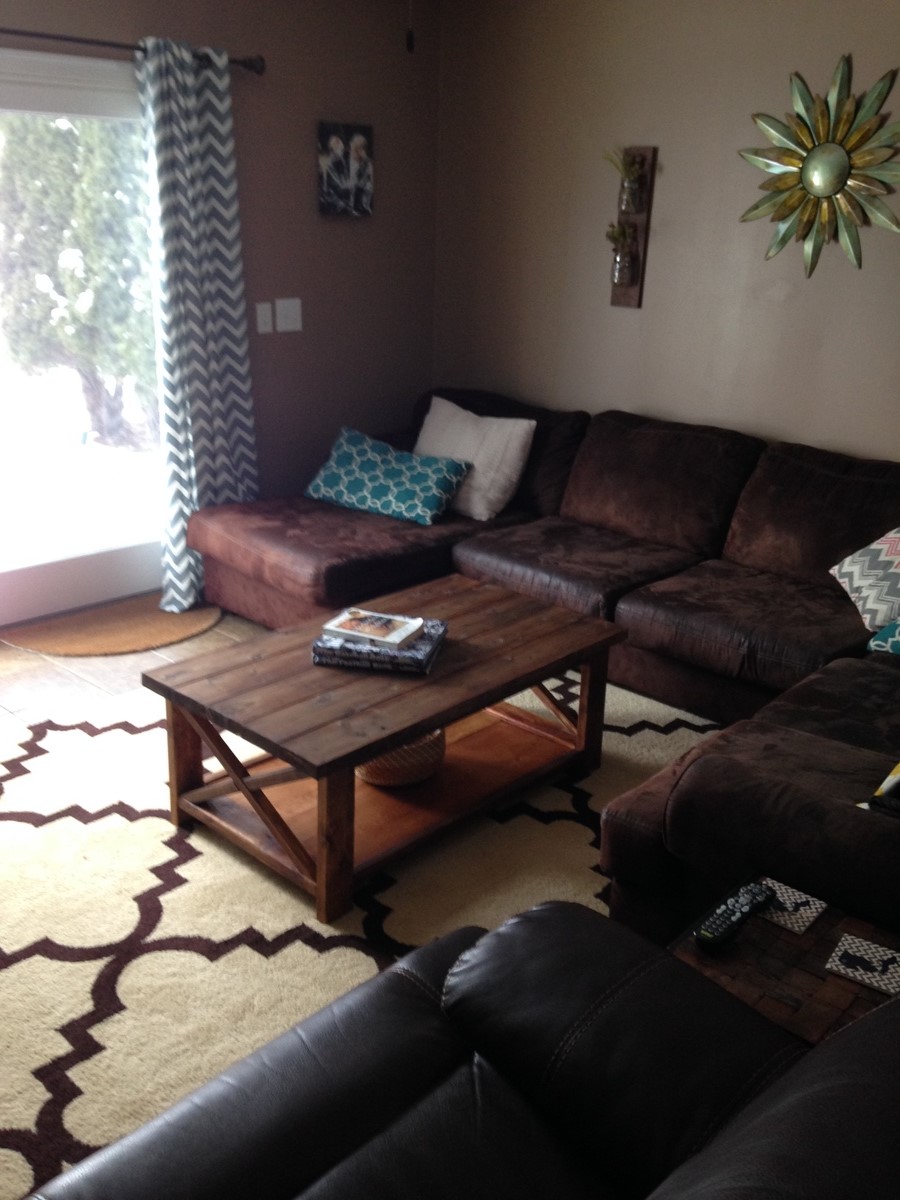
took me prob 6 hours to build 2 hours to oxidize 1 hour to oil. No bolts are brackets yet, I really love it without! This was my first piece of furniture and first time oxidizing & oiling!
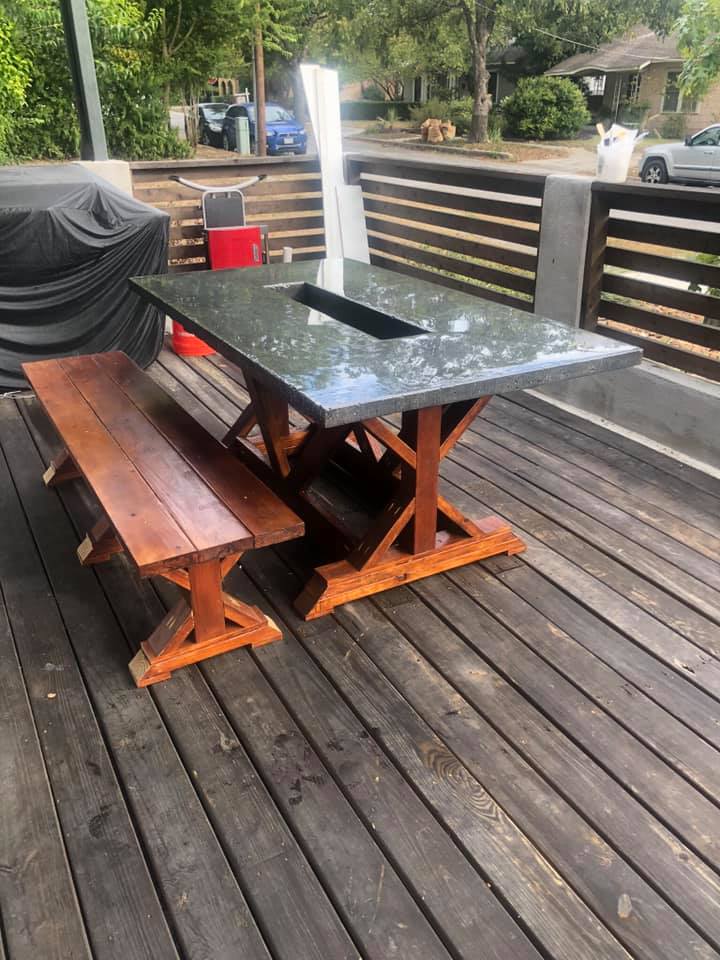
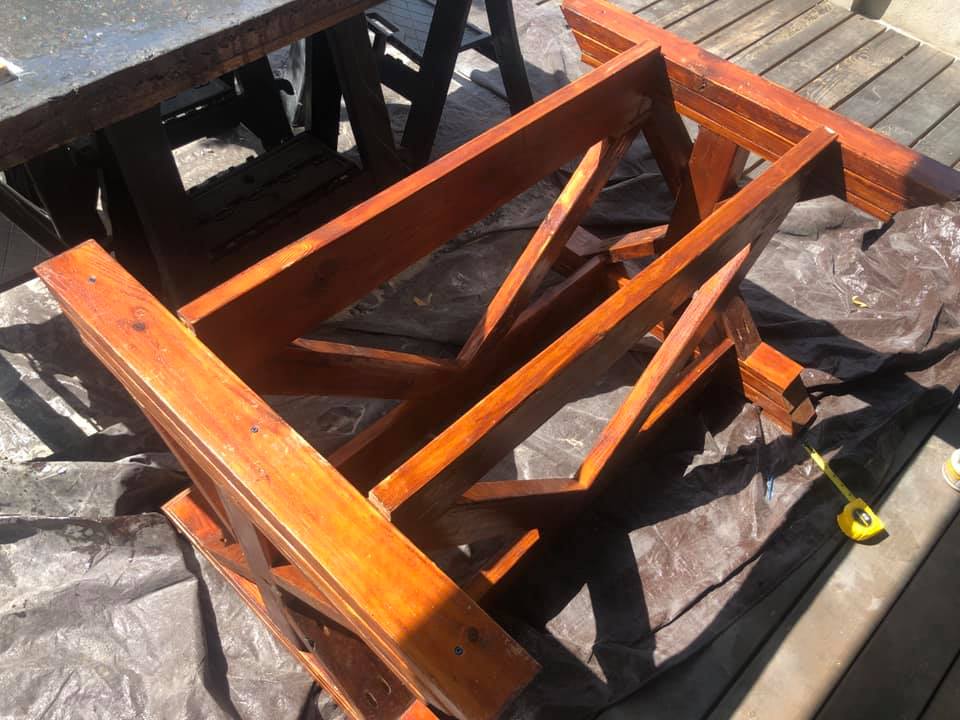
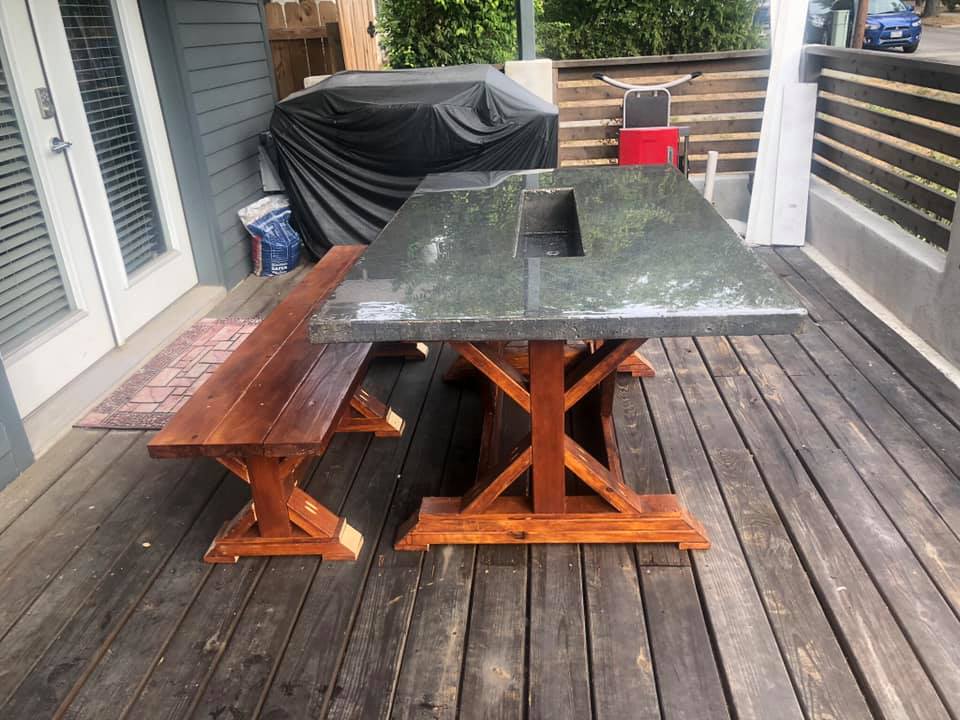
Used the fancy X farmhouse table plan with slight modifications. I decided to use a 4X4 vs two 2X4 as the main leg for the base. I thought it would provide more strength for my final product. Did the same on the bench. Then i moved the support and brace over and added an additional one to provide extra support for the concrete top and trough i made. All in all the base and the bench came out beautiful and am so over the moon with them both! It was my first project I have done (very ambitious I know) but now I am hooked!

I made this a planter as a gift to the superintendent in the building were I live. It was absolutely free for this dedicated man who keep the building clean and help all the residents by repairing their units. It was a way to say thank you and it always feels good when I or you do something positive.
John

Cost about $100 and took about 6 hours total (one person). I ended up using a polyshade color I had in the garage -- but I wish I would have just used regular stain or paint. I'll likely repaint it in a bit, the polyshades just doesn't cover well (but that's what I get for trying to use leftovers!) One of my top pieces ended up being a little short (I accidentally cut it with the original cut pieces). It looks REALLY great though, and I'm likely the only one who would notice. My husband is super impressed! Thanks, Ana!

Simple coffee table. took about 3 hours to build.


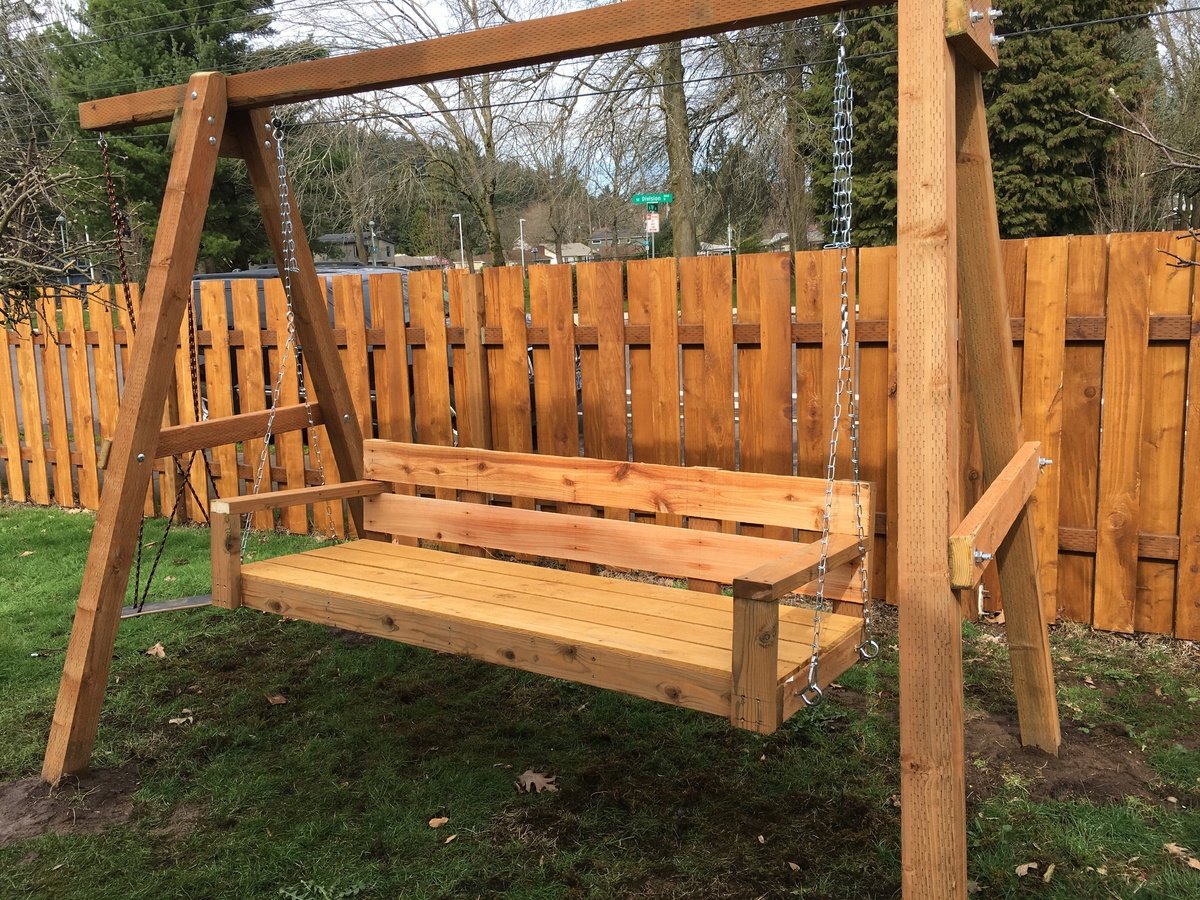
Quick build for the garden swing.
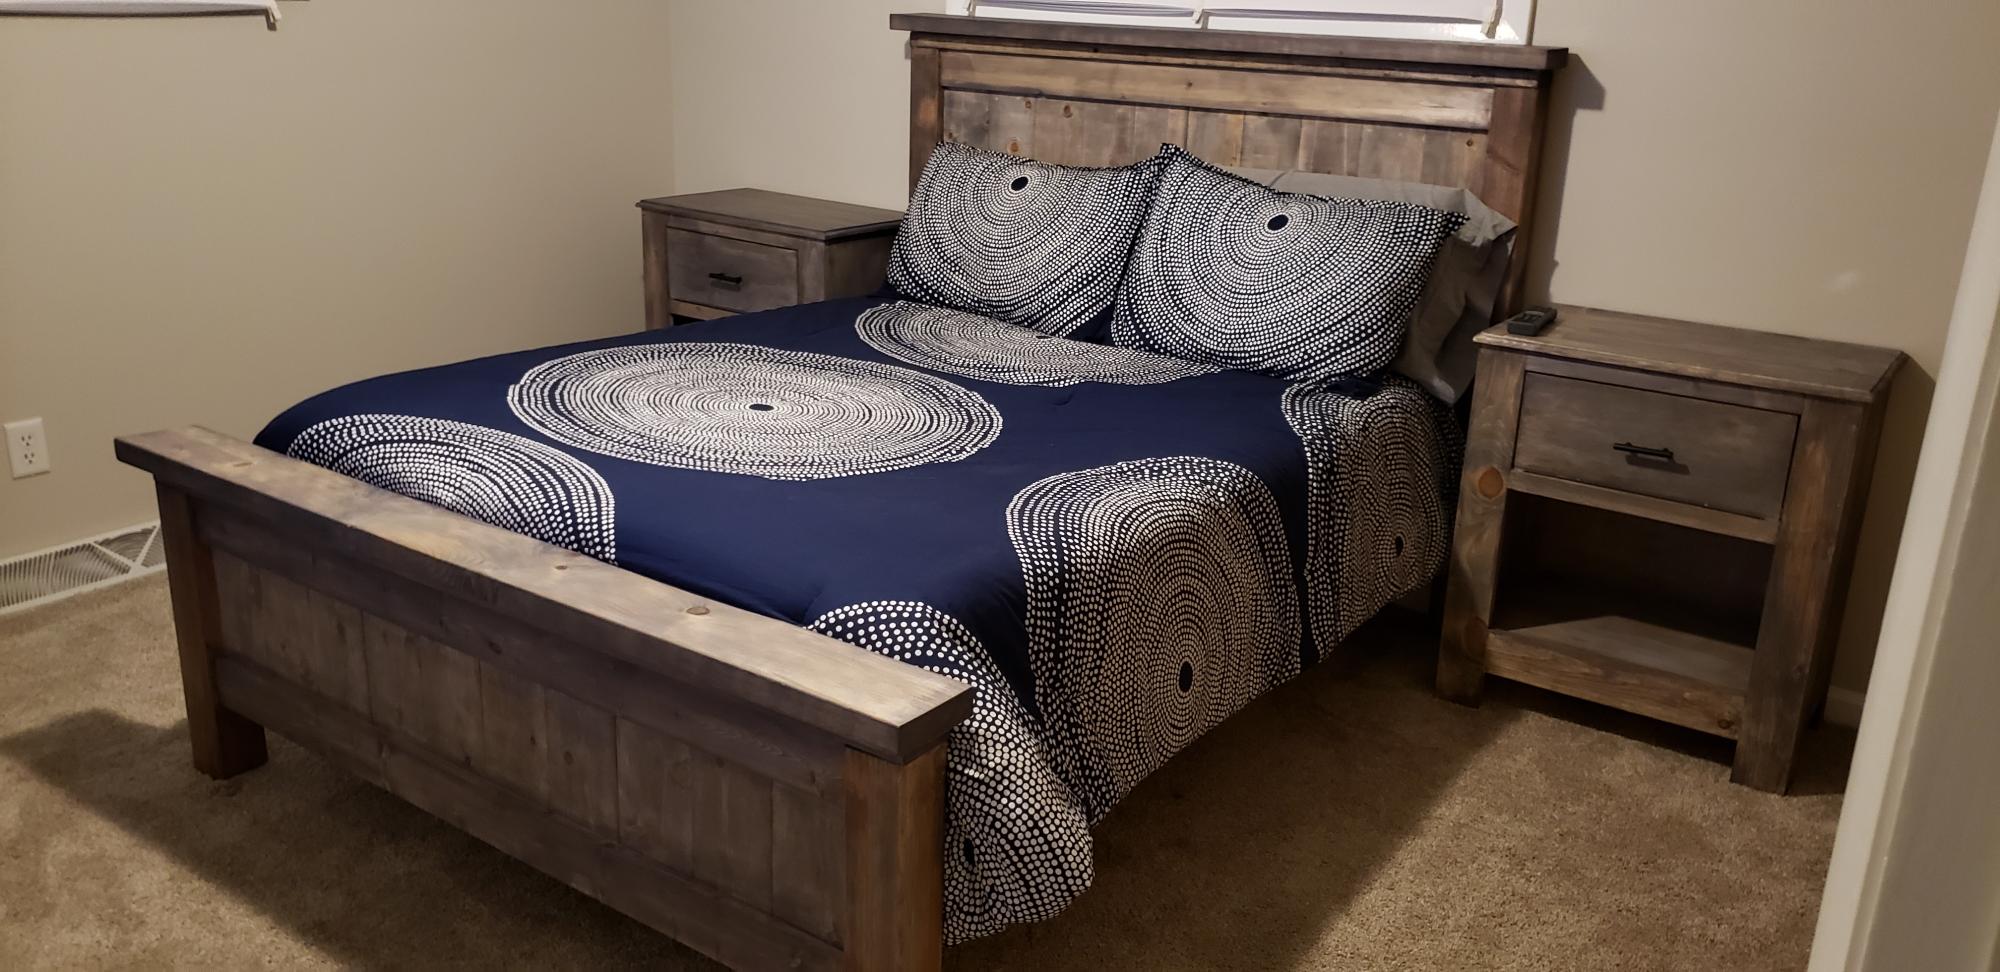
Bed and night stands build with plans from Ana White. Both projects were finished using age accelerator and weathered gray stain. Time and coat estimations include both night stands and the full sized bed.
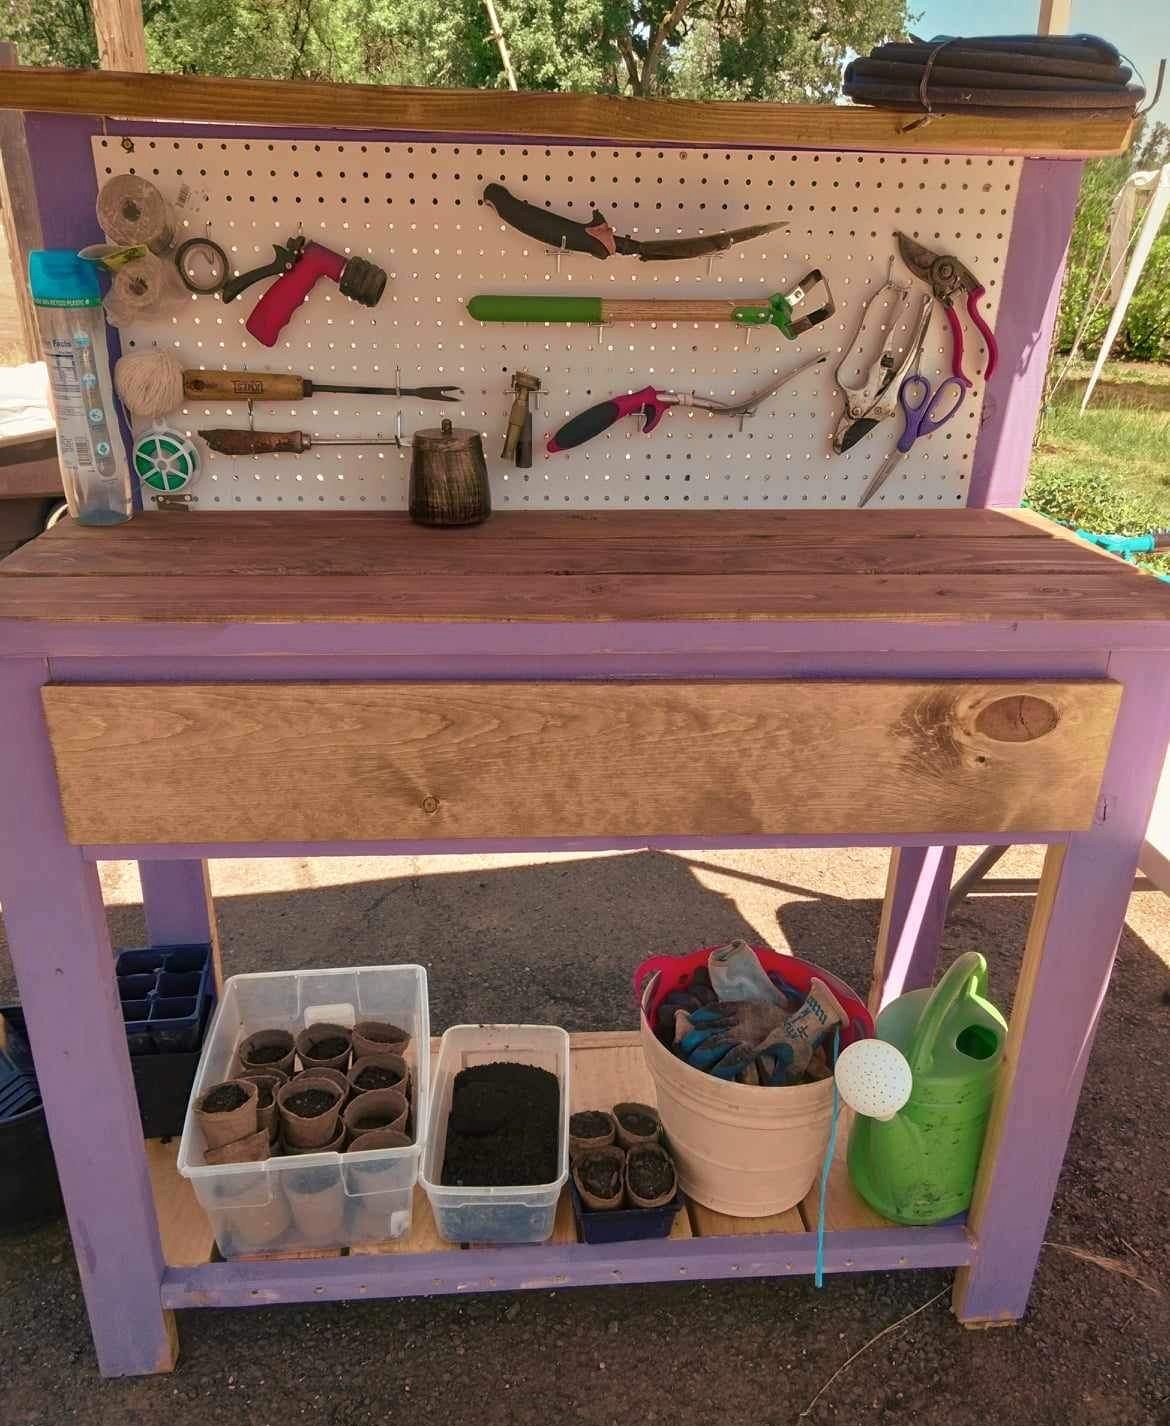
Your potting table is/was a hit and is used weekly with great love.
Darren S.
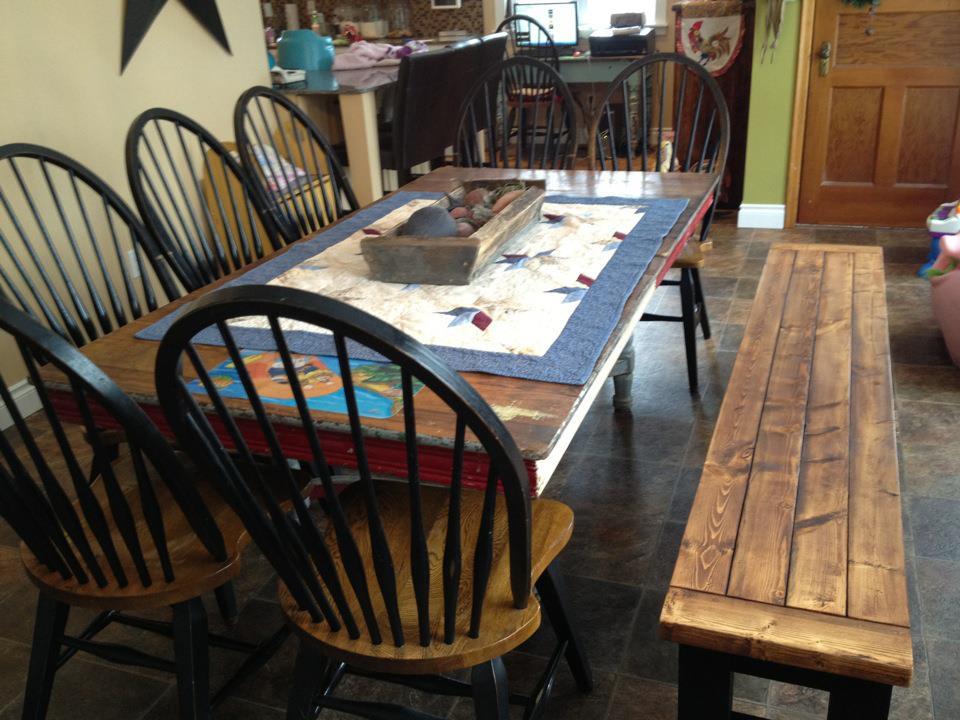
I LOVE how this bench turned out. I made it for my sister and her very large family. She paired it with an very old table that was found in the family "barn" and some chairs that she had purchased separate.
I have to say that I ADORE your site and plans!!! You are my hero.....and I want to build literally EVERYTHING on here!! Thanks SO Much :-)
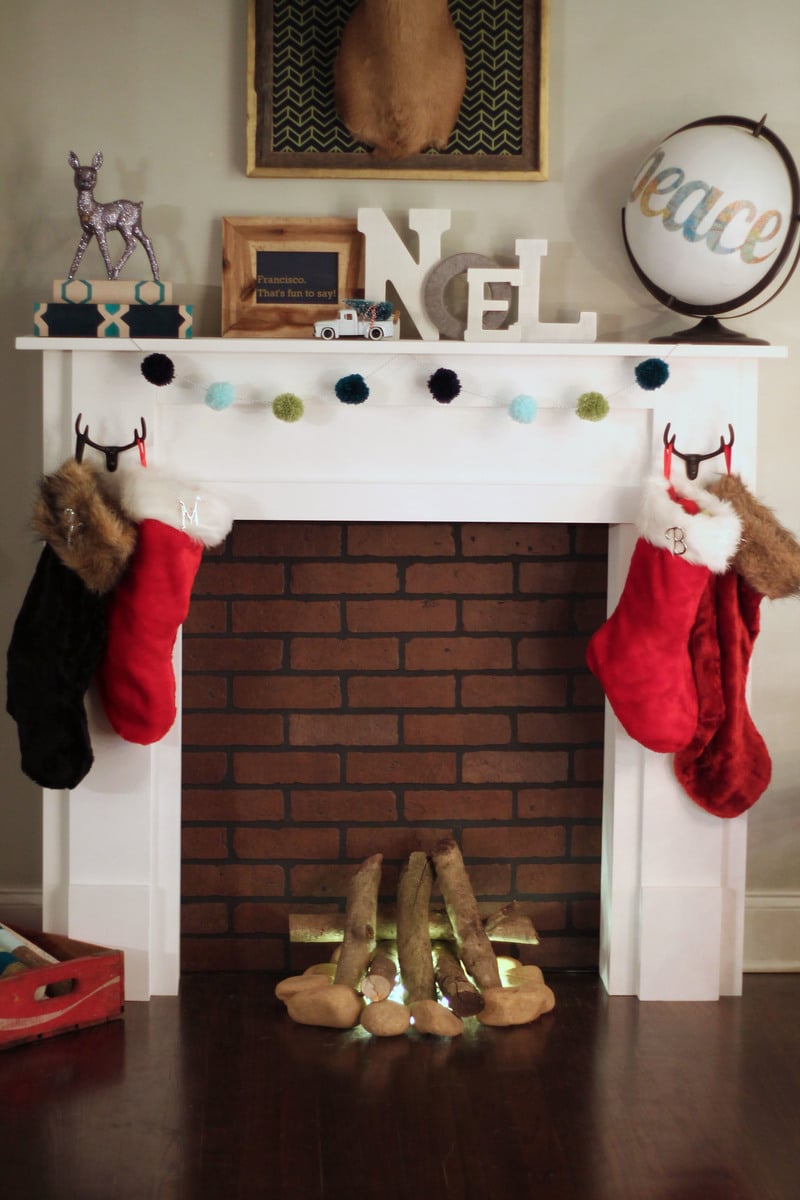
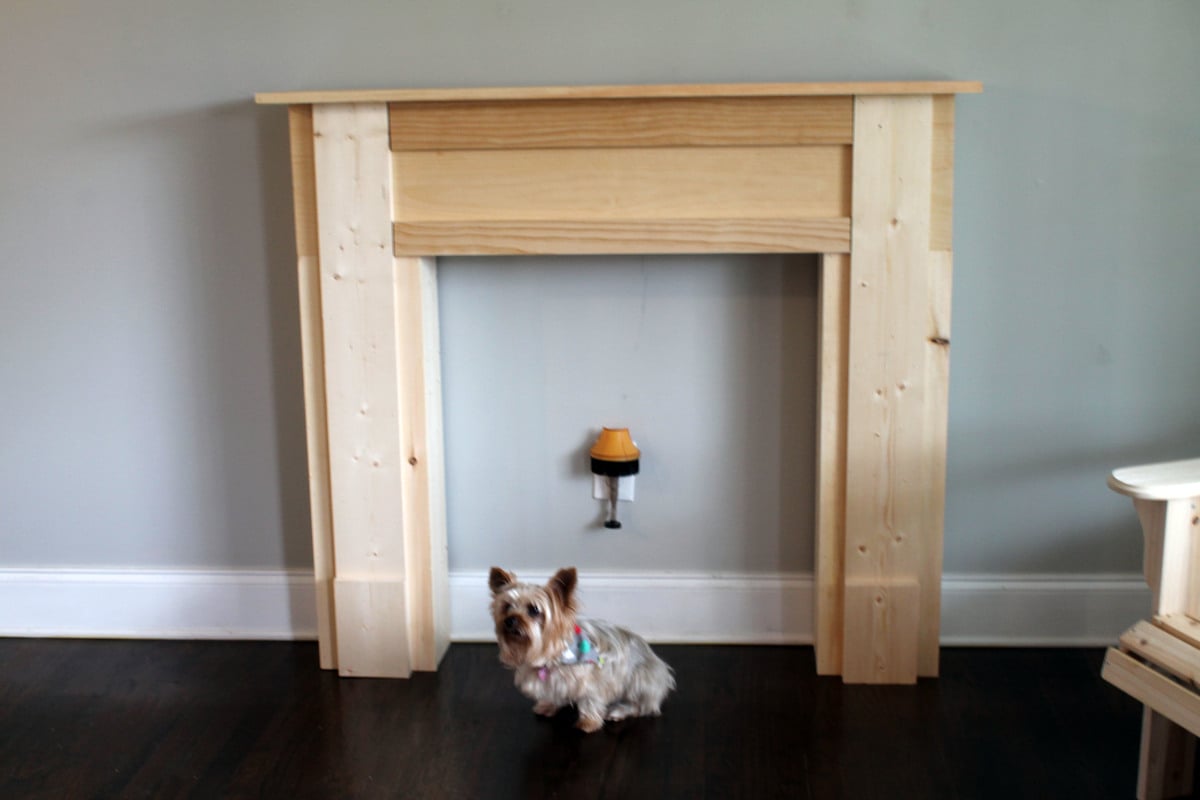
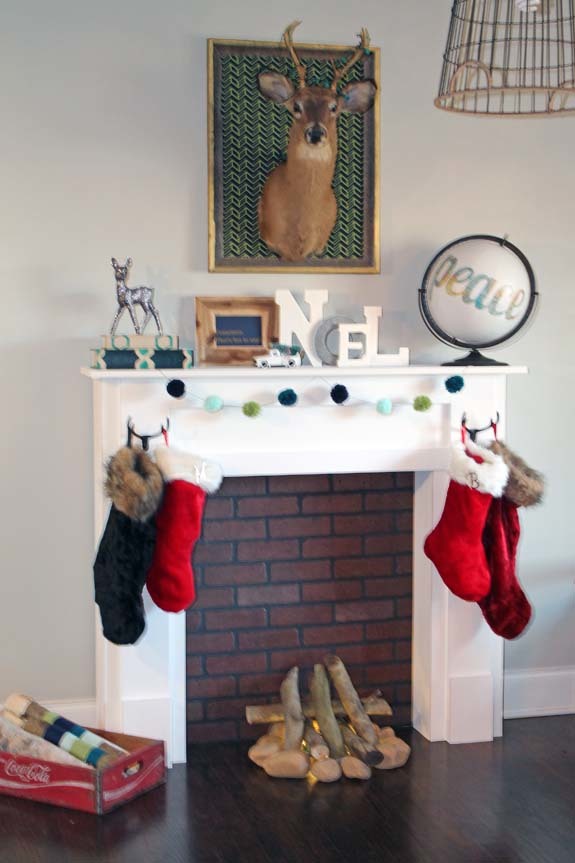
I was tired of not having a place to hang the Christmas stockings. With no fireplace and no mantel in our 1960's ranch home, I decided to build one myself! It turned out to be one of the easiest projects I've done.
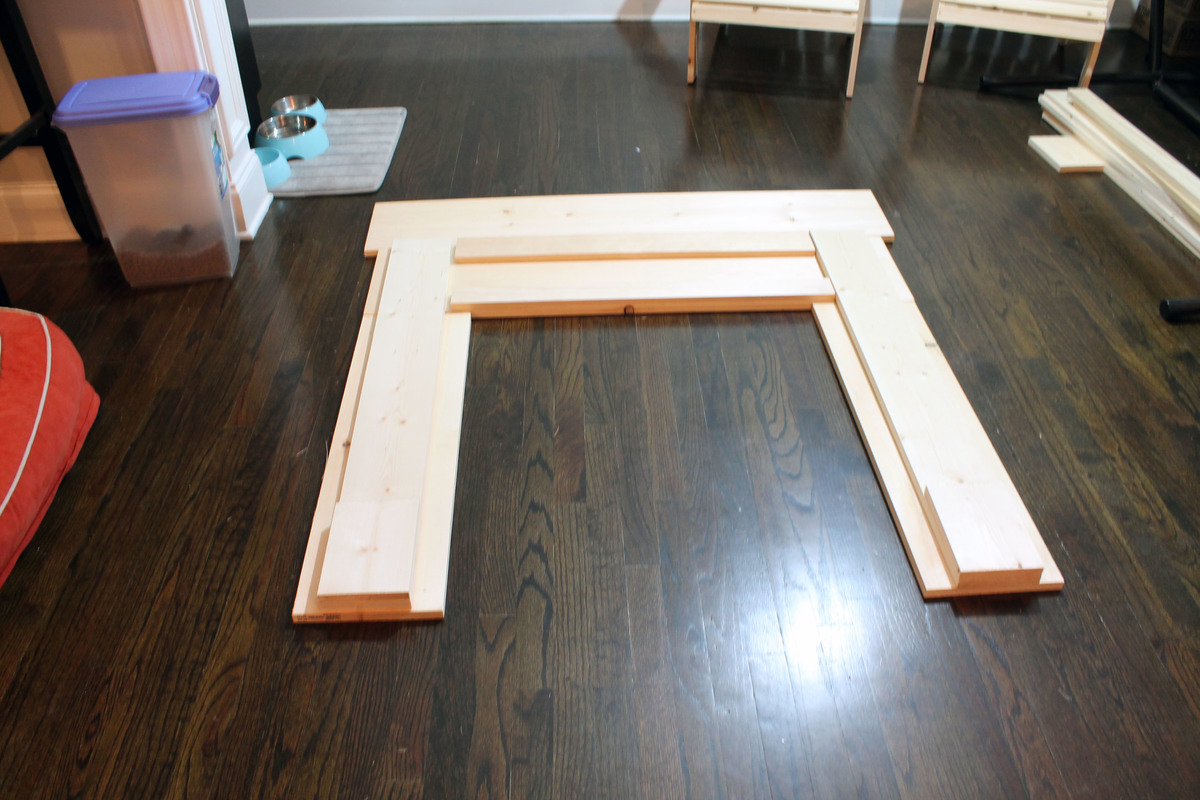
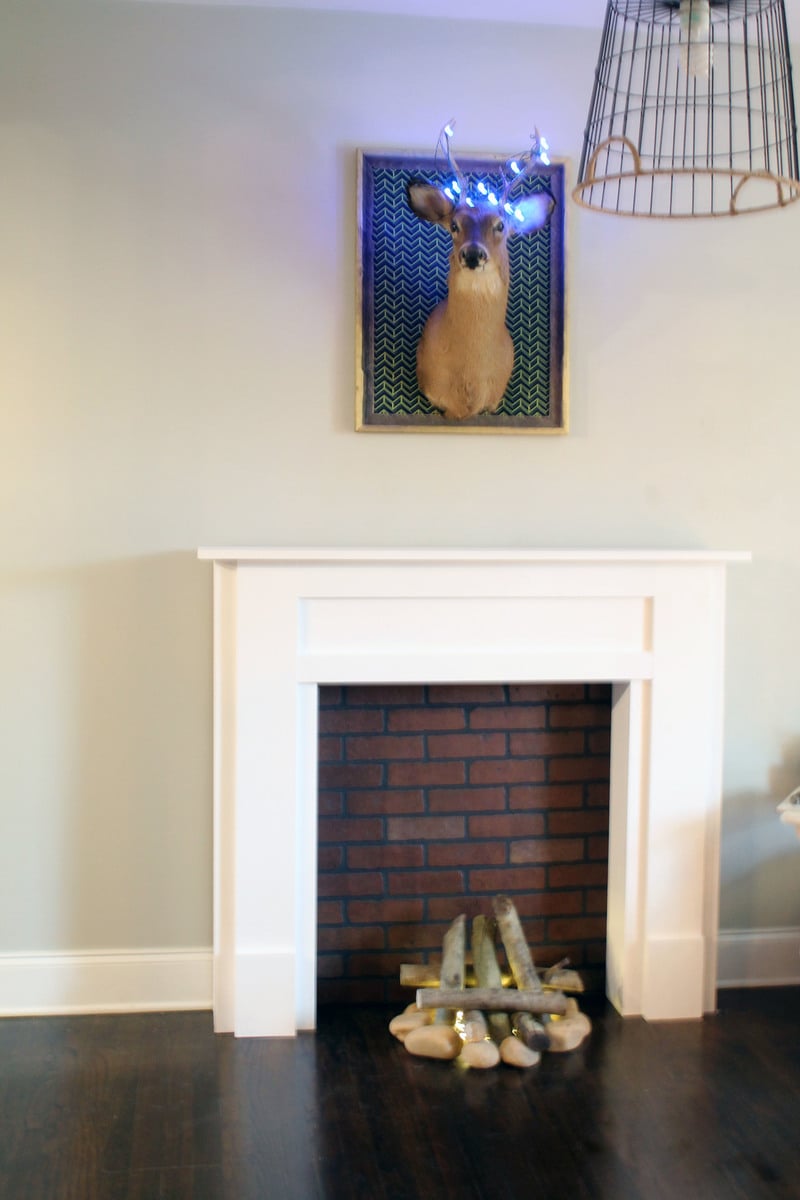
I had Home Depot cut all of the wood for me, so once I got home, I just had to nail it together. The actual building of the mantel took about an hour. Including the sanding, caulking, and painting, it took about four hours total. I also added a piece of faux brick paneling to the back of the mantel.
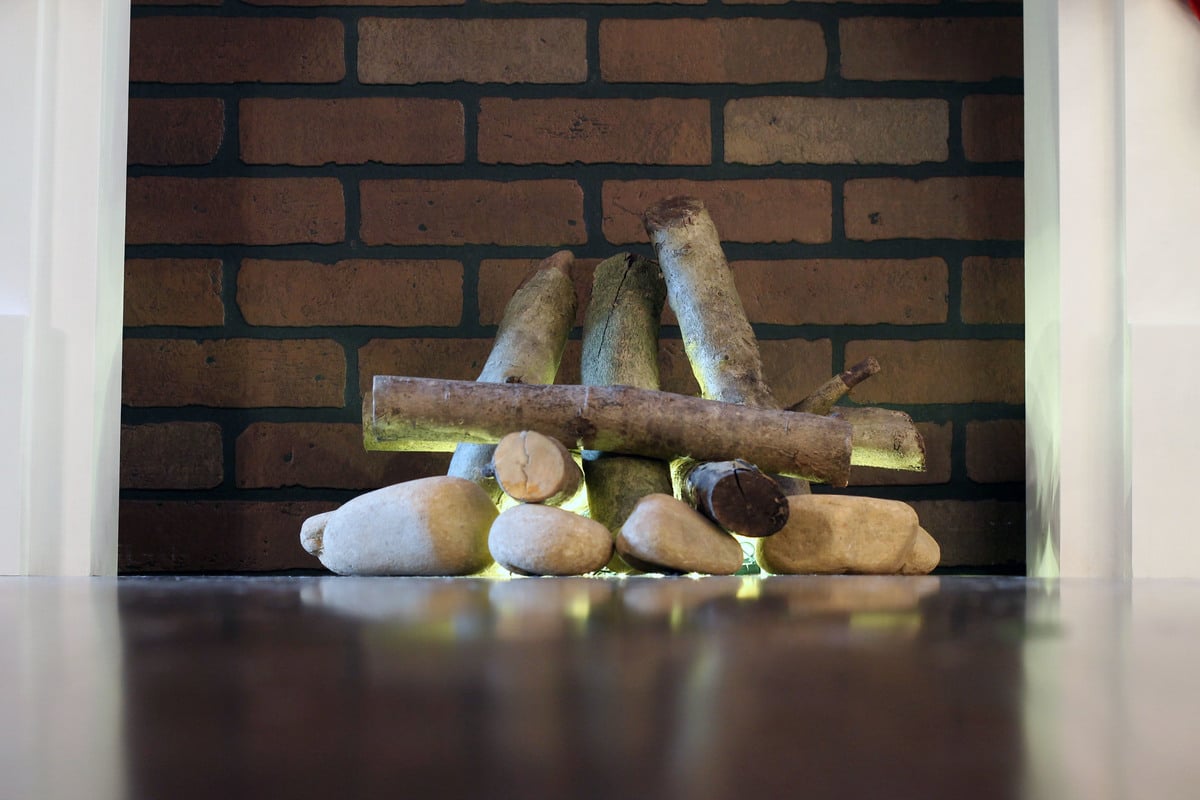
I made a "fire" using some river rocks and small limbs. I placed them in a circle and added string lights for the "fire" effect.
For more pictures, check out http://deepestoceanblue.com/diy-mantel-and-fake-fire/
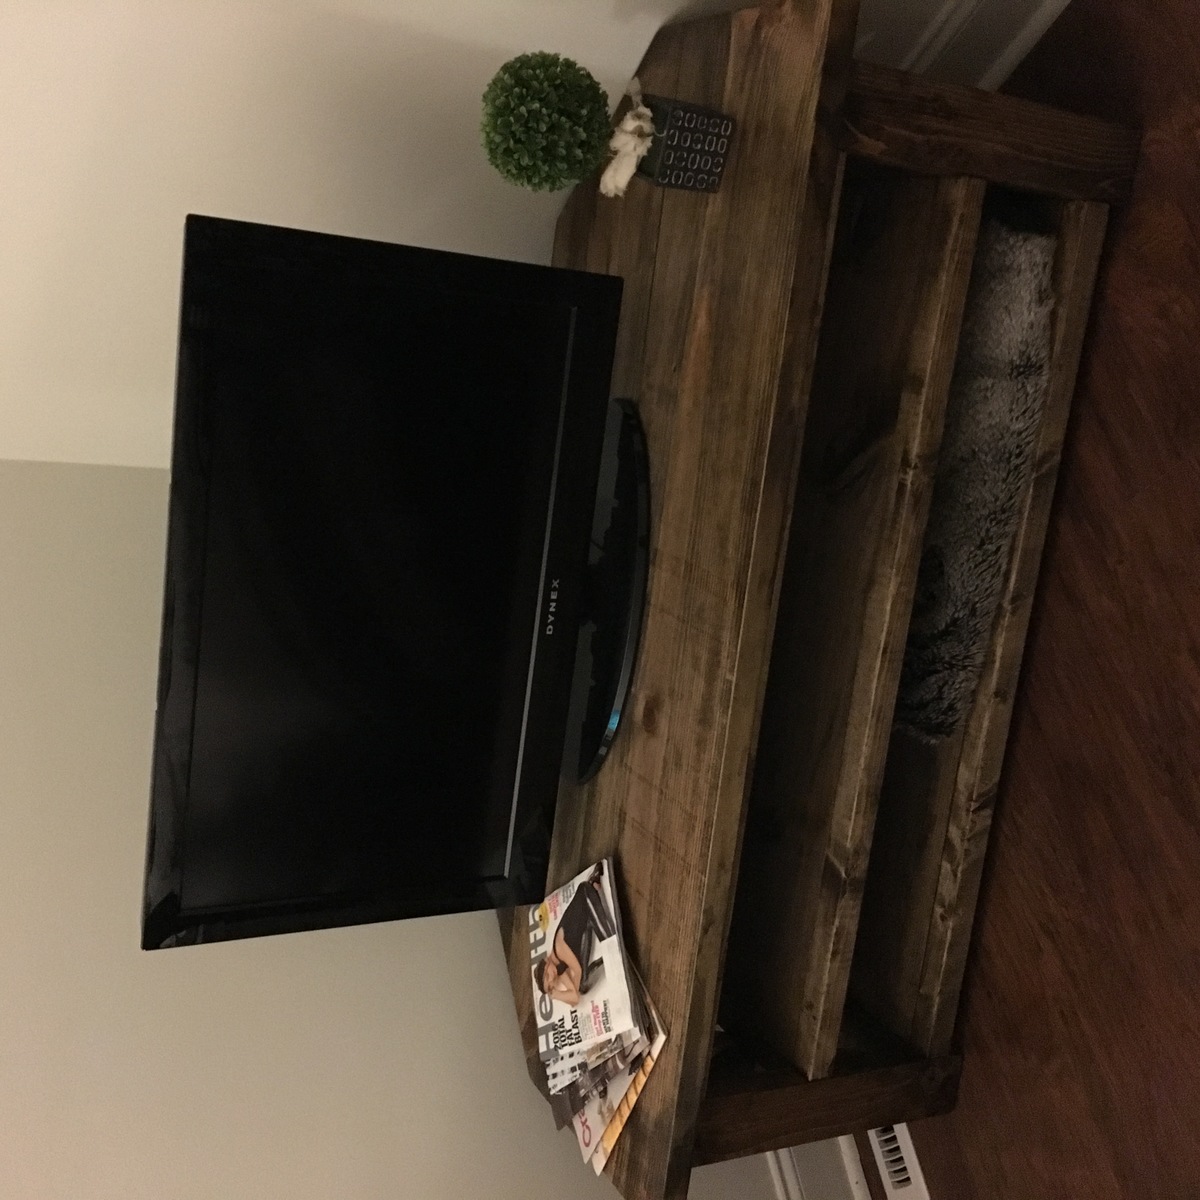
We love Ana White plans. One of our customers wanted the end tables and coffee table and a similar tv stand but to fit in a corner. I took the Rustic X concept and started creating! My Friend RogueEngineer liked it so much that he reverse designed it and made plans. Such talent out there in the DIY world!
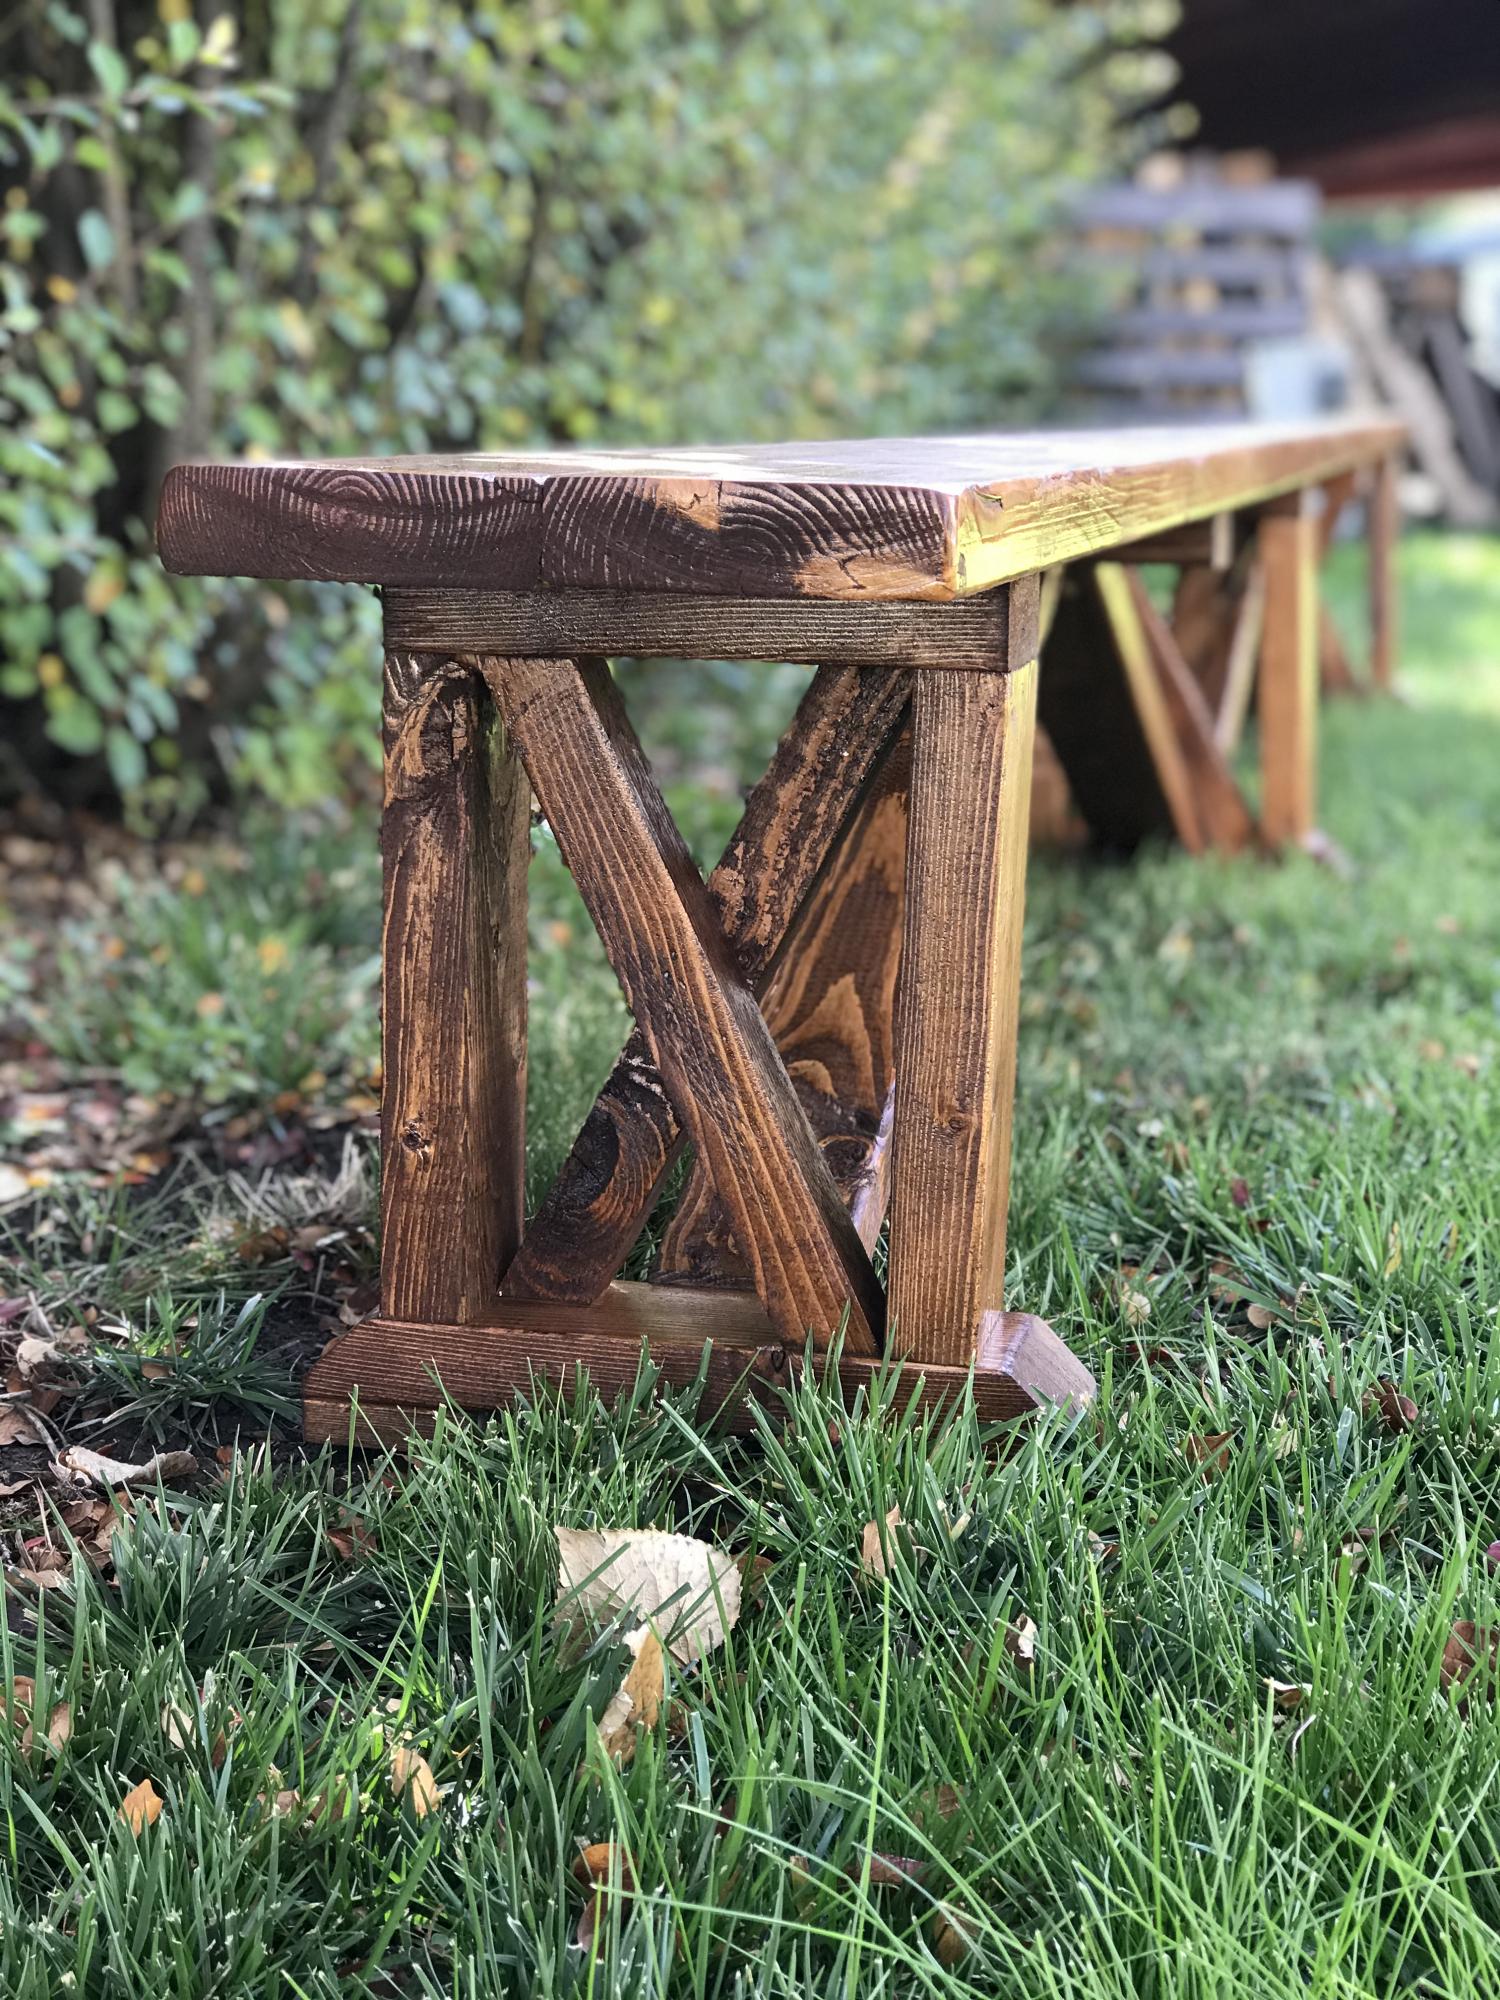
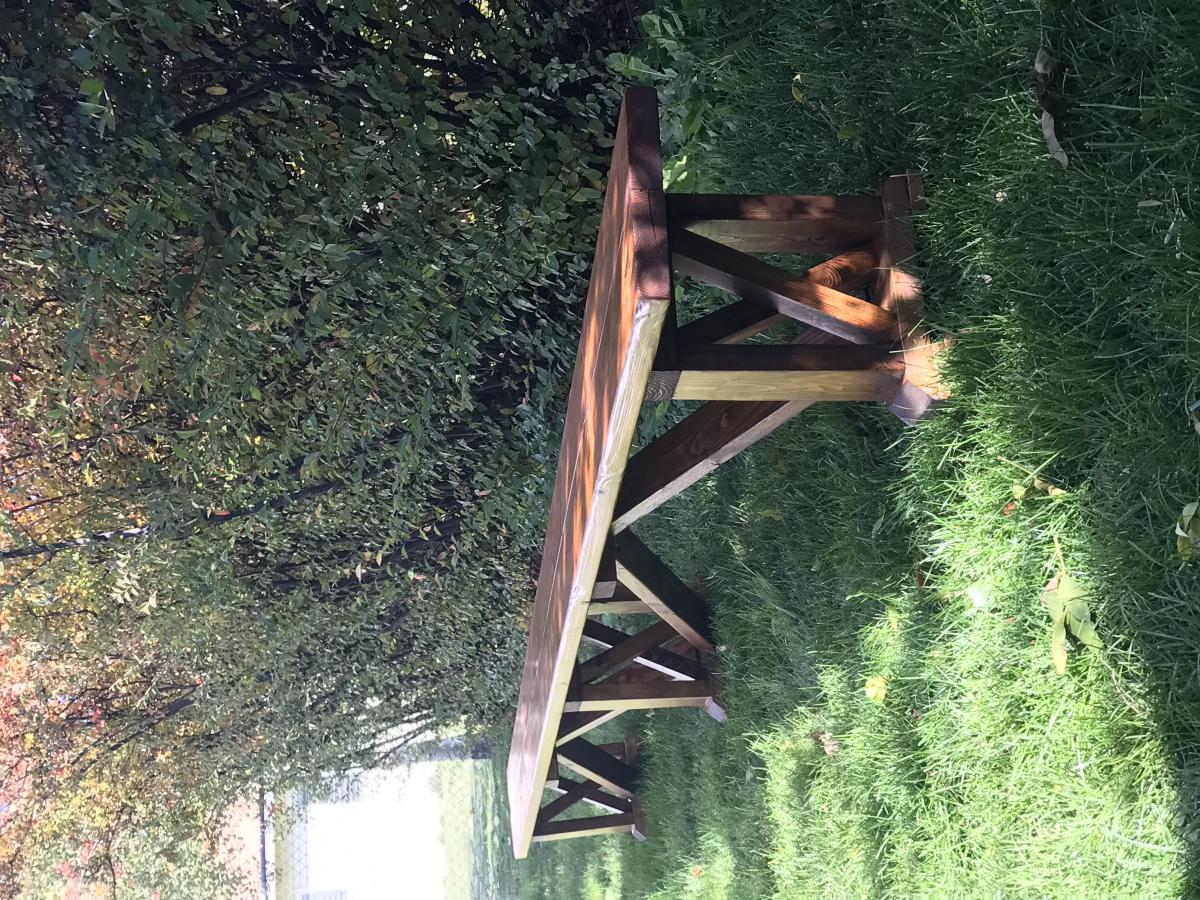
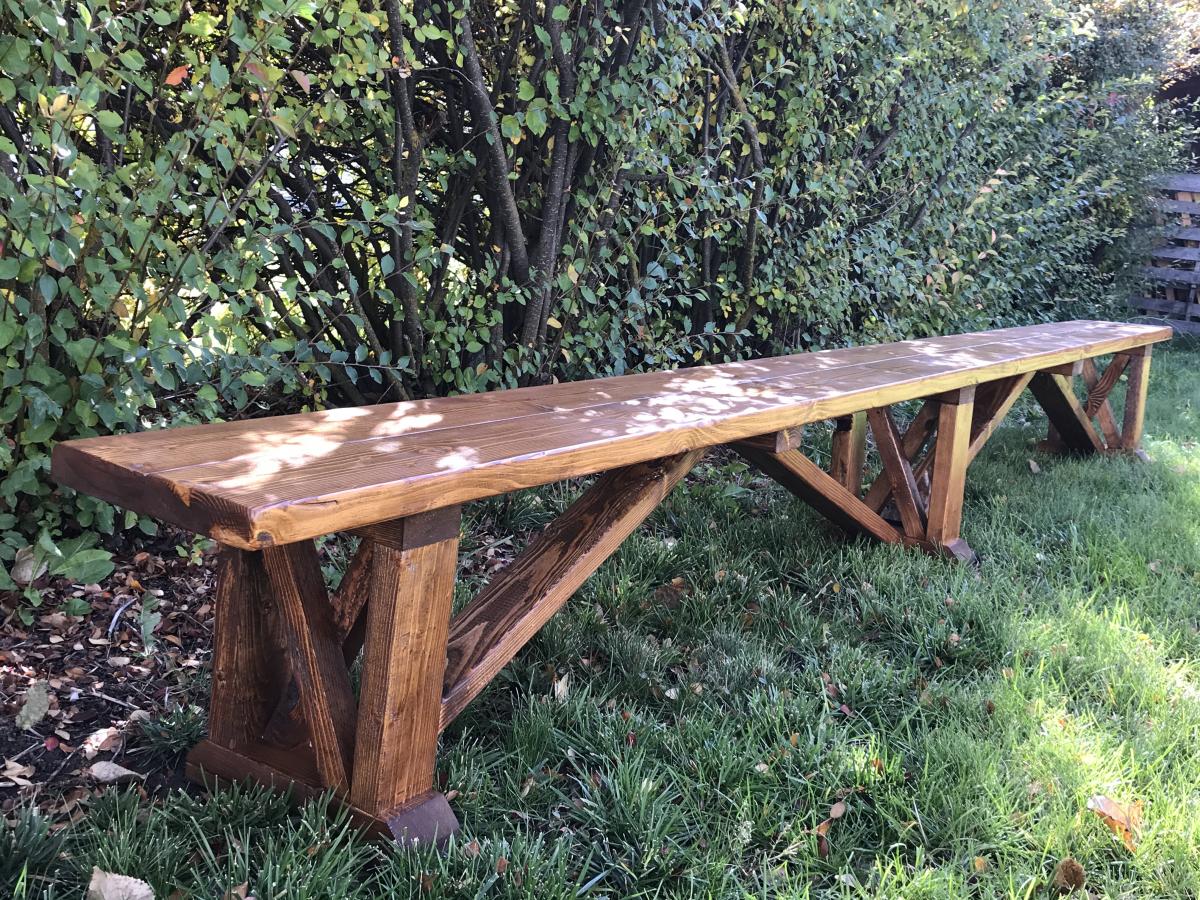
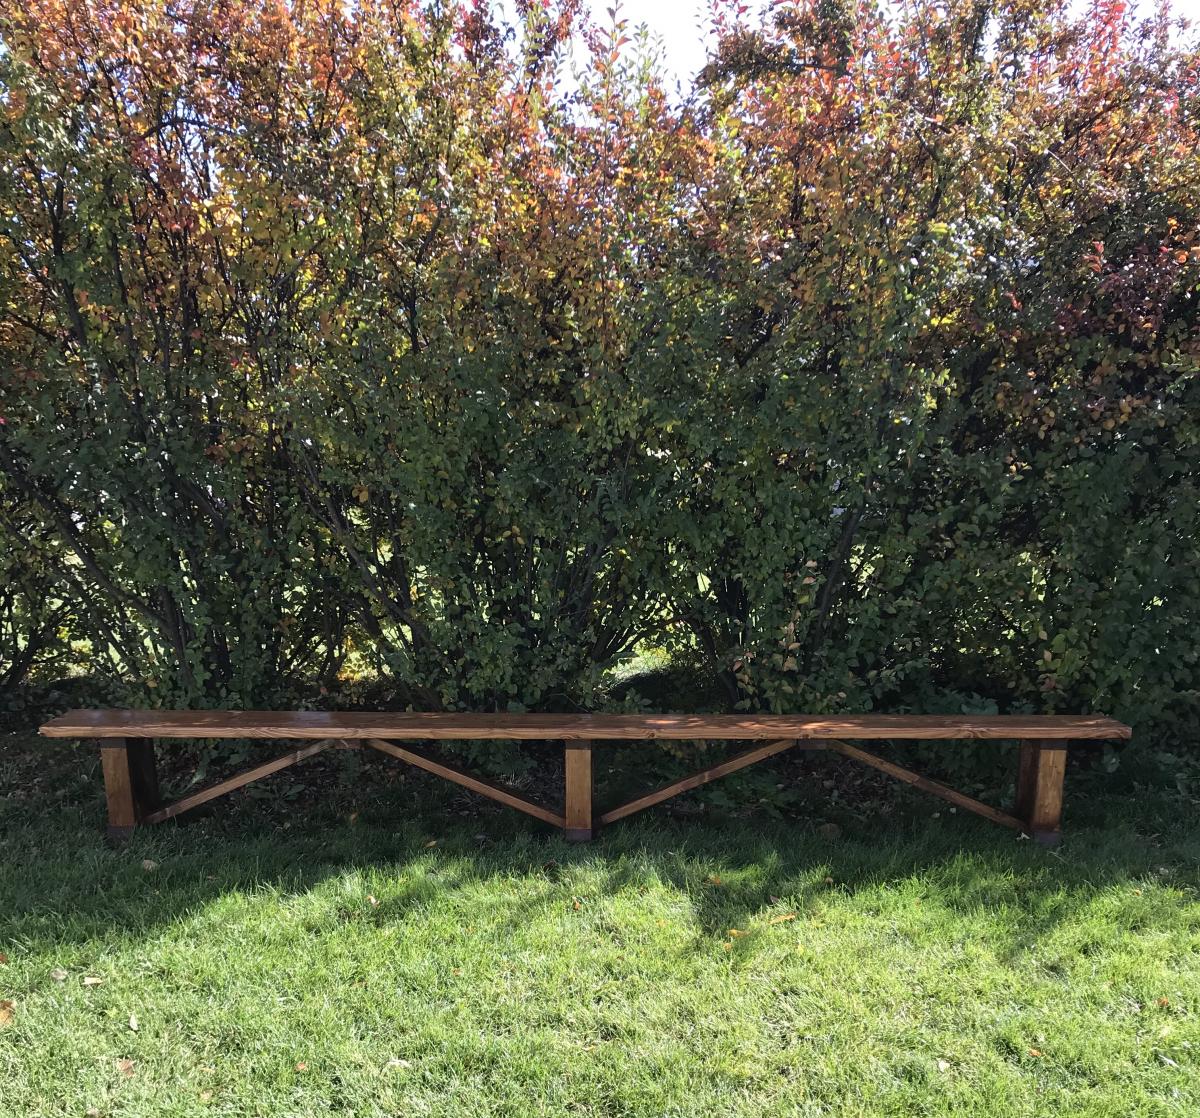
I was asked to surprise someone with a 12 ft. bench. After searching and searching I found a plan I really liked, but I felt it just wasn’t enough. I modified the plans to give it a little more of a farmhouse look. I also had to double the size of the original plans.
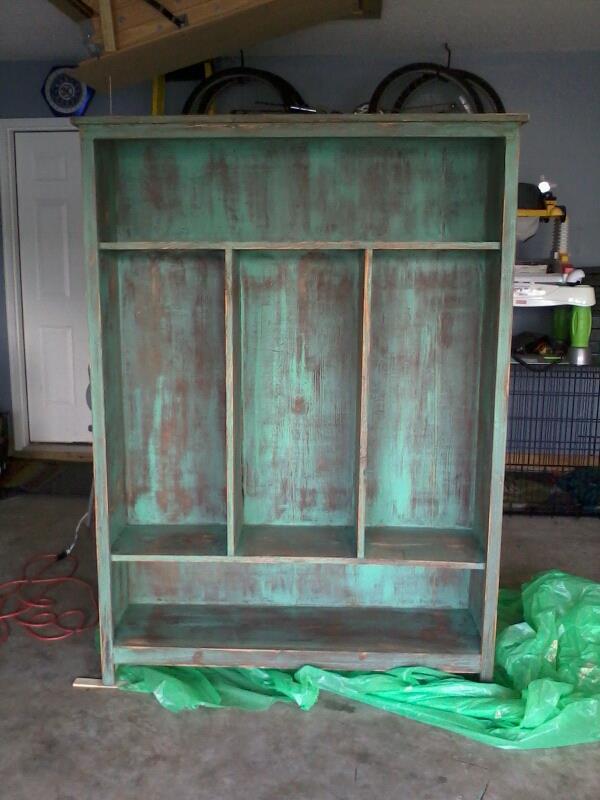
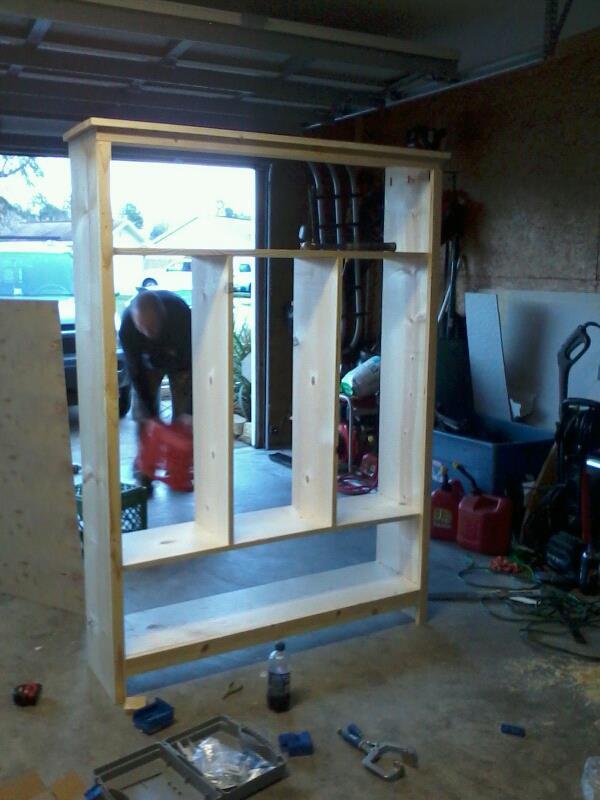
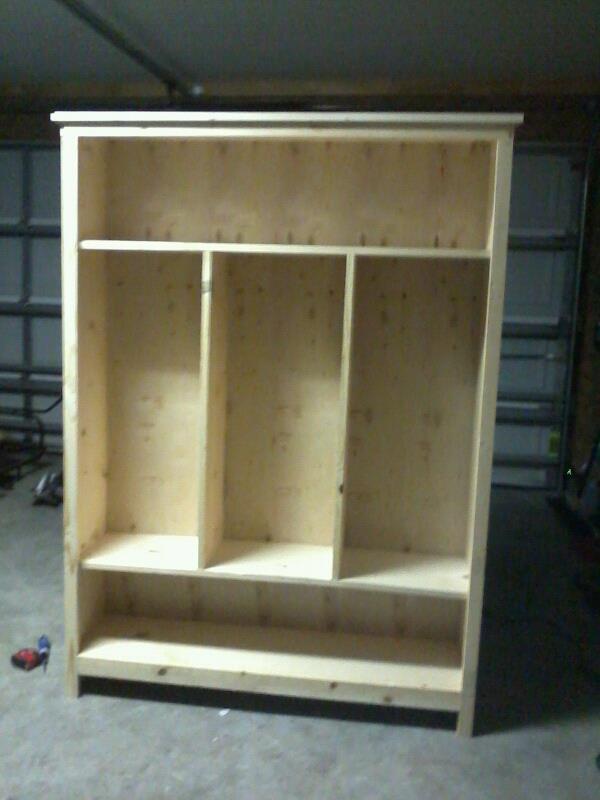
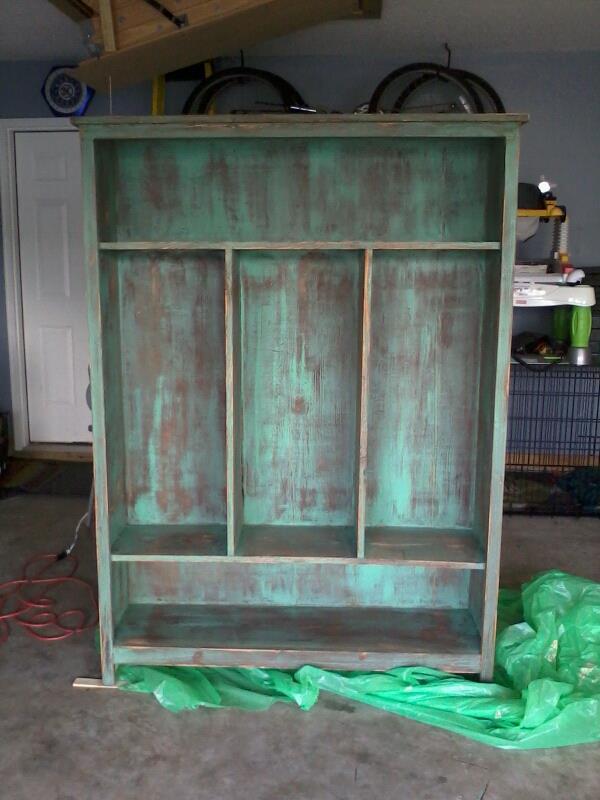
My husband built this from your storage locker plans only complaint was the 1 1/4 screws werent long enough we had to go up to 1 1/2" but after that sucess! we decided to antique paint it, Im so in love with this peice, honest opinions accepted lol i know we each have our own style and im open to tips!
Sun, 03/11/2012 - 13:44
first i sanded it so it would have a nice adhesion. I did a "ruff coat" of brown paint, i mean ruff! lol i painted on where it would have certainly needed 2/3 coats to fully cover, but made it was enough to make the dark brown i wanted, after that dried i again ruff painted a green (salamander to be exact) coat ,(you could still see the brown) i took the orbital sander and 220 grit sand paper to age the locker, i literally resanded the whole thing and worked it a littler harder where i have the "damaged" places. the best part is you really cant mess up!,after i finished the sanding i cleaned it so i was able to put a glaze on it to "age" the paint i bought mocha transparent glaze by valspar it was about $16 but only used 1/2 - 2/3 of the jar......another project stash of leftovers:). I glazed in sections With the glaze i brushed it on the whole side and before i moved on to the next piece i wiped it to prevent it becoming to "finished", on the insides i brushed the glaze on two pieces (say one wall and the bench of that locker) and wiped the first on then the other part and then moved on. Overall i was looking to make a piece that you would find at grandmas old farm house we are super happy with the out come honestly the pictures arent as good as it came out! Good luck and happy building:)
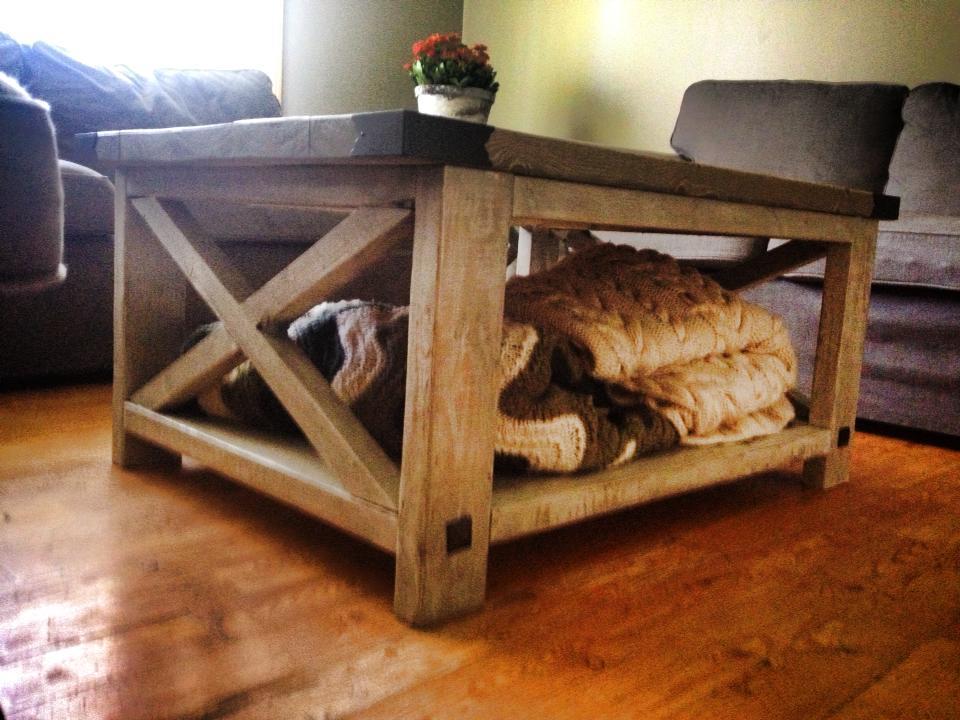
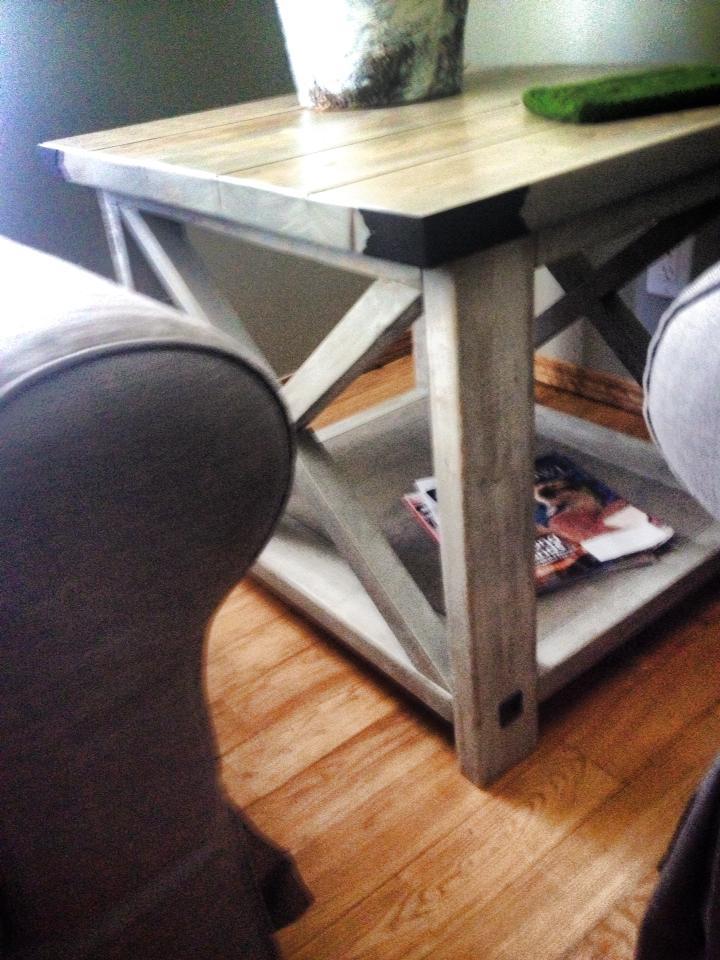
I used some flashings from Lee Valley to make these rustic tables really pop. The corners and the big brad nails really make them pop! These are also STURDY pieces of furniture as the Monster Husband has stood on them both without a wobble.

Wed, 09/23/2015 - 09:07
I know this post was awhile ago, but I am looking to create somthing similar. Where were you able to find a white oil based stain? I have called all of my local hardware stores and they all carry just water base? Did you put the dark mix stains on then, go over with white water base stain? Any clarification or assistance would be great! Thanks.
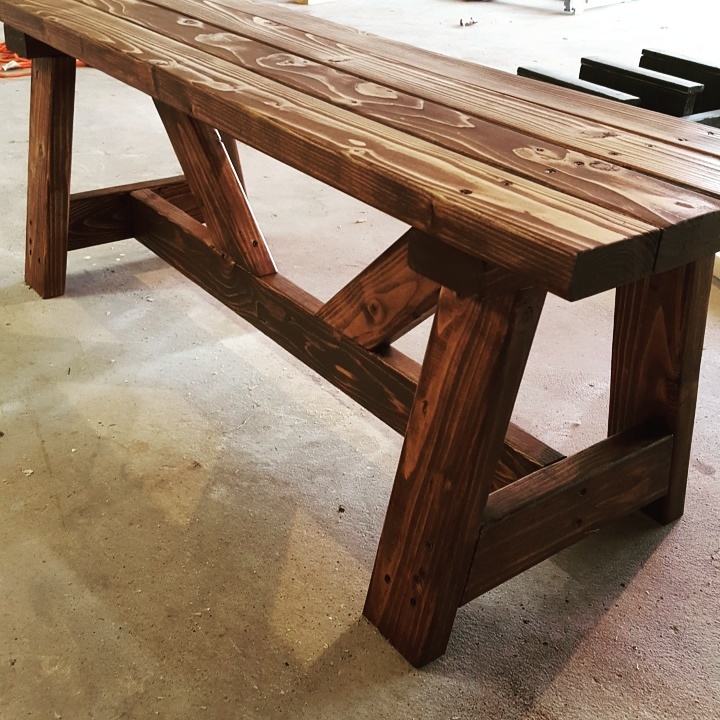
Such a great and easy build, from start to finish. Thanks for another great plan!
Comments
tnreavis
Thu, 03/03/2016 - 12:18
it's a platform bed, I accidentally typed poster bed
it's a platform bed, I accidentally typed poster bed