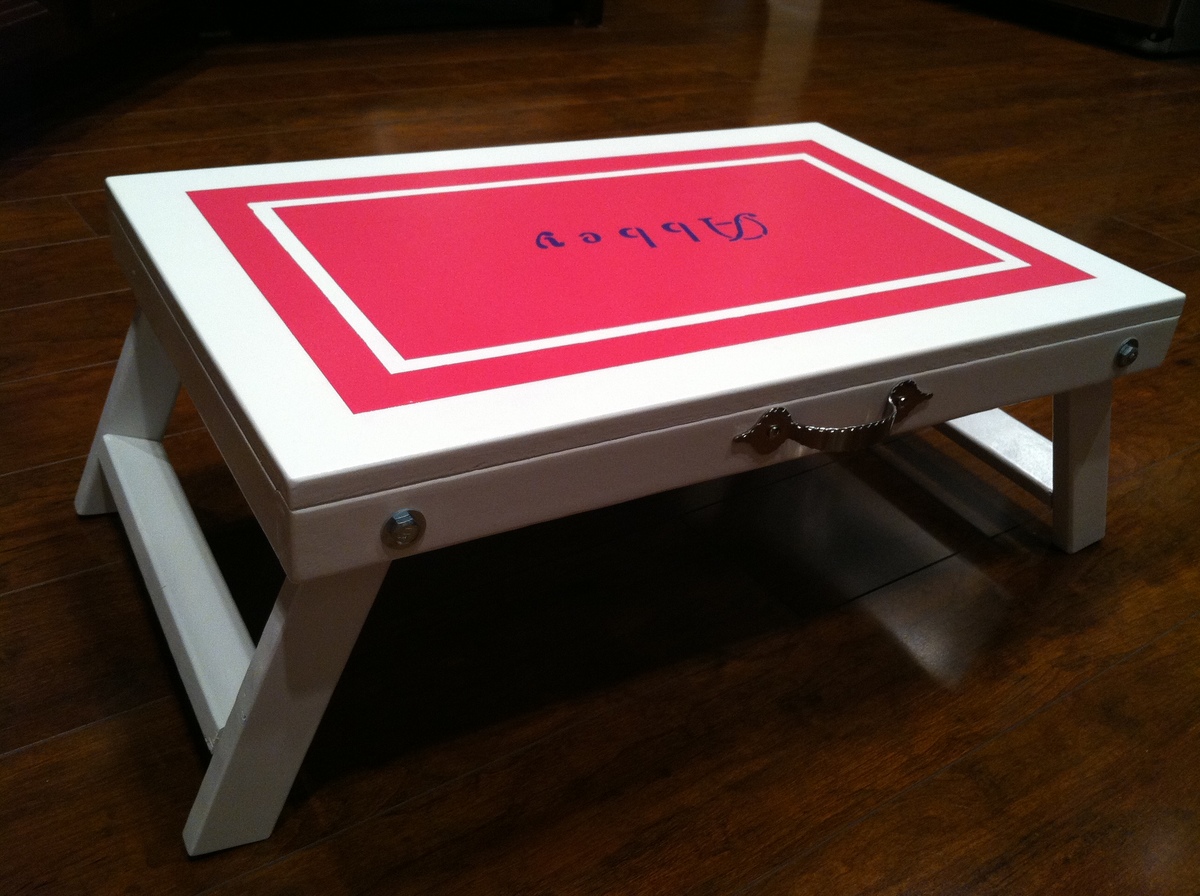
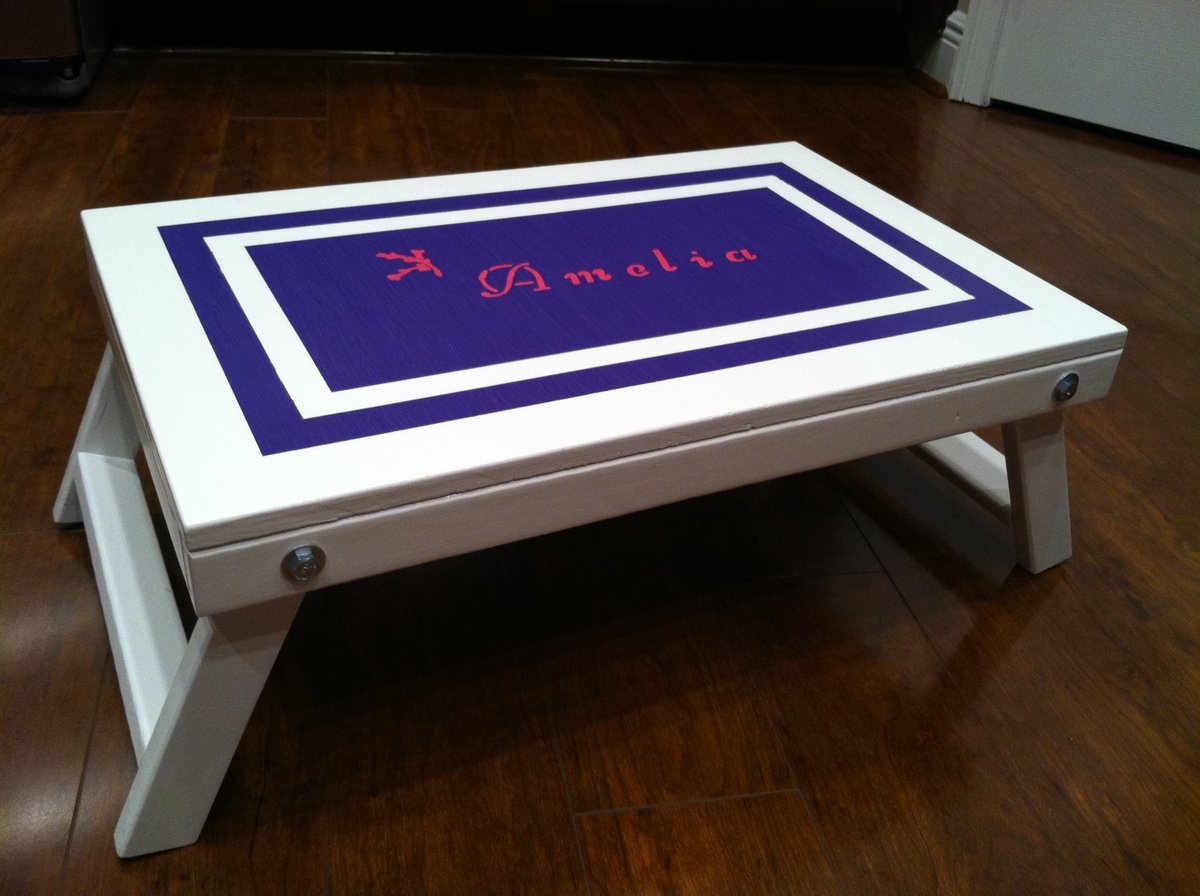
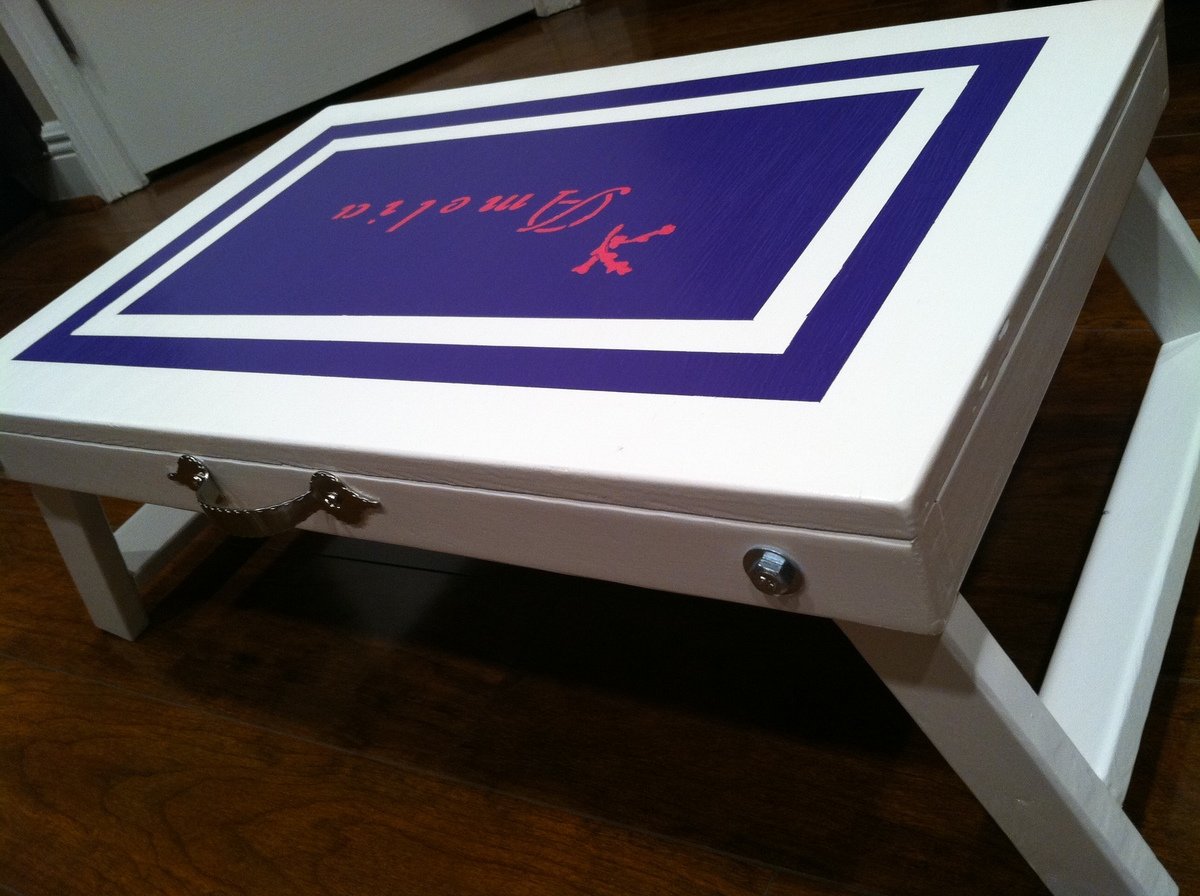
My first time painting
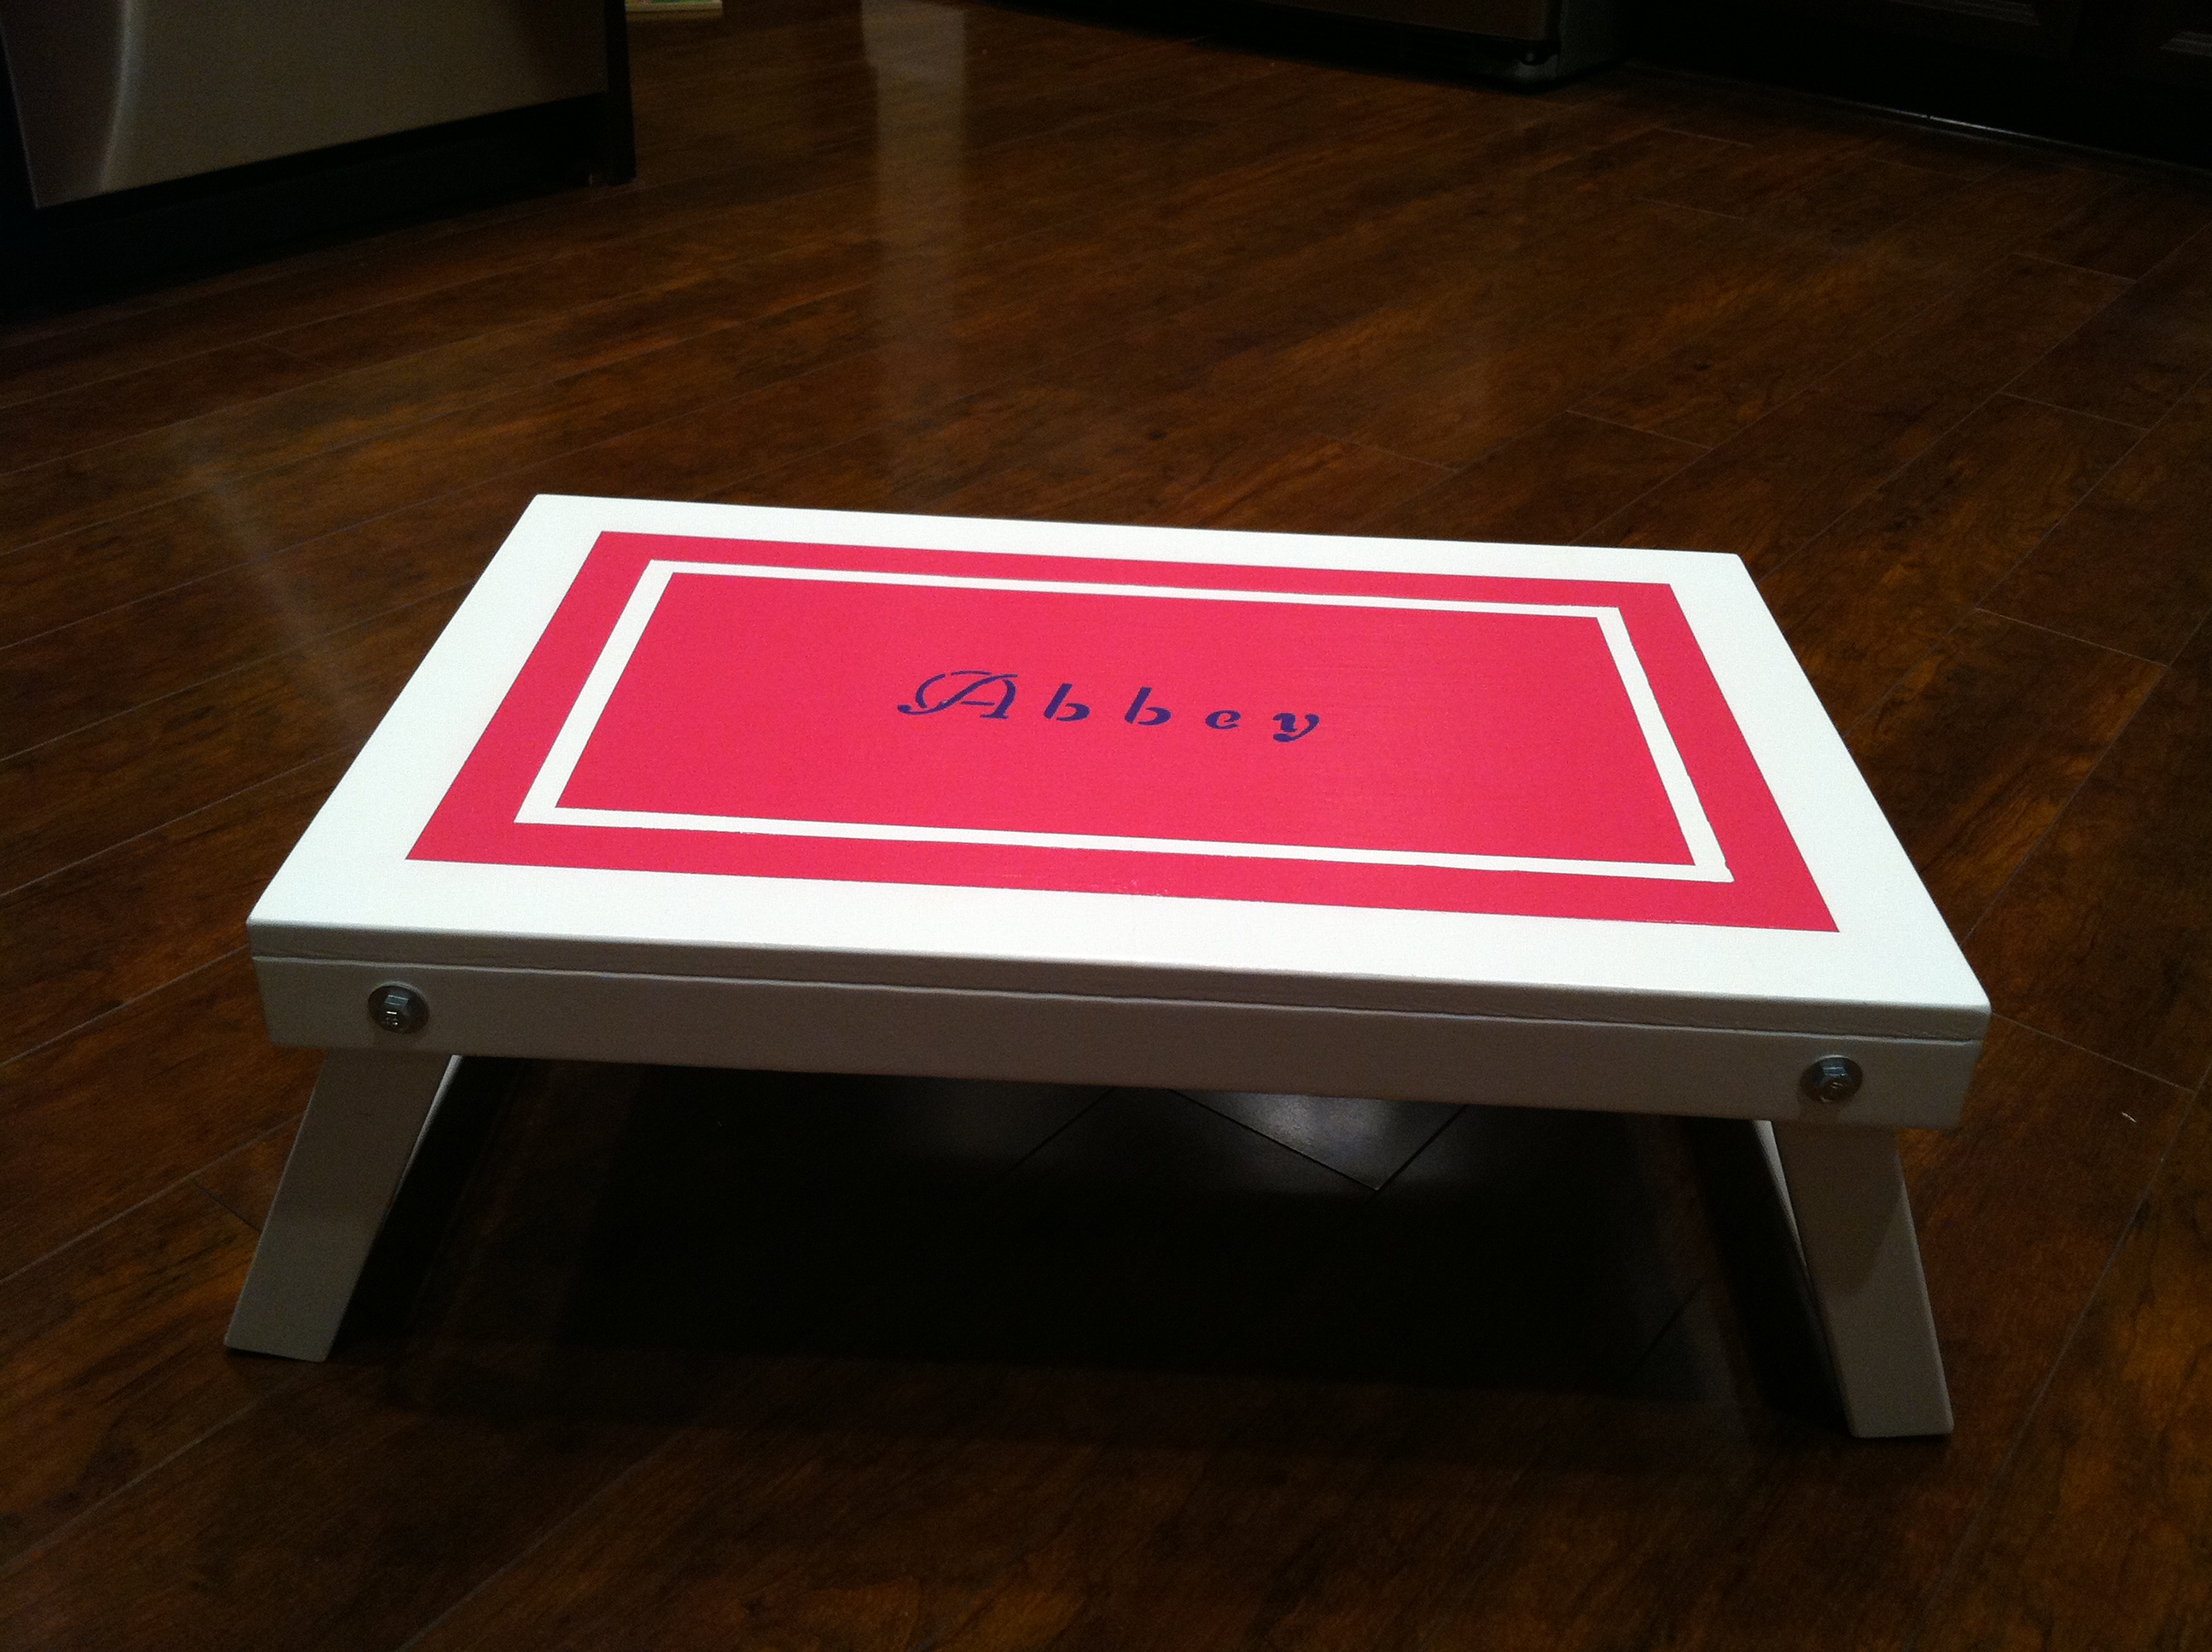
My husband and I made 3 of these folding lap desks for Christmas presents - one for our son and one for each of our nieces. My husband is a bit of a perfectionist, so it took slightly longer than I would have liked to sand, build, drill the pocket holes, and put them together (oh yeah, and sand sand sand again!). Oh and then there was the priming and painting. But then I took just as much time with the decorative paint and then the clear coat! If we had been working on it every evening, we could've completed the 3 desks in under a week but it actually stretched out for a month. I've never painted anything in my adult life (probably haven't picked up a brush since I was in elementary school), and even then I was only doing it because they forced us to! So if I can do this, anyone can! :-)