Toy Box
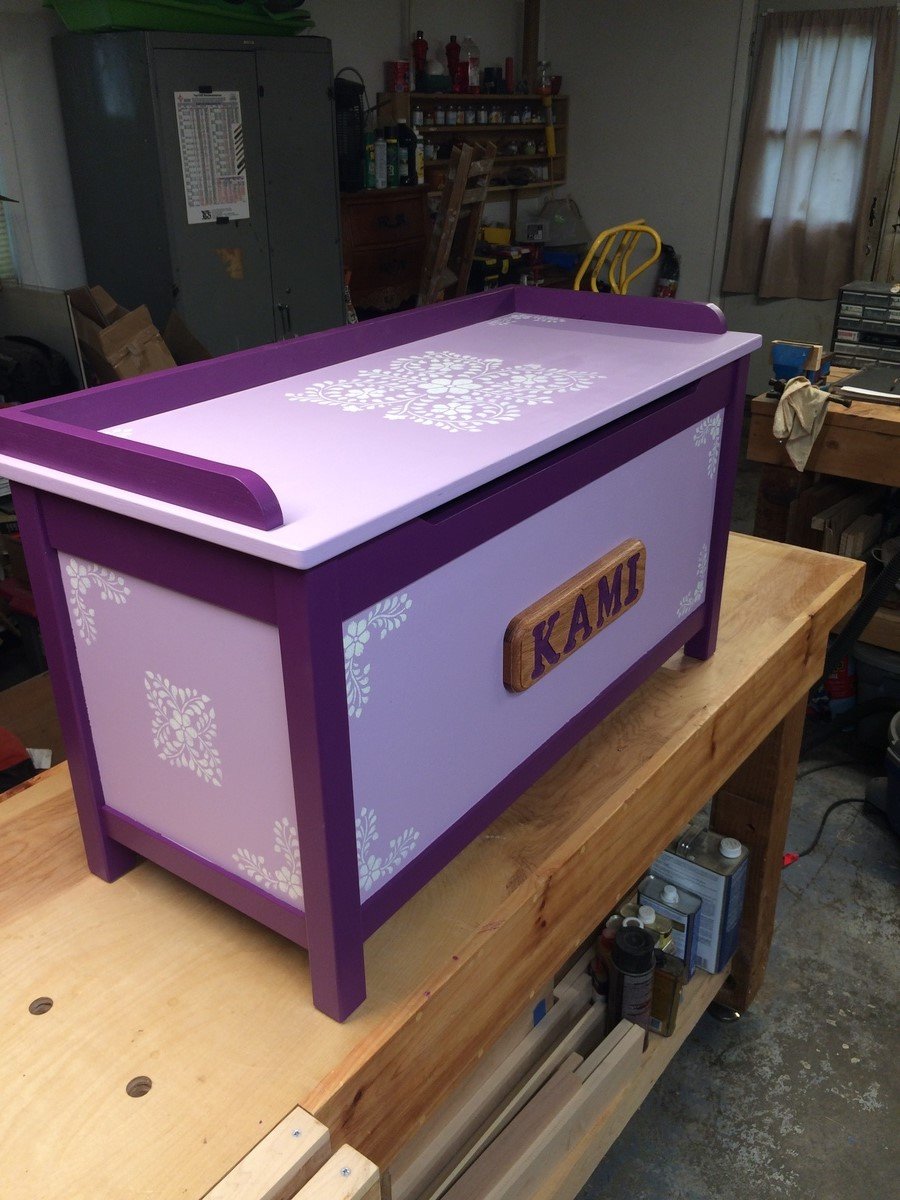
I really enjoyed building this toy box! I used rockler torsion hinges on this and loved how smooth they moved and the install. Thank you for the inspirational plans!!

I really enjoyed building this toy box! I used rockler torsion hinges on this and loved how smooth they moved and the install. Thank you for the inspirational plans!!
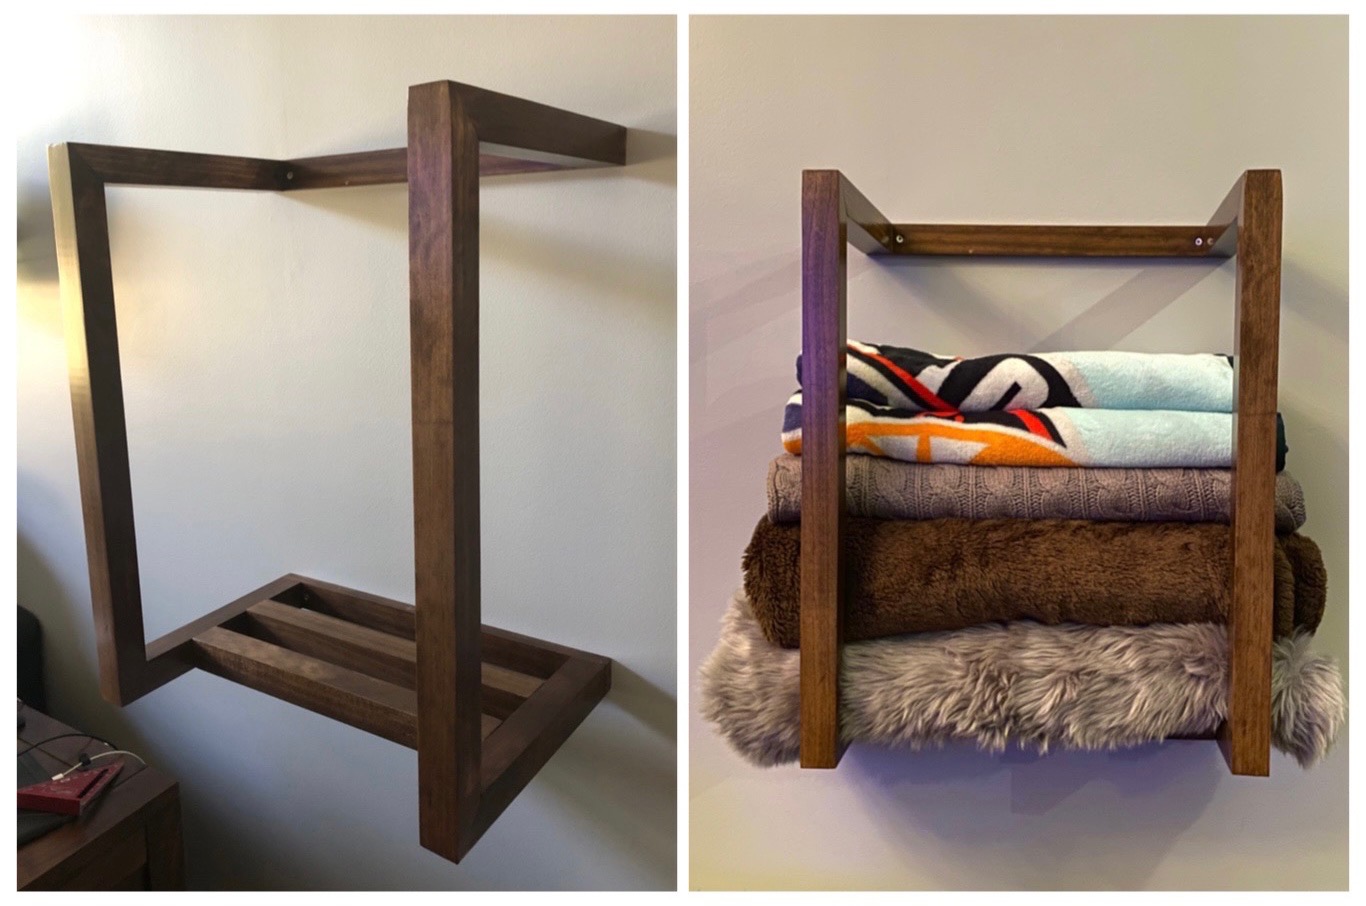
A modern twist on storing throw blankets. It was made out pine, stained, and three coats of polyurethane.
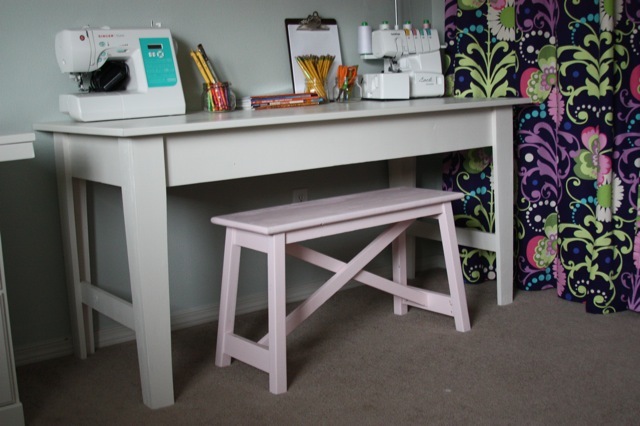
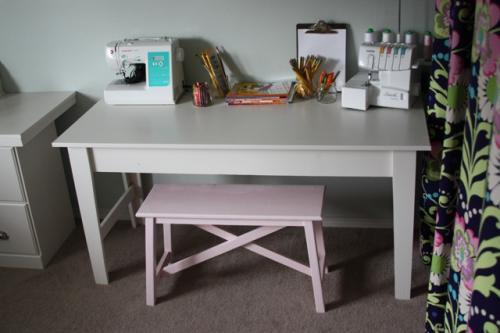
I really wanted a sewing table/desk for my office but wanted something that could be repurposed in a few years when we move. I chose the Narrow farmhouse table plan because it was a really sturdy plan that was easy to modify for our needs and was a timeless enough style that I can use it in another room if need be. I especially loved the look of the legs.
We made our table smaller to fit our space and also made it about 1 or 2 inches shorter because I’m really short and wanted a comfortable place to sew and craft. The top of our table is 58″ by 24″. We used MDF for the top instead of slats because my kids use this as a craft/coloring table when I’m not sewing. I didn’t want their pencils to poke through their papers if they got caught on the slats. We used thin molding for the edge of the MDF to give it a nice finished look.
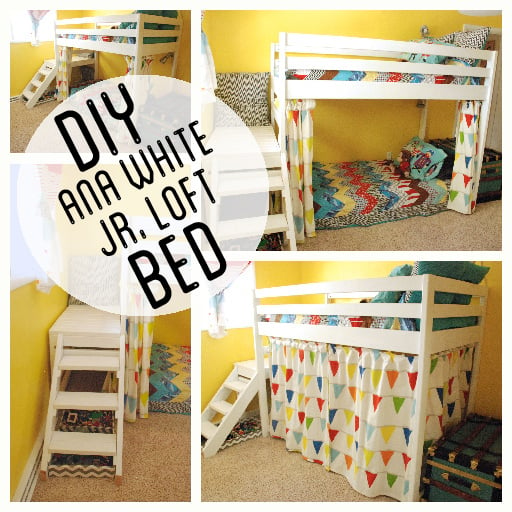
Check out the details about how we build the bed on my blog: http://www.brightgreendoor.com/2013/05/diy-ana-white-jr-loft-bed.html
Although nothing about it was difficult, it was time consuming, and consumed the greater part of two weekends.
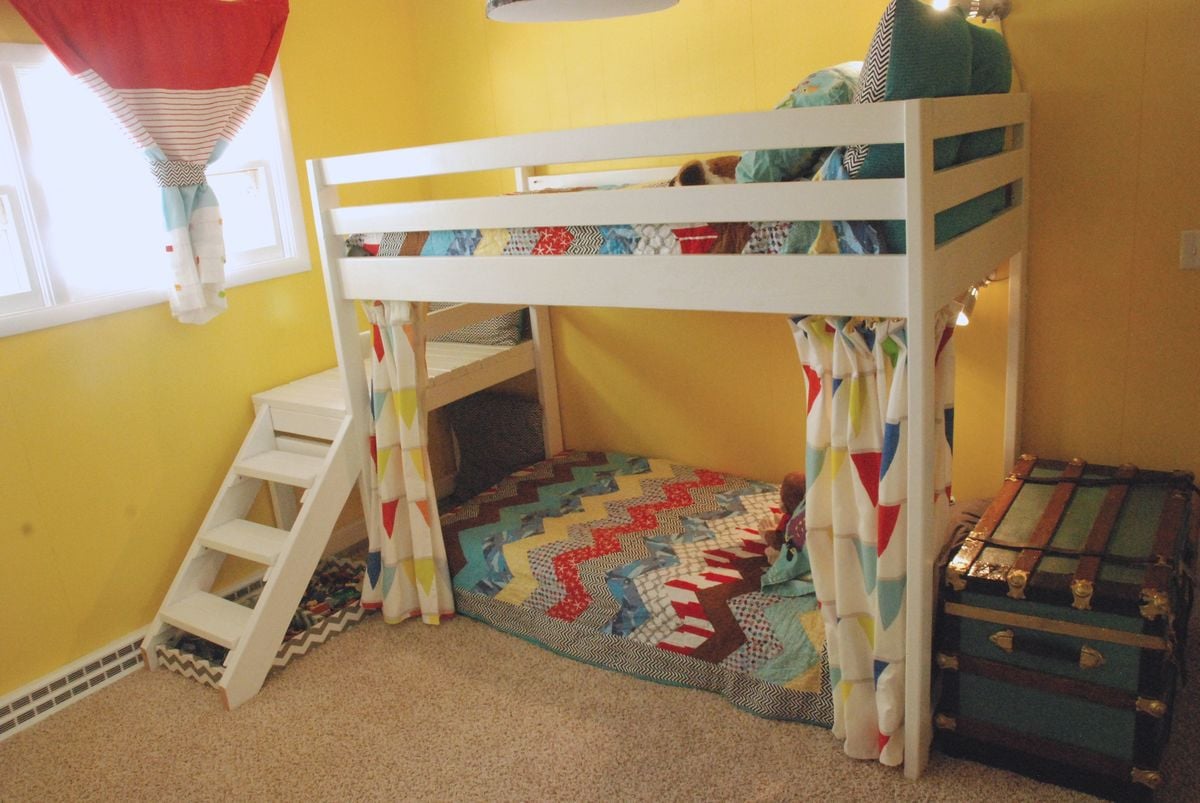
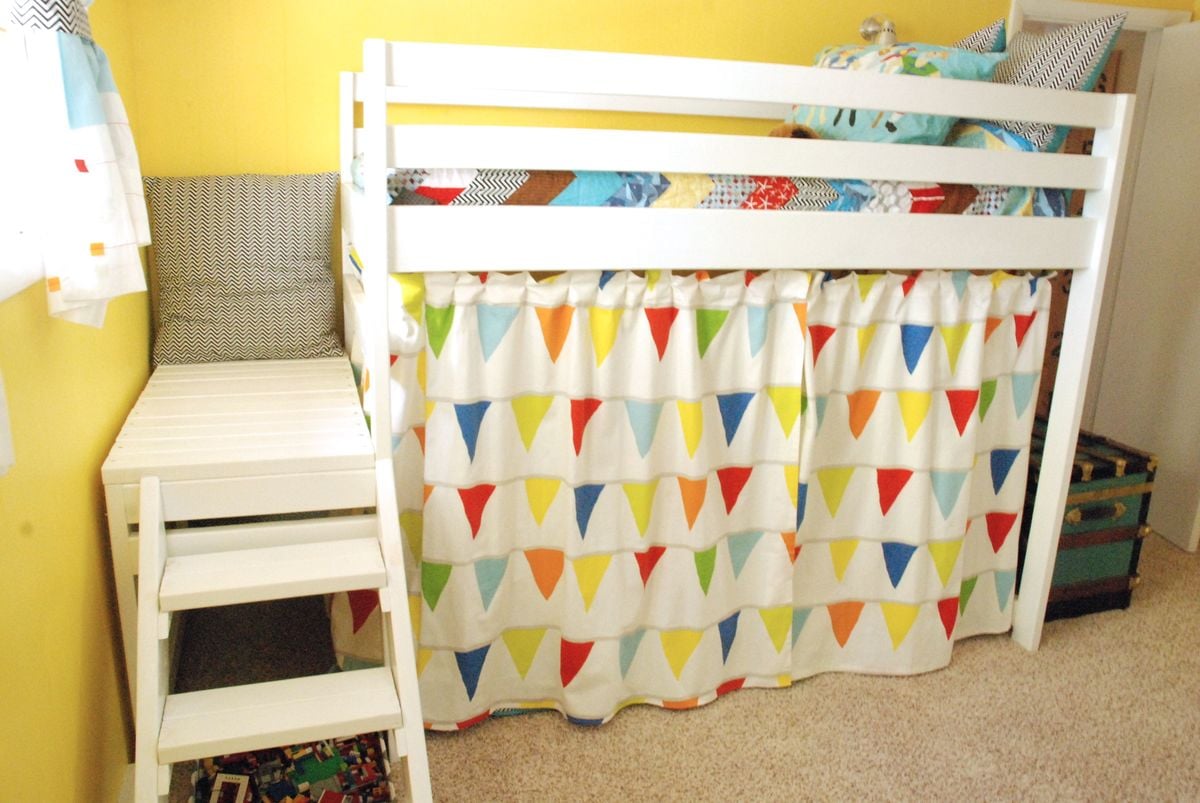
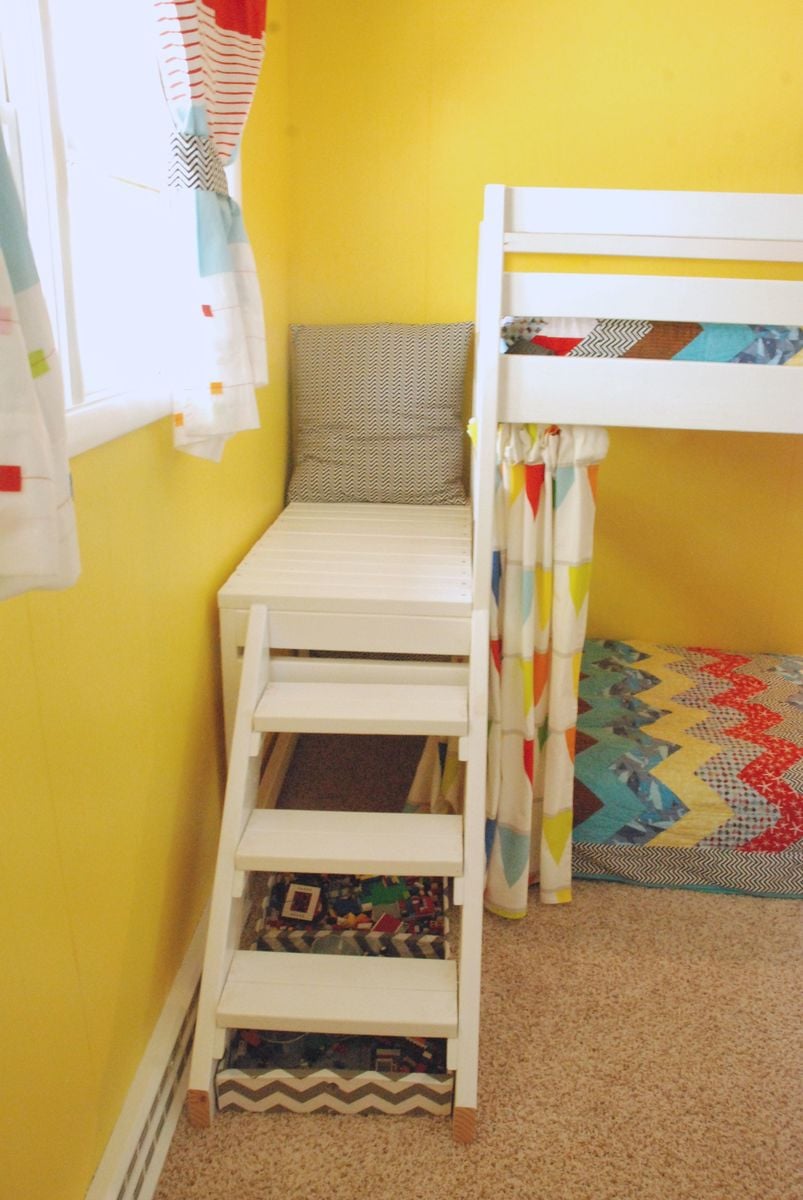
We followed the plans on Ana White’s blog pretty close, other than narrowing up the stairs by a few inches due to a furnace vent that would have been in the way.
We bought all of our boards at Menards which came in just under $100 including the large piece of plywood. I spent chunks of time throughout the week getting all of the boards sanded. Then we spent a Saturday getting all the boards cut to the proper size. Then it was a week full of giving all the wood 2 coats of Bulls Eye primer and a top coat of high gloss cabinet paint.
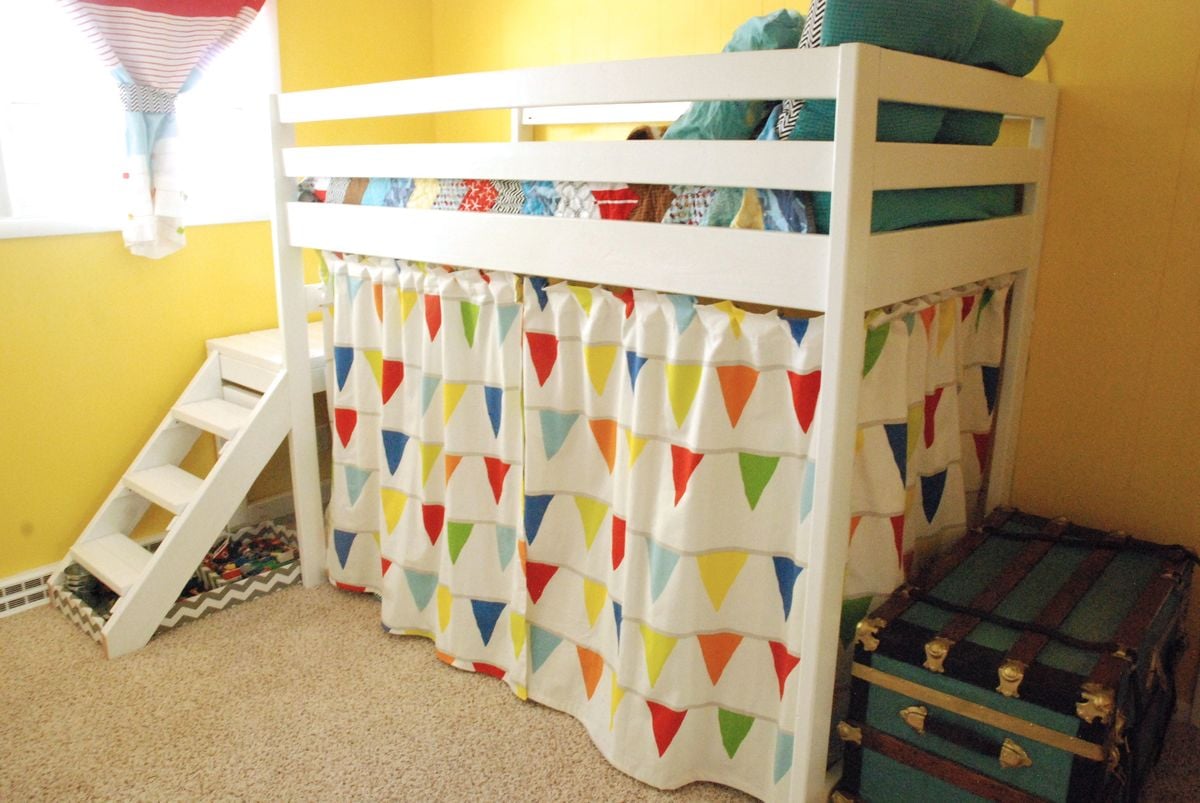
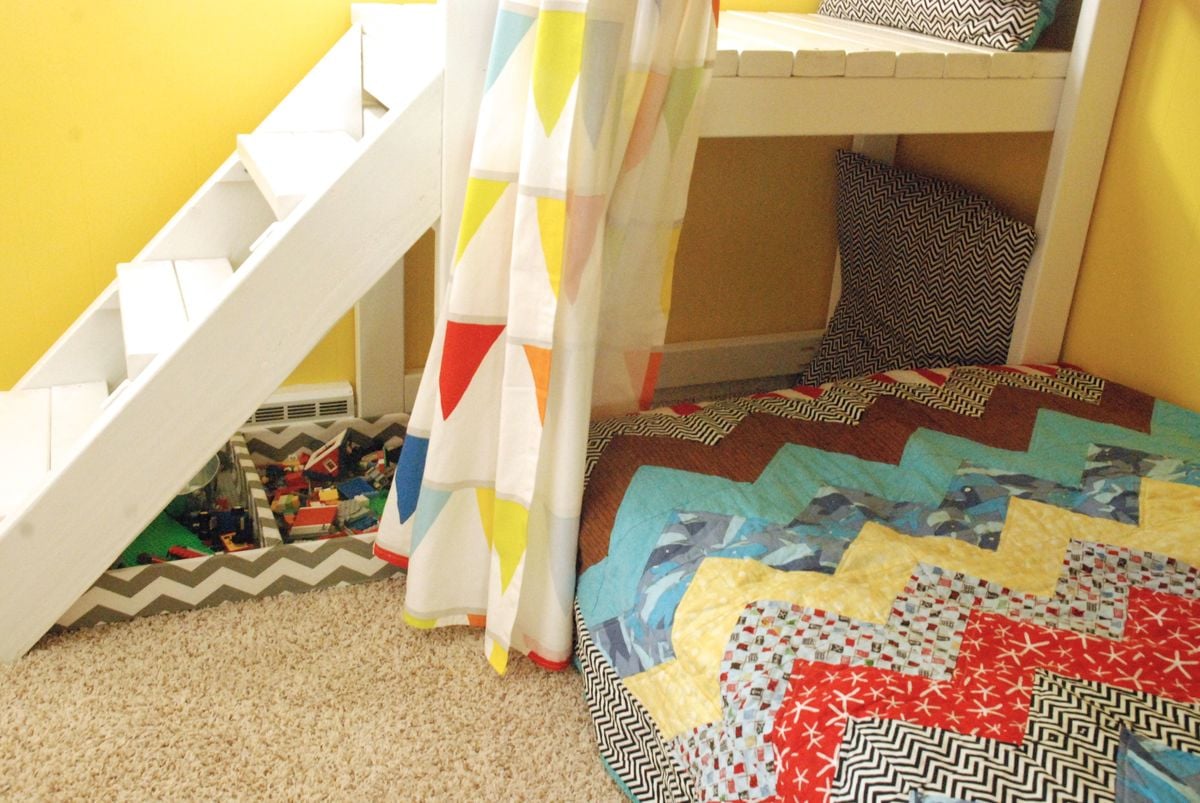
I also installed the Ikea Kvartal track system around the inside of the bottom bunk. I used leveler clips from Ace to hang Ikea curtains that I altered.
My boys were SO excited the whole time we were building it and love it. My little one calls the whole bed his “top bunk”, even though he sleeps on the bottom. They also have dubbed the area under the platform the “hideout” and think they are invisible when they are hiding in there.
Fri, 06/21/2013 - 18:46
These are awesome and I think it's so smart you stained them after you cut them and before you drilled them! Thanks for that time saver! Question? Is the bottom bunk raised or did you raise the height of the planned bed? I want to make ours a bunkbed too, but don't want it to be too tall.
Thanks
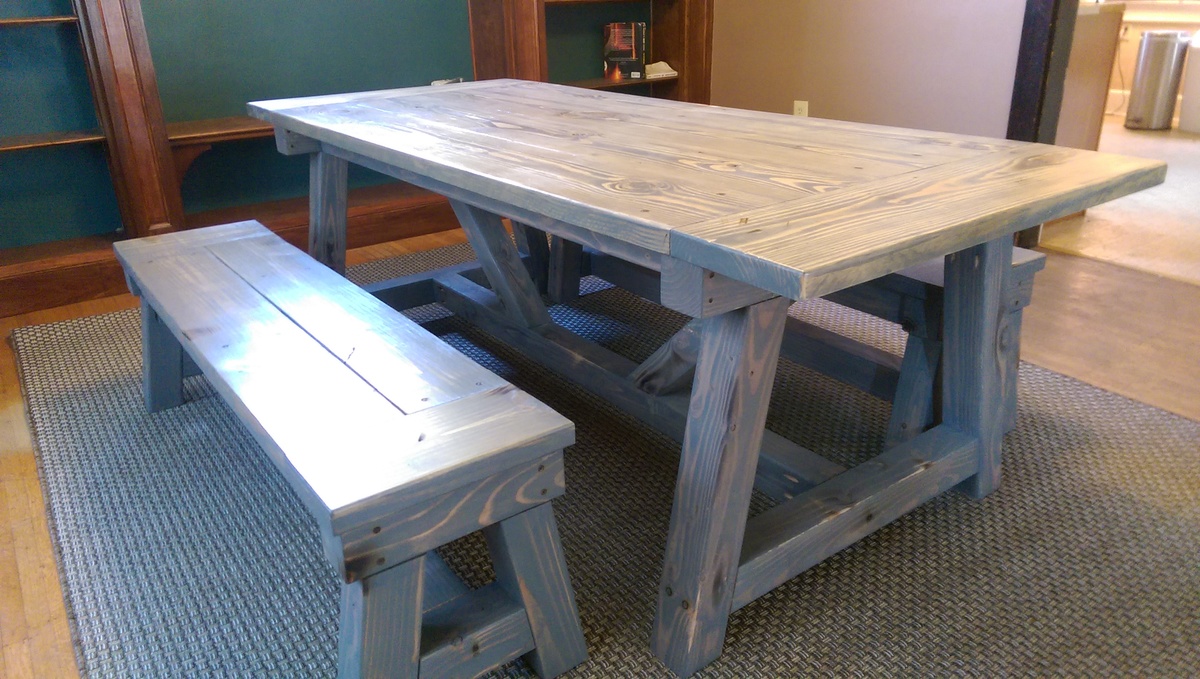
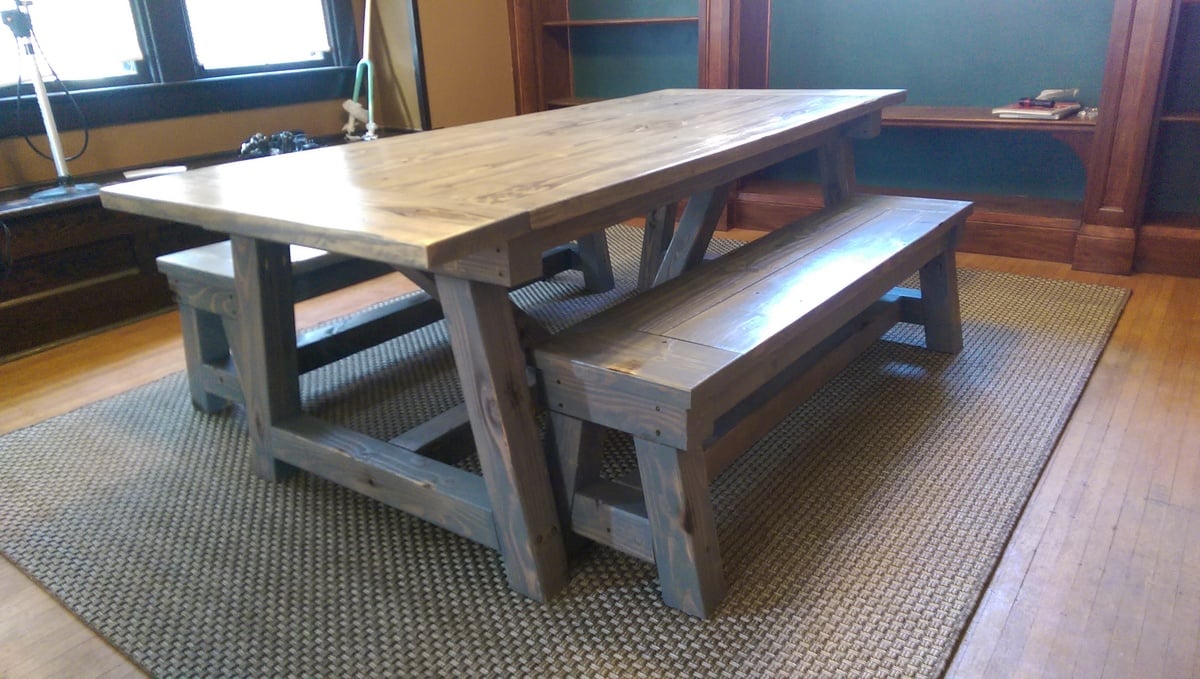
4x4 Truss beam dinner table with matching benches. Benches are modified to fit under table to save on space when not needed. This table is large and in charge and demanded a large space to fit in. Luckily my friend had plently of space in his home to fit this table!

My boyfriend and I wanted a calm relaxing beach feel at our Florida vacation home, however with kids in college and two getting married, we were on a tight budget. We found these plans on Ana White's website. He made the headboard and bench and I distressed it to make it look weathered. We used Minwax Dark Walnut as a base, let it dry over night, and lightly wiped it down in the morning. We then used Rustoleum "Chalked" in White Linen and applied it with a large stencil brush we found at Michaels craftstore. We applied it almost haphazardly, purposely making it look rough. The chalk paint dries quickly. We then brushed on some clear Americana creme wax. We are very happy with the end result, it was our first project build, and we nailed it. Thanks. Ana!!!


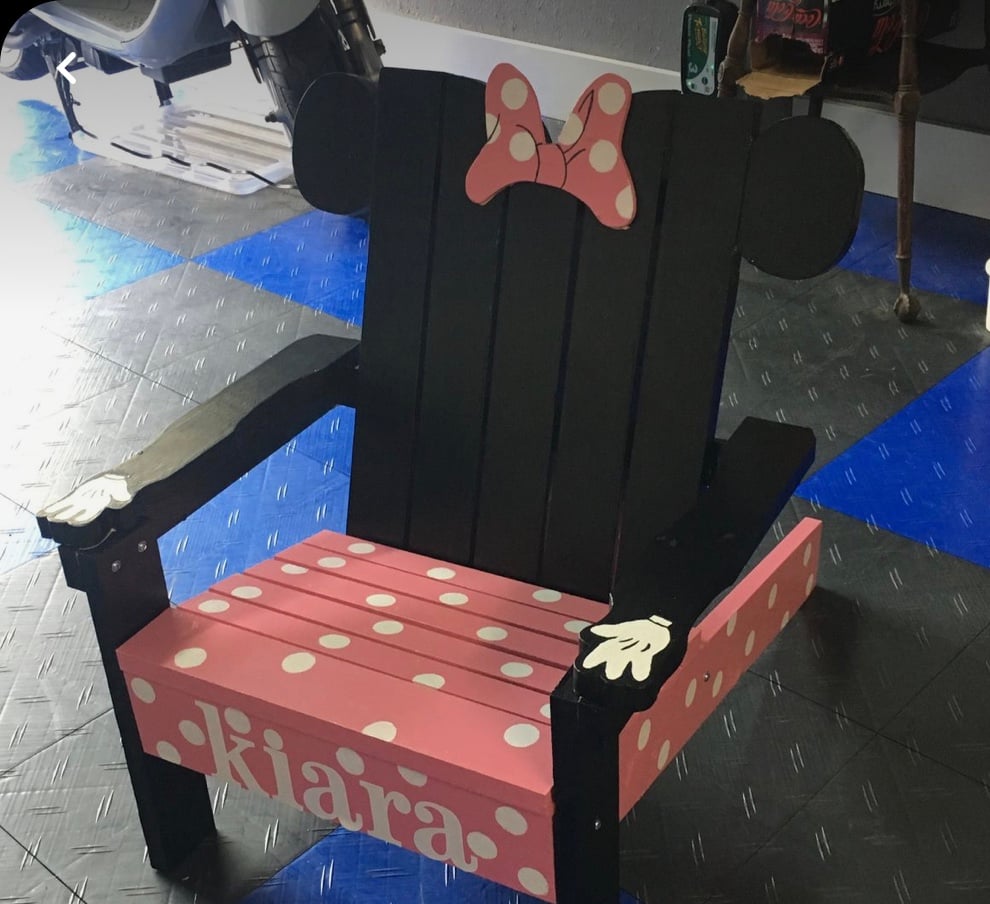
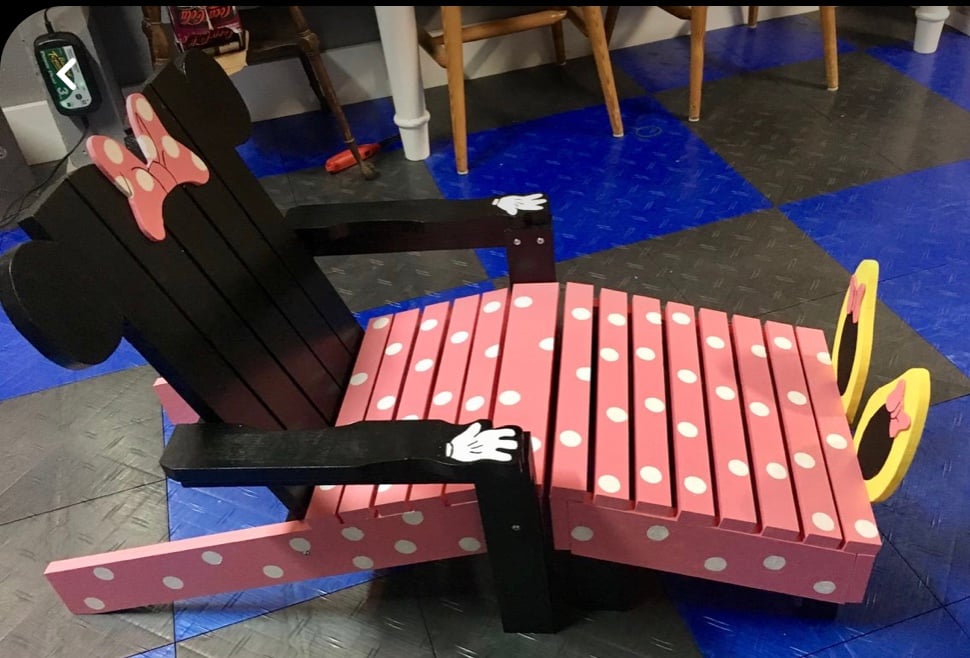
Made this for my grand niece, who was obsessed with Minnie Mouse. When done, my friend said I needed to add a foot rest, so I did!
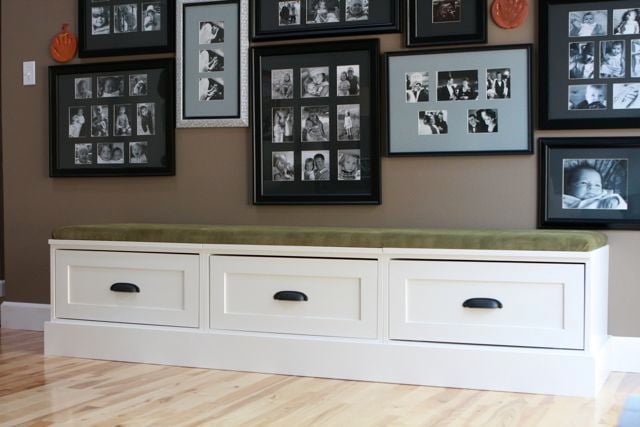
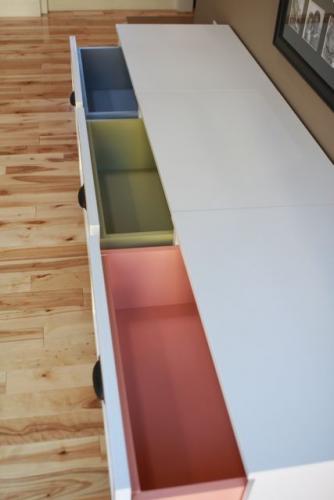
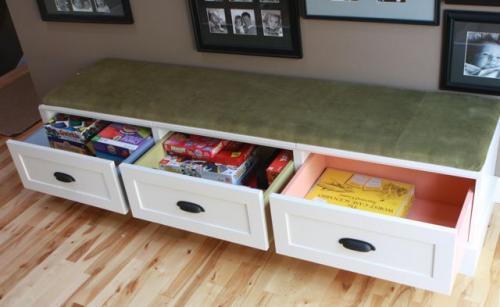
I took Ana's open base and drawer plans, added a few inches to the height (so that the base trim on the storage units would clear the base trim on our walls), and put them together to create a banquette-style bench with tons of storage underneath. We use the drawers for our family board games and photo albums.
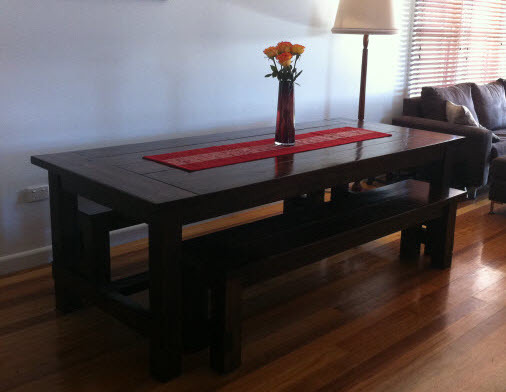
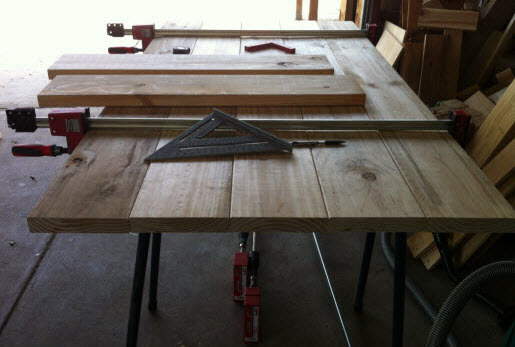
This was my first furniture building project. I made quite a few mistakes along the way, but I'm happy with how well it turned out. This project took me ages; I'm amazed that people can pull it off in a weekend! I made the table slightly lower and narrower than Ana's plan. It comfortably seats 6 people. I'm so grateful to Ana for her plans, and I also found the instructions at the tommy & ellie site very helpful.
Mon, 01/20/2014 - 14:25
Your table looks amazing! I am going to start my farmhouse table this week and I've been trying to decide on the color. I think the dark walnut looks awesome! Great job.
In reply to Your table looks amazing! I by tricia.flores
Wed, 02/26/2014 - 18:52
Thanks! I couldn't decide easily either. Good luck with the table :)
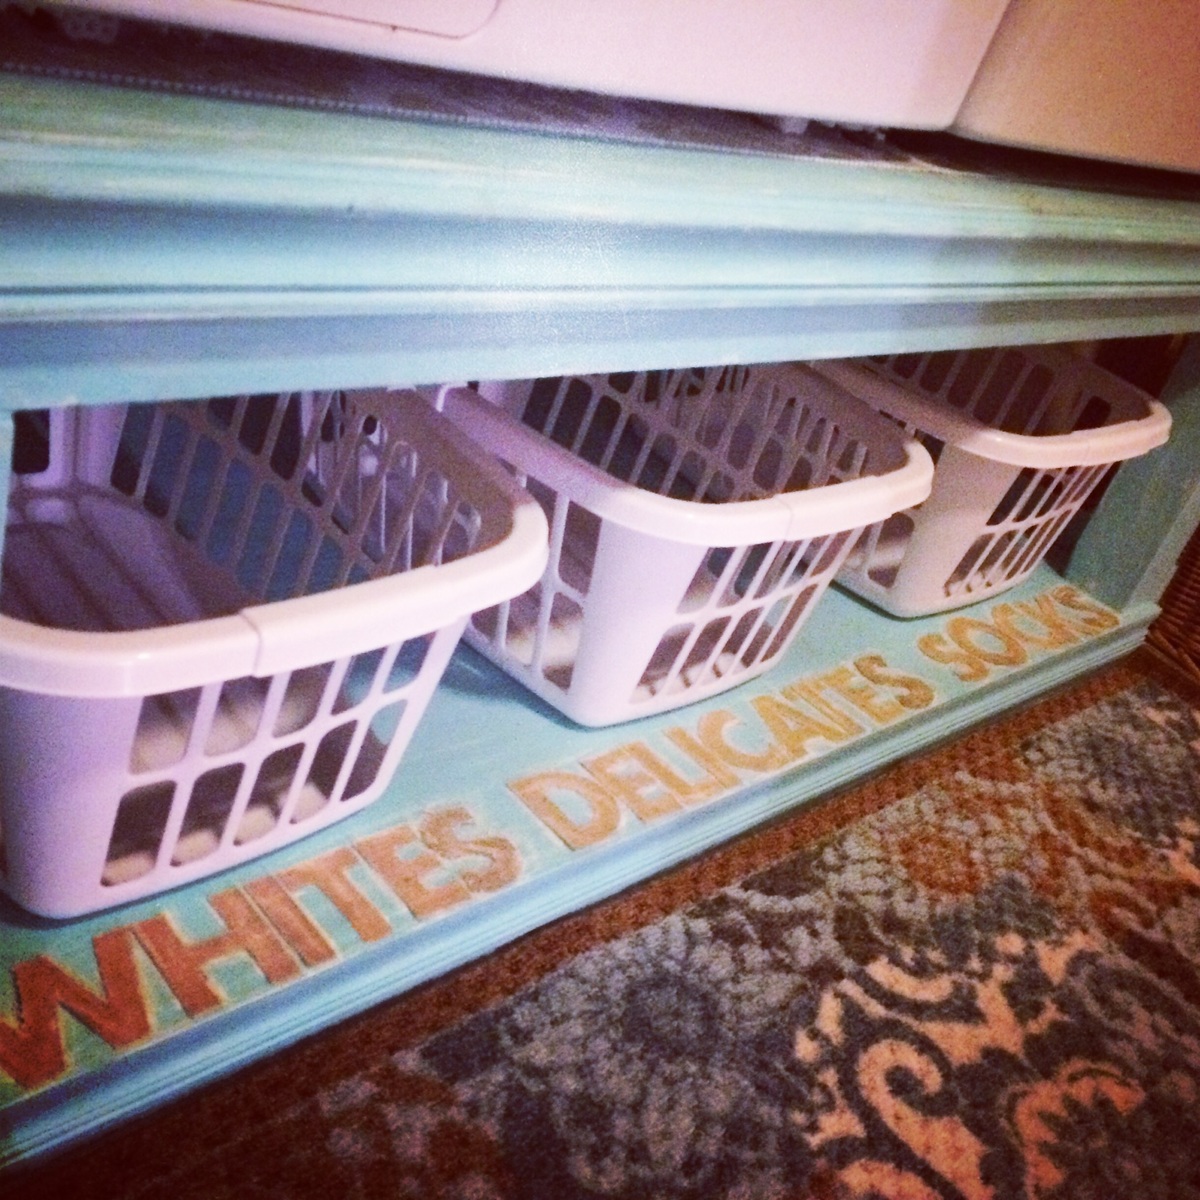
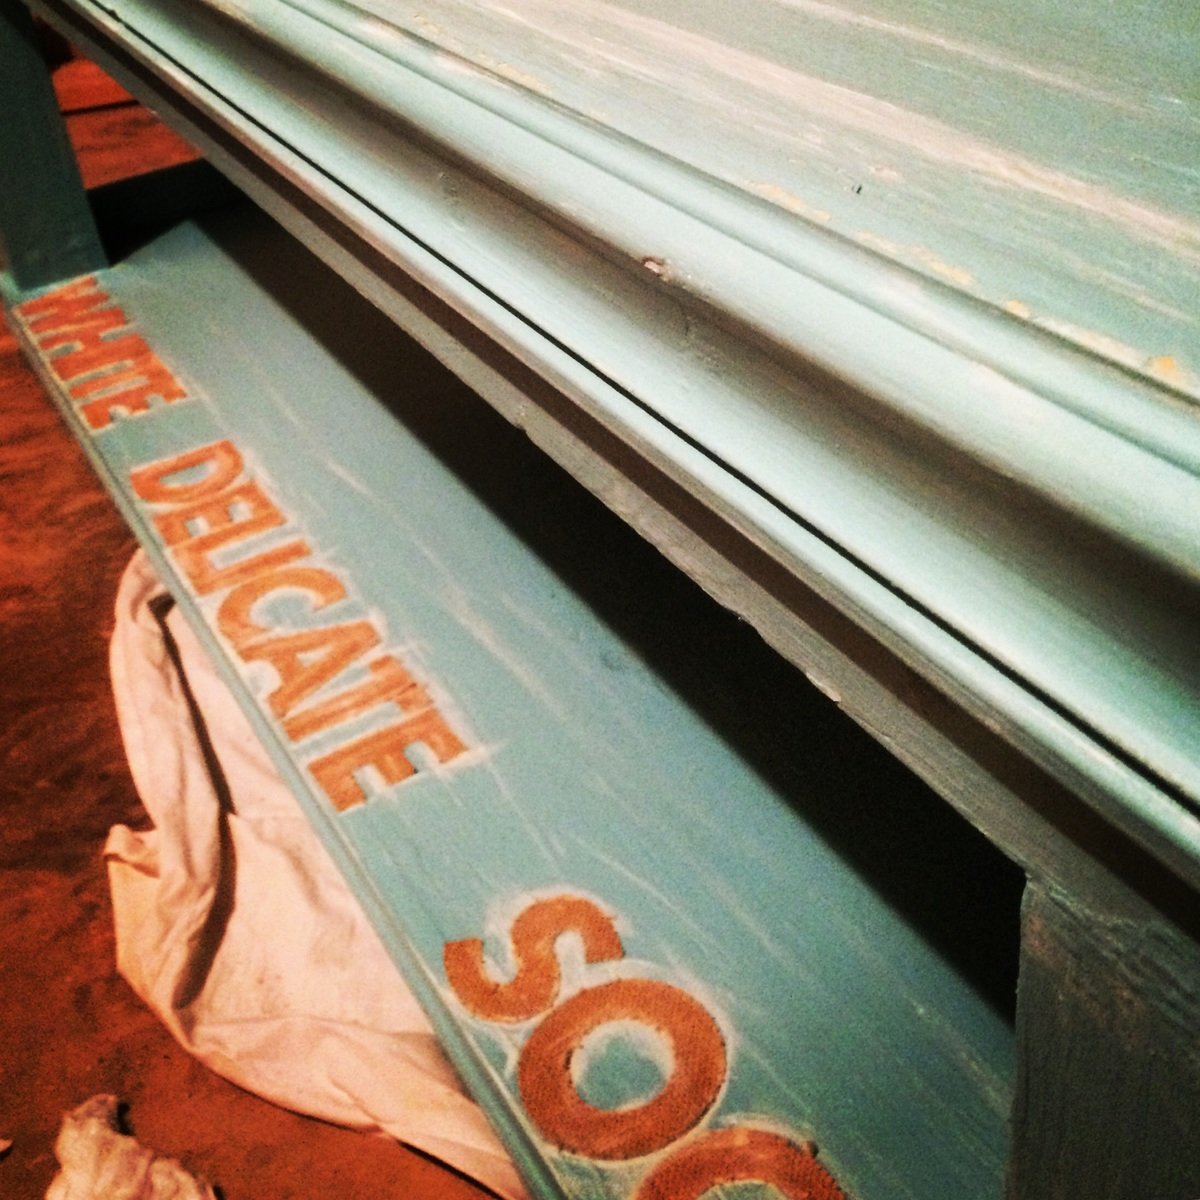
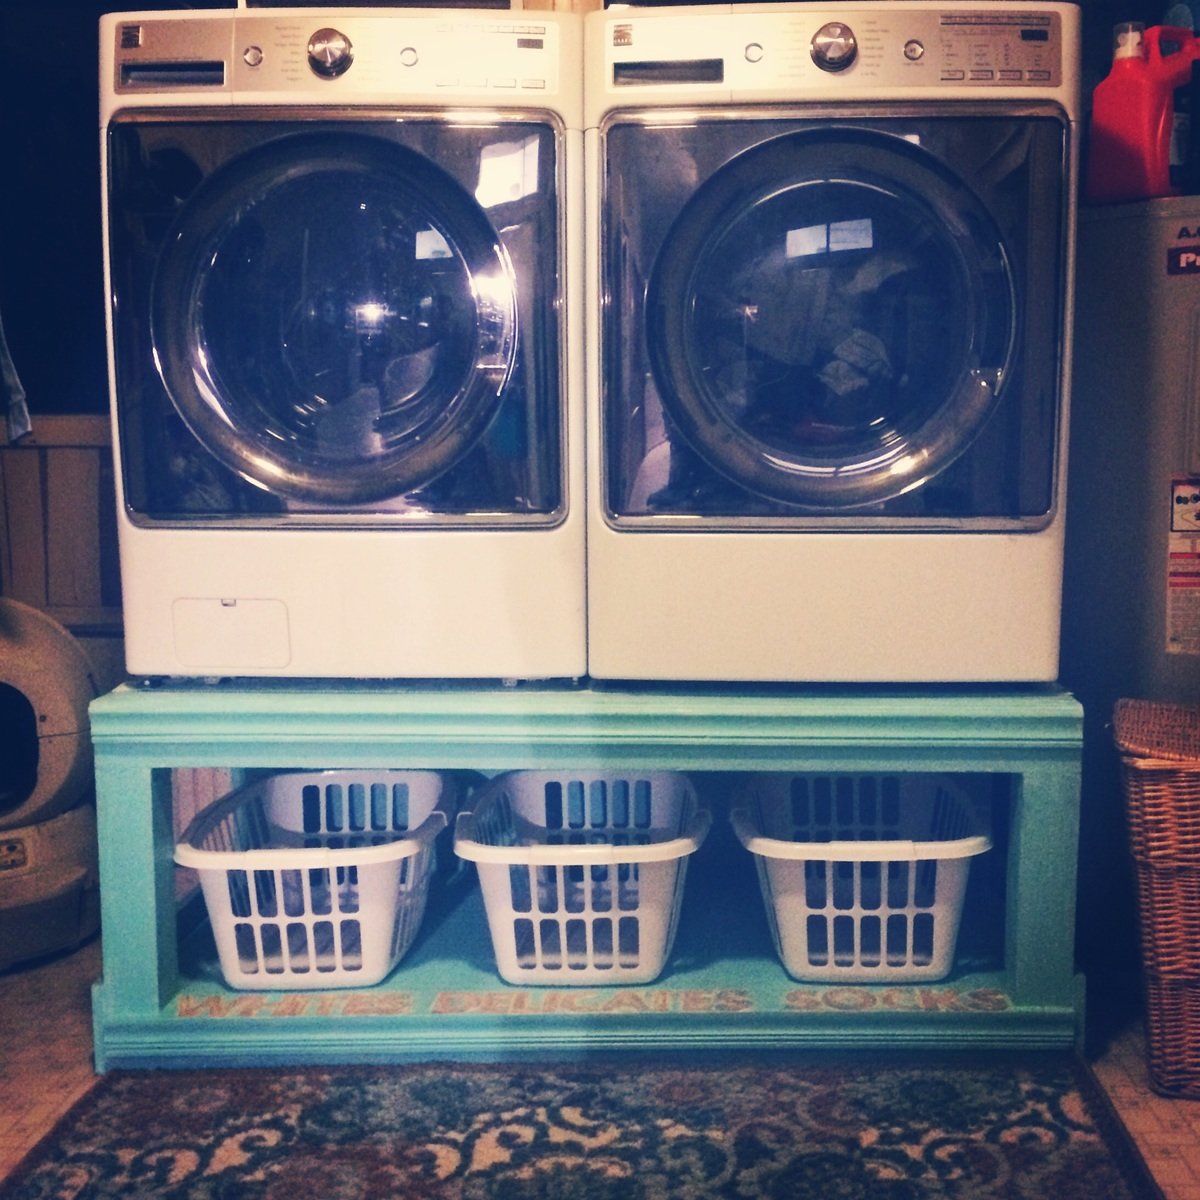
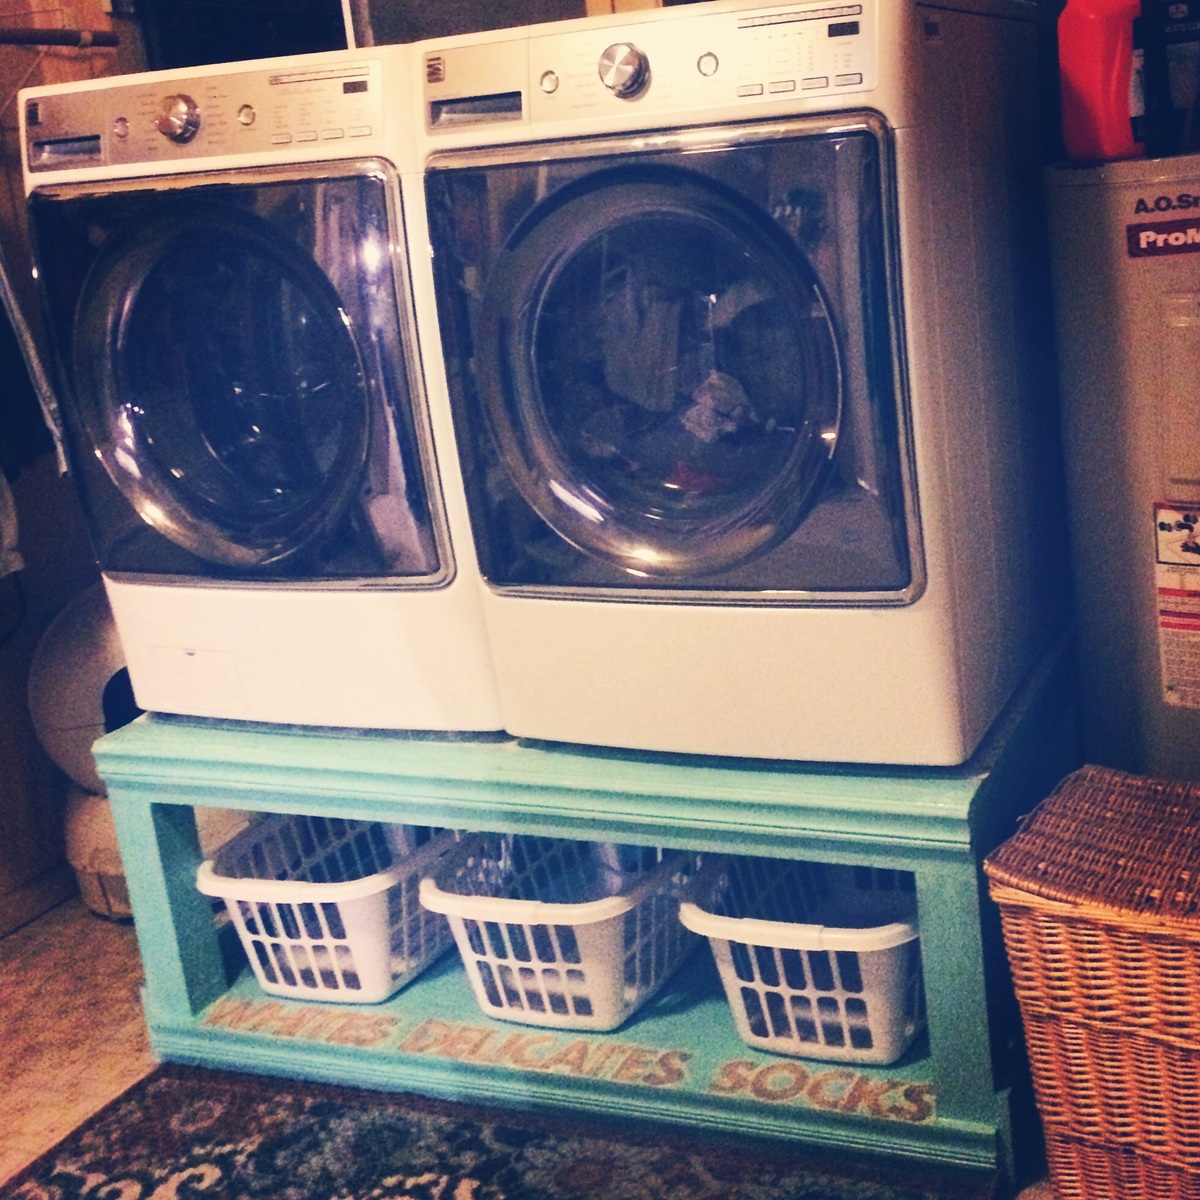
My best friend and I built these Easter weekend with very little husband intervention. I then painted and finished them and installed them with my husbands help. The main modification we made was to figure out the angle to cut the posts in order to adjust for the slope of my laundry room, which is a converted porch on a 1912 craftsman. It was not easy, but we jumped for joy when we tested it out and it was level! We decided to use plywood scraps on the side and back for more support and to keep laundry from falling behind the washer. I had the chair raiI trim from another project, so I used that along with a healthy dose of wood filler. I absolutely LOVE how it turned out...now I just need to find cuter baskets.
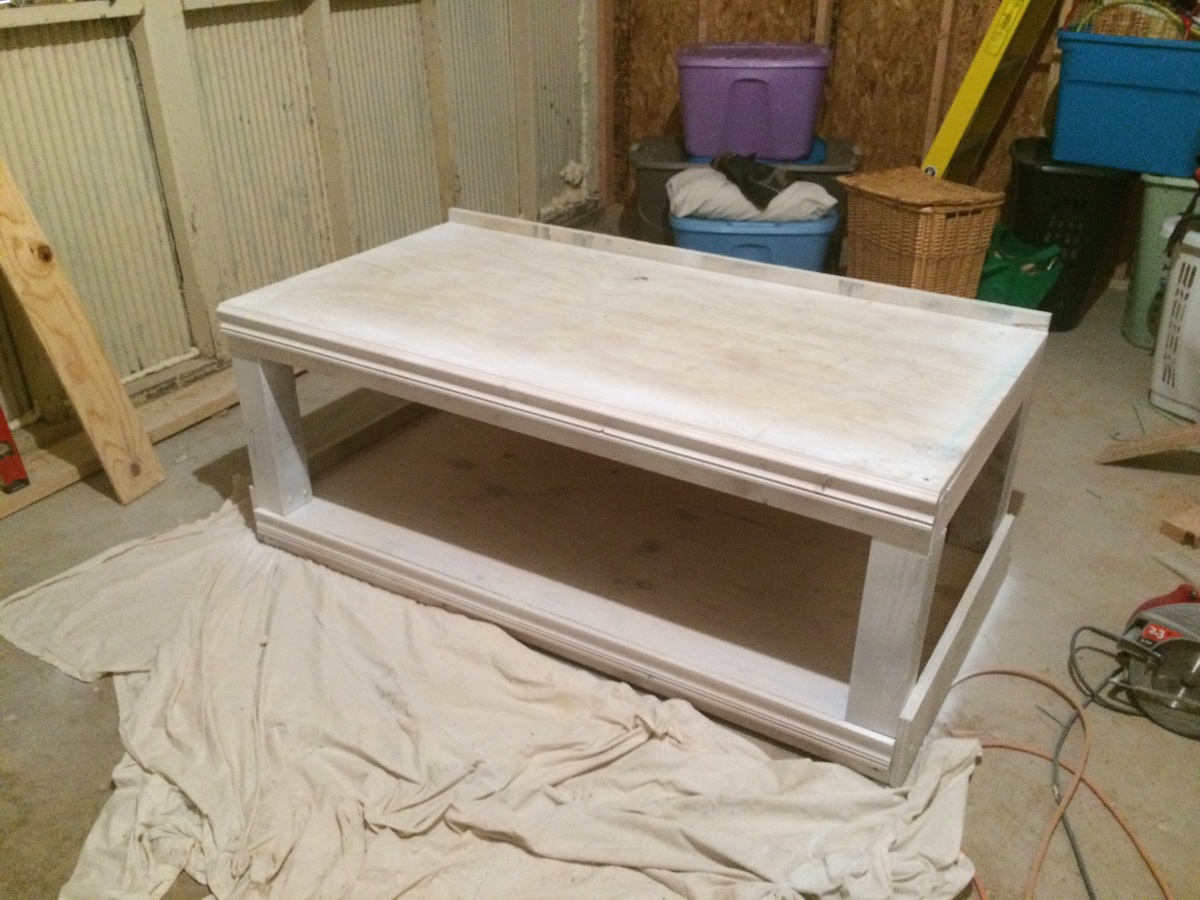
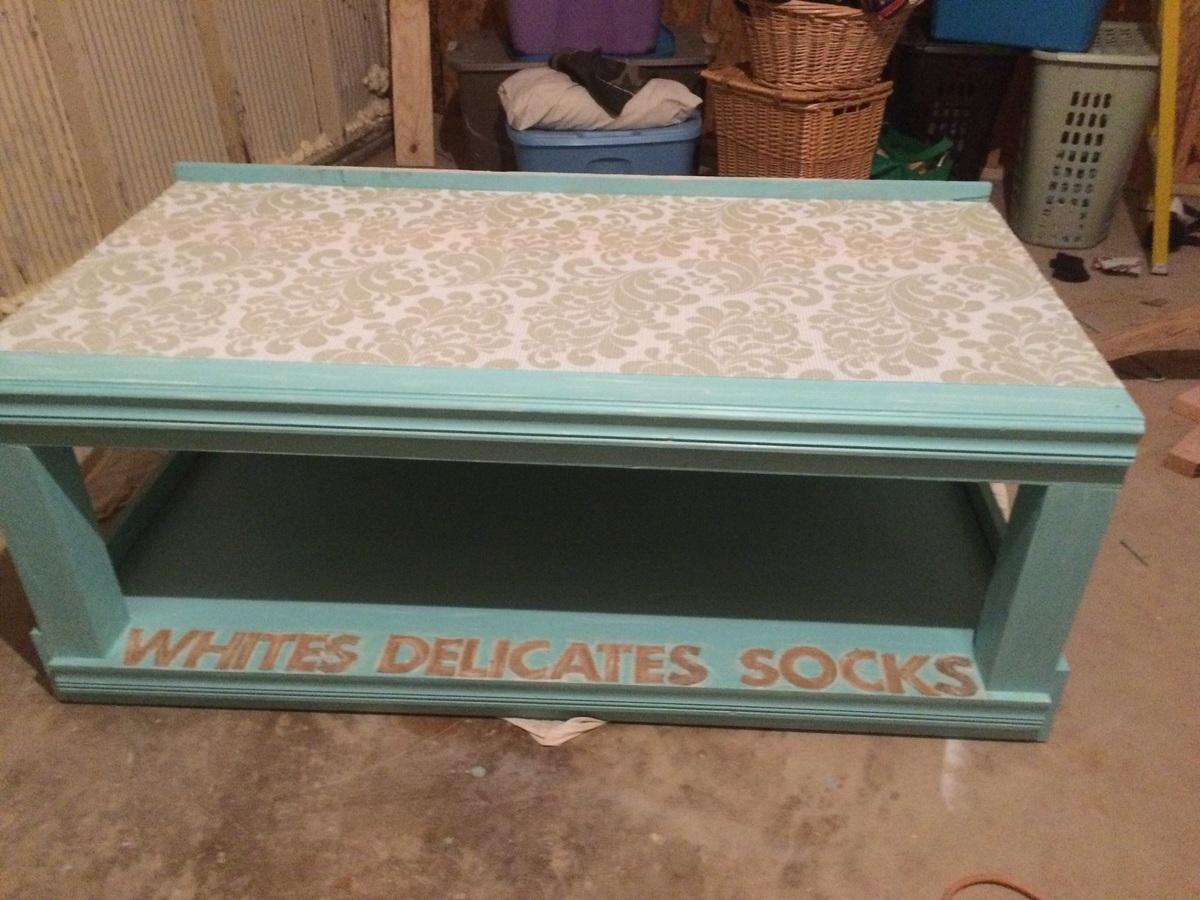
Amazingly easy to build!❤️❤️❤️ My new chairs. The table is made from the Ana White planter. We just used left over 2x6's and 2x4's to create a removable top. It makes a great table with Kentucky of storage.
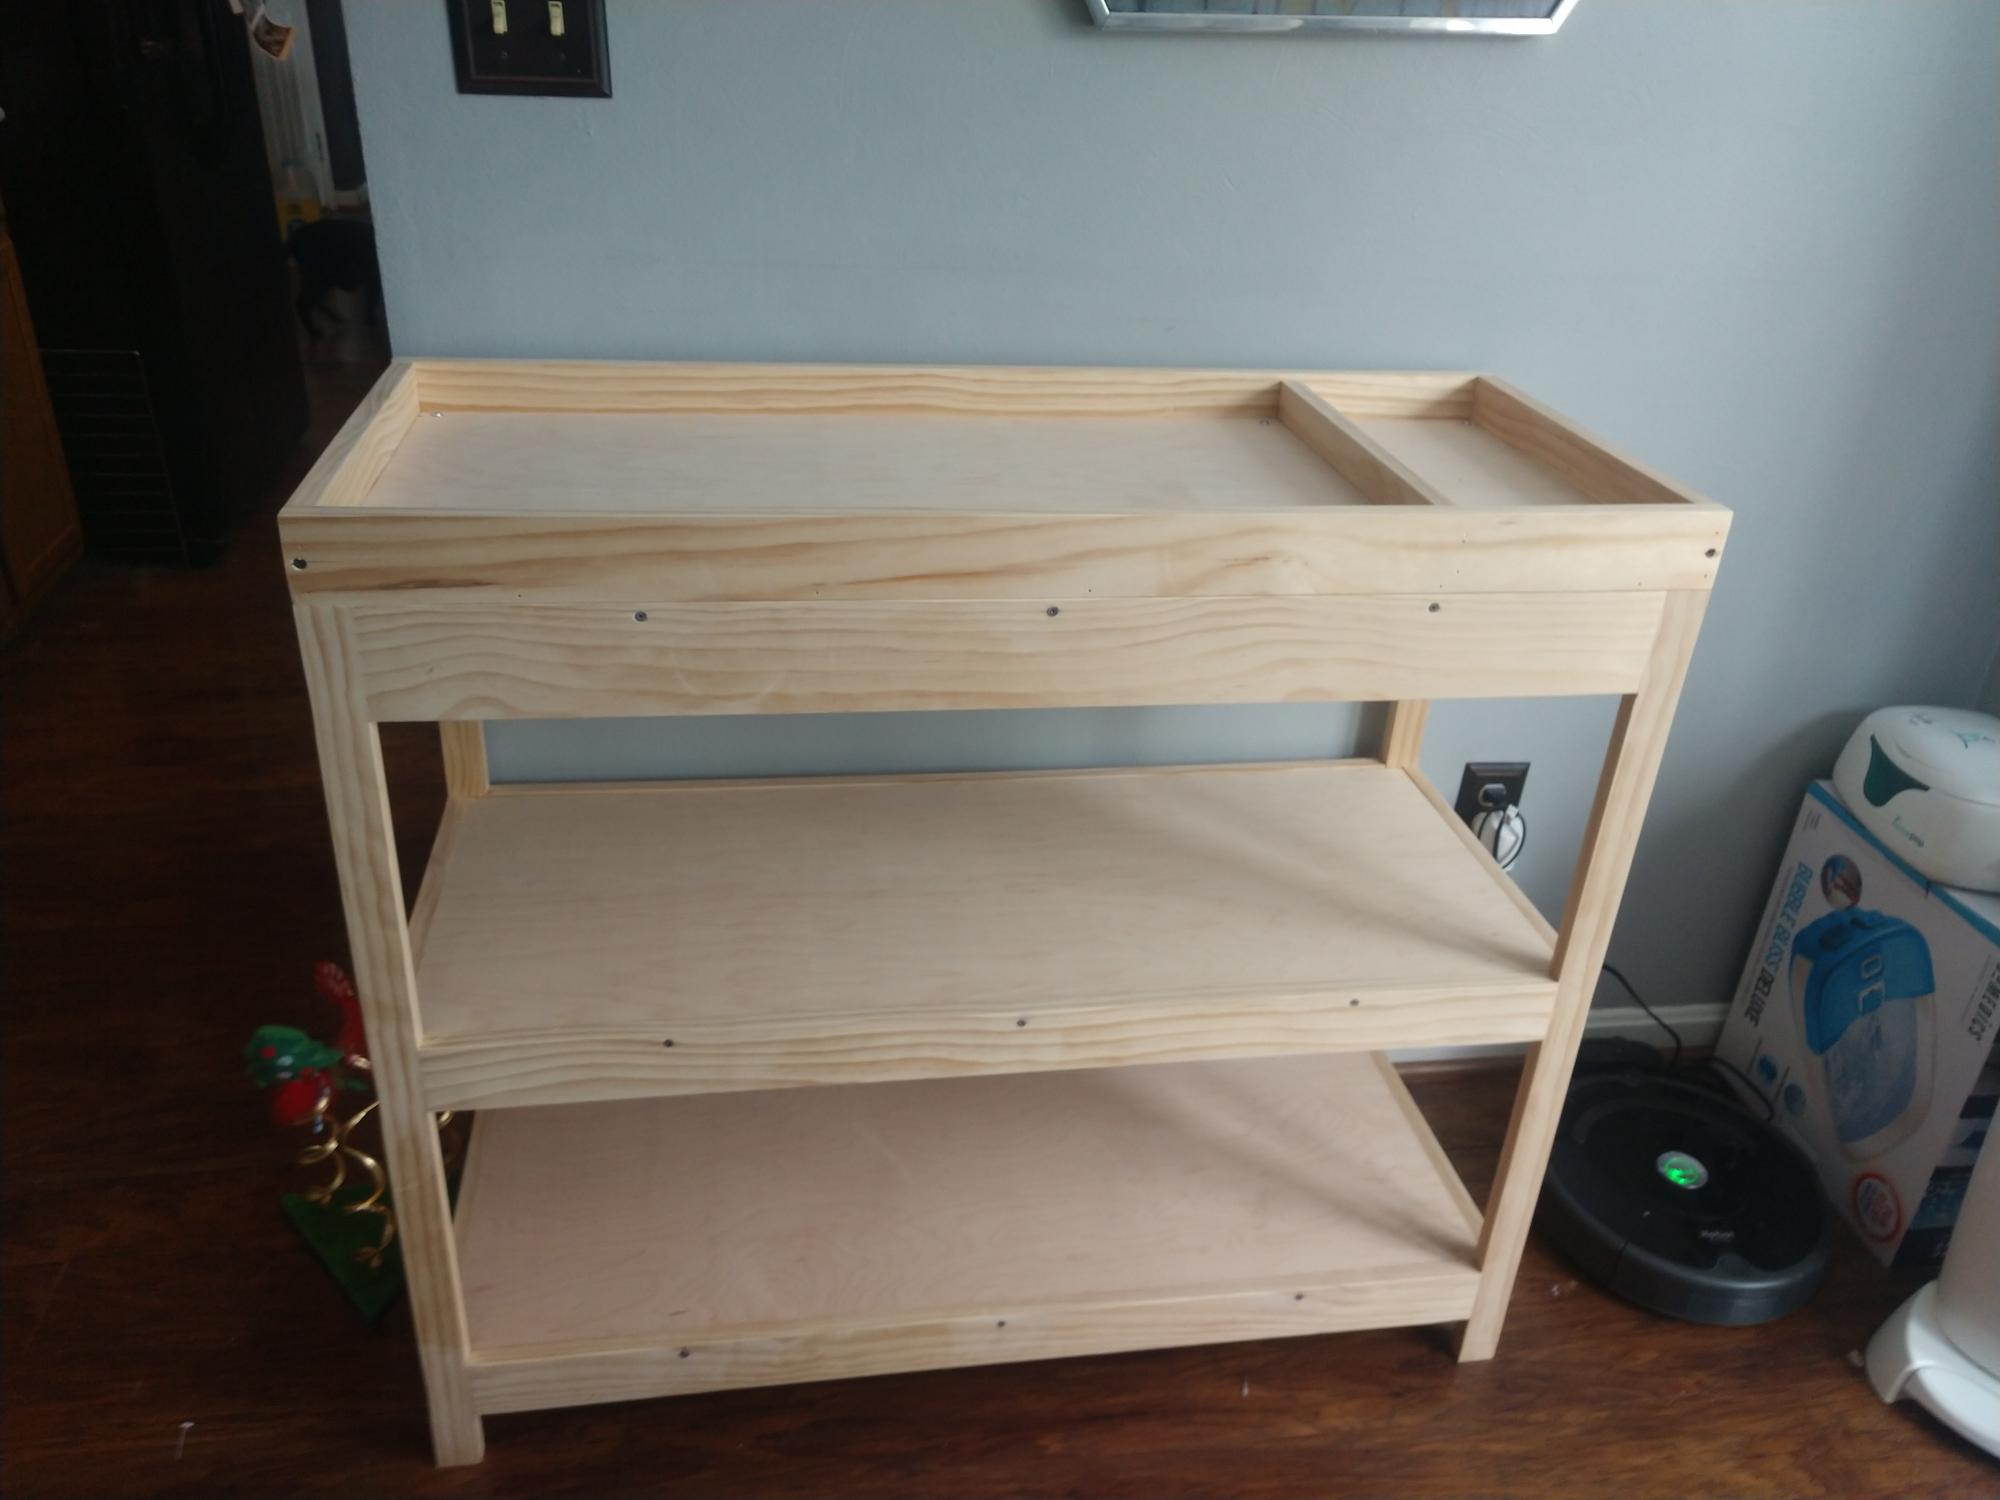
Built this changing table for my granddaughter. I used select pine. My daughter has not decided if she wants to stain it or paint it yet. I pocket hole screwed the joints. It is very solid.
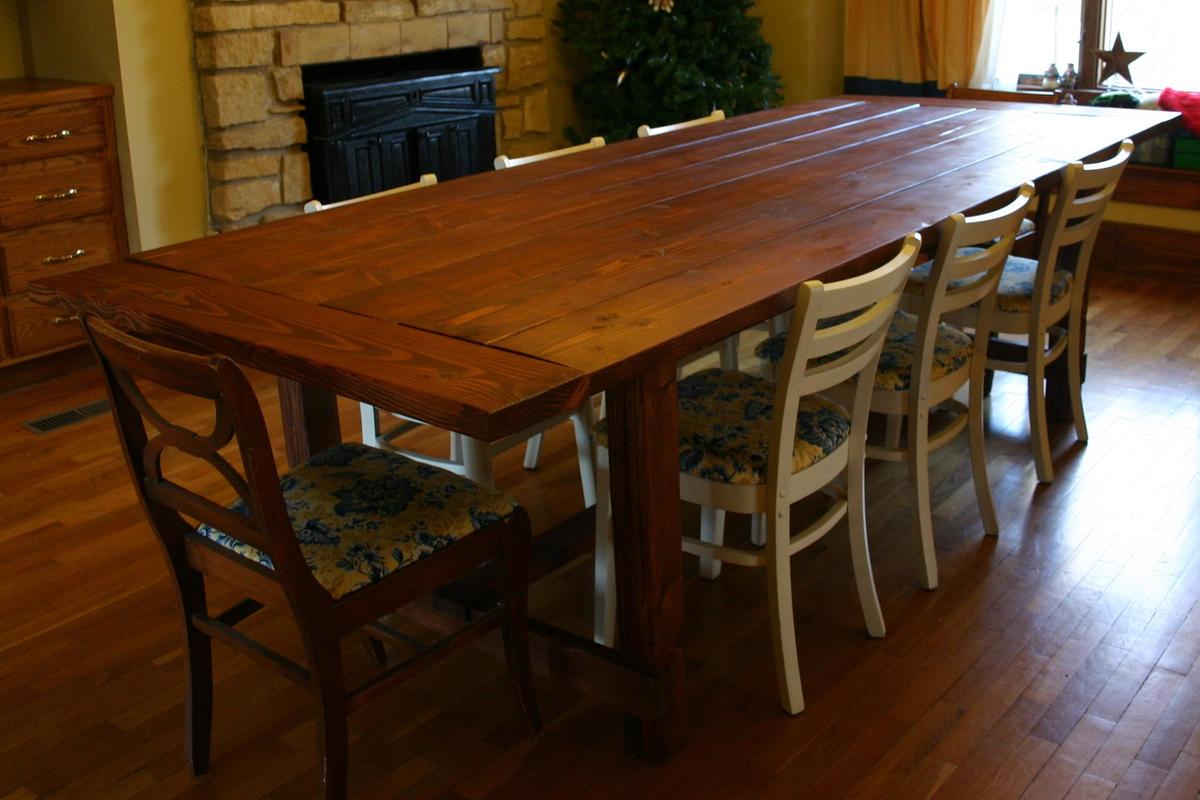
I made this table using Ana's design for the Farmhouse Table and the original from Restoration Hardware. I put the stretcher supports back on the outside and added the extensions.
I also switched out the 2x6 top for 2x8s and attached them all from the bottom; I didn't want to deal with concealing screws on the table surface. The switch meant the boards on the sides are attached only on the innermost 3 inches. I drilled up through the 2x4 aprons and used 3 1/2 inch screws every six inches to make sure they were secure.
It's enormous and seats 12 if needed.
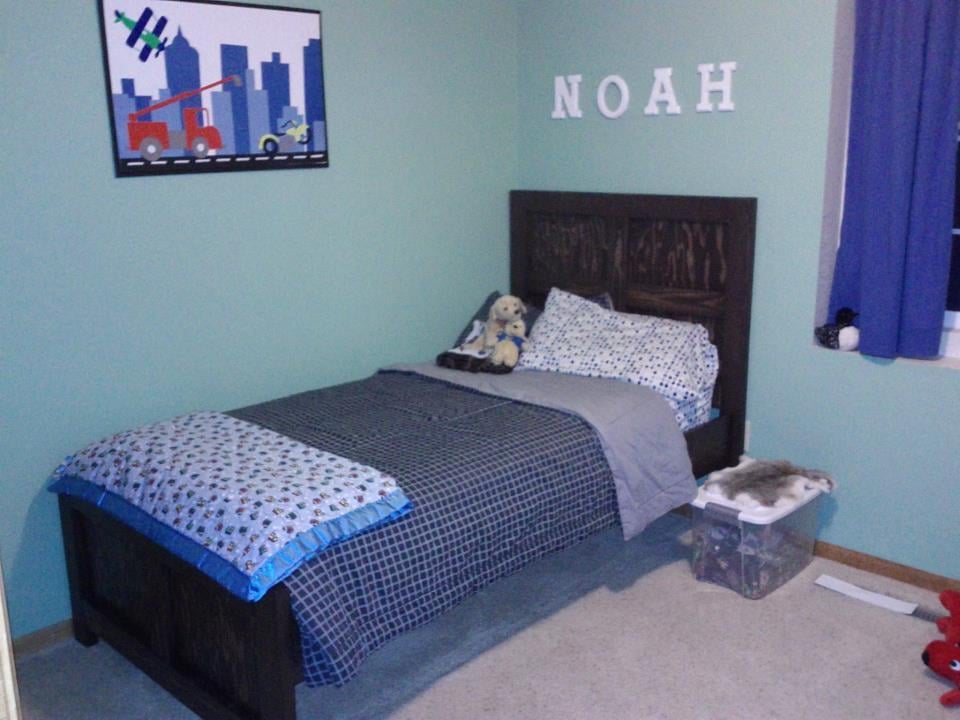
This bed is made exactly the same as the plans. Pretty easy. Very sturdy, I did use the kreg jig to assemble, even to attach the sides to the headboard and footboard. I'm not able to use the box spring anymore, since it makes it too high.
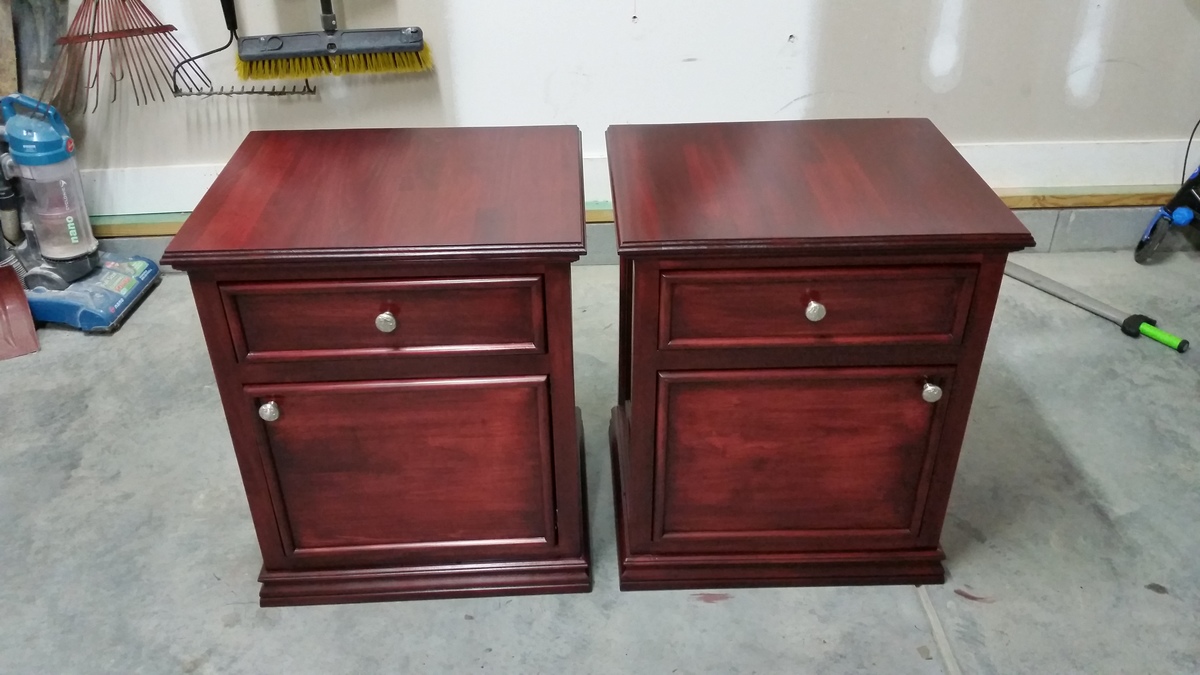
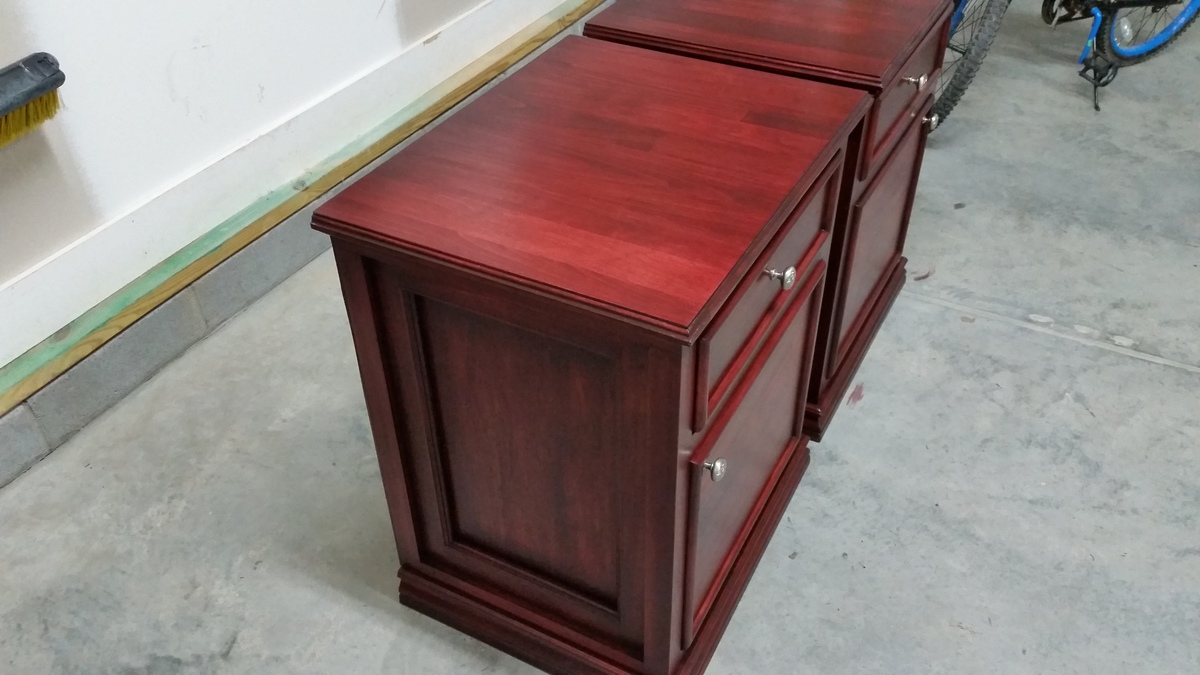
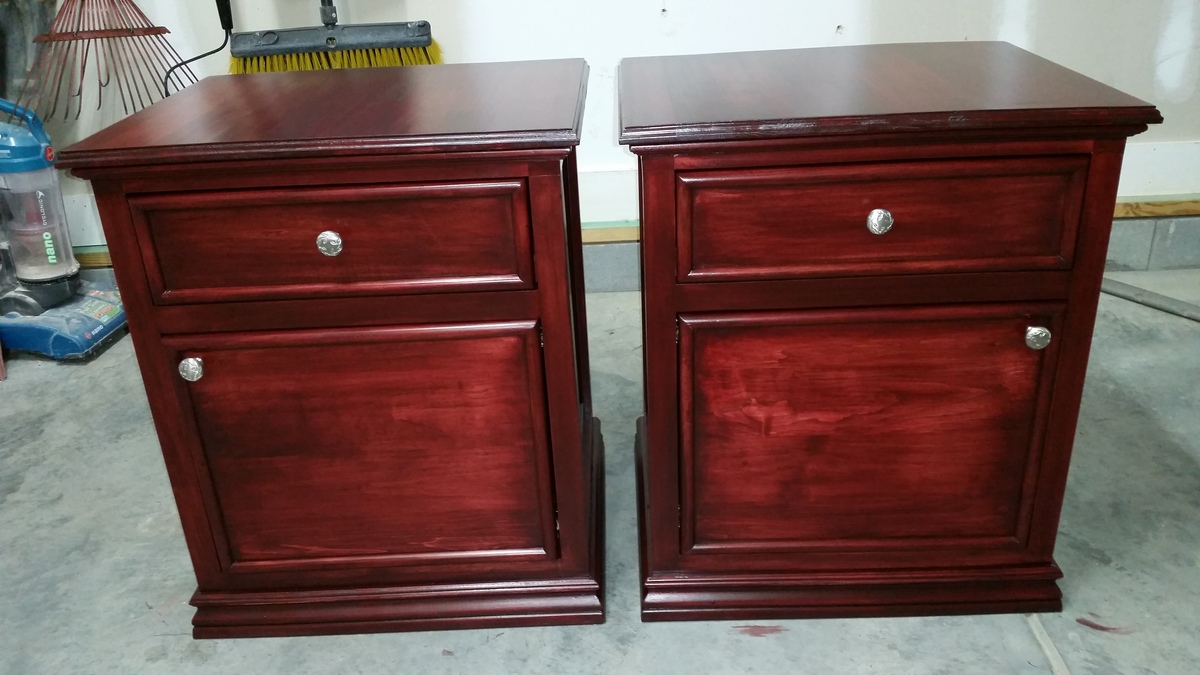
I added a cabinet door and put some extra trim on to fancy it up a bit. I also used my router and an ogee bit on the top. The top and plywood sides are aspen and the rest is poplar. They were finished using General Finishes Georgian Cherry gel stain.

Inspired by Finn's Dad's table, we decided to copy it since we wanted to build a table that would seat 8 comfortably. The most difficult part of this project was finding clear cedar for the top. It had to be ordered through our local lumber yard and we were not able to match boards. We built the frame out of treated pine and the 4 x 4 legs from average greade cedar found at Lowe's. We finished it with four coats of polyurethane.
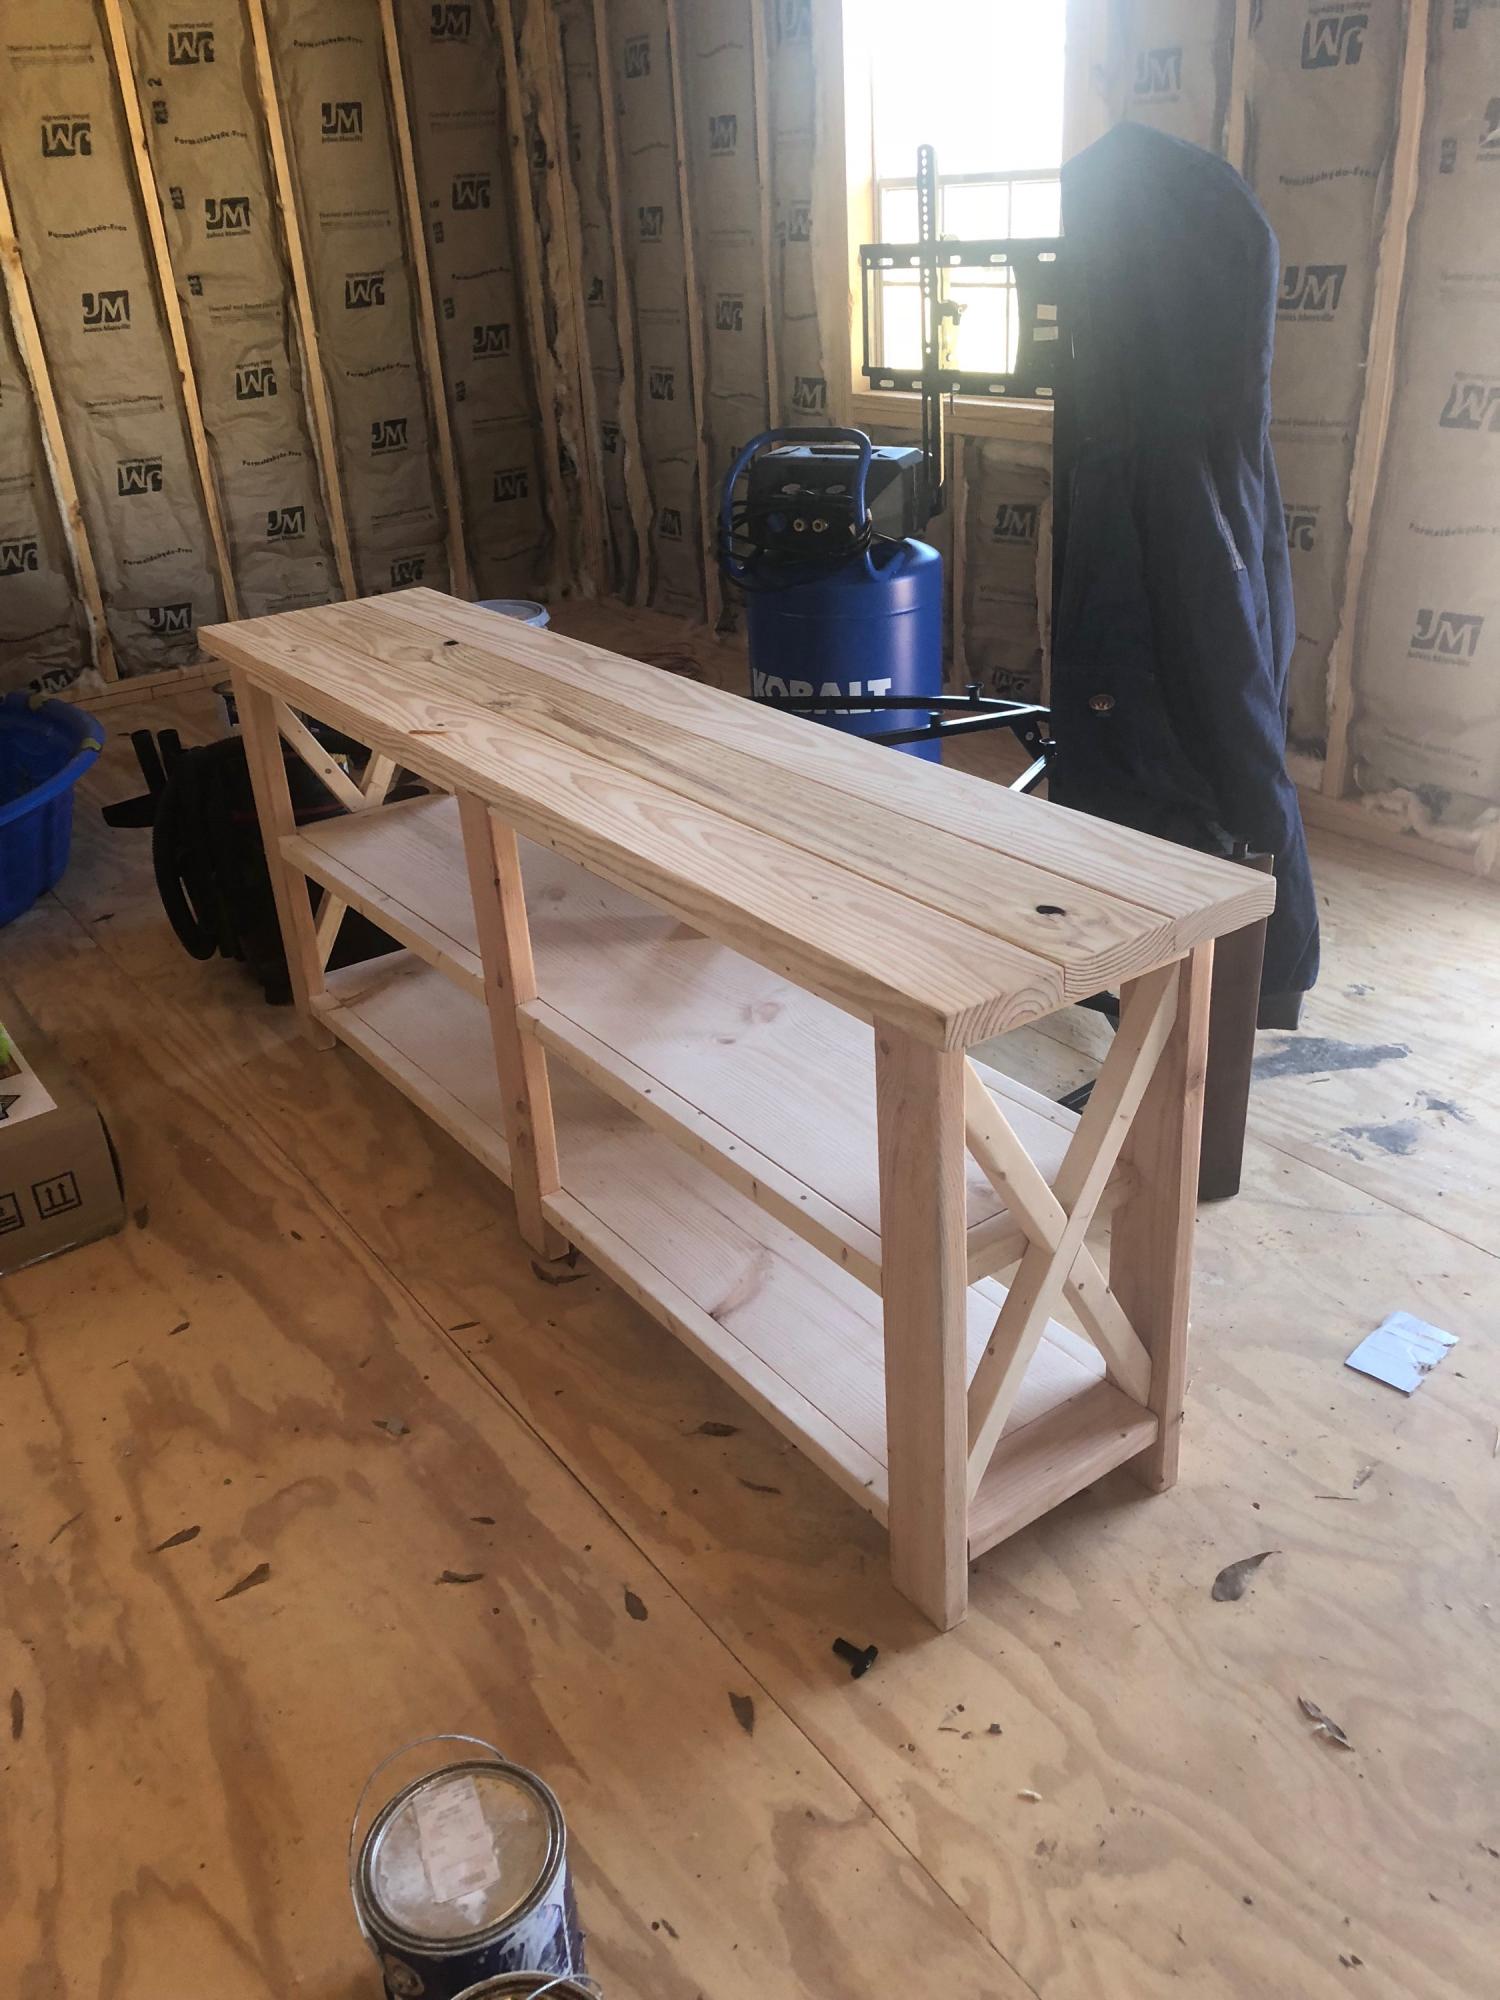
Built this for some dear friends ... turned out so pretty.
This was my first project working start to finish with my husband, and let's just say that I prefer to build without him! This was a lot of trial and error, but I think in the end it turned out really well. We splurged on the plywood top, the sheet alone was $60, but since we used it on this, 3 benches, and our kitchen island, it was well worth the splurge!
We made the vessel sinks from metal bowls snagged at Target for $17 each. We drilled a hole using a hole-saw bit, and popped in an $8 drain kit from Lowe's. The faucets were given to us by my father-in-law, who's the manager of a plumbing company. I sewed a curtain that I stapled on the inside to hide the plumbing beneath the sinks. I love how it all looks now!
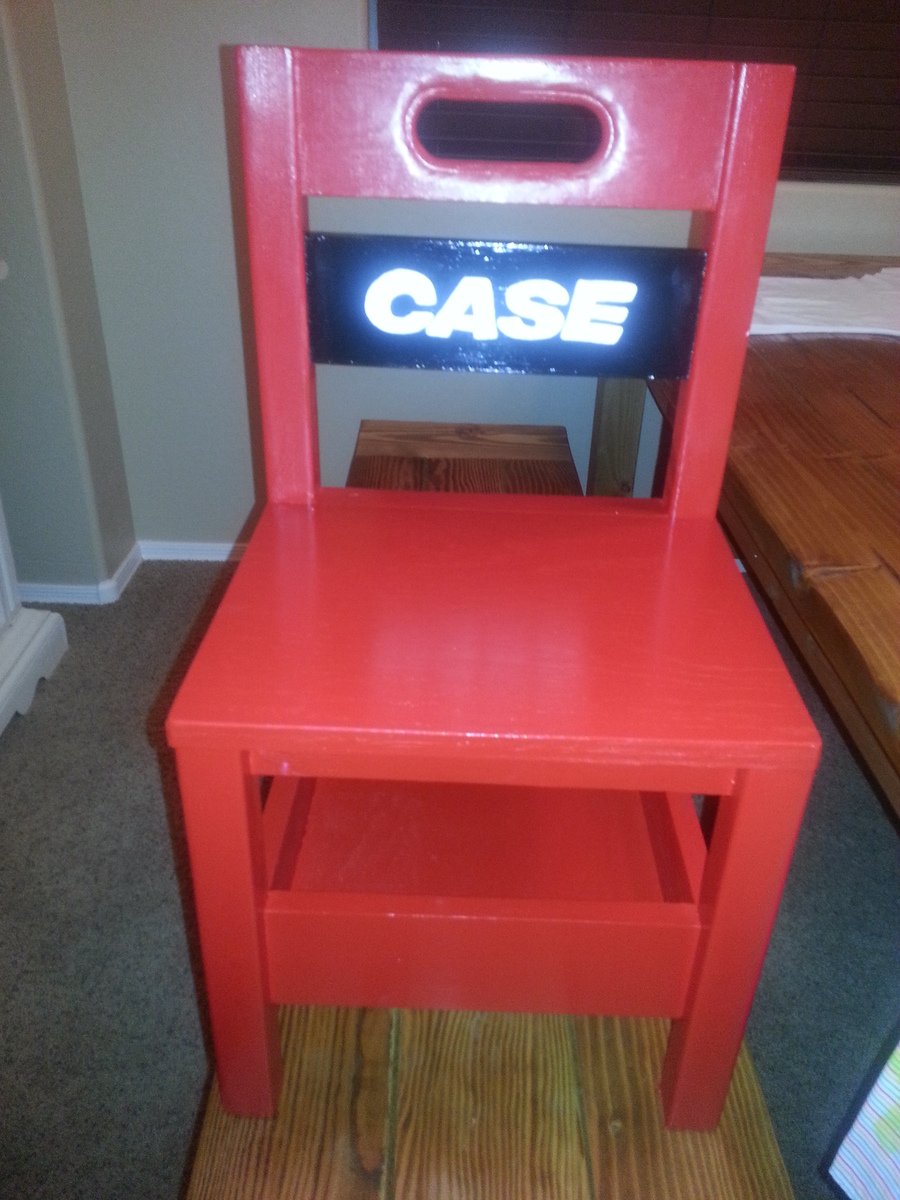
This was a birthday gift for a 1 year old. Yes it's painted like the tractor.

This project allows your creativity to flow. It's a woodworking and art DIY project. These storage benches for children are inspired by my youth when I played with wooden alphabet blocks. It's the perfect accompaniment for this Alphabet Blocks Inspired Chalkboard Play Table.