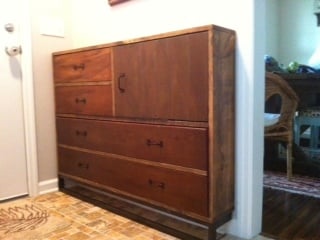
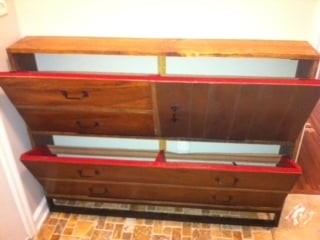
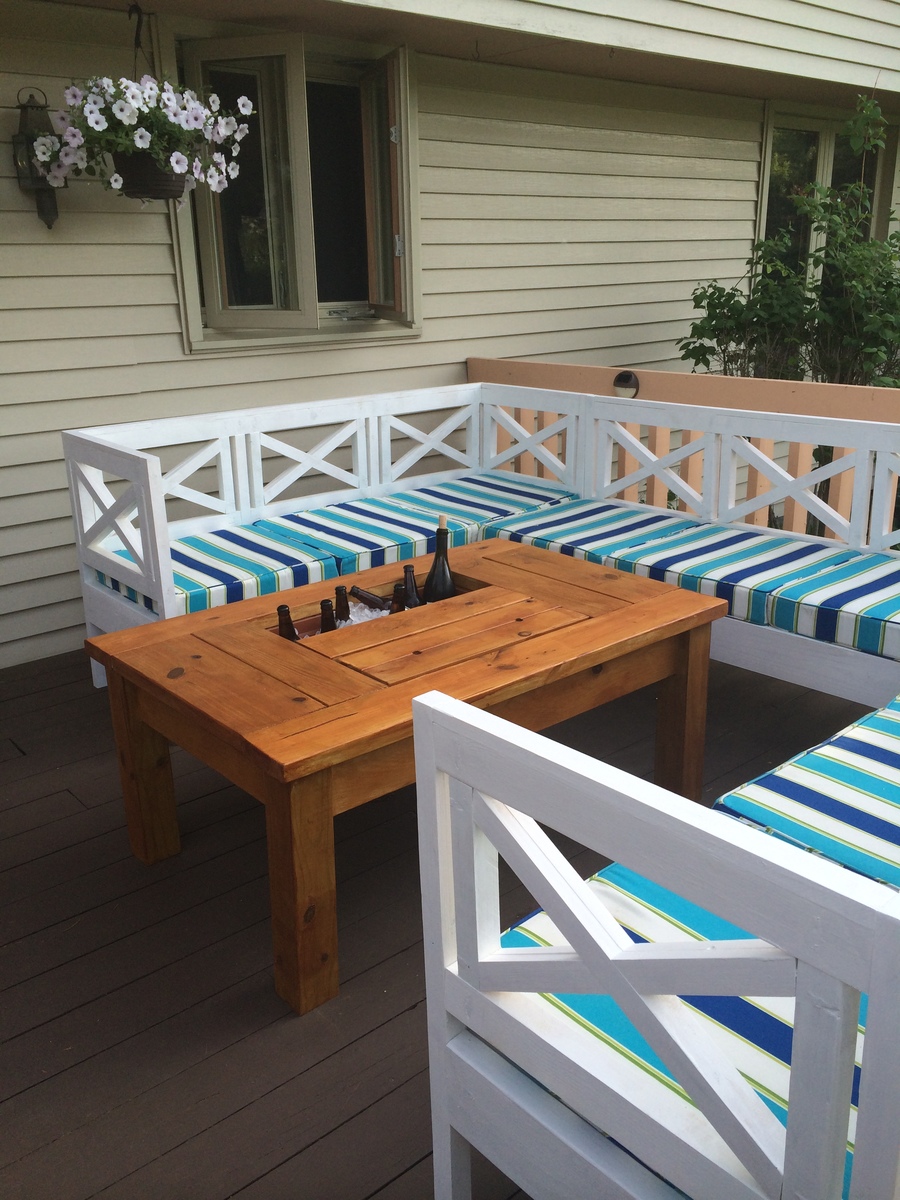
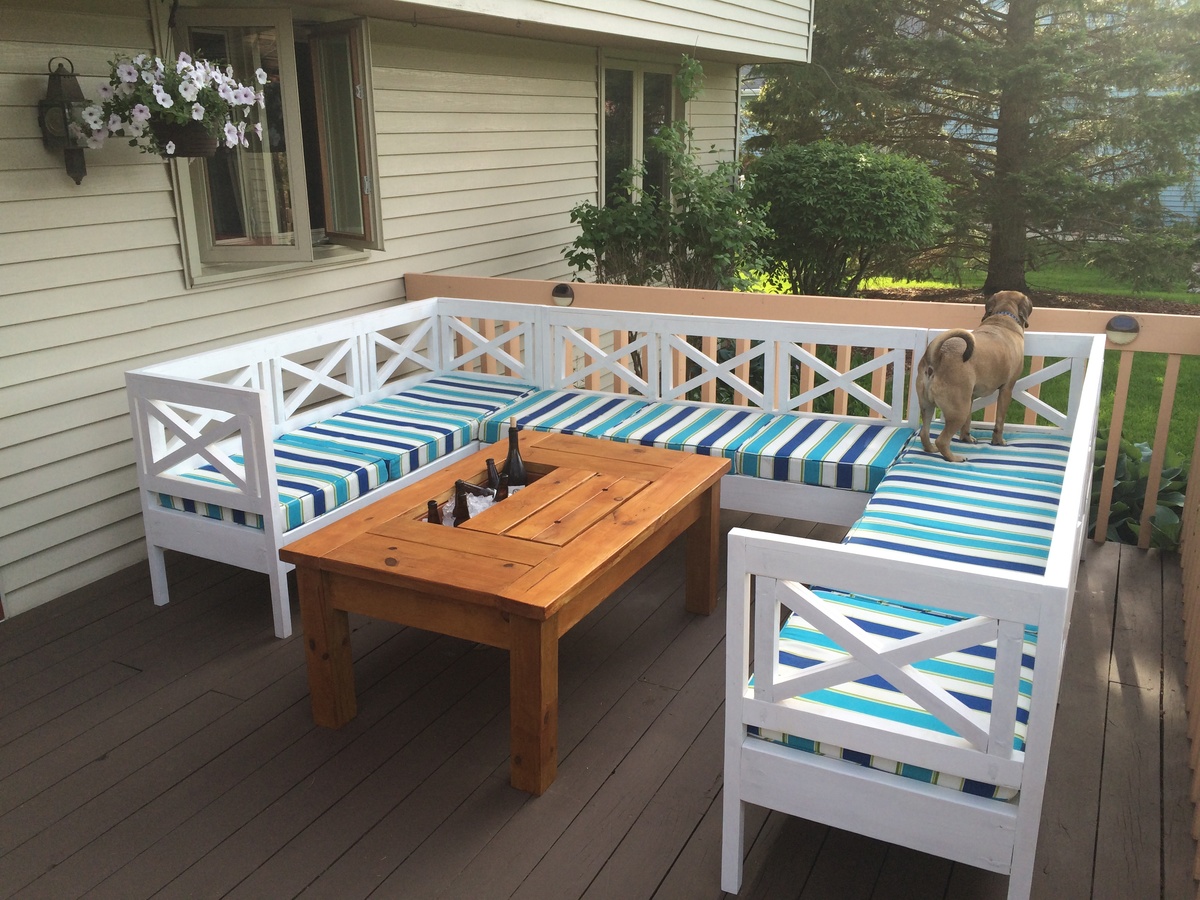
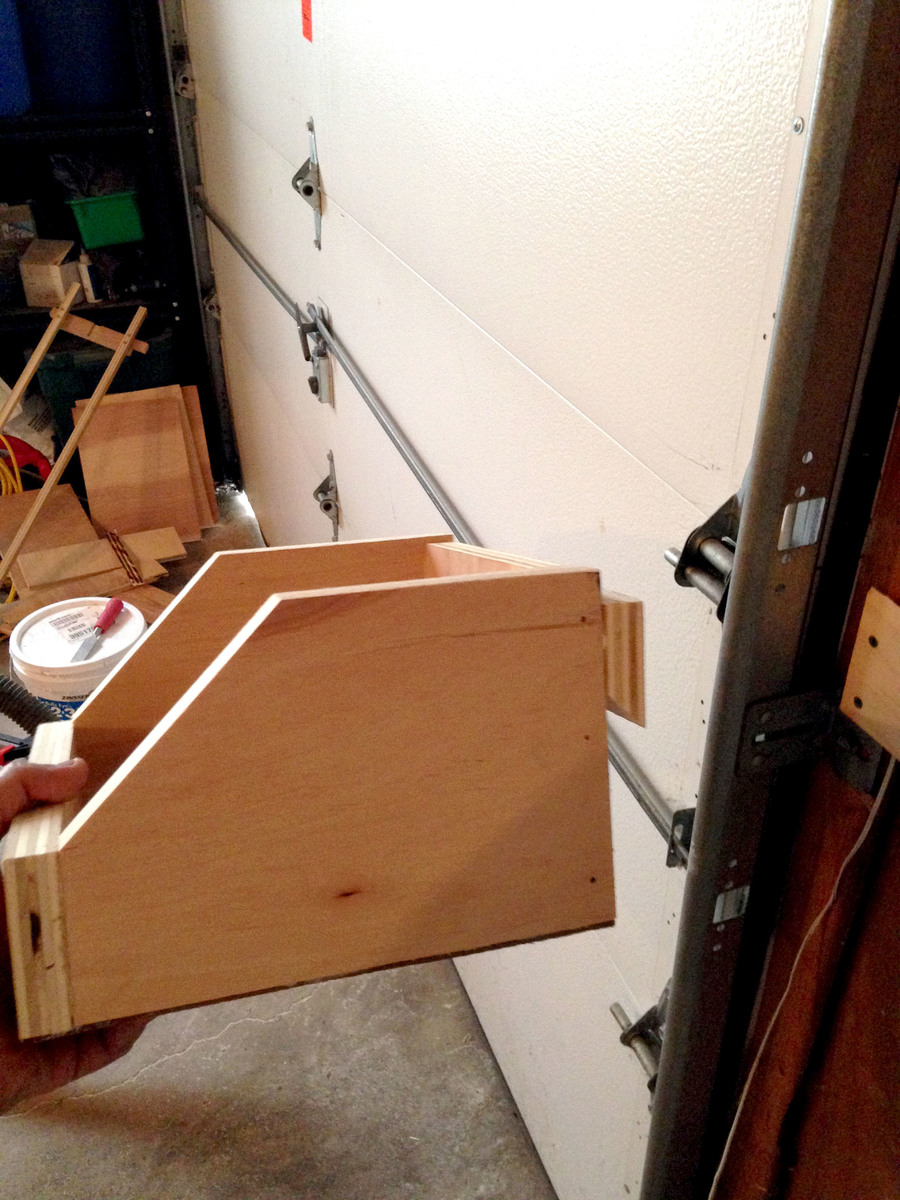
Modified Firepit Bench
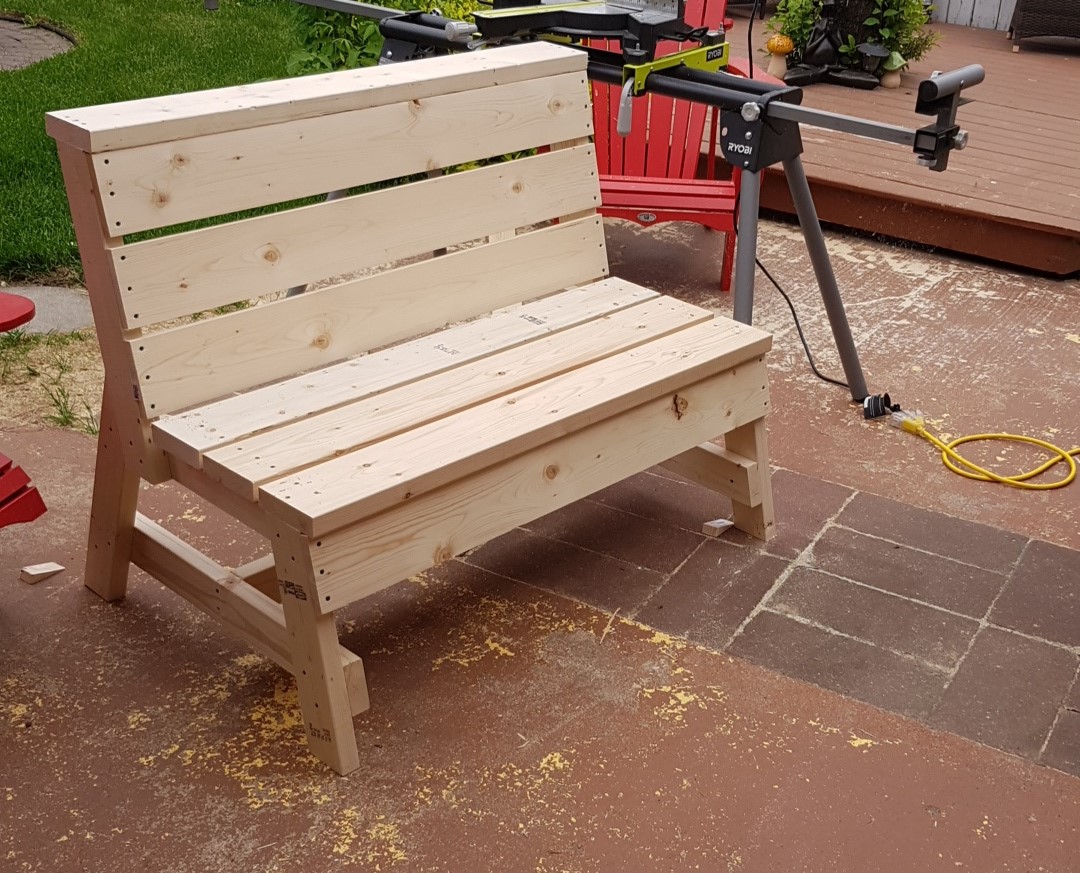
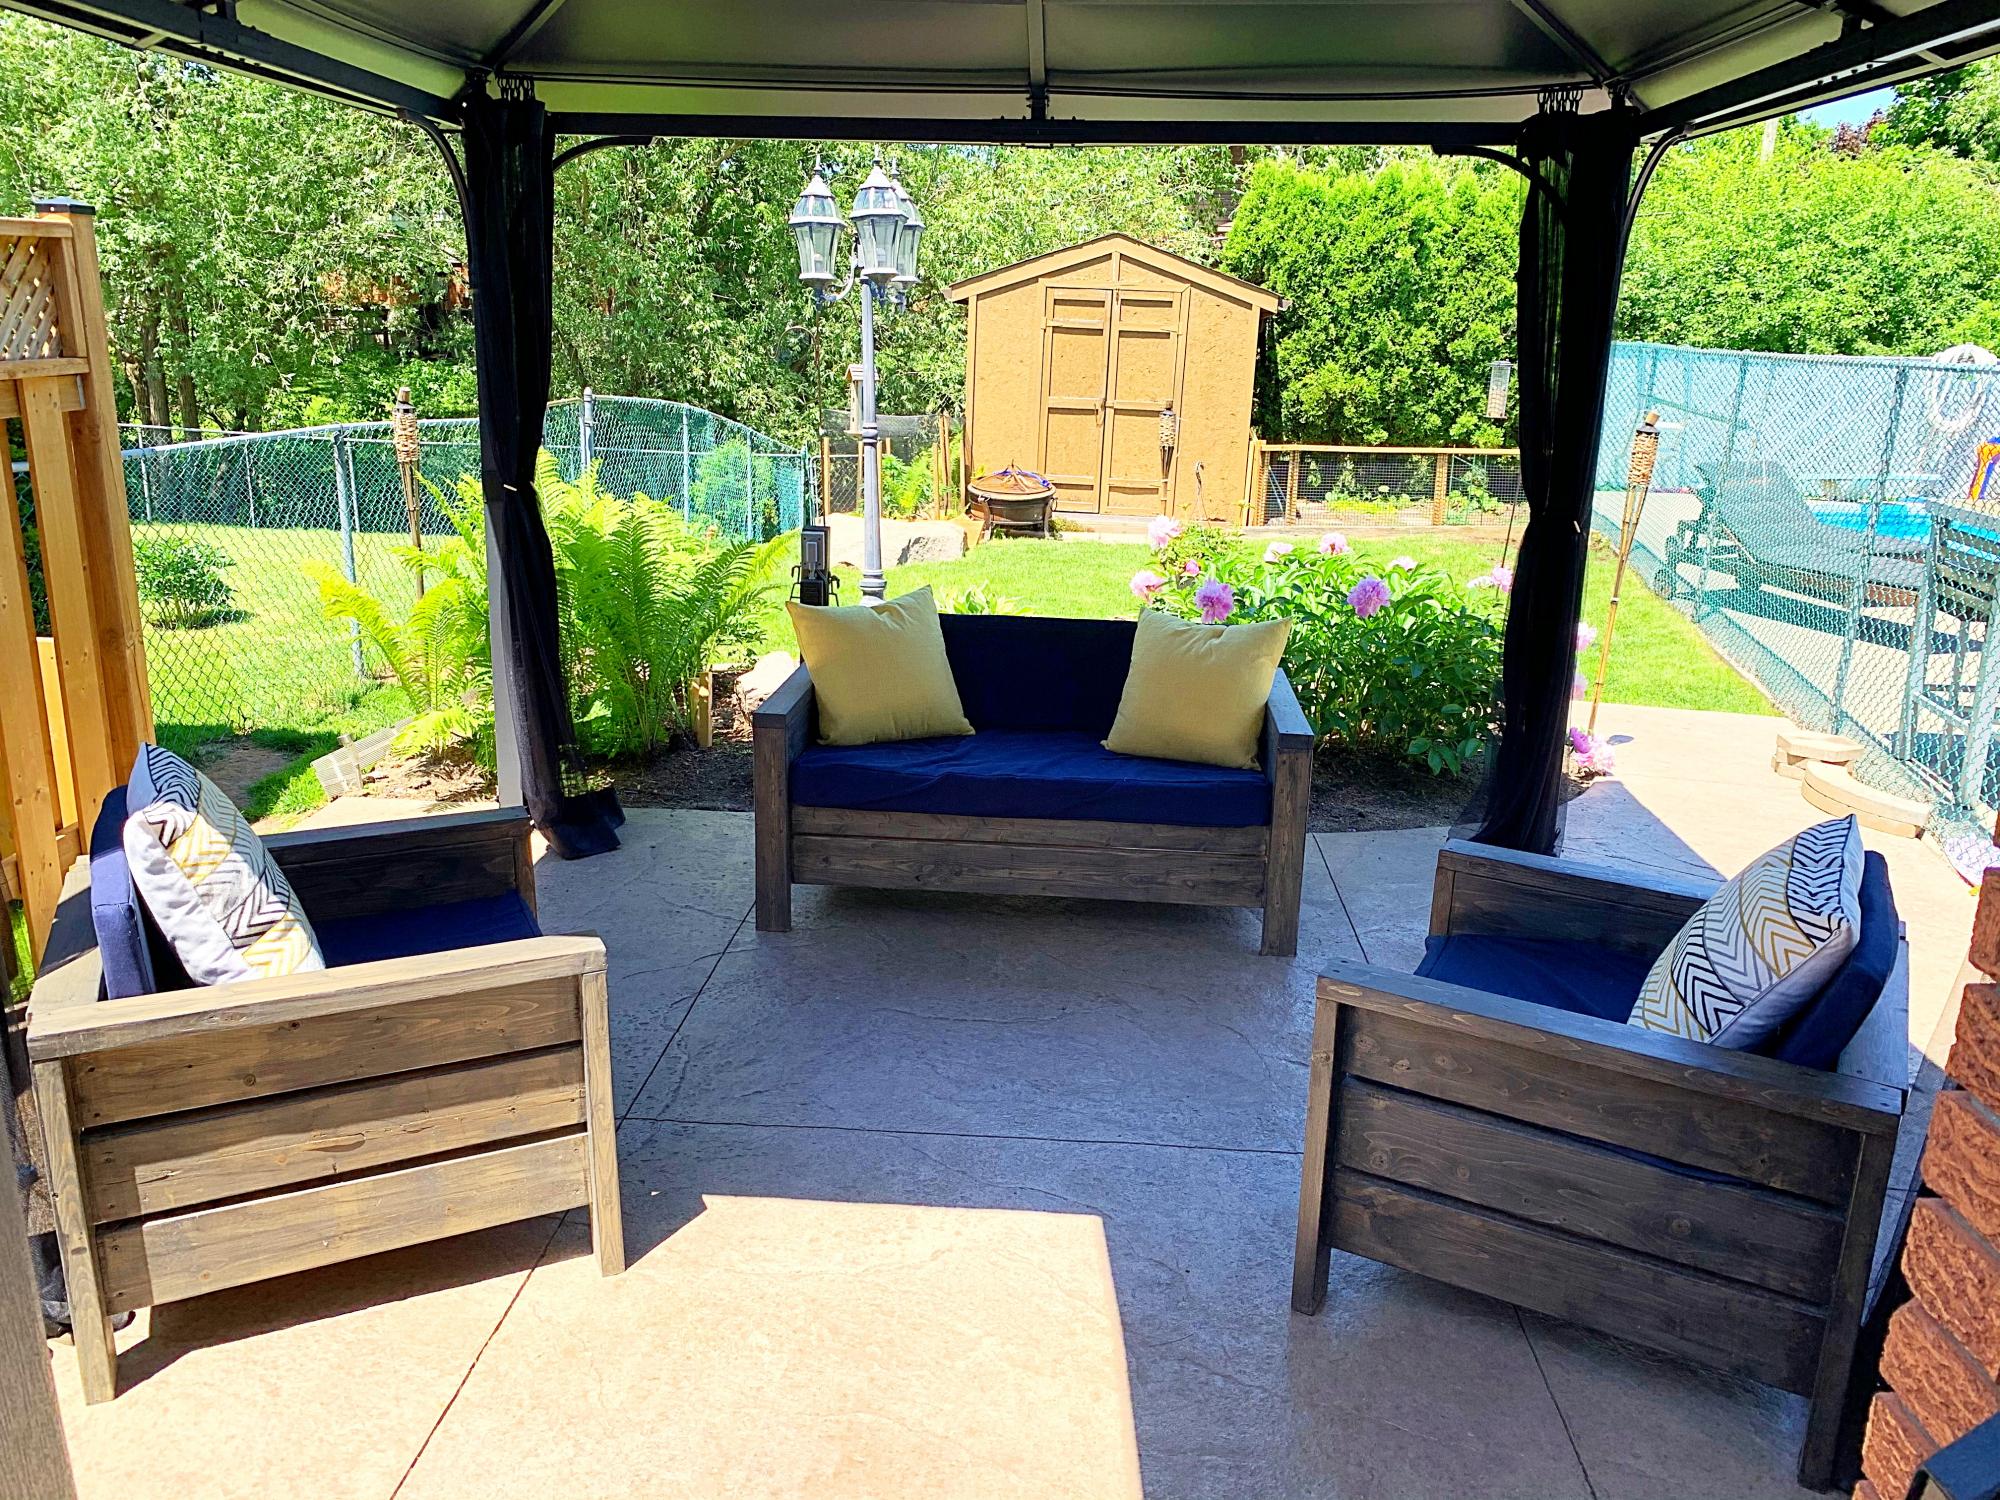
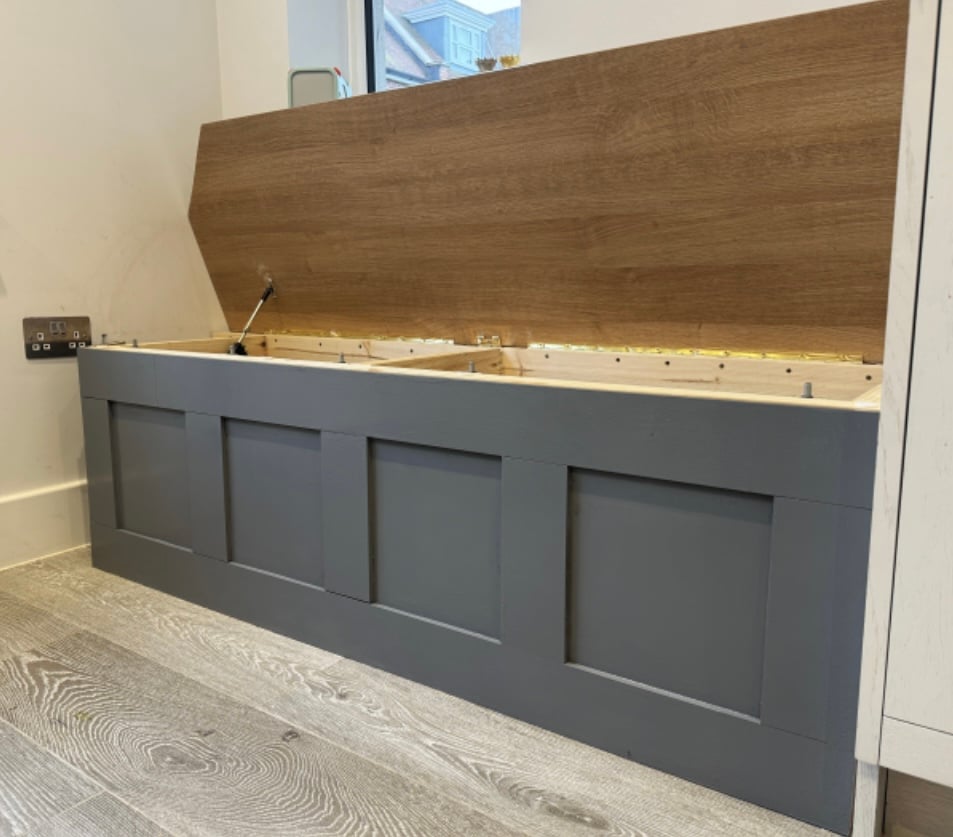
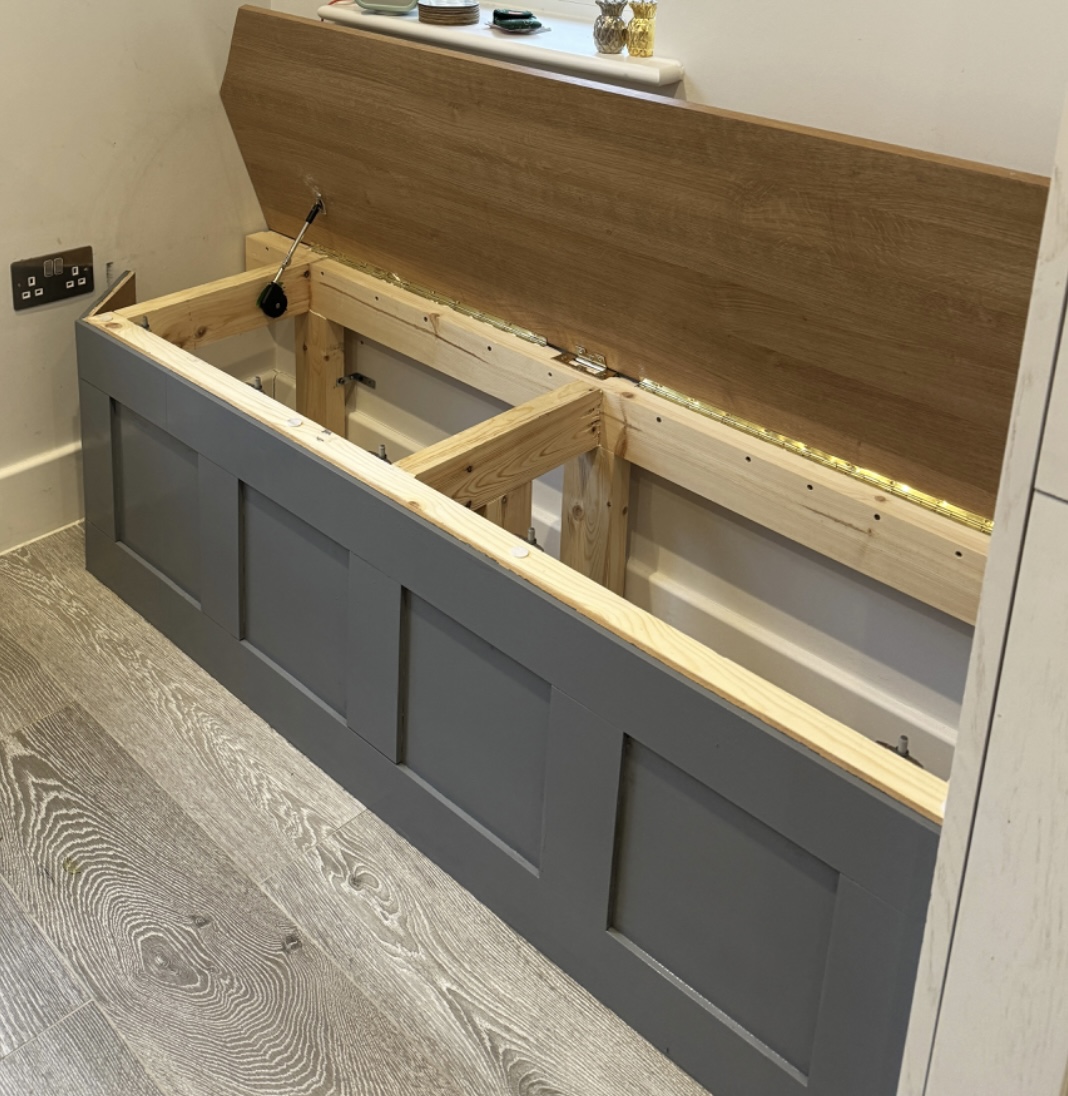
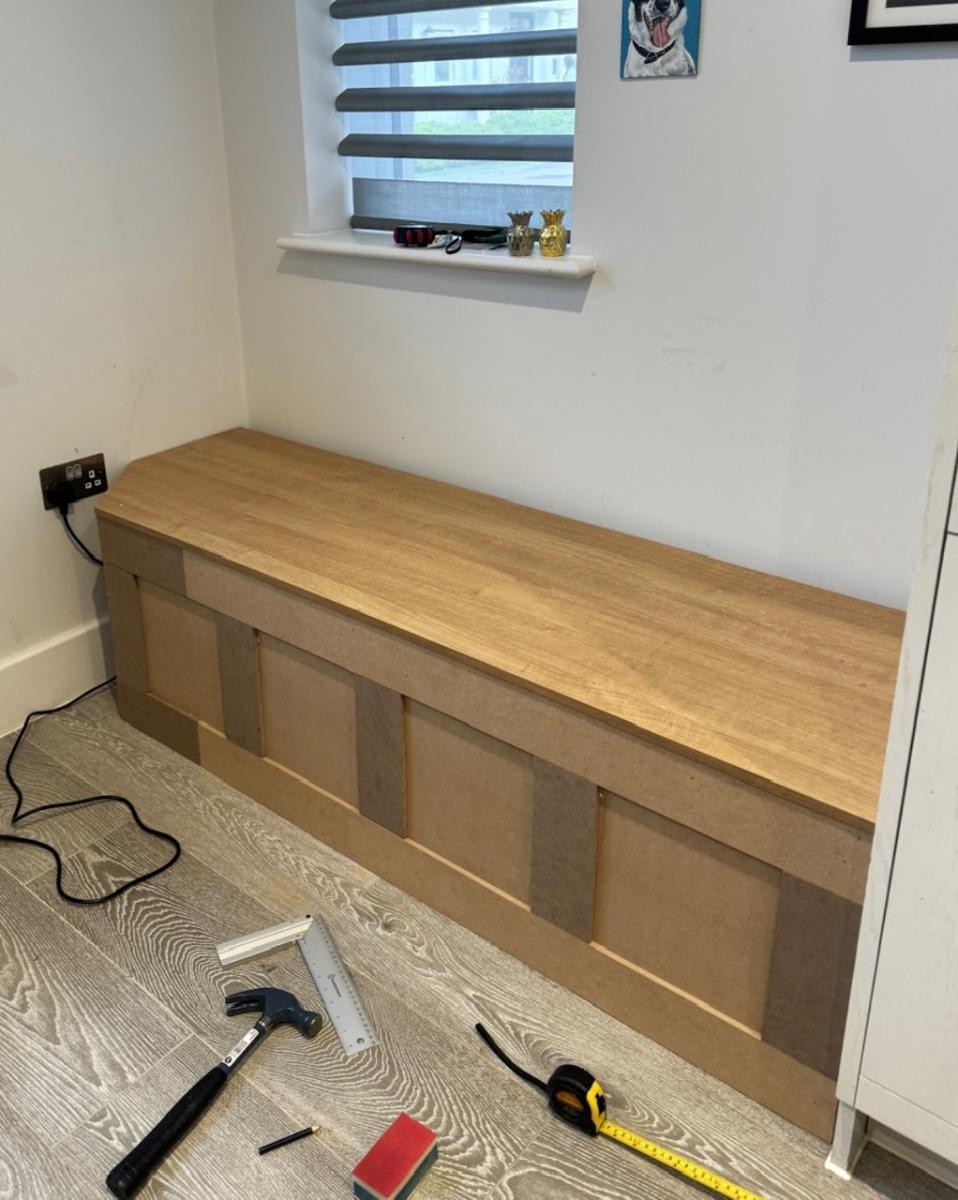
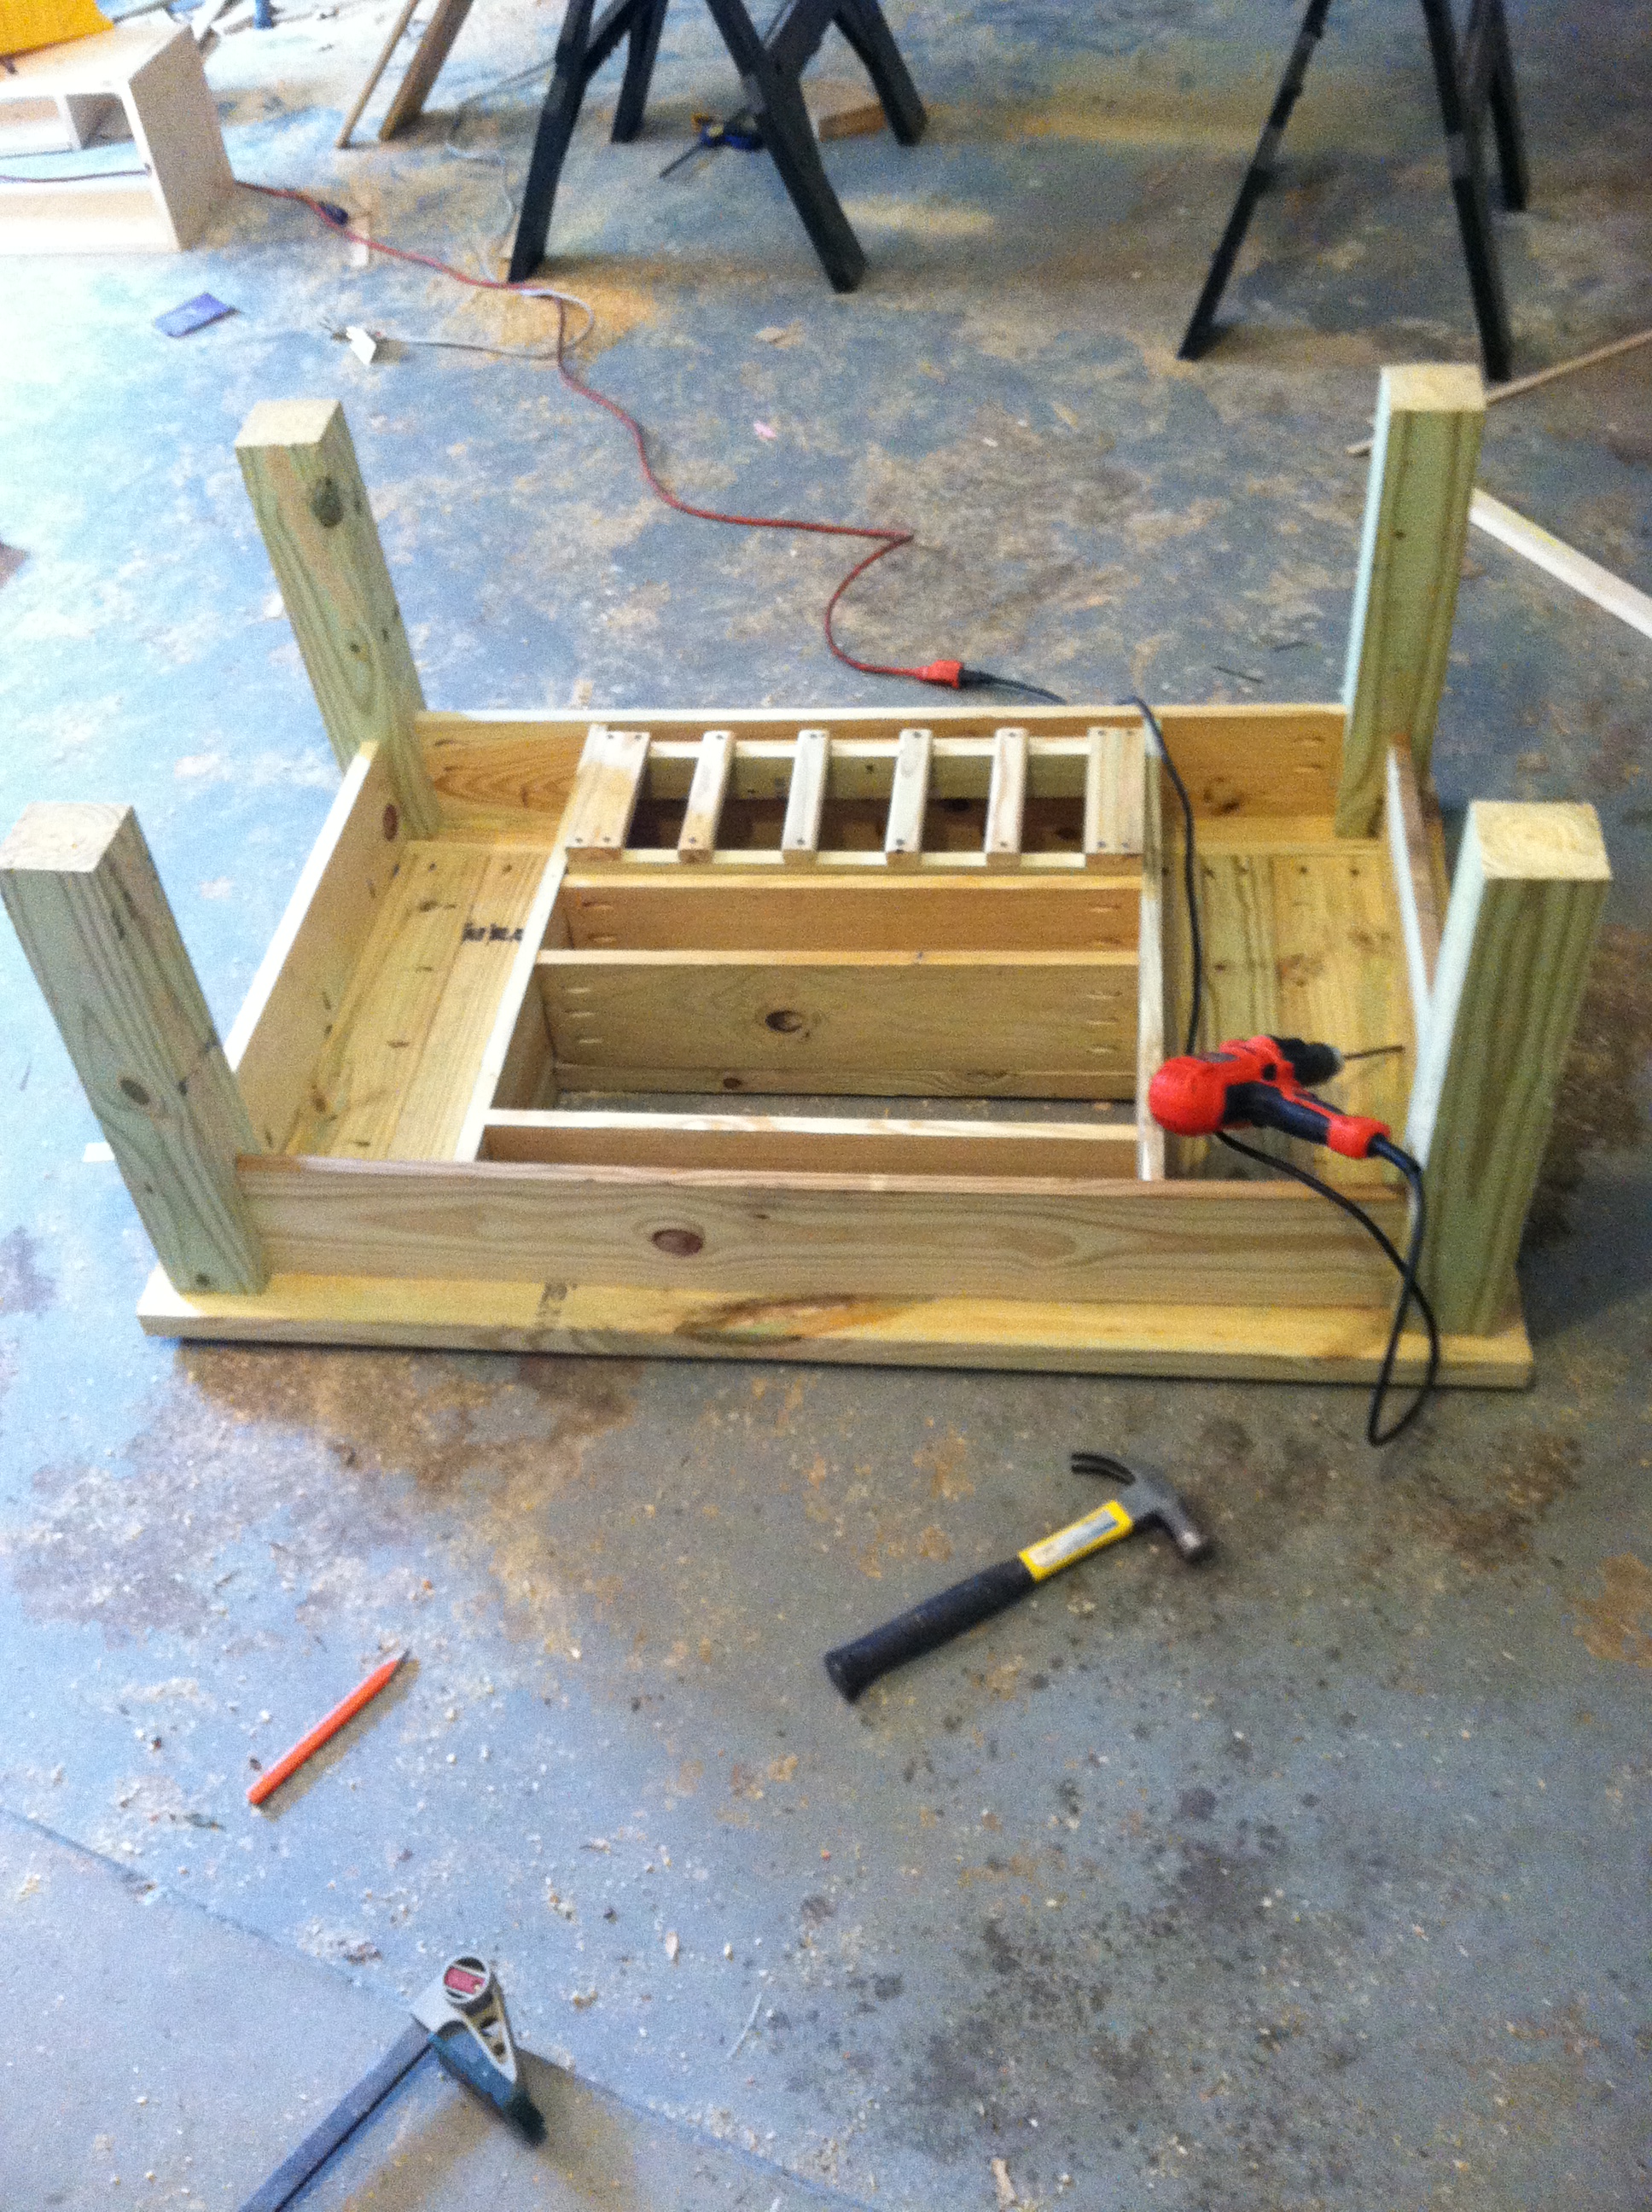
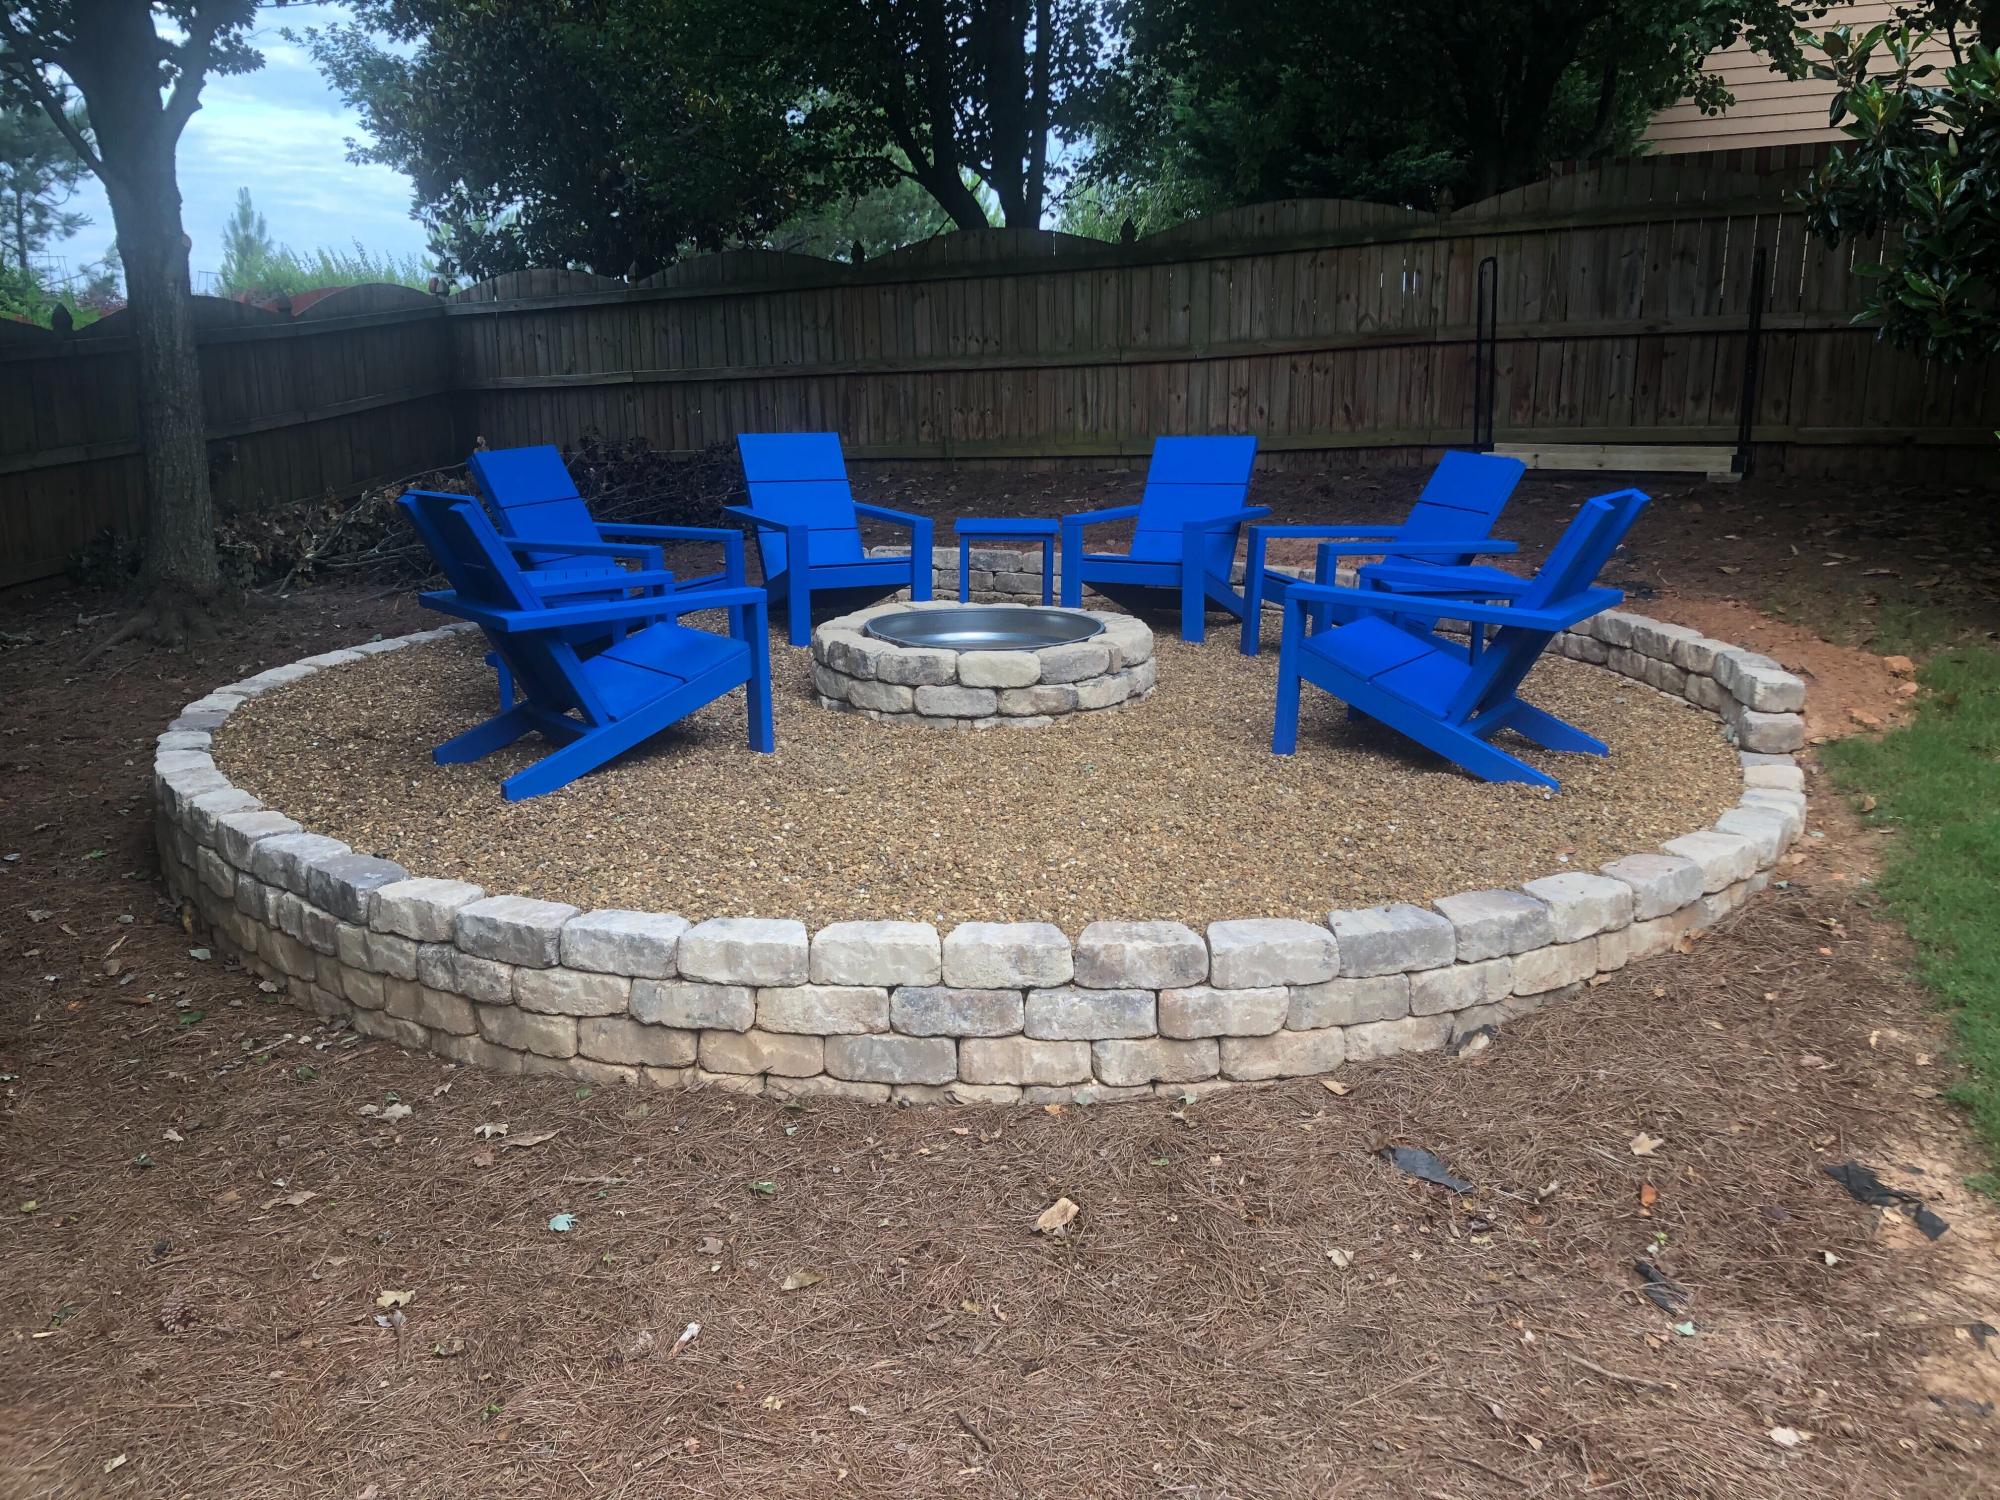
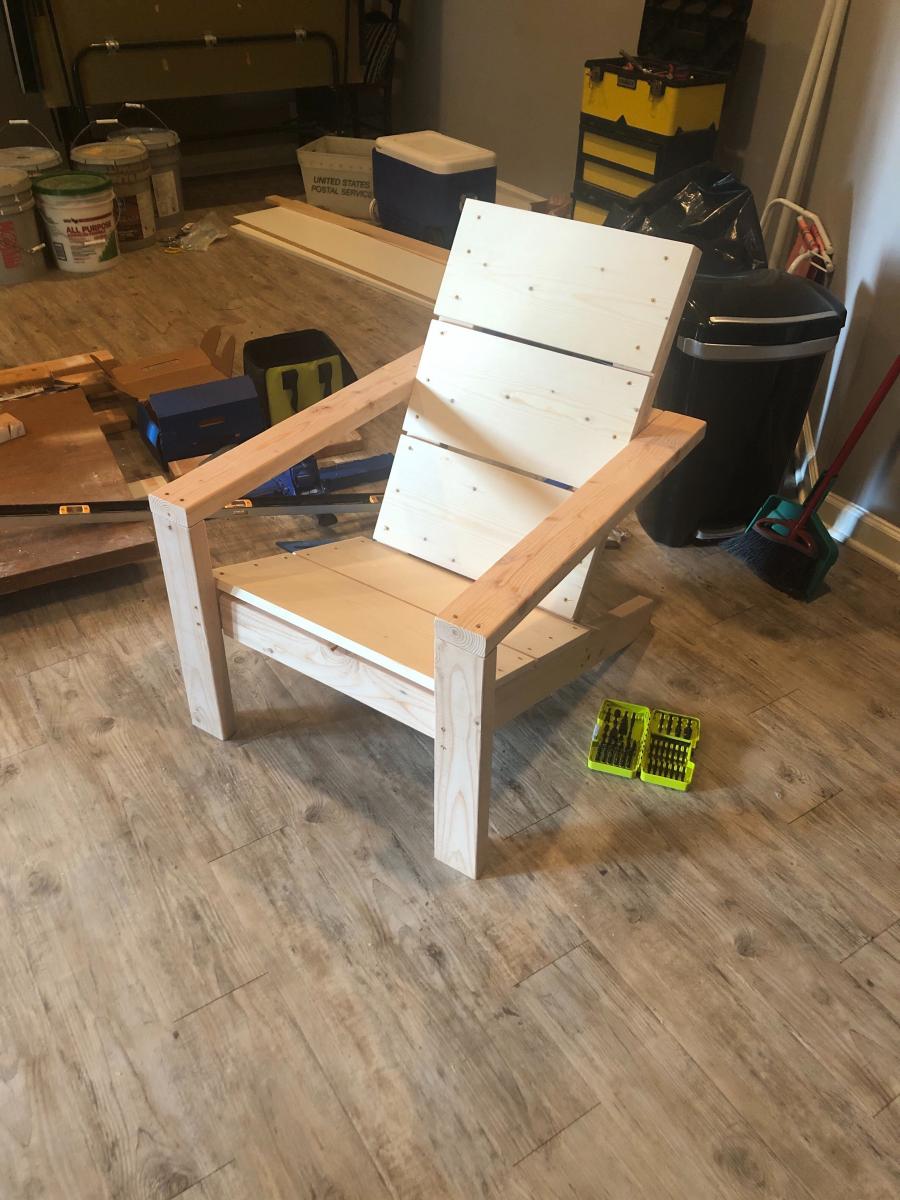
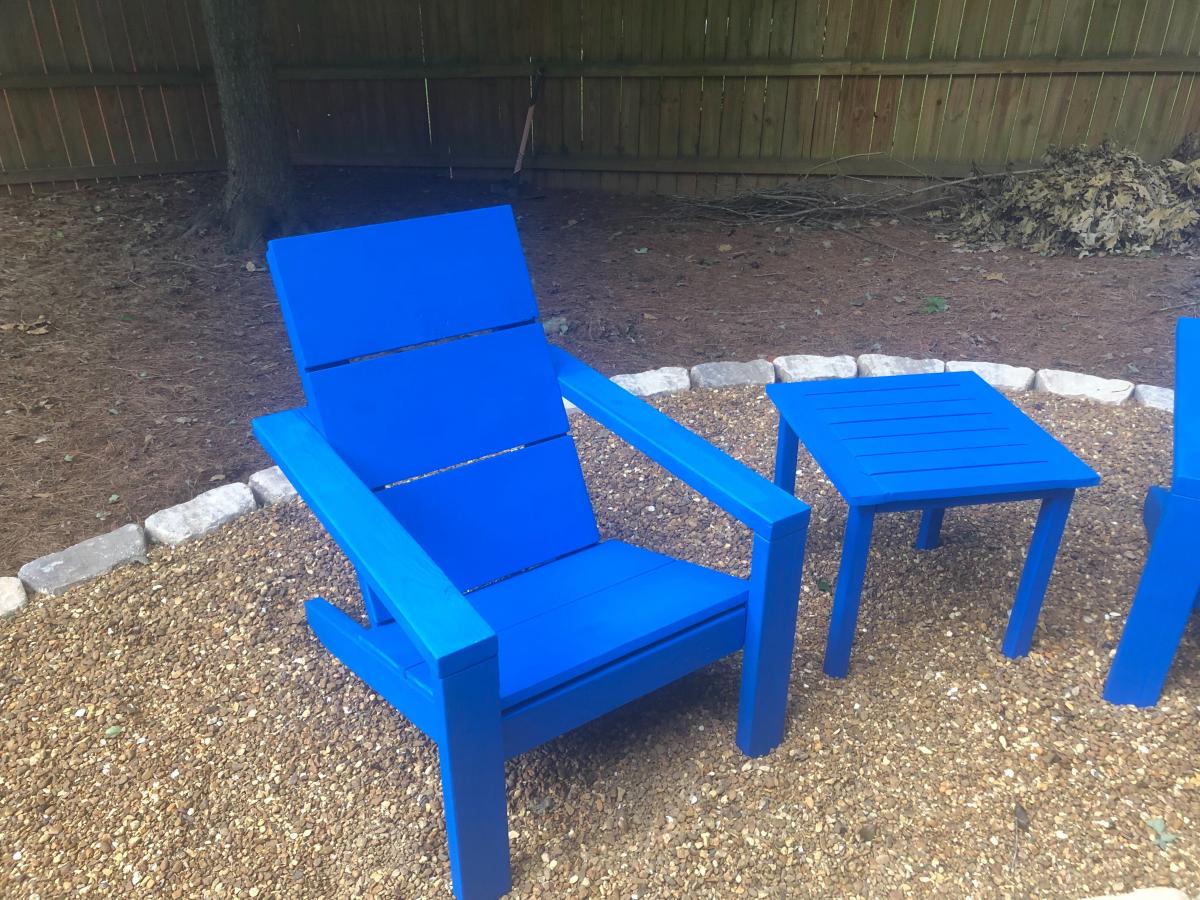
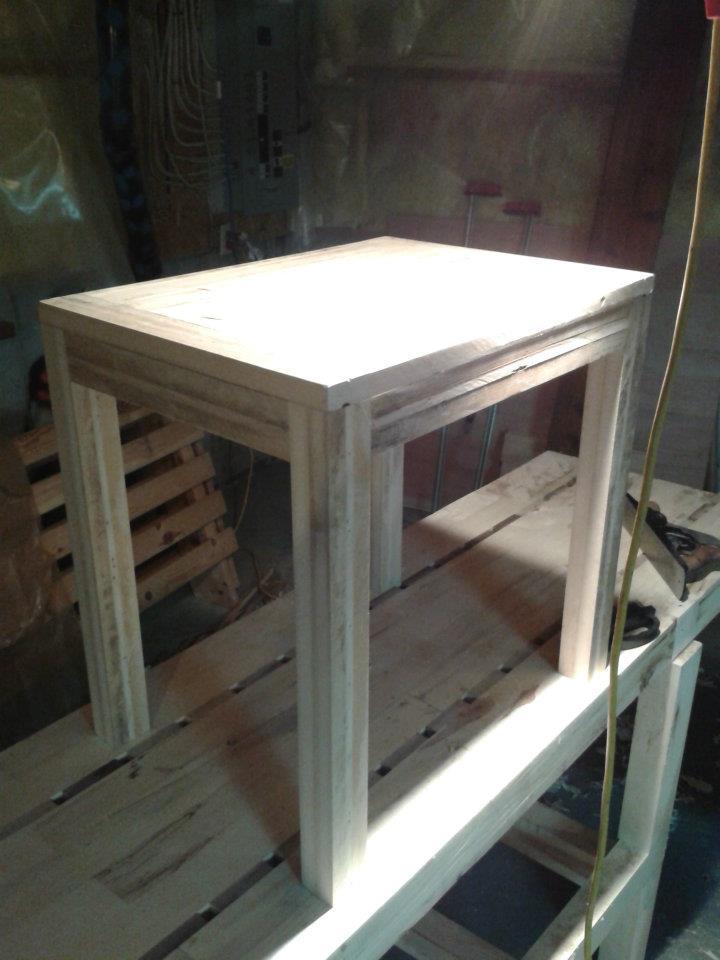
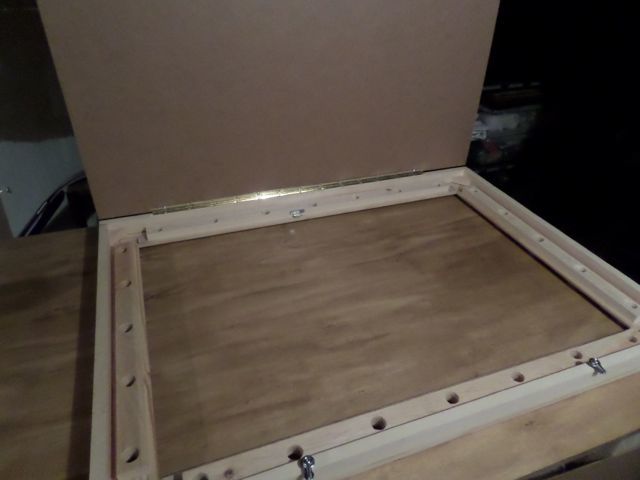
I built the one bench using the original plan with the storage and table top unit but needed two additional seating benches to go around the firepit without the bulk of the backside of the bench.
I modified the original plan as follows:
Shopping List:
(2) 2X6X8
(3) 2X4X8
(2) 1X6X8
Cutting List:
(2) 2X4X17" front legs, 15 degree cuts, parallel long to short
(2) 2X4X23" back support, 15 degree cuts, parallel long to short
(2) 2X4X20.75" back legs, 15 and 60 degree cuts, not parallel long to long
(2) 2X4X23" Back support, 15 degree cuts, parallel long to short
(2) 2X4X24.75" under seat, 15 degree cuts, not parallel long to long
(2) 2X4X30" bottom support, 15 degree cuts, not parallel long to long
(1) 2X4X42" bottom cross brace between leg sets, 90 degree cuts
(2) 2X6 cut equally in half, 3 for the seat and 1 for the top plate
(2) 1X6 cut equally in half, 3 for the back rest and 1 to be tucked under the seat overhang


Comments
kkushner
Sat, 08/15/2020 - 22:52
I am the individual who…
I am the individual who submitted this modification on June 14, 2020. I was making a change to the submission but somehow sent it before correcting the cut list. The "(2) 2X4X23" back support, 15 degree cuts, parallel long to short" is repeated twice and should be only once.