Community Brag Posts

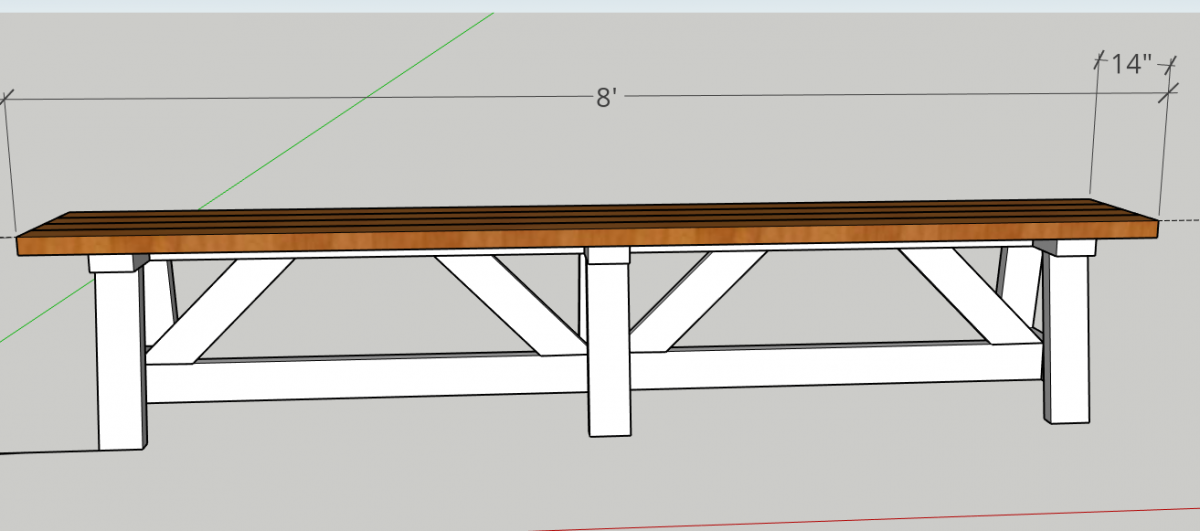
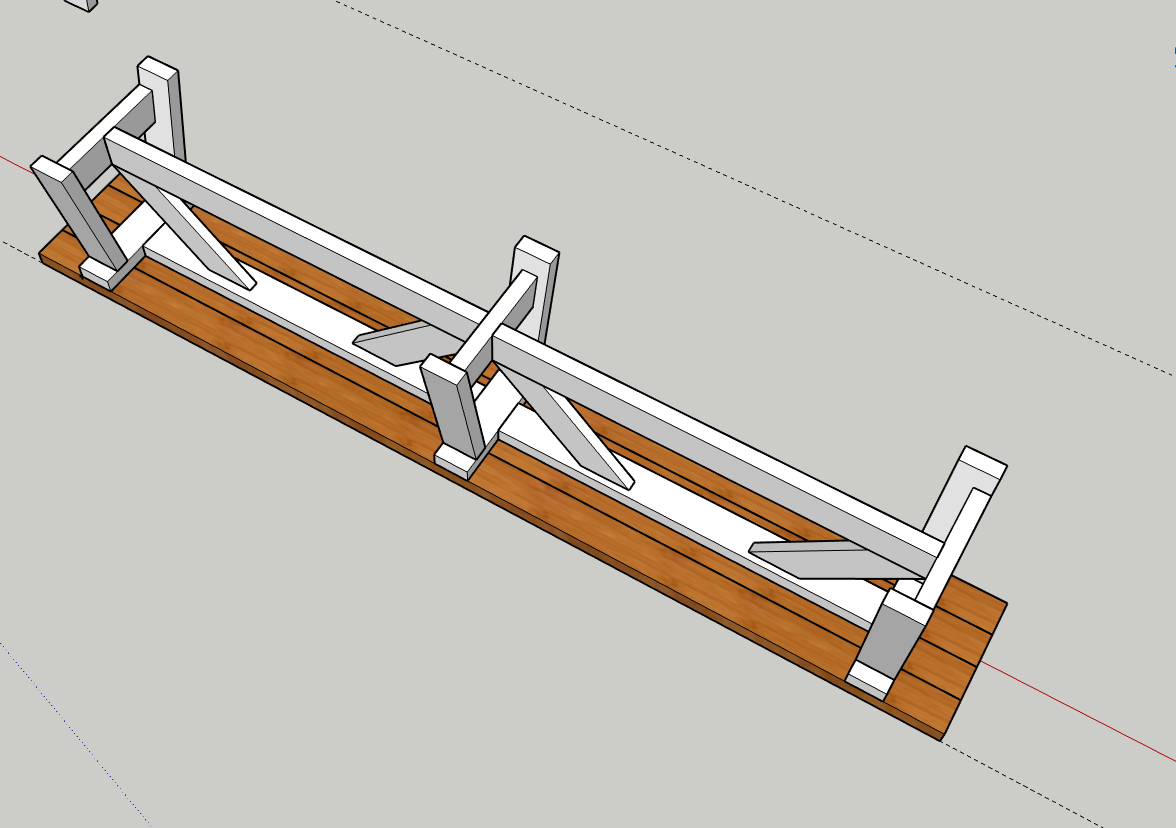
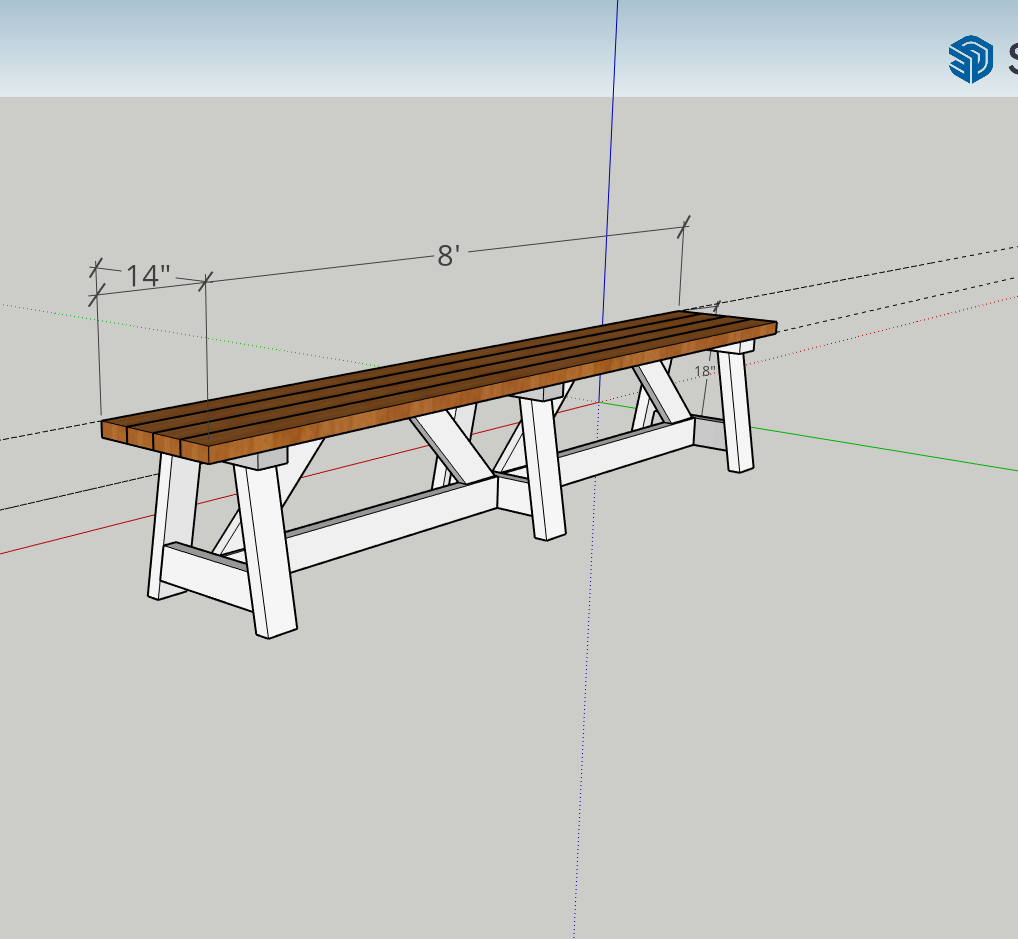
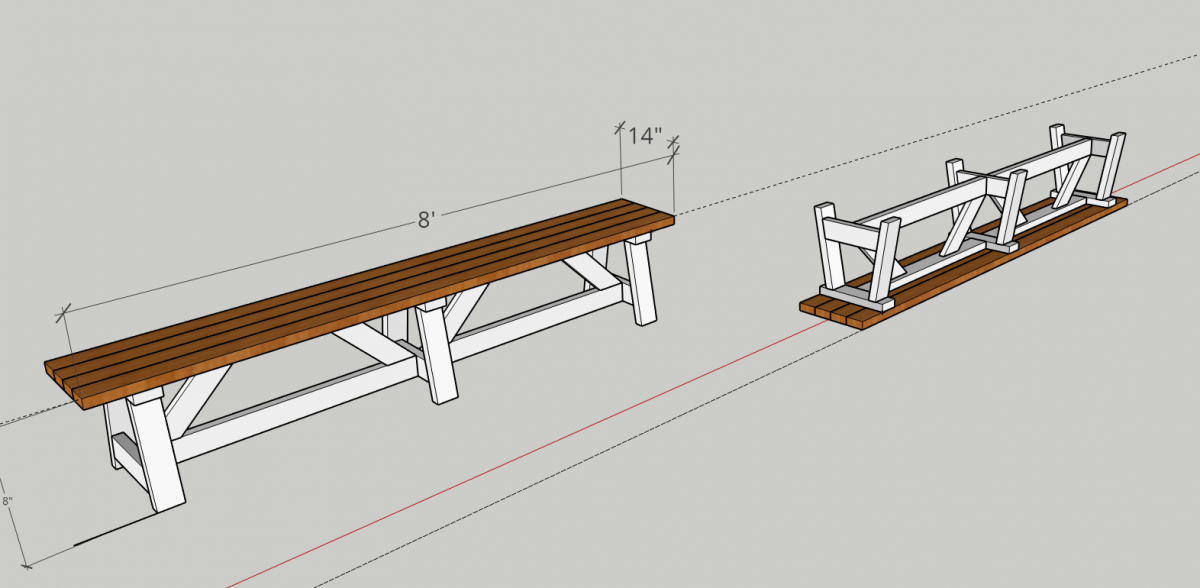
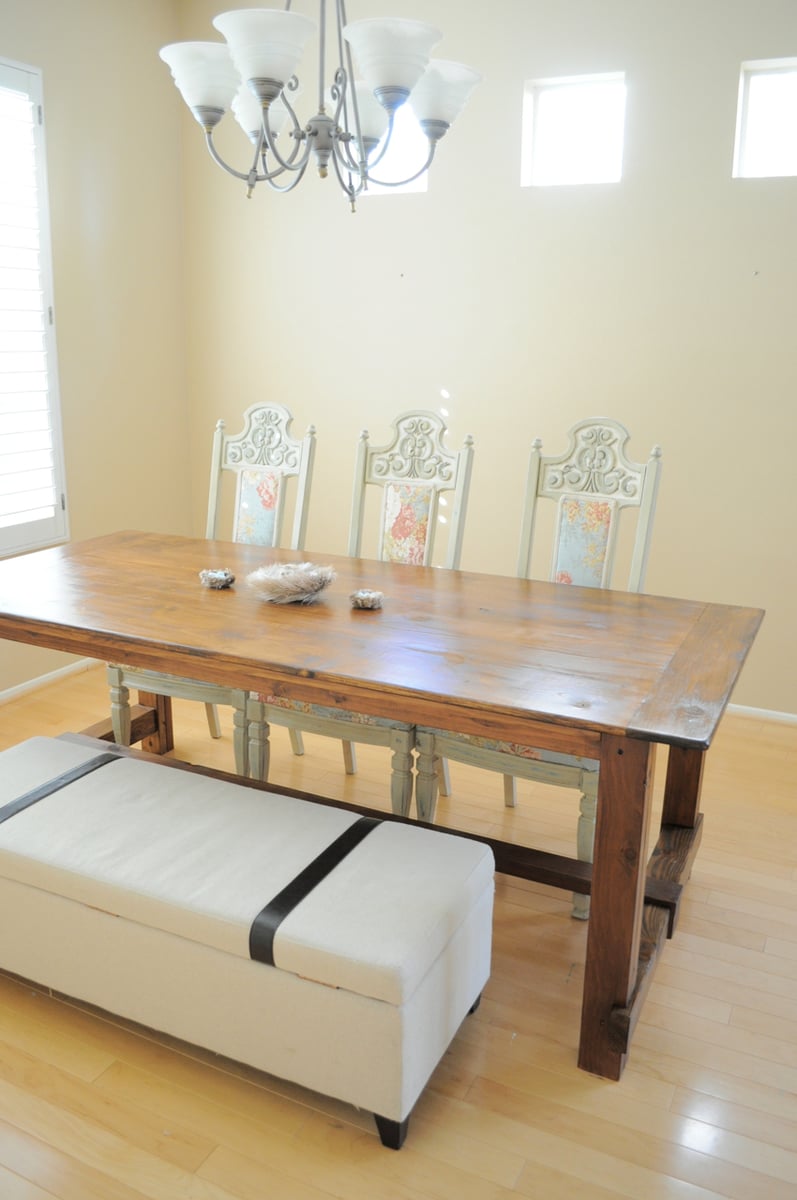
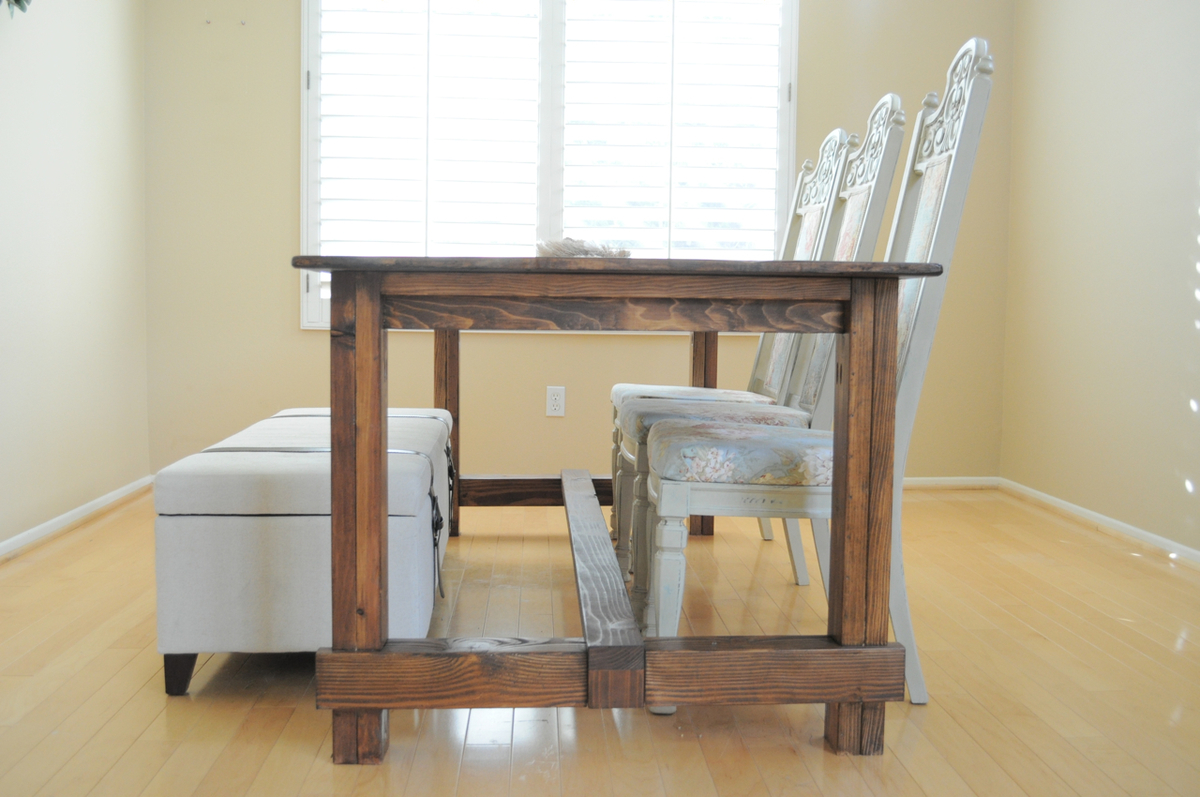
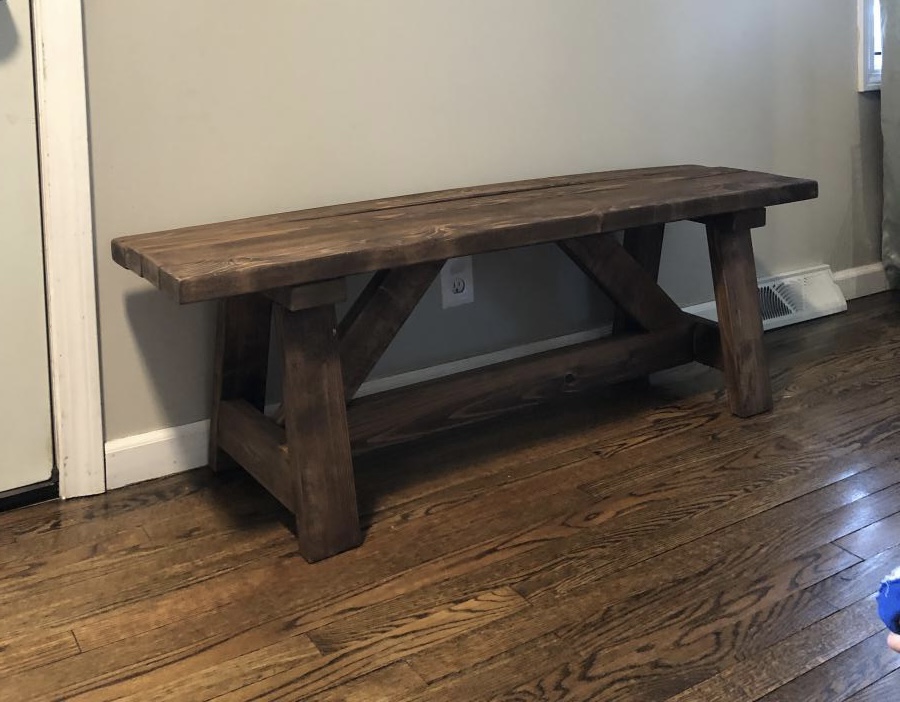
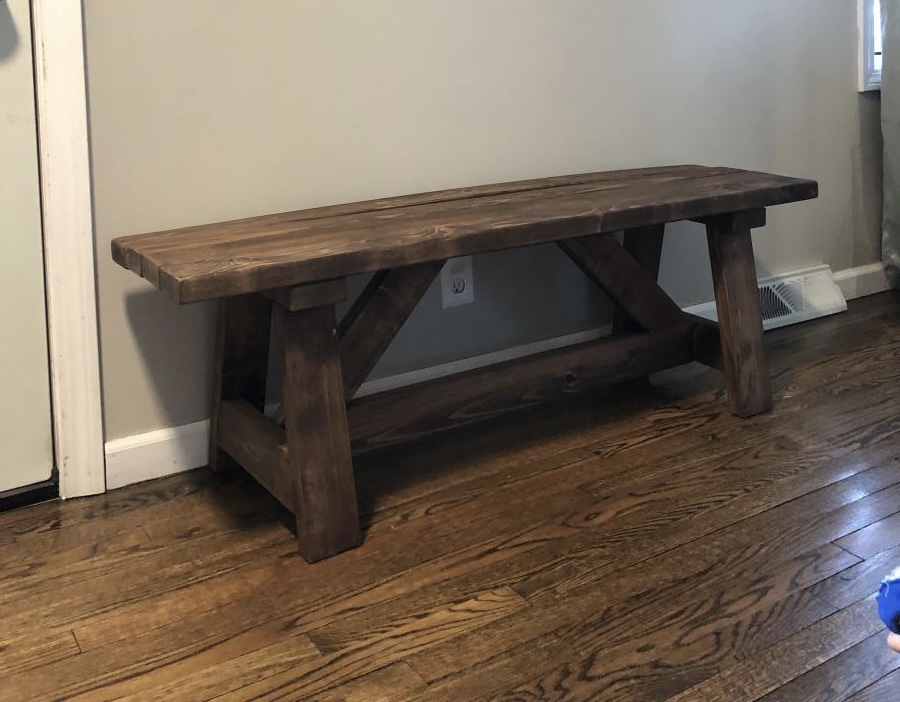
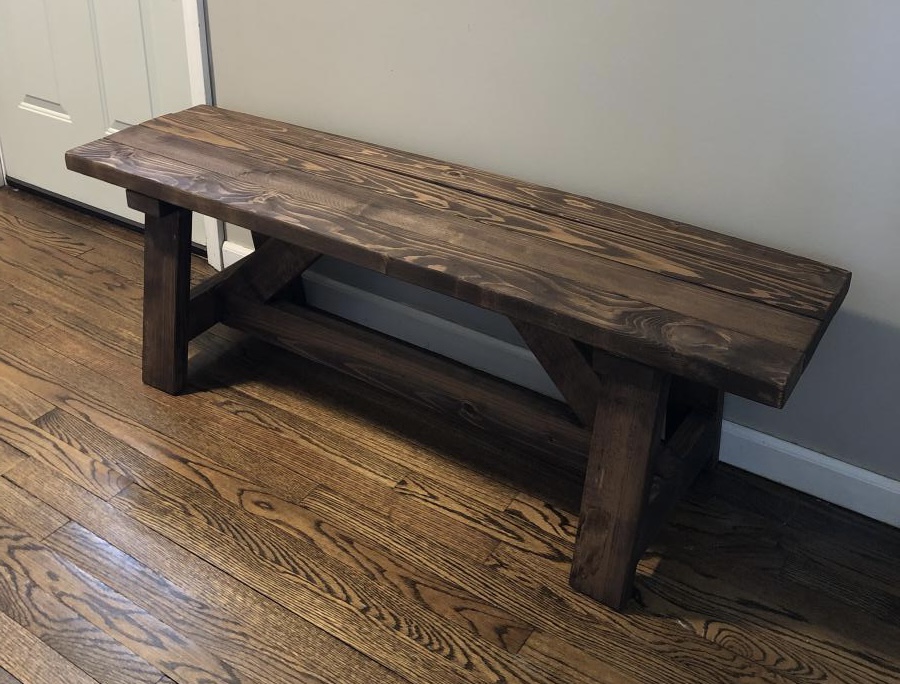
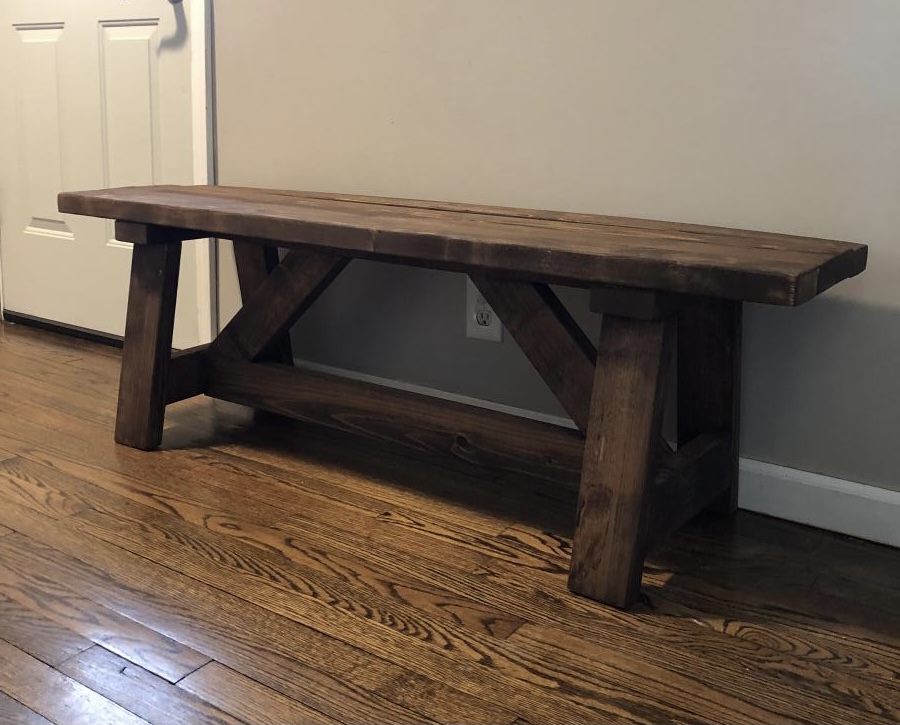
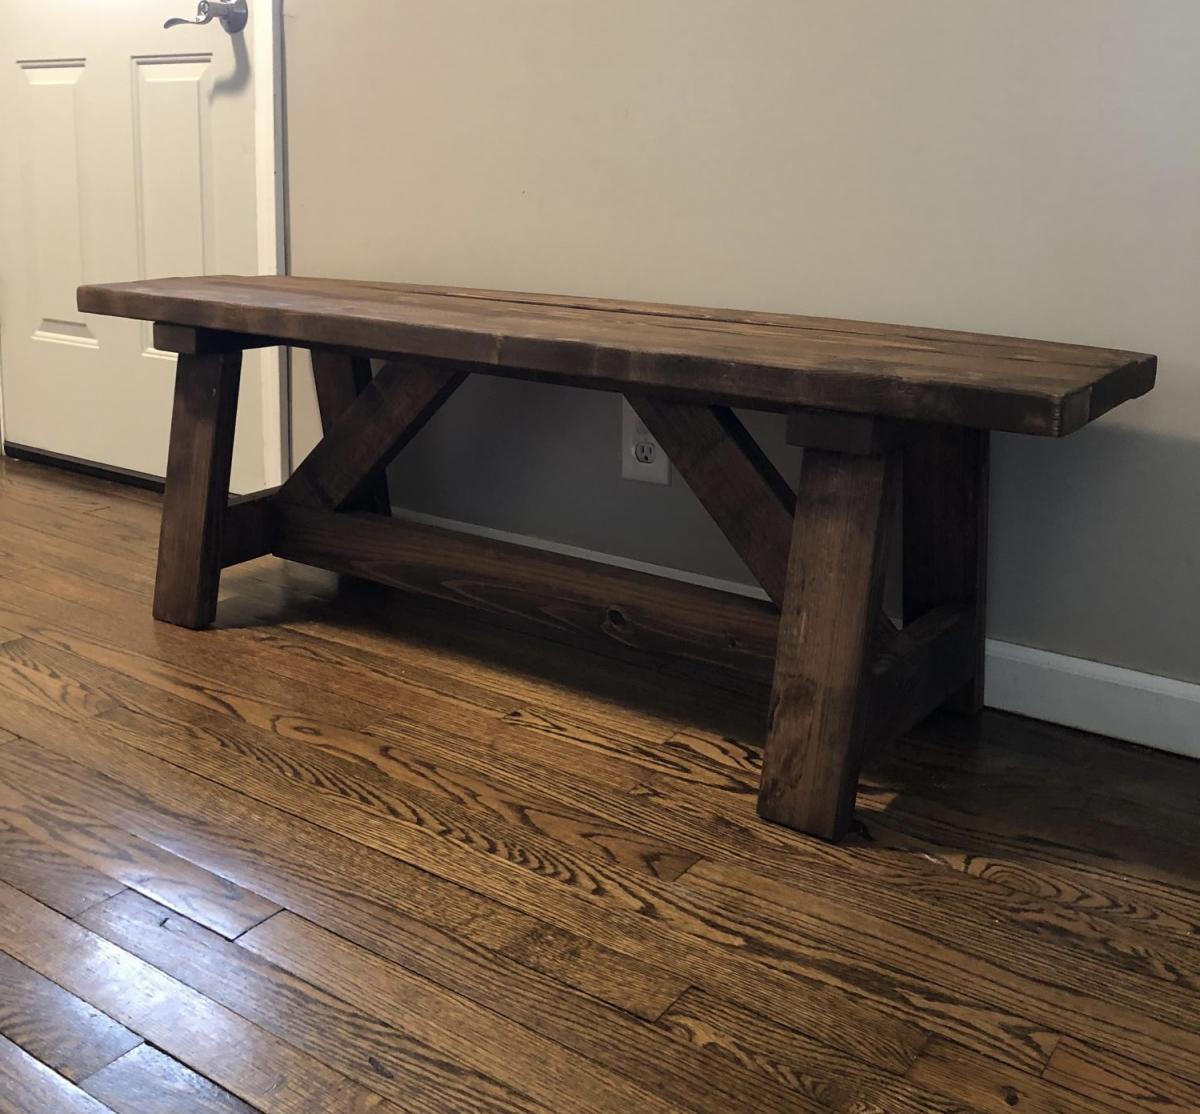
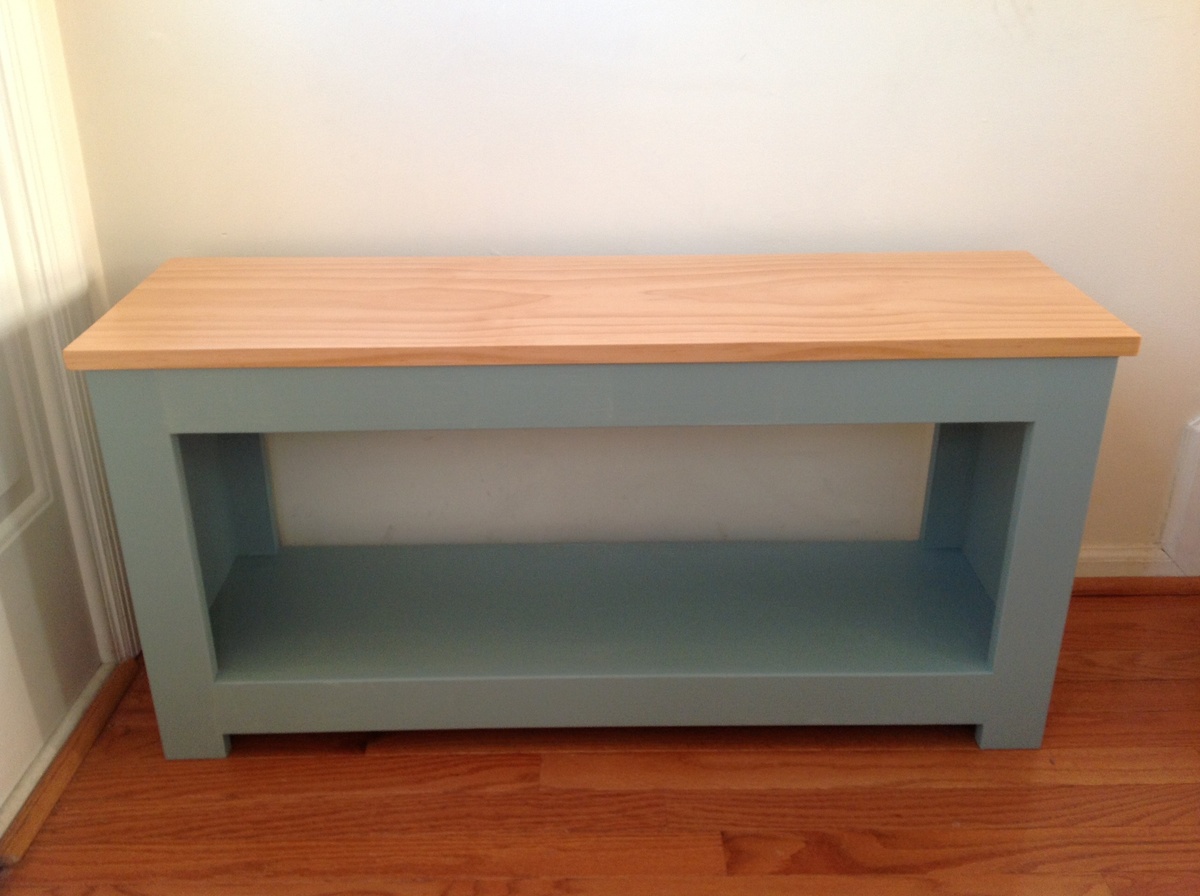
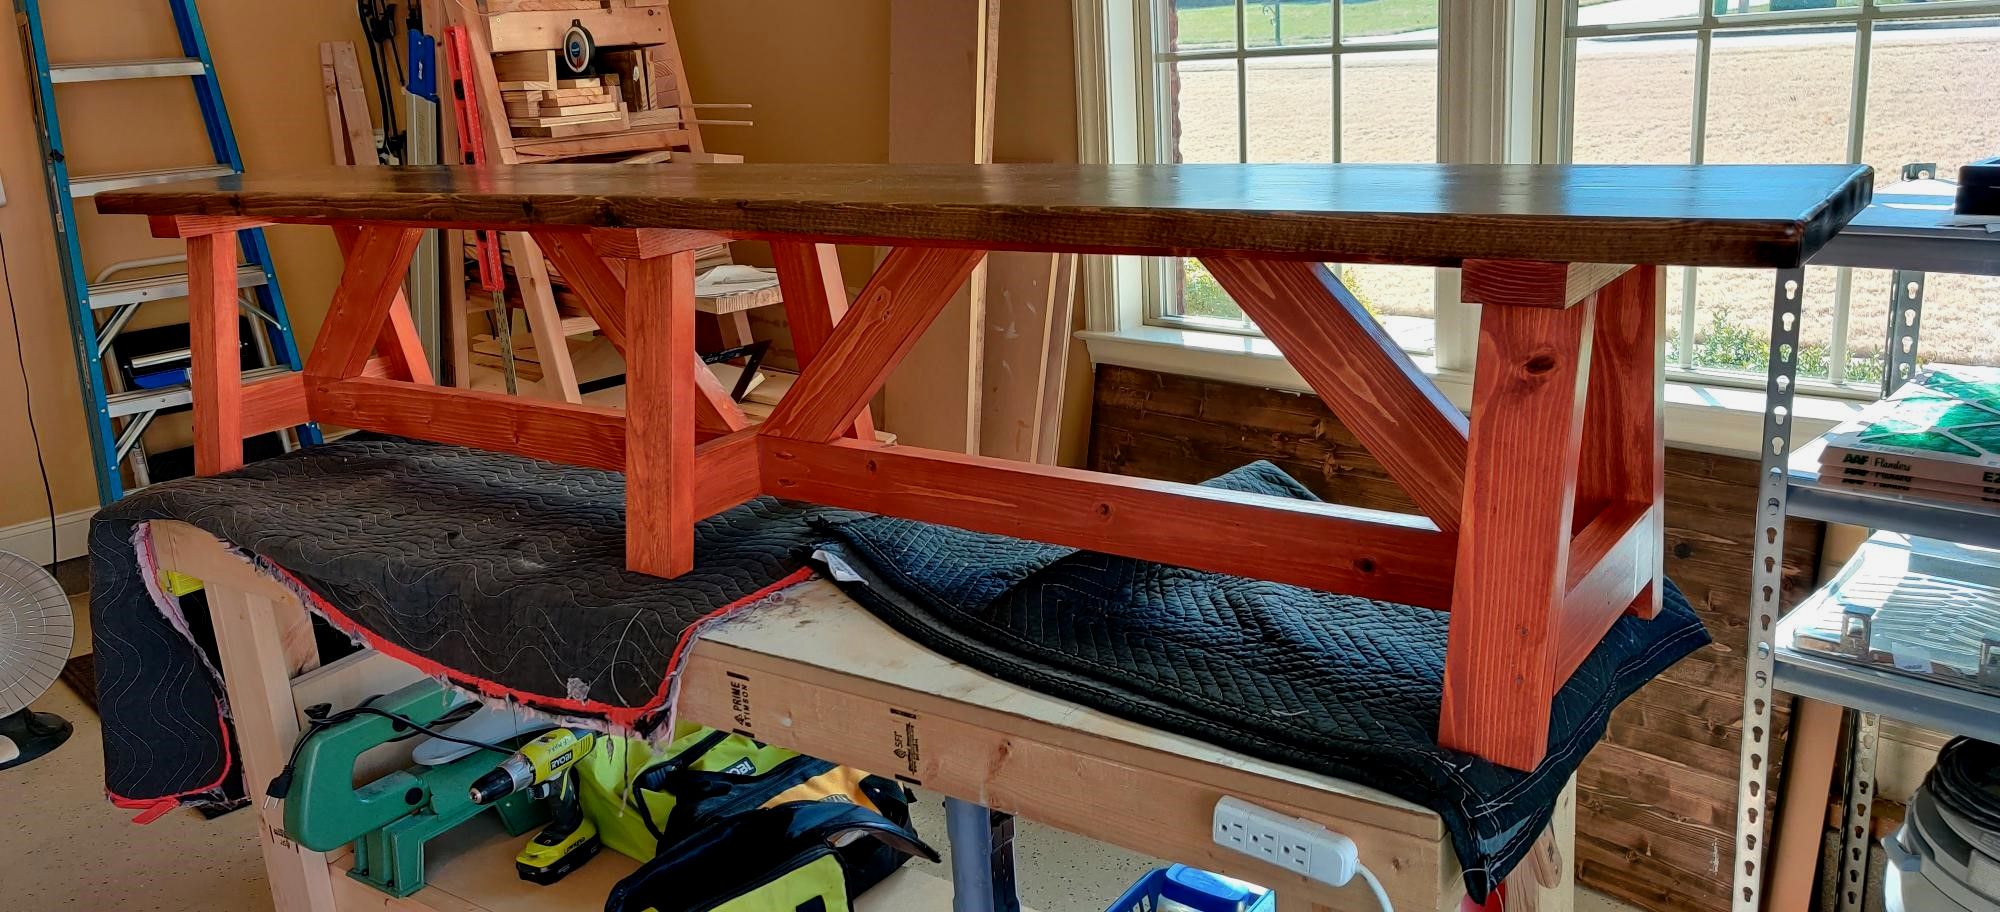
8 foot long truss style farm bench

Submitted by Bigherd on Wed, 04/21/2021 - 05:01

I had a friend that loved the 48" long truss style farm bench. However, she wanted one 8' long. I modified the "2X4 Truss Style Farm Bench" and came up with this design. As you can see, she want a very specific stain color combination.

Built from Plan(s)
Estimated Cost
$80
Estimated Time Investment
Week Long Project (20 Hours or More)
Finish Used
stains and Minwax Polycrylic
Recommended Skill Level
Beginner

Comments

Farmhouse Table

Submitted by kristine on Mon, 03/25/2013 - 23:08

So the husband was not happy with the fancy x dining table he made and thus, within a short 4 month period, he made another dining table :/ This one, however, he loves, so no more dining table making for him anytime soon! He veered off plans by joining most of the projects using dowels. You can read more about the build at our blog:

http://tonyandkristine.blogspot.com/2013/03/diy-farmhouse-table.html

Estimated Cost
appx $100
Estimated Time Investment
Week Long Project (20 Hours or More)
Finish Used
Varathane Stain + Poly in Early American
Recommended Skill Level
Intermediate

farmhouse bedside table

Submitted by Carol Anne on Fri, 02/06/2015 - 10:32

made from scraps, the only purchase I made was for the drawer pull and the paint.

Estimated Cost
$50.00
Estimated Time Investment
Day Project (6-9 Hours)
Finish Used
black satin enamel paint
Recommended Skill Level
Beginner

Window Shutters

Submitted by Anonymous (not verified) on Fri, 05/05/2017 - 09:33

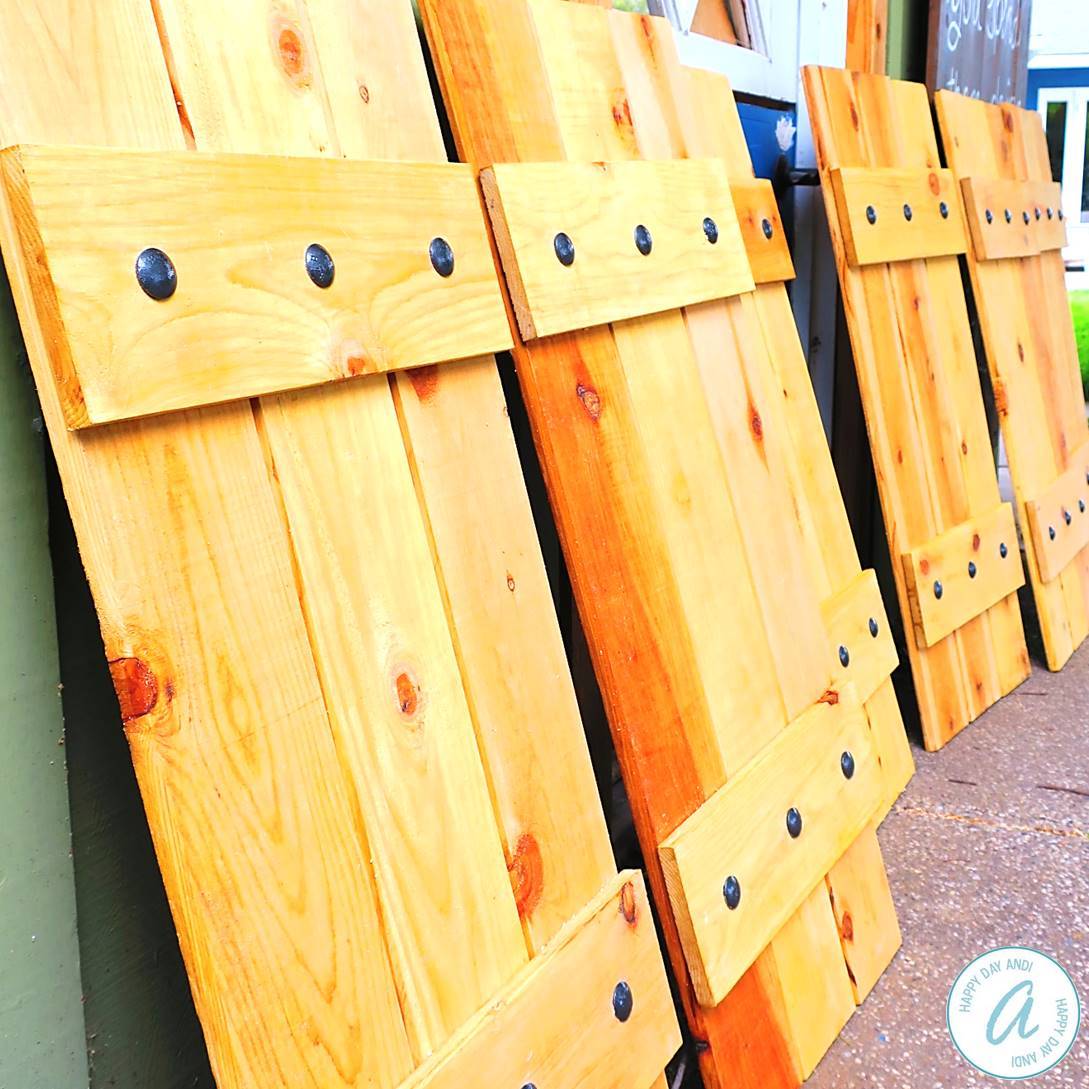
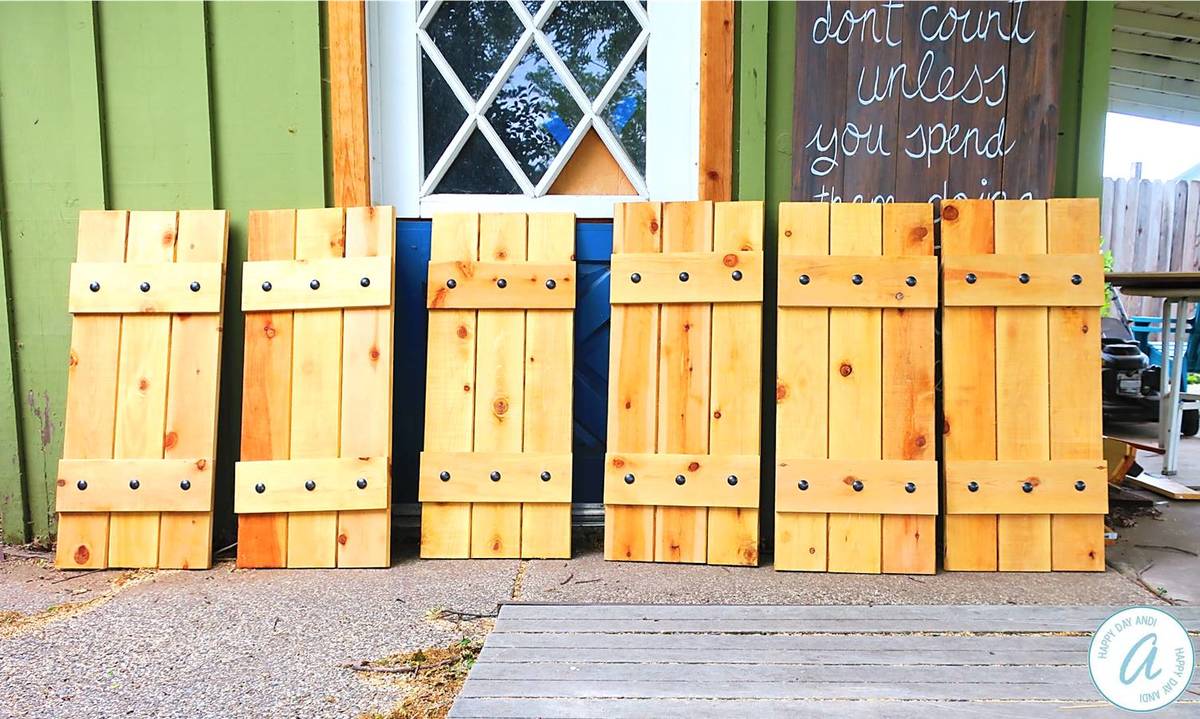
I really wanted to add a layer of depth to the front of our house, and my favorite option was adding new shutters! I used fence boards to keep cost low and to be sure that the wood would stand up to all weather conditions. I protected the wood with an oil-based sealant made for exterior use. I attached the cross braces with chunky screws and painted those black. I love how they turned out!

Estimated Cost
About $45 for the wood (my shutters were just tall enough to need a full fence board each - you may be able to double up) and about $36 for the chunky screws.
Estimated Time Investment
Afternoon Project (3-6 Hours)
Finish Used
I used the oil-based Varathane Satin sealant - not stain color required.
Recommended Skill Level
Beginner

Comments

2x4 Truss Bench

I loved making this bench - only 5 2x4s. I used premium studs, sanded before building, wood glue/countersunk screws and filled them in. Used English Chestnut stain and I’ll add polyurethane to ensure longevity. My first build - the trusses/supports weren’t the right size, somehow we’re short? So I cut those out twice. It’s OK because I had excess anyways! Nice snug fit now.

Built from Plan(s)
Estimated Cost
$60
Estimated Time Investment
Afternoon Project (3-6 Hours)
Finish Used
English chestnut varathane stain, polyurethane finish
Recommended Skill Level
Beginner

Comments

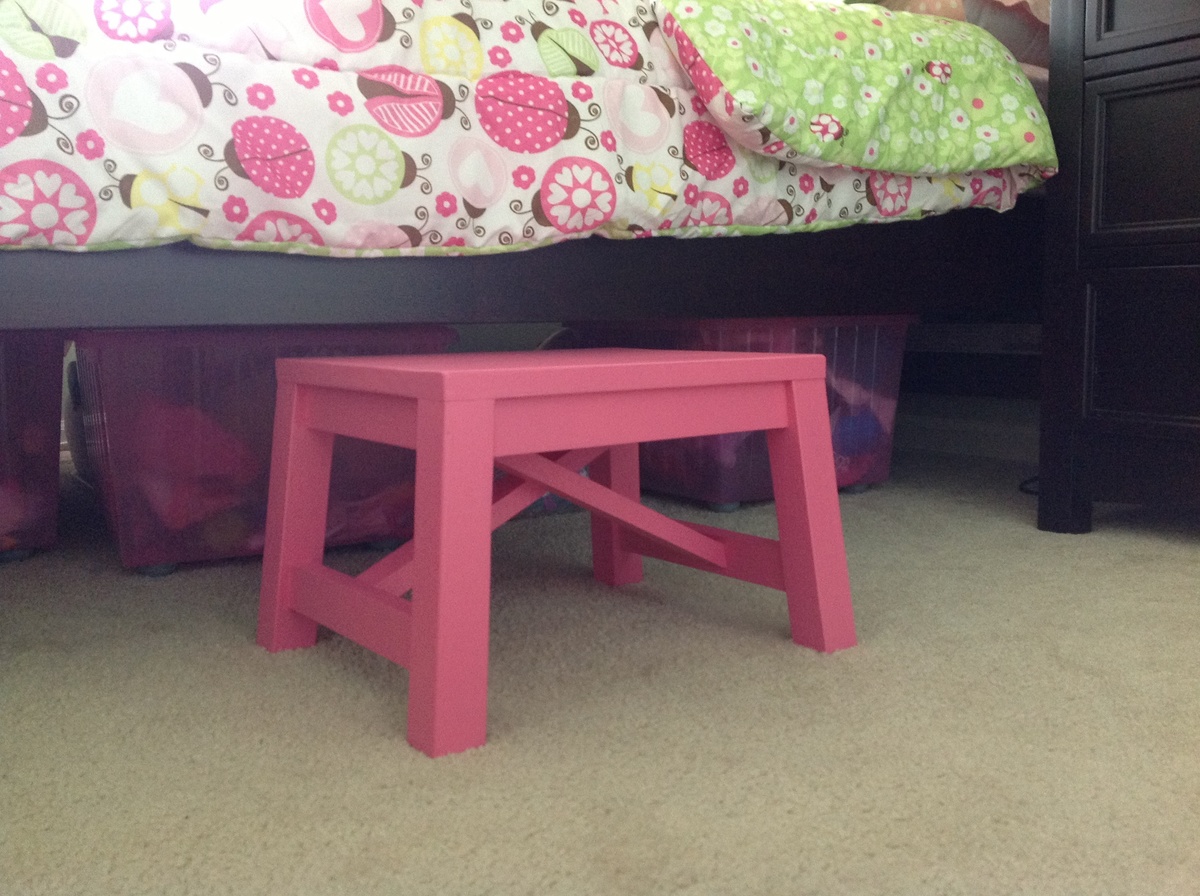
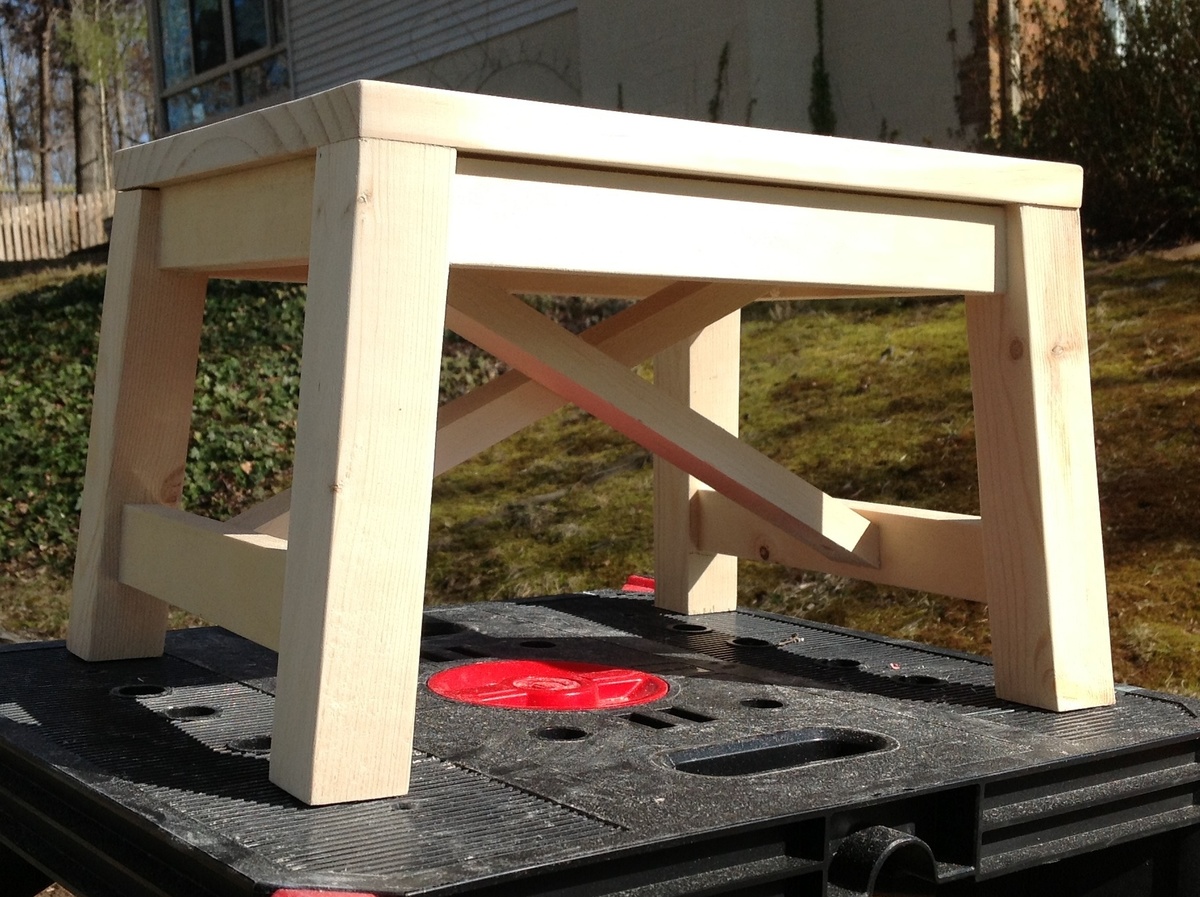
Rustic X Bench turned Stool

Submitted by Jlreber on Thu, 03/28/2013 - 09:07

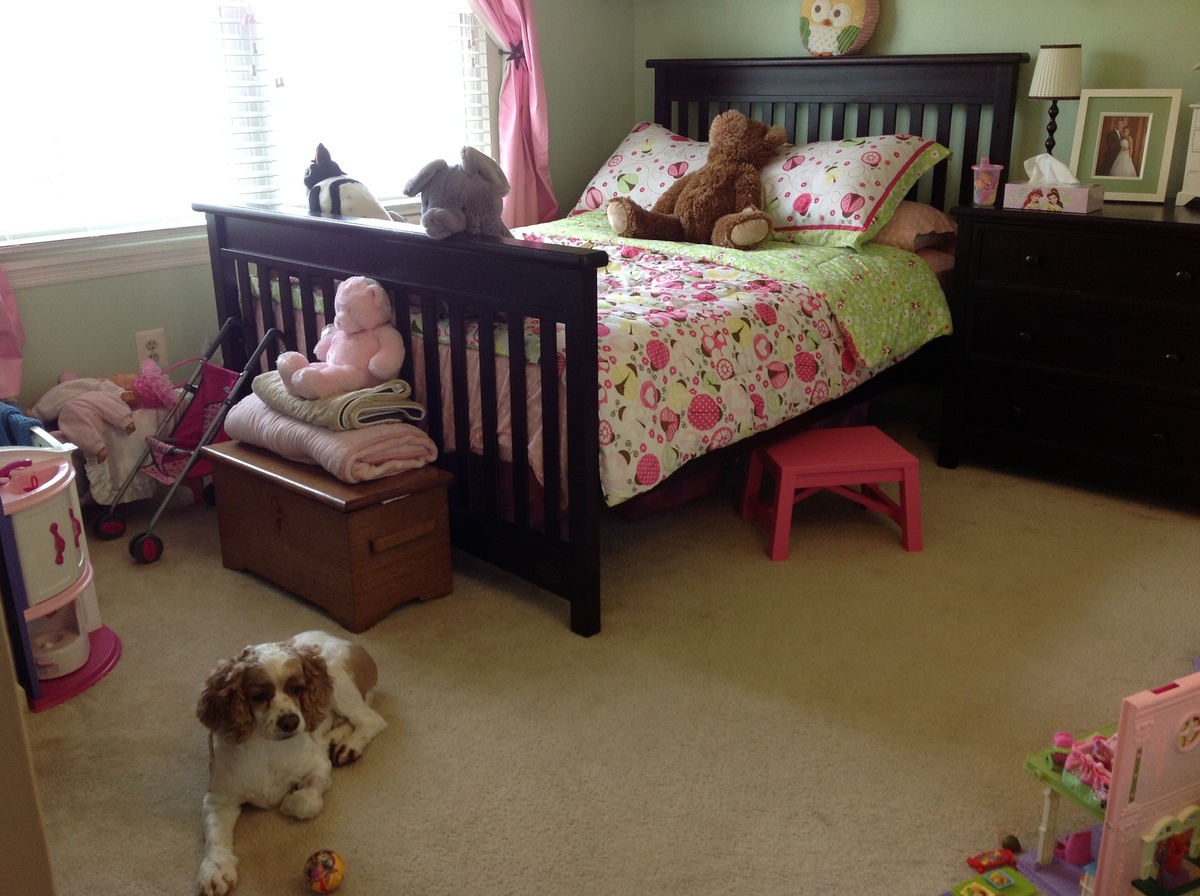
Moved our 3 year old into her big bed and she needed a stool. I loved the Rustic X Bench design and simply shrunk the measurements. The legs are made from 2x2s and were compound cut with the 5 degrees off center and 5 degree bevel. I used 1x2s for the aprons and other supports including the "X" support. Topped with a 1x12 cut 14" in length. Joined all together with countersunk 1 1/4" screws. Only added wood glue for the top piece. Stool measures 9 3/4" high which gives a nice 1/2" clearing to push under her bed when needed.

Built from Plan(s)
Estimated Time Investment
Afternoon Project (3-6 Hours)
Finish Used
Primed before painting with Valspar's Frosted Berry. Bought a $3 half pint sold as samples.
Recommended Skill Level
Beginner

Comments

Pam the Goatherd

Fri, 03/29/2013 - 08:47

Love it! I have loved the full-sized bench since I first saw it. Miniaturizing it into a stool makes it even cuter! Thanks for the info on sizing. I'm going to have to make one!

Day Bed

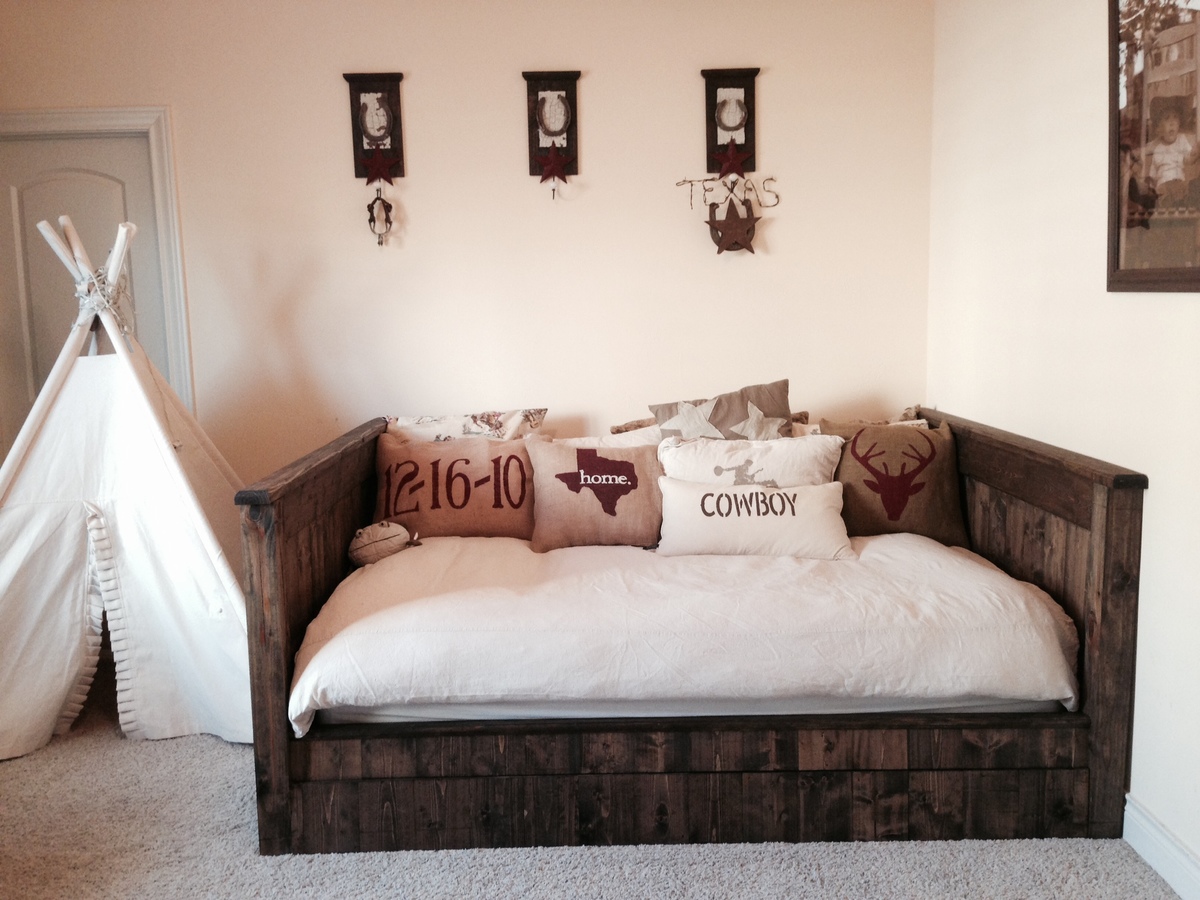
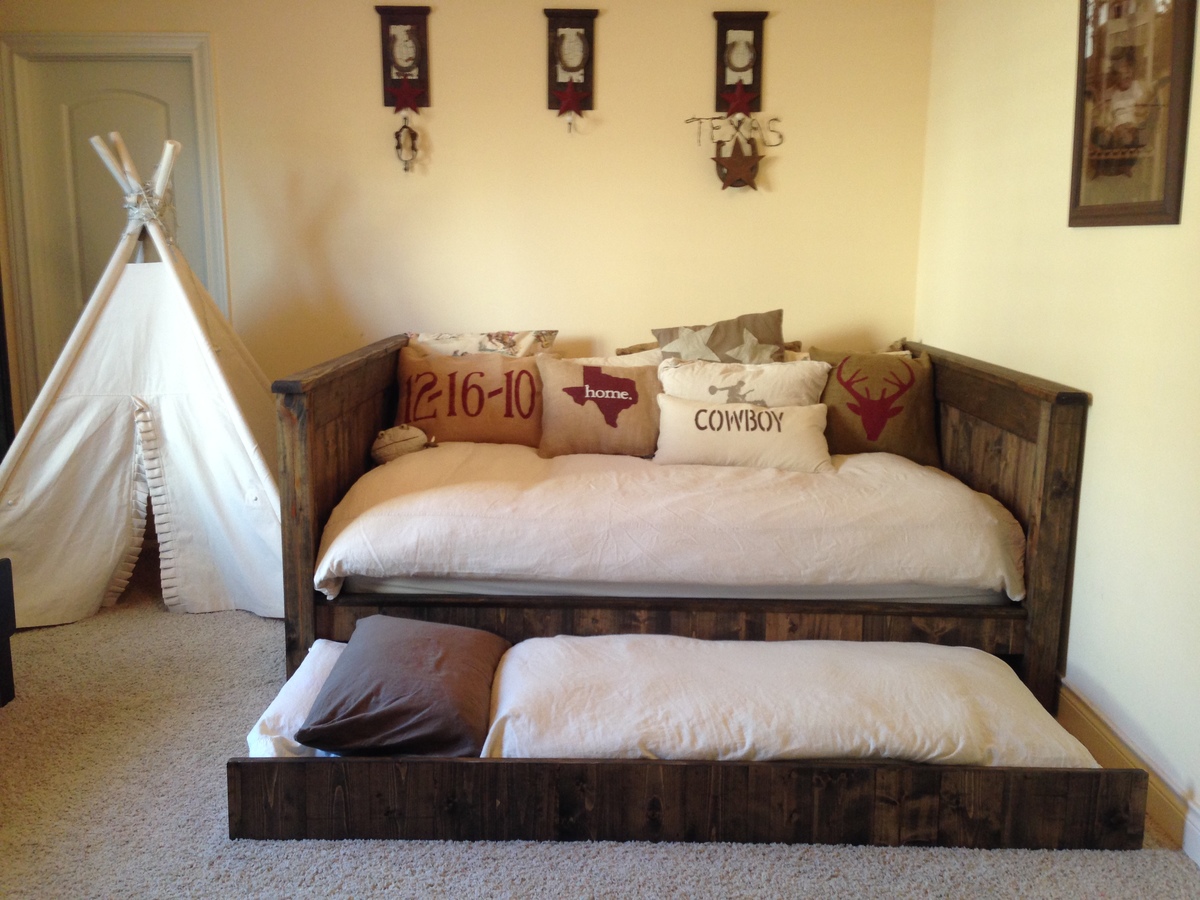
Queen size Day Bed with Full size trundle made of yellow pine and dark stain from Homedepot

Estimated Time Investment
Week Long Project (20 Hours or More)
Recommended Skill Level
Intermediate

Comments

suziewelker

Sat, 10/24/2020 - 00:05

Please may I have the plans for this bed? I want to build it in a twin XL size. 39x80. The mattresses are 10” thick. I have tried adapting several of your daybed/ farmhouse bed plans to include a trundle and to be long enough to accommodate the XL mattresses and have been stumped. I like the lower arms of the Hailey and simple daybed and wish this bed had a back piece. But this would be the closest “jumping off point” to get what I’m looking for. (I think) Any help would be greatly appreciated.

Queen Size Headboard

Submitted by Anonymous (not verified) on Mon, 05/08/2017 - 15:49

This was pretty easy to follow based on the instructions. It took me a little longer than expected becuase of the weather, I had to run back and forth to cut the wood from where I was building it.

Estimated Time Investment
Afternoon Project (3-6 Hours)
Recommended Skill Level
Beginner

Backyard Patio Set

Submitted by Theavy on Tue, 05/04/2021 - 15:03

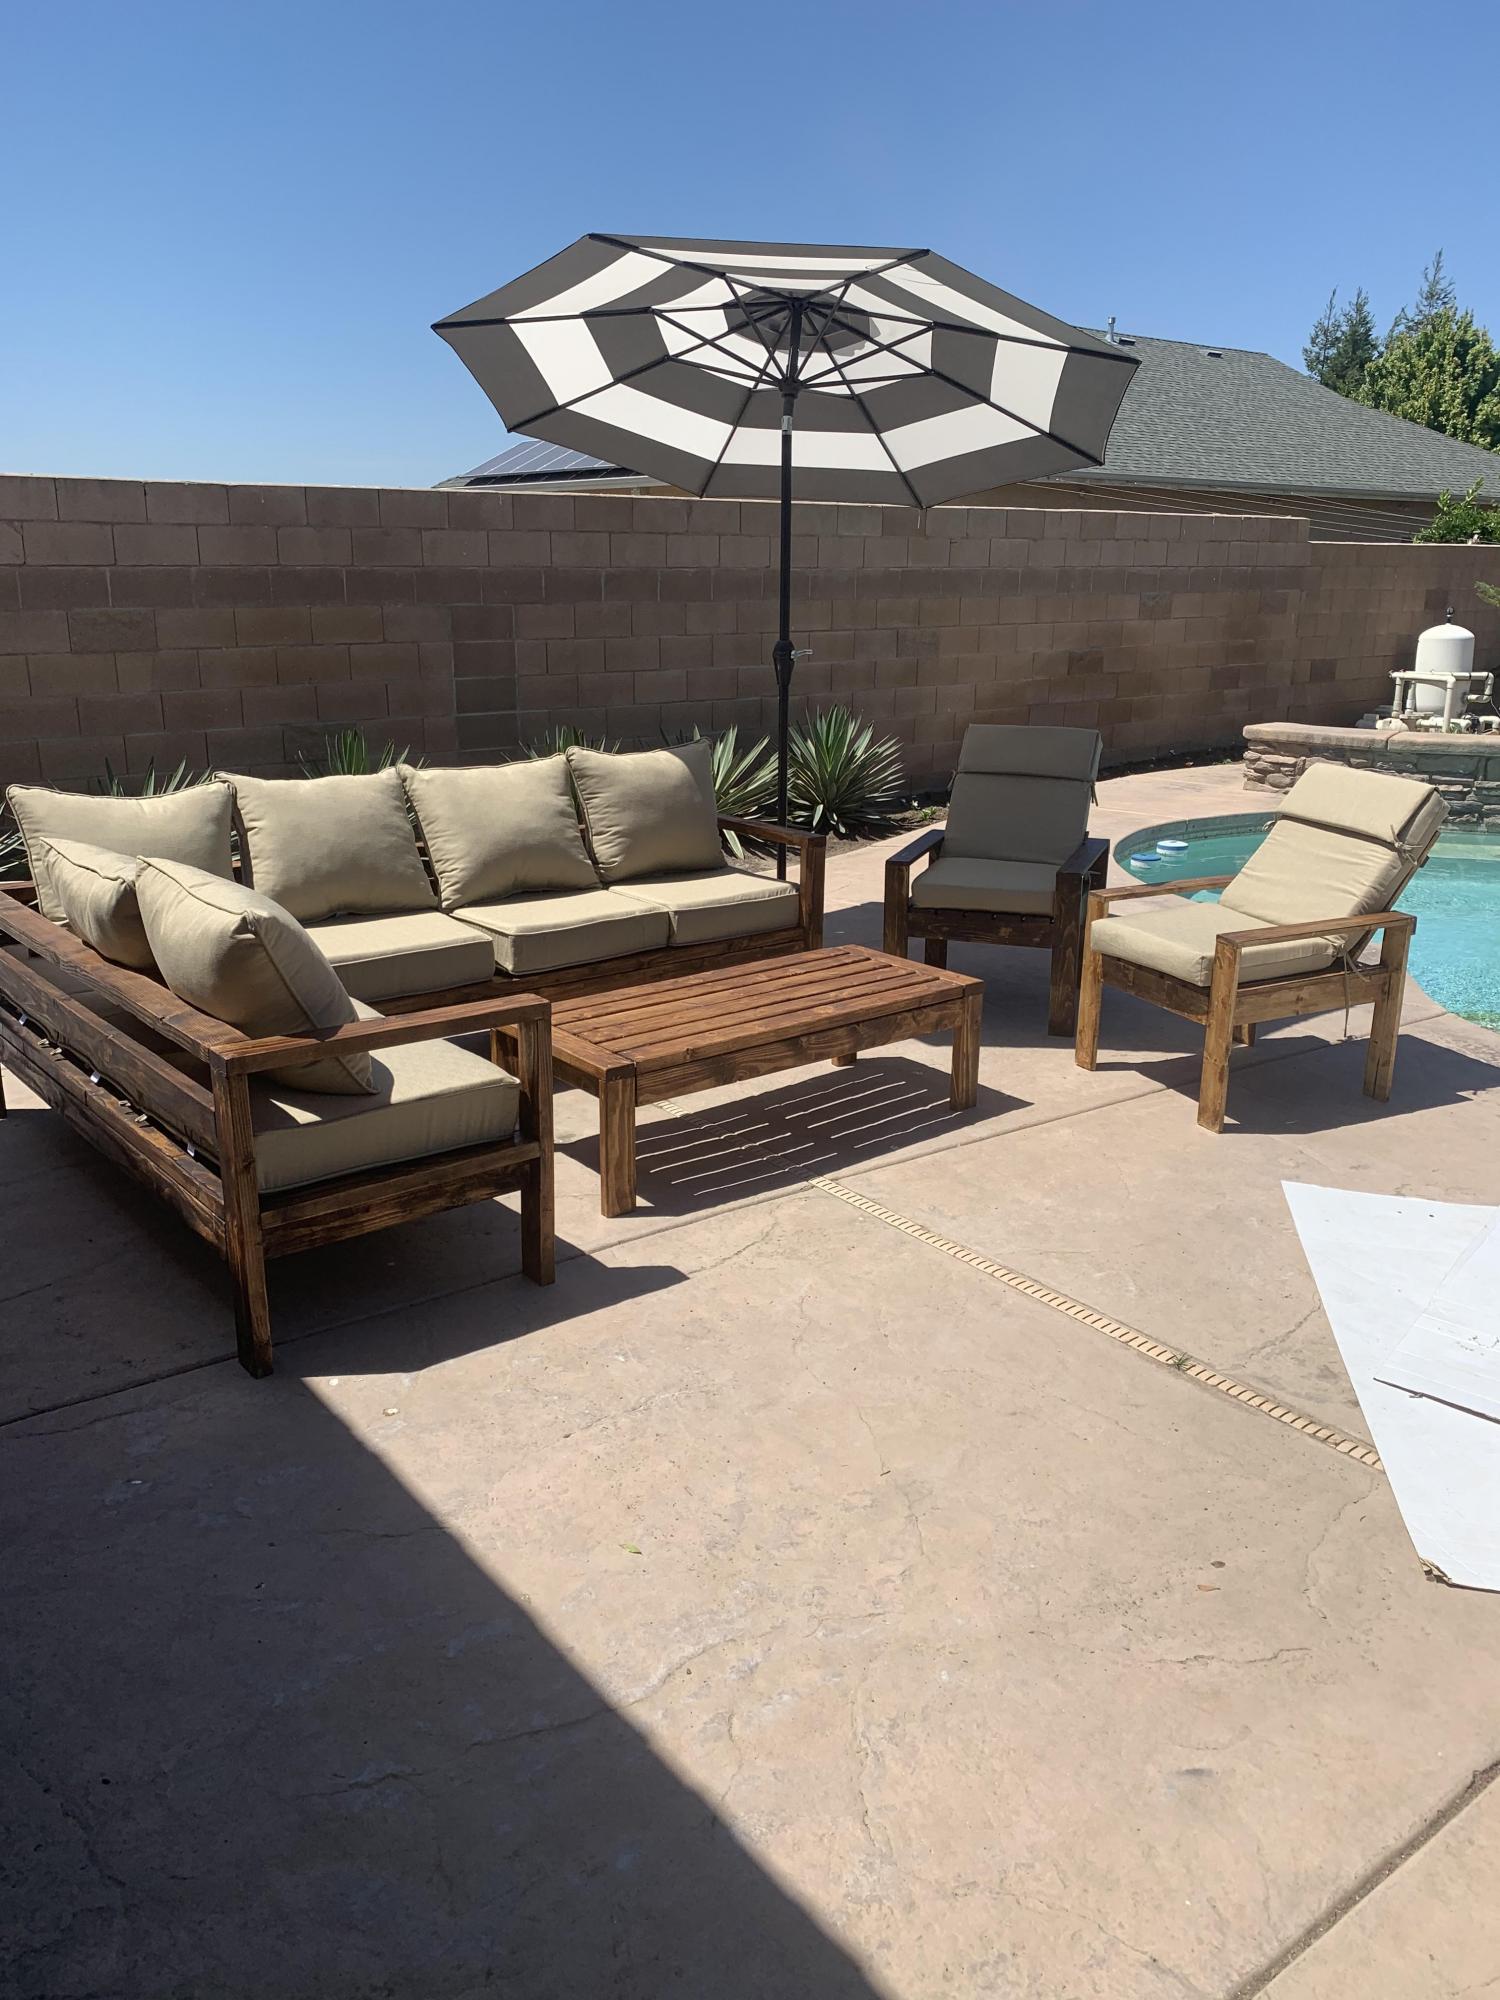
Used Ana's plan for chairs, coffee table, sofa and lounger. Stained and clear coated. Wife is happy. What can be better!

Estimated Time Investment
Week Long Project (20 Hours or More)
Finish Used
SPAR Urethane
Recommended Skill Level
Intermediate

Comments

Harriet Outdoor Dining Chair

Submitted by Jamaunzie on Sun, 03/31/2013 - 10:03

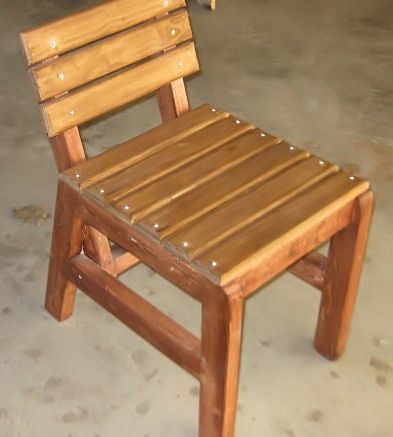
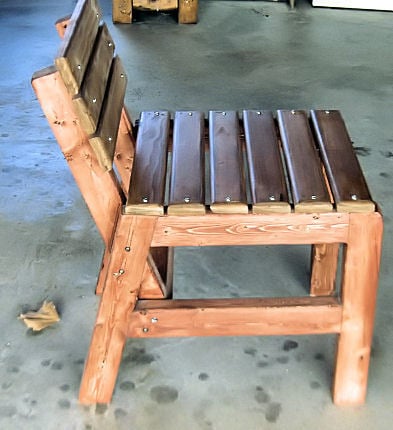
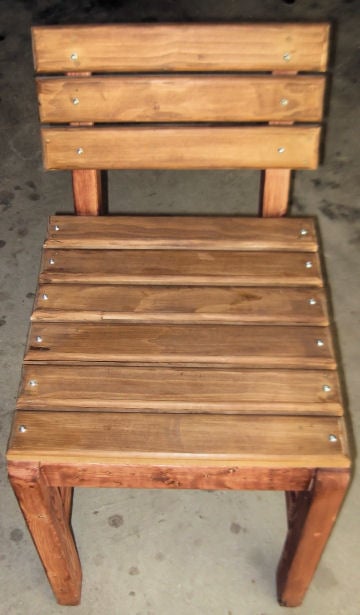
I saw this chair and was looking for something for back yard BBQ's I just beefed it up by using 2X3's instead of 2X2's left the measurements the same. I was playing around with Minwax Express Color to see how well it does and I like it helps control Blotching very easy to use except be careful when squeezing the tube or you like me will have a permanent shirt for staining

Built from Plan(s)
Estimated Time Investment
An Hour or Two (0-2 Hours)
Finish Used
Pine
Recommended Skill Level
Beginner

Rustic X End table

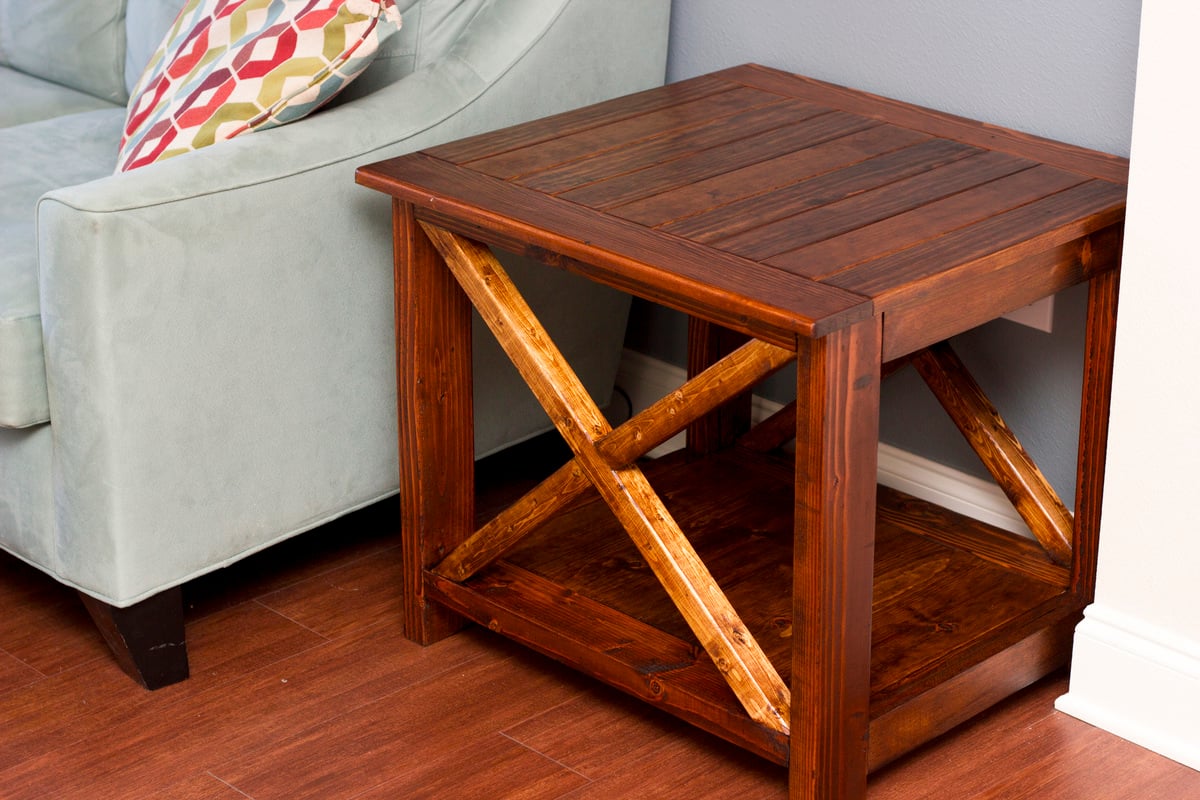
Submitted by mrobin333 on Thu, 02/12/2015 - 10:29

This was a great plan. My wife loved the finished product. Made a few variations to accomodate for the size of scrap wood that I had. 

Built from Plan(s)
Estimated Cost
About $40 for both tables but all the wood was scrap wood. I only paid for the screws and wood glue.
Estimated Time Investment
Day Project (6-9 Hours)
Finish Used
2 coats of English Walnut stain brushed on and wiped off, and a coat of poly.
Recommended Skill Level
Starter Project

Farmhouse table

Submitted by Anonymous (not verified) on Fri, 05/12/2017 - 12:13

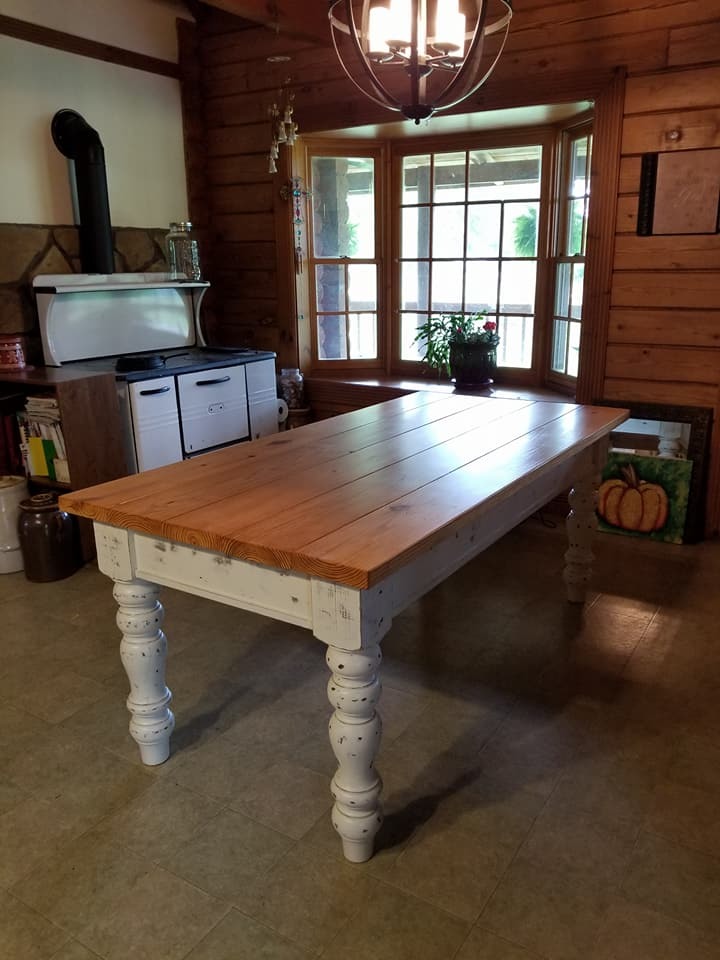
6'x3' Farmhouse table.  Top is made of 2x8's, stained with MinWax natural oak. Legs are 5"x5" "husky" legs found on Etsy.com.  Side aprons are 1x6 pine.  The base has a basecoat of mahogany stain, covered my antique white milk paint and distressed with an orbital sander.   

I was hoping to get the same "old world chipped paint" finish that Ana did on one of her tables, but I couldn't get it to replicate.  But I'm still happy with the results.

Estimated Cost
$350
Estimated Time Investment
Week Long Project (20 Hours or More)
Finish Used
Natural Oak stain on top, Mahogany stain covered by antique white milk paint on base.
Recommended Skill Level
Intermediate

Fancy X Farmhouse Table & Bench

Submitted by diegaeb on Fri, 05/14/2021 - 00:55

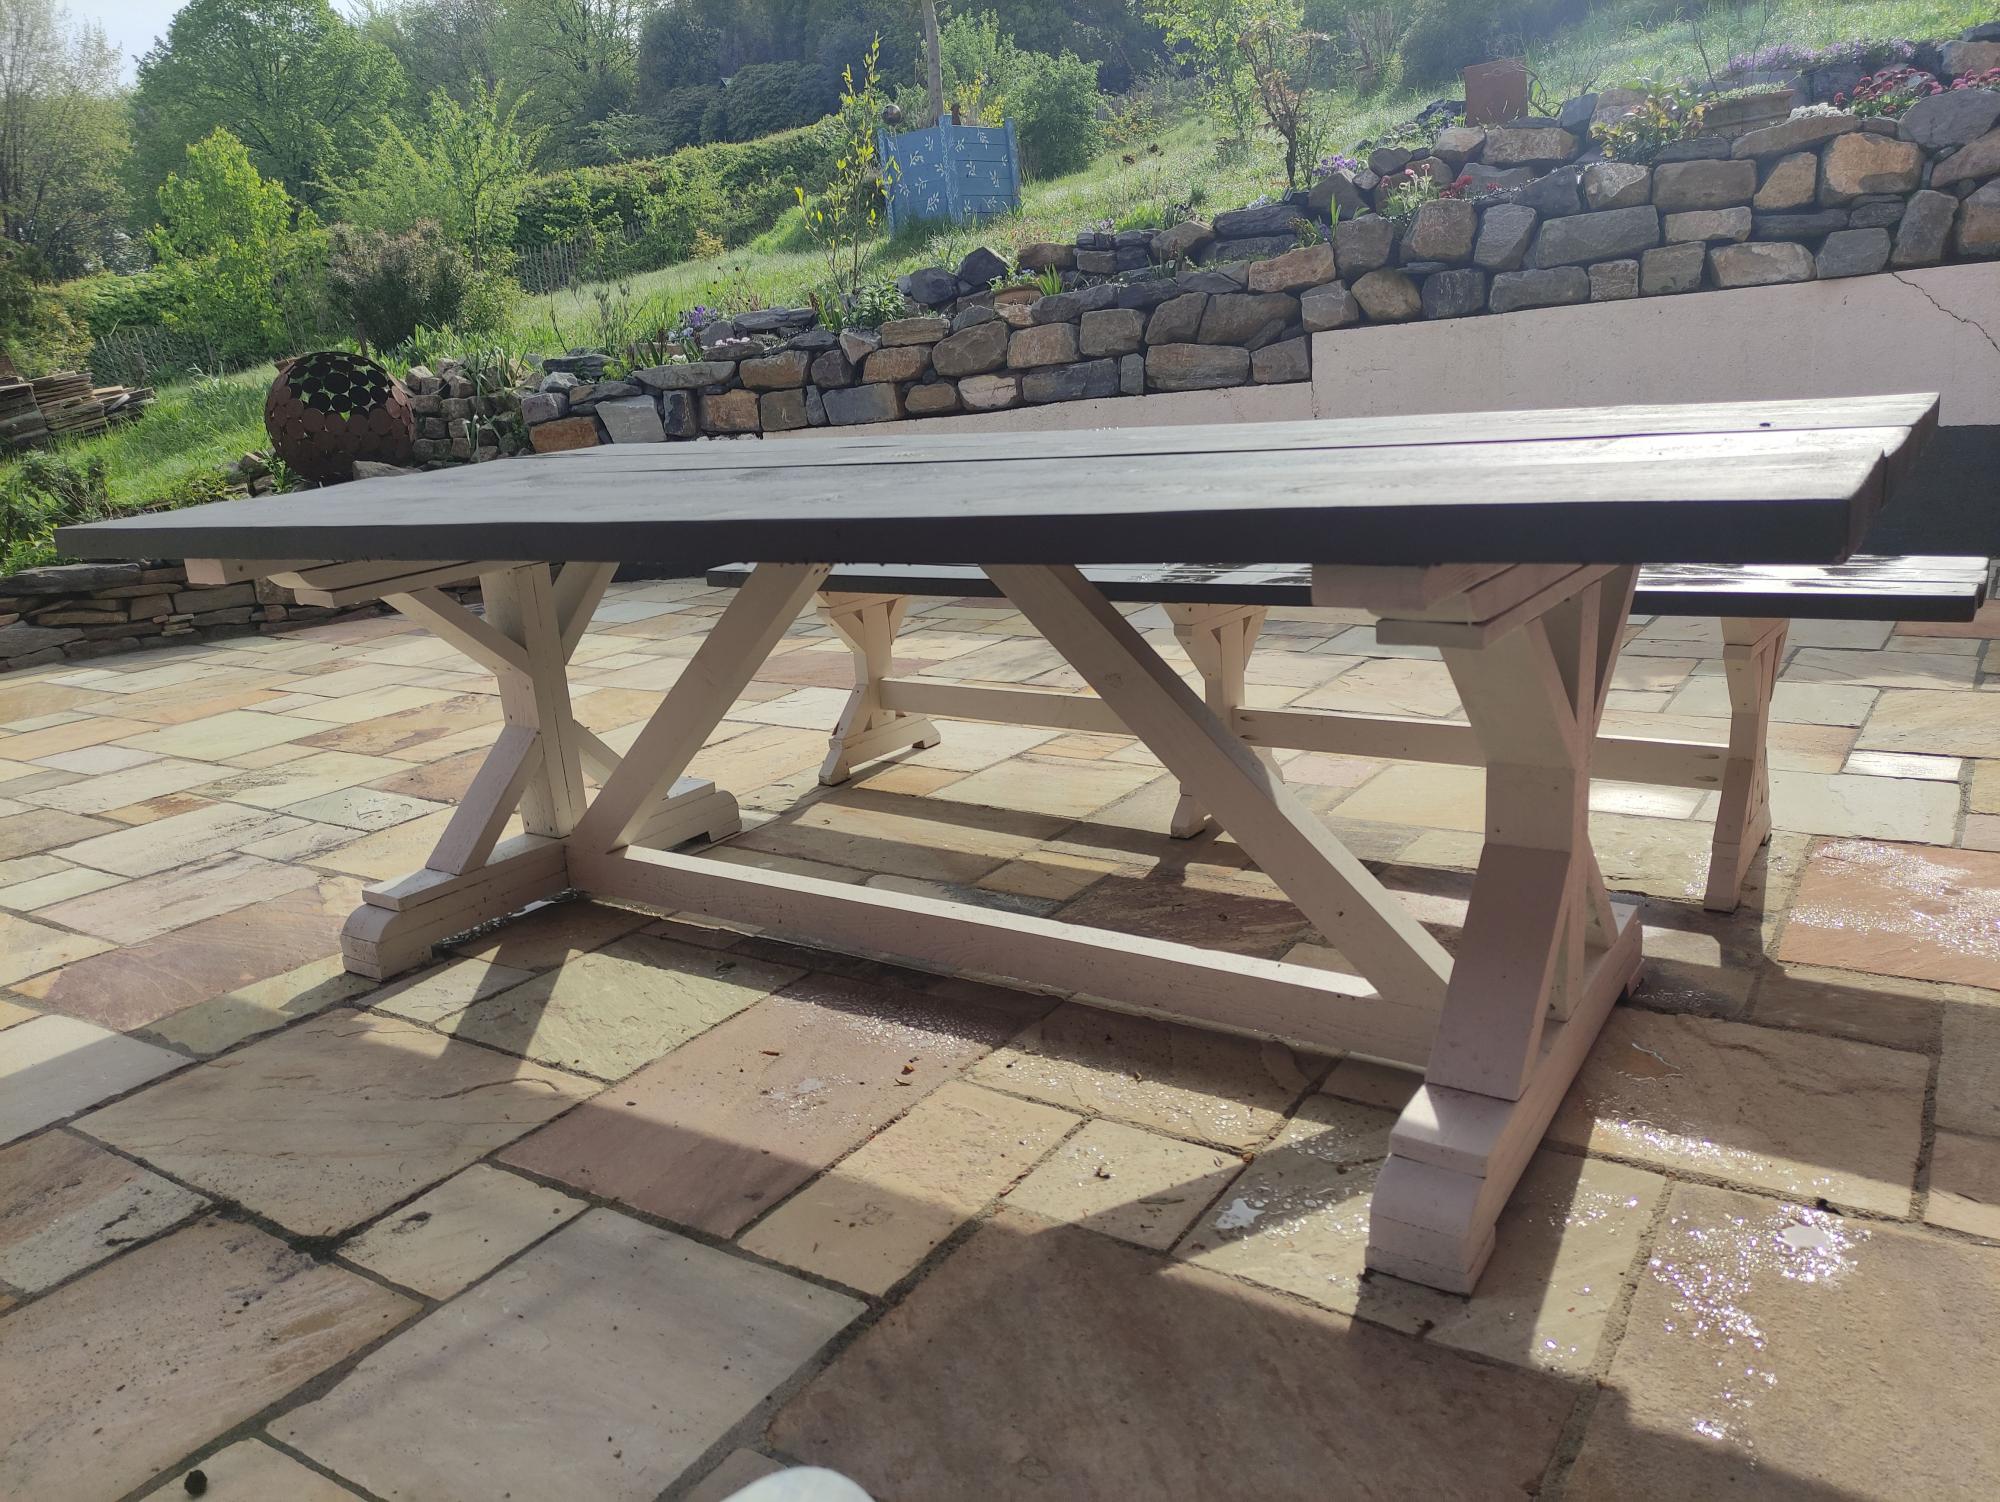
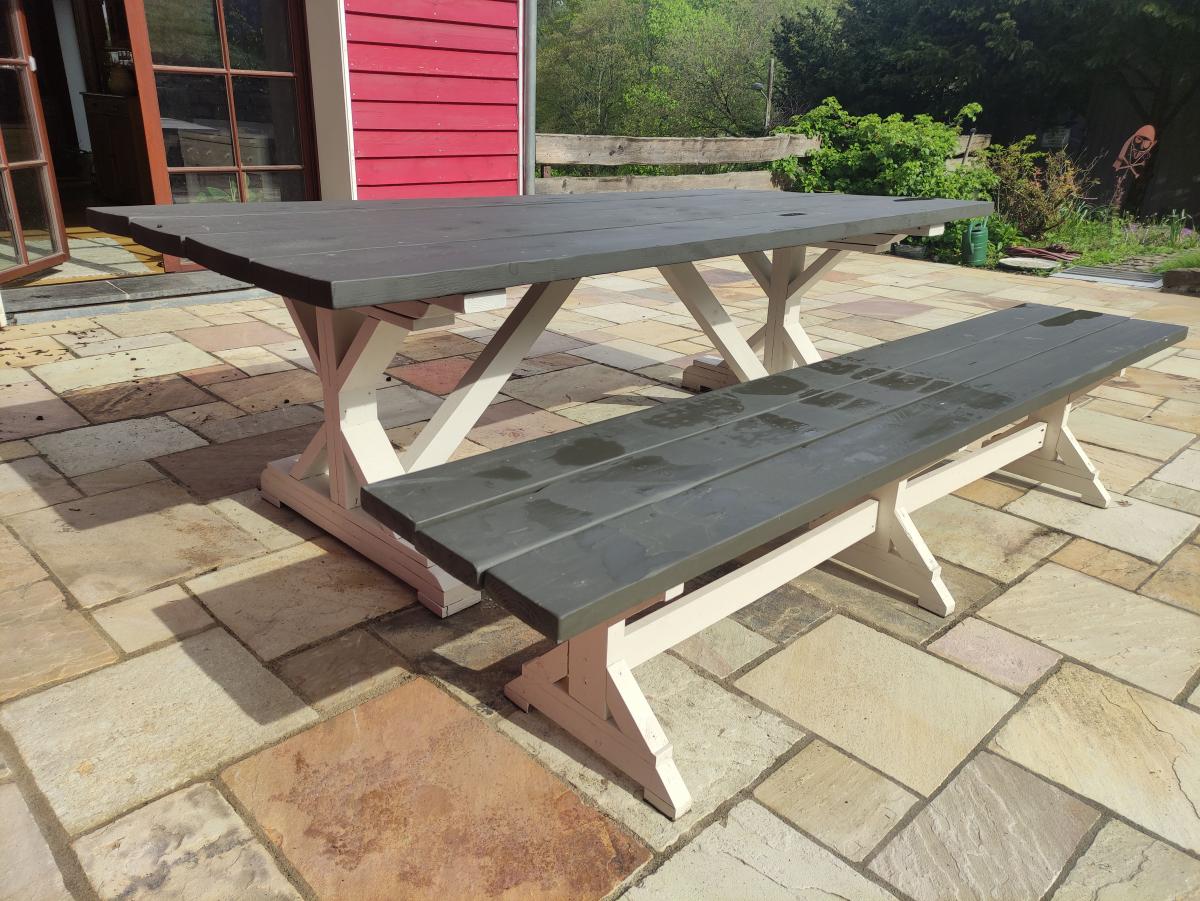
Last summer we got a new terrace and definitely need new outdoor dining furniture.

Estimated Cost
200 €
Estimated Time Investment
Weekend Project (10-20 Hours)
Finish Used
Mylands Artillery Ground No. 164 Wood & Metal Eggshell & Mylands Cadogan Stone No. 59 Wood & Metal Eggshell

Comments

ABC Book Holders

Submitted by ebuffy99 on Tue, 04/02/2013 - 22:20

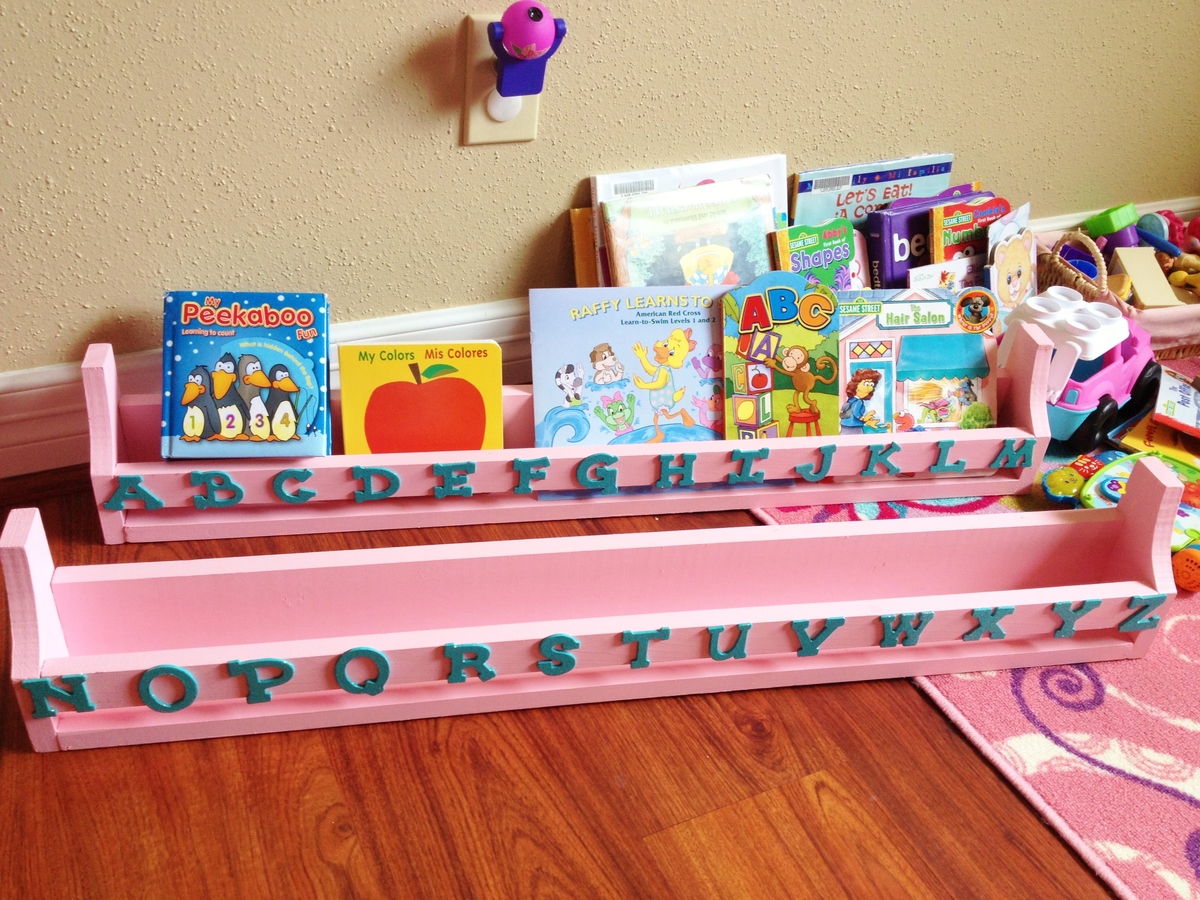
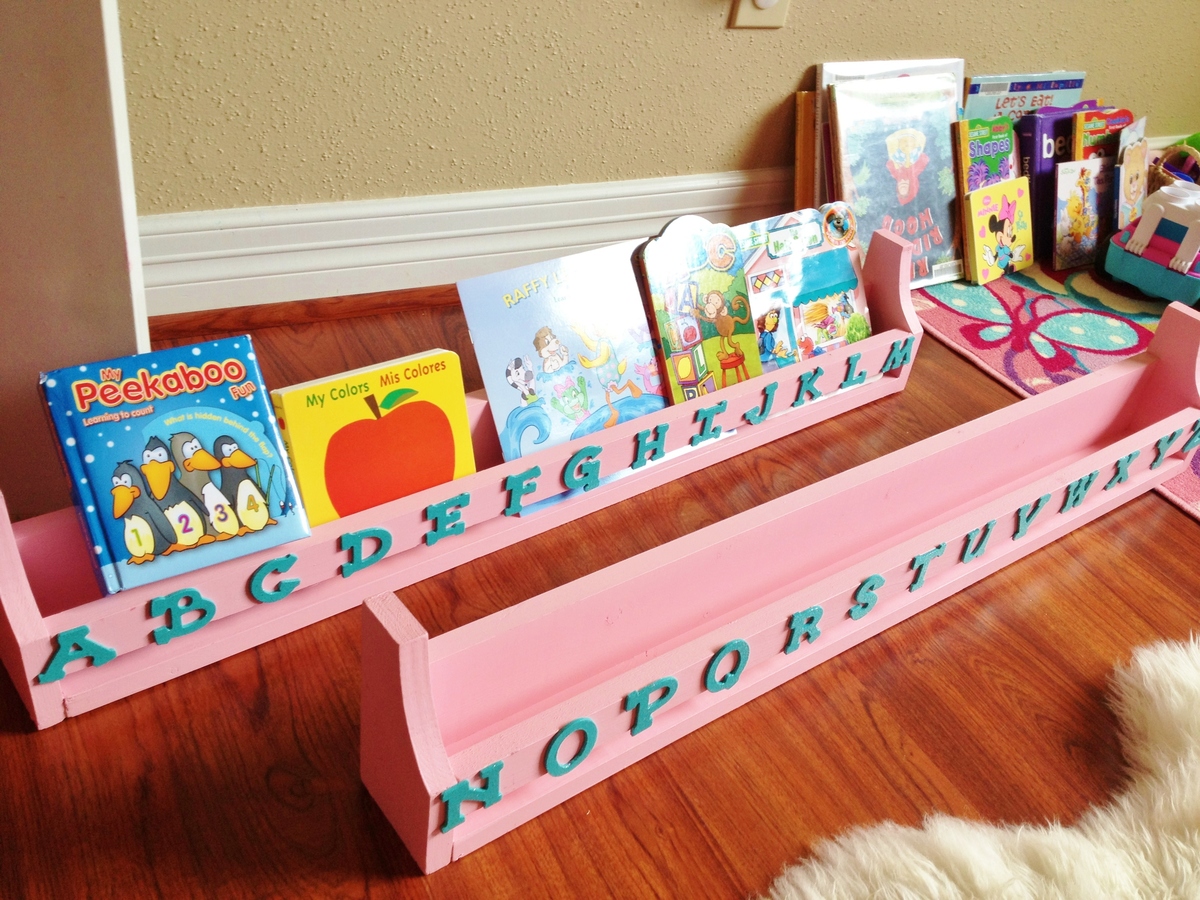
I used the longer book holders to make these. I painted it in a flat light pink and bought craft wood letters that i painted with Martha Stewart Glitter Turquoise craft paint and glued them to the front. Not only does this hold books that are in arms reach once its bedtime but its a nicer way to have the alphabet shown on the wall everyday to help my 3 year old learn her letters.

Built from Plan(s)
Estimated Time Investment
An Hour or Two (0-2 Hours)
Recommended Skill Level
Starter Project

Patio Cooler

Submitted by tjaburke8 on Sun, 02/15/2015 - 16:31

This was one of my first DIY projects - while the "perfectionist" in my is not overjoyed by the final product, I think it's pretty good for a newbie.  It's a gift, so I'm sure my brother-in-law will like it.  Plus, I learned a lot about what do do in the future!

One main change I made was with the drain.  I had a hard time getting a good seal with the plans provided.  So instead, I got a smaller hose (1/2-inch OUTER DIAMETER) and put it through the cooler drain instead of on the outside.  This still caused a seal issue, but I used rubber/putty cement around the inside of the cooler drain & hose, as well as where the hose entered the wood cooler on the inside.  This only allowed the water to exit the drain or stay in the cooler until it passed through the drain.

I skipped the side shelf, but added the little steel bucket to catch bottle caps.  And while I live in Texas, I had to give a shoutout to my Wisconsin roots (notice the bottle opener says "Drink Wisconsinbly".

All in all, I think it was a fairly good project for a DIY newcomer.  Looking forward to figuring out what my next project will be! 
Built from Plan(s)
Estimated Time Investment
Week Long Project (20 Hours or More)
Finish Used
I used Minwax Red Mahogony Gel Stain.
Recommended Skill Level
Beginner

Comments

Hot Air Balloons & Clouds Flip Chairs

Submitted by Anonymous (not verified) on Mon, 05/15/2017 - 08:38

Made these chairs for my 1 year old to use as she is learning to stand and climb!

Estimated Cost
<$20
Estimated Time Investment
An Hour or Two (0-2 Hours)
Finish Used
Painted, distressed, decoupaged.
Recommended Skill Level
Starter Project

Farmhouse Table 2

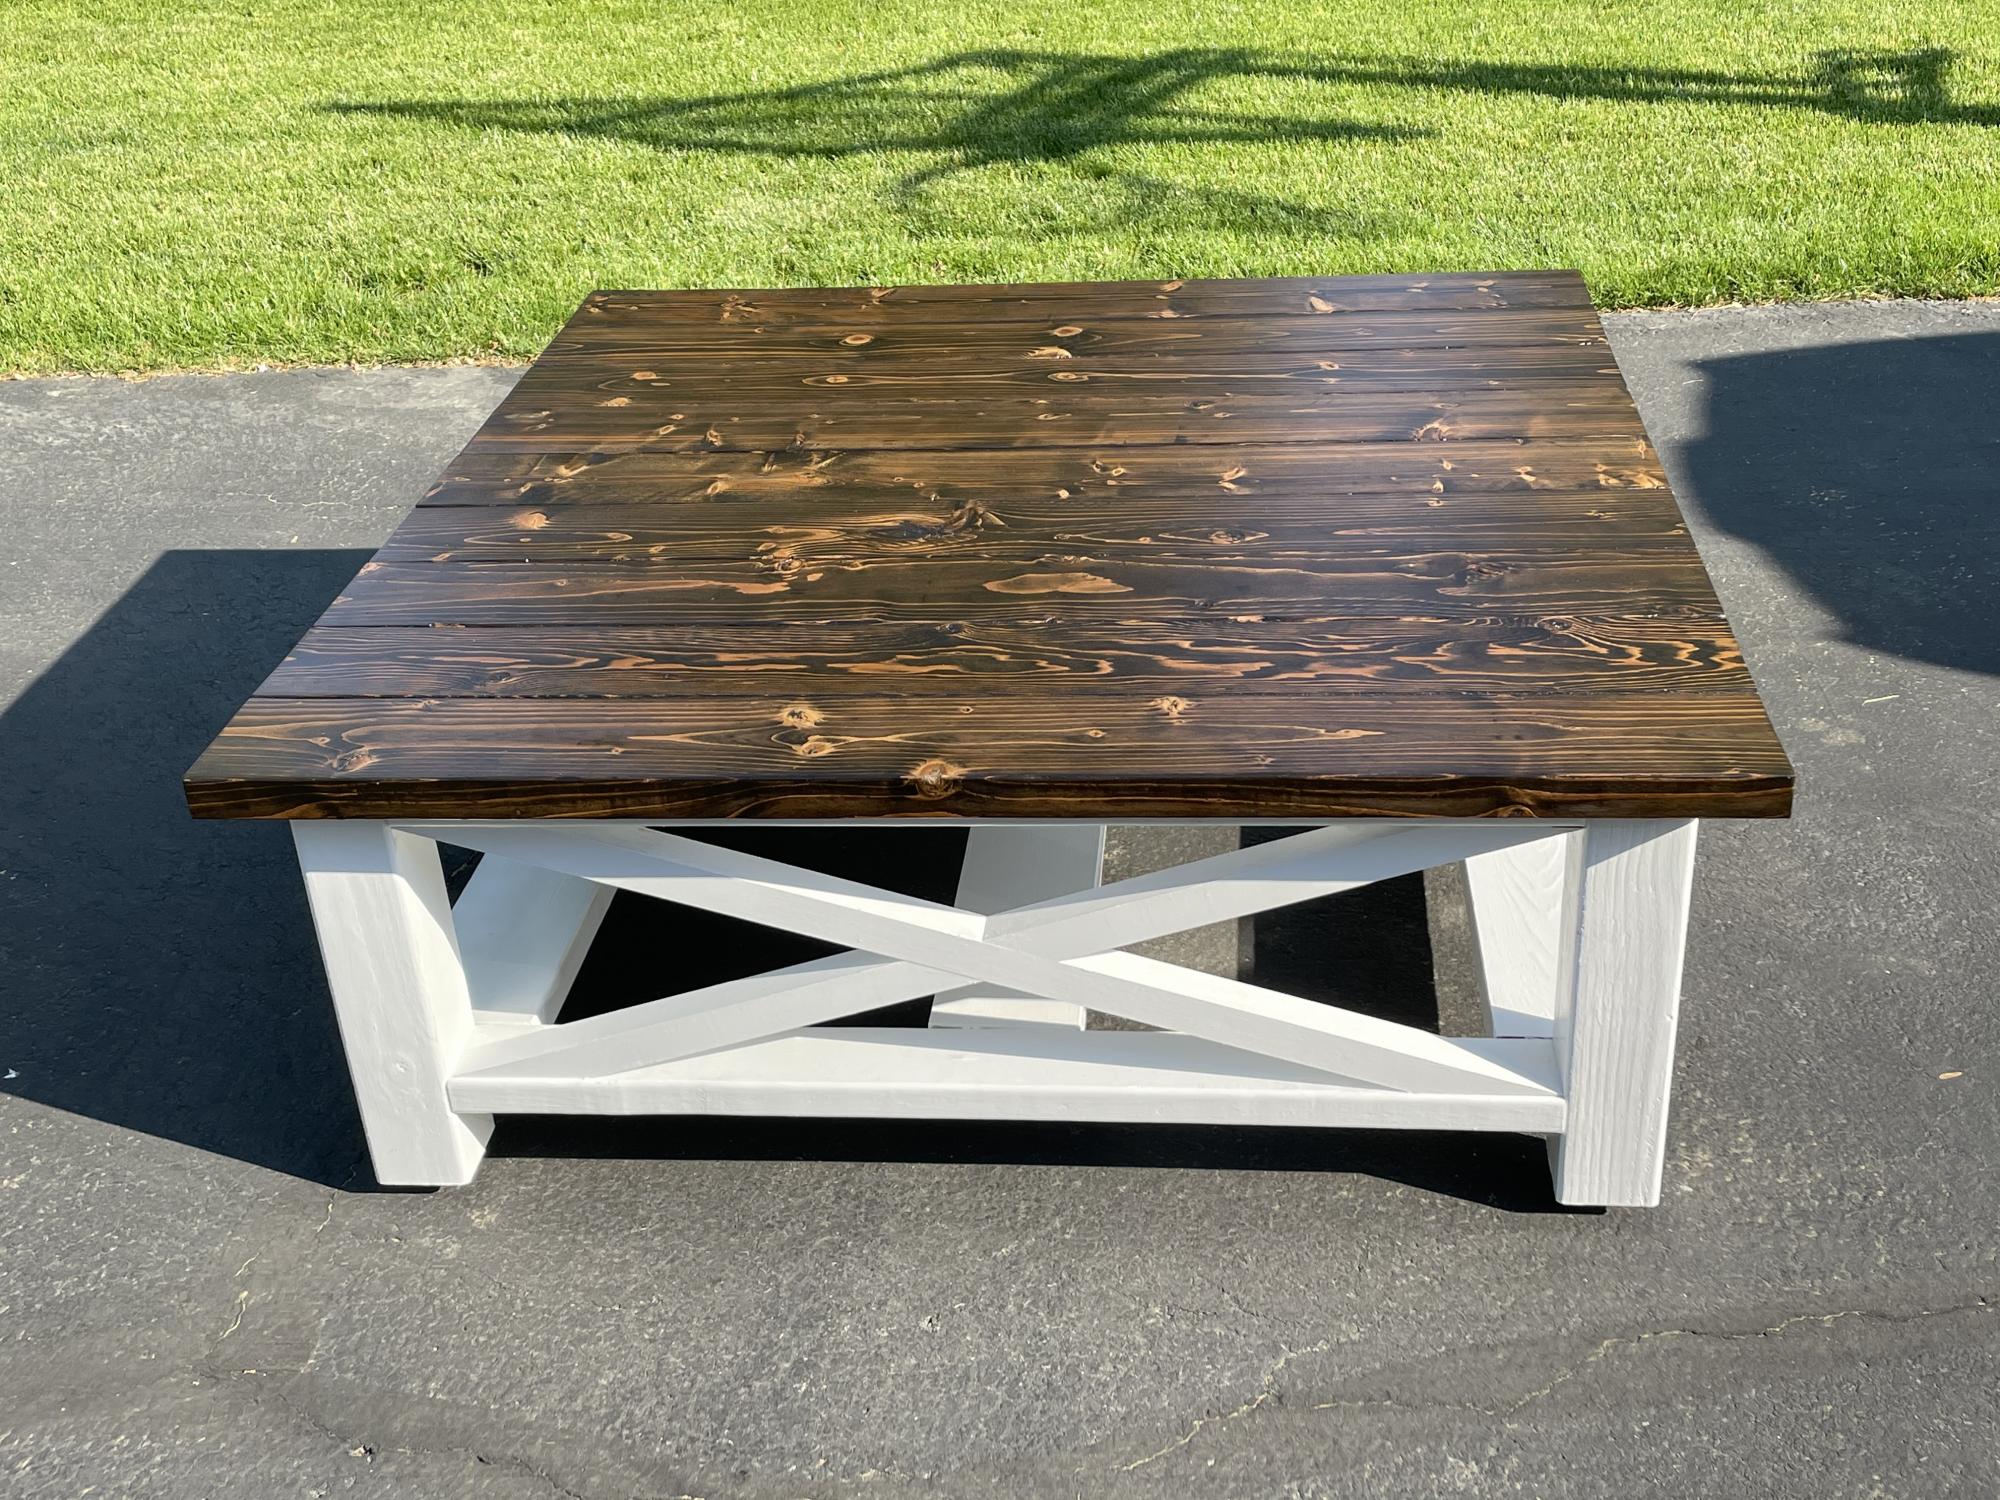
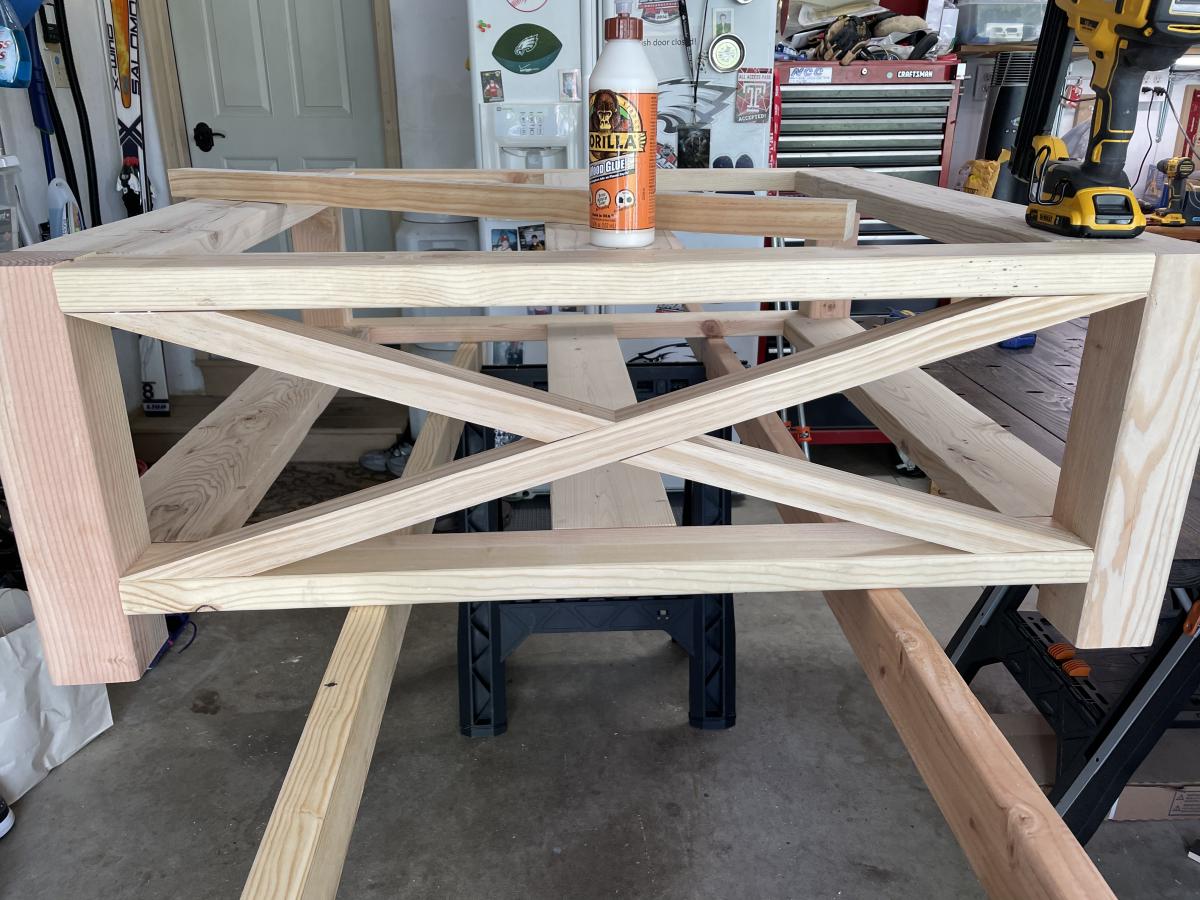
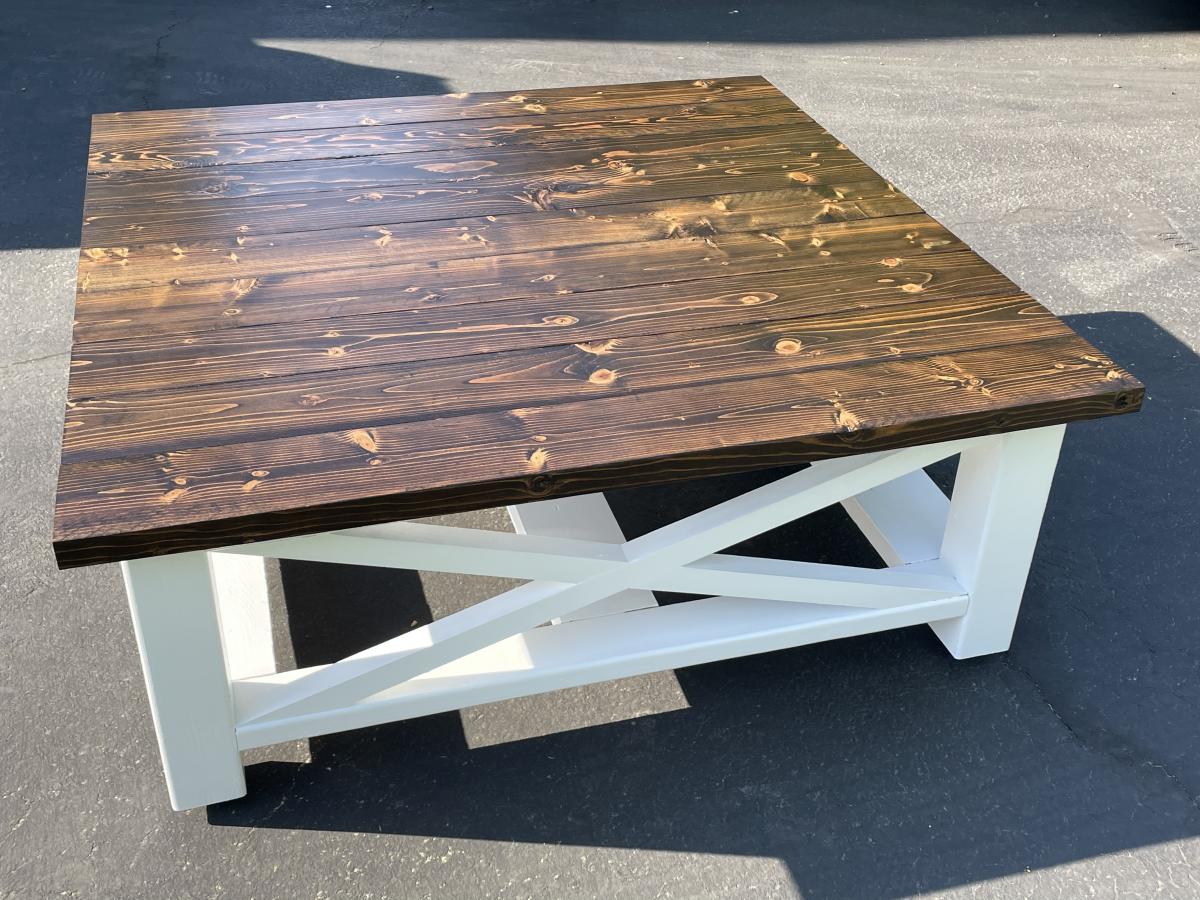
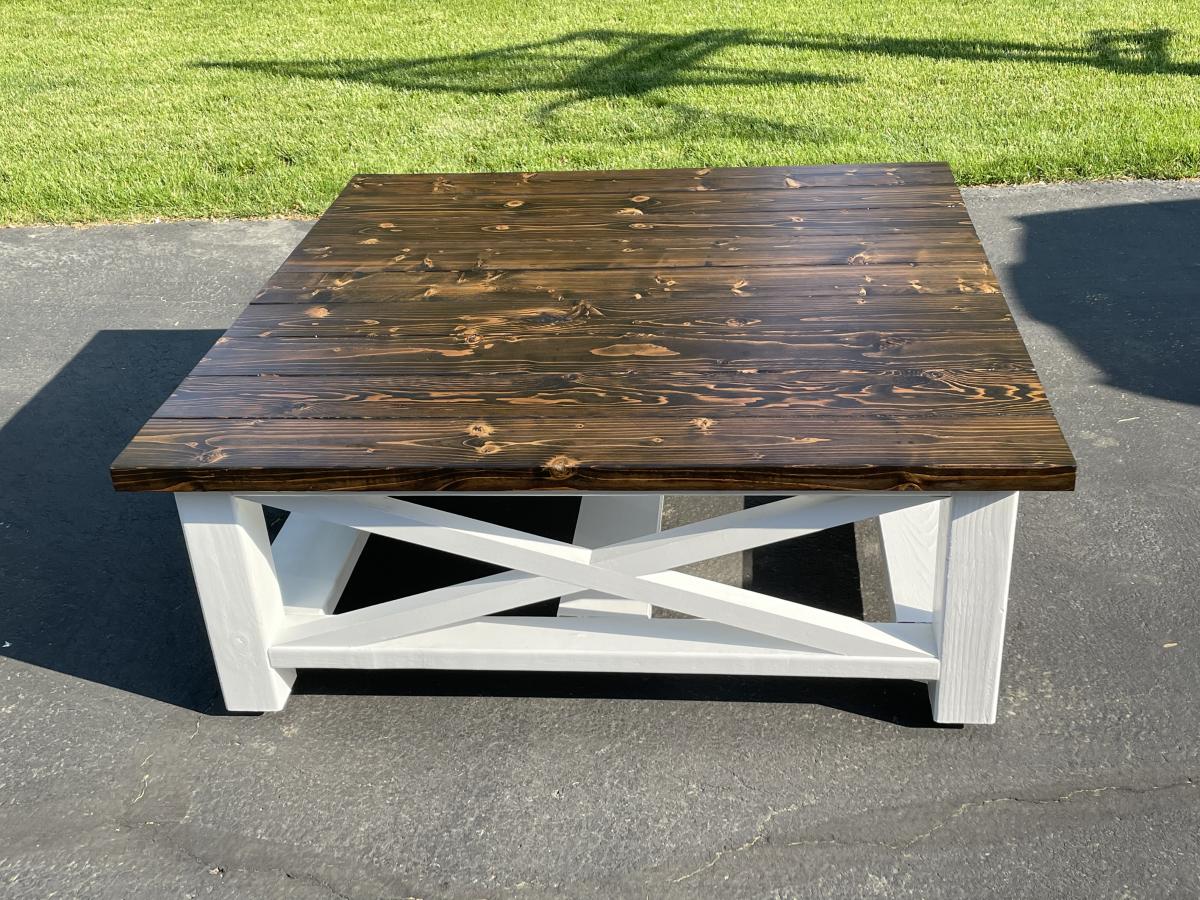
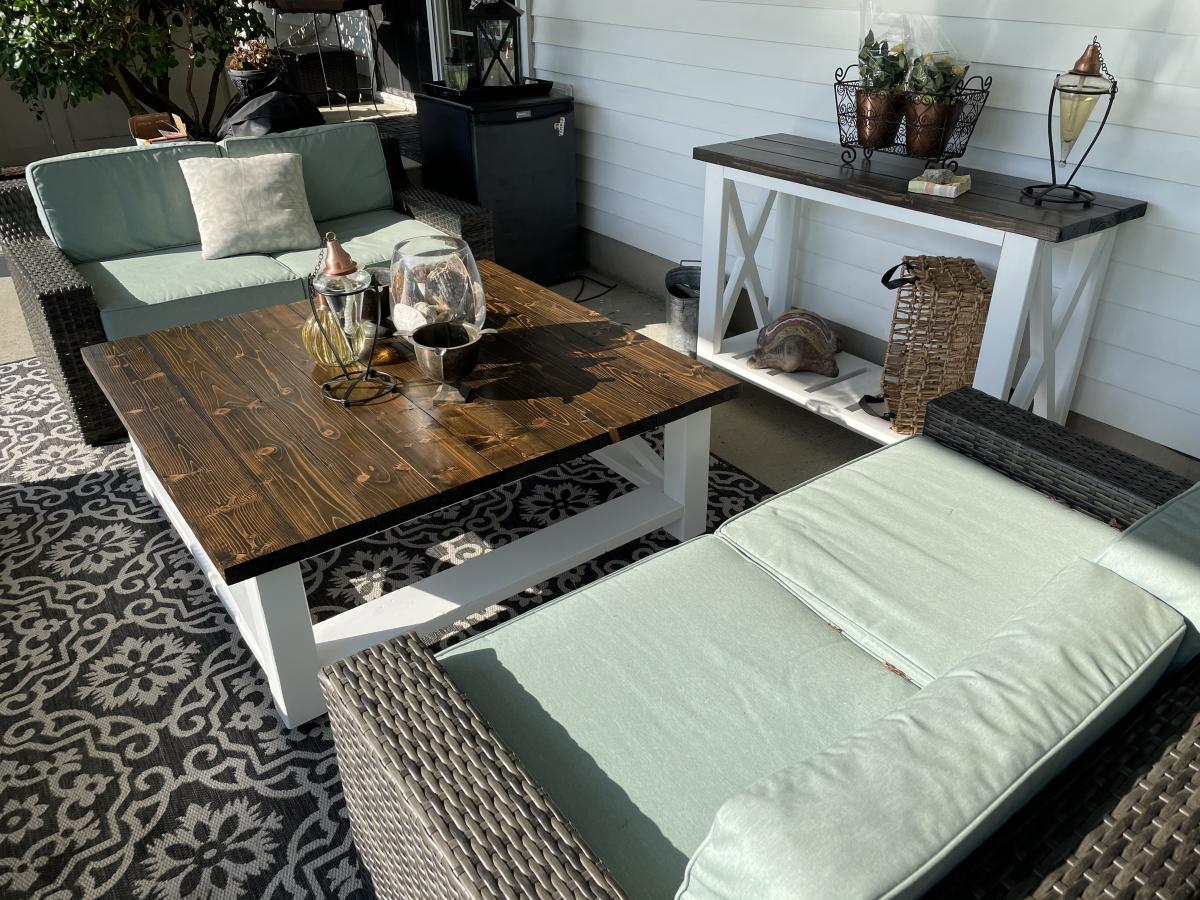
Used the plans here to make the table. Modified the dimensions slightly to fit my space by re-drawing the plans in AutoCAD 3D.

Due to the size and weight of this table (48" square), I upgraded the legs to 4 x 4s. I swapped out the 2 x 2 runners for 2 x 4s.

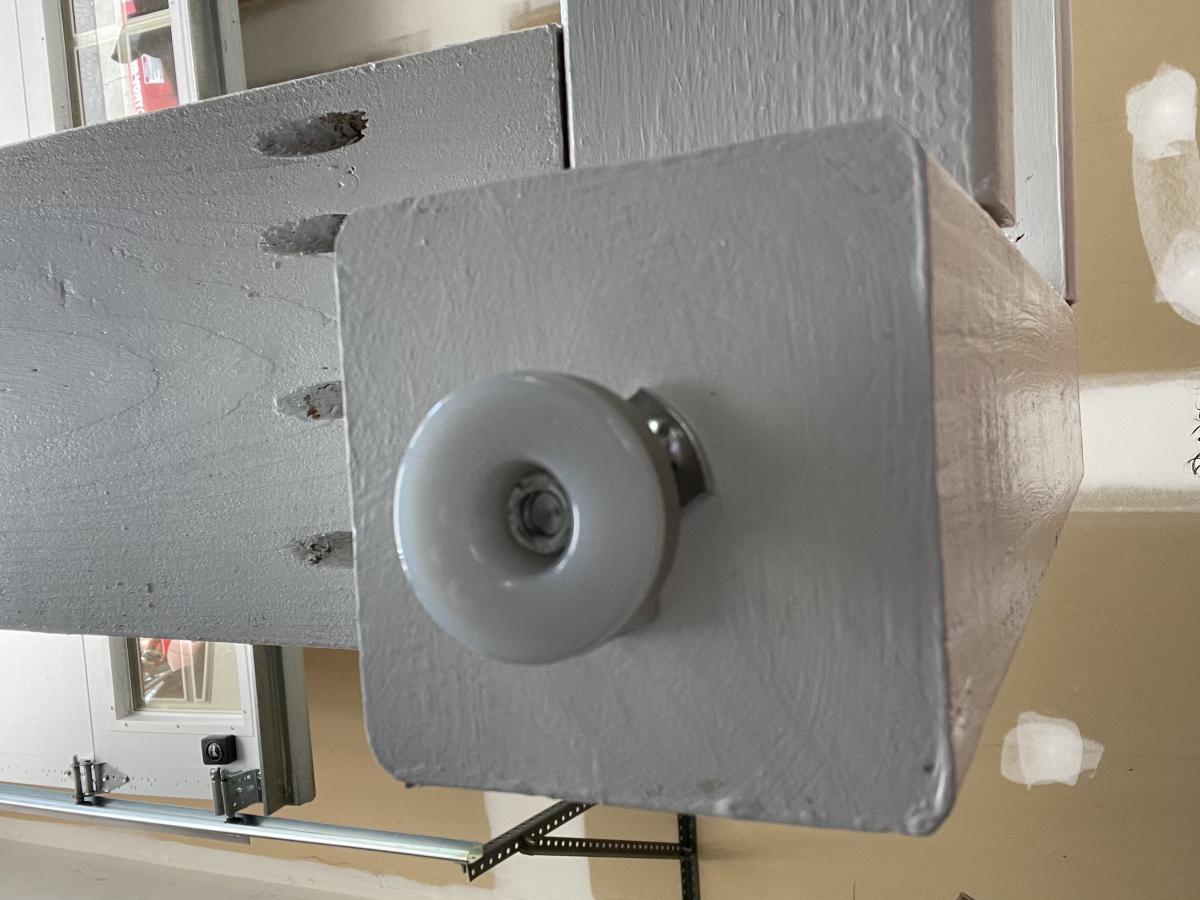
Added stainless steel adjustable feet to the legs for leveling. Wanted to keep the wood up off the ground since this table sits on my back patio.

Amazon link for feet:

https://www.amazon.com/gp/product/B08VRPCDNL/ref=ppx_yo_dt_b_asin_title

Estimated Cost
$265.00
Estimated Time Investment
Week Long Project (20 Hours or More)
Finish Used
Minwax Espresso Stain on top
Minwax Satin Polyurethane on top
Sherwin Williams Exterior Latex Paint - White on base
Recommended Skill Level
Beginner

Bypass Closet Doors

Submitted by Mama2Three on Fri, 04/05/2013 - 08:49

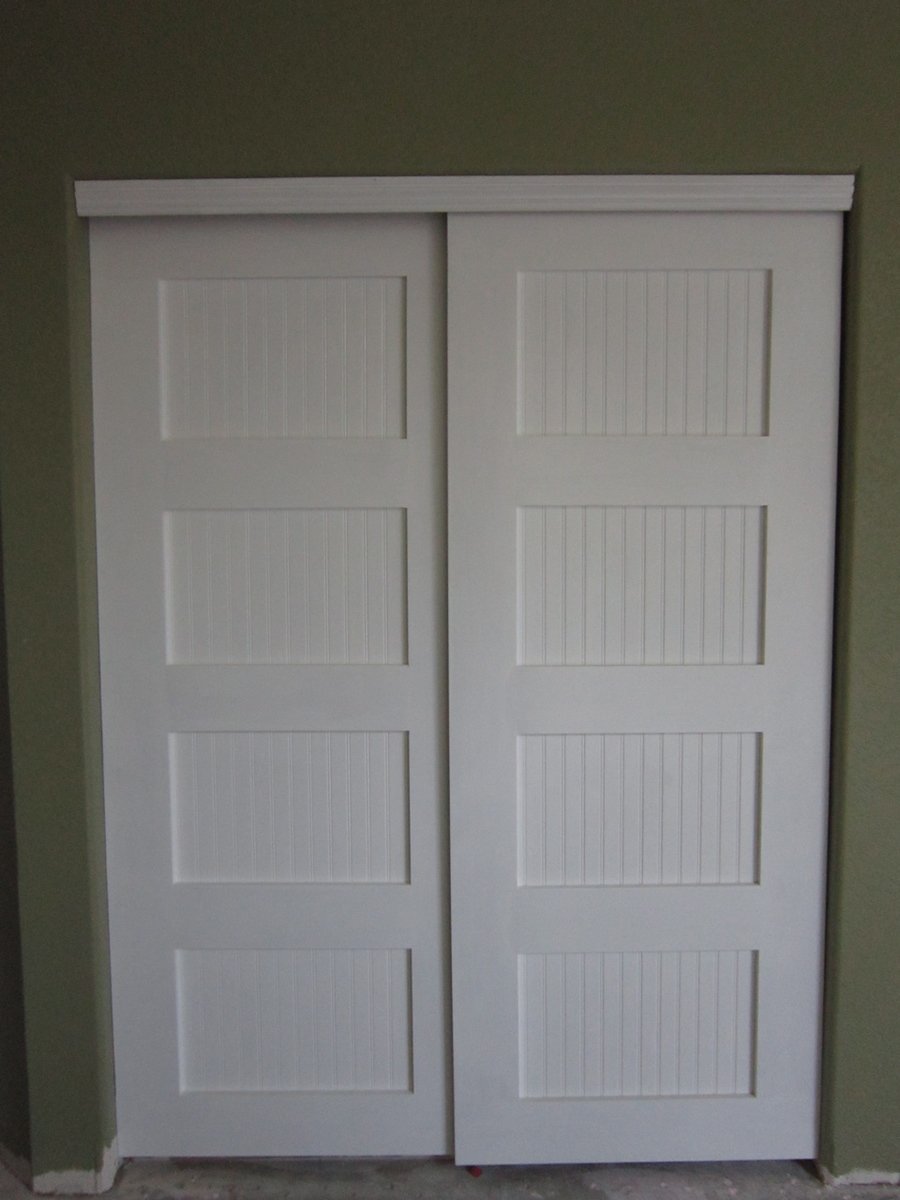
After discovering a leak, we are in the process of a master bathroom/bedroom remodel. In the bedroom, we had replaced all of the windows, painted and installed crown moulding with rope lighting in the bedroom. Then we looked at our closet doors leading to our walk-in closet, and realized they really needed to go to. They were heavy, mirrored with brass trim and regularly would jump off their track. Unfortunately the leak had caused more damage than we originally thought, and our remodel had expanded to replacing two exterior walls as well so we were over budget. Just to get an idea of how much it would cost to buy new doors, I got online and thankfully I found these plans. Although I used to watch my Grandfather build things in his wood shop, I had never actually built something all by myself. My contractor let me use his Kreg Jig and miter saw. After purchasing the wood, I quickly put together the door frames. Since we were on a strict budget for these doors, I decided to use bead board instead of glass. I bought a 4 x 8 sheet of beadboard and had the store rip it in half. I then attached it to the back of the doors with small wood screws and glue. I painted the doors with white gloss trim paint to match the other doors in the room. Since my closet is a walk-in closet, I did paint both sides. My closet entrance had no trim, so used a piece of moulding and attached it to the bypass door track. We are not finished with the flooring or baseboards yet, but once complete we will be installing guides along the bottom.

Estimated Cost
100
Estimated Time Investment
Day Project (6-9 Hours)
Finish Used
White high-gloss enamel paint
Recommended Skill Level
Beginner

Comments

Kitchen Island

Submitted by fitbrown on Thu, 02/19/2015 - 15:25

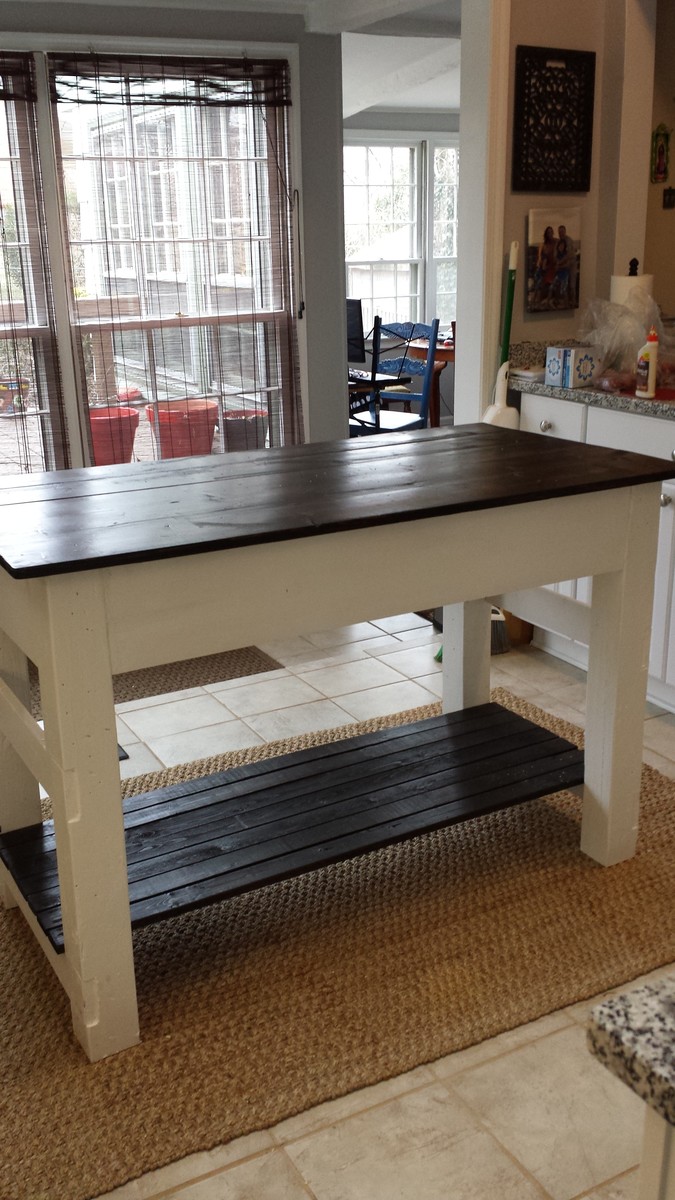
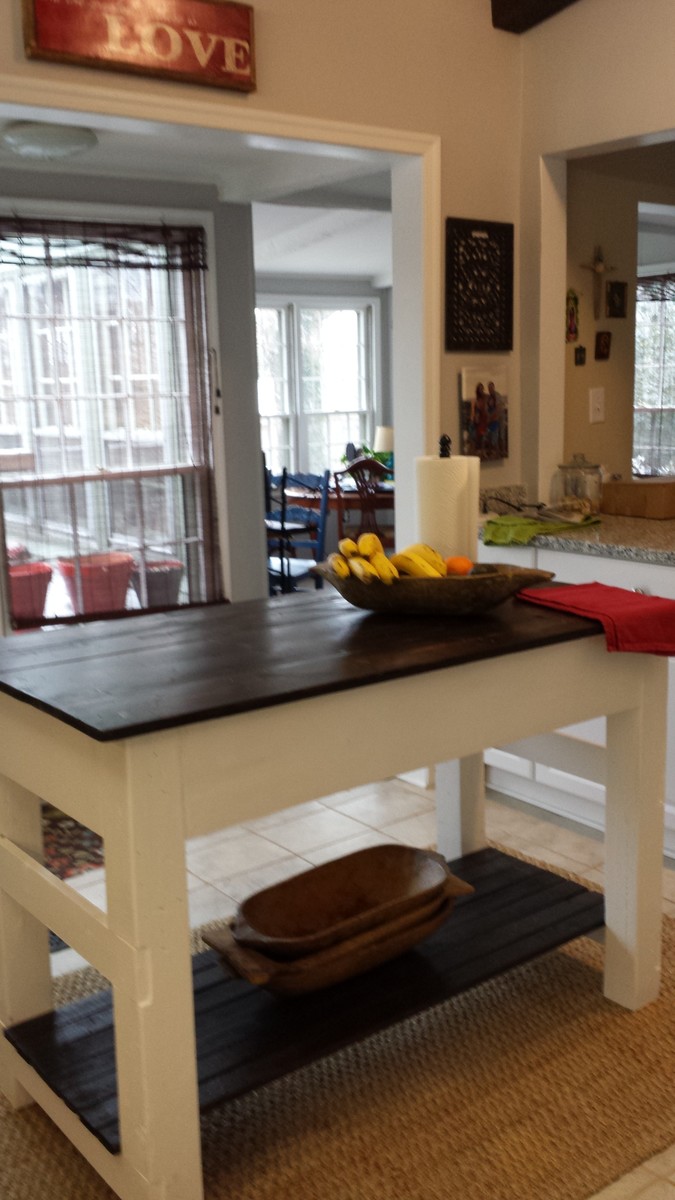
First ever building project!!! I am beginner, you can do it too! Got the Kreg Jig R3 for my birthday and conquered my first build! I wasn't about to try the drawers maybe next time! Adjusted the measurements for the length I needed and only have one shelf trying to decide if I'll add the top shelf. I have been reading ana-white for years and finally did it!
Built from Plan(s)
Estimated Cost
$100
Estimated Time Investment
Weekend Project (10-20 Hours)
Finish Used
Kona stain and Behr bright white
Recommended Skill Level
Beginner

Comments

Porch Swing Glider

Submitted by Anonymous (not verified) on Fri, 05/19/2017 - 09:25

Built the porch swing and was inspired to build the glider frame by another "Brag Post" Looks great and fits perfectly in my back yard!

Built from Plan(s)
Estimated Cost
$200
Estimated Time Investment
Weekend Project (10-20 Hours)
Finish Used
Transparent deck sealant for frame, white exterior paint for seat panels
Recommended Skill Level
Beginner

Comments

Rachael Brown

Fri, 02/18/2022 - 08:20

Are there any dimensions for the glider part? I have first year agriculture students building this, but we are unsure of the cut list for this. I am sure I can figure it out as the teacher, but with 20 students in the class, it would be better to be able to give them instructions to follow on paper. Thank you!!!

New Workshop - Let the Fun Begin!

Submitted by ikeymedesu on Sun, 05/30/2021 - 18:33

I was really into building things and DIY over 10 years ago, but due to work/life I hadn't done anything since 2009. I was going pretty crazy working from home during the pandemic, and decided to get back into home improvement to have something to look forward to. After doing some painting and building a few accent walls out of shiplap and reclaimed wood (and loving it), I decided to turn my single car garage into a shop. This is when I found Ana White, and absolutely loved the plans and videos around the wall storage and workbench. I can't believe how sturdy everything is, how straightforward the plans are, and how well this turned out. It made me want to build all the things, and I'll be taking on many projects in the future. (my apologies for the pictures being in the wrong orientation - can't seem to adjust them)

Estimated Cost
500
Estimated Time Investment
Weekend Project (10-20 Hours)
Finish Used
None.
Recommended Skill Level
Intermediate

Comments