I made this project for my gentleman friend. He didn't have much of a childhood, so I made him this toybox and then filled it with toys from the 80's as a birthday present. These plans were perfect for the occassion.
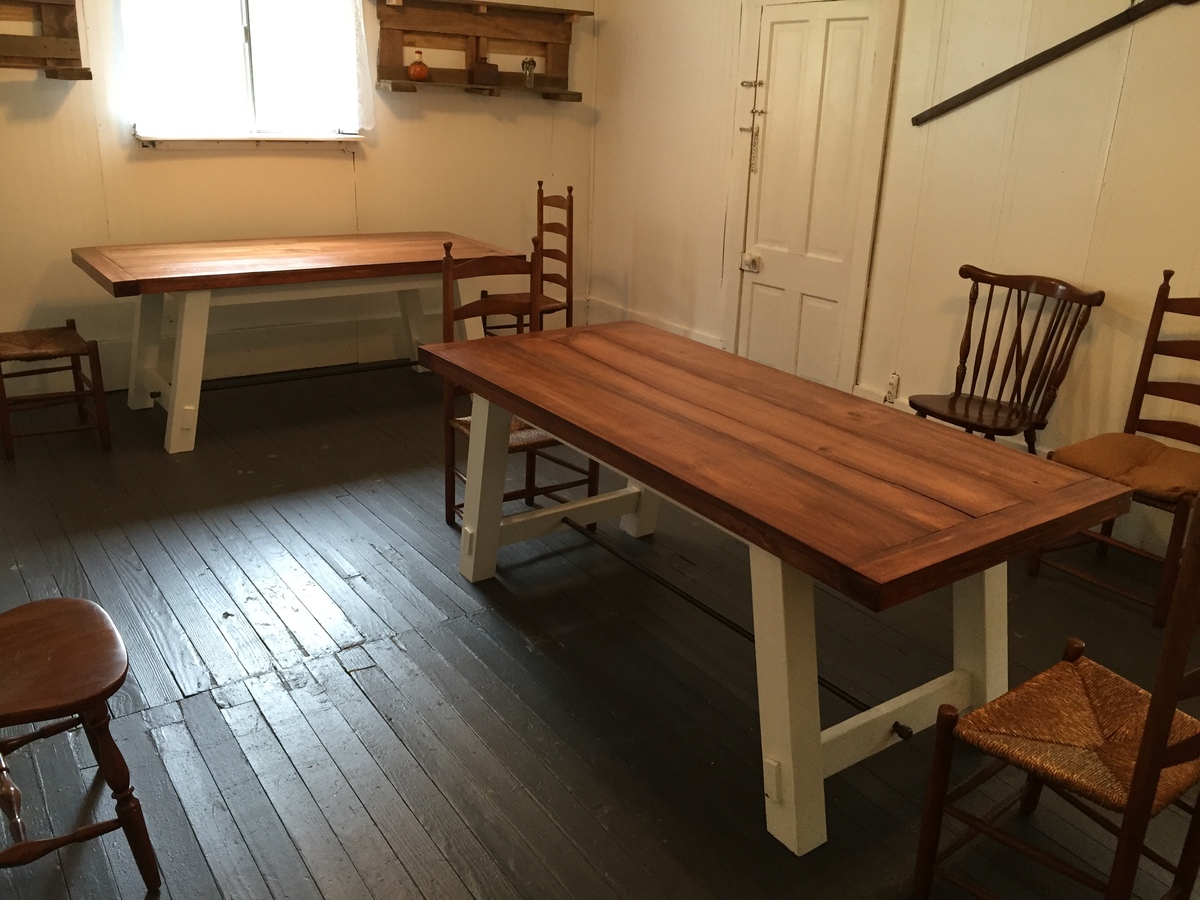
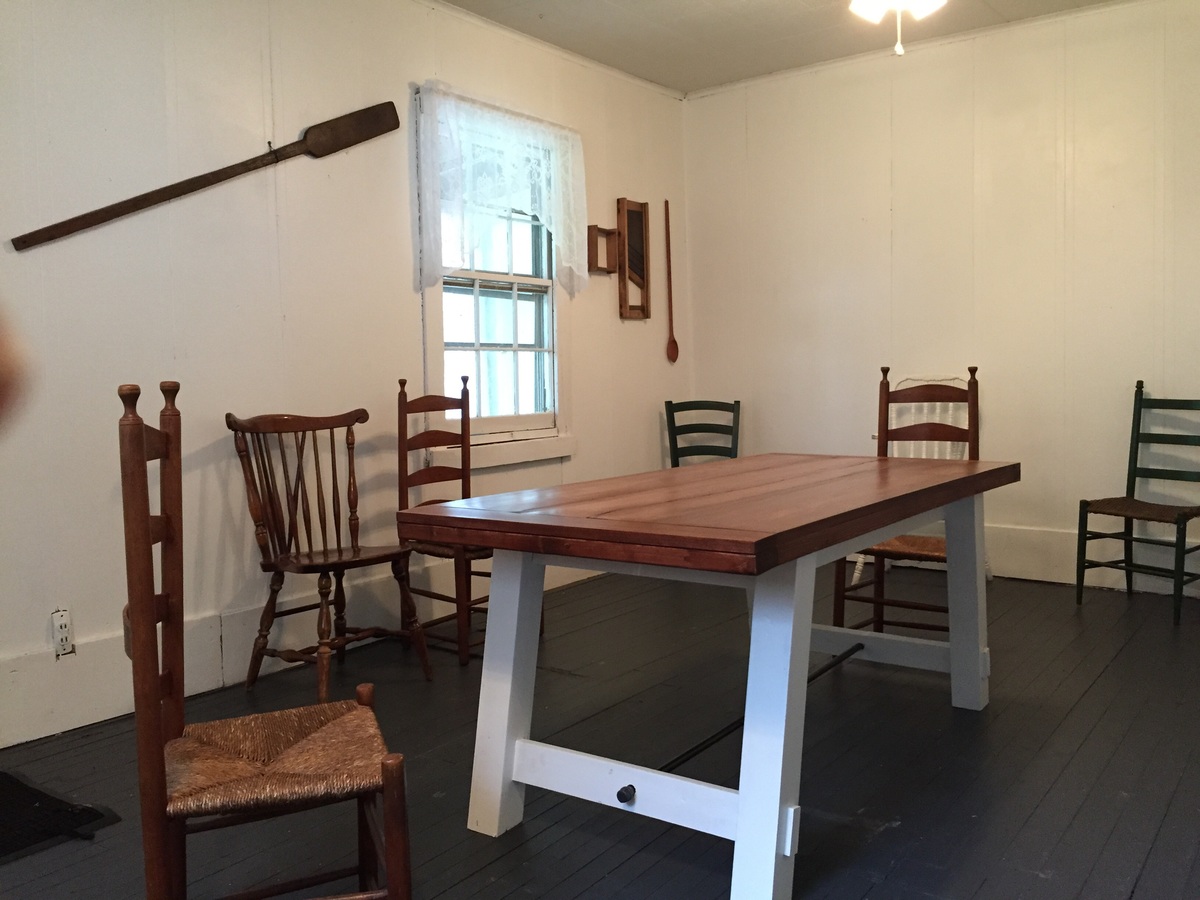
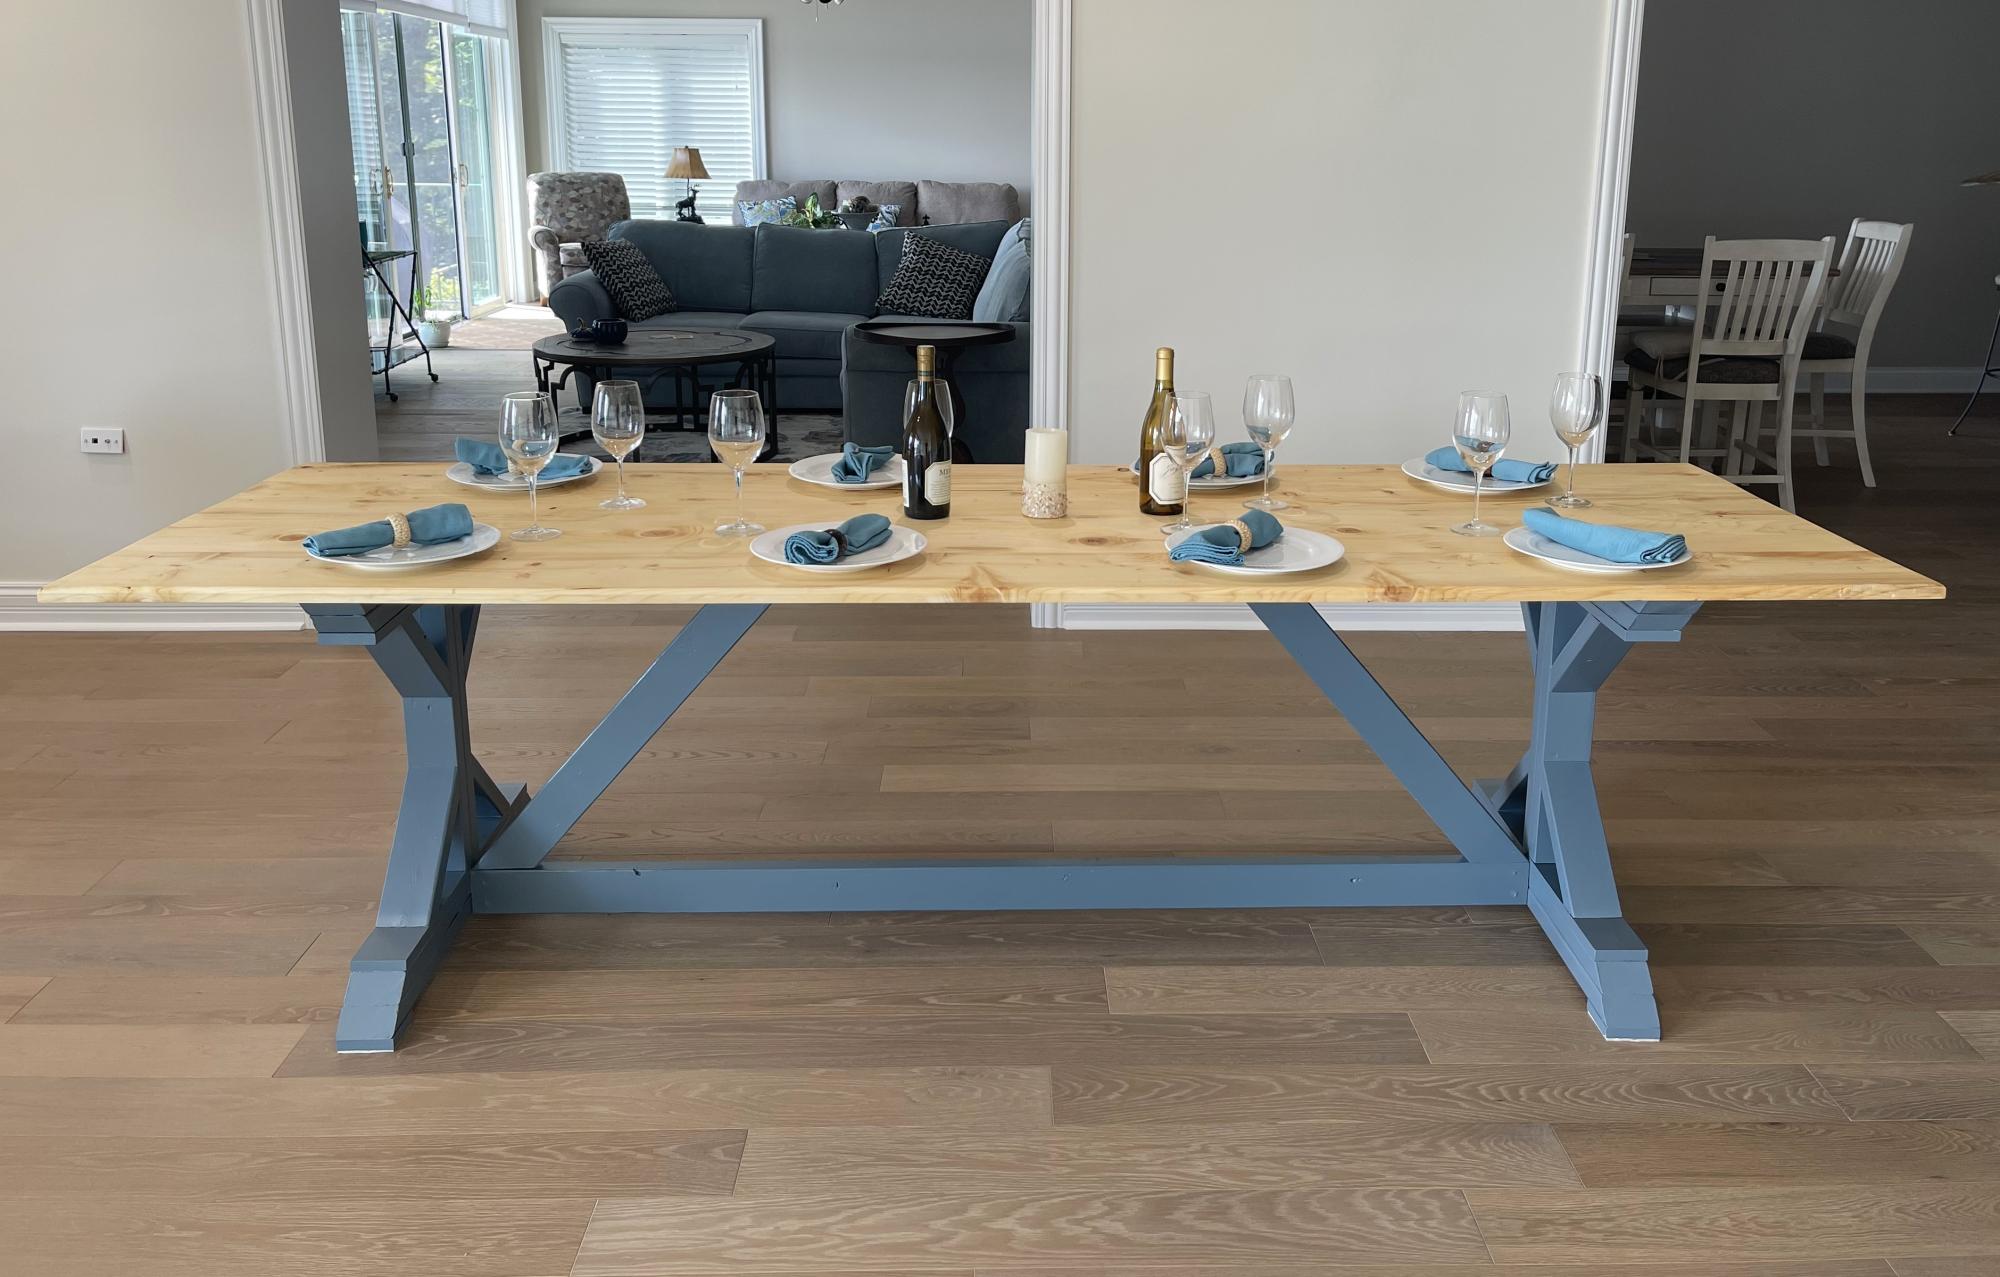
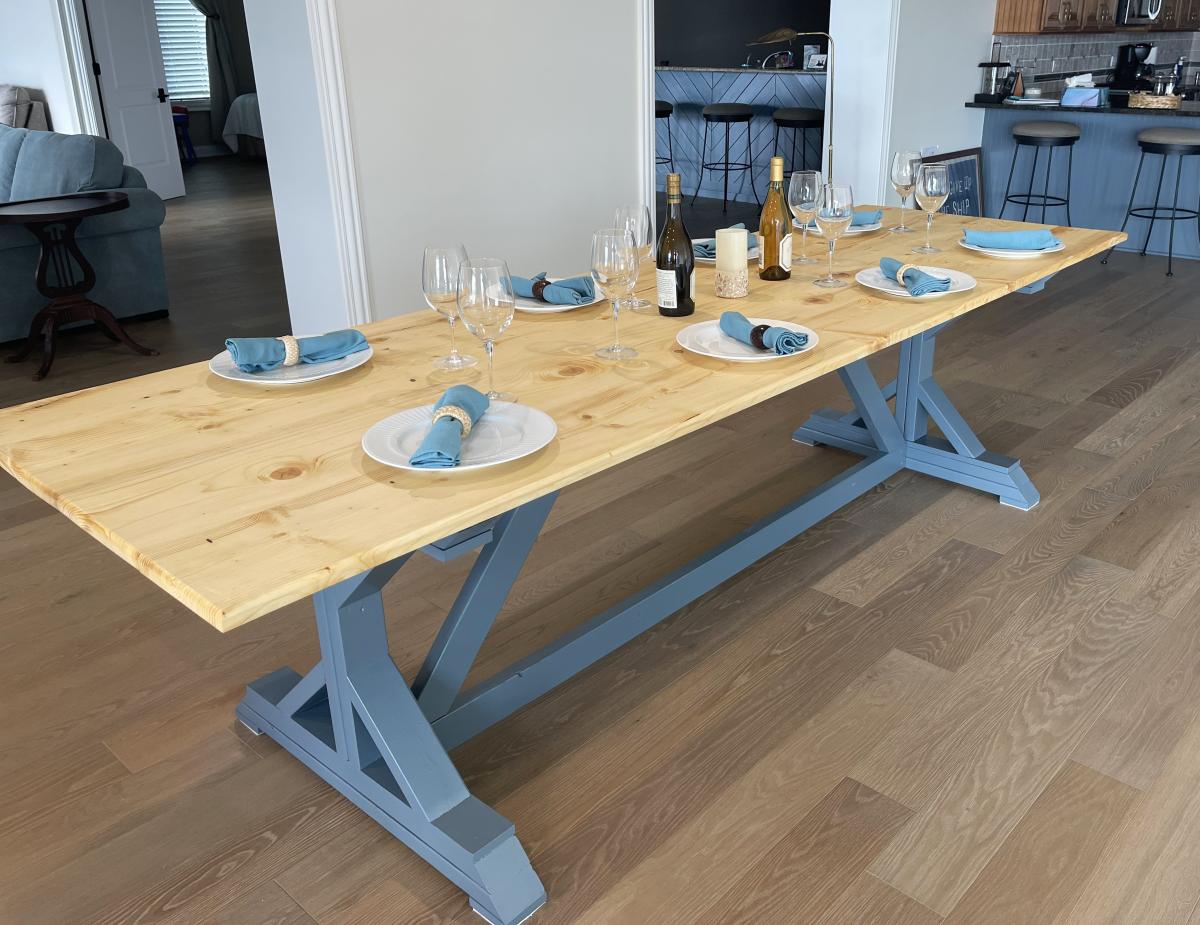
I certainly spent more than the estimate. This was likely because I used select pine boards, and my finish was rather complicated including some pretty pricey hardware. However, the thing I like most about being able to make my own furniture is that I can make it exactly how I want it, and sometimes that ends up costing more money. In the end, I have a table that "looks like a Leonard project" according to my uncle, which is pretty much the highest compliment that can be bestowed on such things by any one of my uncles.
I also spent more time than was mentioned by others. All told, I spent about 24 hours on the project over a four day stretch. I did the project on my own, and my process for filling holes and sanding is rather laborious. I actually went through that process twice even though sanding is, by far, my least favorite task. The finish was also quite time intensive.
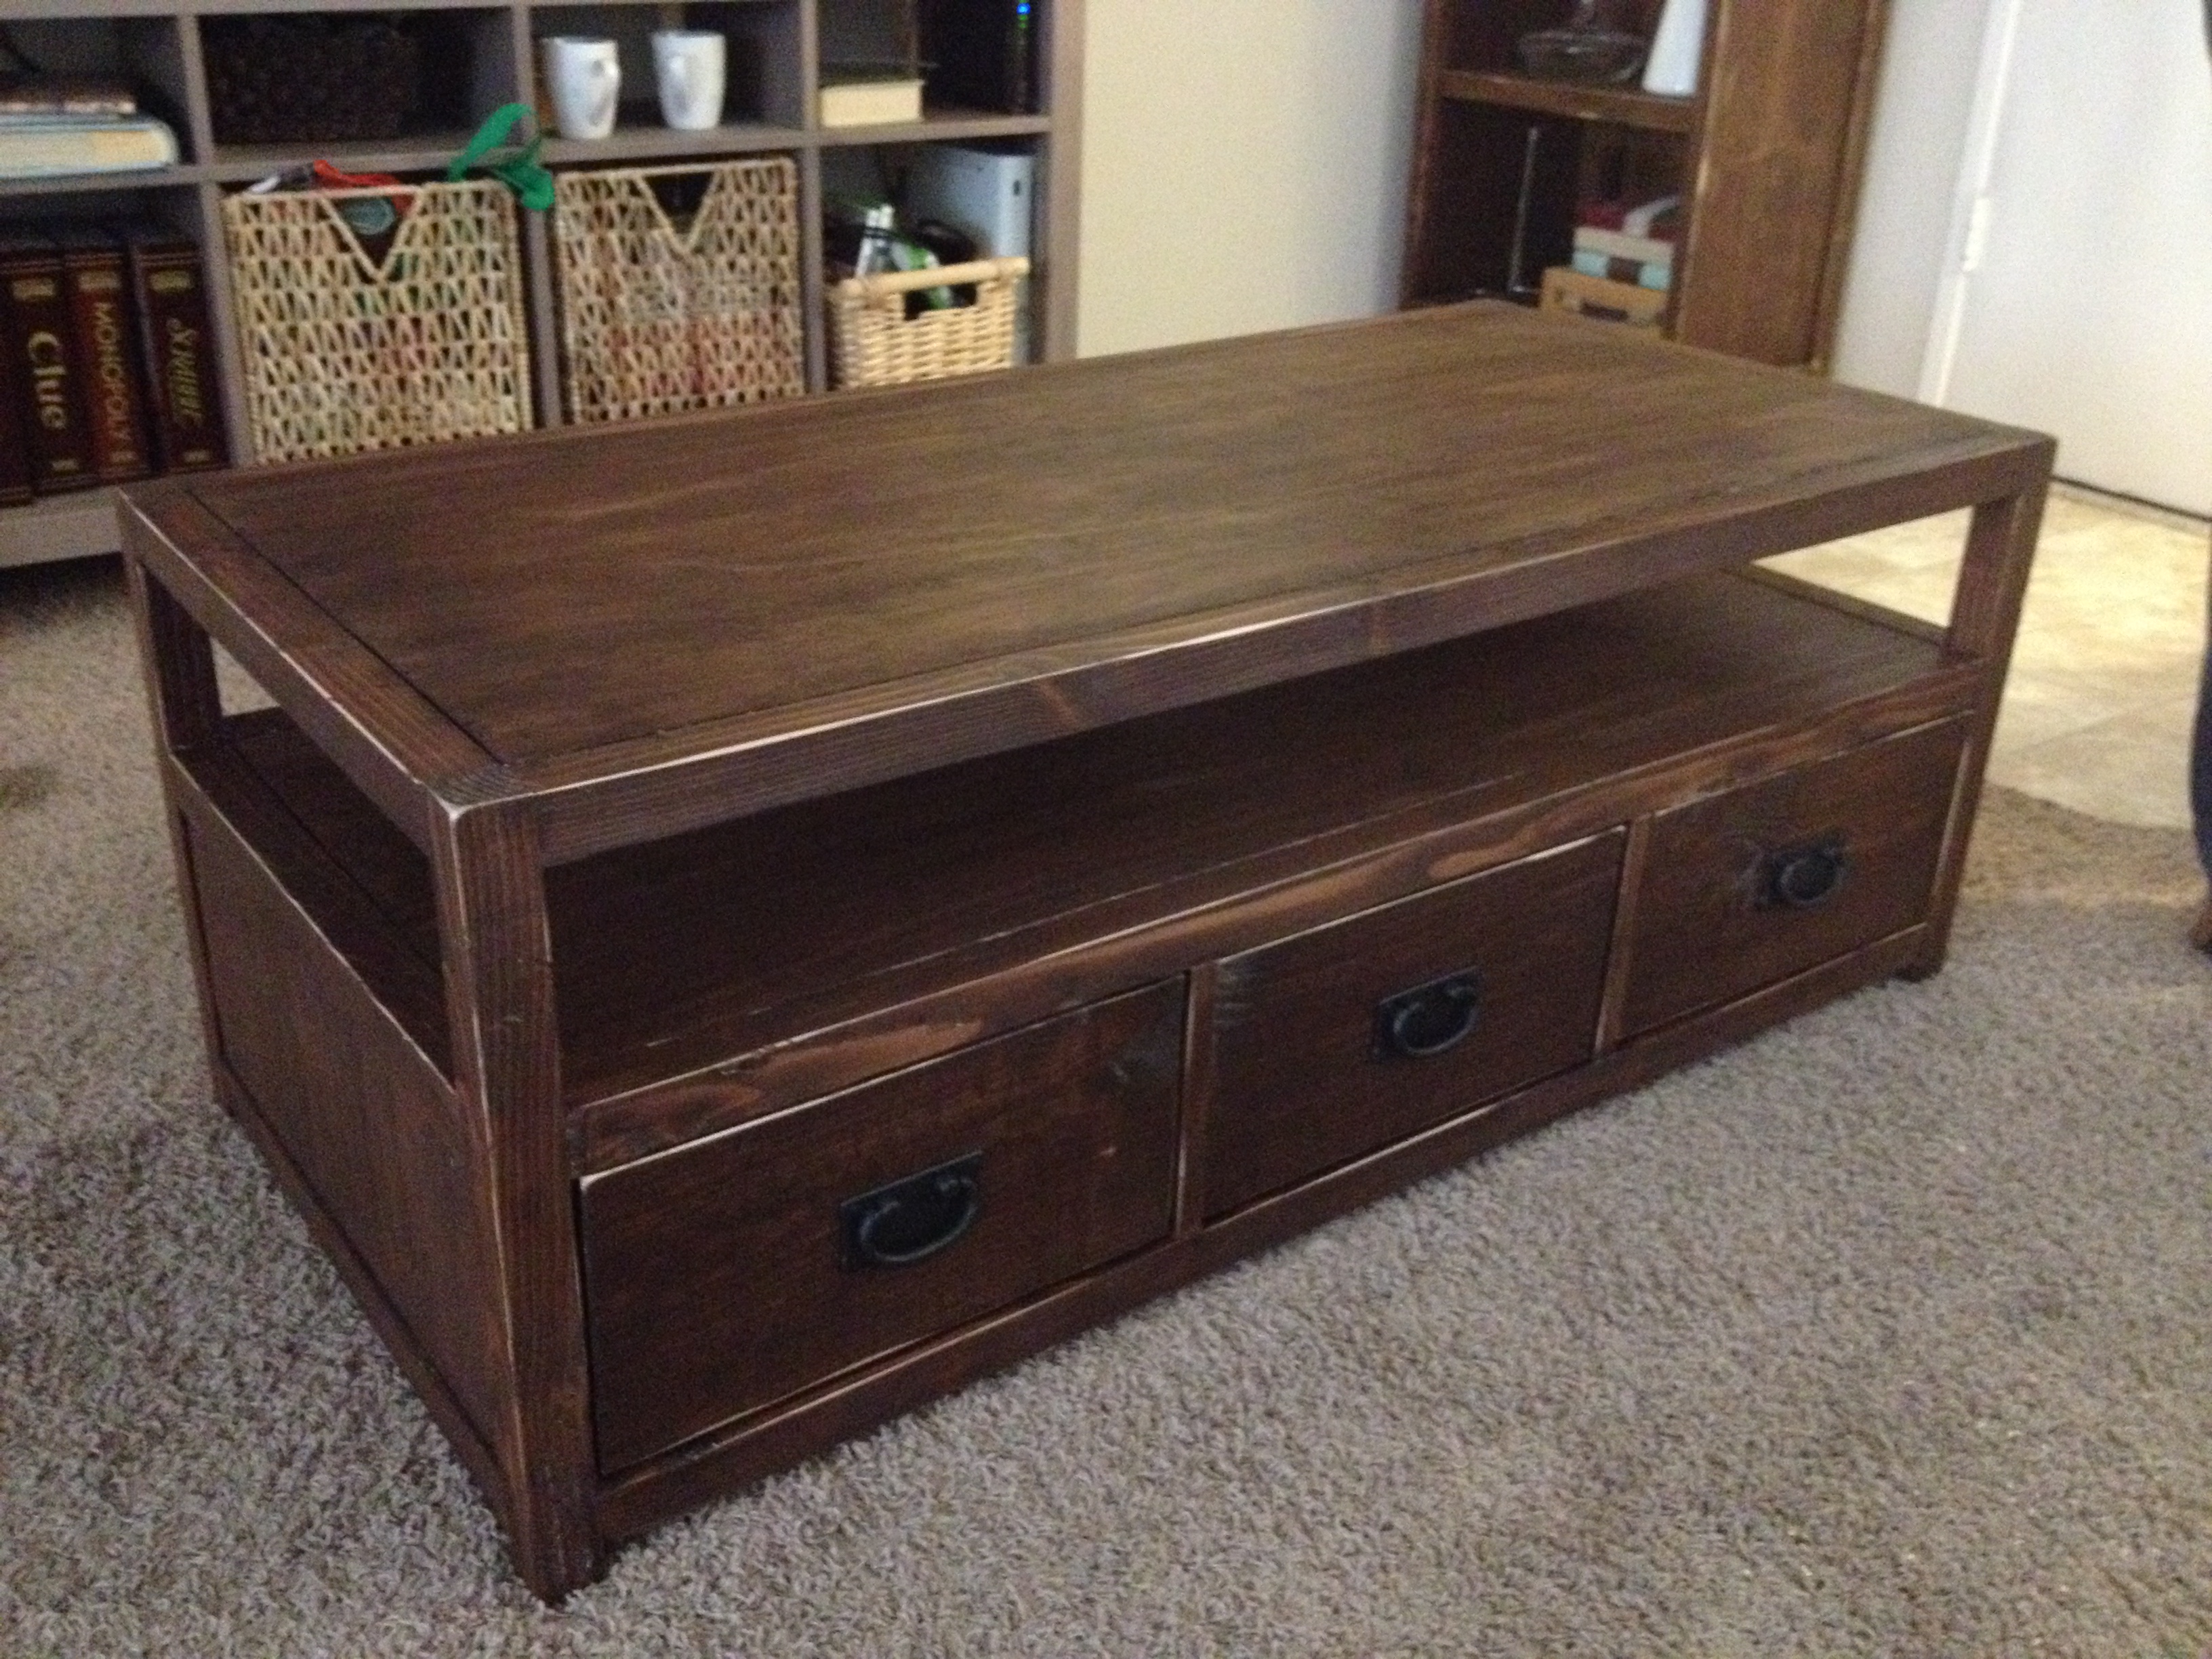
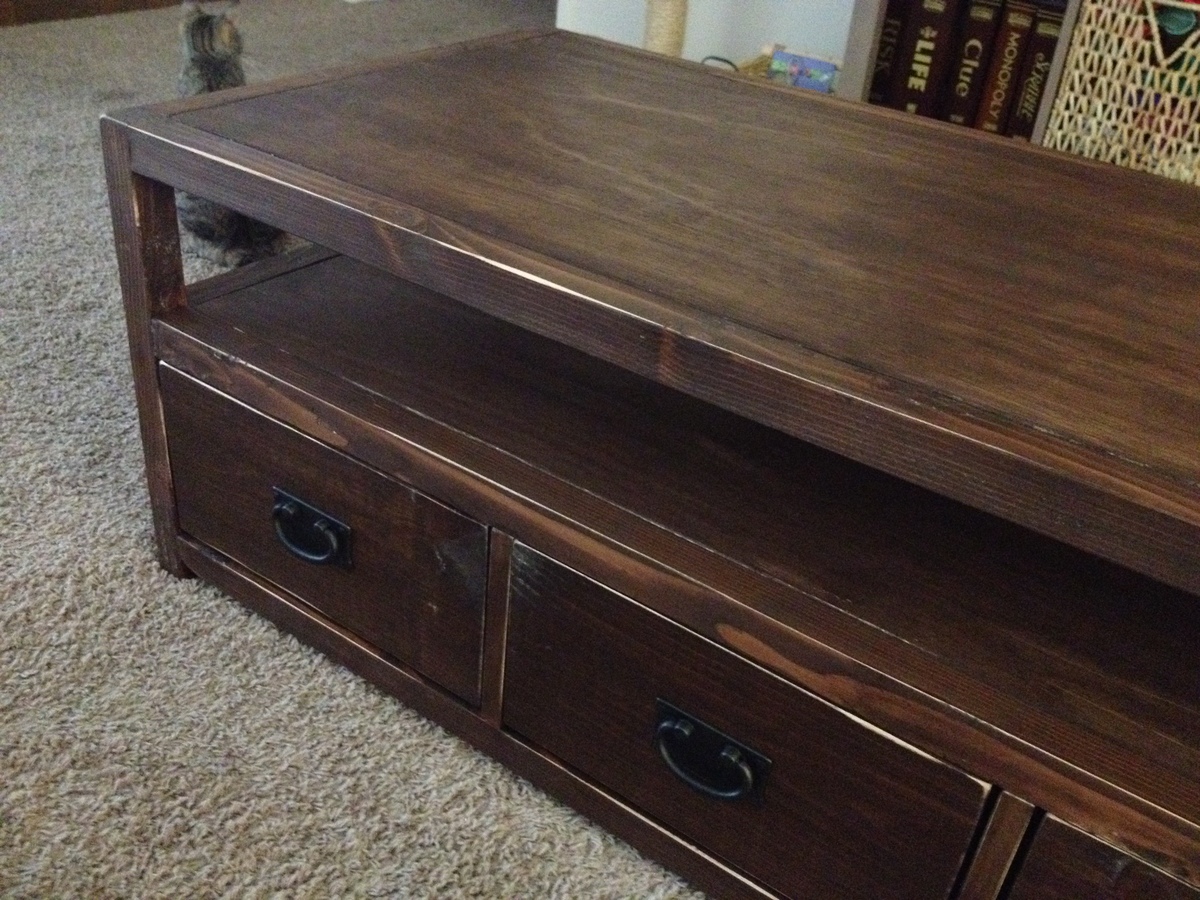
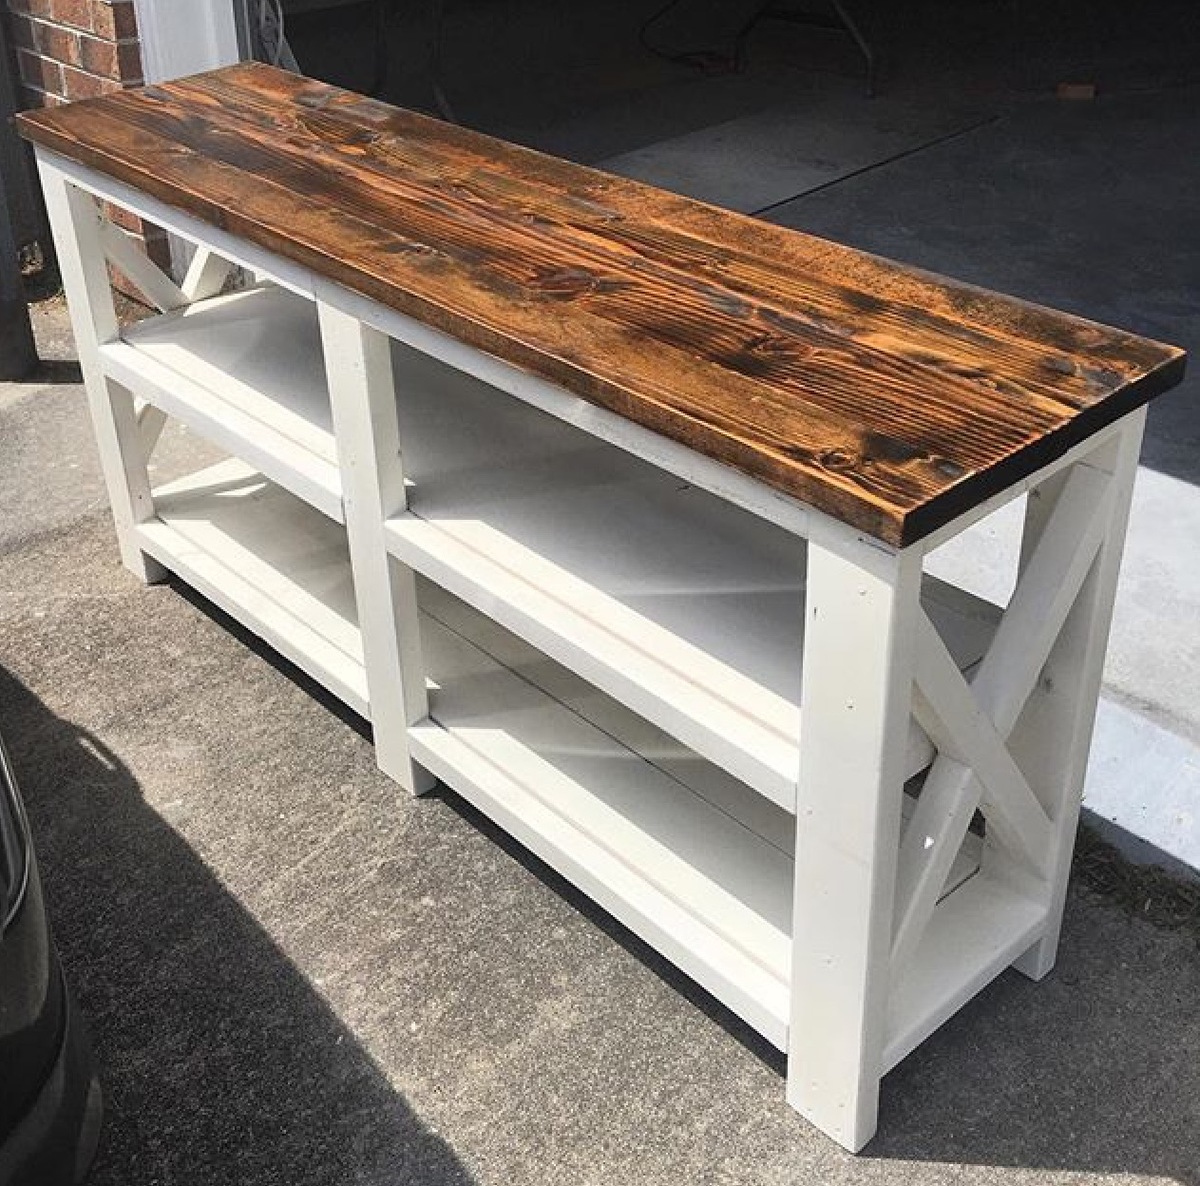
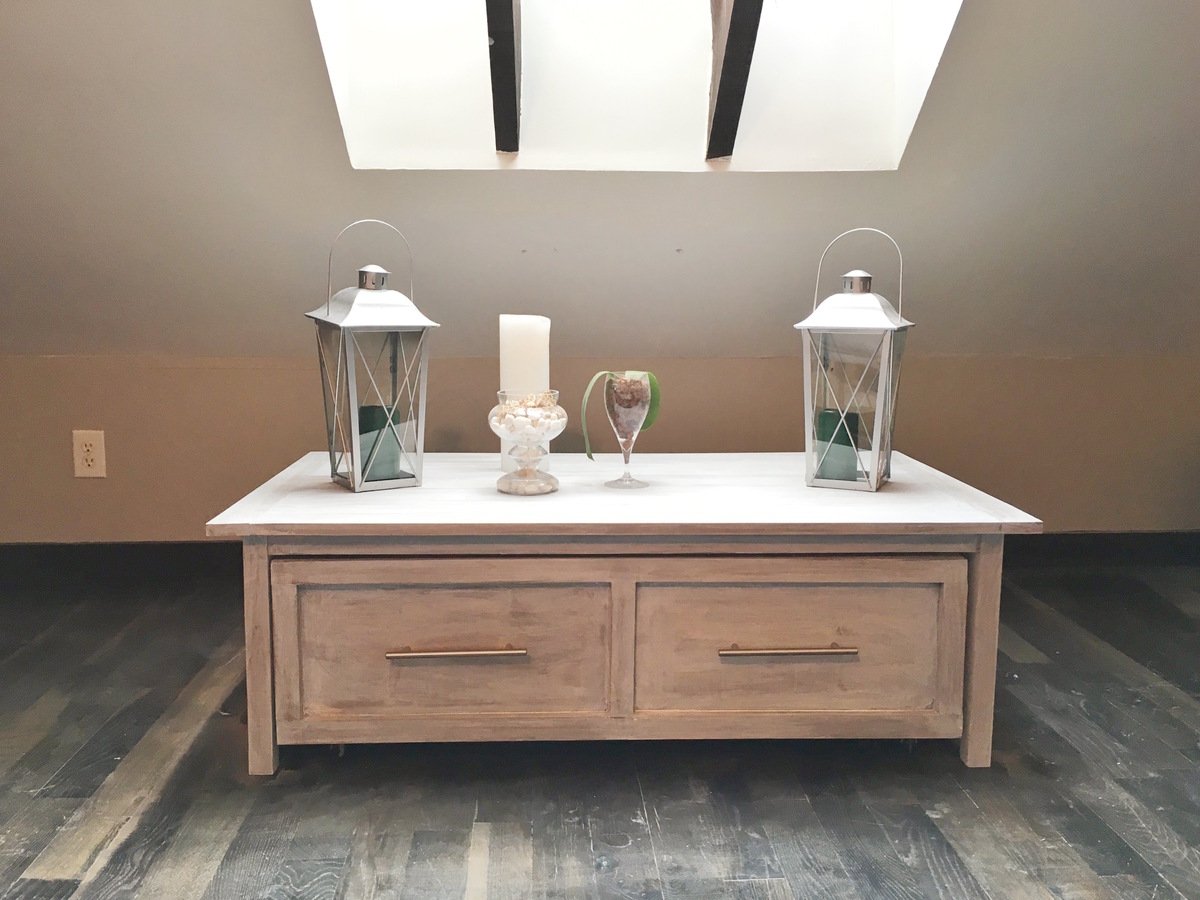
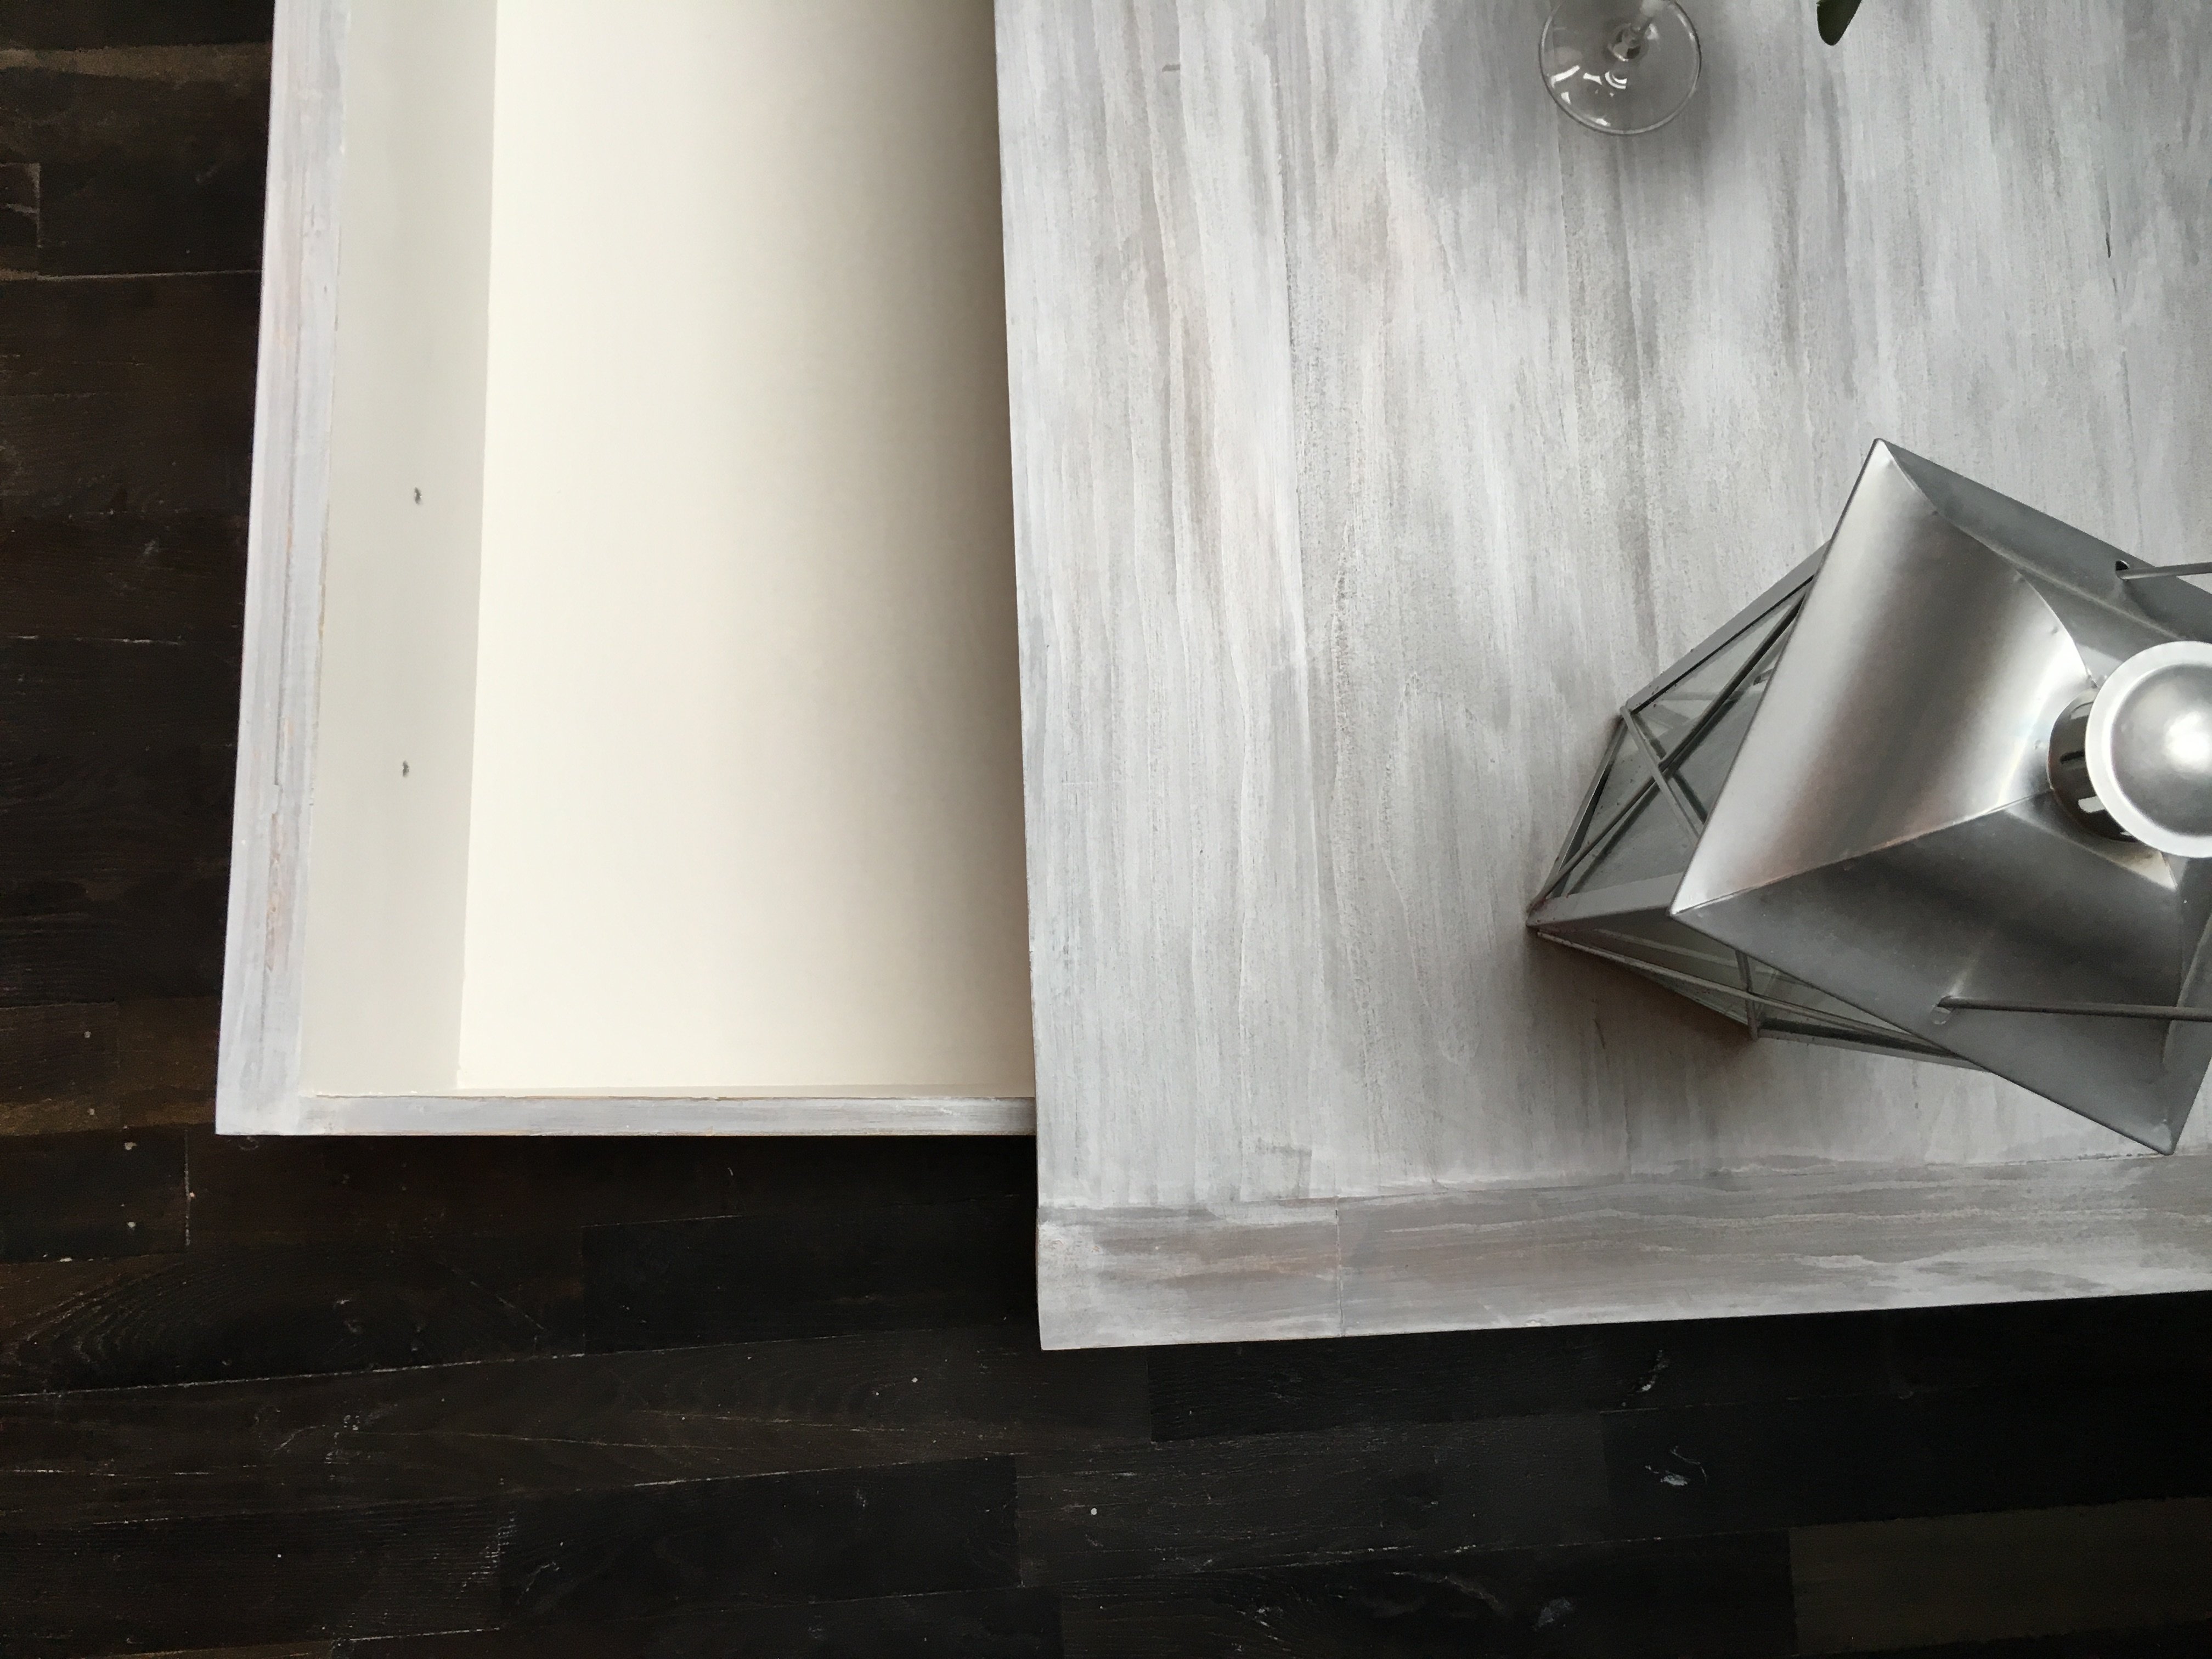
Speaking of the finish, this was done in all water based since I live in a condo with very little ventilation. I started with Minwax waterbased stain in American Walnut. I then applied two coats of white wash before sanding it down to reveal more of the wood grain. I'm so pleased with the finish!
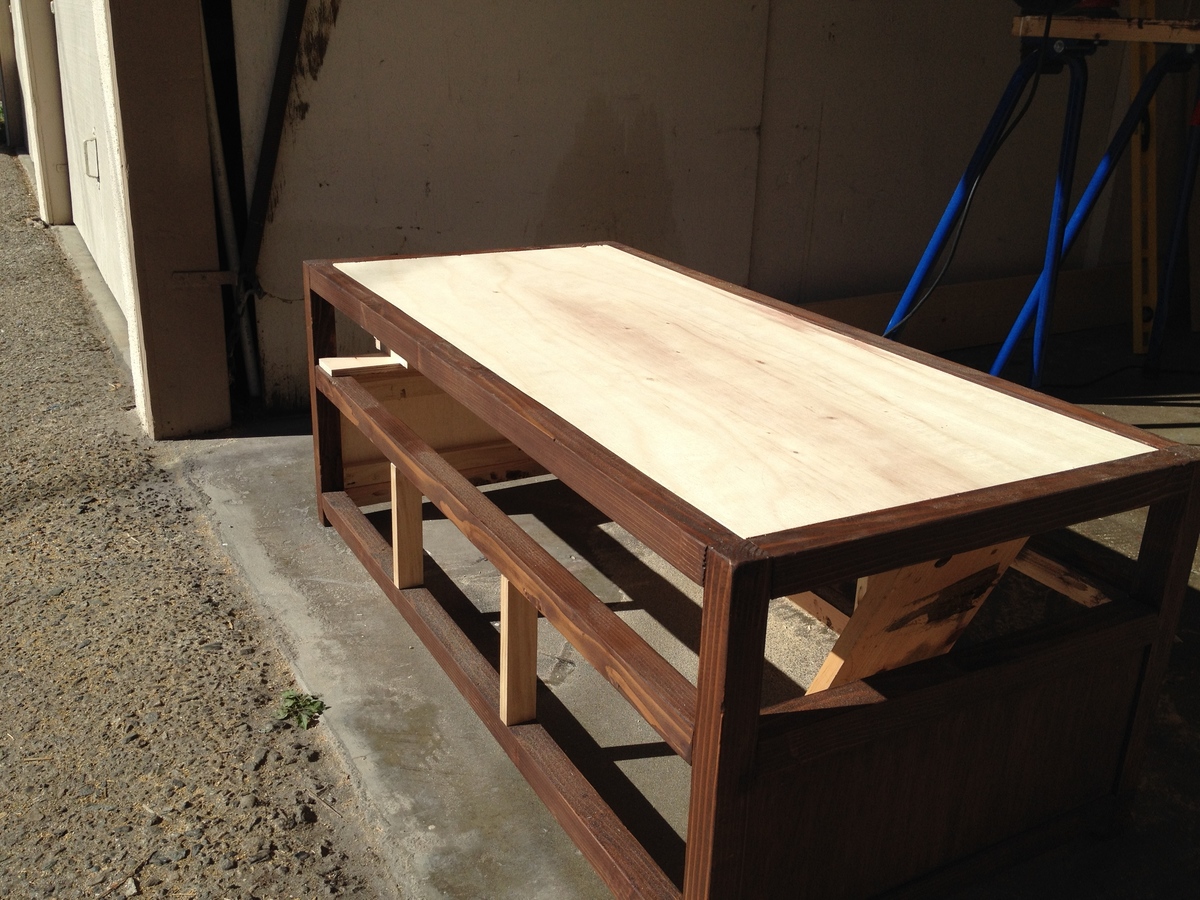
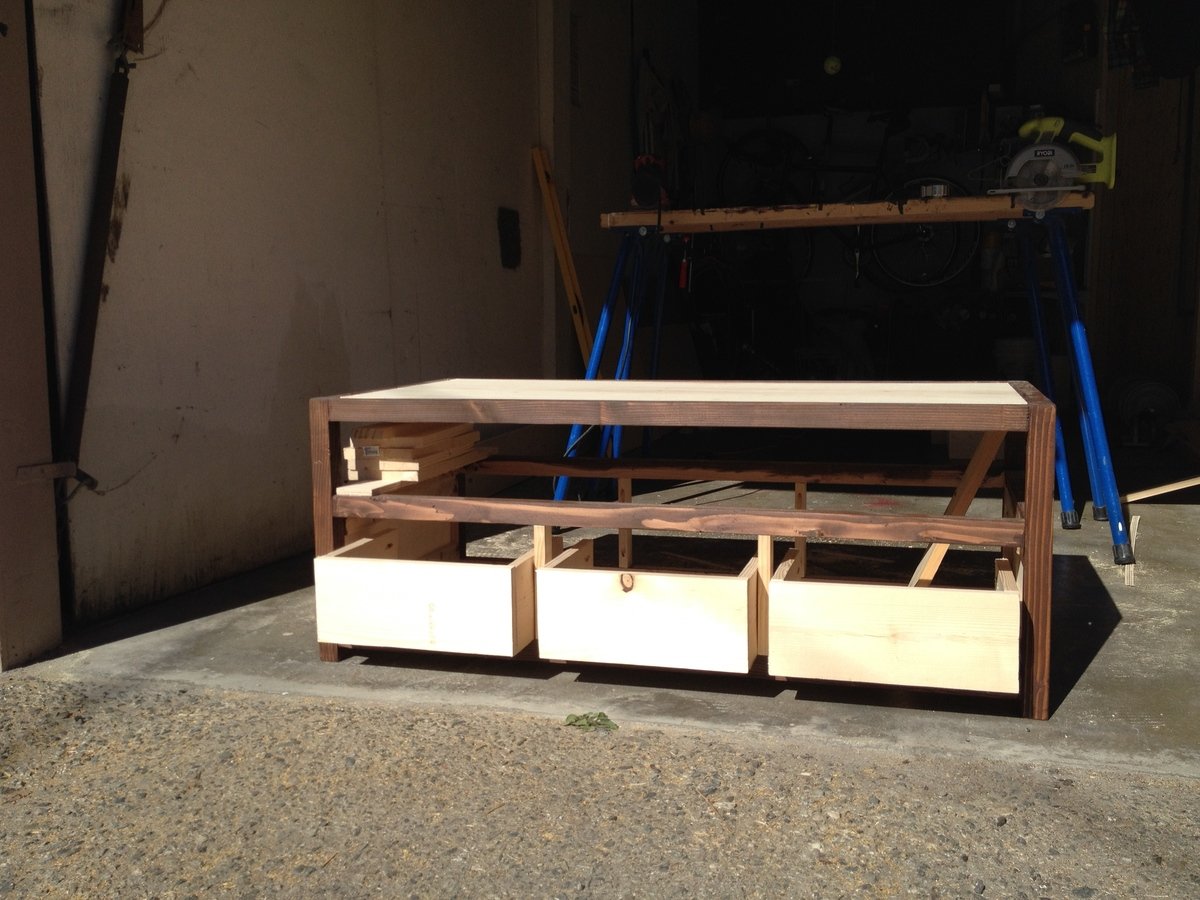
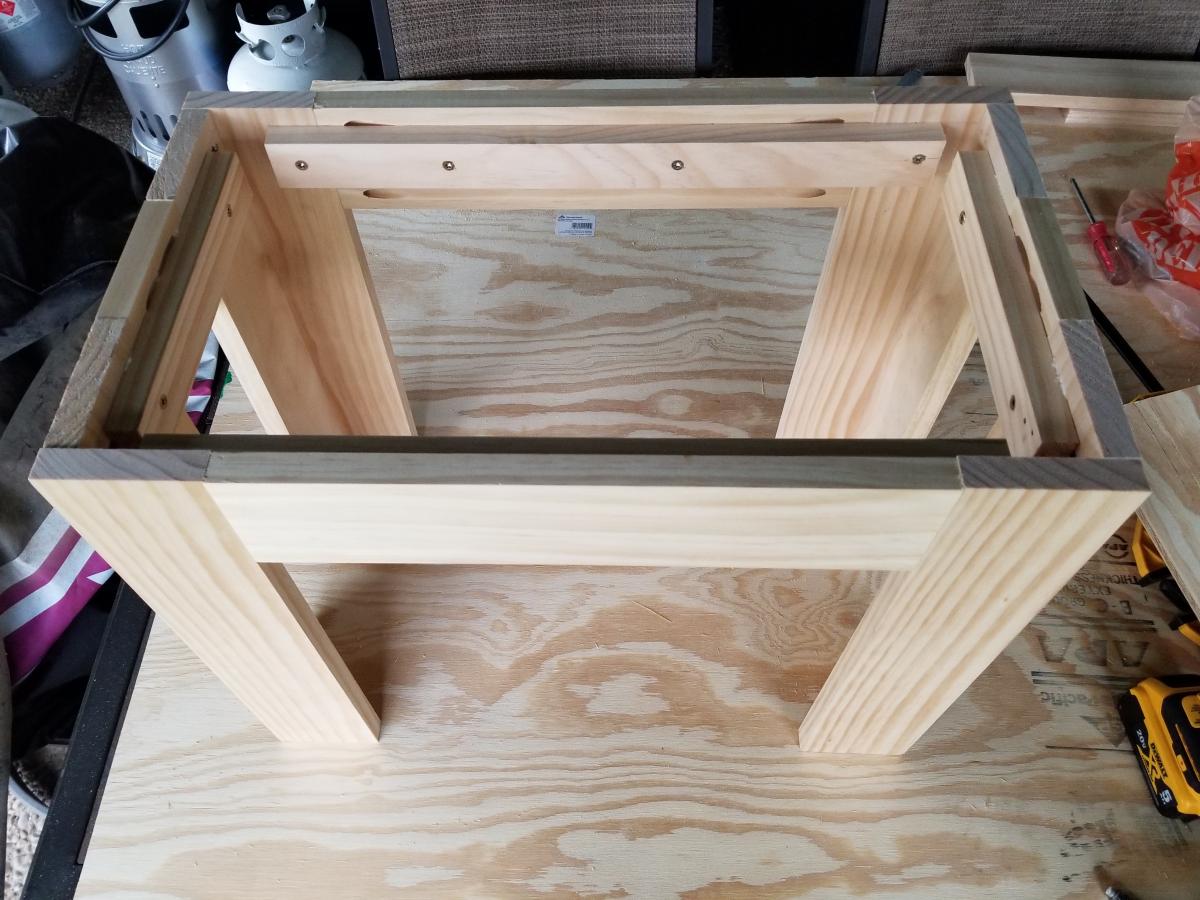
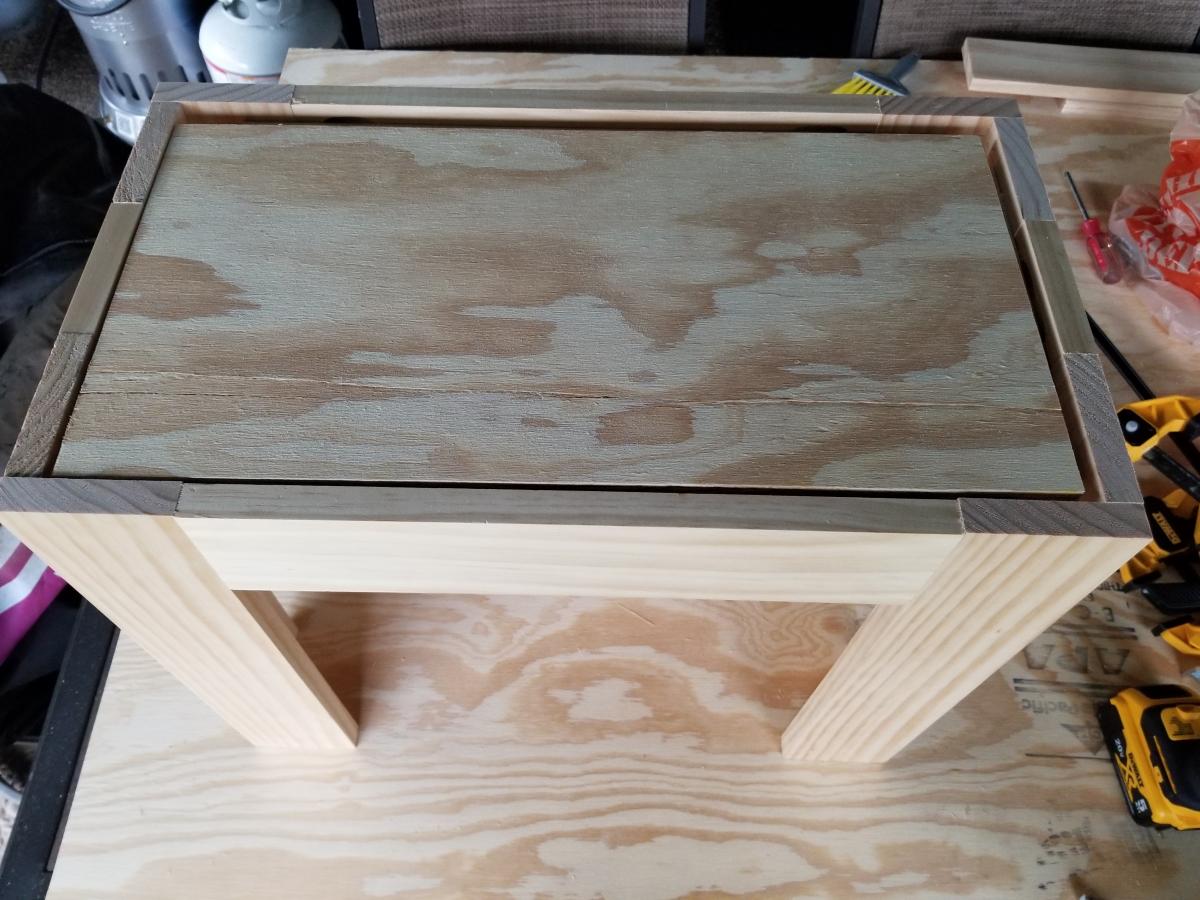
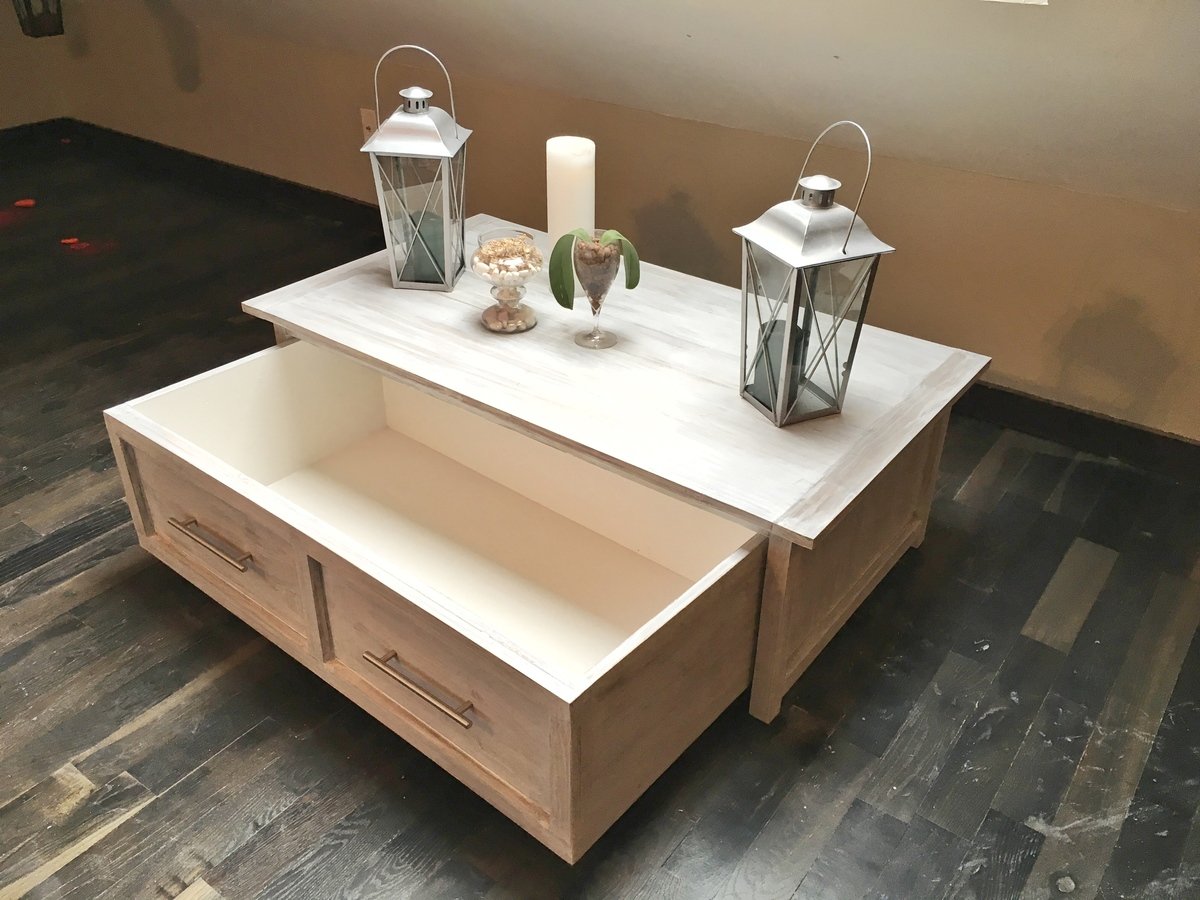
However, the thing I'm the most proud of is how square this thing is. Math teachers could build accurate trigonometry word probems off of this thing! I decided to reverse engineer the most important bits in order to ensure squareness. For example, I built the table top first. I then drew out a perfectly square outline on the bottom side. I then used counter sunk screws to attach the frame to the bottom side as well as the Kreg jig to fit the pieces of the frame together. Similarly, I cut the bottom piece of playwood perfectly square, and then I attached the 1x12s to the plywood to ensure everything stayed square. Those 1x12s are just too swervy otherwise, which can become rather unweildy.
All told, I am very pleased with the finished product. I love having the ability to build high quality furniture that will live on for a long time to come.


Comments
curt1ja
Wed, 01/08/2020 - 06:09
This is exactly what I am…
This is exactly what I am looking for. How tall is it? Can you post plans of how you modified it?
Twinkies' mom
Fri, 10/02/2020 - 09:33
I am SO sorry but I haven't…
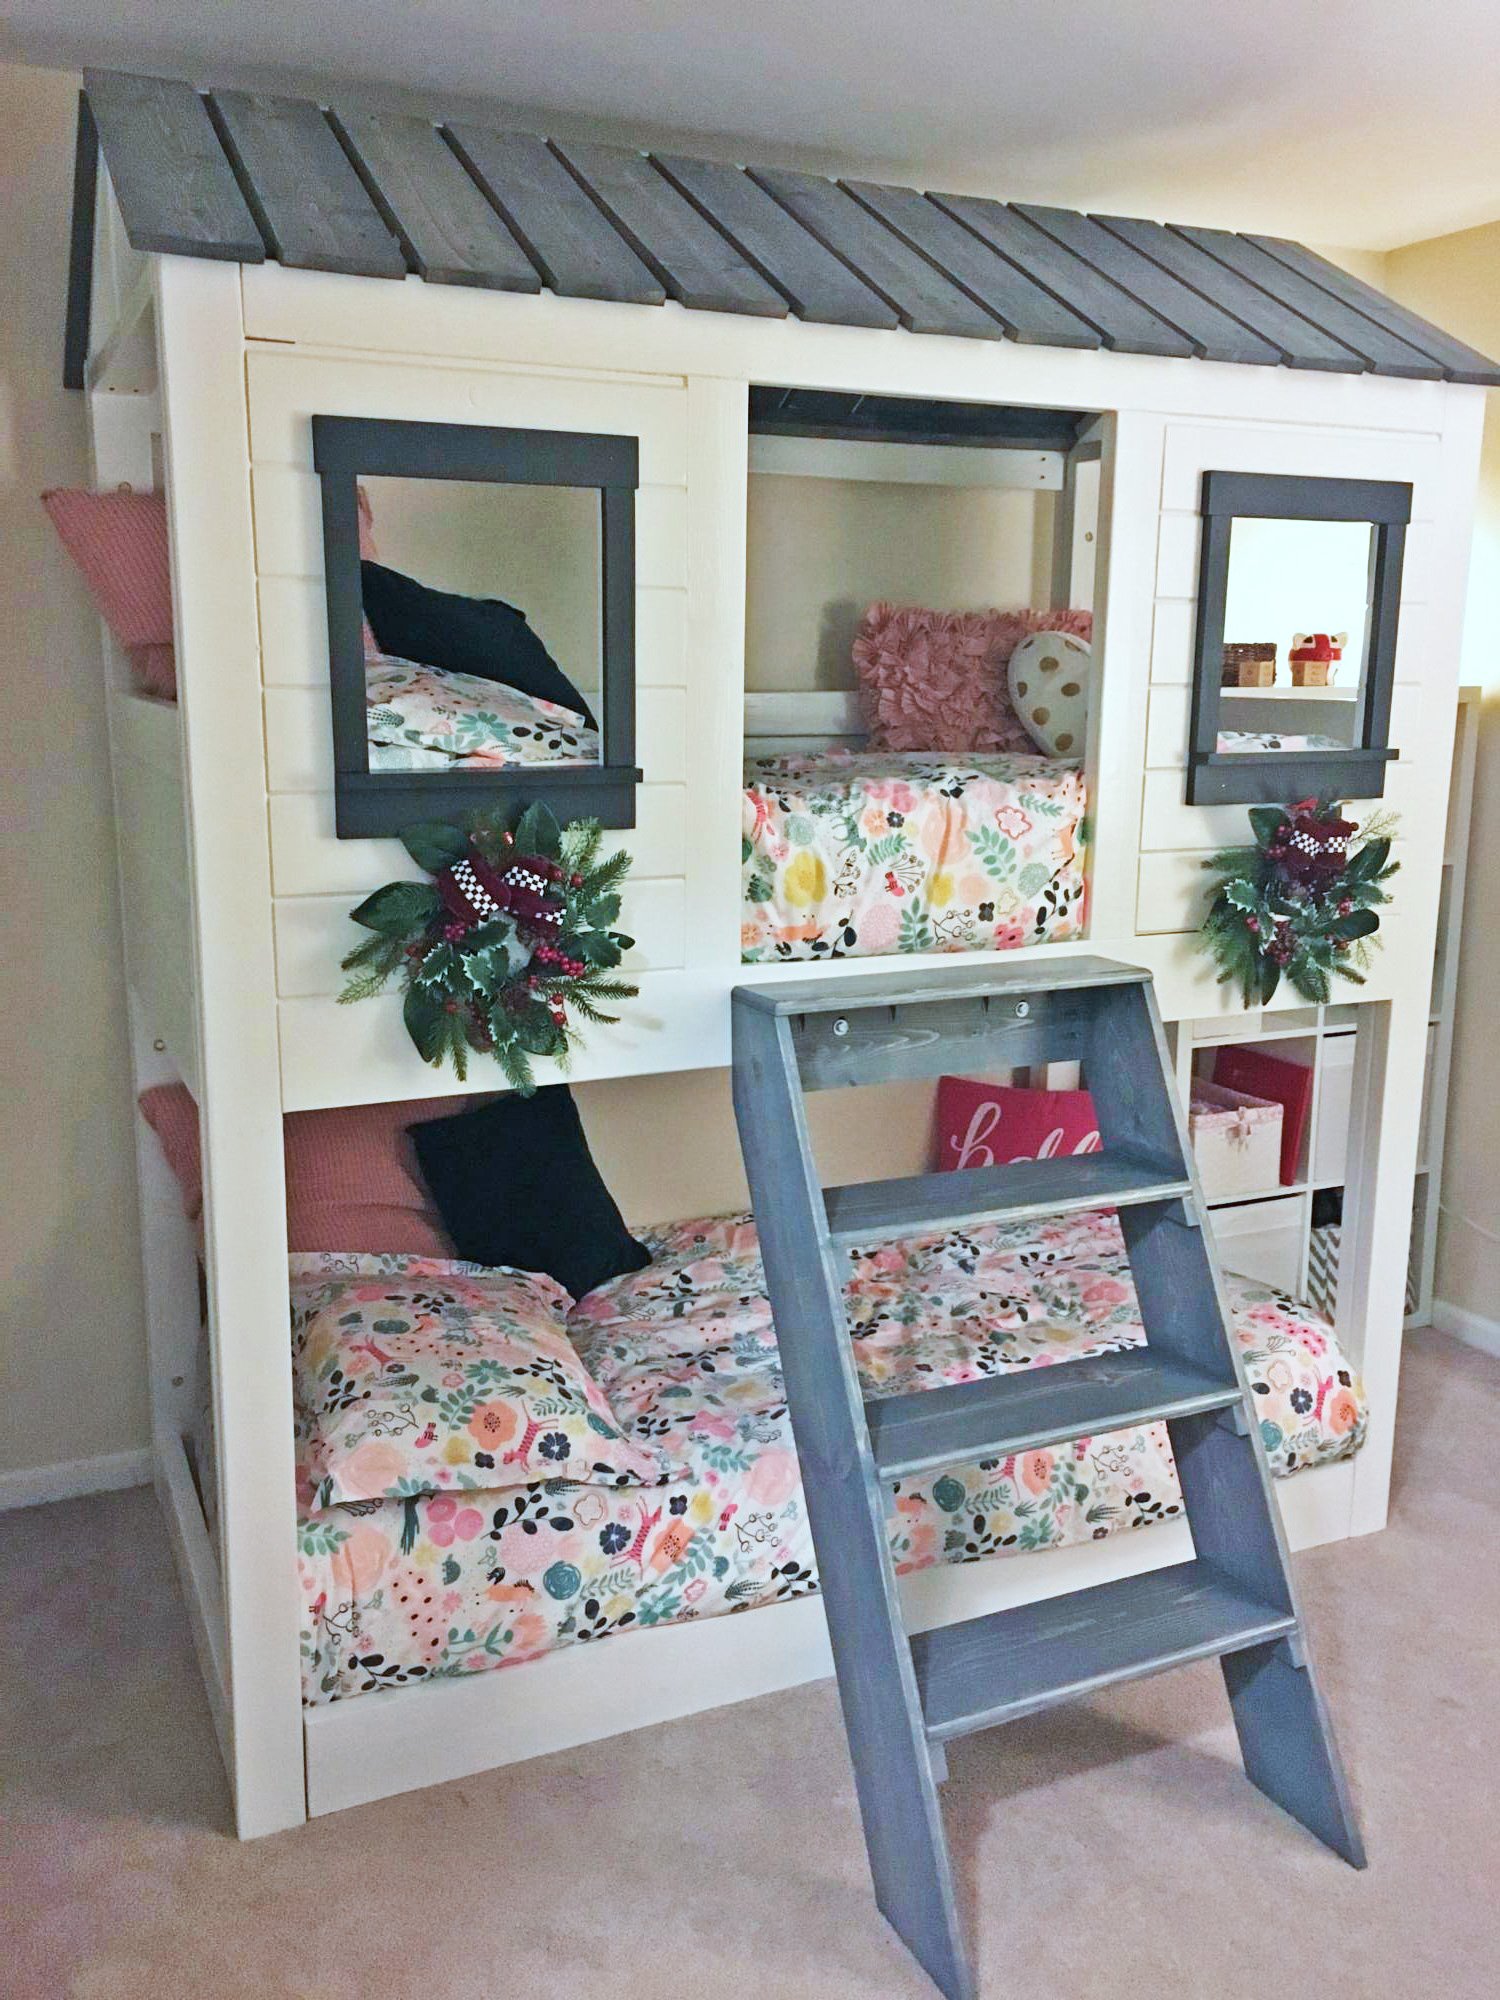
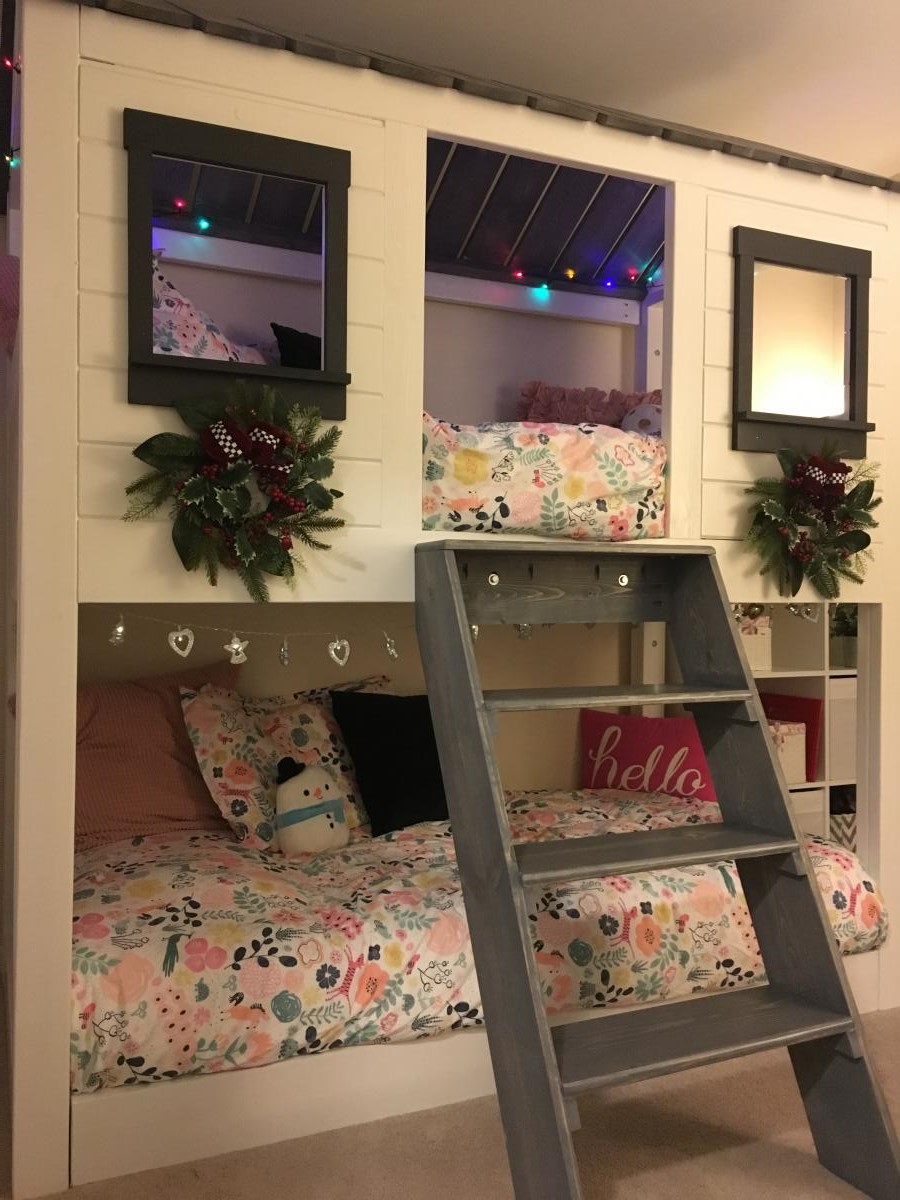
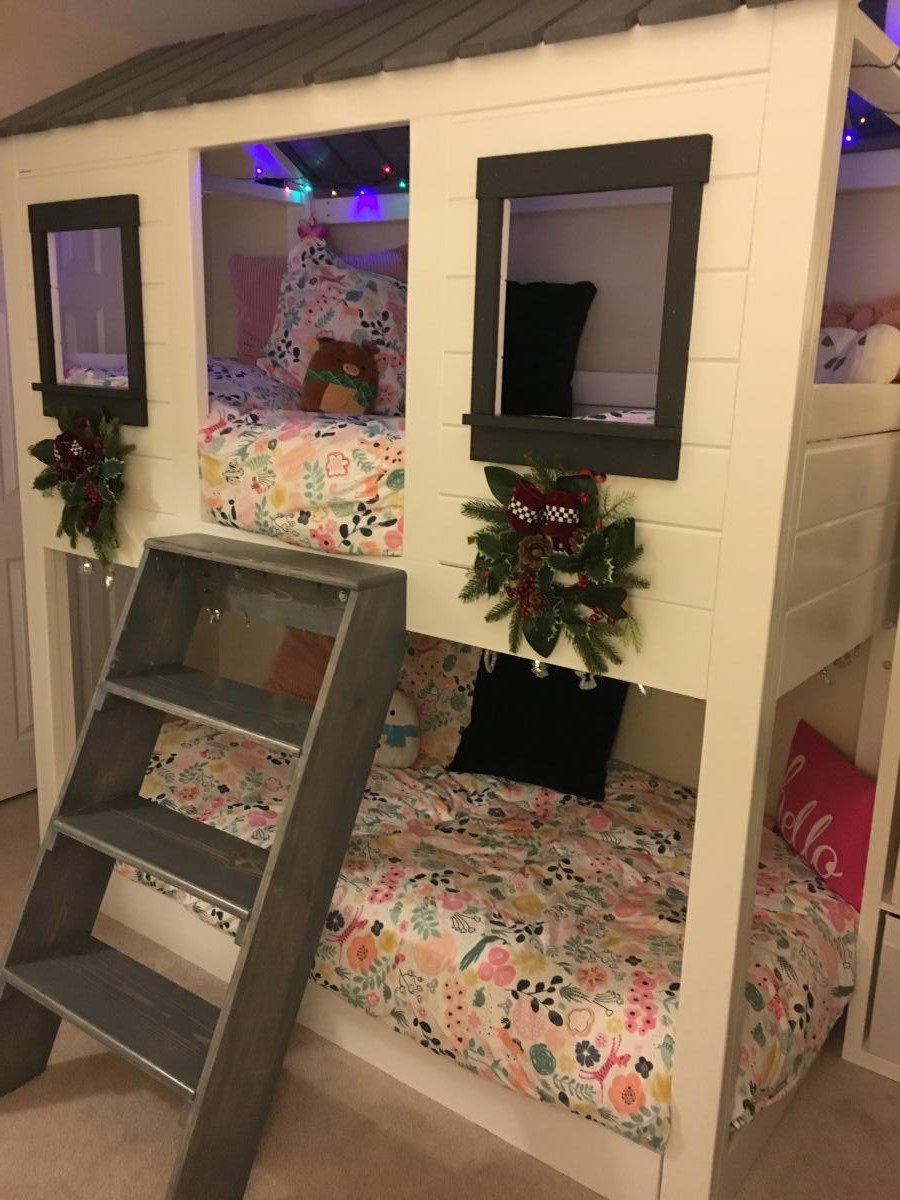
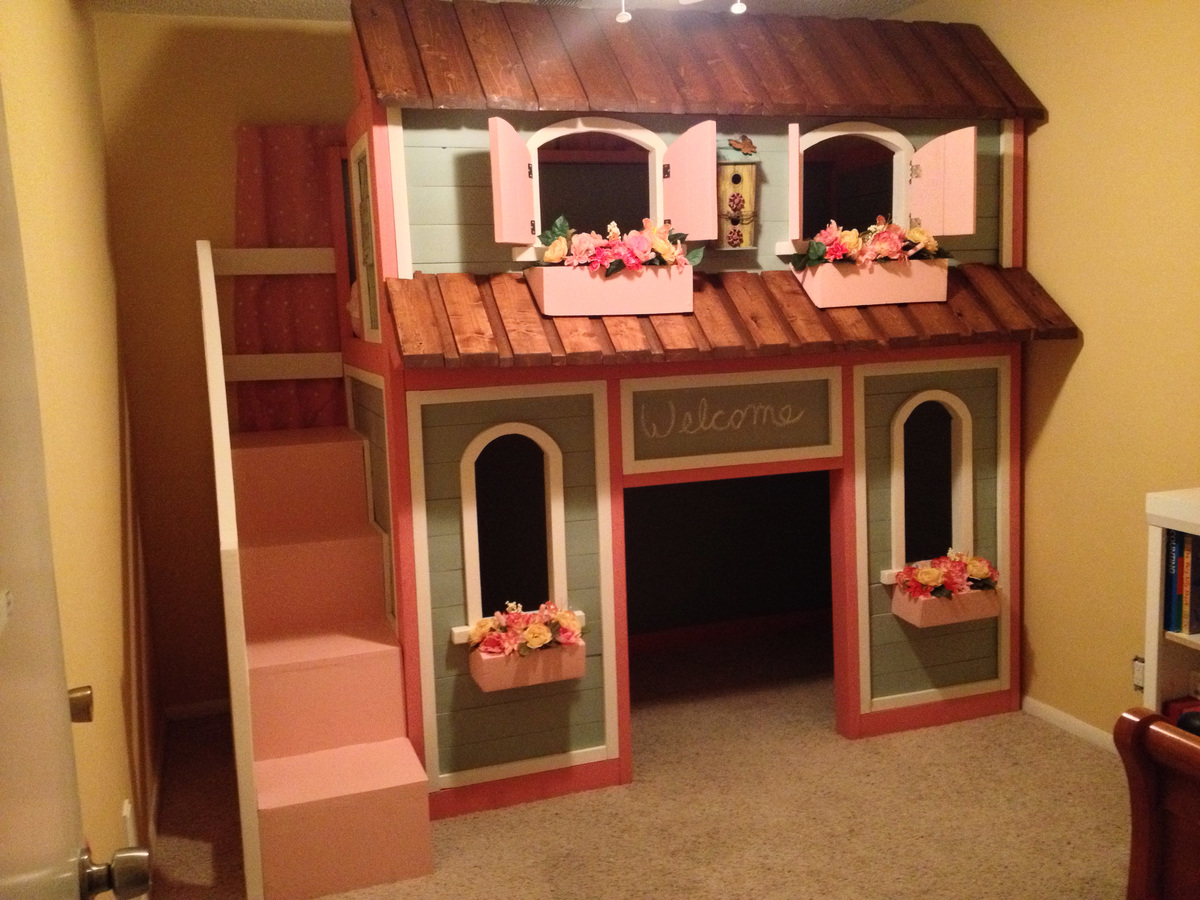
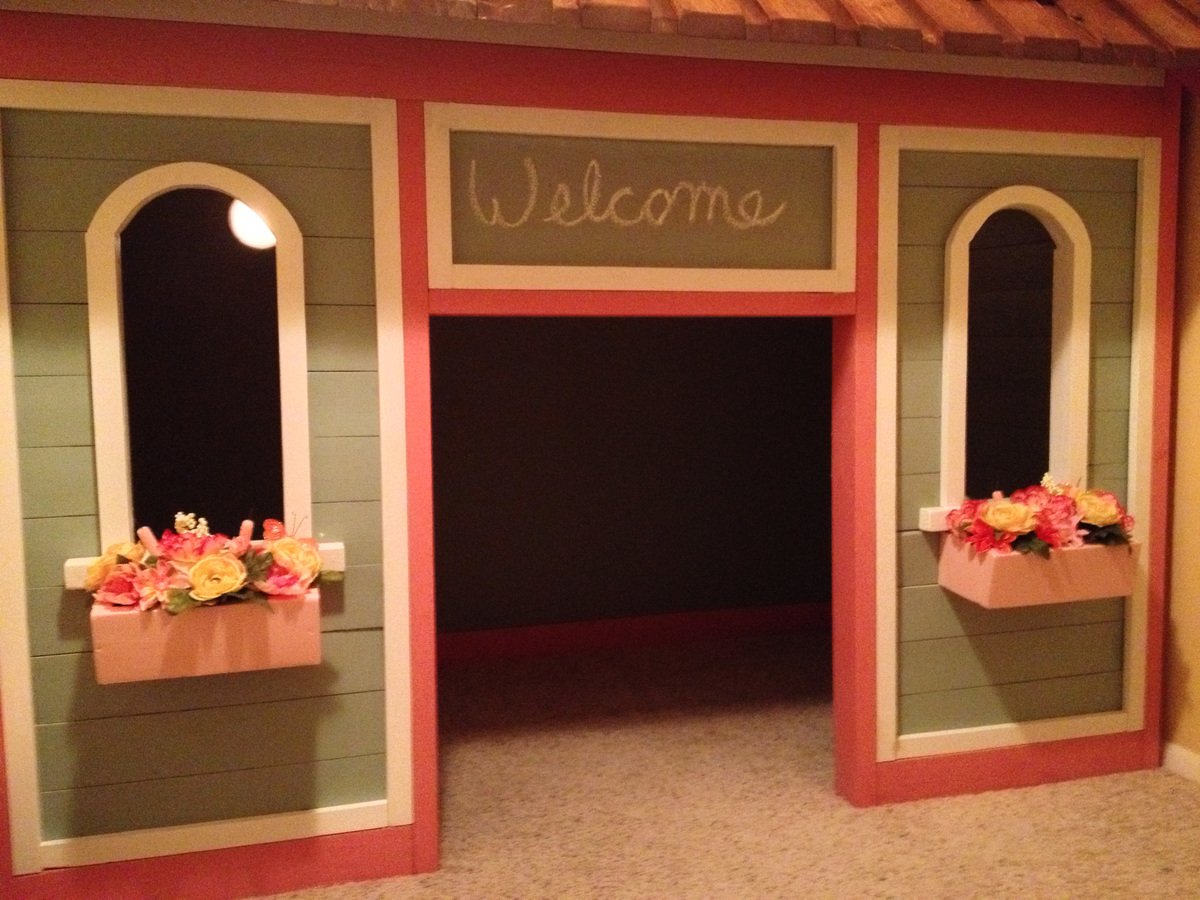
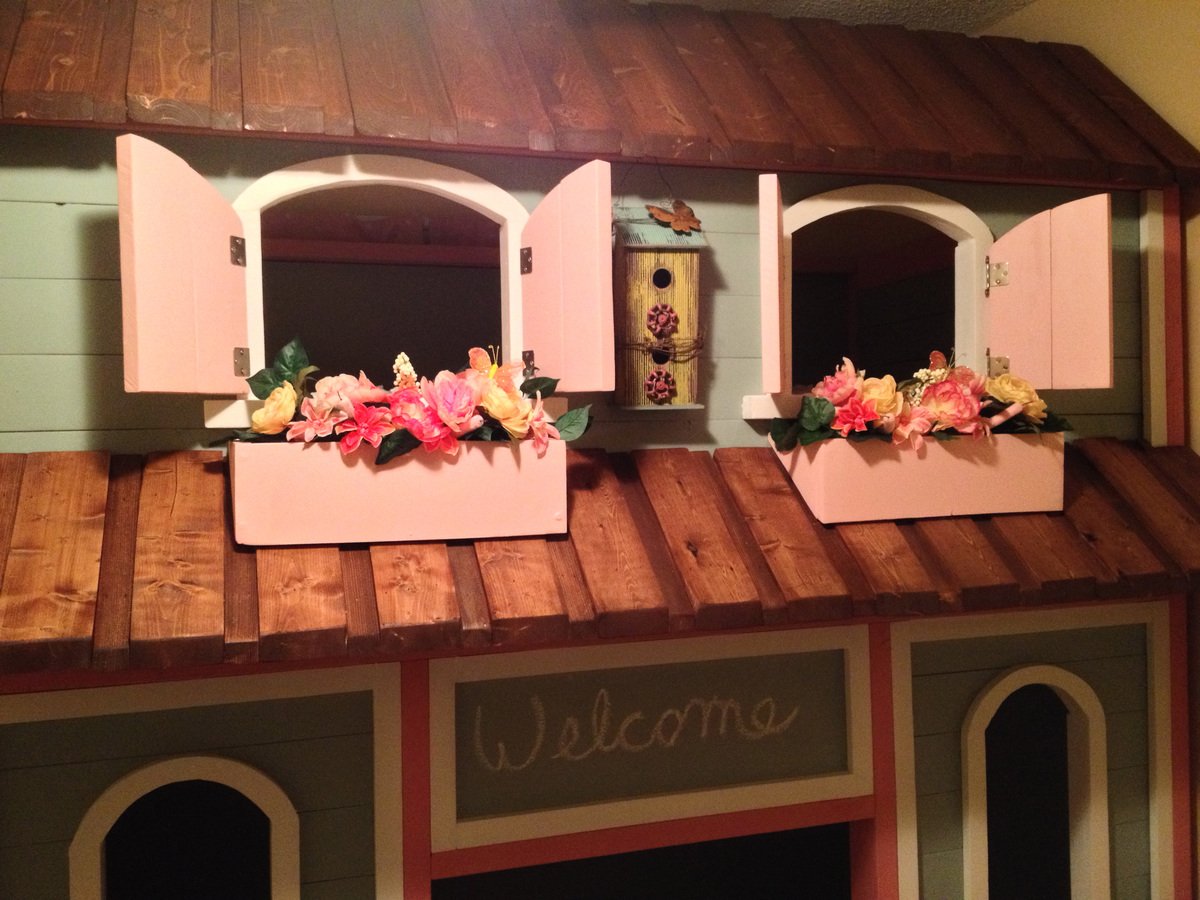
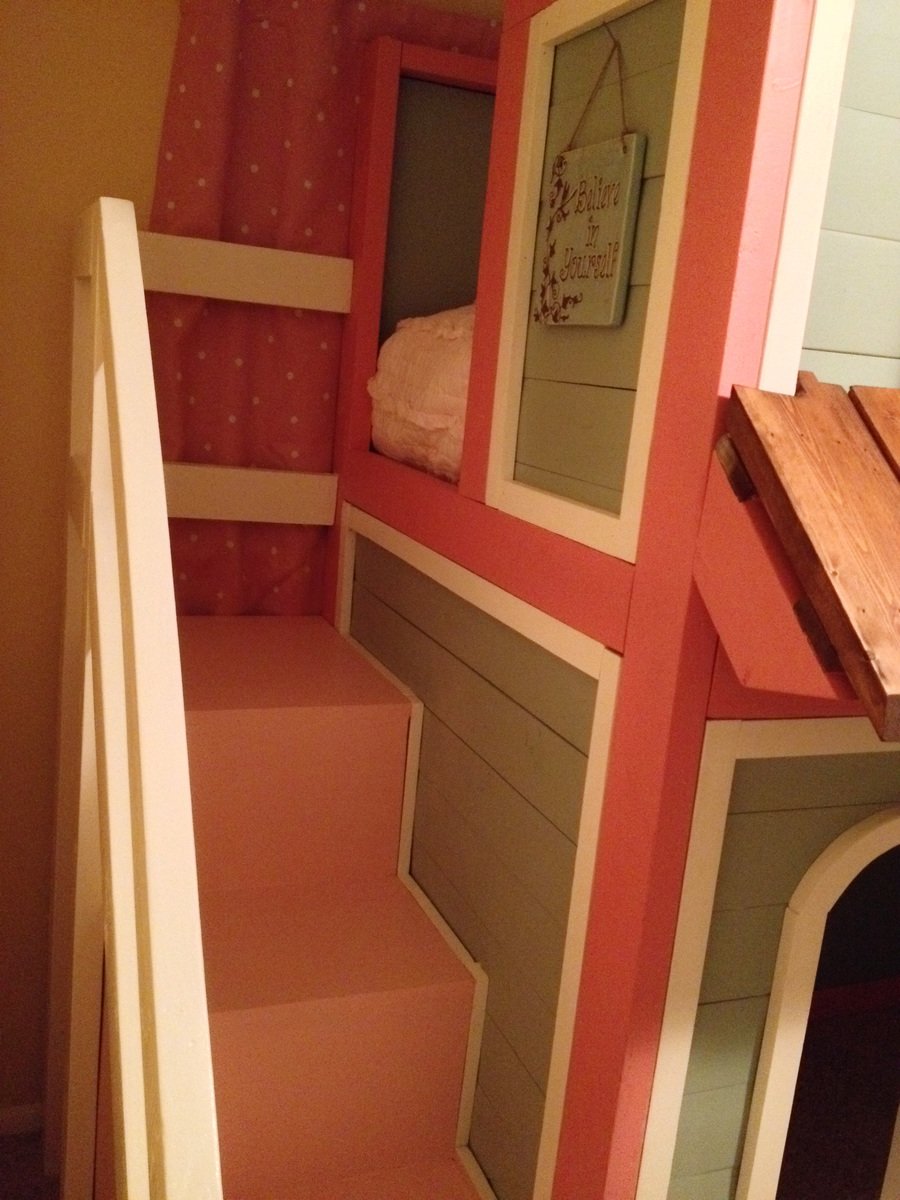
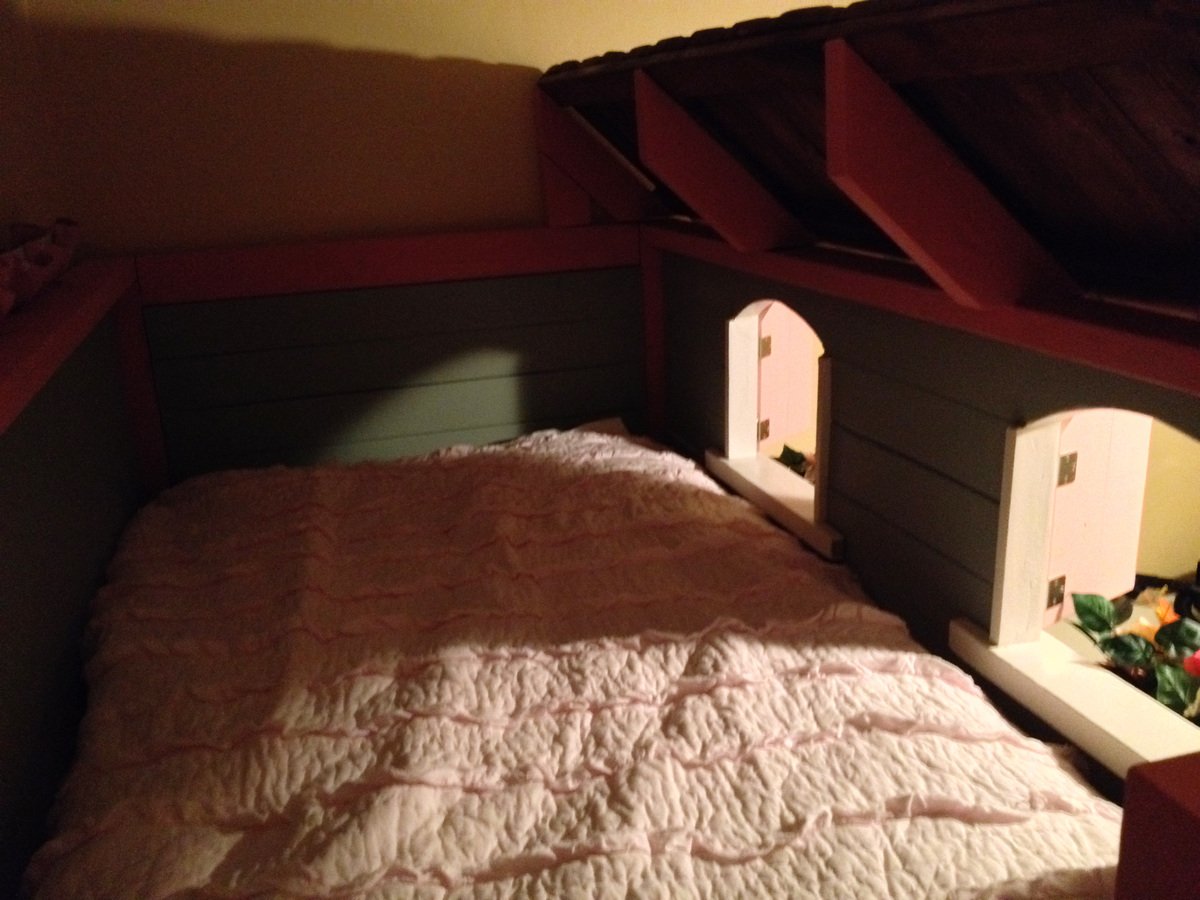
I am SO sorry but I haven't been on here since I posted the bunkbeds (almost 9 months ago!) I had written out all of my modified measurements on the Jen Woodhouse plans but have since lost it somewhere in my garage :( Here is what I can tell you at the moment: short side of "front" & "back" panels = 77.25" ; I kept the angles on the sides/roof the same, so the highest point of roof = 89" (I have short 8' ceilings so this leaves ~7" space up top). I used what I believe were 5" tongue & groove flooring panels instead of plywood for all sides, framed by 2x4s and 2x6 underneath for a little extra support. The height from the bottom of the top bunk to the floor is 38", and I added a 2x6 piece between the bottom legs of the 2 side pieces, flush with the outside edge. I built a rectangular frame for the bottom mattress using 2x6" on the long sides and 2x4 on the short sides -- the 2x4s are raised off the floor in order to allow for air circulation under the mattress and act as the end slats (they're flush on top with the rest of the slats, which I used 2x4s instead of the 1x in the plans)... instead of the 2x2 supports for the mattresses I used some scrap 2x3s from my kids old toddler beds which I had also built but tried to recycle as much of the wood as I could for this project, plus the 2x6 gave me a little more wiggle room -- if you use 2x4 you won't have space for 2x3 supports. The front "door" opening is 22.75", which I based on my size and me being able to get in and out easily (as mentioned above, I like to camp out with my kids sometimes!). The window openings are 12" w x 13.5" h, but the height is measured after I made a 1x3" window ledge which is flush with the inside of the wall; the rest of the windows are framed with 1x2s and 1x3s.
The full width of the side panels is 38" and the front/back are 78.5" -- I based these on the mattresses which I had already bought (Novaform twin from Costco -- since they're memory foam they're a little easier to "squeeze" in the top bunk than I would imagine a regular mattress would be).
I think that covers everything, sorry again about replying so late!
Twinkies' mom
Fri, 10/02/2020 - 09:42
2 more things: The bottom …
2 more things:
The bottom "frame" was meant to be removable for easy assembly/disassembly as my family moves a lot! That is why I used the inner 2x4s to hold the long side rails together, and the short-side 2x6s which are attached to the side frames are merely fore the illusion that it's all one piece. I did place a couple 2.5" screws through the inside of the 2x4s right into the legs of the upper bunk to make sure it stays in place.
When building the front panels with the windows, I decided on door opening first, then window opening (based on the size of the tongue & groove flooring), then calculated the width of all the pieces to create the window opening. I used pocked holes to connect the tongue & groove flooring to the "frame" created by the 2x4 pieces, and TONS of wood glue in between the boards. Adding the window frames with glue & nails helped provide a little more stability to the windows, although once the glue was dry there was zero movement around the window but I never know with my extremely-destructive twins! Now they're able to climb all over the bunk using the window ledge for support and it's no problem.