Community Brag Posts

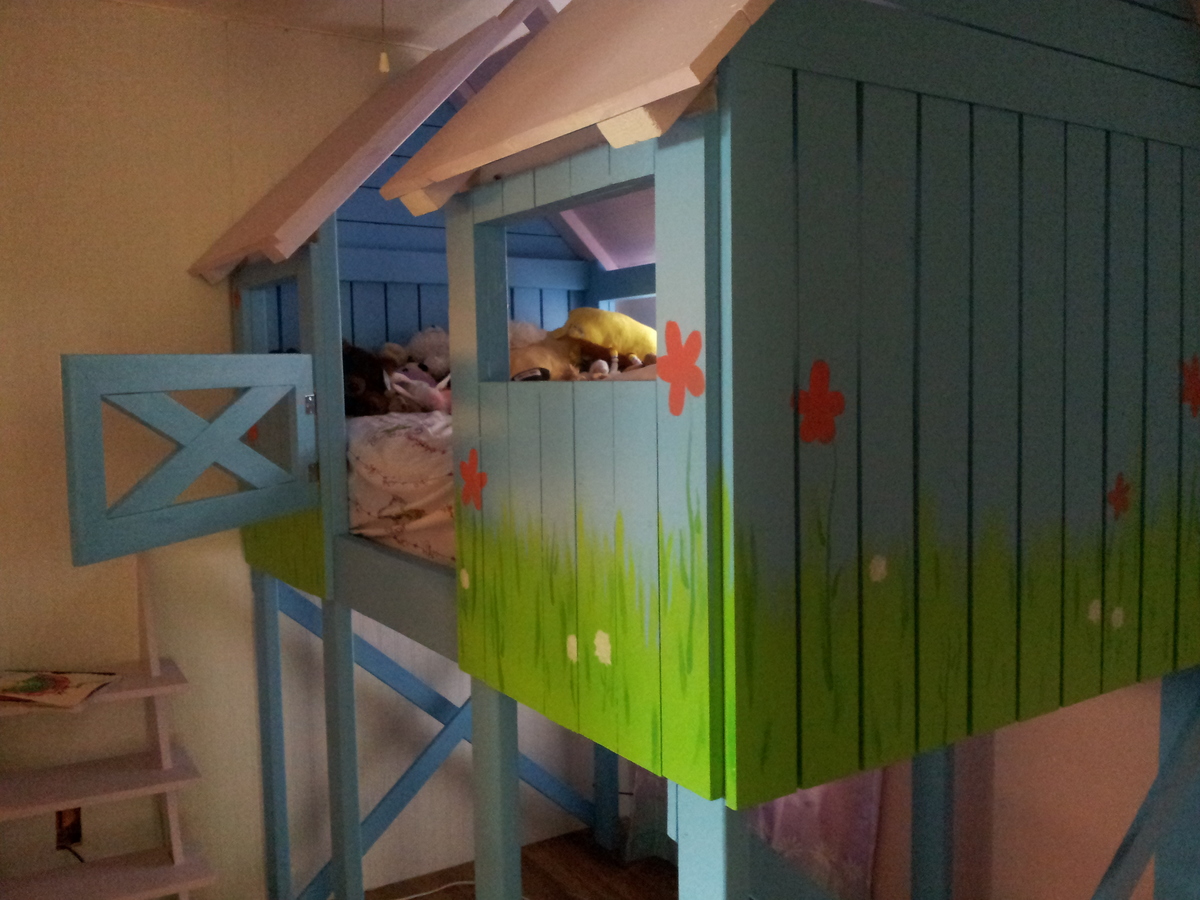
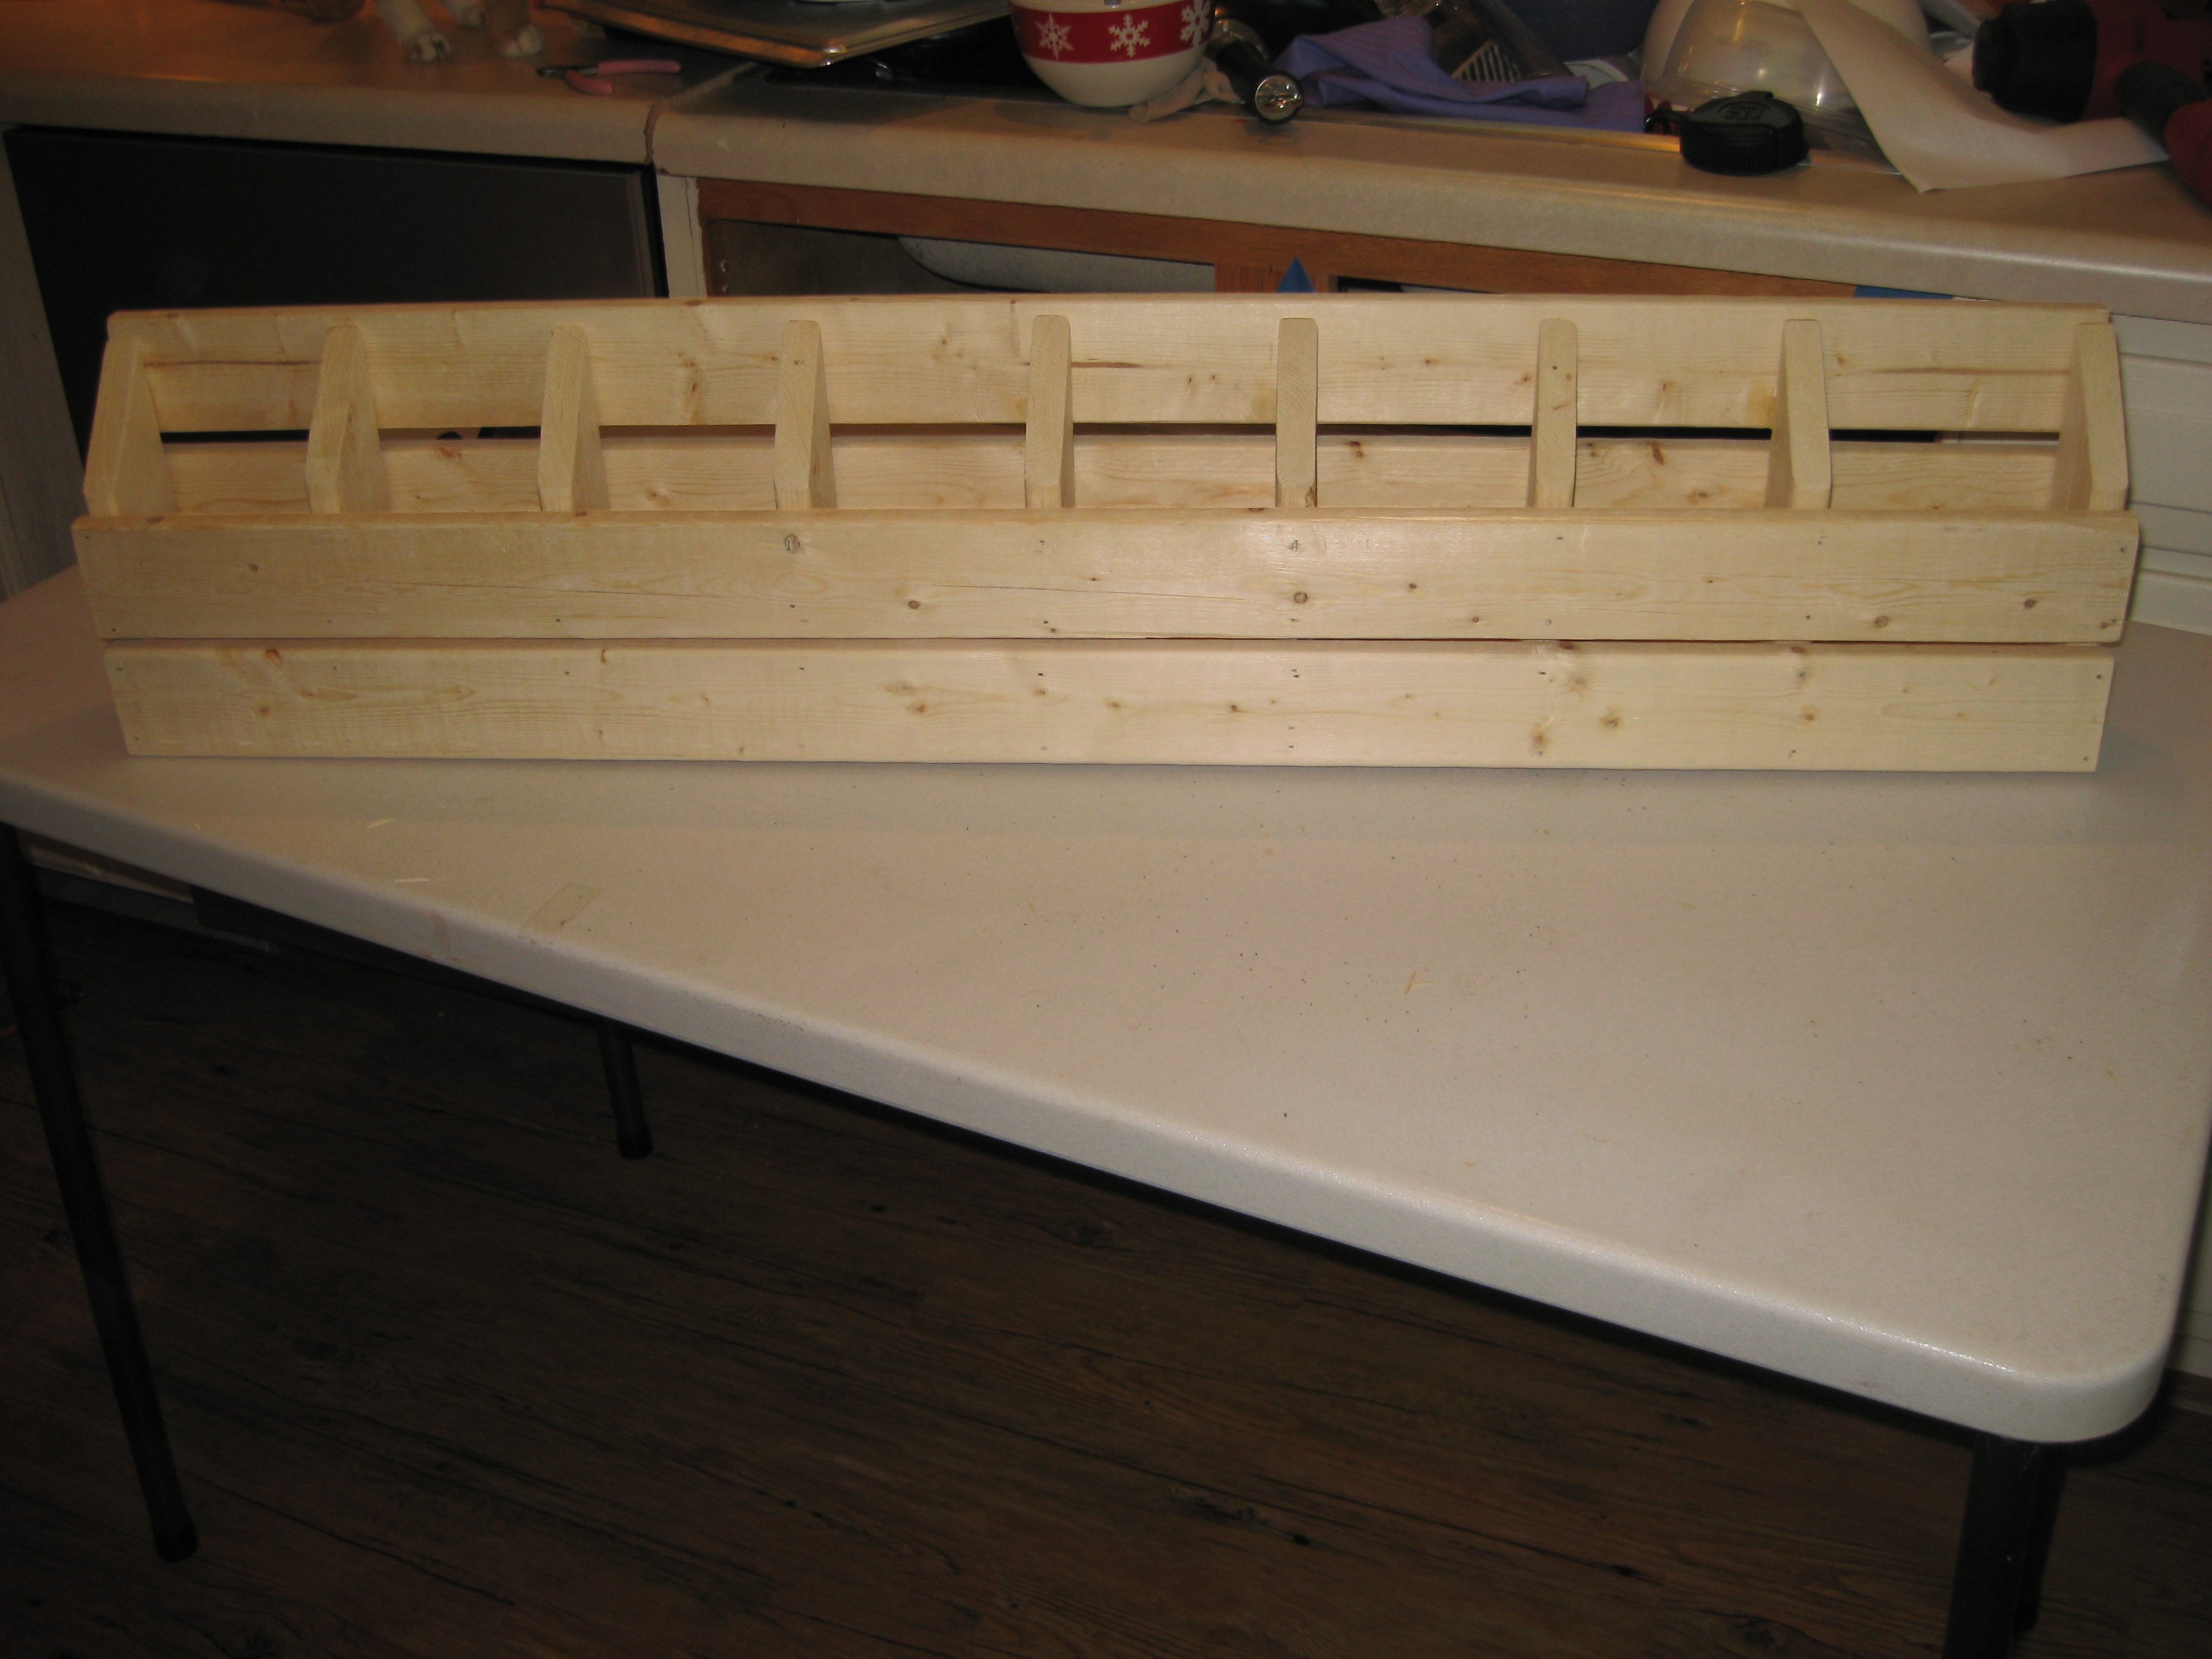
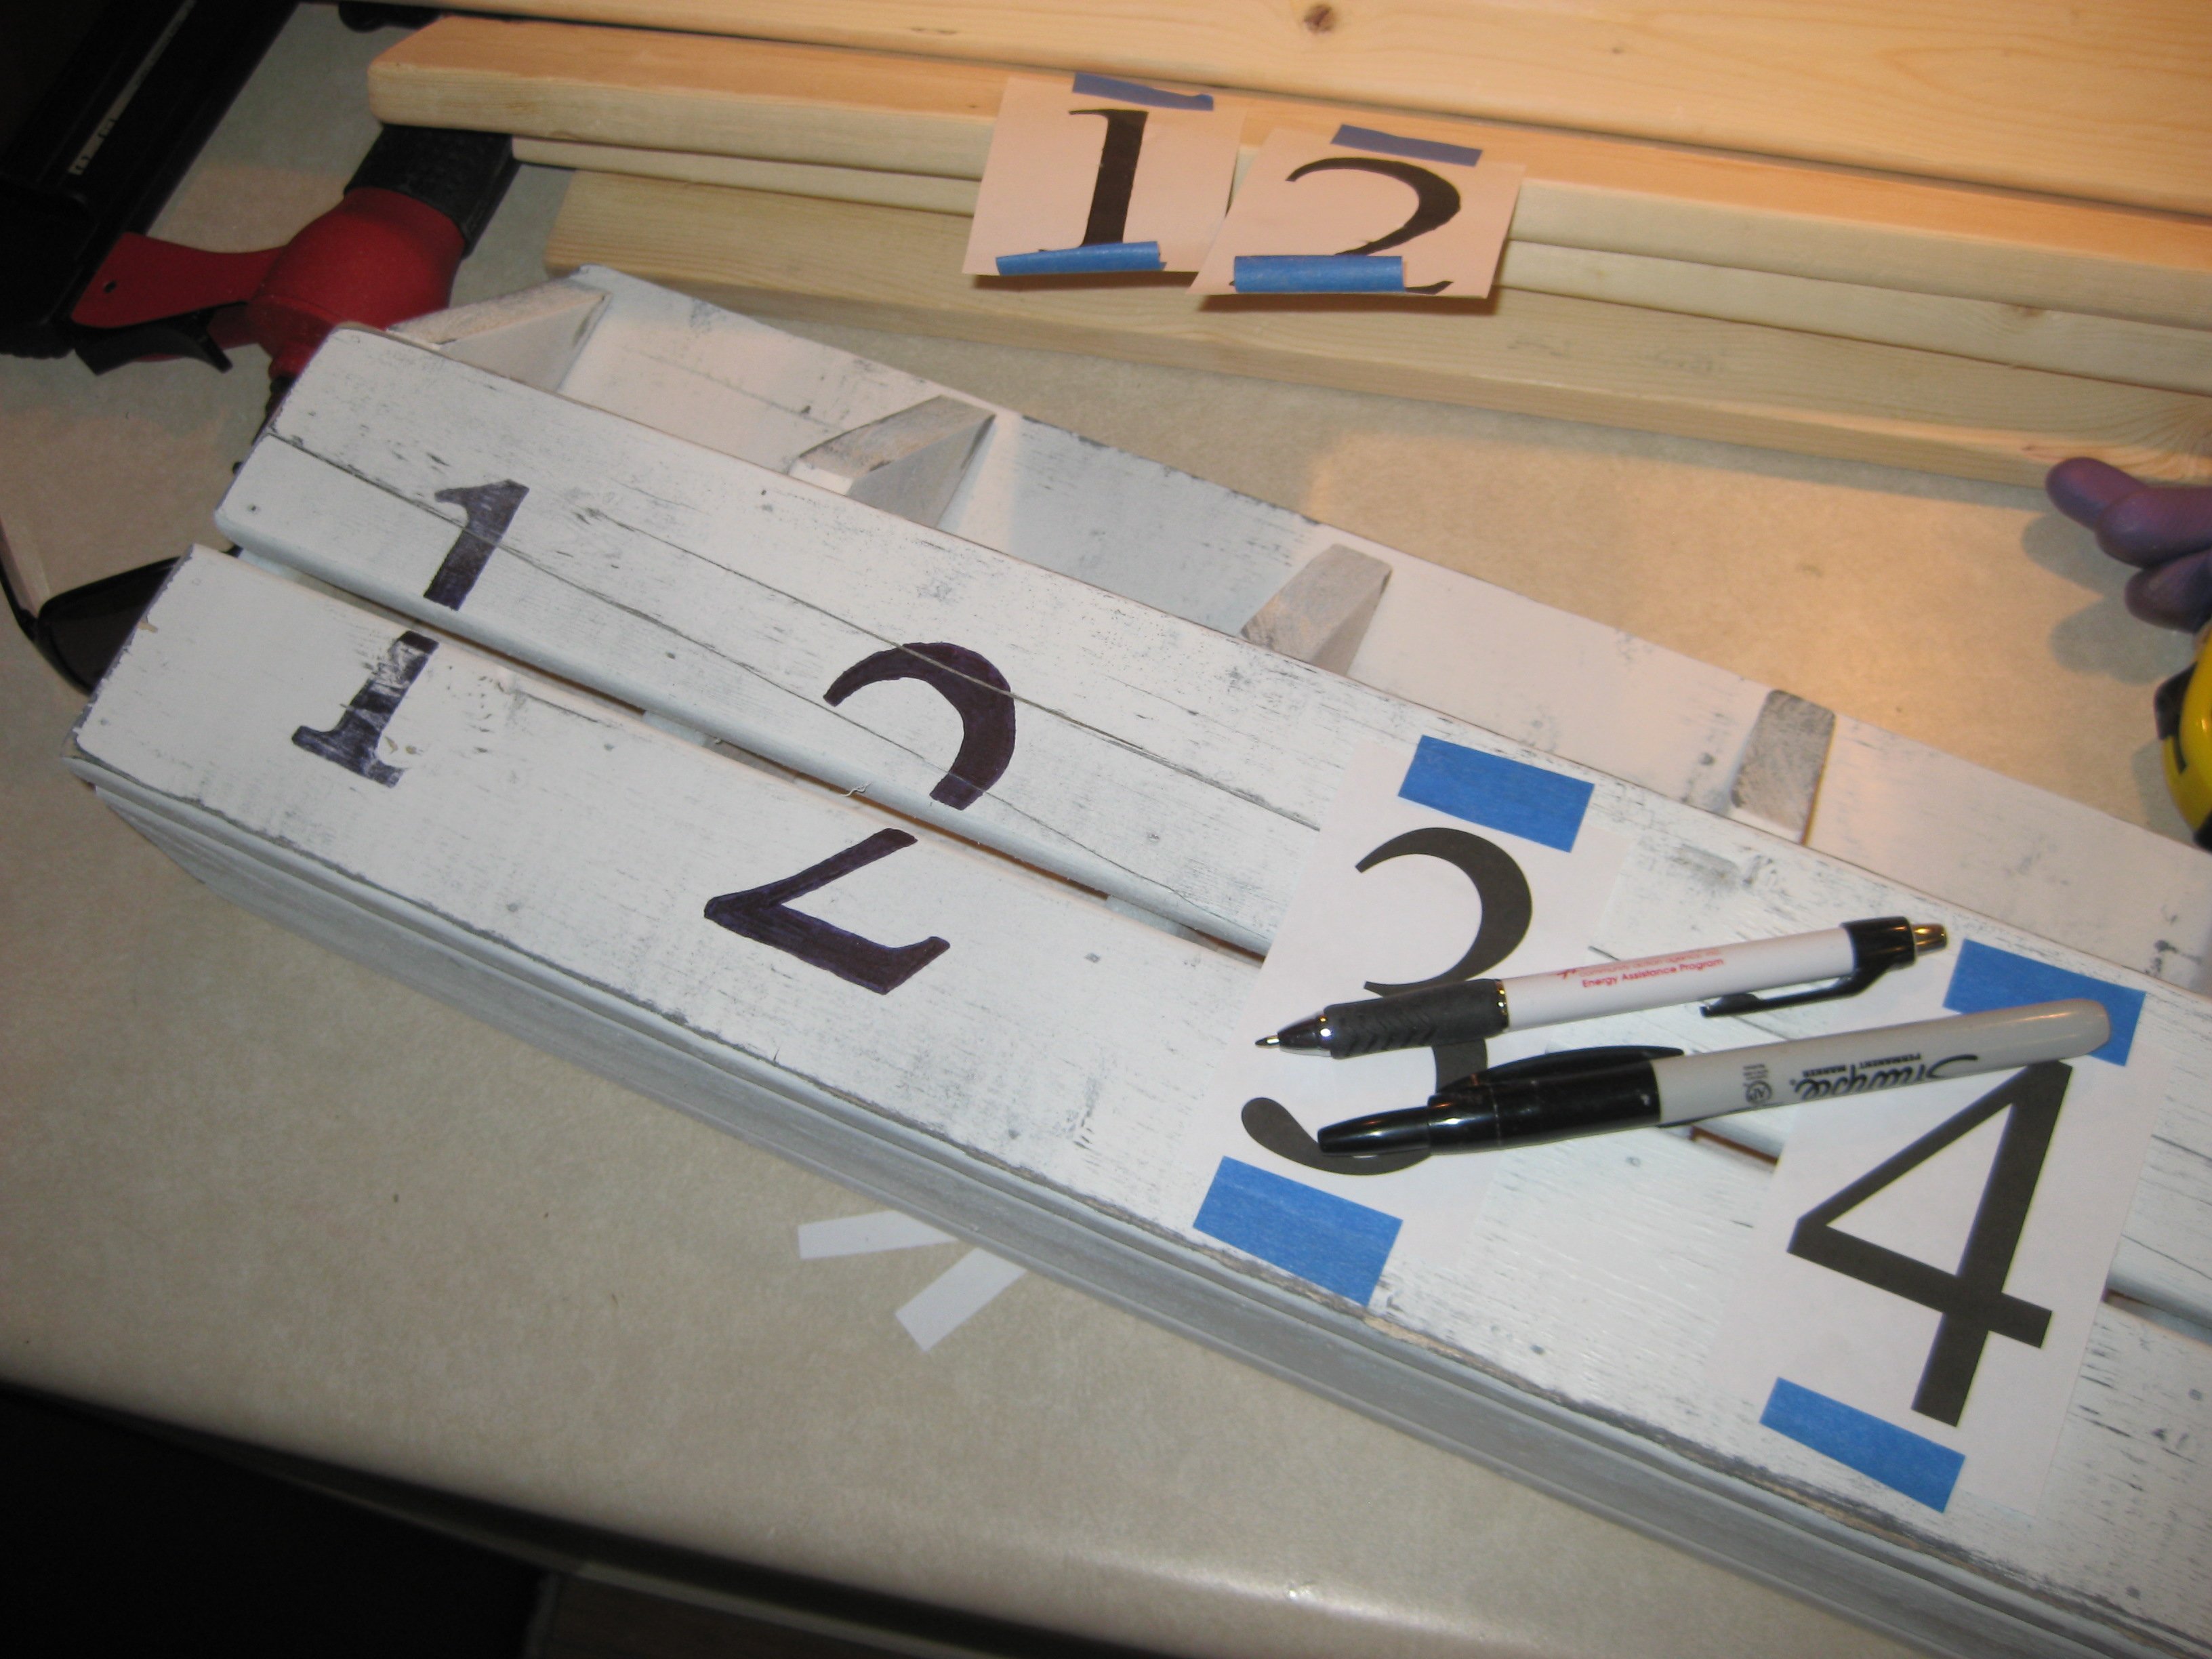
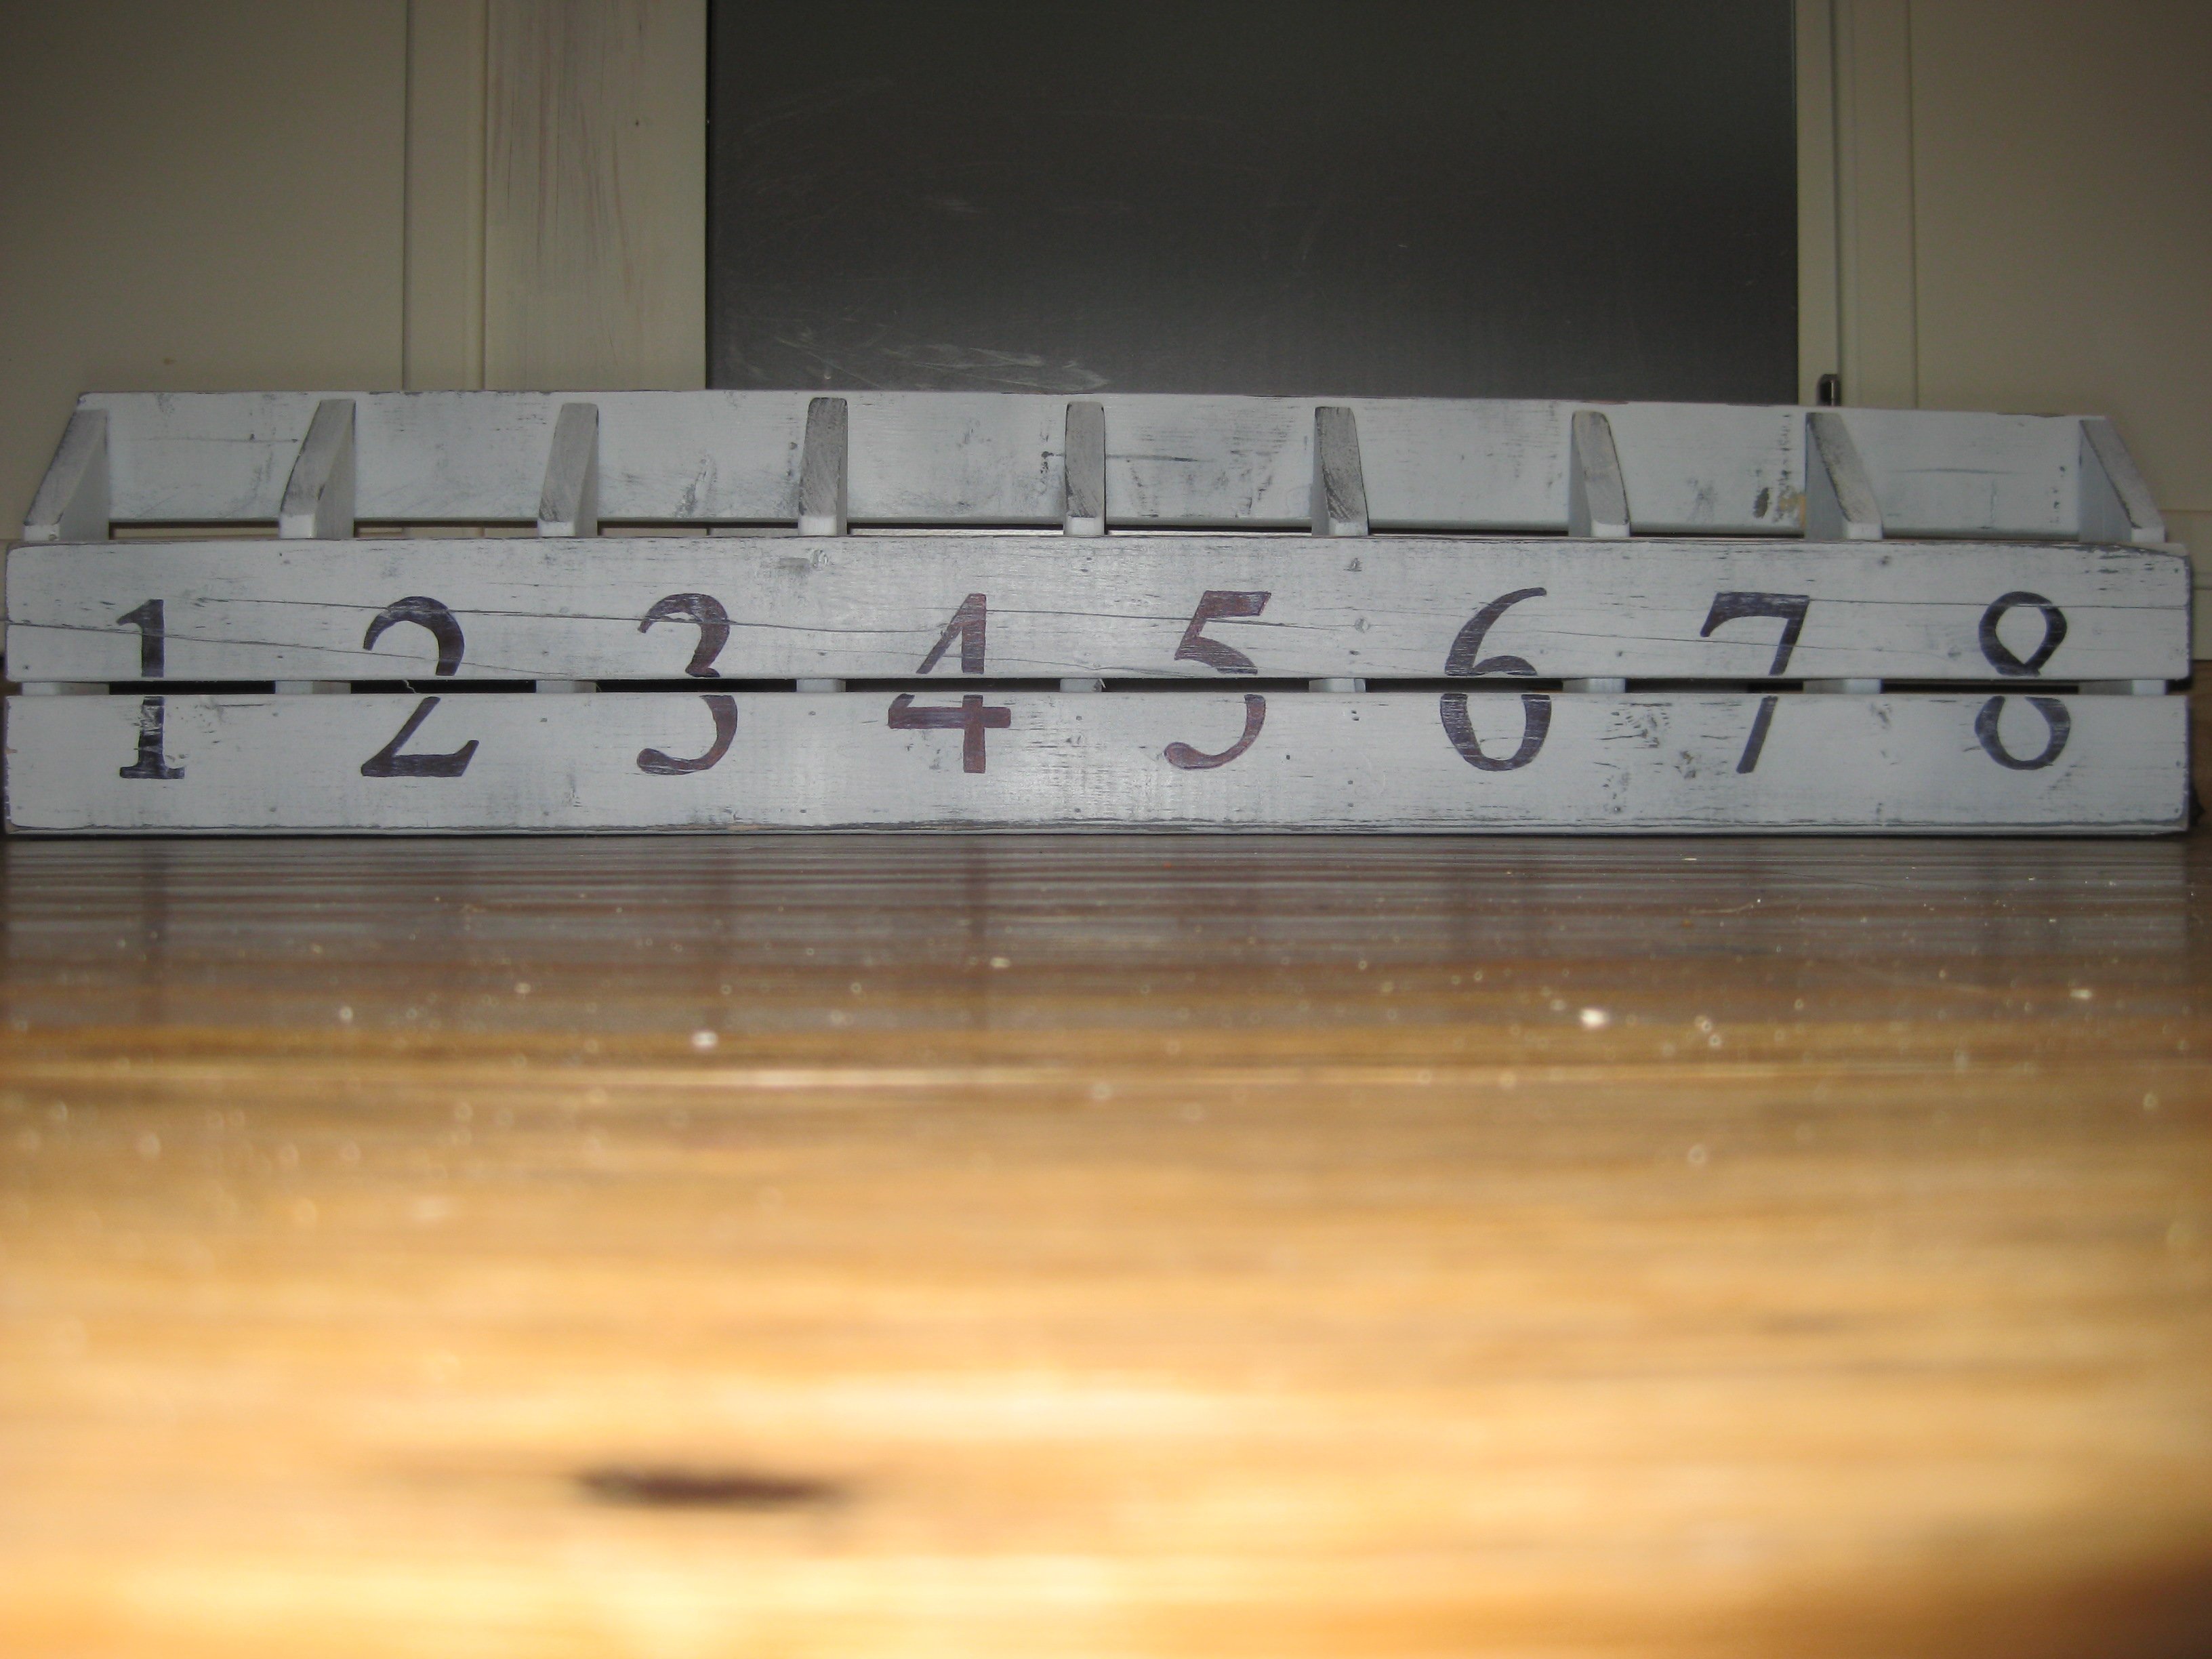
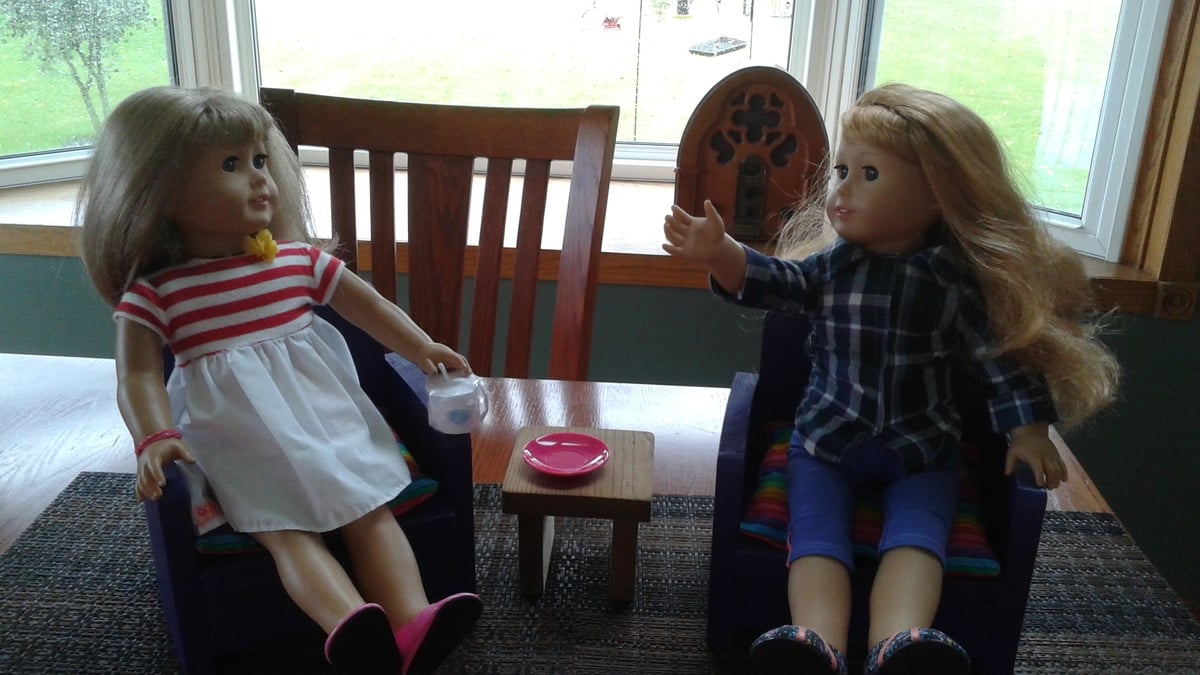
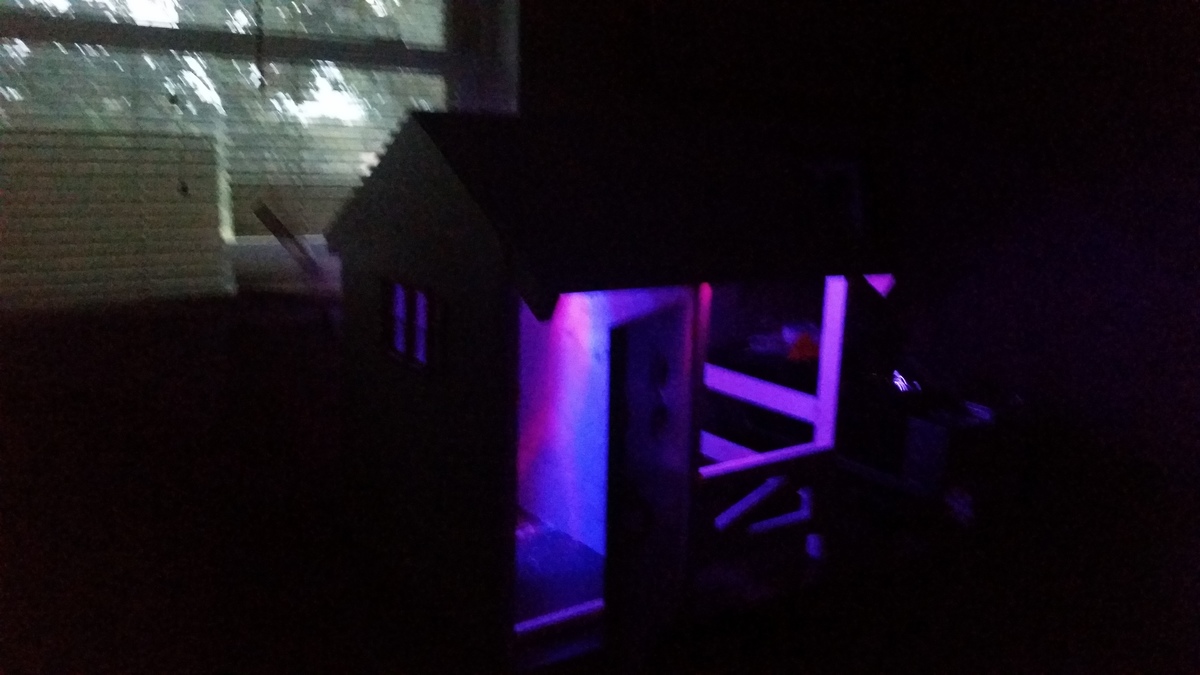
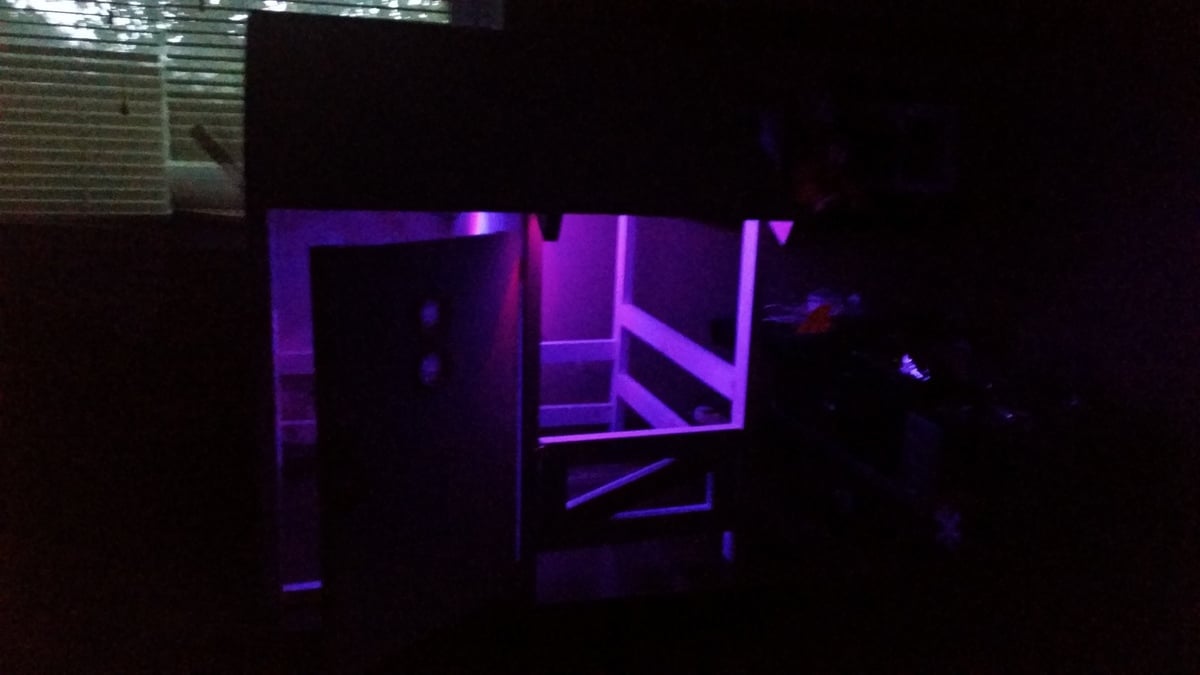
Stable with lights and enclosure

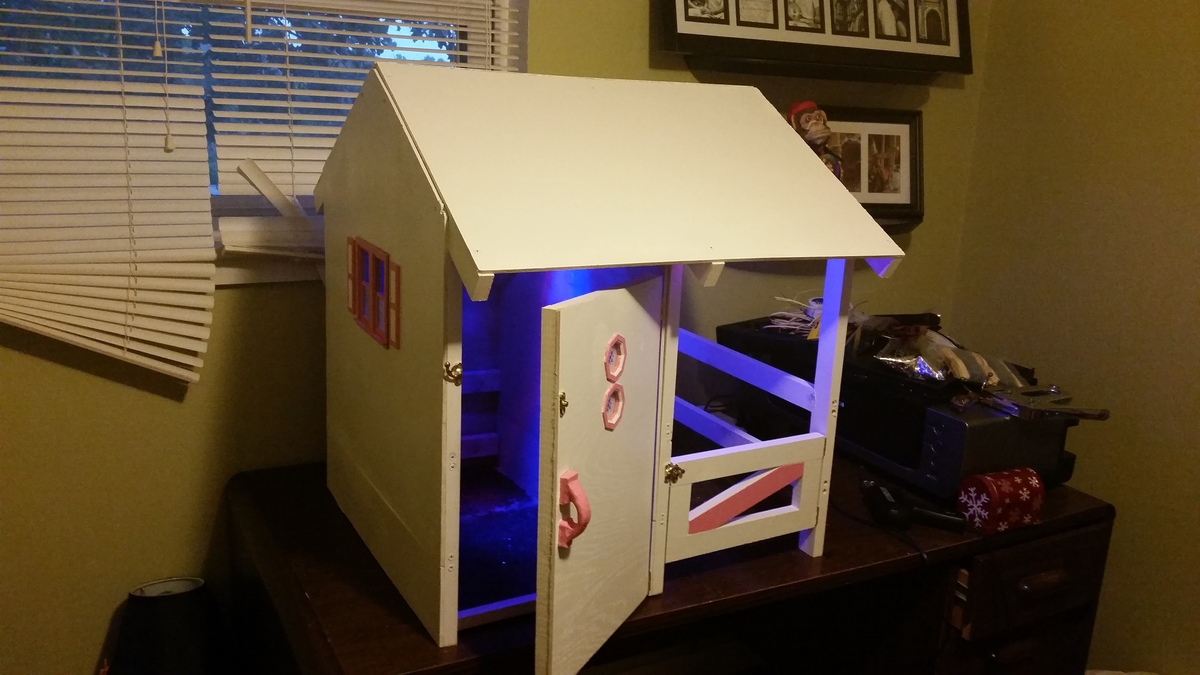
Enjoyed building this. It was taken from ana's plans, and my little girl loves it. She wanted one side of the stable enclosed so she could keep her stuff in it and she wanted it to light up at night for a night light. The lights are 12 red and blue leds running from a 12v power 1.2 amp power supply.

Estimated Cost
30
Estimated Time Investment
Day Project (6-9 Hours)
Recommended Skill Level
Intermediate

Island

Submitted by Anonymous (not verified) on Sun, 10/14/2018 - 14:37

3 foot by 4 foot slider wine rack island. 

Built from Plan(s)
Estimated Cost
$200
Estimated Time Investment
Weekend Project (10-20 Hours)
Finish Used
Black paint sponged on and dark walnut by minwax
Recommended Skill Level
Intermediate

Comments

coffee table

Submitted by JMG on Fri, 06/24/2022 - 21:00

I have wanted a "factory" coffee table for years and could never find one that was exactly the right size. I built this one to fit the space and love it! I have no idea why the picture is upside down!

Built from Plan(s)

Comments

Art Cable, A Variation of the Art Rail

We loved the Art Rail idea but also the idea of doing an art cable. We already had alot of the cable supplies at home, so that idea won. The Ana's Art Rail and Pottery Barn's Art Cable was our inspiration idea for doing the cable.

Built from Plan(s)
Estimated Cost
less than $15
Estimated Time Investment
An Hour or Two (0-2 Hours)
Recommended Skill Level
Beginner

Comments

Outdoor patio table

Just a simple, but solid and stable patio table to replace the IKEA version that was warping and disintegrating. So much happier with this version. Also used bolts and wing nuts for attaching the legs for easy disassembly and storage for the winter. Should get many years out of this table.

Built from Plan(s)
Estimated Time Investment
Week Long Project (20 Hours or More)
Finish Used
Opaque stain and polyurethane.
Recommended Skill Level
Starter Project

Comments

uijoonbug

Tue, 07/10/2018 - 16:57

I'd be interested in learning more about where and how you used these so that the table breaks down for storage.  Did you do the same with the chairs as well?  How well did it work for storage?  We don't need to break them down to store them but are a military family and it makes moving easier if we can break things down to take up less space.  

Izzy's Bed

This took a little longer than a weekend and it helps to have some help because it is so big. I would cut the legs about an inch shorter if you have 9 foot ceilings, other wise it will scratch your ceiling when you tilt it up. I put the door on because I was worried about my 3 year old falling out. She loves it and it was fun to build.

Built from Plan(s)
Estimated Time Investment
Week Long Project (20 Hours or More)
Recommended Skill Level
Beginner

Comments

Garage workstation

Submitted by Anonymous (not verified) on Sun, 10/21/2018 - 20:11

Still a work in progress

Estimated Time Investment
Weekend Project (10-20 Hours)
Recommended Skill Level
Beginner

Planked Wood Bedside tables

Submitted by JMG on Wed, 07/06/2022 - 19:26

My son moved out and needed bedside tables. I have been hounding him to learn how to build and this was the first project he did! He was super proud of himself and how they turned out. Not bad for a first build! #mompride

Comments

My first brag - numbered cubby

Submitted by baklund on Sat, 07/30/2011 - 13:56

I'm working on a few projects I have half finished, but when I saw this one the other day on Ana's site I could not wait to do it and post my first brag. It's not perfect, my spacing is a little off because I didn't double check my 4" spacer board (it was only 3 3/4!), but I still like it and will put it up in my son's room. I tried to use the 1 x 2 and 1 x 3 furring strips like Ana used but the spacing didn't look right so I made it totally out of 1 x 3 strips. I used a nail gun and miter saw - was much faster then doing by hand.

Built from Plan(s)
Estimated Cost
Under $10
Estimated Time Investment
An Hour or Two (0-2 Hours)
Finish Used
Black spray paint with white spray paint over the top and then sanded to show wear. Numbers are colored in with a sharpy (could not find my paint!)and distressed
Recommended Skill Level
Starter Project

farmhouse table and bench!

Submitted by maryday on Mon, 08/26/2013 - 09:37

My boyfriend and I built the farmhouse table and bench in one weekend. We are SO happy with the way it came out, thanks to Ana White for her plans!!

Estimated Cost
$90 for Lumber, $60 for Supplies
Estimated Time Investment
Weekend Project (10-20 Hours)
Finish Used
Minwax - Provincial, 2 coats
Recommended Skill Level
Intermediate

couch and two chairs

Submitted by Hunter1971 on Fri, 10/09/2015 - 09:23

Used the plans for the 2x4 couch added an additional 2x4 across the back for a little more back support. Then made two chairs by modifying the couch plans to fit the cushion width 

Estimated Cost
100.00
Estimated Time Investment
Weekend Project (10-20 Hours)
Finish Used
Rustoleum Kona stain
Recommended Skill Level
Beginner

Comments

CHARLOTTES AMERICAN GIRL TABLE AND CHAIRS

Submitted by Anonymous (not verified) on Sun, 10/28/2018 - 12:42

Thank you Anna White for the 18 inch doll chairs idea. Me and my Dad made the table from leftover pieces from the chairs. I loved making the chairs because I love to using power tools. I have an idea for you Anna. Have you done a 18 inch doll locker before?

Estimated Cost
Maybe $20
Estimated Time Investment
Afternoon Project (3-6 Hours)
Finish Used
PURPLE PAINT FOR CHAIRS WALLNUT STAIN FOR TABLE
Recommended Skill Level
Intermediate

Potting bench extraordinaire

Submitted by Anonymous (not verified) on Sat, 07/16/2022 - 18:00

After completing the greenhouse, I built the potting bench in a couple of hours. Obviously well used. Sturdy, convenient, easy build.

Comments

Twin Farmhouse Bed

Doll Bed...check
Toddler Bed....check
Twin Bed...check!

The only modifications I made to this bed was in how the side rails and slats were put together. I built this bed as a custom order so it needed to be portable and easy to disassemble. With another twin bed as my guide I constructed the side rails with a 2x8 with a 2x2 to support the slats. I used some long screws with the star pattern (yeah whats that called?) to attach the side rails from the outside of the headboard/footboard legs. For the slats, I drilled a hole about 2" from each end and inserted in small wooden dowel, then lined up my slats, making sure one was on the other side of each dowel. Then I used some strips on canvas fabric 2" wide and staple gunned it down each side to attach the slats. Then when you take it all apart you can just roll up your slats. Sorry should have taken more detailed photos of that....

Built from Plan(s)
Estimated Cost
about $20. I only had to buy the wood for the rails, everything else was free/reclaimed
Estimated Time Investment
Weekend Project (10-20 Hours)
Recommended Skill Level
Beginner

Comments

rassyberries

Tue, 09/27/2011 - 09:05

Do you think I could do this same thing if I didn't have a box spring? I would really love your help. Thanks so much!

Cubby Bookshelf

I followed the plans for the Cubby Bookshelf, but added a 4th shelf to it. It is stained with a Rustoleum "Sunbleached" stain (I think it's called "Driftwood" now), with Minwax whitewash on top of that.

Built from Plan(s)
Estimated Cost
$50
Estimated Time Investment
Day Project (6-9 Hours)
Finish Used
Sunbleached stain and Whitewash
Recommended Skill Level
Beginner

Rolling Kitchen Island

Submitted by crewhead05 on Tue, 10/13/2015 - 22:25

Added rolling casters to the plan. Also decided to go with one big drawer instead of two small ones. The top is made from pine 1x2's that I glued togeter and then sanded dow. Do yourself a favor and go through the plans and sketch out your own plan and wood requirements ahead of time. There are a few mistakes in the plan when it comes to your buy list.

Built from Plan(s)
Estimated Time Investment
Week Long Project (20 Hours or More)
Finish Used
Paint and deck seal on the natural wood
Recommended Skill Level
Beginner

Candle Holder

Submitted by mtairymd on Sun, 11/04/2018 - 06:04

This was a super quick and fun project that I made from scrap materials. I designed it to fit tapered glass candles that are readily available from online or your local big box store.

Estimated Time Investment
An Hour or Two (0-2 Hours)
Finish Used
Oil
Recommended Skill Level
Starter Project

Comments

Outdoor Couch

Submitted by Anonymous (not verified) on Mon, 08/01/2022 - 11:16

Today I'm starting on my 3rd Ana White project, the outdoor lounge chairs. Most of the couch is constructed from reclaimed wood. I used some old 4/4 for the legs instead of 2/4 and they worked fine, though the couch is quite heavy. I made the cover for our fire pit so that when we aren't having fires, it can be a coffee table.

Comments

Easiest Hanging Daybed

Submitted by ajcajj on Fri, 08/05/2011 - 11:46

My boys have a small room, so once I saw these plans I knew I had to make them! I also used the plans for the rolling cubbies.

Estimated Time Investment
Weekend Project (10-20 Hours)
Recommended Skill Level
Beginner

Comments

LAF (not verified)

Fri, 07/20/2012 - 11:20

How does one secure this hanging bed securely to the wall if one chooses to hang chain support 45 degrees from the front side to the wall?

Kitchen Island

Submitted by Kstudinski on Sat, 08/31/2013 - 10:52

I have a small kitchen with no room for a table and no storage space. When I saw the plan for this kitchen island i knew it would fit perfectly in our space and a project my husband and I could work on together. It took several days in total, but we had to work around the kids, so probably could be done faster if need be. It is made out of white pine, including the top and legs. We probably spent around $150, but we looked at several similar islands going for over $600 and not even made with wood. We are so pleased with the outcome. We cannot wait to get started on the bunk beds for our son.

Thanks Ana White!

Built from Plan(s)
Estimated Cost
$150
Estimated Time Investment
Weekend Project (10-20 Hours)
Finish Used
Pine
Recommended Skill Level
Beginner

DIY Barn Beam Mantel

We always wanted a real barn beam in the house, we bought an old ash beam that we used to create a modern mantel.   After some research, I decided to save some money and mount it on a 2 x 4.  I've provided some instructions on my blog.

http://www.woodworkingfourdummies.com/blog/barn-beam-mantel-diy


Cheers,

Ian

Estimated Cost
We paid $150 for the hand hew barn beam mantel.
The only other costs were a 2x4 and a few screws!
Estimated Time Investment
Day Project (6-9 Hours)
Finish Used
Polyurethane
Recommended Skill Level
Beginner