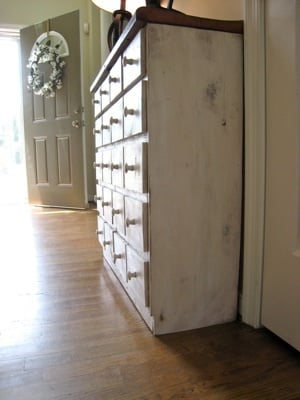
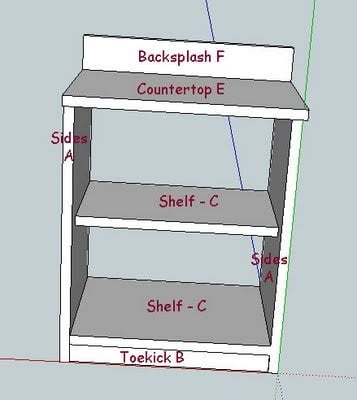
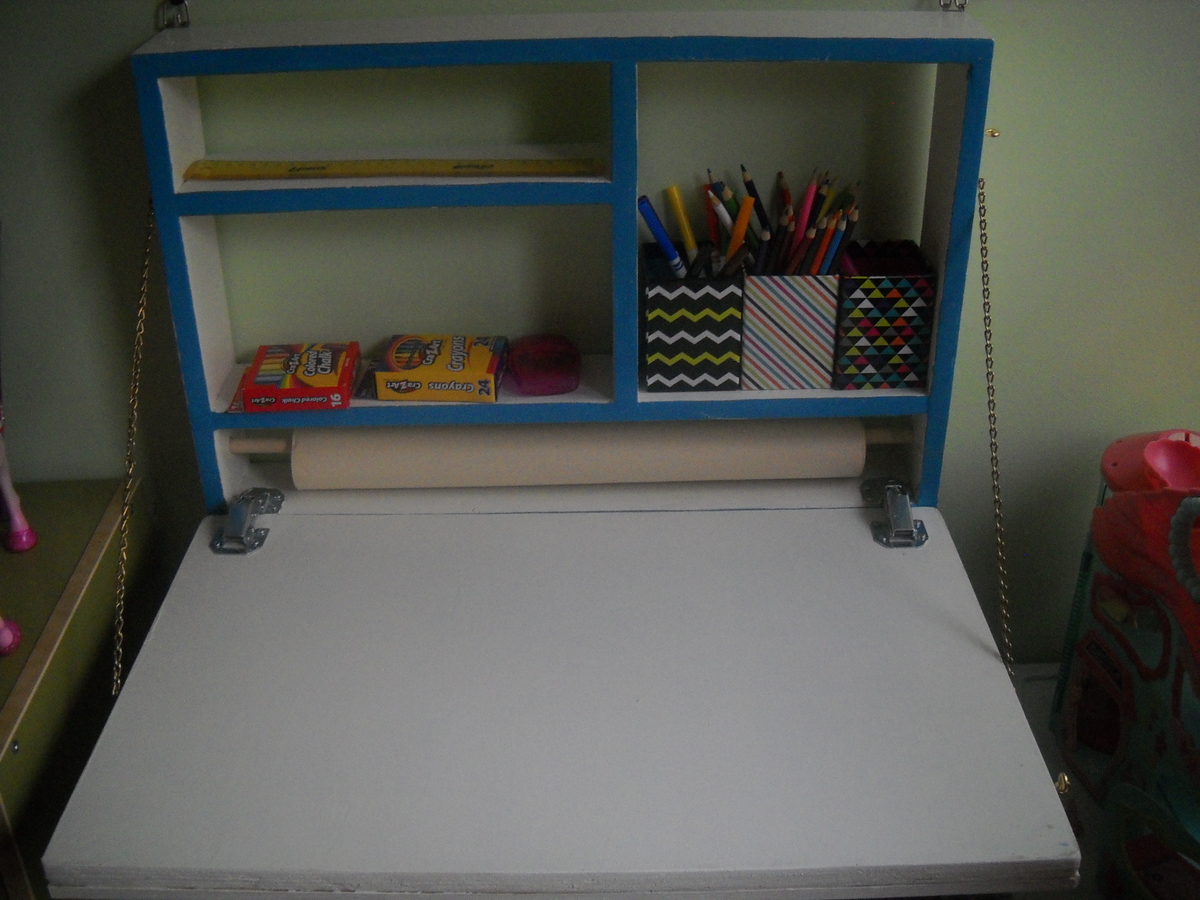
Wall Shelf

I built these 2 shelves for my 2 older children to use when hanging up thier backpacks and for a place to put library books so they don't get lost in the pile of other books laying around the house. I didn't have a convinient stud to attach them to, so my husband used 4 drywall anchors. They seem pretty sturdy. It only took me about an hour to cut and assemble both shelves and cost around $20 to make 2. I did find that the screws that came with the hooks were too long and poked through the back of the front board, but I just used a file to smooth out the tip of the screw so it didn't catch anything. Building this really made me wish I had the Ryobi cordless nail gun. I may or may not have hammered my thumb pretty good during assembly.
Estimated Cost
Estimated cost around $20 for both shelves.
Estimated Time Investment
An Hour or Two (0-2 Hours)
Finish Used
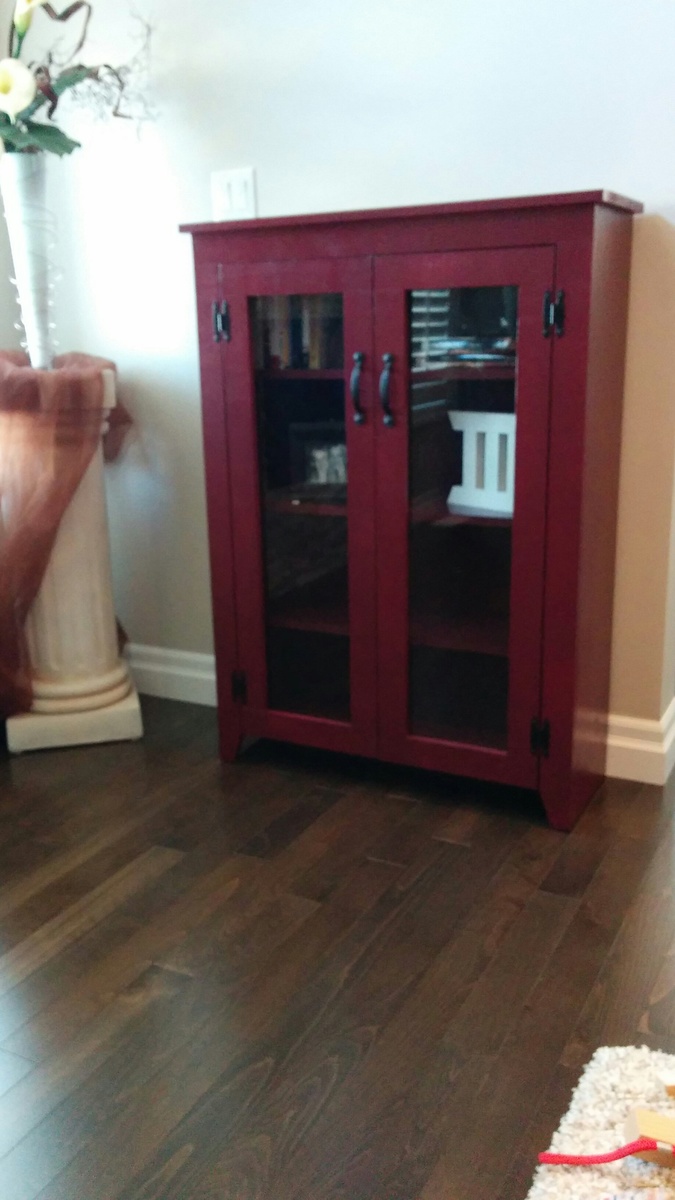
Minwax stain in Honey with spray polyurethane and Sherwin Williams Bedazzled in Satin.
Recommended Skill Level
Starter Project


Comments
Ana White Admin
Tue, 09/08/2015 - 21:41
Ah Organization!
Love these, thanks for sharing!
P.S. Hope your thumb feels better!