Modern farm bed
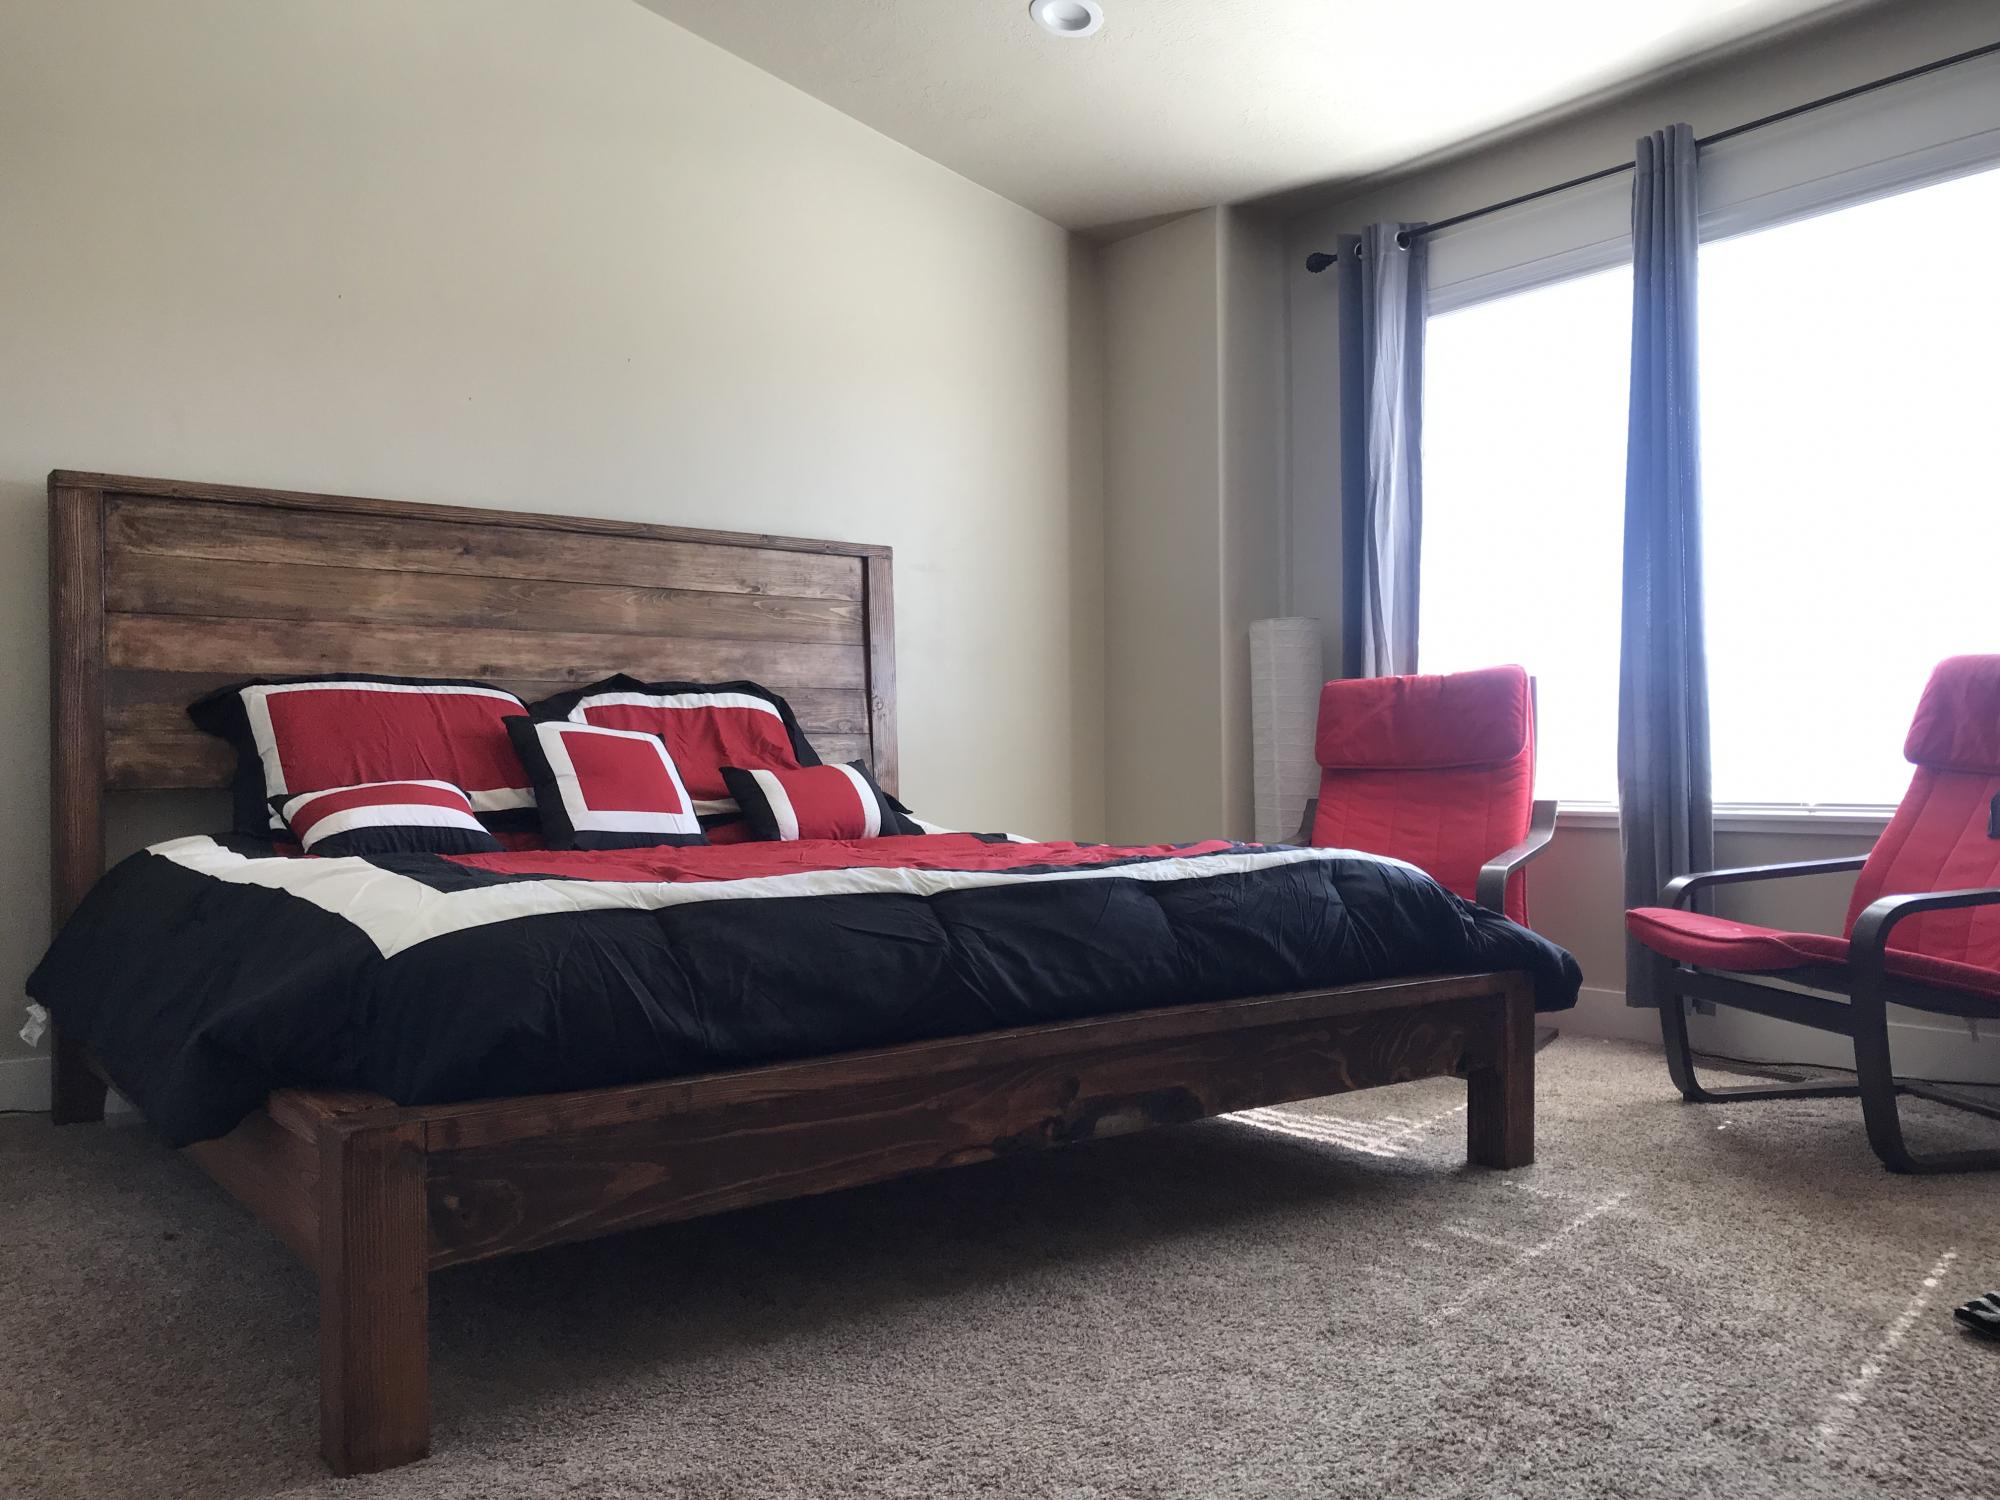
Modern farmhouse bed frame highlighted with epoxy highlights along the side rails. This is a super sturdy bed. Which is simple to build the hardest part was being patient with the epoxy.
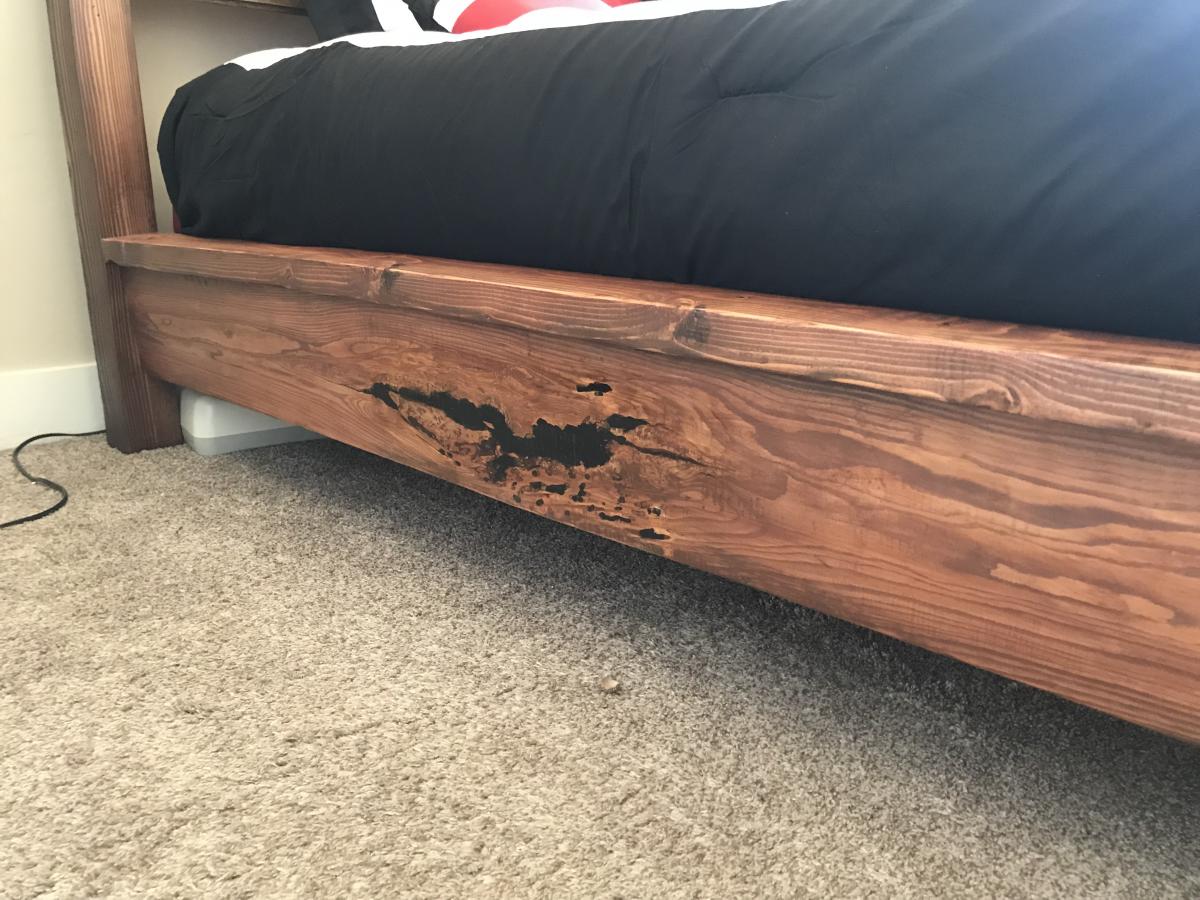
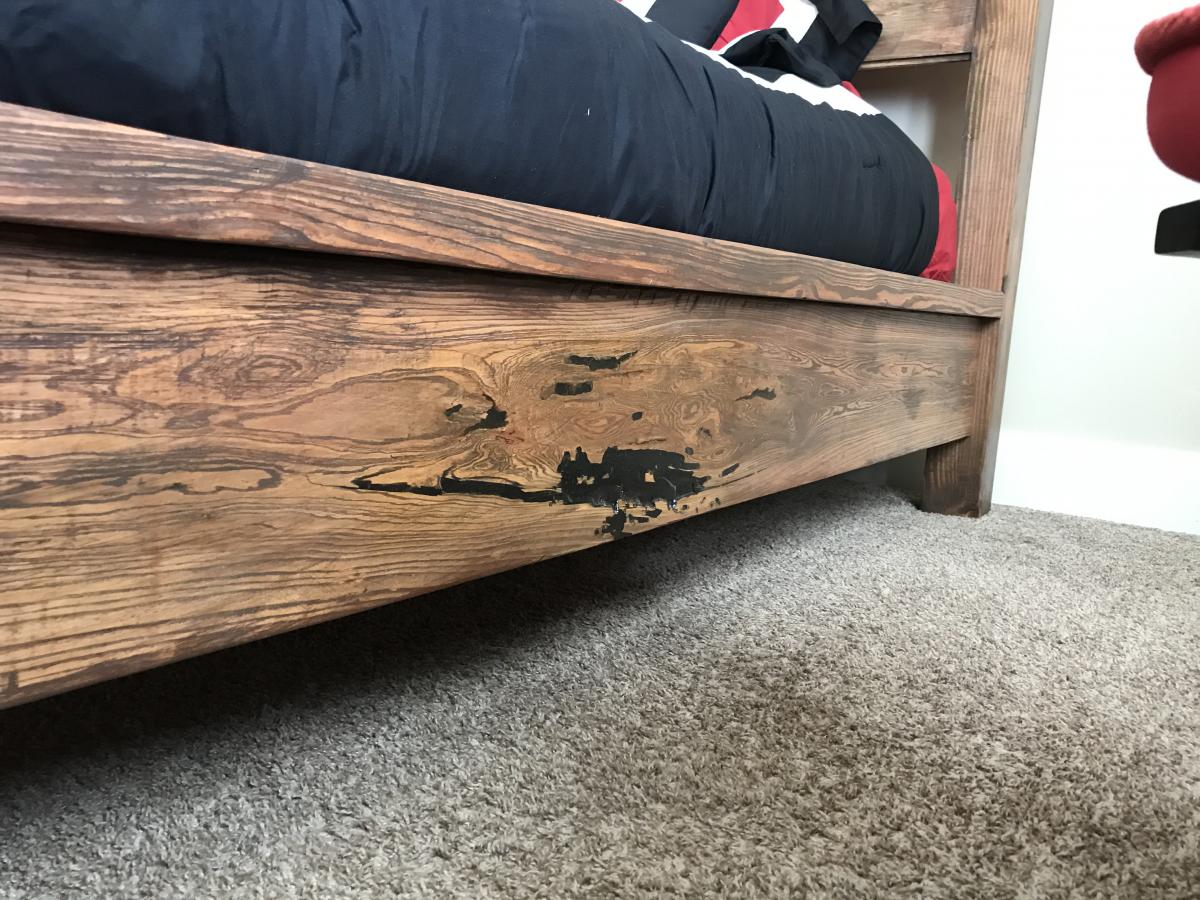

Modern farmhouse bed frame highlighted with epoxy highlights along the side rails. This is a super sturdy bed. Which is simple to build the hardest part was being patient with the epoxy.


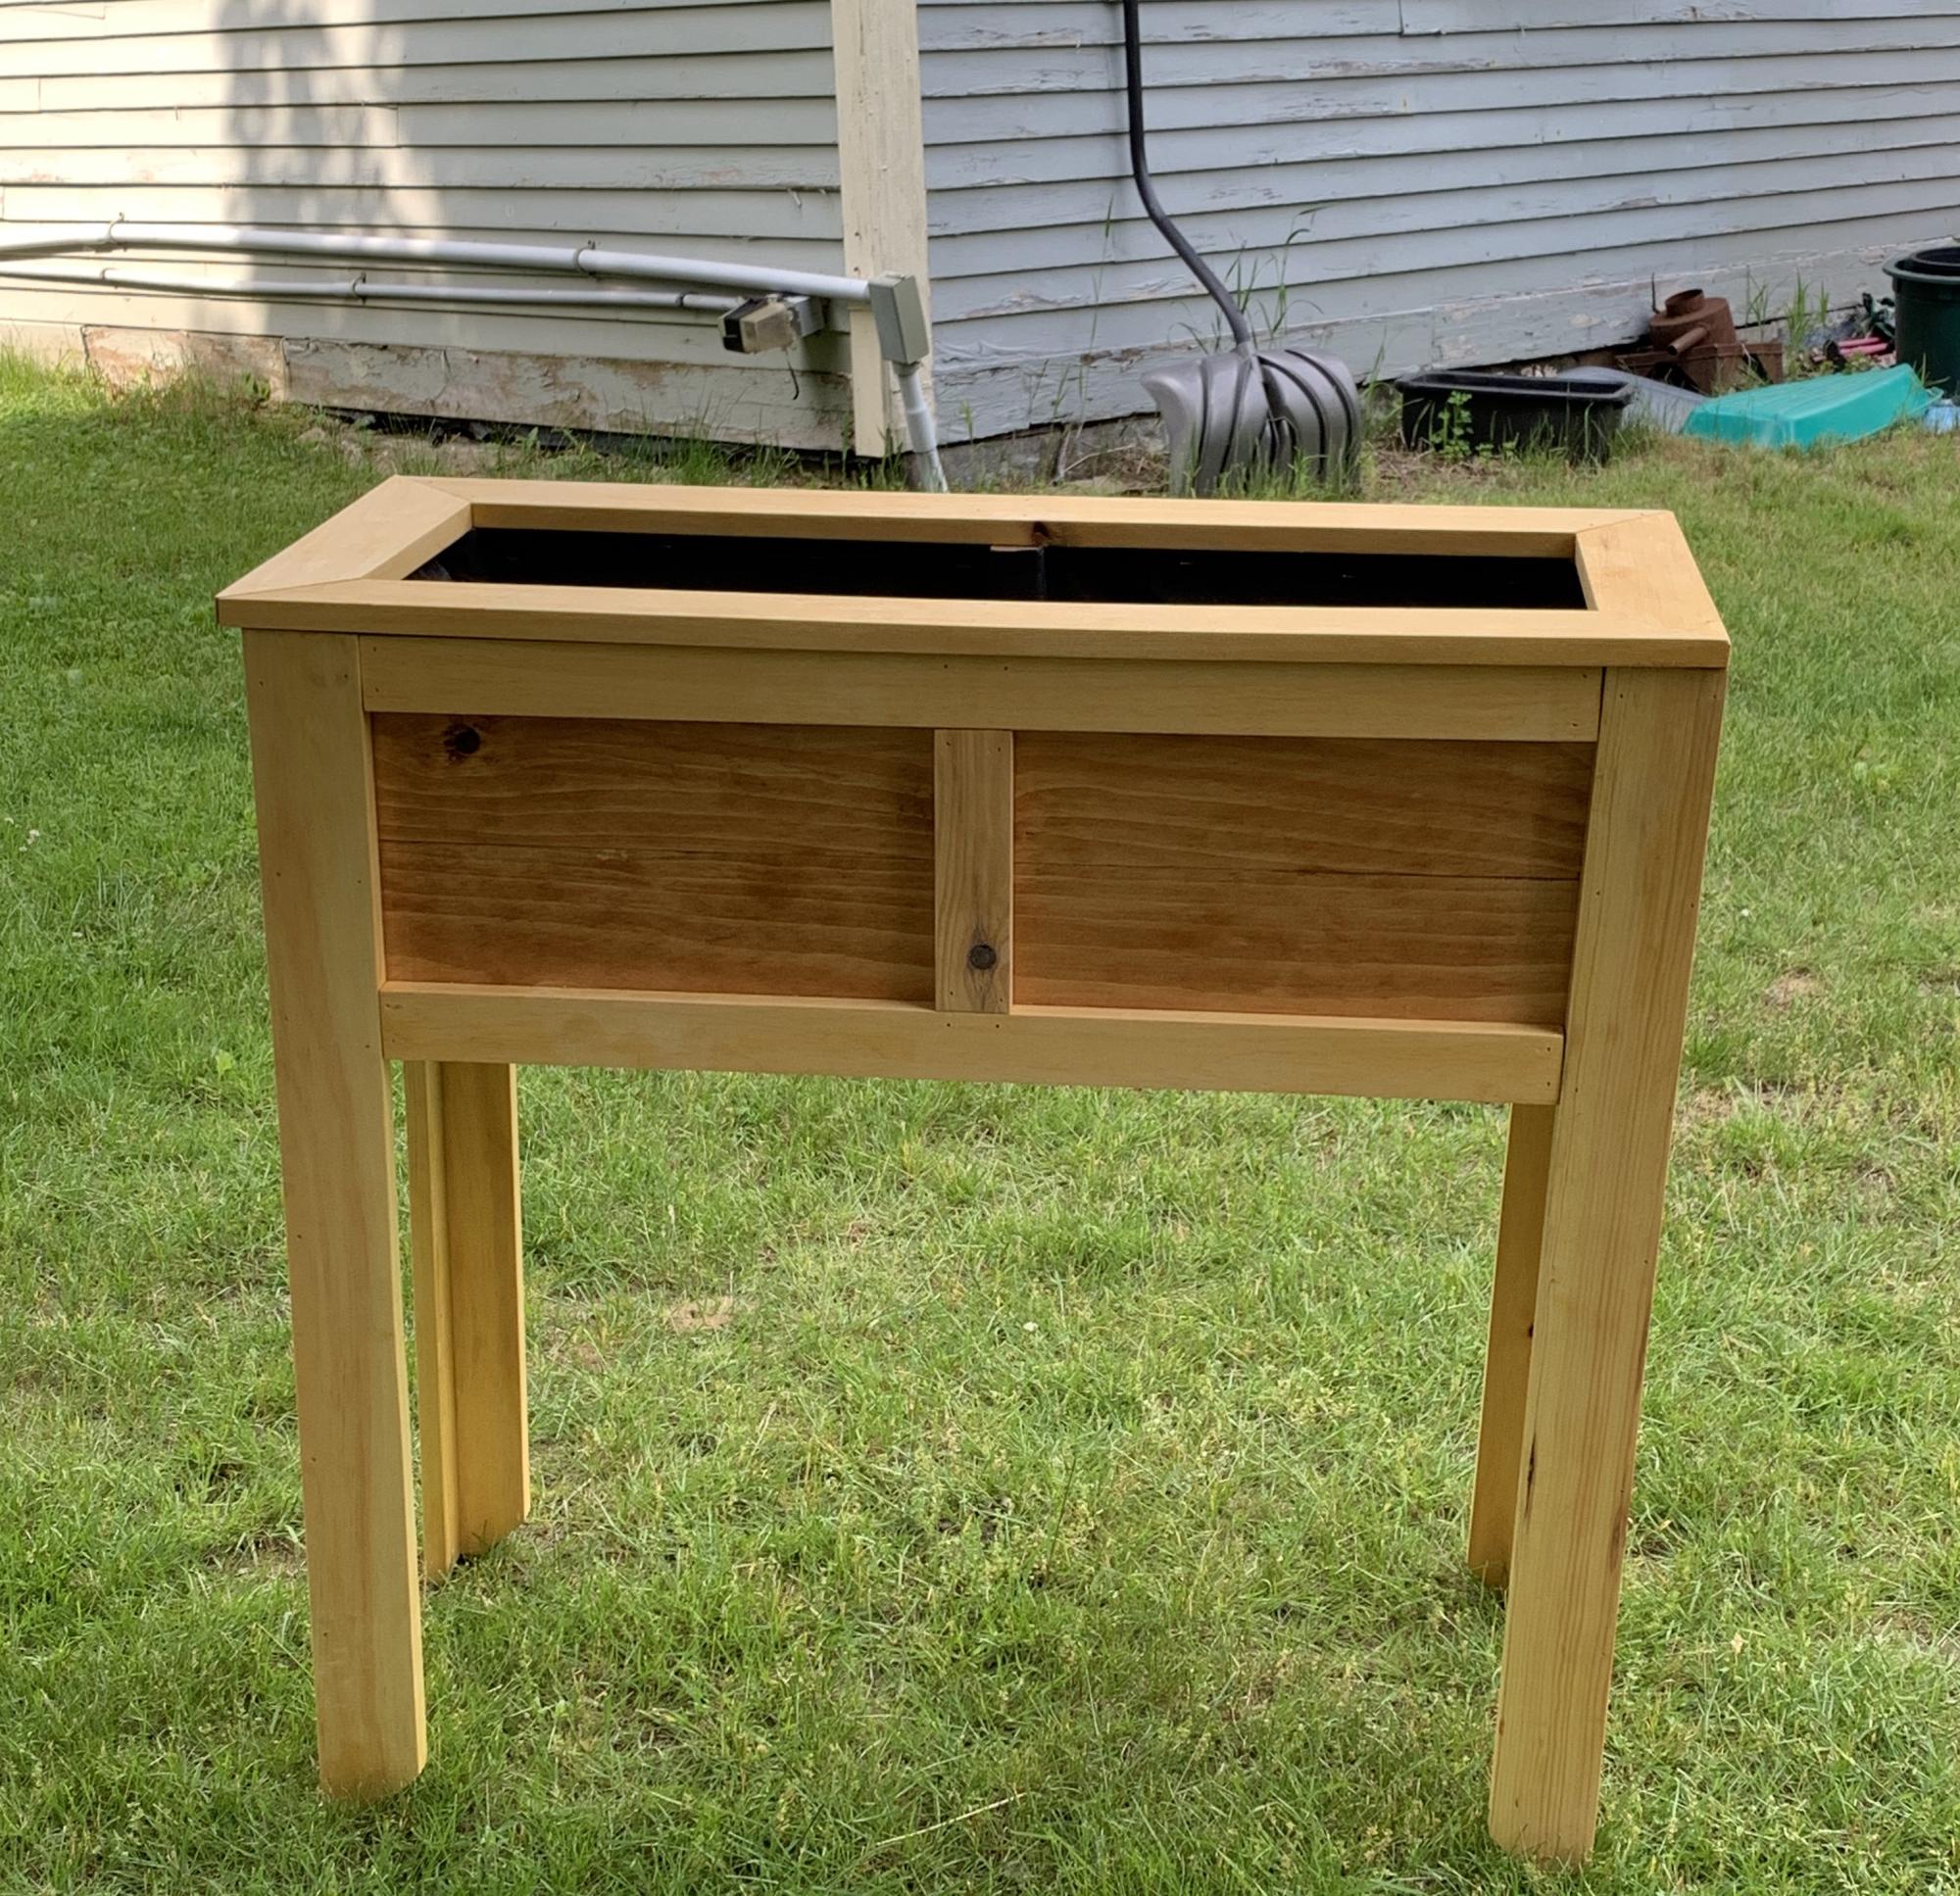
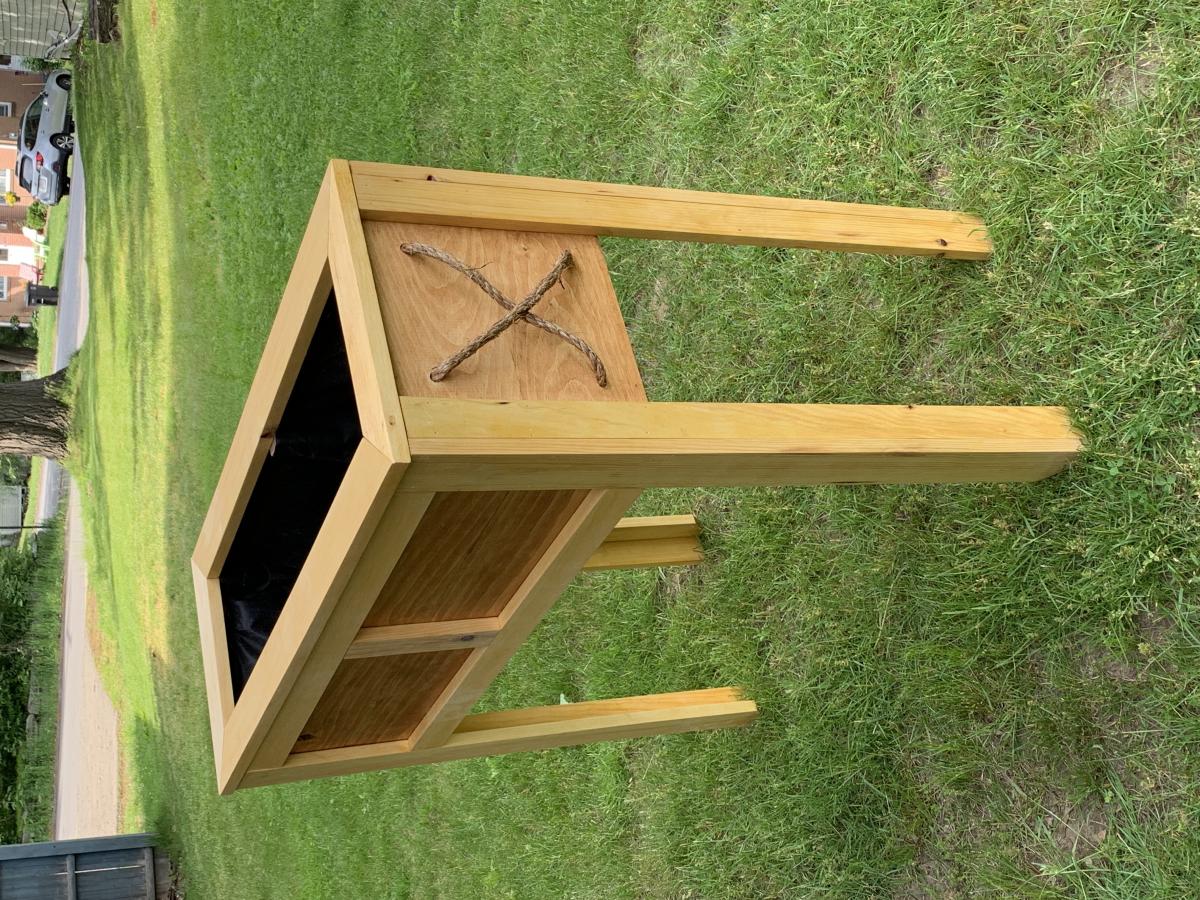
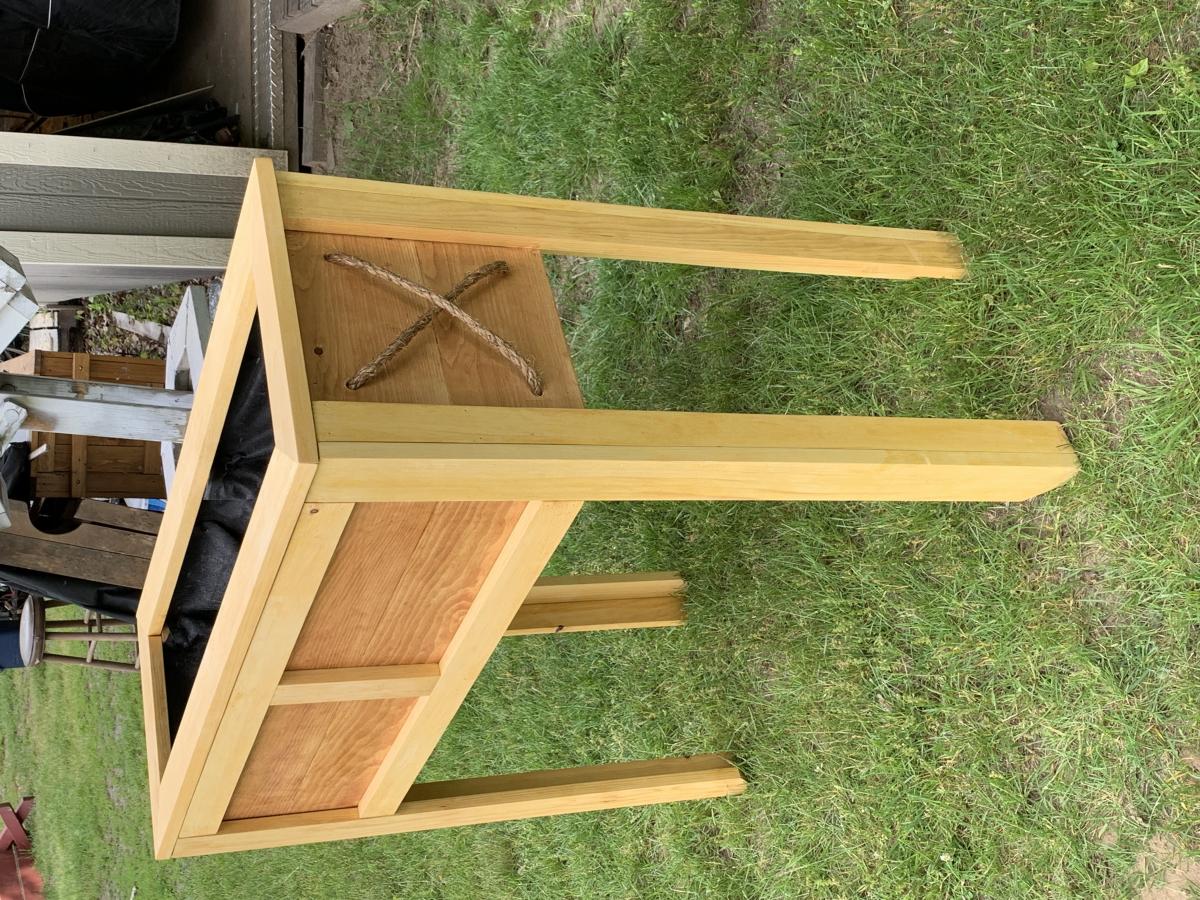
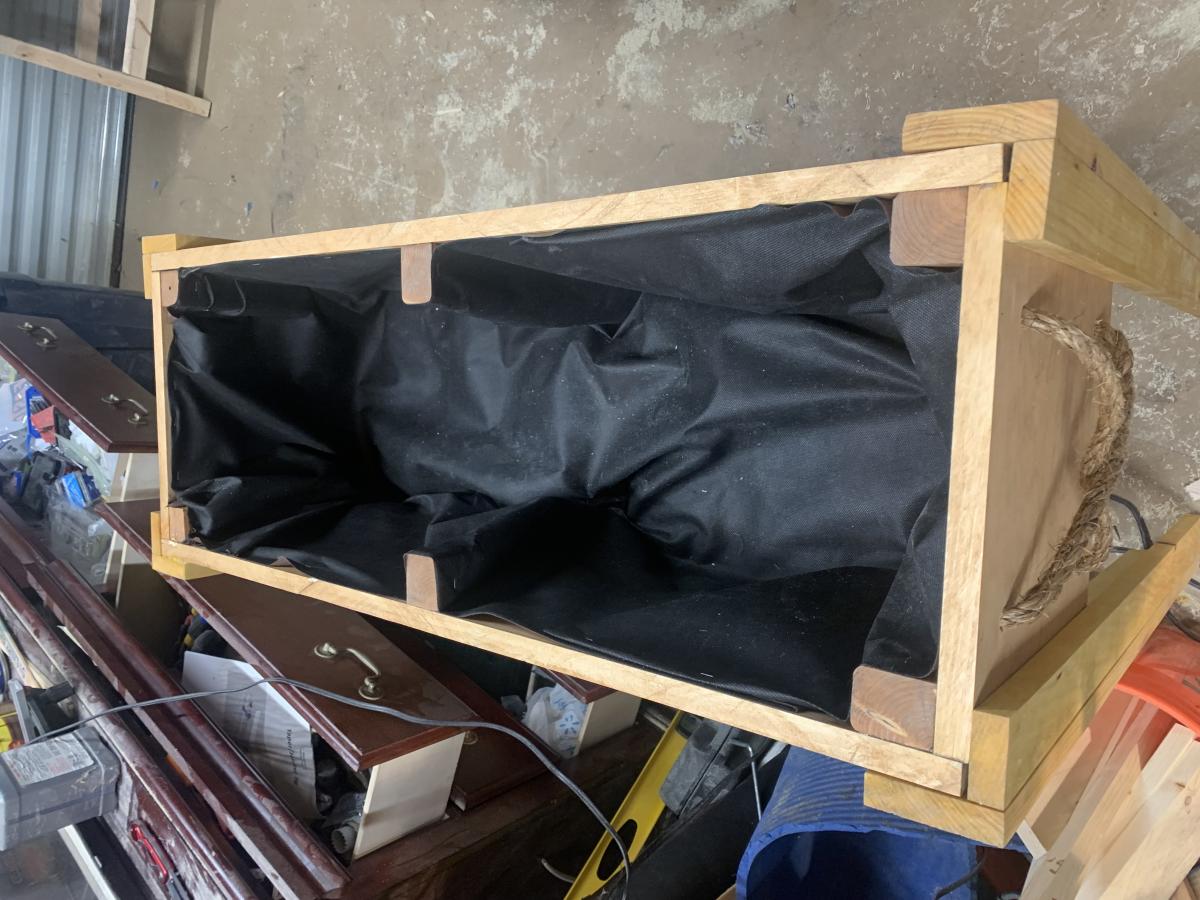
38lx37hx15w Rope decoration doubles as handles. Color is in Cabot oil stains (Sunlit Walnut & Sundrenched Oak.
- Built by James P
Mon, 06/26/2023 - 13:16
Love the rope detail, thanks so much for sharing you awesome design!
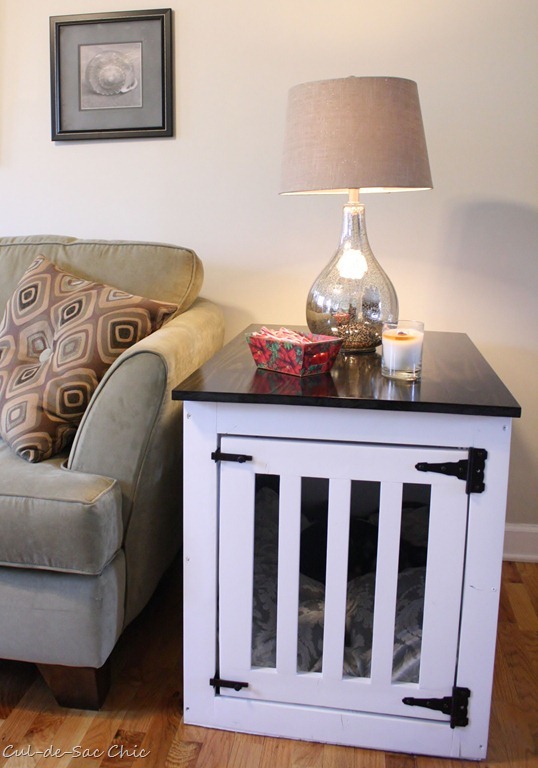
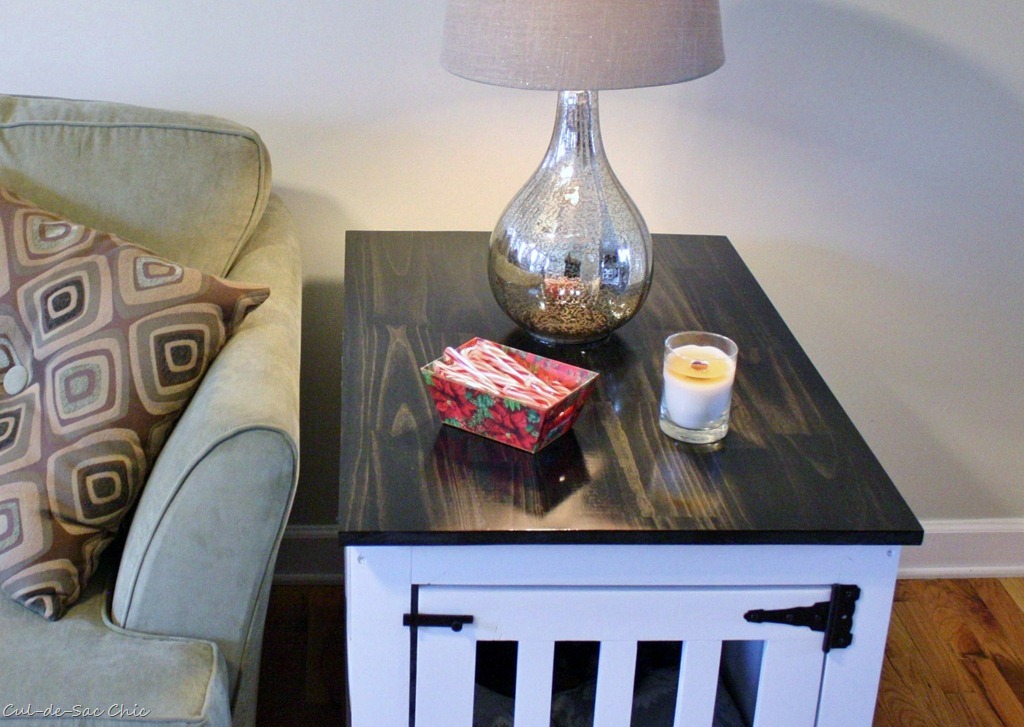
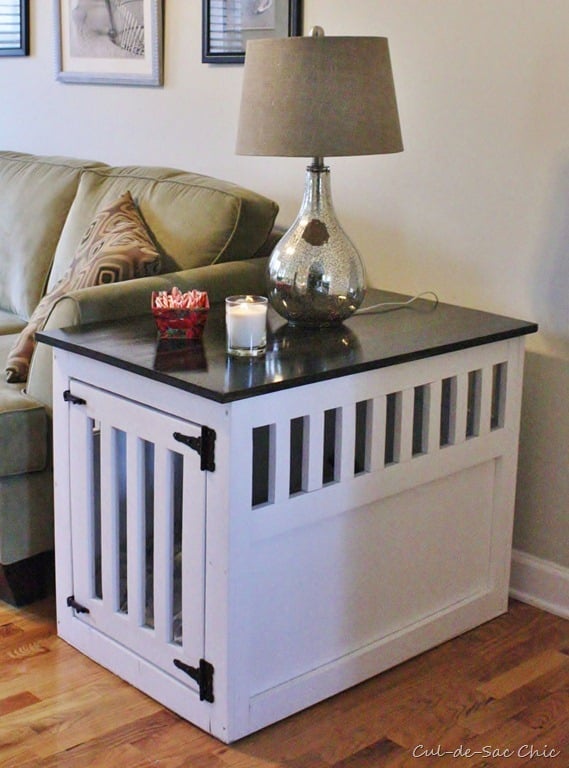
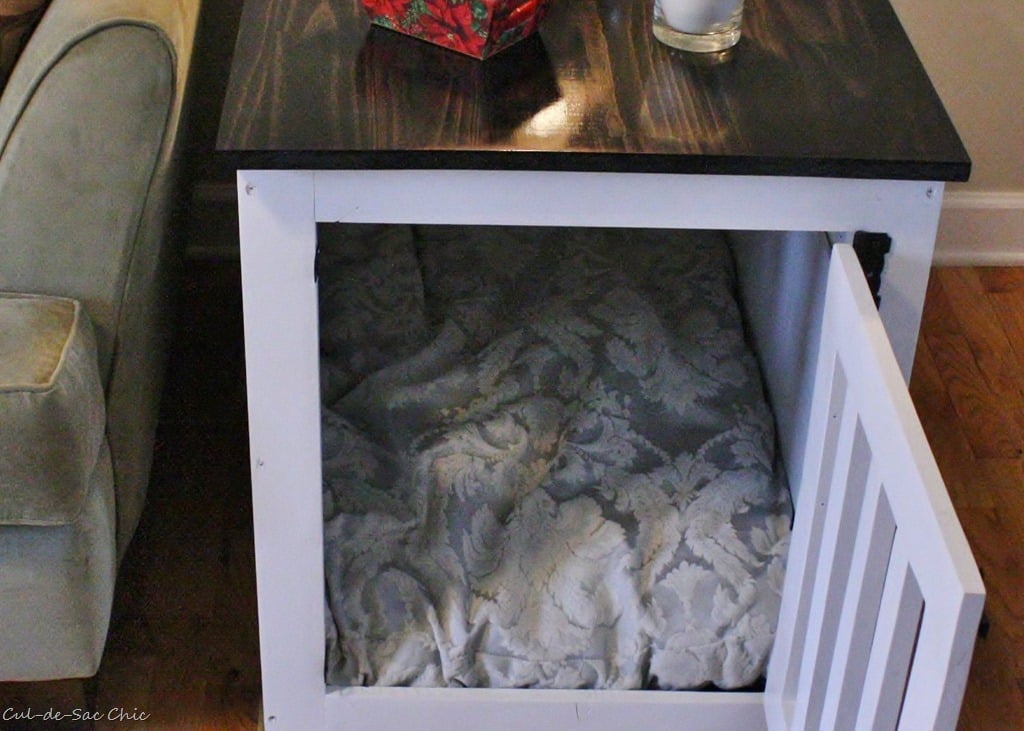
I love this project. My dogs Goldie and Chloe love their new house. They are sisters who just have to sleep with each other. They had their own metal crates but when Chloe was a puppy she would always go in with Goldie and they would snuggle. It was a tight fit for them as Chloe got older but they still had to snuggle. Now they are in heaven with their new bedding and house.
Thu, 02/09/2012 - 09:42
This is beautiful! Trying to convince my husband that we should do this so I can get that grey plastic dog crate out of our living room. Maybe this will show him how much better it would be to build one.
In reply to Plans by Guest (not verified)
Wed, 02/22/2012 - 16:34
Click above where it says "From plans" - that is a link.
Thu, 07/03/2014 - 12:43
Your post inspired me to pursue this project with some left over walnut and it turned out great! I think my post is on page 10 if you're curious. Thanks.
Thu, 07/31/2014 - 03:41
I'm going to try to make mine larger as my fur baby is Grt Dane/Lab mix & needs a bit more room. My idea is to put it at end of my king size bed like you would a cedar chest/hope chest. Wish me luck!
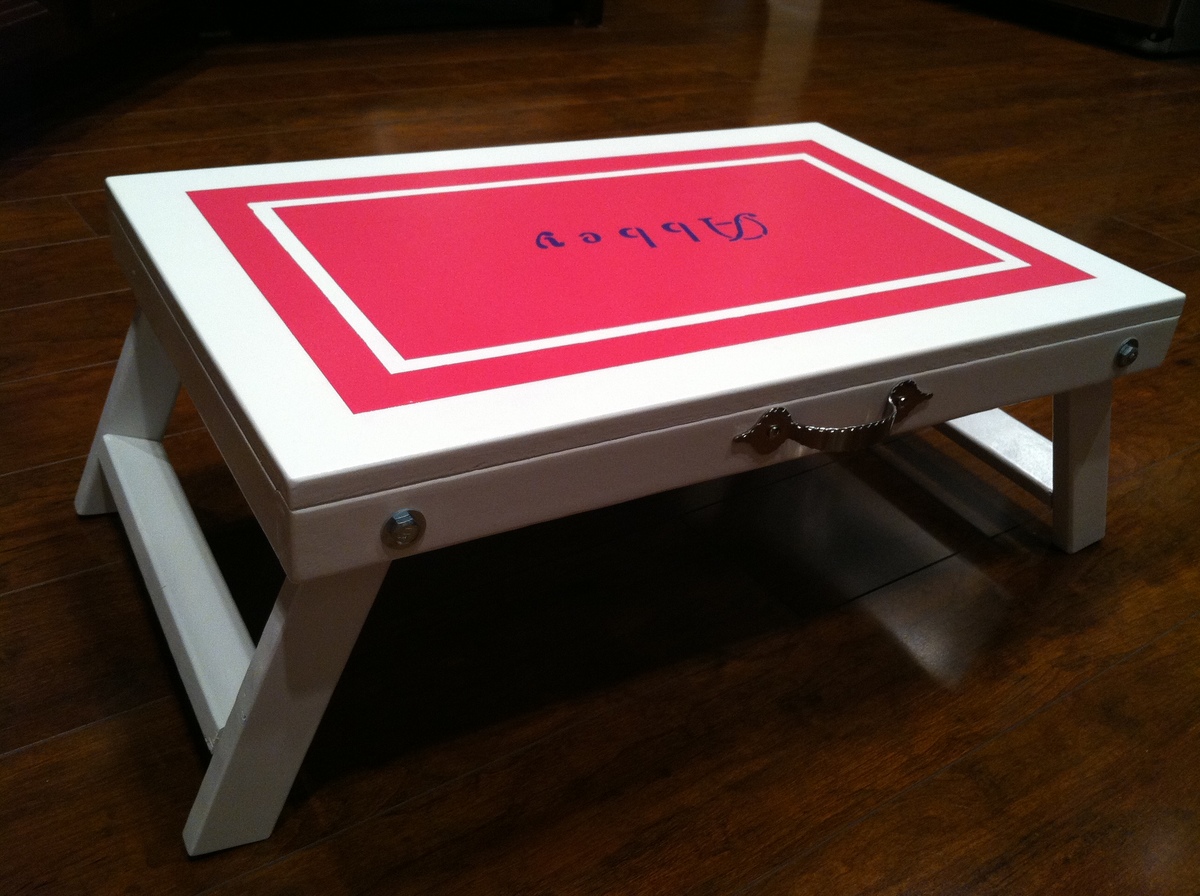
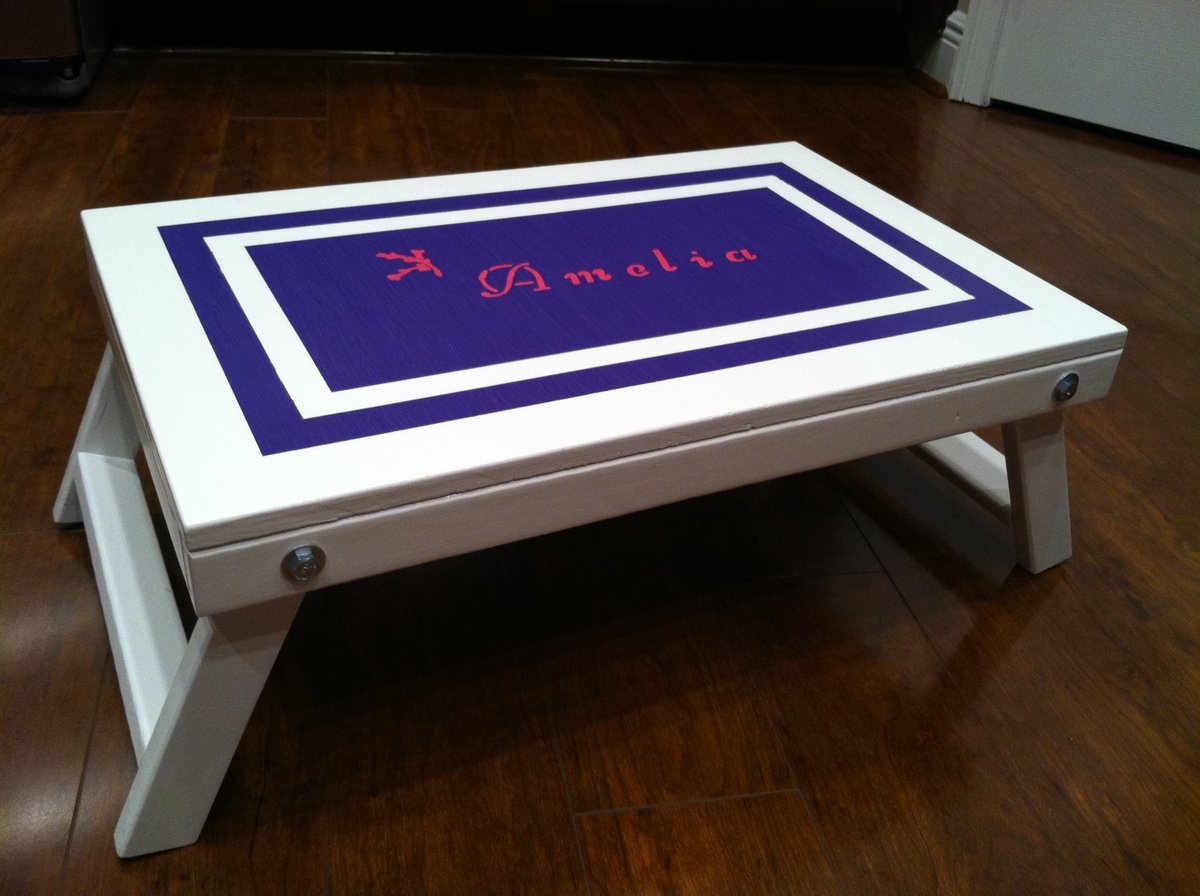
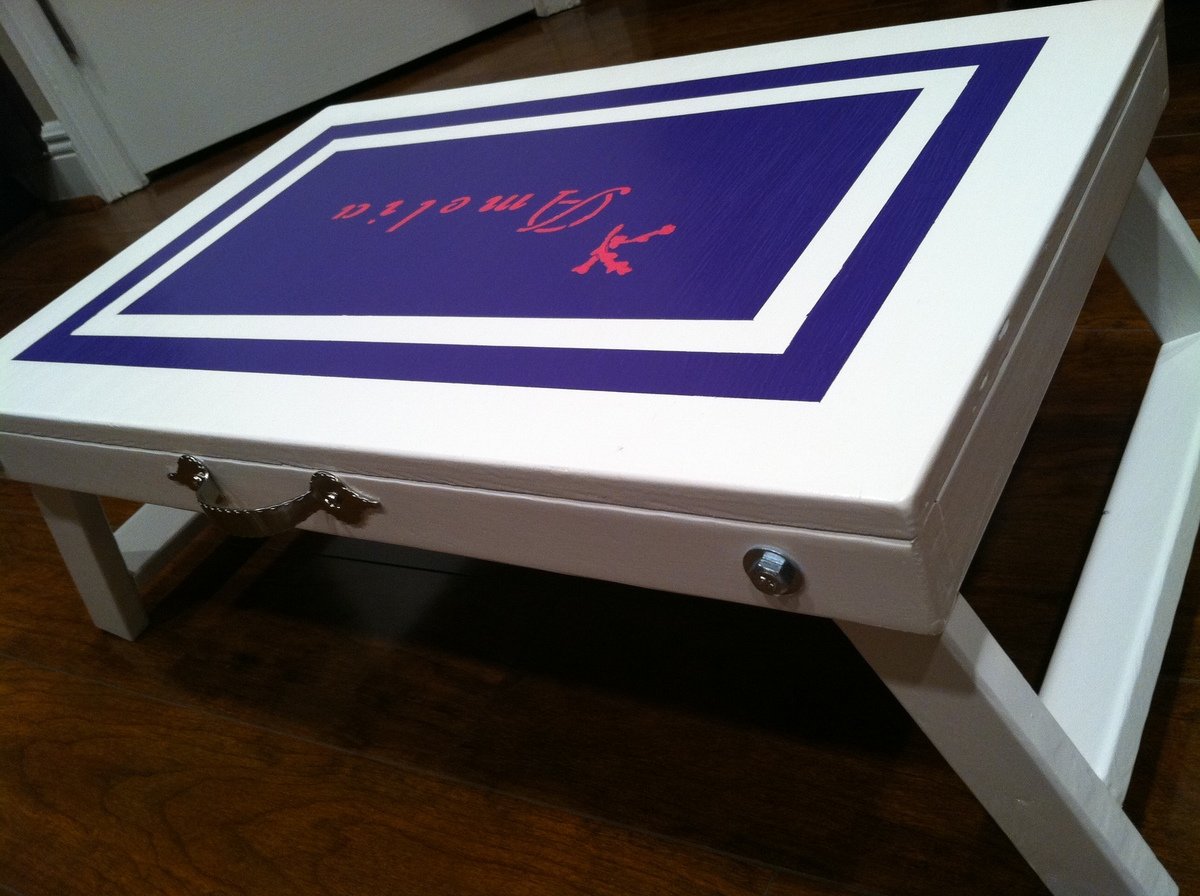
My husband and I made 3 of these folding lap desks for Christmas presents - one for our son and one for each of our nieces. My husband is a bit of a perfectionist, so it took slightly longer than I would have liked to sand, build, drill the pocket holes, and put them together (oh yeah, and sand sand sand again!). Oh and then there was the priming and painting. But then I took just as much time with the decorative paint and then the clear coat! If we had been working on it every evening, we could've completed the 3 desks in under a week but it actually stretched out for a month. I've never painted anything in my adult life (probably haven't picked up a brush since I was in elementary school), and even then I was only doing it because they forced us to! So if I can do this, anyone can! :-)
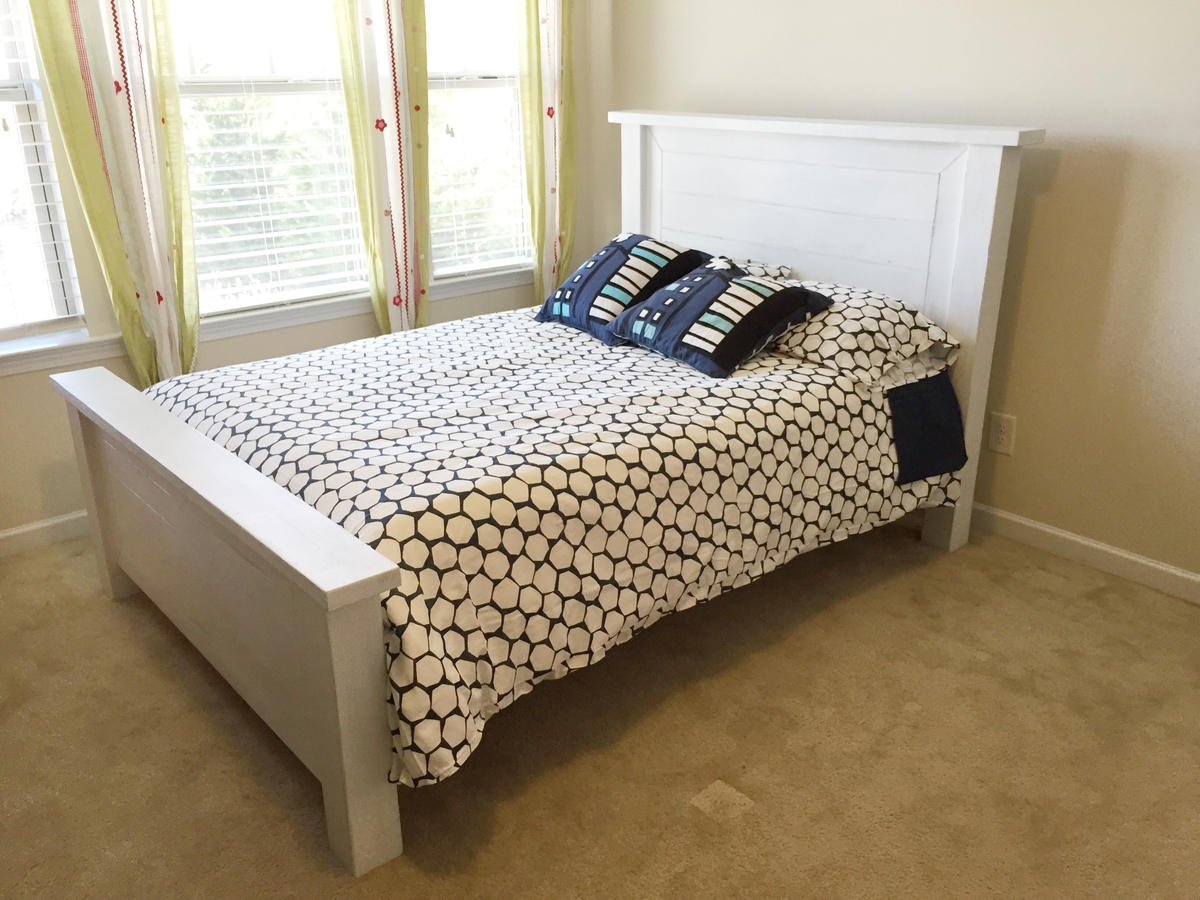
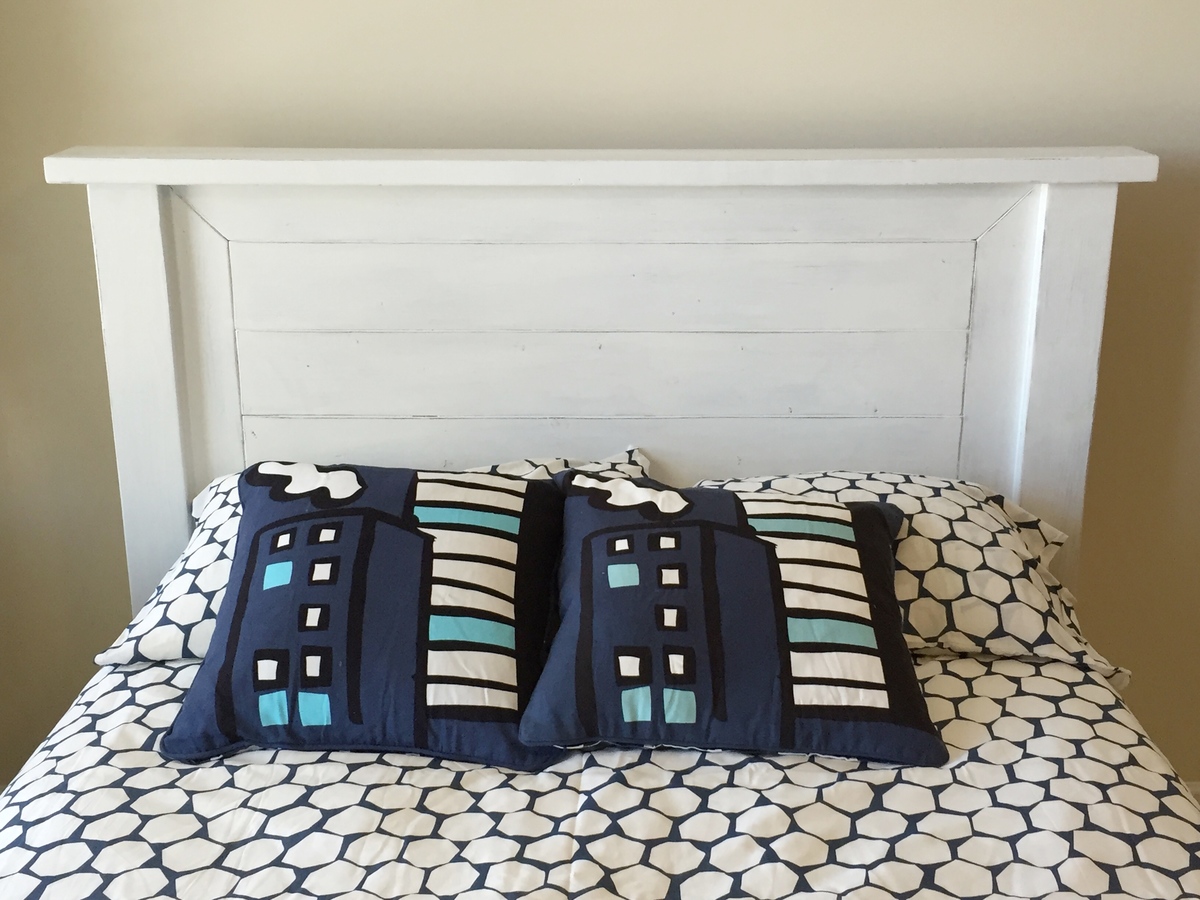
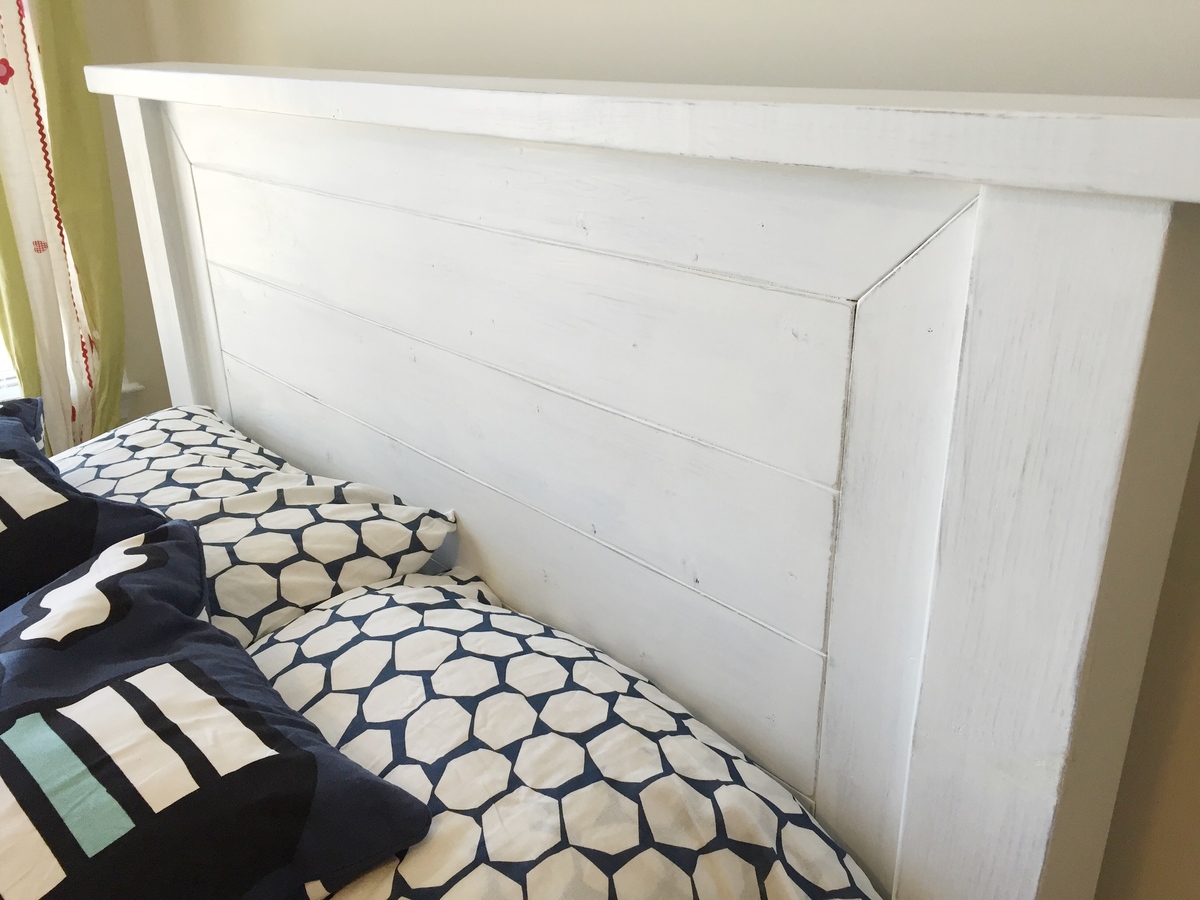
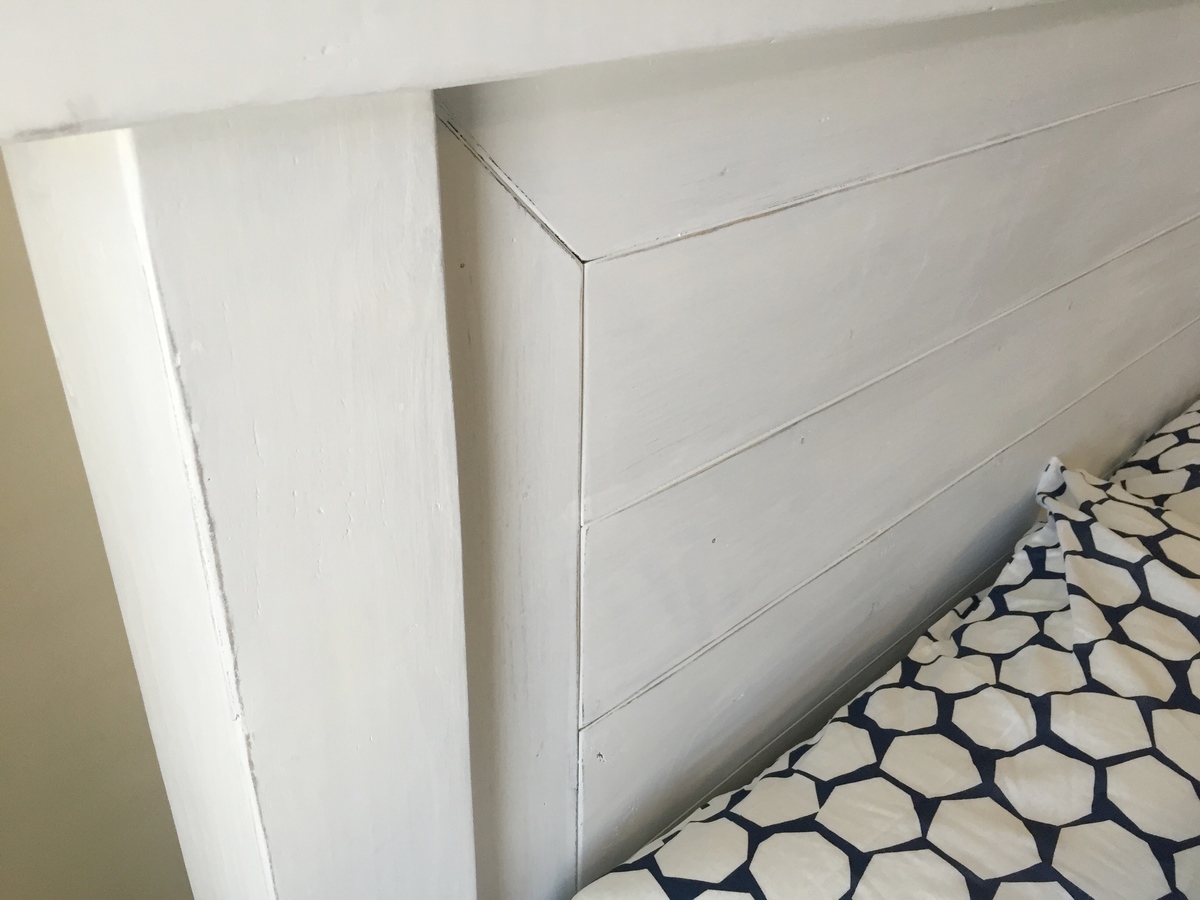
Full size bed frame. Made from 4 by 4 posts. ! by 4 and 1 by 6 boards for footboard and headboard.
Side rails from 1 by 8.
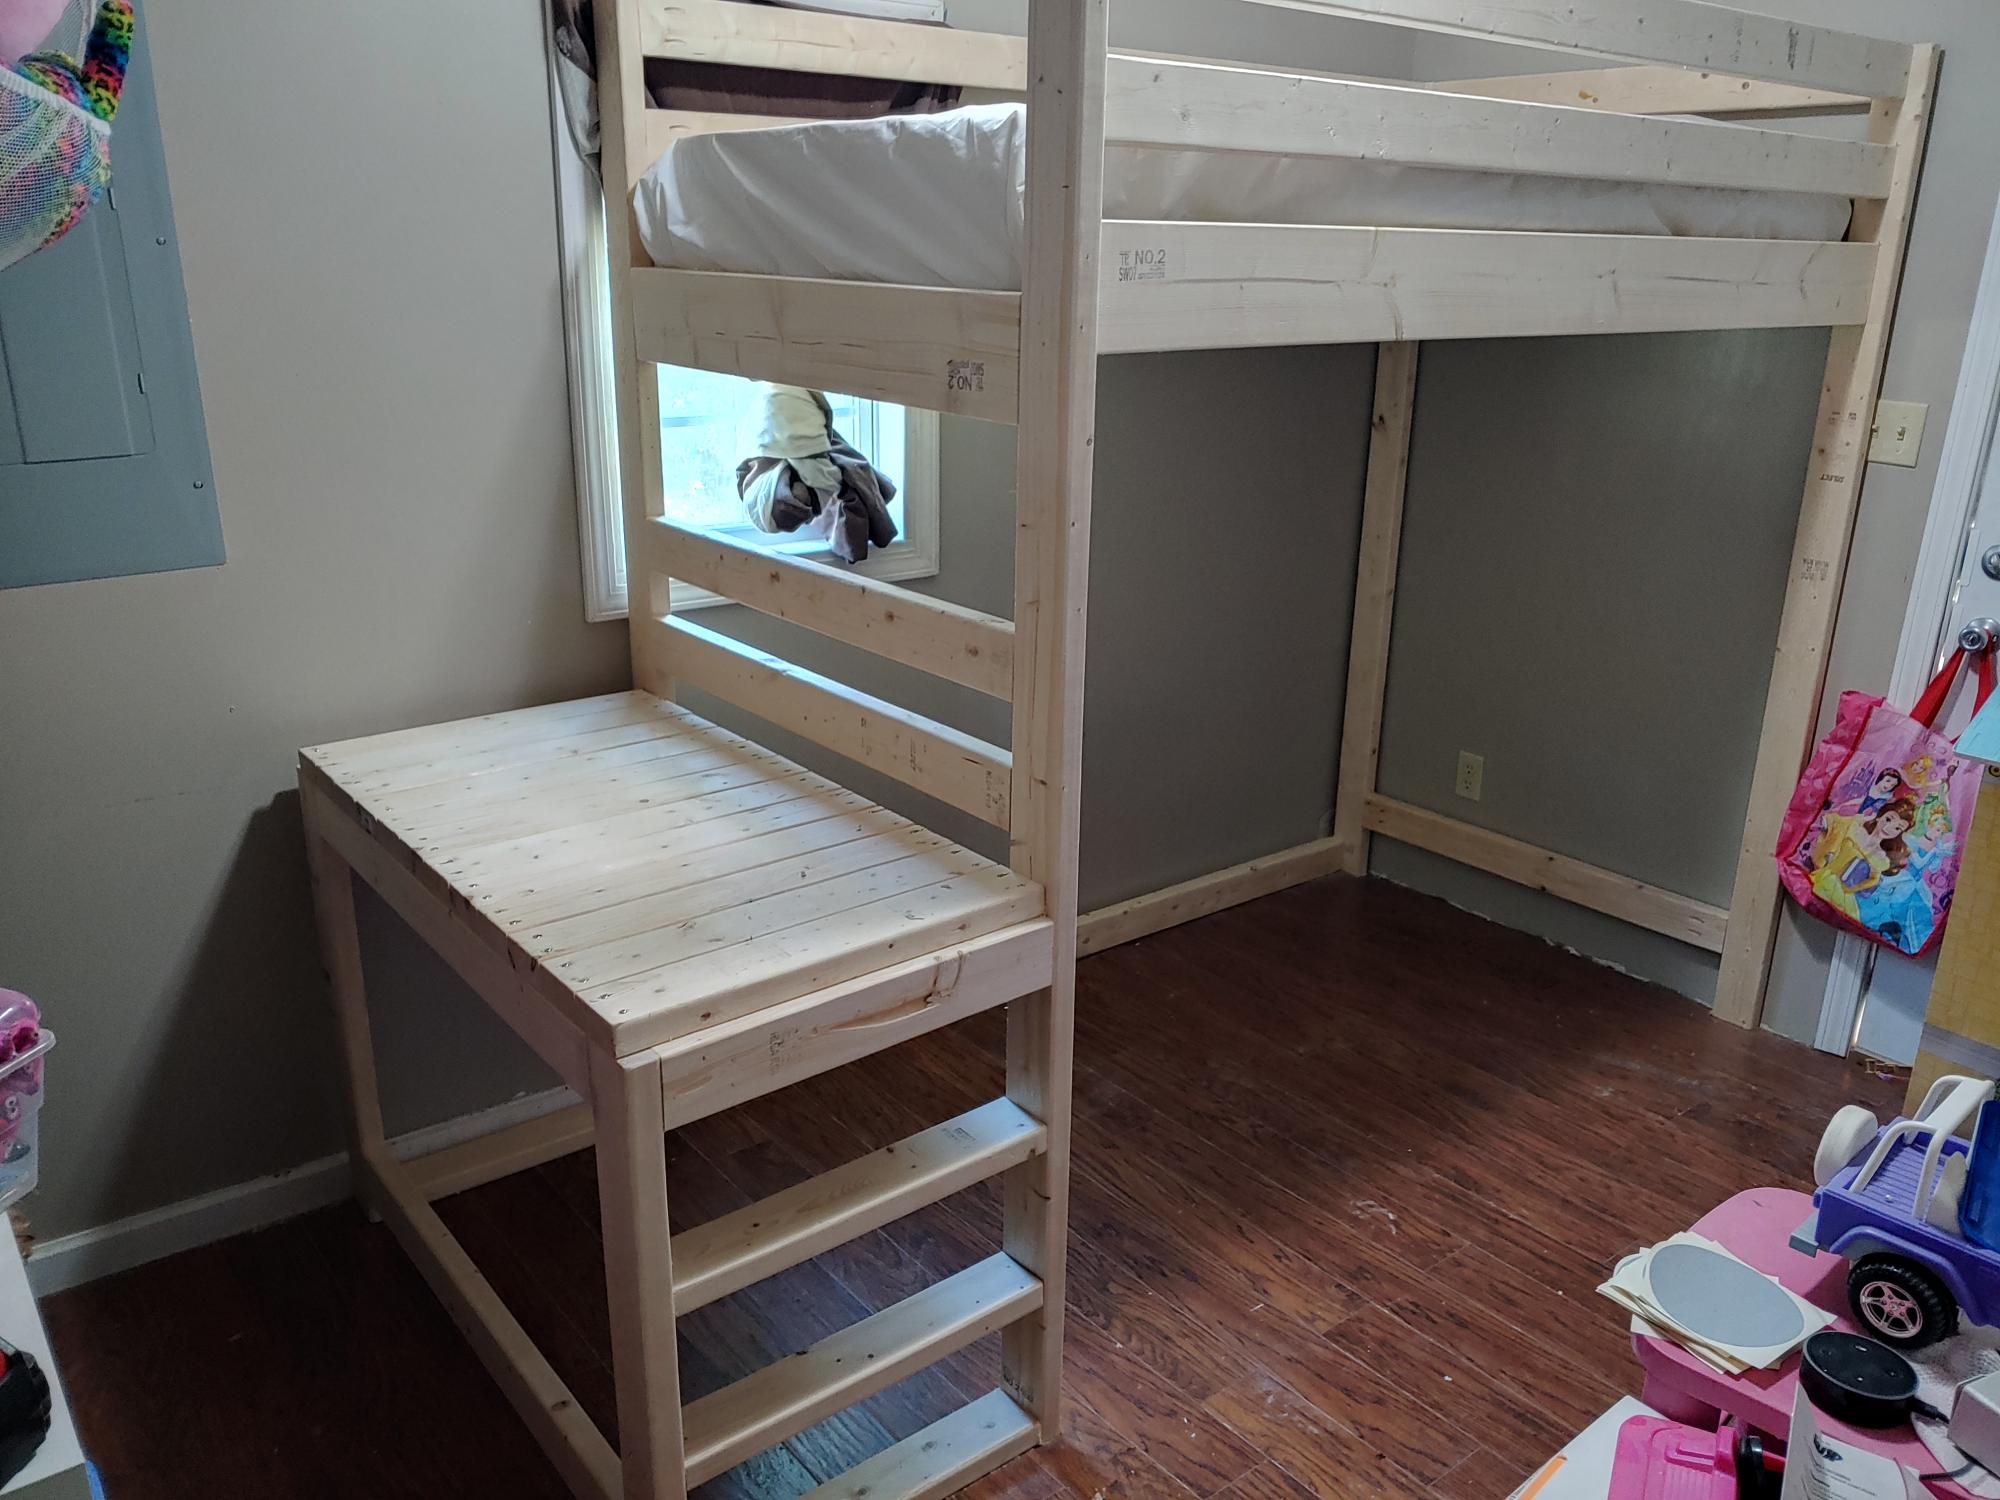
I modified a few things to fit my needs. I did a small ladder instead of steps to save room. I added a 2x4 down the middle with brackets to add extra strength for mattress area. I used my kreg drill bit to make holes for the 2x2 to also help with strength. I am a big guy and the bed was solid so no issues with weight. I added 8 inches to the main post to add height underneath for a doll house, book shelf and some other things my wife wanted under there. Excellent plans and my daughter loves it.
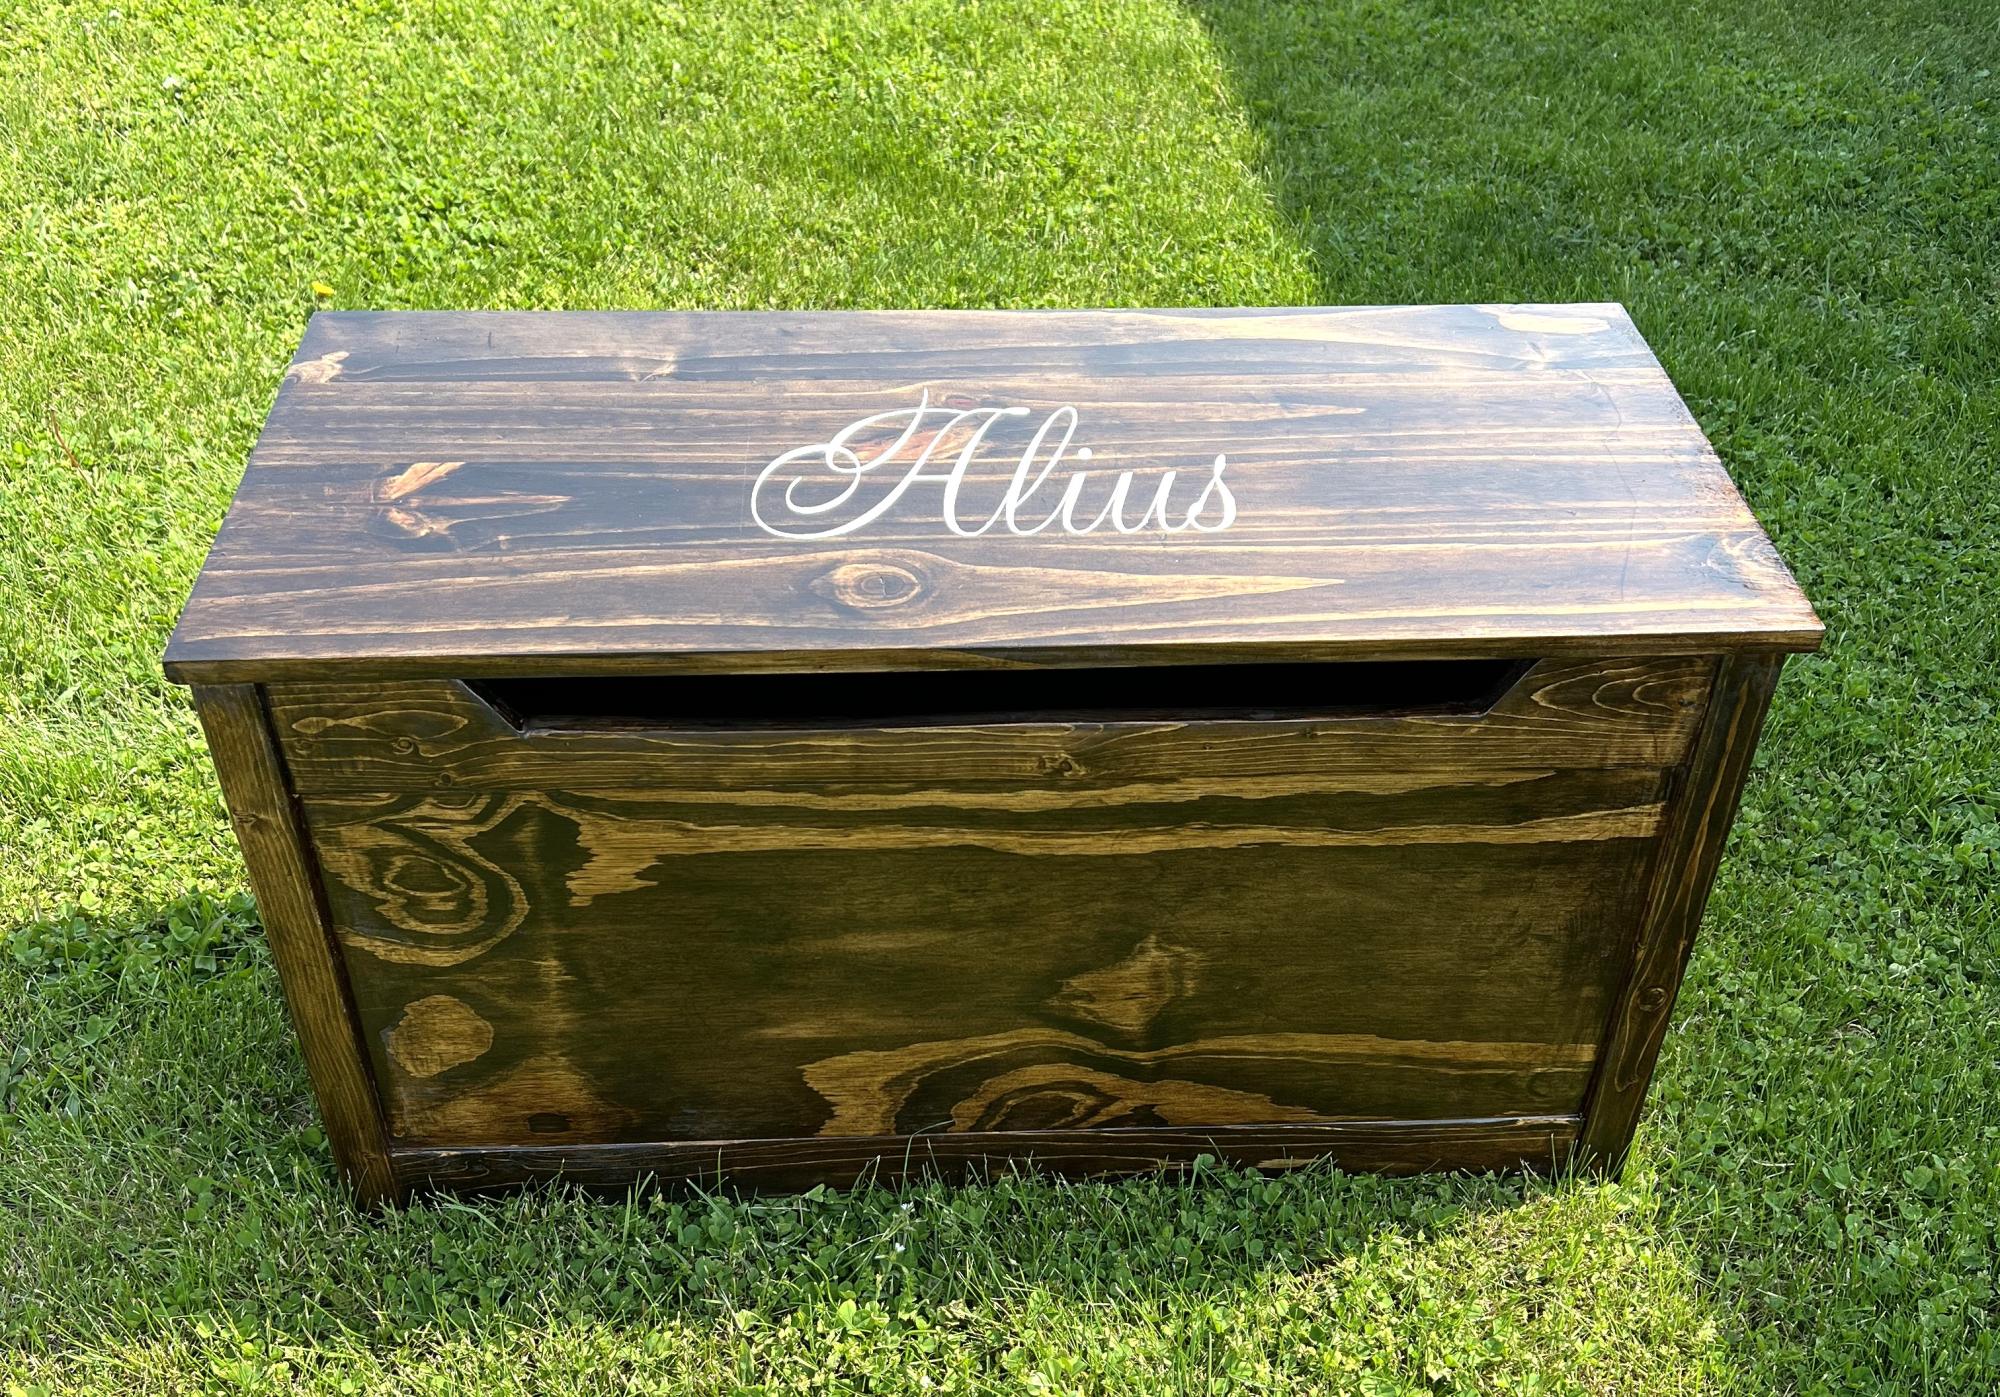
I made 2 of these toy boxes Yor my friend that have twins. They love them and want me to make 2 more for 2 other children.
Kim Myers

My kids love the simple reading tent and how it can be put away easily. I have made two of these and plan on donating one to the non-for-profit nursery school my kids attend for their reading nook. I used strapping to secure the sides of the tent together so it doesn't slide apart while maintaining it's fold-ability. I'm going to work on a hinging mechanism for the side stretchers on the second tent (which we will keep) so it folds down even more compact so we can take it to the beach. For the fabric, I used left-over curtain lining and my snap press to wrap the fabric around the stretchers so the fabric can be removed easily for washing.
Corona Square Coffee Table.
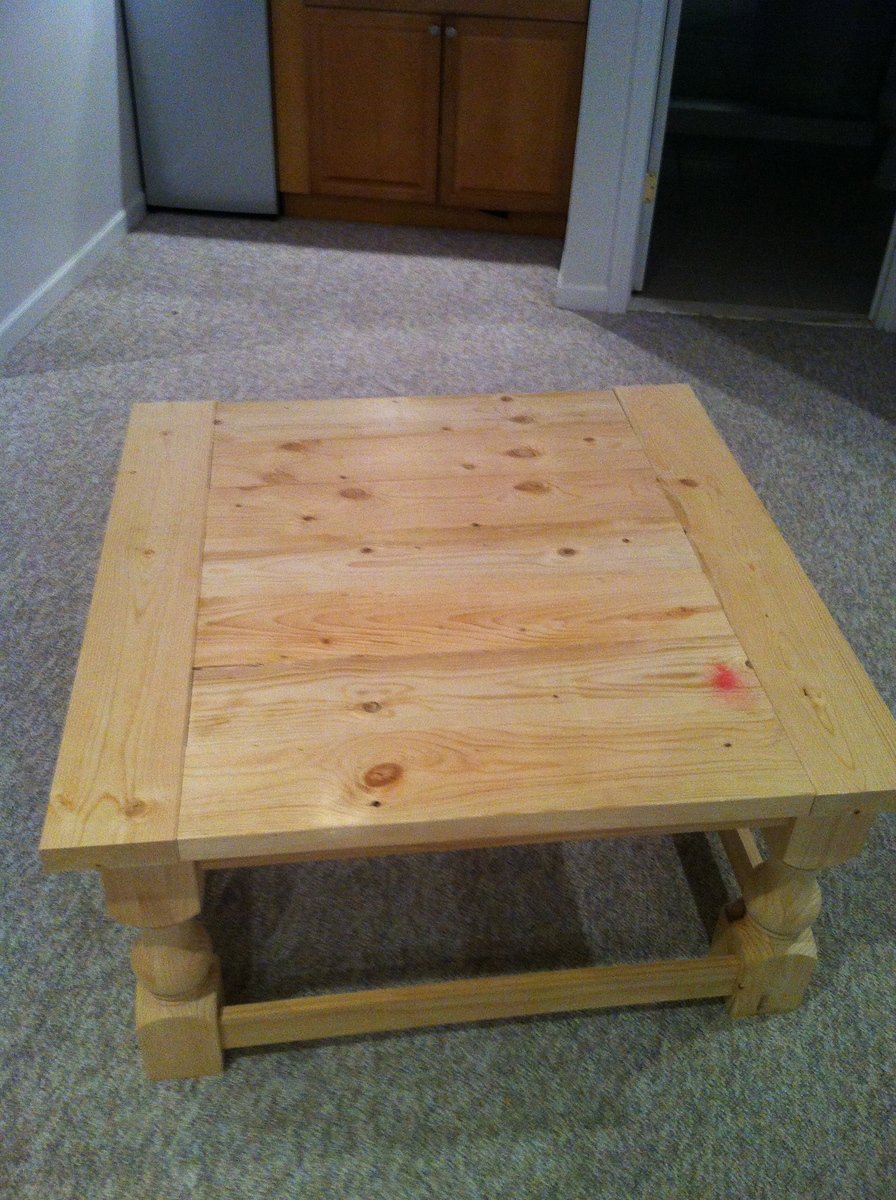
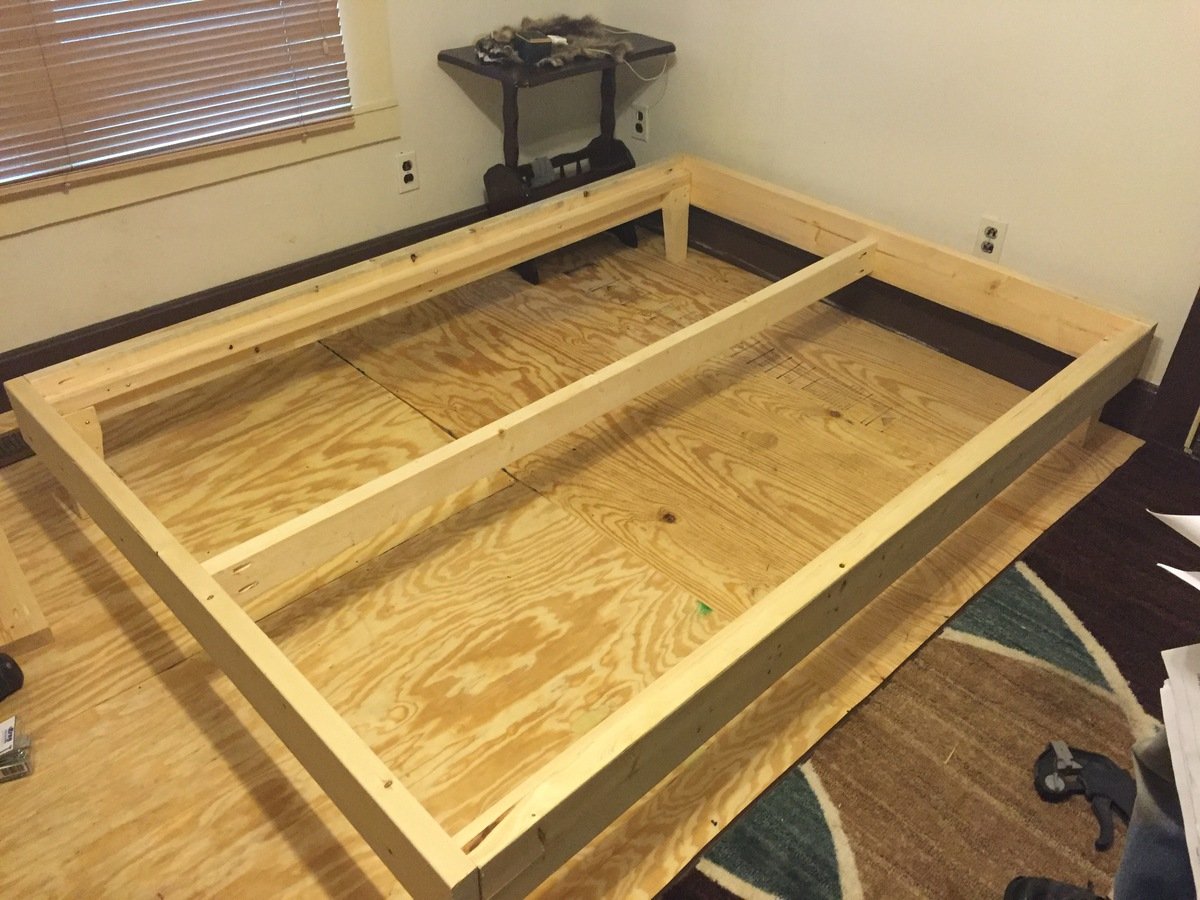
Built this
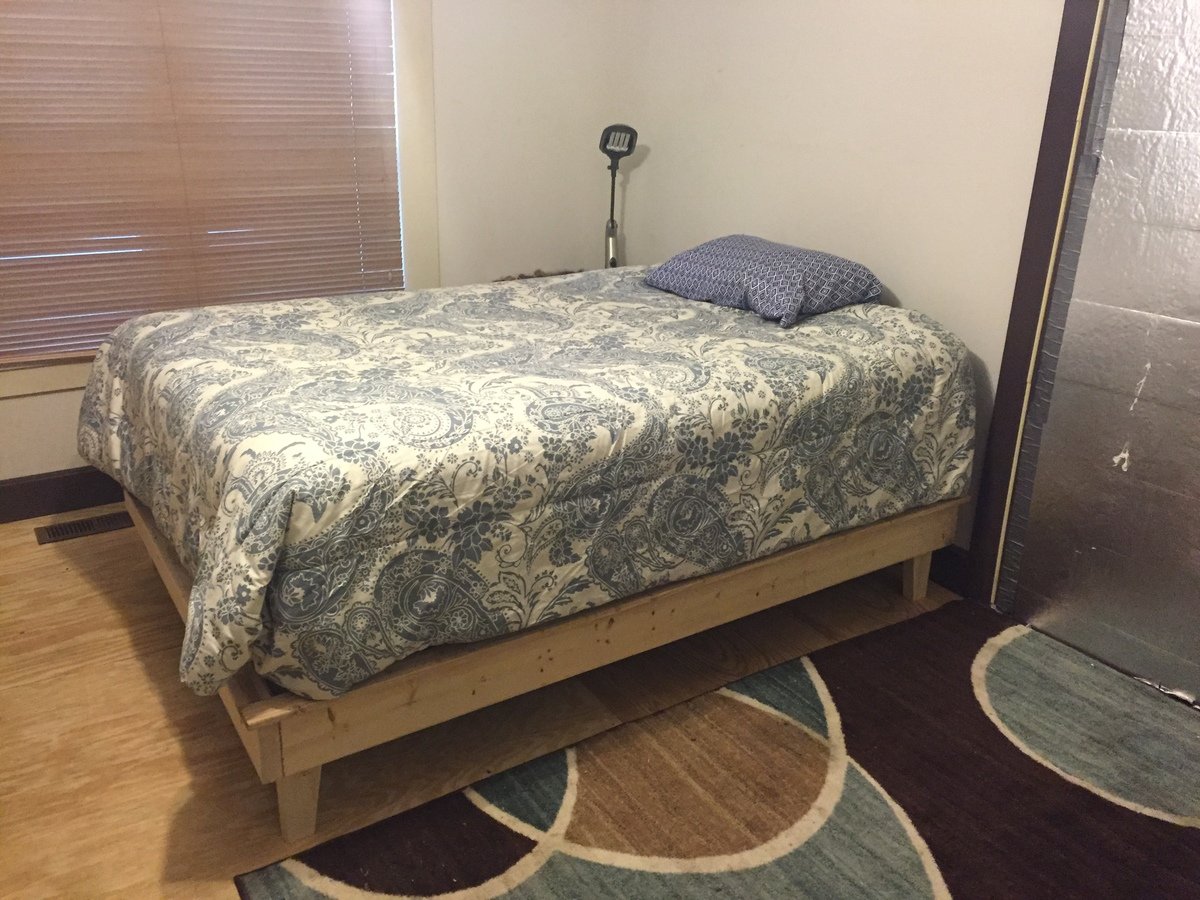
Thu, 03/03/2016 - 12:18
it's a platform bed, I accidentally typed poster bed
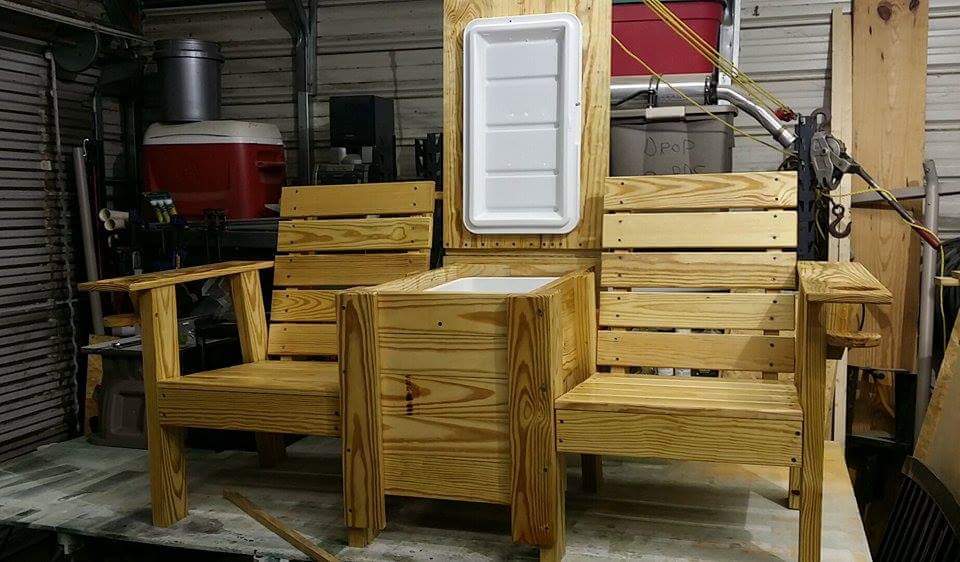
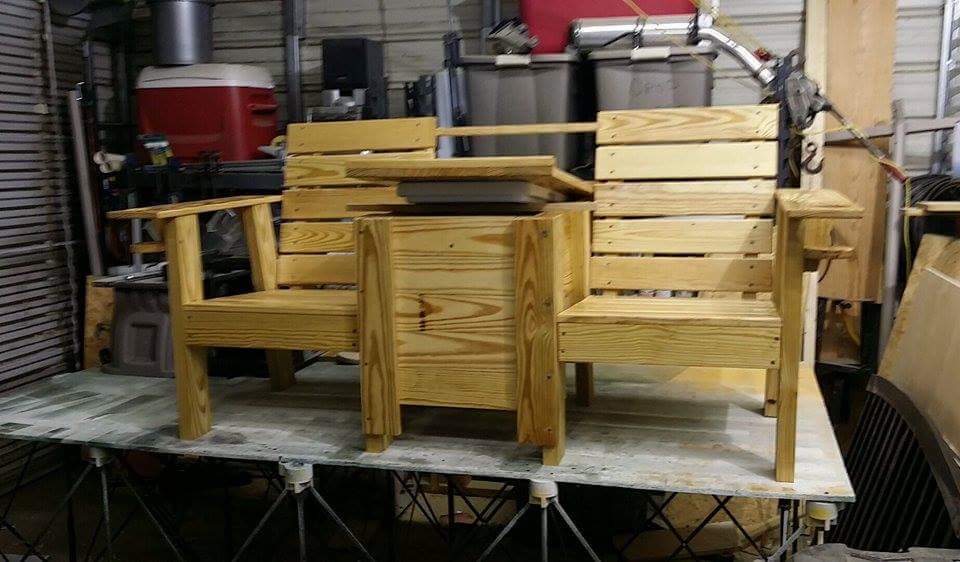
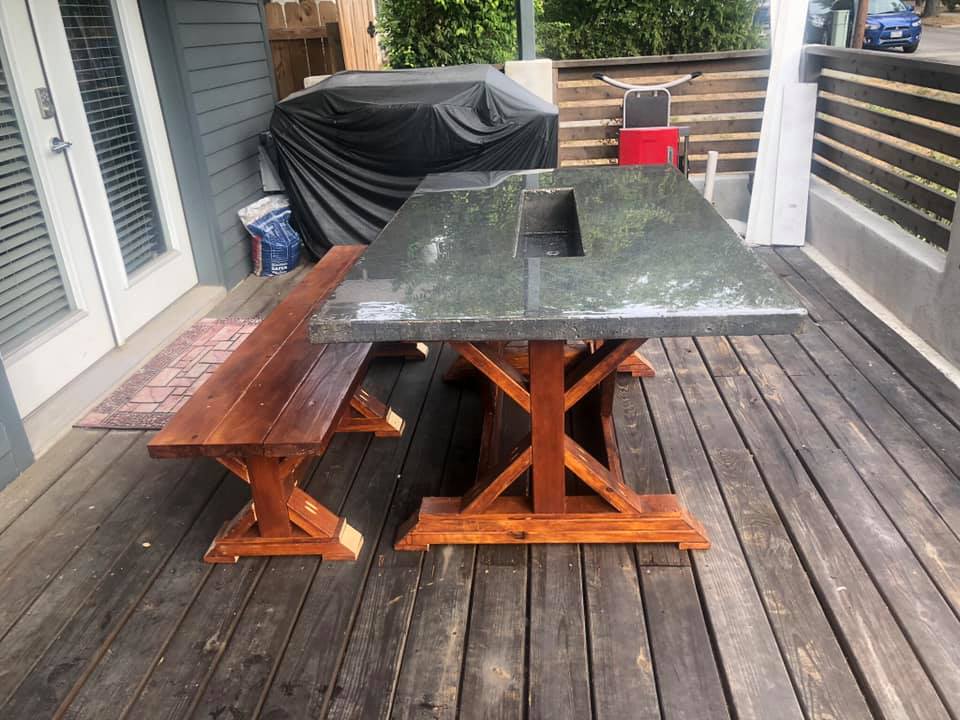
Started with bench with table but changed by adding a cooler.
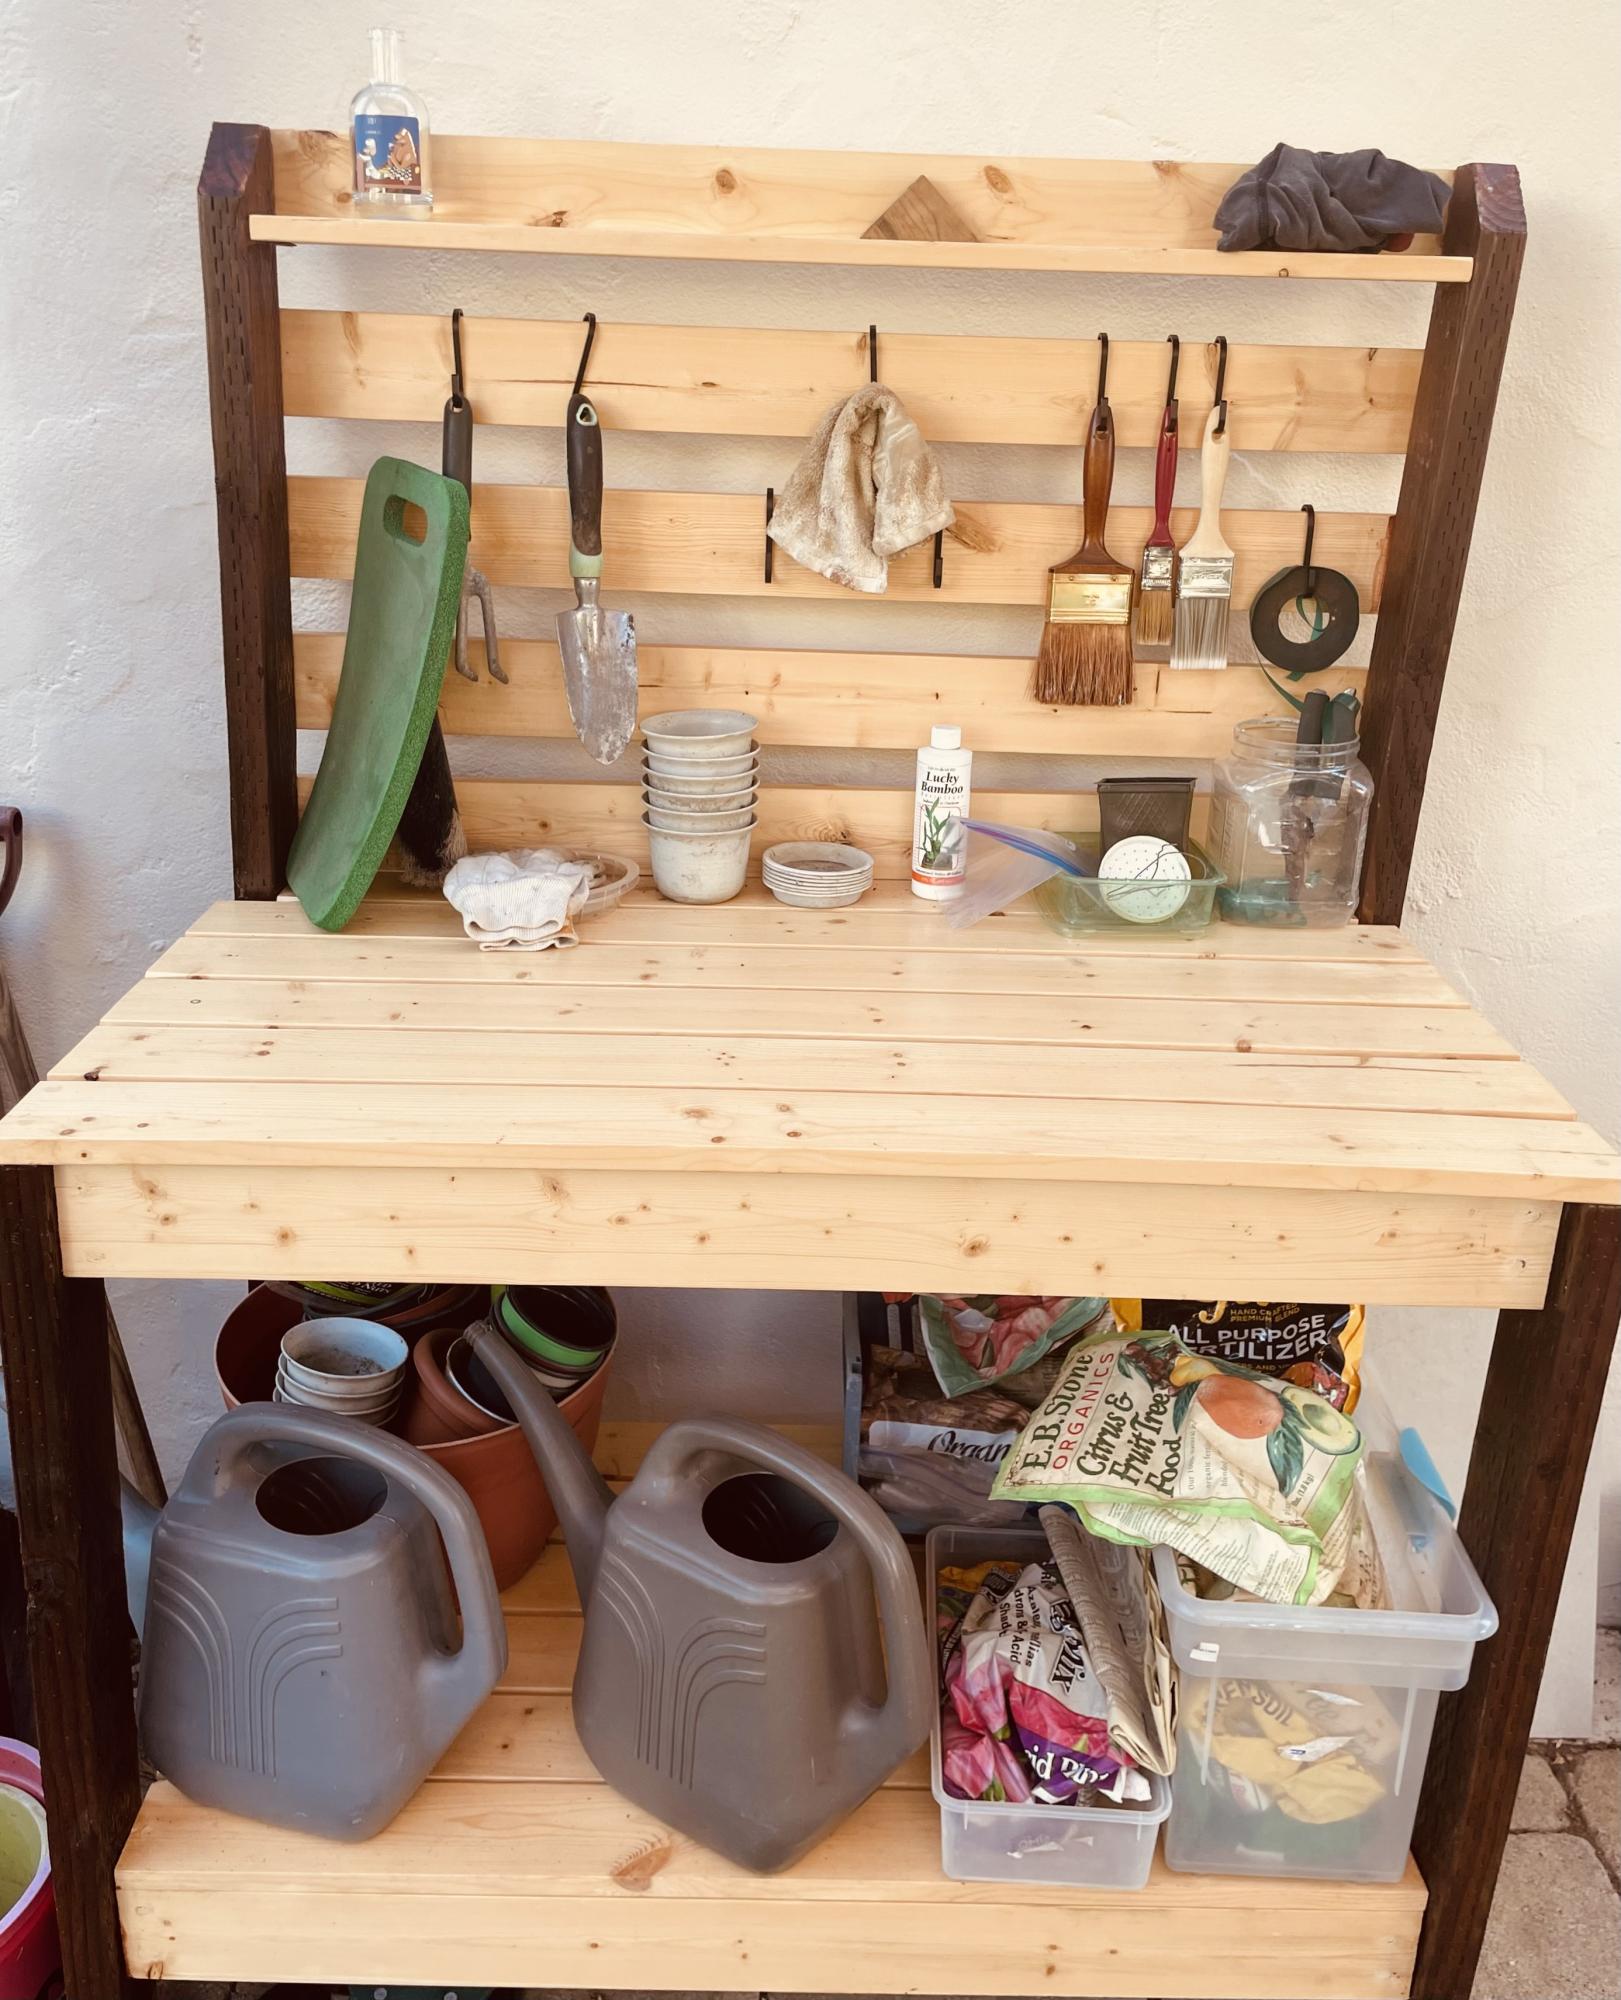
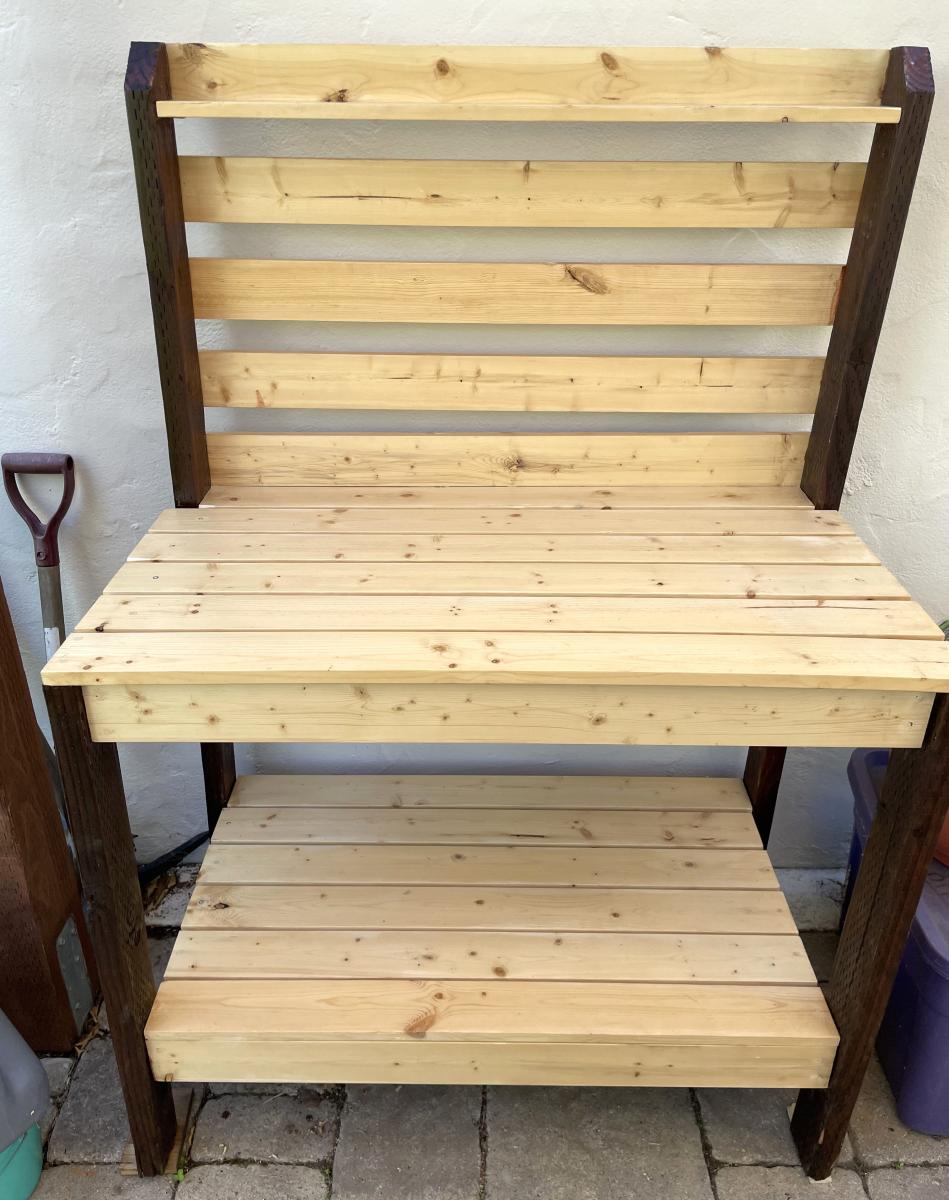
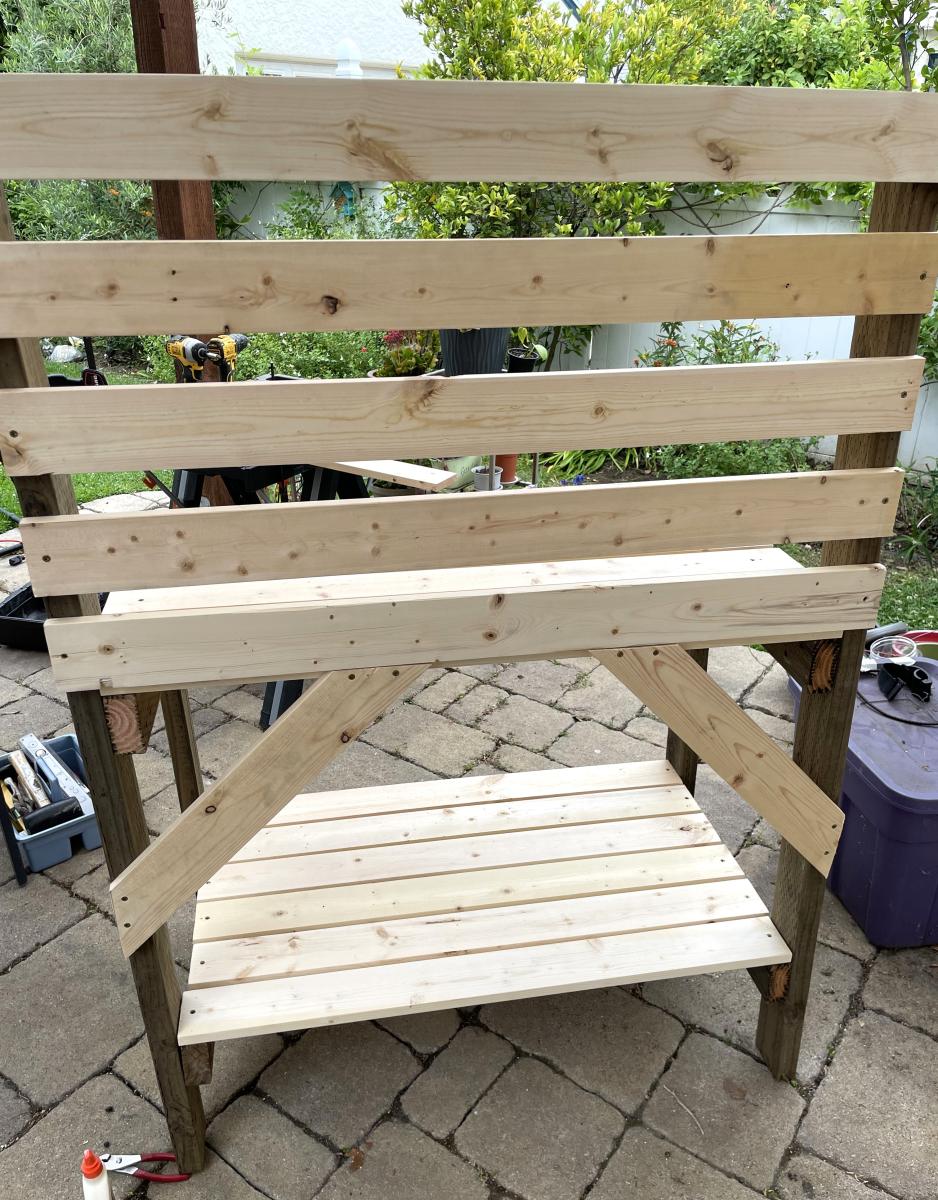
Potting bench. I had some pressure treated darker wood around and used that for the legs and frame. Pine for much of the rest. Stained the frame cherry. Polycyclic for the pine and the frame. Three times. Lots of compliments. Highly functional as well!
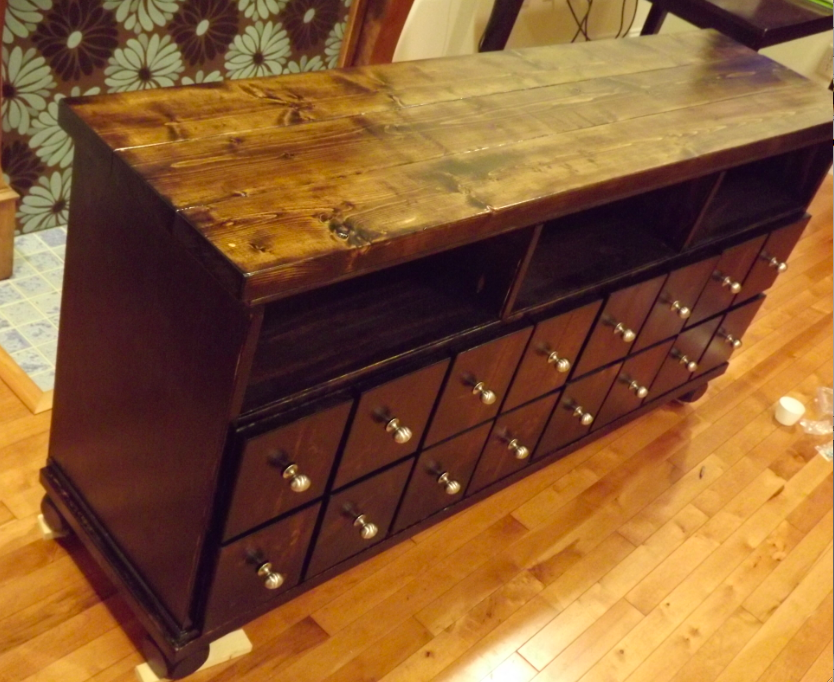
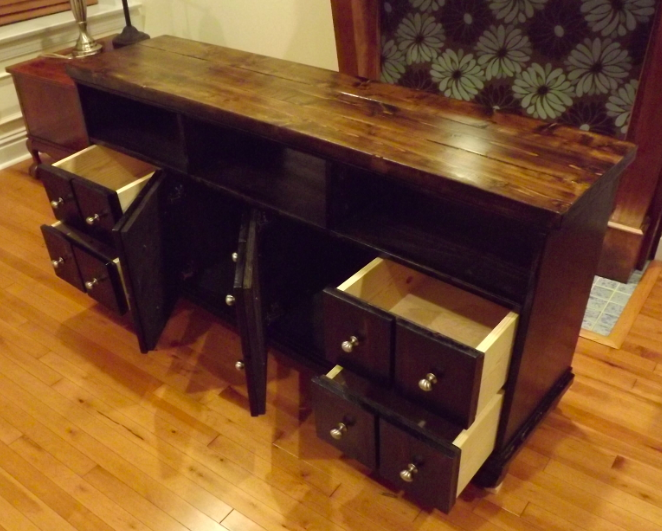
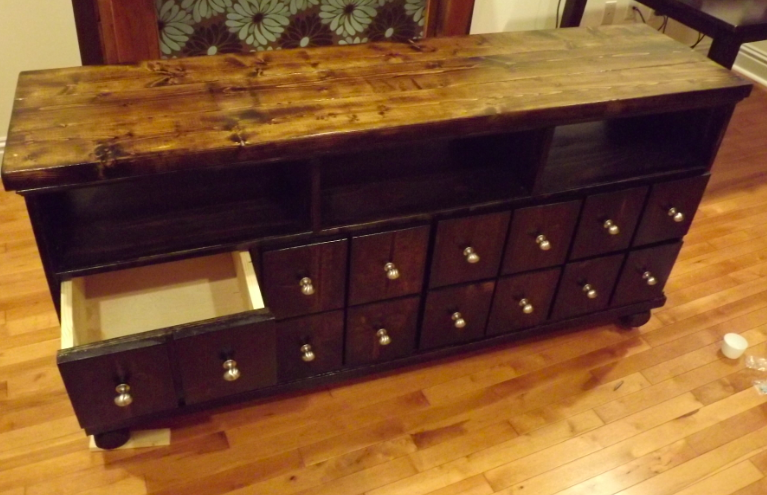
This is my 4th project. I love it! I used 2x6's on the top instead of 1x6's as I wanted a more substantial look. I also added some bunn feet by attaching a couple of 2x4's to the base and drilling the bun feet into them. All the game consoles and dvd players will go in the top slots so they'll be much more organized than what they are now.
Sat, 02/18/2012 - 08:20
That turned out amazingly beautiful! I love the heft of the 2" thick top.
Sat, 03/10/2012 - 18:32
I was just wondering if you used 1/4 ply or 3/4 ply for the foe faces? I love the look of the stained console.

I utilized your toddler play stove plans- these are easy to use instructions! Thanks much!

Wed, 12/25/2013 - 04:46
This is darling! You did a wonderful job!
Merry Christmas!
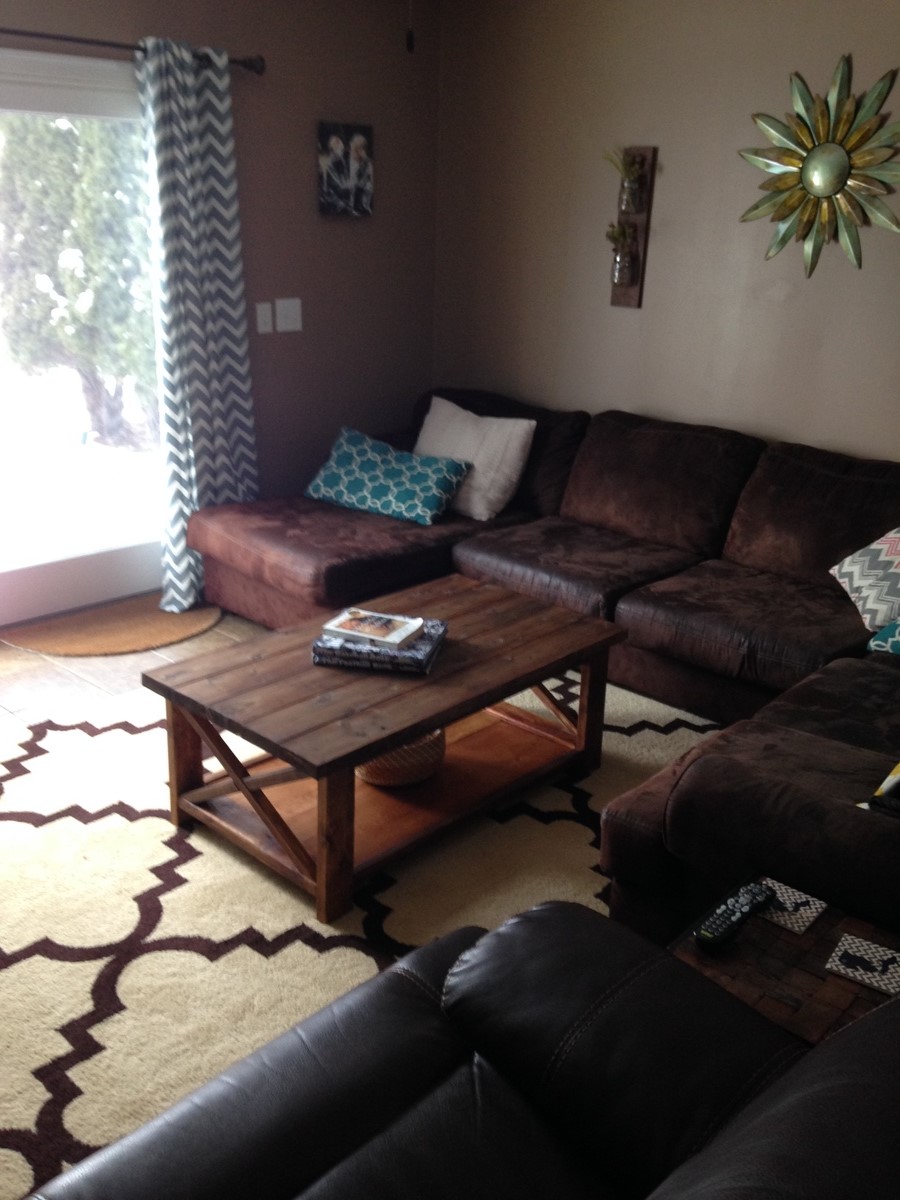
took me prob 6 hours to build 2 hours to oxidize 1 hour to oil. No bolts are brackets yet, I really love it without! This was my first piece of furniture and first time oxidizing & oiling!
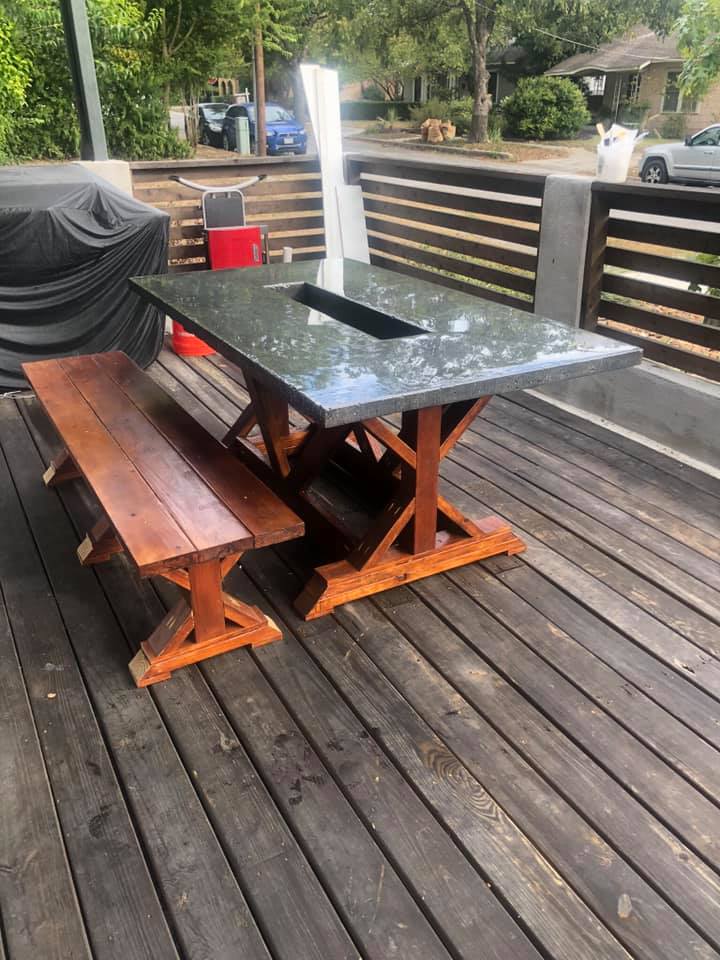
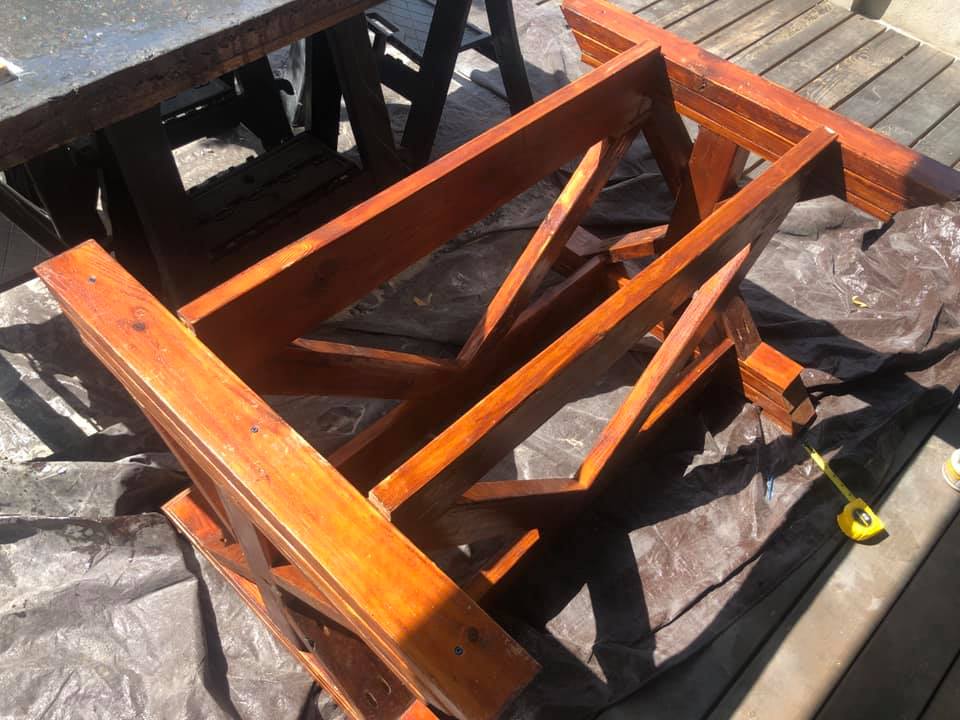
Used the fancy X farmhouse table plan with slight modifications. I decided to use a 4X4 vs two 2X4 as the main leg for the base. I thought it would provide more strength for my final product. Did the same on the bench. Then i moved the support and brace over and added an additional one to provide extra support for the concrete top and trough i made. All in all the base and the bench came out beautiful and am so over the moon with them both! It was my first project I have done (very ambitious I know) but now I am hooked!

I made this a planter as a gift to the superintendent in the building were I live. It was absolutely free for this dedicated man who keep the building clean and help all the residents by repairing their units. It was a way to say thank you and it always feels good when I or you do something positive.
John

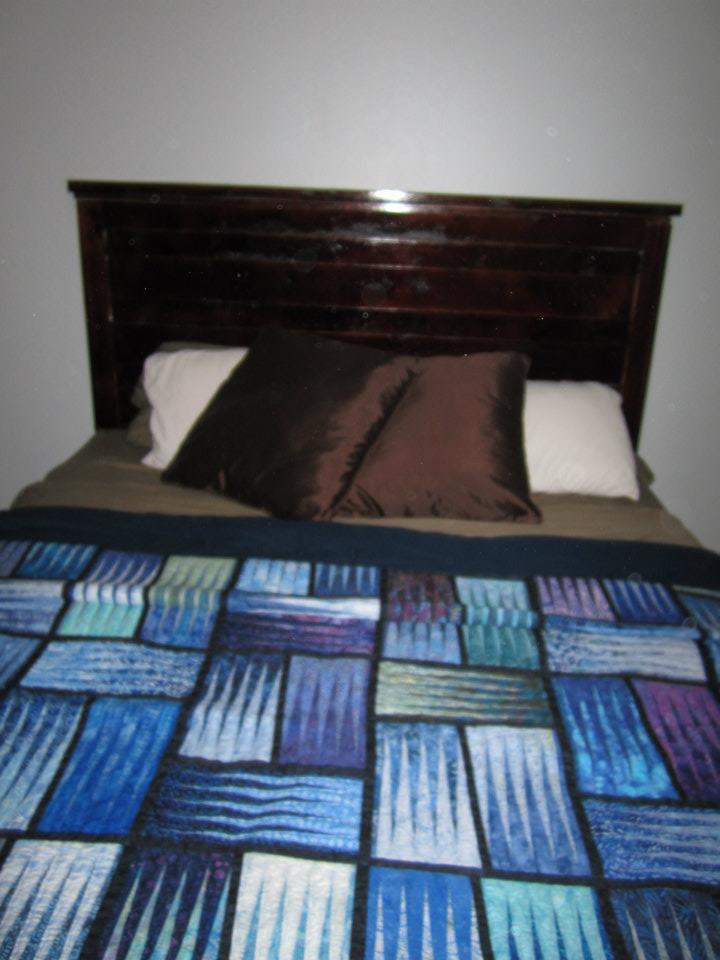
Cost about $100 and took about 6 hours total (one person). I ended up using a polyshade color I had in the garage -- but I wish I would have just used regular stain or paint. I'll likely repaint it in a bit, the polyshades just doesn't cover well (but that's what I get for trying to use leftovers!) One of my top pieces ended up being a little short (I accidentally cut it with the original cut pieces). It looks REALLY great though, and I'm likely the only one who would notice. My husband is super impressed! Thanks, Ana!

Simple coffee table. took about 3 hours to build.


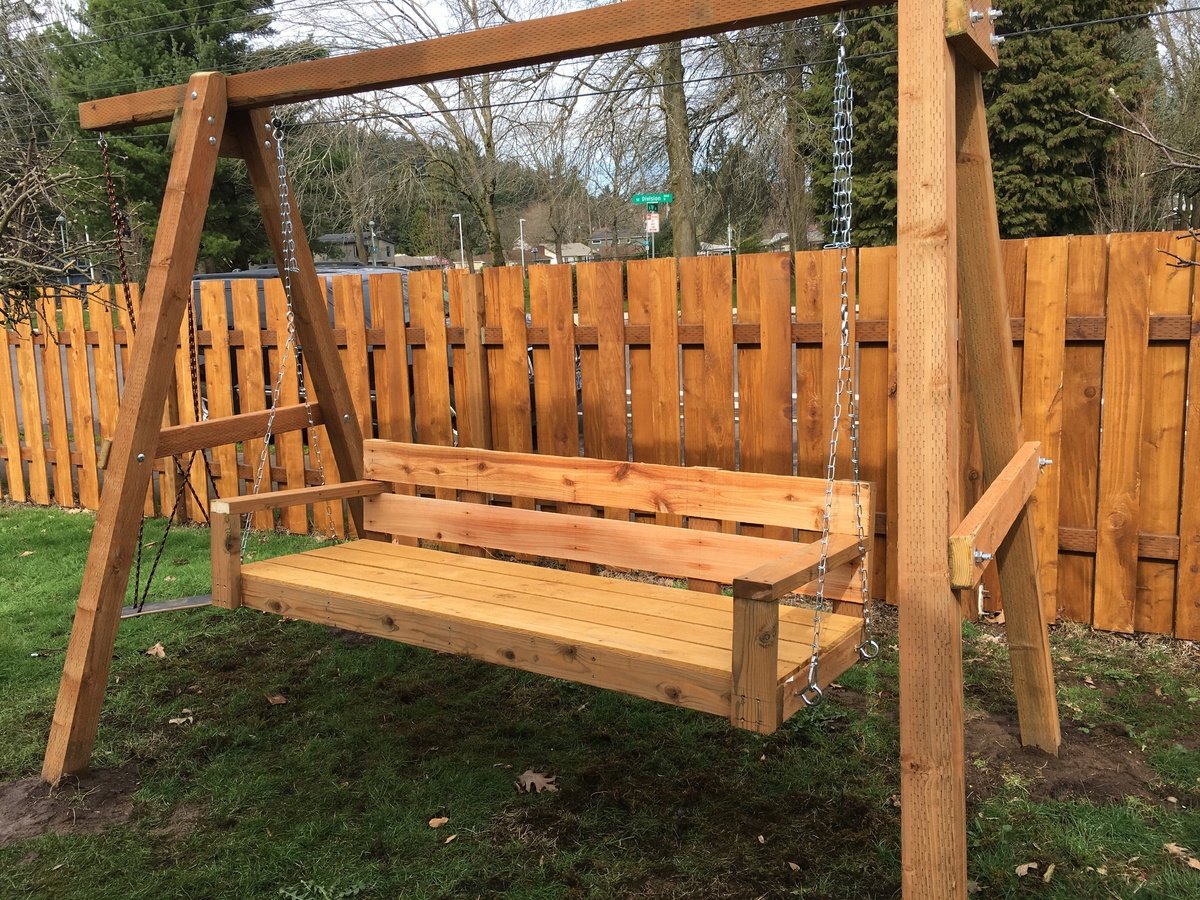
Quick build for the garden swing.
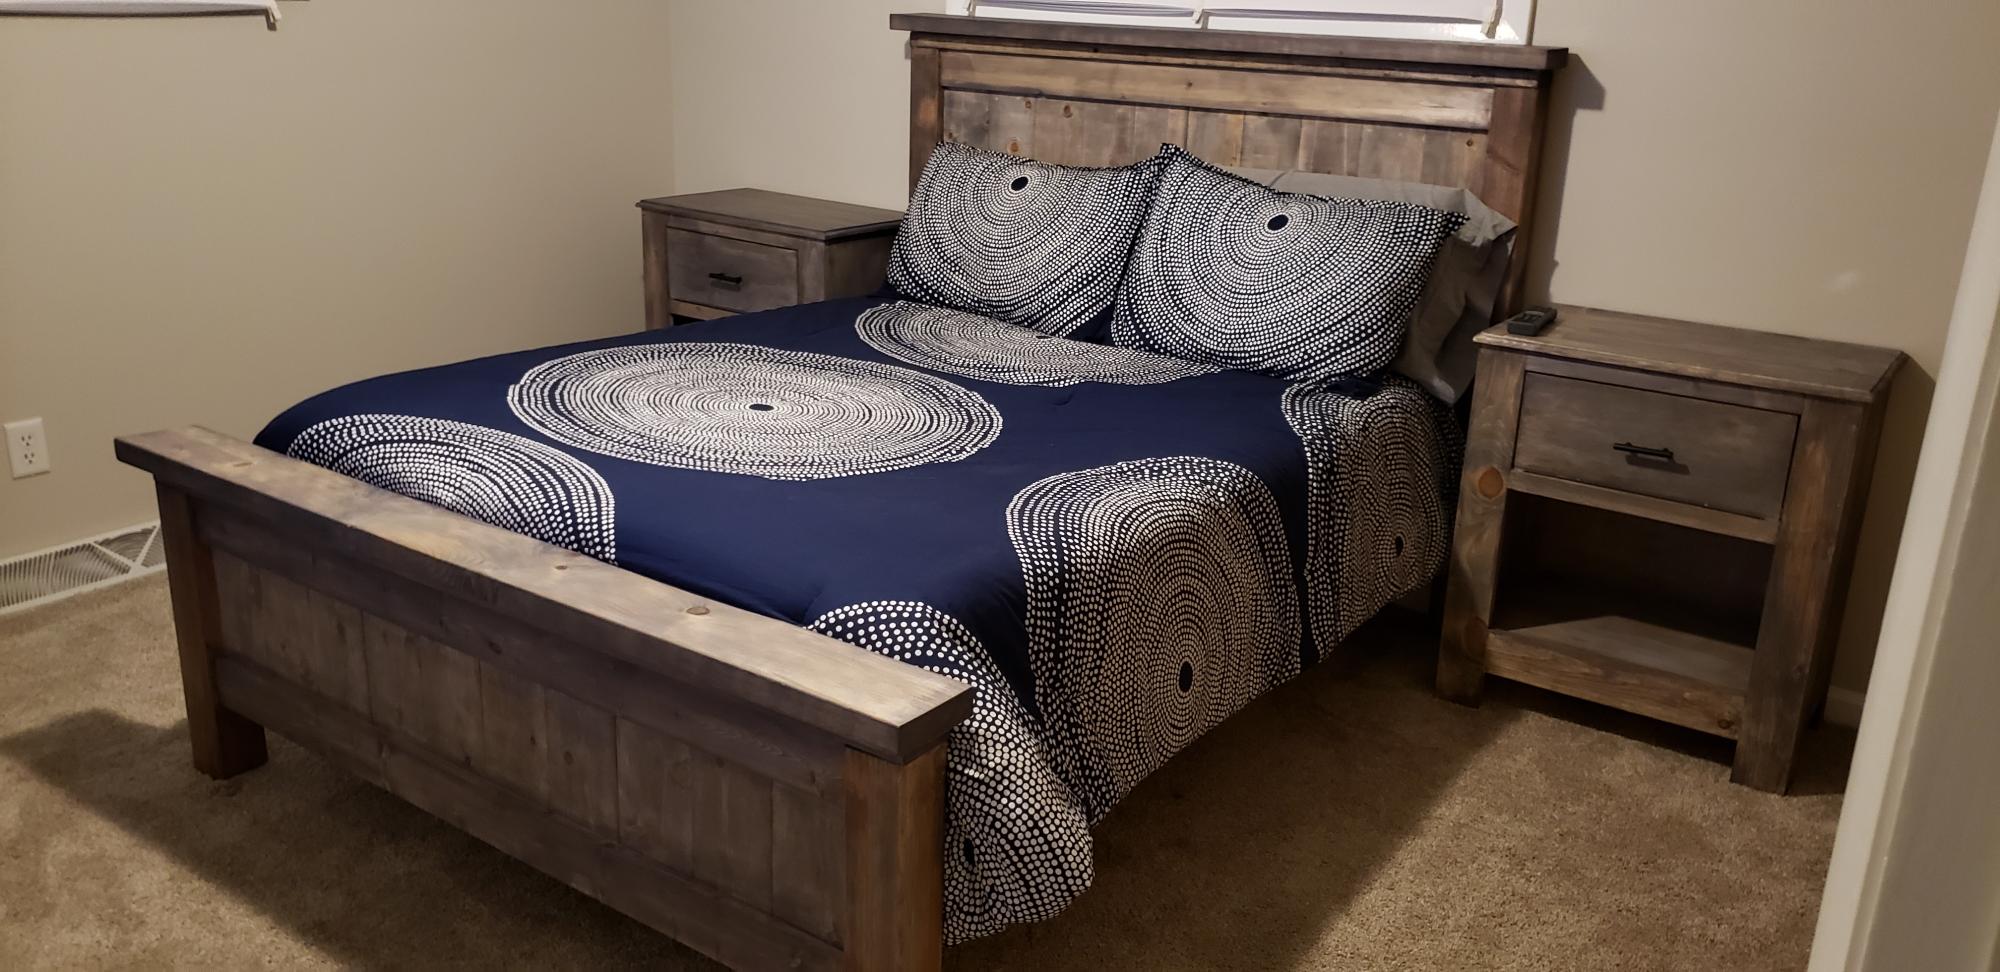
Bed and night stands build with plans from Ana White. Both projects were finished using age accelerator and weathered gray stain. Time and coat estimations include both night stands and the full sized bed.