Community Brag Posts
Great idea, though I added to your design

Well for starters, we wanted a bed with a slide. There are few options that a 19mo would not fall off/out of. (Yes are getting a tad ahead of ourselves). My wife liked the design, but was hesitant about the open part so we included a removable top cover with a look-out window. I also changed how the hinges mount so as to allow the flap to lower all the way down. Now we can simply slide the mattress out to make the bed, and put back as well as insert our son through the slot when he is asleep. I also added a platform in the corner for the stairs and slide to attach, and made the entry point to the bed at the foot of the bed and not the back side. This made the opening more stable. The room does not allow for much access to the other end of the barn so for appearance sake, we added a partial cover for the play area to make it still look like a barn from the side. I was able to make everything in sections, paint outside, then bring in and assemble. I made a "prop" of sorts, to assist in positioning the bed frame while I brought in and attached the head-end of the barn. We did it in 5 days, but it was legitimately a 7 day job that we just overworked ourselves on. The cost estimate is primarily wood, screws, and paint because I already had the stainless sheet. Thank you for the basic idea, but as pics show, we modified it in many ways.


Side Table with Drawers
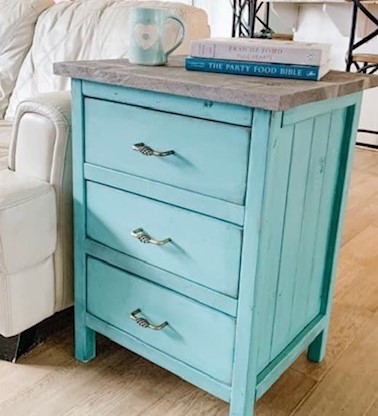
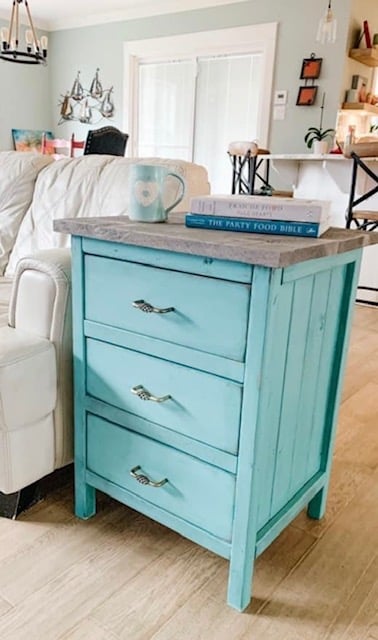
Beautiful living room side table with drawers!
by Samantha
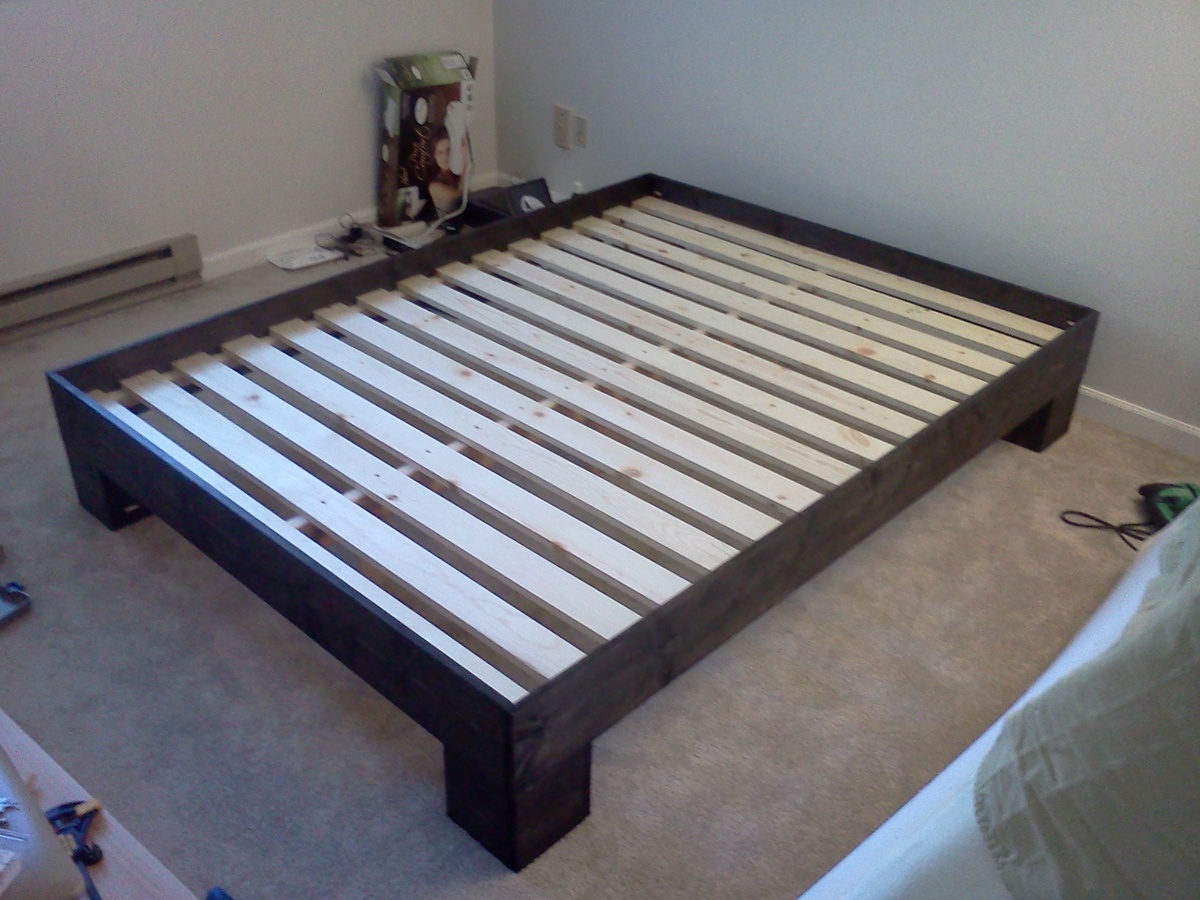
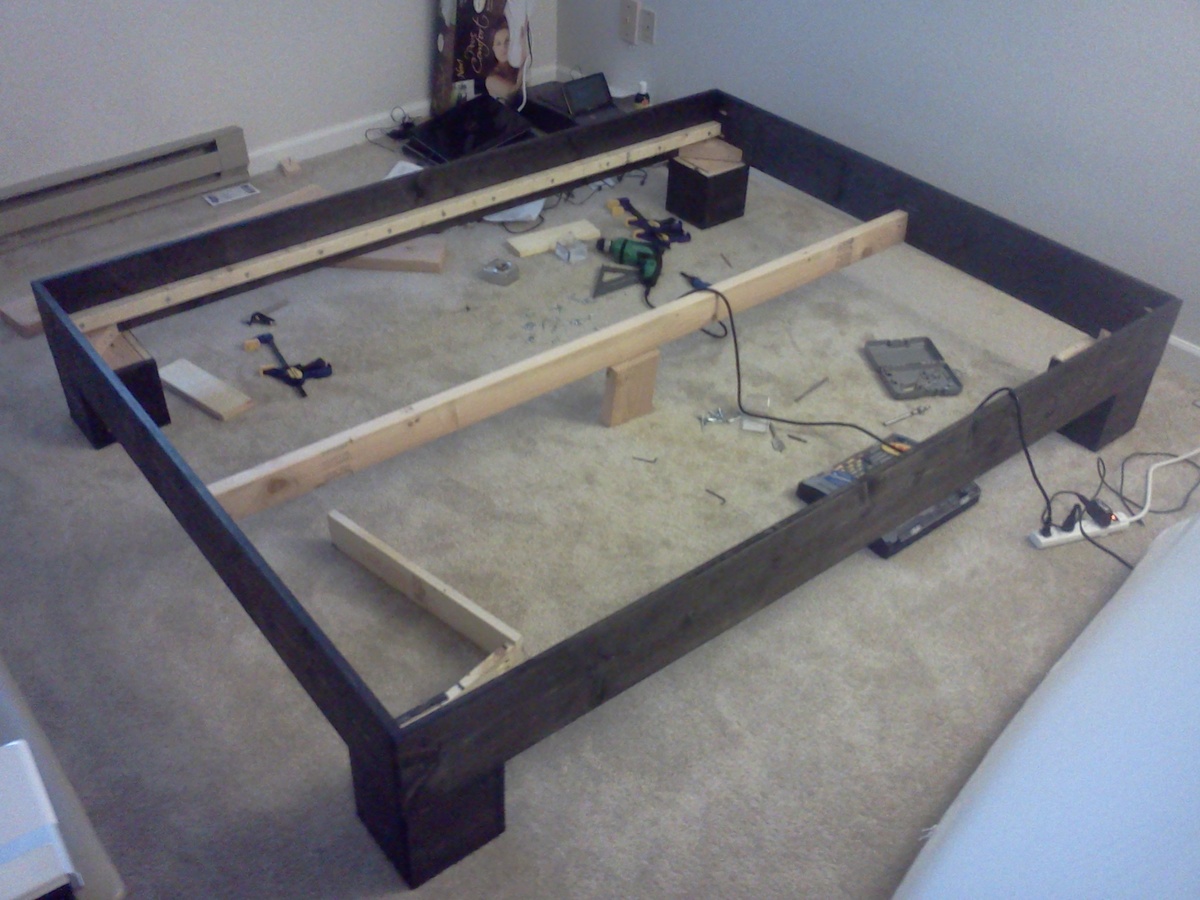
Chunky Leg Bed Frame slightly taller

First time really building anything out of wood. Getting a kreg jig was probably the best decision I made on this project. I made the legs slightly taller (7") for a bit of underbed storage and used a 2x4 brace instead of 2x6, so I could sit the slats down a bit lower but still keep a gap above the legs. The mattress sits 3" below the edge of the bed. I put a few legs under the center support, but they probably weren't necessary for the queen size bed. I spent about $150 for the lumber ($50 just for the bigger slats for my memory foam mattress), and about $50 for the kreg jig jr. and screws. I did not use any glue so I can take it apart later, and so far it seems pretty sturdy with no creaks. Thanks so much for the plan Ana!!! On to a headboard and bedside tables...
Comments
Sat, 10/08/2011 - 13:11
Looks Great!
This looks awesome for a first timer! Good job and I agree about the Kreg...it is a wonderful investment for any future projects. I have memory foam too so will probably do the same with having wider slats.
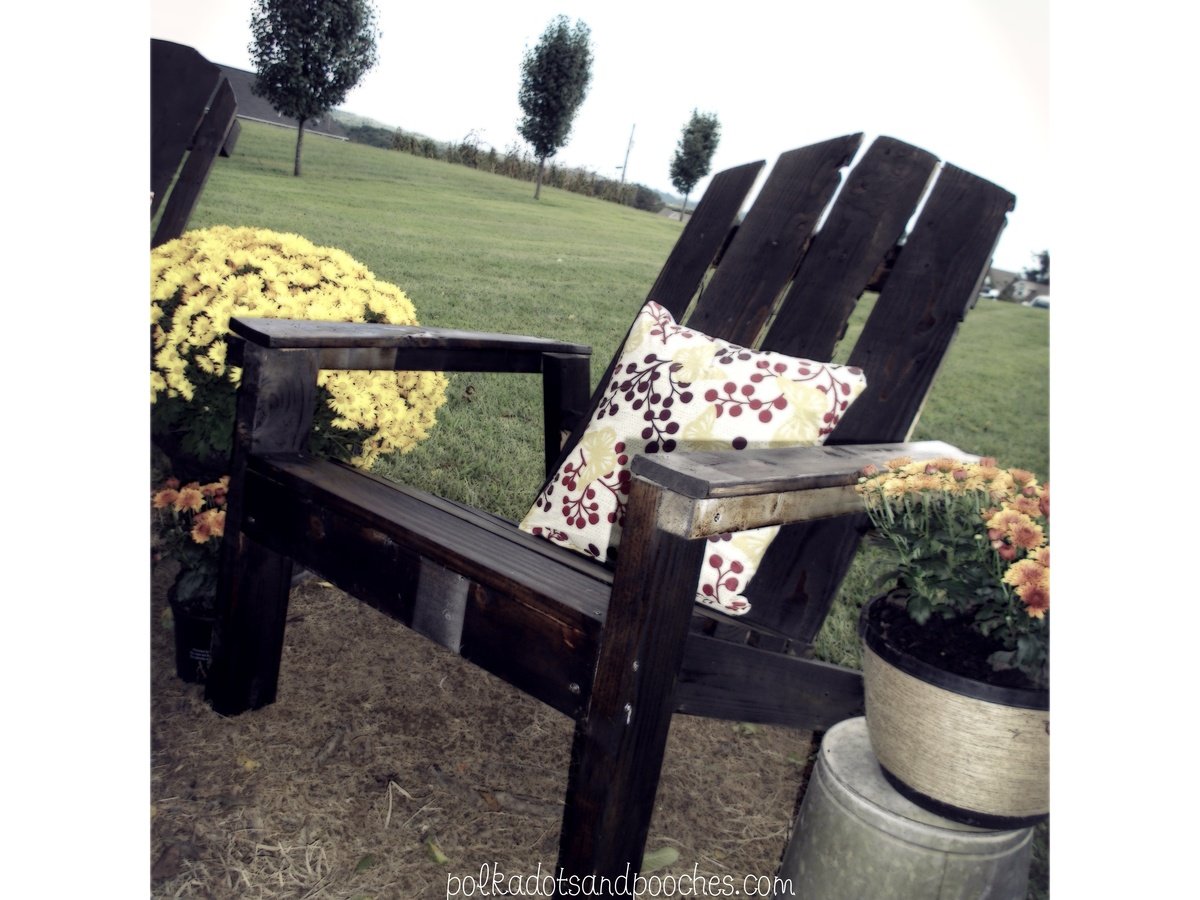
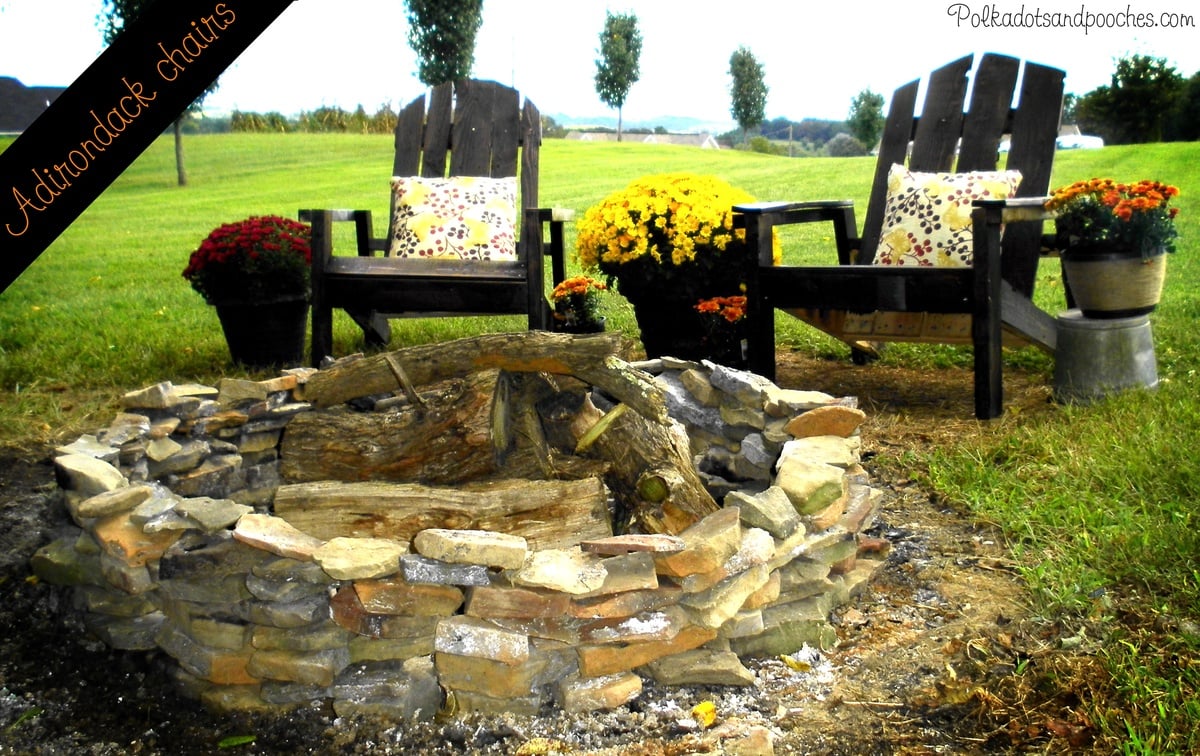
Adirondack Chairs made from Pallets!
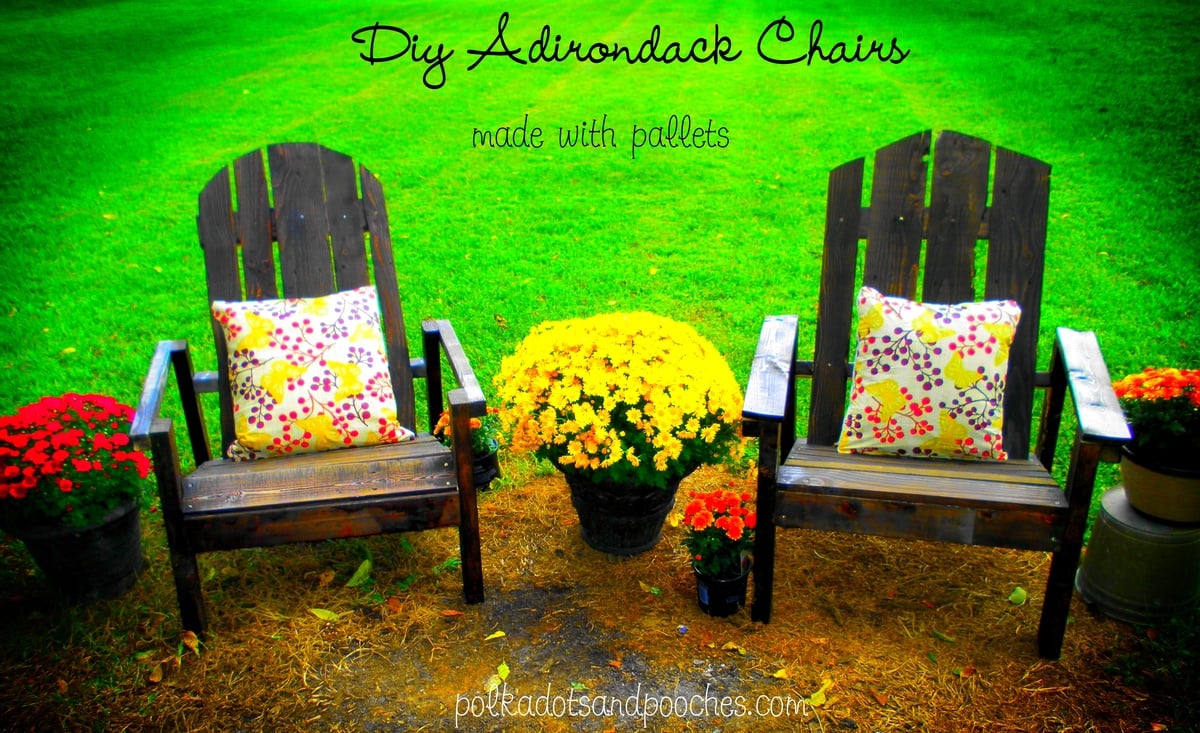
Built these two adirondack chairs from pallet wood that I had at home. Made the perfect seating area for my fire pit. Can't wait to enjoy the fall evenings in my $0 chairs!
Floating Bunk Beds and Desk
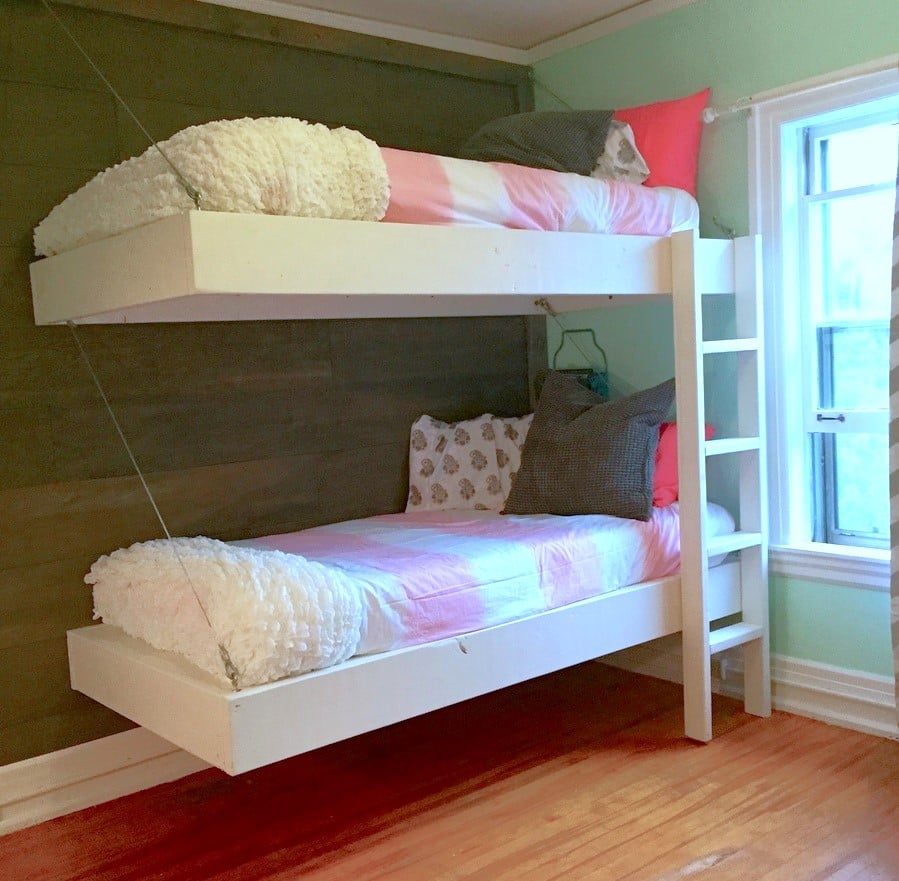
This little girls room needed a little happy birthday! I planked the wall with birch veneer, made simple box frames for the beds and desk, and attached them to walls with heavy duty cable. Then my friend added her designer touch, and made it cozy and girl CHIC!


My Rustic X Console table
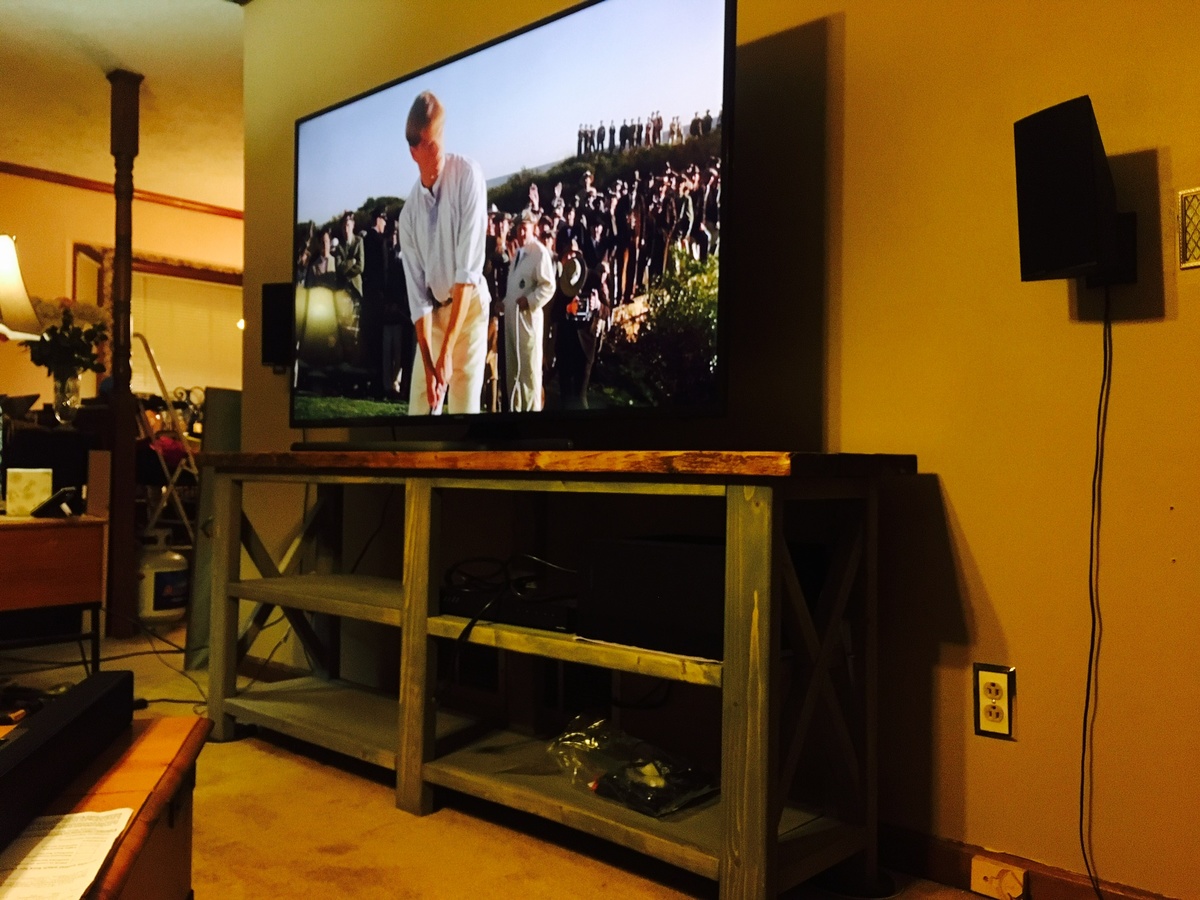
I decided to give this a go after checking out the plans months before, and my kitchen table/floor and my foyer became my workshop and assembly area, and my dogs were absolute angels letting me do the work. This table completely transformed my living room from what it was before. I think it took me a total of two weeks to complete this table, after work and during the weekends.
Comments
Sat, 01/19/2019 - 06:08
It looks terrific in the room
It looks terrific in the room. The two different finishes add a nice touch.
Classic Adirondack Chairs - modified arms
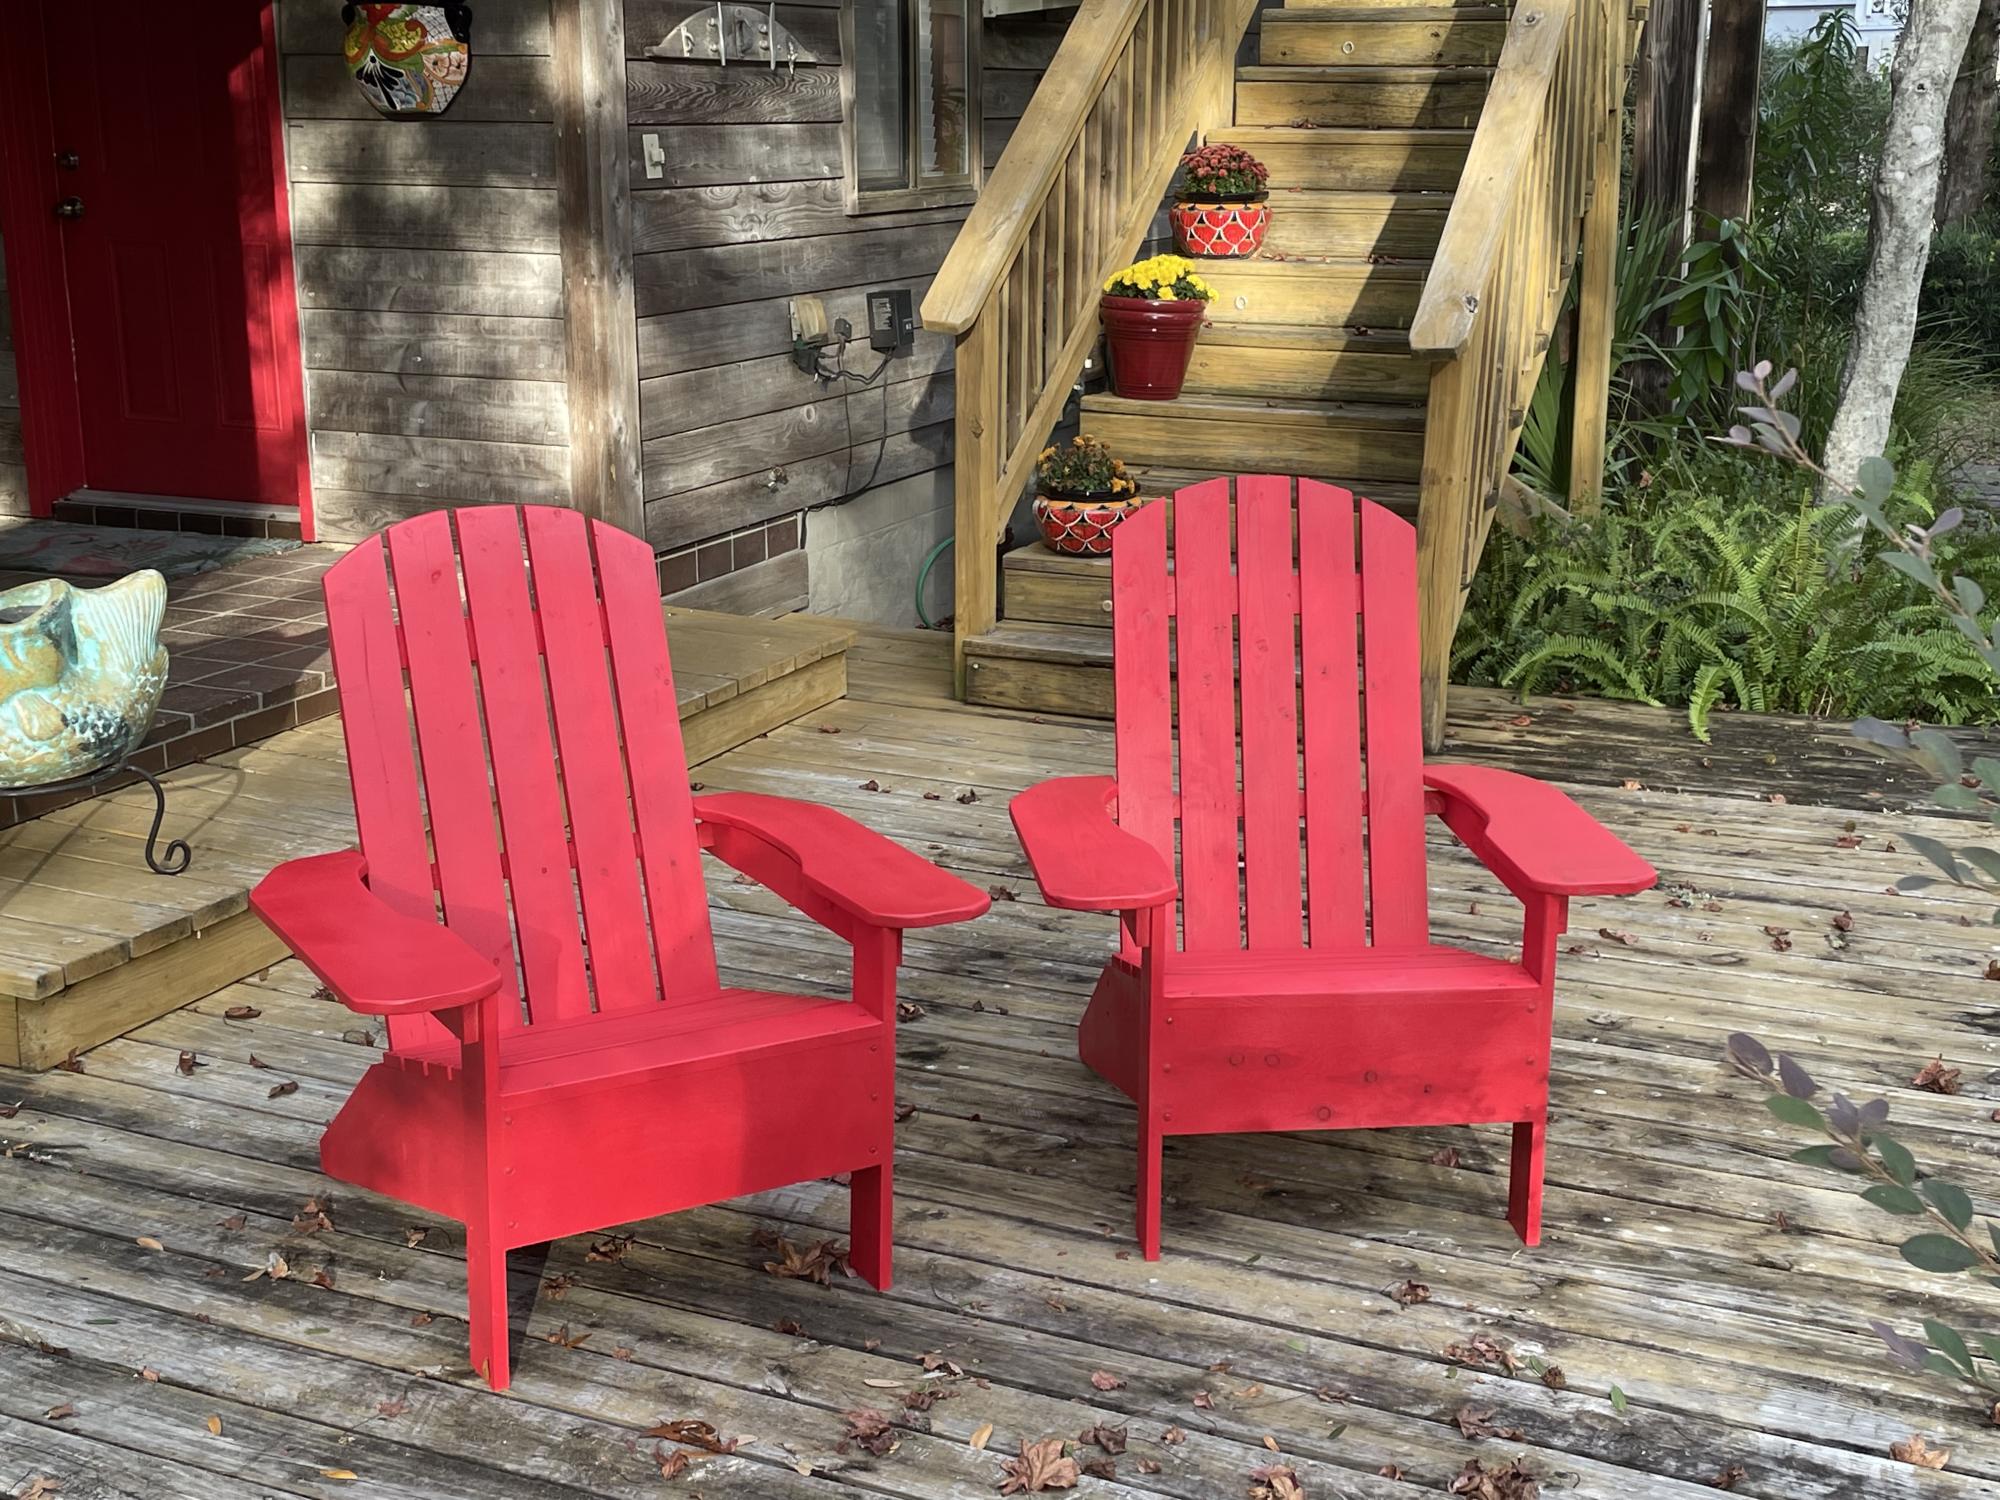
I used plans from the classic Adirondack chairs and modified the arms for a wider width to place cups/glasses on them. I also curved the top as well. It was a fun project and took about a day and a half, off and on. Thank you!
Comments
Adirondack chair
My fiance and I built 2 of these chairs. He took one to his house and one is at my house...for now. Picked up 2 cushions at Walmart on Clearance. I sit in it quite often. Great plans!
We stained the boards before putting the chair together. It takes a lot longer to build this way, but maybe it is easier in the long run.
Built in dresser
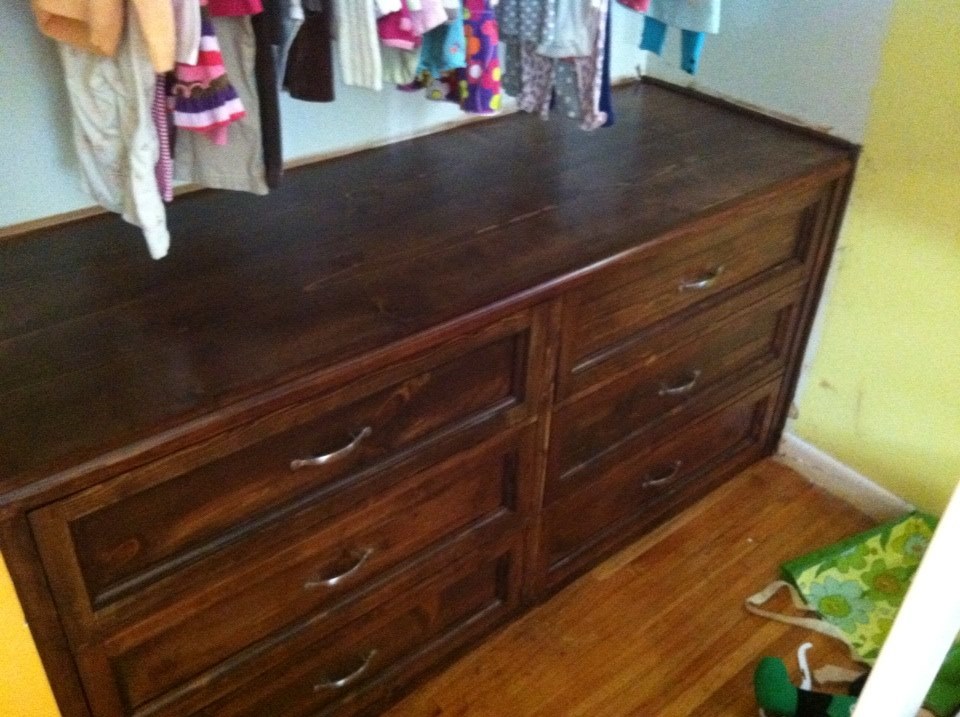
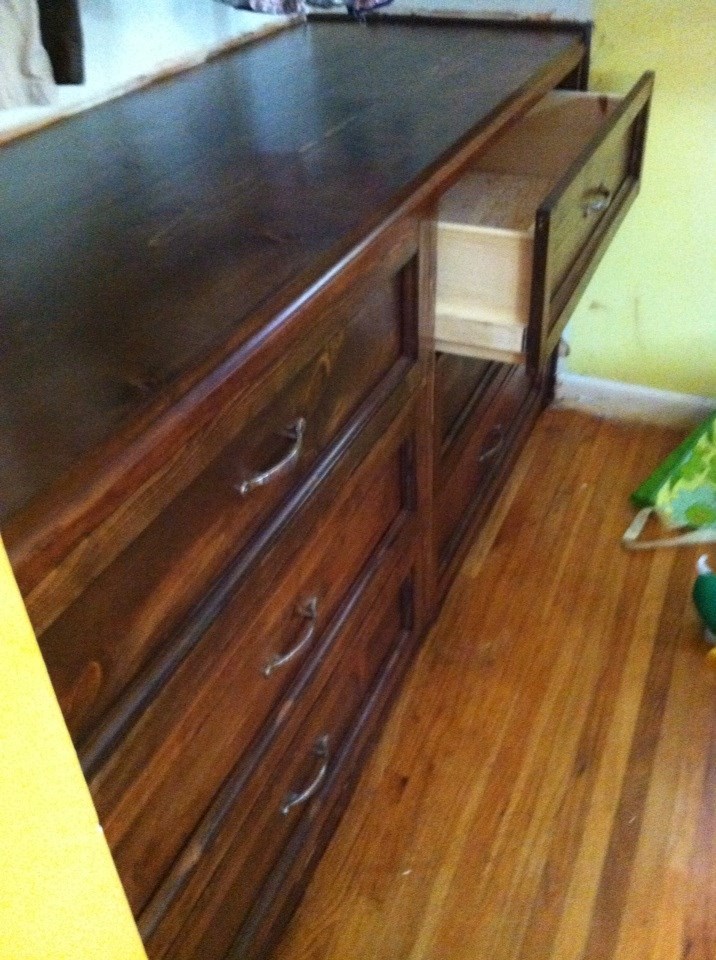
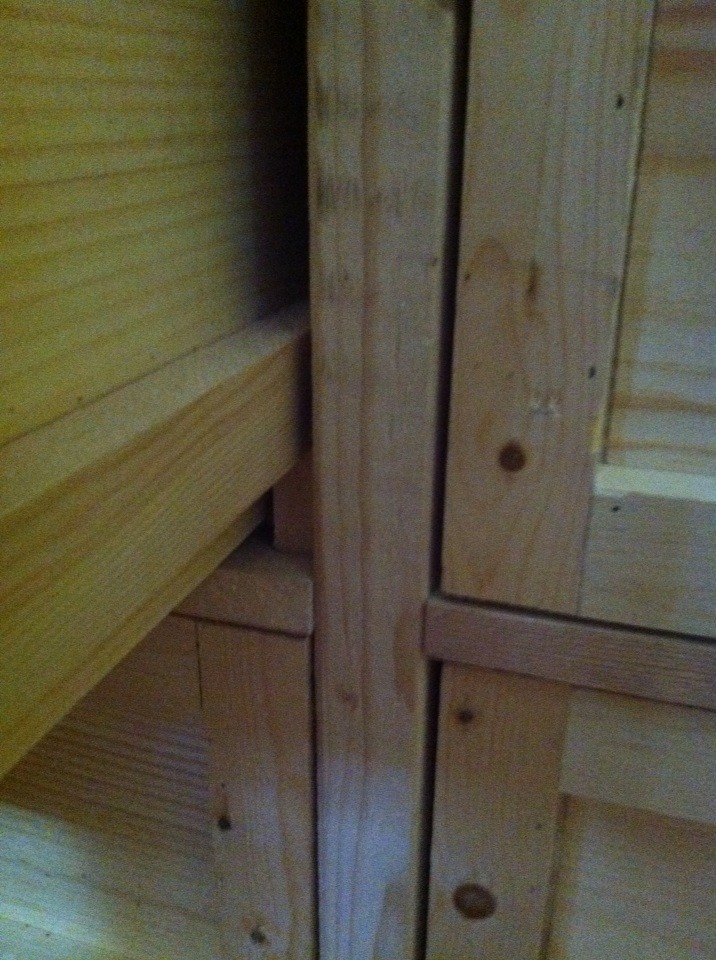
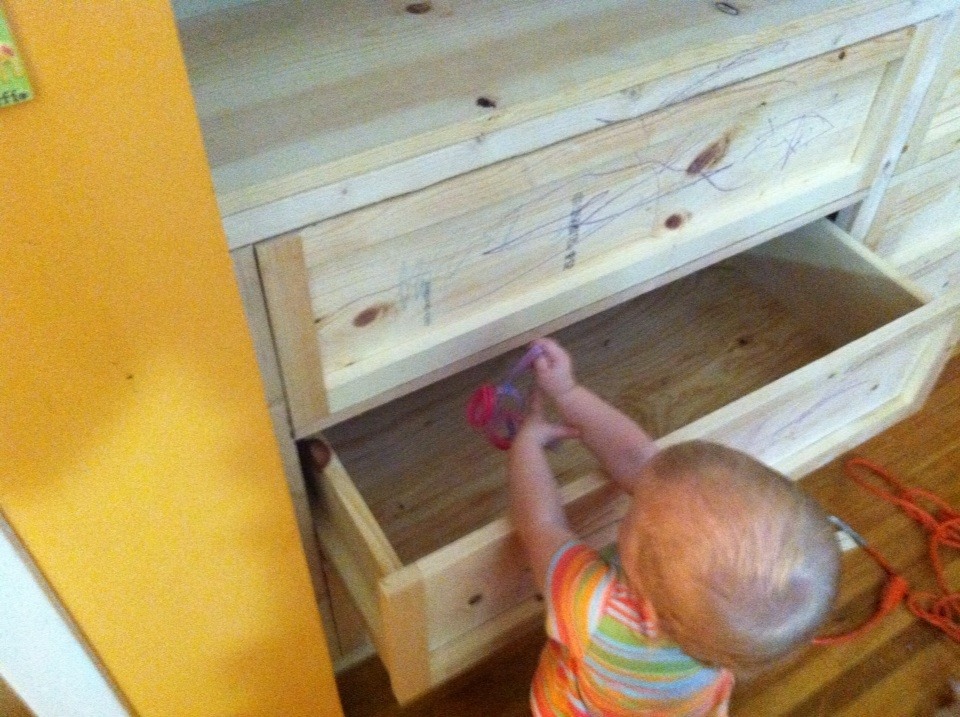
This is my favorite build so far! My two younger daughters share a room with an inevitable shortage of floor space. What they do have is a fairly large closet for 1 and 3 year old. I removed the crumby sliding doors and filled the bottom third of the space with the dresser, leaving plenty of room for kids clothes to hang above. I combined two separate plans and adjusted the measurements to fit the space. What I ended up with is a monstrous 6 drawer dresser that I would never have room for in the bedroom otherwise. The drawers are enormous (a must for a house with three little girls. They have more clothes than their mother and father combined).
I took the frame concept from the Shanty2Chic rustic rolling dresser and the drawer concept from the Madison dresser from Old Paint Design. (Thanks Ladies!) It took me some significant math adjustments (I'm not a math guy) in order to alter the drawers for wood slides, alter the frame to fit that, and alter both to fit the 70 3/4" x 24" space.
The finish took the most time with a bizarre mixing of Rustoleum Dark Walnut and Rustoleum Classic Cherry. I love the color now. Clearly I have not fixed the wall paint yet :)
The wood is big box pine as I am still working up the confidence to work with more expensive wood. The top is 1x12's and 1x2's. The sides (hidden) are 3/4" plywood. The hardware is from Lowes.
My daughters were nice enough to decorate the dresser during the build with crayon requiring a 40 grit sanding Grrrr.
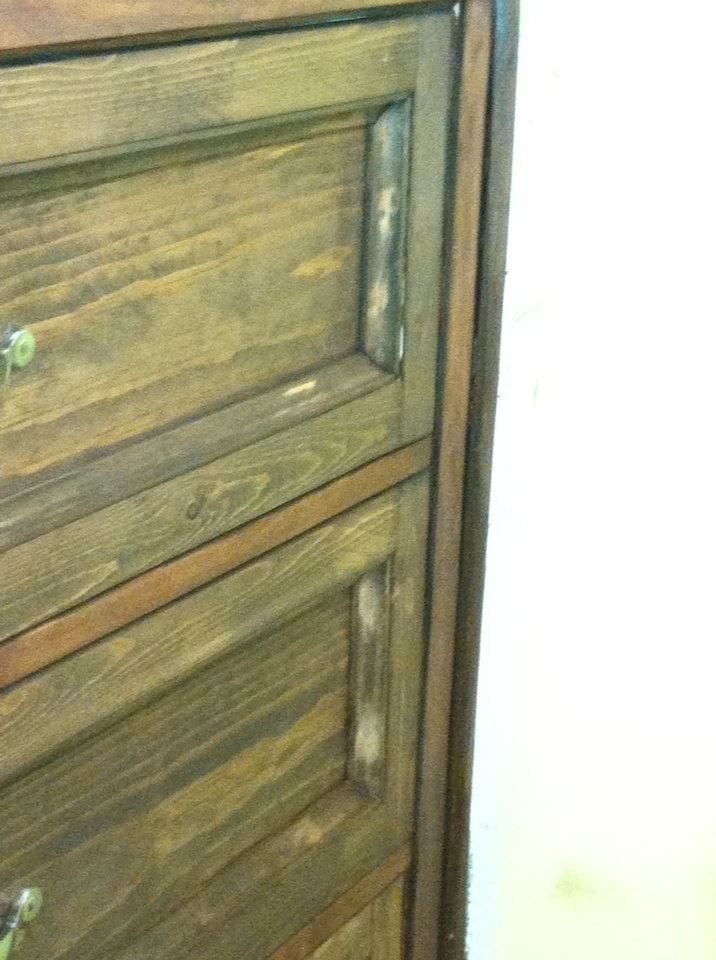
Rustoleum Classic Cherry
Rustoleum Ultimate Polyurethane
Comments
Sat, 09/21/2013 - 09:53
Thank you so much... I have
Thank you so much... I have instantly fallen in love with building.
Sun, 09/22/2013 - 12:40
This is a great idea!
Built-in closet dresser - genius! I am already thinking about how I can make this work for my daughter's room. Looks great, too. Good job!
In reply to This is a great idea! by JW
Sun, 09/22/2013 - 14:09
Thank you. We have a fairly
Thank you. We have a fairly small house and every little bit of space helps. This site has been incredibly inspirational for that especially.
Reclaimed Wood Look Bedside Table
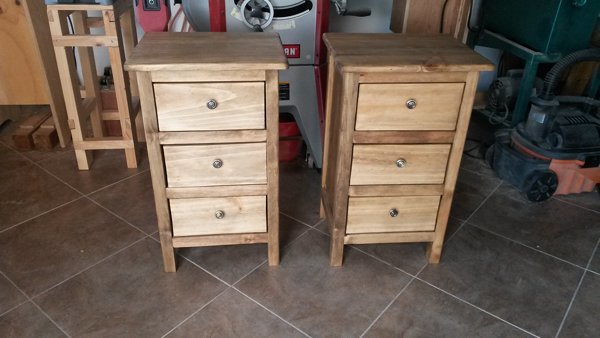
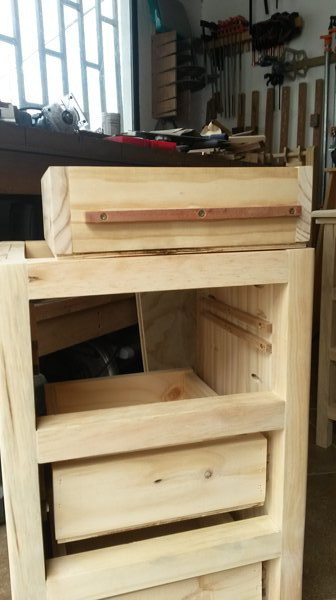
Having recently completed the Californian King size Bed, I needed matching bedside tables, these were an obvious choice, but due to the size of our bedroom, I had to downsize on the plan. Although I kept to the spirit of the plan, I made a few changes, other than just size. I made up the table tops and side panels, prior to assembly, much as I did with the bed, I pocket holed and glued the planks together to ensure they stay that way. I also decided to use hardwood runners, and not buy metal slides, because I had plenty of mahogany scrap, and the drawers are small, so it was easy to do. The drawer knobs were obviously bought, but to ensure they never come off, which is usually my problem with store bought knobs, I fixed them to the drawer face, using epoxy to glue the knob to the bolt, before attaching to the drawer carcase. I built these from pine and used a matt oak varnish to match the bed. The full build and more photos are on my Blog
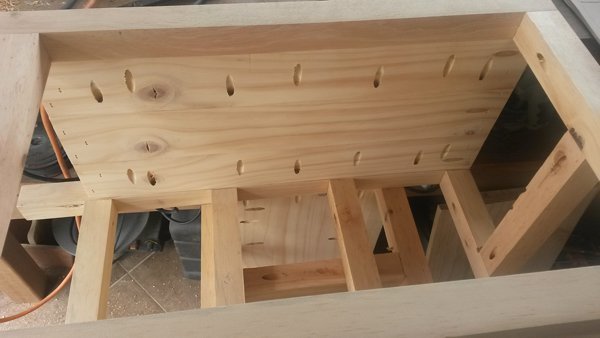
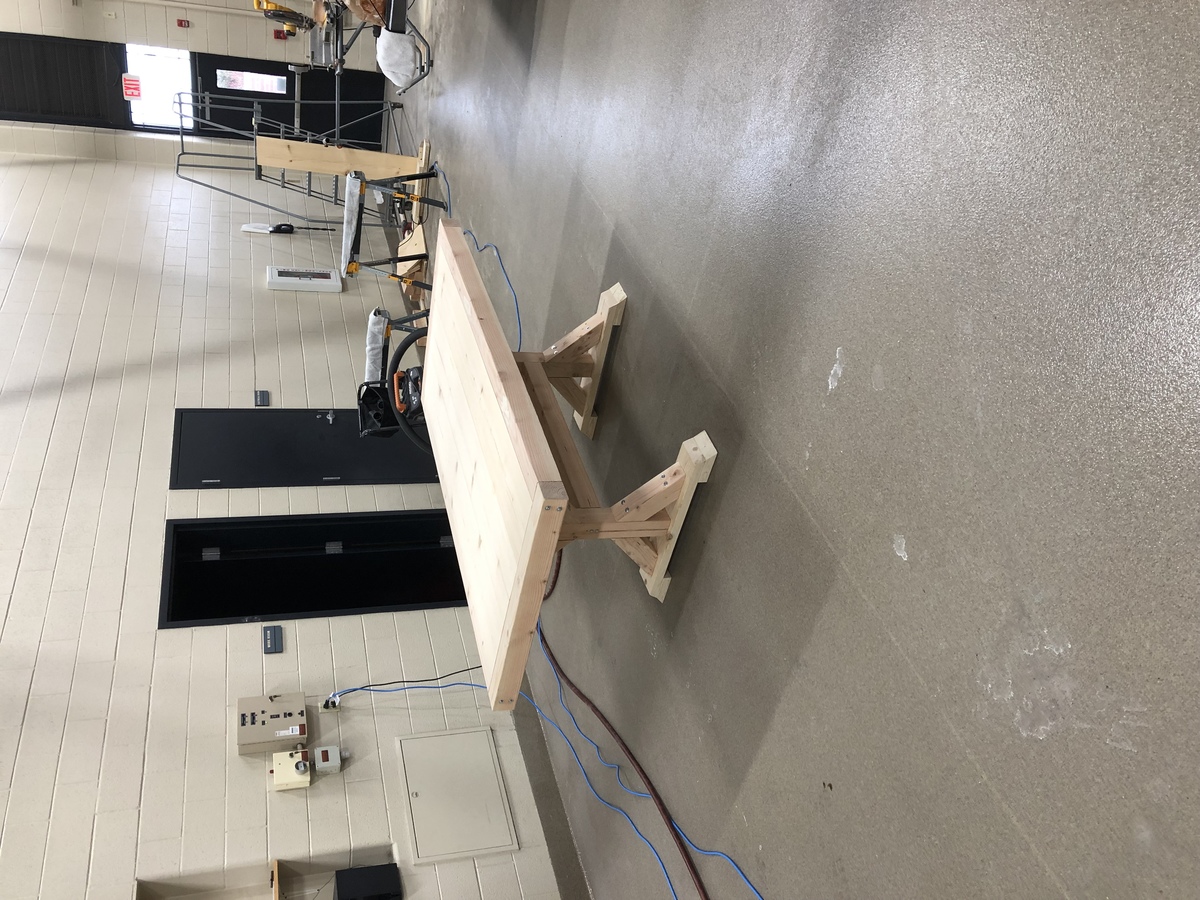
Chunky farmhouse table
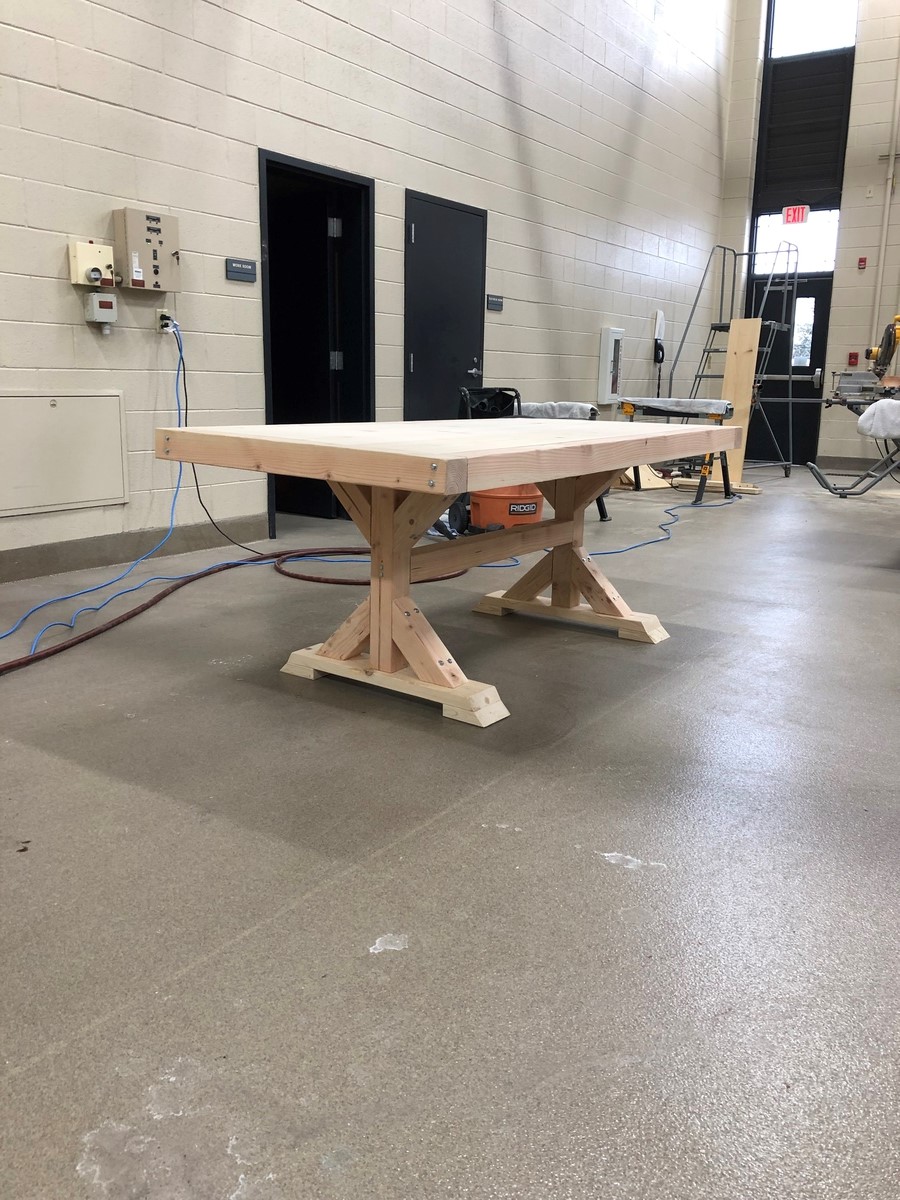
This table is pretty easy to build, i added a couple inches the the 4x4 for height but tested it yourself before following their height and see if you can sit under it with a chair
Farmhouse Bed
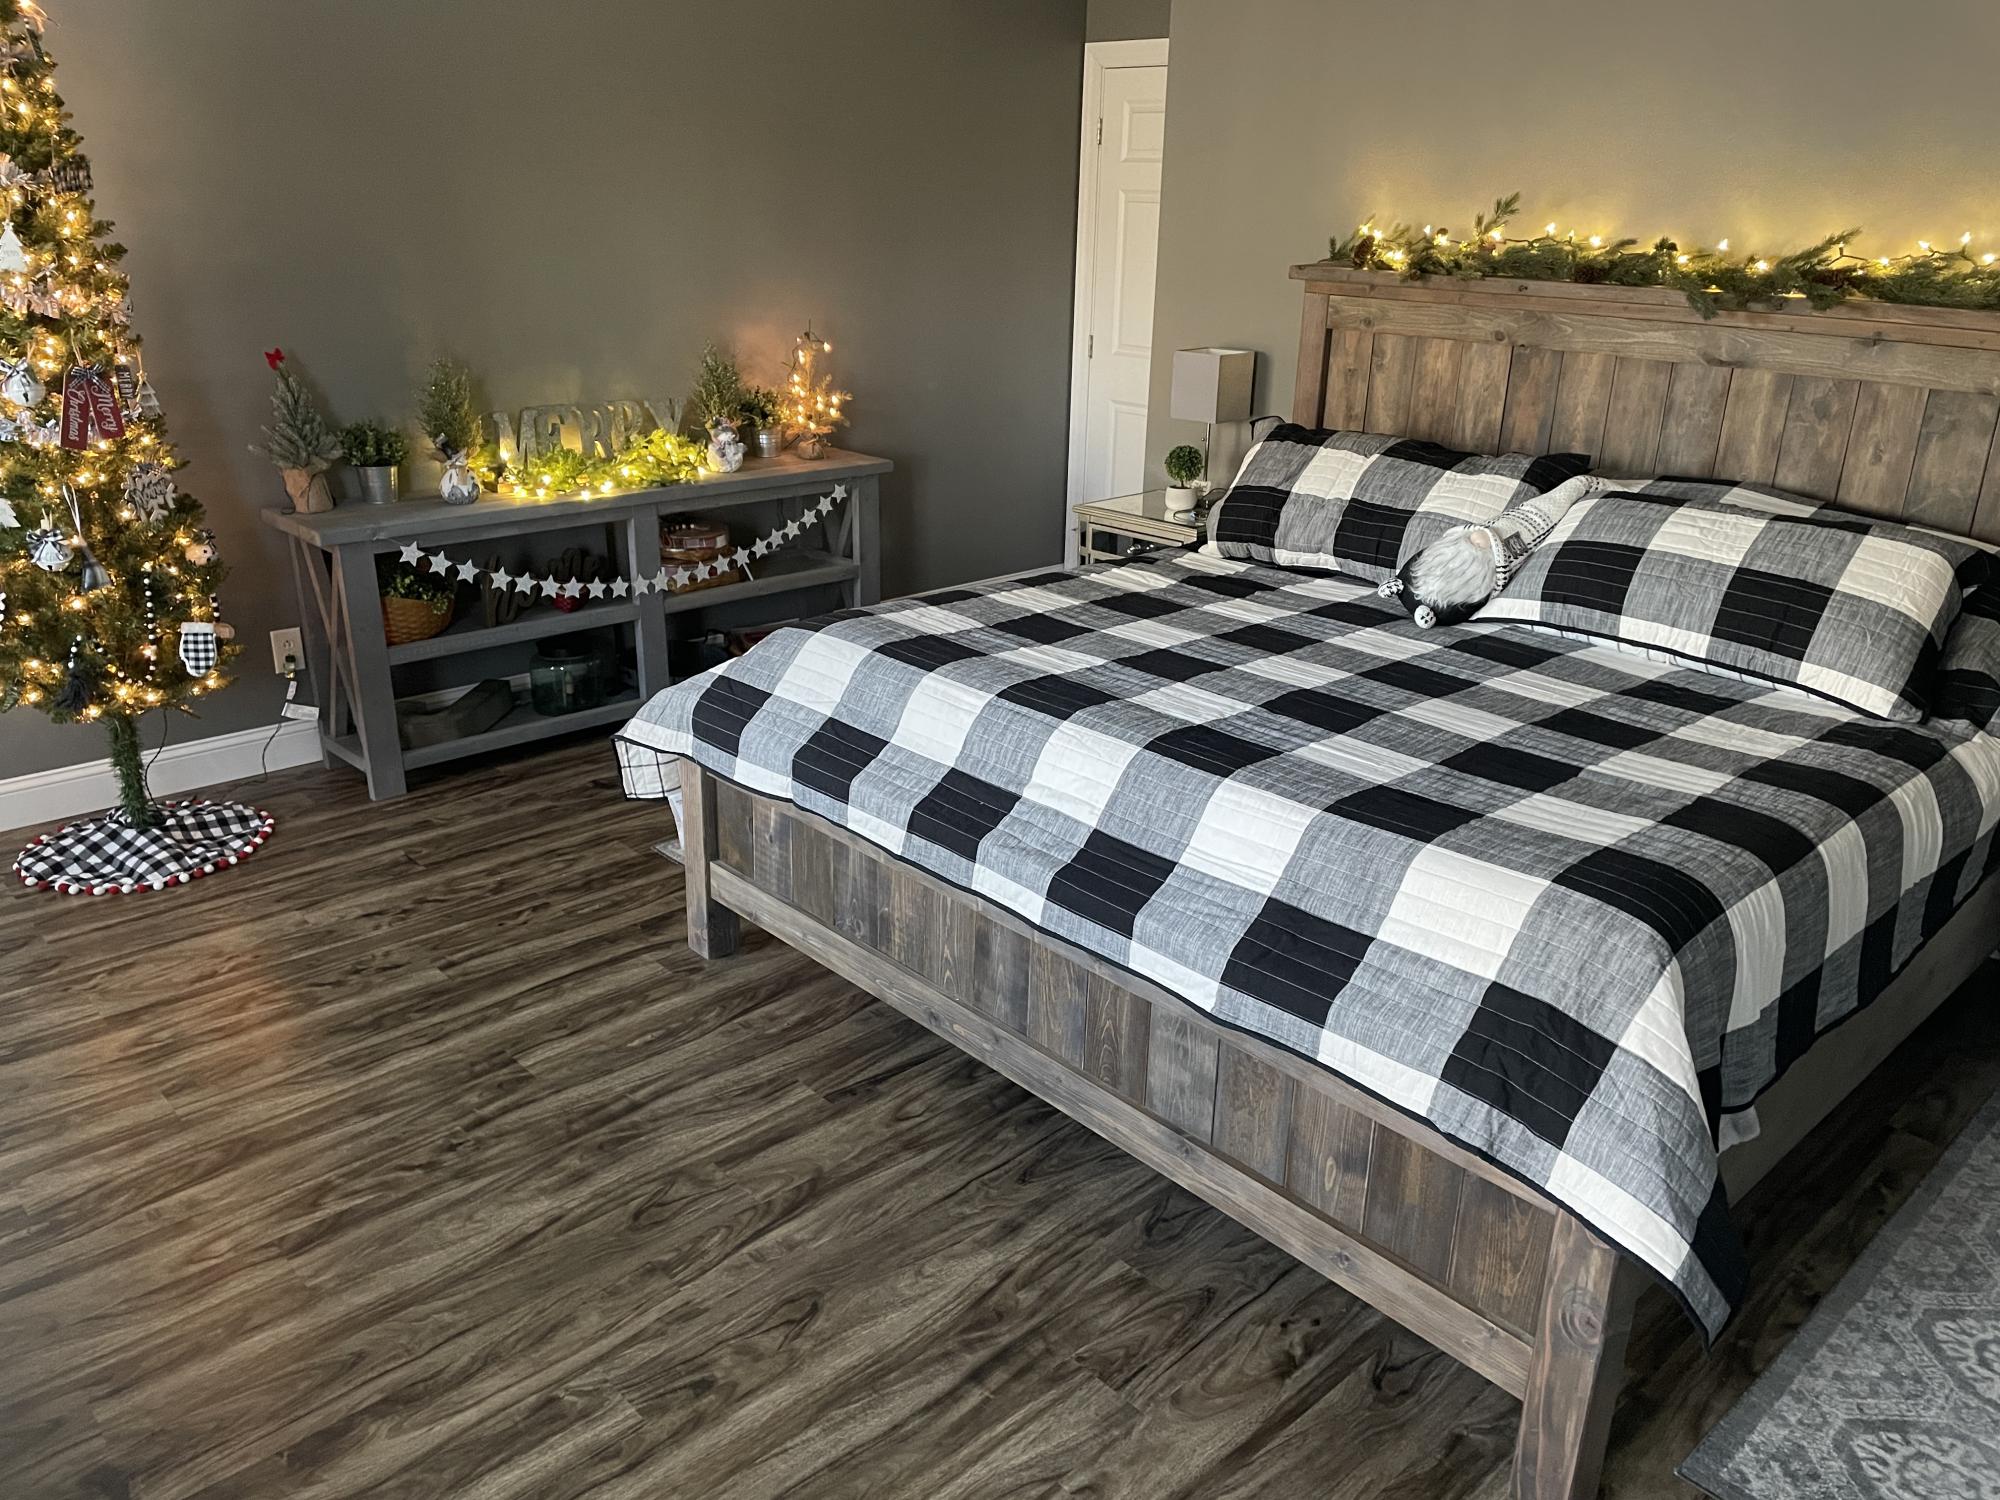
Using your plans, I built this king size farmhouse bed and console table.
Comments
Farmhouse Bedside Table
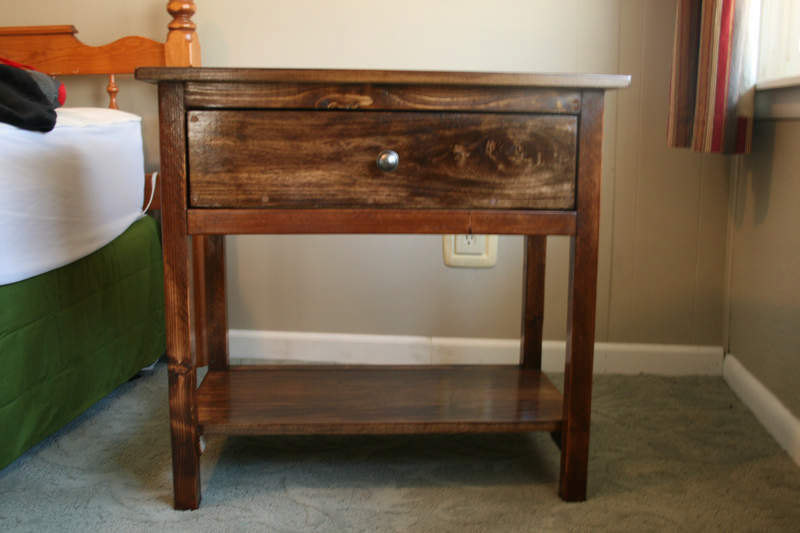
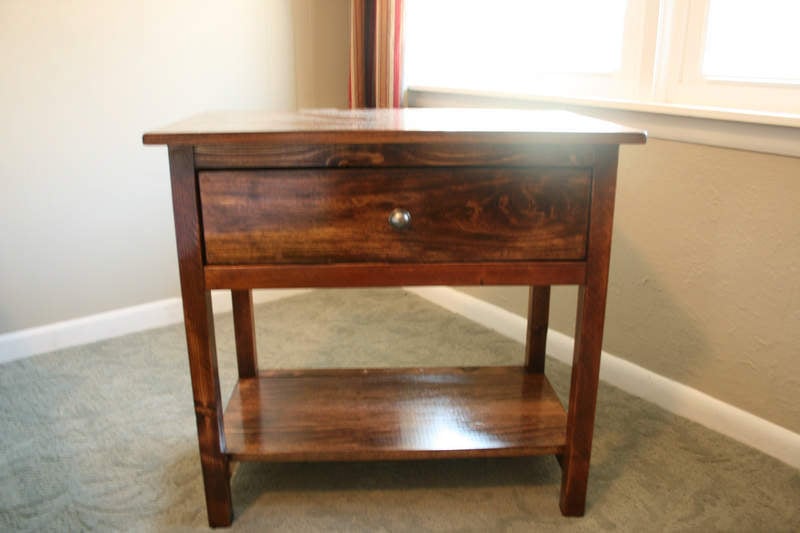
My take on the farmhouse bedside table. I found it difficult to get this square, and I think it suffers because of that. Also, I found that the drawer is much harder than I thought it would be; with that being said, it looks great and is sturdy; I enjoyed the challenge of this project.

Comments
Sat, 09/03/2011 - 10:01
Turned out just gorgeous!
Turned out just gorgeous! Really rich, deep wood finish!
Sun, 09/04/2011 - 10:36
Thanks :) It was harder to
Thanks :) It was harder to put to together than I thought it would be!
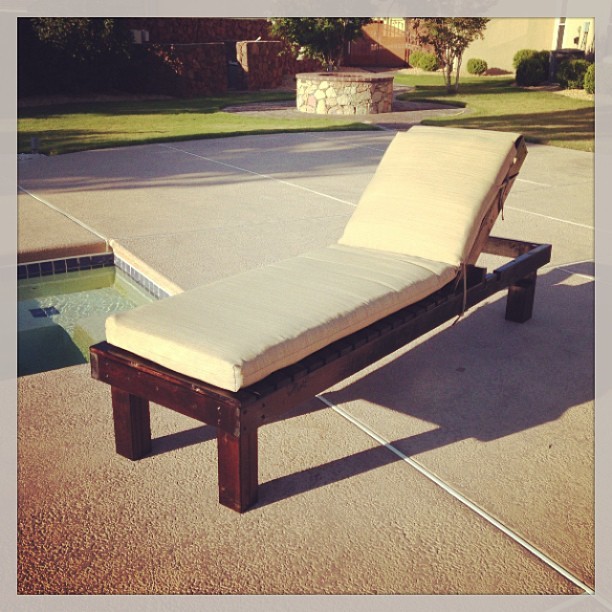
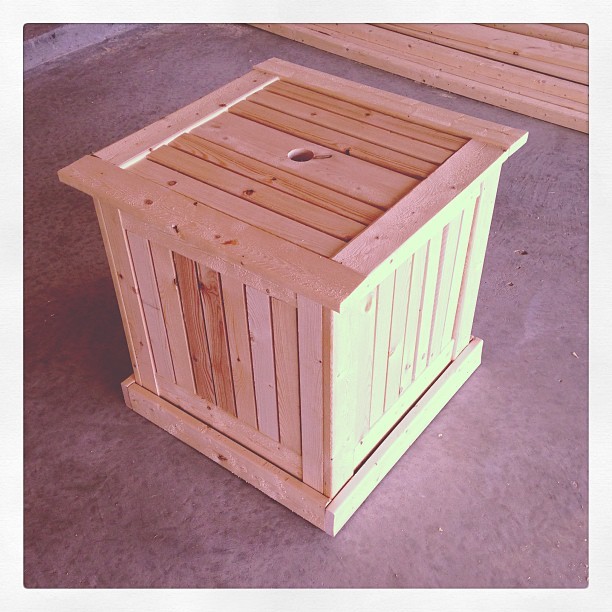
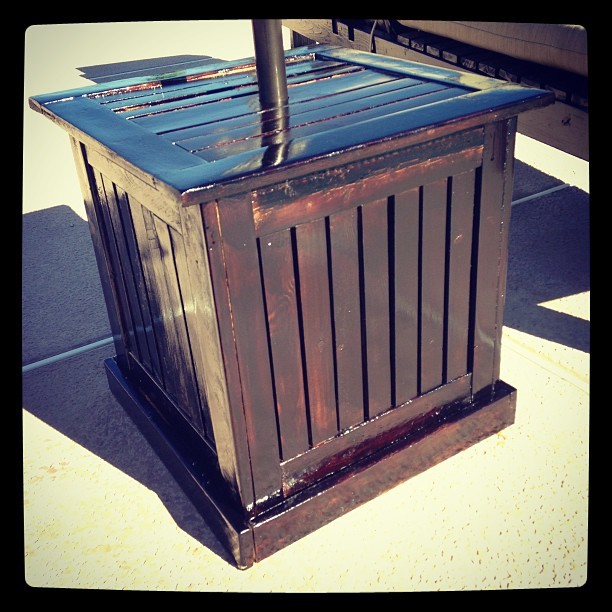
Poolside lounge chairs and umbrella stand
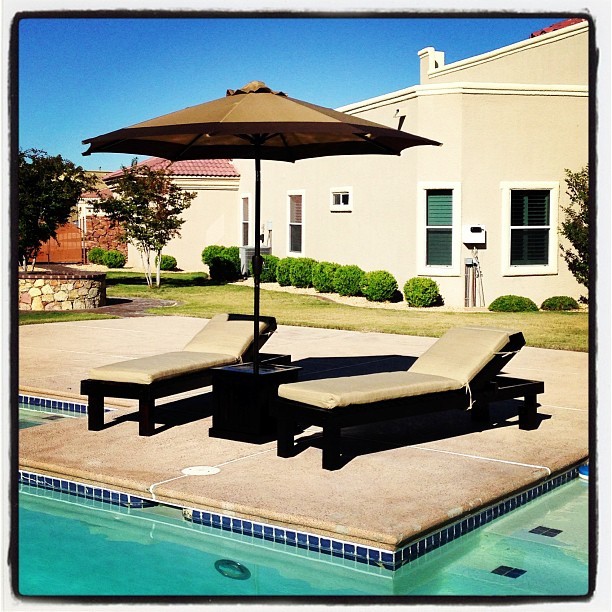
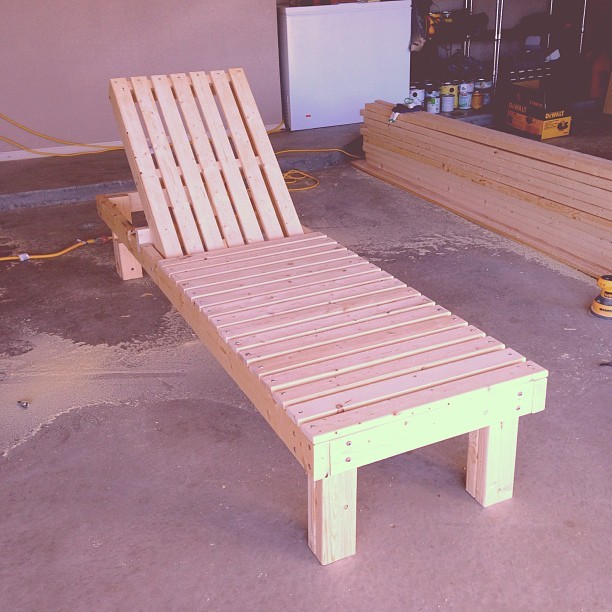
We just moved to Texas three weeks ago and really needed some poolside furniture to help us enjoy the last bit of summer. We immediately jumped into Ana's projects. It took us about two weeks on-and-off, probably entire project completed in about six days (two days for each piece of furniture). We caught a sale at Lowe's and BBB and finished the project with the cushions and umbrella respectively. Now we can start enjoying the pool to its fullest!
Comments
My Ultimate Changing Table !!
Built it for our recently arrived baby !
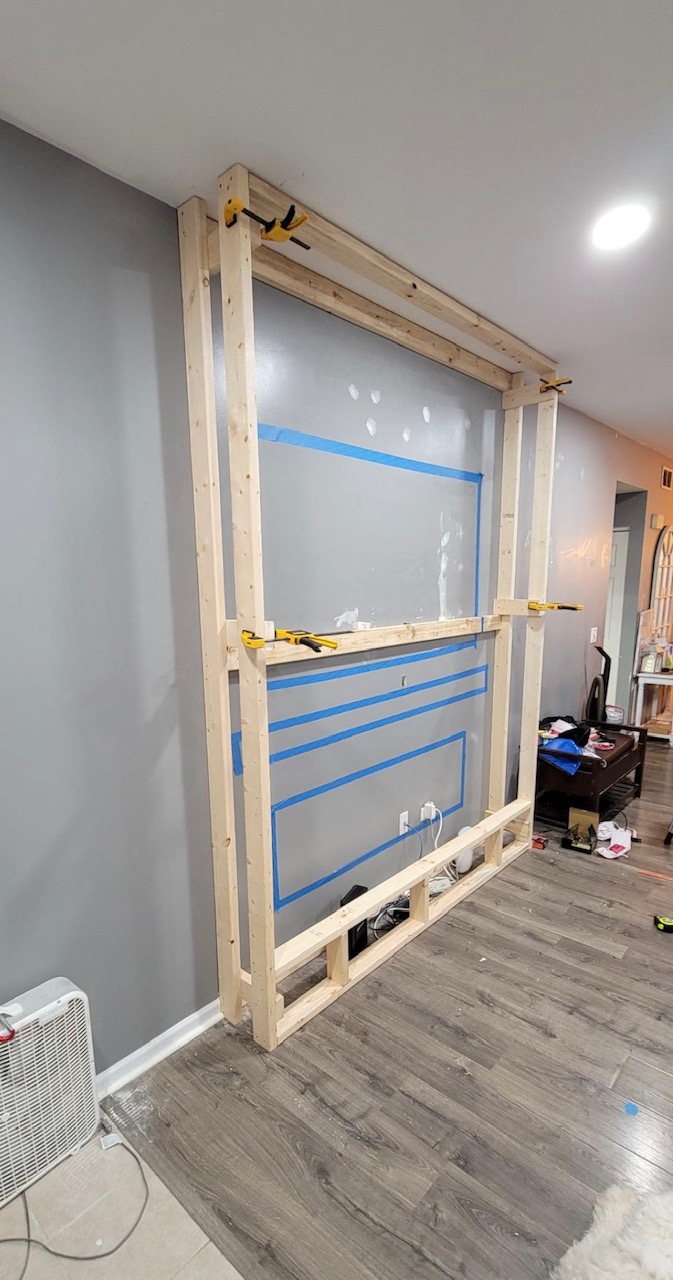
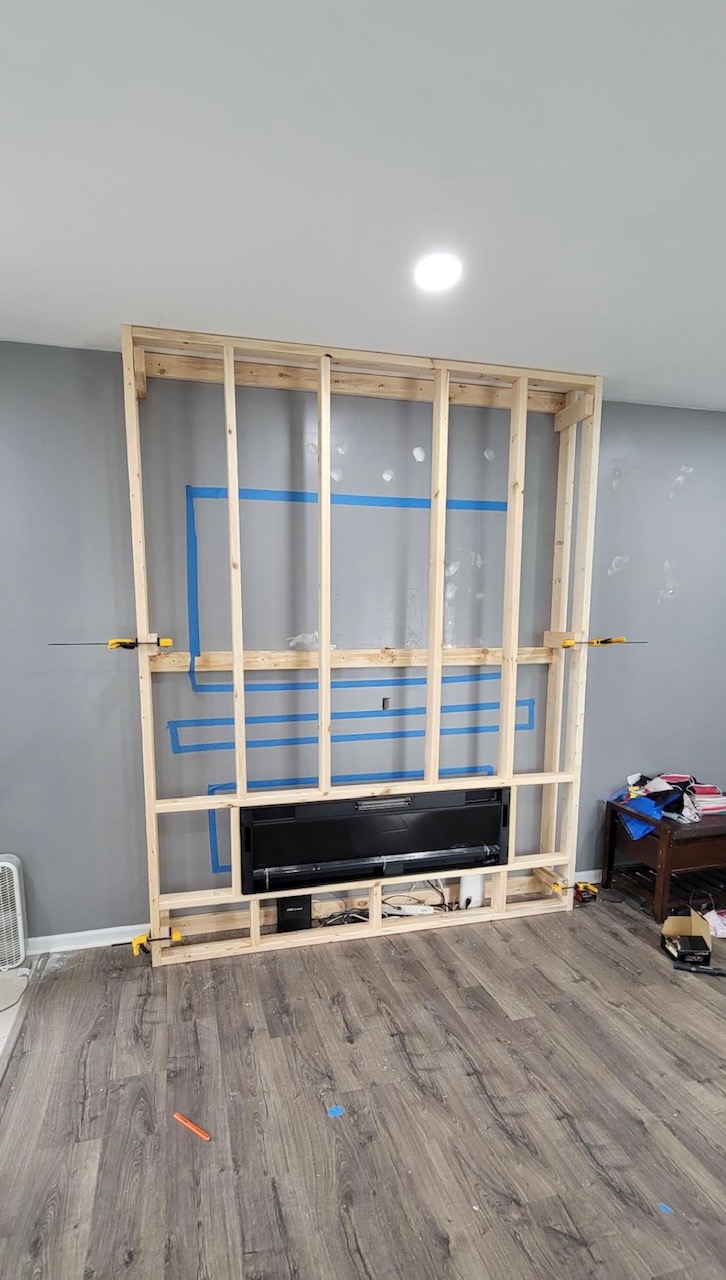
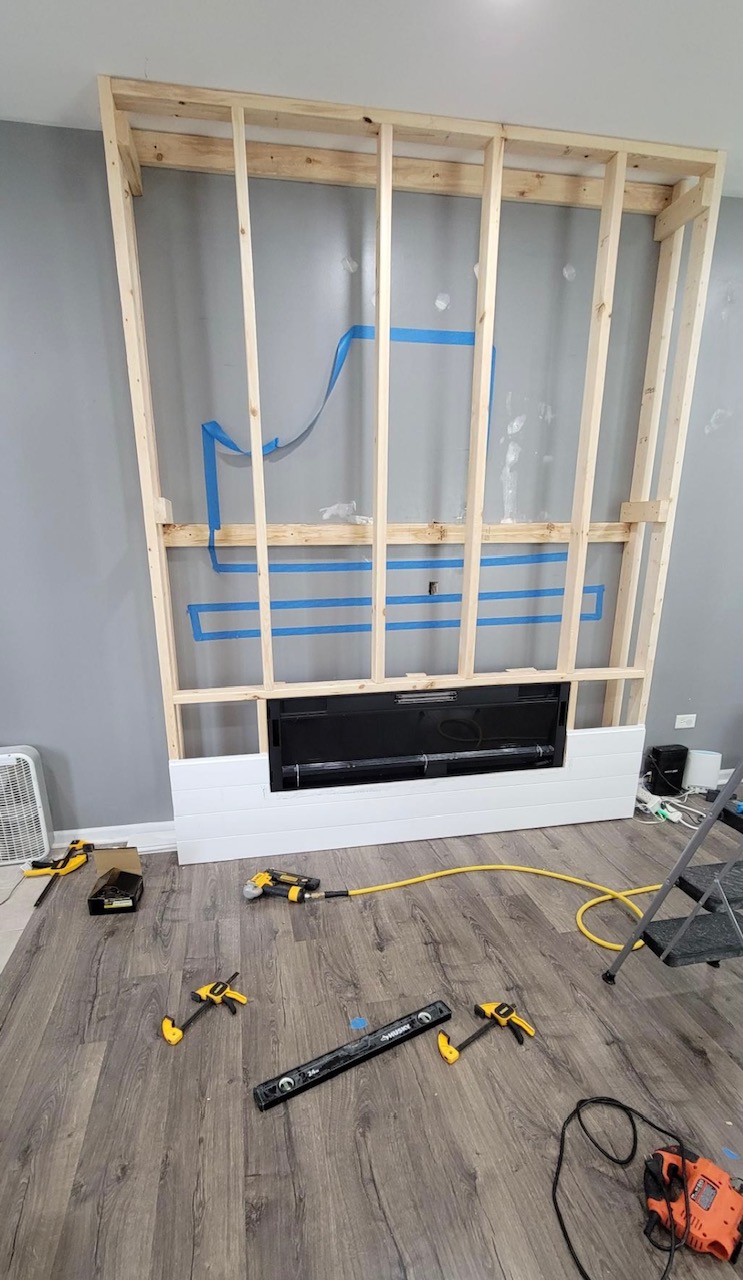
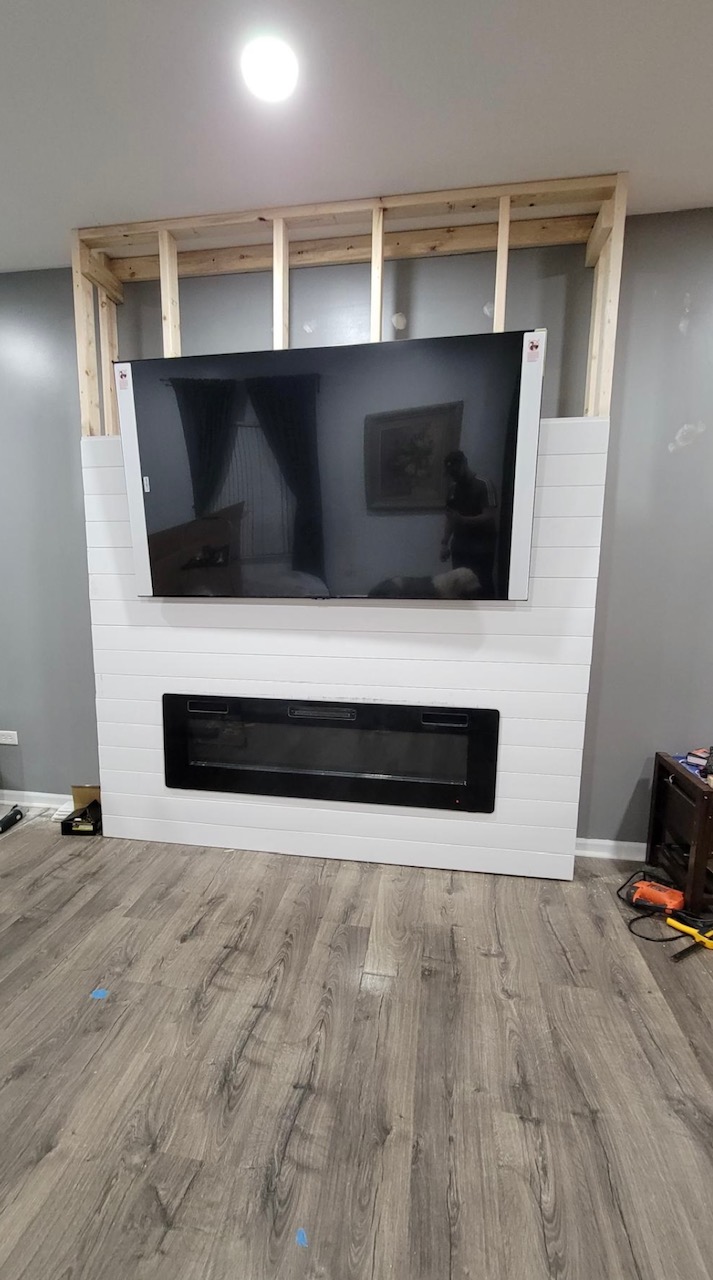
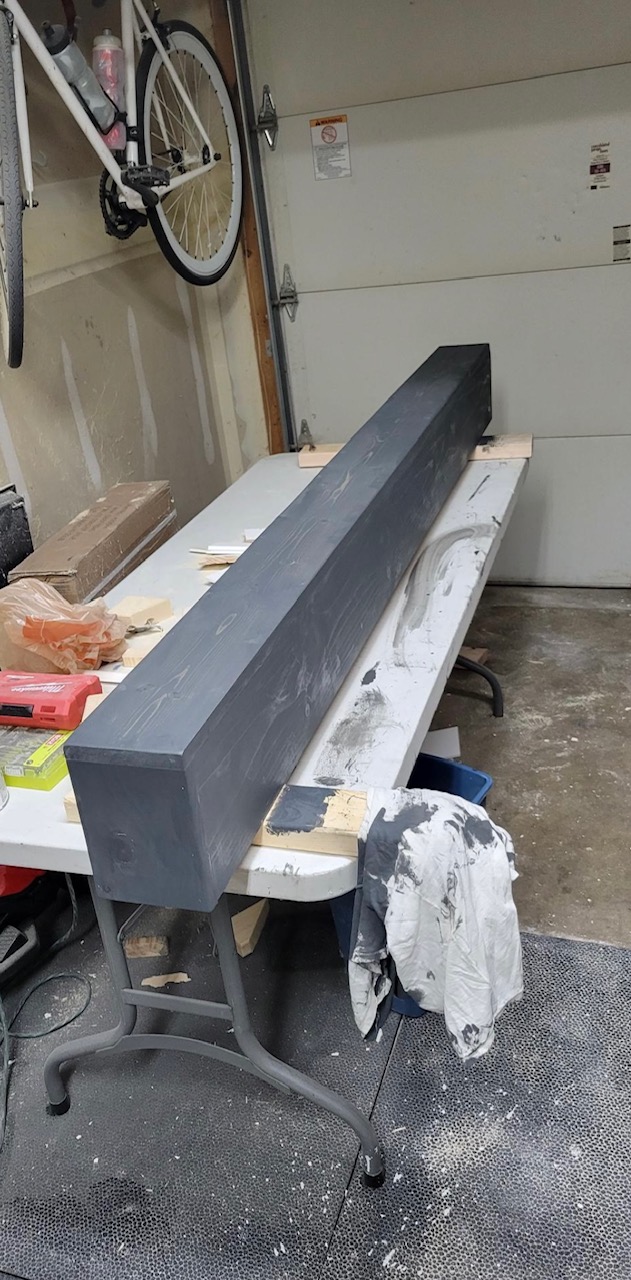
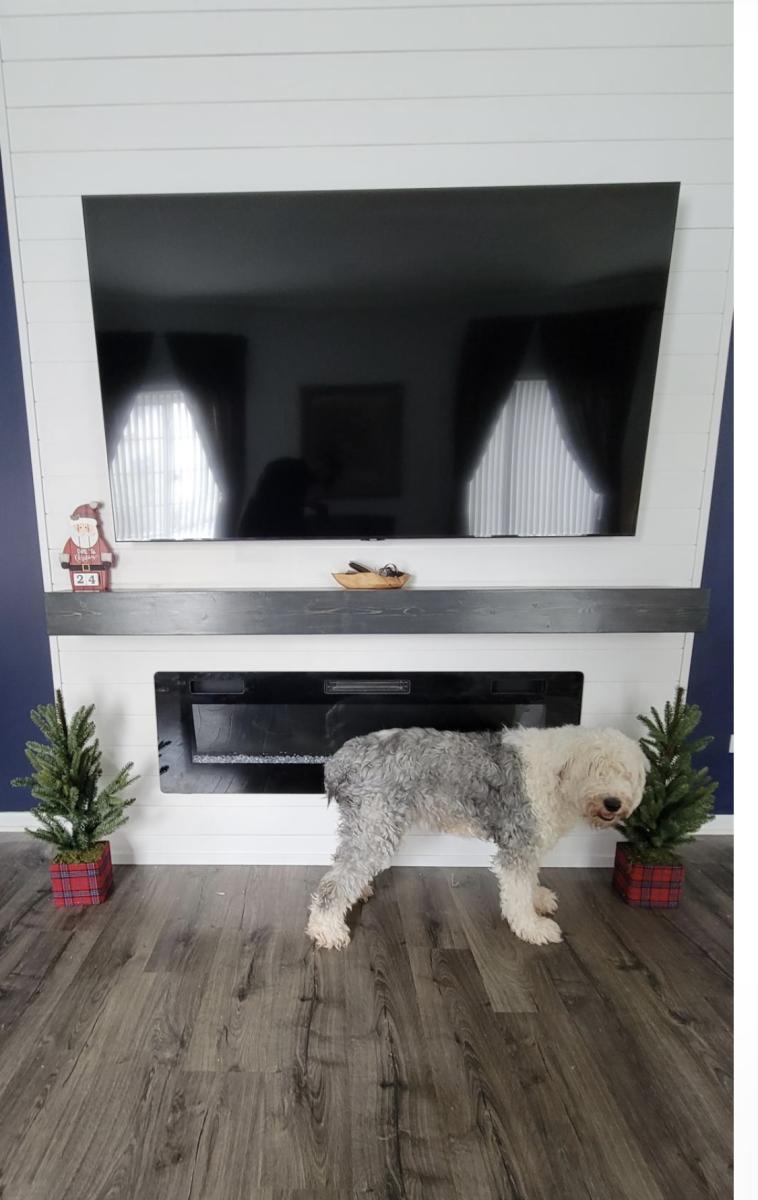
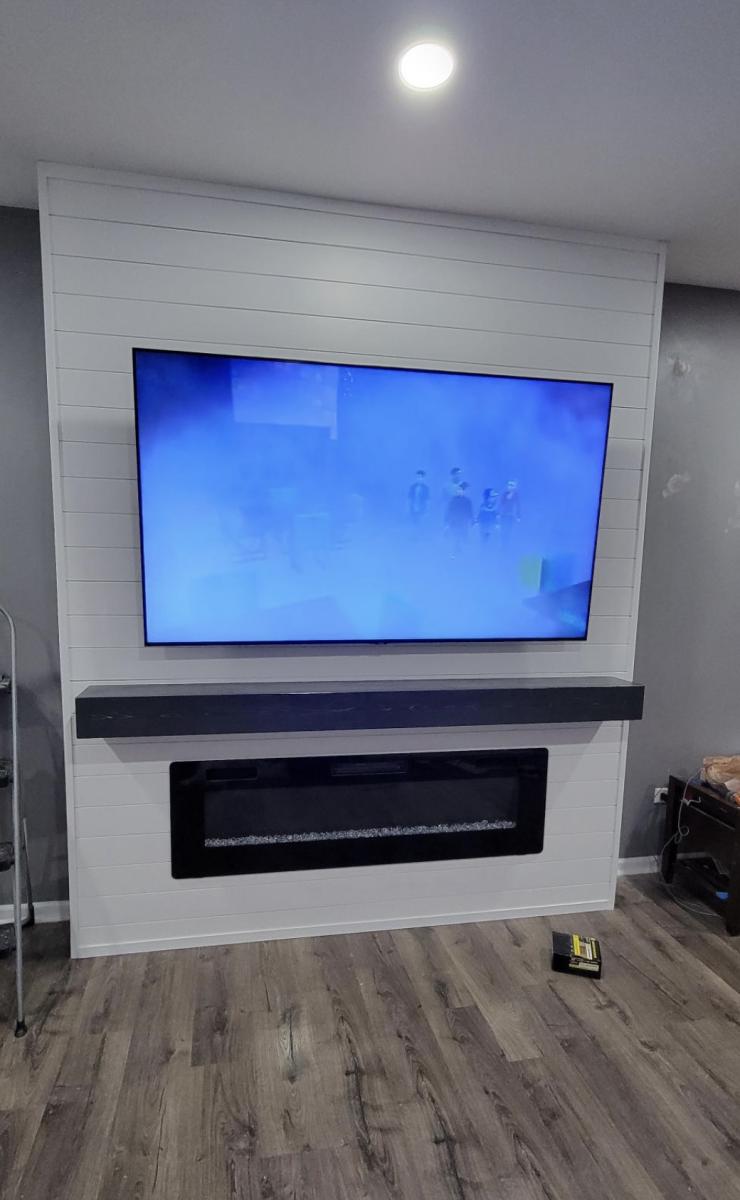
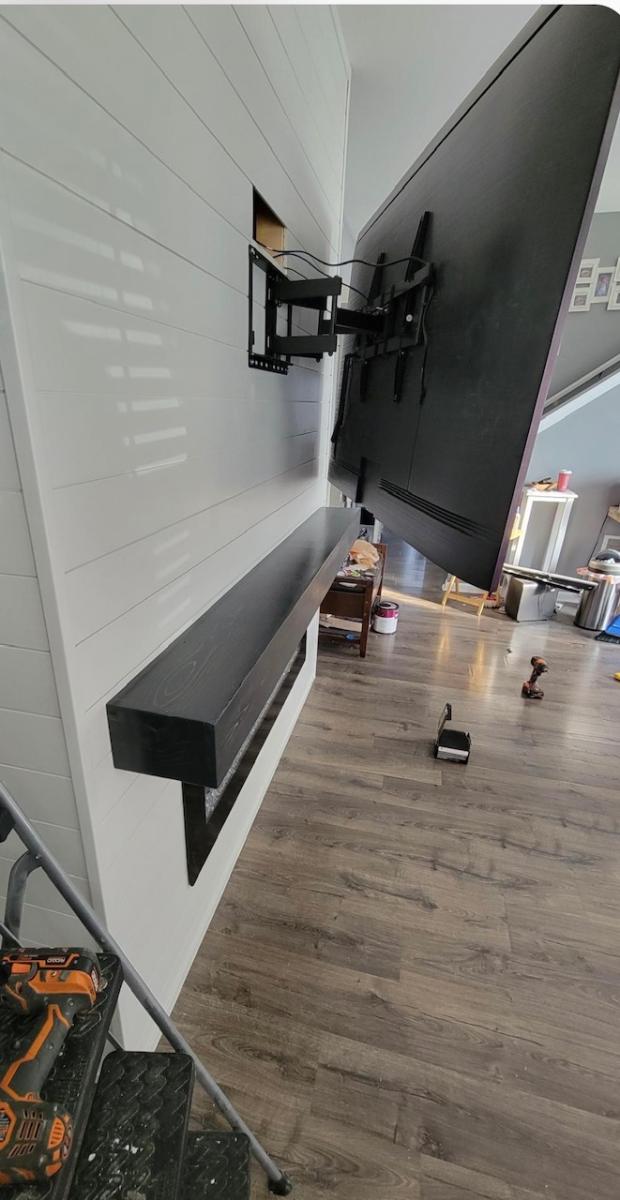
Shiplap Fireplace Surround with Low Mantle
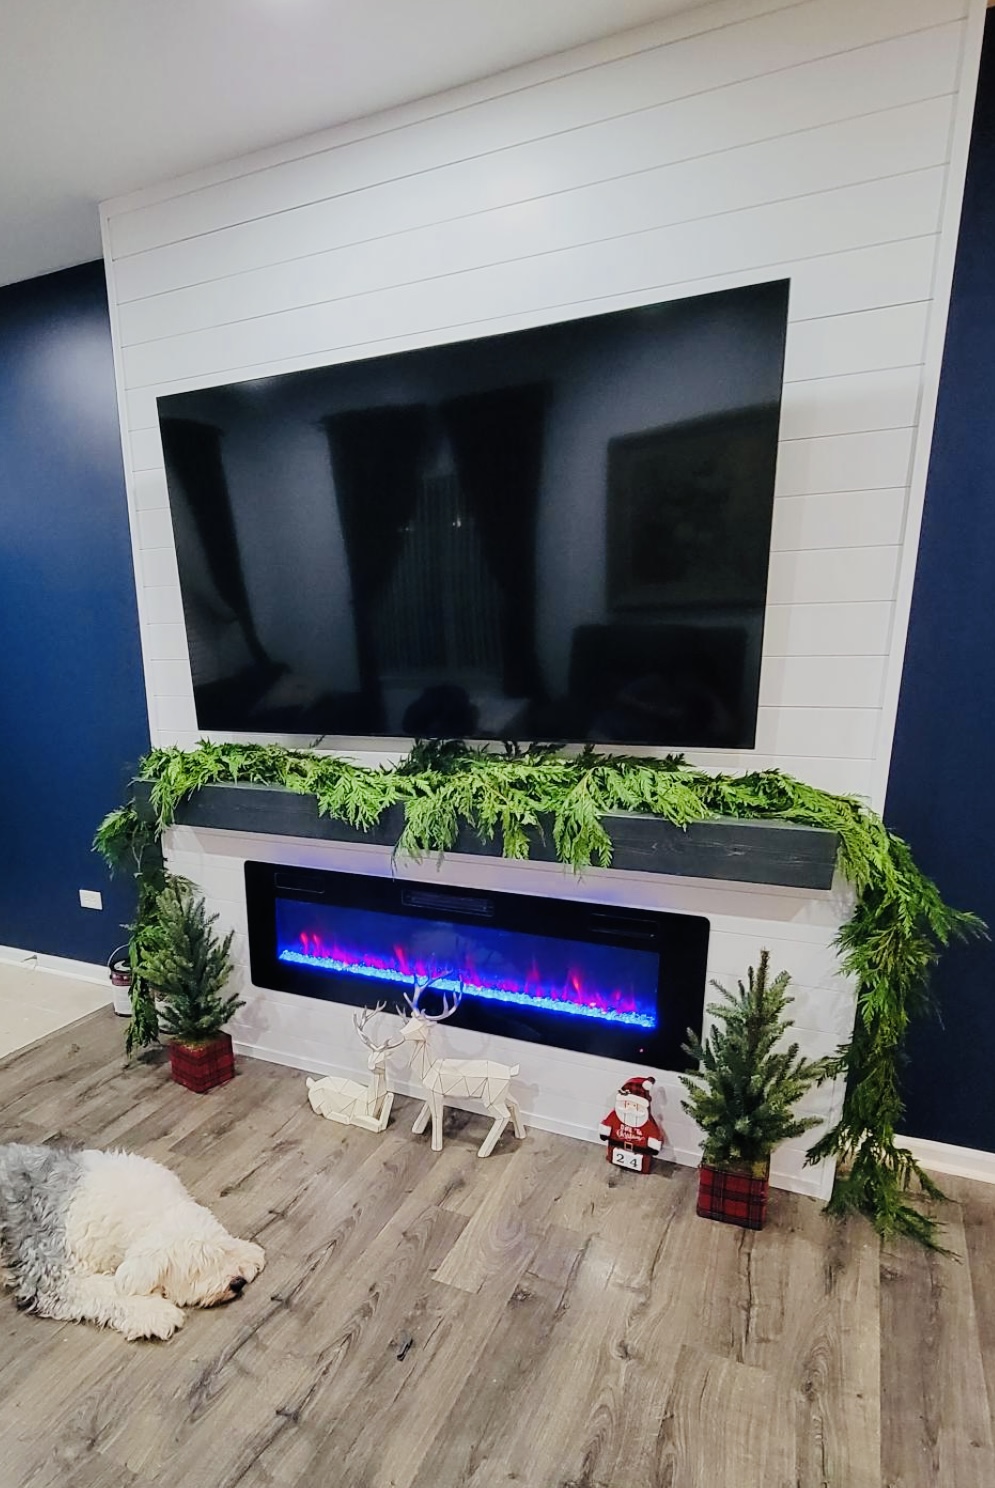
Outstanding Shiplap Fireplace surround with low mantle by Cruz on IG
Including more photos of the build process
Crib size mattress bunk beds
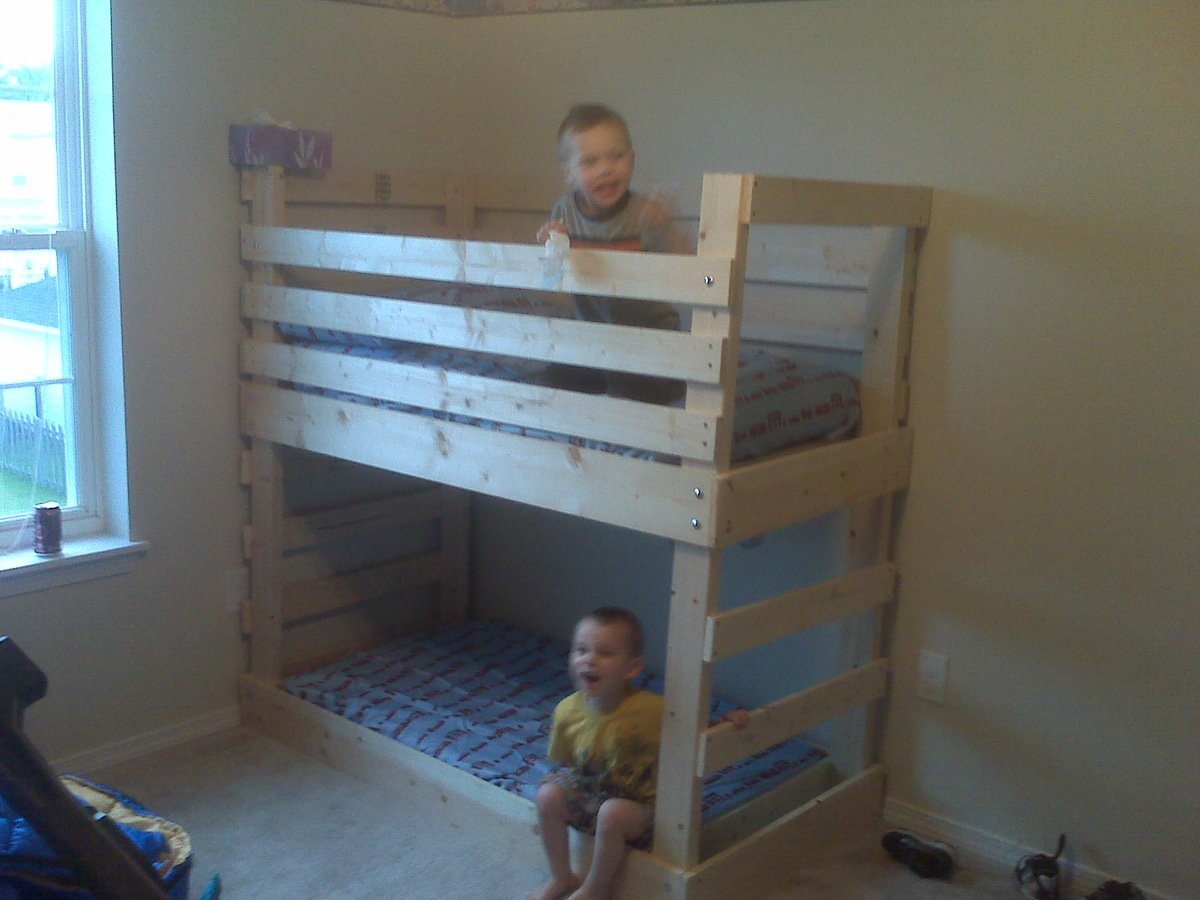
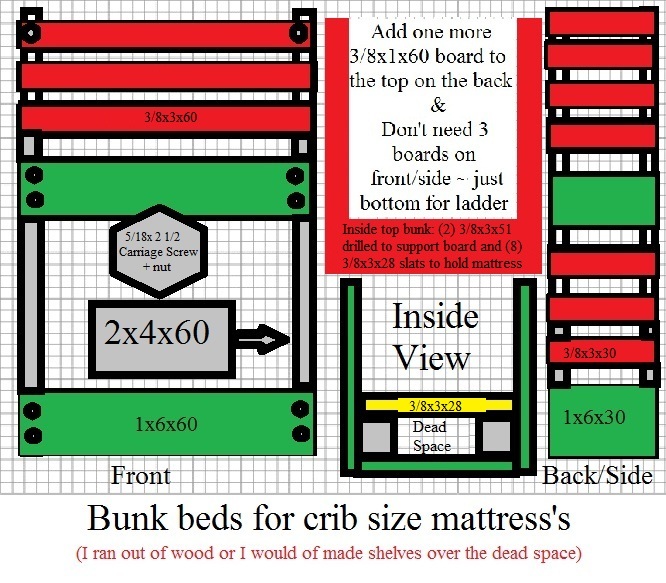
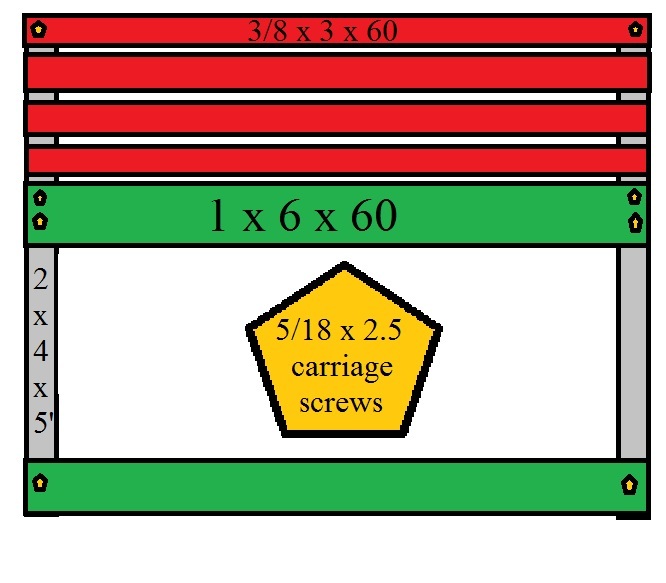
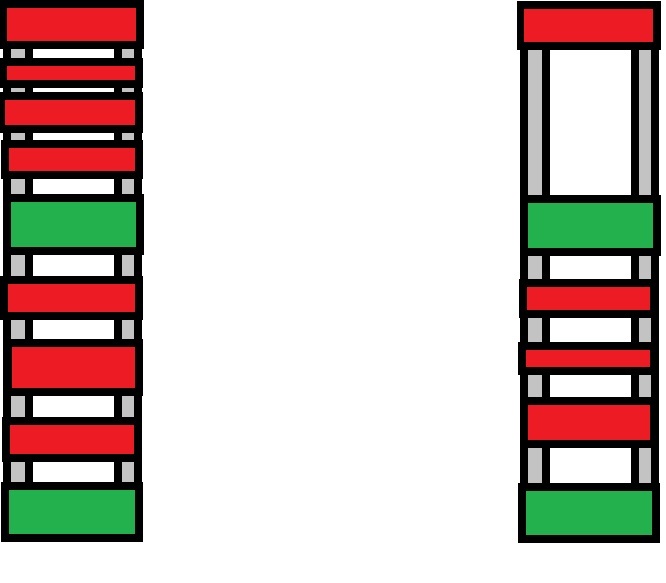
I used crib size mattress instead of twin to make this bunk bed. I wanted more stabilty so I modified it with more rails at the top and didn't make a brake in the front rails.
Comments
Sat, 12/31/2011 - 18:41
shopping list
No I don't. Not off the top of my head, it has been a few months and I am afraid I would miss something. However, it does appear I put everything except the screws (1.5 inch, I think) in the drawing.
Wed, 04/03/2013 - 10:19
Distance to top bunk
How far from the ground is the bottom of the board holding the upper bunk?
Double daybeds.
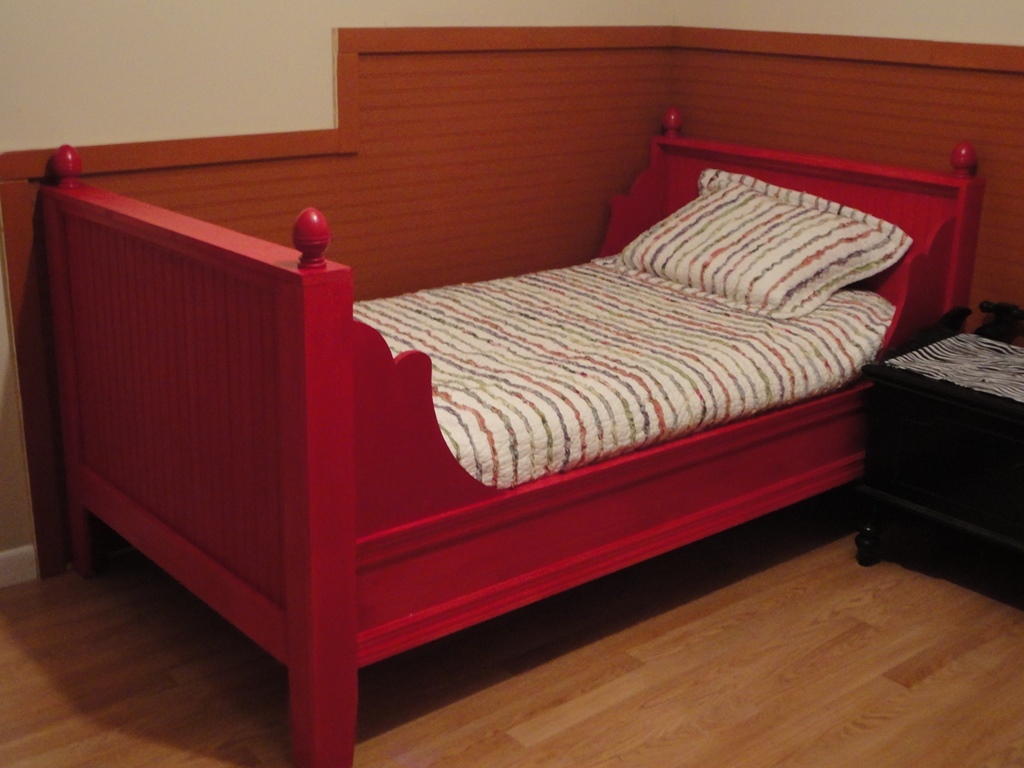
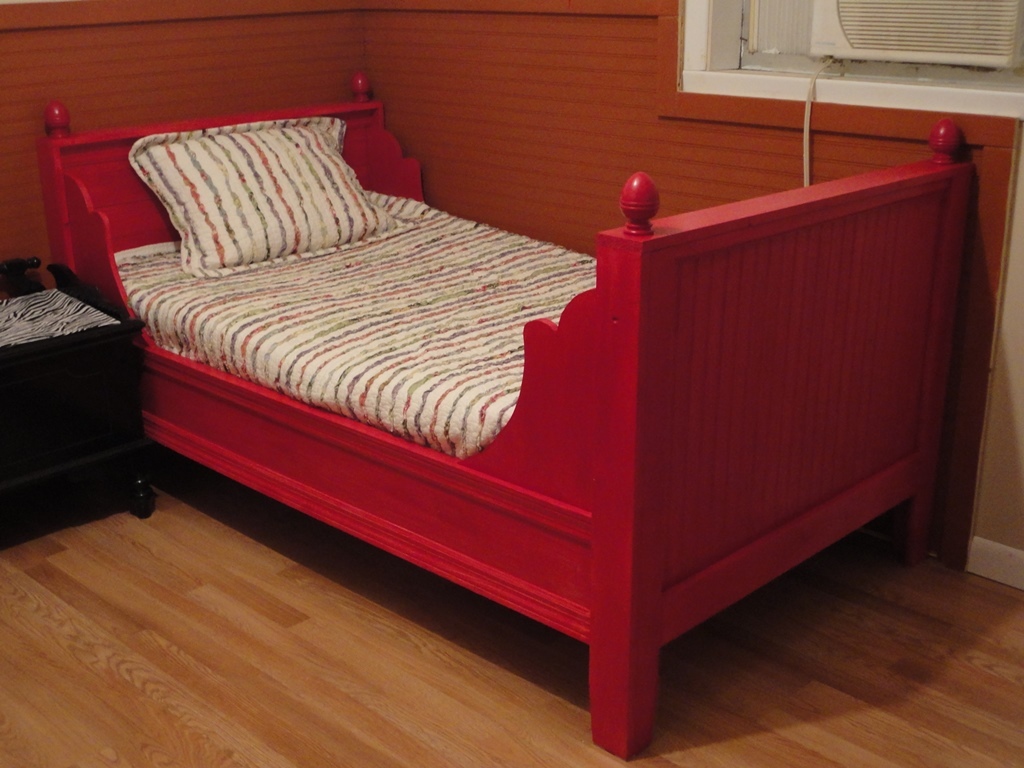
For my first 'Ana White' project I built two Lydia daybeds for the guest room. I added beadboard for a cozy feel. I LOVE them and so does everyone else.
Thank you Ana, for these easy to follow plans. I have discovered a wonderful new interest and I BUILT THEM ALL BY MYSELF!
Christmas card frame
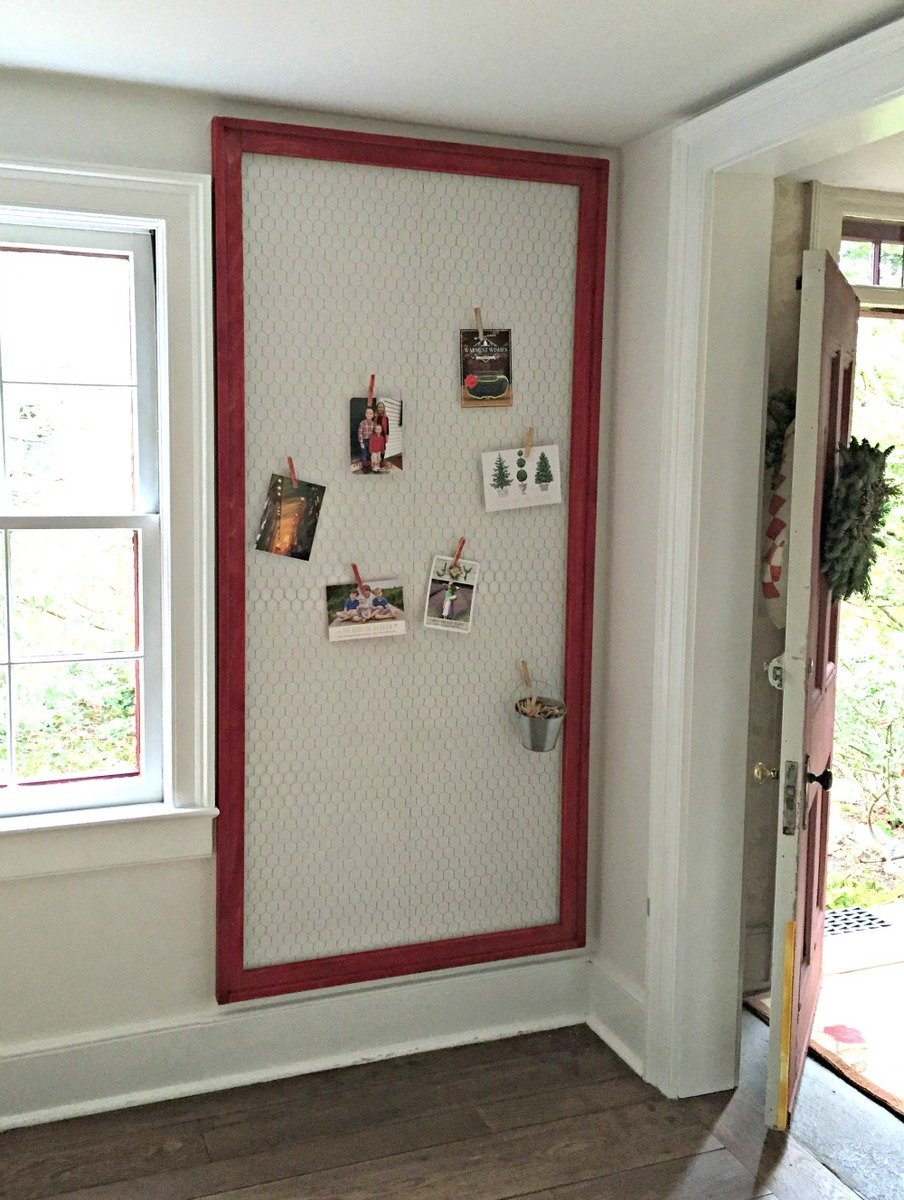
Modified Ana's plans to omit the chalkboard and make larger. Measures 75"h x 36"wide. All 1x2s, cuts are 2 @ 75", 2 @ 34 1/2", 2 @ 73 1/2", 2 @ 31 1/2".
