Simple Playhouse
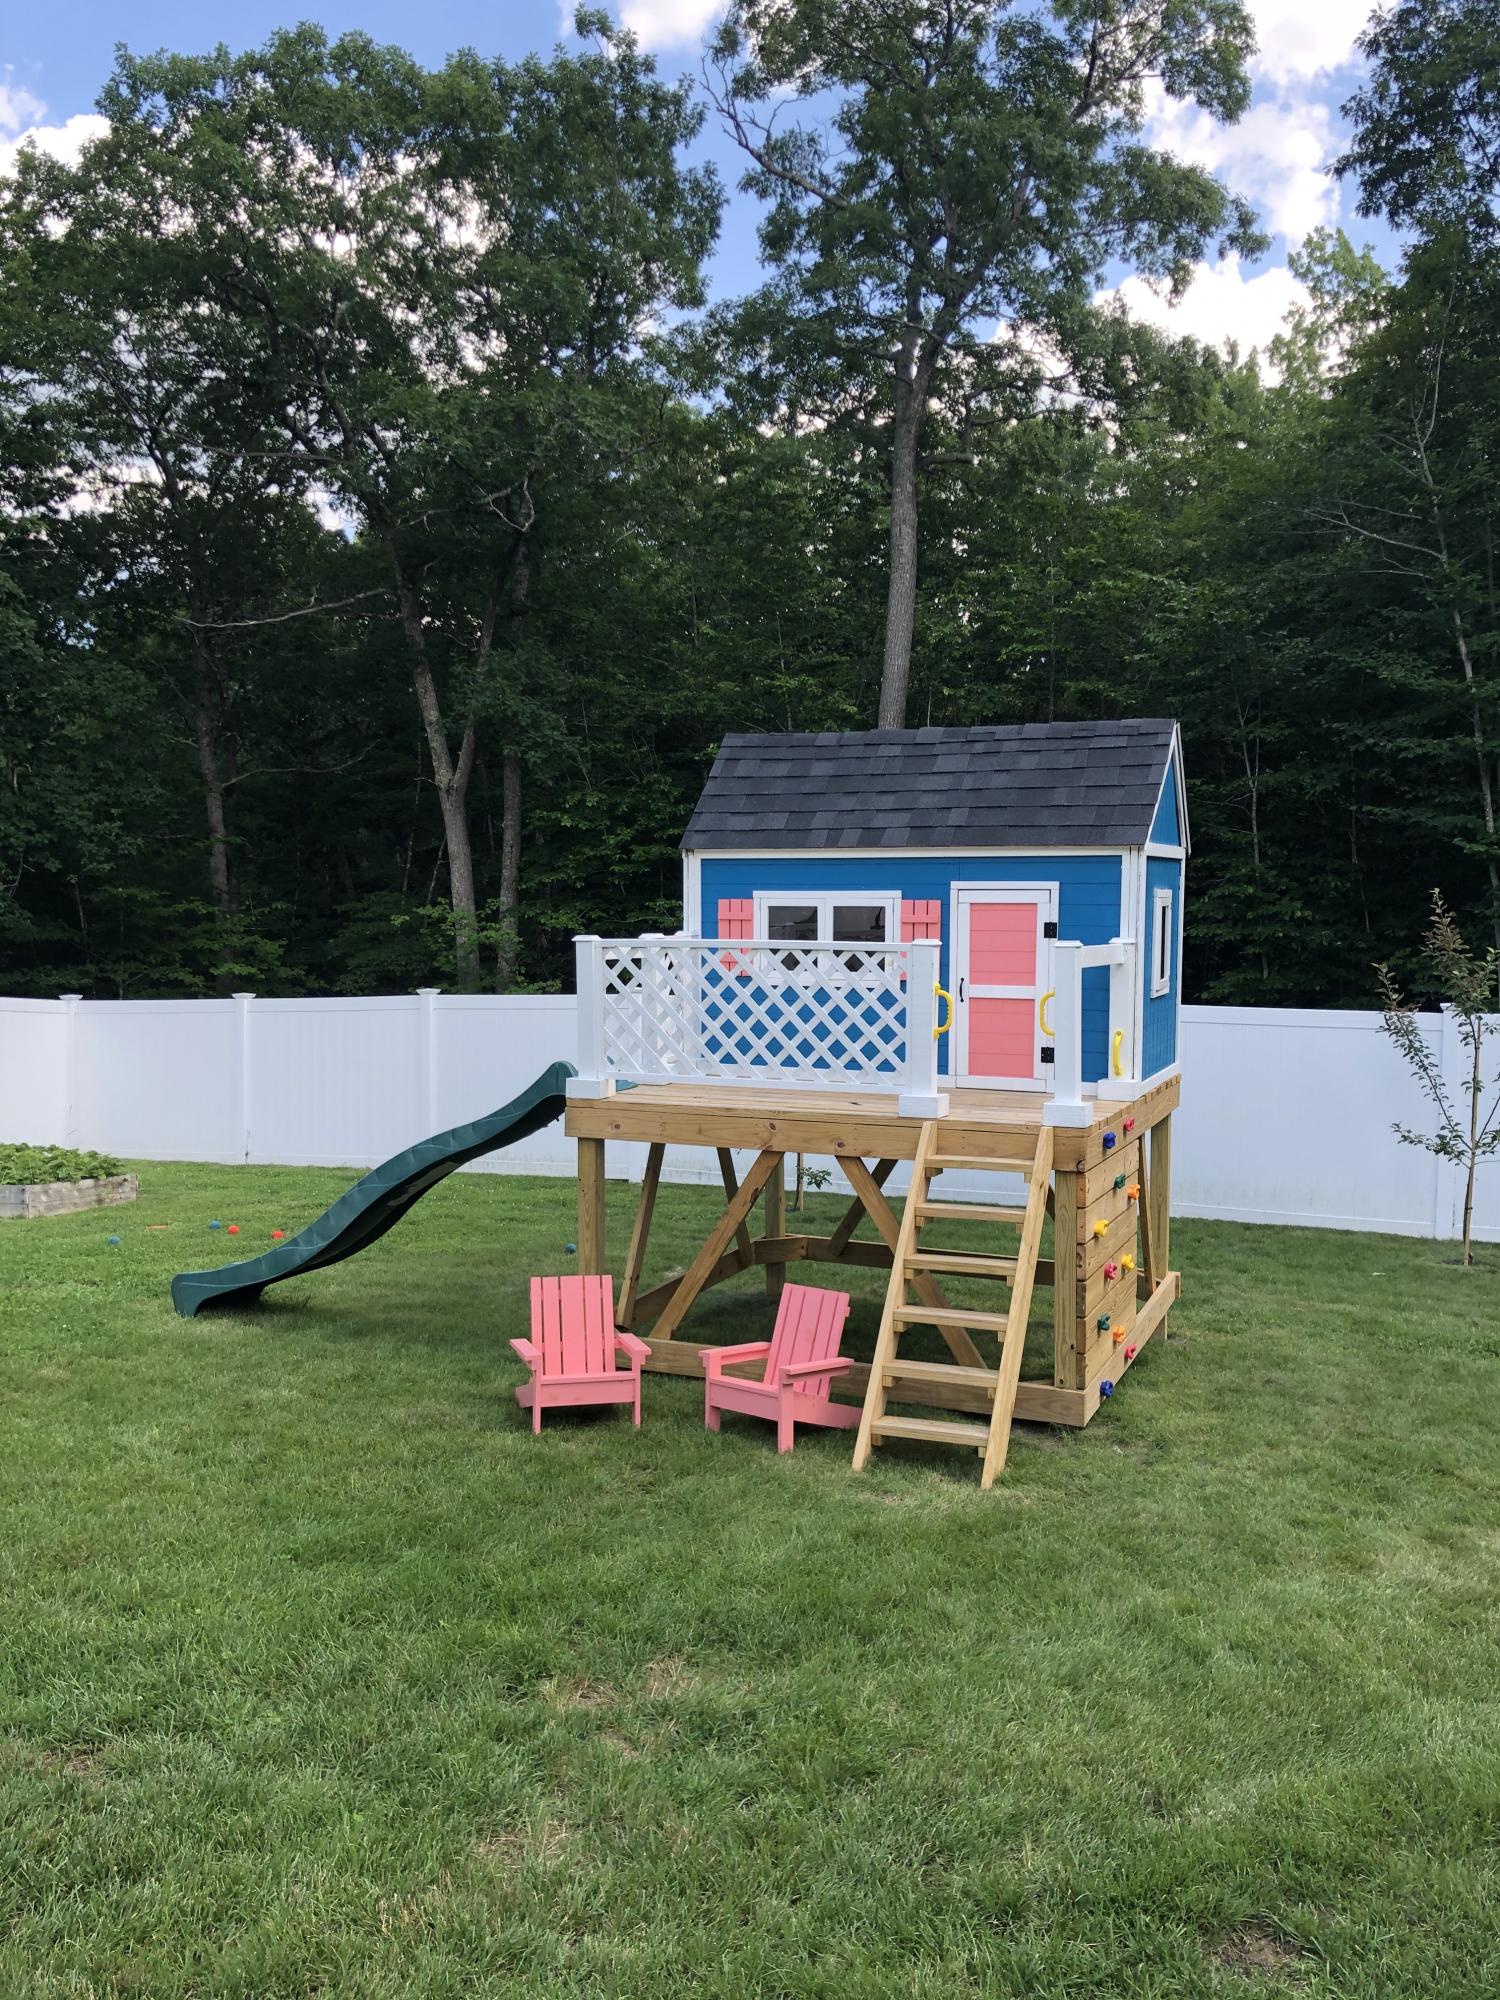
My first big project and my kids couldn't be happier. I'm pretty proud too, just don't take a square or level anywhere near it :)

My first big project and my kids couldn't be happier. I'm pretty proud too, just don't take a square or level anywhere near it :)
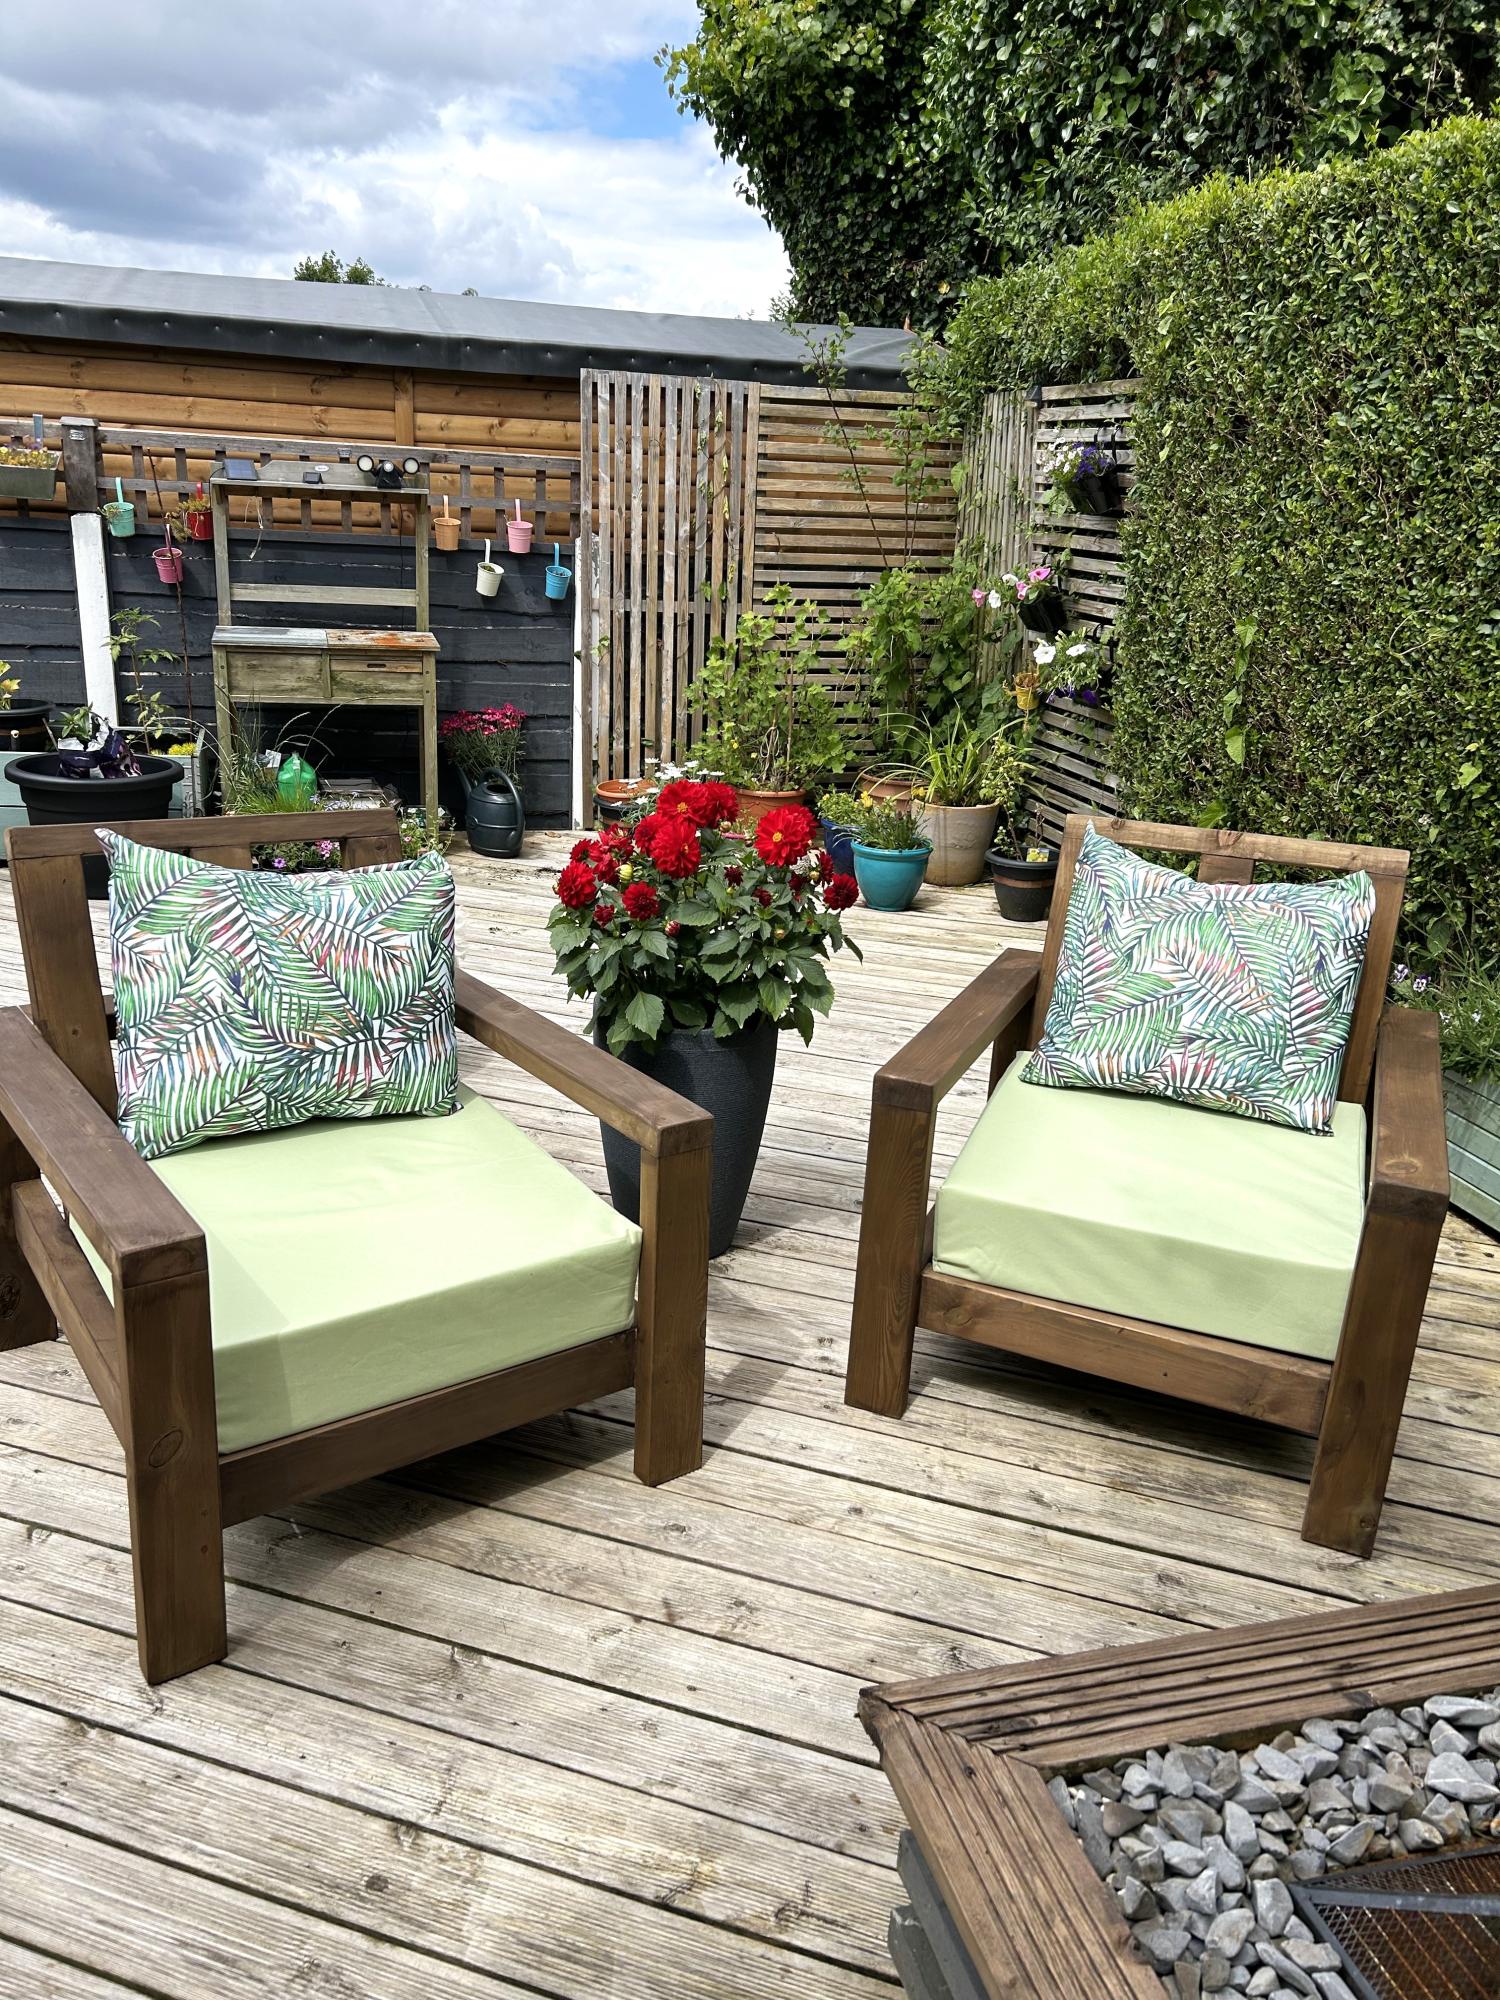
Loved building these chairs they were really easy and look amazing, couldn't be happier.
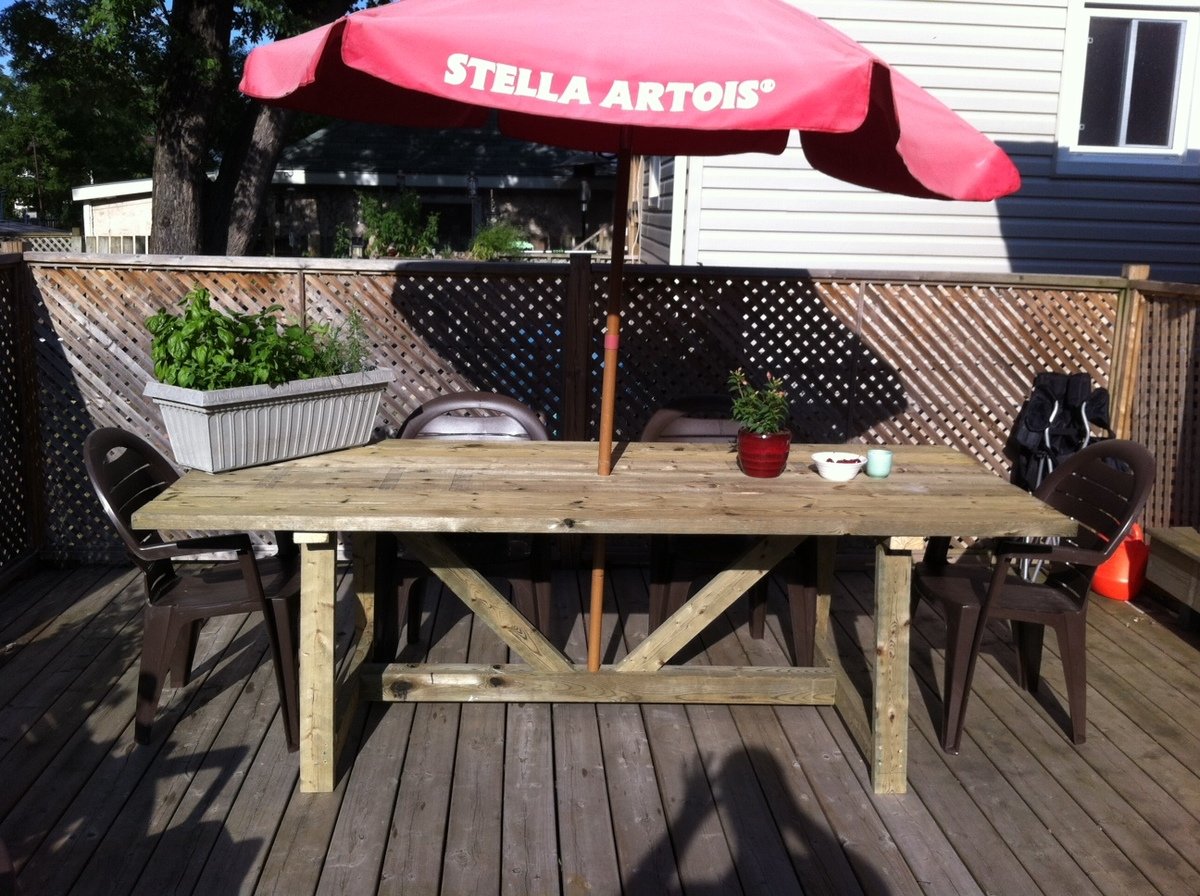
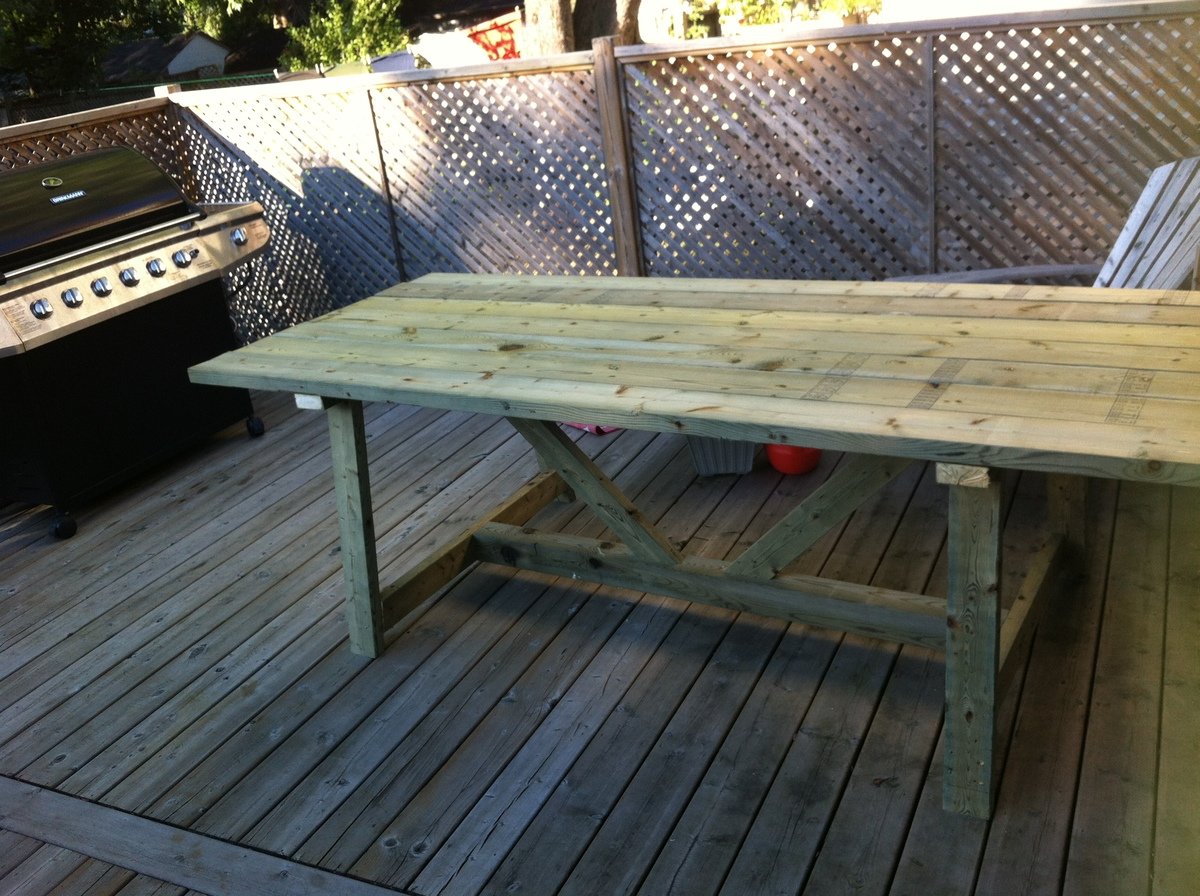
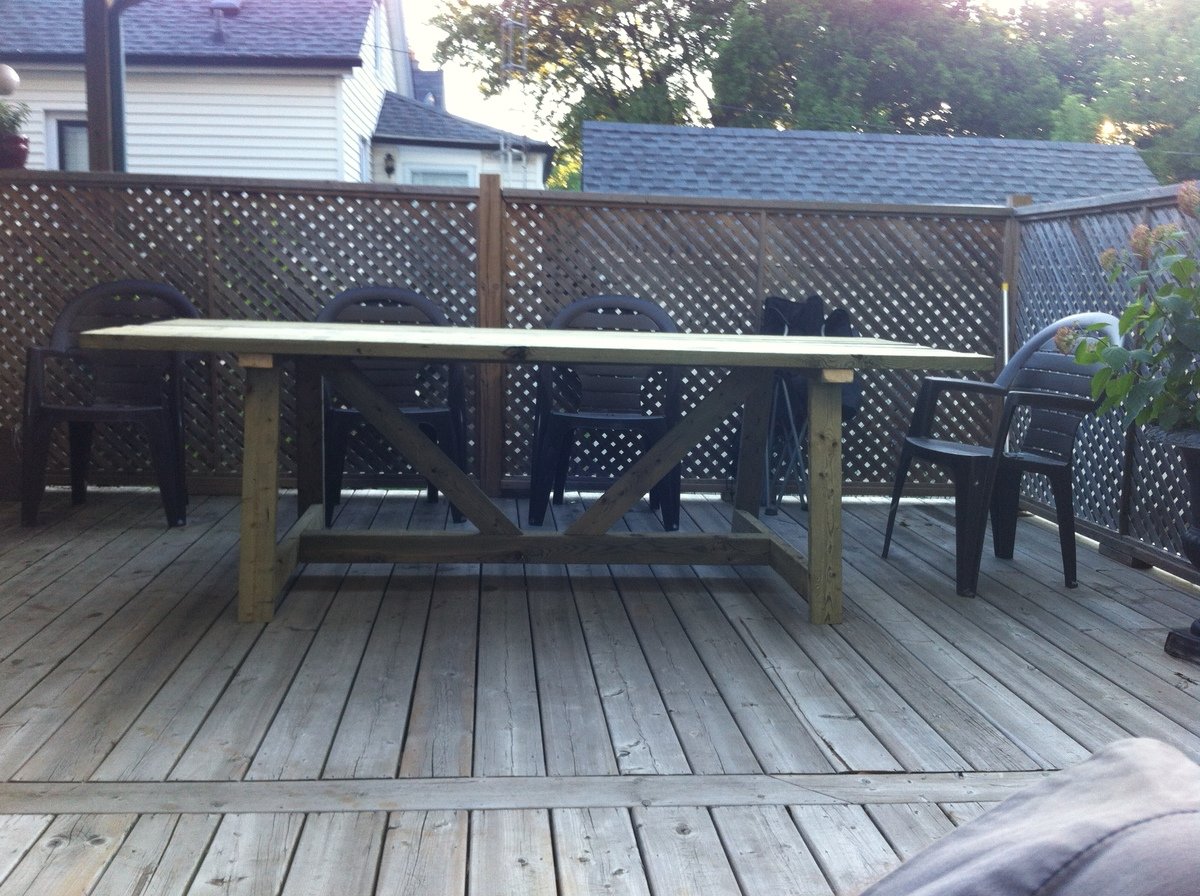
I really like how this table turned out. This table is a beast its very heavy but very sturdy also. I used a 4x4 on the bottom so i could cut a hole out for the umbrella which worked great all I used was a spade bit for the hole.

I made this for my friend's daughter. I can't believe how easy this was to make. It is sturdy and really light weight. I put it together in one afternoon and painted it the next day.


This was my first project and I am hooked. This was an easy build. I only ran into challenges attaching the headboard and footboard to the frame because I really wanted to be able to disassemble it and reassemble just in case.. fortunately I located a website selling threaded metal inserts and I ended up just bolting it on with hex bolts.
I was just surprised by how fast I could build it and how long it took to finish it. Sand, wood filler, sand, caulk, prime, sand, paint, sand, paint. Get interrupted by my kids 100 times.
Already plotting my next 3 builds..
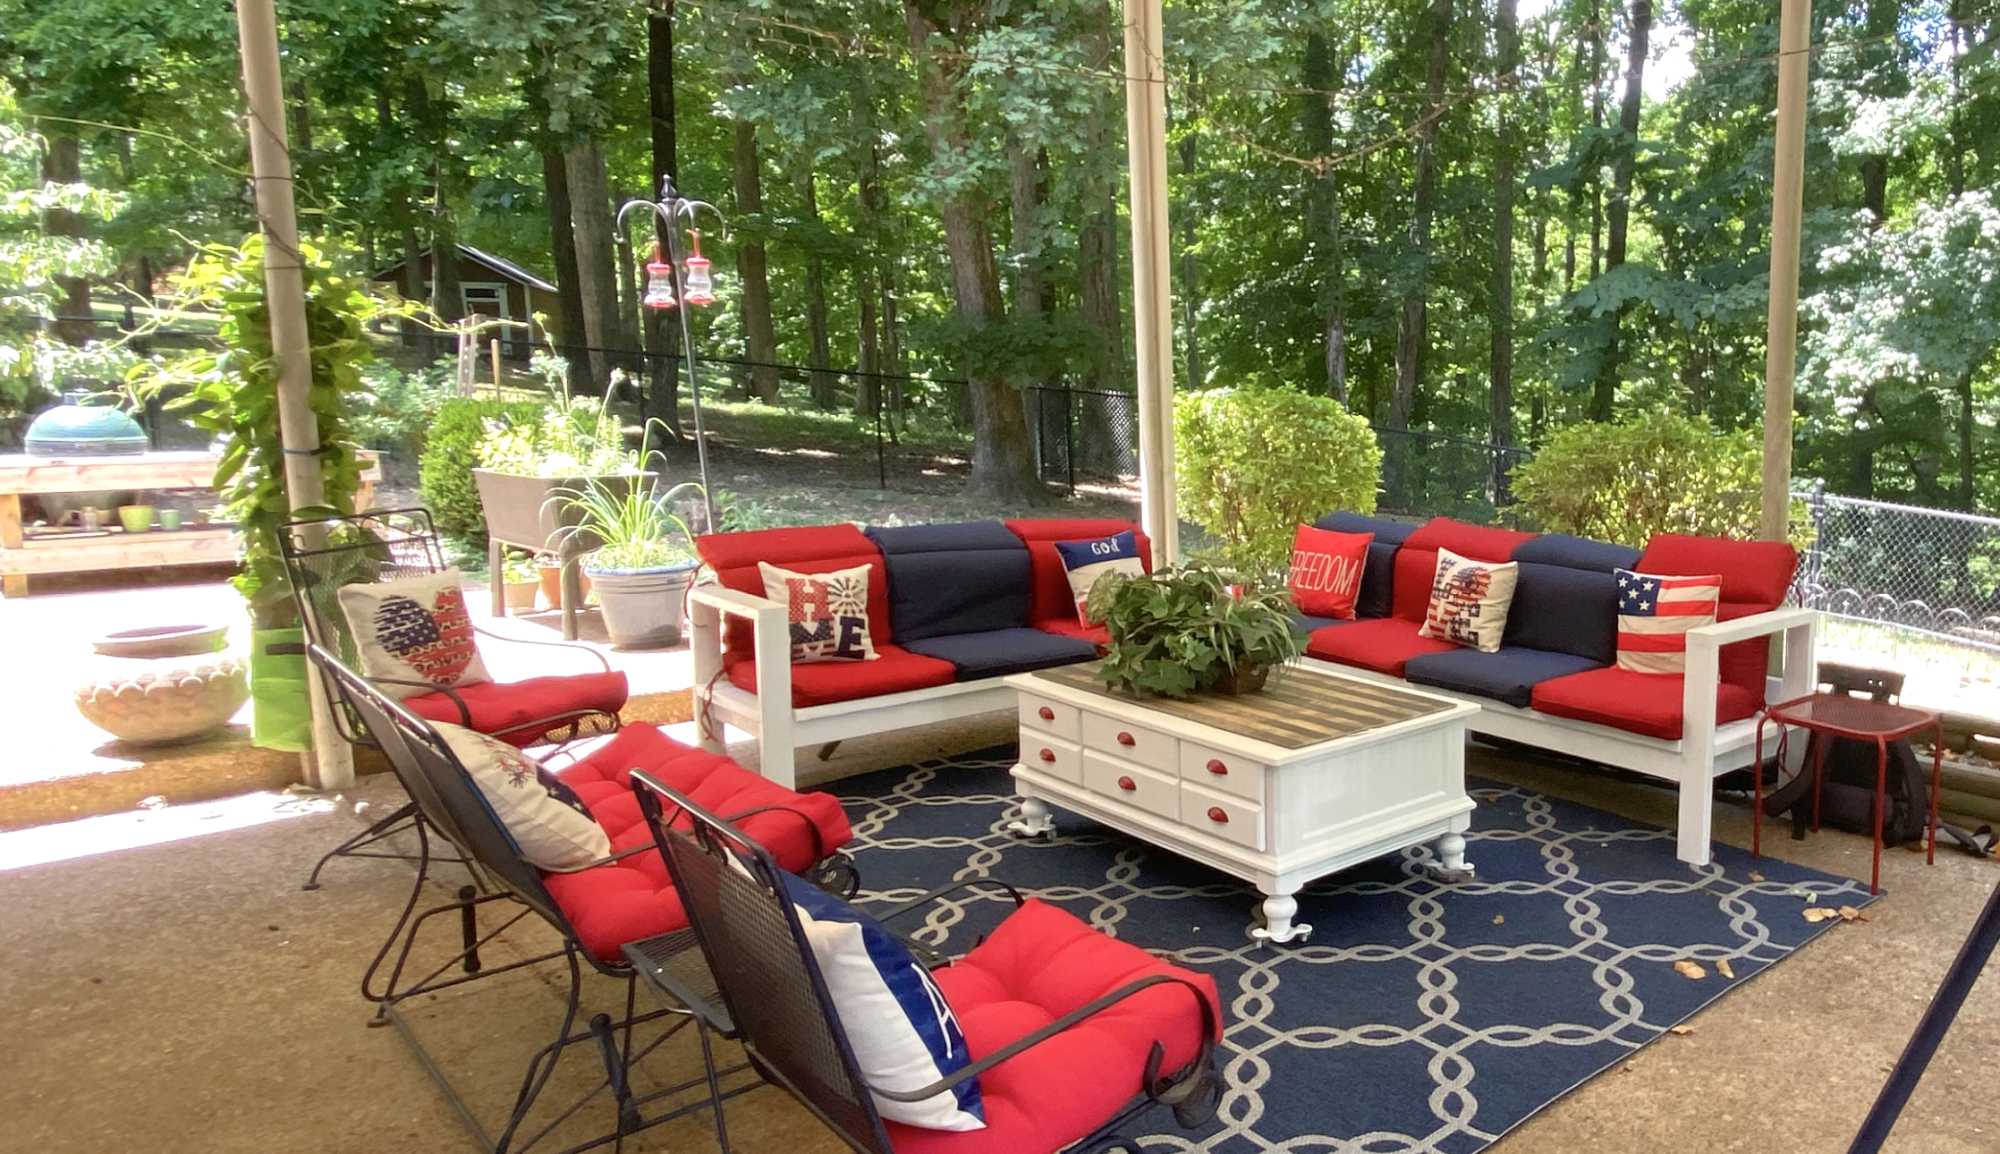
I wanted an outdoor lounge. My partner had to work so he helped me get started and I finished it alone. He surprised me a build a corner table to complete the look.
I love it !!
Donna H.
I am a computer programmer by trade, a husband/father/cook/baker by avocation. I can read and write music. I am new to woodworking, and look forward to building with Ana's excellent plans.
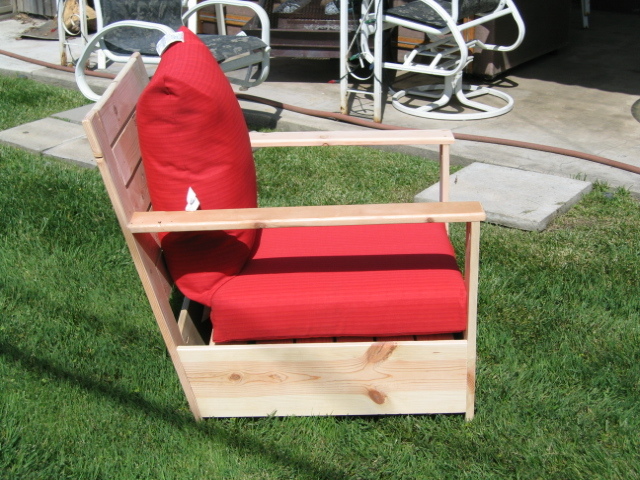
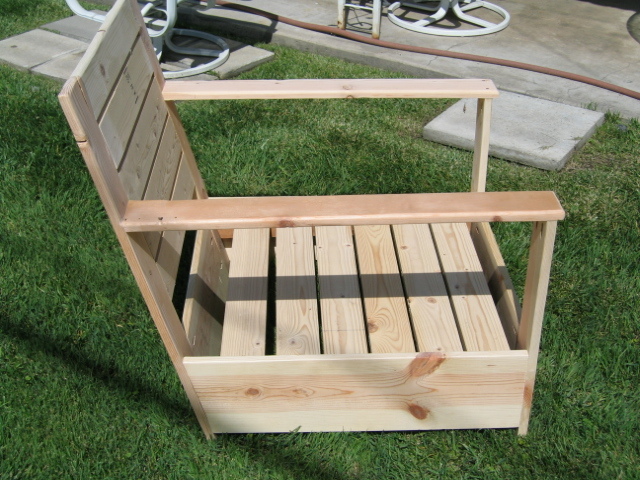
Bristol Outdoor Lounge Chair
Friends,
This is my first woodworking project in a long time. When I found the plans from OPD at Ana's site, I thought, I can do that! It turns out I was both right and wrong.
I bought the wood; I ordered a Kreg Jig from amazon; I searched for inexpensive pillows. My wife is a terrific seamstress, and we looked for fabric and foam. Yikes, is foam expensive!
Anyhow, I measured everything twice, made my cuts and figured out how to cut the 15º angled cuts. Then I drilled all of the pocket holes - what a chore.
My good friend has a complete wood shop. He has more power tools than Sears. Me, I've got a hollow-core door on two plastic sawhorses, a jig saw, chop saw, power drill and screw gun. I wanted to do this myself, so I did not use any specialty tools.
I built the chair without glue. Since this is a prototype, I wanted to be able to dismantle it. I built it to the specs provided, and discovered three things:
1. Attaching the back as a separate piece at a 15º angle is weak. "Weak as water," someone has said.
2. Butt joinery is an imprecise science when soft wodd is used.
3. The chair was too dang big!
So I took it apart. I changed the width of the front and back panels to 20 1/2", and re-used the arm supports.
I cut one end of each side panel to 75º.
The two back supports are a single piece of 1" x 4", 32" in length. This, coupled with the angled cut on the side panels, eliminates the weak joint at the back.
I shortened the depth (from front to back) by about 3", but the box for the bottom cushion is still too big. Next time the box will be 25" square.
In using butt joinery, I found that the back supports and side rails and the front apron all went together well. Perhaps I set the depth gauge incorrectly on the Kreg drill bit, because the 90º joints are not as clean as the flat joints. Then again, the more I do this, the better at it I will get.
I know that some of the joint holes are too deep, and this let the screw penetrate through the joint. Careful measurement before drilling all of the holes is crucial, and demands one's attention. I found myself checking the stop ring on the drill bit several times as I progressed, to make sure it was still set properly.
Using the Kreg Jig is not hard; it takes a bit more effort than they lead you to believe. I found myself wishing for three hands when joing 90º joints.
When the chair was assembled, I rounded the edges with a 3/8" router bit, followed by a thorough sanding. We found very inexpensive 4" foam pillows at Wal-Mart, and you can see the result.
I think the chair looks good, it is really comfy, and there will be more projects before the leaves fall this autumn.

This coffee table was my first woodworking project ever. I followed the plans exactly but left the X off each end. They seemed a little daunting for the first time around, plus I like it without them better. Great plans and great result!
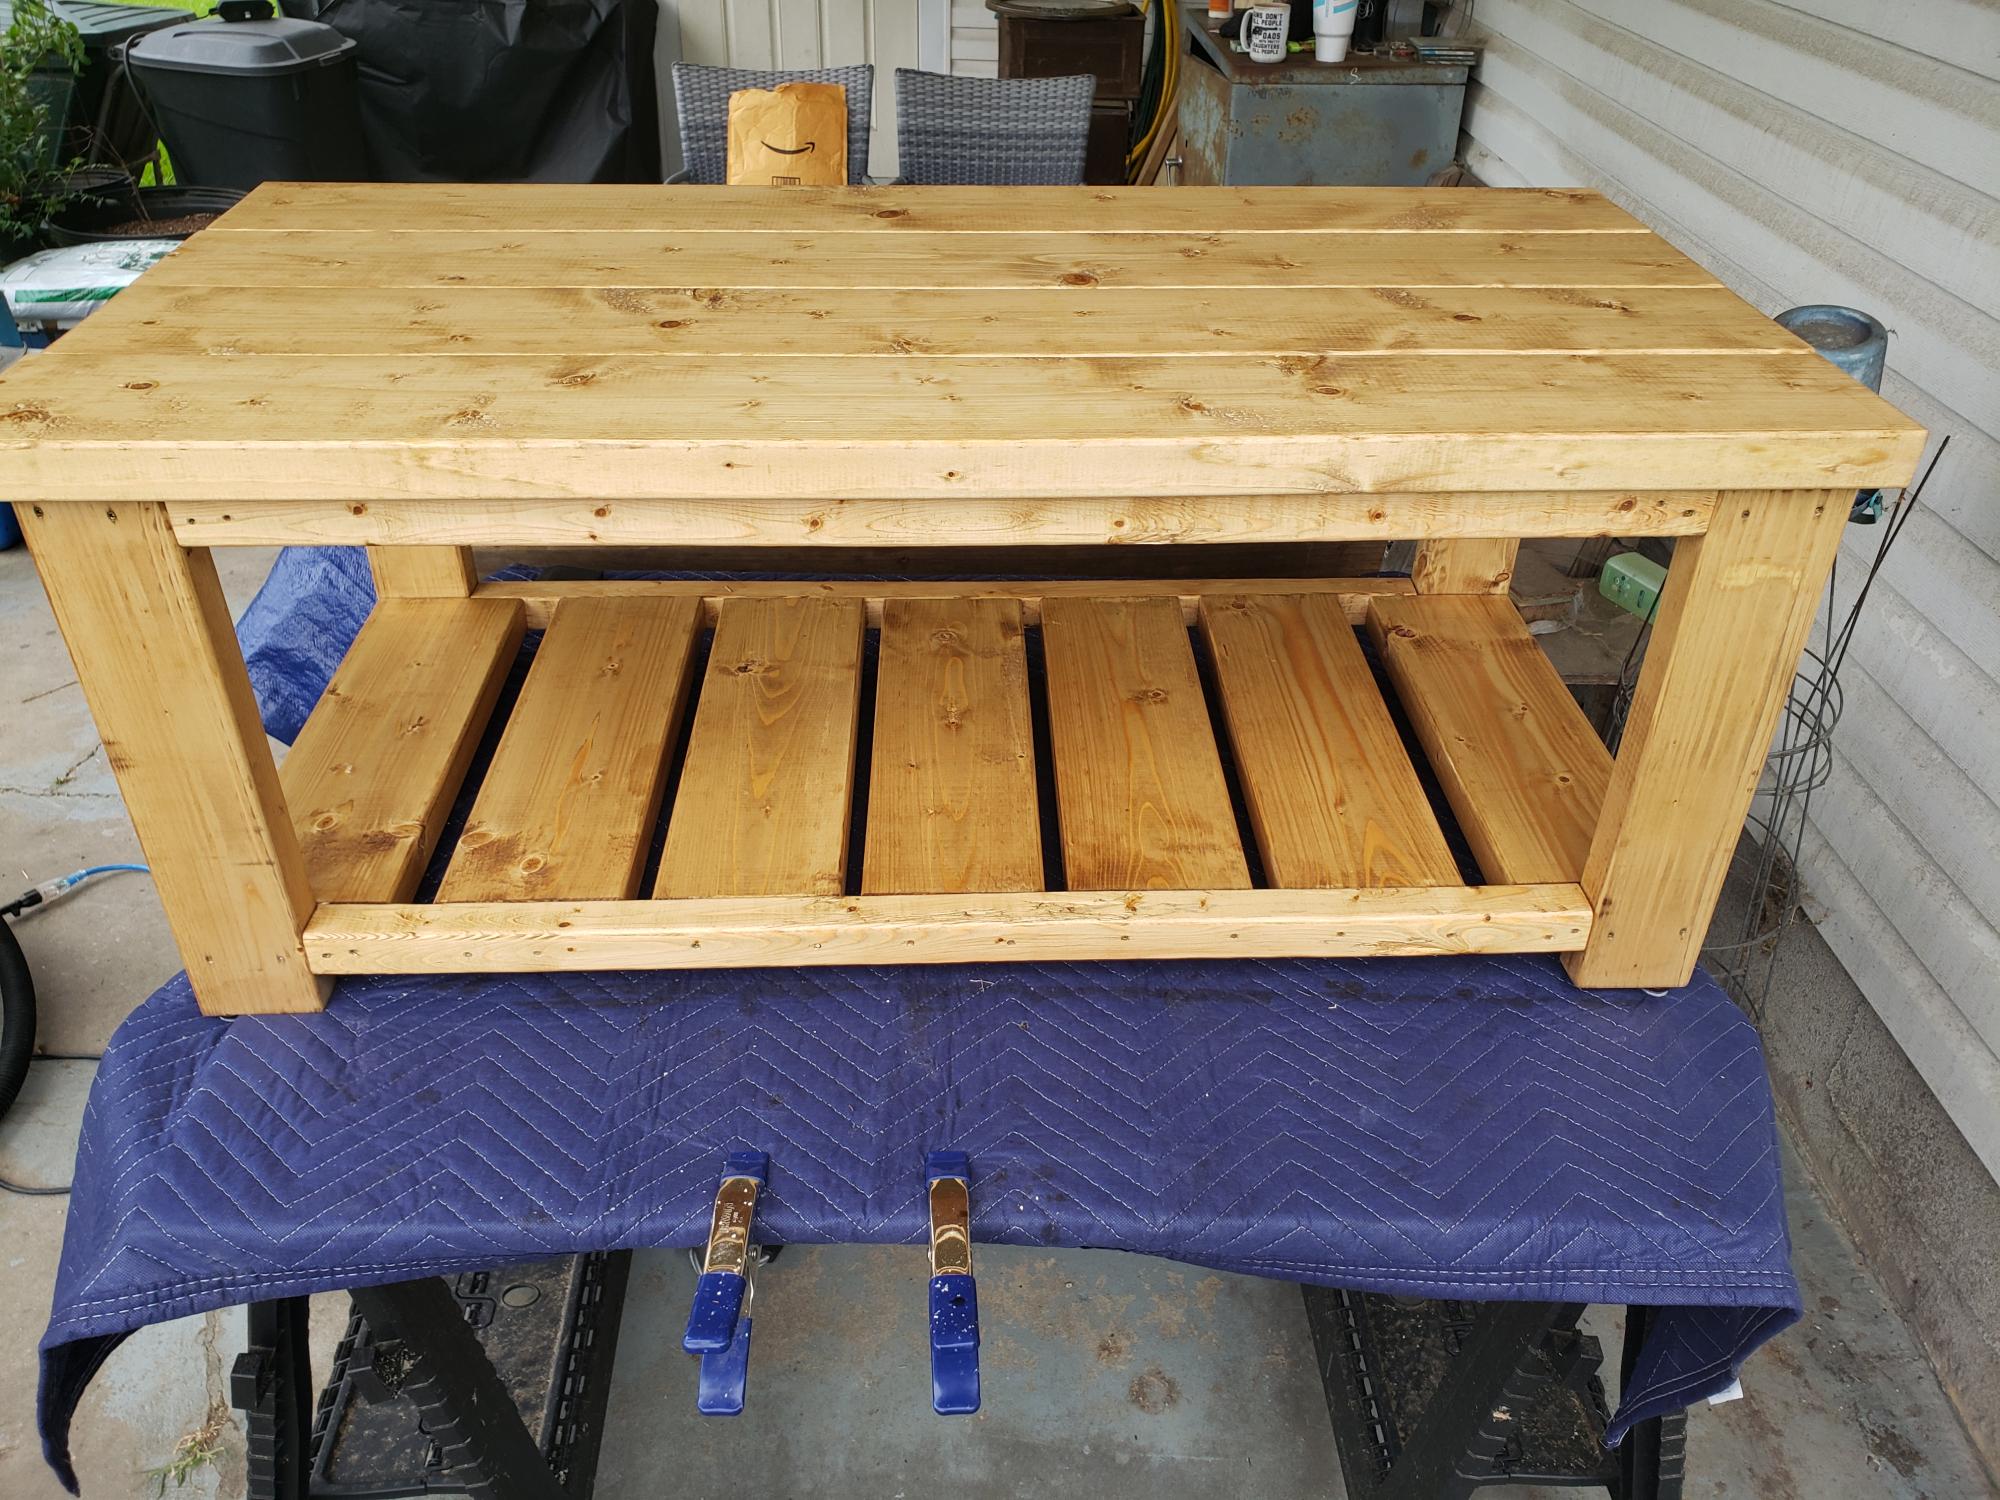
First build to sell. Has a few faults of my own doing. But, sold it in 24hrs. 😁
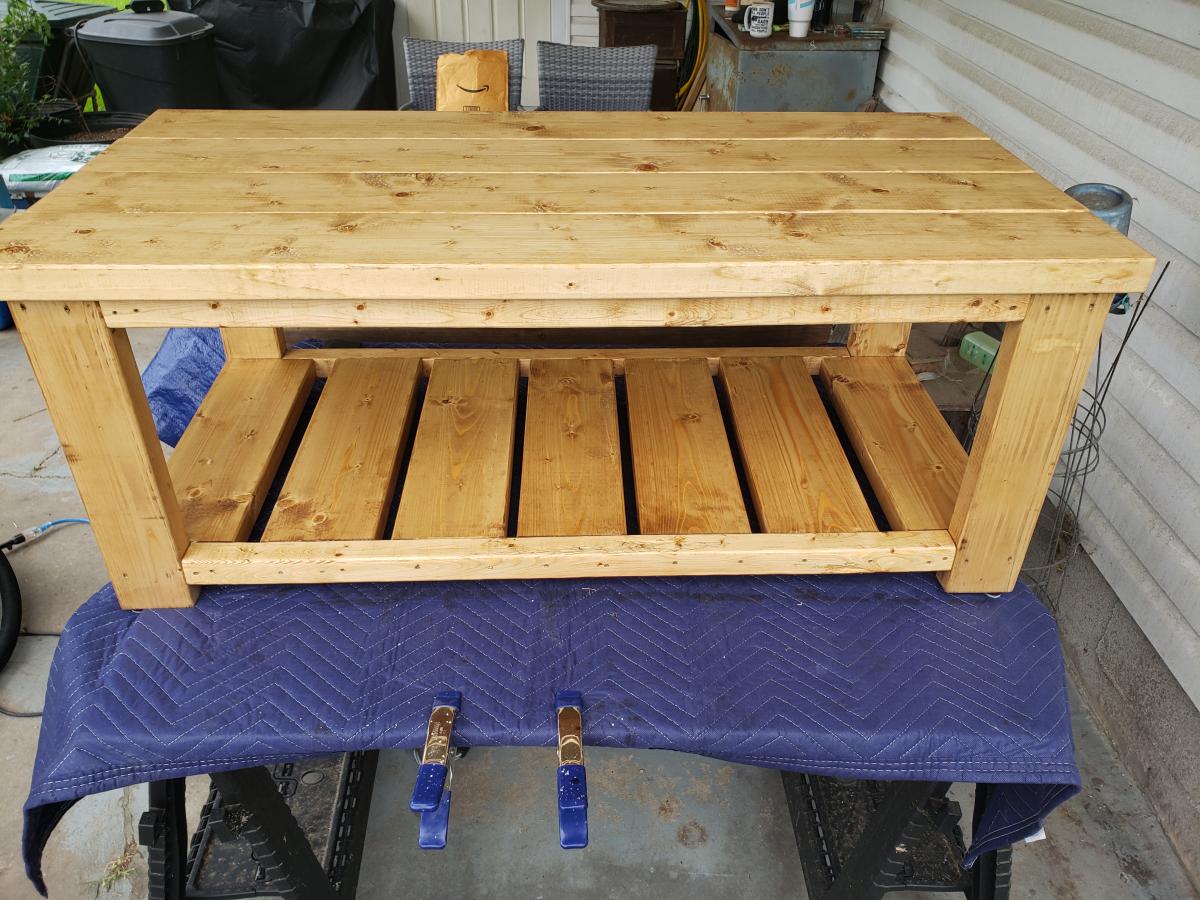
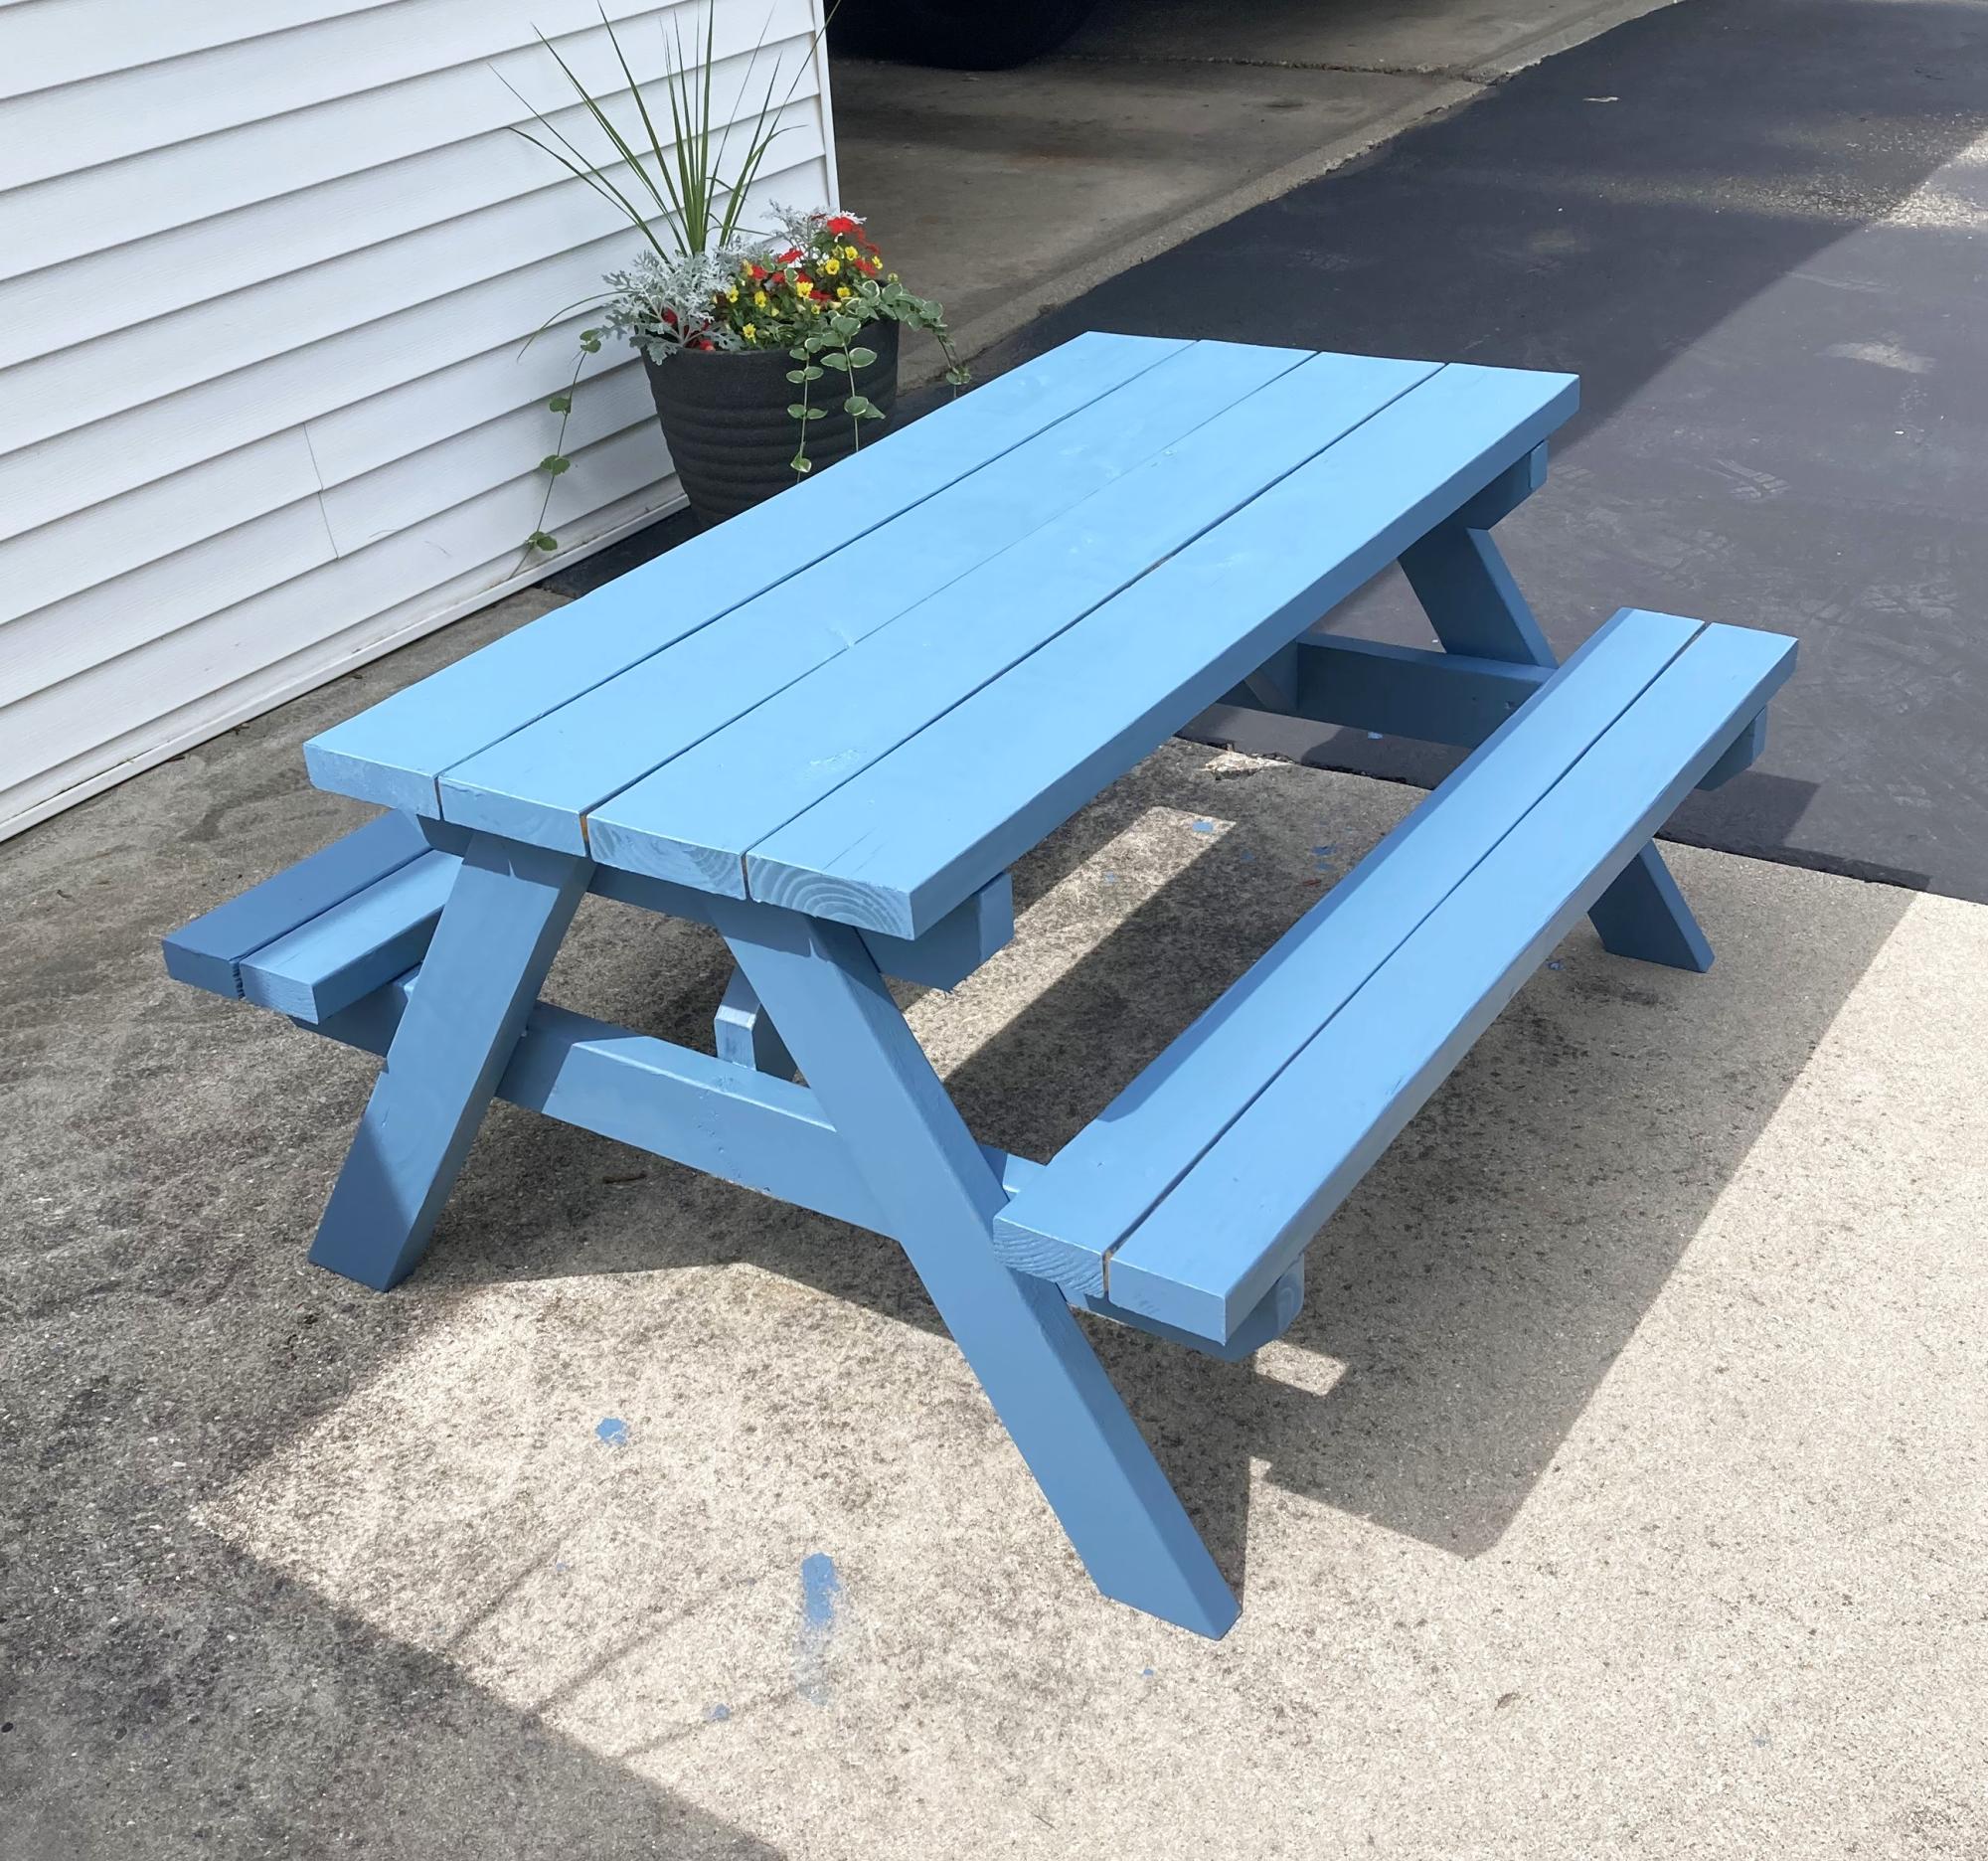
My granddaughter picked the stain color.
K-man
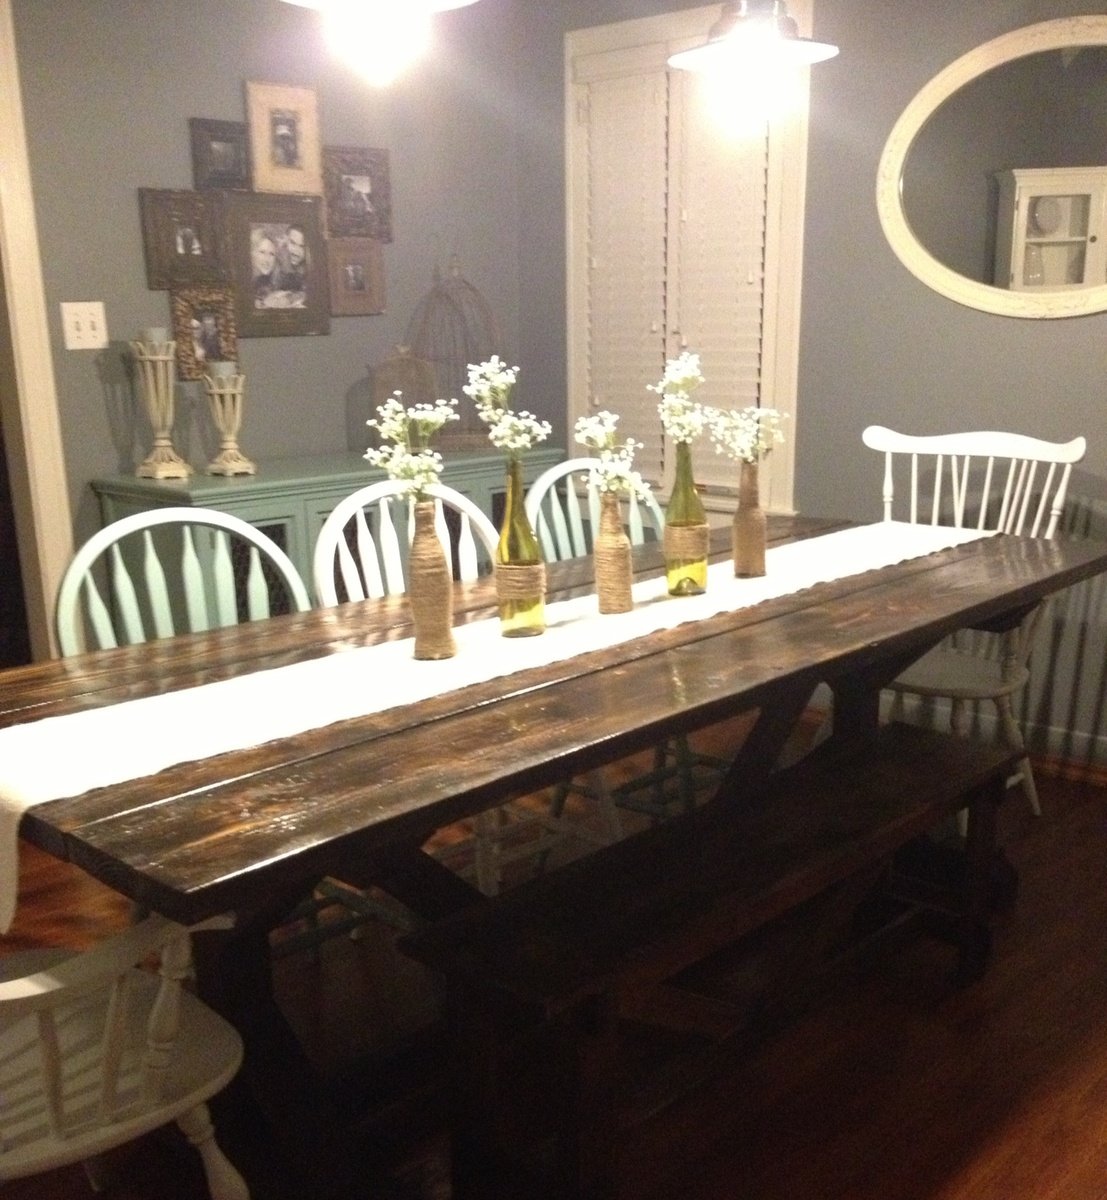
Fancy X table and bench
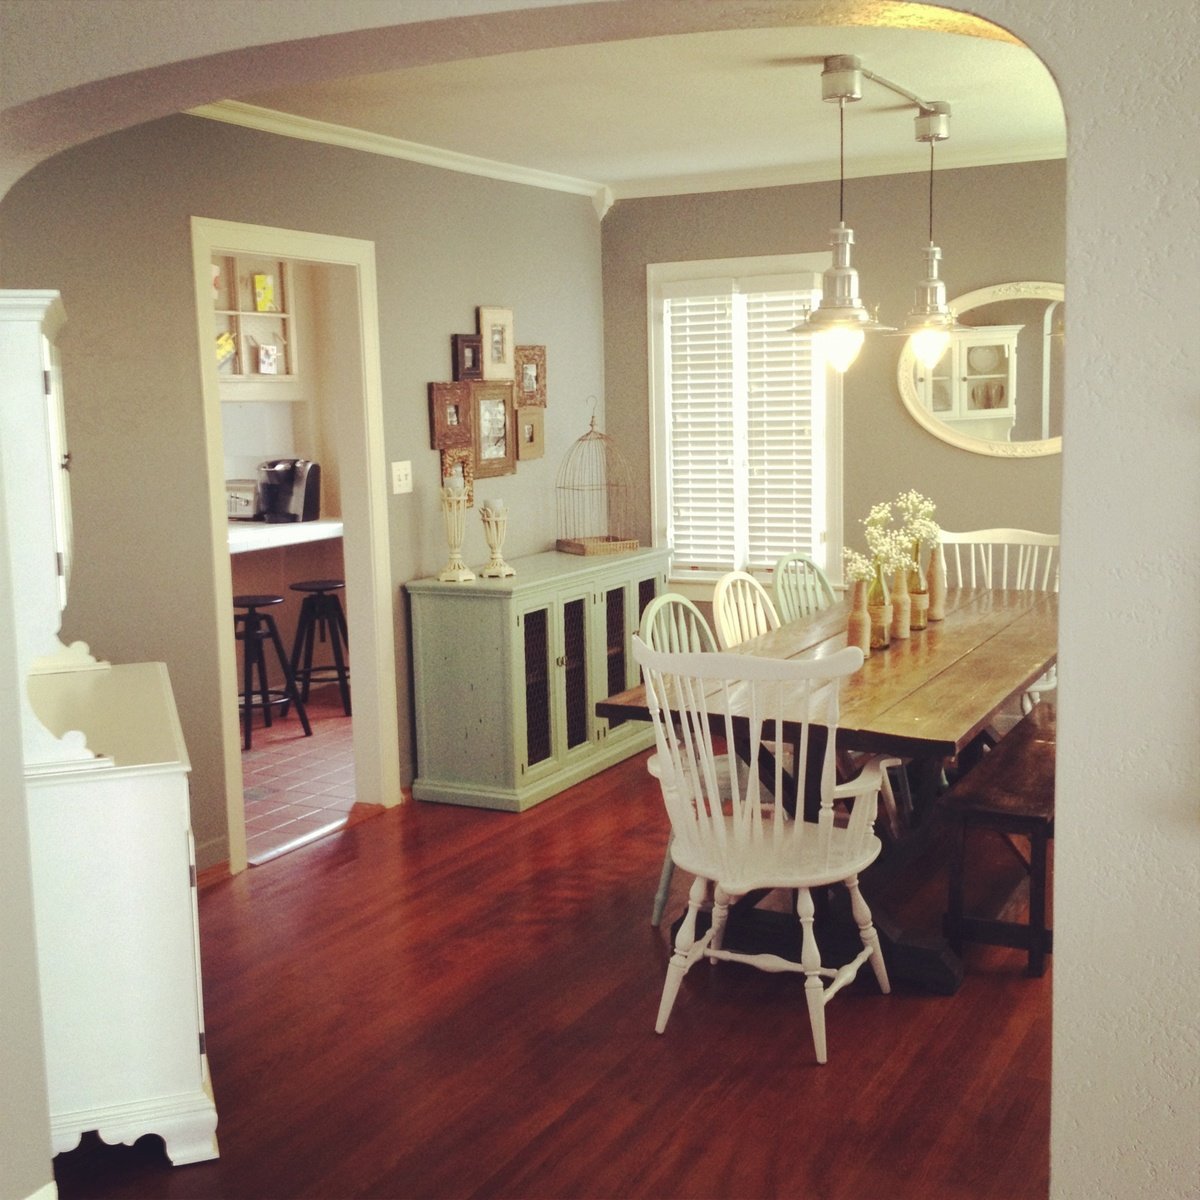
Fri, 10/12/2012 - 09:10
That second picture looks like it's straight out of a magazine! Everything looks beautiful!
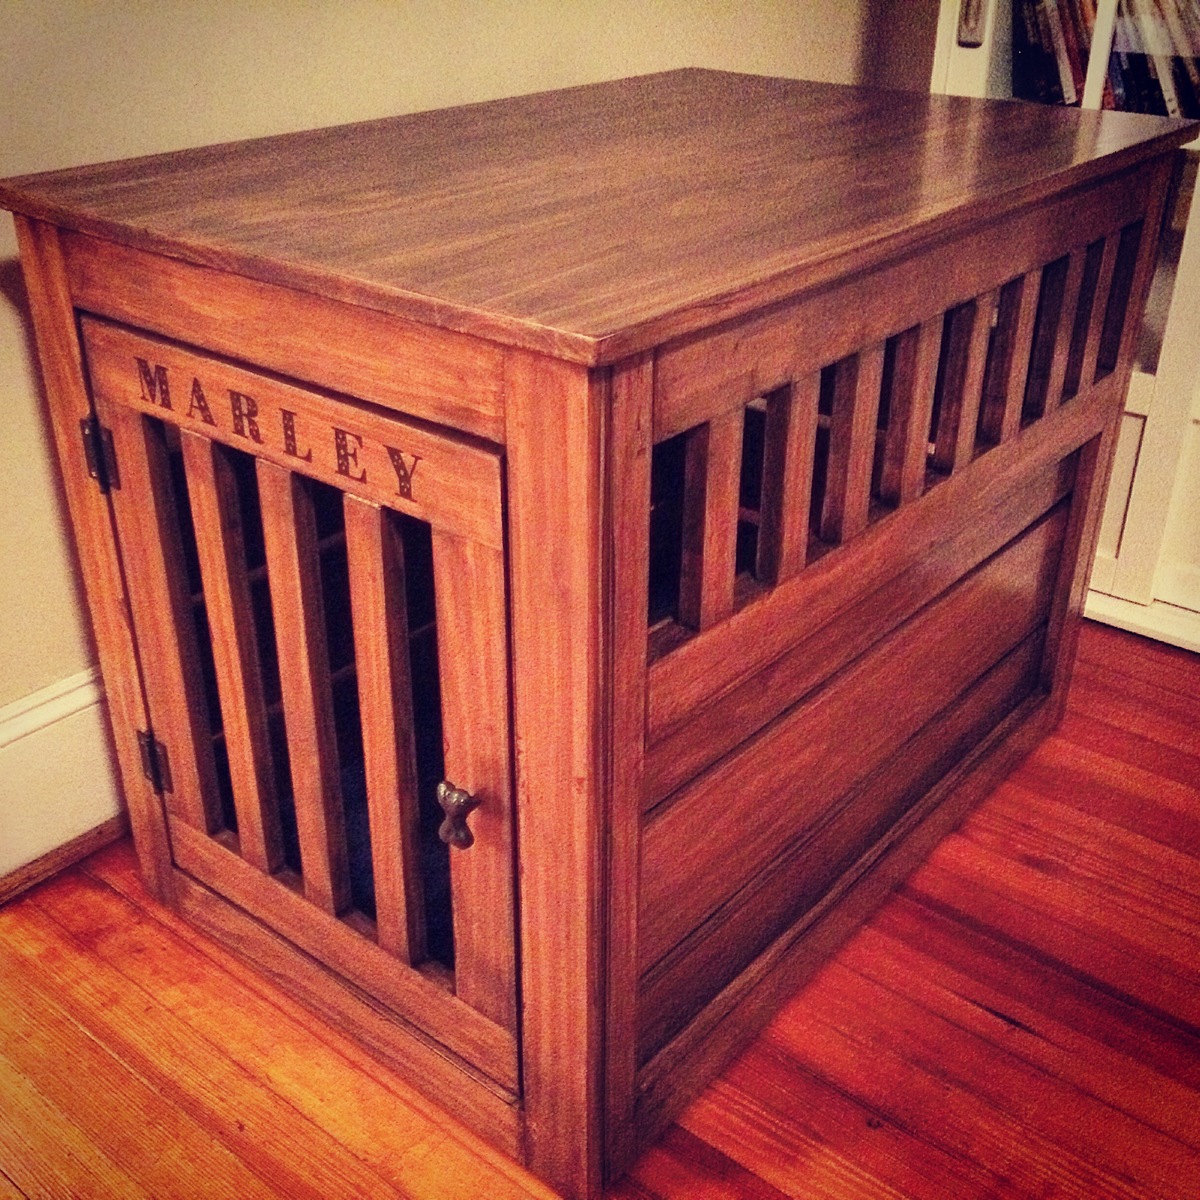
First project made from scratch....took me a while but glad it is finished! Will try to do one more of a larger size for my other dog.
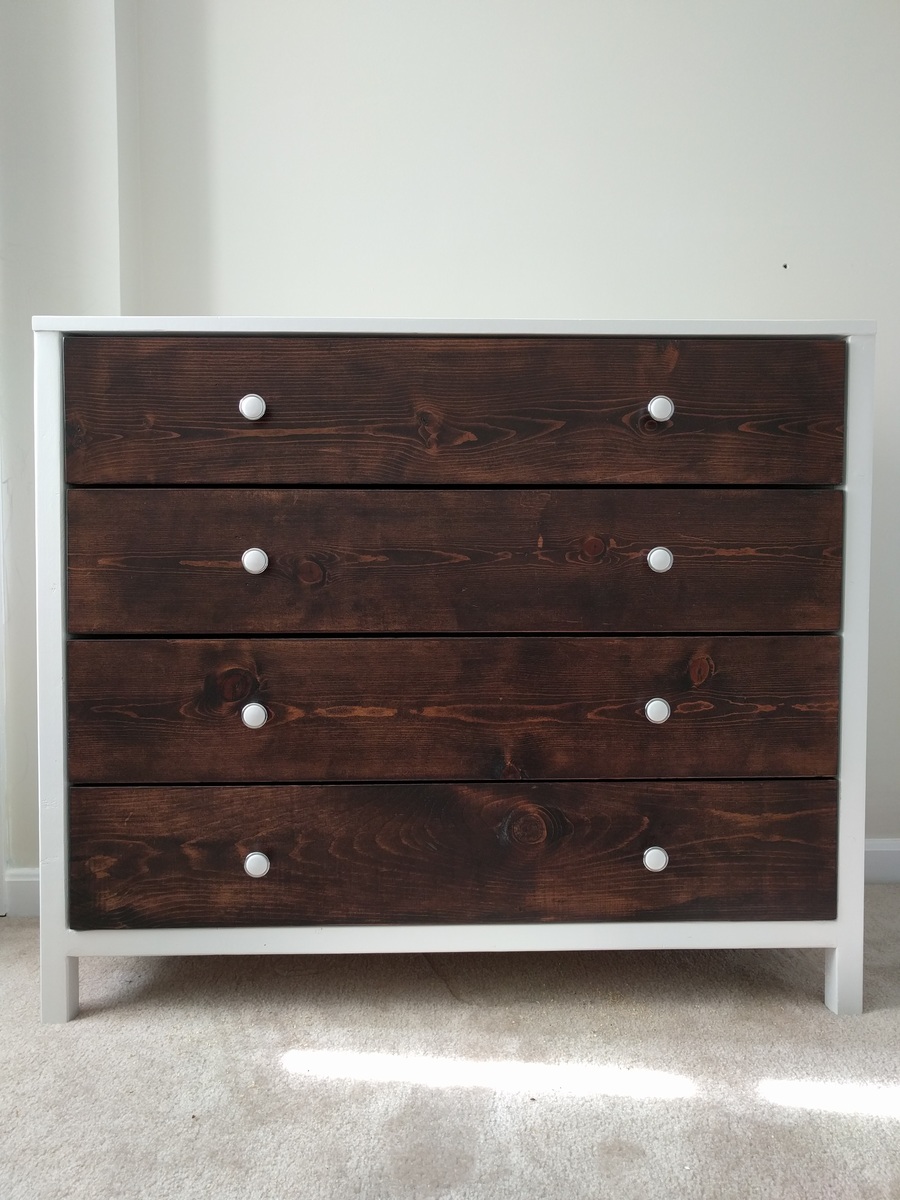
Seen here is my first personal wood working project. I loved the two tone look of this piece as the white really complements and makes the antique walnut stained drawer fronts pop! While the dresser turned out really well considering it being my first build, I learned a lot of lessons. I had a lot of challenges because like every new wood worker, you likely wont have all the right tools for the task at hand. I built this dresser with a circular saw, Kreg jig tool, a miter saw and Wagner spray gun. With these limitation, most task took 2x-3x longer than it normally would. In the end, I was pleased with the outcome.
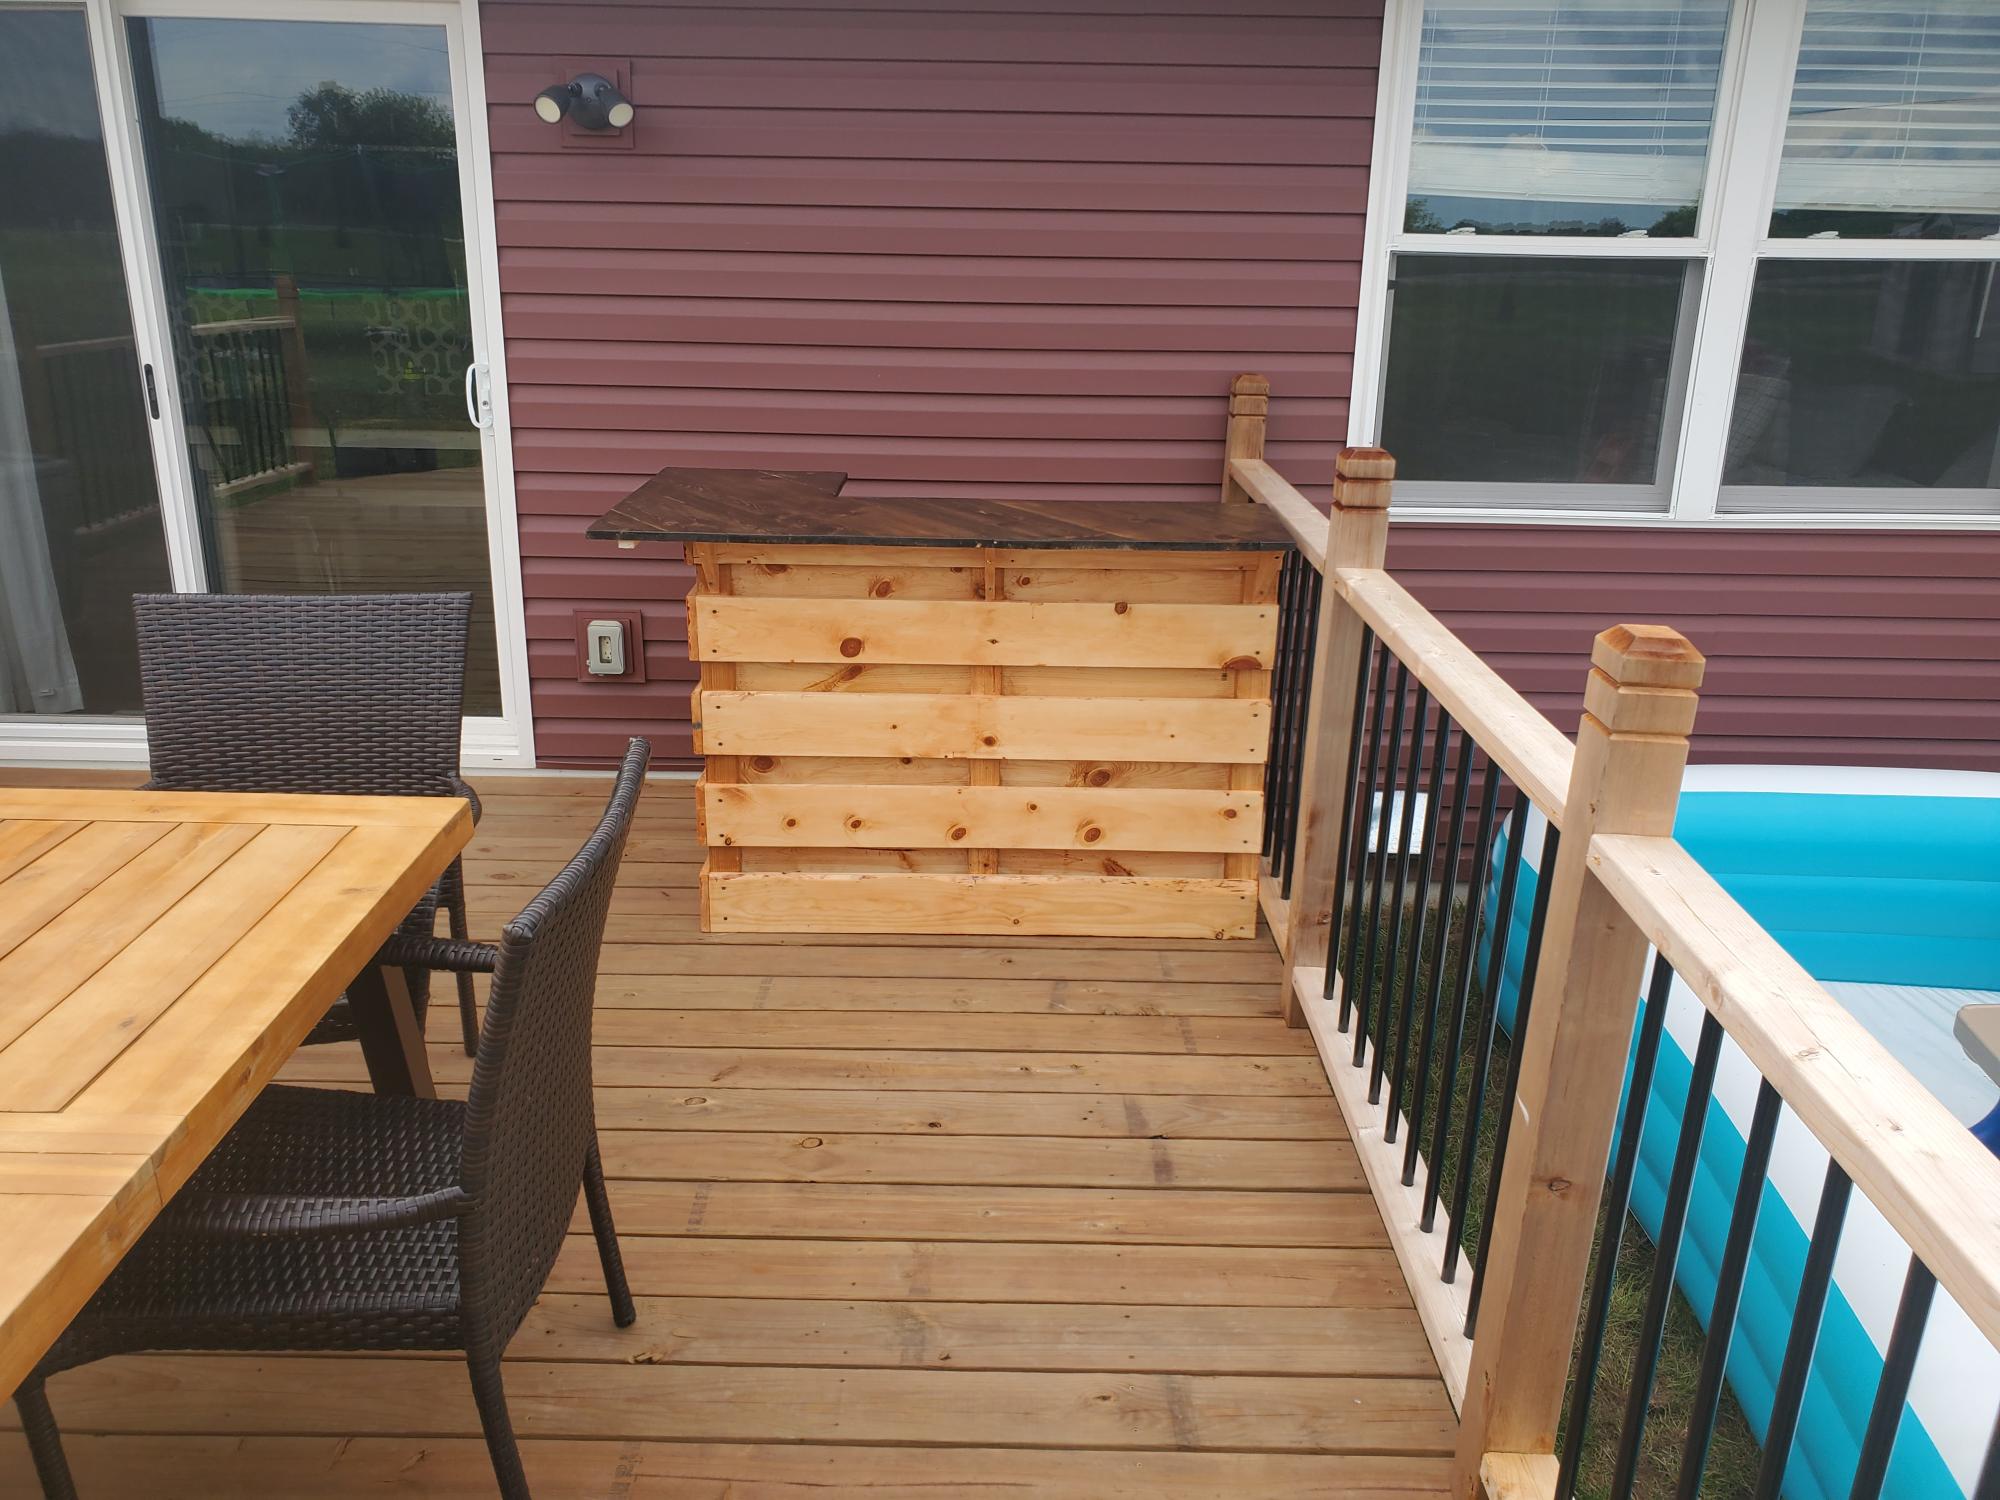
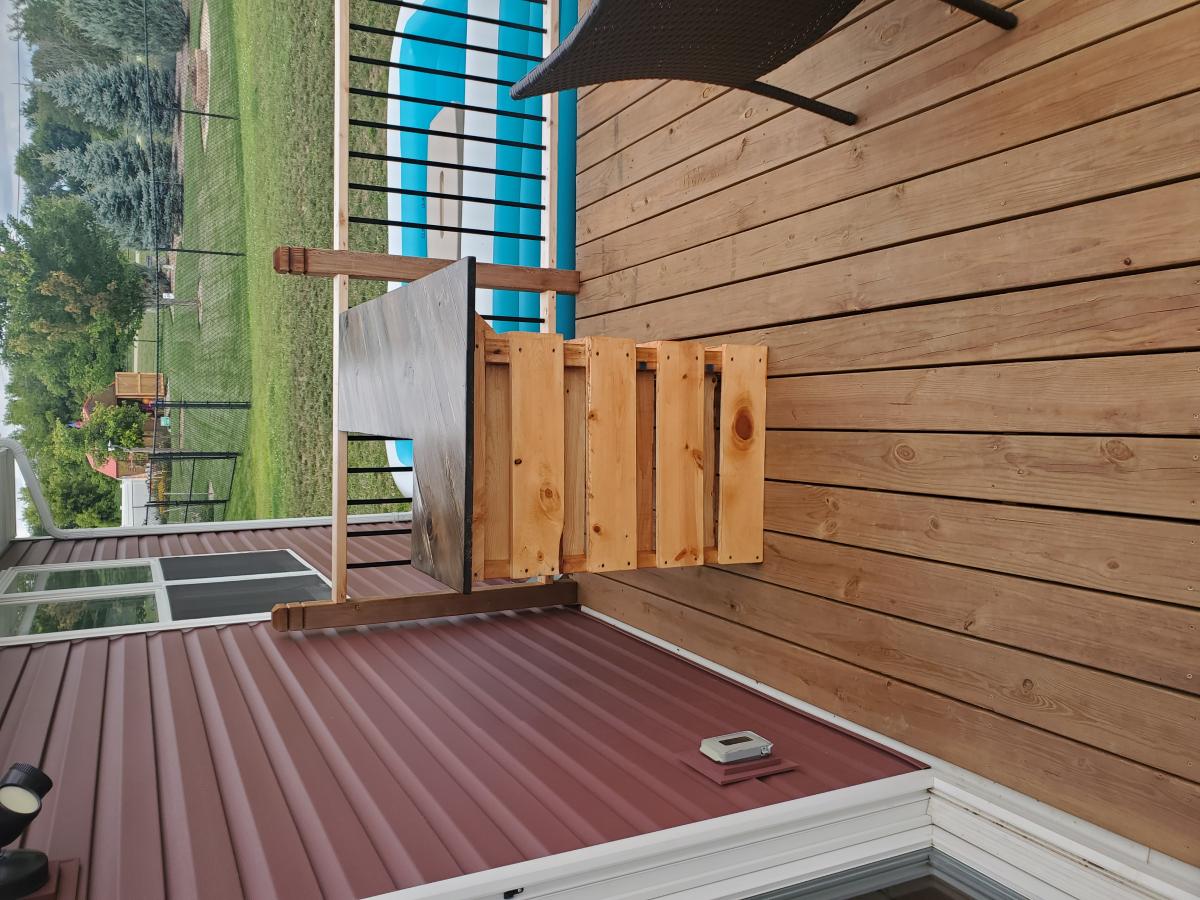
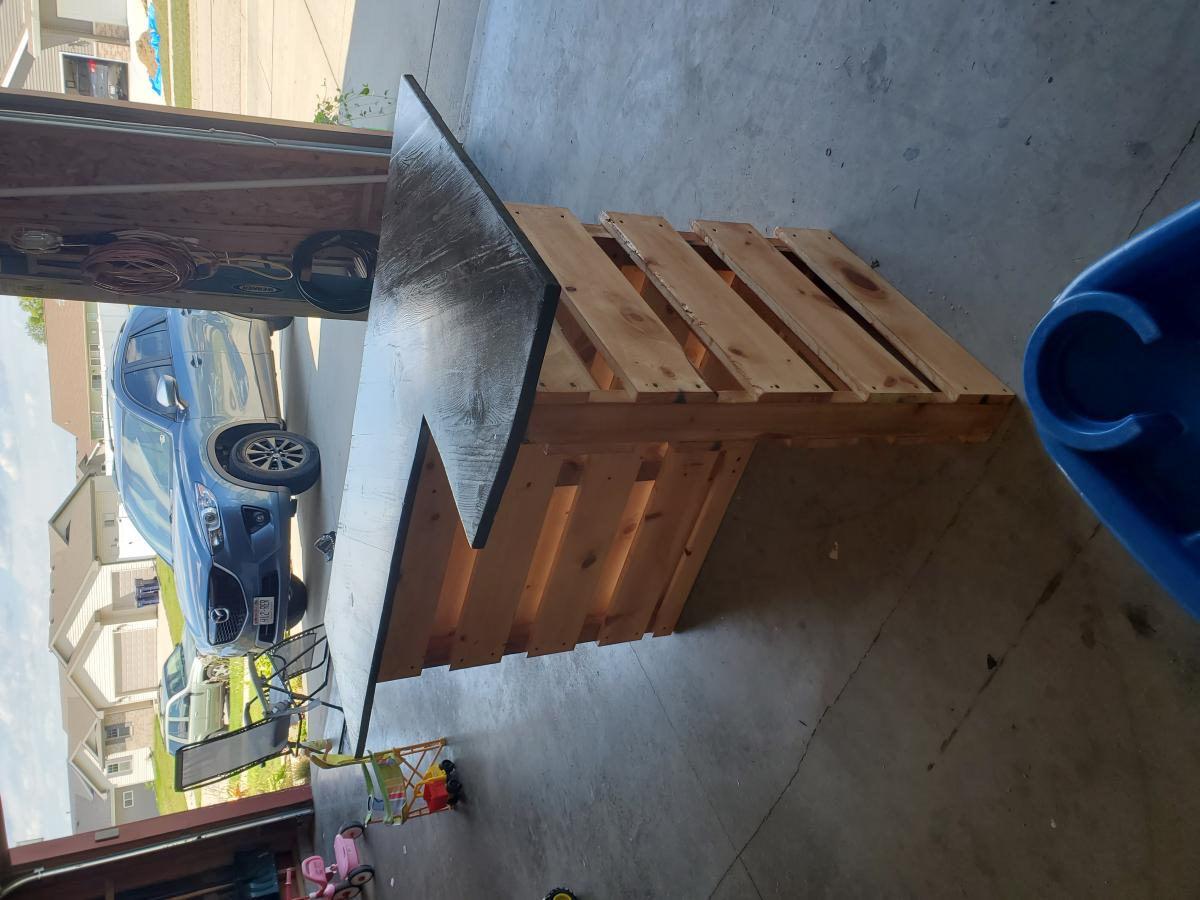
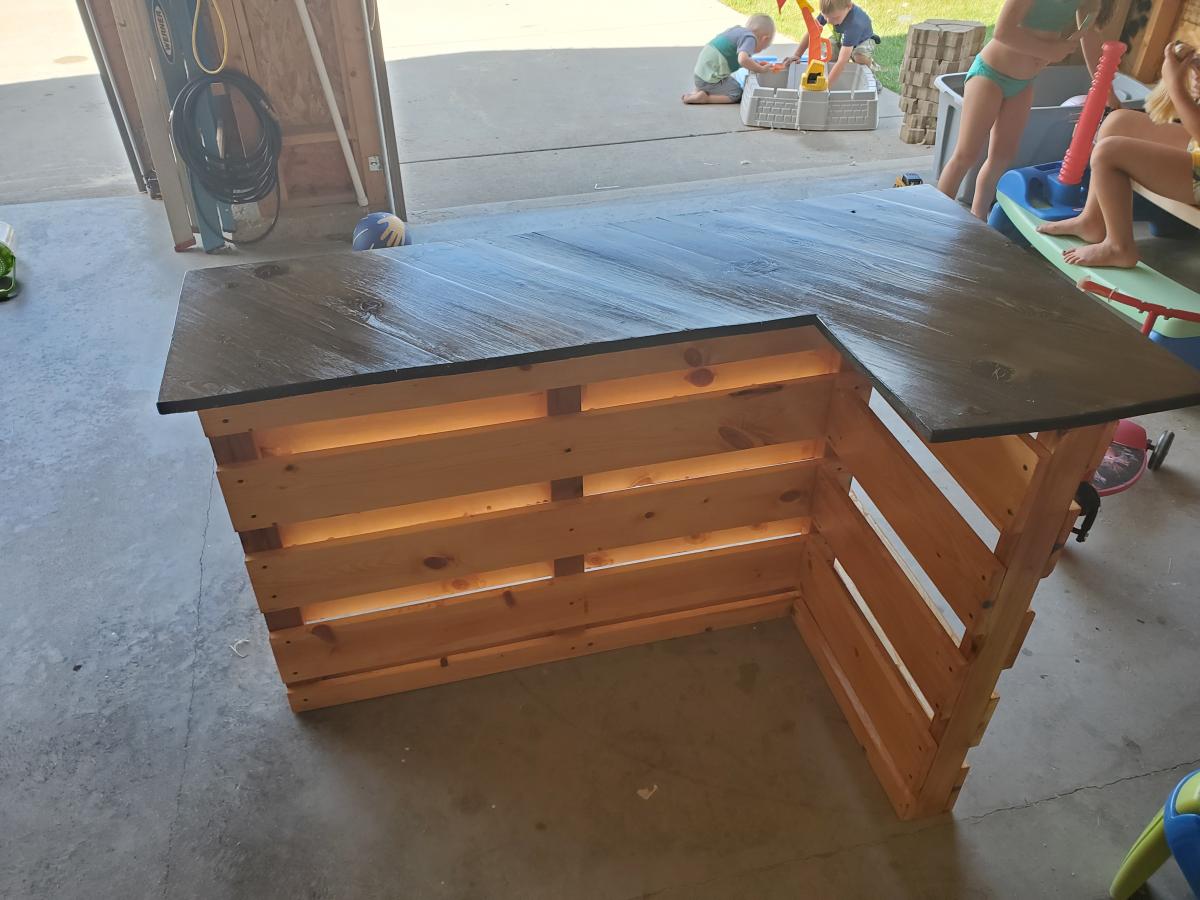
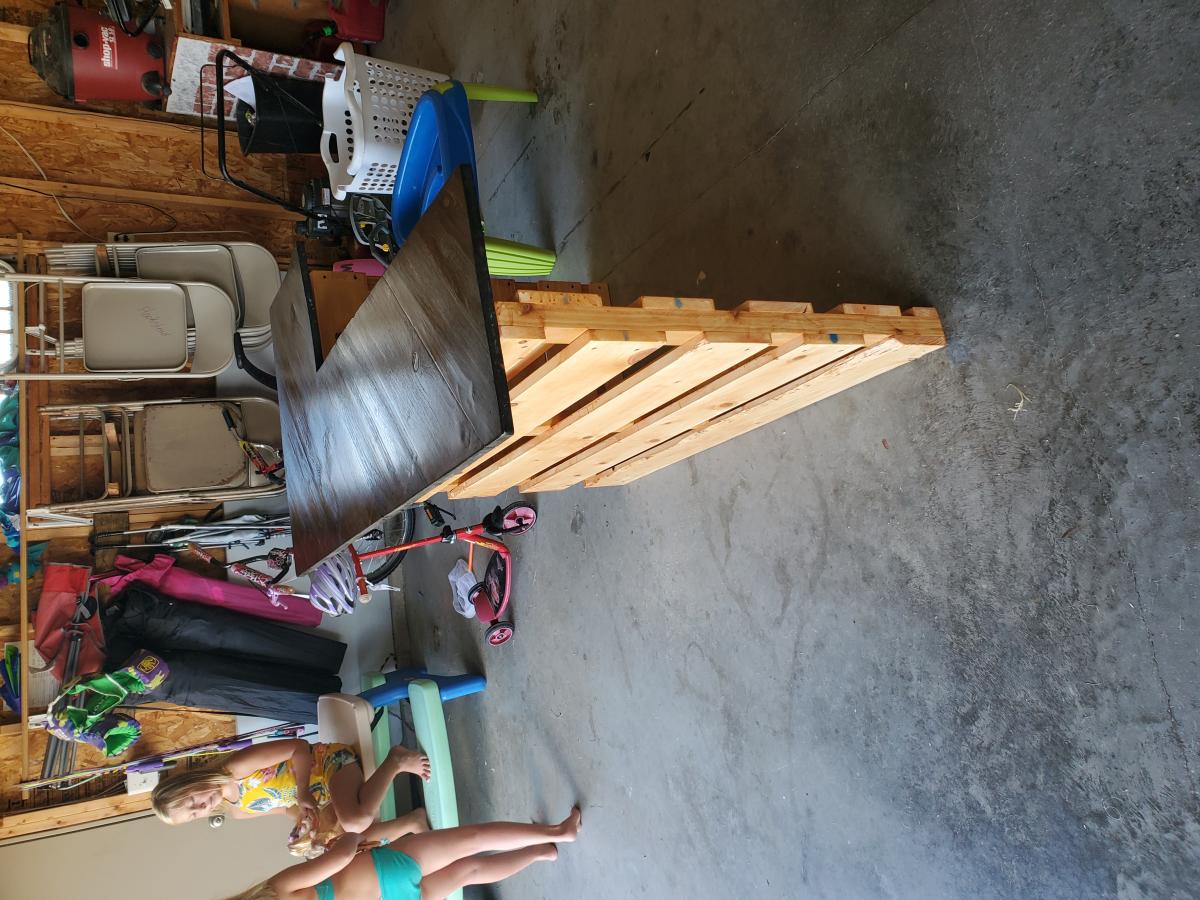
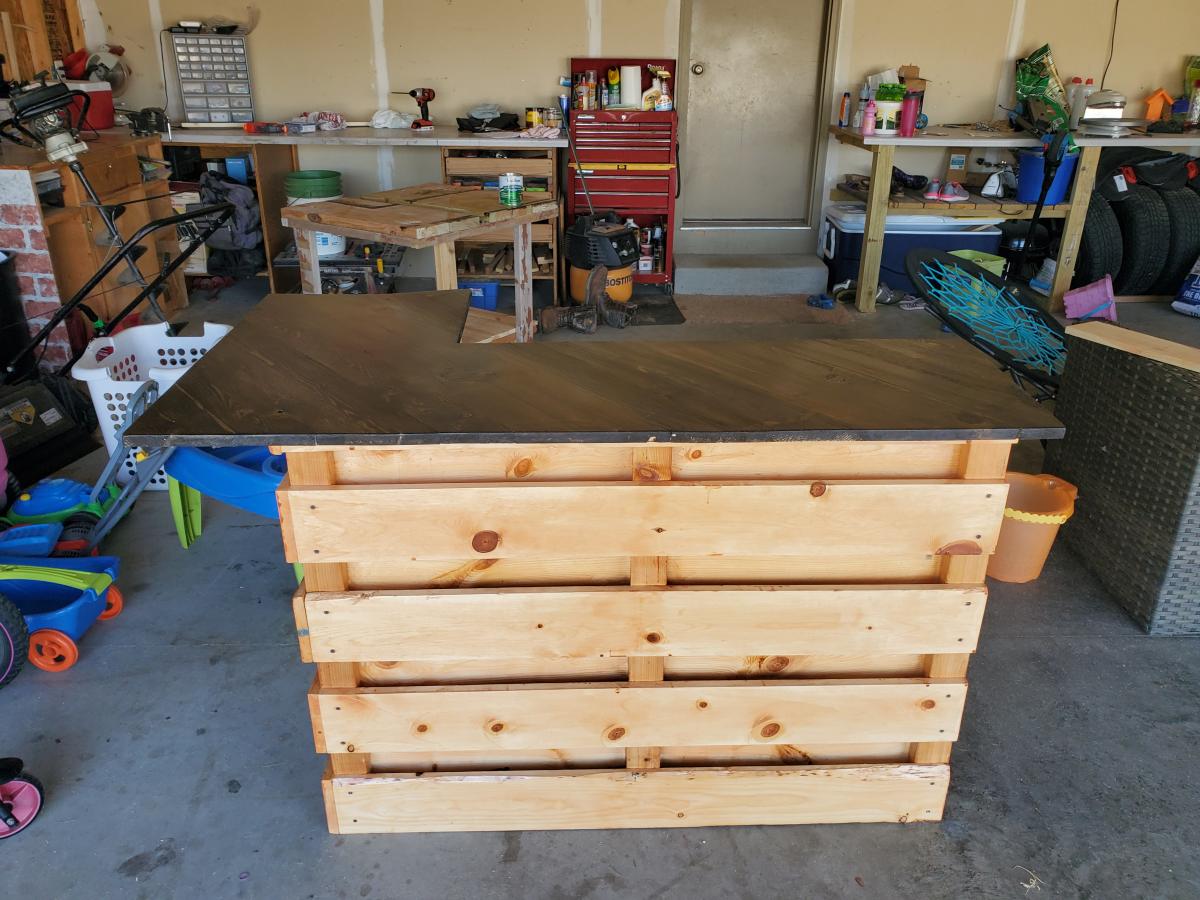
i have aqesome neighbors that just built a deck but was missing something. She like the pallet look bars but did not have any pallets. I did have a bunch of 1 x so made my own pallets.
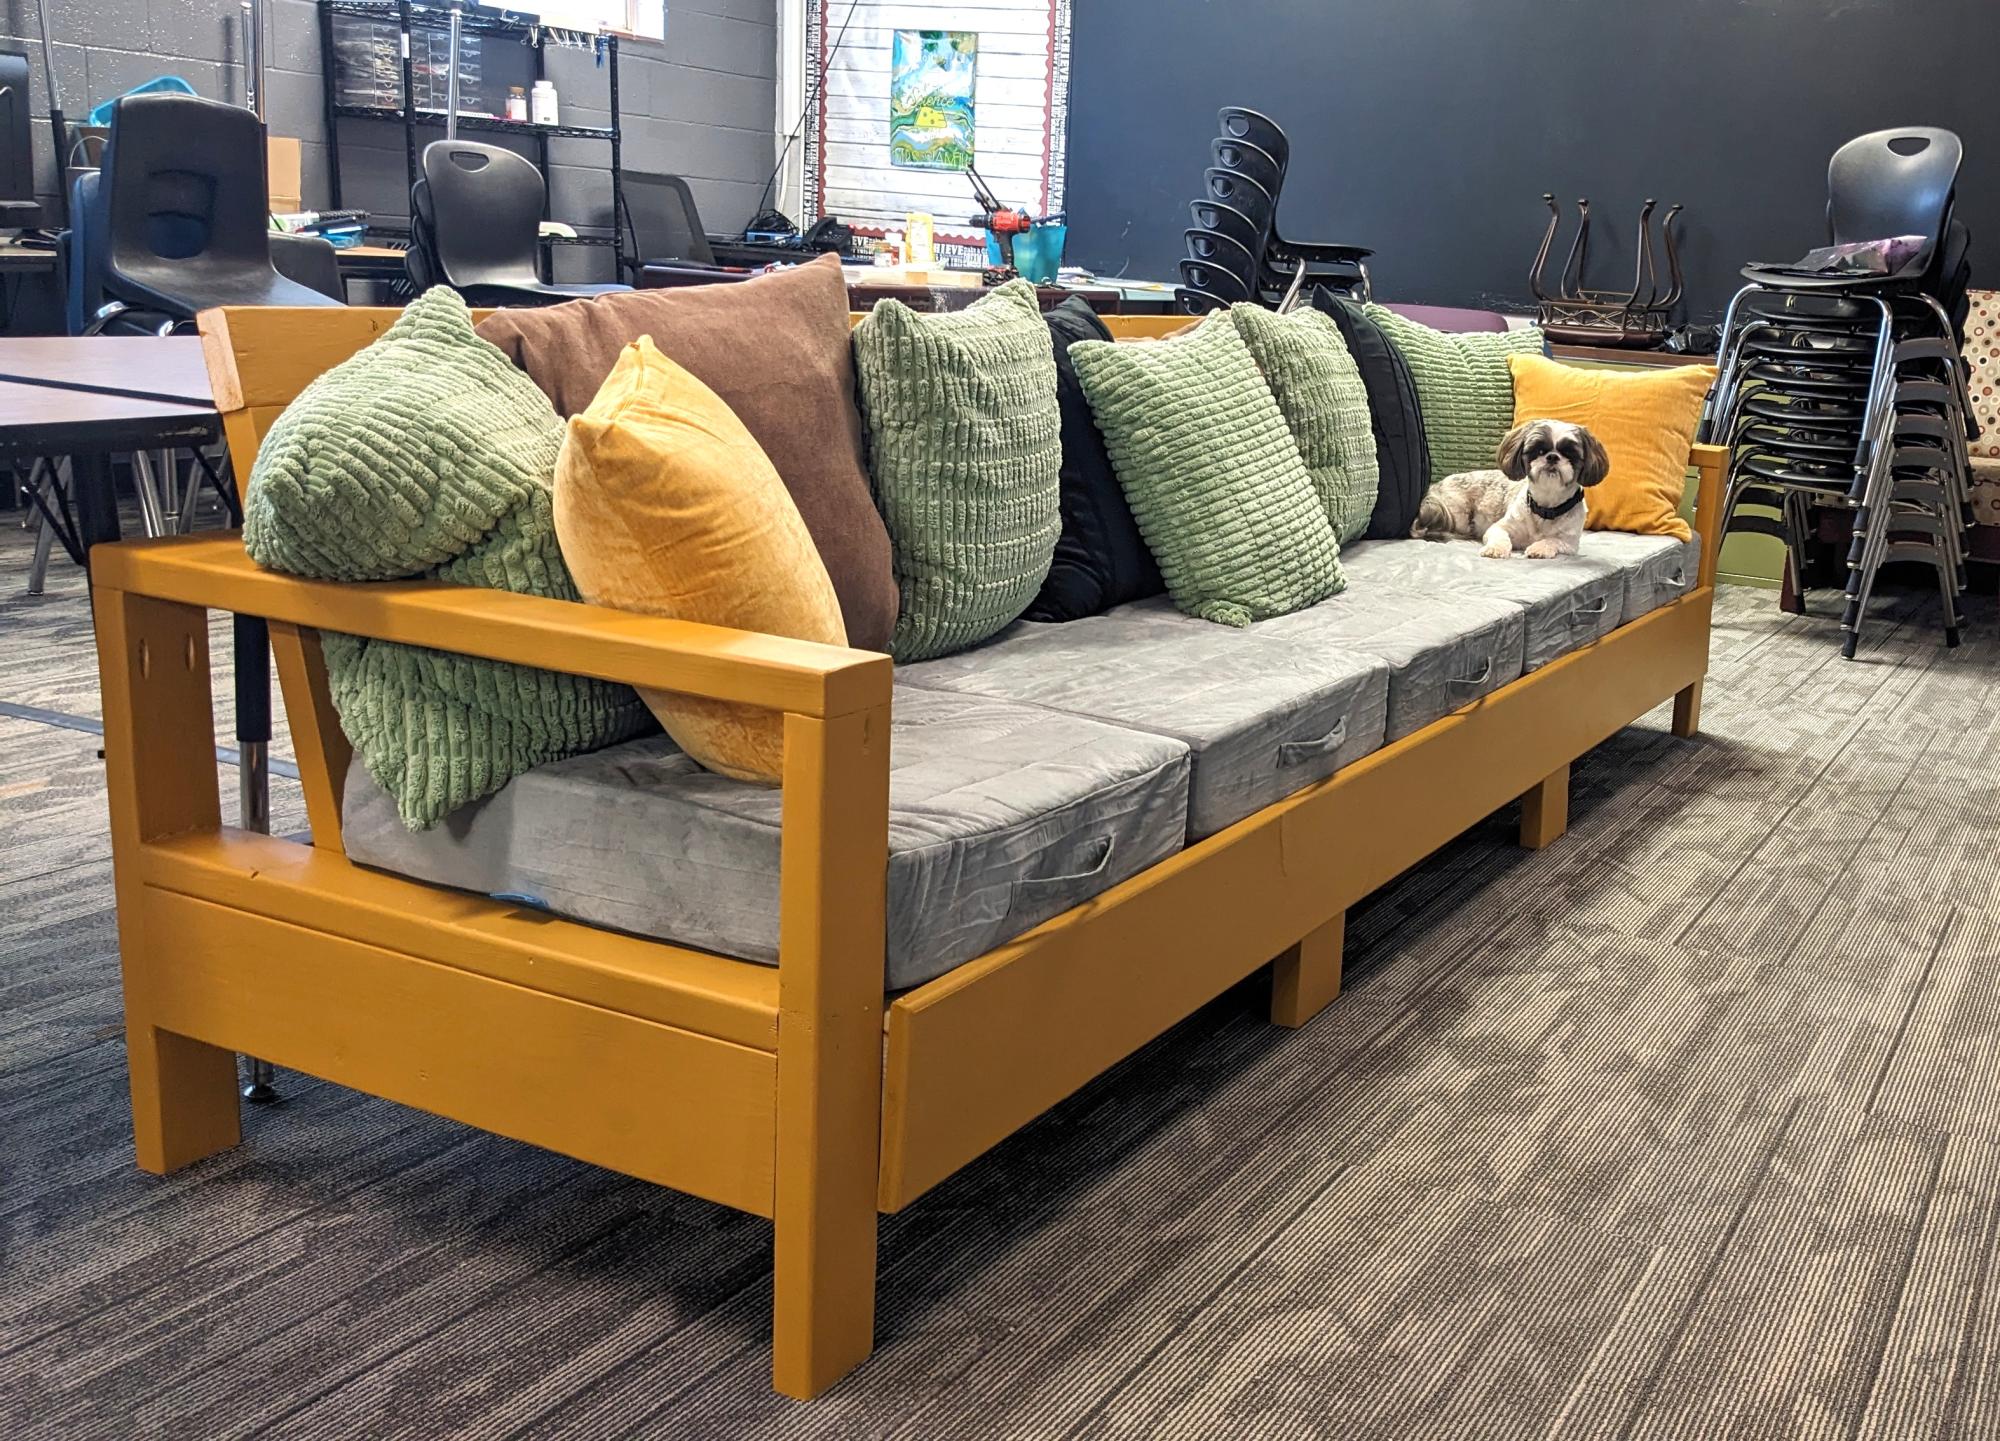
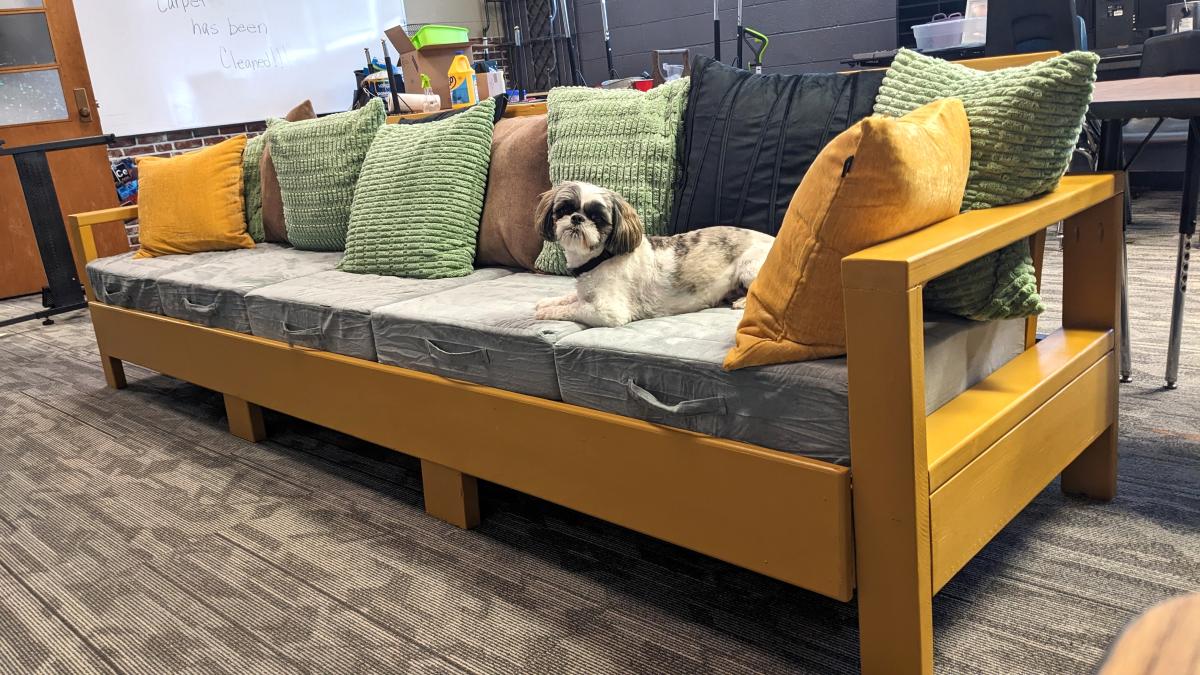
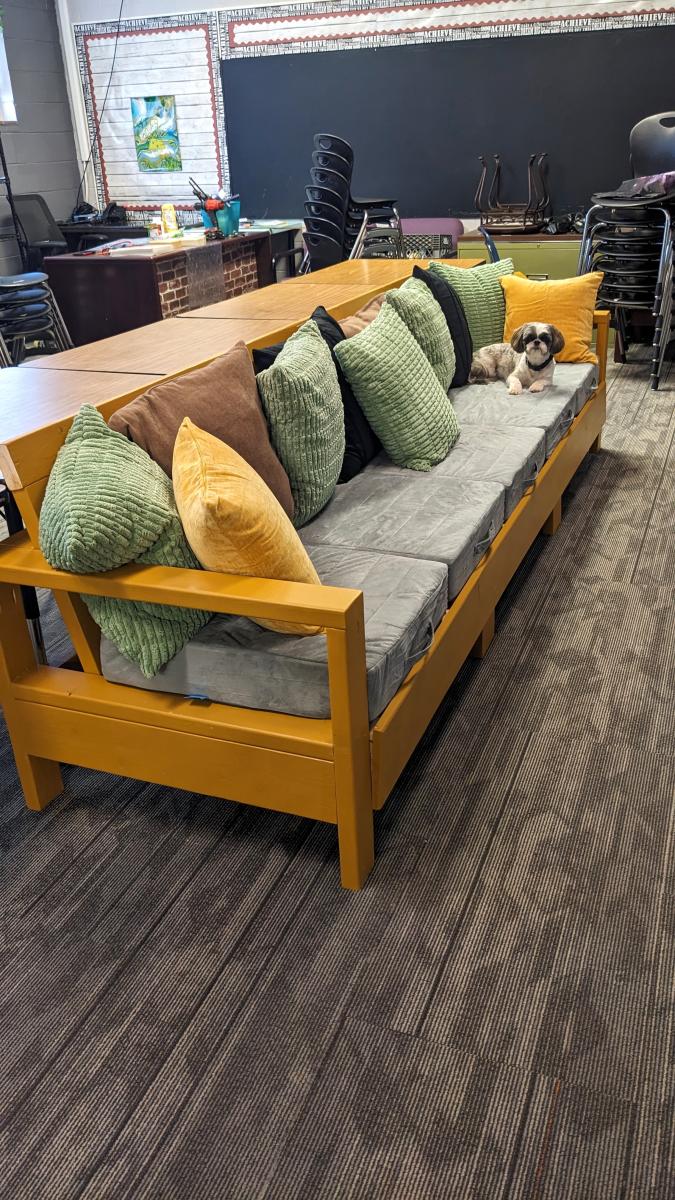
I'm a high school teacher and like flexible seating. I needed something that is very sturdy and can take a beating from teenagers. I used Ana's "2x4 Outdoor Sofa" plan, made it longer, added some extra braces, and here it is! My new classroom couch.
Julie Stanfill

This is a project that I really enjoyed making. I did it in a hurry though because I really wanted to build a playhouse under a loft bed and felt like i should build the stuff that will go inside the playhouse before I but up the playhouse walls. So, here is my sort of finished play kitchen. I still have a few details I wanna add but I'm over it for right now... ready to build the playhouse! The best part was that I made this kitchen for free out of leftover scraps from other projects.

First project I have done by Ana White.

Hello everyone, Happy Holidays. I know so many of you are very busy getting ready for Thanksgiving, I would like to say I am so grateful you took a moment out of your busy time to visit me. Thank You.
I also have been very busy. This year my husband challenged me to get our big table done before Thanksgiving. He didn’t think I could do it. Ha Ha, I showed him, and two additional chairs also.
This table is gorgeous, but I cannot take all the credit. This design comes from Ana White.


Comments
Ana White
Mon, 07/27/2020 - 12:41
This is too cute! Thanks so…
This is too cute! Thanks so much for sharing a photo, love all the additions!