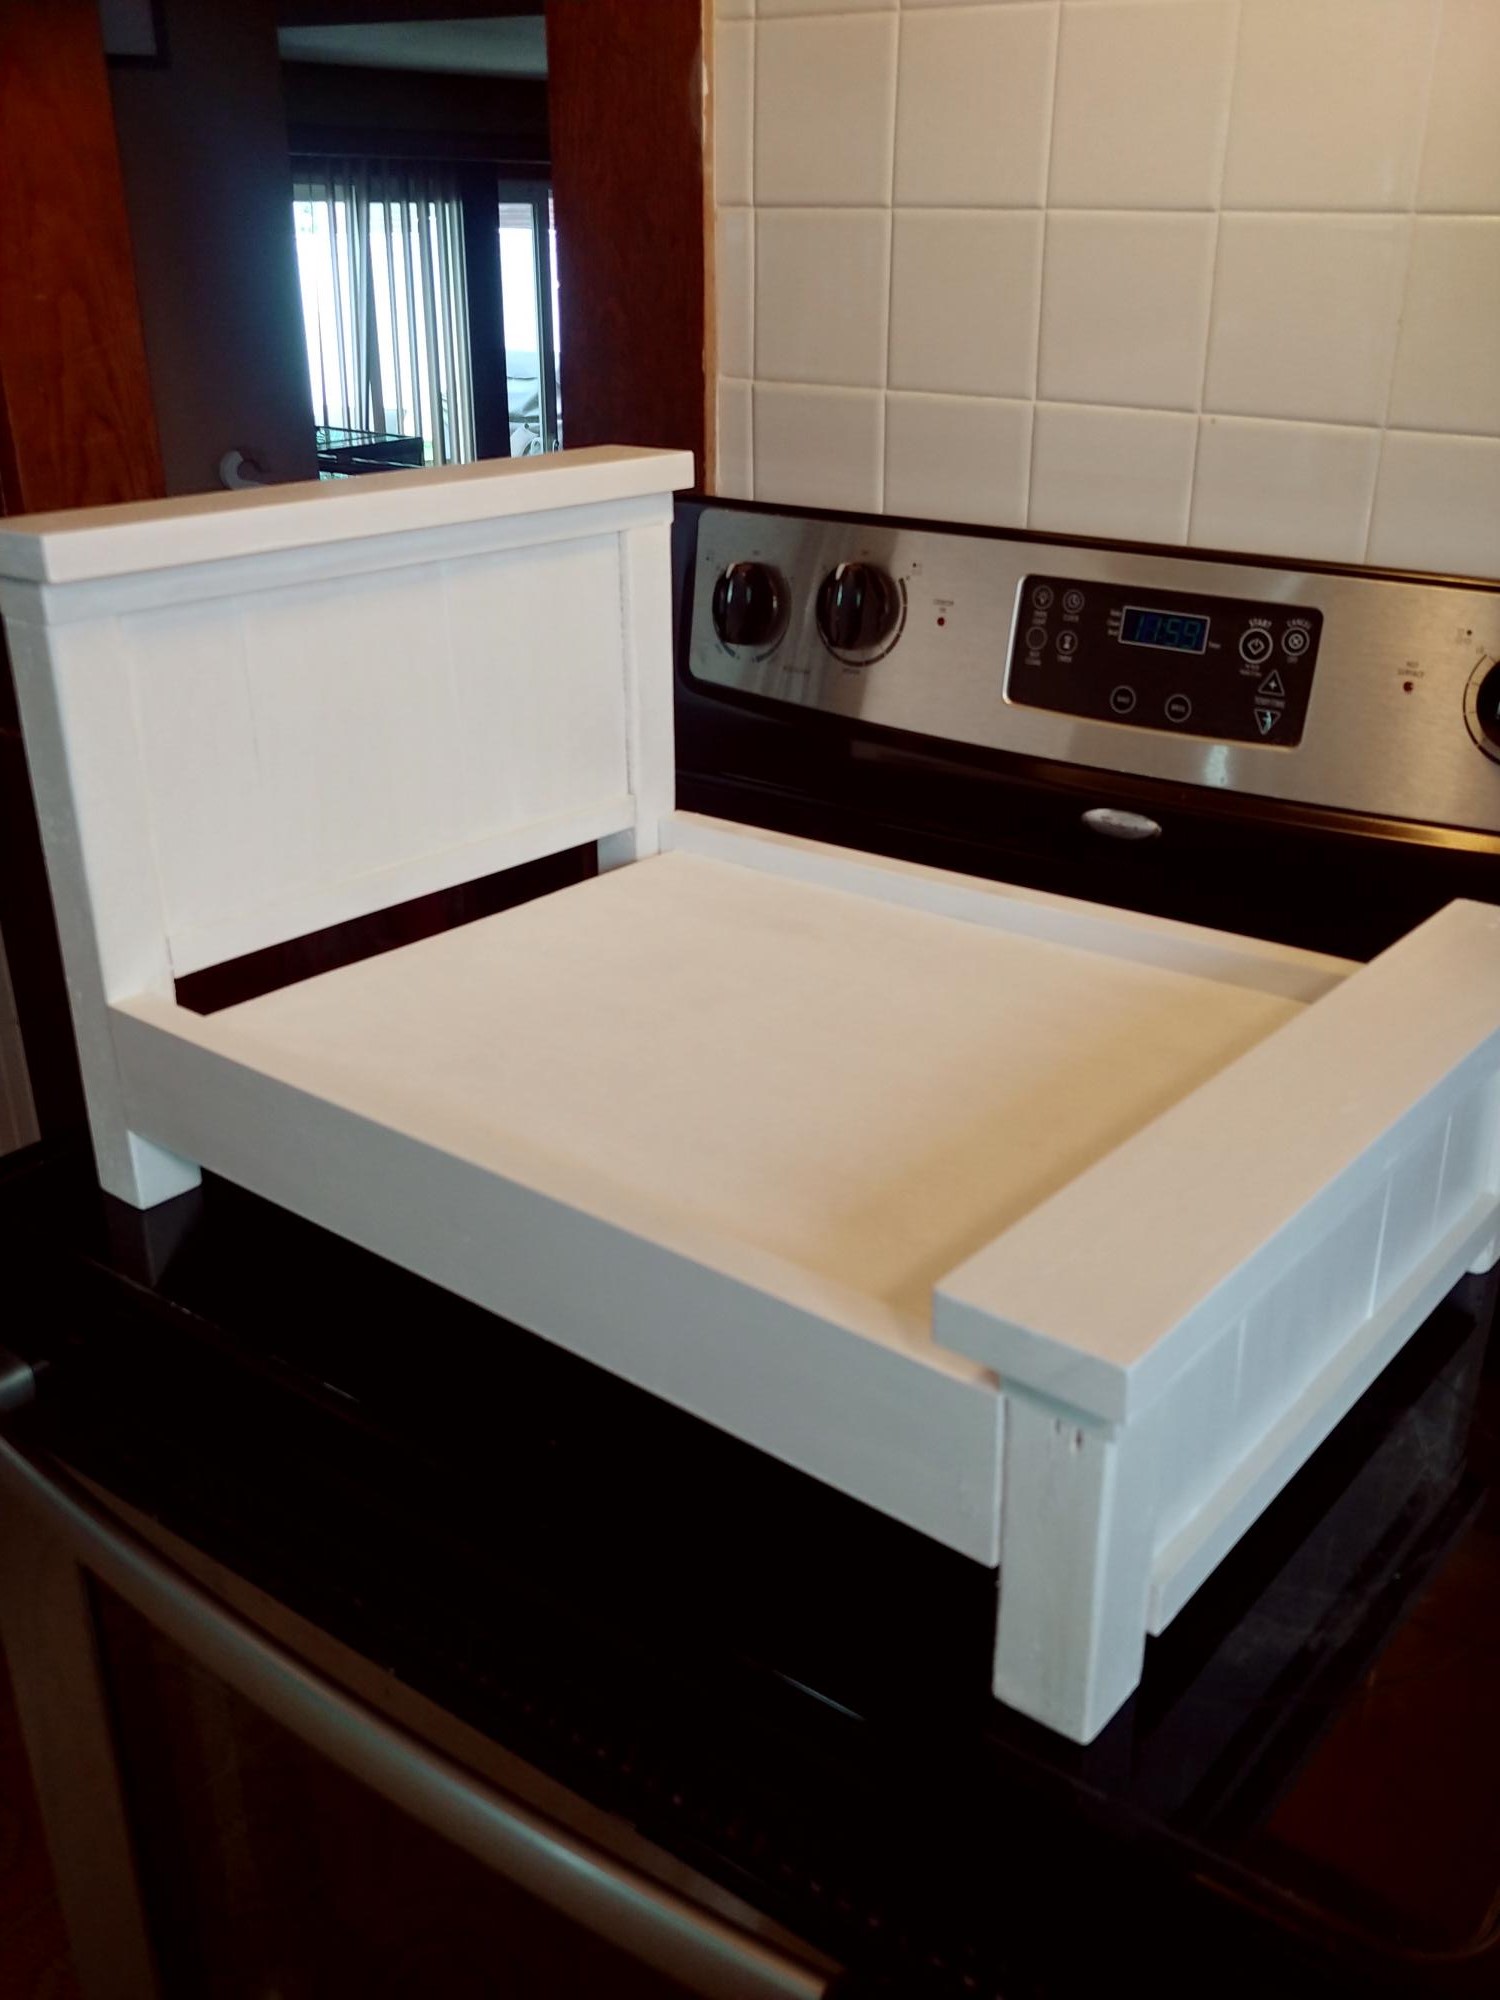
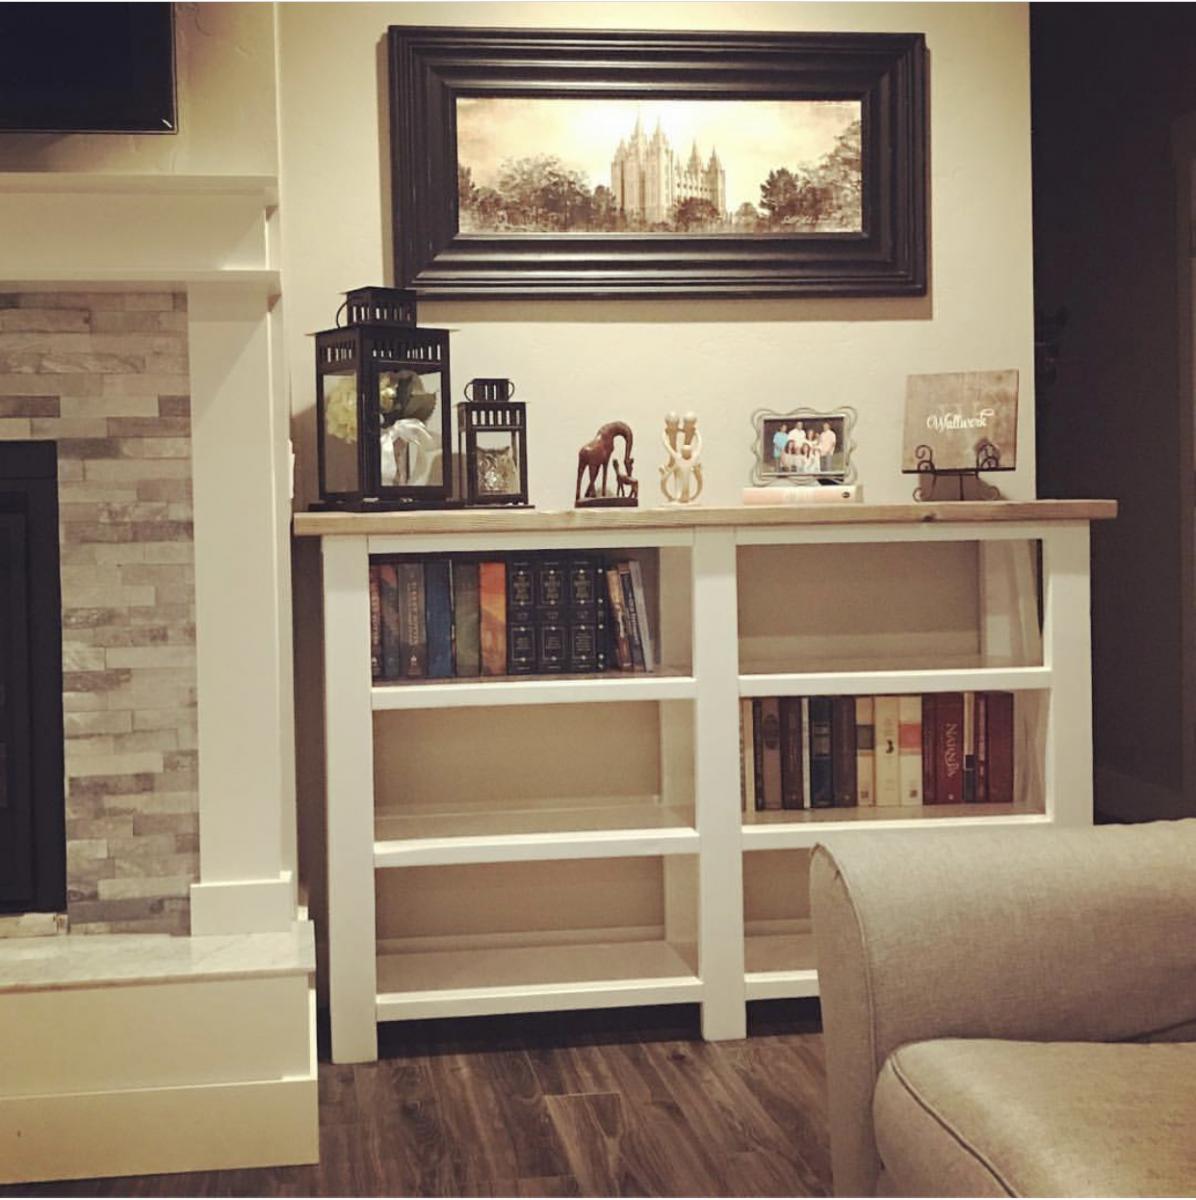
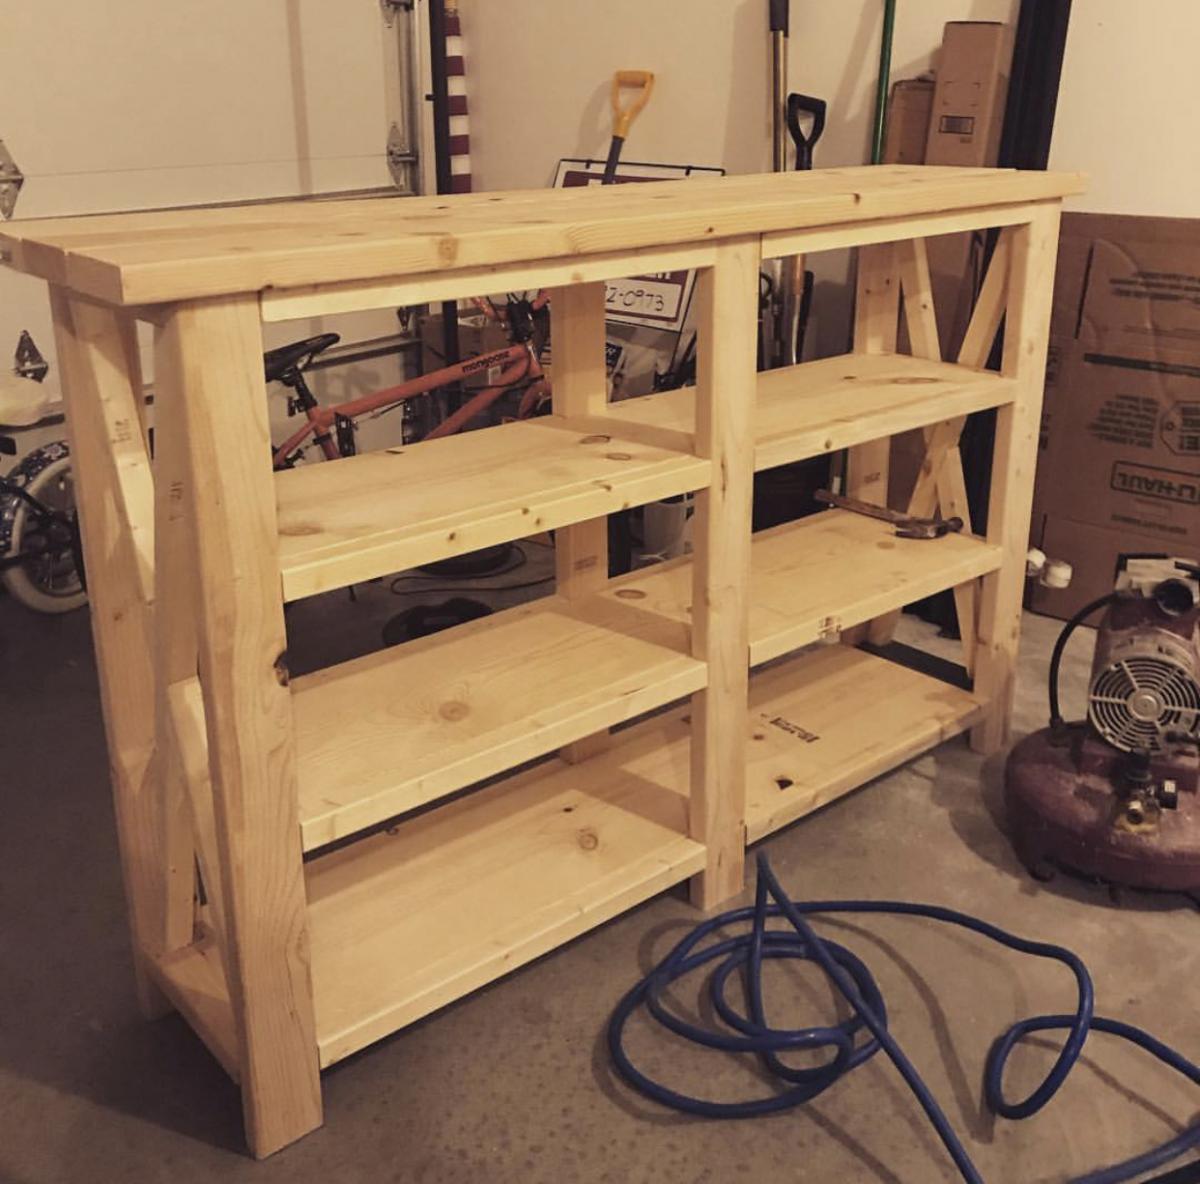
Community Brag Posts

side table

Submitted by witz1987 on Thu, 04/10/2014 - 15:30

This was my first real project, and I am quite happy with how it turned out. I wanted a side table that would look good with the sawhorse dining table and bench (which makes an appearance in the background) that I am building, so this is what I came up with.

The legs are, for each side, 2 X 2x4 X 22.5"(vertical), and 2 X 2x4 X 14.5" (horizontal)

The bottom shelf is 5 X 2x4 X 10.5"

The table top is 5 X 2x4 X 17.5"

The trim is 2 X 1x4 X 17.5", and 2 X 1x4 X 19"

Estimated Cost
$15 + stain and poly
Estimated Time Investment
Day Project (6-9 Hours)
Finish Used
varathane espresso oil based stain for the legs, varathane american walnut stain for the top and shelf, and 3 coats of varathane diamond coat gloss polyurethane over the whole thing.
Recommended Skill Level
Beginner

Log table

Submitted by Anonymous (not verified) on Thu, 07/07/2016 - 07:20

A table that I made out of a slab of rough wood, end cut from a mill. The rounded sides of the coffee table legs were made out of round fence posts cut down the centre & placed on the sides of cedar boards. I painted my wife  & I on the legs "2 old crows". I had sufficient wood left over to build a side table.

Estimated Time Investment
Week Long Project (20 Hours or More)
Recommended Skill Level
Beginner

2x4 Adirondack Chairs (w/2x10s)

Submitted by dustblock on Sat, 05/02/2020 - 19:11

After seeing the post for these new plans, I knew it would be only a matter of days before I was building my own set. I've always wanted to do Adirondack Chairs but disliked the dated look and all the curved cuts of the typical styles. Great job Ana on such an amazing set of chair plans. One substitution I made, as I wanted to go treated but didn't have 1x10s locally, was to use 2x10s for the back and seat boards. I also lengthened the back supports 1/2" to accommodate for the thicker boards and extended the arm rests 1 1/2" so they went past the legs a bit. With those two changes, all of my long pieces use a 33 1/4" measurements for cuts. Will be making my second set as soon as I have time. These will be about 3 1/2" wider to give a bit more room to the chair. Another awesome plan from Ana White!

Estimated Cost
$60
Estimated Time Investment
Afternoon Project (3-6 Hours)
Recommended Skill Level
Beginner

Reclaimed-Wood Farmhouse style Headboard, Queen Size

Submitted by lia0821 on Wed, 06/20/2012 - 14:43

This was my first project and I had SO MUCH FUN doing it! Can't wait to make nightstands to match. The only reason it took me so long and that I'm not sure of the final cost is because it took me a while to finish it due to work/life getting in the way. Plus we have no garage, basement or any indoor work space so were dependent on the weather to behave. I went back and forth to the store so many times for little incidentals I really couldn't tell you what the final cost was however, I can tell you that the wood came out to be about $50.

Estimated Cost
Hard to say, but if I had to guess I'd say around $60-75 (maybe more I went back and forth to store several times)
Estimated Time Investment
Week Long Project (20 Hours or More)
Finish Used
distressed the wood before assembling by hitting it with hammers, screwdrivers, nails other pieces of wood and cement blocks I had lying around behind out shed (they made for GREAT distressing tools--I just hit the wood with them and got these cool indents that I just loved). Then sanded the edges to make for a more worn look.

Staining: 1 coat of Minwax Provincial that I wiped off very soon after applying (about 5-10 min). I didn't wait for it to set in. Basically I started at the top and worked my way down...then began wiping off from the top. (applied stain with rags and wiped off with clean ones). I finished a week later with water-based polyurethane (2 VERY THIN coats, sanding in between). I didn't want any yellowing affect with the oil-based but you have to wait a few days to coat a water-based poly over an oil-based stain.
Recommended Skill Level
Starter Project

Comments

adirondack chair of Ana

Submitted by pattyitaly on Sun, 04/13/2014 - 03:28

Hi
I am still working on my portico furnitures..but as we have changed the colour of our Home, I have decided to change the colour of sofa ( terrible decision) and than to build the adirondack chair for Home depot of Ana to be part of the ensemble.
Thanks Ana. I love it.
I used the same project just changing two small things ( a small support under the arms and making the arms more similar to the original adirondack chair. I used the oxydizing solution to paint and it is a great stuff!
ciao patty
p.s. I already posted the sofa is always Ana's project.

Estimated Time Investment
Weekend Project (10-20 Hours)
Finish Used
oxydizing solution
Recommended Skill Level
Starter Project

Sister Salvage Skull bench using Ana-White base

Submitted by Anonymous (not verified) on Sun, 07/10/2016 - 10:00

I used the Modern Park Bench plans. I made it a little narrower and taller to accommodate who I made it for as he is tall. I also used oak ply for the backing in order to showcase the skull art that he requested. The design was taken from his favorite shirt. Ply was ok since it is on a covered porch. Thank you Ana White for providing plans to use. Very much appreciated!

Built from Plan(s)
Recommended Skill Level
Intermediate

Ana's Adirondack Chairs. My wife loves them

Submitted by Anonymous (not verified) on Tue, 05/05/2020 - 05:34

Just bought a compound miter saw and saw the plans for the Adirondacks Chairs on your channel. Showed them to my wife and she lived them and so became my first project with the new saw. I finished them with leftover deck stain (PPG Cedar 077). I'm sure they will be around for years to come.

Dr Seuss bookcase

Submitted by ckarnacki on Mon, 06/25/2012 - 21:13

I loved the inspiration for the handmade one of a kind Dr Seuss bookcase. I made a few design changes and learned alot while building this. My little one is going to love it once he's born in about a month!

Estimated Time Investment
Weekend Project (10-20 Hours)
Recommended Skill Level
Intermediate

Comments

bmyers48

Sun, 07/19/2020 - 21:09

Would love to make this for my daughter. I saw that you said the plans were on your blog but when clicking the link under the red one it says I have to be invited to the blog, I clicked on it but seems the blog is taken down. Anyway, thought it was worth asking if you have a copy of any additional details to this. Thanks so much!

Brady

Kid's Playhouse

My son's school asked me to build a playhouse for their annual auction and after looking around online for a few days finally found a plan I liked. I modified it a little and did not do the cedar so we could paint it. Turned out great and more pictures on the blog, www.atouchofarkansas.com

Estimated Cost
$800
Estimated Time Investment
Week Long Project (20 Hours or More)
Finish Used
Paint
Recommended Skill Level
Intermediate

Comments

jcmcclure77

Wed, 04/16/2014 - 12:33

I got the plans off of woodcraft.com, they were $8 think and the specific plans were Playhouse, Plan No. 881. Not as detailed and easy as Ana makes it on us, but overall not too hard to figure out.

Cedar Ladder Planter

Submitted by Anonymous (not verified) on Wed, 07/13/2016 - 10:51

I followed the plan directions to a "T" and it worked out so well! This projects gives me joy everytime I walk up my front steps. Thanks!

Estimated Cost
$30
Estimated Time Investment
Weekend Project (10-20 Hours)
Recommended Skill Level
Beginner
Seasonal And Holiday

American Girl Doll Bed

Made this for my daughter's dolls.

Estimated Time Investment
Day Project (6-9 Hours)
Finish Used
Chalky paint. Clear protective spray paint.
Recommended Skill Level
Beginner

Cabinet with storage

Submitted by MEdwards on Thu, 04/17/2014 - 09:03

A friend of mine pinned this on Pinterest and gave me the dimensions she wanted. The wood I used is Birch. The cabinet she pinned is actually a cabinet full of drawers. She wanted the same look, but doors instead, for storage.

Estimated Cost
$250
Estimated Time Investment
Week Long Project (20 Hours or More)
Finish Used
Cherry stain and clear semi-gloss Polyeurethane
Recommended Skill Level
Advanced

Rustic X Console with changes

Wanted to make shelves to put on both sides of our fireplace but had to alter the dimensions. So I added another shelf and made it shorter in length. I was a bit nervous because I’ve always just built per the instructions. It turned out perfect! Just don’t look too closely at the X’s!

Built from Plan(s)
Estimated Cost
$80
Estimated Time Investment
Day Project (6-9 Hours)
Finish Used
Minwax Classic Gray
Paint-some leftover white I had
Recommended Skill Level
Beginner

Repurposed Wood Hall Tree

Submitted by Anonymous (not verified) on Thu, 01/04/2024 - 07:56

The family needed a safe place for backpacks, shoes, jackets and everything else needed for school. I modified Ana's plan since this project was made with recycled shipping pallets. Rather than struggle with warps, twists and other imperfections I embraced them with glossy white paint. I added the waxed pine panels to absorb the daily use and abuse and be readily buffed when necessary.


Built from Plan(s)

Changing Table

Submitted by bd on Sat, 04/19/2014 - 15:00

This was actually the second changing table I made based off this set of plans. The first one was a painted pine piece that went to the church nursery. I made the shelves deeper and the wider to accommodate the changing pad and have extra room for a wipe warmer and a lamp.

Neither of the big box stores had oak trim (I guess it's a regional thing?), so I had to spend some extra money on a nice piece of trim from a custom shop. I had quite a bit of oak plywood left over from a previous project, so the cost of the project all evened out in the end (kind of).

I also didn't make the top "removable." I figured if I want a book shelf in the future, I'll make a bookshelf instead of having an old changing table with holes on the top from screws.

Just like all of my projects, there a few blemishes, but all in all I was pretty pleased with the way this one turned out. Thanks for the plans, Ana!

Built from Plan(s)
Estimated Time Investment
Week Long Project (20 Hours or More)
Finish Used
Minwax Red Oak (2 coats) and Minwax Polyurethane - Gloss (2 coats)
Recommended Skill Level
Intermediate
Back