I am a computer programmer by trade, a husband/father/cook/baker by avocation. I can read and write music. I am new to woodworking, and look forward to building with Ana's excellent plans.
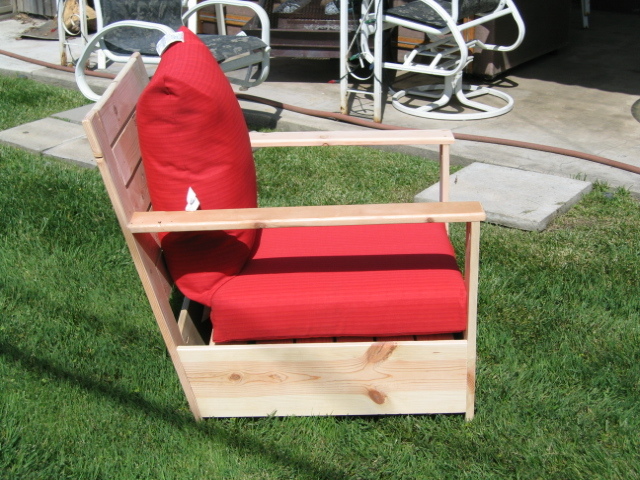
Bristol Outdoor Lounge Chair
Friends,
This is my first woodworking project in a long time. When I found the plans from OPD at Ana's site, I thought, I can do that! It turns out I was both right and wrong.
I bought the wood; I ordered a Kreg Jig from amazon; I searched for inexpensive pillows. My wife is a terrific seamstress, and we looked for fabric and foam. Yikes, is foam expensive!
Anyhow, I measured everything twice, made my cuts and figured out how to cut the 15º angled cuts. Then I drilled all of the pocket holes - what a chore.
My good friend has a complete wood shop. He has more power tools than Sears. Me, I've got a hollow-core door on two plastic sawhorses, a jig saw, chop saw, power drill and screw gun. I wanted to do this myself, so I did not use any specialty tools.
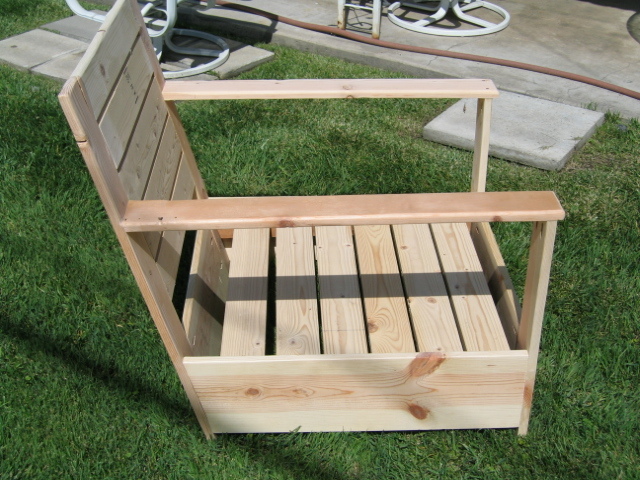
I built the chair without glue. Since this is a prototype, I wanted to be able to dismantle it. I built it to the specs provided, and discovered three things:
1. Attaching the back as a separate piece at a 15º angle is weak. "Weak as water," someone has said.
2. Butt joinery is an imprecise science when soft wodd is used.
3. The chair was too dang big!
So I took it apart. I changed the width of the front and back panels to 20 1/2", and re-used the arm supports.
I cut one end of each side panel to 75º.
The two back supports are a single piece of 1" x 4", 32" in length. This, coupled with the angled cut on the side panels, eliminates the weak joint at the back.
I shortened the depth (from front to back) by about 3", but the box for the bottom cushion is still too big. Next time the box will be 25" square.
In using butt joinery, I found that the back supports and side rails and the front apron all went together well. Perhaps I set the depth gauge incorrectly on the Kreg drill bit, because the 90º joints are not as clean as the flat joints. Then again, the more I do this, the better at it I will get.
I know that some of the joint holes are too deep, and this let the screw penetrate through the joint. Careful measurement before drilling all of the holes is crucial, and demands one's attention. I found myself checking the stop ring on the drill bit several times as I progressed, to make sure it was still set properly.
Using the Kreg Jig is not hard; it takes a bit more effort than they lead you to believe. I found myself wishing for three hands when joing 90º joints.
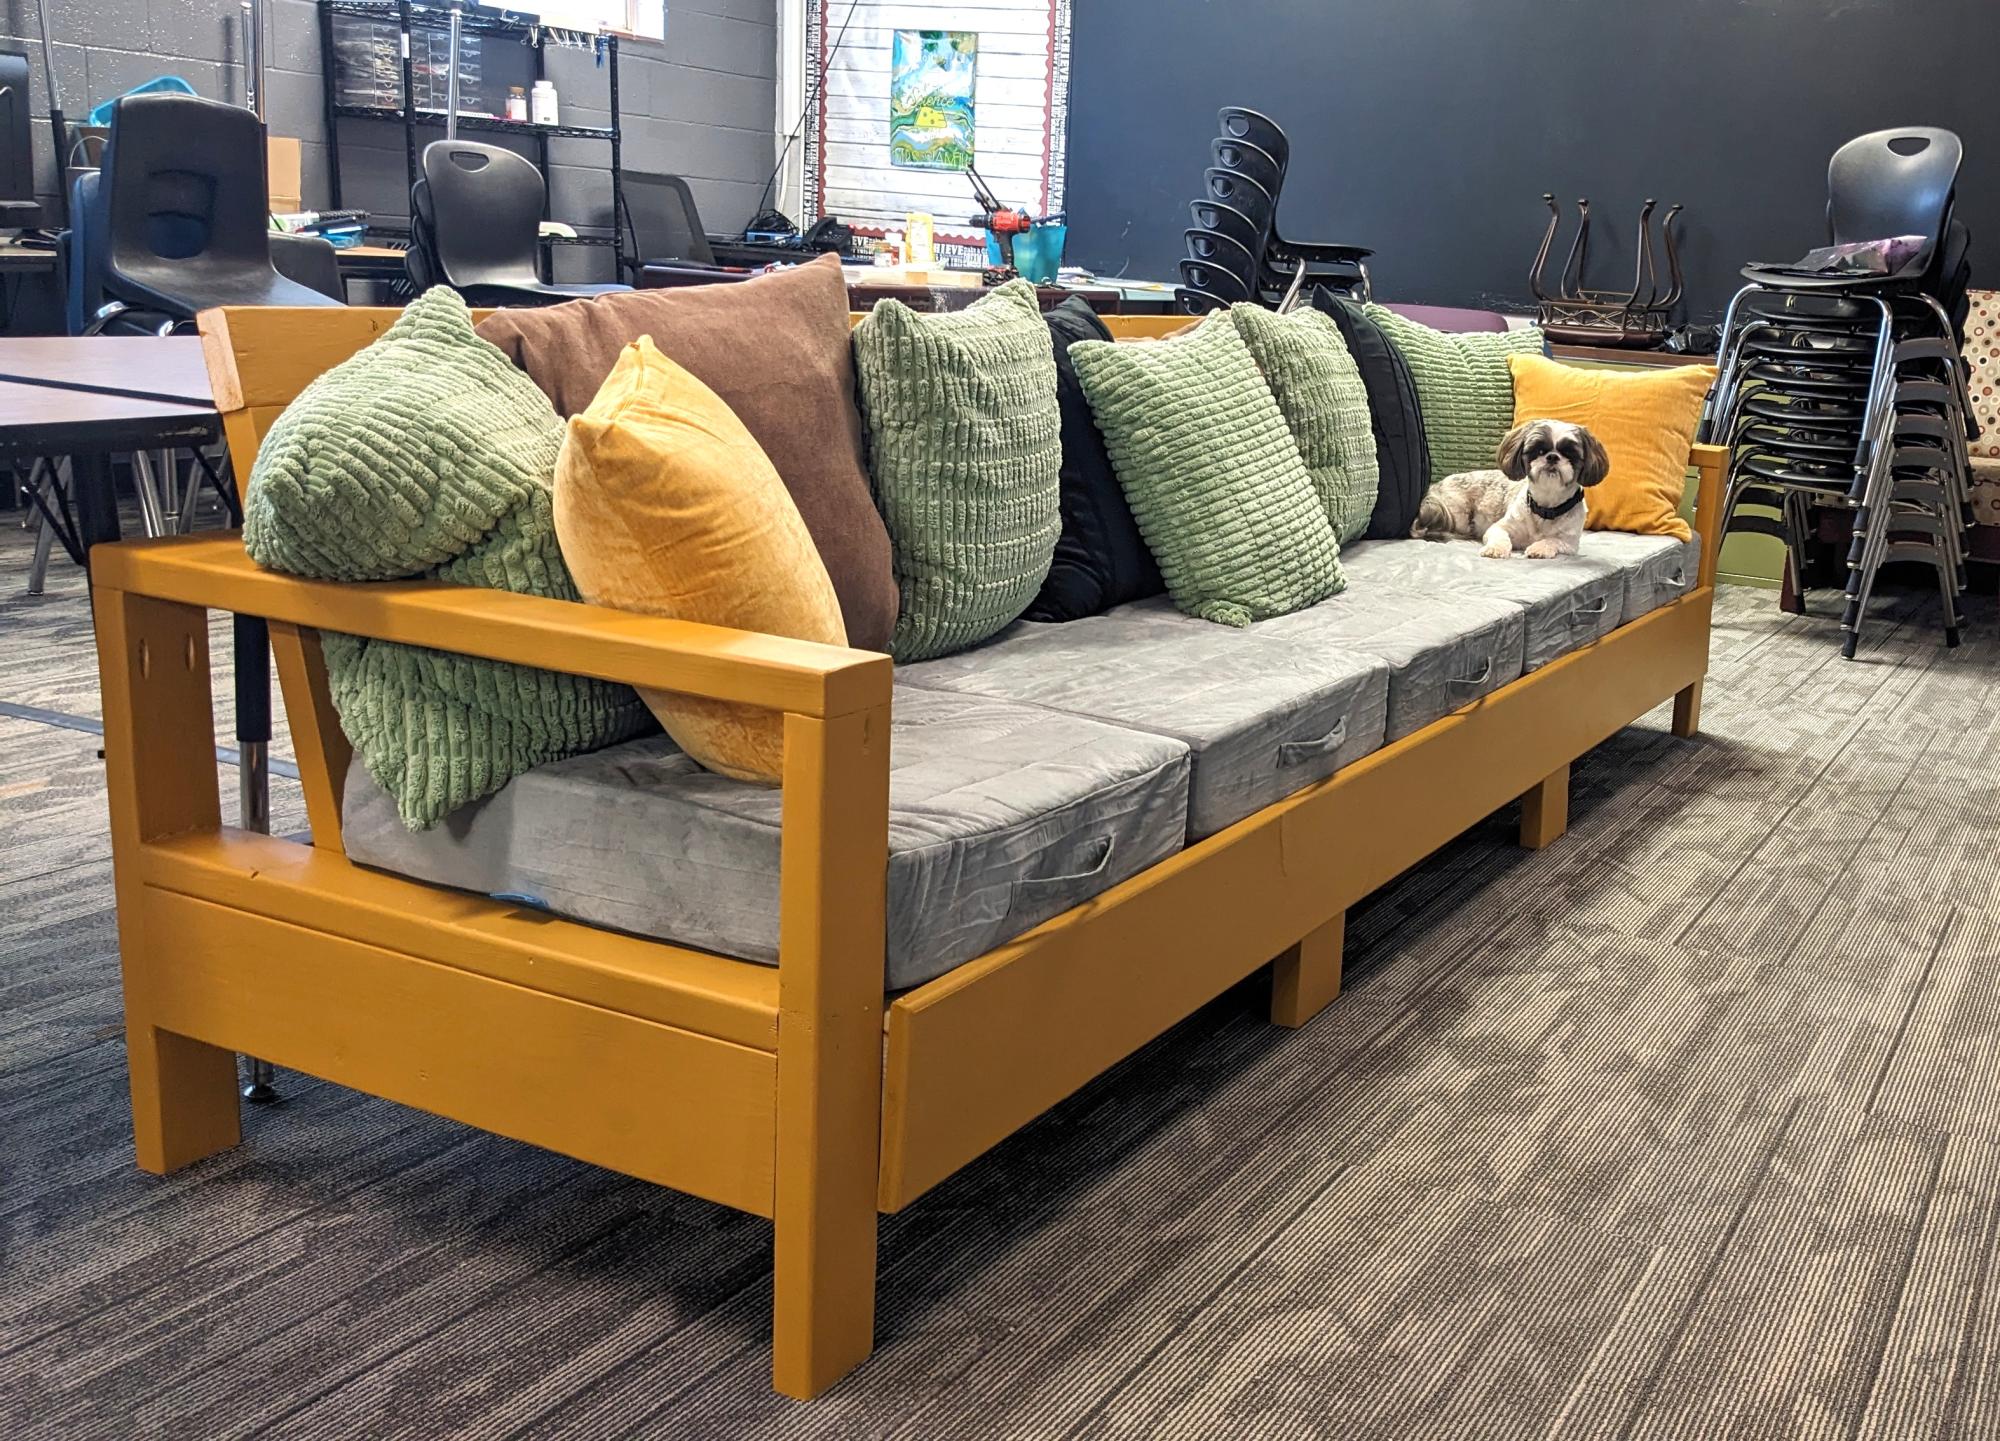
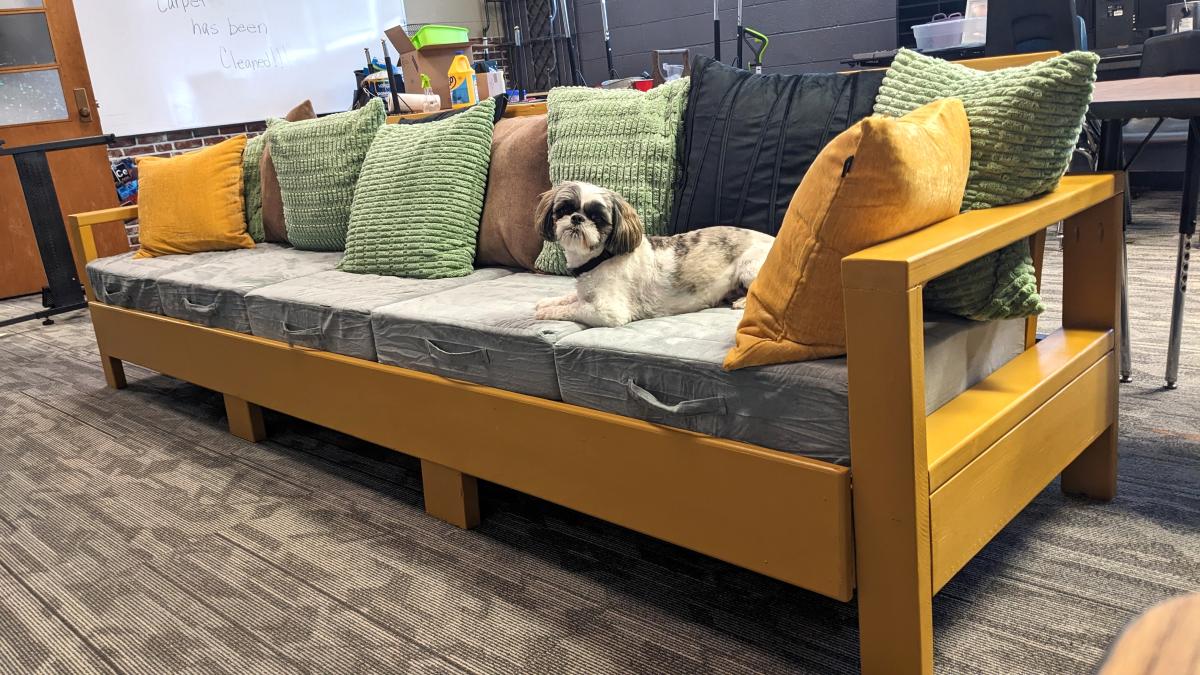
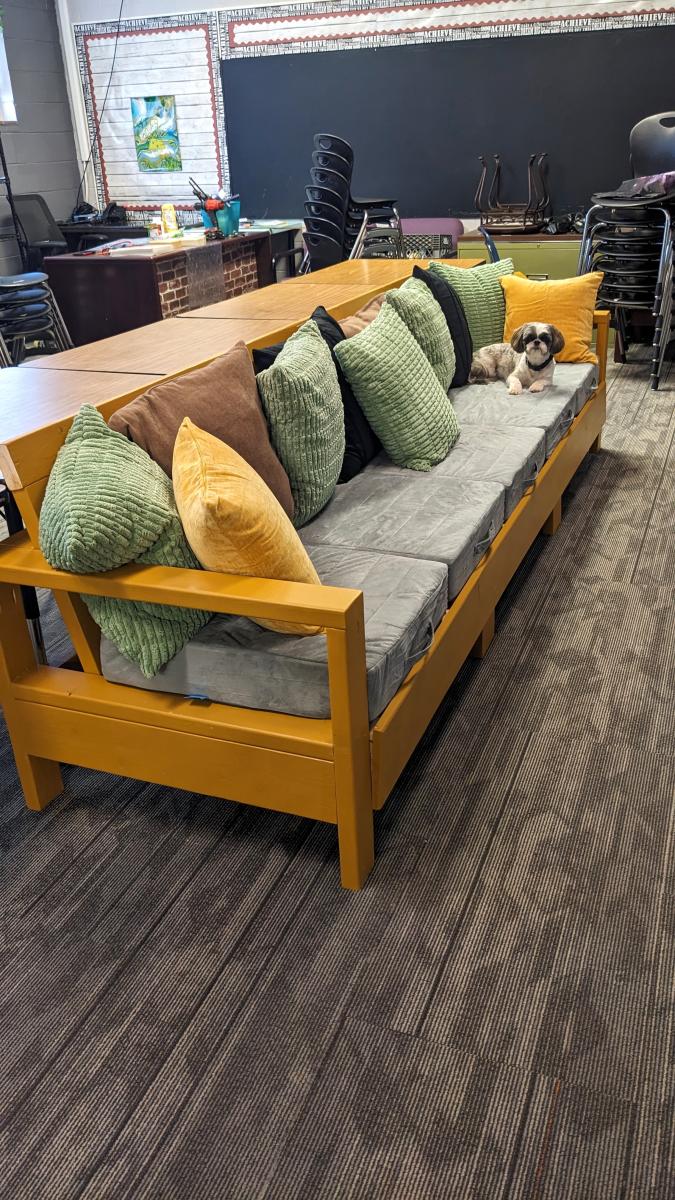
When the chair was assembled, I rounded the edges with a 3/8" router bit, followed by a thorough sanding. We found very inexpensive 4" foam pillows at Wal-Mart, and you can see the result.
I think the chair looks good, it is really comfy, and there will be more projects before the leaves fall this autumn.