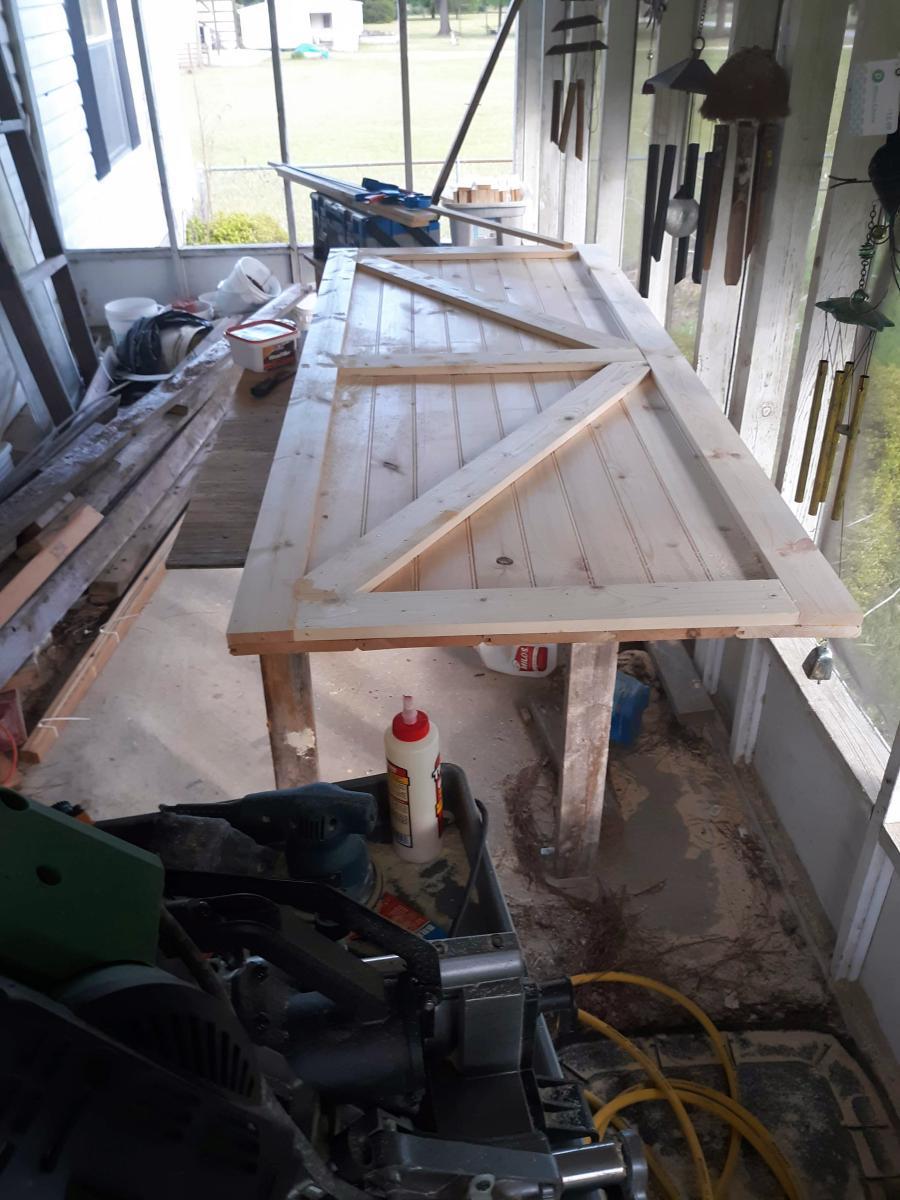
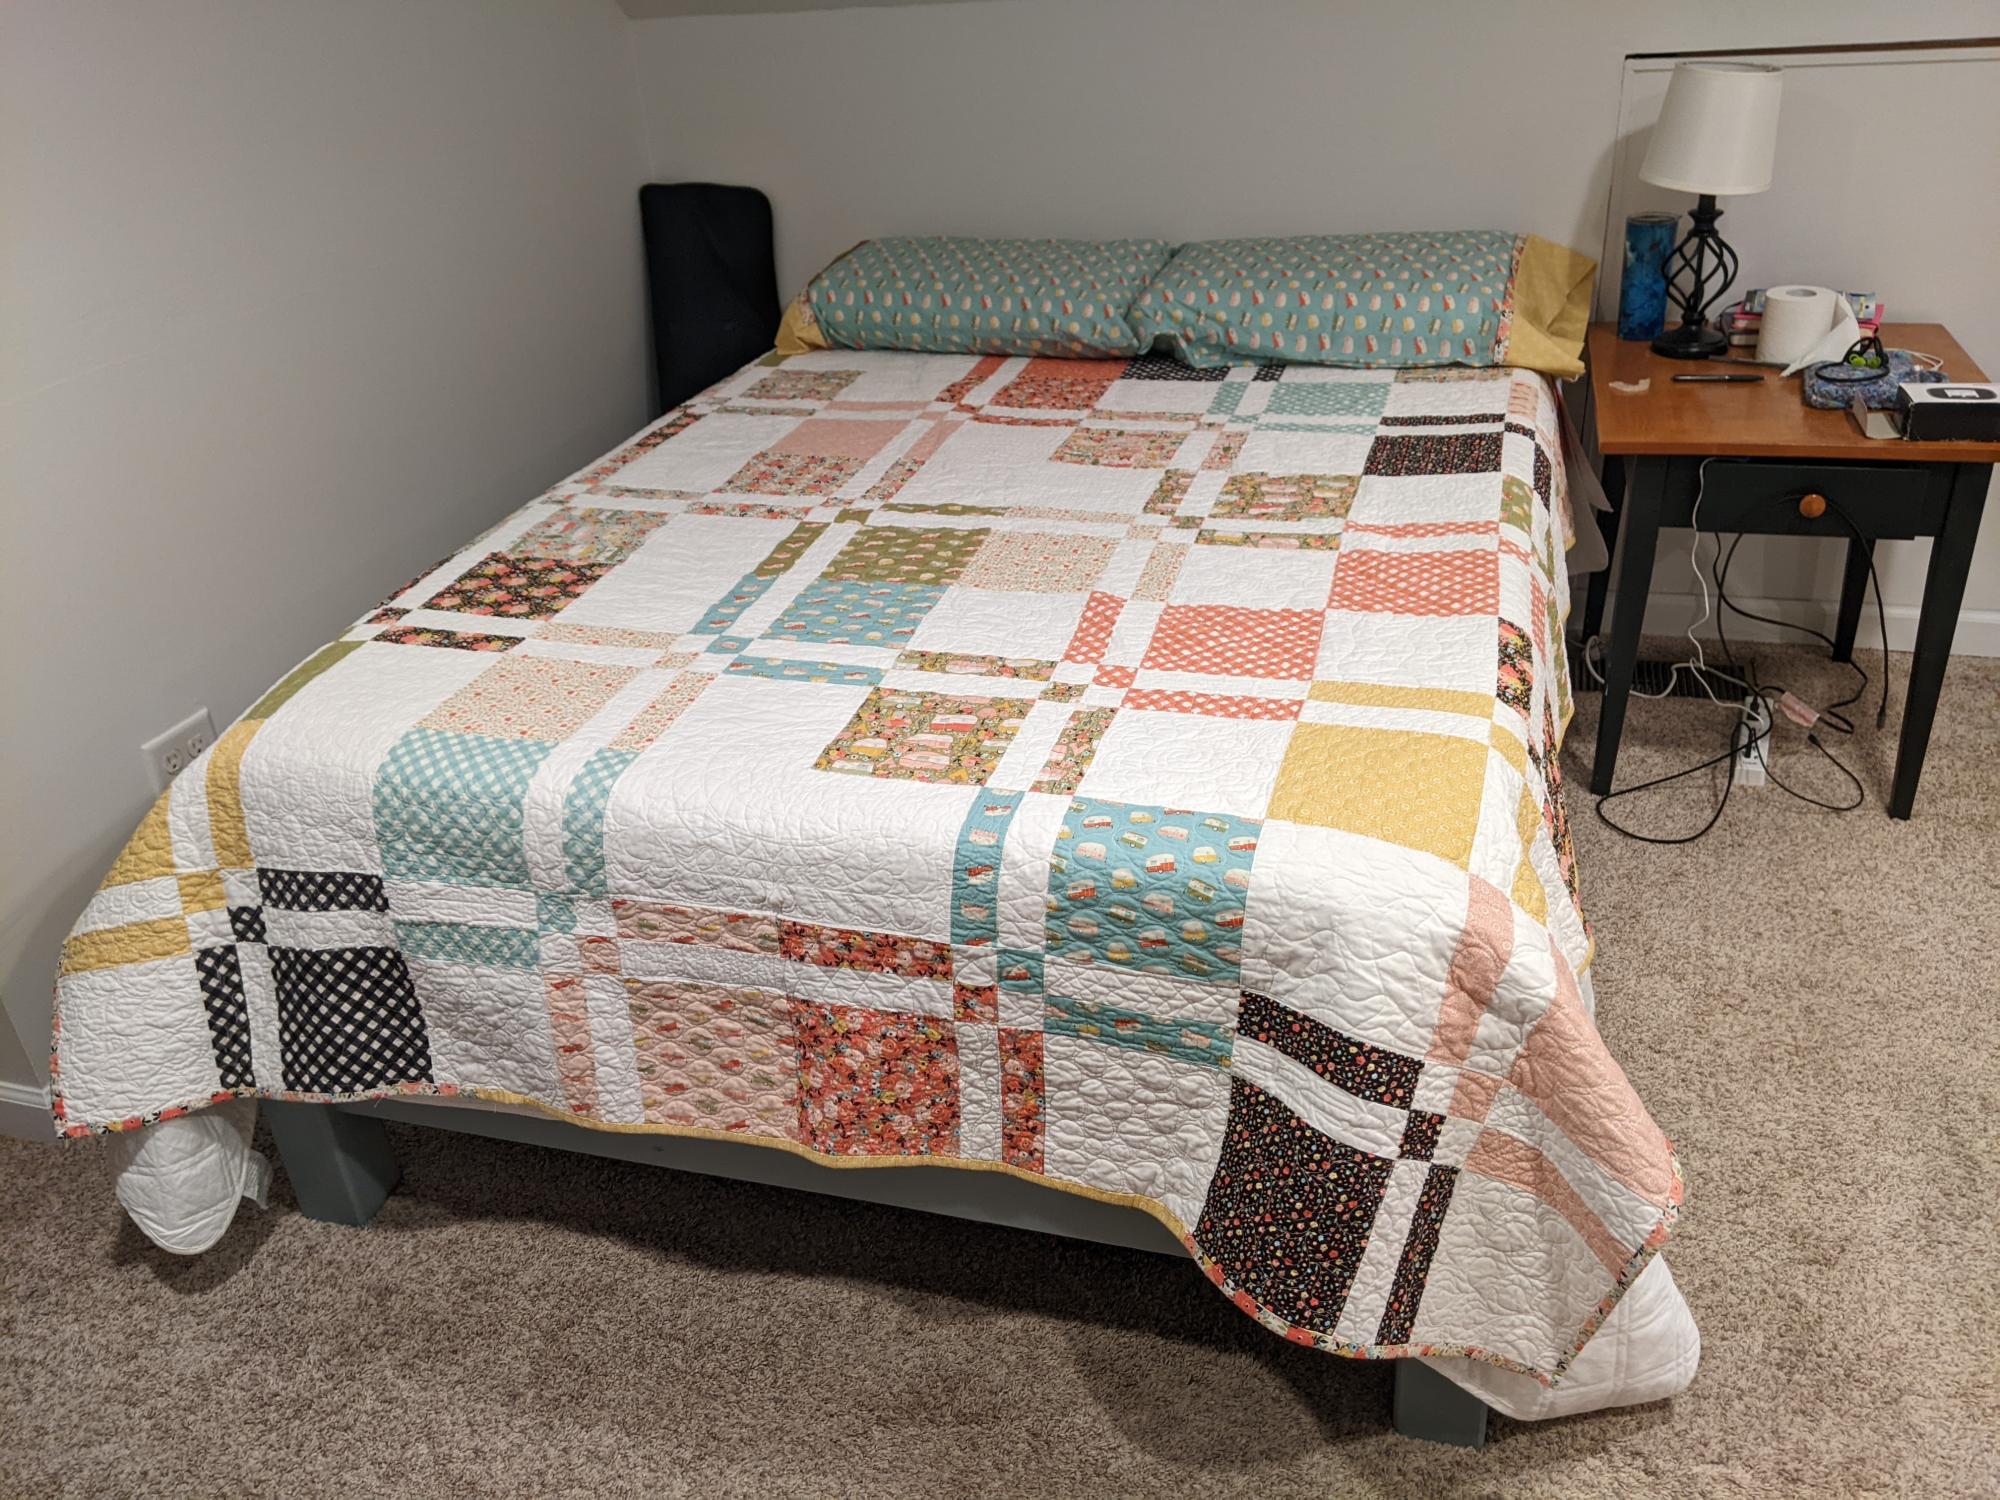
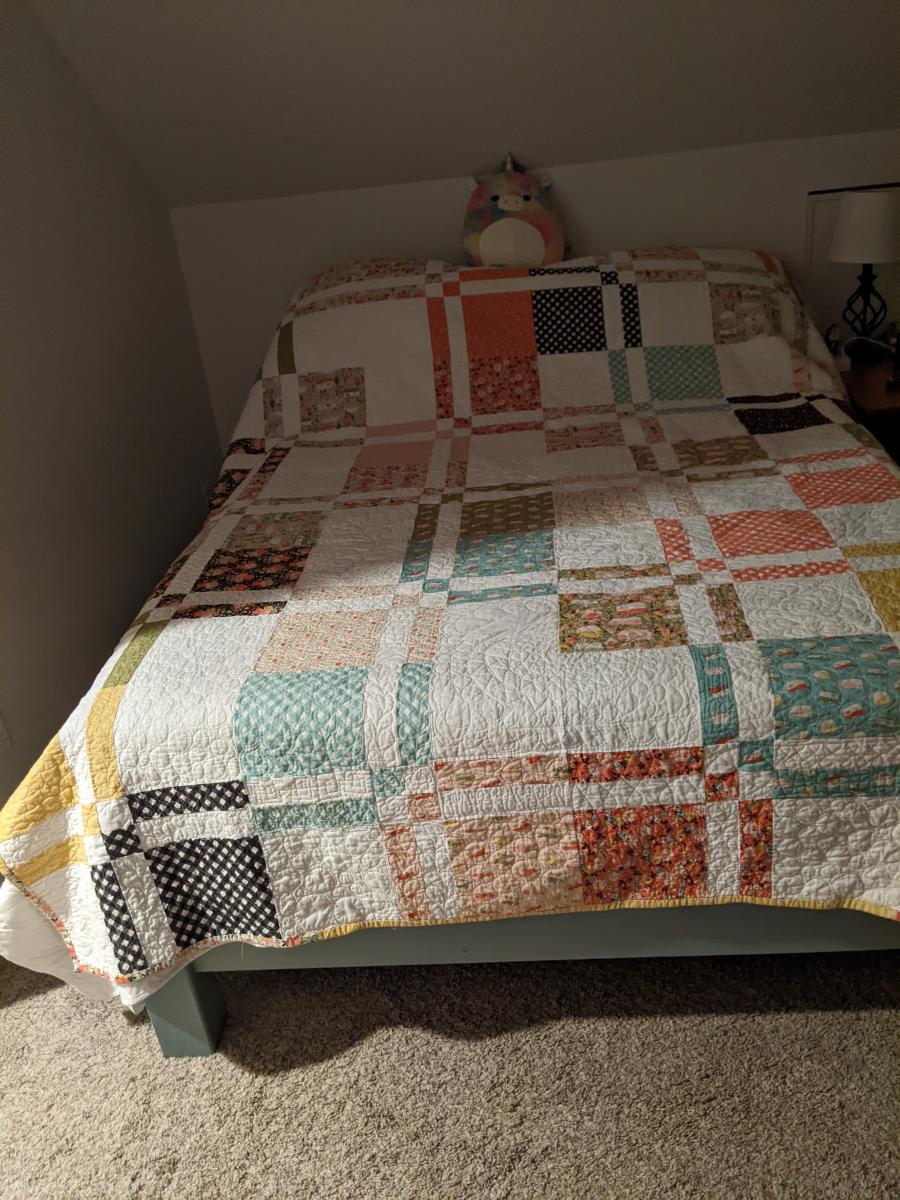
Interior barn door to match new bed!
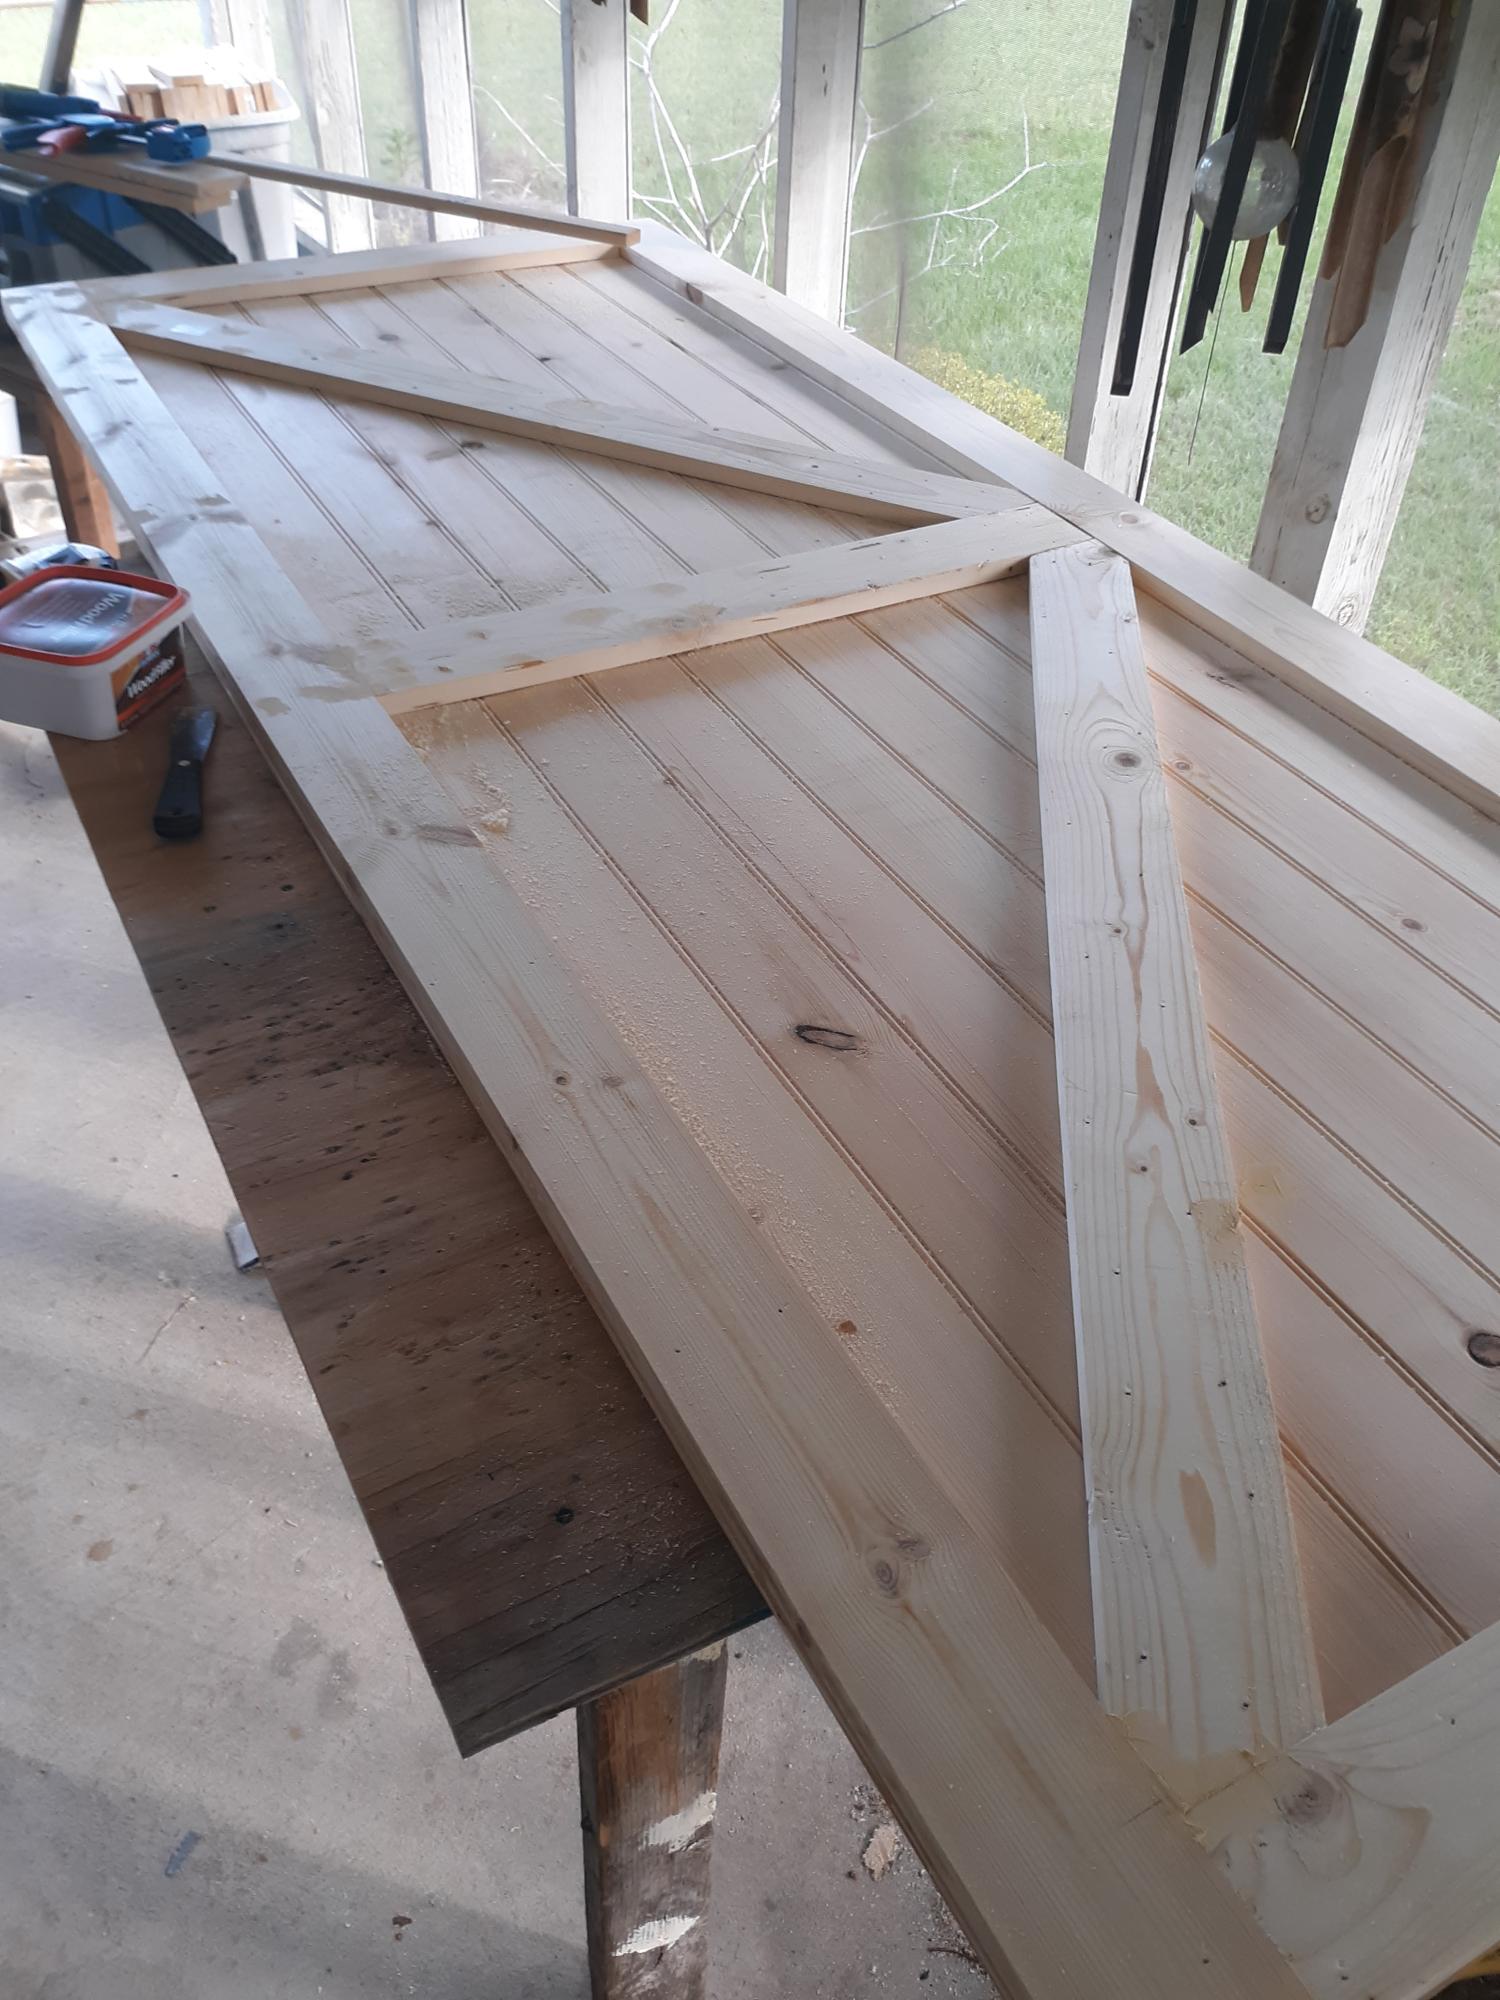
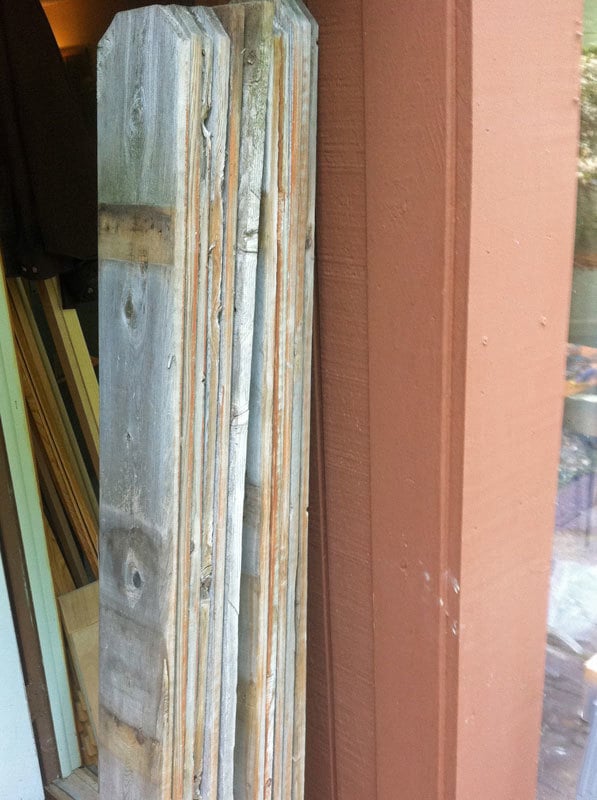
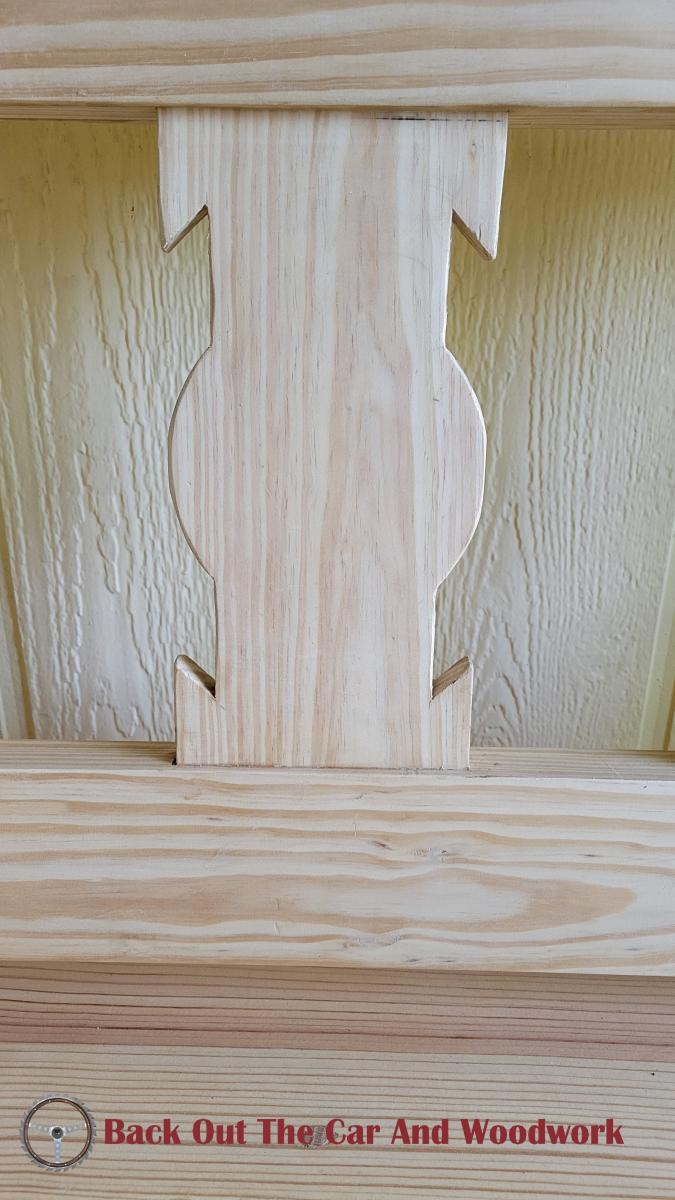
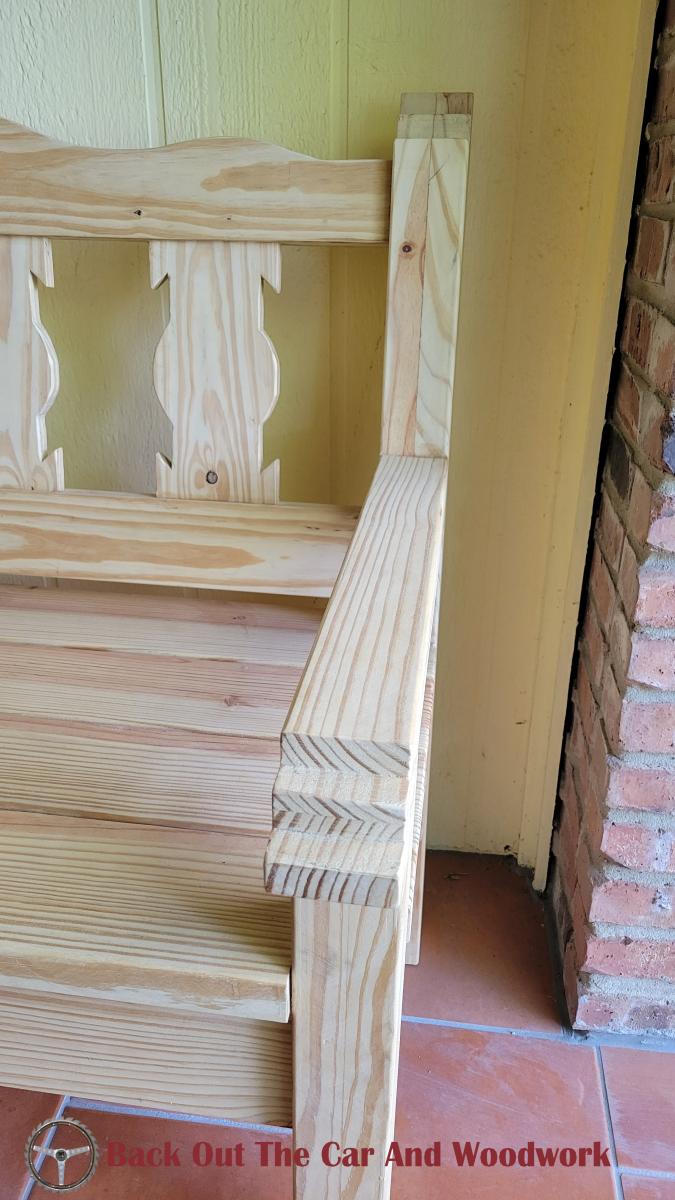
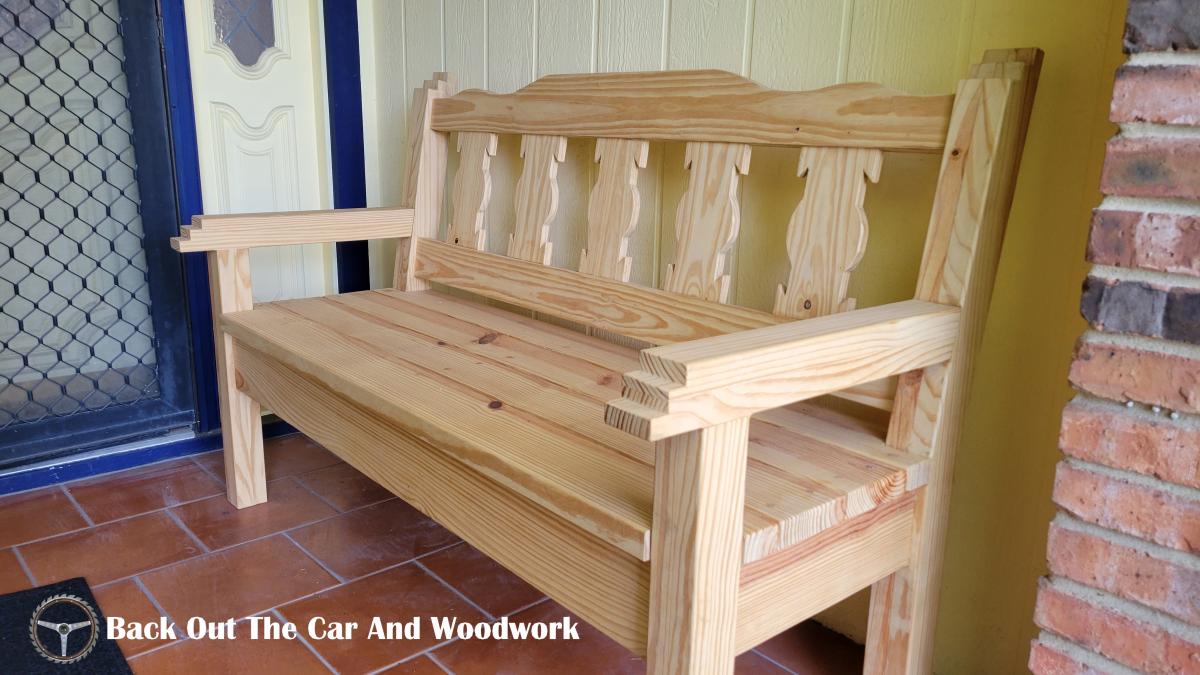
After completing the farmhouse bed, I decided that the closet door had to go. Using the same basic idea of materials, tongue and groove pine and 1x4 square edge boards. I'm very pleased so far as the door came together really well, again the lumber quality that the big box stores have is,less than ideal. Need to do my final sanding before adding a whitewash finish and matte clear poly and the hardware!


Comments
Ana White Admin
Thu, 05/12/2022 - 19:29
Awesome!
That's the perfect addition, can't wait to see it all done! Thank you for sharing:)