Added a board for higher beds
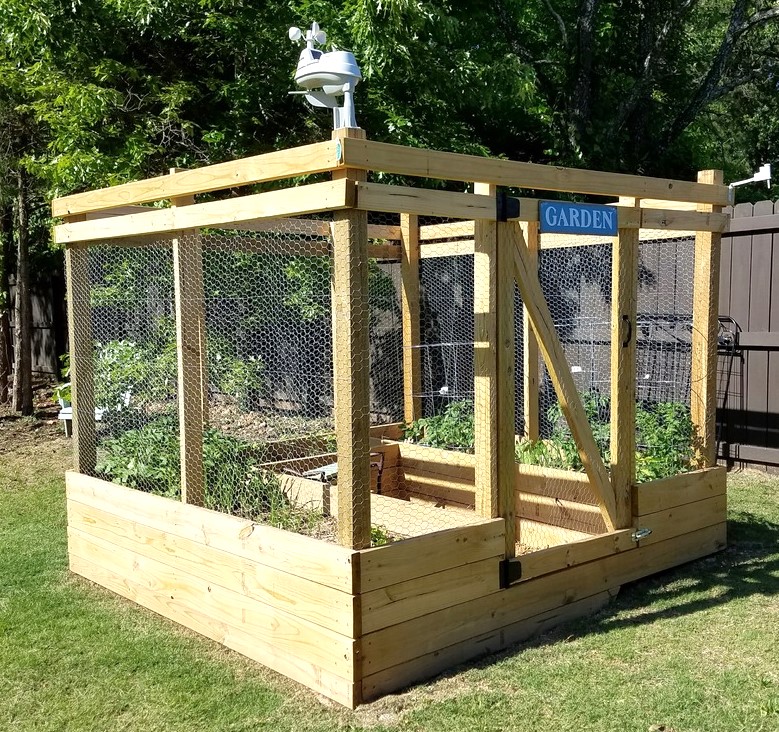
I added a board on the height of the beds to make it easier for an older person (me!). The plan came together beautifully, and I did all the work myself.

I added a board on the height of the beds to make it easier for an older person (me!). The plan came together beautifully, and I did all the work myself.
It's the first thing I've built on my land in the Cape Breton highlands, Nova Scotia, Canada. We staked it down because it gets really windy here! Great design, thanks Ana!
My father in law wanted to remodel an old bedroom to a princess room for our daughters' visits. We came for a weekend with our tools and built it in pieces, which was easy to assemble and finish after the rest of the room's remodel was finished.
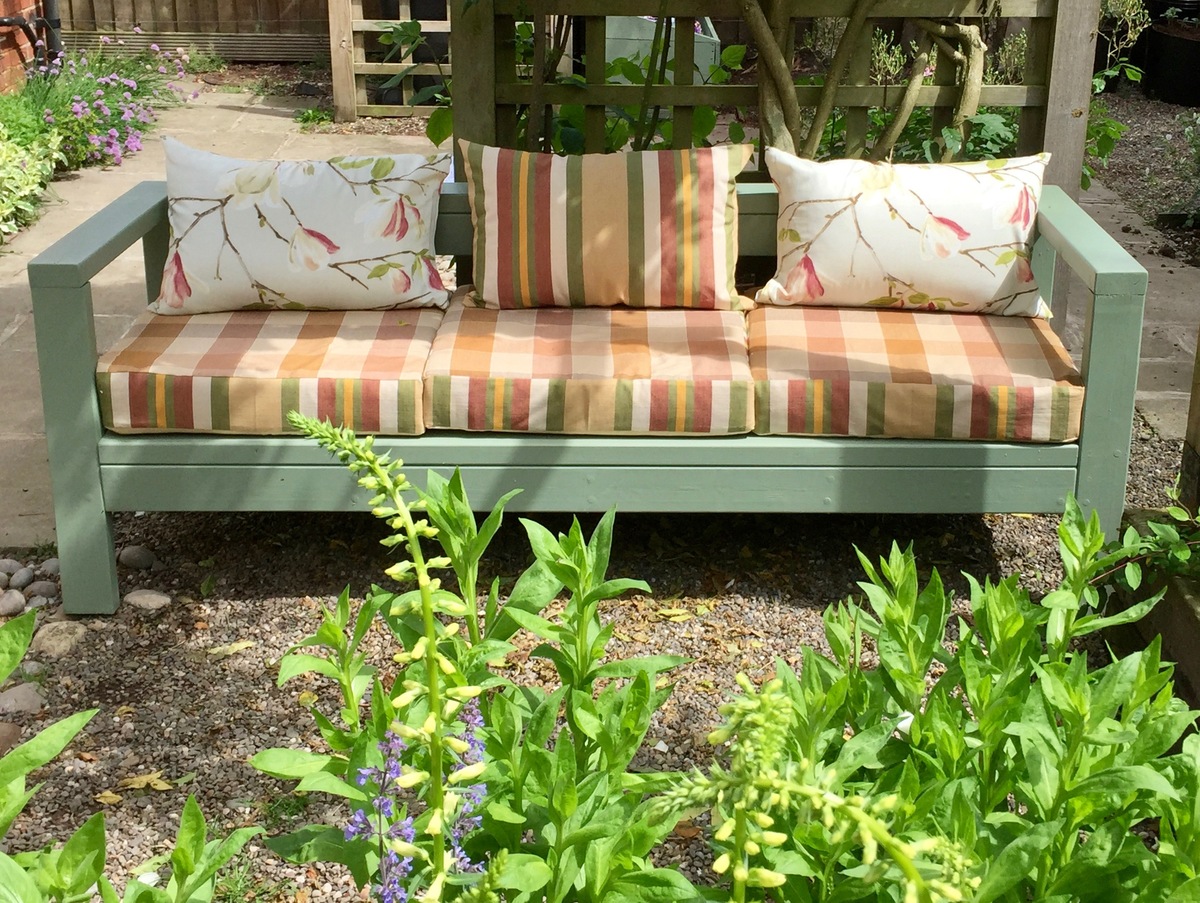
The instructions were easy to follow and although 4x2s are not readily available in the UK, it easily translated into 95mm x 45mm treated timber. Instead of the screws suggested in the video I used Miller Dowels so there are no screws in the build at all. It was challenging to fit the back section but this was solved by drilling half-way through, fitting the dowel and then filling with a glue and sawdust mix. Fortunately my wife has massive stock of upholstery material and she knocked up these cushion covers in an afternoon, which was less than the build time. I have two English Springer spaniels and they think this is the best seat ever for a sunny day in Shropshire.
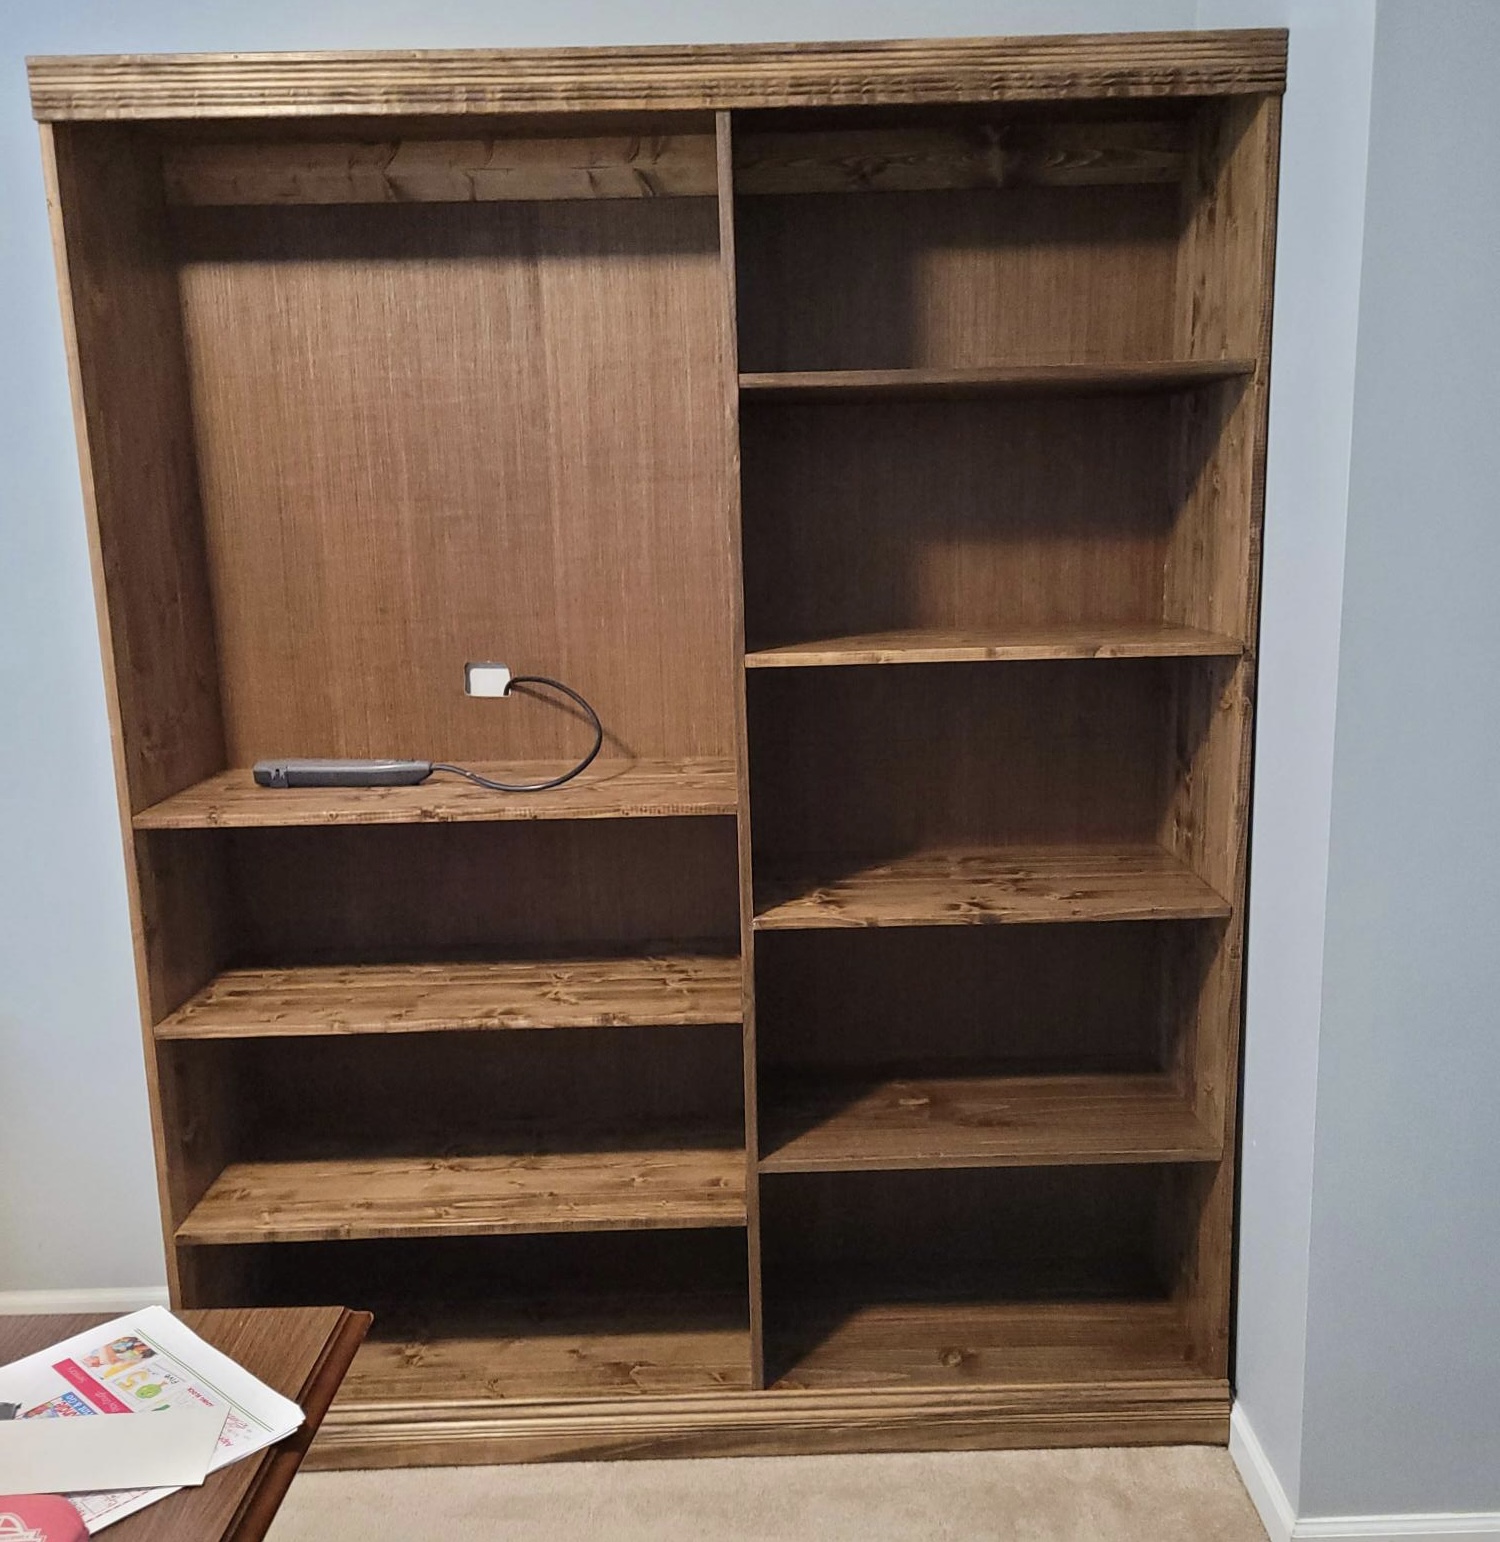
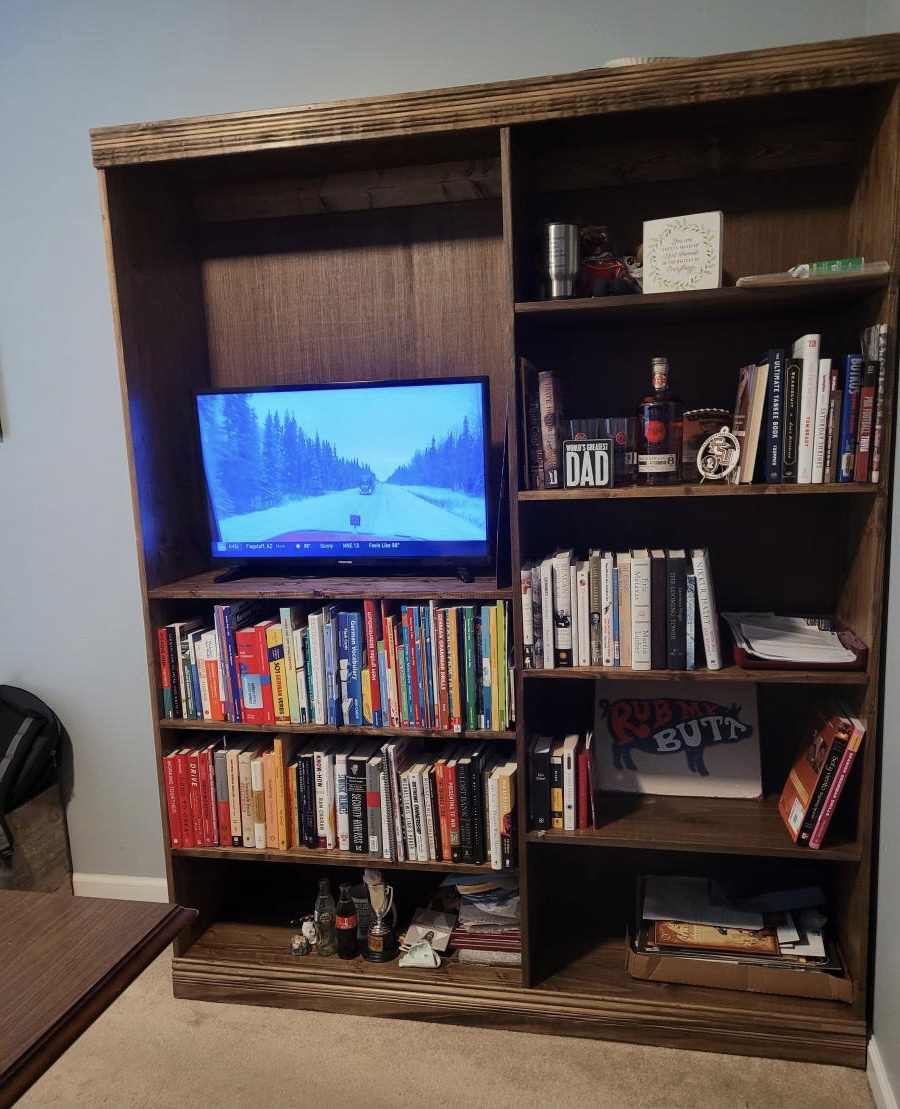
My husband wanted a bigger book shelf to hold all his books and gifts from our daughters. I used the Shelf Help app to make the plans. It holds all his things and he loved it! Thanks for developing the Shelf Help app!
Tue, 06/22/2021 - 17:35
Wonderful custom piece, thank you for sharing!

This was my first Ana White Project and I think it came out well. I already had the chairs and needed a table to match the whimsy. The chairs are counter-height so I changed the dimensions of the table to match the height. I re-used an old oak table top to save some money. The top is painted all by hand and the messages on the apron read: "life is too short to drink bad wine", "sit, relax, and accept the crazy", "eat, drink, and be merry", and "frolic". To help the top from wear, I found a perfect-sized glass on craigslist.
Thank you, Ana, for the inspiration. I just finished the Kids Storage Leg Desk. Off to paint it now. :-)
If you build the triple pedestal table, you also have to build the triple pedestal bench.
Fri, 03/06/2015 - 08:46
Where are the plans for the adjusted triple to the double pedestal table. I found them once, can't find now.
Thanks
Sat, 03/07/2015 - 06:19
We are going to try builiding the triple pedestal table. Thank you so much for the detailed plans. Are there similar plans for the accompanying bench? I see pictures, but no measurements or instructions. I've looked in the pdf and printer friendly versions as well.
Sat, 03/07/2015 - 06:24
Nevermind. I found over on one of your other pages. For those looking here, try http://ana-white.com/2013/01/plans/triple-pedestal-farmhouse-bench instead
Thank you for your plans on the Fancy X Farmhouse Table. Those where the foundation from which I built this new table for my family. Although tweaked a little my inspiration was a direct result of the beautiful table you built.
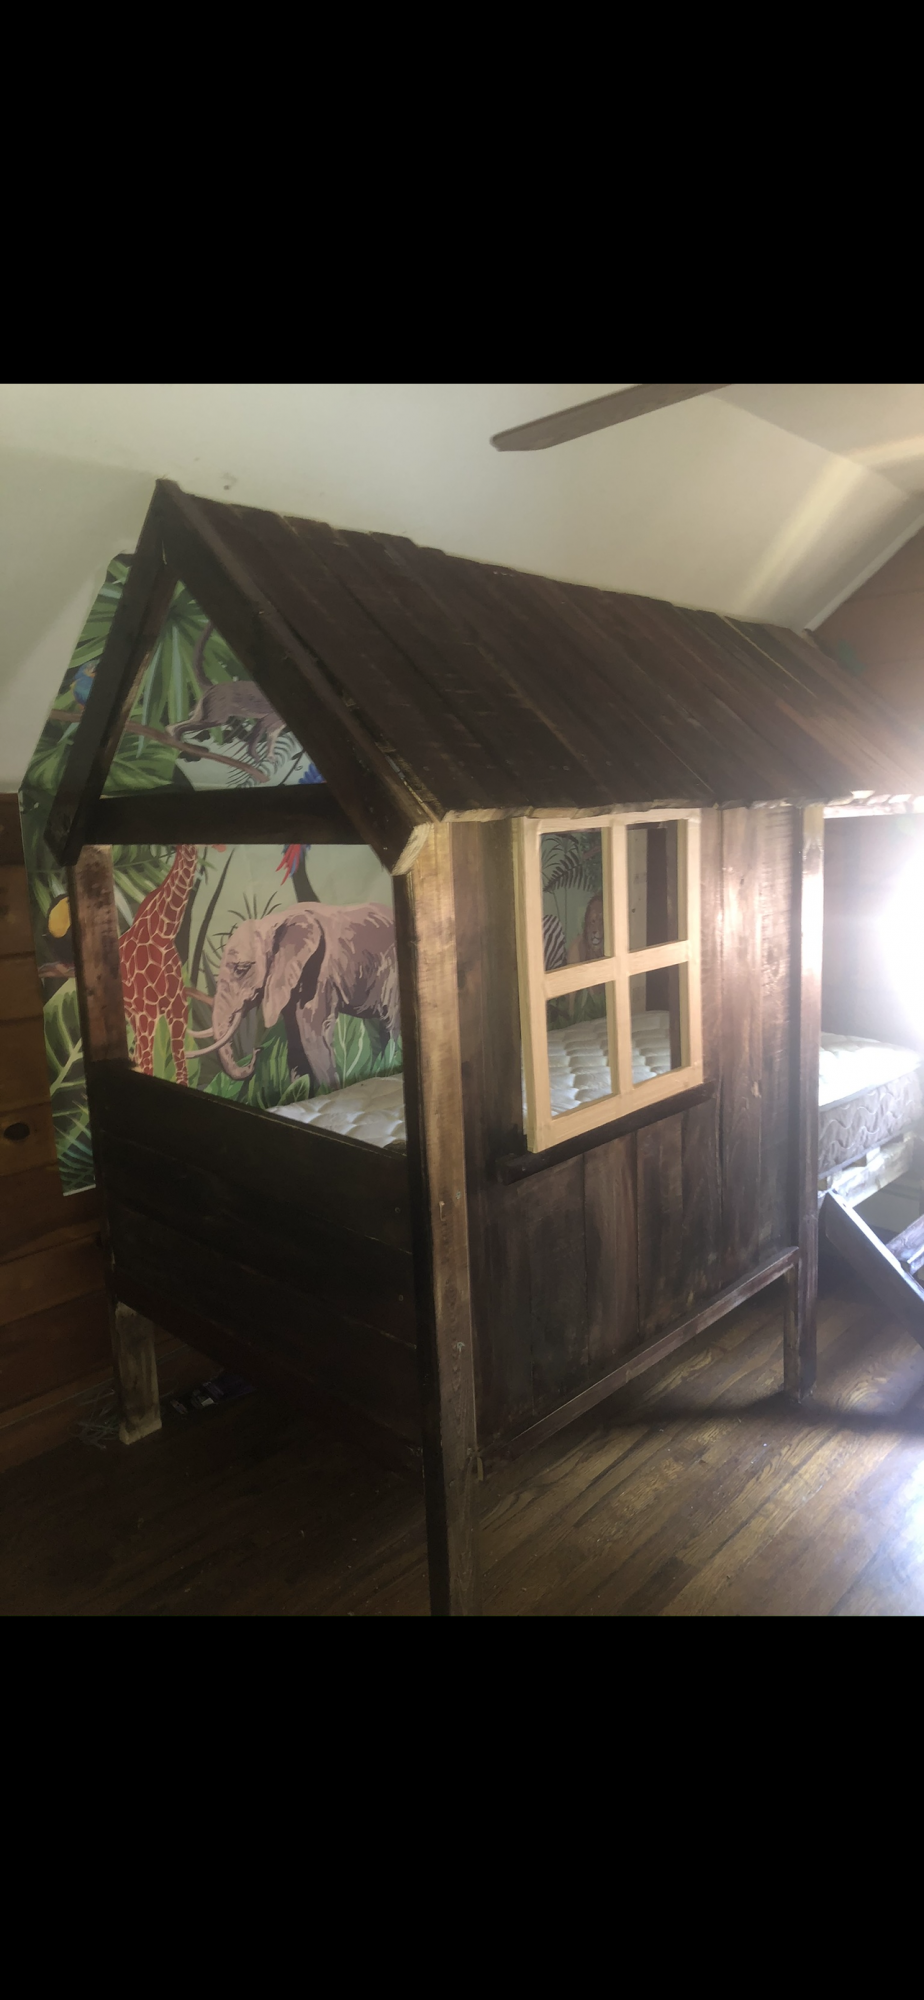
I wanted to post my sons tree house bed I made inspired by you I changed a few things to make it my own but I couldn’t have done this without following your framing and measurements :) thanks so much
I am so so so proud of myself for building this great bench. I can' t wait to do the next project. I wanted something bright and fun to put in my entry way to put shoes on. I thought this was a great first project. I opted for orange, ( ) I wish it had been a different shade, it's pretty bright. When I ruffed up the edges with brown (with a toothbrush) that helped take the brightness down a bit. I chevroned the top to make it funner. Chevroning is a pain in the behind, it takes forever to tape it off but it's cute in the end. I noticed a few people said they did this in a couple hours, I don't know how. It took me two days! It doesn't take more than two or three hours to cut the wood and put it together but then you have to fill the holes, sand it, prime it, paint it, touch it up....
If you have all the tools already... Then the cost is low.
I spent:
$28 lumber @ Home Depot
$20 paint & primer @ Walmart
Now the only problem is I don't have ANY other orange things in the house. I'm going to have to rethink my decorating, or build another bench ;)
Thanks Ana!

Wed, 04/17/2013 - 11:02
I say add some other orange accents to your house. That bench is too cute to change out for something else!

Assembly Workstation with small drawers for tools and hardware supplies and large drawers for scrap wood storage.
Has lockable wheels so can be stored against wall when not in use and pulled out to allow easy access to move around the piece I am working on.
Drawers have 3/4 inch ply bottoms for strength and the big ones have full extension drawers.
Top is 66 inches wide by 34 inches deep to give plenty of work surface.
Total cost was about $300.
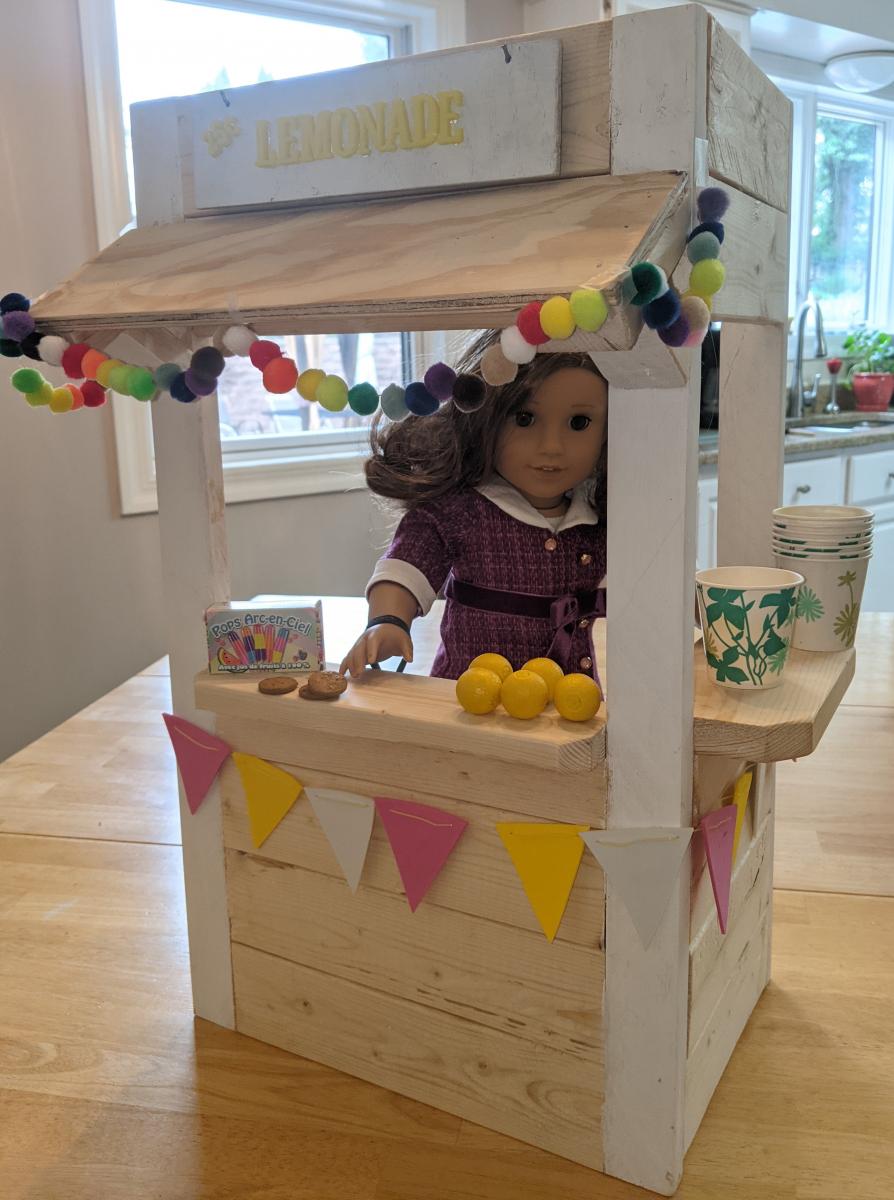
I built this for my younger brother and his wife for their new home.
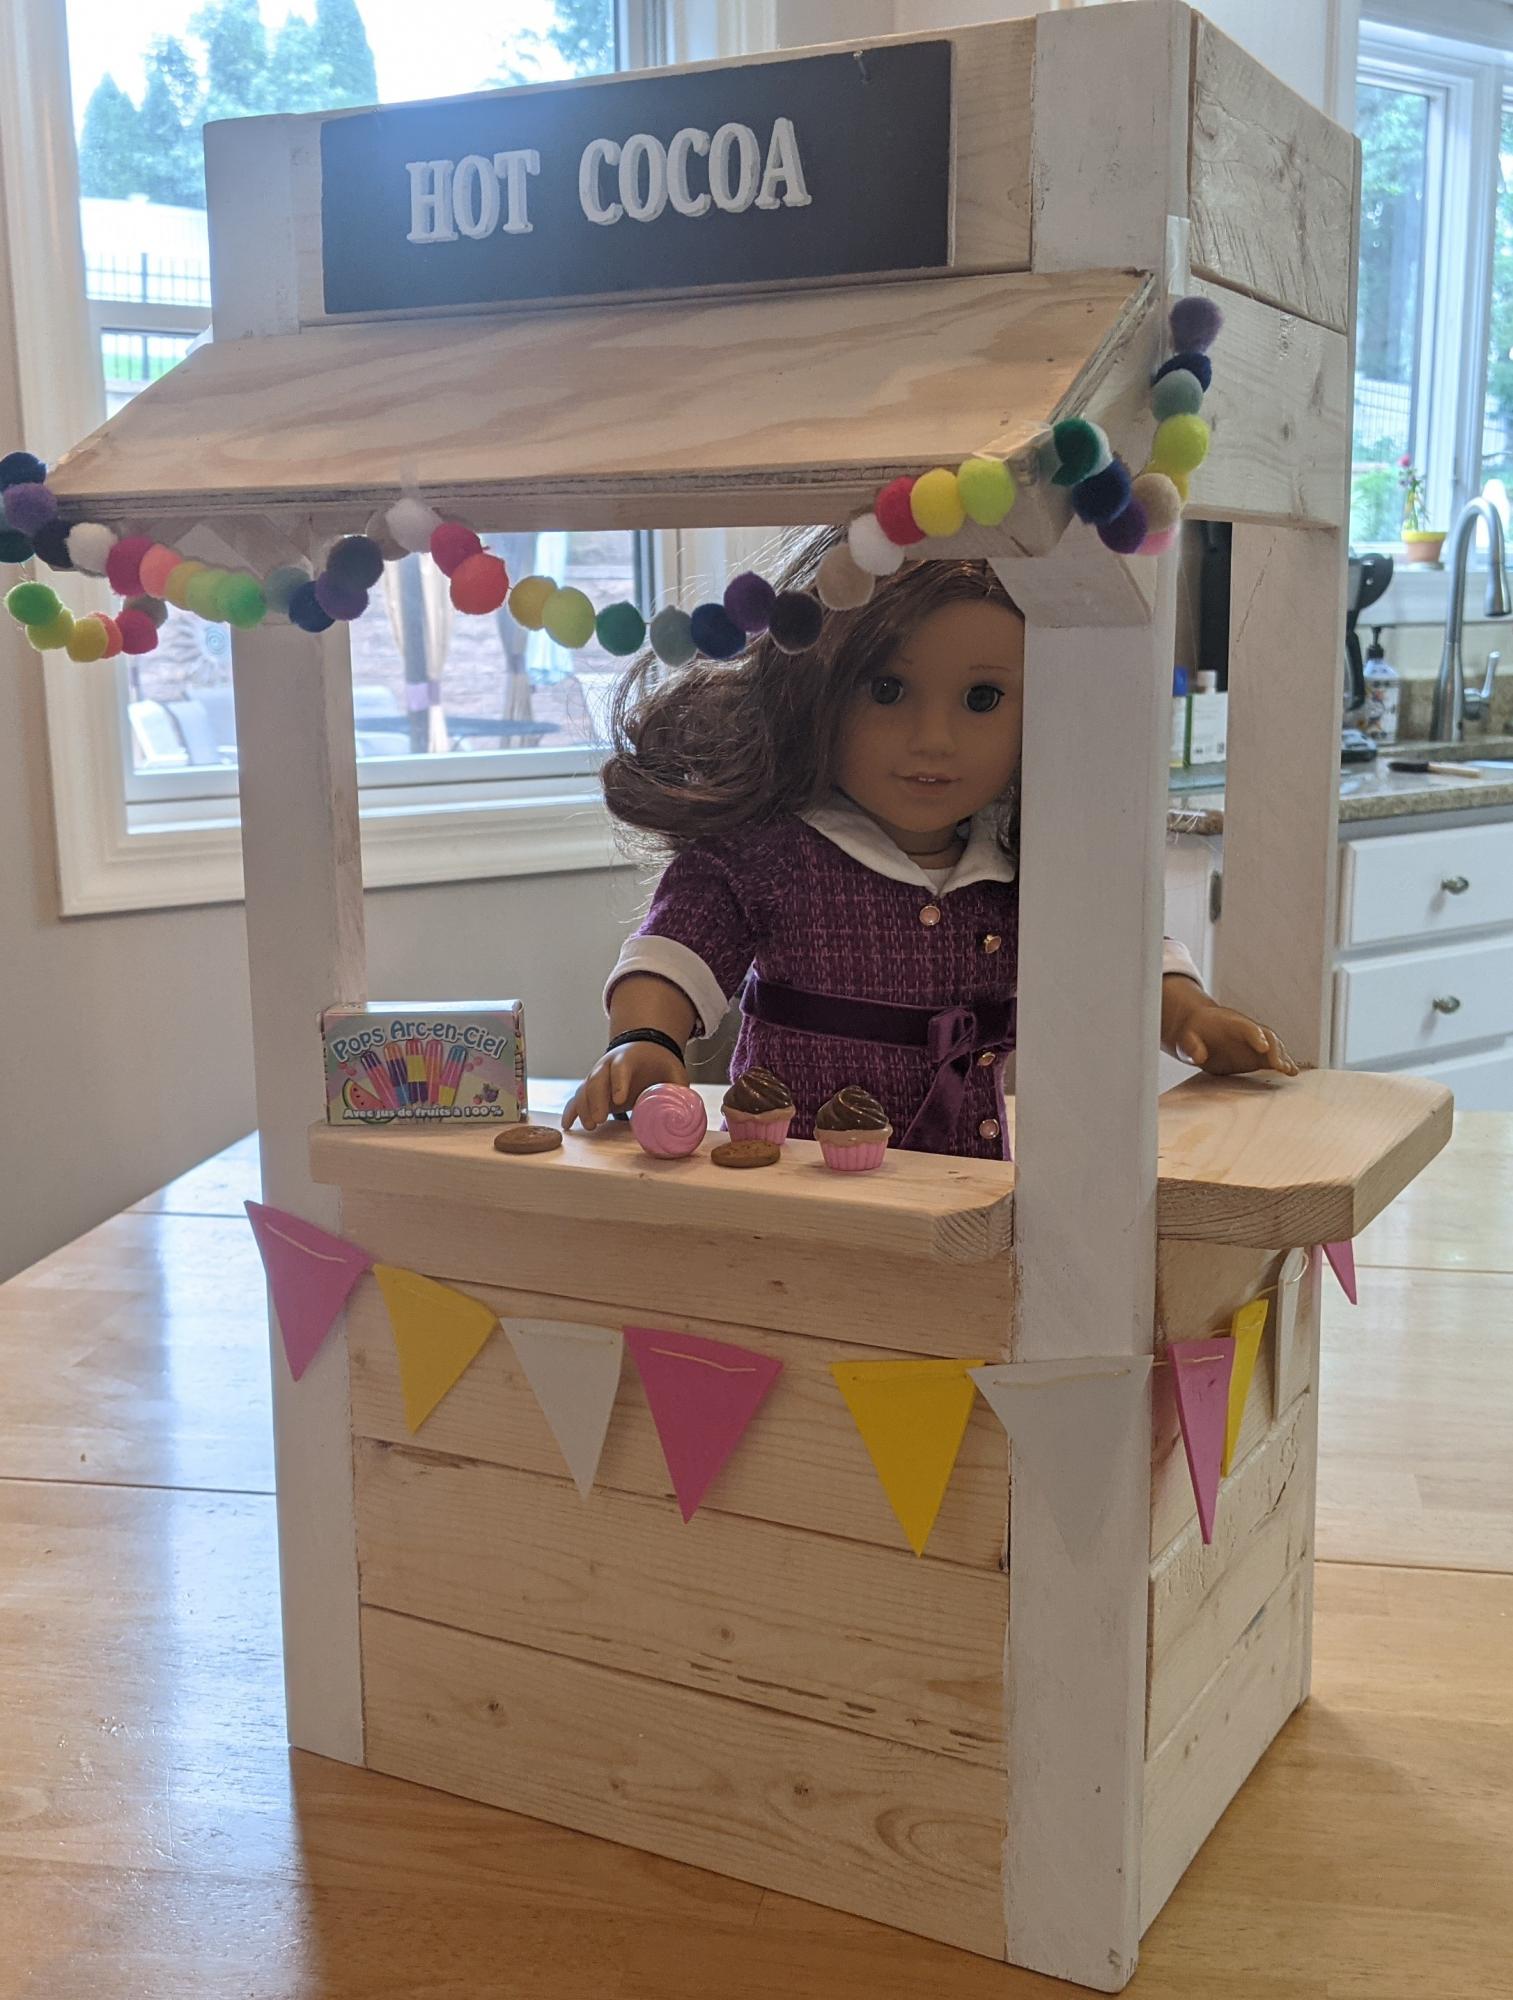
Followed the plans pretty much to the letter, made the sign reversible so it works for summer or winter.
3d printed the words instead of cutting out or purchasing wooden letters
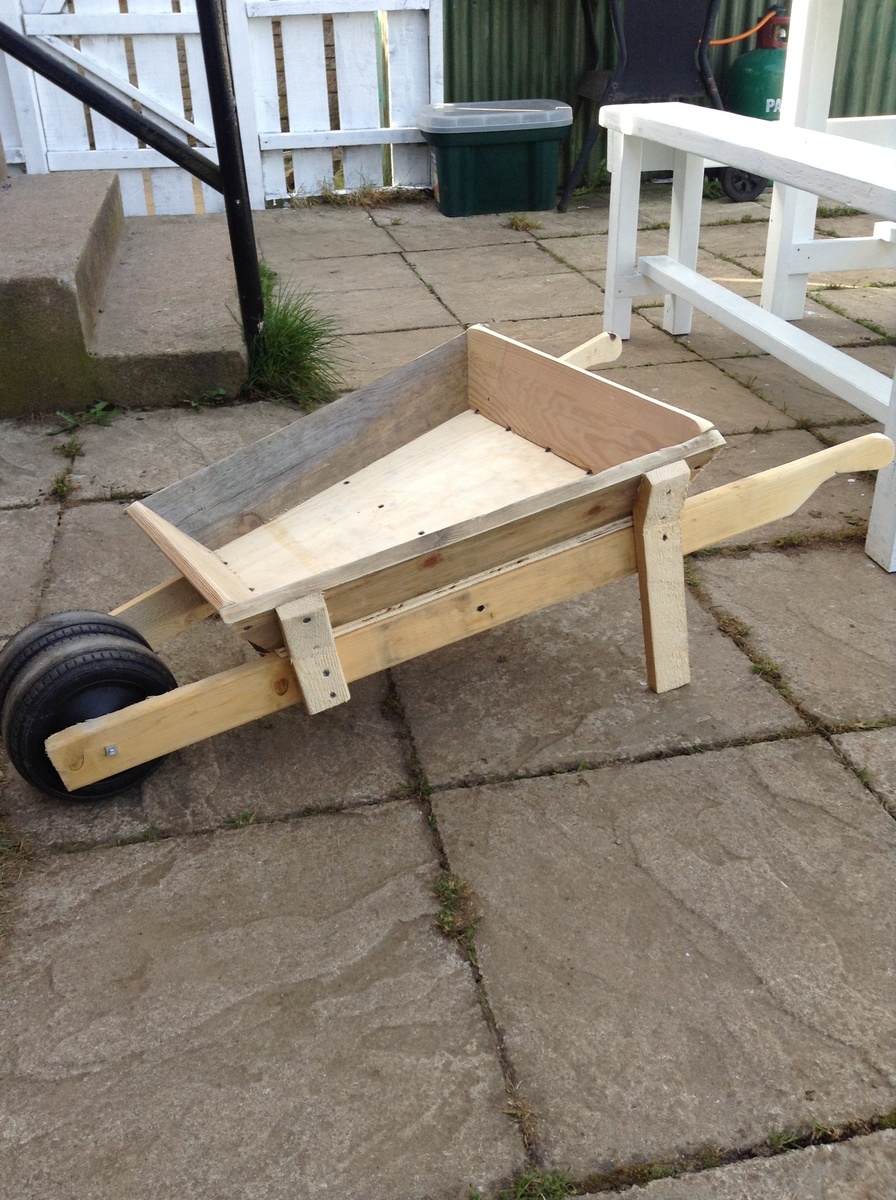
My neighbour Bryan challenged me to make it. It was indeed a challenge as there is no strait bit to a wheelbarrow and I had no plans so I kind of made it up as I went along. From far the hardest thing I made so far.
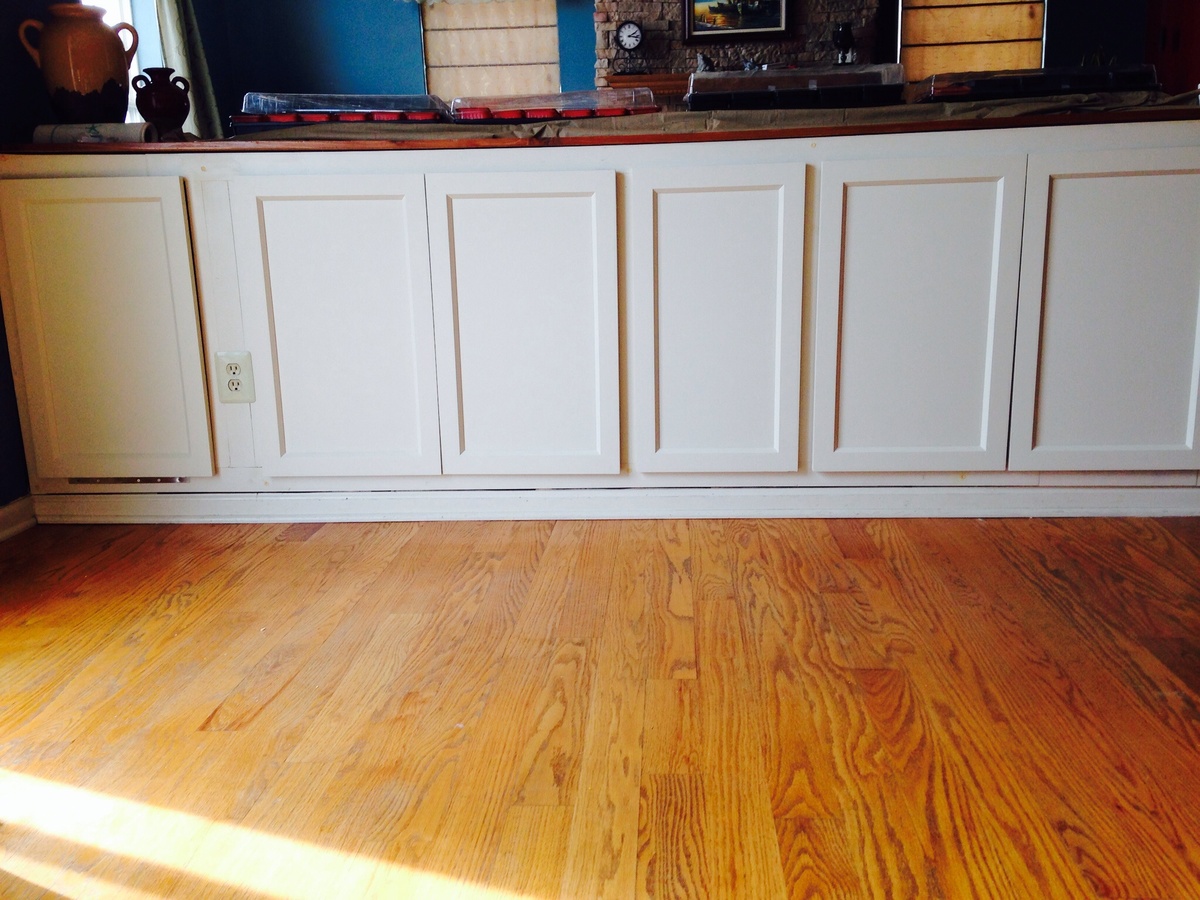
My wife and I made loads of additional storage space by using a hollow half wall
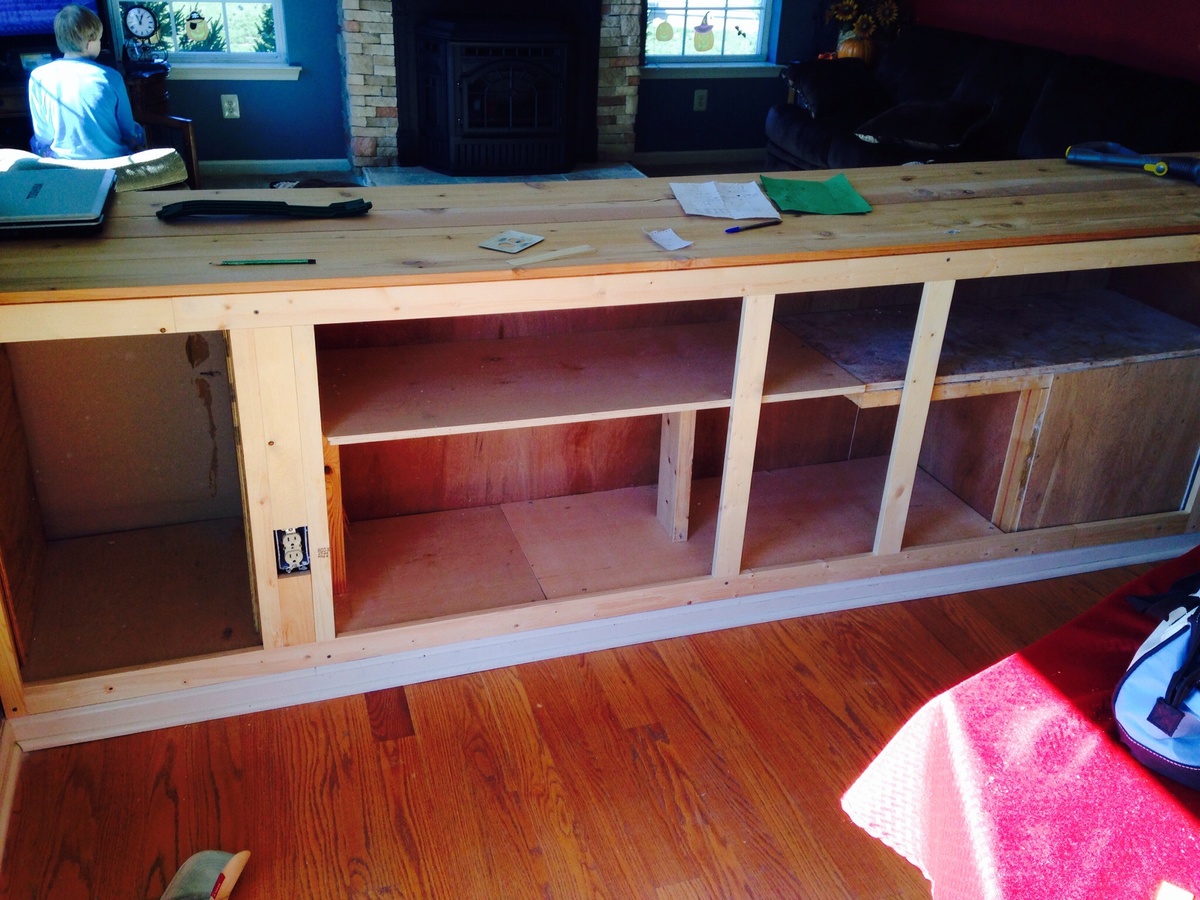
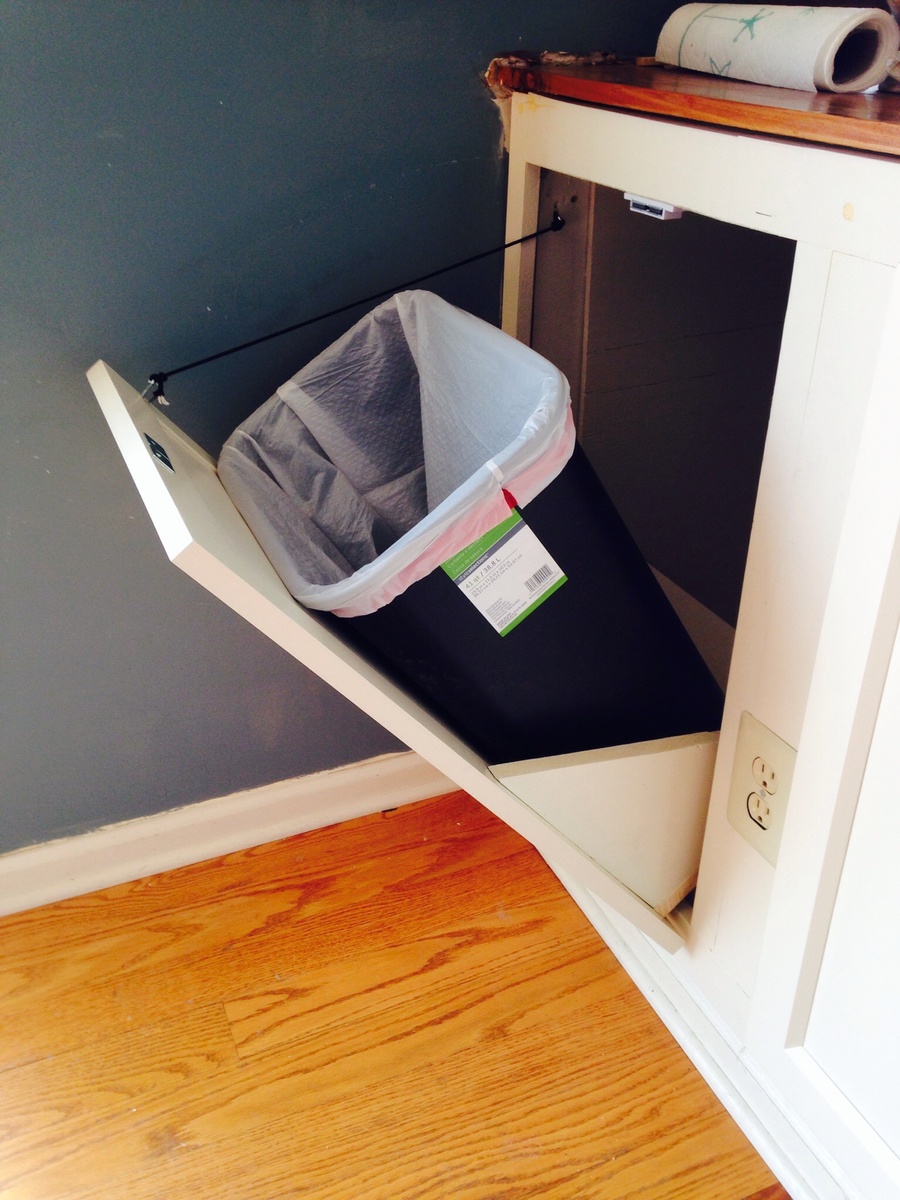
I'm so glad I found your blog/website. It is exactly what I was looking for. I'm going to tackle the farm table & benches next and then adjust the porch swing plan to make a bed swing for a friend. Thanks for the great ideas!

Love your easy instructions! I used all 2x4's because it was made with left over wood from another project. I burned the top pieces to get the grain to stand out and painted the legs. I think they turned out beautiful. I also used your 2x4 Adirondack Chair Plan to match the bench.
Thanks,
Yvette


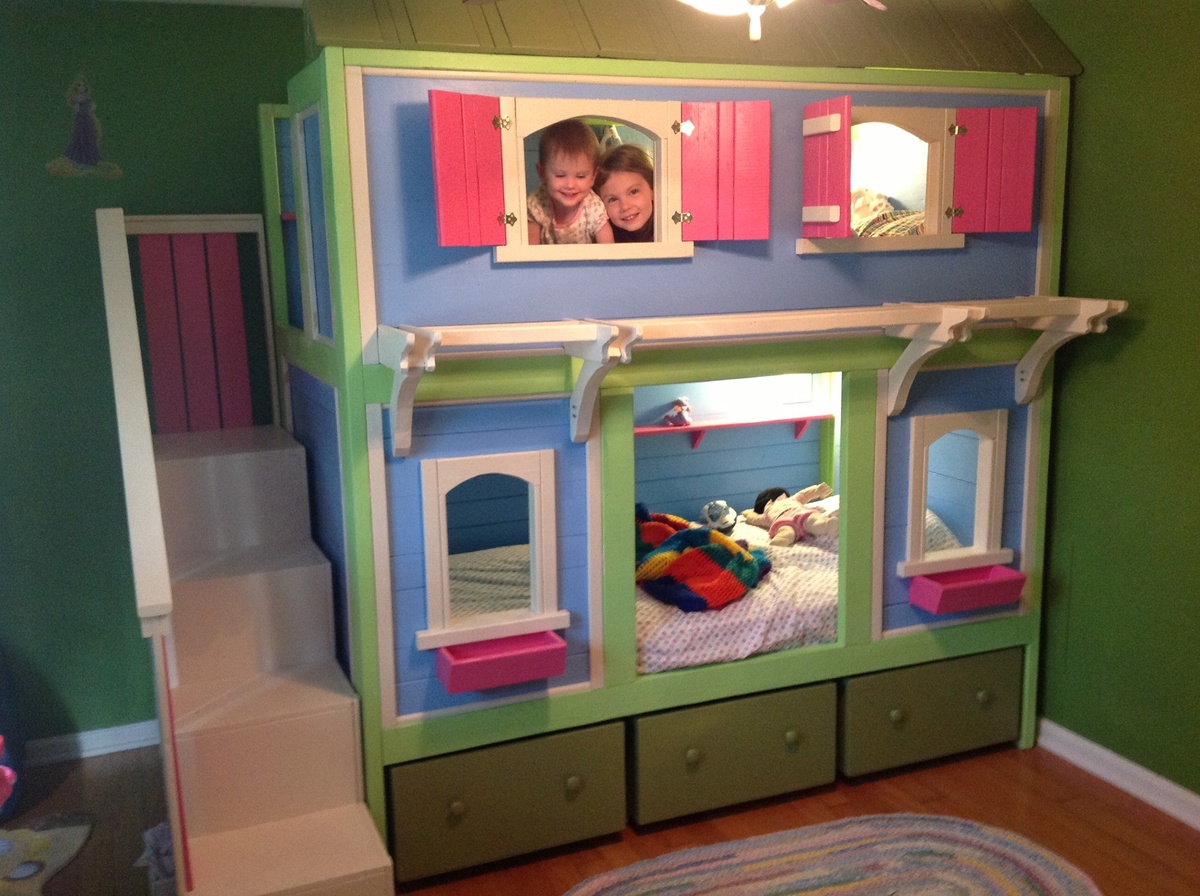
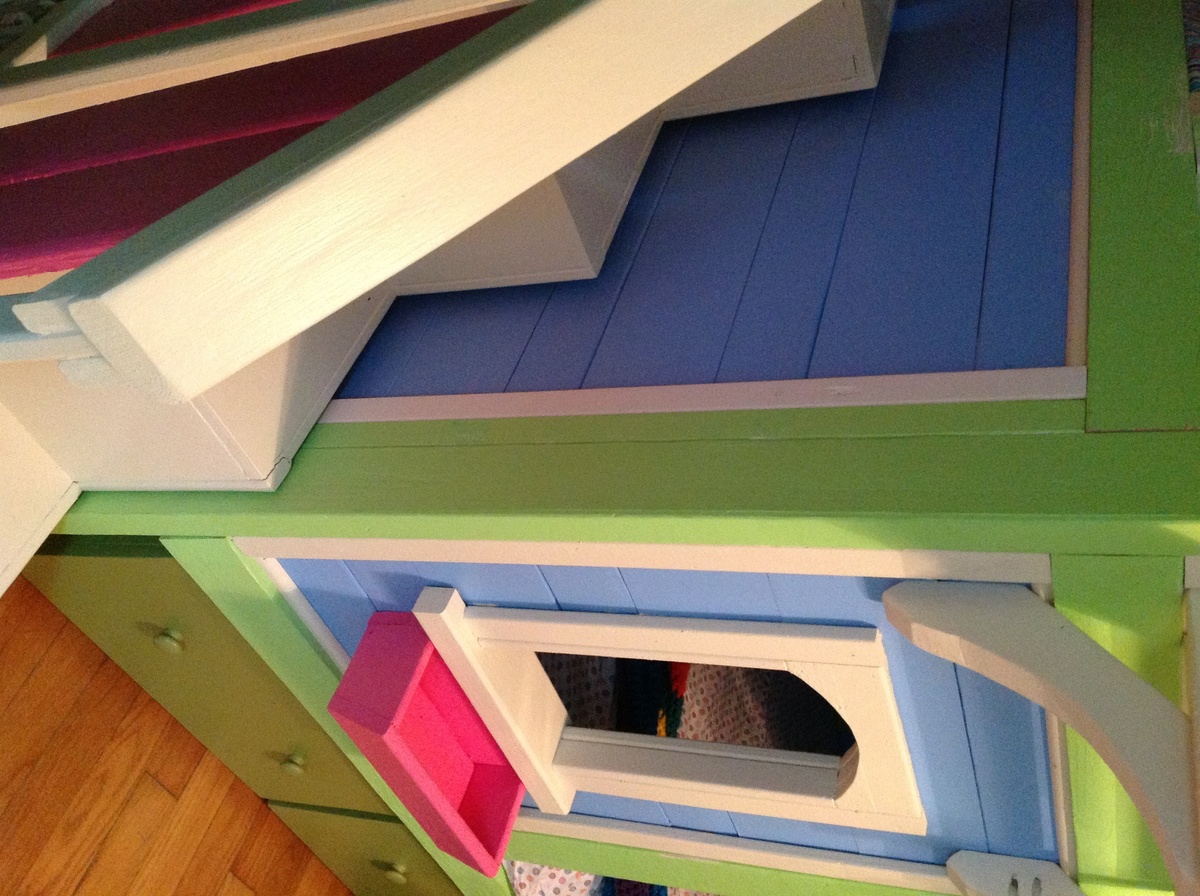
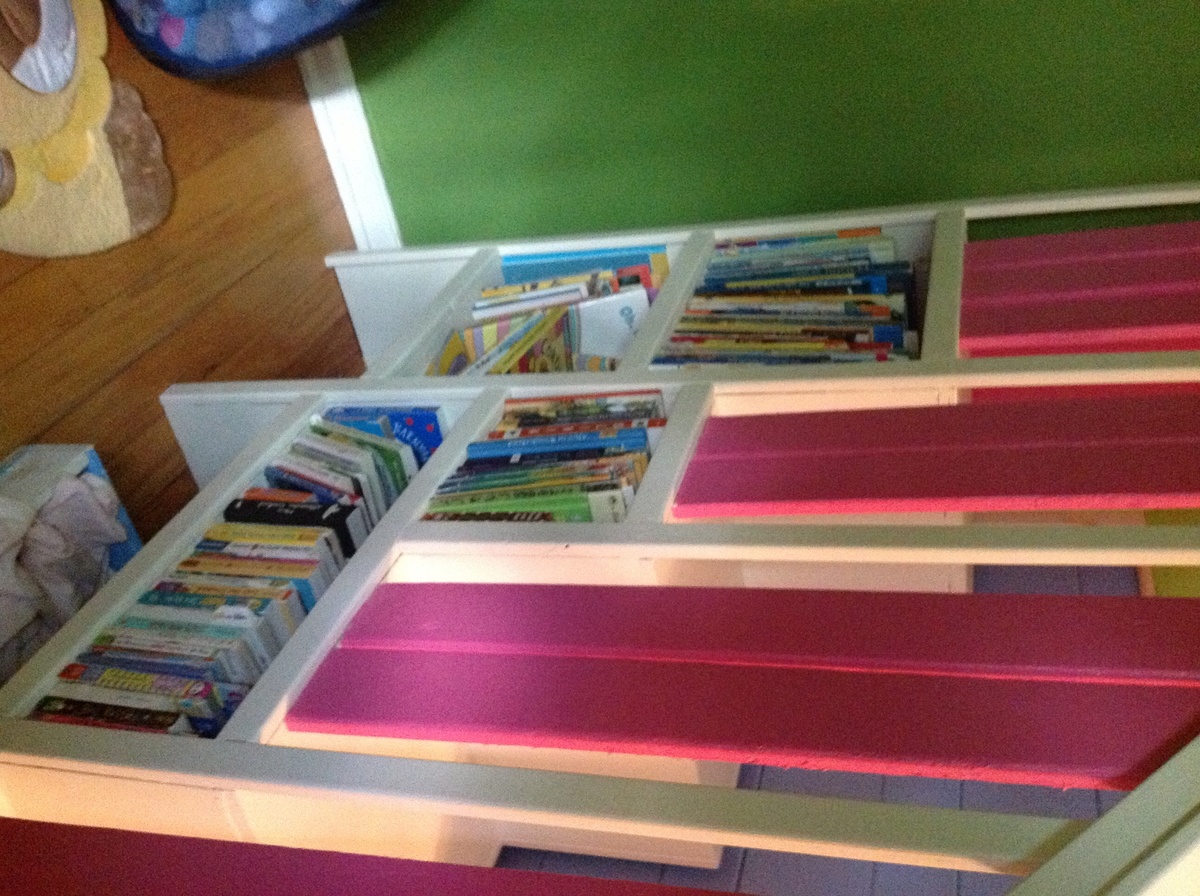
Thank you Ana and Jenny for this project. After many searches for the perfect bunk bed for our 4 and 2 year old daughters I was ready to spend more than $1500 in a store on something that was not nearly as cool as this. The plans were easy to follow and it took my dad and me about a week to make the bed. My girls love it and have spent the last two days in their room.
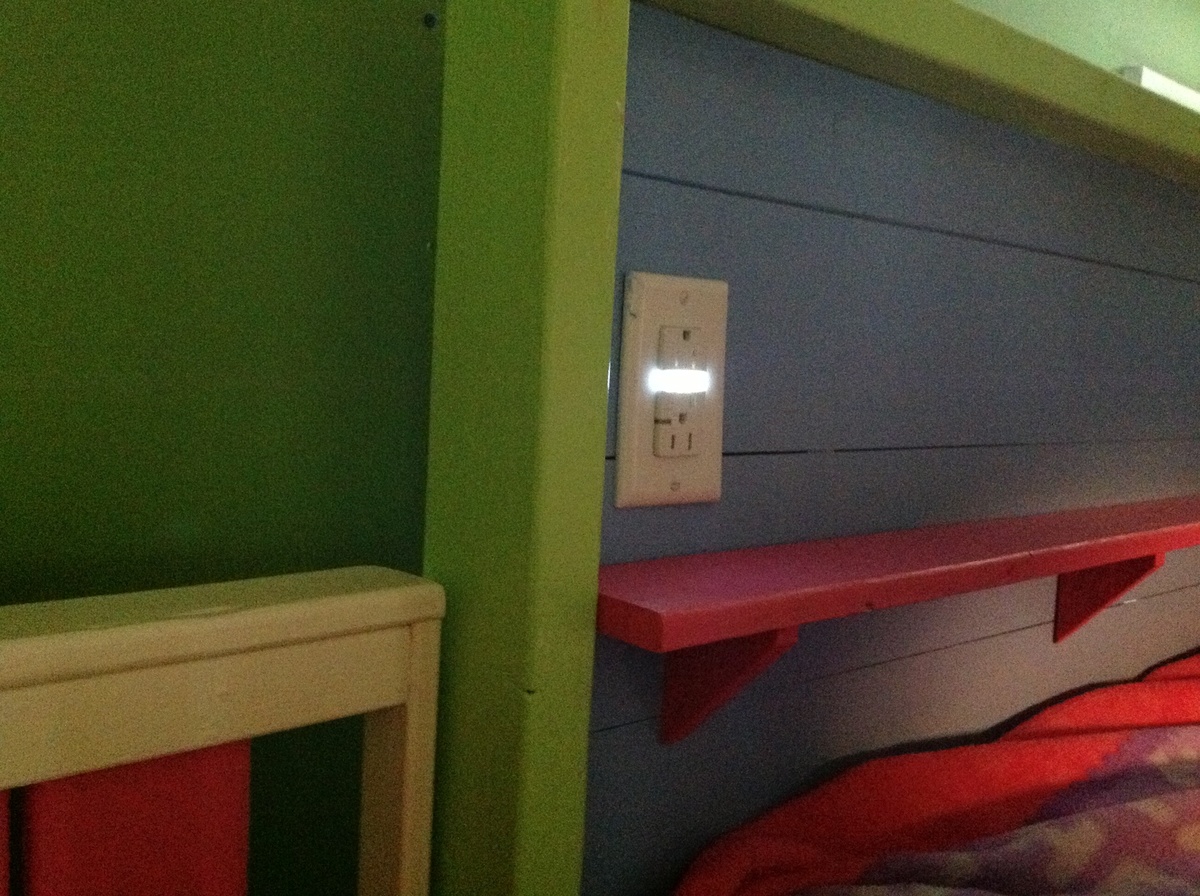
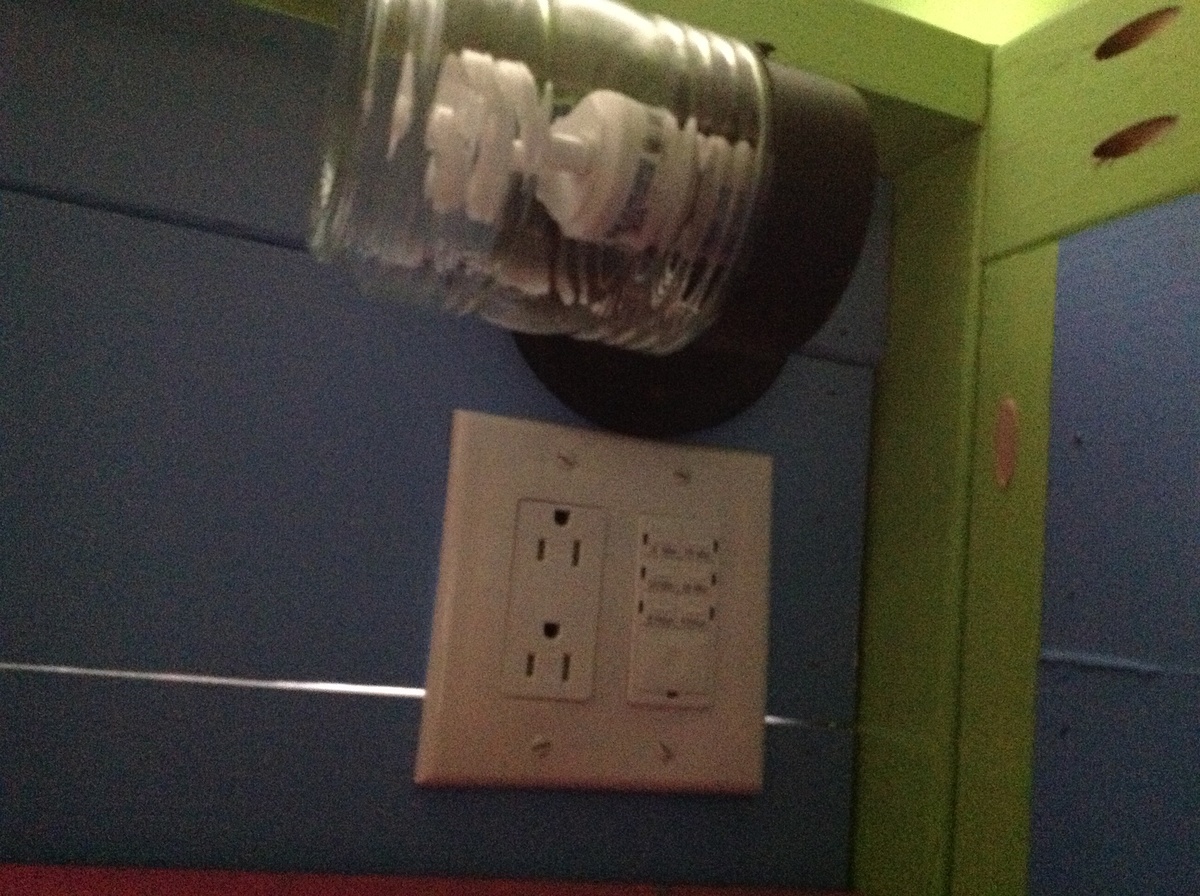
We made a few modifications to the design that I highlighted in the pictures. We wired the back of the bed with electricity to include some outlets, a light that is on a timer switch, and an outlet with a built in night light. We also added 2x2s to support the sides to make them stronger when the bed is apart. We move a lot (4 times in the last 5 years) and the design was great for taking apart and putting back together. The light on the timer is great for telling my oldest she can read books for 5 minutes and then go to sleep when the light goes out.
Thank you so much for these great plans!
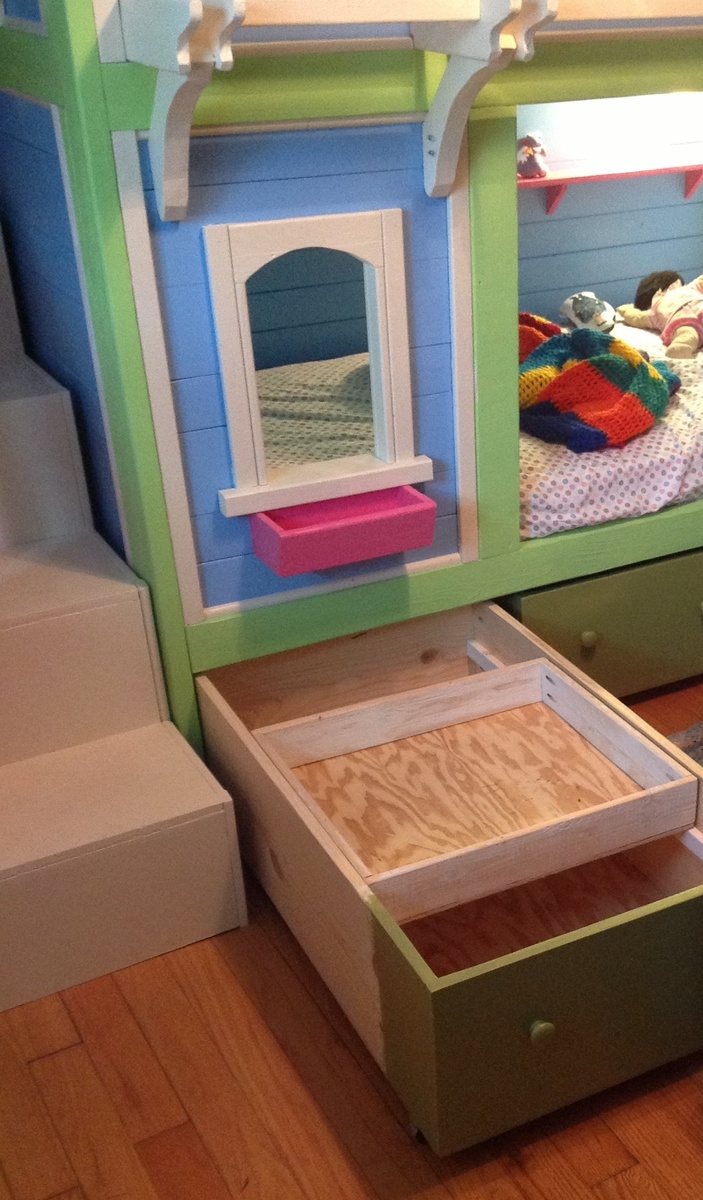
Tue, 05/07/2013 - 23:39
...and you've got me beat! I still haven't finished the sliding boxes that fit inside the storage boxes. I had better get on that.
Wed, 03/26/2014 - 13:57
I love all of these fantasy bunk/loft beds but as I look at them i wonder how hard it is to take the sheets off, put on new ones & tuck in blankets etc. I love these beds but I have physical limitations because of chronic health problems & I am afraid that if I had a bed like this for my kids that I would have to hurt myself to strip or make the bed... Can someone who has one tell me how hard it is - or isn't???? Thank you... A newbie to Ana-white.com but it's now my new #1 favorite website!!
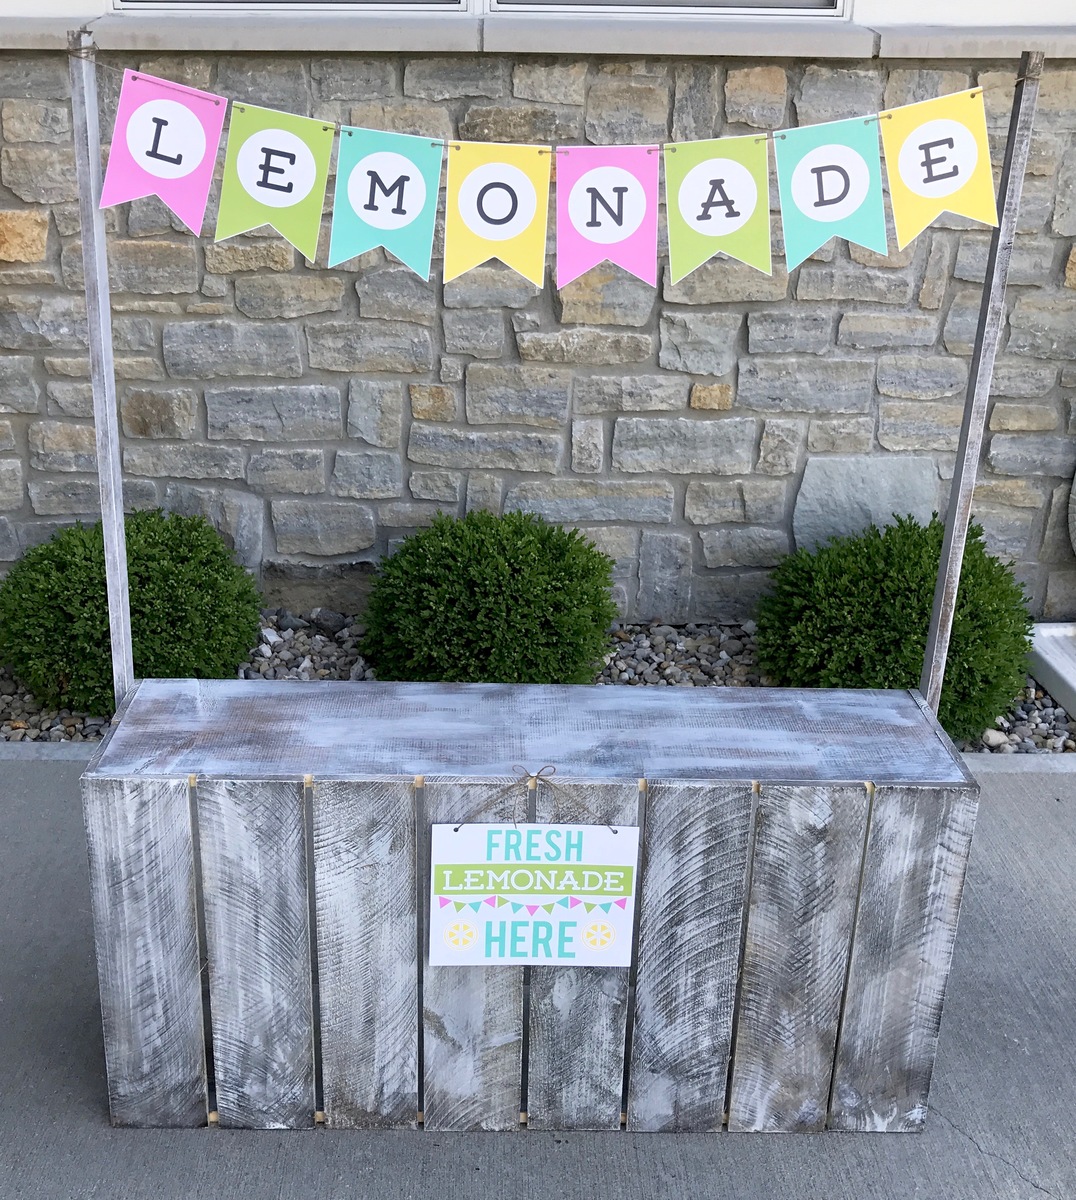
My daughters decided they wanted to do a lemonade stand at their Nana's yard sale. I'm a beginner when it comes to woodworking projects so when I came across Ana's plans for the fence picket lemonade stand, I just HAD to give it a try! This was a fun project and the plans were extremely helpful and straight-forward. I would definitely recommend if anyone is looking for a cute lemonade stand for their kiddos! Side note - my girls raised $75 for the Alex's Lemonade Stand Foundation to help fight childhood cancer! So proud!
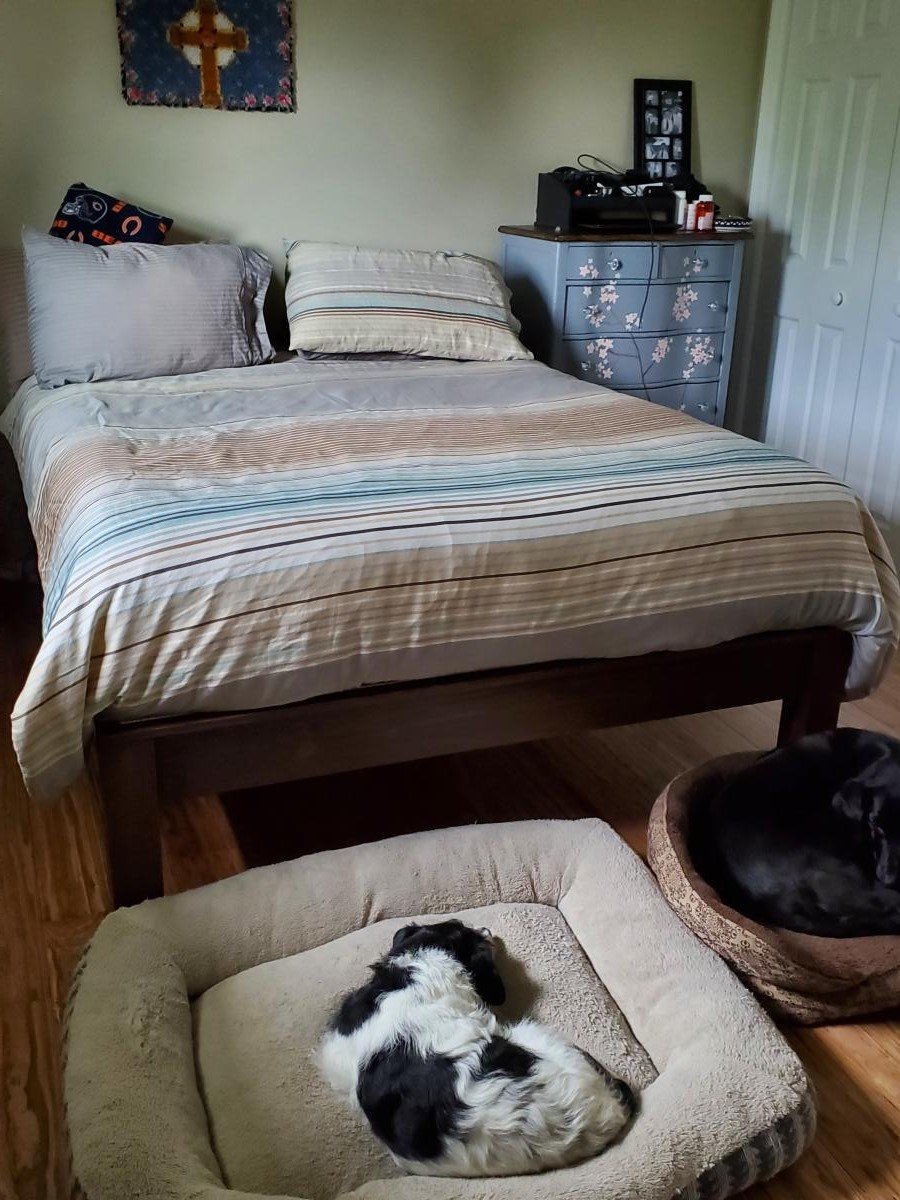
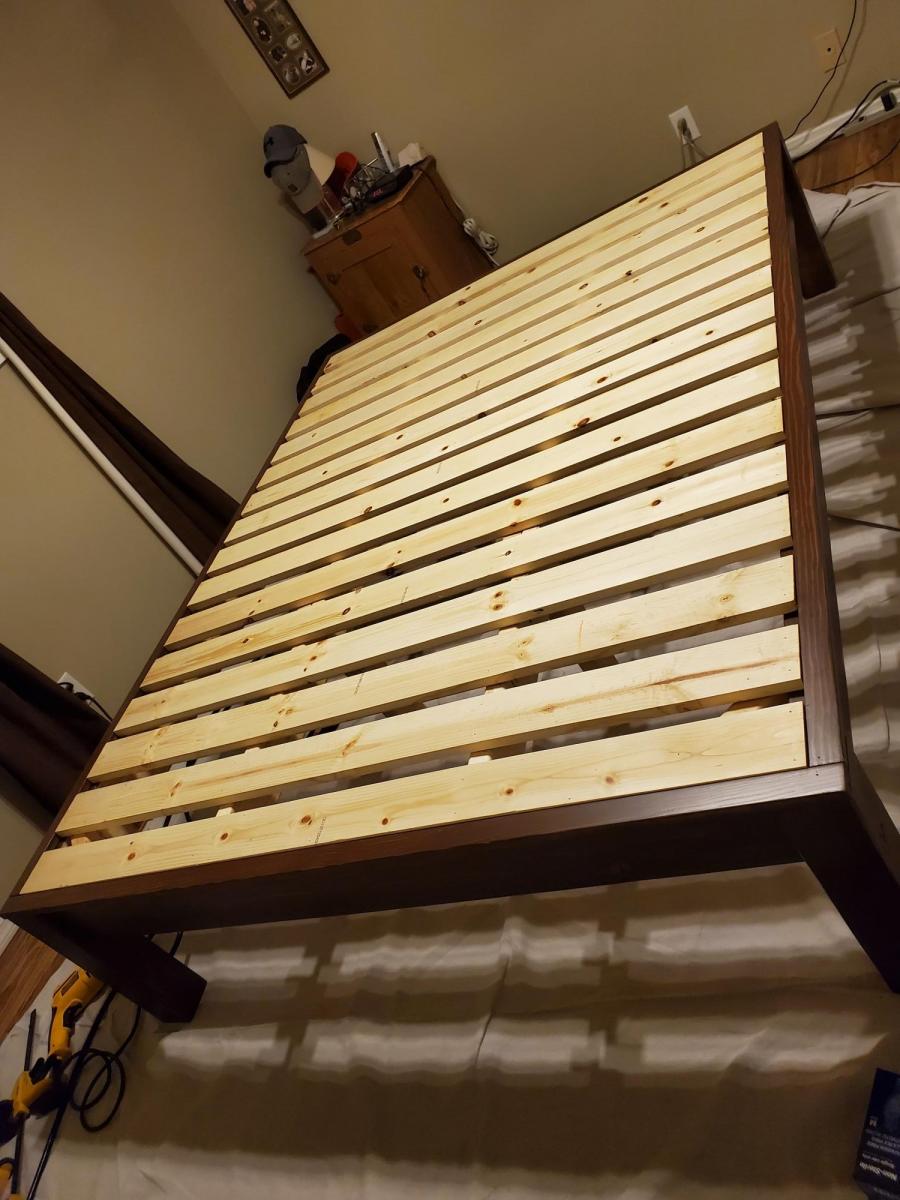
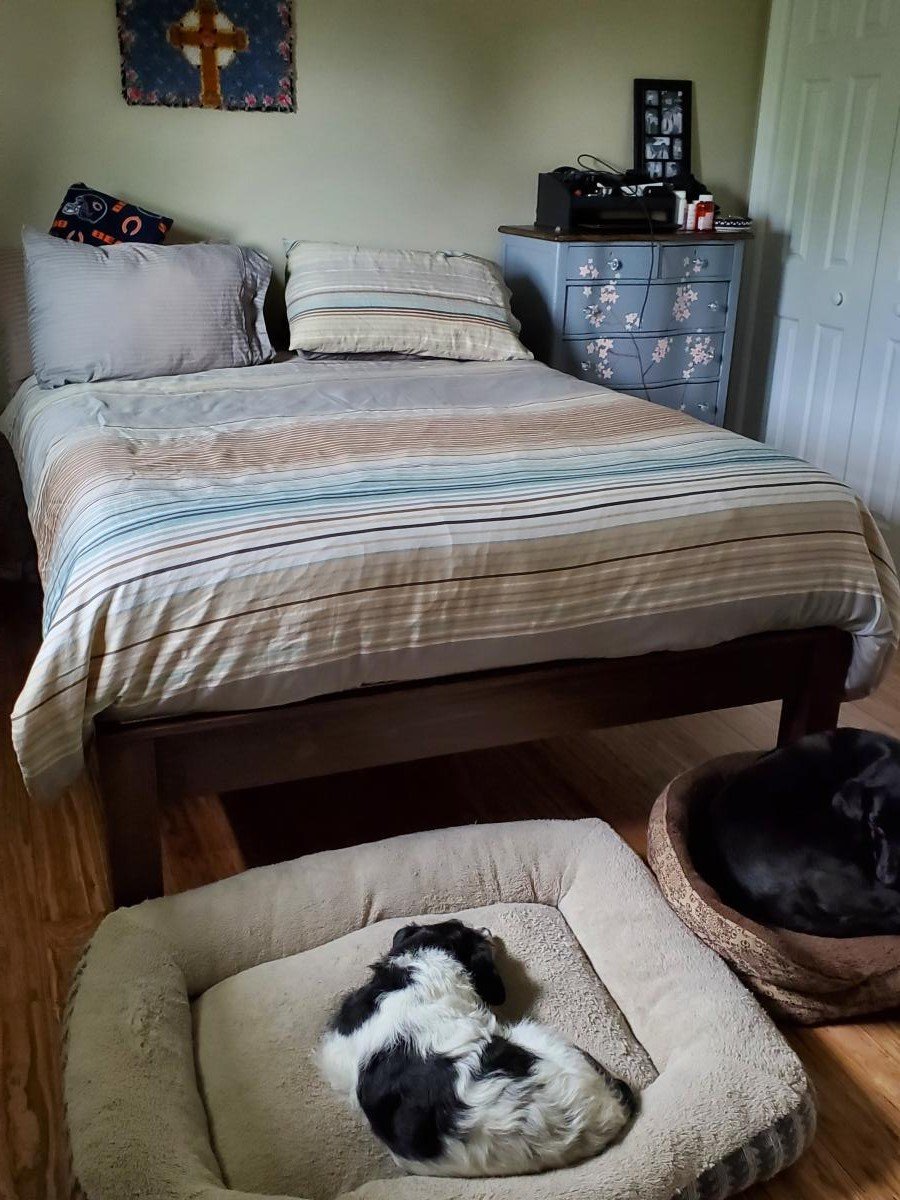
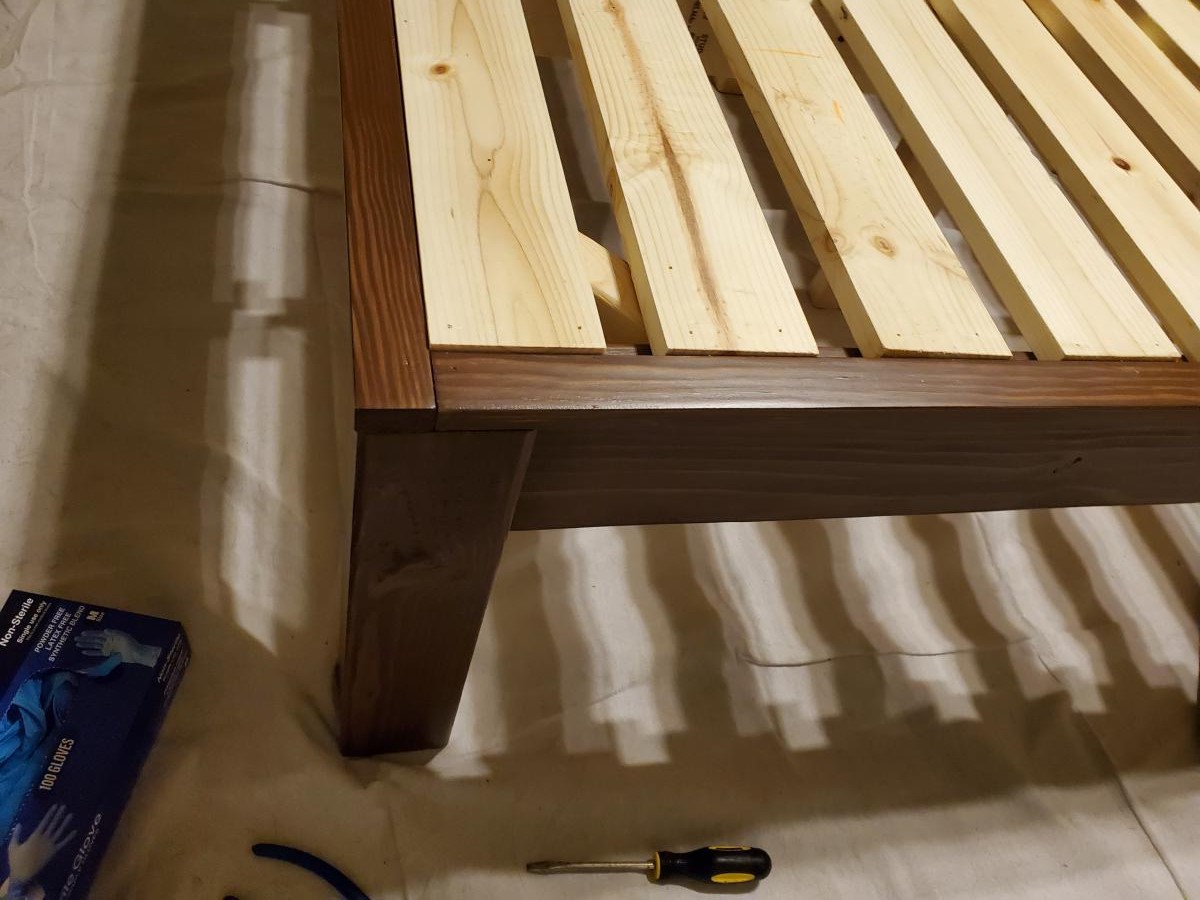
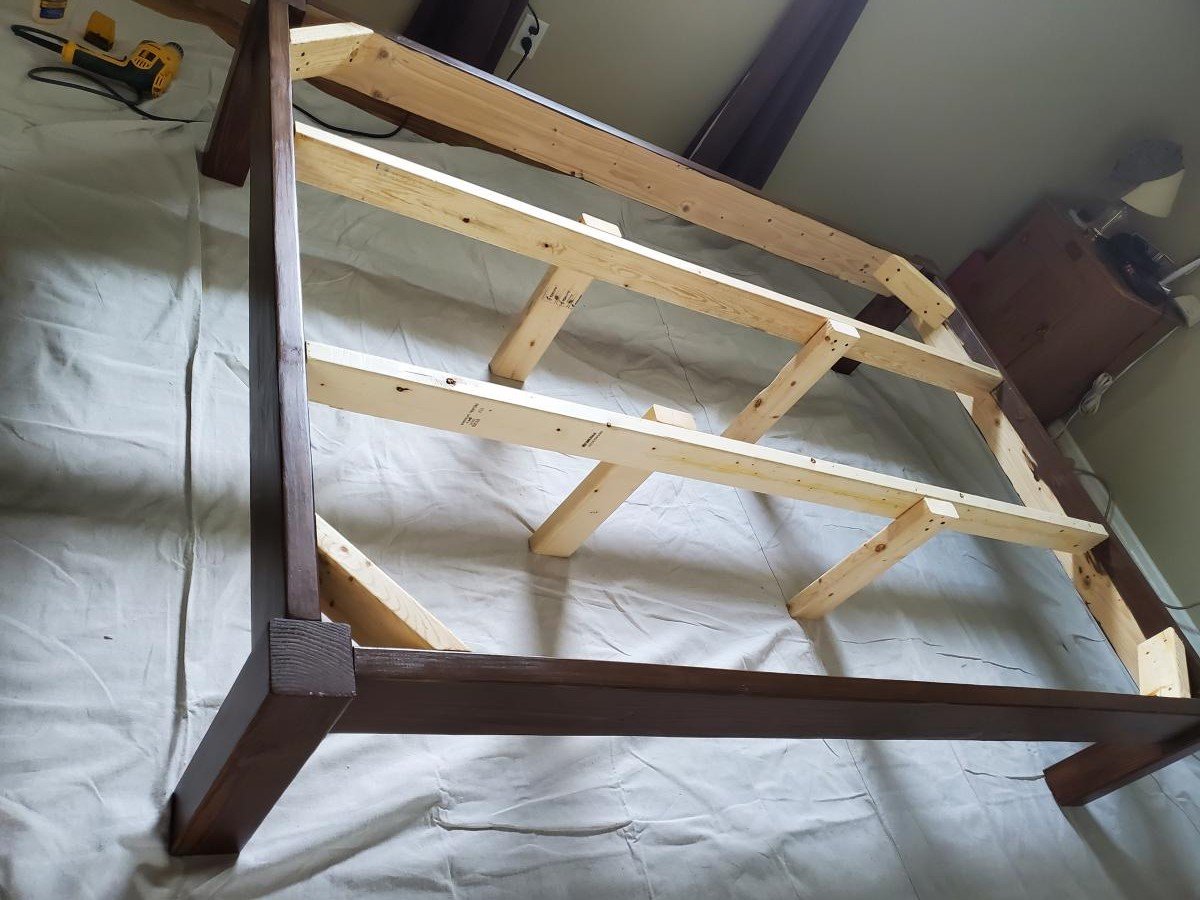
I can't thank you enough for these easy to follow plans. I'm not an experienced builder at all, but was able to build this queen size platform bed. I used Douglas Fir for all visible parts, and finished with minwax semi-transparent stain in walnut. I followed this with three coats of poly-acrylic. No one can believe I was able to build this myself, and frankly I can't either. What a confidence boost!
