My photo gallery wall!
I did 4 shelves spaced 18 inches and made with 12ft long pieces cut in half. The total for my project was $26. I already had the stain and tools on hand.
I did 4 shelves spaced 18 inches and made with 12ft long pieces cut in half. The total for my project was $26. I already had the stain and tools on hand.

First Brag. Solid pine in 2 X 8s obtained from dumpster diving behind a boat store. This wood is from boat shipping crates. Milled down with table saw to usable sizes. Not hollow like the WE Emmerson table. Very heavy and solid with NO wiggle!


Mon, 10/20/2014 - 04:54
Thanks and yes, I just studied the table from the catalogue and put it together, I was very excited how sturdy it is. It is pretty straight forward. Screw and glue the boards together using very strong clamps with each addition of a board to make the top I used the measurements from the catalgue as well. It was fun to figure out. Now it is one of my favorite builds!
This was my first furniture project and only my 2nd woodworking project, the previous one a cubby house over 20 years ago, so I was a bit nervous. I did lots of planning, research and designing before the first cut. I incorporated ideas from Ana projects as well as from other sites and learned how to use a drop saw, various sanders and the pocket hole jig.
We wanted a tall table because when sitting a a regular height table the view is blocked by the deck railing.
I decided to make it out of hardwood for durability in the Australian outdoors and also because we get sea air where we are. The hardwood (Blackbutt) was challenging to work with - extremely heavy and difficult to drill into, but the finished product is SO solid and will outlive us all. Due to the weight and density of the timber I overengineered as far as joining went, using more pocket holes than usual.
I saw the idea of the built in ice troughs years ago and was keen to incorporate them into my table. I also made the legs detachable so that the table top could be moved out onto the deck once it was finished and the legs added in situ. Once it was set up my husband put big screws into the legs just in case but it would really take an earthquake to move this thing.
I managed to build it over 3 weekends and finished it just in time for our family Christmas party but it only had 1 coat of stain on it at that stage. I finished it off later and we also decided that the ice trough covers would look good in a contrasting colour so did them in charcoal. If I made it again it would be a much quicker project as there was alot of 'firsts' and learning along the way.
The dimensions are:
2660mm long (about 8' 9")
1150mm wide (about 3' 9.5")
1165mm high (about 3' 10")
The legs are solid - 140 x 140mm (5.5")
It seats 10 - 12 comfortably and 14 at a squeeze.
We got the bar stools 2nd hand for an absolute steal - 12 for $200! They are handmade hardwood too and look great.
The timber was quite expensive but I was able to use the work account so got it at trade price. This would be a very expensive table to buy but all up it cost us about AU$1100.
This project was not exactly easy but I would class myself as a novice. With the right planning and preparation (plus stubbornness) anyone could do this :-)
In reply to A Piece of Art! by Ana White Admin
Sat, 01/28/2017 - 16:12
Thank you so much :-)
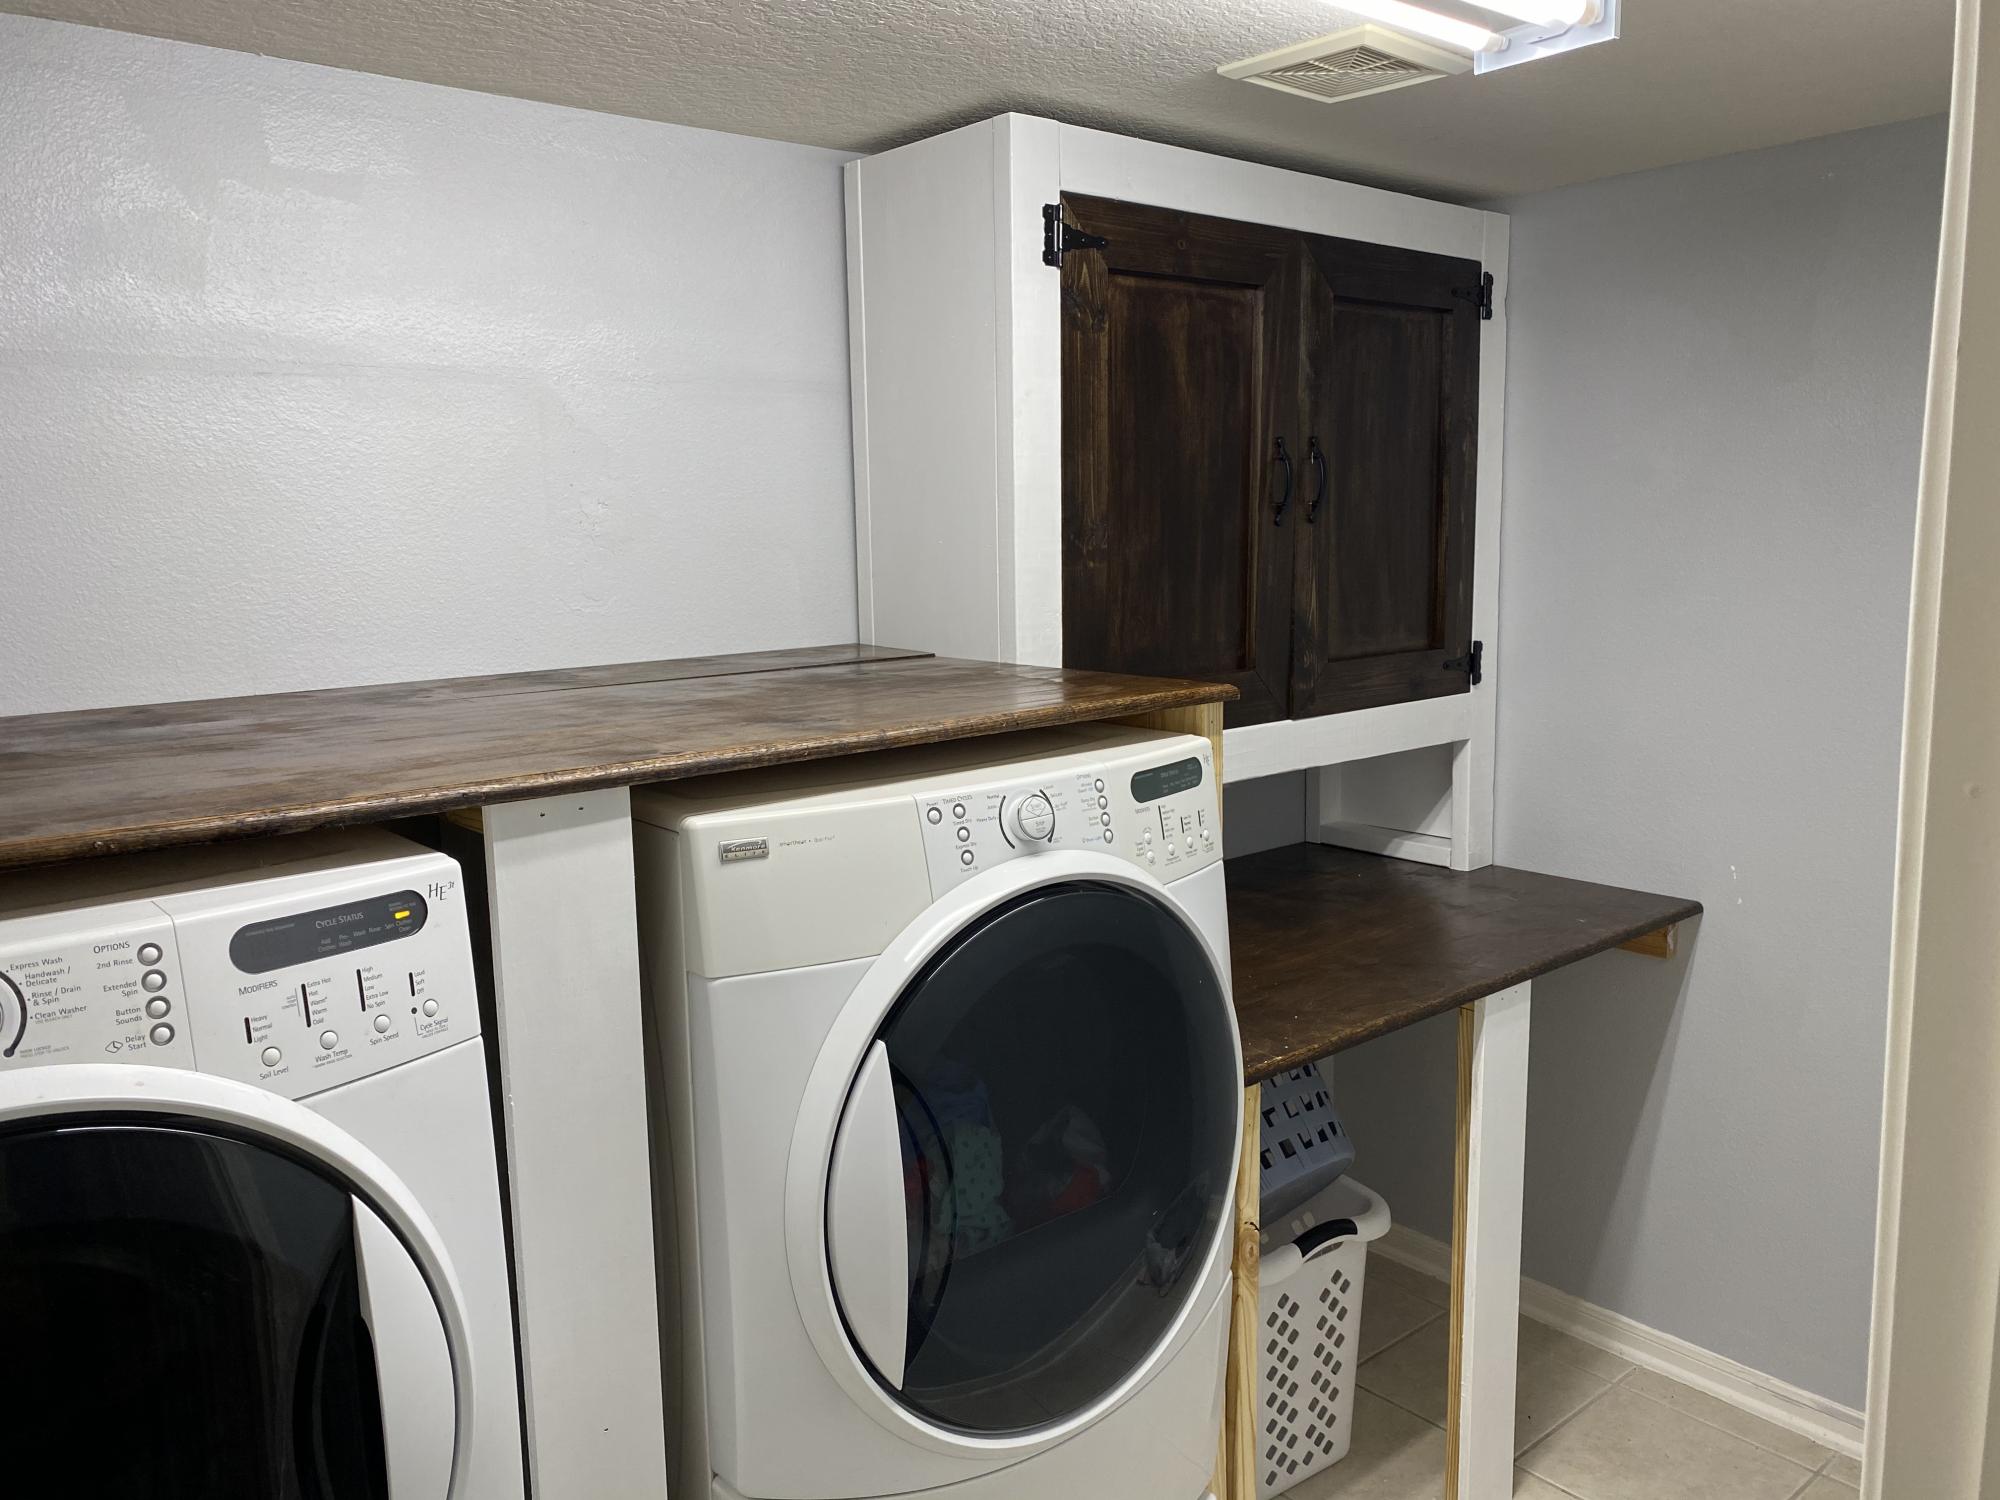
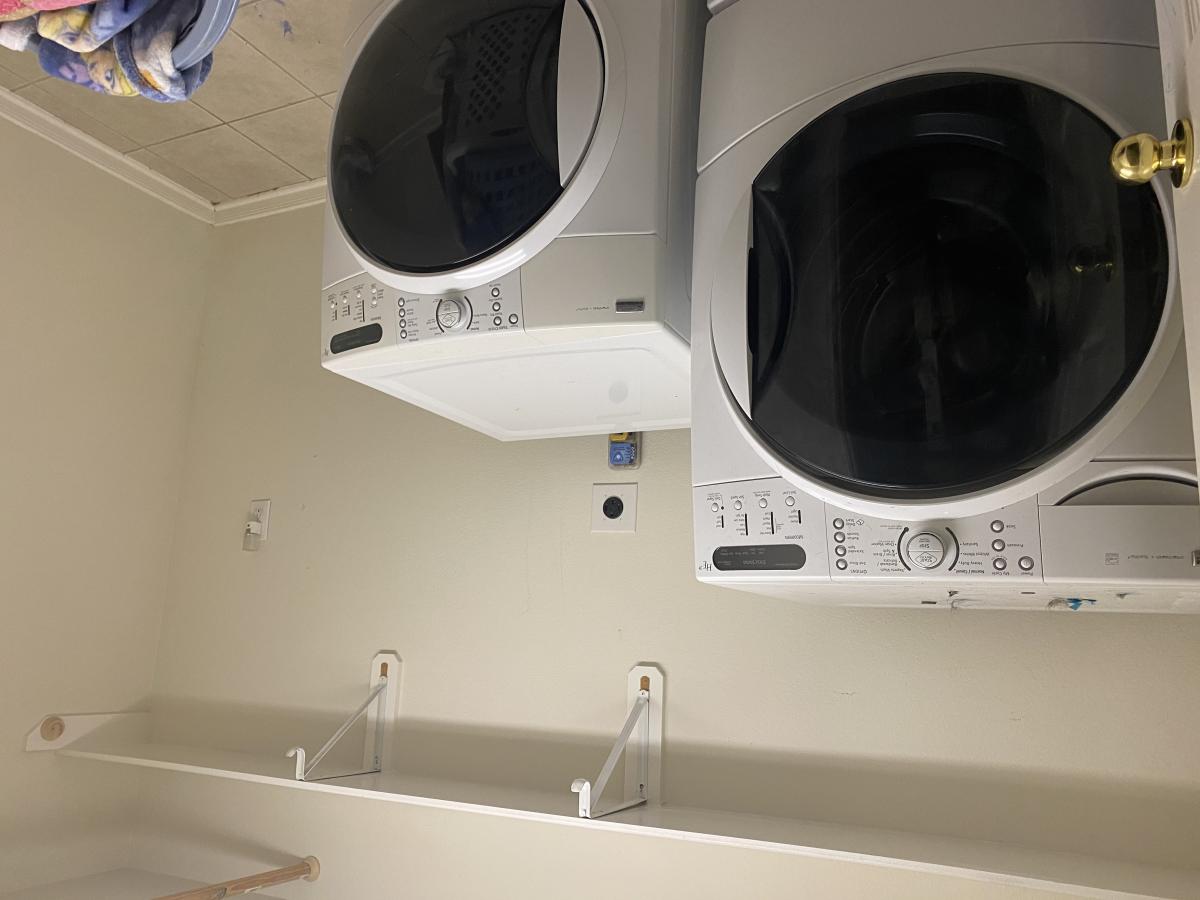
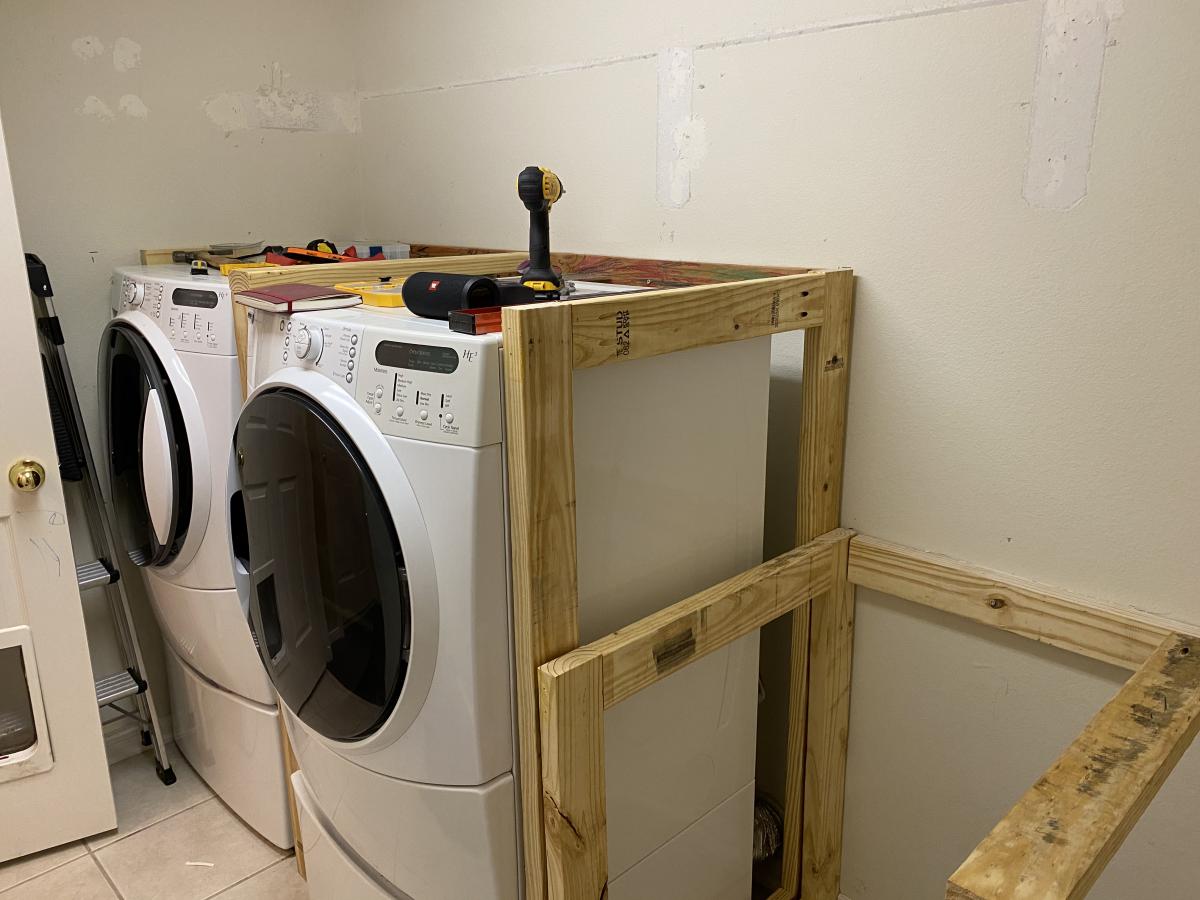
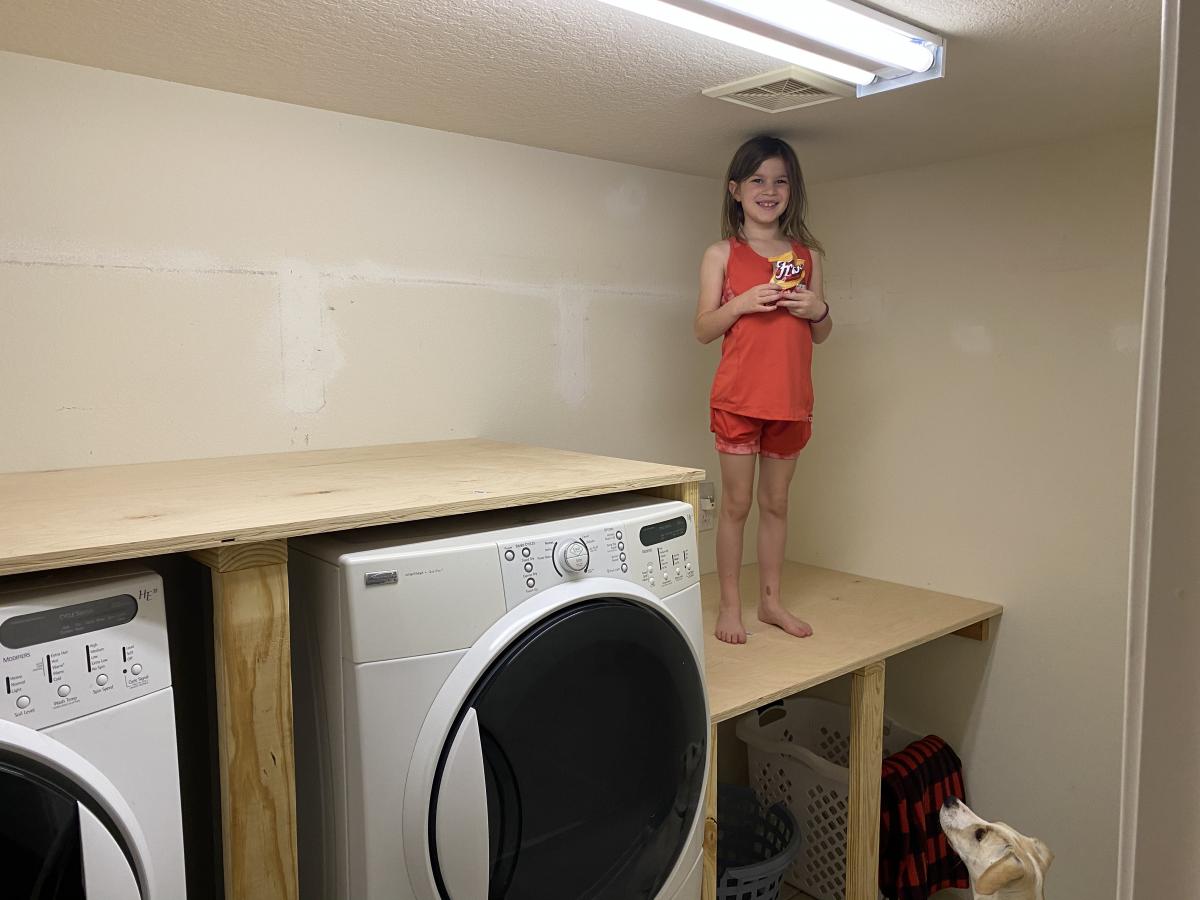
Wife needed actual storage and work space in the laundry room. I’m proud of this one because I planned and measured it myself. Really happy with the results and so is my wife!
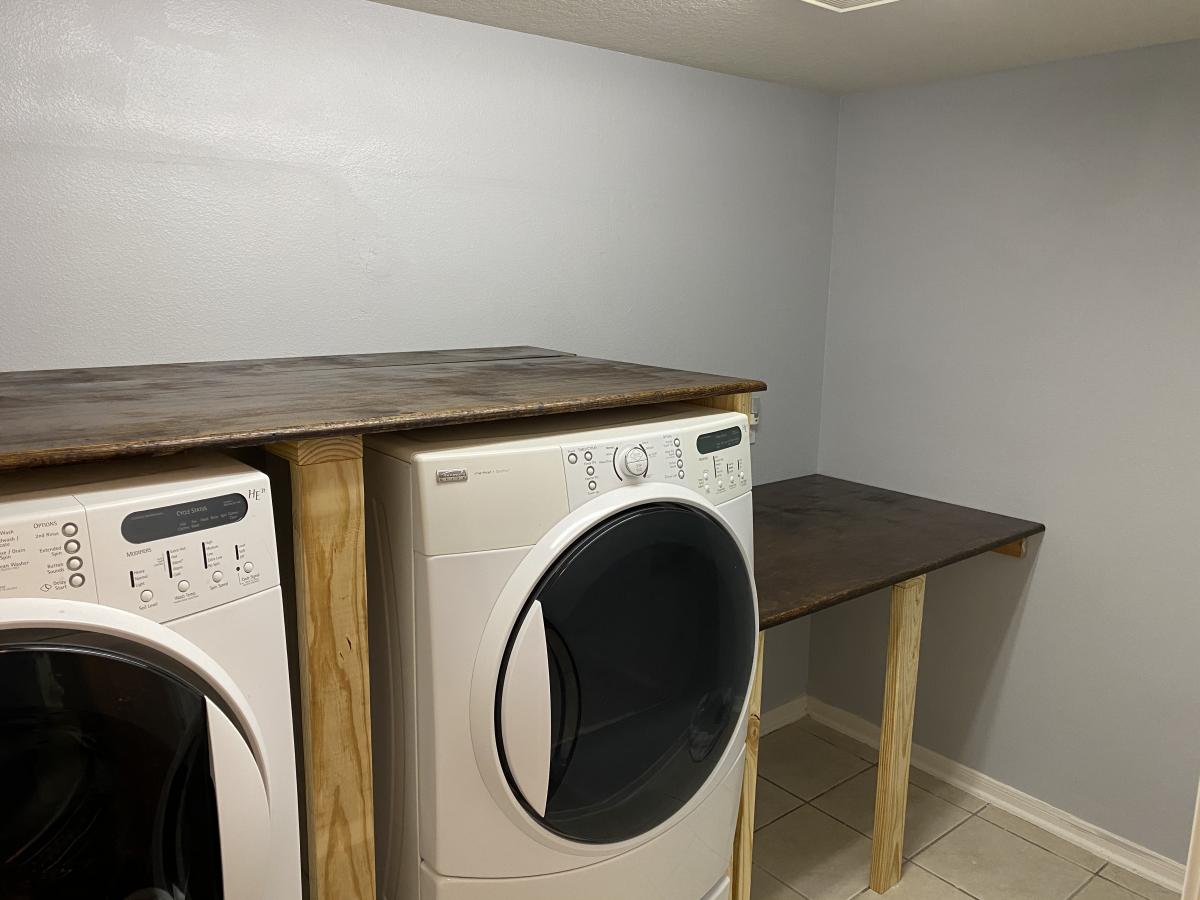
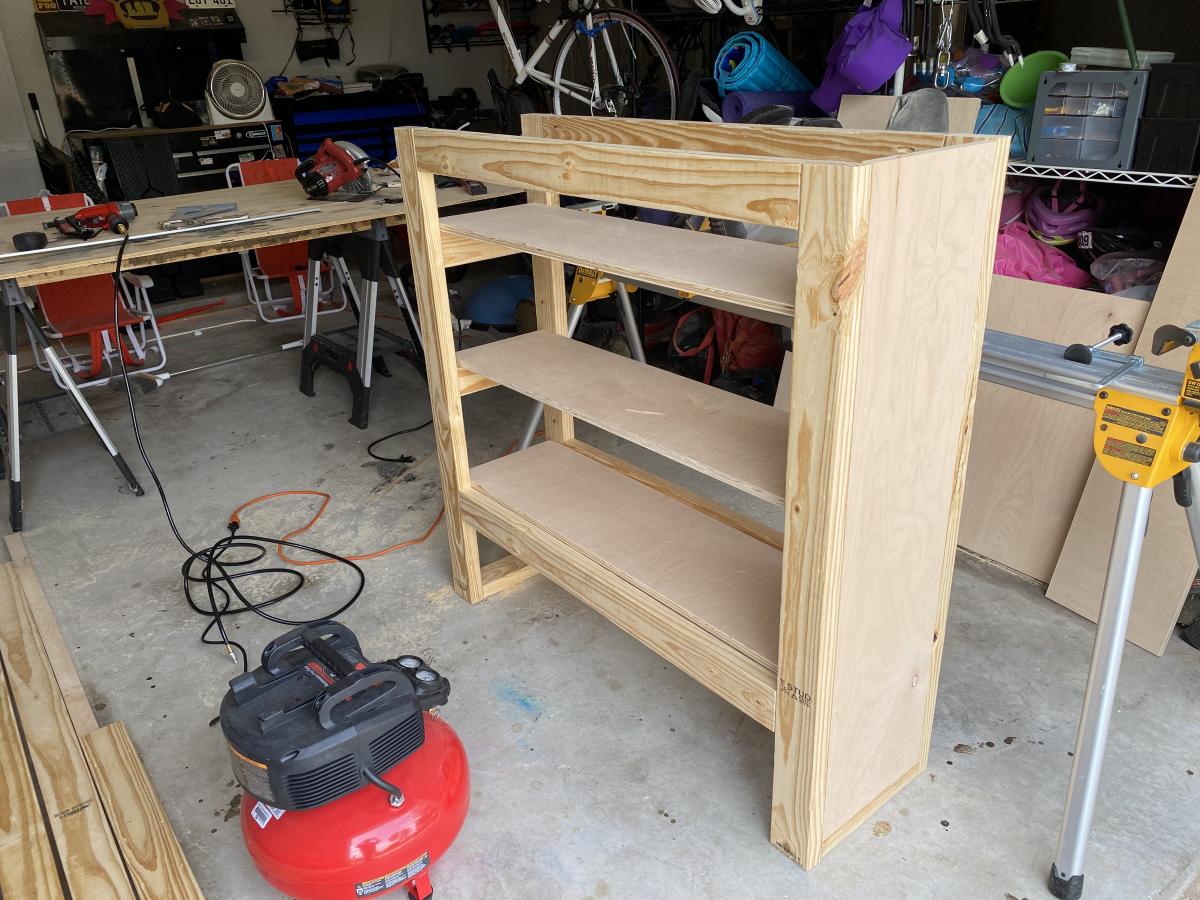
Sun, 10/18/2020 - 14:56
You should be proud, it's amazing what some planning can accomplish! I'm sure your wife is very pleased!
Made four of the modern toy boxes from your plans (2 daughters and 2 nephews) and they are wonderful! Made it with red oak (oiled finish) and birch plywood for the panels. Laser engraved the name plaques for a nice added touch. Thank you so much for the great plans and inspiration. Kids (and parents) are going to love them for Christmas. - Nick F.
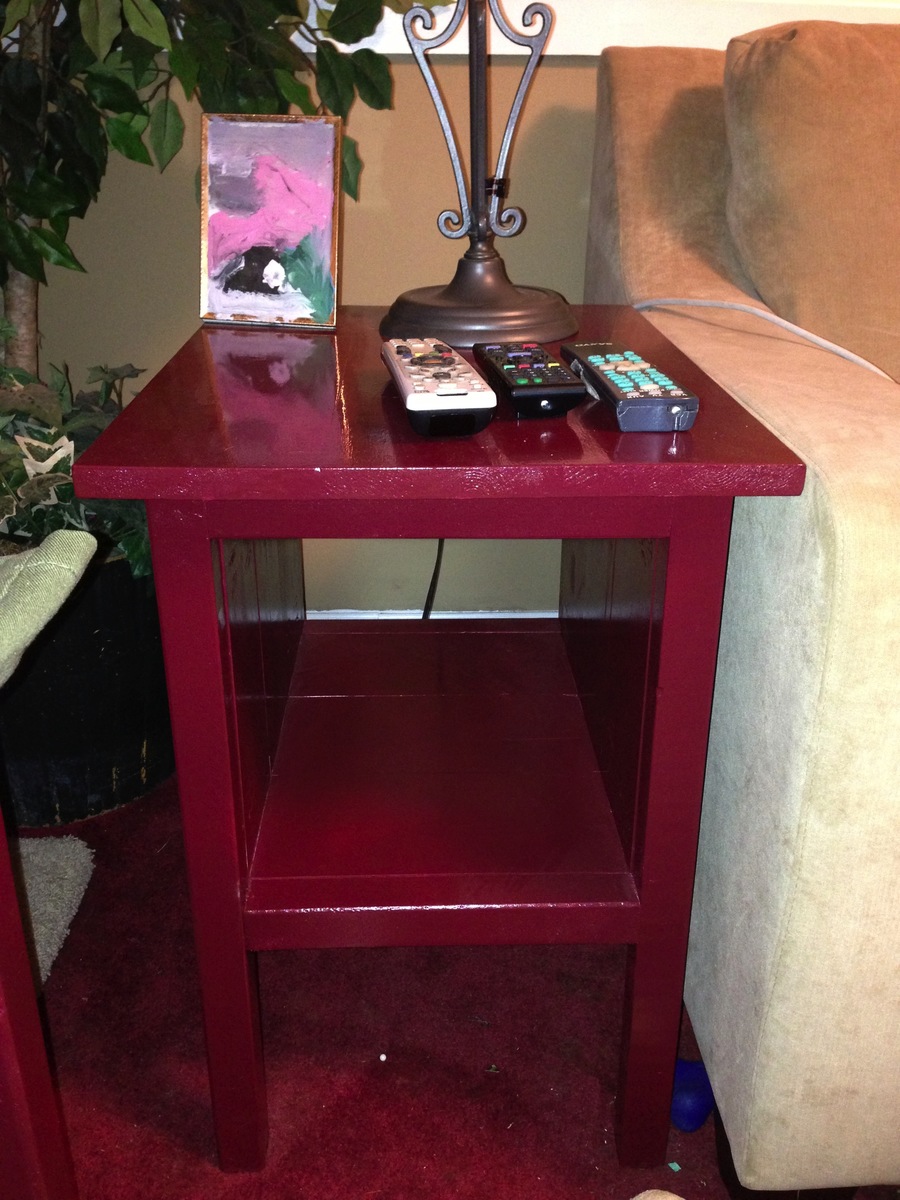
This was my first ever building project and I love it! I made 2 for my living room and have since made a few more things. Thanks Ana for an amazing website!
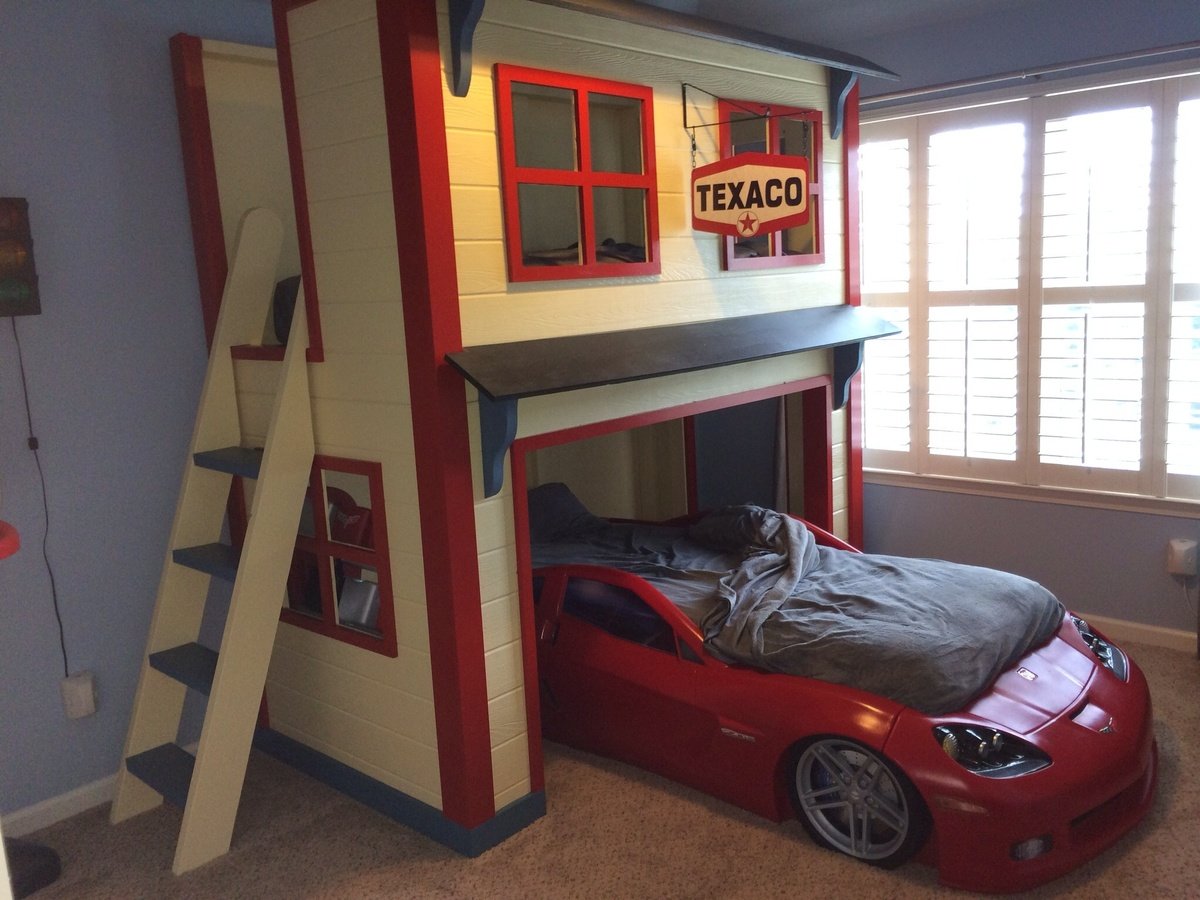
The garage loft bed was inspired by the plans on your site. I beefed up the framing with 2xs and found siding panels at my local big box.
Tue, 04/21/2020 - 13:23
Wondering if anyone has the plan to this my boys are wanting a garage themed room and this is perfect!!
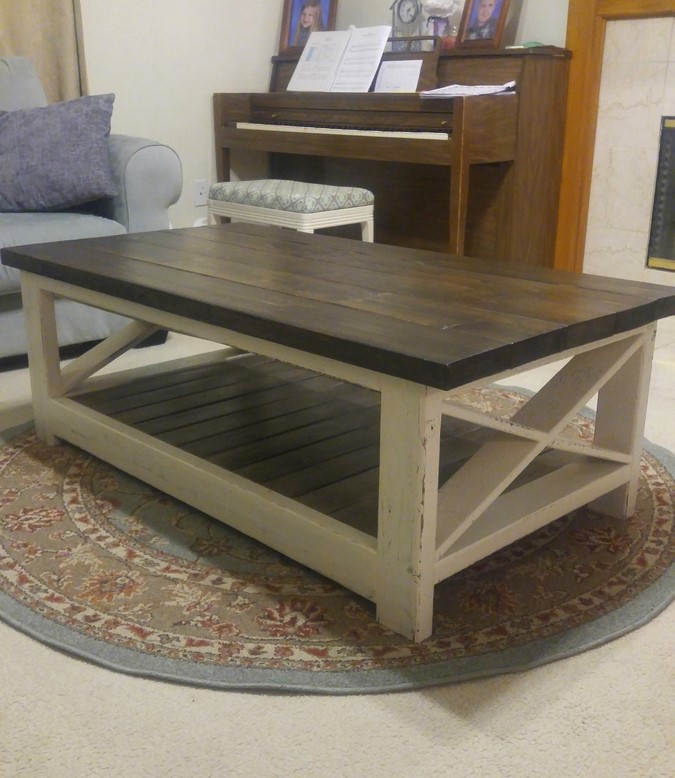
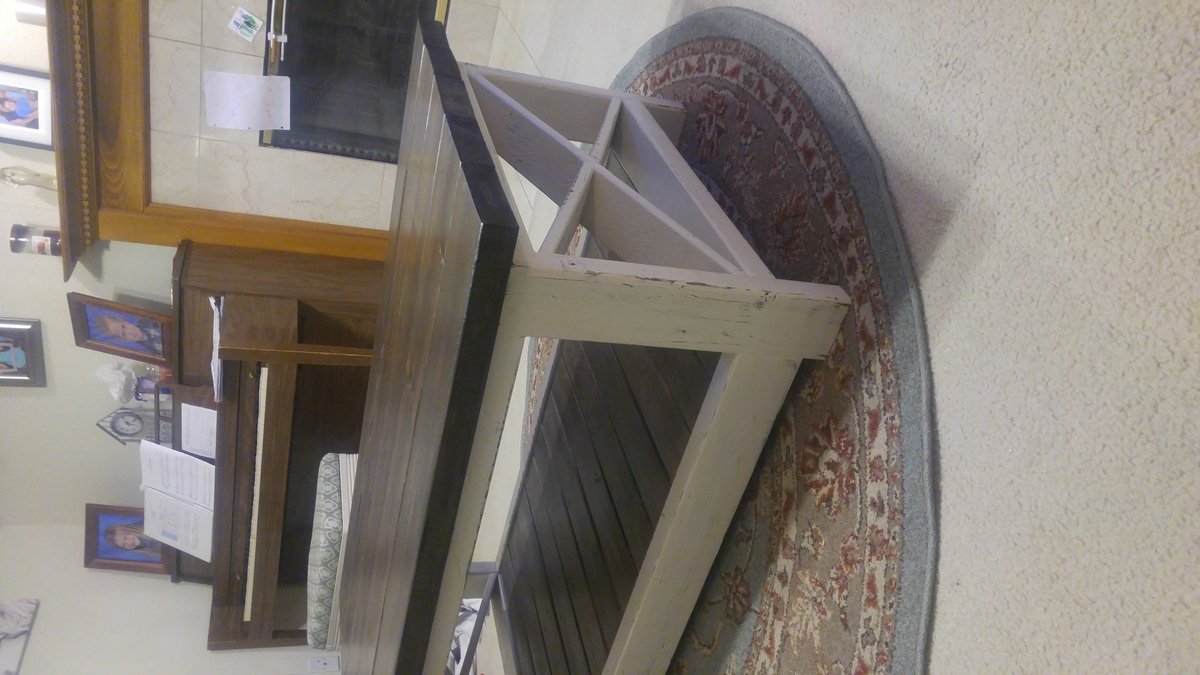
Dark walnut table top. Weathered 1x4s on the bottom shelf in place of 1x12
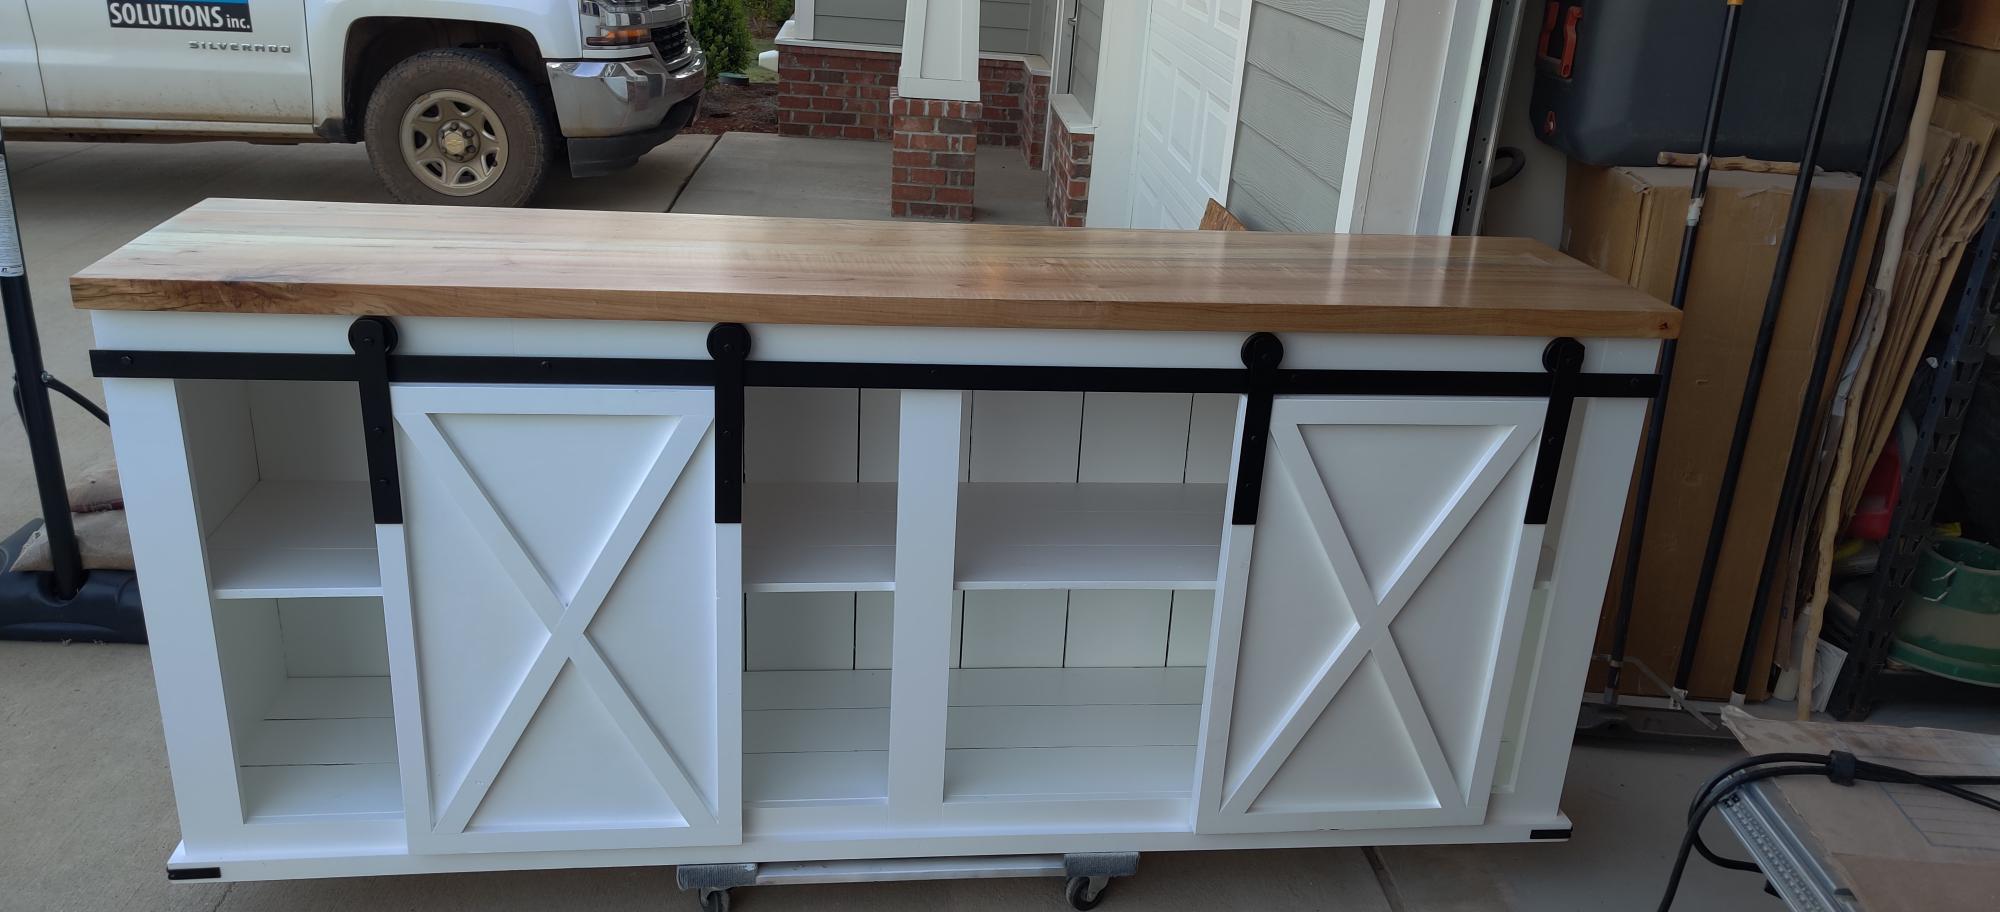
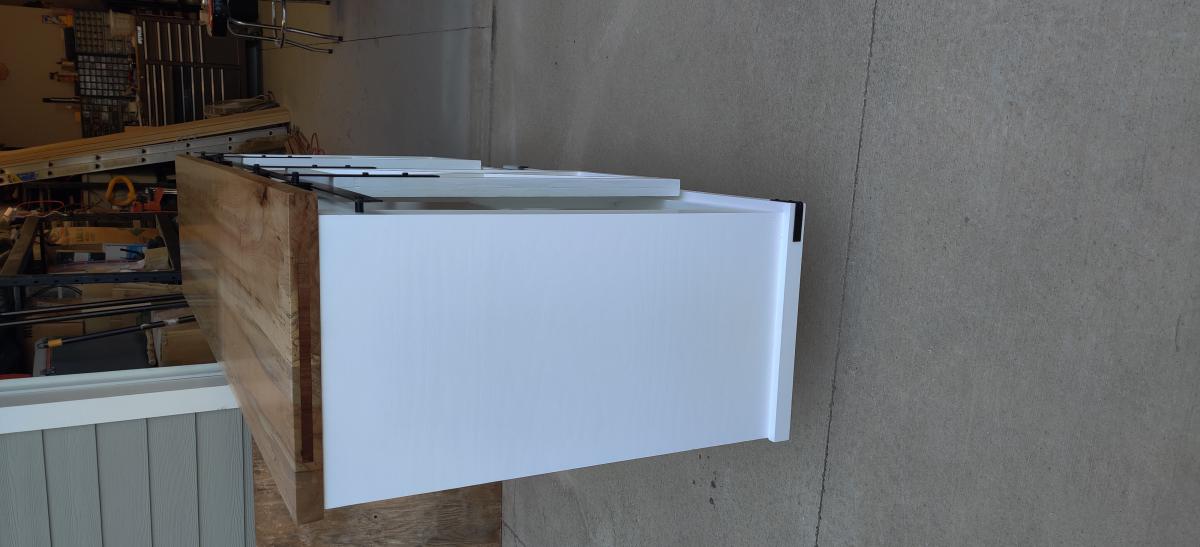
I really liked the idea of making a TV console for our house. I used your plans as a guide and then added a few features to it. I made all of my rail system hardware vs. ordering a kit. I also added some Walnut accent inlays on the ends of the table top.
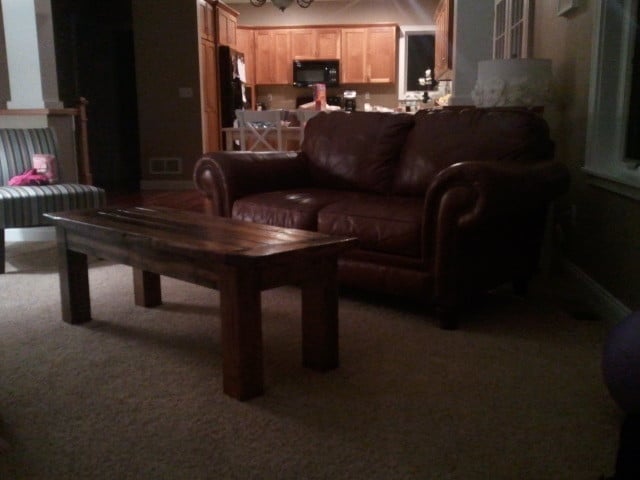
I built this without the current plans with the pocket holes in the bottom. I also made the width a little smaller, by 2 boards. This is very sturdy, my daughter uses it as a platform to perform all the time. I have even stood on it many times. Plus, it can be used as a bench if needed.
I used a darker stain on it and roughed up some of the edges a bit.
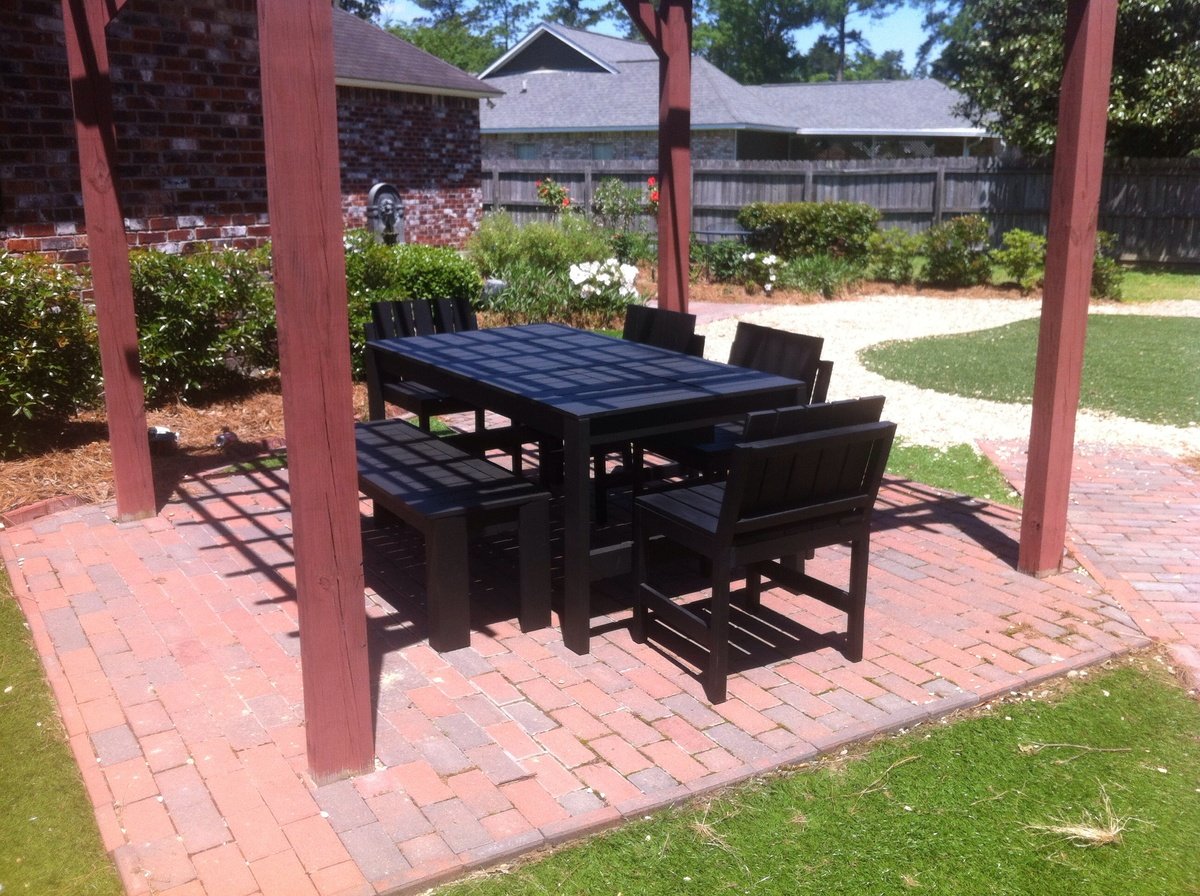
First of many outdoor projects. This collection from Ana is awesome.
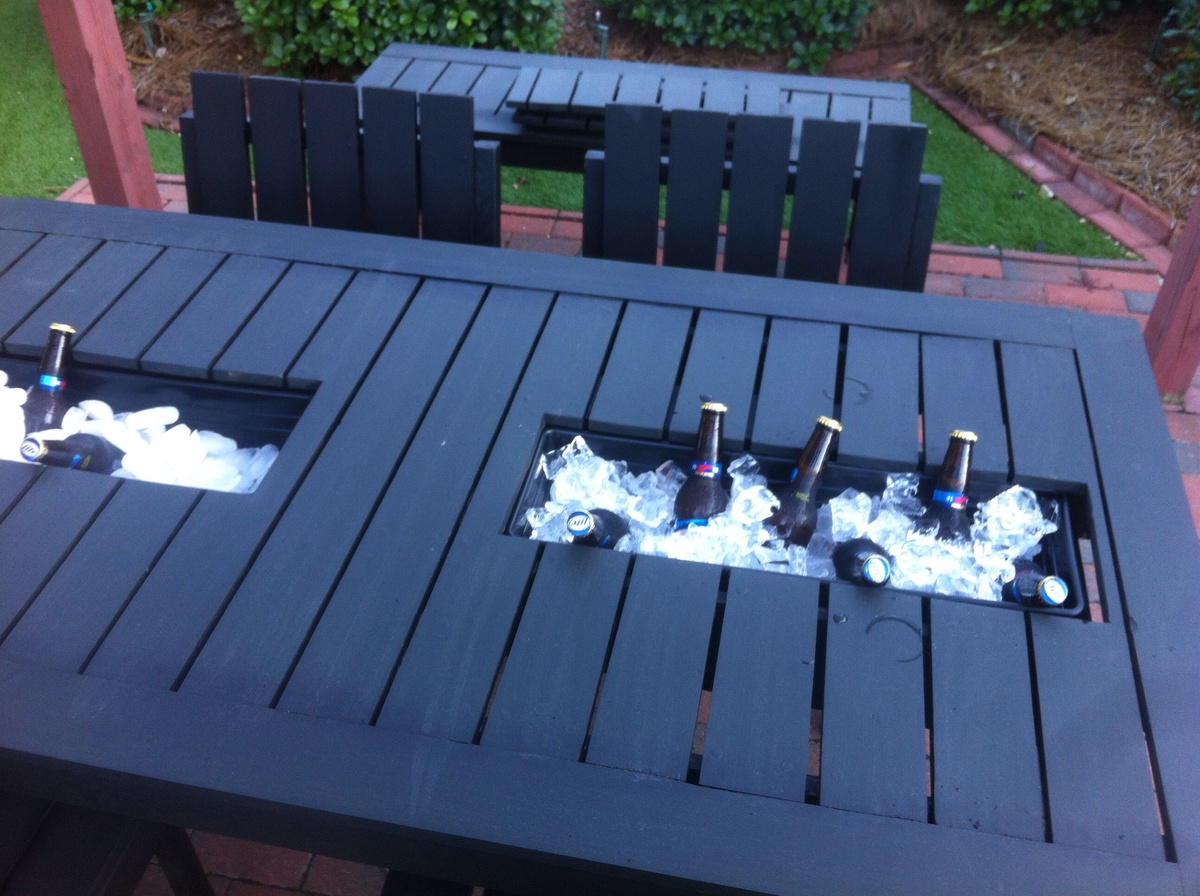
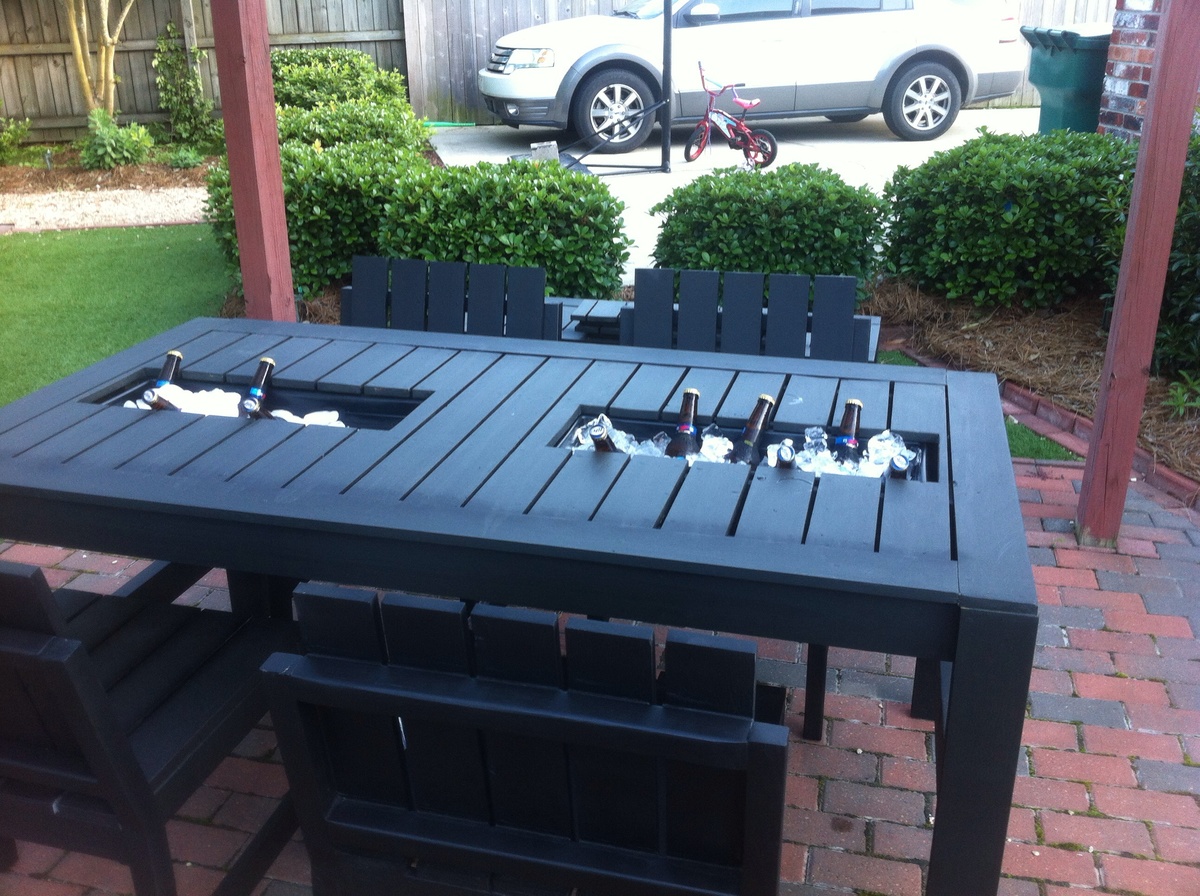
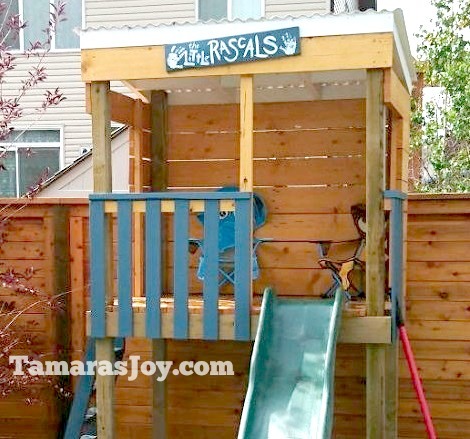
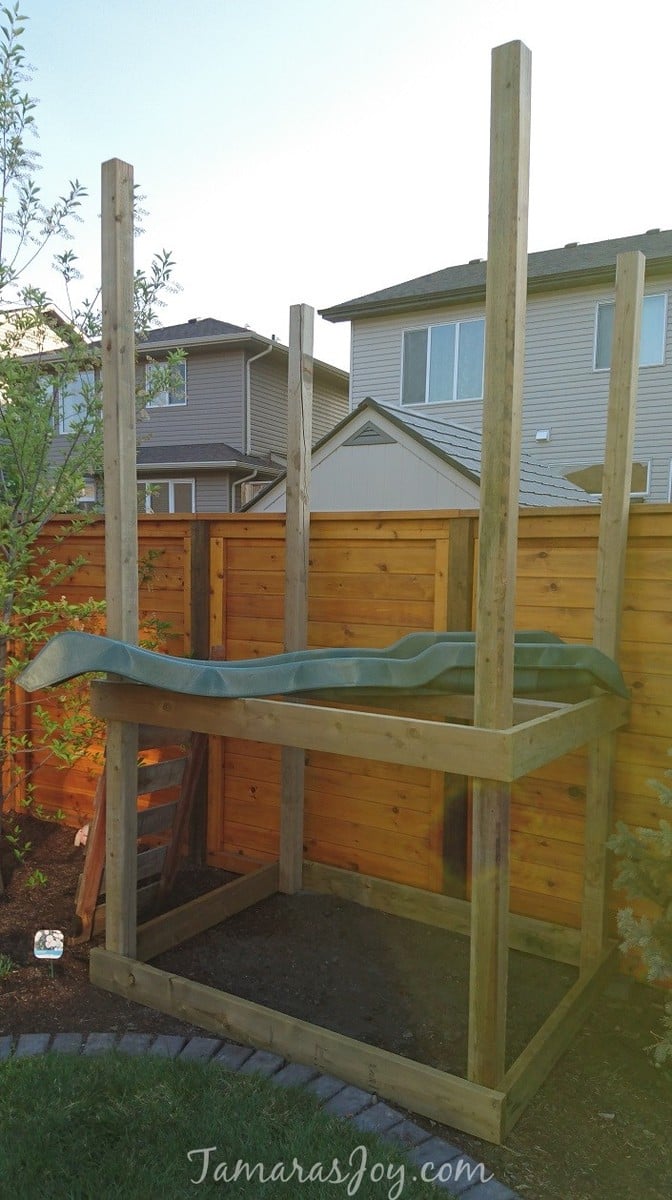
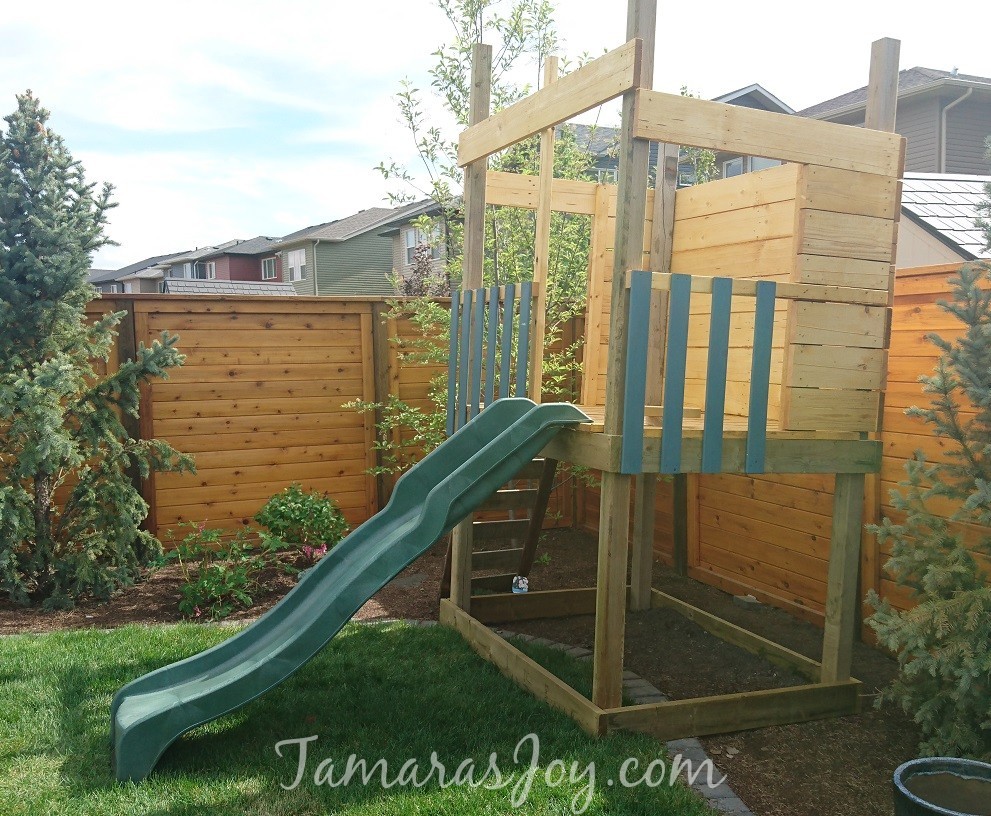
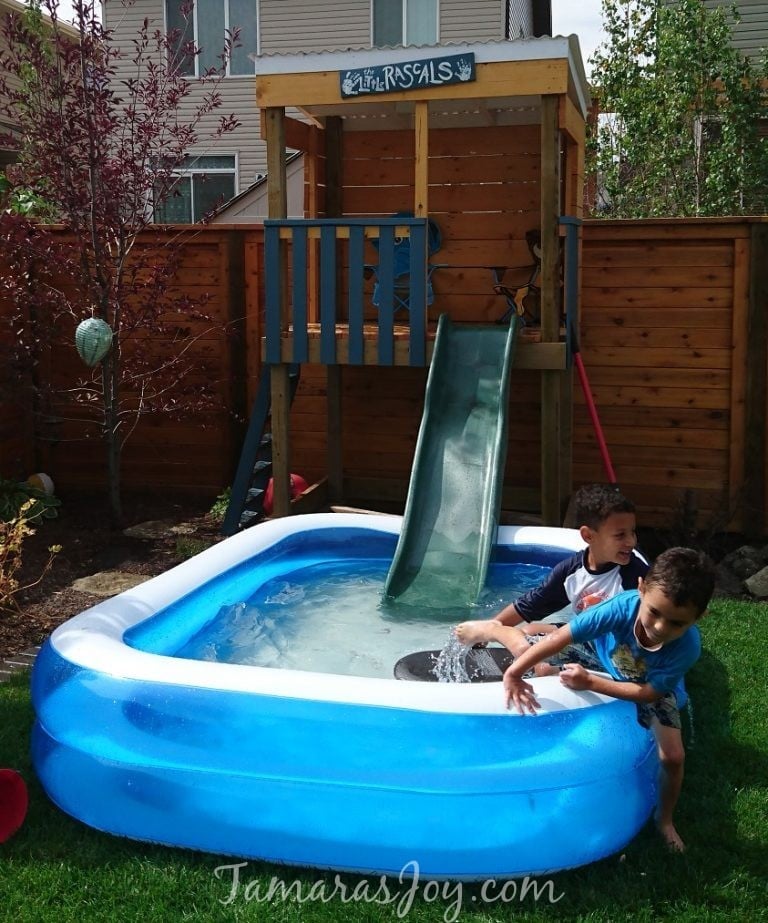
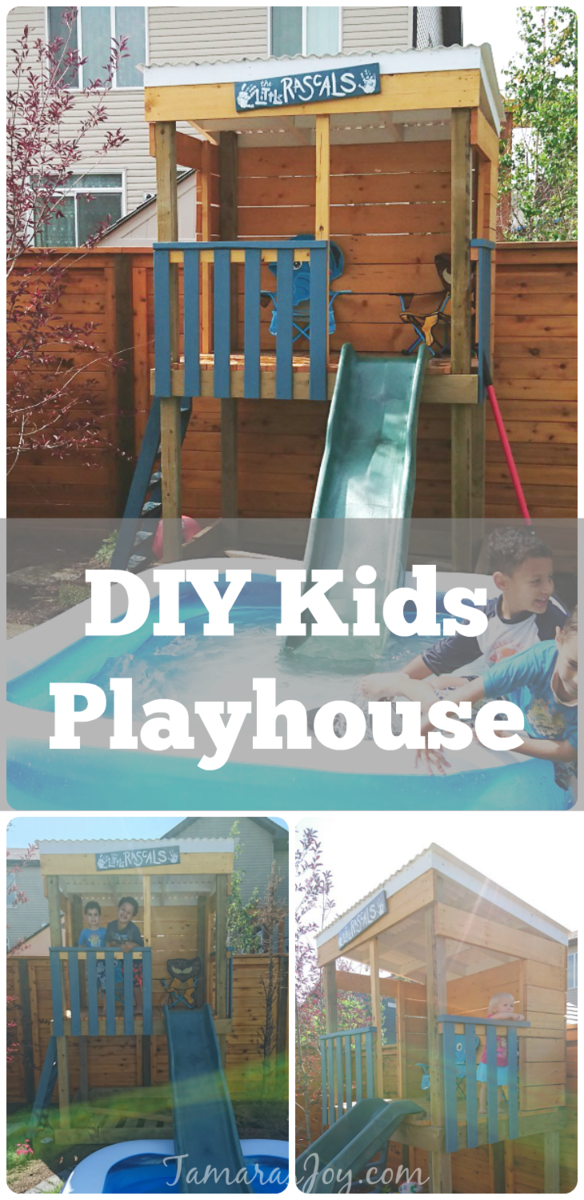
Full Tutorial with a LOT more photos on the Blog HERE
We had measured the garden space so we could build this frame to fit the space. The deck frame was made to be the correct height for the slide that we would attach later.
Once all the boards were put onto the frame I added some rails for safety of course. Then stained everything....
PS This IS a beginner project! I promise!!!! I am a beginner and I built it, it's still standing so you can do it too! I promise!
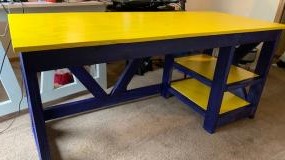
A little taste of the Caribbean in Ohio . Inspire on the concept of Farmhouses and been a Caribbean working from home I decided to have both culture mixed together. Is like home away from home for me. I'm a Buckeye fan and not a Michigan, the colors was a coincidence .
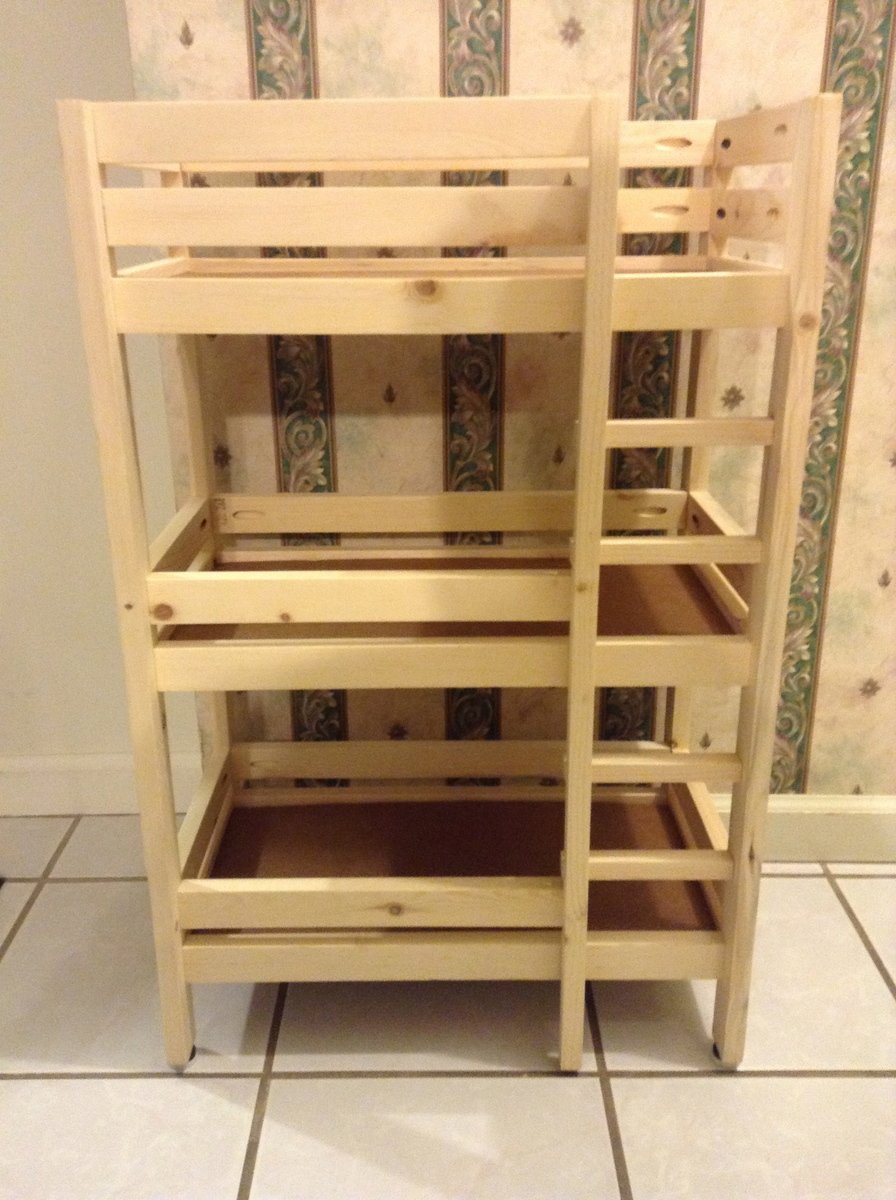
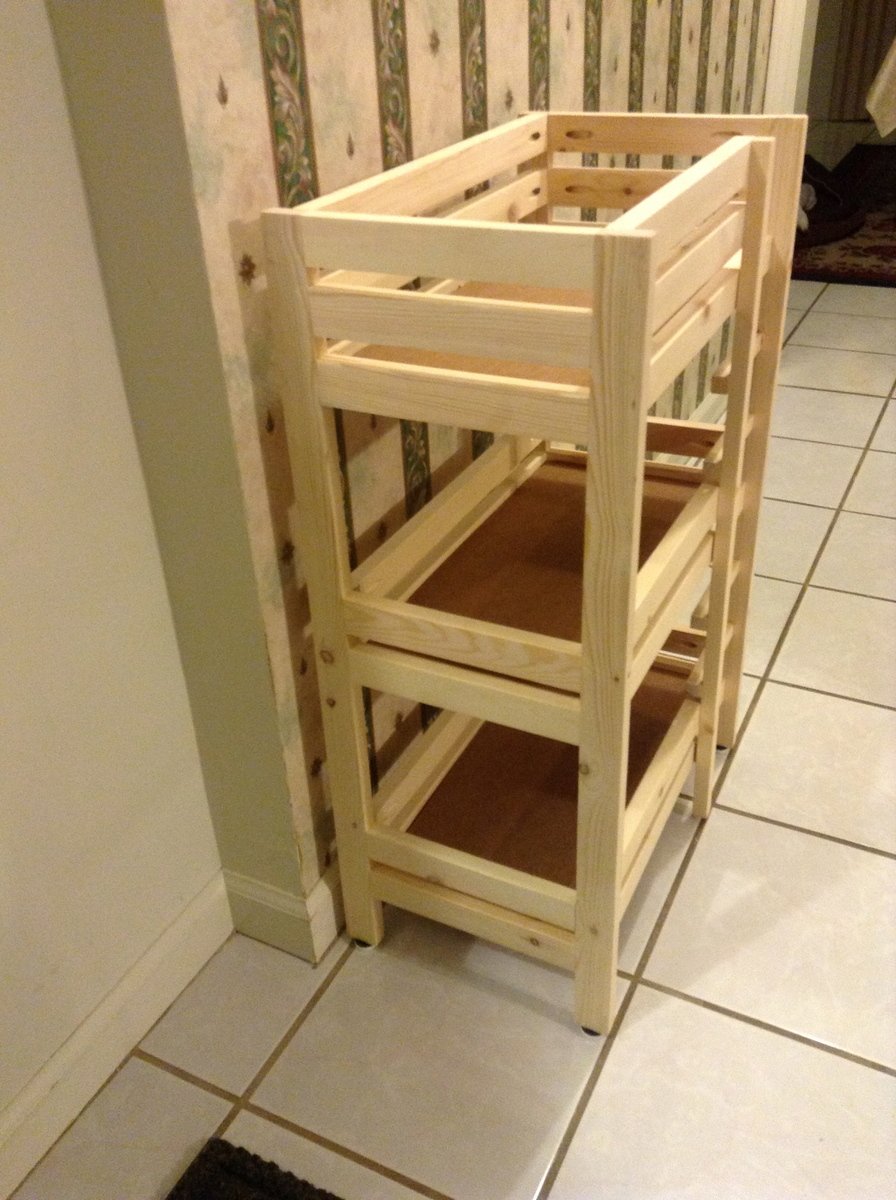
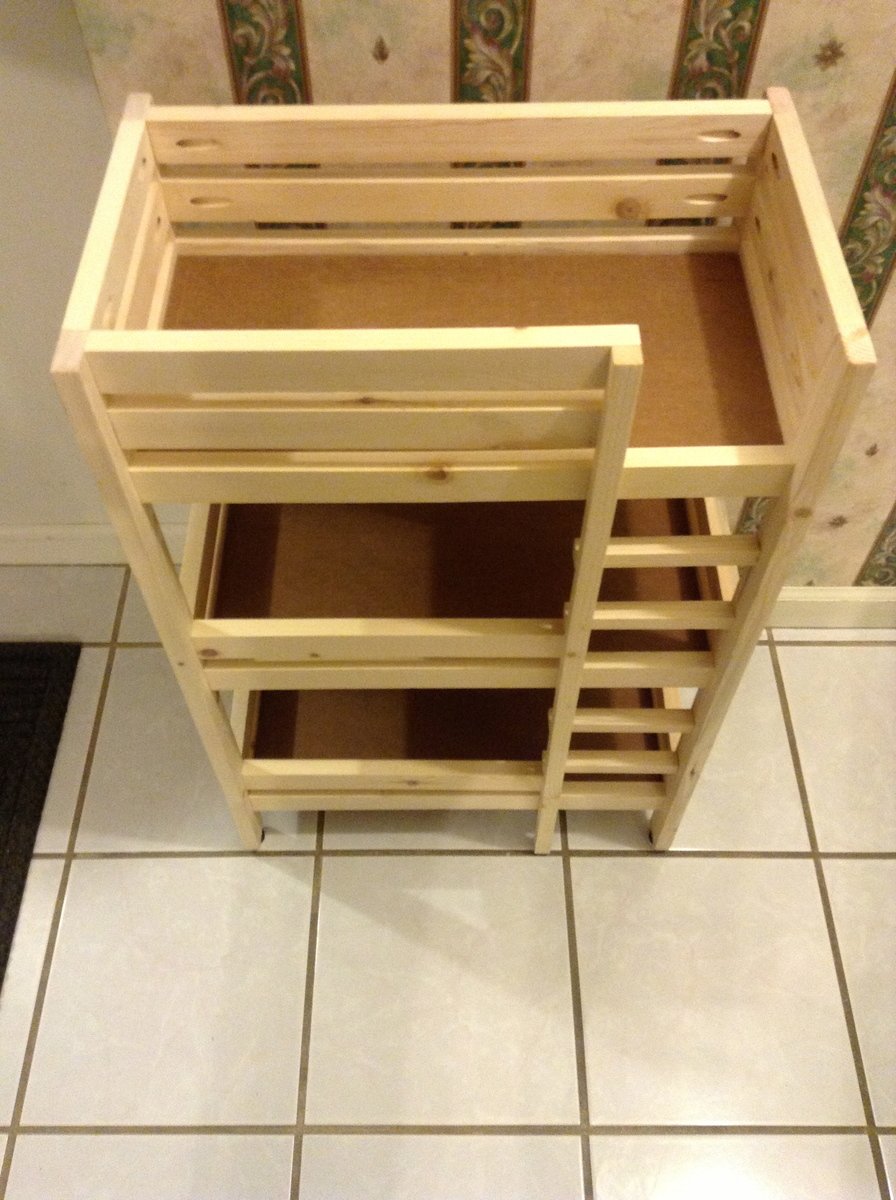
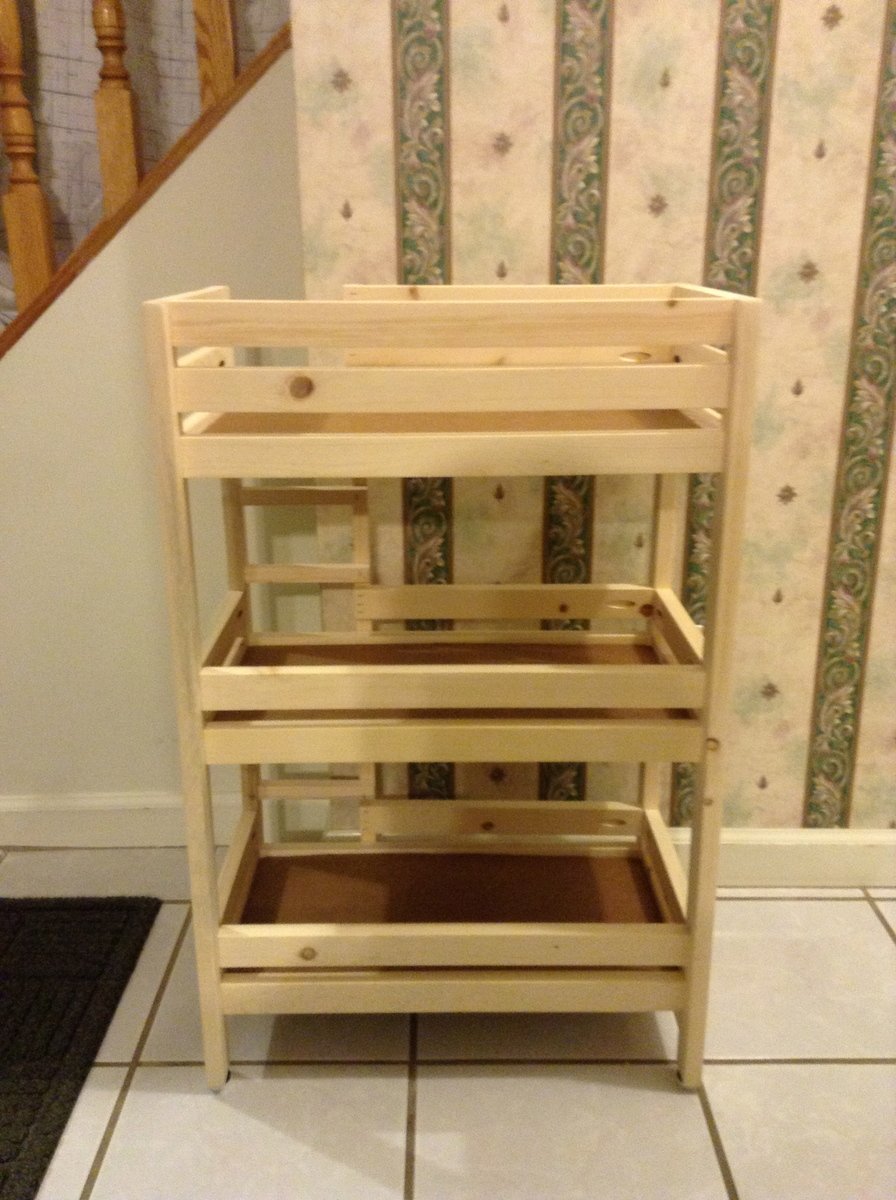
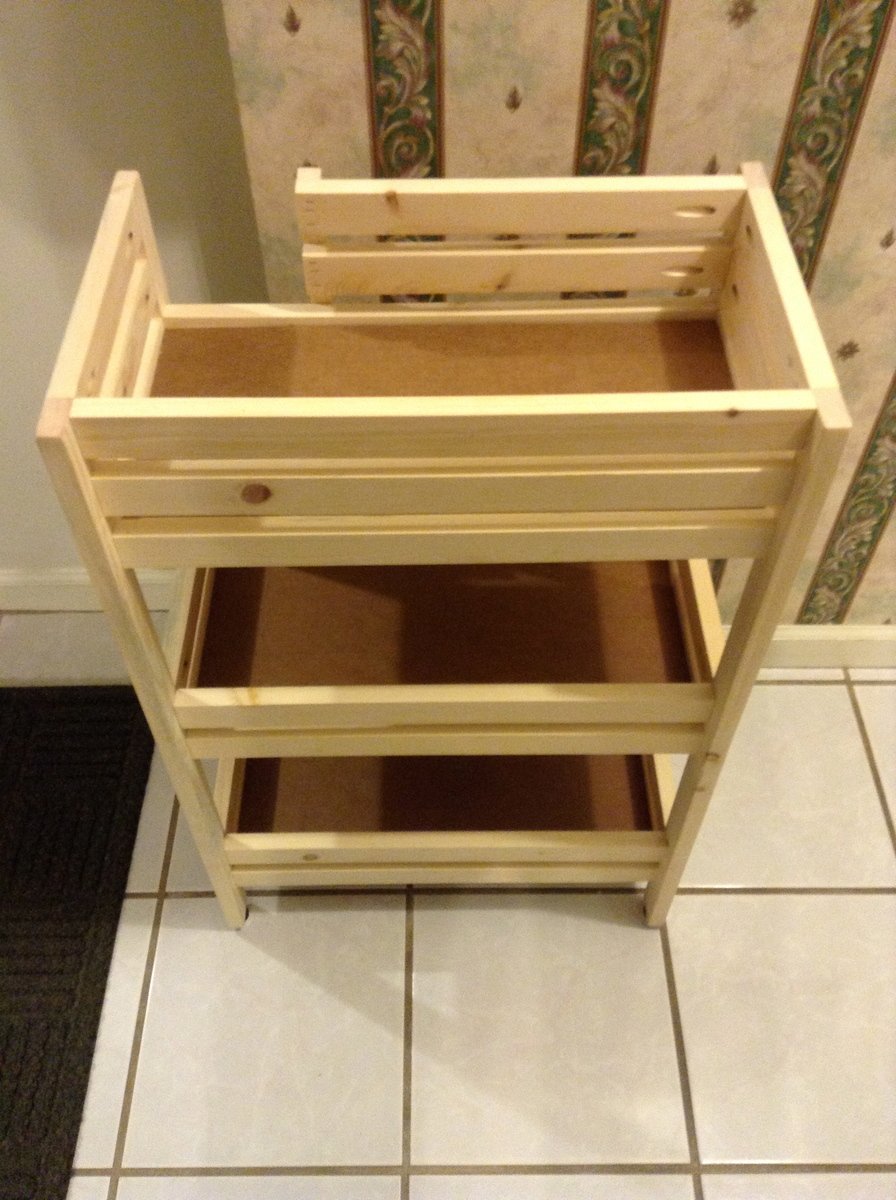
My eldest daughter contact me to show me the standard doll bunk bed on this site. I decided then that I was going to build one for Christmas for my 6 year old, since she loves to play with her American GIrl dolls. Before I got to it, she ended up drawing a name for Secret Santa gifts with her gymnastics team. I got the idea to build my first bed for the girl who's name she drew, therefore, I'd learn what to and not to do first, since I'll be building my daughters in Oak and not the pine that I would build this one out of. I talked with her mother to see if she played with dolls and she confirmed that she had 3 American Girl dolls that she adores.
You'll also notice that we added another level, since she has three dolls, and you can't leave on without a place to sleep. It was quite easy to add the extra level by measuring the distance between the first and second and then adding that onto to second. In the pictures you can see that I added metal feet to each leg, and that made the bottom of the ladder sit a little above the floor by that same distance. I think that I'll start the ladder on my next one at the bottom rung of the lower bed, and not leave that piece at the bottom.
Needless to say, the little girl was beside herself when she opened the wrapping paper. My daughter learned a lesson on how much more fun it is to give, especially after all of the work, than to receive. Before the party, all she could do was say, "I can't wait to see her face when she opens this." I asked her about it when she came home today, and she said that she must have thanked her a hundred times throughout the night, as it was a sleepover at the gym.
I wish that I had taken pictures along the way, but I didn't. I will however, when I build the next one for my daughter.
It cost me just over $20 to build. I needed 7 - 8' 1x2's. I used a nice piece of cardboard for the floor of each bed. I found it at Sam's club while shopping. They had it between something that was stacked on a pallet, and whatever it was was gone. I asked the manager if I could have it and he was happy to be rid of it. It's not your standard cardboard, but has a double wall. At a width of just over 9", it's very sturdy and especially cheap. The feet were bought at Walmart for $1.57. I glued each connection, even though they were held together by pocket hole screws. With one pocket hole screw per piece, it had the ability to swivel on that screw. I learned that Kreg, the maker of the pocket hole jig has come up with a mini jig, which allows double pocket holes to be drilled into a piece of wood just 1" wide. I asked and received one for Christmas. My daughters will feature the new holes and therefore, I won't be glueing it.
Hope you have as much fun building it as I did with my daughter.
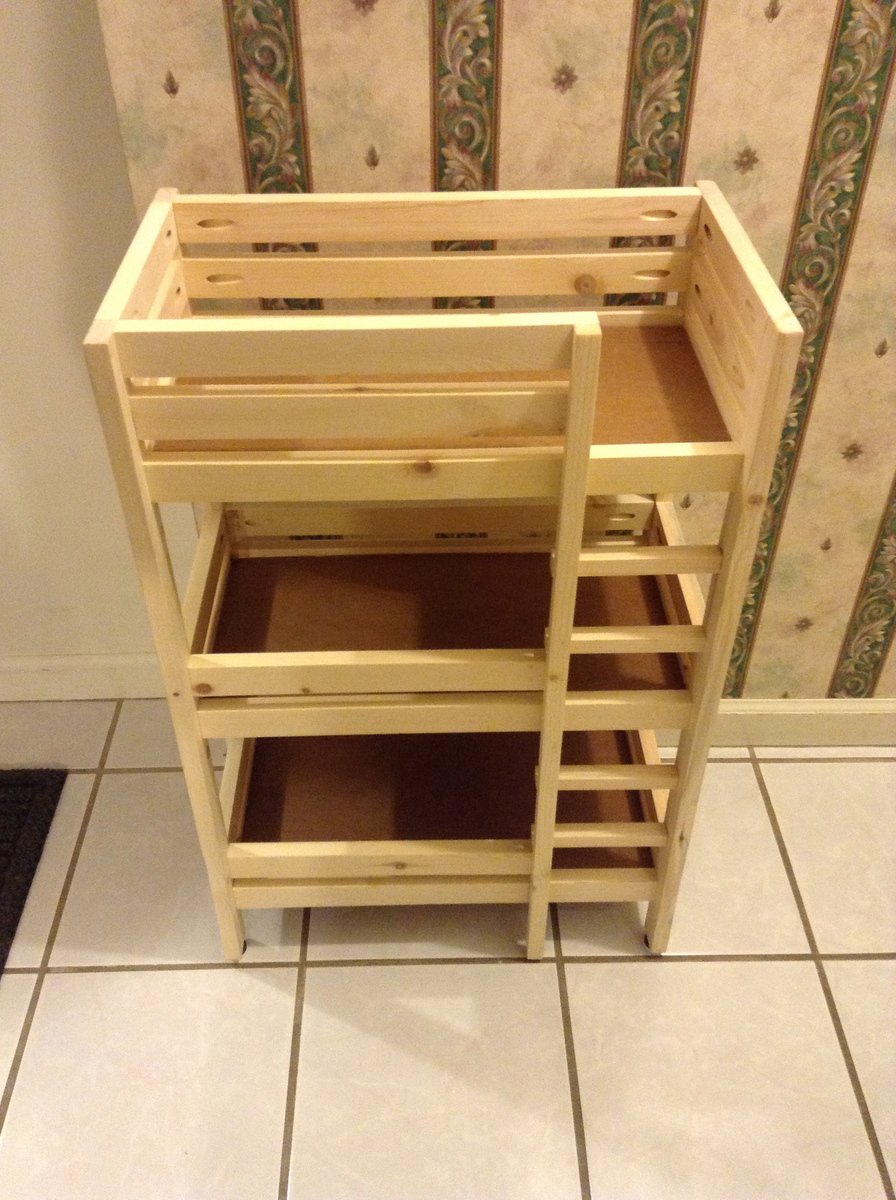
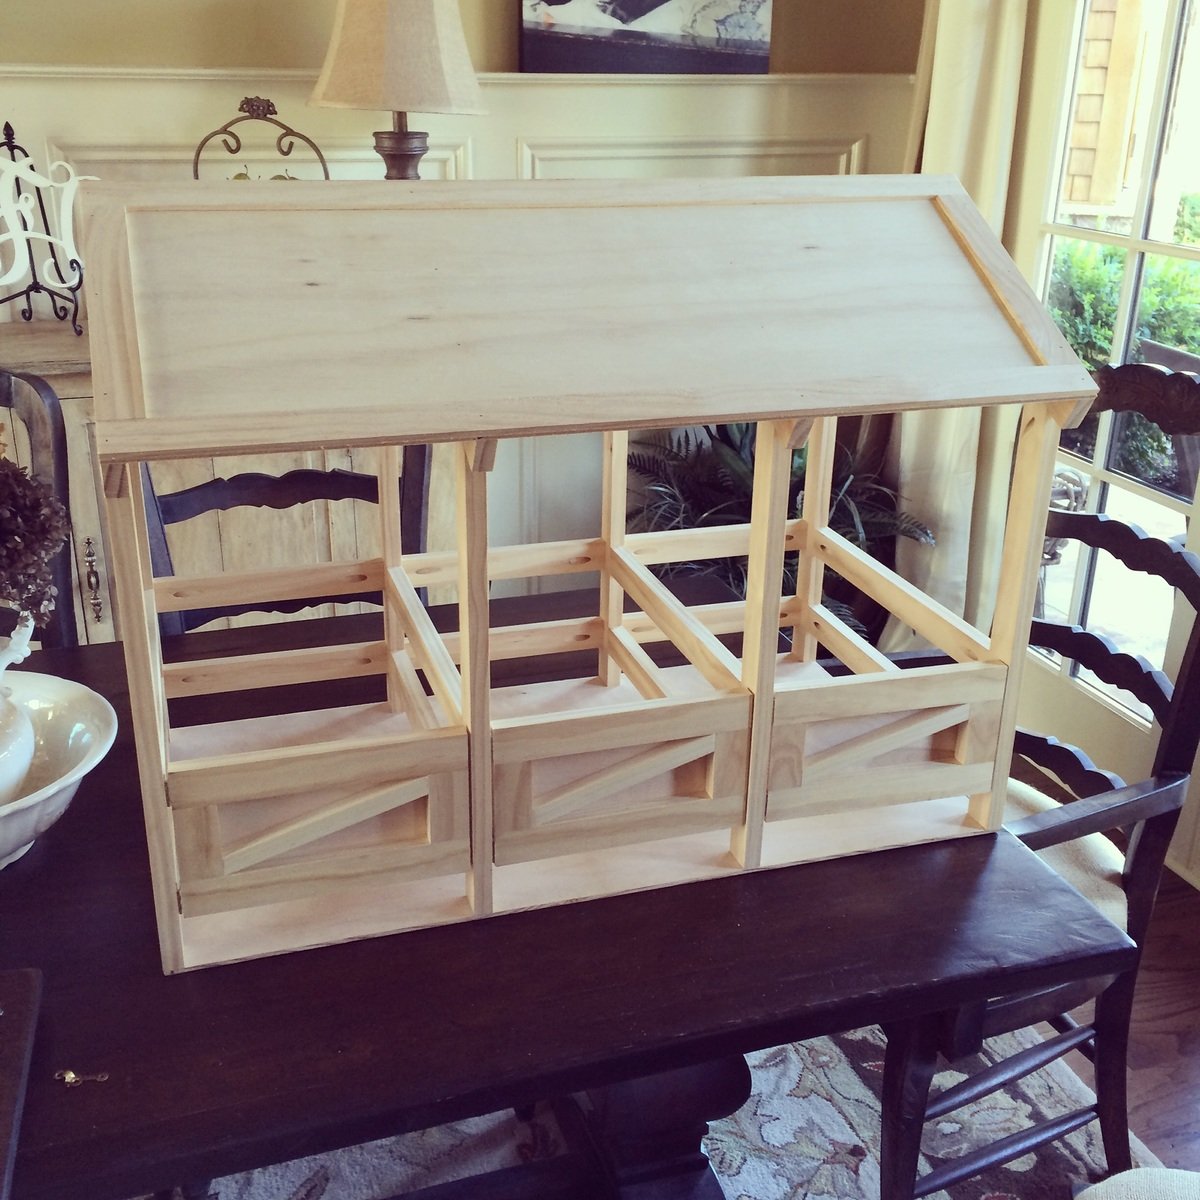
Great plan. Easy to follow.
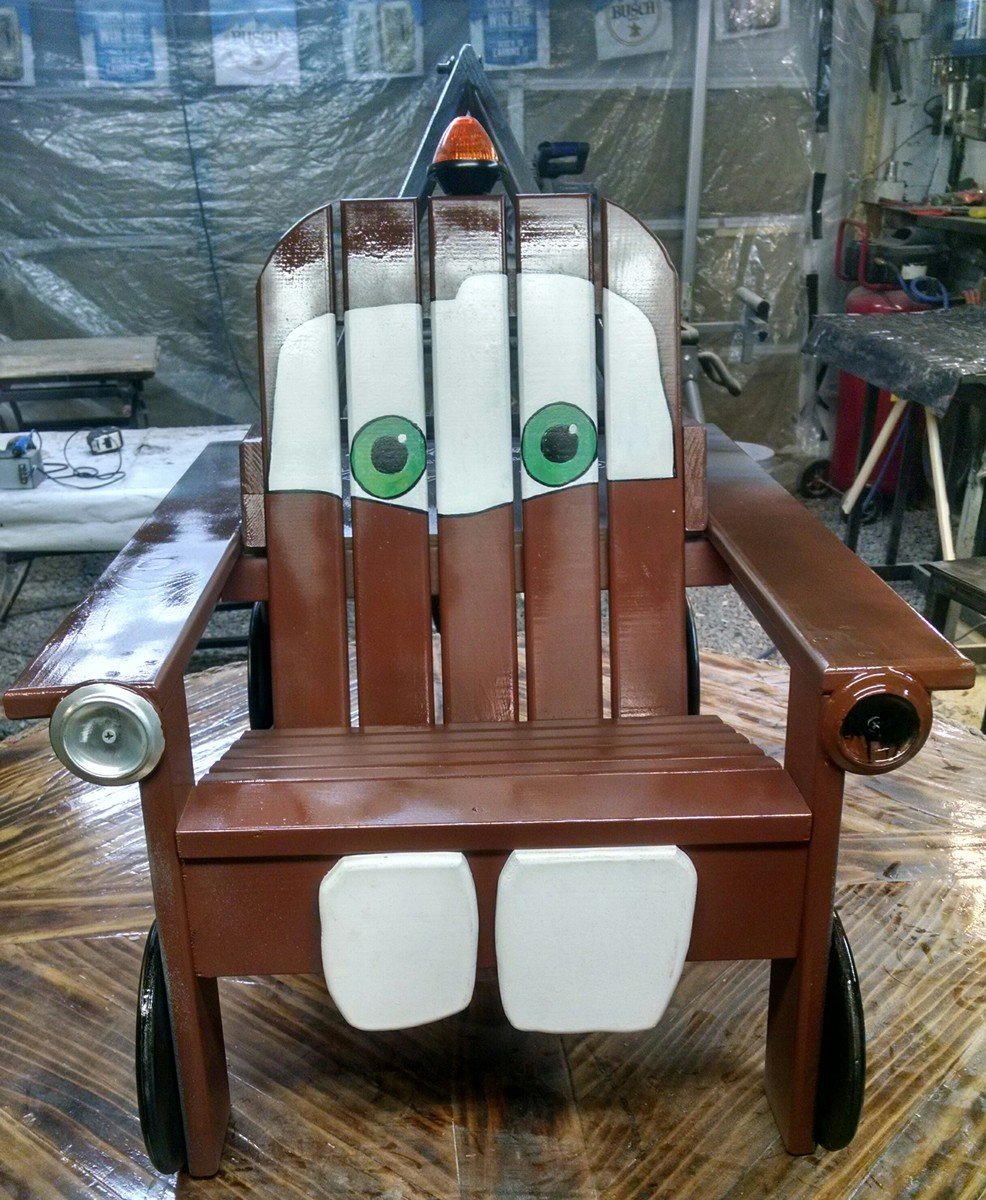
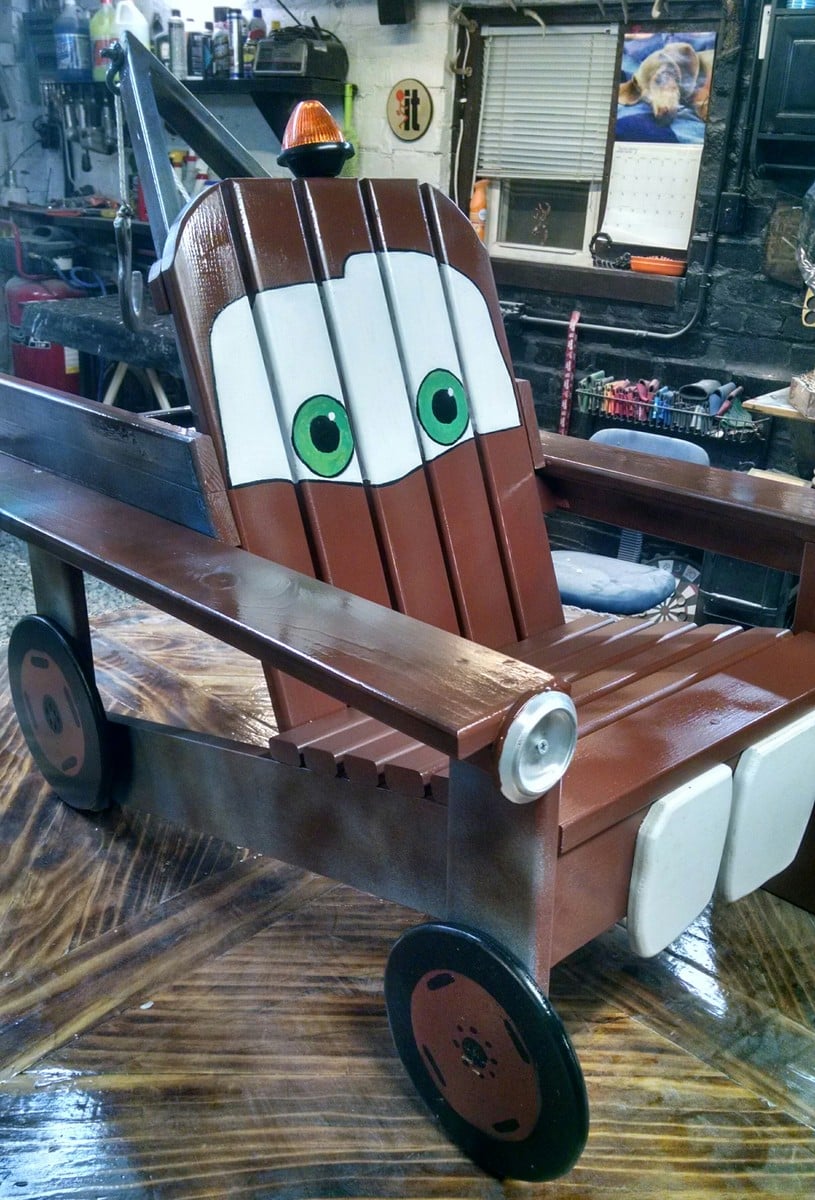
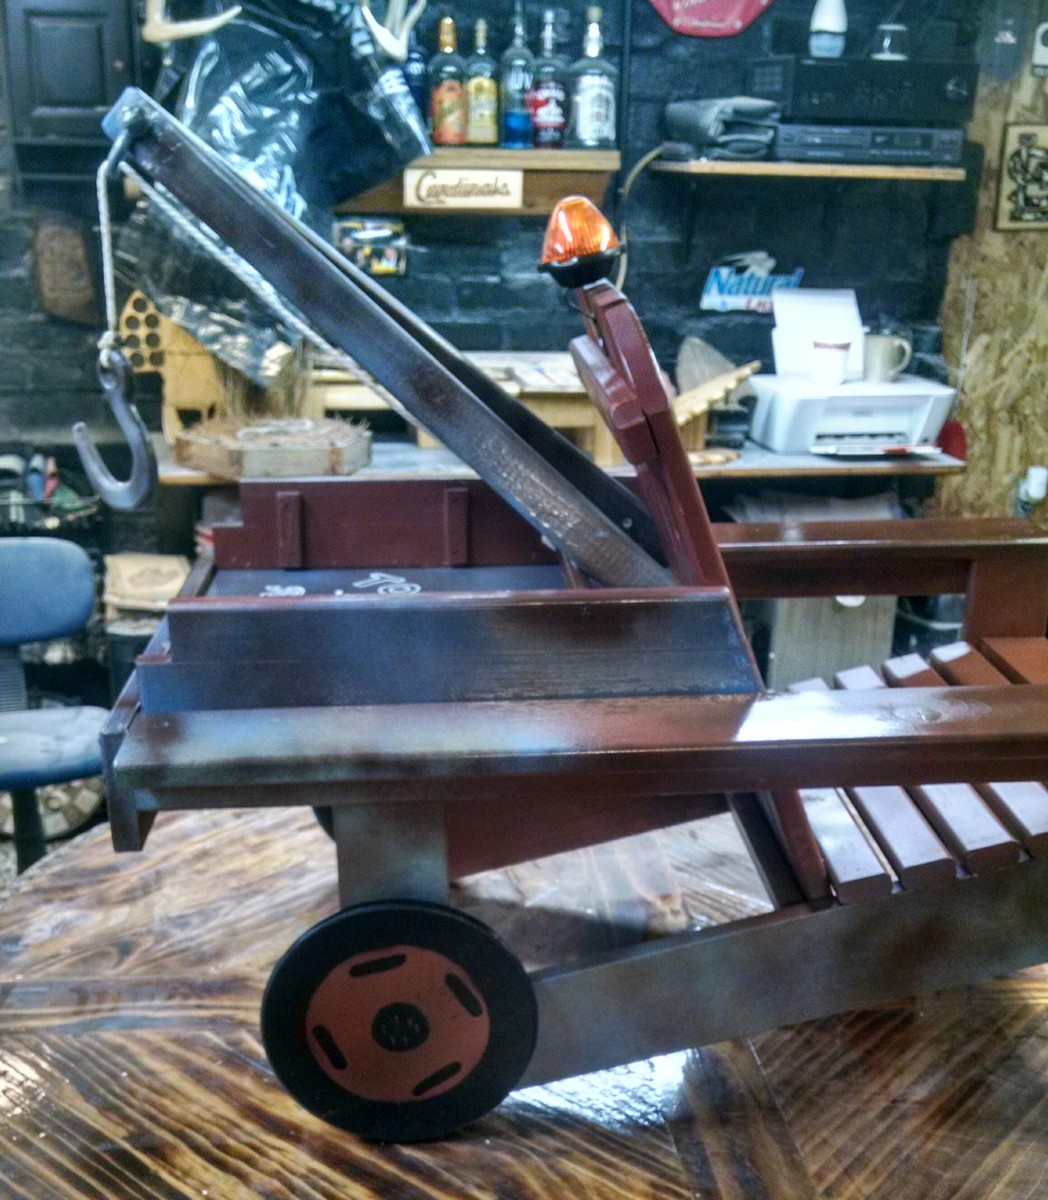
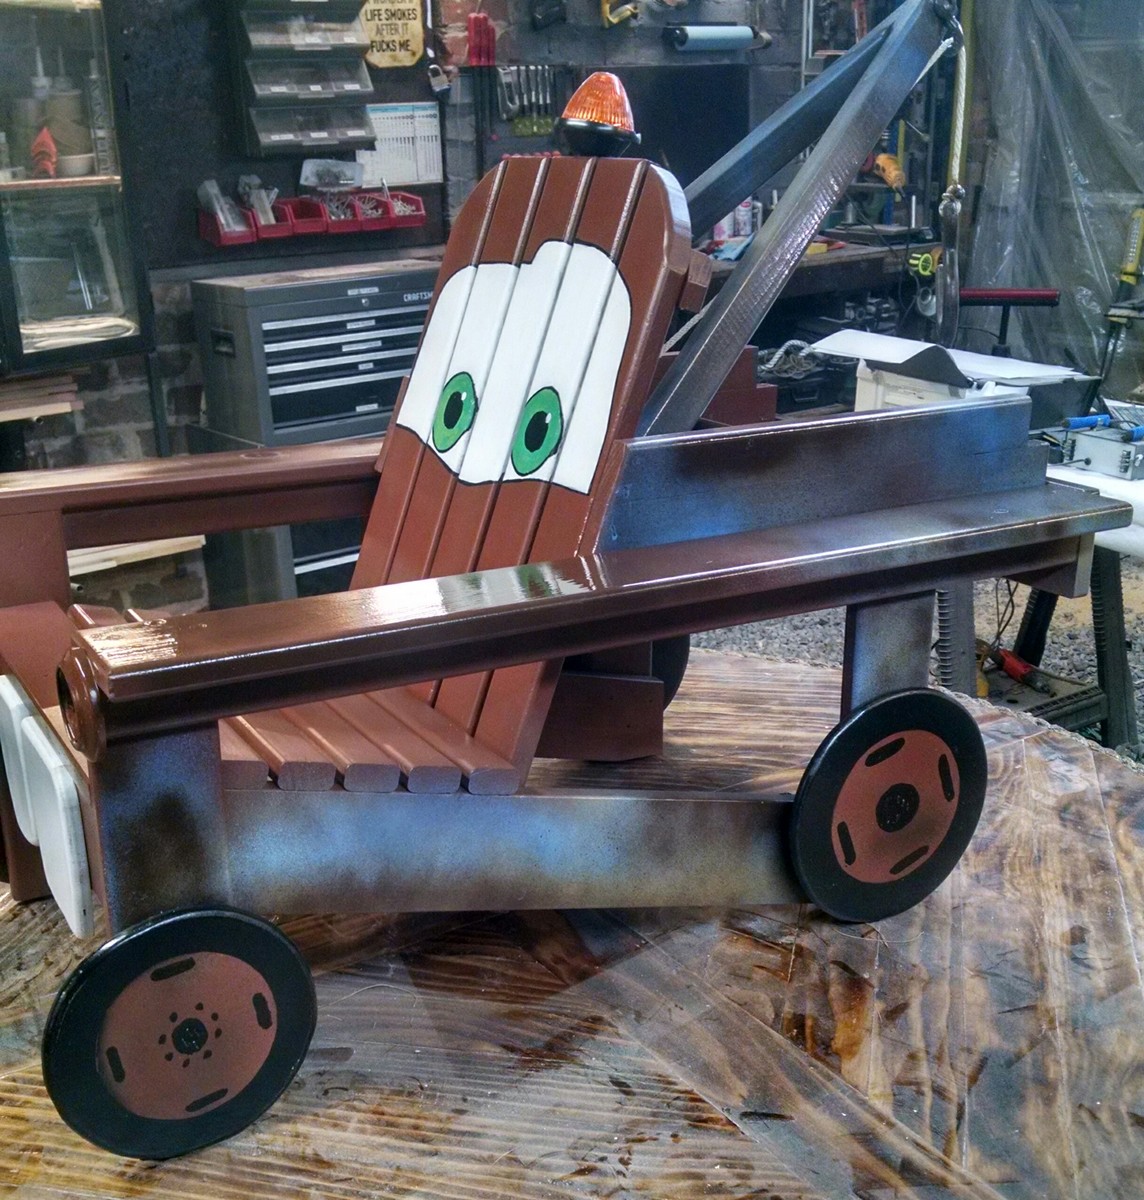
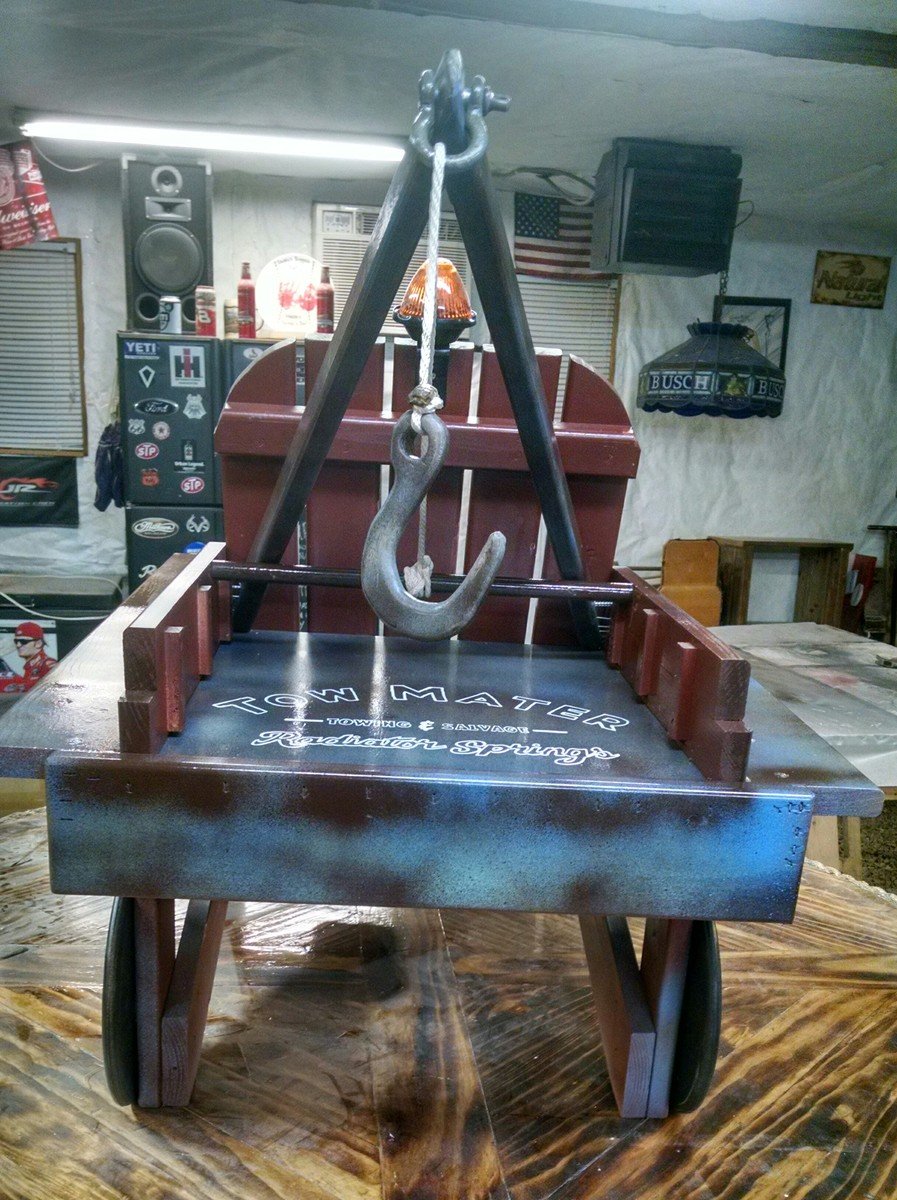
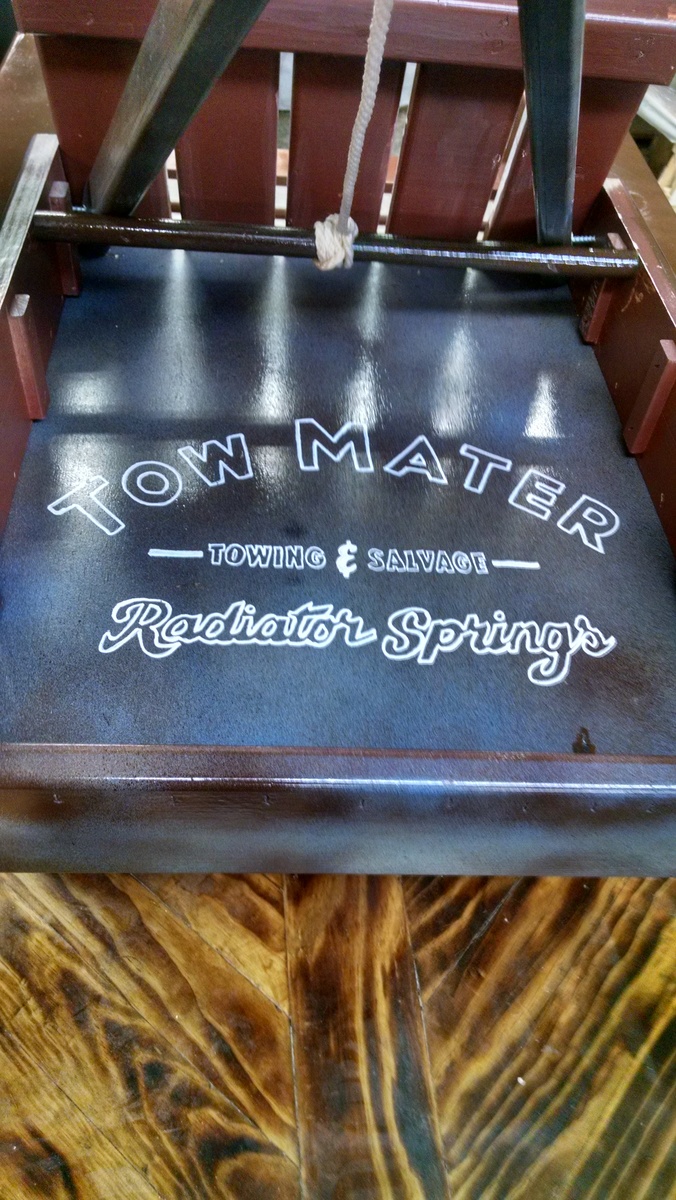
I made this chair for my 3 year old son who is obsessed with Disney Cars based off of Ana's
Super easy little Adirondack chair plans.
Love the simple modern look of this desk. The plans were so easy and this was a quick build. Modified the measurements as well as the top. I used a project panel for the desk top.
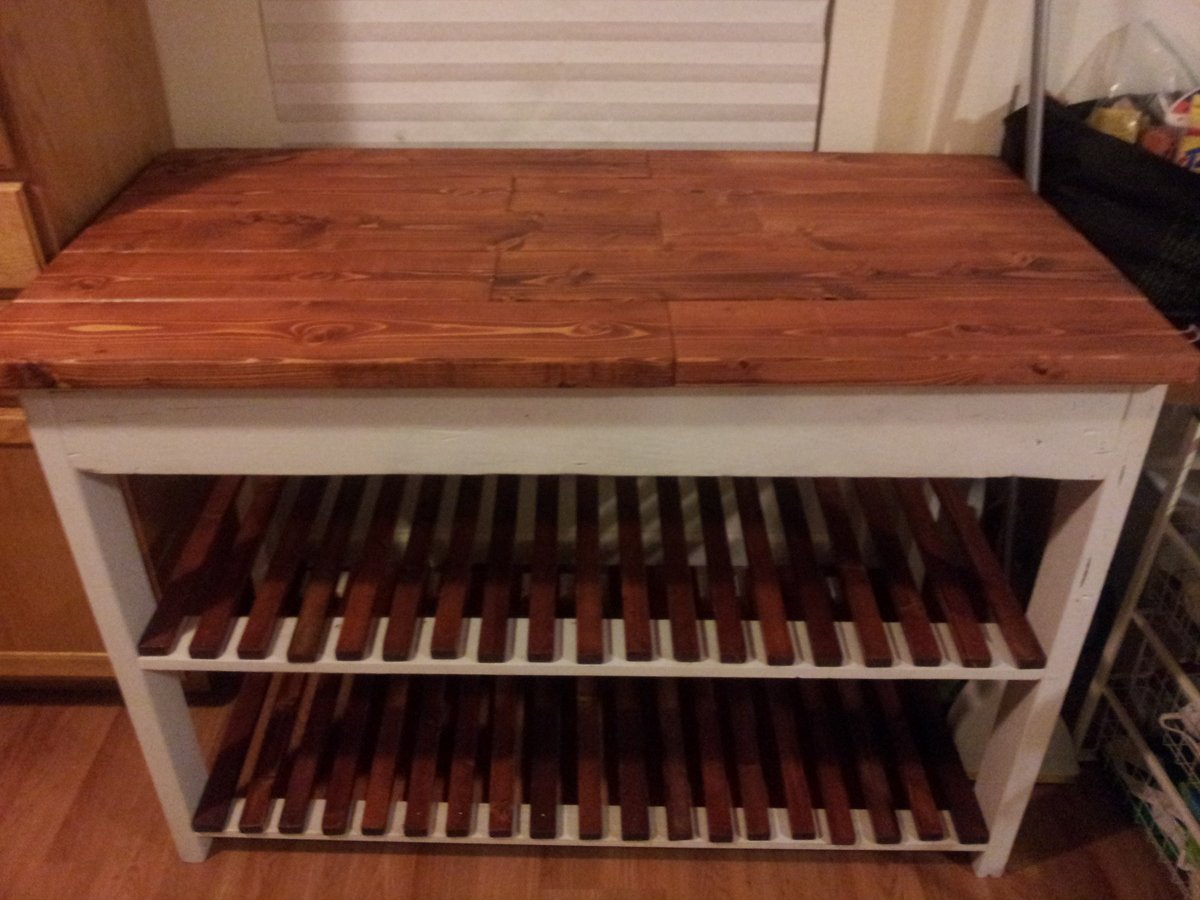
One of my first projects, but really worth the time and effort. It helps so much with space in the kitchen and I learned a lot in the process. It's really sturdy and was a pretty easy build. Most of the time was spent staining and nailing the slats.
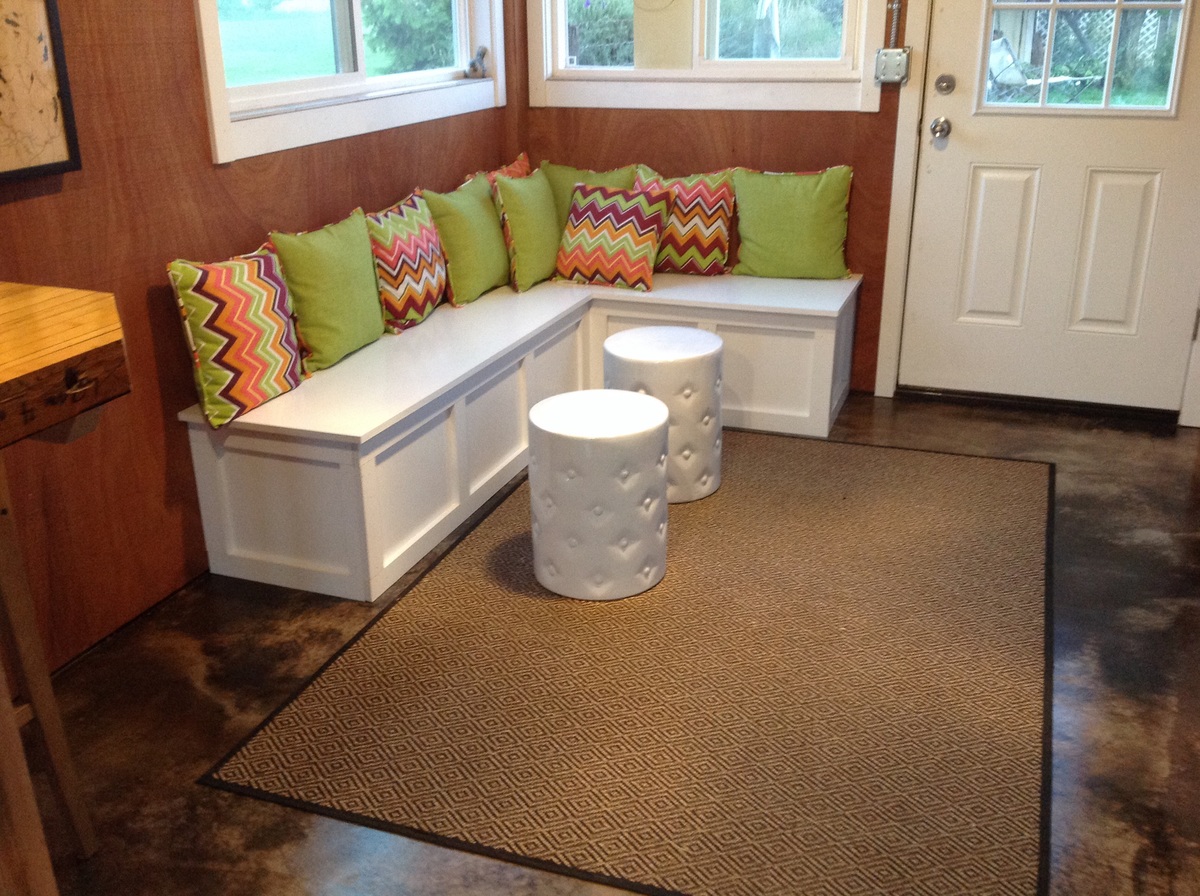
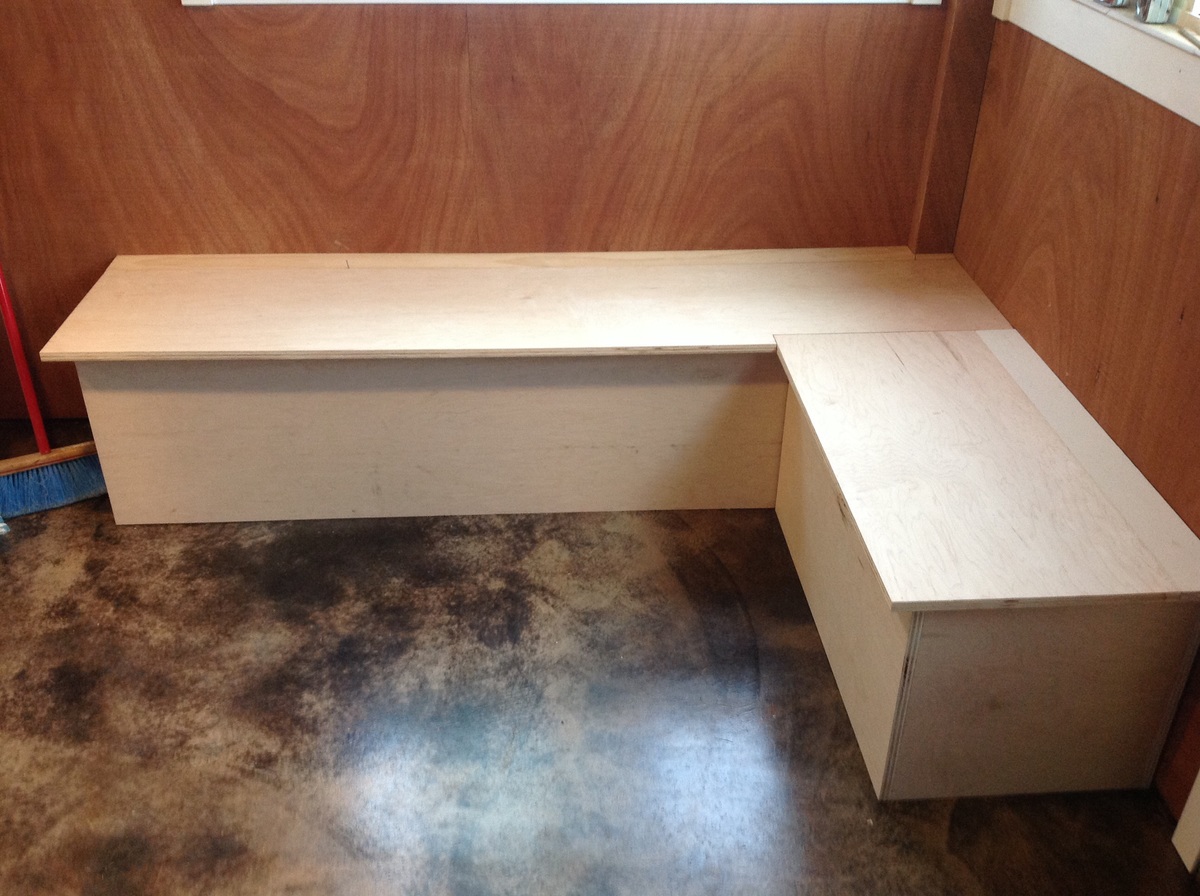
When designing the layout for my husband's home brewery/man cave I needed seating that would fit in the narrow space. I looked at several plans and used pieces from a few. The final support design was suggested by my brother-in-law. I am in the process of making cushions to fit as it is definitely not something to sit on for long with any comfort!
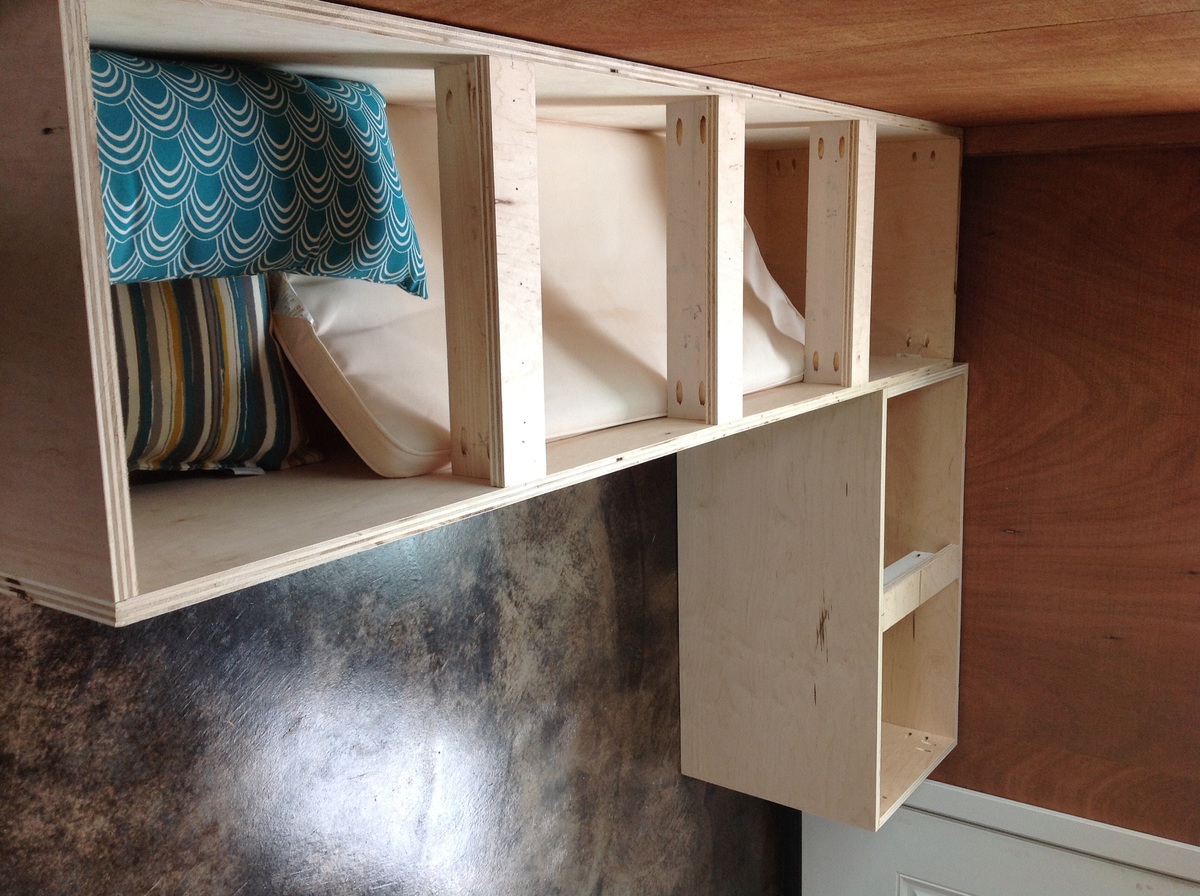
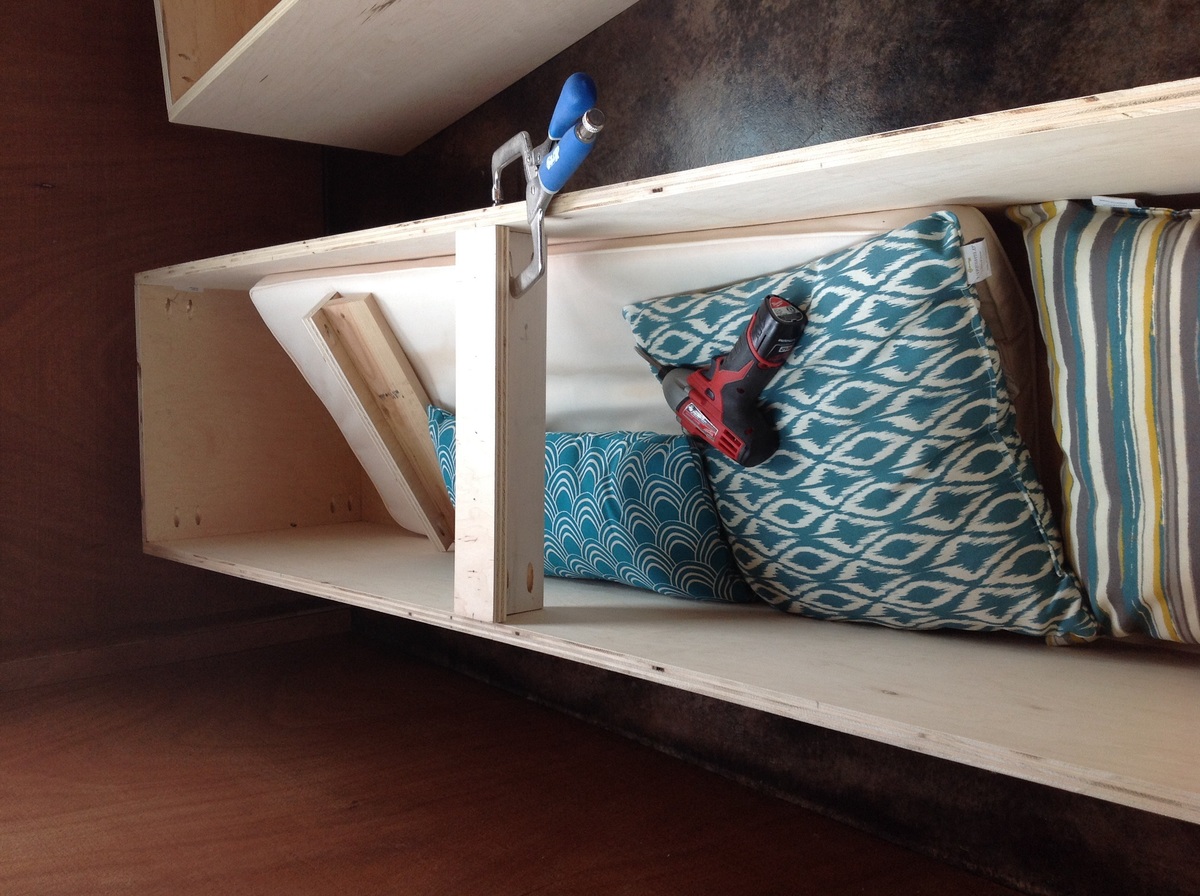
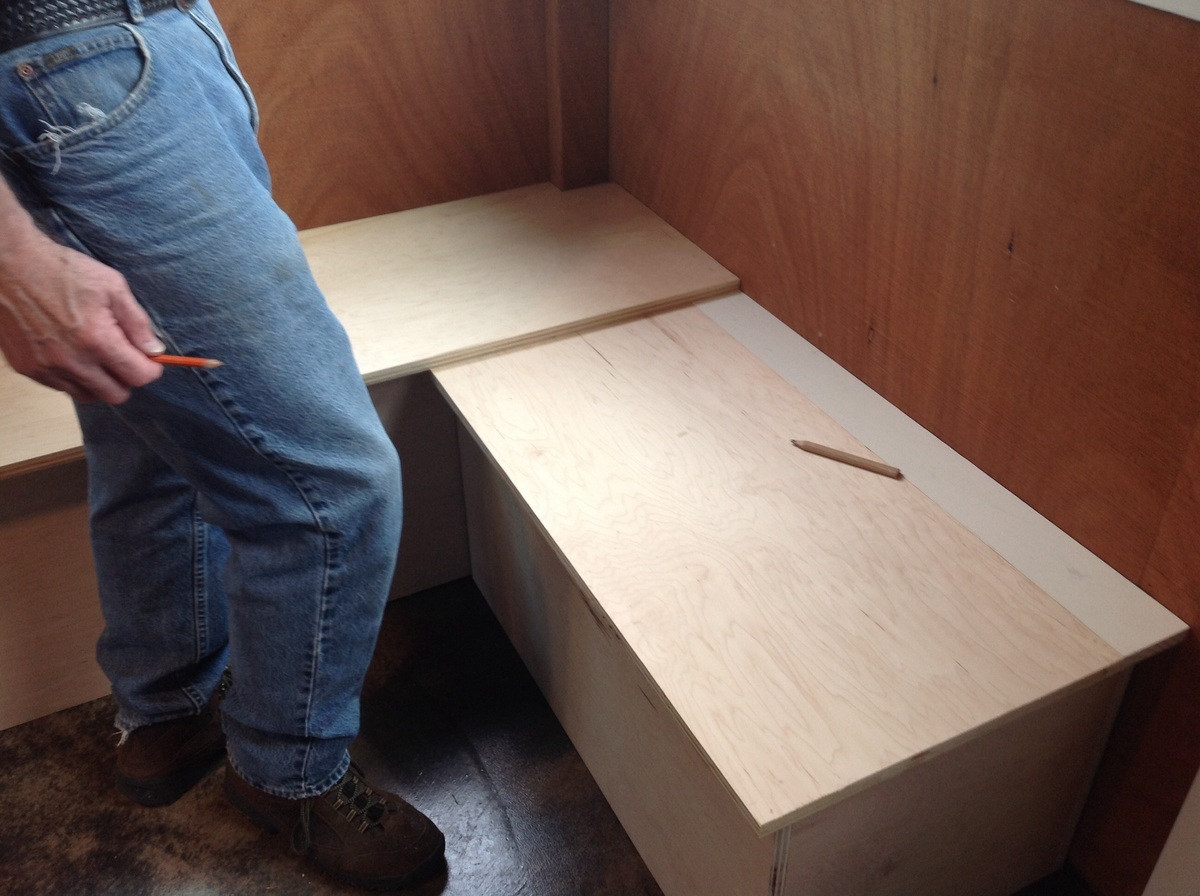
I wanted the dresser to look a little more like a piece of furniture since it was going to be in our walk-in closet, so my husband made cubicles to hold the baskets rather than rails. He used .75" sandpaper-grade plywood, painted it to match our bedroom walls, and added matching baseboard to dress it up. The towel bars on each side were added so that towels and washcloths could hang to dry prior to putting them into a basket. An awesome side benefit is that the top of the dresser is a convenient place to rest the stacks of folded laundry as I'm hanging them up.
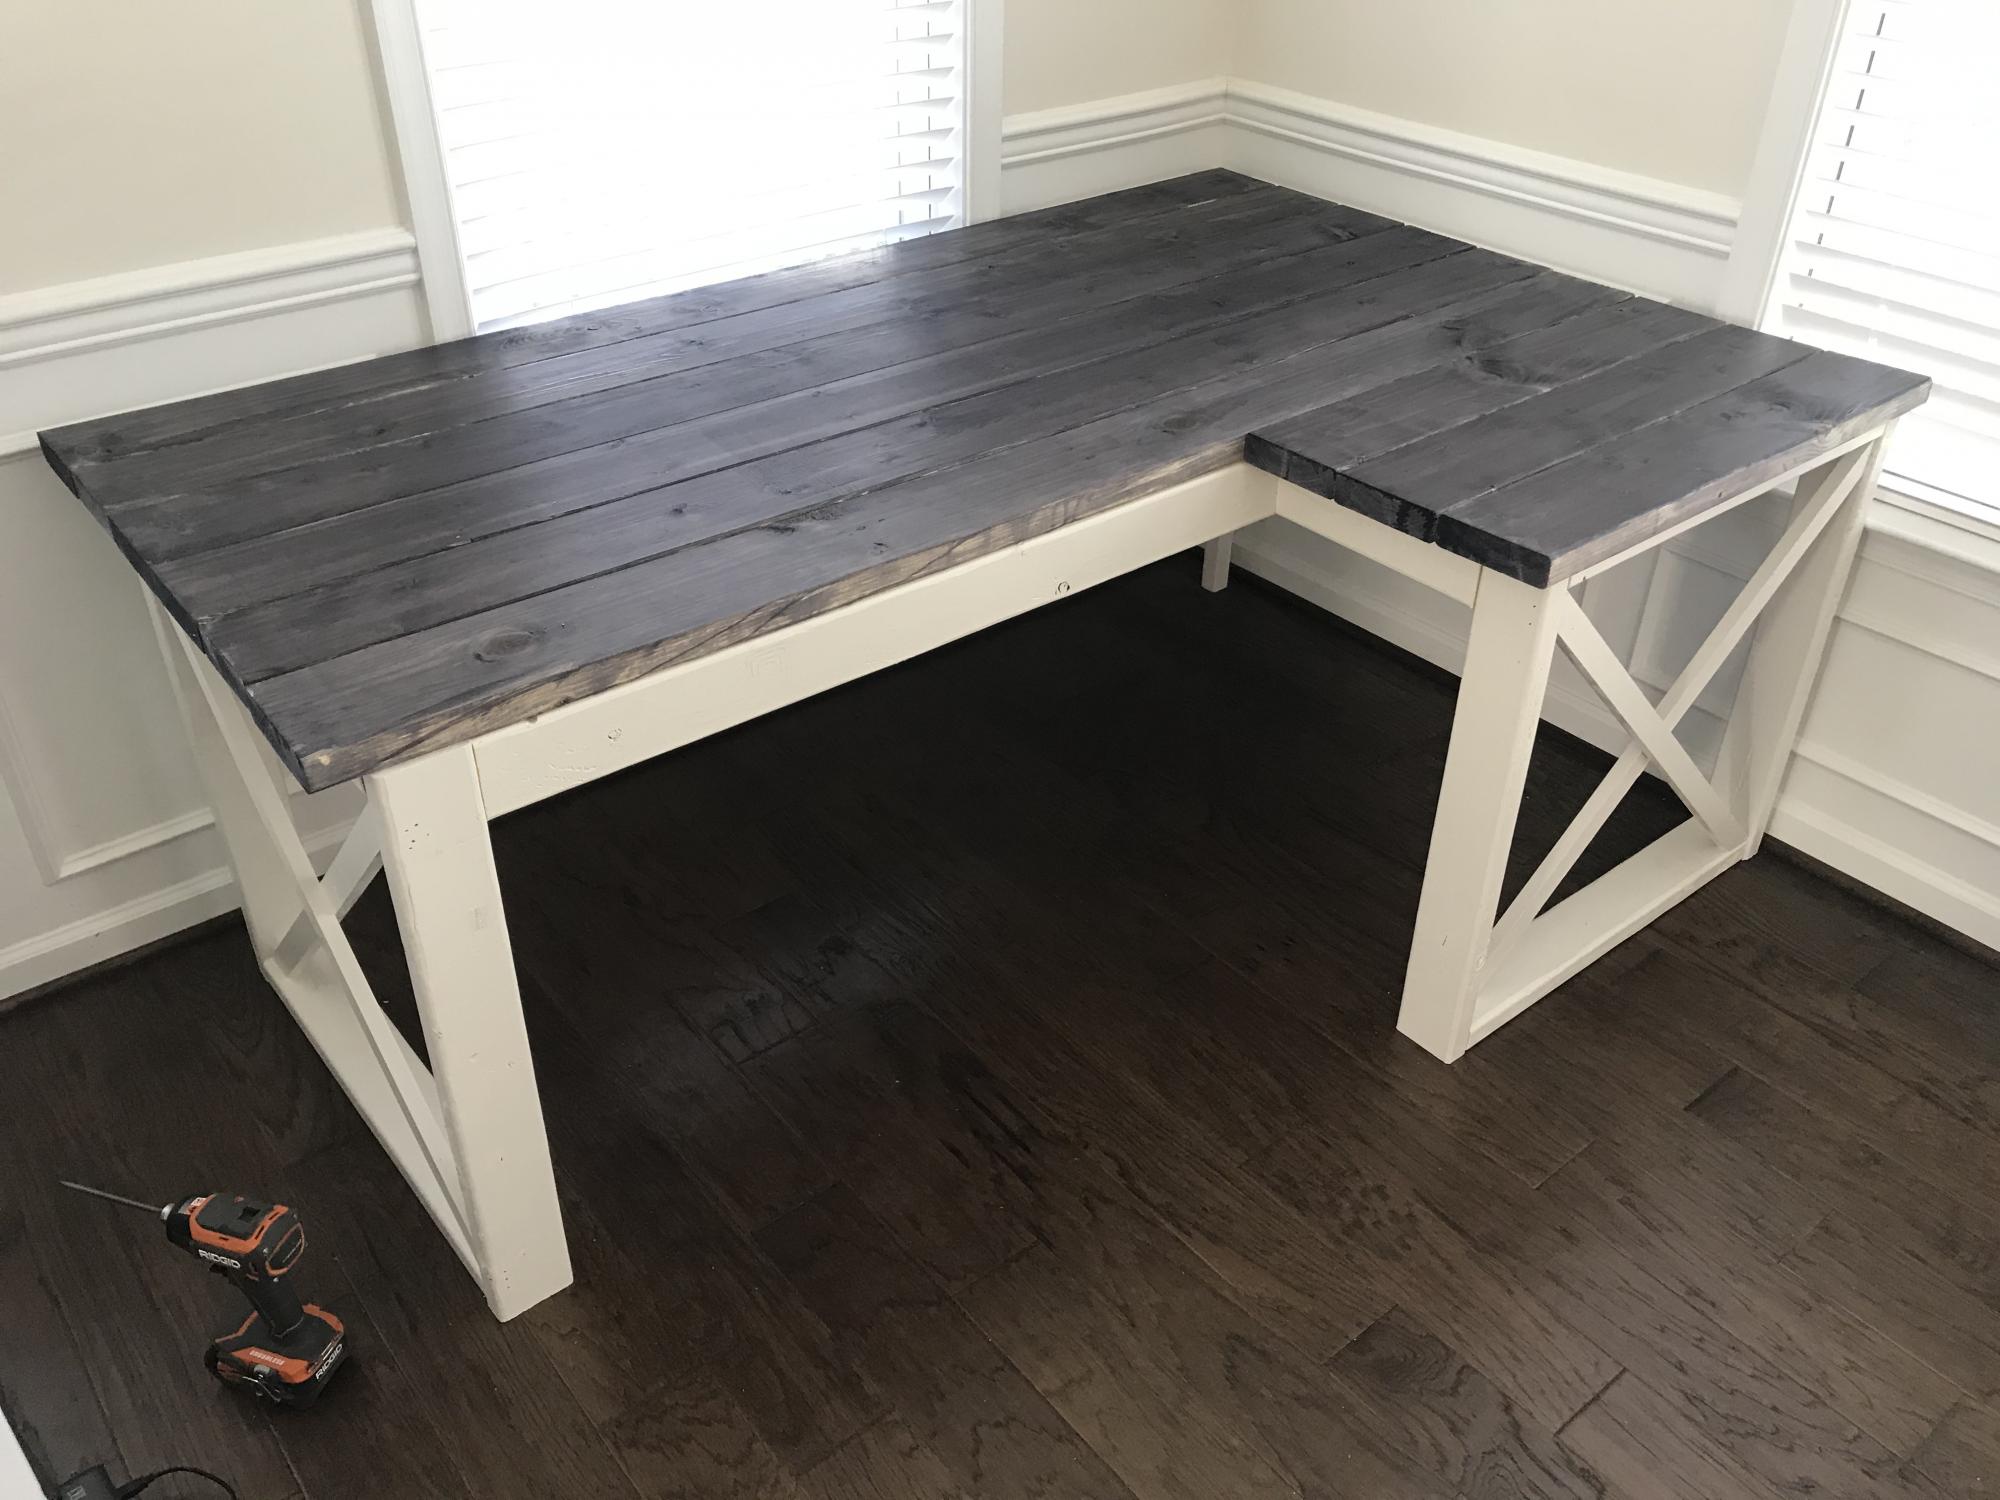
I bought the plan for this desk. Took me a day to put together and I think it came out decently. This is my second project from Anna's website. Very fun. The first went pretty well too...with some hiccups. Gaining more confidence every time I do something myself!
Thu, 11/05/2020 - 11:23
That's what it's all about! Thanks for sharing, it looks great!
Comments
moosmani
Fri, 01/04/2013 - 07:17
This is a beautiful display!
This is a beautiful display!