My Outdoor Bar Table
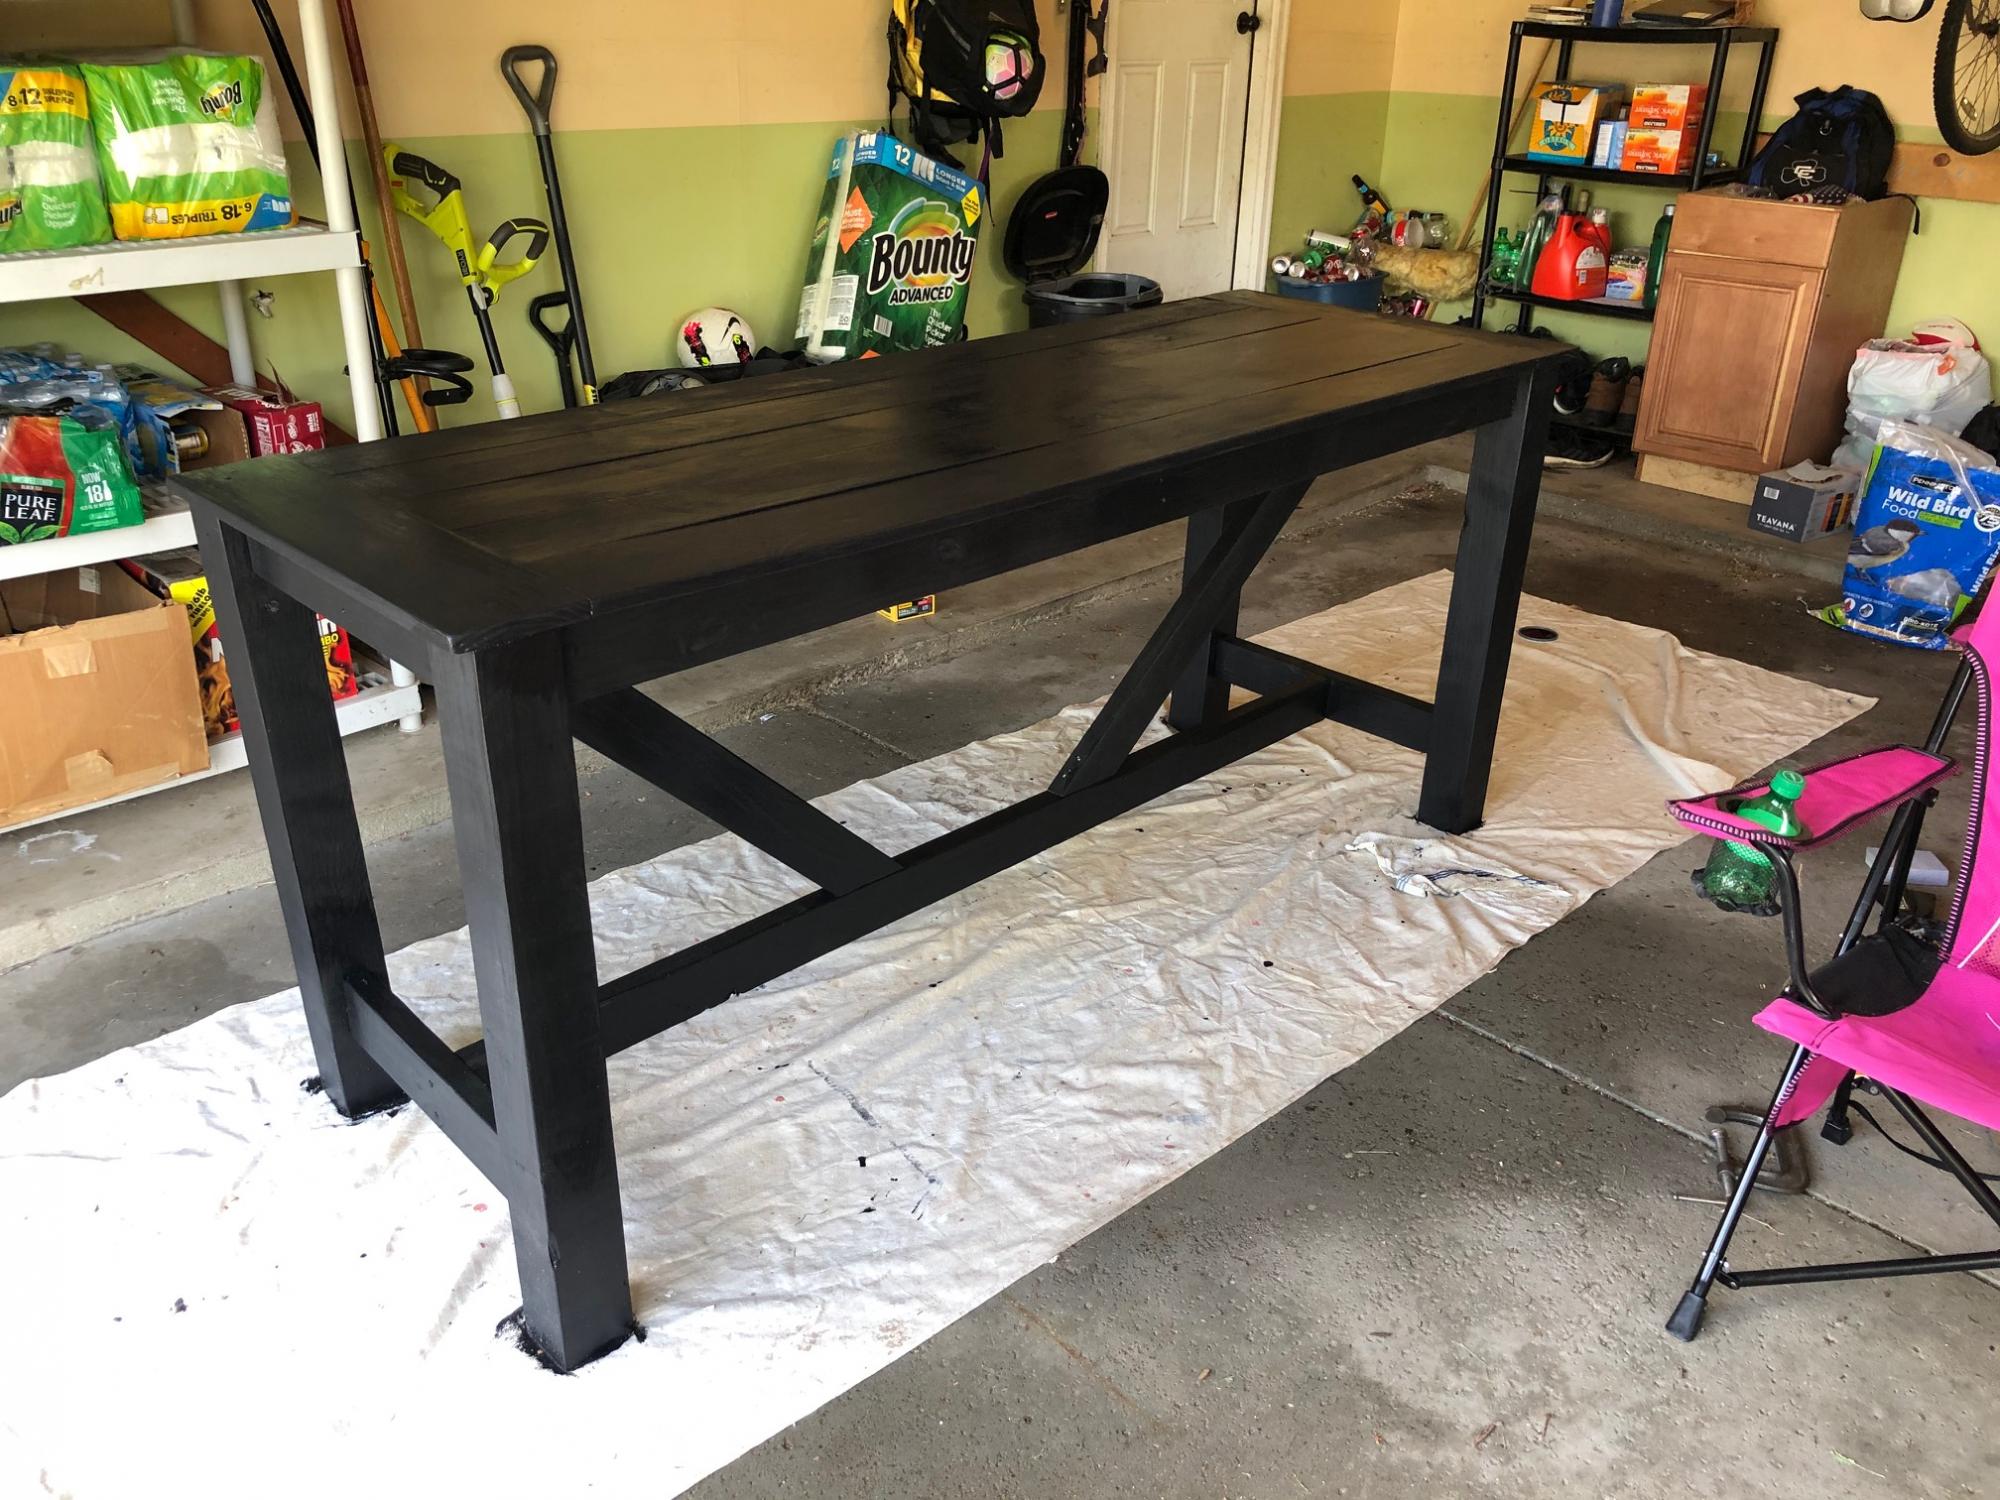
This is my first project, based on your outdoor bar table plan. Great design. I changed the top a little, still needs a little work.

This is my first project, based on your outdoor bar table plan. Great design. I changed the top a little, still needs a little work.
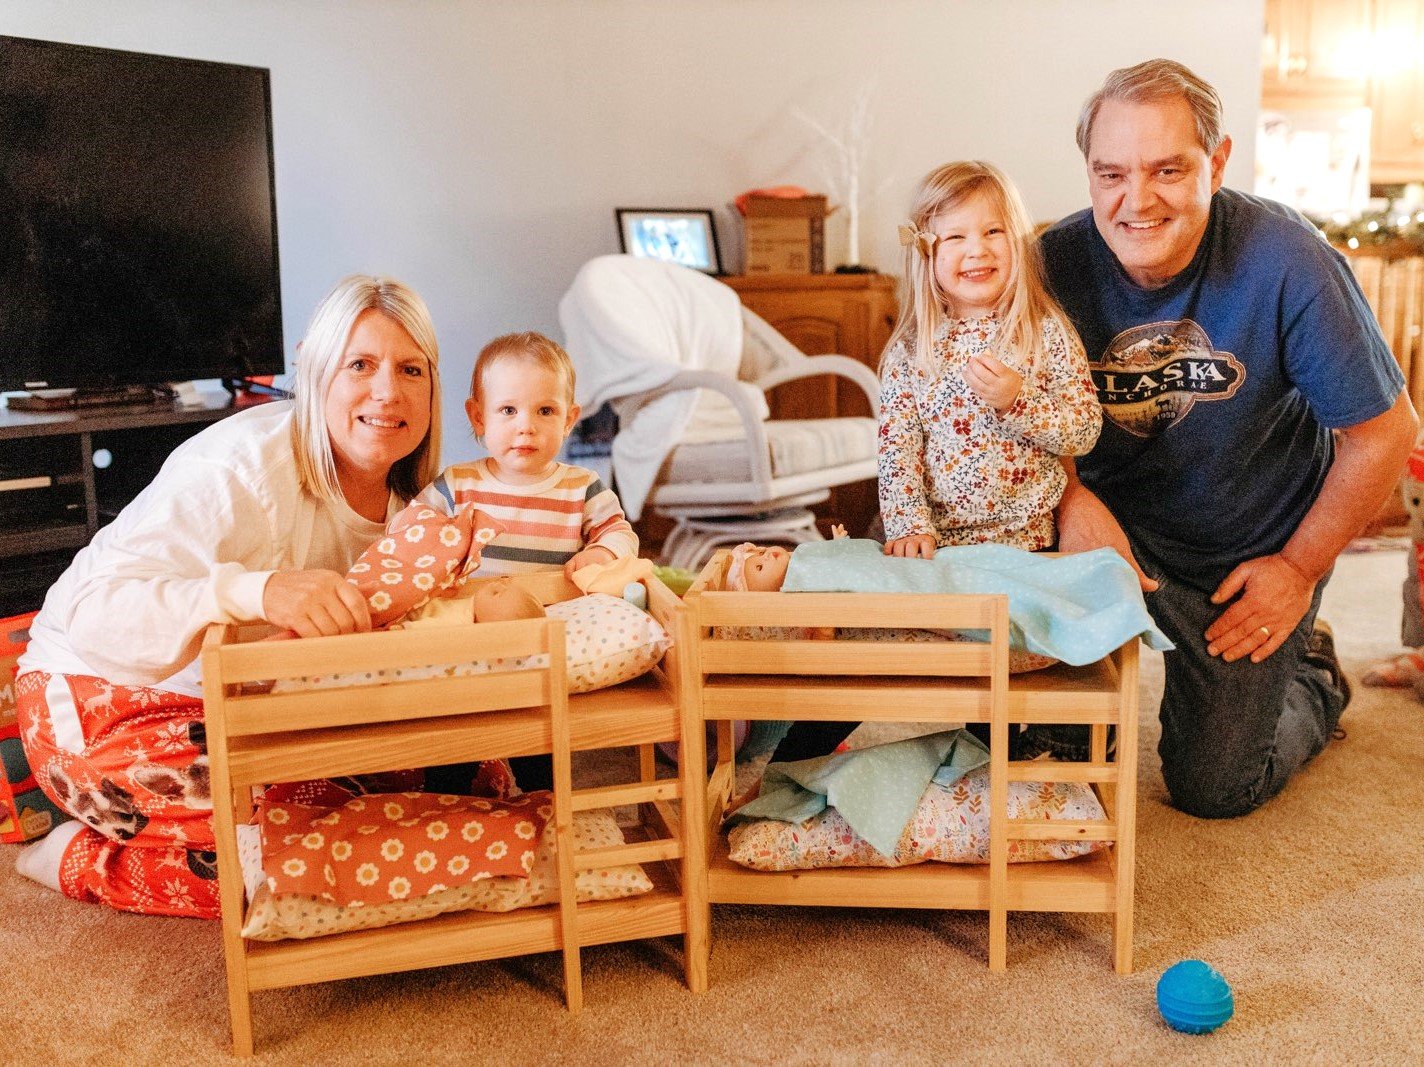
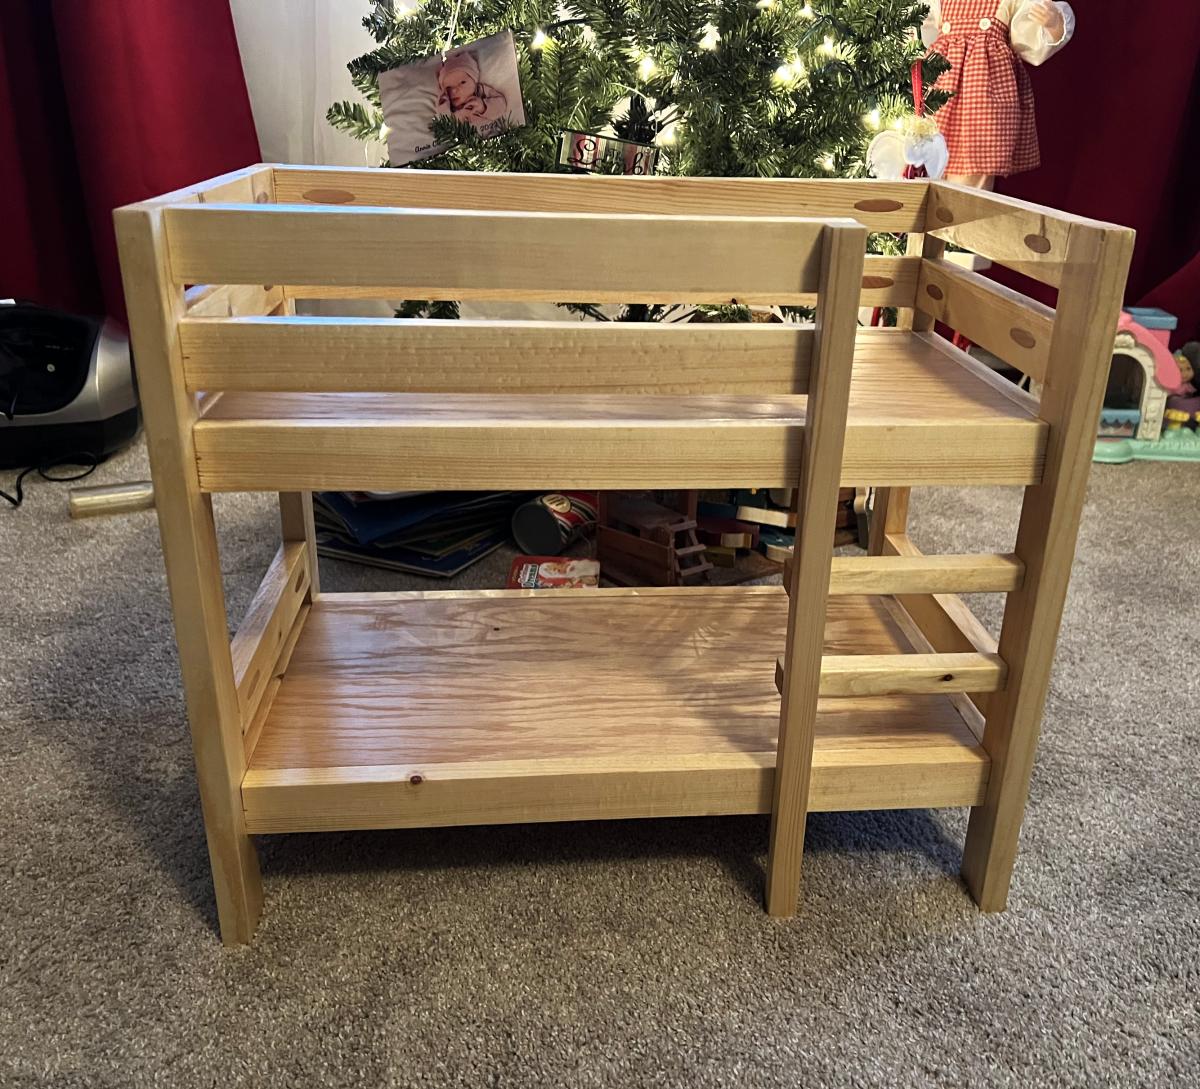
My husband made this doll bunkbeds for our granddaughters for Christmas! They loved them!!
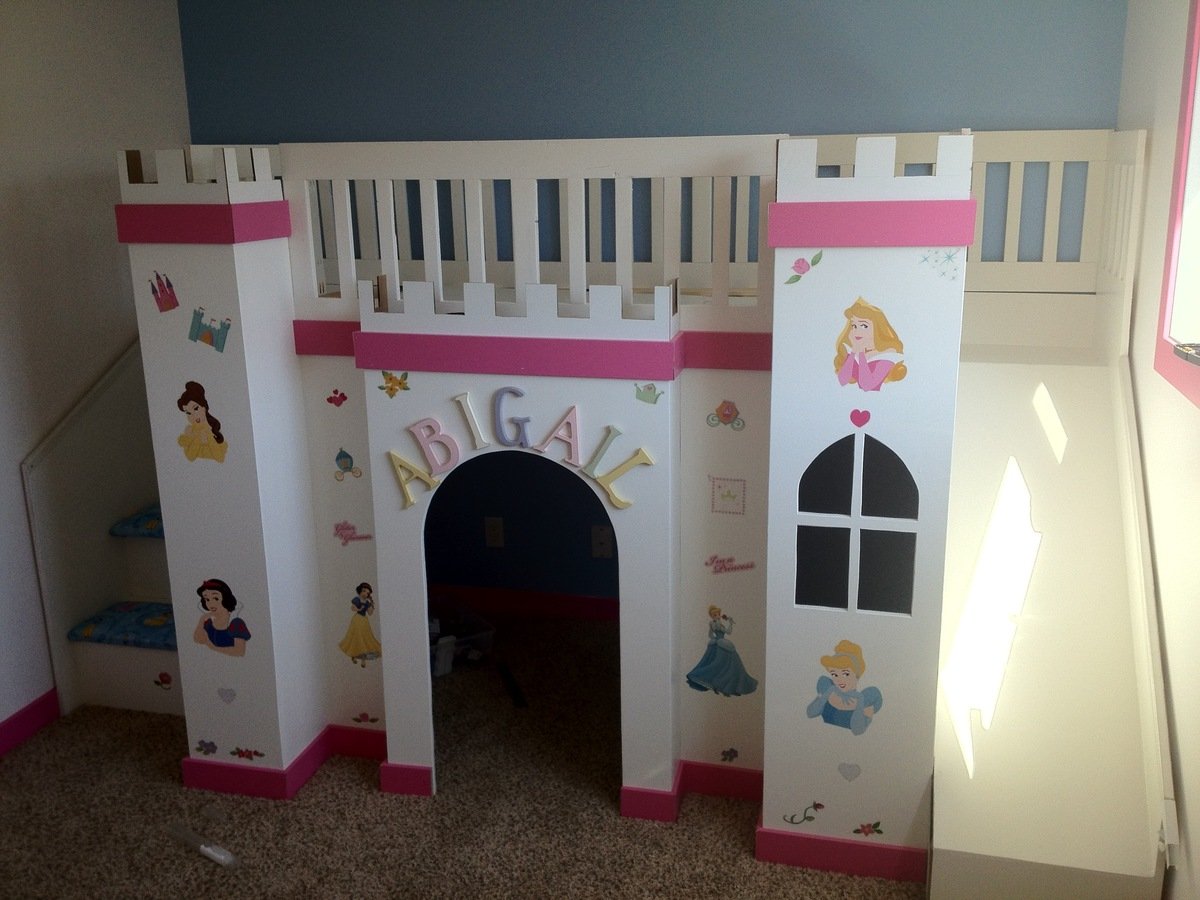
I took on this project about 3-months, I was inspired by the excellent plans provided by fsmumford. I made a couple of modifications, adding a small bump out in the middle, to enhance the castle look, fabric covered seat cushions on the stairs, and an added 2x2 in the middle of the bed to add extra support.
Thanks to fsmumford for the awesome inspirations and great step by step guide.
This can be put together pretty quick. The finishing is what takes the longest. And I used the Kreg plugs to fill the pocket holes, which meant extra time for gluing and sanding, But they work nicely.
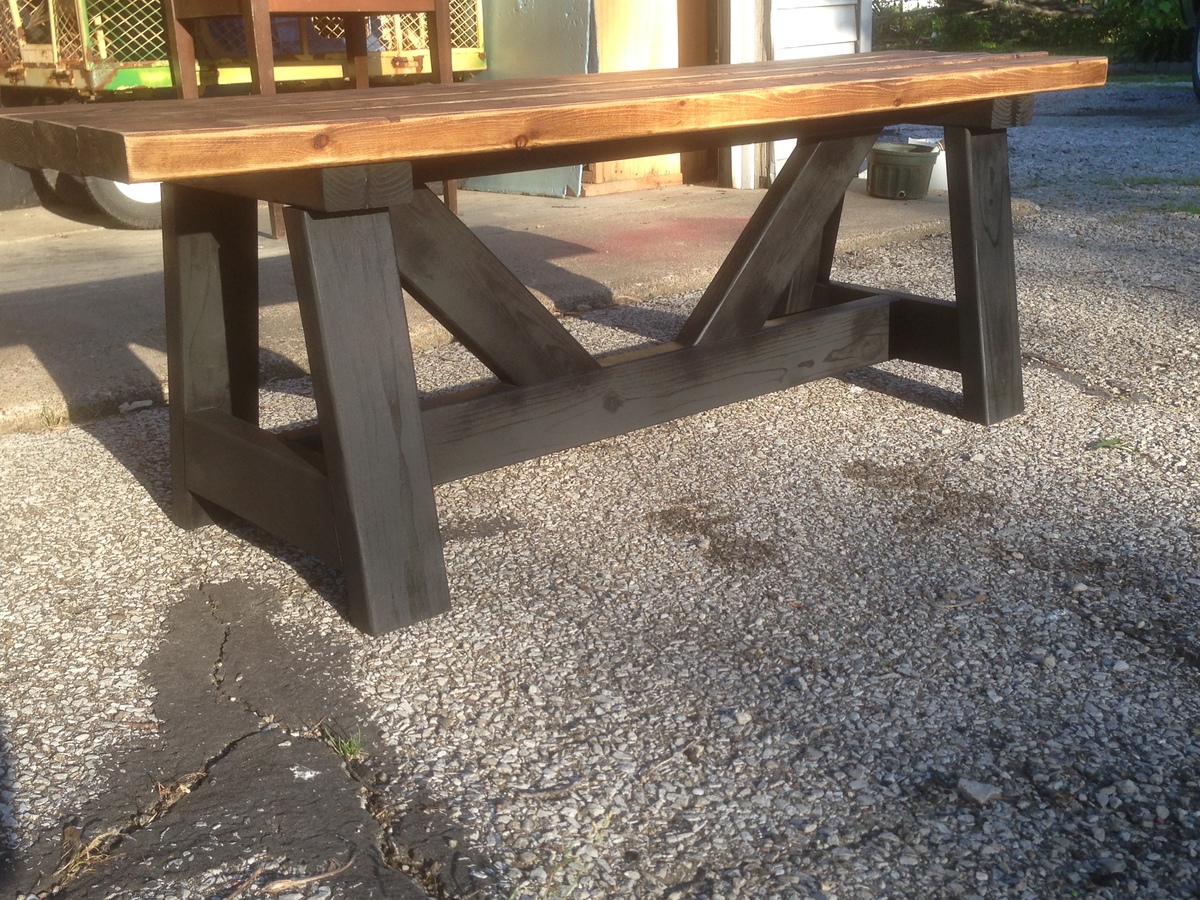
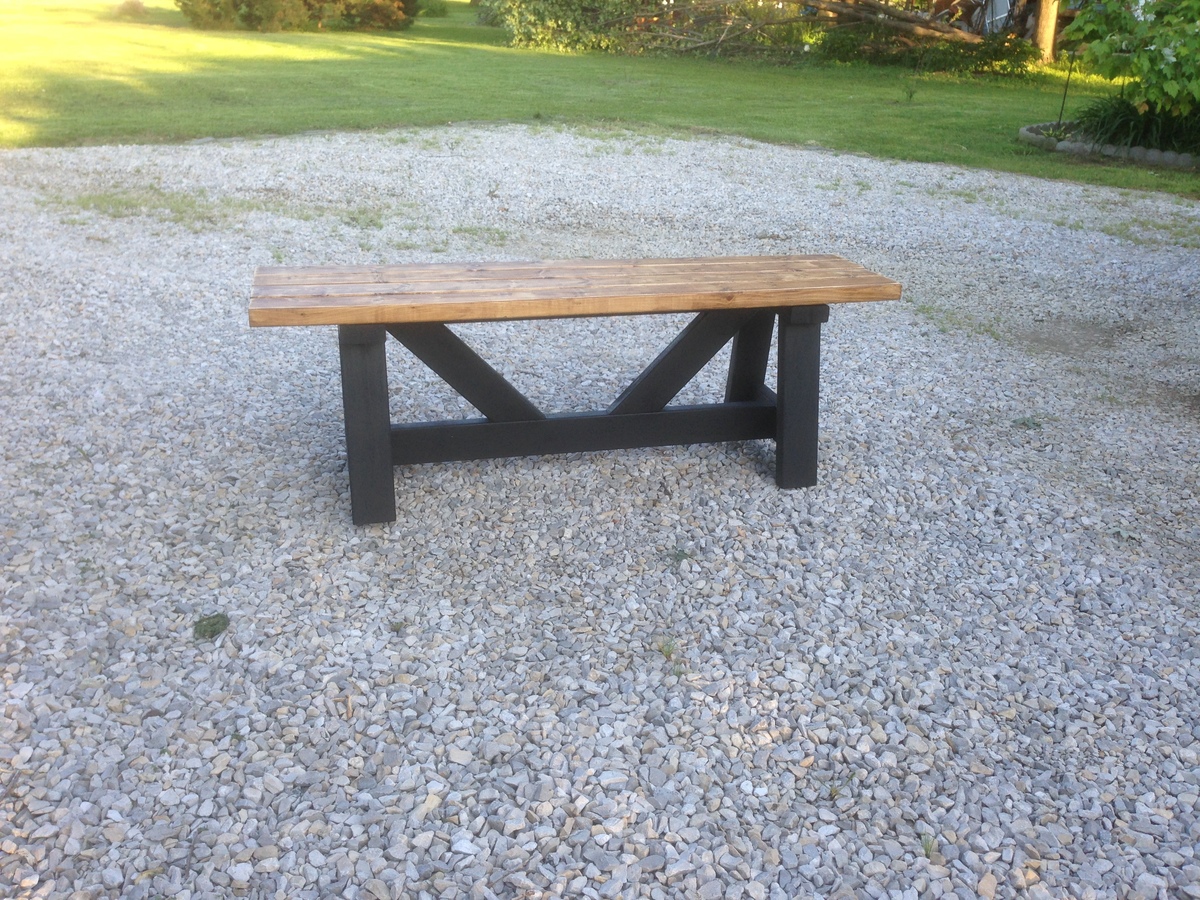
Tue, 06/23/2015 - 11:52
This just made me gasp, lovely! The stained top and painted legs look great!
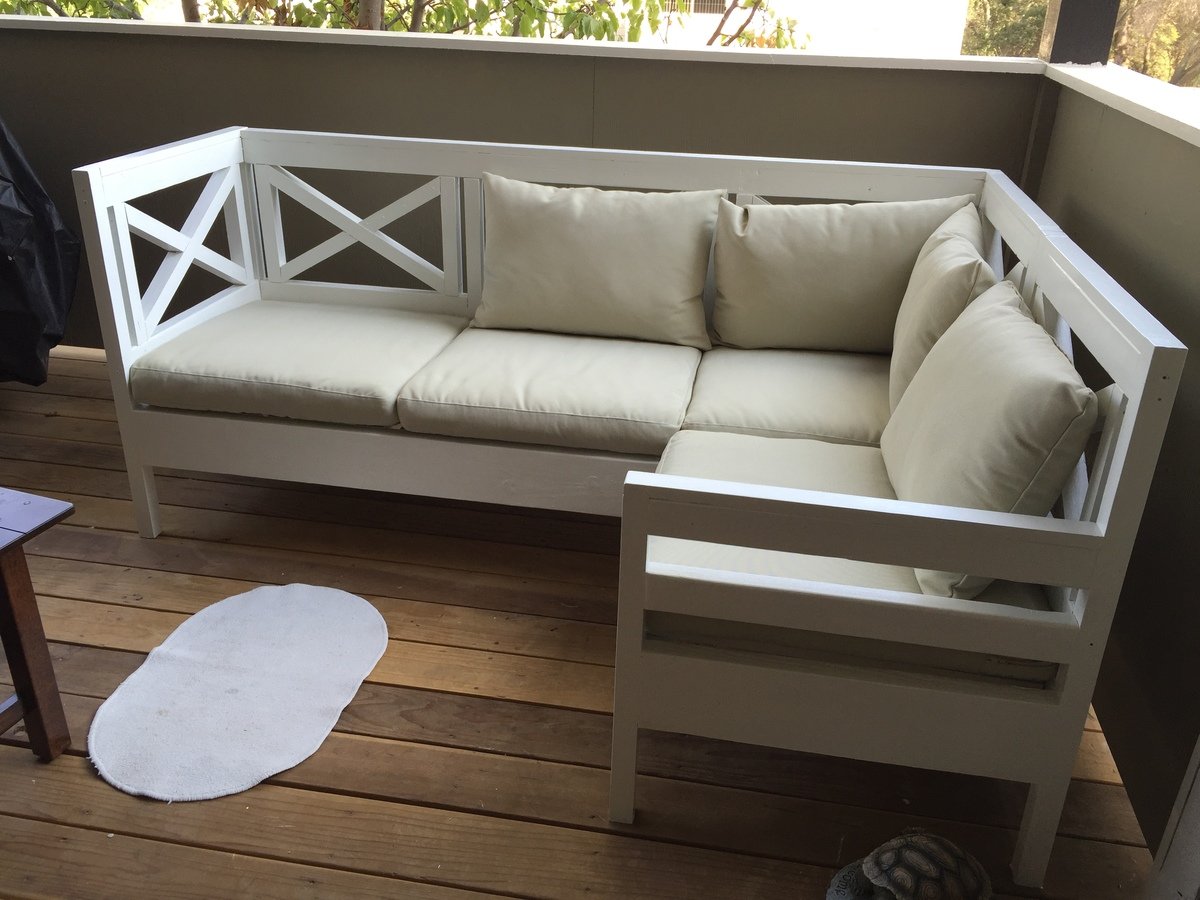
This was my first project, and it took me about 2 weeks to complete it. I don't have a lot of tools, so there were many frequent little trips to Home Depot (by now I think I definitely have the basics down). I would put in an hour here and there, and was finally able to paint the beautiful thing today. I am extremely happy with how it turned out. Thank you Ana for the wonderful plans. My family and I are looking forward to many evenings on the patio on the new sofa.
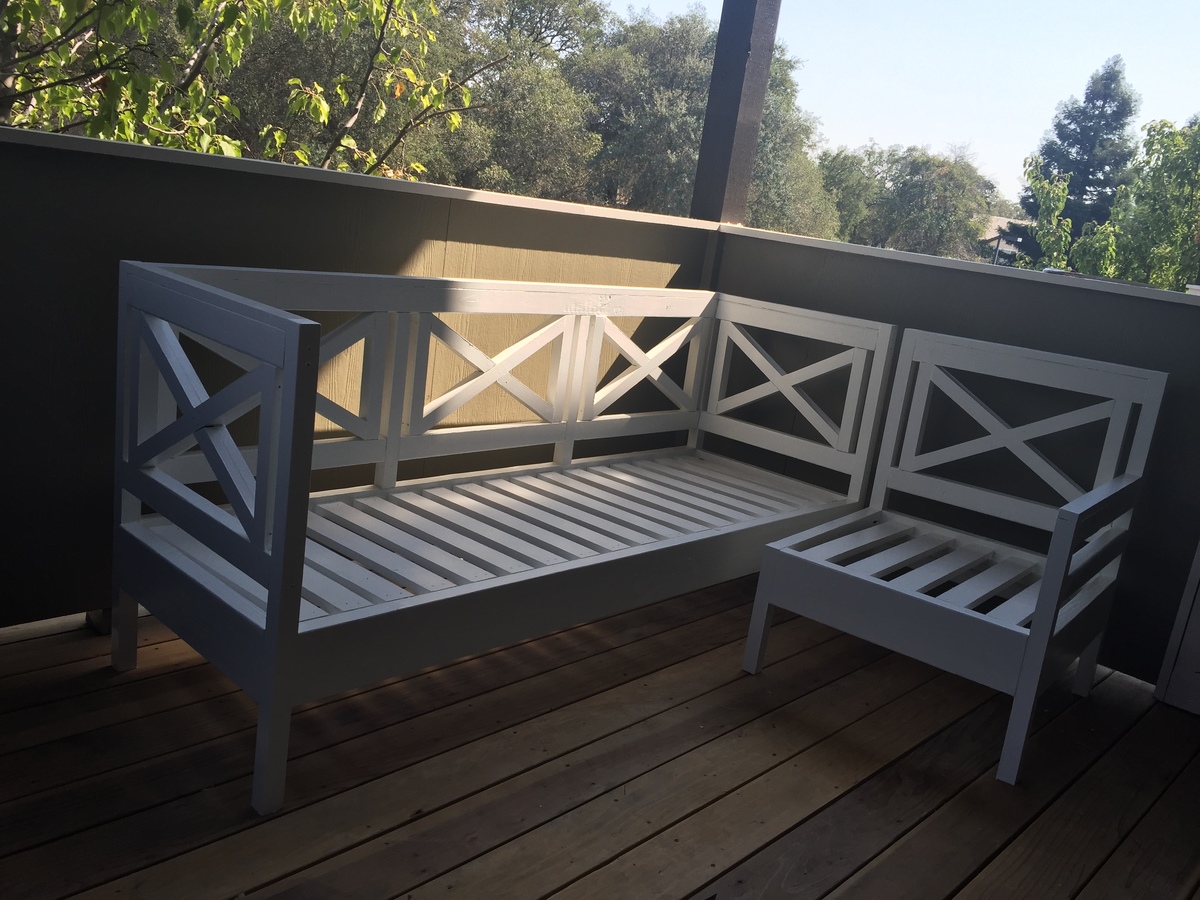

Just finished this to make the most of the little good weather we get in the UK. 2x4 sofa with sectional Chaise section and coffee table

“Just My Size Closet Plan” - Perfect for growing kids and more organization! @thegardnerplace modified the tower to include tucking away the laundry basket, SMART!
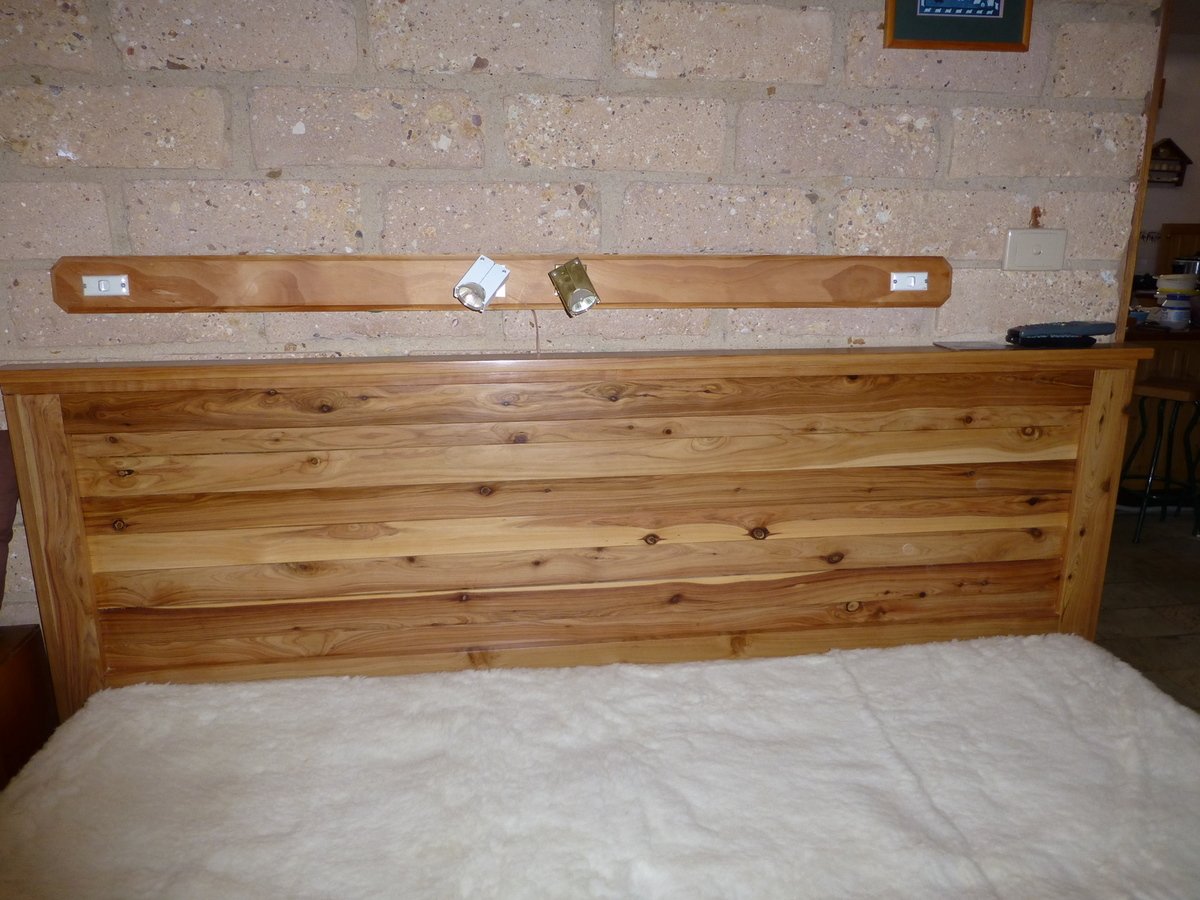
It was time for a new mattress - as it so happened, the store had a sale on: any size for the price of a single. So I couldn't resist and got the king rather than the queen size. Rather than buying the the bottom of the ensemble as well I decided to try and build a bed.
Would have loved a farmhouse bed, but the bedroom is tiny, the king only just fits in, so no foot end or chunky posts. Mom's fine farmhouse bed was the initial choice - but I like my timber `natural' and couldn't get pine mouldings. So ended up building the reclaimed headboard - out of cypress pine fence pickets: these come in 65x19mm (i.e. close to a 1x3 pine board) and up to 1800mm long, but used pine for the bits which are not visible (easier to work with & lighter). I wanted a bed where my feet touch the ground when I sit on the edge and which don't need to climb up to, so shortened everything to make the top of the mattress at 550mm from the floor.
The bed itself is from Mom's farmhouse bed plans, modified for a King (72 inches wide) with a middle rail. The sides are made from two length of cypress tongue and groove floorboards each, joined together with pocket hole screws and with the top tongues ripped off. The slats are fence pickets as well - managed to find enough of the nominally 1800mm ones which were just long enough to fit across after squaring off the ends, the most economical option. To hold them in place, I glued on spacer blocks cut from a 1x2 length of pine - the slats sit between them snugly & making the slats removable makes it much easier to move the bed.
I sealed the timber with a base coat of oil-based polyurethane and the applied furniture wax (carnauba) and buffed it to a soft glow.
This was a big project, it took me the best part of 4 weekends - lack of space & winter weather didn't help (ended up assembling the bed in the lounge room). It cost me almost $300 all up, about $220 for timber, the rest for screws, nails, sandpaper, glue, varnish, woodfiller and wax - half the price of what the commercial base alone would have been.

I used Anna's plan for the farmhouse table and shortened the length to fit my space. I liked the look of the angled 4x4's on the middle brace, but with my smaller table I had to make them into an X. Really pleased with the results. Thanks Anna for the inspiration!


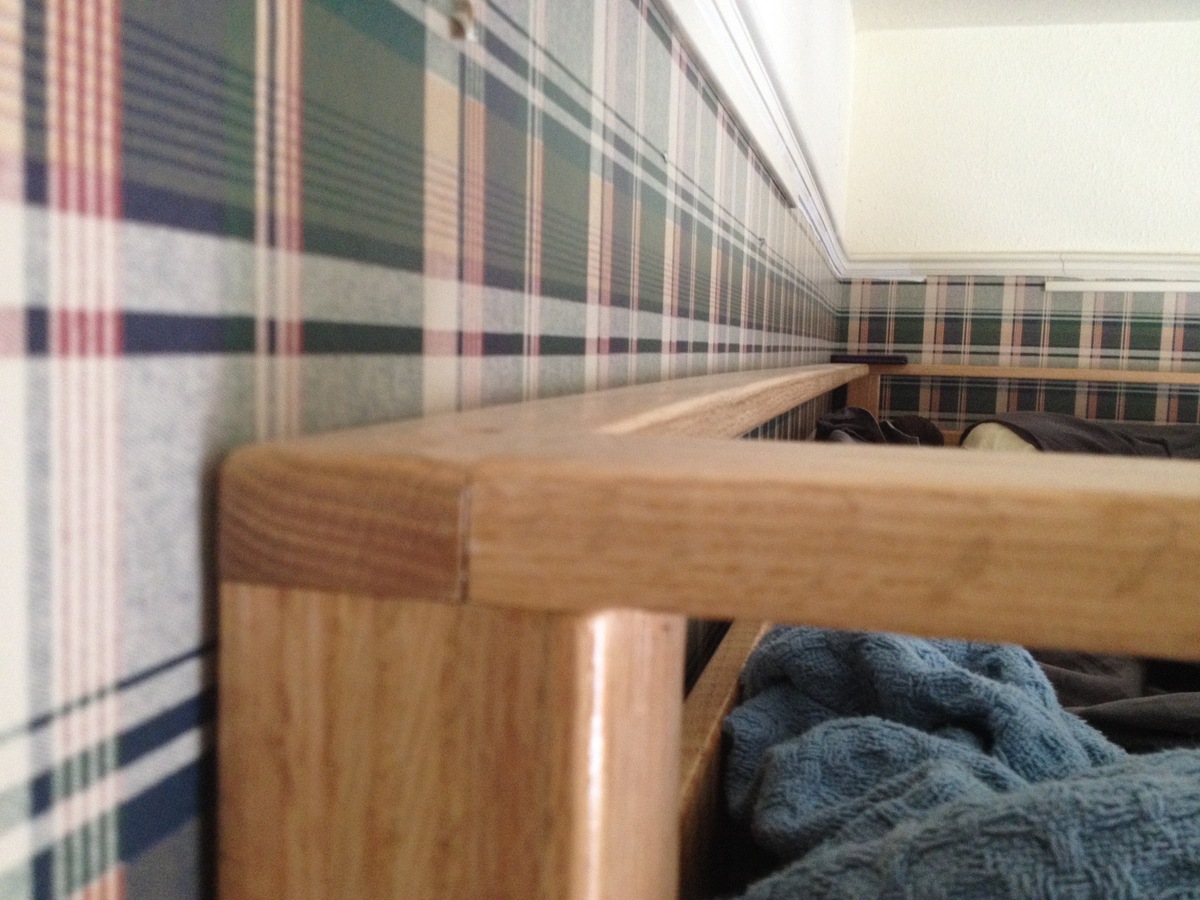
I needed to build a loft bed for a small room that has a nine foot ceiling, I wanted to have ample storage room below, but was concerned about a ladder that would stick out at an angle taking up a little too much precious real estate in the small room. Using Ana's great Sketch Up plans, I modified the design by incorporating a fifth leg as a permant addition to attach the ladder to. Part of the appeal of Ana's design was the ability to take apart the bed if it ever needed to be taken out of the room it is installed in, and the ladder became a part of the foot board end, perhaps a little unwieldy, but still able for two people to lift and move.
As a self-taught woodworker, I wanted something a little nicer than standard pine boards, and since we have a nice local hardwood supplier in our town, I was able to buy some nice red oak in a 13/16" thickness. This project gave me the opportunity to use the planer that I bought some time ago but hadn't really used very much, so I ended up milling all of the wood to bring all to a uniform thickness. In gluing up the legs, I used a spreader and a lot of clamps so that there are no screws, staples or nails joining the boards, just a lot of Titebond II.
For the ladder itself, I cut dados in the upright edges of the ladder and attached the treads with 2" wood screws along with a liberal amount of glue. I had a slight miscaculation on the width of the ladder, so in order for it to fit in between the two legs, I had to plane away a small amount of wood, which you can see the end of in the last picture, the close up of the ladder.
After a fair amount of sanding and a round over bit in my palm router to break all the exposed edges, I finished with three coats of polyurethene. The bed was assembled in the room using 2" wood screws which I had pre-drilled when I dry-fitted the bed out on my driveway. There are three screws in each corner of the mattress board and two screws in each corner of the railing. The short section of the front rail is also attached with screws so it can be removed as well if the bed is ever moved. I finished the installation with three, six inch lag bolts, two higher up going into wall studs, one near the bottom bolting into the wall plate on the floor. The bed was very solid, but has been made even more so with the addition of a bookshelf spanning the width of the footboard, and it is as deep as the ladder is wide. I offset the side of the bookshelf on the ladder side to allow for a two inch gap so your toes can overhand the ladder treads when climbing up or down.



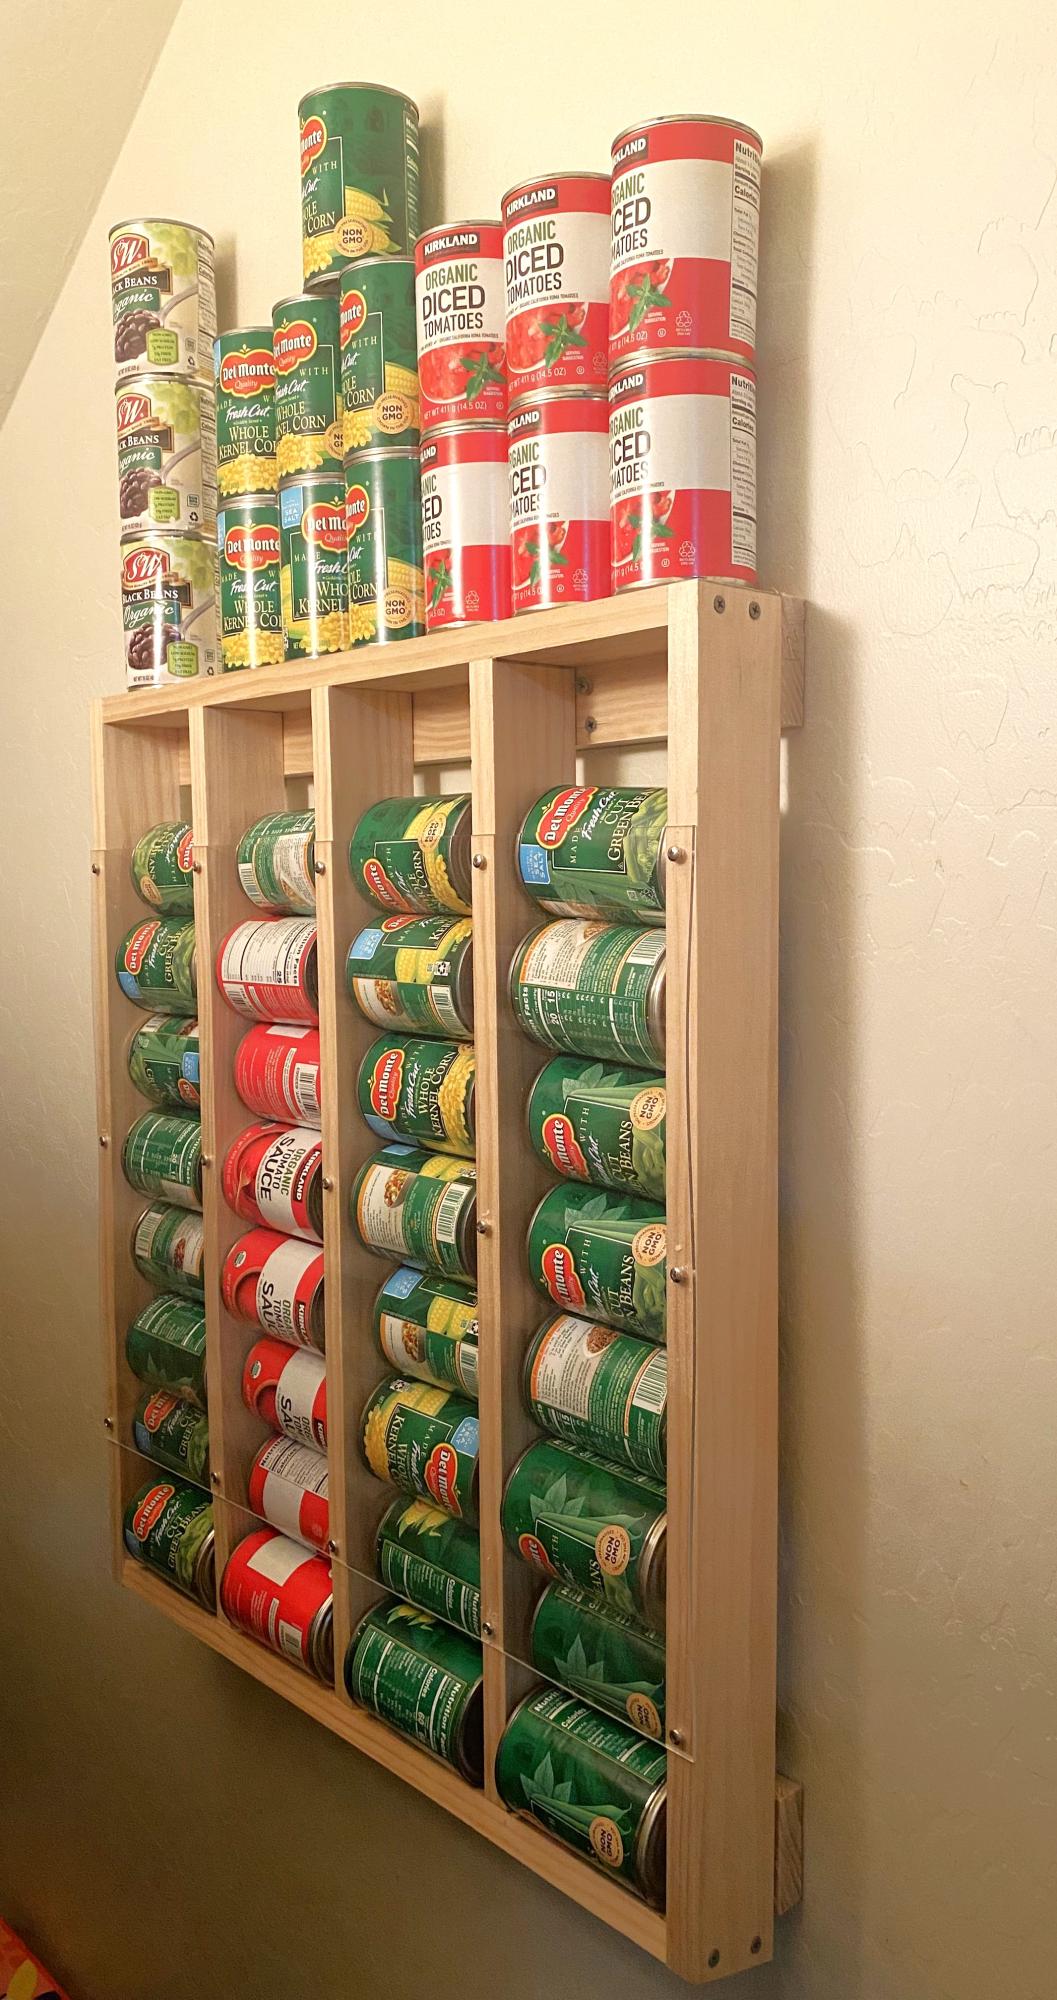
Made this for my dry closet. Super easy to construct and it works perfect. I just wish there was something similar to use for paper towels.
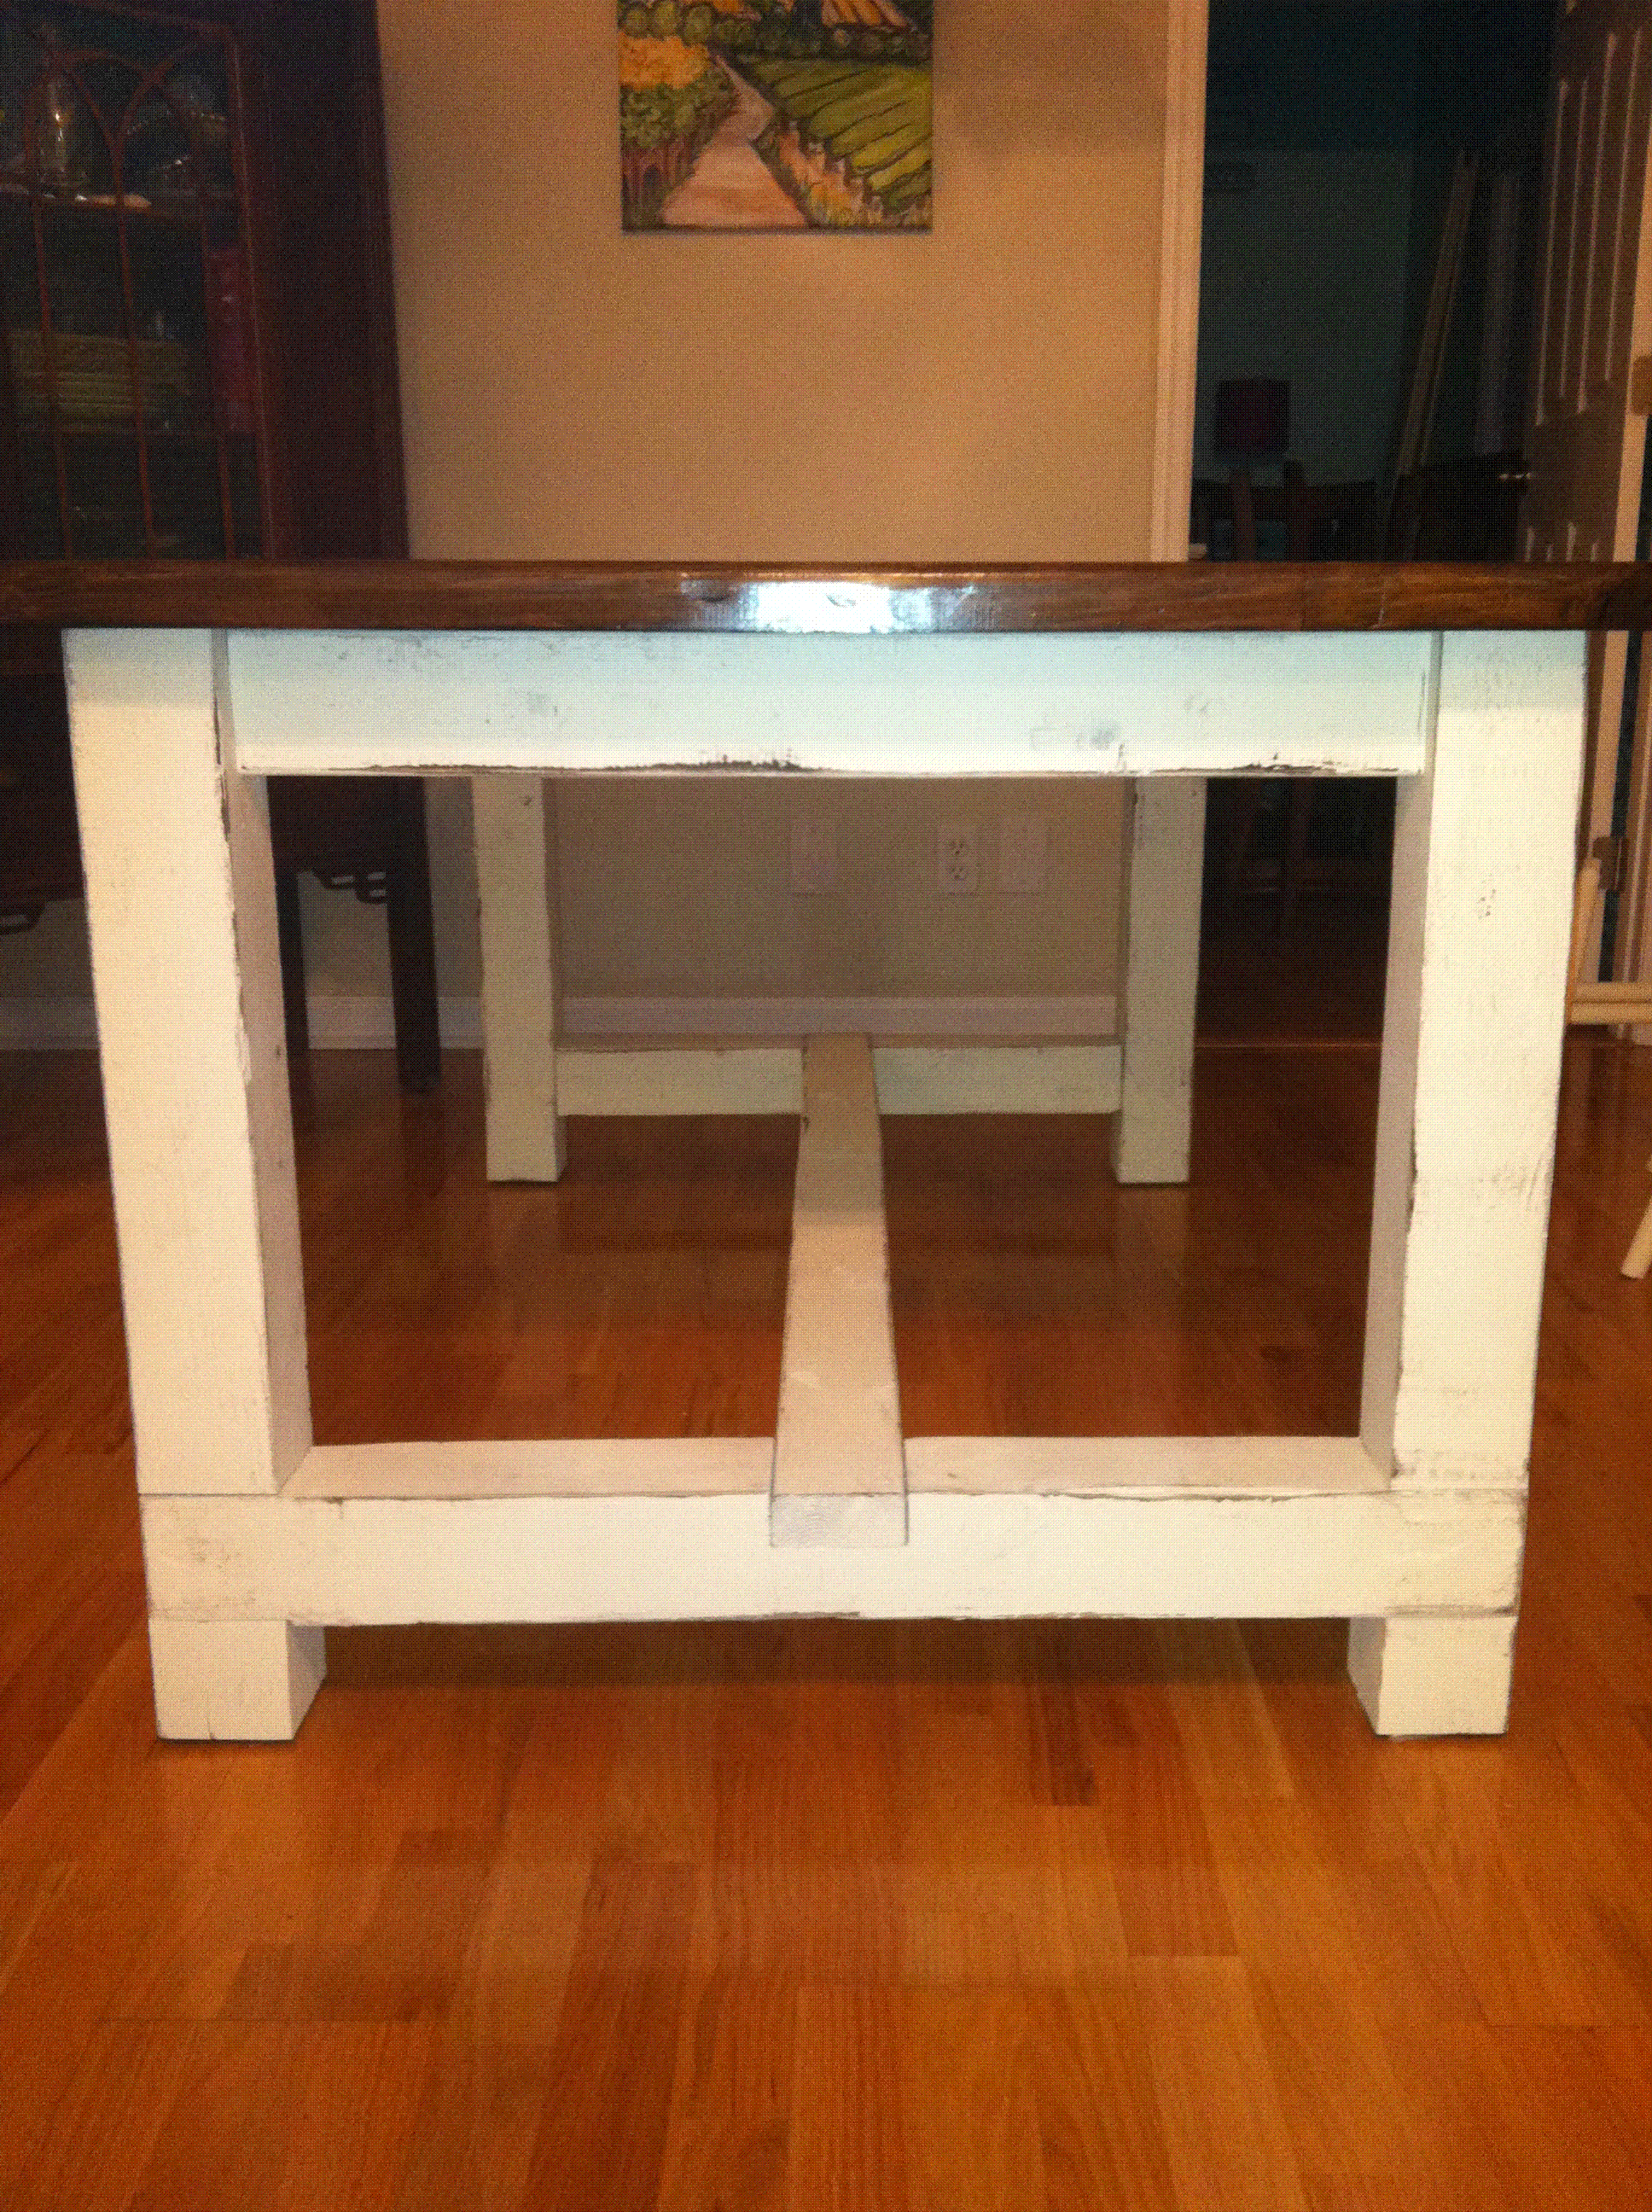
Custom Farmhouse Table built using plan by Ana White!
Wed, 12/19/2012 - 15:10
Trying to get the plans for the farmhouse dining table
Tue, 02/24/2015 - 14:12
definetly going to use this building plan but scale it down by 50% and make a cute, sturdy, lasting coffee table. Thank you for the plans
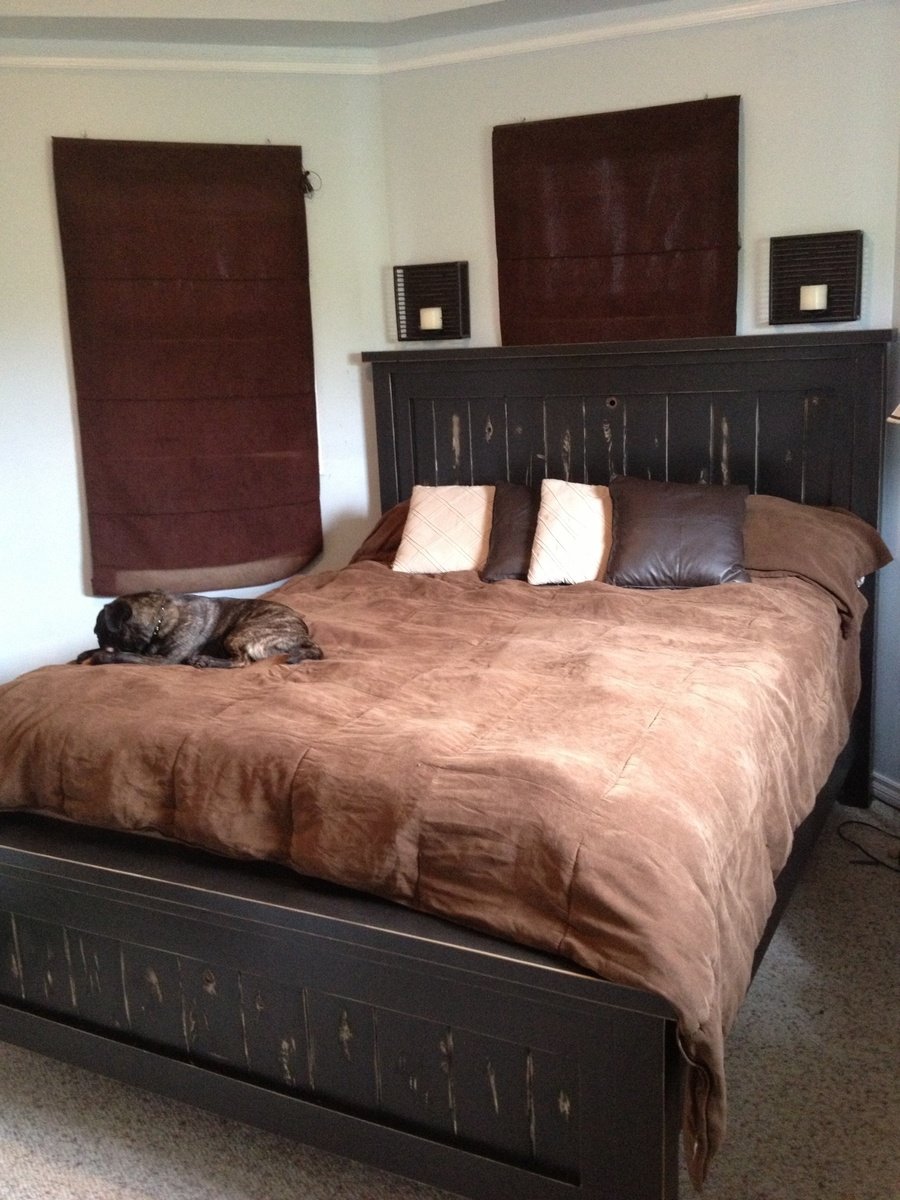
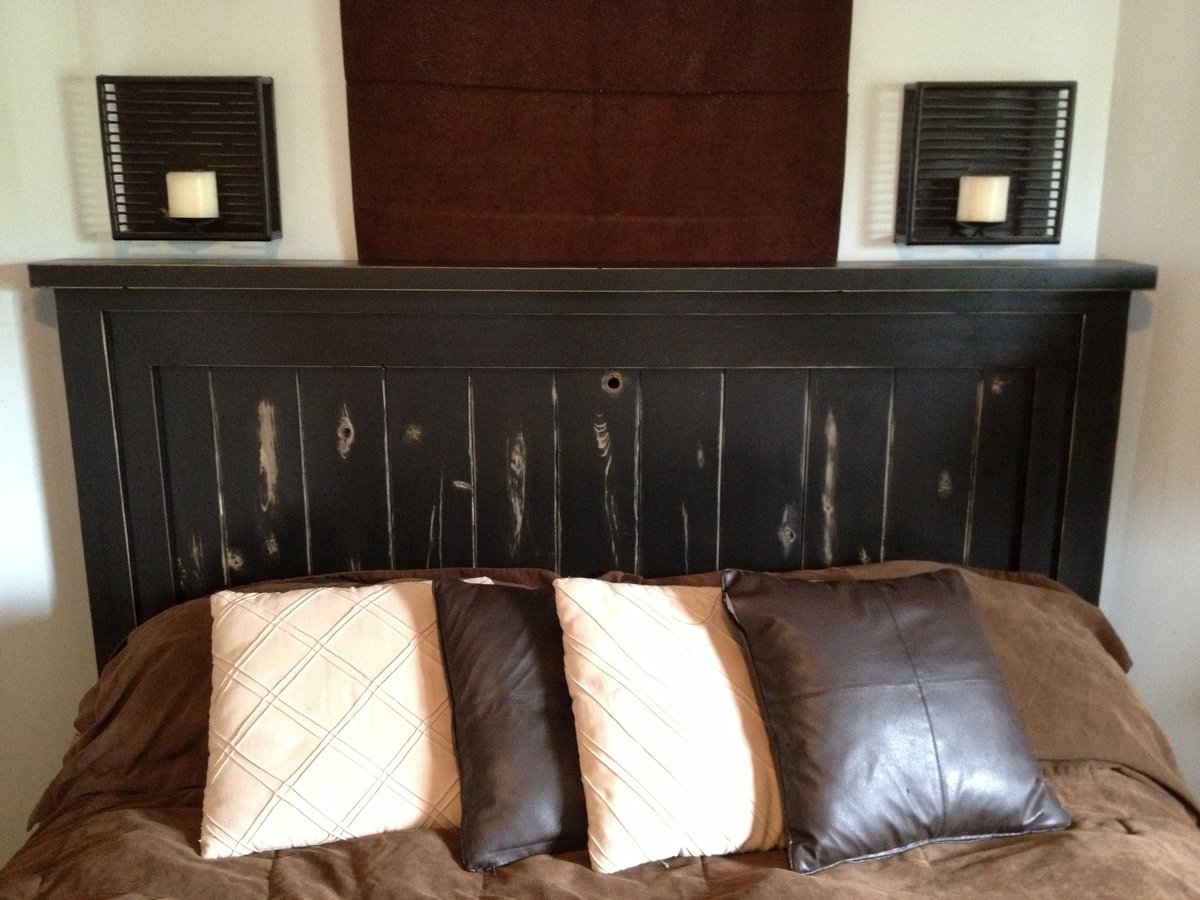
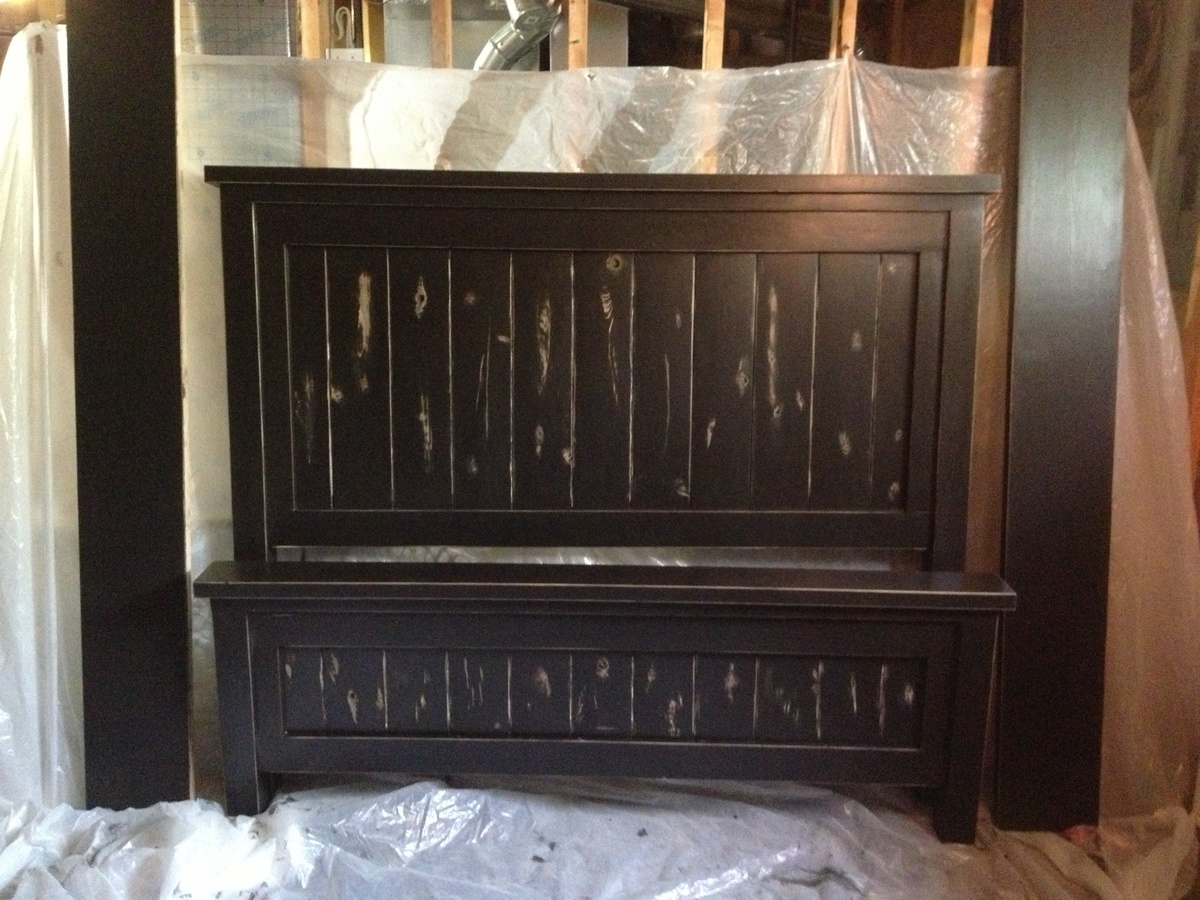
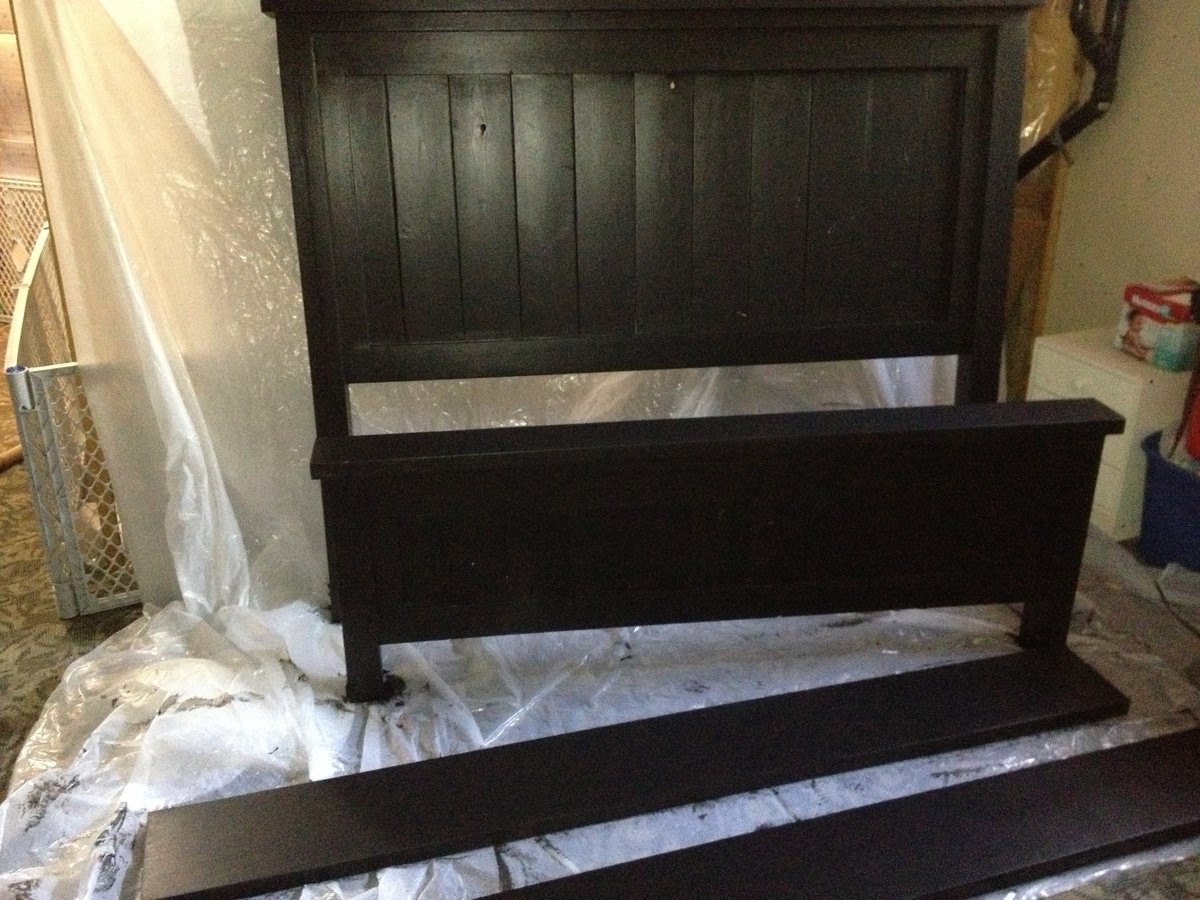
This was my second build and though it took longer than I'd hoped (as everything does with little helpers), I'm pleased with how it turned out. I deleted the arch in the plan and added trim on the edge of the 1x6s on the head and foot board to cover slightly larger gaps due to my poor spacing. Also, I was unable to find untreated 4x4s for the four posts so ended up using two 2x4s for each post (shown in the last photo). Otherwise, I followed the plan which made it fairly simple. If I can do this with a three and one year old and one on the way, anyone can! Thank you Ana for your inspiring and easy to follow plans as well as all of the great information provided on your website for beginners like myself!
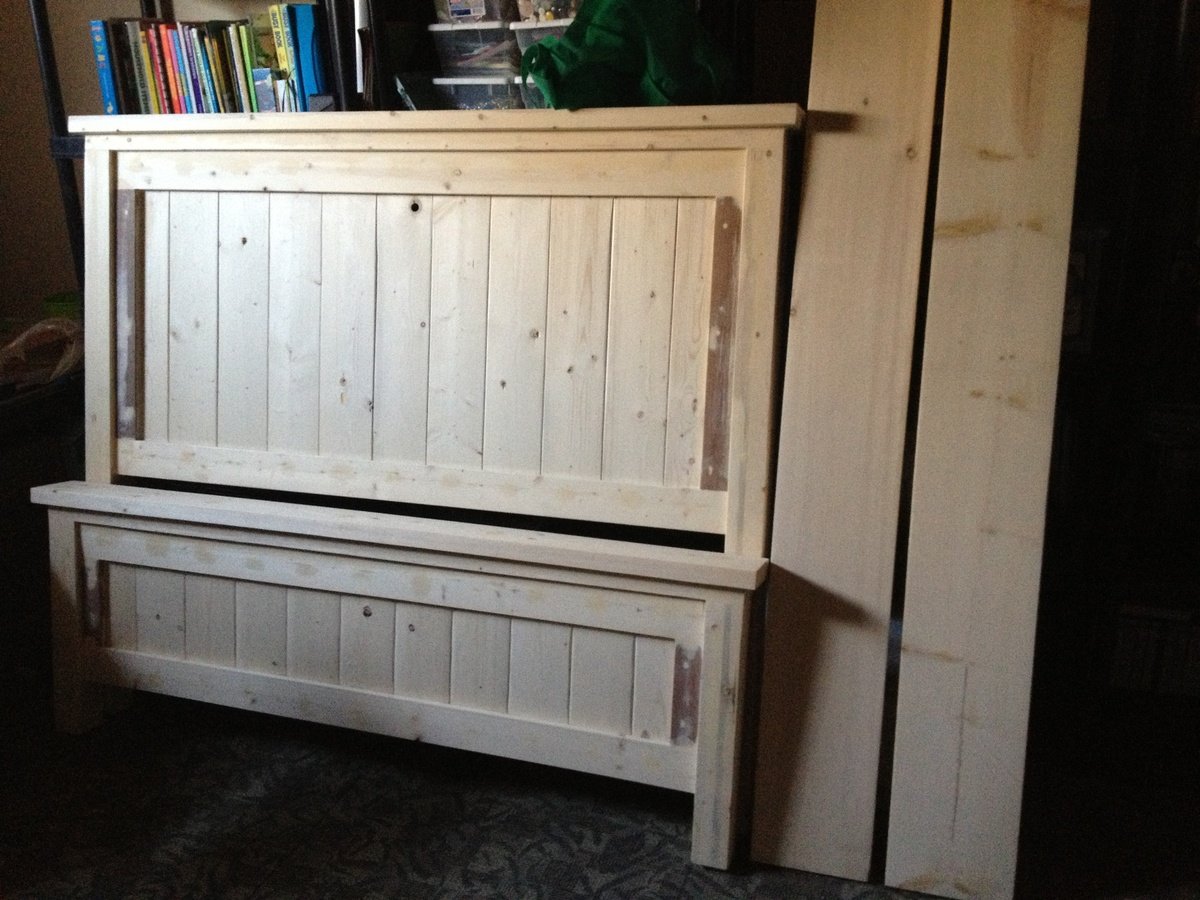
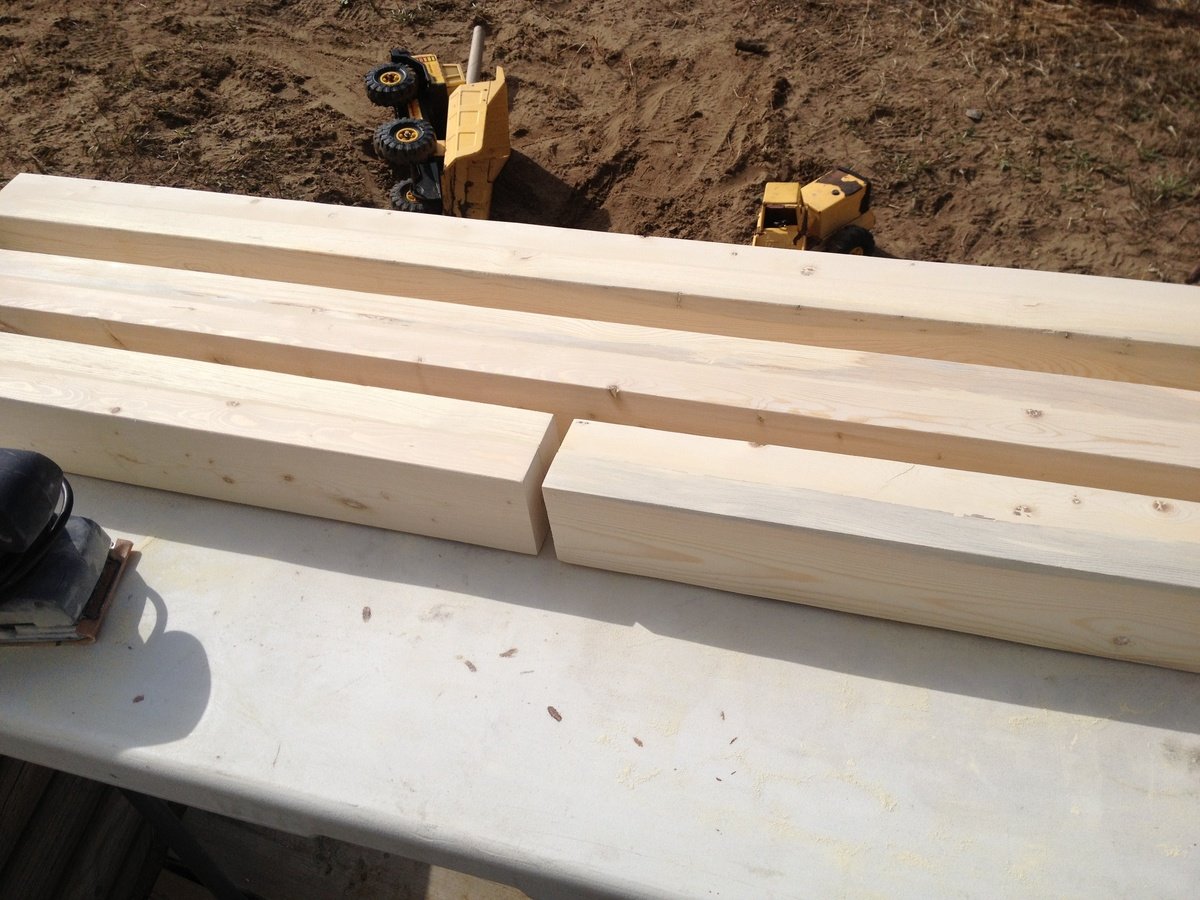
My daughter and I made this for her new apartment. Used MDF with painted trim for the top and added a third leg so she could have a shelf. We used pallet wood for the shelf.
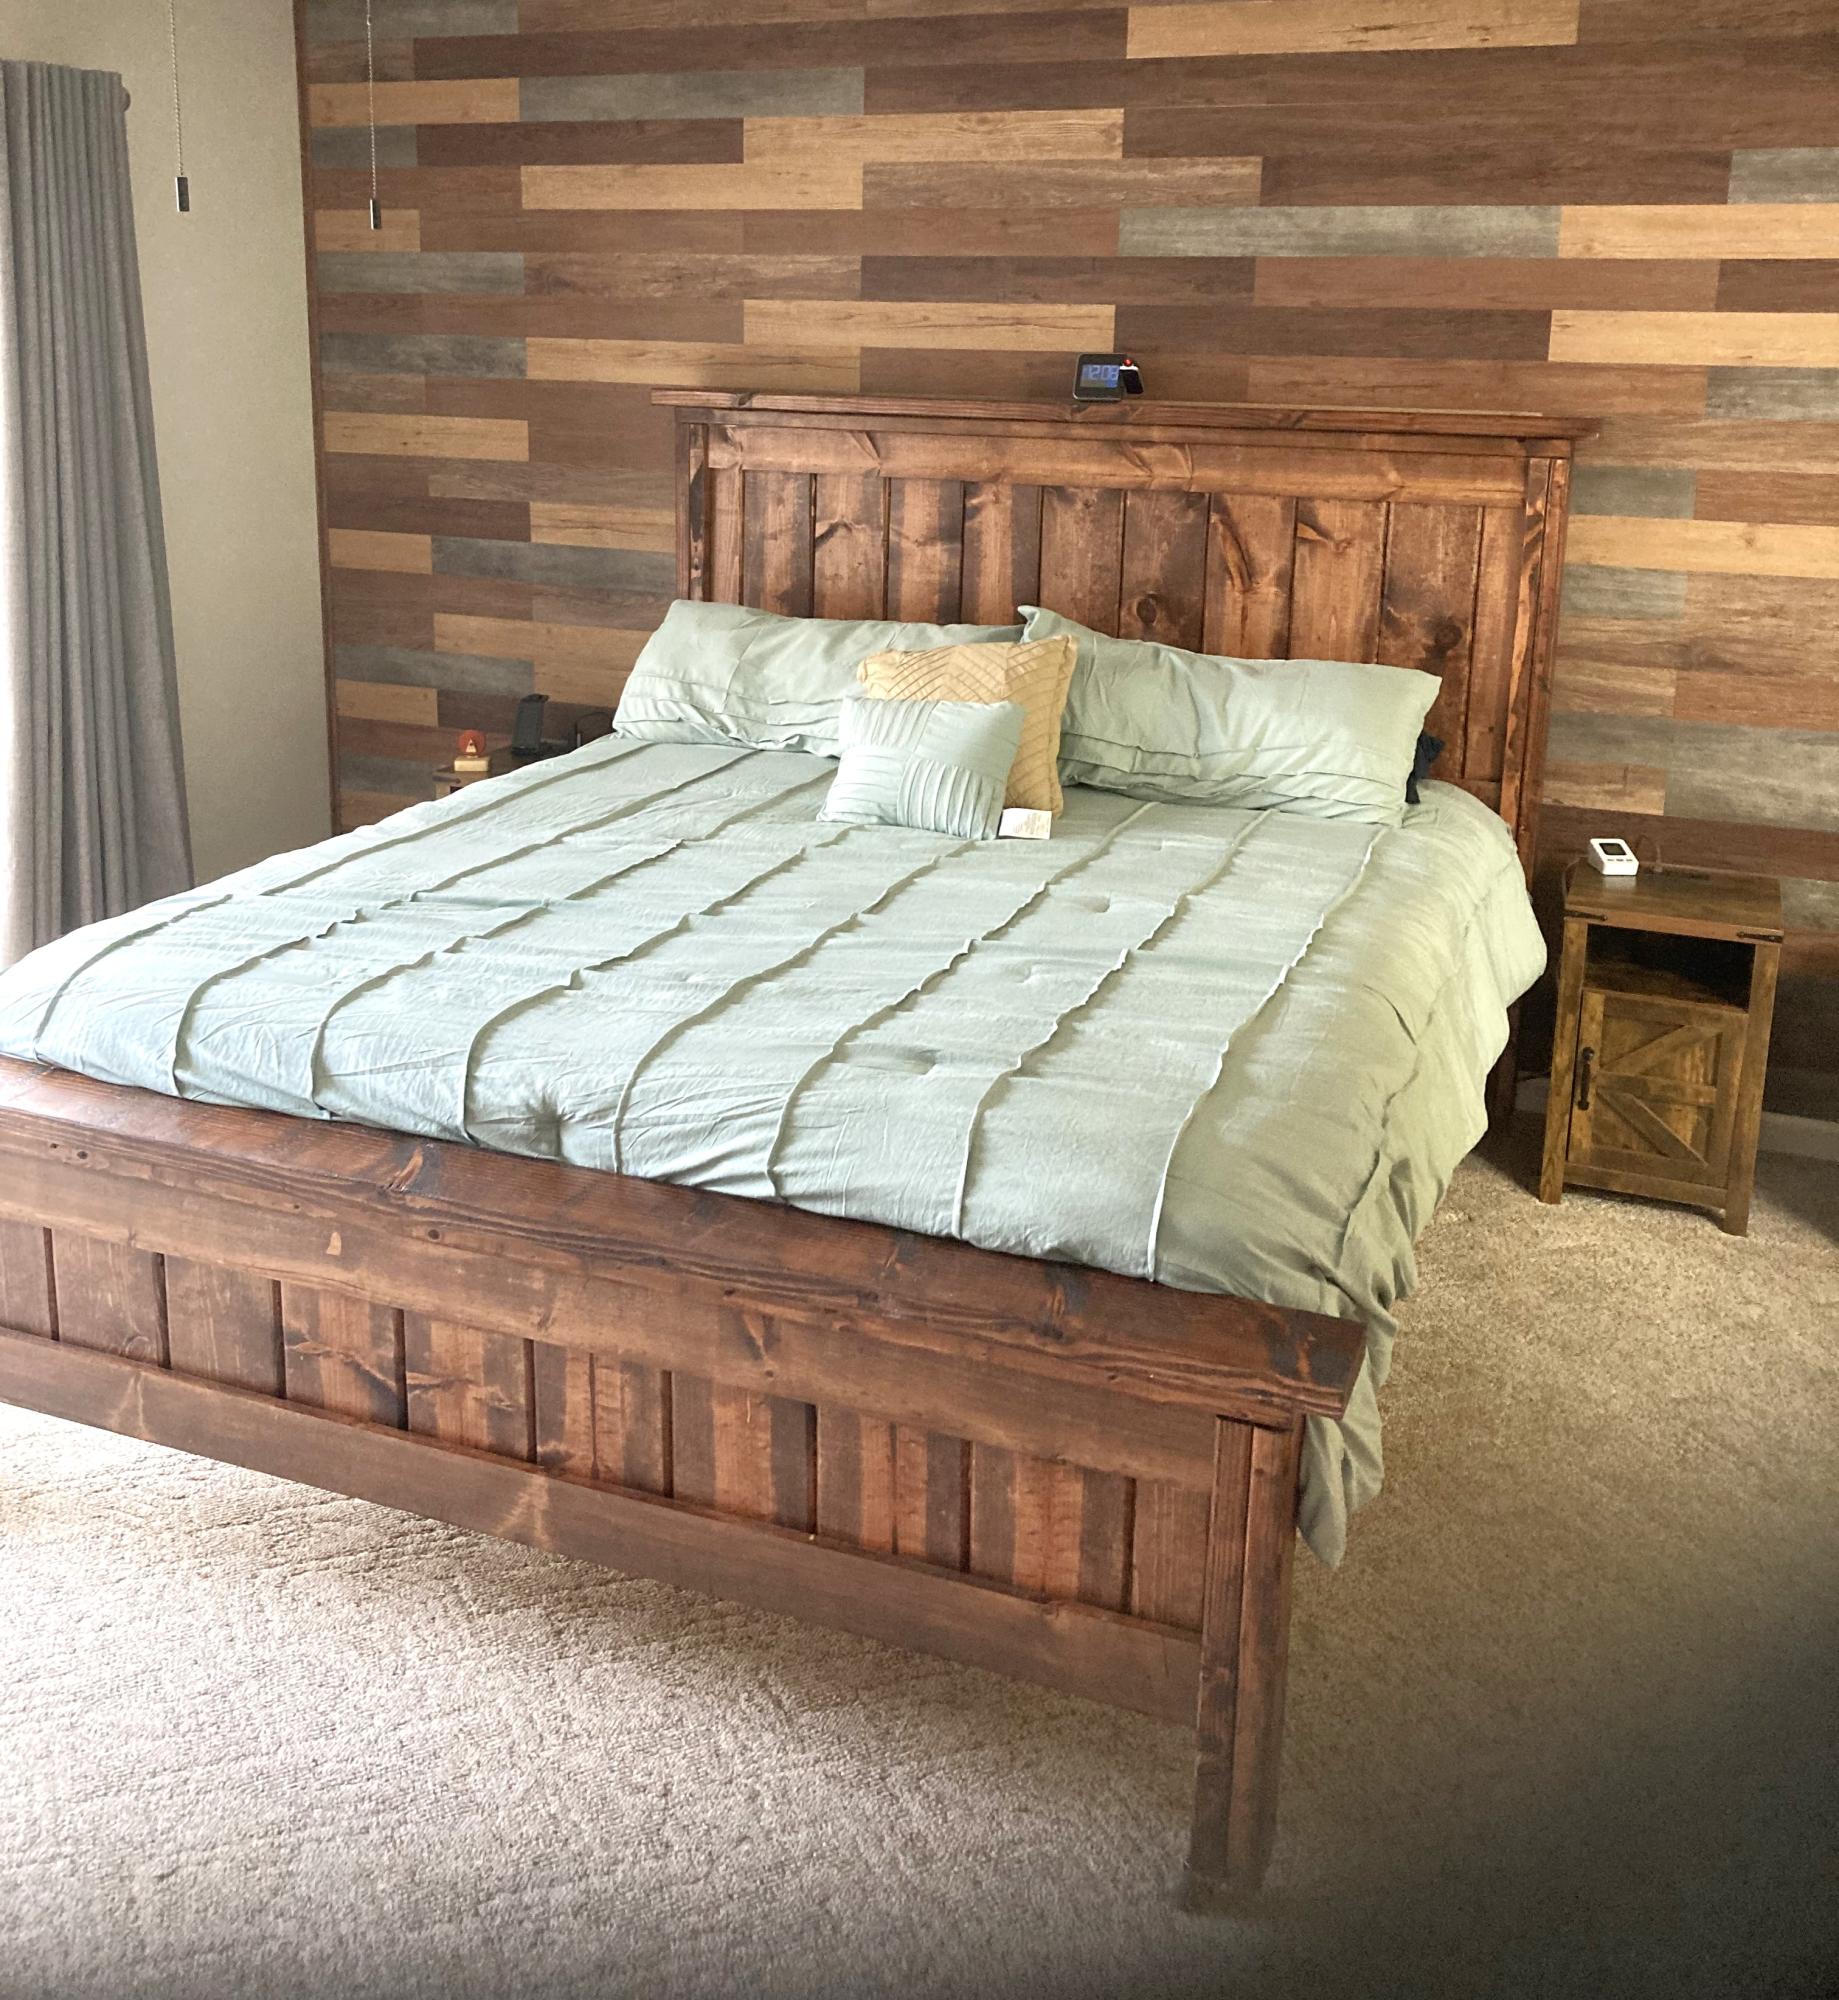
Used your plans for a California King! Had to lengthen the bed by 4” to accommodate the comforter.
David Turton
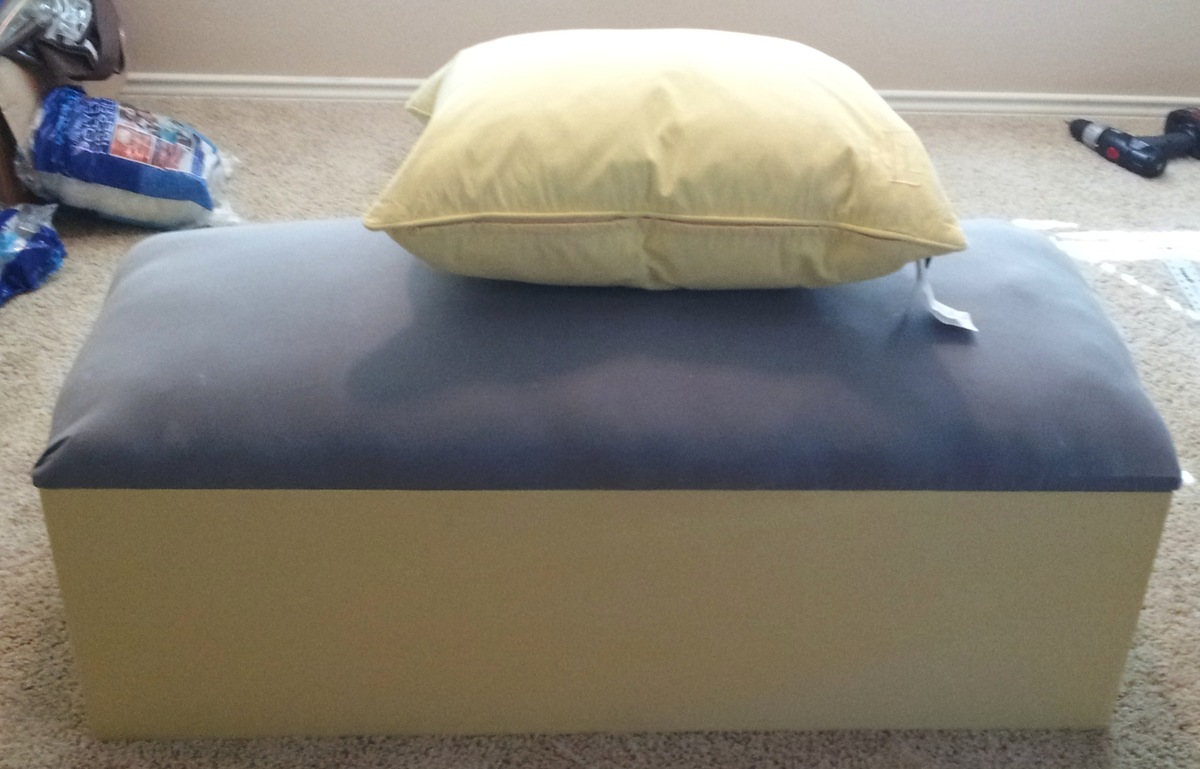
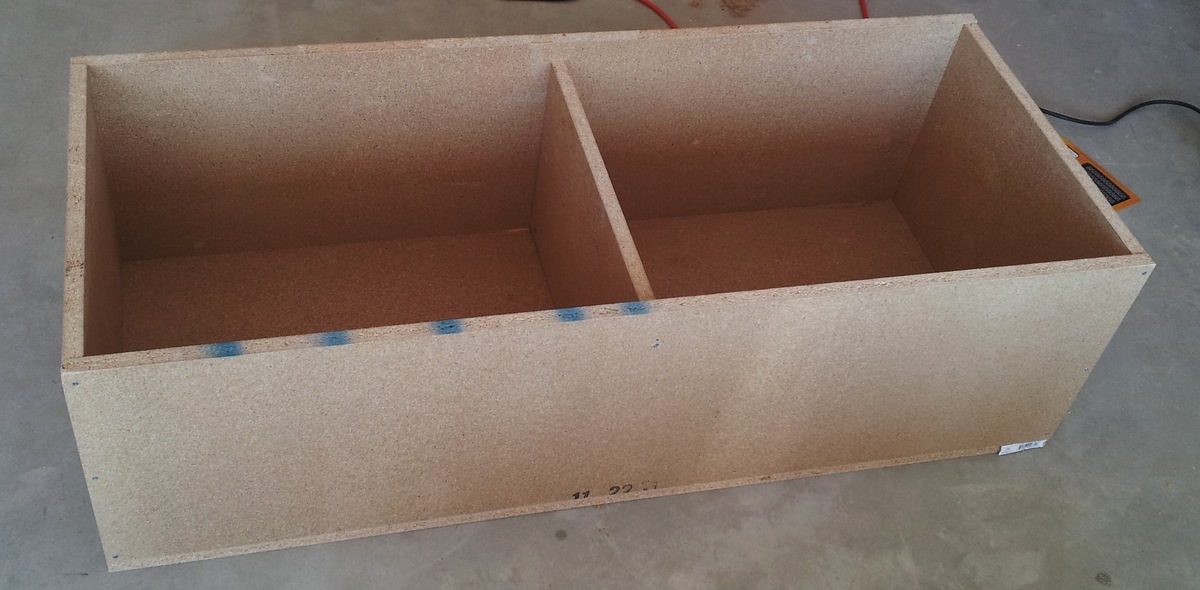
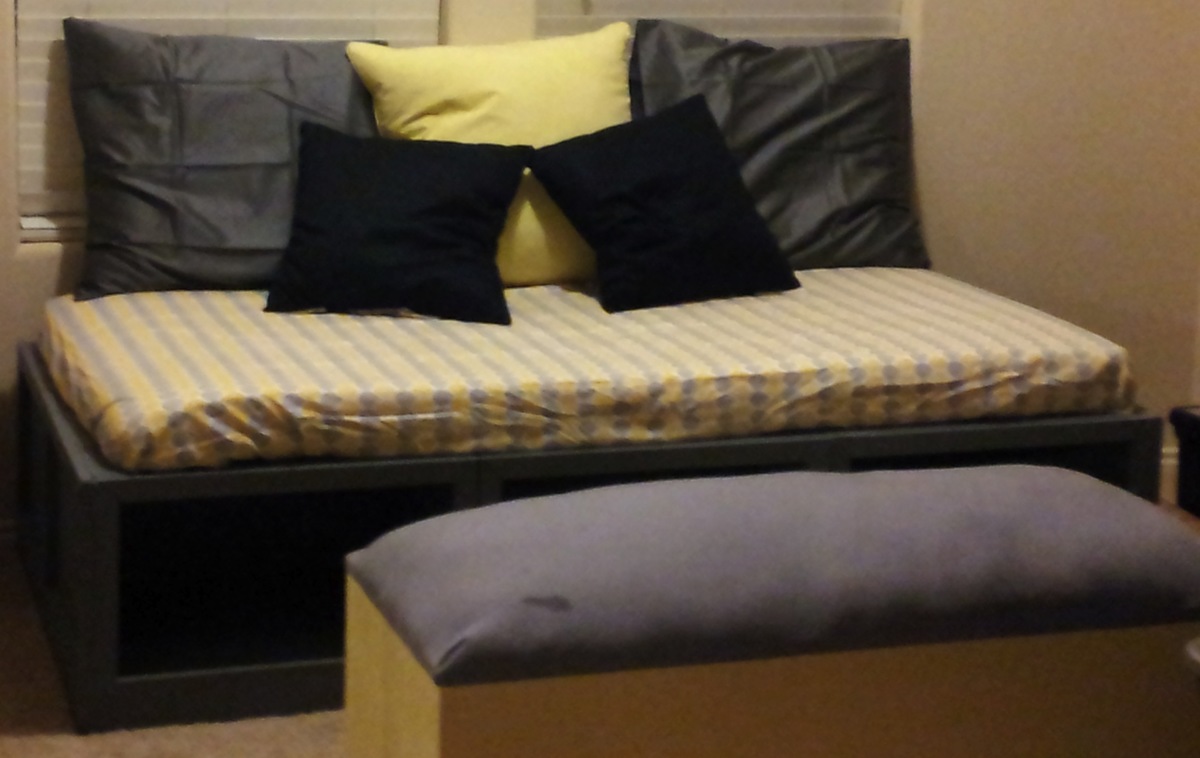
I had some leftover plywood after I made my storage bench and asher/dryer pedestal so I made plans for a storage ottoman with it. After I put it together I cam to Ana's site to upload my plan only to find out she had already made something similar. The only difference in mine is that I added a divider so my wife and I have our own sides and used polyester filling for the top instead of foam (about half the price).
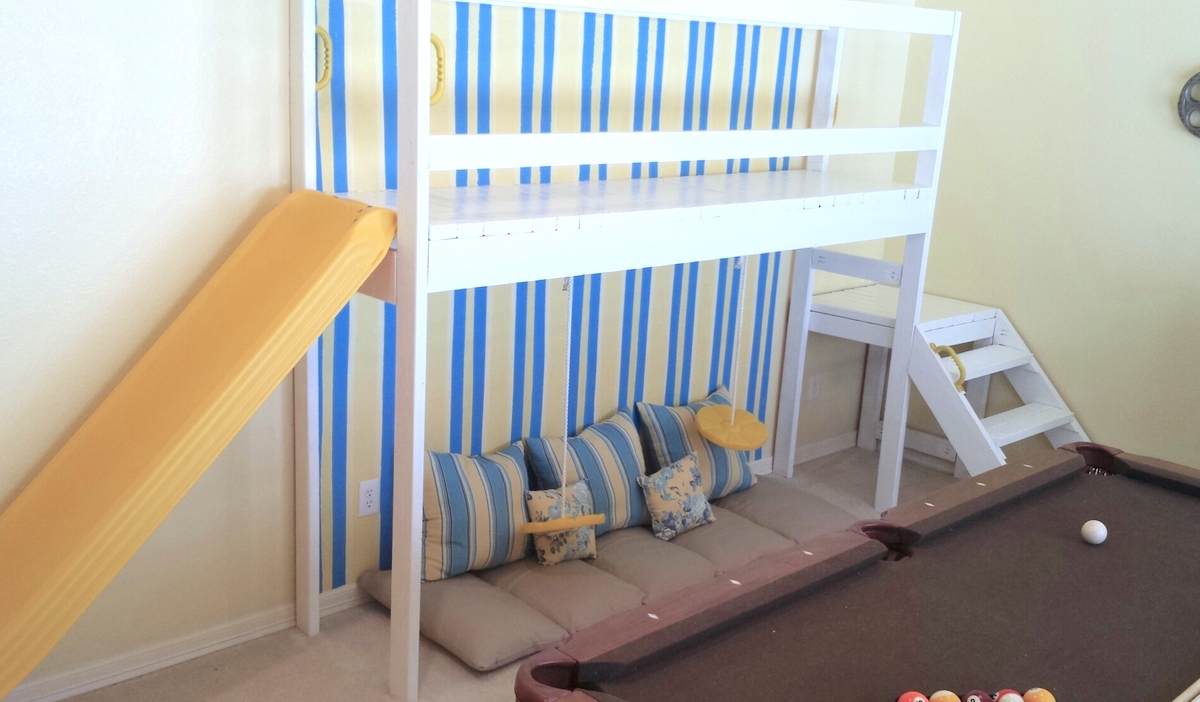
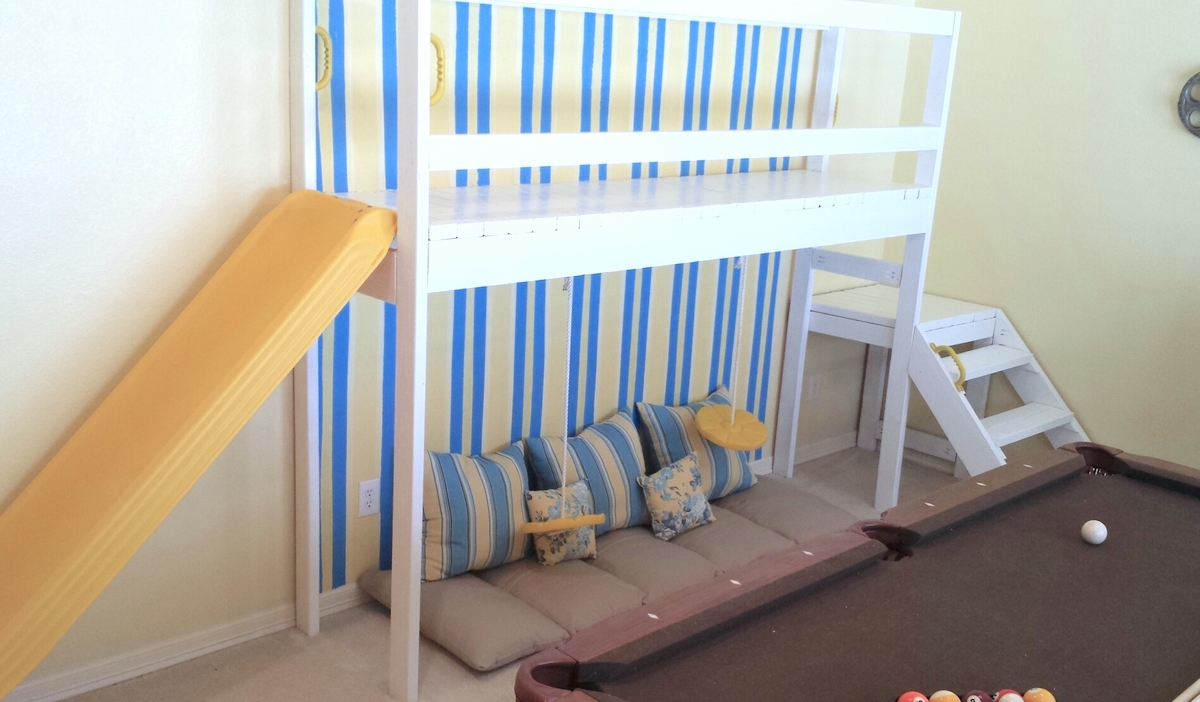
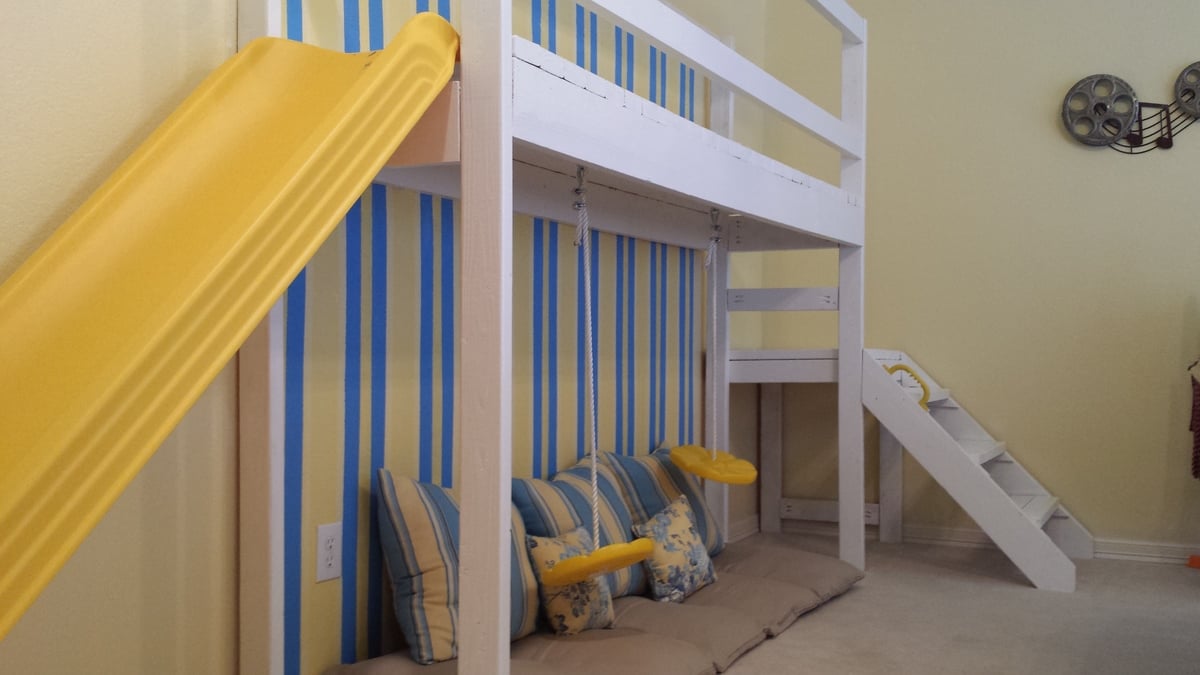
We wanted a place for the kids to play when the weather outside is unbearable. So, we modified the camp loft bunk bed plan to work in our game room. We have a pool table in the room and we didn't want it to interfere with any shots. Subsequently, we cut the width down to 24 inches and extended the length to 93 inches to fit in our space. Additionally, we pre-ordered a slide that had to be mounted at 48 inches and measured 71 inches in length. So, my husband framed it out so the planks that are meant to hold the mattress would sit right at 48 inches and we could mount the slide. This has been the best idea ever for our kids, because they can't get enough of sliding and swinging indoors.
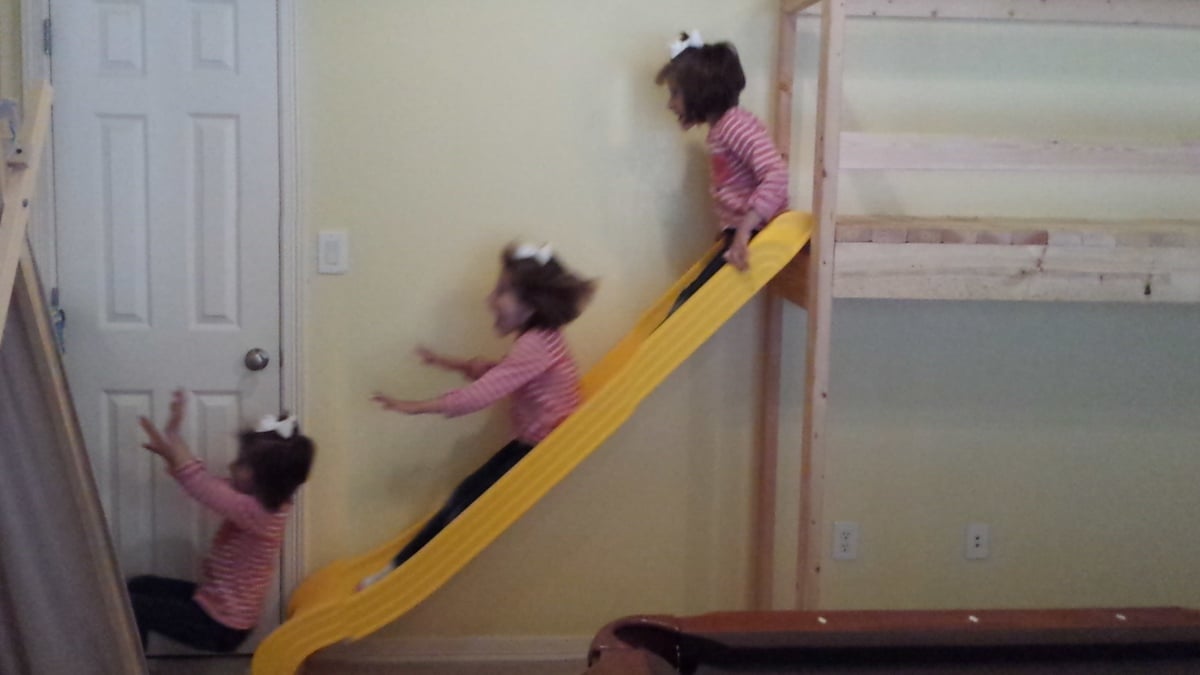
Wed, 05/28/2014 - 18:53
Loved this project. Paid back with hours of giggles and fun. :)

Thanks for the plans! My wife and cat love that cart, and I'm not sure who will win )))
This is my first build from Anna's plans.

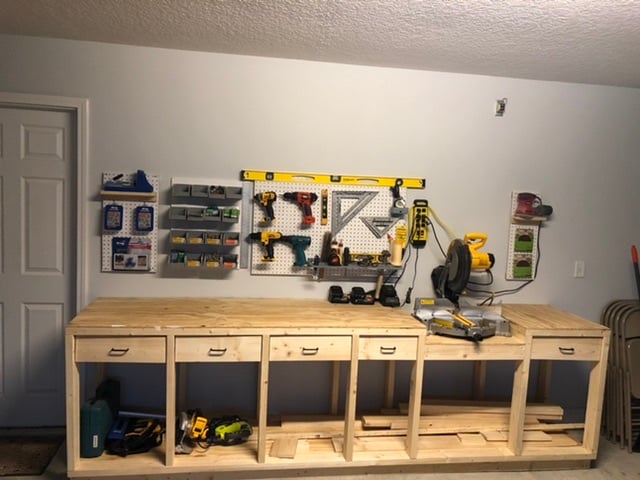
Had to size the project done to fit my garage wall.
Left the sides open to use as storage for wood.
Overall Everything worked out, love it!