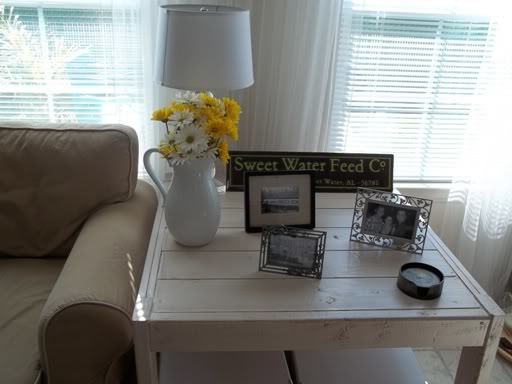
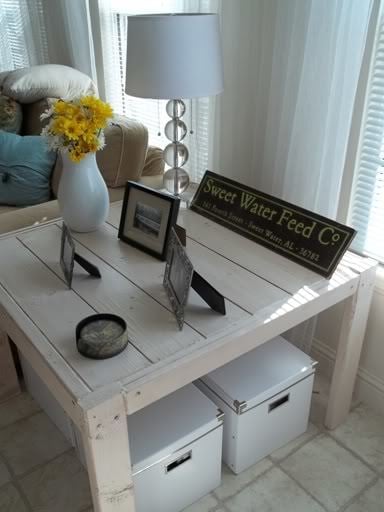
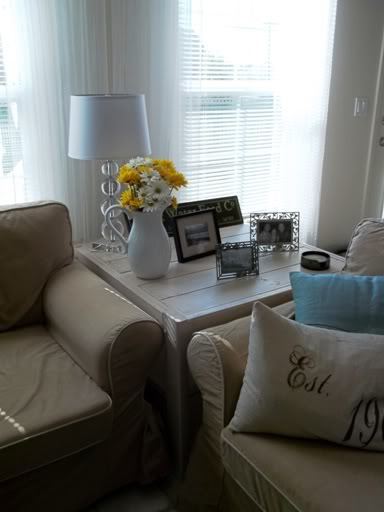
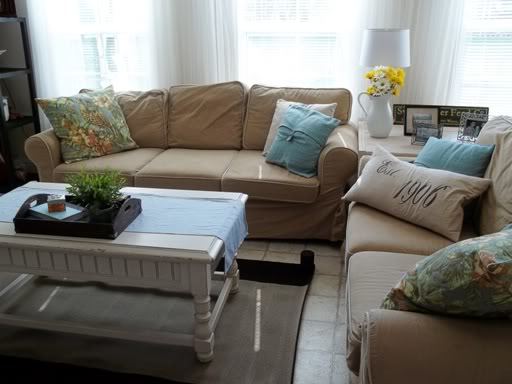
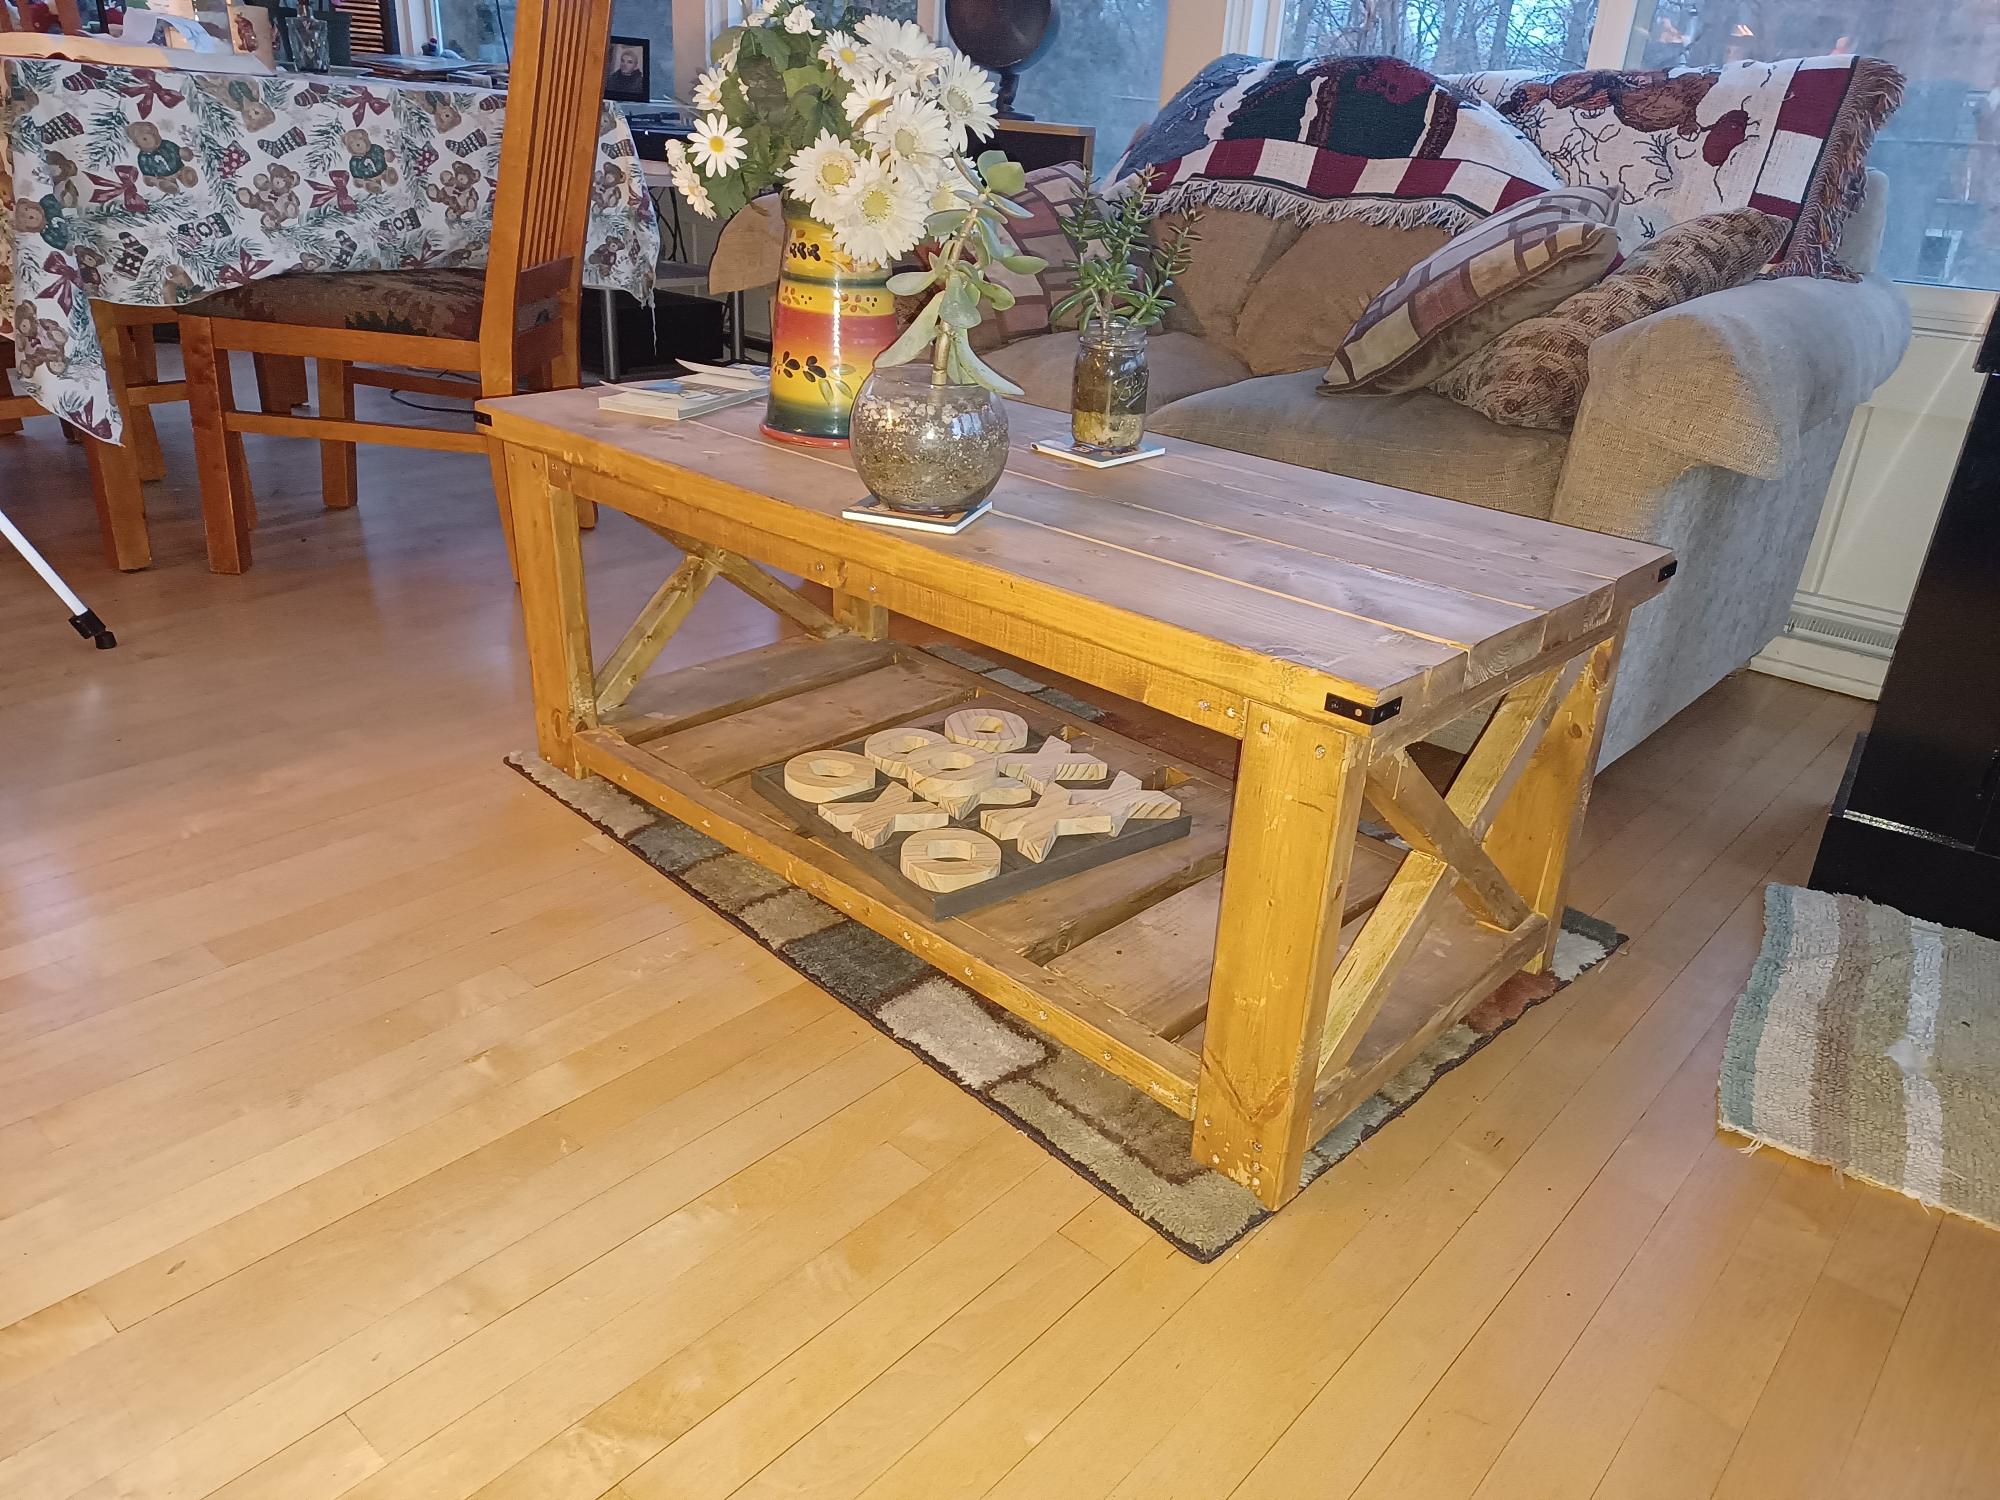
I loved the square modern farmhouse table when I saw it, and knew I wanted to use it as an end table in our living room. I had this really awkward space that my couches created when their corners met. It had been filled by 4 TV trays acting as a larger end table--all I did was cover it with a table cloth to disguise what it really was! ;)
I have a coffee table that is similar looking (with a slated top) so I knew it would compliment it! I may still go back and repaint it to something a little more colorful or to make the white more crisp, but overall I love it!
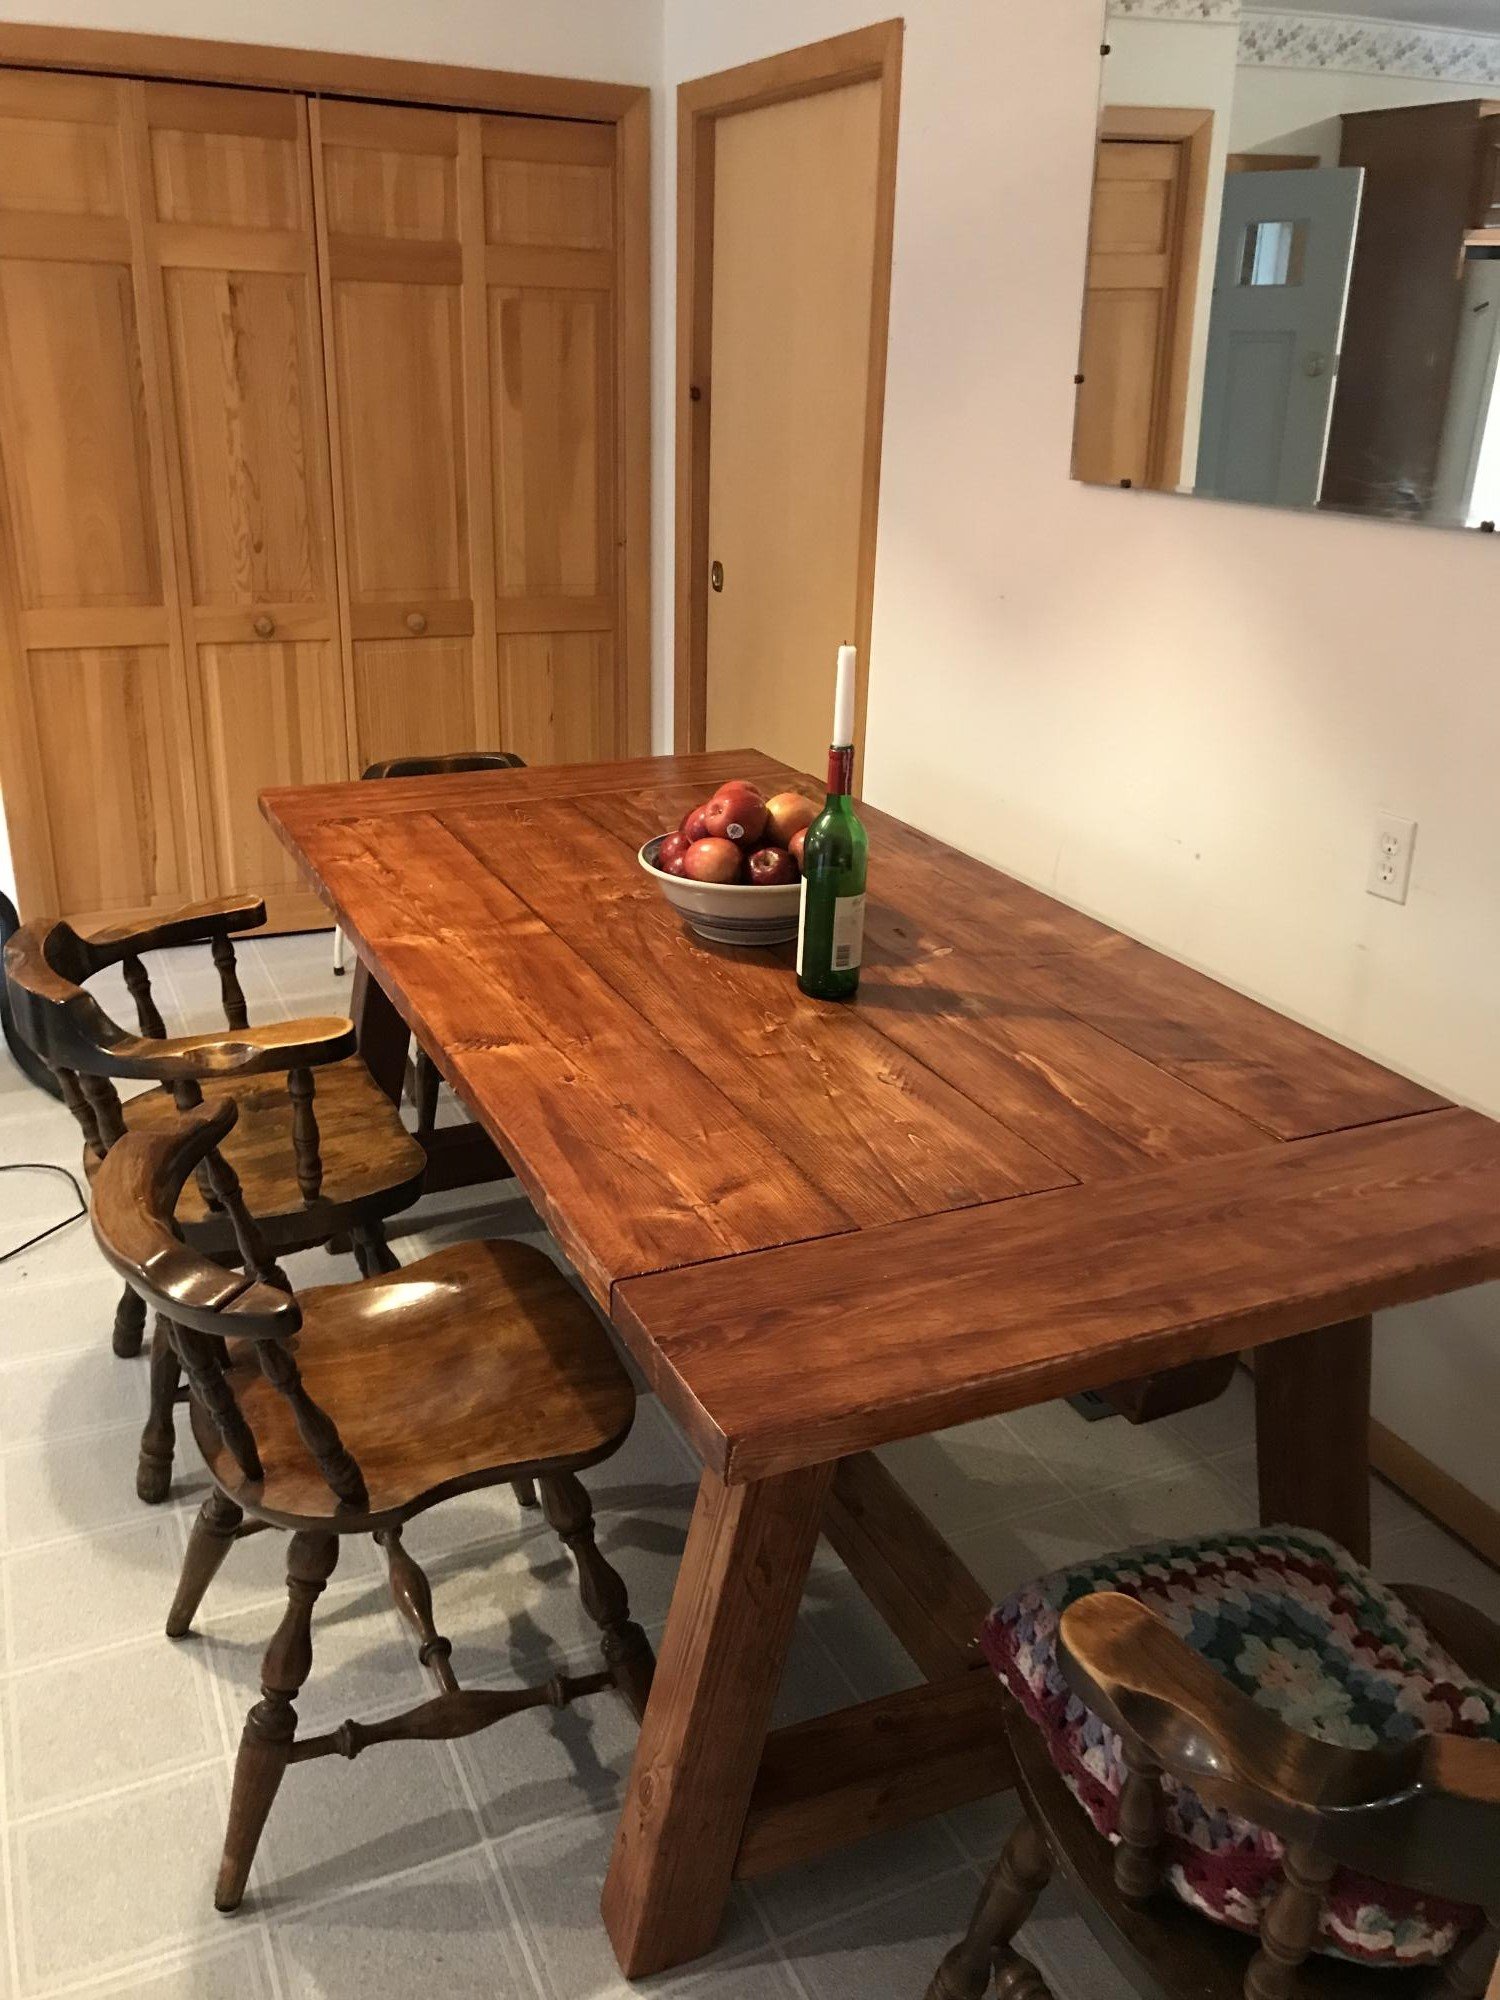
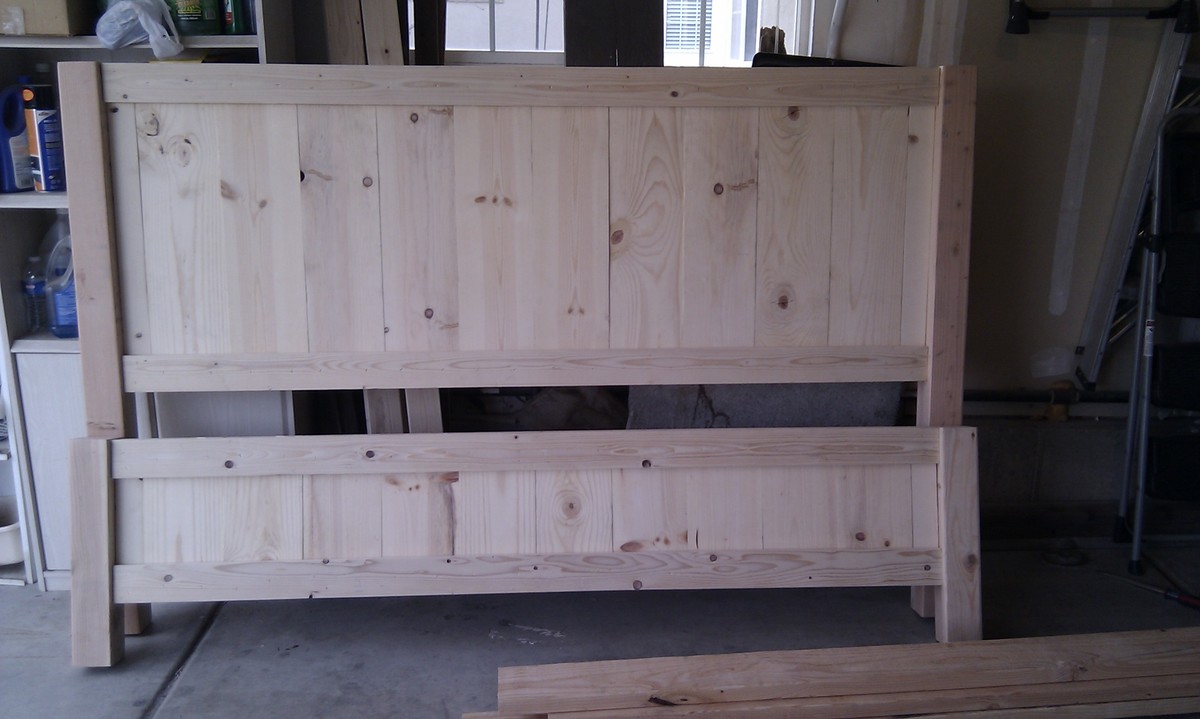
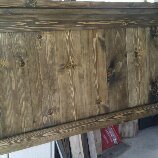
The table is very heavy and sturdy! At the time I built this, I was under the impression our local Home Depot didn't carry pine boards, so I bought Douglas Fir instead (turns out they do carry pine, they just have it in a different section). Definitely increased the cost a bit, but I have no regrets.
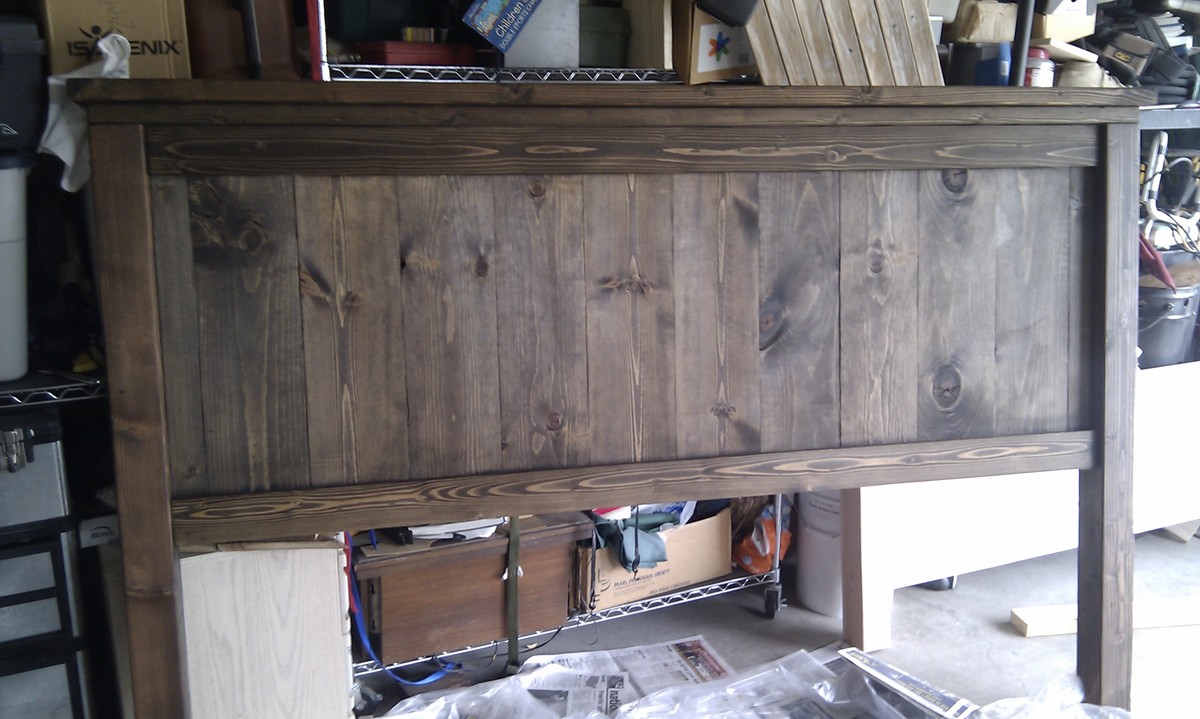
It took me about a week to put together, but I also work outside the home. Had I had a whole weekend to devote to it, I think it would have been done in one or two days.