Community Brag Posts

Freestanding Closet

Submitted by vendo on Fri, 04/08/2022 - 16:44

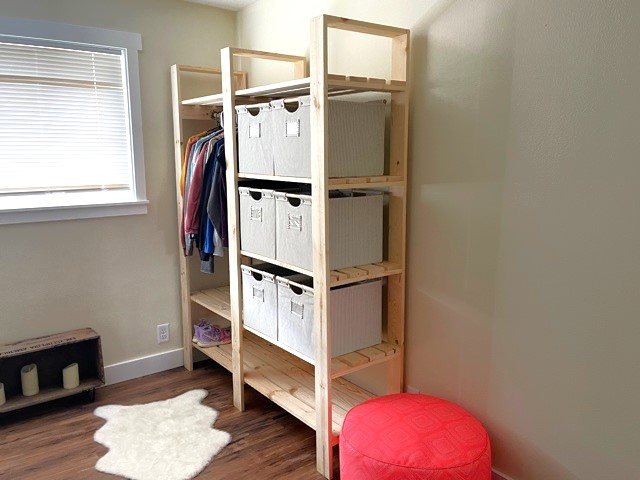
My daughter's room didn't have a closet, so I built one. This only took a couple of hours to build. I found the bins on Amazon and built to fit. It's 60" wide 18" D and 75" tall. I love this plan, it's super easy to modify the size and configuration!

Built from Plan(s)

Mother's Day Gifts

Submitted by kareylynn on Sat, 06/04/2011 - 14:00

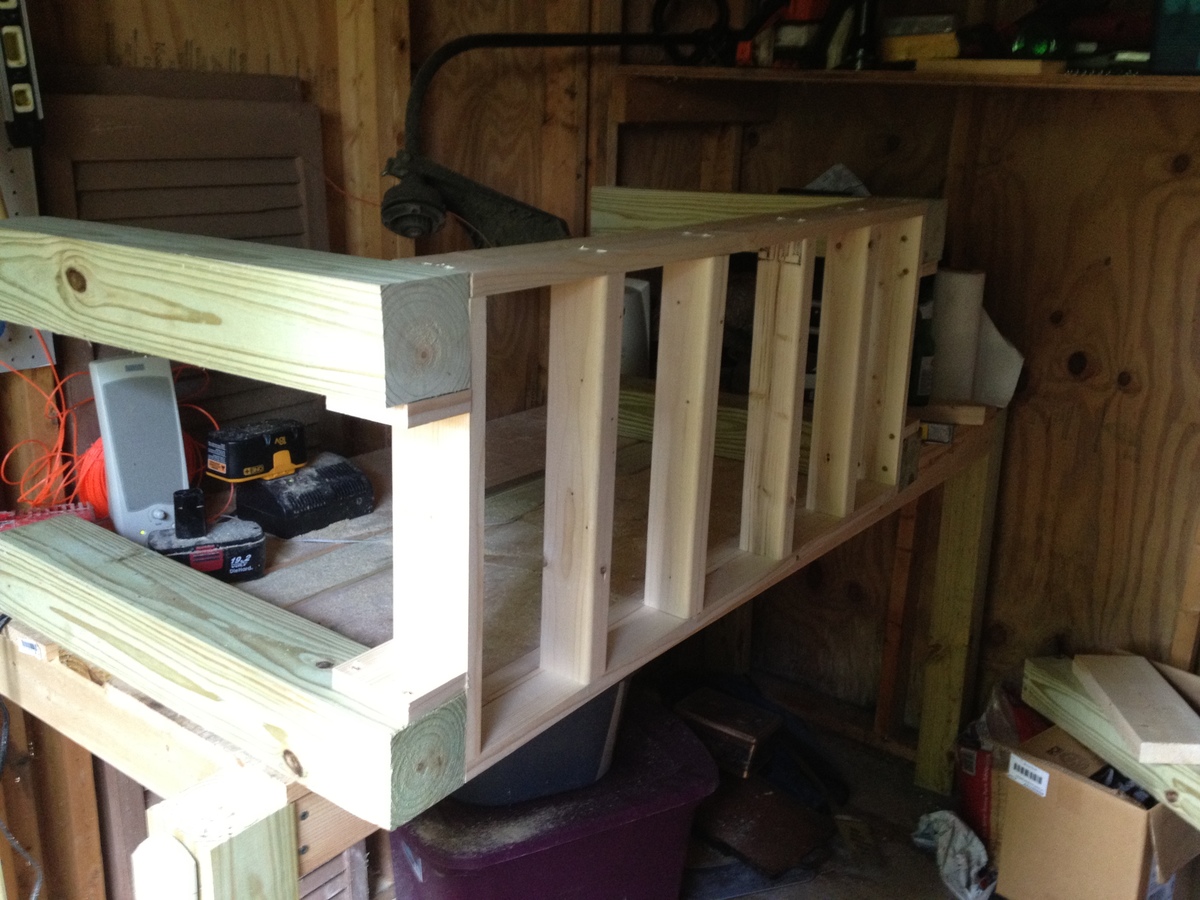
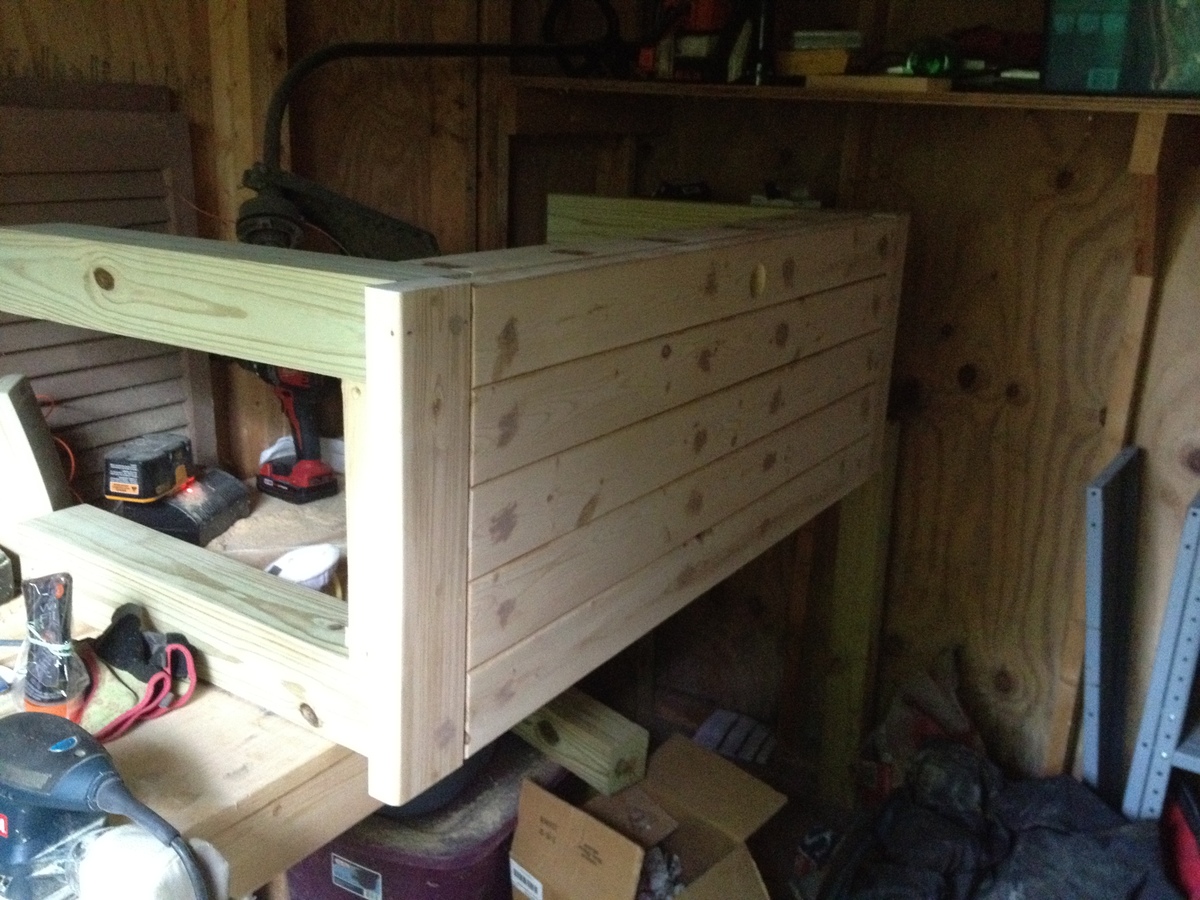
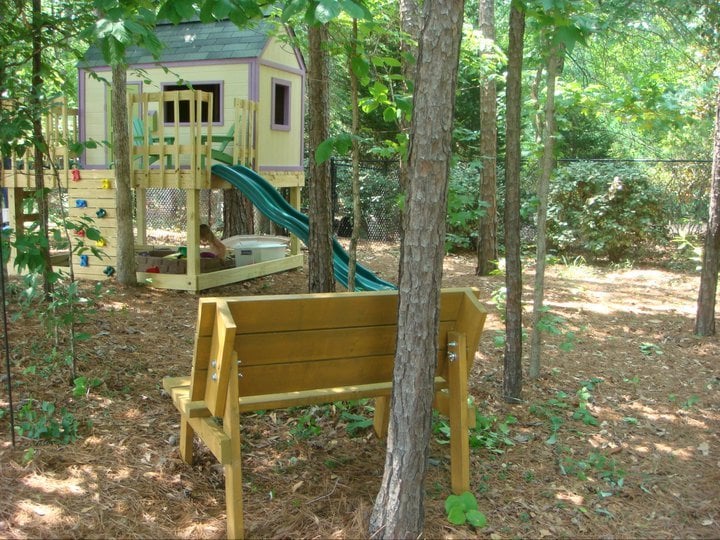
I built two of these benches for under $30 of lumber and supplies. They were great Mother's Day gifts that thrilled my mom and mother-in-law. I will have to upload pics of the other one soon. It's already at the lake house and painted a beautiful barn red.

Estimated Cost
$30 for 2 benches
Estimated Time Investment
Afternoon Project (3-6 Hours)
Finish Used
I painted with yellow semi-gloss paint, then sanded down the edges to "shabby" it up a bit. The second bench was painted with a barn red color and sanded down, too.
Recommended Skill Level
Beginner

First Project - 85% success!

Submitted by OH3 on Mon, 07/22/2013 - 11:07

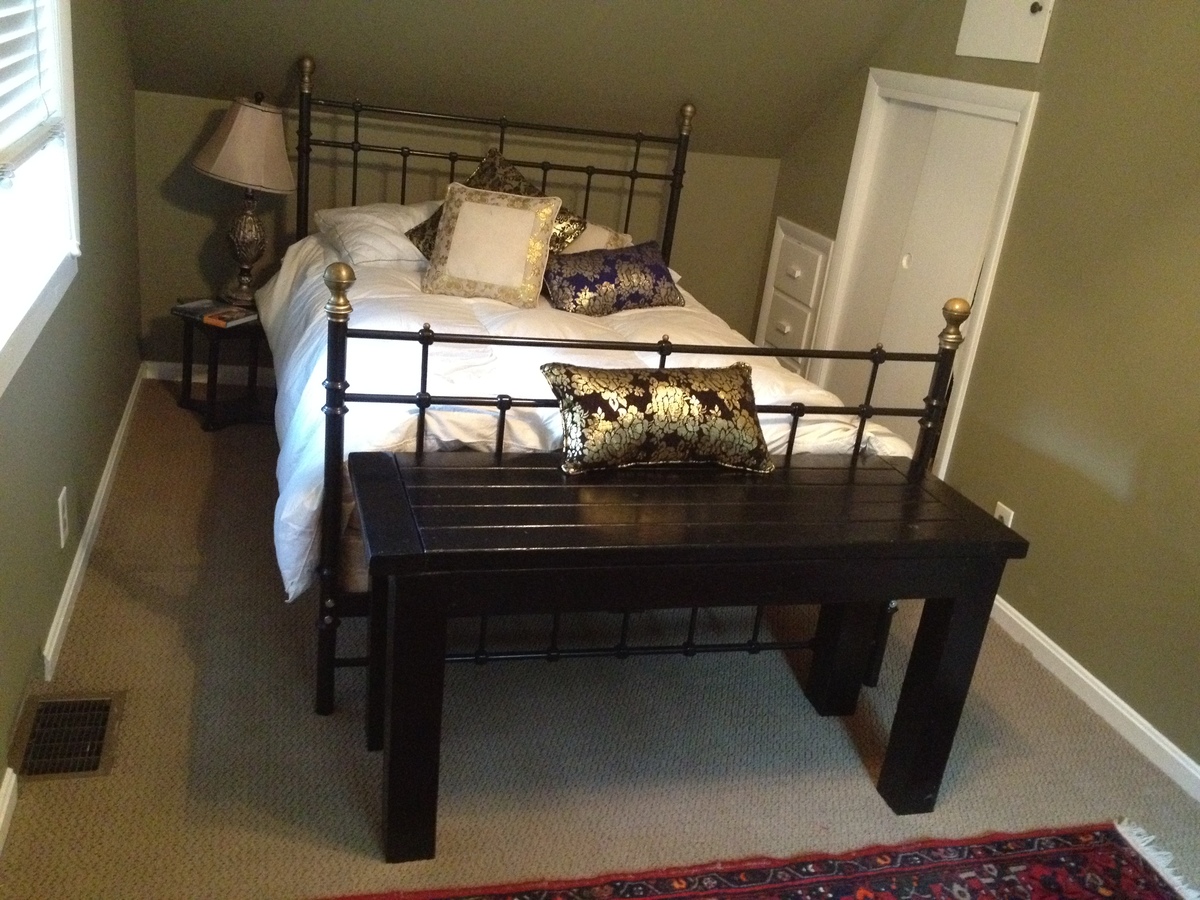
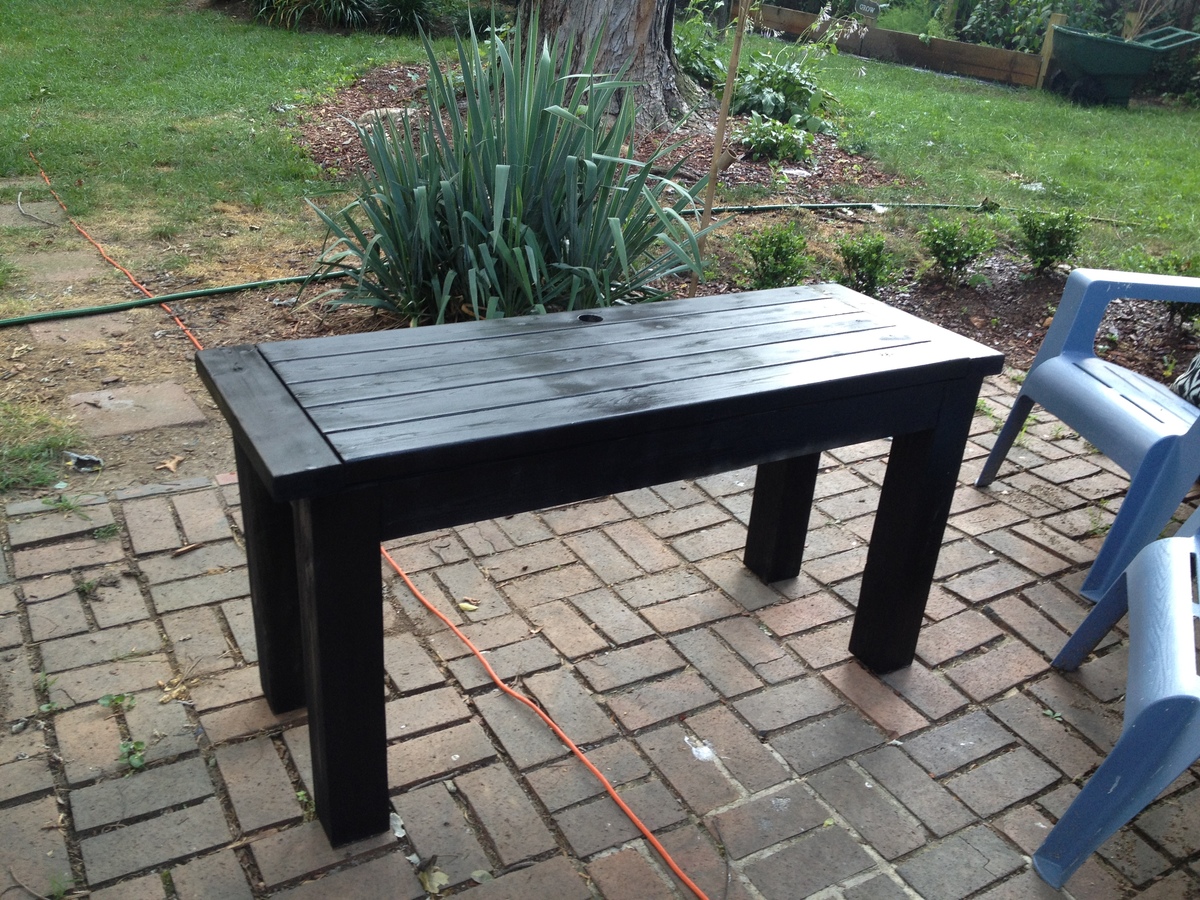
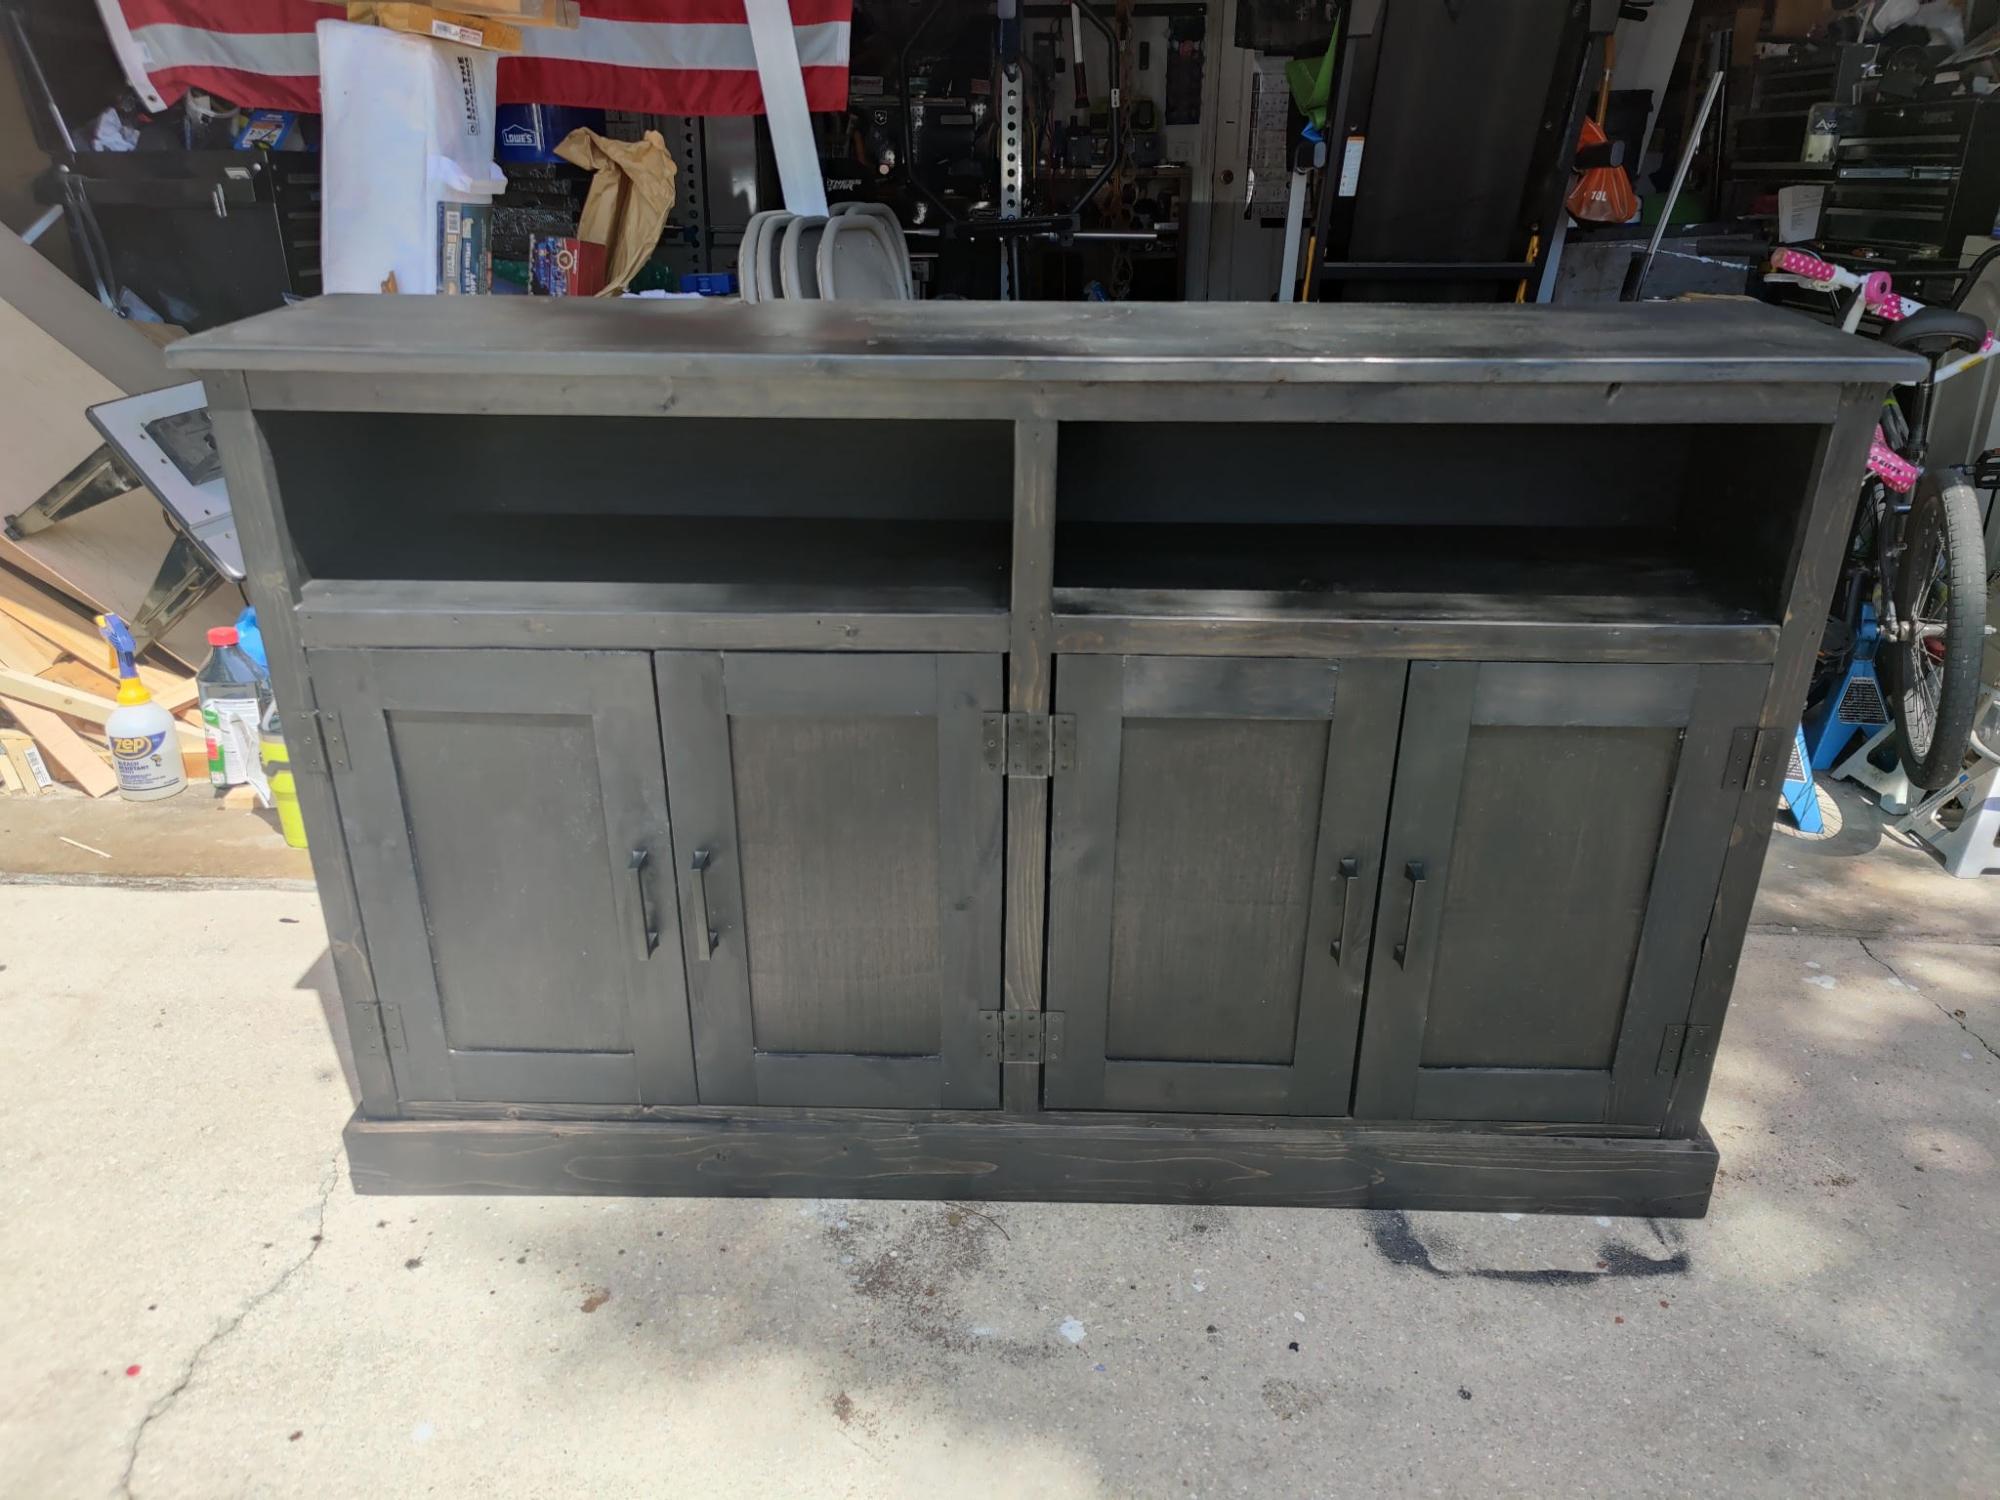
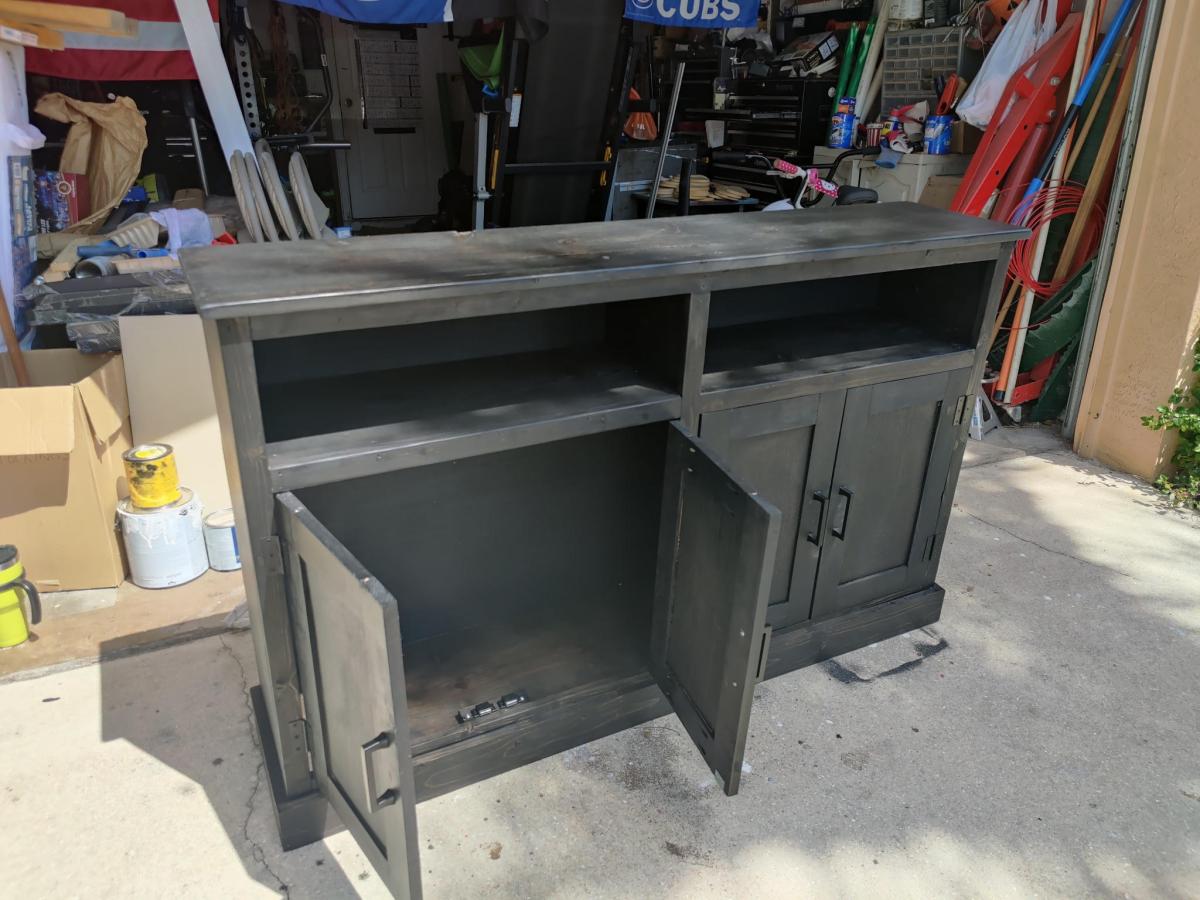
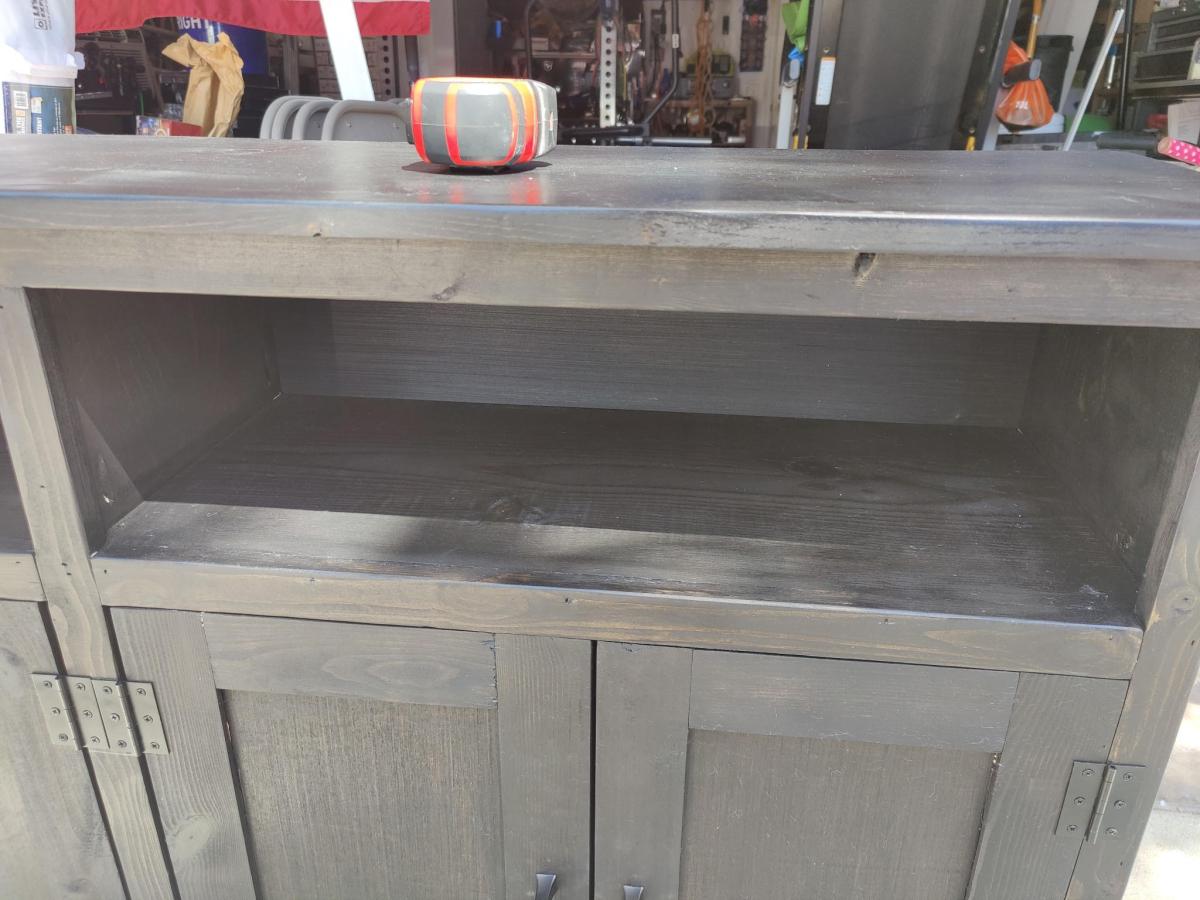
This is my first real project that I took my time on. Actually my first real project ever. I wanted to replace my Ikea console table because it has started to bow (Ikea furniture does not fend well on moves). I modified the measurements and this is now 24" wide 18" tall - same length. Solid piece of furniture. I could not find all the lumber, but I improvised. Since this was my first project, I could not get the boards to match up all too well, and I do not have a chop saw that would cut a 2x6 - when I placed the 2x6 I did not like the look so I swapped it out with 2x4's.

I used Rustoleum black lacquer spray paint. I like how the grain came out, however, it took way too much spray paint. I will consider using black latex paint next time.

I have since applied 2 coats of poly and sanded it down and steel wooled it - and finally a coat of paste wax to preserve it. If I do not like the imperfections, I just might make it an outside patio table.

Thank you so much for these plans, I spend 3 hours at work looking through all the plans on you site. I even have bought the lumber for my next project - an outdoor table (same design) so that I can use it next to the grill as a counter surface and wire baskets.

***UPDATE*** - I finished the table, however it came out 4" less wide than the old table, however I was able to re-purpose it and use it as an end table for one of the guest bedrooms. The table could have come out a little better, I guess I can only get better!

Again thank you!

Built from Plan(s)
Estimated Time Investment
Afternoon Project (3-6 Hours)
Finish Used
Rustoleum Black Lacquer spray
poly-urothene high gloss
Recommended Skill Level
Starter Project

Das Tisch

Submitted by Ahlspiess on Thu, 07/30/2015 - 21:35

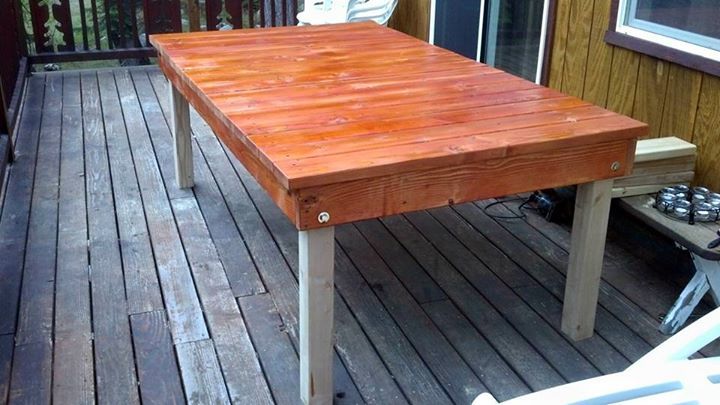
Well saw a project here and inspired me to get my sons elbows away from me, so i built this oversized table, Inspired by a Simple outdoor dining table design.

anna-white.com/print/247

hmm its a bit to high also lol time to build some chairs and or a long tall bench :-)

Thanks Anna 

Estimated Cost
175.00
Estimated Time Investment
Day Project (6-9 Hours)
Recommended Skill Level
Starter Project

Rustic Farmhouse Coffee Table

Submitted by Edziadul on Tue, 02/27/2018 - 04:42

Rustic Farmhouse Coffee Table 

Estimated Cost
$50
Estimated Time Investment
Day Project (6-9 Hours)
Finish Used
Varathane Kona stain 1 coat and Minwax gloss poly 3 coats
Recommended Skill Level
Beginner

Custom Pallet Laundry Basket!!!

Submitted by Anonymous (not verified) on Fri, 04/15/2022 - 15:43

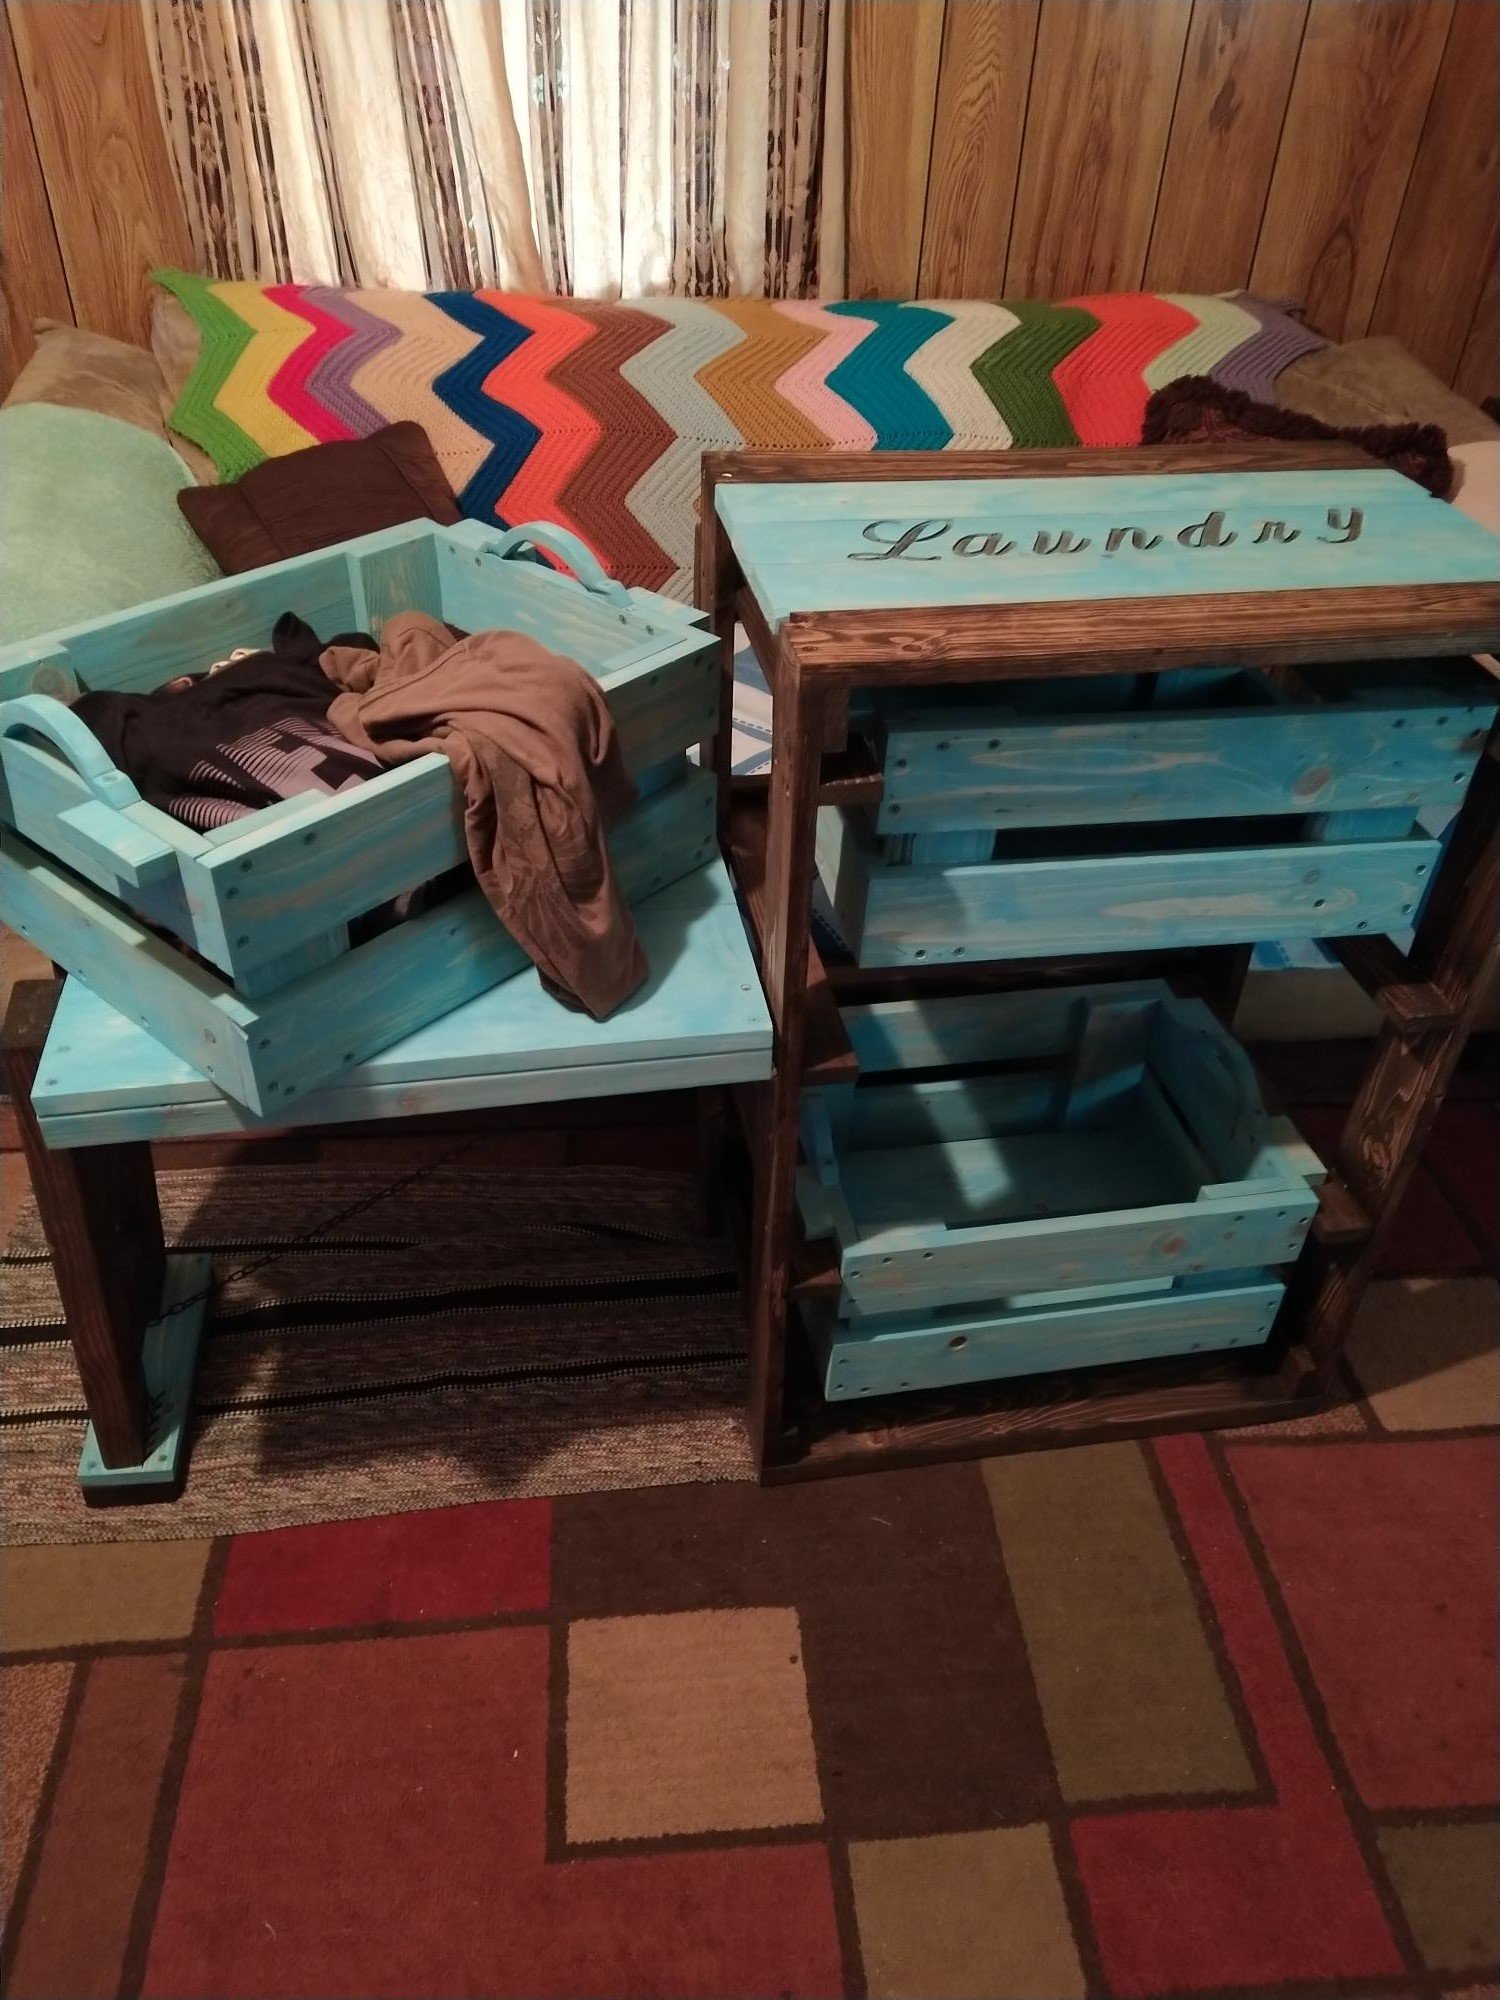
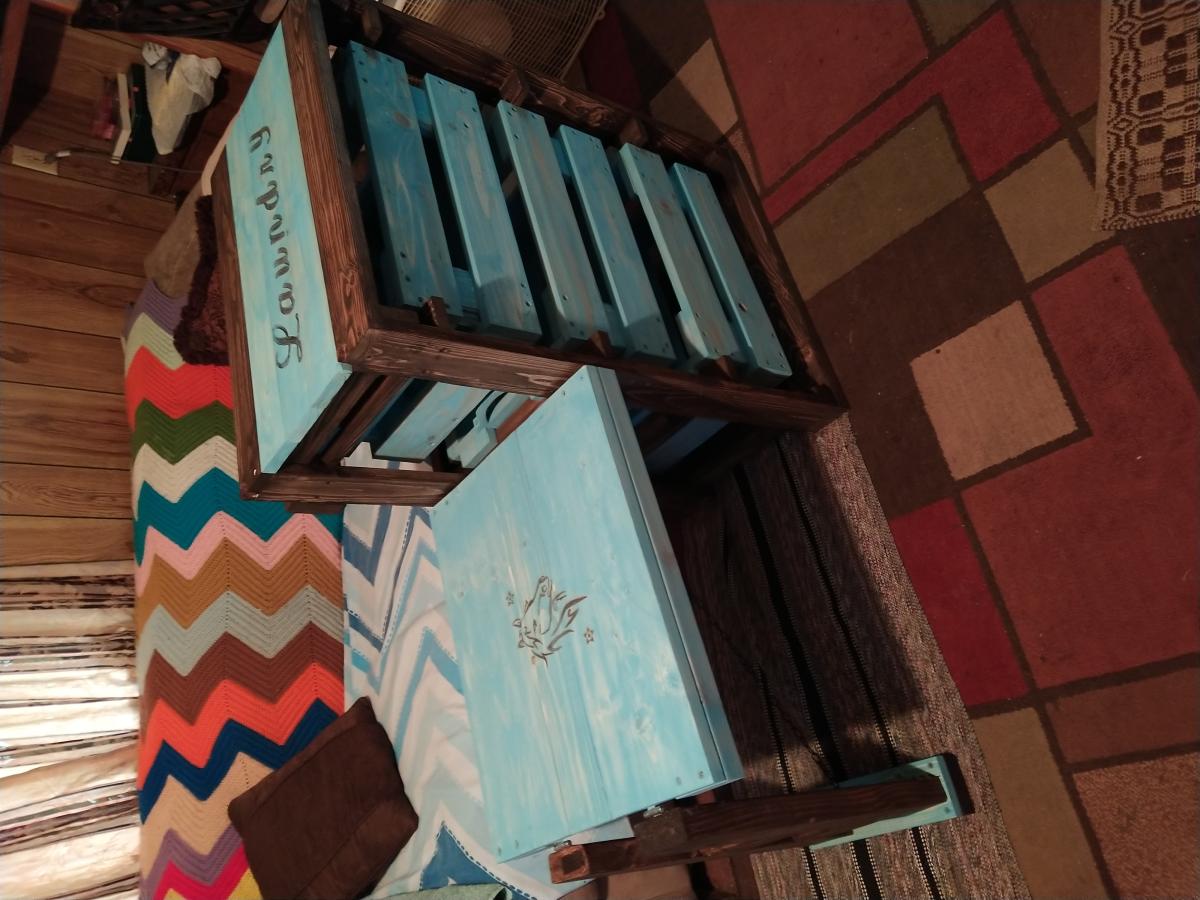
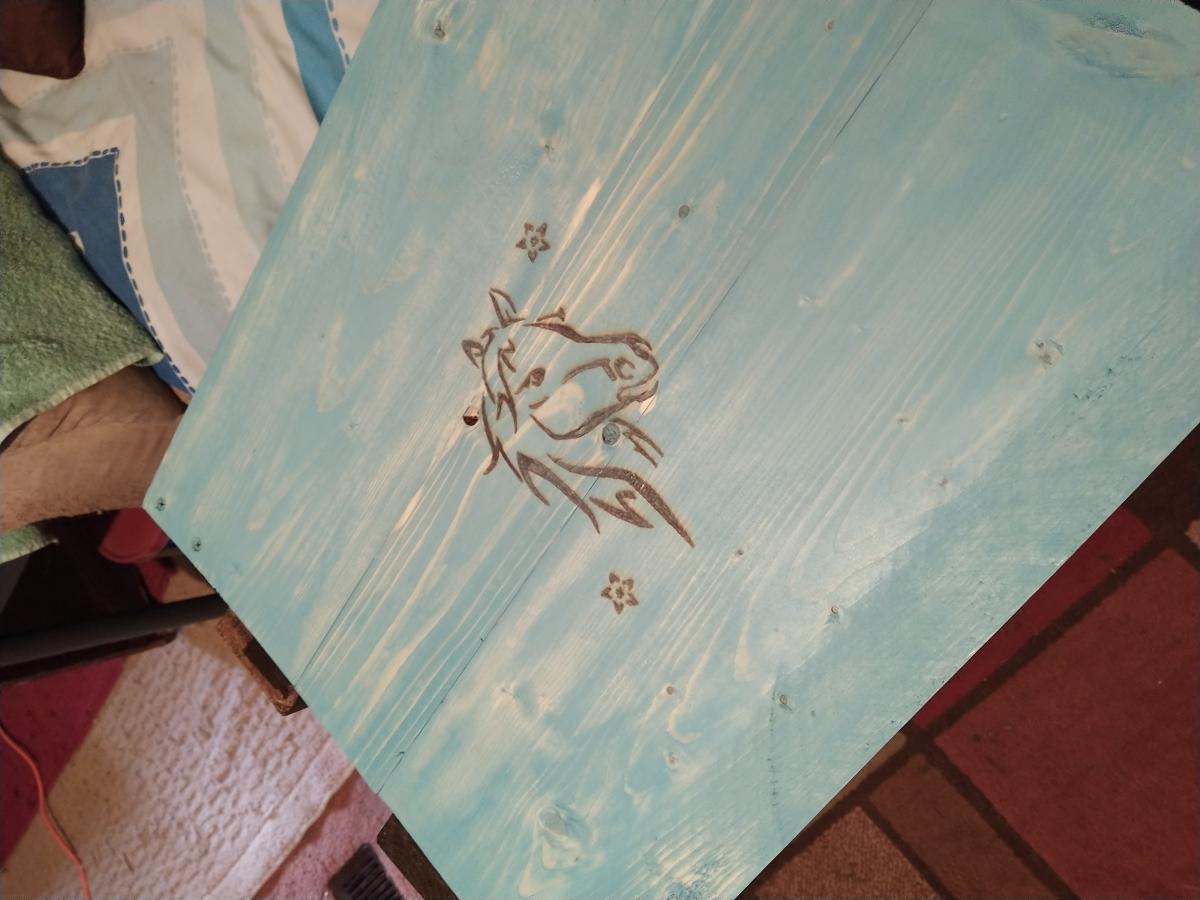
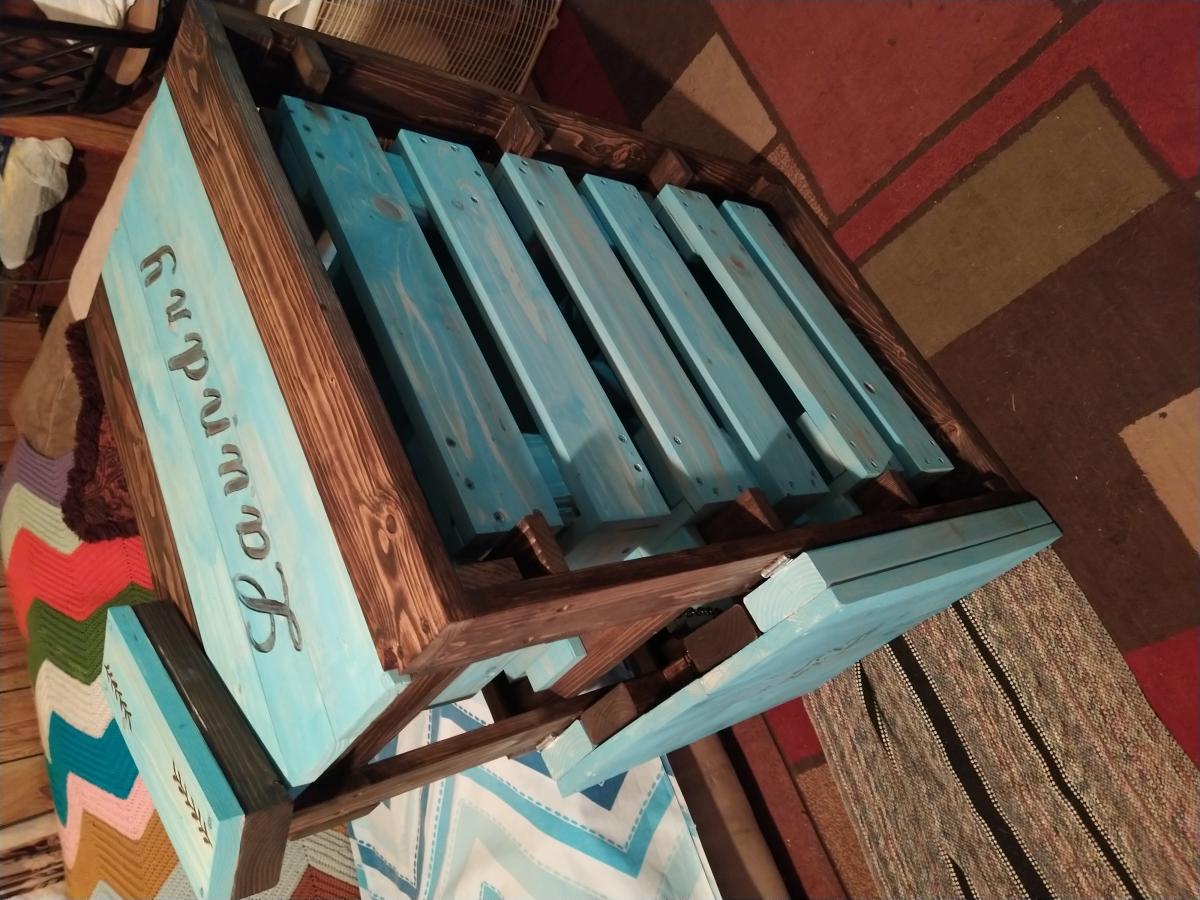
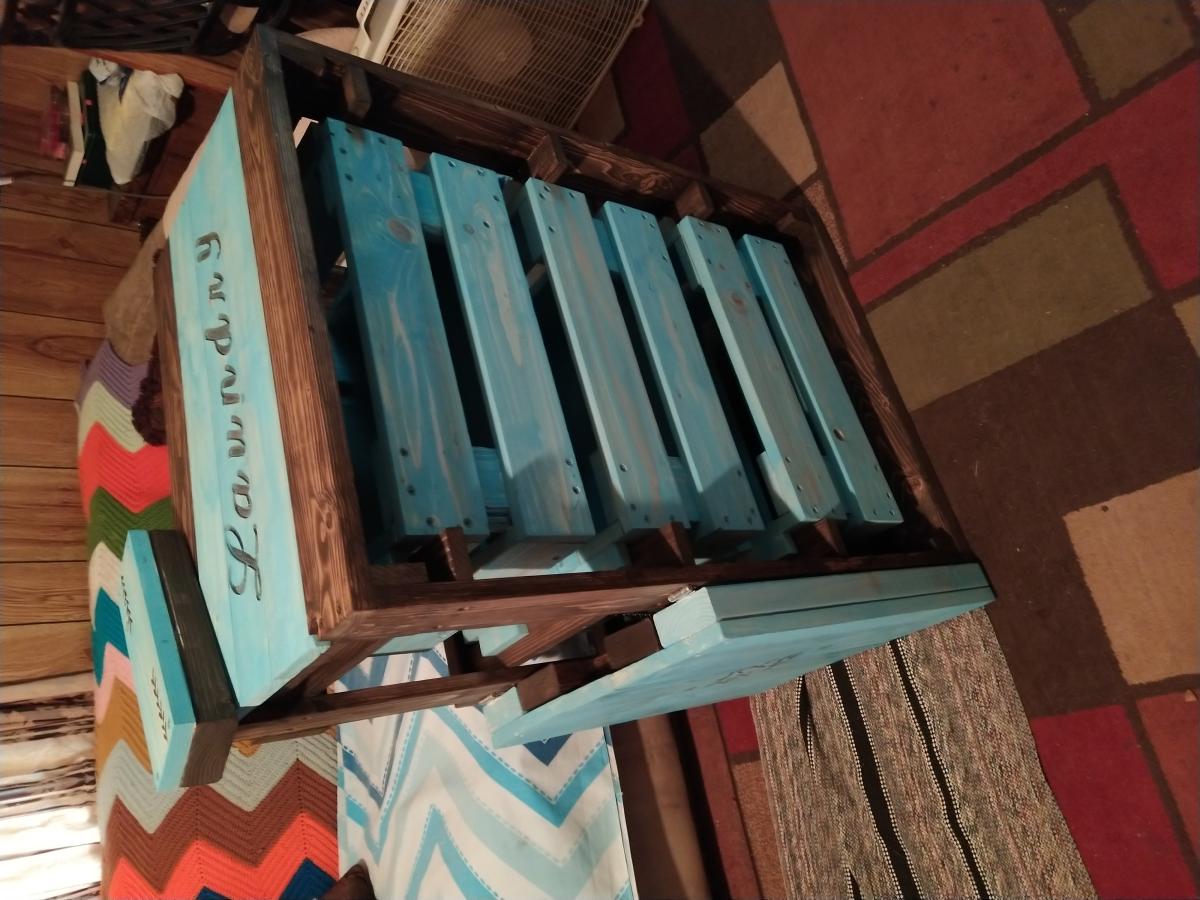
I told the love of my life about how Ana had a really cool laundry basket shelf, and asked her if she wanted one. Of course she said yes, so I made her one! I added a few twists to mine as you can tell, but the actual shelf itself is completely from her design!

Comments

Single Step Stool

Submitted by tatifl on Mon, 06/06/2011 - 14:26

I really loved the inspiration Vintage Step Stool when I saw it but what I really needed was a single step step stool to place in front of the sink vanity in our downstairs bathroom. I have had a cheap plastic Sesame Street one there for the longest time but I hate it because it's so, well, baby-ish! Also, I wanted something that was only 5.5" high so that we could still open the vanity door without the step stool getting in the way and without having to move the step stool first. So, I printed out the plans for the Vintage Step Stool and I played around with it - I drew my version, then drew it again using MS Publisher and printed out a template for the sides. I used a 1 x 8 x 4 to cut the sides and top and a 1 x 2 x 4 to cut three supports. I also splurged and bought a pocket hold jig jr.!! I used a jigsaw to do ALL of my cutting. The completed size is about 9.5"d x 11"w x 5.5"h. This is the first thing that I have ever designed and built myself and I just have to say that I am sooooo proud of myself!! I can't wait to show my dad!

Estimated Cost
$20 (not incl cost of jig)
Estimated Time Investment
An Hour or Two (0-2 Hours)
Finish Used
I used spray paint
Recommended Skill Level
Starter Project

Comments

Frosted Plexiglass Entry Door

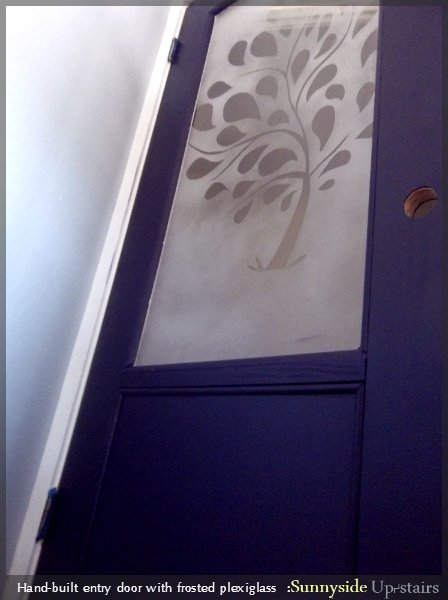
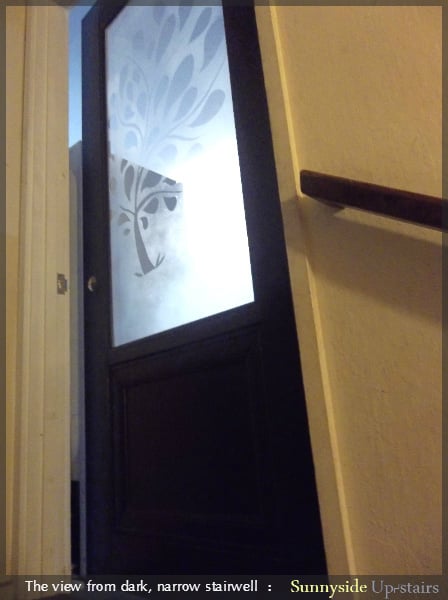
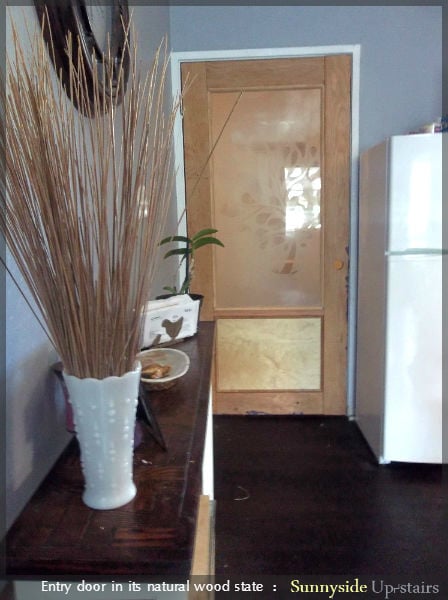
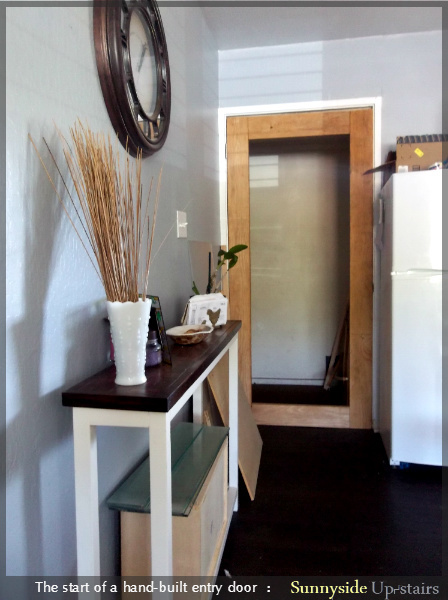
We gutted our above garage apartment a year ago and have been DIYing as much as is reasonable inside. We installed Allure Ultra vinyl flooring throughout, which is thicker than the old, chipping peel and stick vinyl there was previously. Instead of planing the previous termite eaten hollow-core door with heavy, less-than-secure glass jalousies, we decided to build our own entry door.

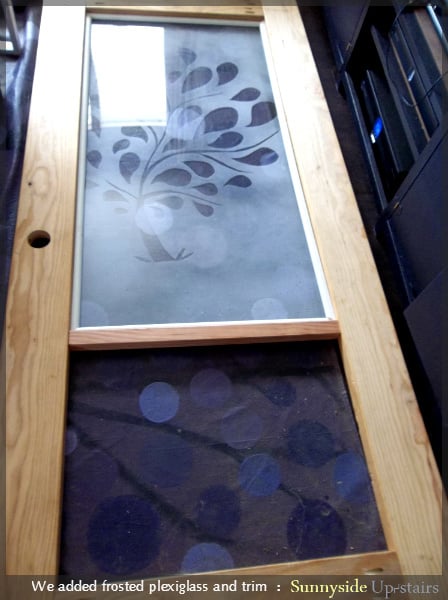
We were able to use orphaned 2x6s in my mom's garage and old trim we saved from gutting our apartment. The choices we made amounted to a total of about $150 for this door, including basic door hardware and $70 plexiglass. The hardest part was spraying the plexiglass, as I'm a rather unsuccessful spray painter.

We appreciate having our custom door, and we hope someone else in need of an entry door is inspired to save money and try one out too!

Estimated Cost
$150, based on our choices and what wood was already owned
Estimated Time Investment
Week Long Project (20 Hours or More)
Finish Used
Olympic semi-gloss latex paint in a deep purple shade.
Recommended Skill Level
Intermediate

Comments

JoanneS

Thu, 07/25/2013 - 16:04

This is gorgeous! You did such a great job on this, love the custom design features you added to this door. It looks classy and expensive. :)

Picket Storage Shed

Submitted by dp38393 on Tue, 08/04/2015 - 05:16

Pretty fun and easy weekend project.  Decided to go with Pine shingles instead of cedar based on availability.  First time roofing, and it is apparent.  We have had many strong storms since, and it is waterproof - so at least I have that going for me! 

Overall, I am very happy with this shed, and I should have taken pictures of the inside.  I have two 5 level shelves on the side walls, and a garden tool rack on the back wall.  I have been able to clear a lot of space in my garage thanks to this shed.  

Also, the beer bottle opener and cap catcher were a must for me when I work in the yard!

The plans are excellent!  Don't hesitate to build this shed if you need it!


Built from Plan(s)
Estimated Cost
$250 (originally $300+, but I returned the Kreg Jig when I realized I could get by without it).
Estimated Time Investment
Weekend Project (10-20 Hours)
Finish Used
Cabot Cedar Stain, and gloss white trim.
Recommended Skill Level
Intermediate

Half Moon Baby Cradle

Submitted by Rkh81989 on Mon, 03/05/2018 - 06:49

Built by Keith Hunt from pallet boards

Recommended Skill Level
Intermediate

Comments

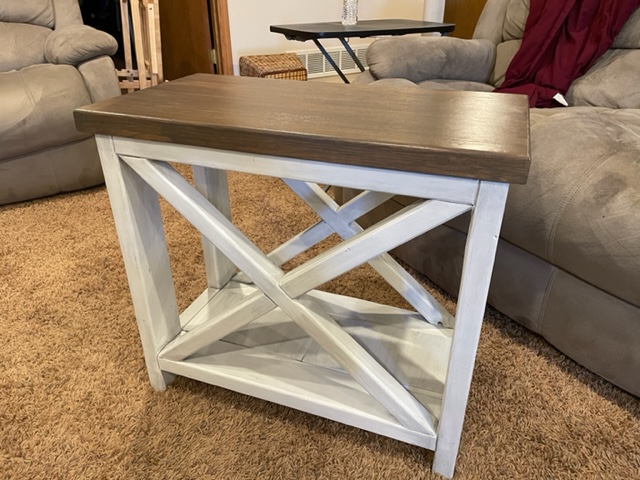
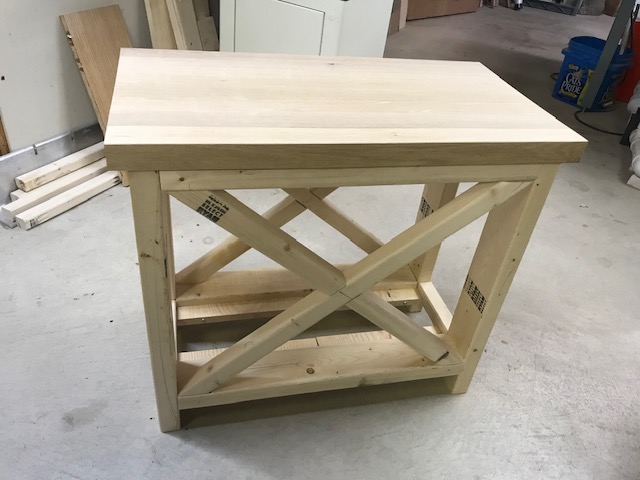
Rustic "X" endtables-reimagined!

Submitted by hurdle1464 on Thu, 04/21/2022 - 13:00

I loved these end tables, but they were too big for what I needed. I made one table to be 20" x26" and two others that were both 13"x26". We modified the top of the table by using quarter-sawn oak that had been sitting in the basement for years. We squared the boards, glued and biscuited them together and planed them to create a beautiful butcher block top. I am so happy with the way they turned out and they fit perfectly in my space. I learned a lot and the time spent with my Dad to create them is priceless!

Built from Plan(s)

Comments

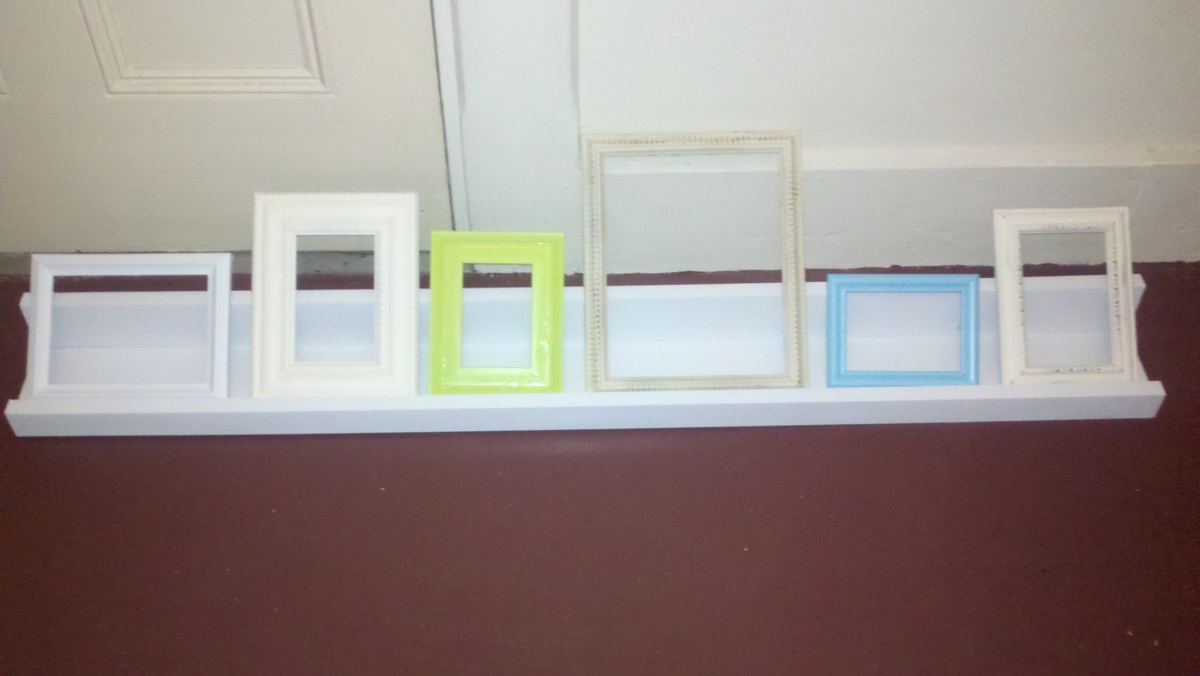
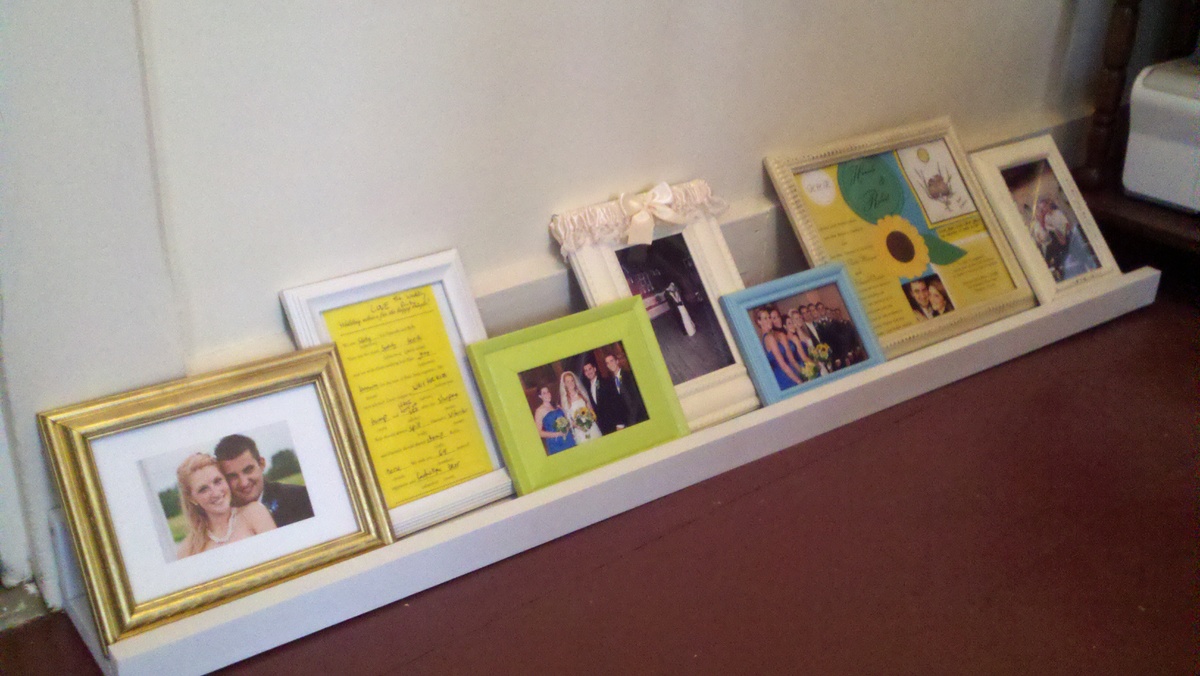
Ten Dollar Ledges

Submitted by hannahclou on Sat, 06/11/2011 - 15:39

After moving into my new house, I found this great blog and began dreaming of building furniture! I am finally trying it out. Since I didn't know the first thing about power tools and wood-working I wanted to start simple. I bought some 48" pieces of 1x4 and 1x2 in pine, spray painted some old frames and used some of my wedding pictures/momentos and voila...my first project was done! I will be making many more of these easy and pretty shelves! Now to find a wall to put them on.

Built from Plan(s)
Estimated Cost
$5.00
Estimated Time Investment
An Hour or Two (0-2 Hours)
Finish Used
High Gloss White Paint
Recommended Skill Level
Starter Project

Dress up center

Submitted by jbaibak on Fri, 07/26/2013 - 18:01

I followed the plans for the dress-up center. My daughter loves it and picked out the paint color and princess decals to decorate it.

Estimated Cost
$120, my husband bought the expensive wood
Estimated Time Investment
Day Project (6-9 Hours)
Finish Used
Behr Interior Paint & Primer, Satin finish, Pink Chintz
Recommended Skill Level
Beginner

Starting with a used drop leaf cherry cocktail table

This plan inspired me to buy a used drop leaf cherry cocktail table and make the storage bottom with wheels.  The oval deisgn of the cocktail table helped it fit in my daughter's small apartment kitchen, which is a pass through to the bedroom.  She also really needed the additional storage space.  Thanks so much!

Built from Plan(s)
Estimated Cost
$60. $40 for the cocktail table. We also had some scraps we used.
Estimated Time Investment
Day Project (6-9 Hours)
Finish Used
Black paint for bottom, polyurethane on the cherry top.
Recommended Skill Level
Intermediate

Simple stools

Submitted by Glynn6153 on Tue, 03/06/2018 - 16:30

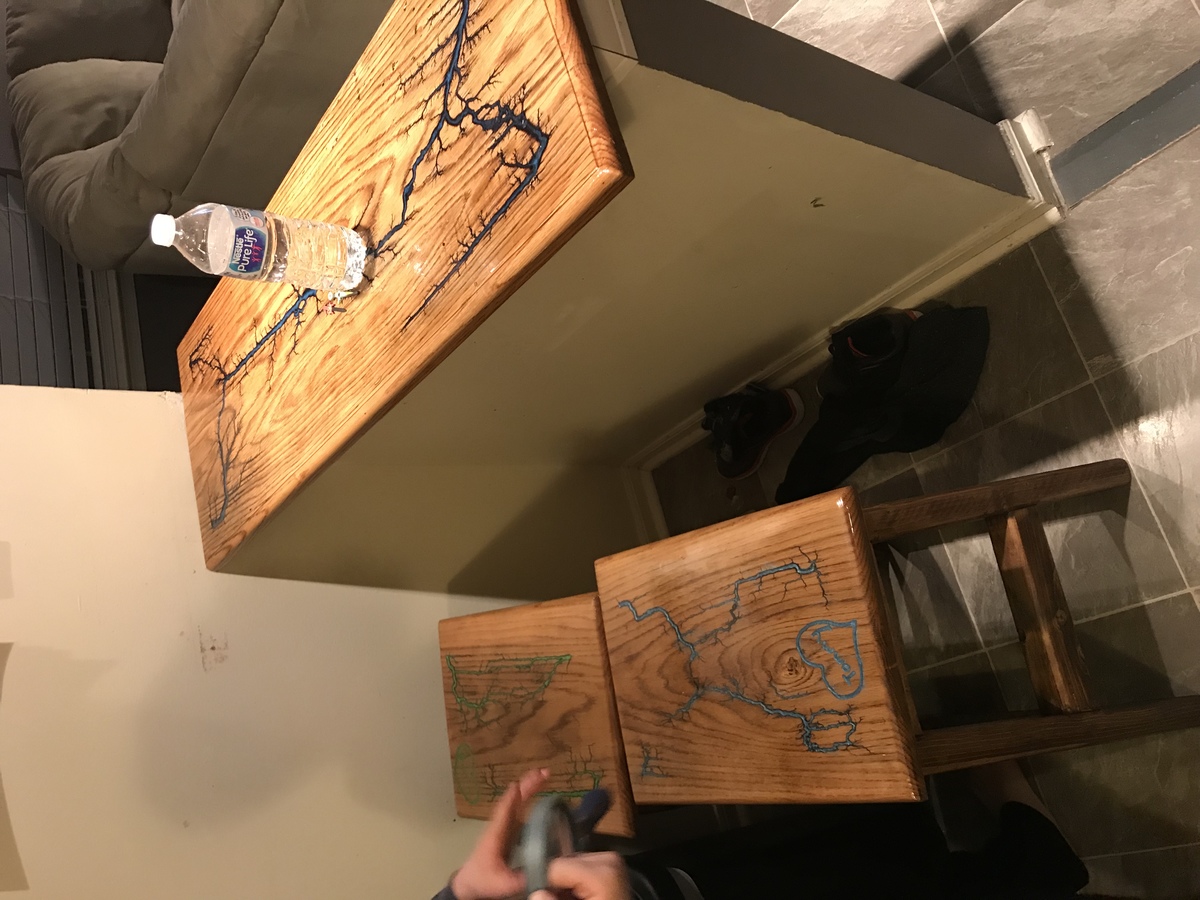
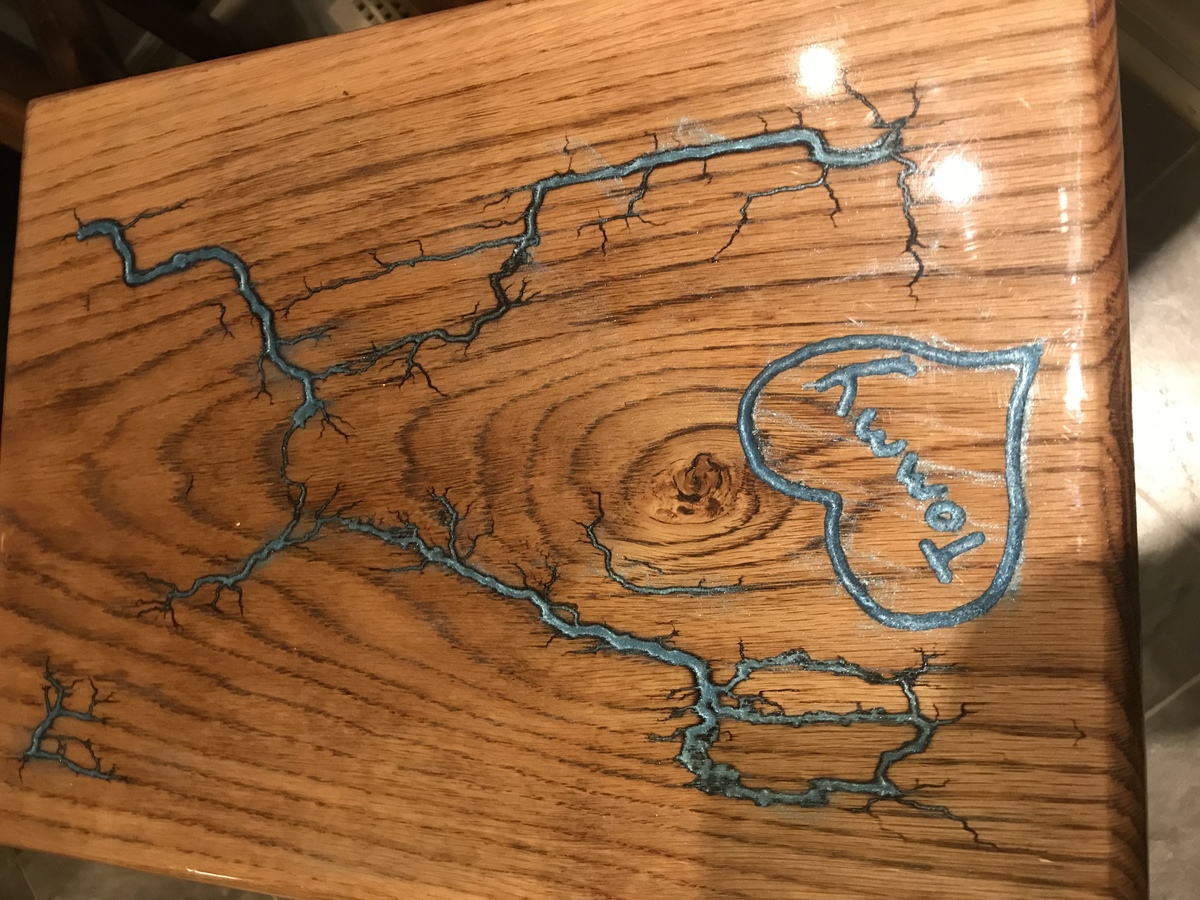
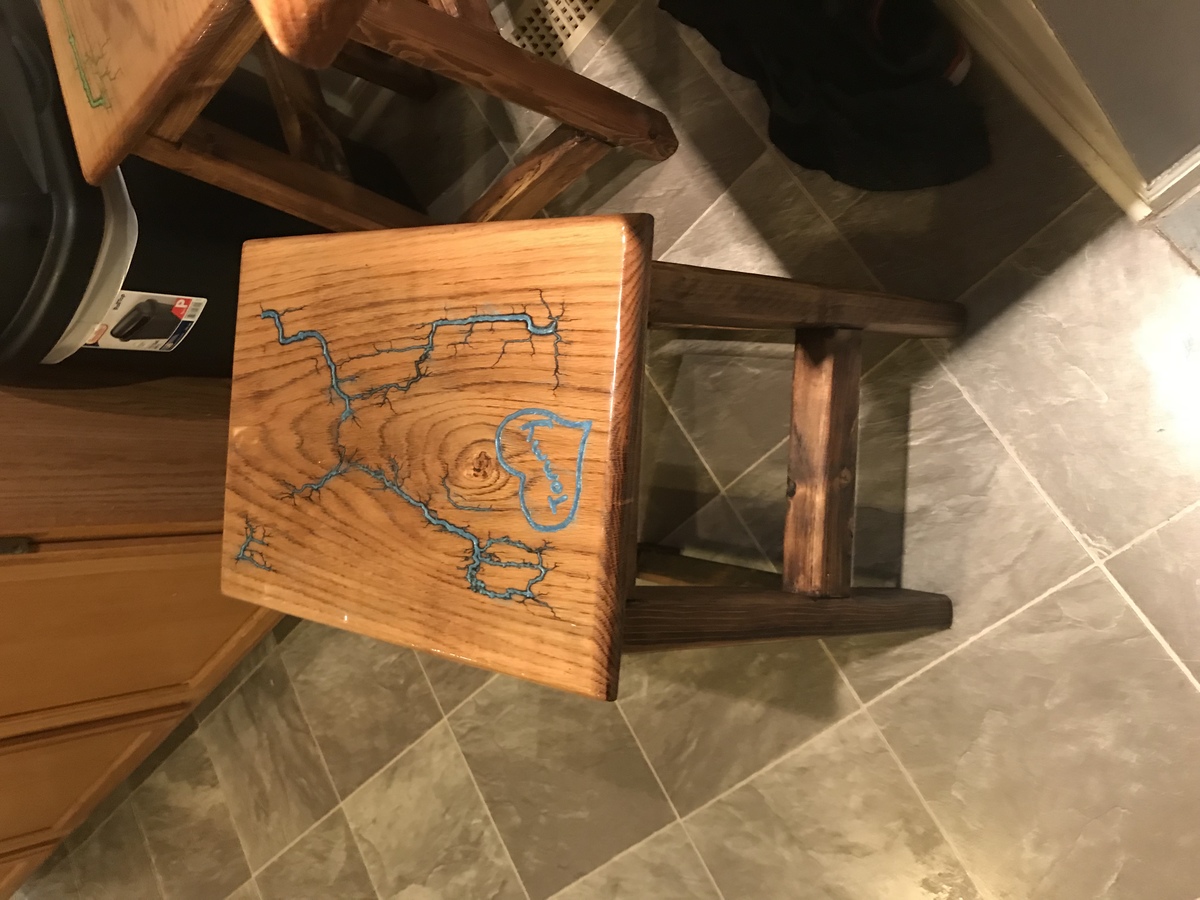
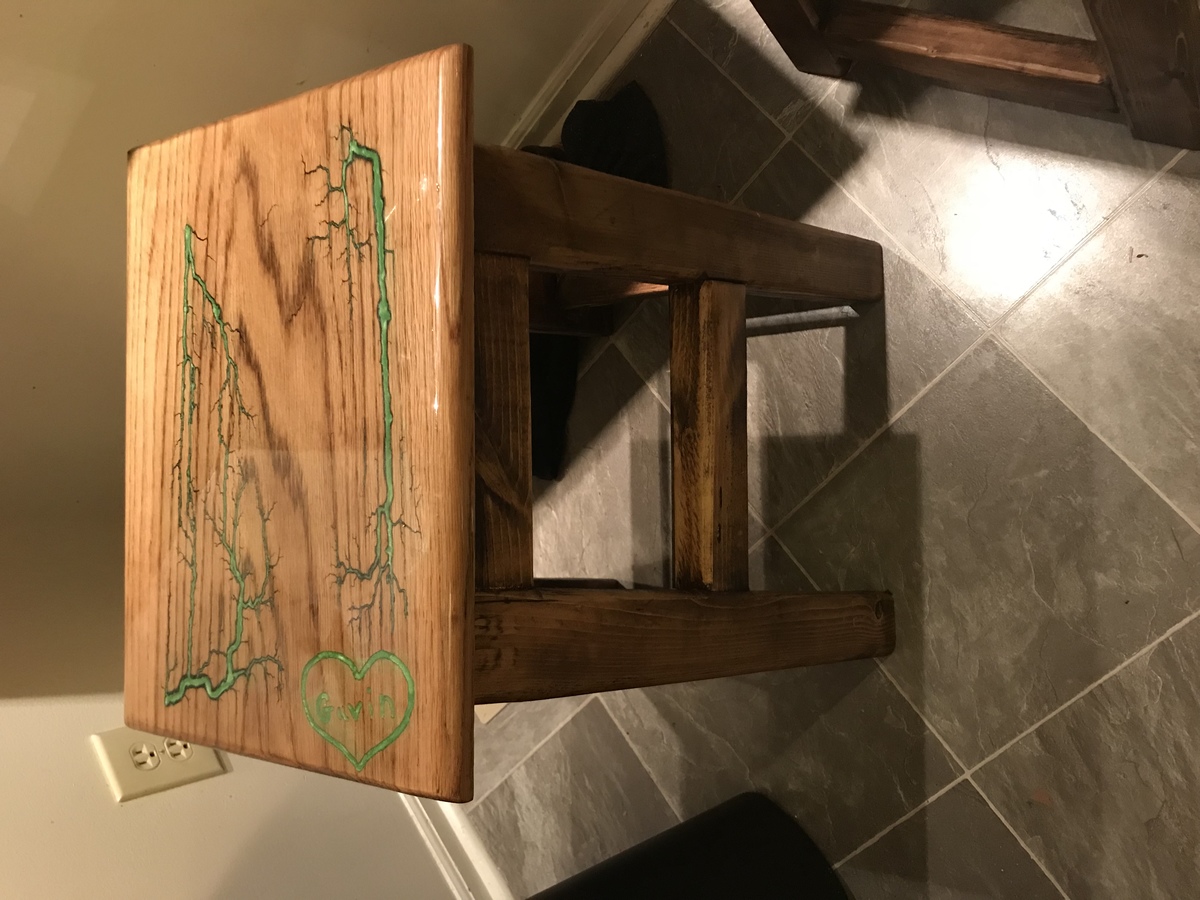
Thank you for the basic stool design. I’m new to wood working and have been using you website for the last two years. I built these stools using 2by3’s and an oak top. And the lichtenberg figures filled with color resin is my specialty. I completed the tops of stools with clear  table top resin.

Estimated Time Investment
Weekend Project (10-20 Hours)
Finish Used
Provincial stain
Polyurethane
Table top resin
Recommended Skill Level
Intermediate

Easy Rustic Console Turned Shabby Chic Vanity

Submitted by cbeach1717 on Mon, 06/13/2011 - 20:32

Why not build this tiny table? It will only set you back about $20! It takes about 10 minutes to build! And the plans are extremely flexible--not to mention forgiving!

But I knew that rustic was not the way to go for my new guest room. I needed something a little more feminine--french-inspired, EVEN! So I decided to stain it ebony and paint over in a satin white. The result was great!

Estimated Cost
$20
Estimated Time Investment
An Hour or Two (0-2 Hours)
Finish Used
Ebony stain, white satin paint
Recommended Skill Level
Starter Project

Salvaged Wood Planter

Submitted by JoA on Tue, 07/30/2013 - 02:49

I built a planter box from salvaged wood all by myself in a morning. While the project was a little more involved than I had expected it really encouraged me to keep trying to build new things.

Built from Plan(s)
Estimated Cost
FREE
Estimated Time Investment
Afternoon Project (3-6 Hours)
Finish Used
Natural; unfinished
Recommended Skill Level
Beginner

Comments

Farmhouse table + bench + extensions

Submitted by Mikethier on Thu, 08/13/2015 - 06:20

My wife saw the farmhouse table and wanted me to build it so bad, that she sold our current dining table the next day! Looks like we had to do it! Just love this table and the plans were so easy to follow. We modified the legs and a few other things, but all in all we are so happy with the results. This is only my third build, so im learning as I go, but we couldnt be mroe happy with the results! 

Estimated Cost
$450
Estimated Time Investment
Weekend Project (10-20 Hours)
Finish Used
Table and bench tops -Minwax wood finish in dark walnut, sealed with Minwax Helmsman Spar Urethane, Table and Bench bases- Minwax wood finish dark walnut, painted over with latex antique white paint and distressed by sanding, finished with Polycrylic satin finish.
Recommended Skill Level
Beginner

Comments

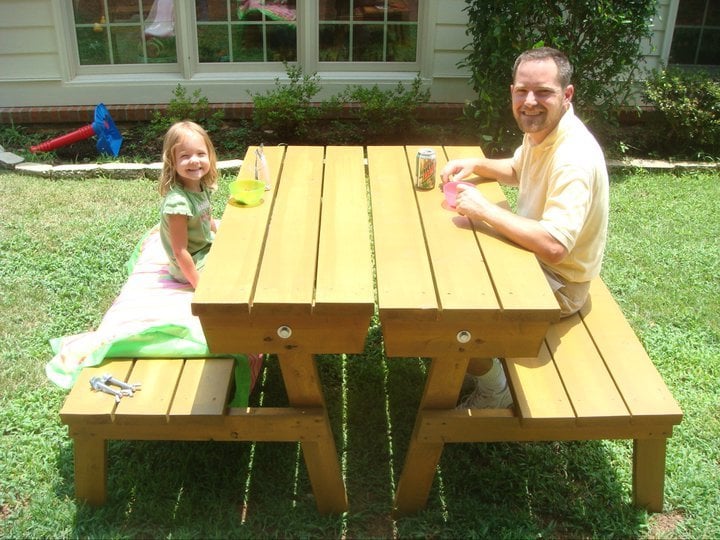
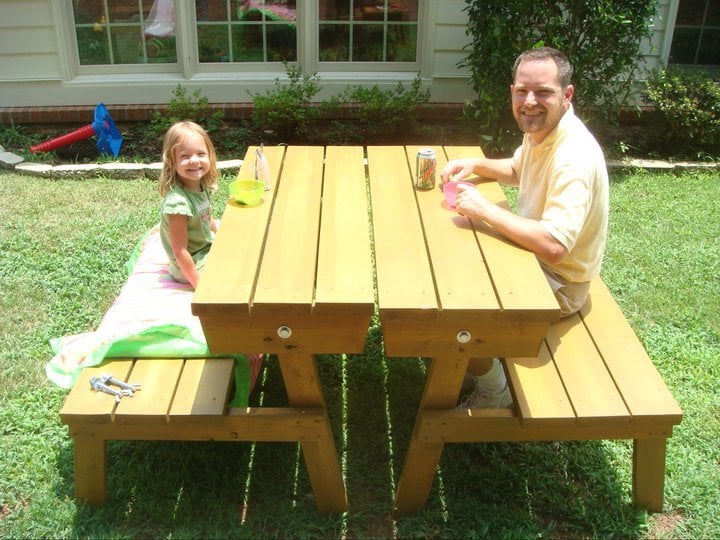
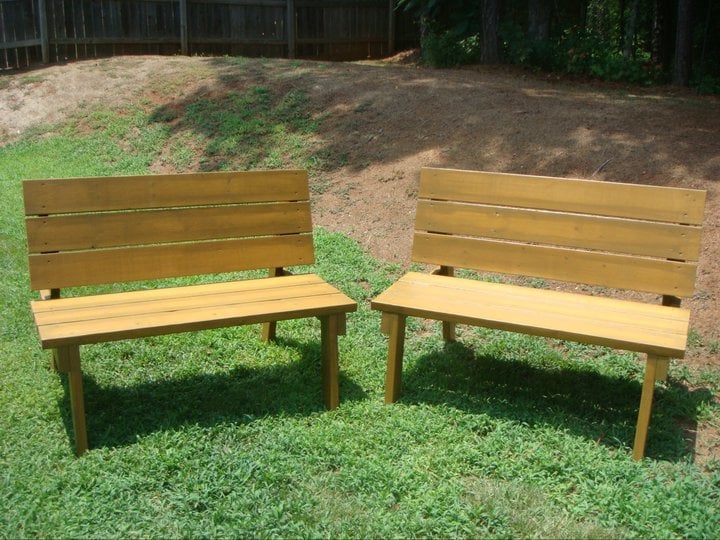
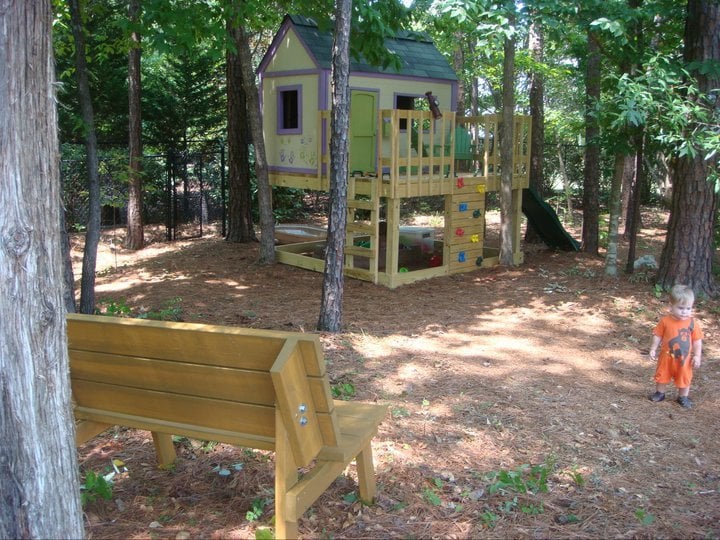
Convertable Picnic Table

Submitted by docfin02 on Fri, 06/17/2011 - 09:59

I love these benches/table. They were easy to make and are comfortable to sit in.

Estimated Cost
$60 for wood and hardware, $60 for stain and stain supplies
Estimated Time Investment
Day Project (6-9 Hours)
Finish Used
Stain
Recommended Skill Level
Beginner

Comments

docfin02

Fri, 09/09/2011 - 10:04

There should be a link at the top of this page. Under "About This Project" it says "From Plan: Picnic Table that Converts to Benches" and the "Picnic Table that Converts to Benches" is the link.