Community Brag Posts

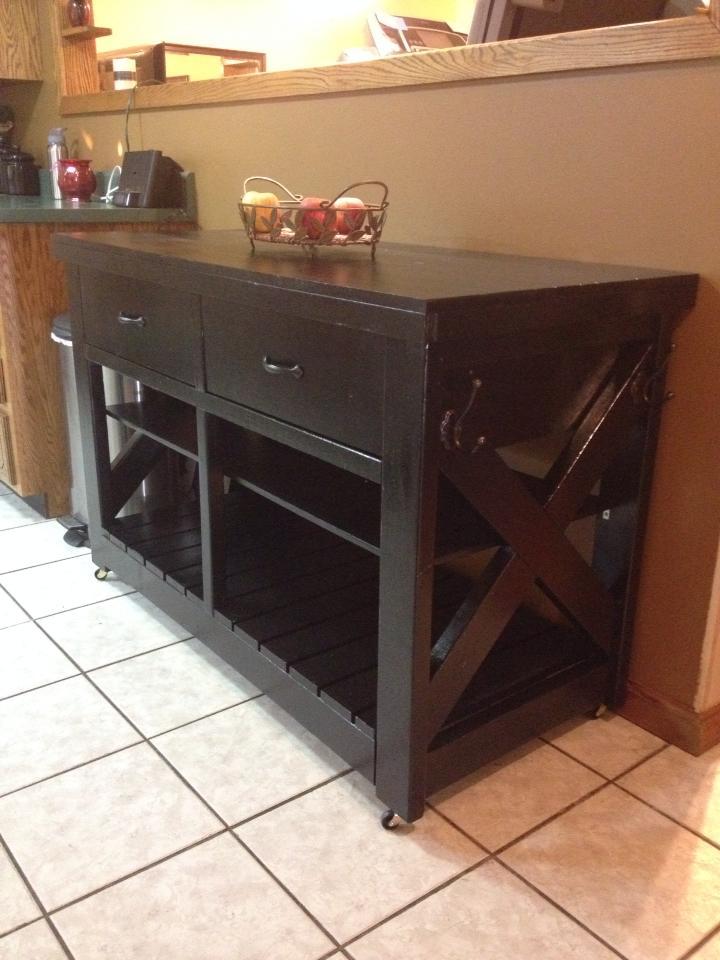
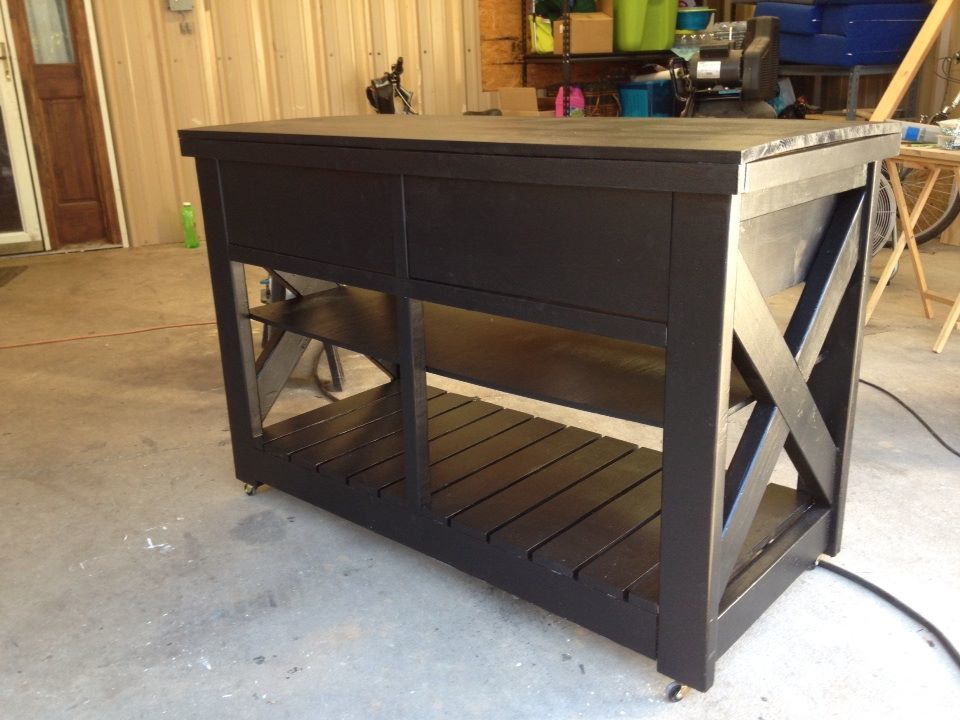
Rustic X Kitchen Island - Double

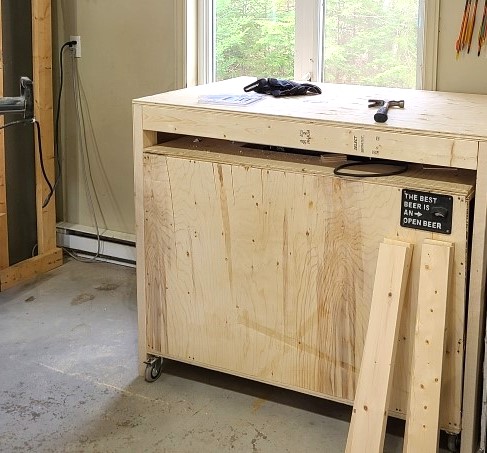
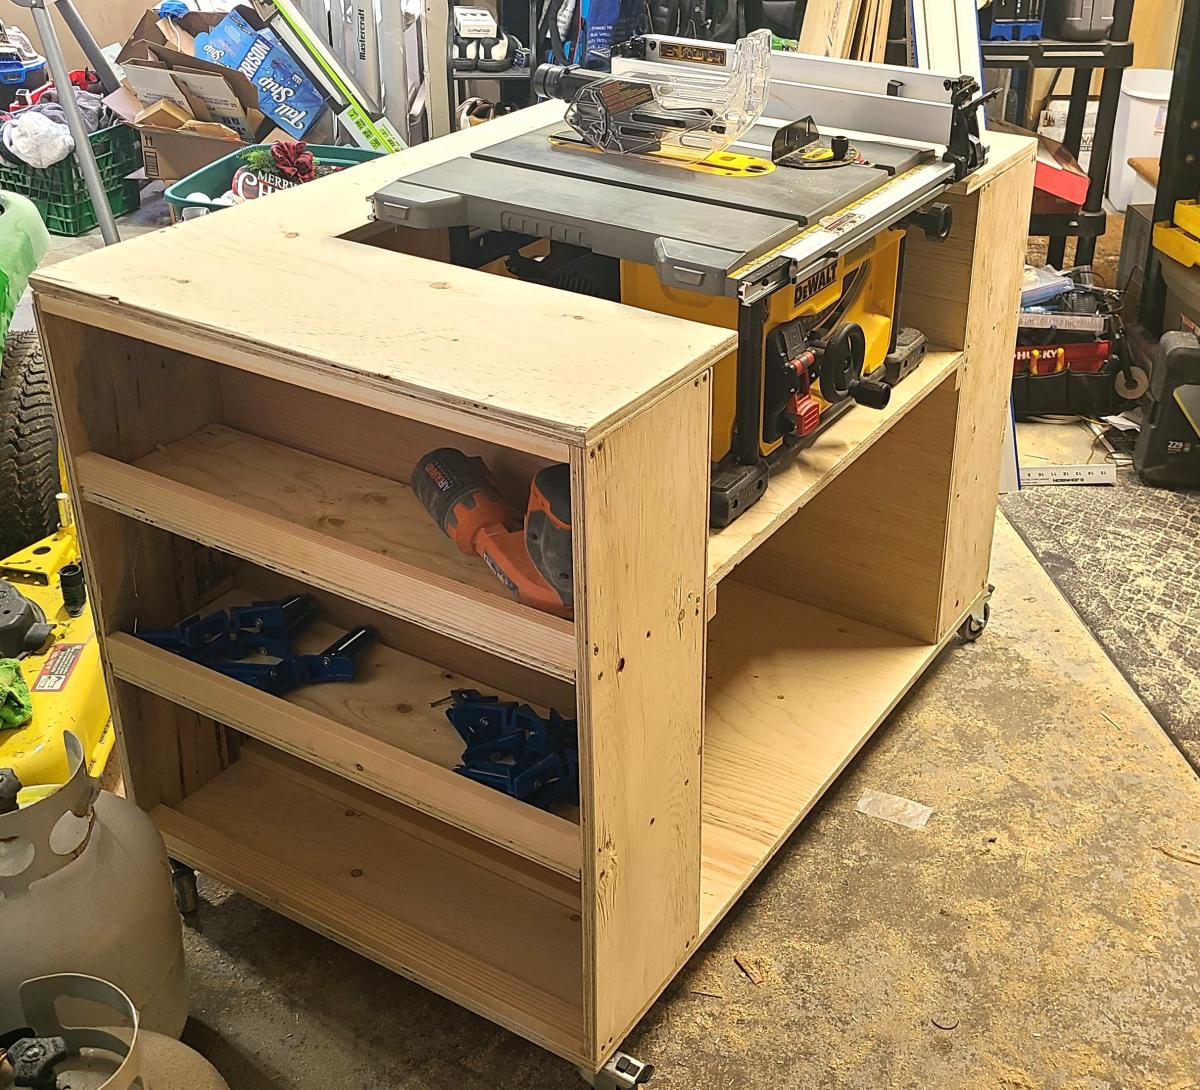
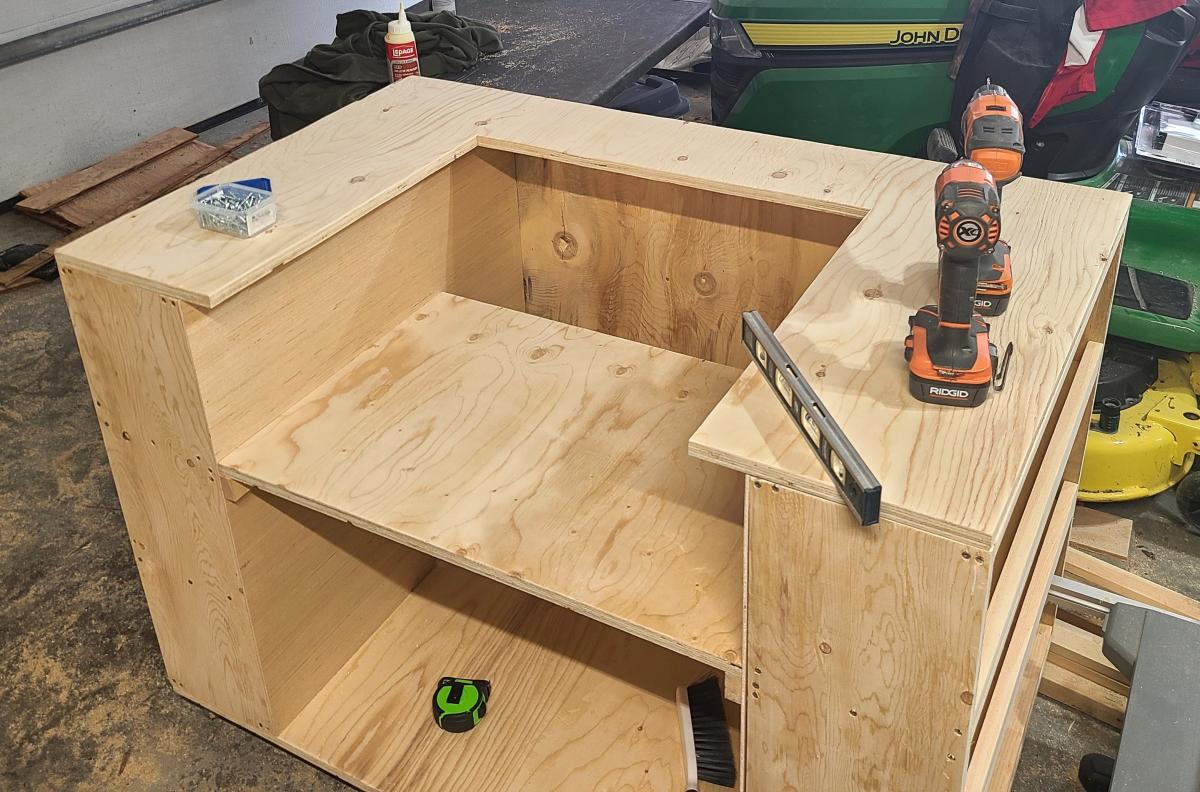
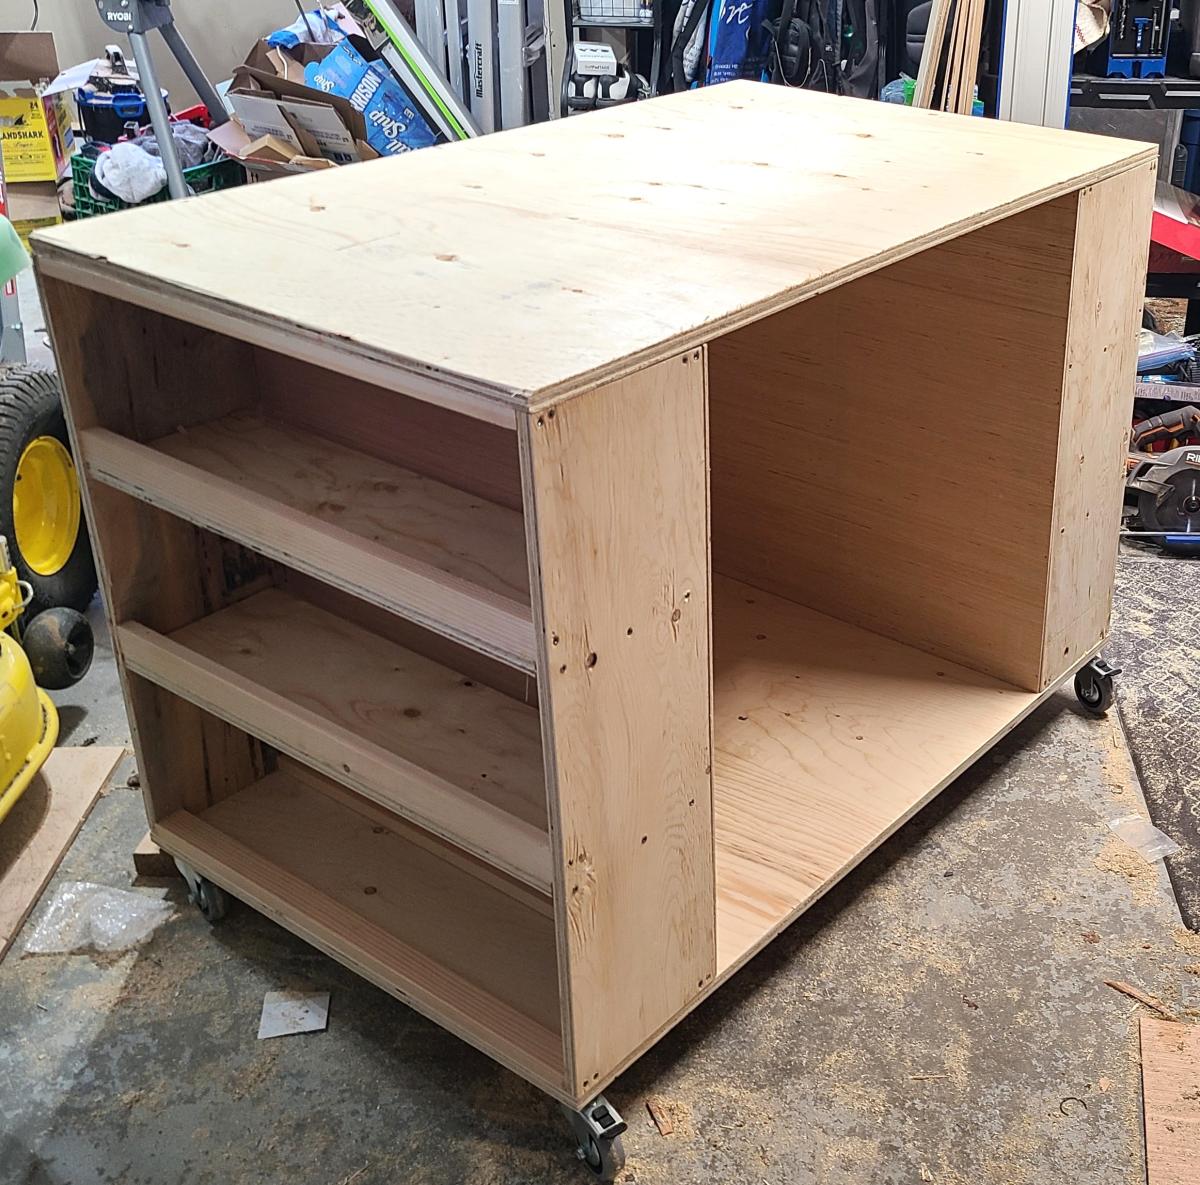
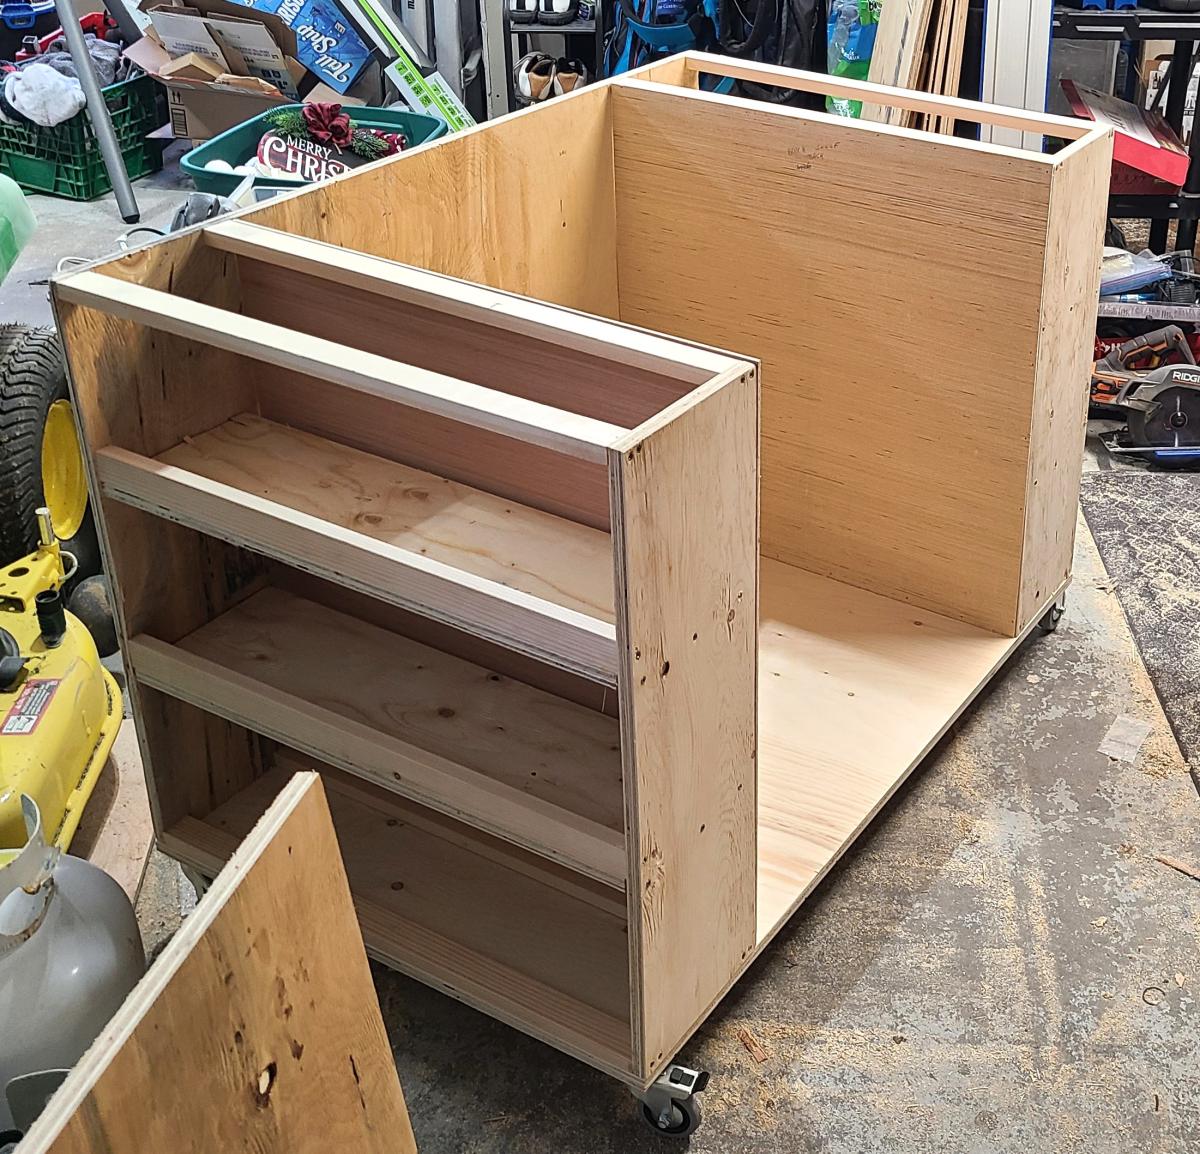
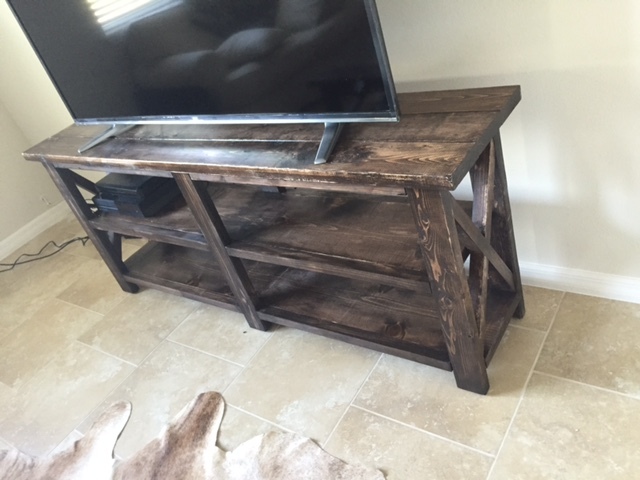
I was in love with the plans, but I knew it needed to be wider to fit my space and be usable. Plus, I didn't want to have the space in the back for stools. I wanted something that had a good amount of storage so I extended the box that was the shelf area and did away with the back board and side boards. I also extended the drawers to the back of the piece.

Built from Plan(s)
Estimated Cost
$175
Estimated Time Investment
Weekend Project (10-20 Hours)
Finish Used
Painted with Valspar Satin Black Paint
Recommended Skill Level
Intermediate

Comments

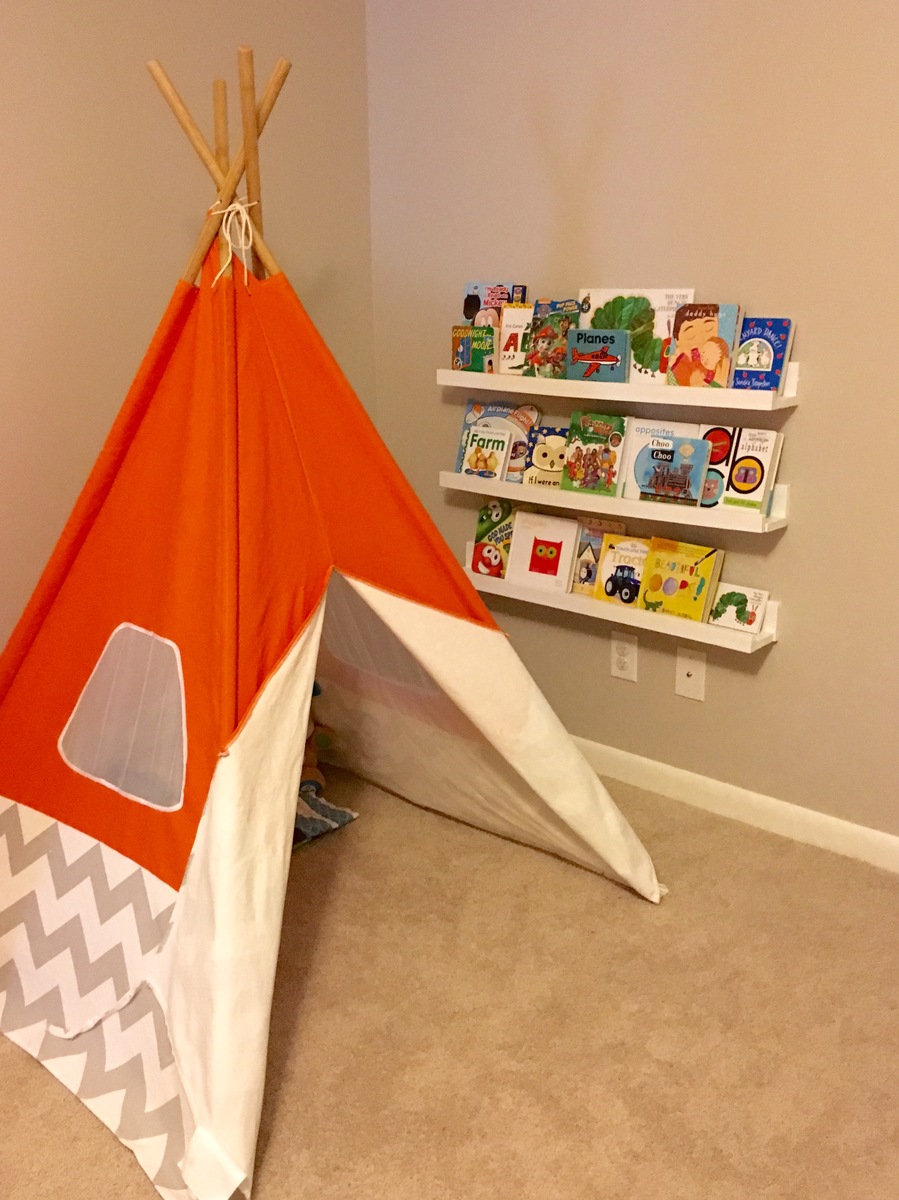
Hanging Bookshelf for Toddler Bedroom

Submitted by Anonymous (not verified) on Mon, 04/04/2016 - 13:46

this was super easy and a quick project!  used some wood I already had and it worked perfect for my toddler son's bedroom!

Built from Plan(s)
Estimated Time Investment
An Hour or Two (0-2 Hours)
Recommended Skill Level
Beginner

Serving Tray/Caddy

Submitted by LampAtFeet on Mon, 12/09/2019 - 11:49

I recently saw a similar tray on Pinterest and decided to come up with my own version. It's approximately 20 x 12 3/4" and is made from a scrap 1x12 and 1x4s. The removable insert fits 3 pint mason jars for holding silverware and 18oz plastic cups. The handles were purchased from Hobby Lobby.

Tray cut list:

1x12 cut to 18"

2 1x4s @ 11 1/4" (cut to fit short sides)

2 1x4s @ 20" (cut to fit)

- glue and nailed with 1 1/4" brad nails

Removable Insert cut list:

2 1x4s @ 8 1/4" (sides)

1 1x4 @ 12" (top)

1 1x4 (divider) cut to fit, a little less than 10 1/2" (center divider is positioned 3 1/2" from bottom opening)

Glued and nailed with 1 1/4"  brad nails

Estimated Cost
$10
Estimated Time Investment
An Hour or Two (0-2 Hours)
Finish Used
Rustoleum matte black spray paint and 2 coats of satin wipe on polyurethane
Recommended Skill Level
Beginner

Surprise Master Closet Makeover!

Submitted by ferbit on Mon, 03/26/2012 - 13:28

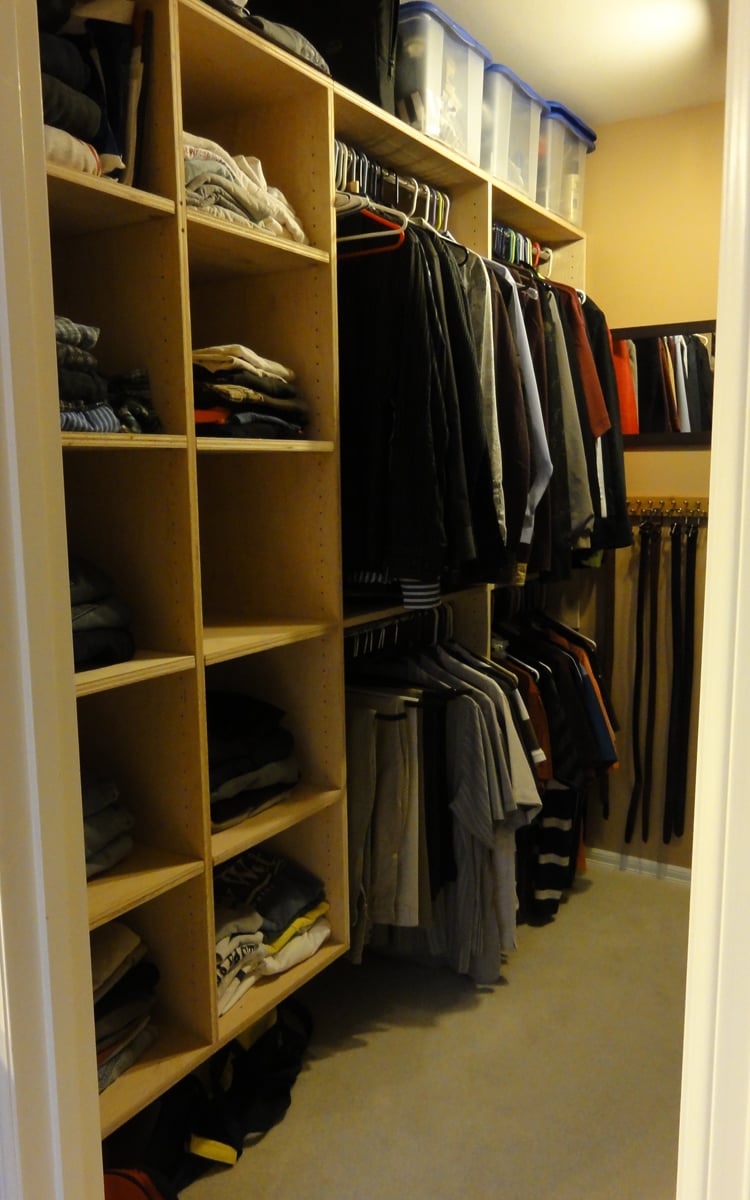
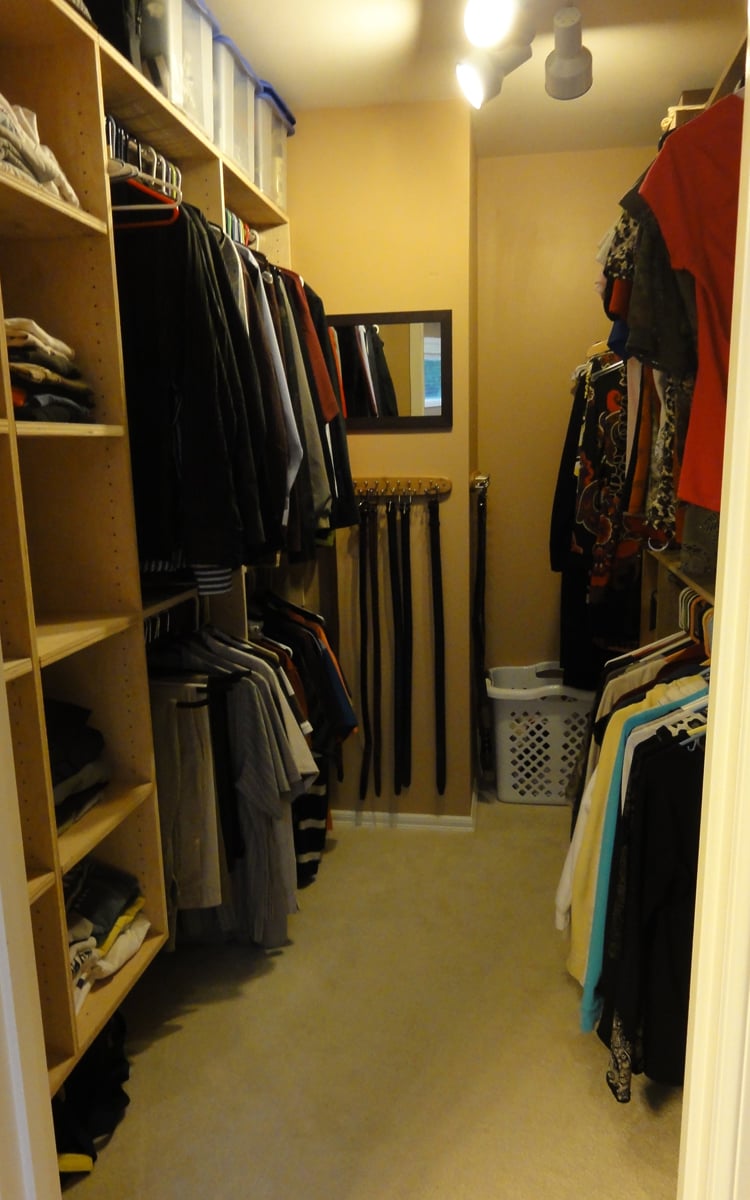
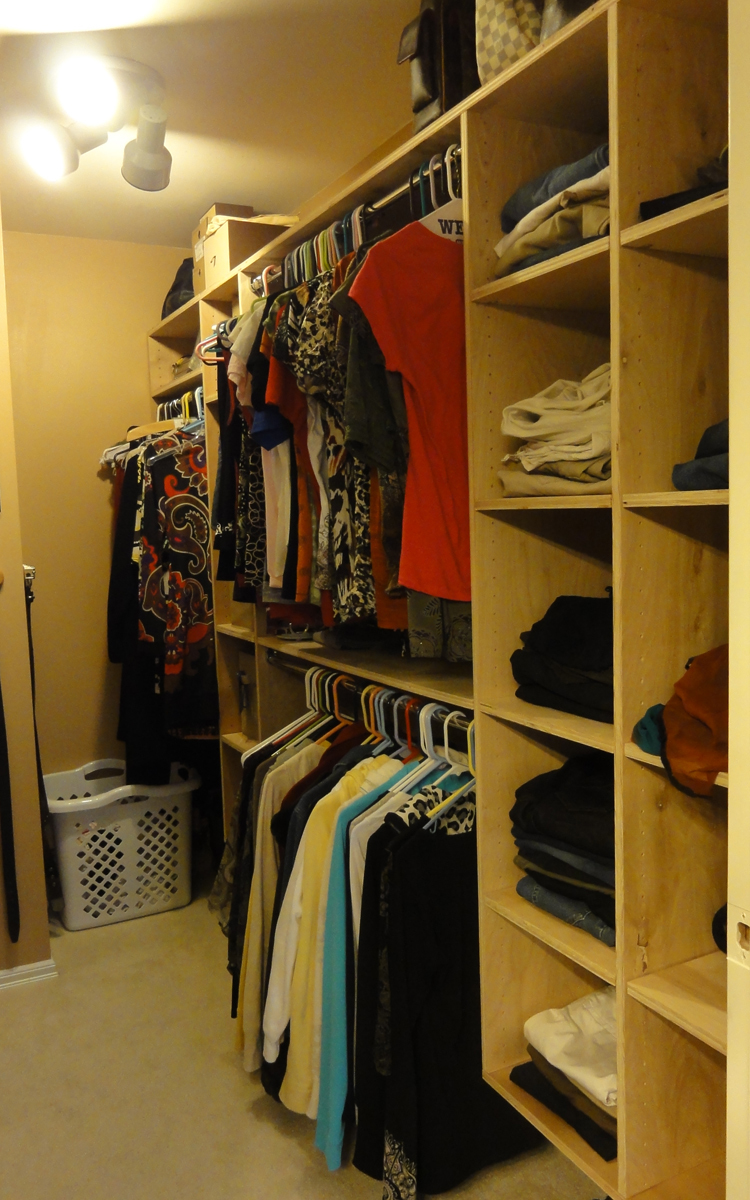
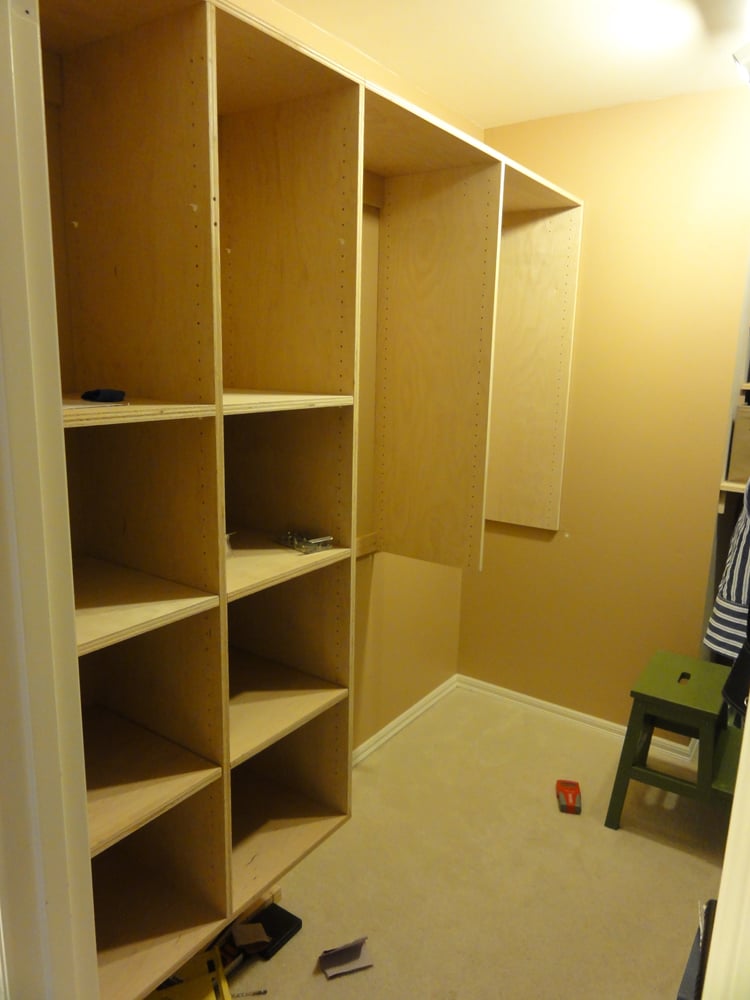
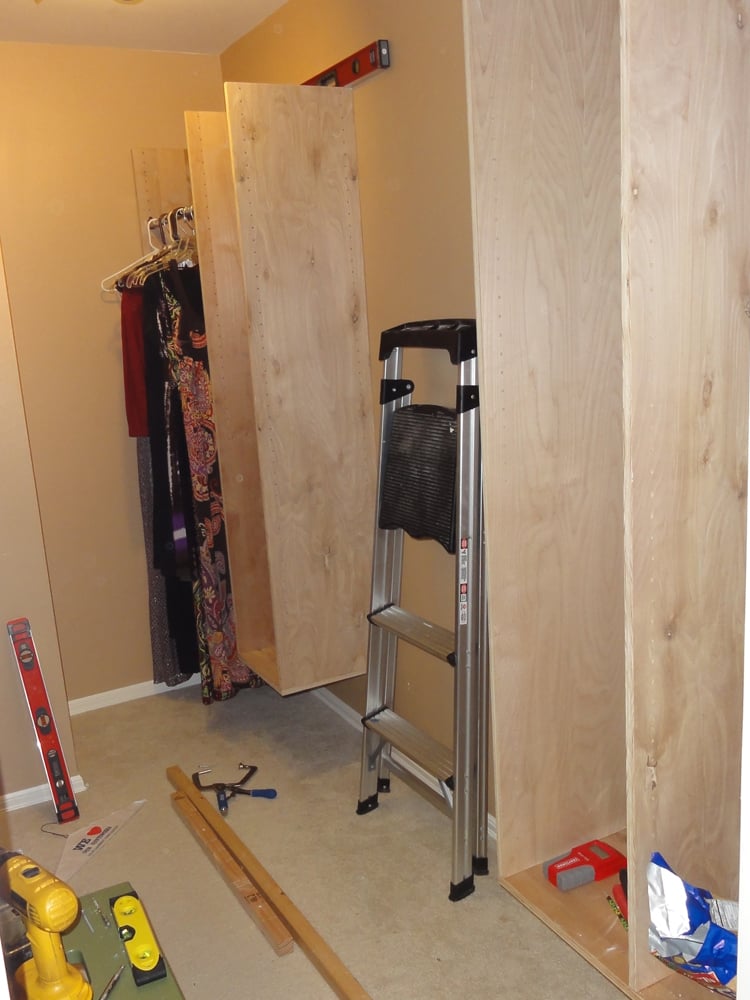
After over a year of other projects, I finally had the chance to completely redesign our master closet! I used EasyClosets.com to come up with the design again. :)  I still have a few more tweaks here and there, but I absolutely love it! I surprised my husband for his birthday by doing this project while he was on a business trip. :)

Other than mounting these boxes to the studs, this project was built exclusively with my Kreg Jig. I drilled all of the adjustable shelving holes with a nifty Rockler Jig-It shelving jig - wish it had been the Kreg shelving jig, but I bought mine before Kreg came out with theirs. The Rockler one works great - I just love Kreg's stuff so I'm sure theirs is awesome too.  ;)

I begged Kreg to let me buy their new circular saw rip cut product early for this project, but they said no.  :-(  Bummer because I saw Ana using hers and was so jealous!  I had to rip all of my plywood the old fashioned way on the floor with my circular saw and lots of clamps.  Yuck!

This time around, I used birch plywood.  I used white pre-drilled melamine for both of my daughters closets (brag post here), but I didn't like working with that stuff.  Too sharp, slippery and HEAVY.  I did our spare bedroom closet with pine 1x12 boards a few months back. I think I liked working with the pine best..

After a few months, I purchased a bunch of Closetmaid Fabric Bins/Drawers and they look so good!

Estimated Cost
$300
Estimated Time Investment
Weekend Project (10-20 Hours)
Finish Used
none
Recommended Skill Level
Beginner

Comments

ferbit

Mon, 03/26/2012 - 18:00

My husband has more room on his side of the closet so his boxes are 16.5" deep. I think that's a bit too deep, but I was trying to use existing wood that had already been cut for shelving on that side. Heavy to hang though. :)

On my side of the closet, the depth is 14.5" deep.

The rods are awesome! Super cheap at The Container Store. You buy them in 2-foot, 3-foot or 4-foot lengths and they cut them on site for you. I posted hyperlinks to the rods and the rod hanging hardware on one of my other brag posts. Love them!

felicia (not verified)

Sat, 11/10/2012 - 17:23

Your closet looks great. How did you get the unit to float on the wall?

Rhea

Thu, 05/16/2013 - 15:00

The closet is amazing. Yesterday I finally took off the builder installed shelf and dowel. Took a while, still need to patch up the drywall. I am now research to get the closet renovation started. I have tons of questions.
I understand that the shelves itself were attached by kreg jig holes. How do I hang the shelves on the wall?

jyothianil

Tue, 11/19/2013 - 06:47

Yours closets are awesome. Can you please advice as i am a newbee.

White closets: For the white closets we buy the regular plywood from Home depot and then do primer and paint. Can you please advice on the primer and the paint I should use to make it white color.

Wood closets: I like the wood color closets. Do we need to do any polish. What sheets should we buy in home depot to make wood color closets. What are our options for wood color closets

Thank you

ferbit

Thu, 11/21/2013 - 11:16

Rhea, take a look at Ana's kitchen cabinet plans and look at how she braces them along the back. That's what you screw through into the studs. To make it easier, I screwed in a scrap 2x2 into the studs at JUST below where I wanted the closet shelves to go (sort of like a temporary shelf). Then I carefully set the closet box on my temporary shelf and screwed it into the studs.

Also, if you click on my username, I explain how I hang them in a bit more detail in one of my daughter's closet makeovers. :)

ferbit

Thu, 11/21/2013 - 11:24

Hi jyothianil,

I have done both actually. I did both of my daughter's closets using pre-peg-hole-drilled white melamine from HD. You can get it in two widths and it saves you a ton of time not having to drill all of those holes. A few things to consider... Melamine is HEAVY and a total pain to work with. The edges are sharp after being cut and it slips everywhere when trying to kreg-jig it together. But it's DONE once it's put together...

On two other closets, I just used ripped sheets of birch plywood or 1x12 sheets of pine. I didn't finish mine, but I probably should have. It doesn't snag the clothes, but it does create dust. If I had at least put one coat of poly on, it would have eliminated a lot of the dust that collects on the clothes.

If you want to paint them white, I would just use some sort of primer and any white paint. It's all personal preference, but I would get semi-gloss or gloss white paint because it won't show fingerprints and clothes will slide on and off the shelves easier.

Doll Farmhouse Bed

Love this bed! Fell in love after seeing it here and on That's My Letter, so my dad and I built the beds according to the plans (did add a center support under the mattress) and I made all the bedding. My daughters' dolls love their new bedroom set!
Estimated Cost
$20 for wood & paint
Estimated Time Investment
Afternoon Project (3-6 Hours)
Finish Used
Primer then semi-gloss spray paint.
Recommended Skill Level
Beginner

Comments

$55 Fancy X Desk....with a few alterations.....

Submitted by Anonymous (not verified) on Wed, 04/06/2016 - 11:48

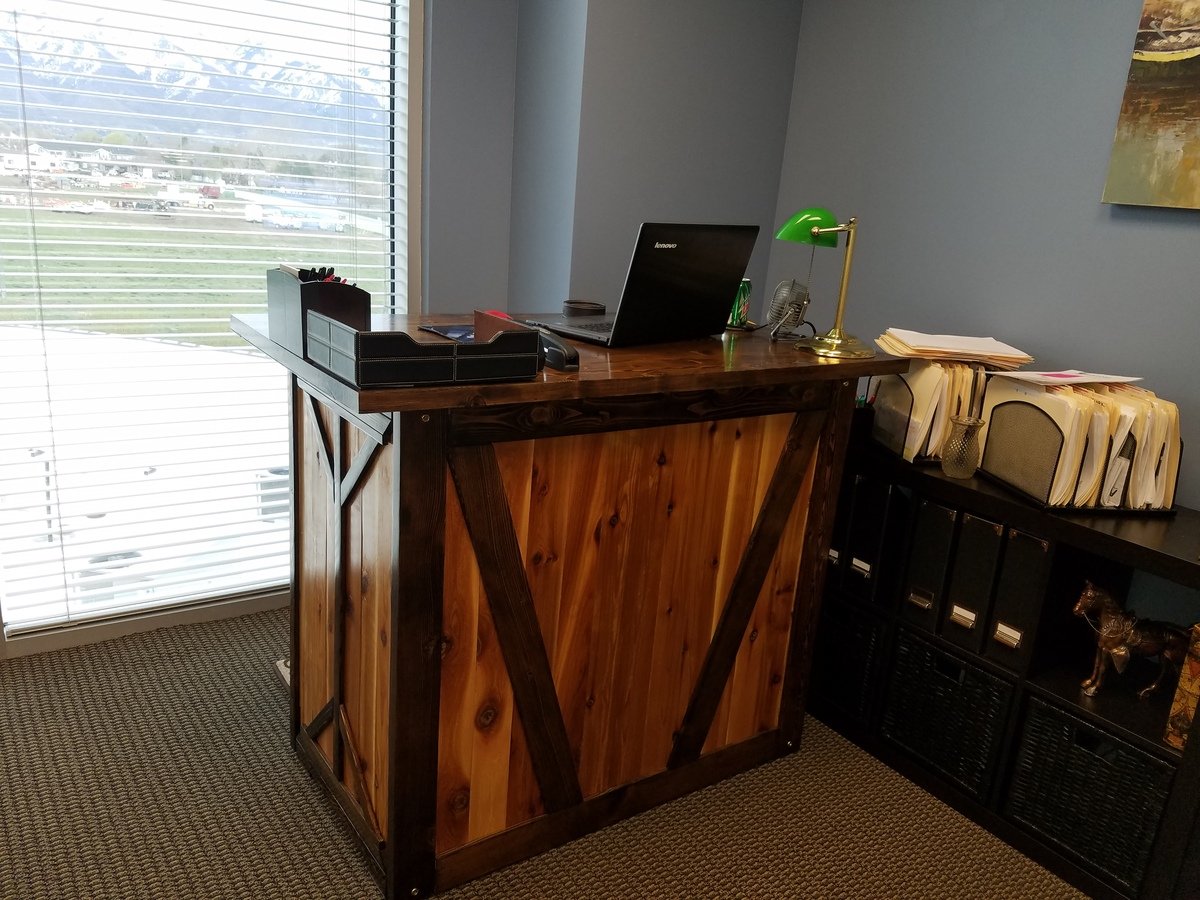
I loved the design of the desk, but needed it to be just a little higher so I could use it as a standing desk in my office. (So I'm not sitting ALL day). The plans were easy to understand and very clear.

Thank you Ana....You are awesome!!!

Estimated Cost
$100 (but that was because I "needed" to buy a couple of new toys......I mean tools).
Estimated Time Investment
Weekend Project (10-20 Hours)
Finish Used
Desk for my office.
Recommended Skill Level
Beginner

Snowboard Display Rack

Submitted by LampAtFeet on Sun, 12/15/2019 - 13:49

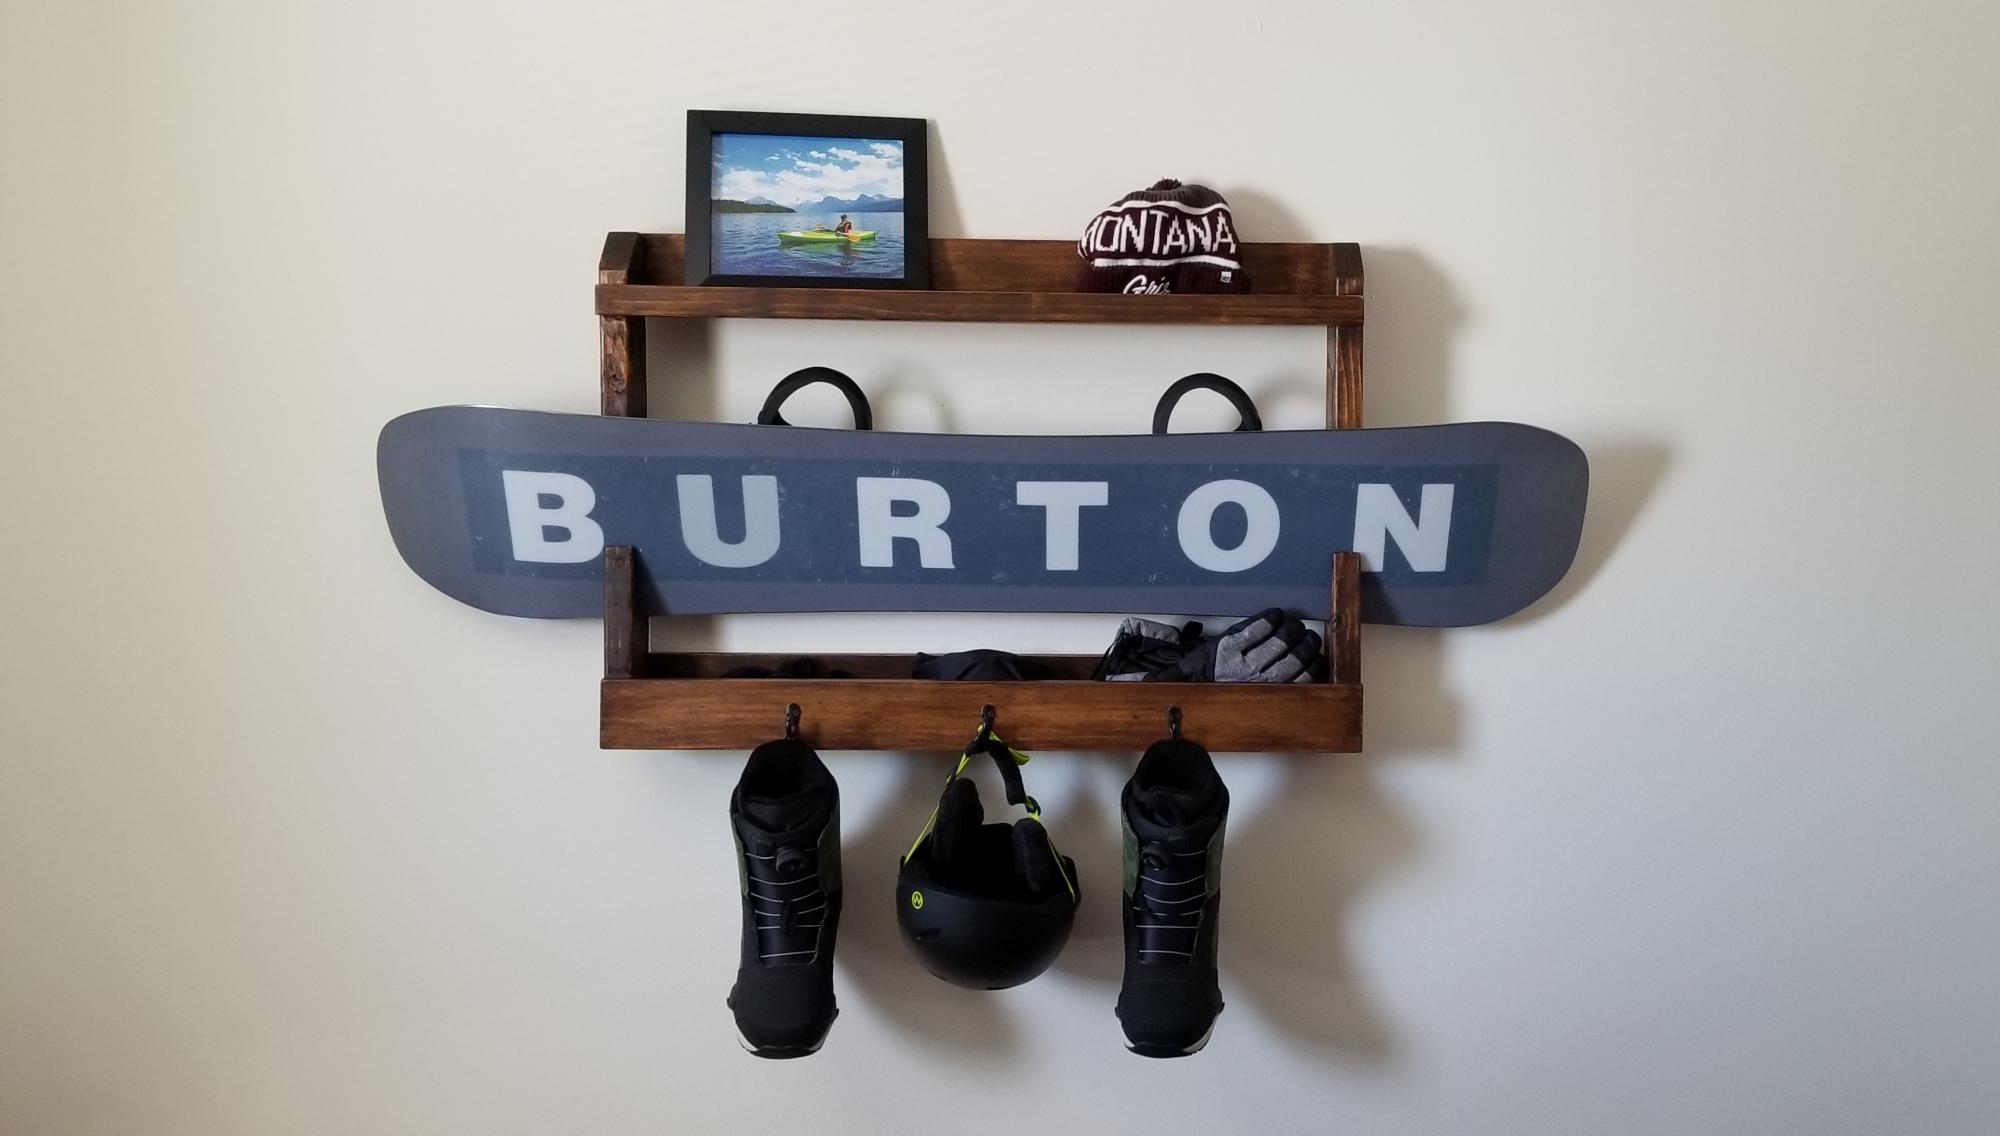
My son wanted a way to display his snowboard, so I modified the pallet display rack plans to fit his snowboard. It's constructed with 2x4s for the sides and 1x4s and a 1x2 for everything else. The 2x4s have an angled notch cut out so the snowboard can slide in and out. I built a top and bottom shelf to display pictures, as well as provide storage. The hooks are great for hanging boots, gloves, etc.  He loves the way it came out.

Estimated Cost
$30
Estimated Time Investment
Afternoon Project (3-6 Hours)
Finish Used
Dark Walnut stain followed by a coat of wipe on polyurethane
Recommended Skill Level
Beginner

Comments

Kentwood Nightstand

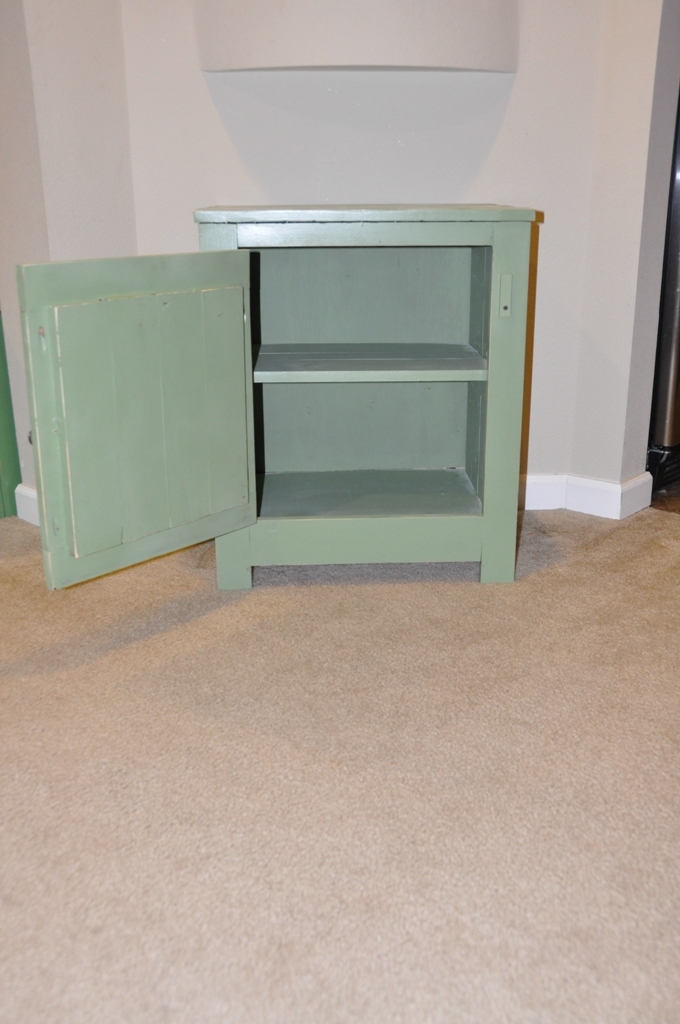
I decided to take the Kentwood nightstand and add my own spring time twist to it. I got bored and built this out of spare wood in the garage and free paint from Ace. I think it turned out pretty well.

Estimated Cost
$15-$25 if you need to buy wood
Estimated Time Investment
Day Project (6-9 Hours)
Finish Used
Ace Hardware free paint with poly seal
Recommended Skill Level
Beginner

Comments

Heather Goodin (not verified)

Sat, 09/22/2012 - 14:56

Do you have the cut list and plans for the kentwood nightstand??

Dream Dollhouse

Submitted by Tigers24 on Fri, 01/17/2014 - 10:40

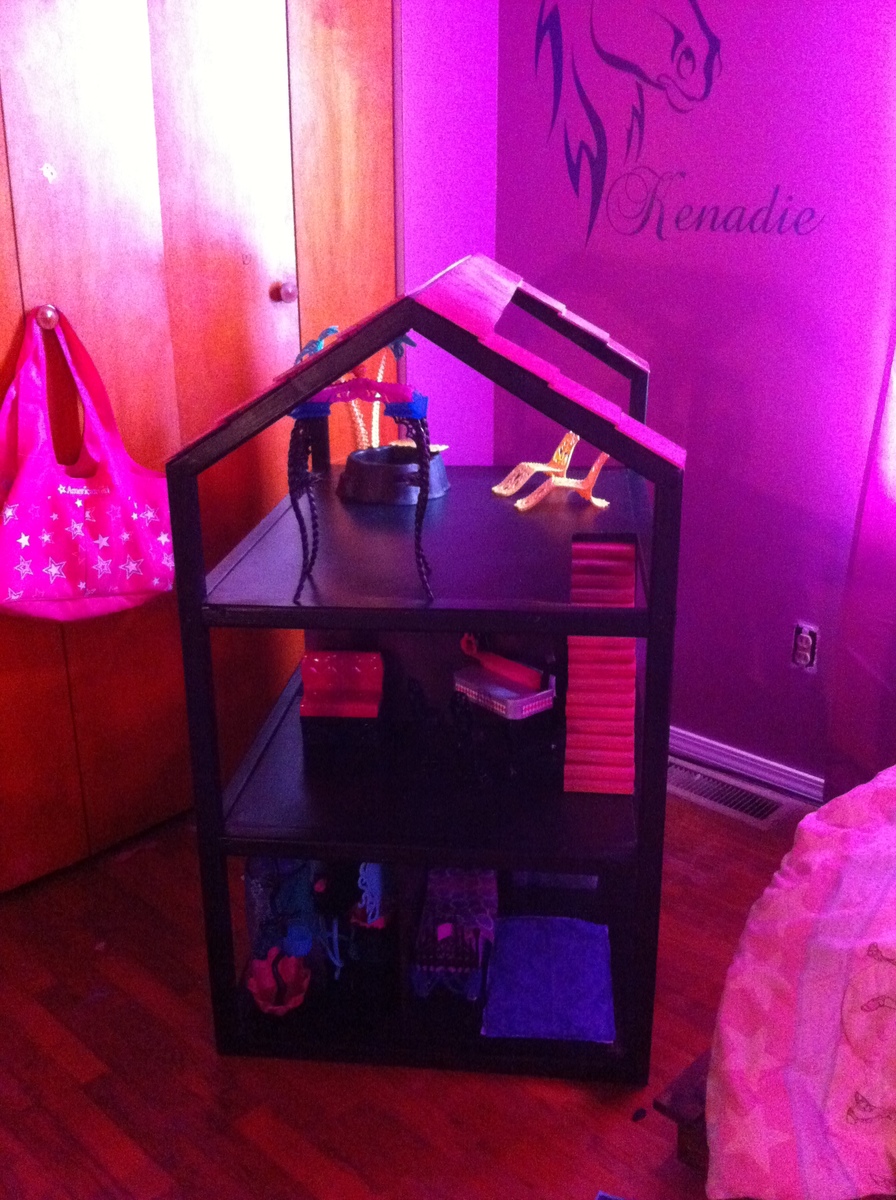
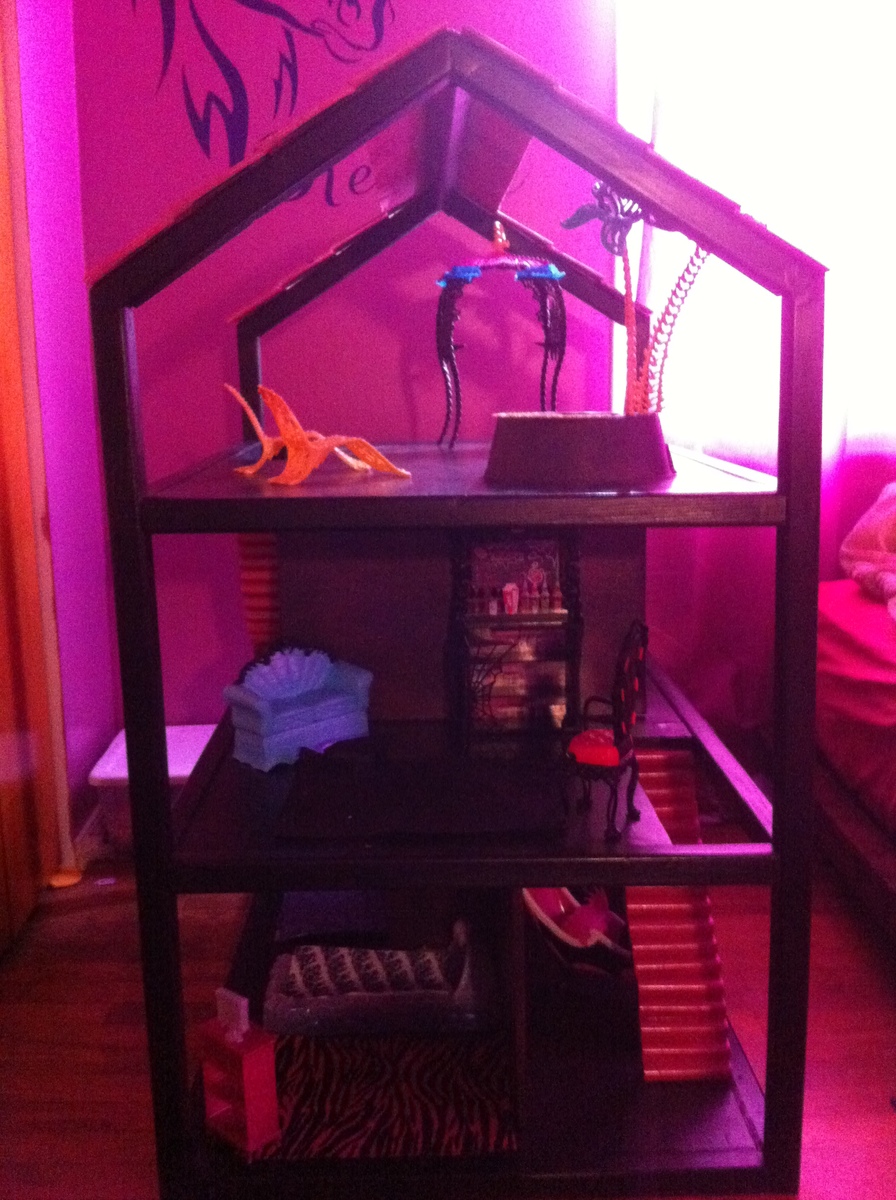
My girls love Monster High so we did black , Magenta to go with all their Monster High dolls and sets.

Estimated Cost
$100
Estimated Time Investment
Weekend Project (10-20 Hours)
Finish Used
Black semi gloss paint, and Sparkle Magenta Spray paint
Recommended Skill Level
Beginner

kitchen prep cart

Submitted by elly61 on Sat, 04/09/2016 - 20:03

Our version of Anas' Kitchen Prep Cart .... We are in Australia which means we pretty much work by metric.. so the handyman of the house converted all measurements and we used what recycled timber, screws, hinges etc that we had on hand. The making of this all came about as handyman of the house brought home a chunk of timber offcut and I was thinking.. what can we do with this?? lol

Estimated Cost
stain $25 handles $4 the rest was recycled timber etc
Recommended Skill Level
Intermediate

Modern Farmhouse Side Table

Submitted by Anonymous (not verified) on Wed, 12/18/2019 - 10:21

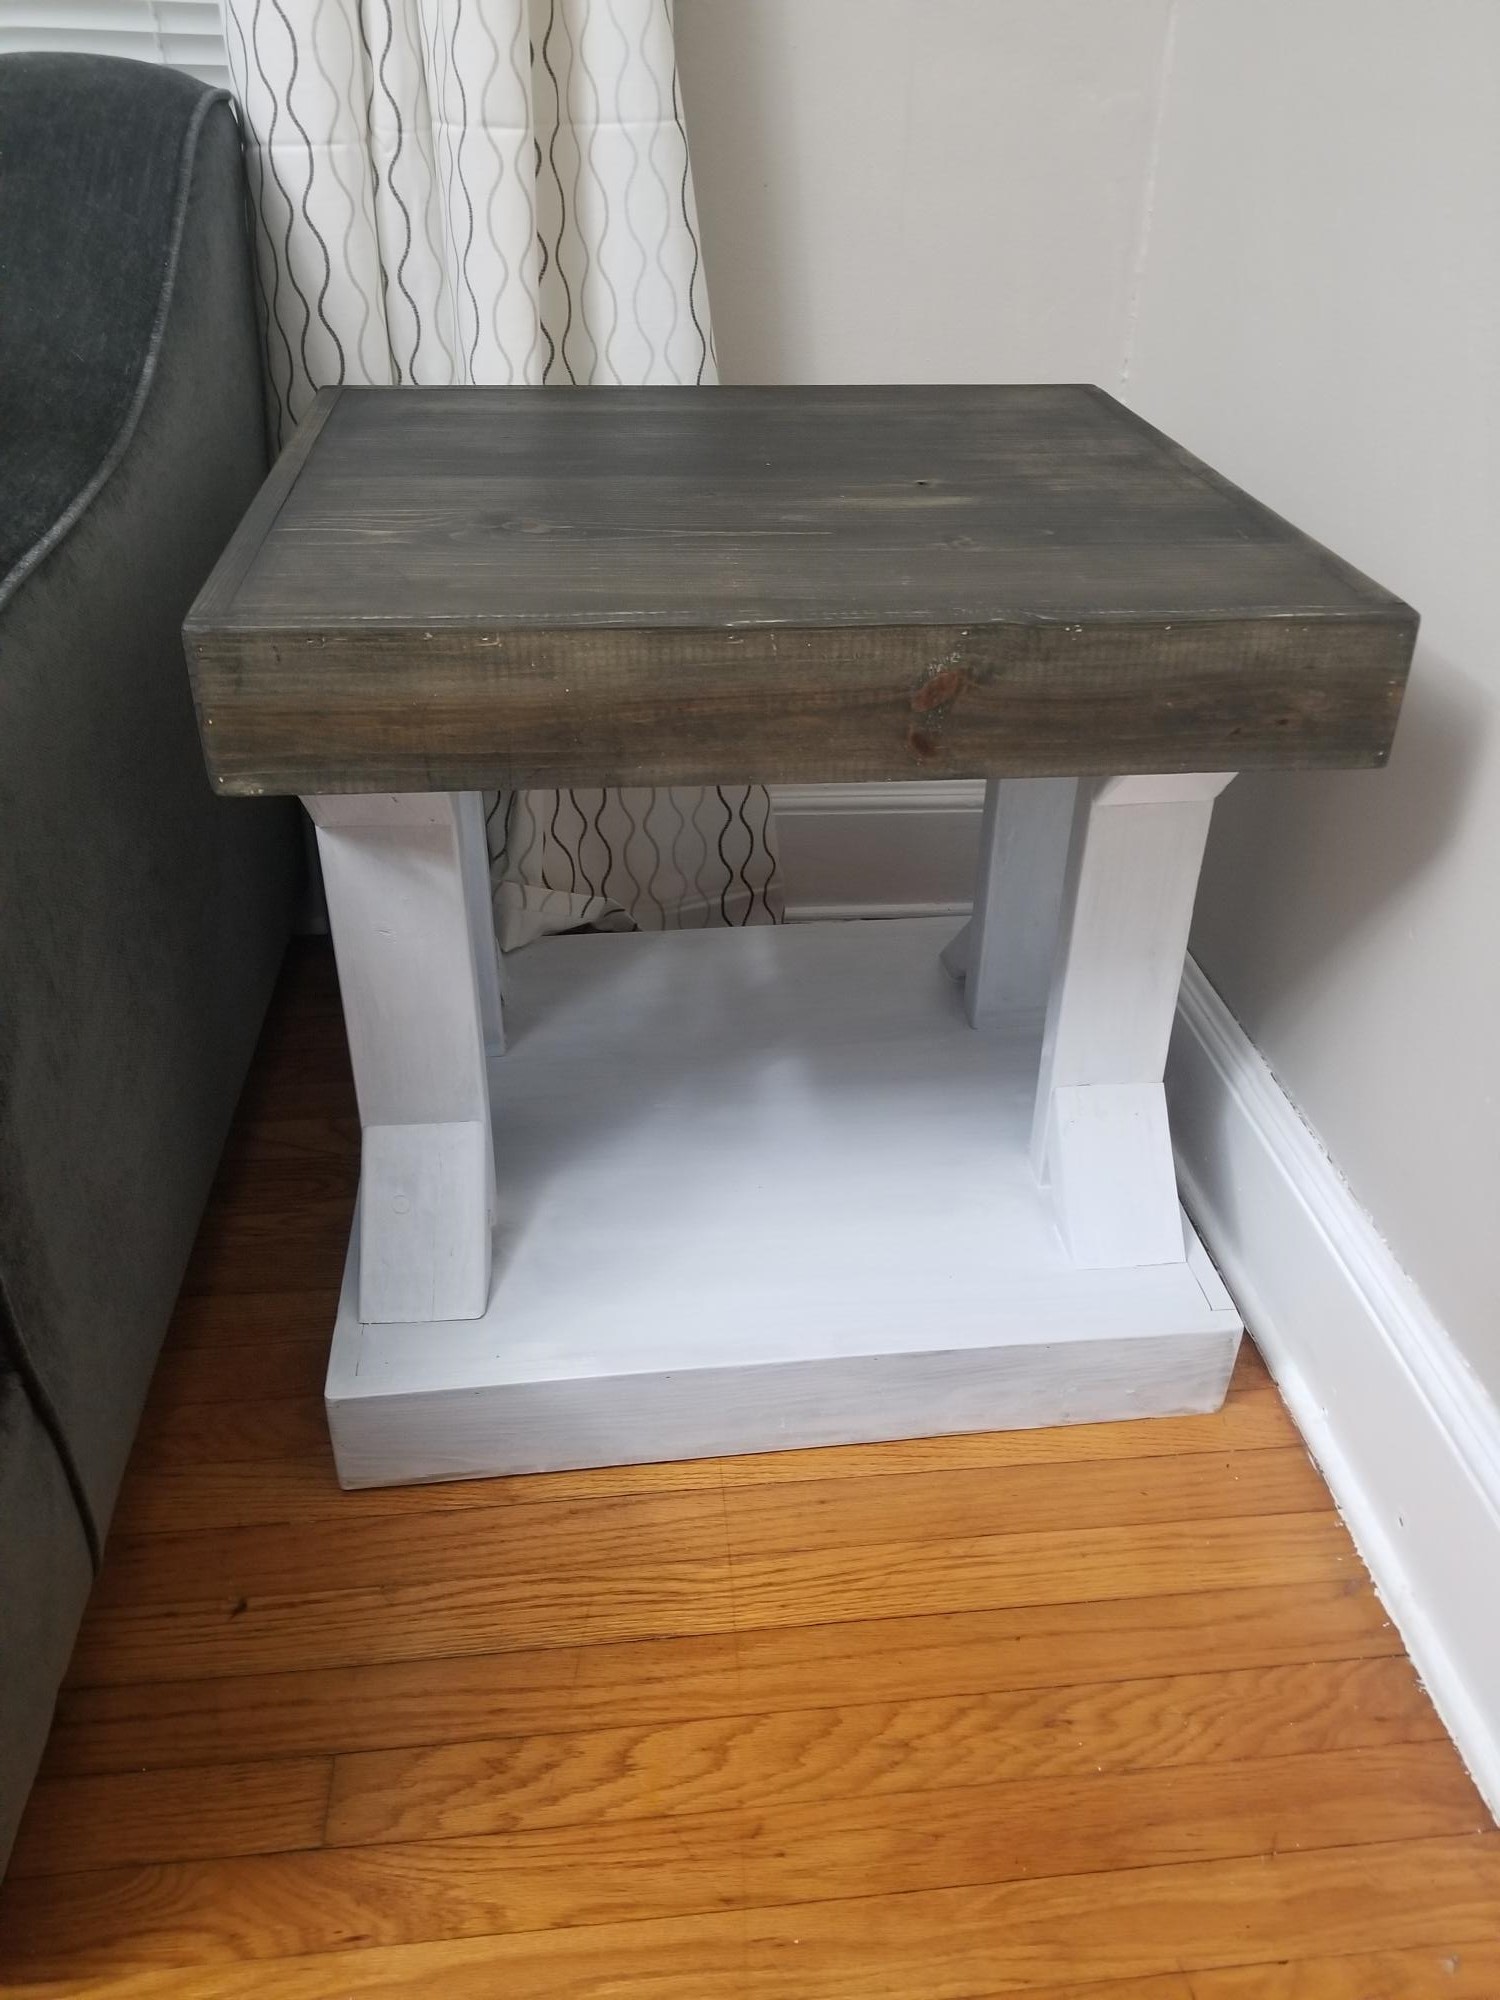
I always love warching woodworking but felt so inspired to do it myself when i watched your videos. I decided to make the modern farmhouse table but using stain and paint I already had. While I followed all the instructions, my 1×10 ended up being a 1x12 (incorrectly labeled) and threw the design off a little bit. I had to modify the plan to accommodate the larger size but I love the end result just as much! Thank you so much for sharing your videos and plans.

Estimated Cost
$40
Estimated Time Investment
Day Project (6-9 Hours)
Finish Used
Varathane stain in ebony and diluted white Behr paint
Recommended Skill Level
Beginner

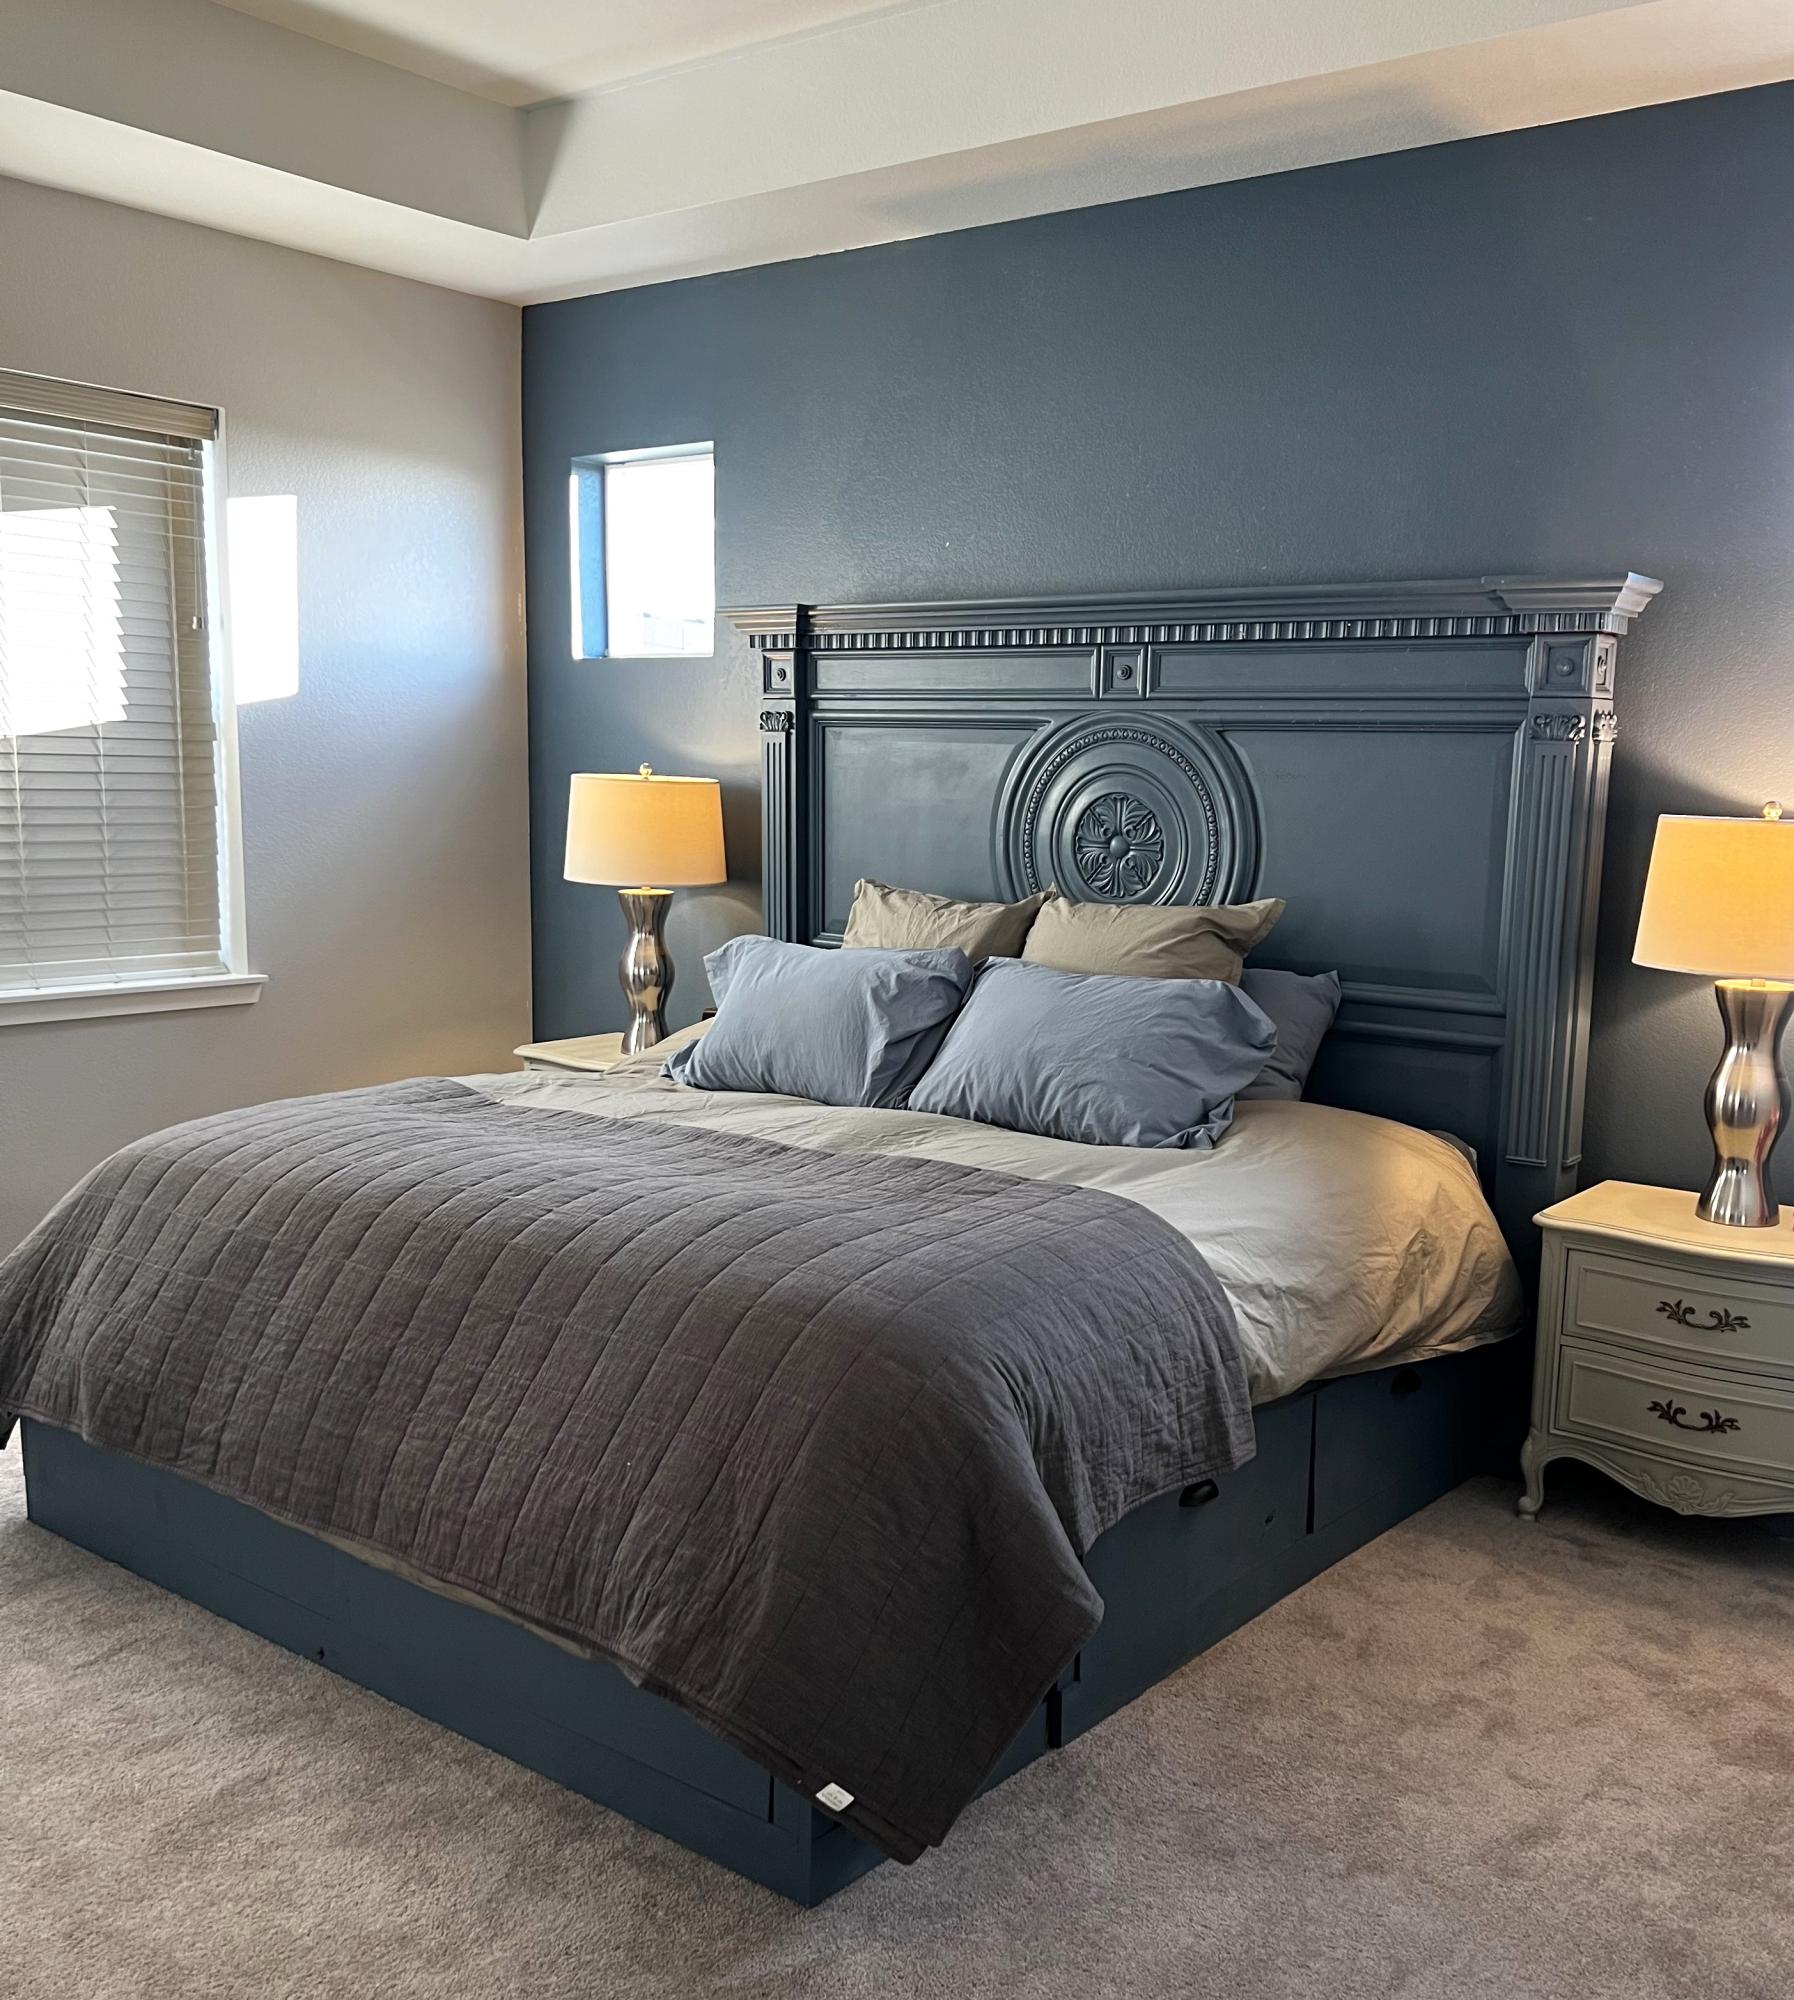
DIY Wood Headboard

Submitted by Anonymous (not verified) on Thu, 08/24/2023 - 12:10

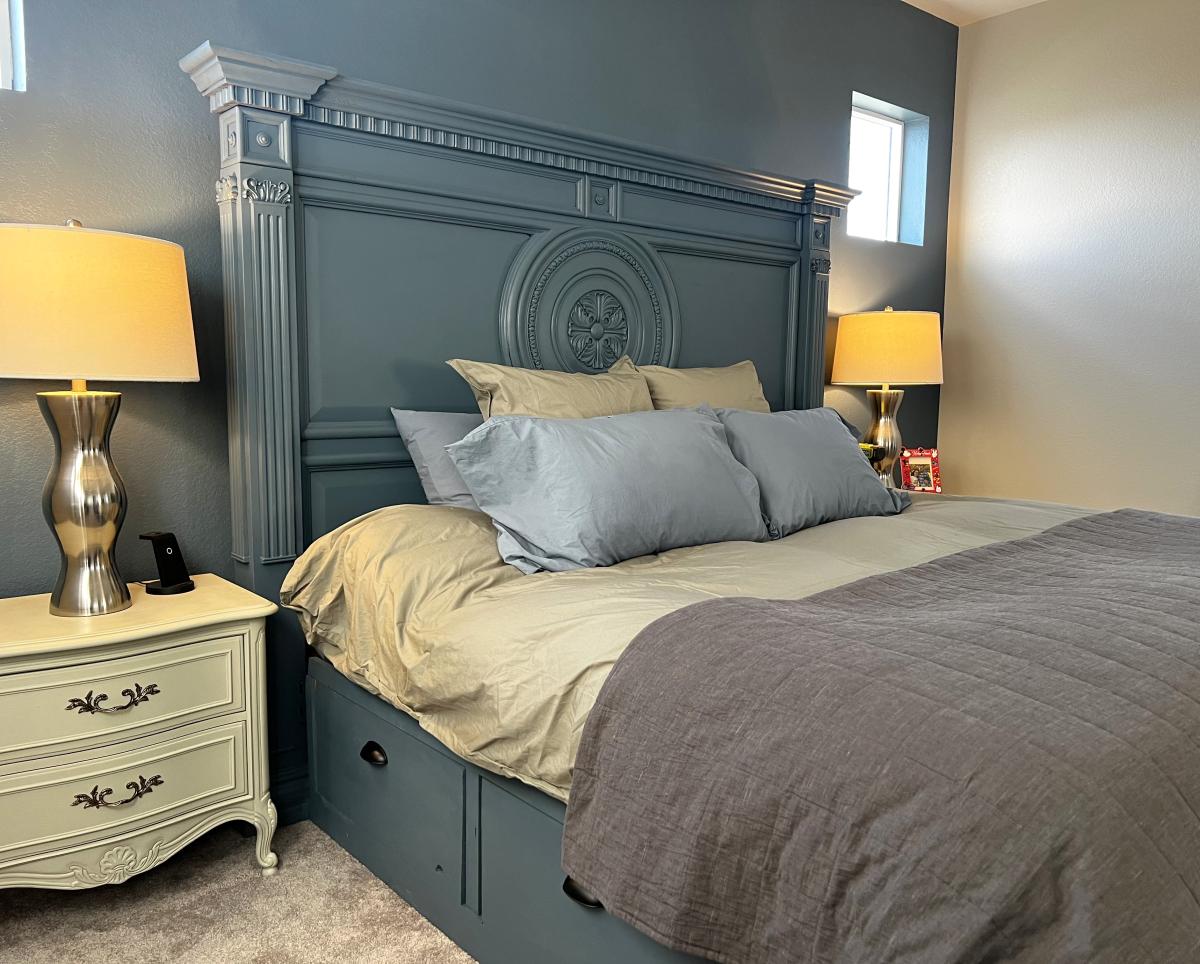
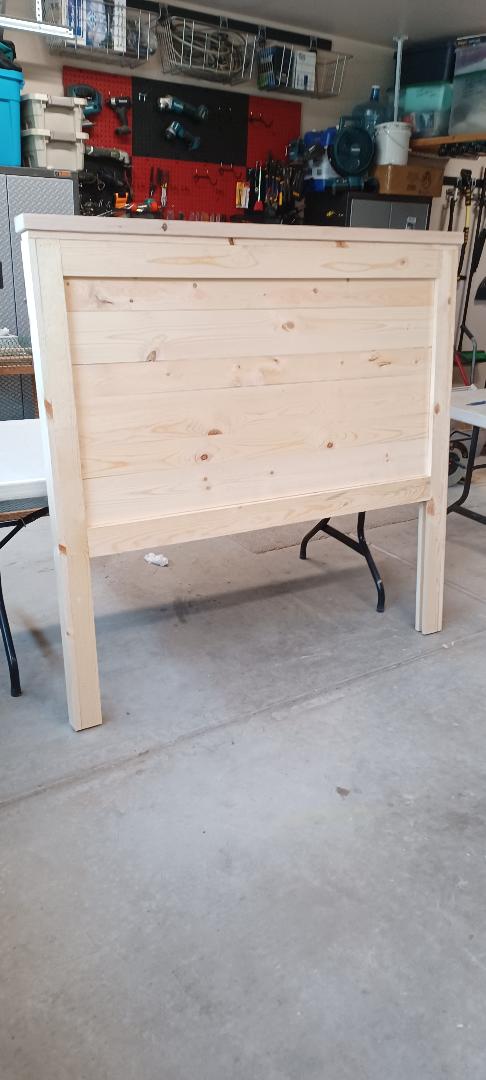
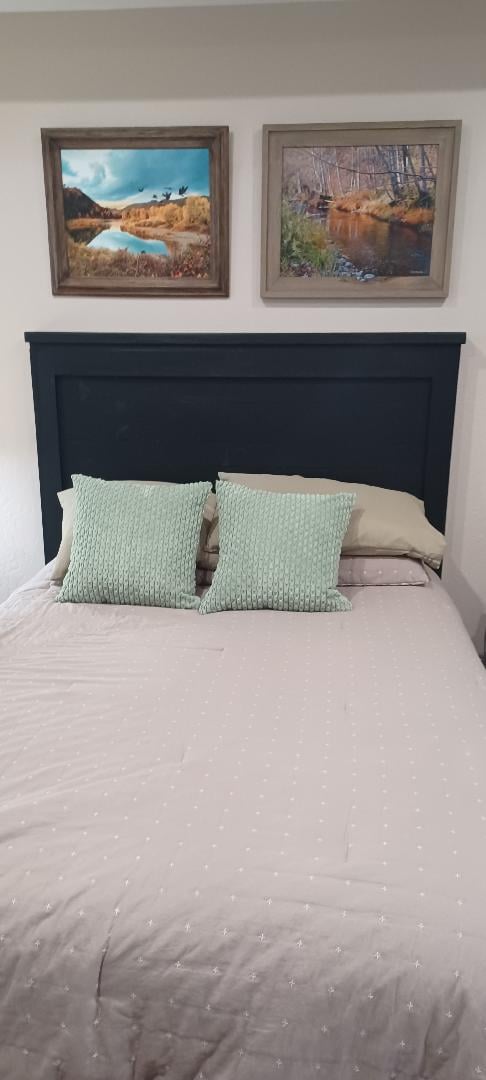
Thank You for this Headboard Plan. It was very easy. Other than painting it I completed it in less than 3 hours. A nail gun sure saves some time. Everyone loved it. They wanted me to put clear coat on it because it looked really good, but I ended up painting it to match my other bedroom furniture which is Black.

Scott Boyd

Book Nook Tent

Submitted by rsk9rsa on Tue, 04/03/2012 - 11:39

Only one cut and easy-to-follow instructions make for a kid-sized reading nook that you can build today!

This is a simple project that comes together in an hour or less. You need recycled material for the panels and approximately $20 worth of supplies, assuming you own a drill, staple gun and wrench.

Built from Plan(s)
Estimated Cost
$20
Estimated Time Investment
An Hour or Two (0-2 Hours)
Finish Used
No finish.
Recommended Skill Level
Starter Project

trundle for bed or storage

This was my first DIY furniture project and I am so thrilled with the outcome that I am already trying to figure out what to make next! I made all my measurements and then had all of the wood cut to size at Home Depot. The assembly went much more quickly and smoothly than I had anticipated.This is a very sturdy piece of furniture. My 6 & 8 year-old girls were so excited to have the trundle put together. They have been taking turns sleeping on it and are even pulling it out to have a comfy spot to read or crochet. Thank you Ana, I am SO HAPPY to have found your site!

Built from Plan(s)
Estimated Cost
$120
Estimated Time Investment
Day Project (6-9 Hours)
Recommended Skill Level
Beginner

Comments

Family stocking stand

Submitted by kjoslyn78 on Tue, 12/24/2019 - 14:33

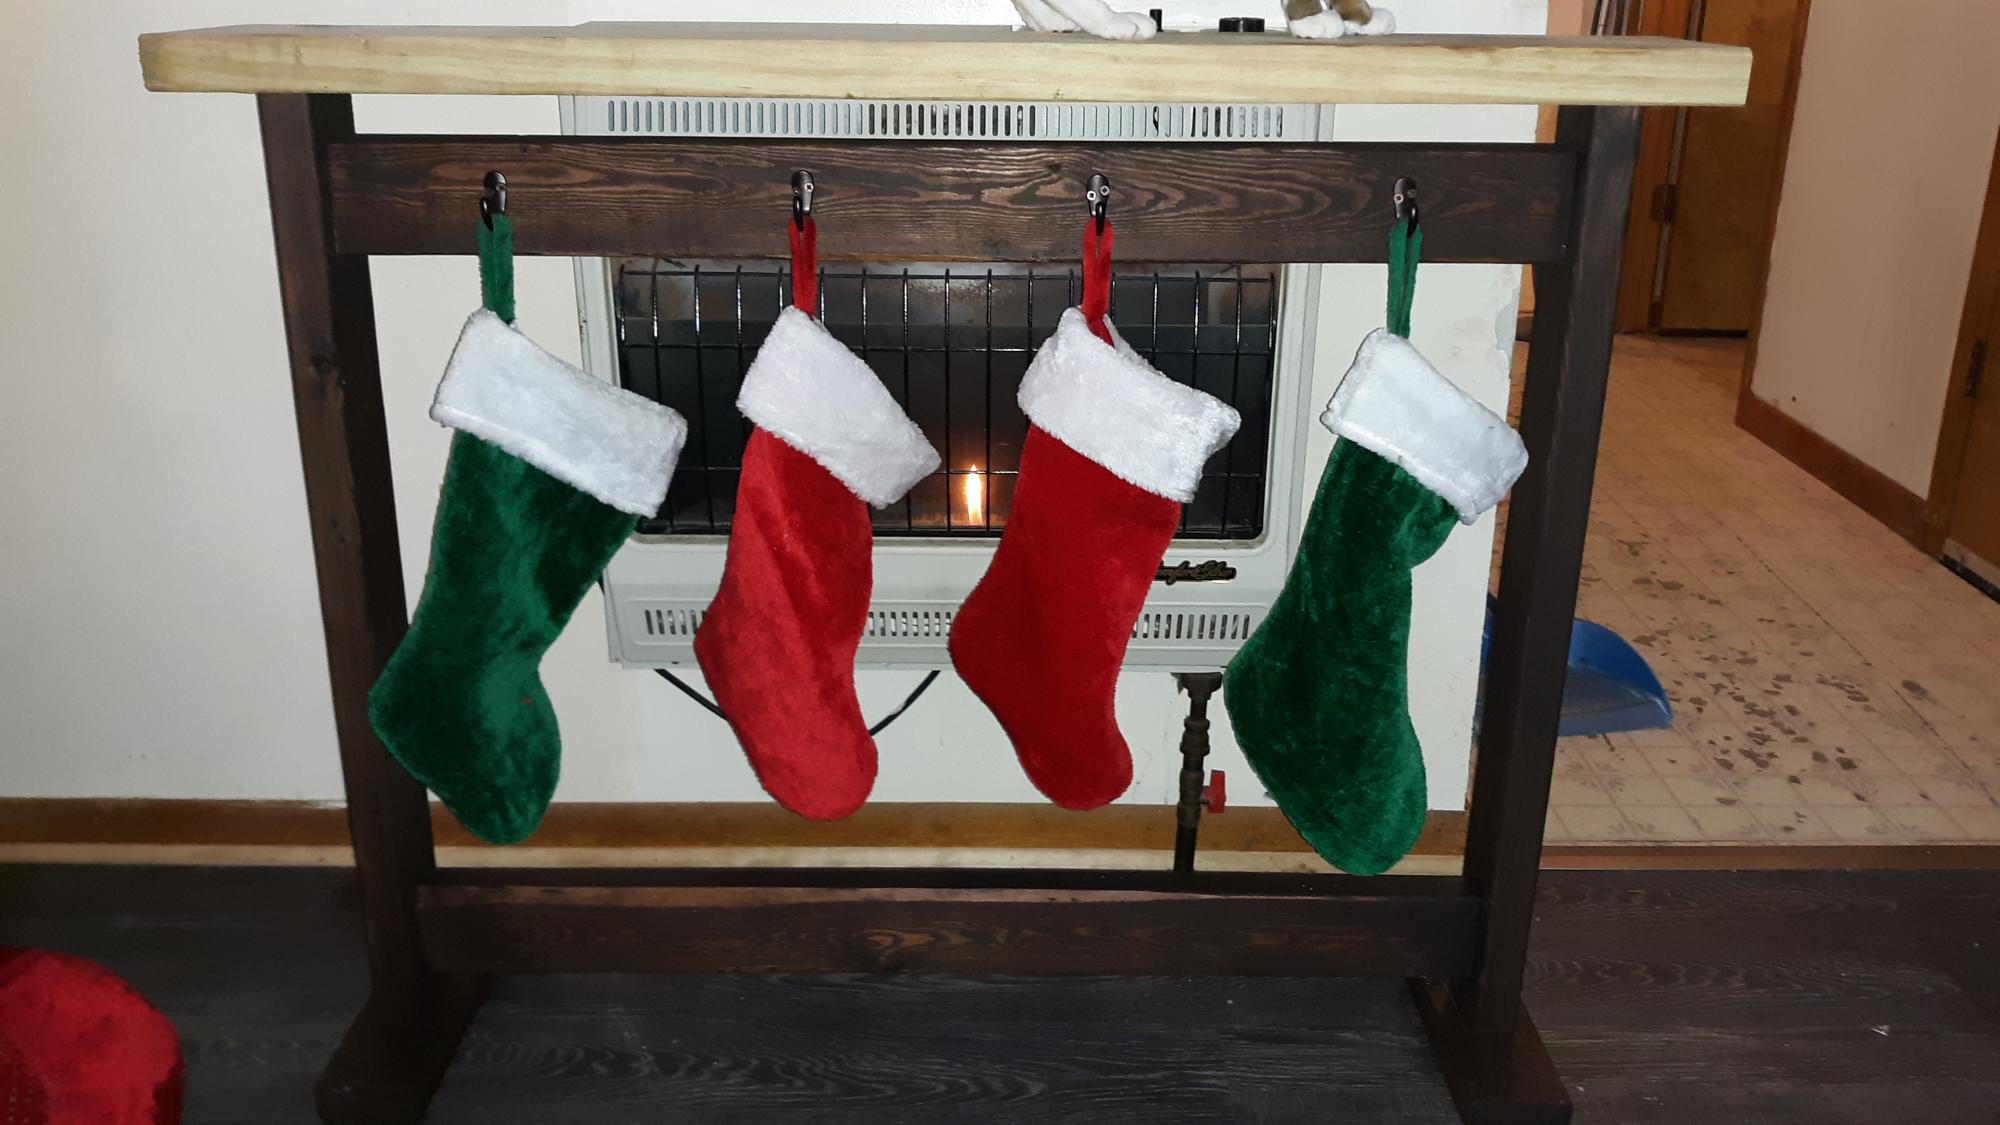
We have a vent-less gas wall heater, but had no mantel for hanging stockings. Thanks to the new plan, we have the perfect solution! We already had the 2X4s left over from the simple panel bed project, so we only purchased hooks and stains for this. 

We shortened the width to accommodate 4 stockings instead of 5 (we cut the 2 cross pieces 9 inches shorter). We also decided to add a large 2X6 cap to mimic a mantel, which really seems to tie it all together much better. We love this and have ideas now on how to make slight changes so it will more easily slide "over"/around the wall heater

(yes, we are not keeping it that close while stockings are hung, so as to not risk catching fire)

Built from Plan(s)
Estimated Cost
Under $20 (if you need to purchase wood/stain, we did this for under $10)
Estimated Time Investment
Afternoon Project (3-6 Hours)
Finish Used
Rust-oleum: Kona
Recommended Skill Level
Starter Project

First Project!

Submitted by katiea40 on Sat, 04/07/2012 - 18:20

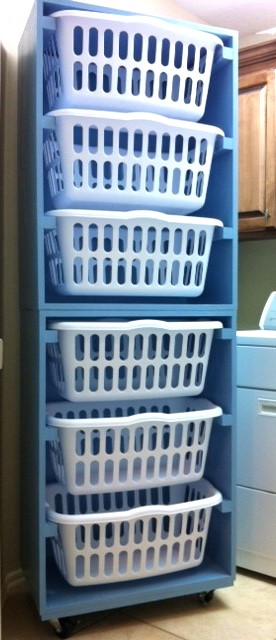
I saw this and thought - FINALLY...the answer to my laundry chaos! My husband built it for me this weekend with a couple of minor modifications. He put casters on the bottom, so I can move it to clean and sweep. He also added clear plastic drywall corner protectors over the 2x2's so that they paint is protected when the baskets slide in and out! Pretty clever! Oh, and I thought I was being super creative when I picked the color - and then saw that it is the EXACT color that you painted it! So much for that creative spark - but, I'll work on it! Thanks for the plans!

Built from Plan(s)
Estimated Cost
$100
Estimated Time Investment
Afternoon Project (3-6 Hours)
Finish Used
Primed and painted with high gloss finish.
Recommended Skill Level
Beginner

Extra Room for Little House

Submitted by masmith38 on Tue, 01/21/2014 - 13:57

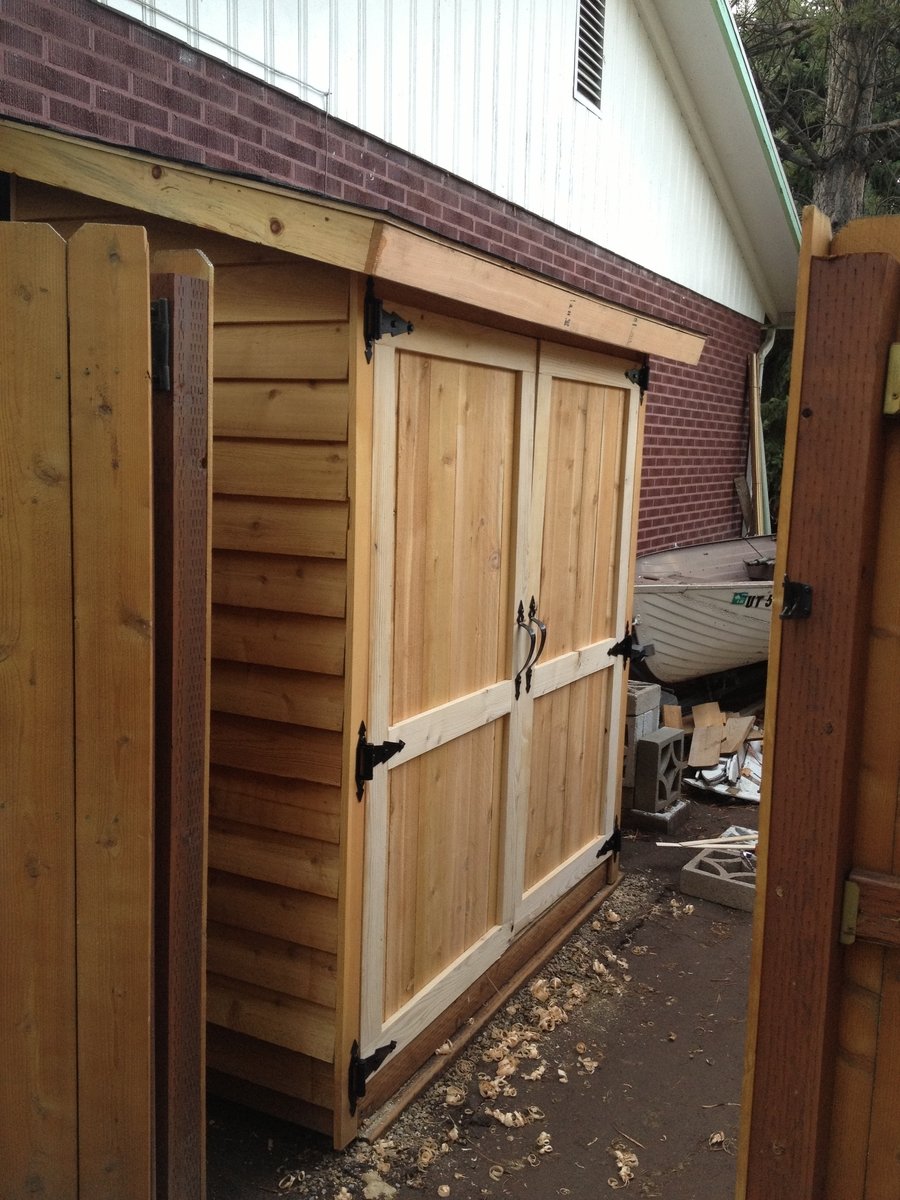
I have a tiny house and for additional storage I've been drooling over building this for a good long time. I finally got some extra money that I could dedicate to it. Having to have a major surgery at the end of last summer I knew I couldn't do a garden because of how every day I didn't know how I would feel. I did know that I could work a little at a time when I felt I could and get as much done as possible on a shed. By the end of the summer I had an awesome shed thanks to Ana and her plans. I had to do my own research for the base and how to sit it on the ground. I chose to dig 2 trenches in the dirt, put small gravel in and put 2 pressure treated sleepers to rest my bottom deck on. I also primed the plywood floor to try and help with less moisture through the different cycles of the year. Checked on it last week to put the Christmas decorations away and dry as a bone inside and all looking as good as I had hoped on the outside.

Built from Plan(s)
Estimated Cost
$450-$500
Estimated Time Investment
Week Long Project (20 Hours or More)
Finish Used
Be sure to glue as you are attaching the cedar pickets or whatever material you use to the frame. I chose not to at first and my nail gun staples ended popping out. I went back and glued after the fact. Not a great use of time, but live and learn. I also used on the fir stripping, front and side pickets some 'natural' color BEHR wood treatment. It doesn't have to be removed or treated in order to apply another coat in the future. Gives the wood some good moisture and a tiny bit of color to help it not turn gray.
Recommended Skill Level
Intermediate

Comments