Community Brag Posts
Weekend Project King Bed
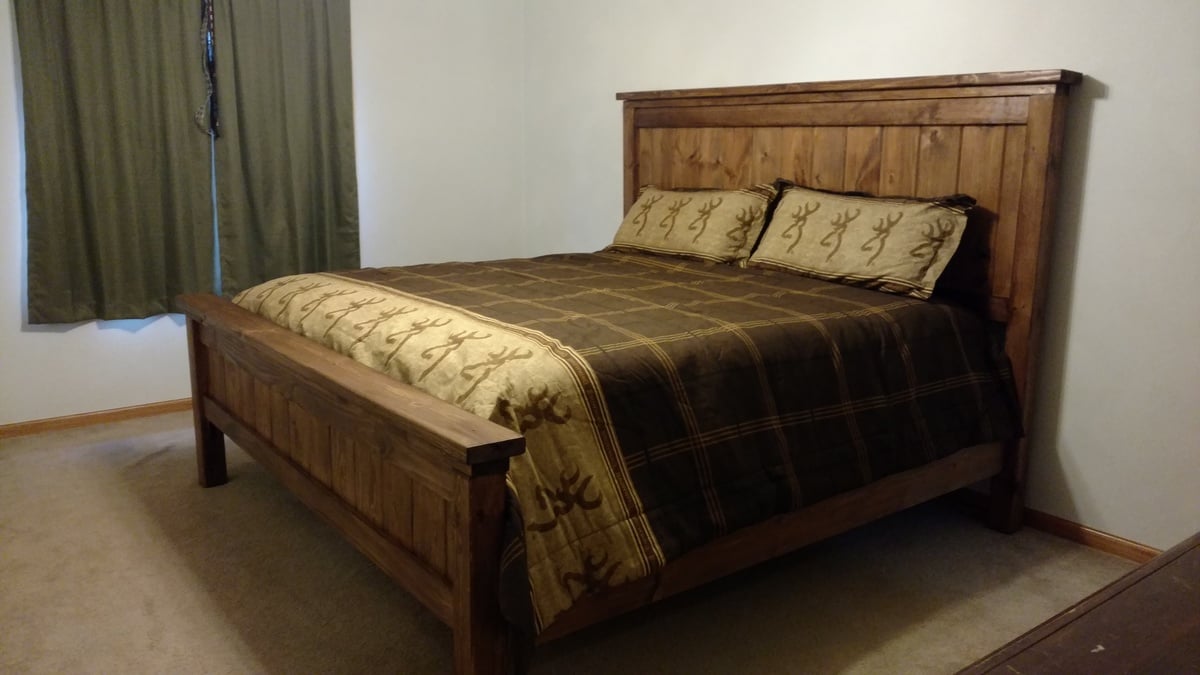
First ever wood project. Under $200 in materials! Less than a weekend of work (for two people). Beautiful results!!!!! Built from plans on Ana-White.com The only change we made to the build was adding some additional support legs in the middle of the bed.
Built from Plan(s)
Estimated Cost
$200
Estimated Time Investment
Weekend Project (10-20 Hours)
Finish Used
Satin Medium Walnut
Minwax water based poly stain combo
Minwax water based poly stain combo
Recommended Skill Level
Beginner
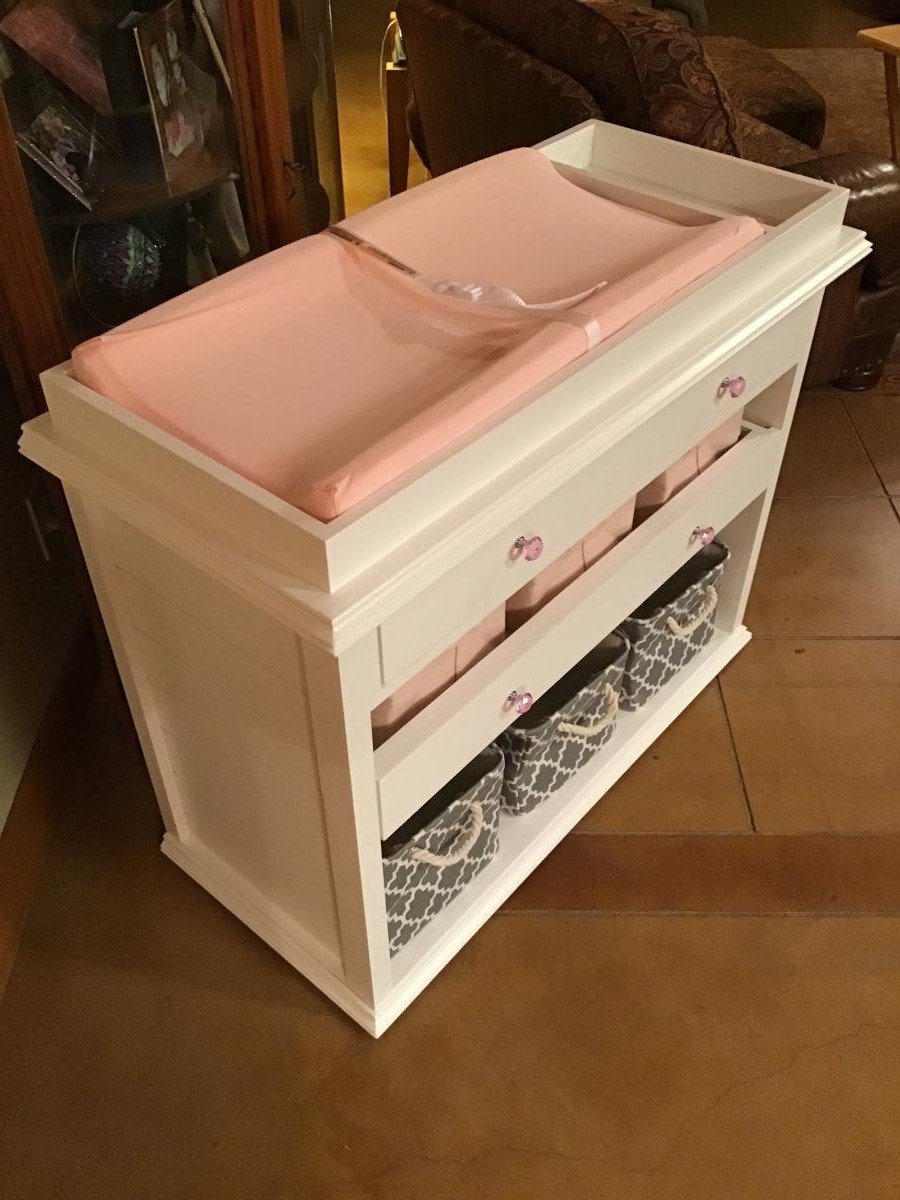
Baby Changing Table for First Granddaughter
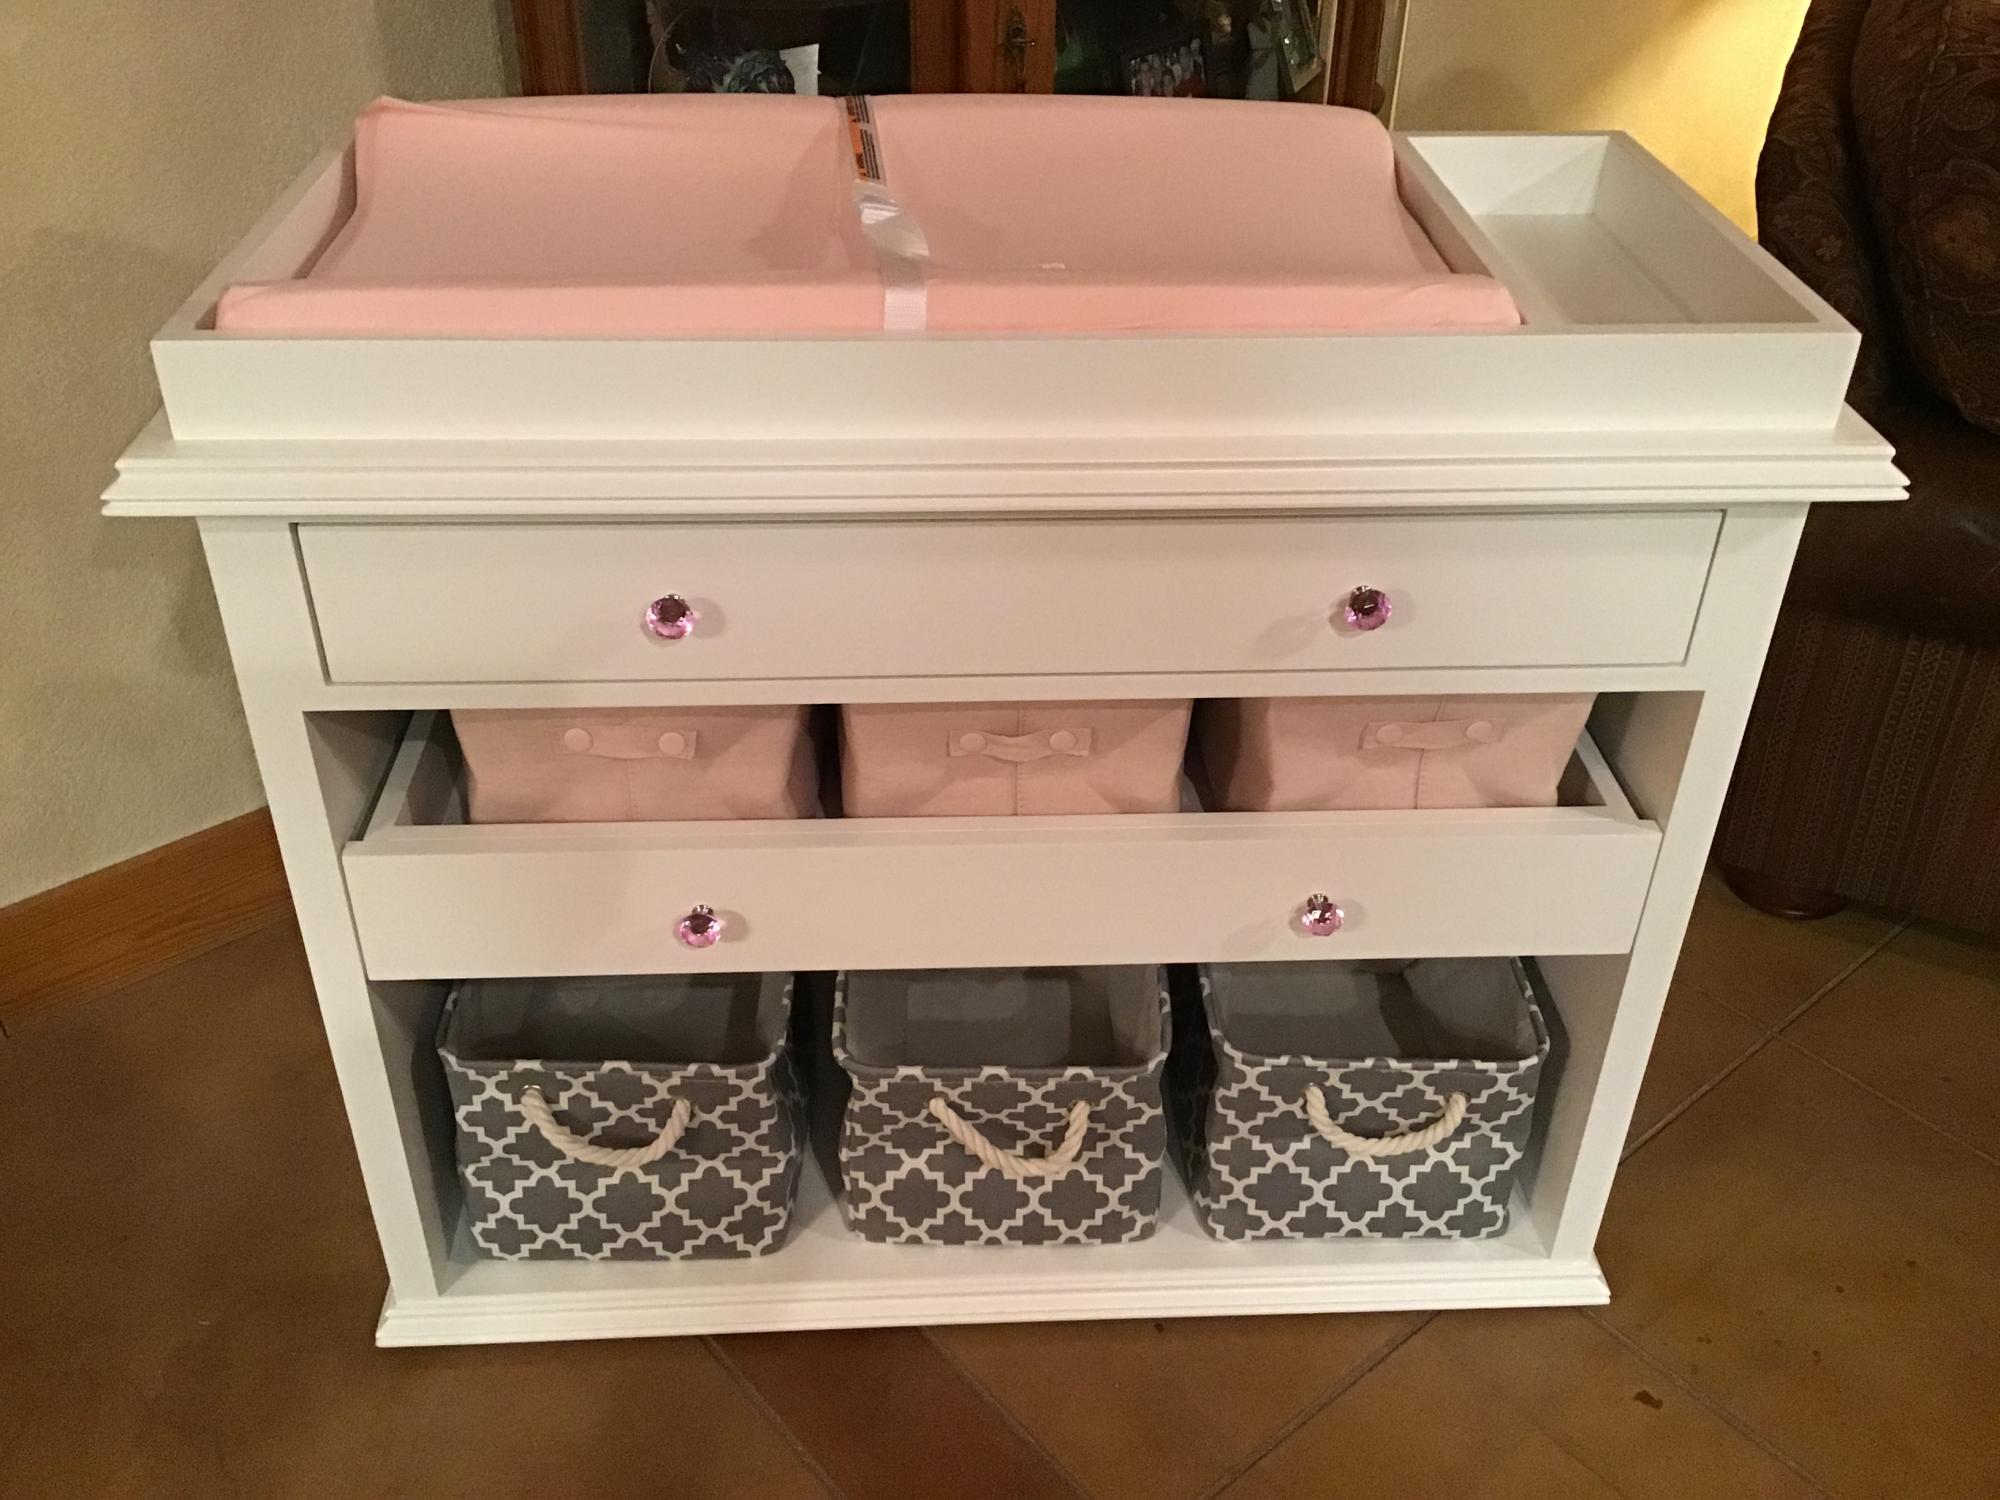
We are expecting our first granddaughter in October 2021. We used Ana White’s plans for a baby changing table as our inspiration and this design was the outcome of our efforts. We surprised our son and daughter-in-law and they were elated!


Built from Plan(s)
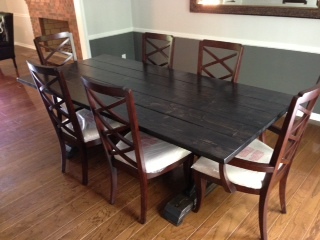
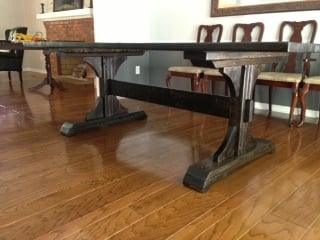
Double Pedestal Table (Modified from Triple Pedestal and Farmhouse Table Plans)
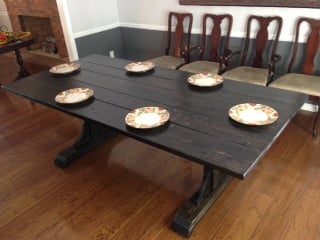
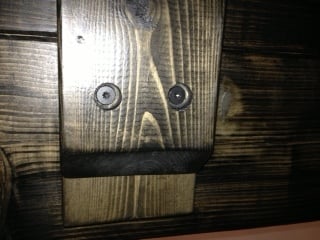
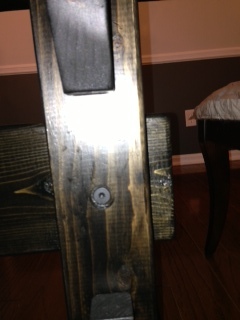
This was my first build and I had a blast! Let me say at the outset that if I can build this table with limited tools and expertise, then so can you! What I lack in know-how, I made up for by not being afraid to try something new. If you do the same, you can sure build this table. This table combines Ana's Triple Pedestal Dining Room Table (pedestals from this plan) and her Farmhouse Table (tabletop modified from this plan). Because Ana's plans are so great and thorough, I will only make note of a few key areas where I either tried something different or where I recommend paying extra close attention. First, on the tabletop, I reduced the length to 90 inches to accommodate our space, and therefore eliminated the center pedestal. As you can see, I alternated 2x10's and 2x8's. I also eliminated the breadboards simply because my wife and I preferred the rustic plank style. I also moved the pedestals in to allow a full 15 inches for a chair to slide underneath. When constructing the tabletop, I used both glue (clamped) and pocket holes on the underside. Don't overdo the glue, as it will tend to drip down (which is the top of the table...I had some drip issues). I also strongly recommend buying/borrowing clamps to keep the top flush or making them from 2x4's as I did. I worked hard on this part, and I'm glad that I did. It was still hard to keep it flush. On the pedestals, I used slightly bulkier decorative pieces (I started the arcs 1.25" from the edge on both ends of the arc). I also attached the top plank directly to the underside of the tabletop rather than to the top of the pedestal in order to both bolster the tabletop and to more easily attach the pedestals precisely where I wanted them. Finally, I drilled shallow flat-bottom holes and used wood bolts to fasten both the pedestals and the crossbeam. This created a nice-looking, low-profile fastener that still enables disassembly should we ever need to move the table (it is HEAVY fully assembled!). The finish is two coats of Minwax Ebony Wood Finish (pre-treated with Minwax Wood Conditioner) and three coats of Minwax Fast-Drying Polyurethane (two coats on pedestals). Thank you, Ana, for the inspiration! Our family has a new table because of it! Thanks to all of you for sharing in our excitement, and I'm happy to share dimensions/details/etc should it be helpful to anyone.
Built from Plan(s)
Estimated Cost
$200
Estimated Time Investment
Week Long Project (20 Hours or More)
Finish Used
Minwax Ebony Wood Finish - 2 coats (pre-treated with Minwax Wood Conditioner); Minwax Polyurethane Satin Clear Coat - 3 coats on tabletop, 2 coats elsewhere
Recommended Skill Level
Intermediate
Comments
Wed, 05/01/2013 - 09:16
Nice job! I really like all
Nice job! I really like all your modifications. I'm bookmarking this!

Wed, 05/01/2013 - 12:56
That looks awesome!
I love what you did with the "arcs" (gotta be careful with words synonymous with this - the word "arches" makes me cringe since I had to rip arches out of nearly all the doorways in my house ;-))! Not sure that I'll ever get around to using this idea, but I must say that I love it!
Thu, 07/18/2013 - 05:17
Excellent Job!
Beautifully done, I like the modifications. Could you please share the dimensions and any detail info please…much appreciated.
Mon, 08/19/2013 - 10:41
Reply to Pabs
Thanks for the kind words. I think I included all of the measurements that differed from the two plans used, but is there a specific measurement(s) that you are looking for? If so, I'd be happy to provide it. Good luck!
Sun, 03/09/2014 - 17:23
Sizes and cuts
Could you give me some sizes on the bottom posts? Cuts of 2x4's for the posts etc..
How far apart did you mount the 2 pedestals? We will be putting it in front of a corner bench.
Thanks
Sun, 03/09/2014 - 18:47
Cuts
The uprights for the pedestals are 22". When you add in the tabletop, the four lateral pieces, and the feet, the table is 30 1/4" tall. As for the spacing of the pedestals, I chose to allow 15" from each end for the chairs to slide all the way under. But it's plenty stable and you really have plenty of freedom here, depending on how many chairs you want to use and how long your table will be.


Mon, 08/03/2020 - 07:25
Love this plan!
I have used this plan to build 2 tables and they are both awesome!
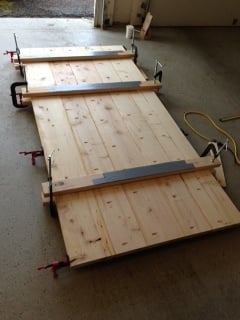
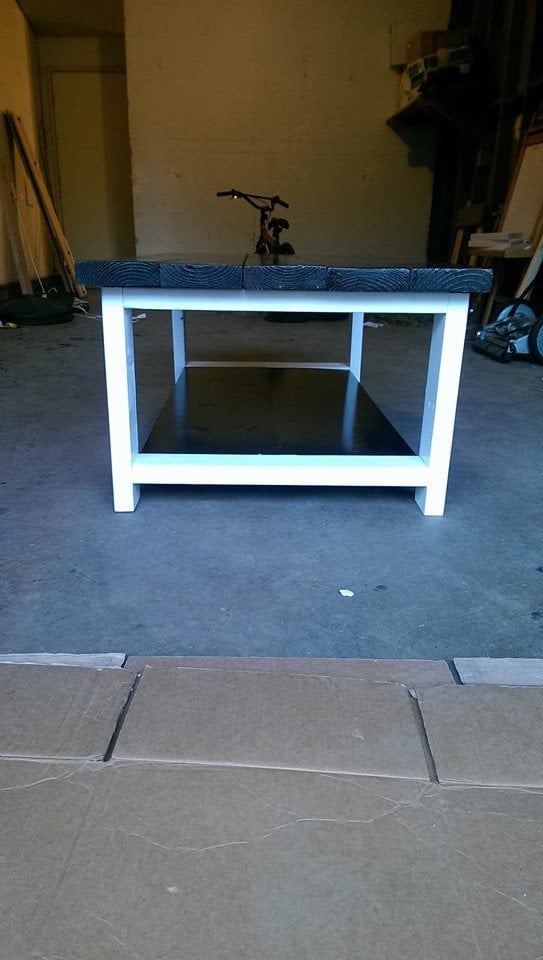
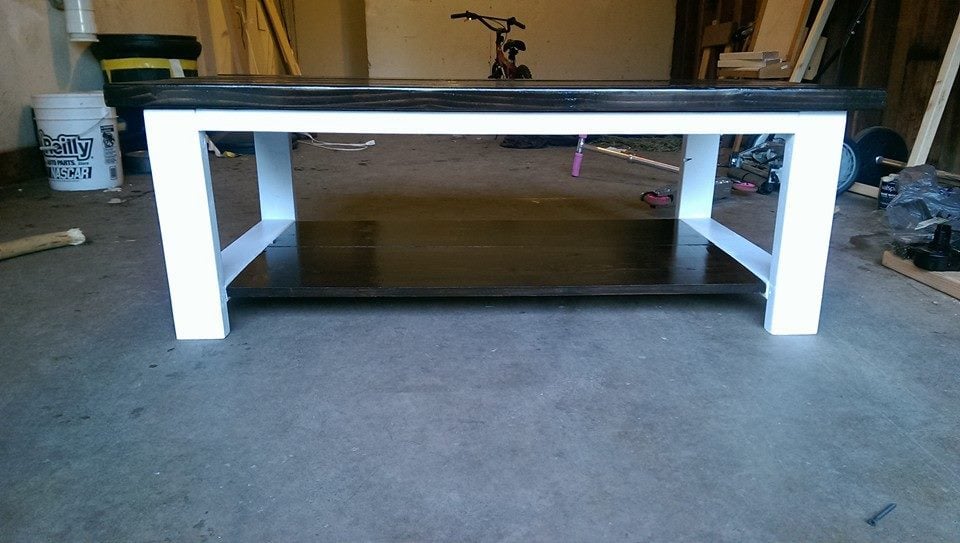
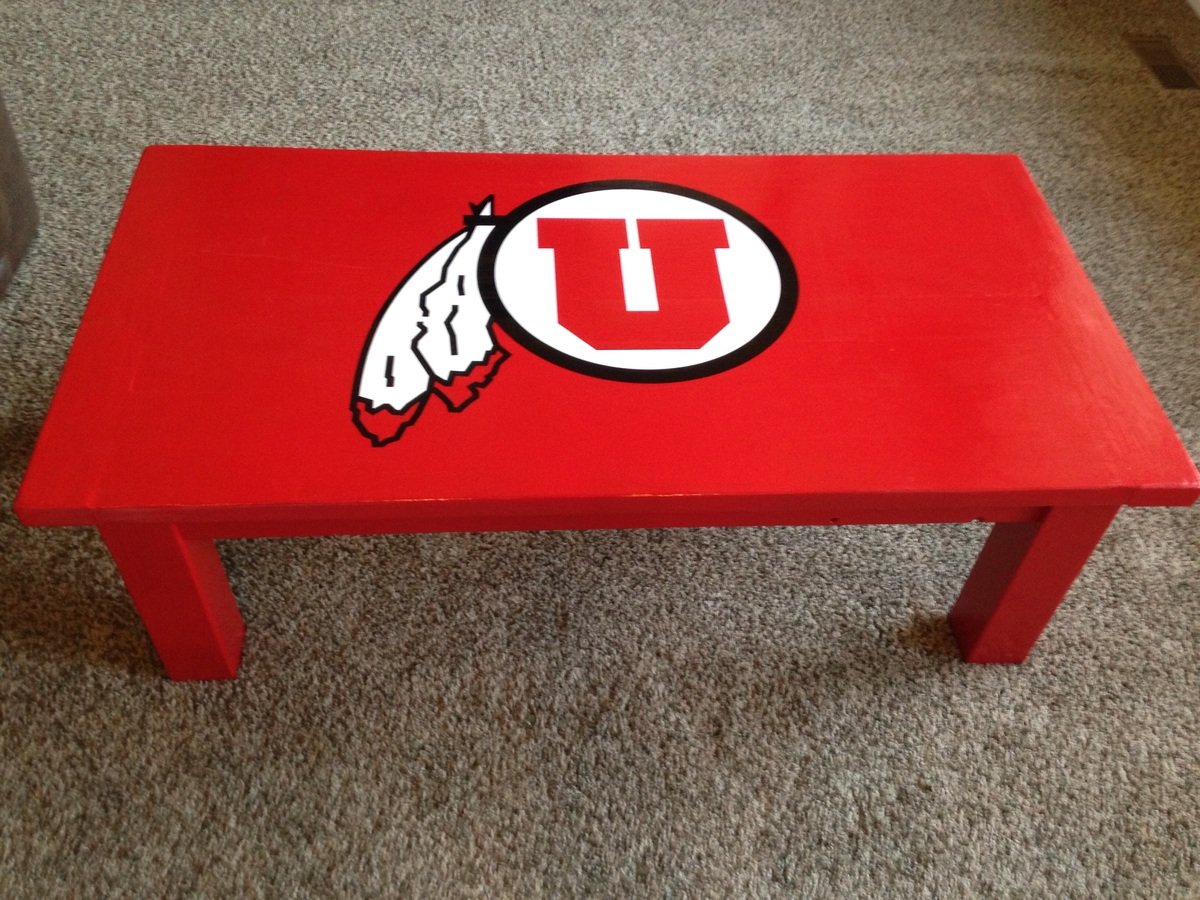
Coffee Table
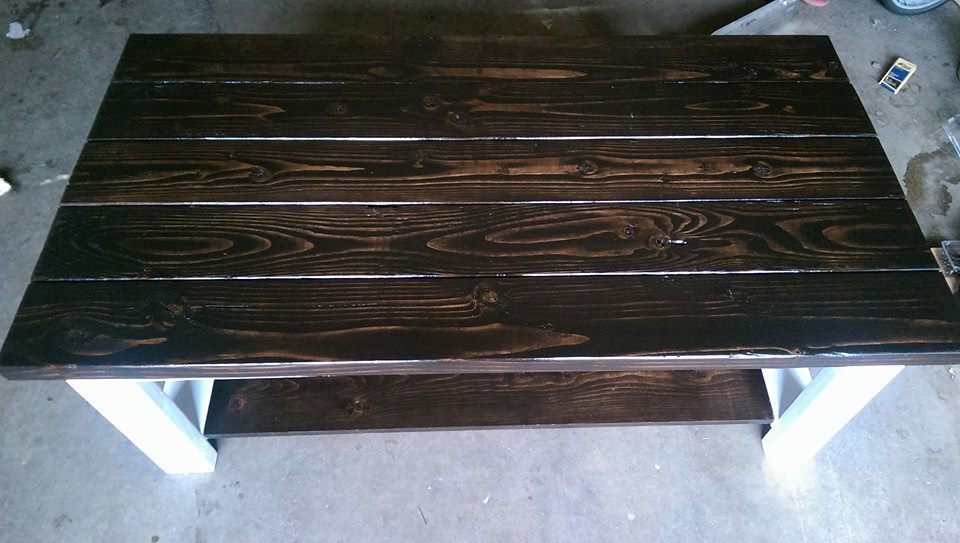
Second coffee table I made following these plans. Took me a while to complete only because I was on 12 hour shifts at work, but I tracked the time it took me to finish it and it was 5 hours.
Built from Plan(s)
Estimated Cost
$65-$75
Estimated Time Investment
Afternoon Project (3-6 Hours)
Finish Used
The base is painted with a white semigloss paint and the tabletop and bottom shelf is stained kona with polyurethane. I did multiple coats of each product.
Recommended Skill Level
Beginner
Comments

Rustic Lanterns

I always have heaps of scrap wood so I decided to make some lanterns.
These lanterns are larger than the last lanterns I made.
They are huge and they make a great statement.
I used old rusty fencing wire for the handles.
I also added some alluminium sheet to the 'ceilling' of the lantern so that there is no risk of burning.
The only cost was for the candles.
Estimated Cost
$0 made from scrap wood.
Estimated Time Investment
An Hour or Two (0-2 Hours)
Finish Used
walnut stain
Recommended Skill Level
Beginner
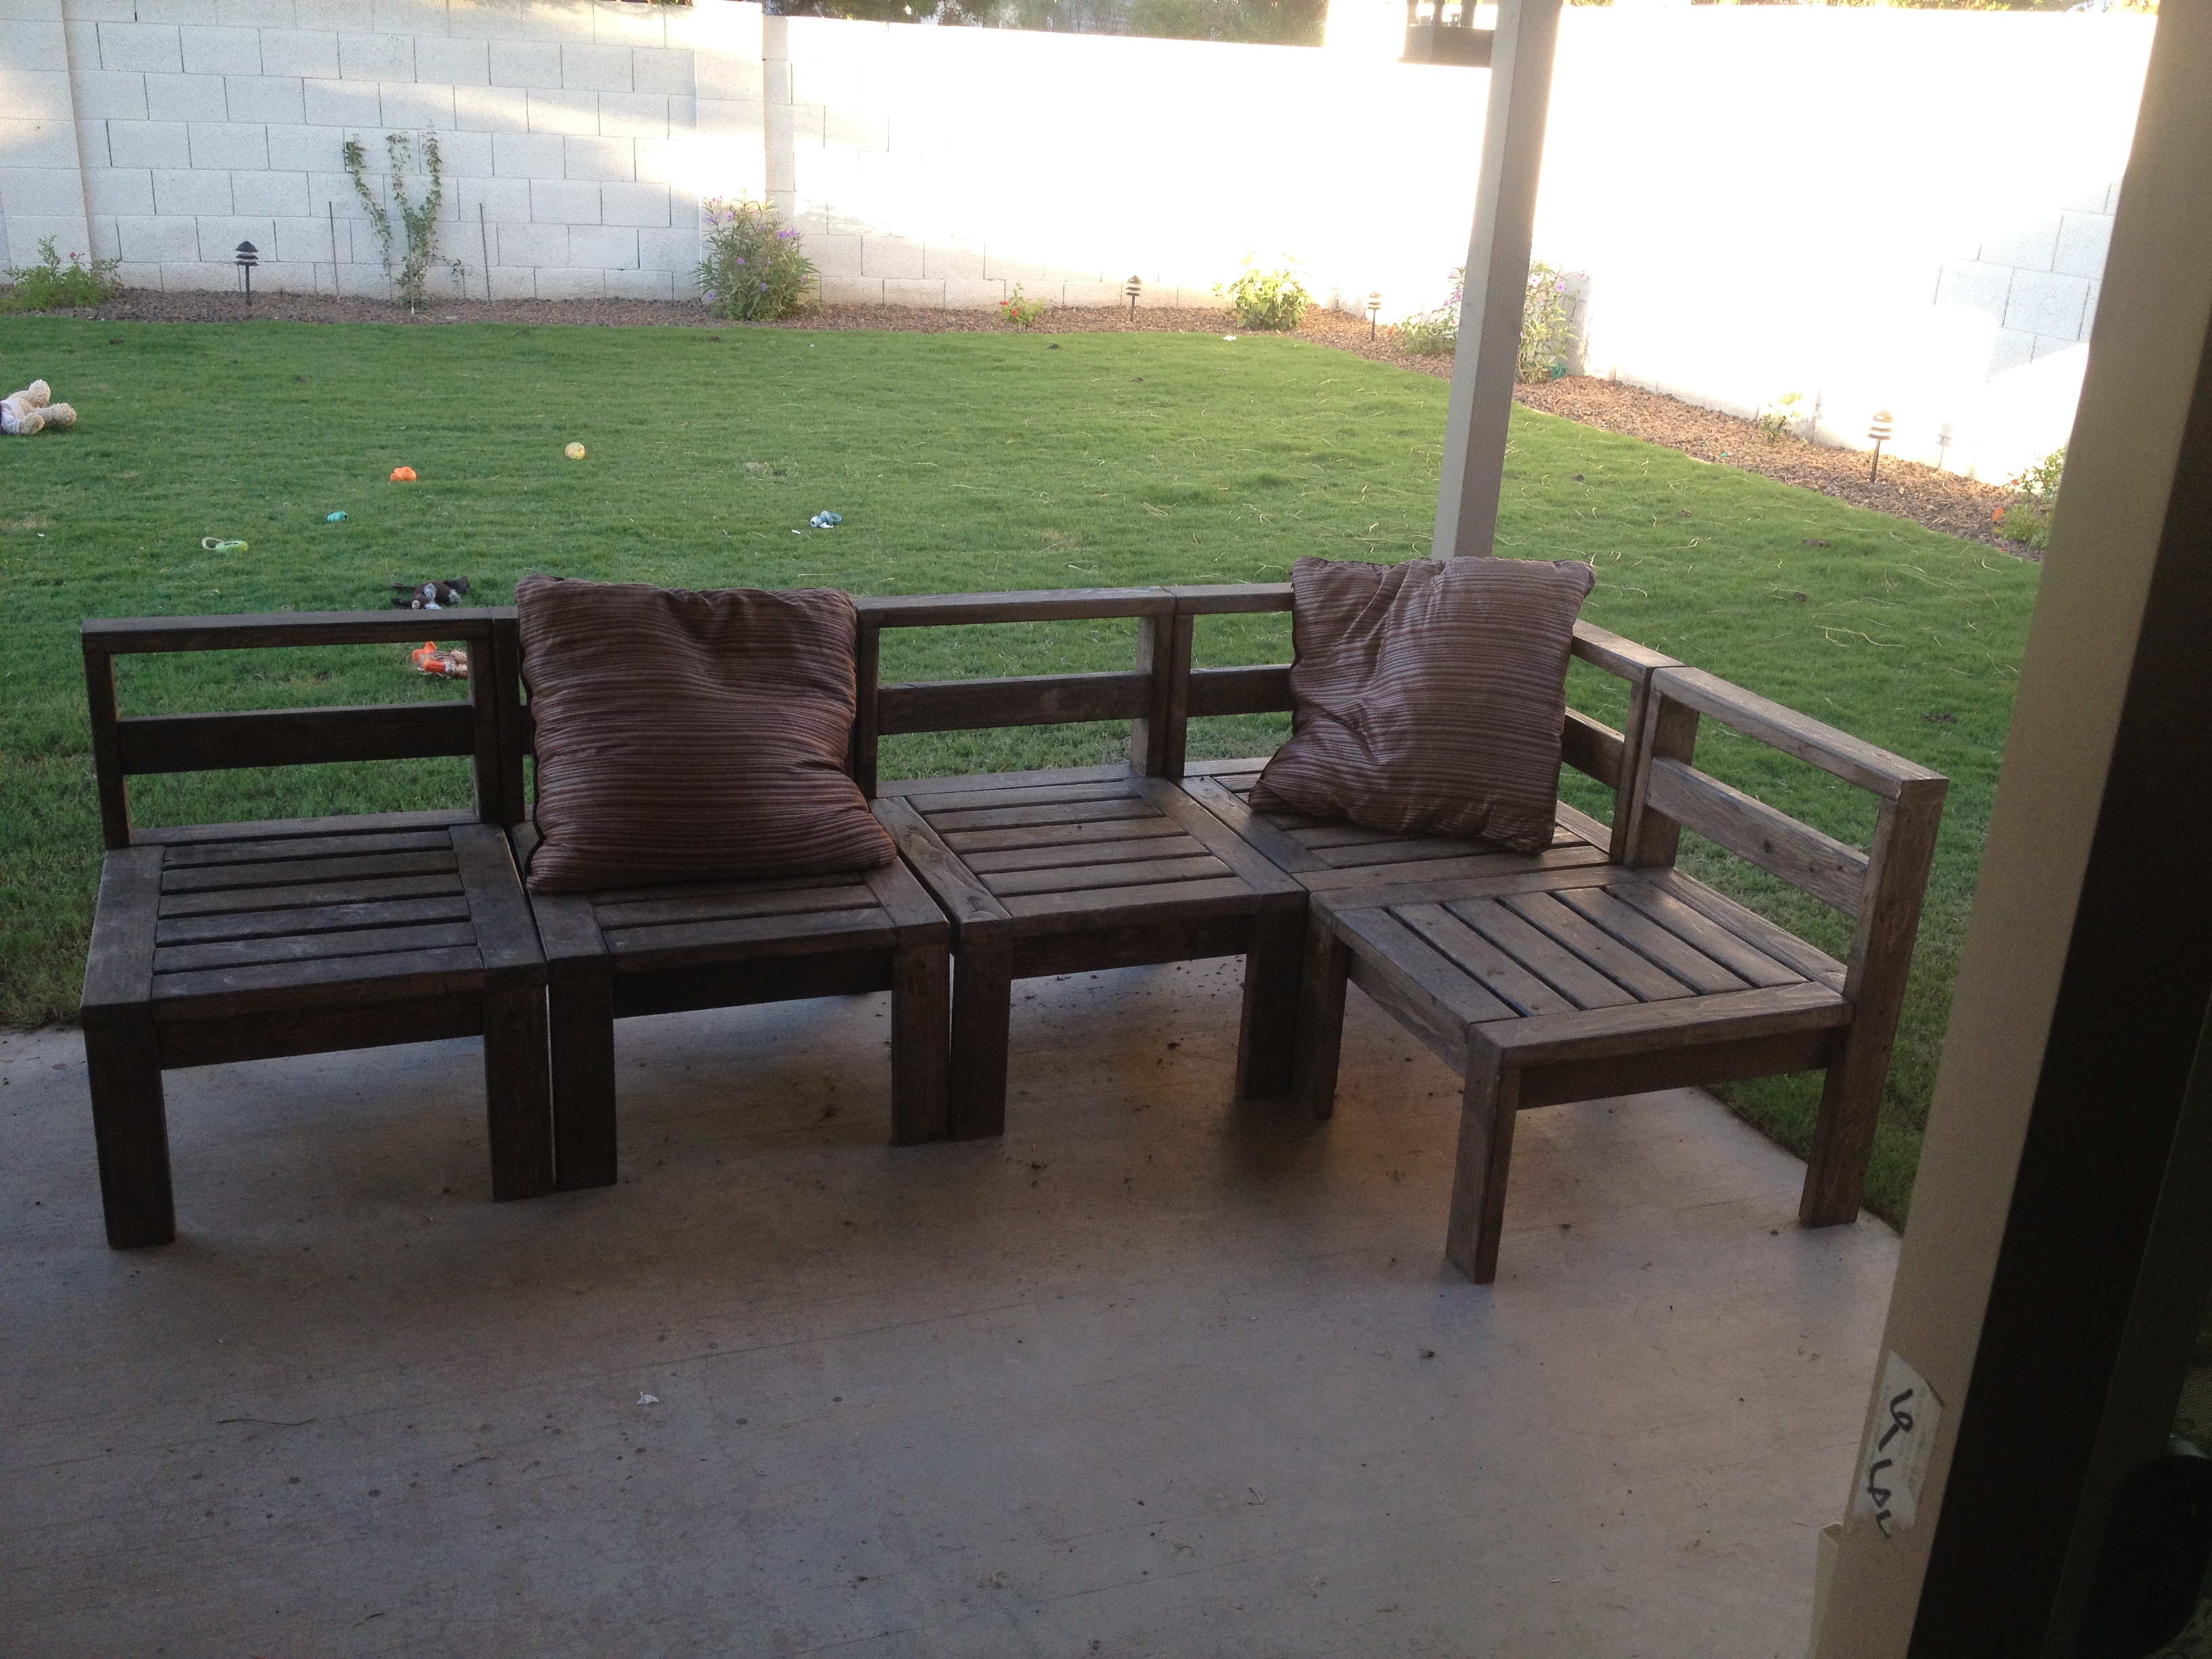
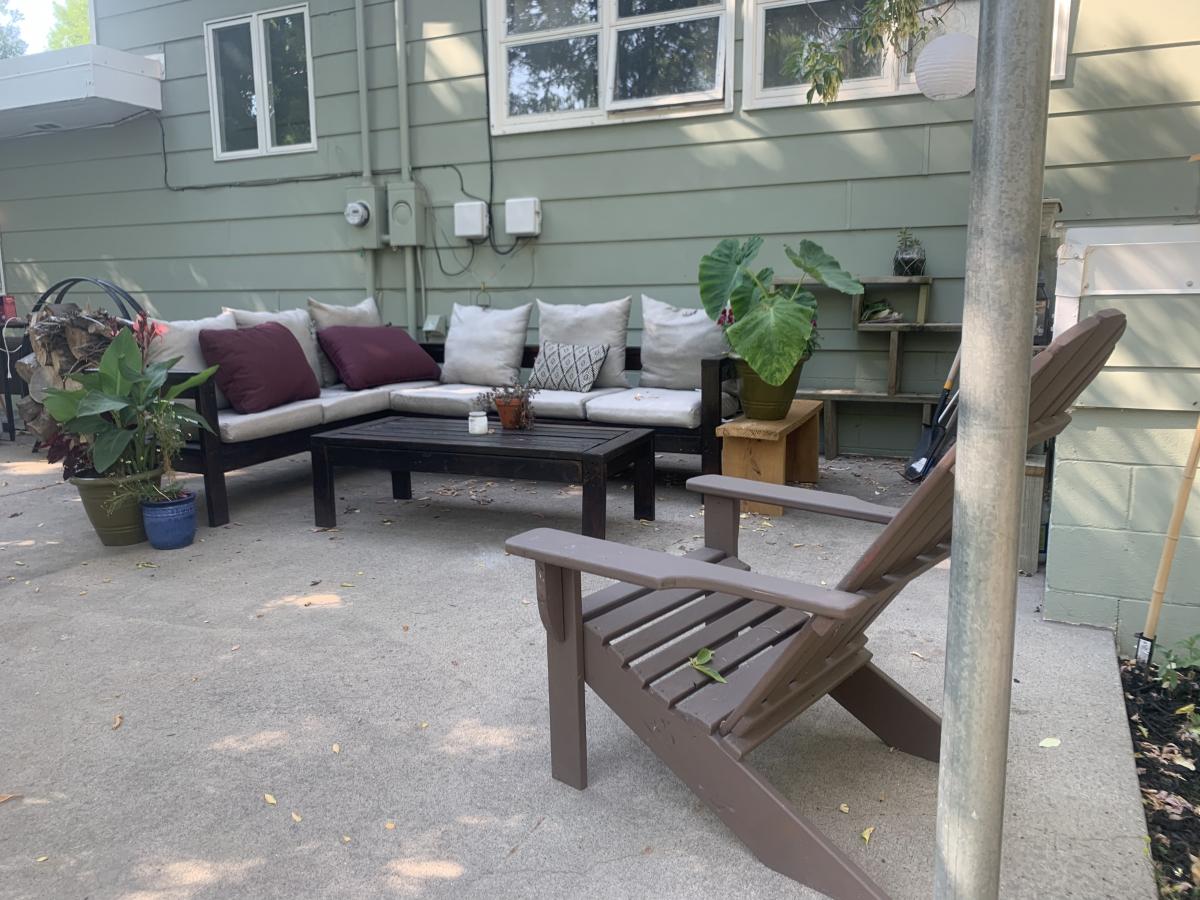
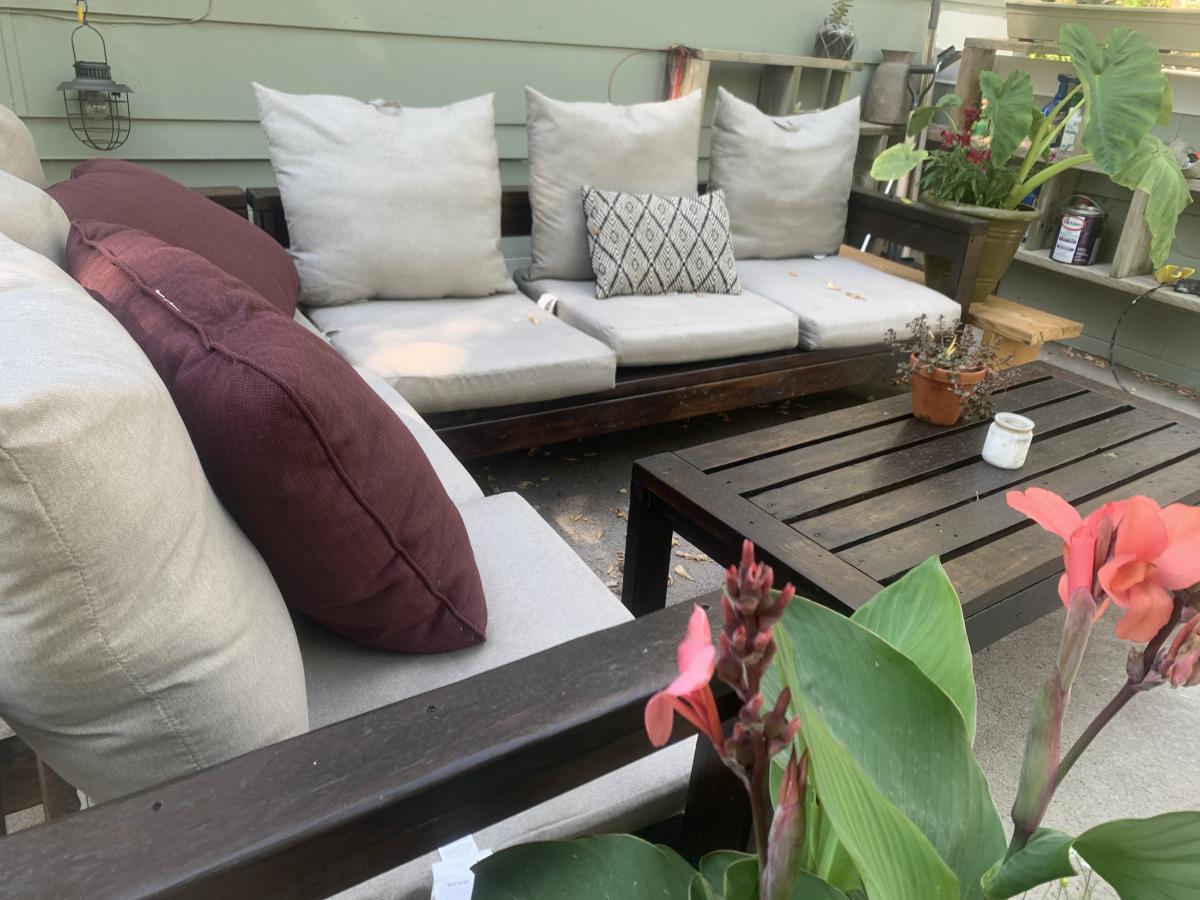
Scrap twisted stud outdoor sectional and table
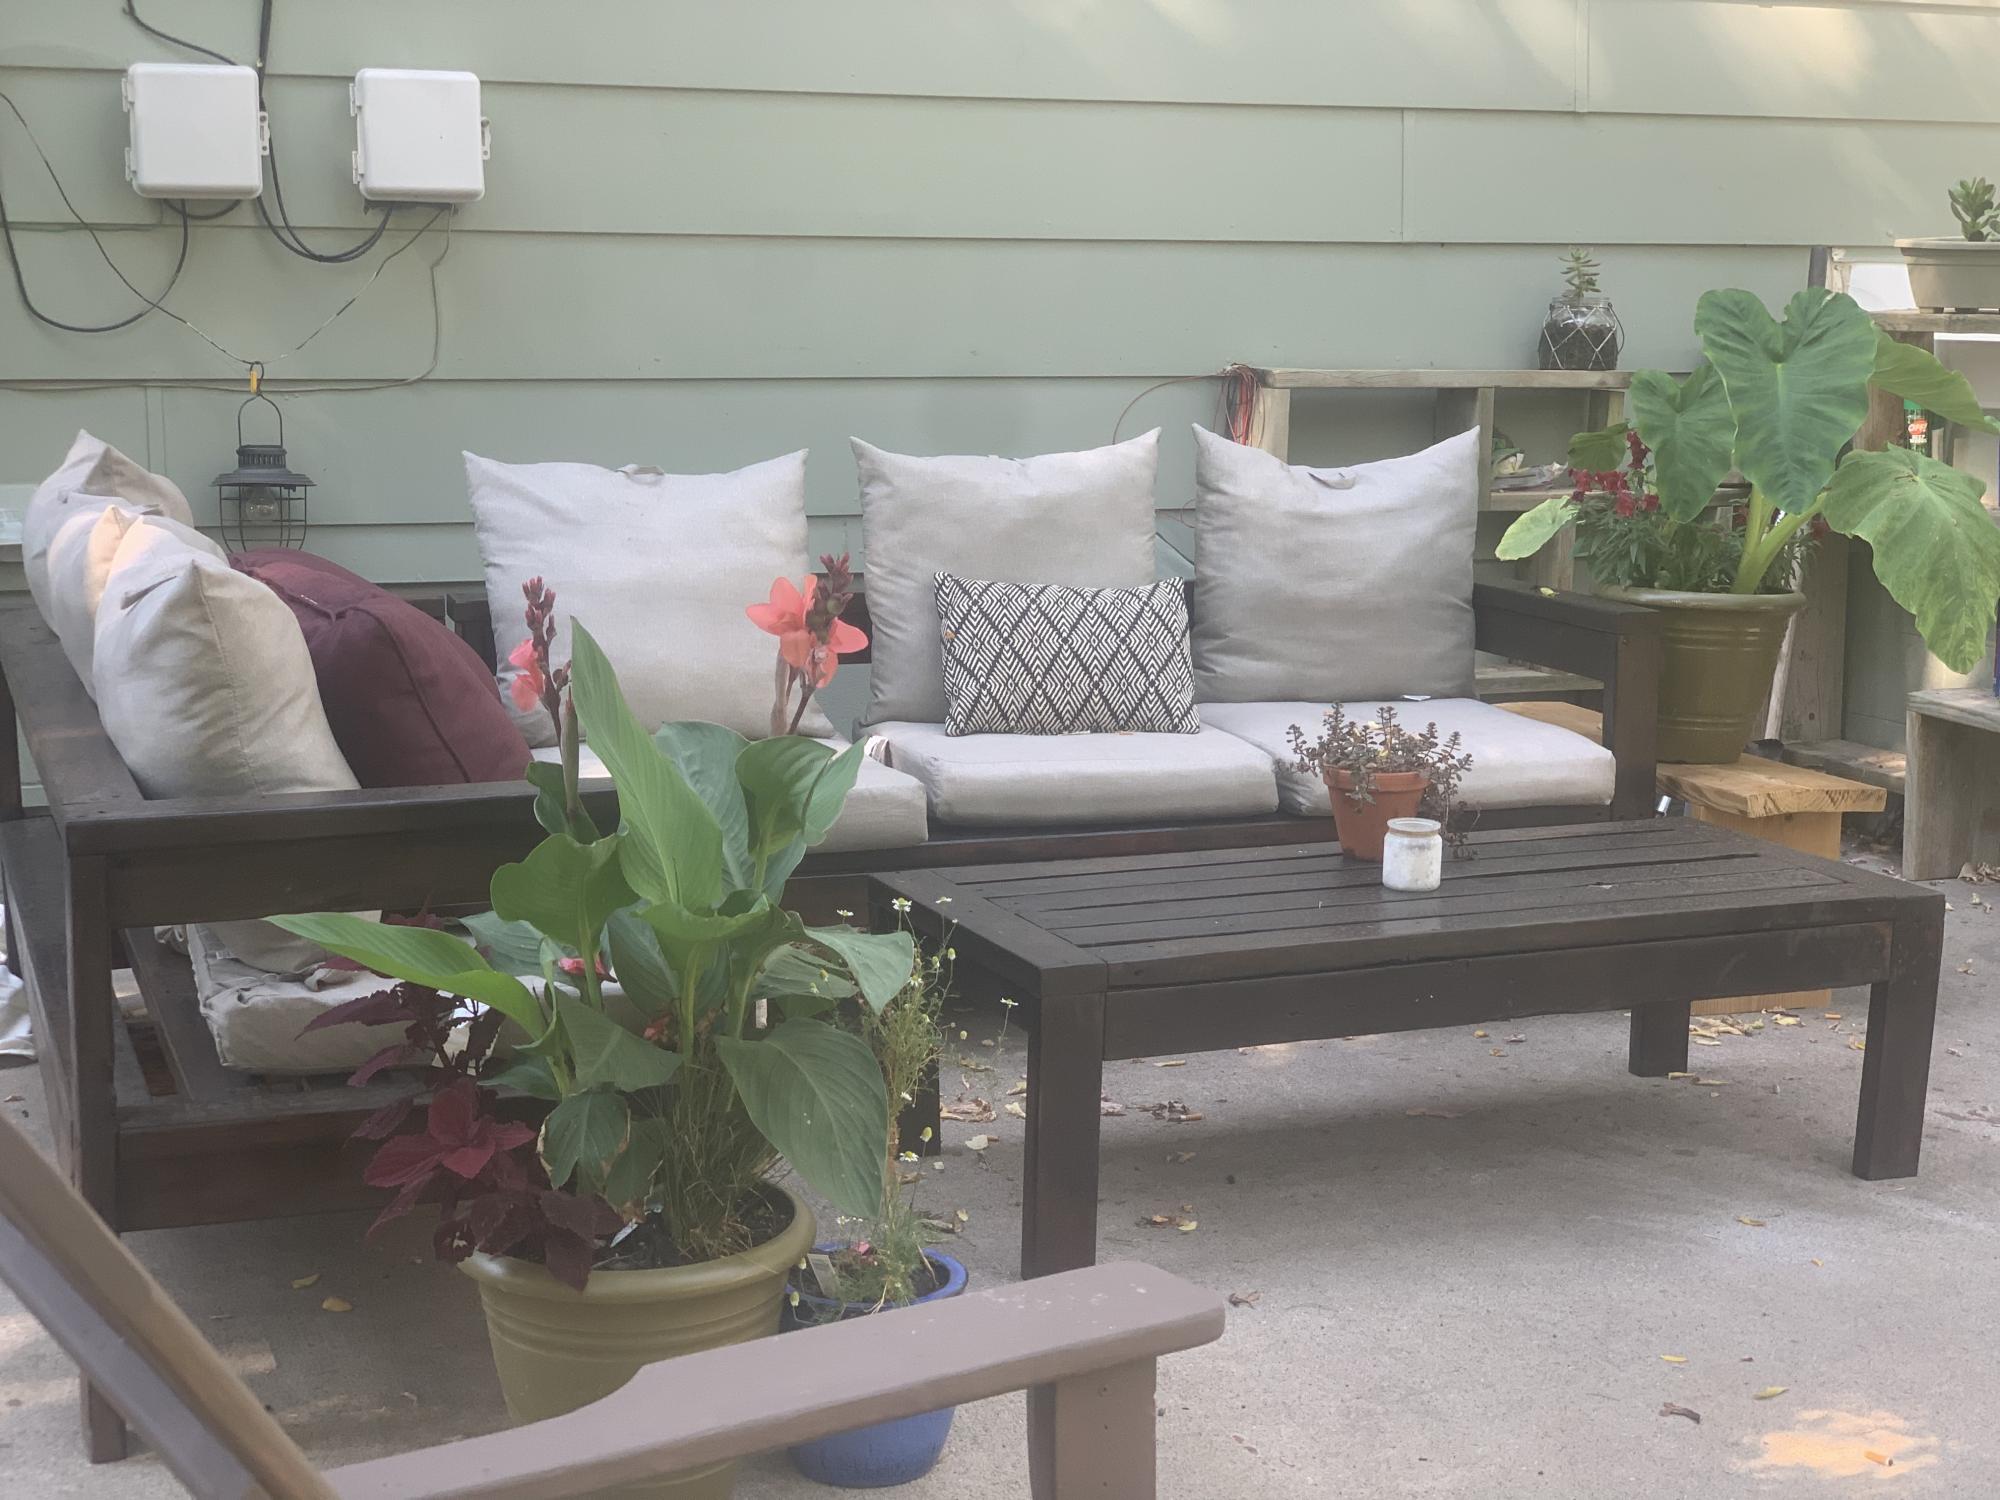
What to do with leftover twisted wood? Utilitarian single moms I straightenand make the outdoor sectional and table. Been wonderful.


Comments
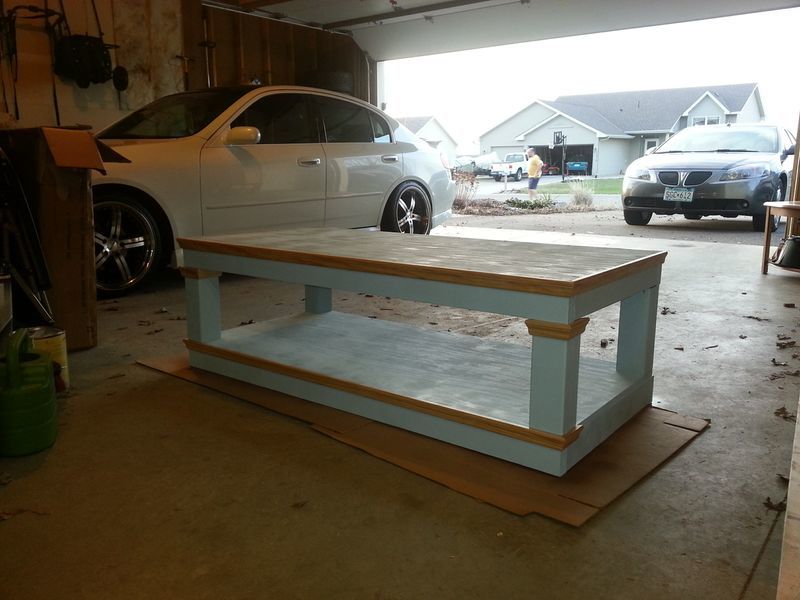
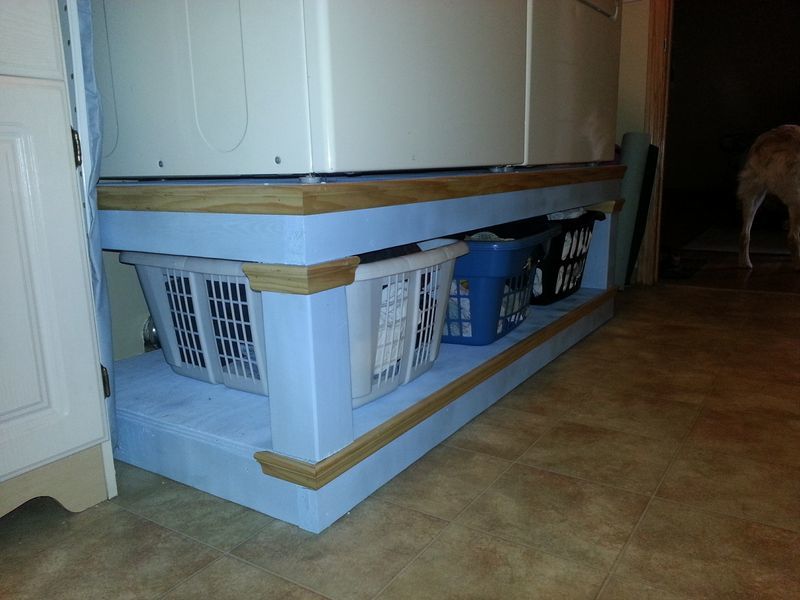
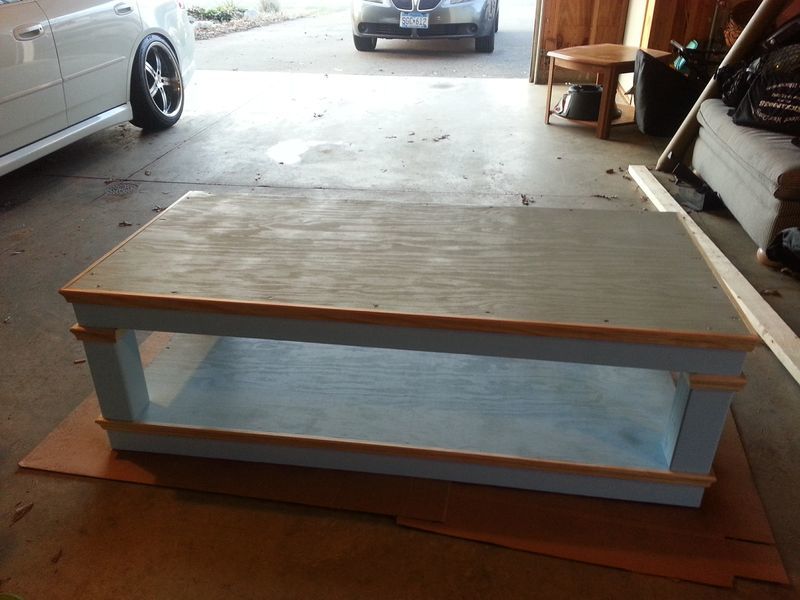
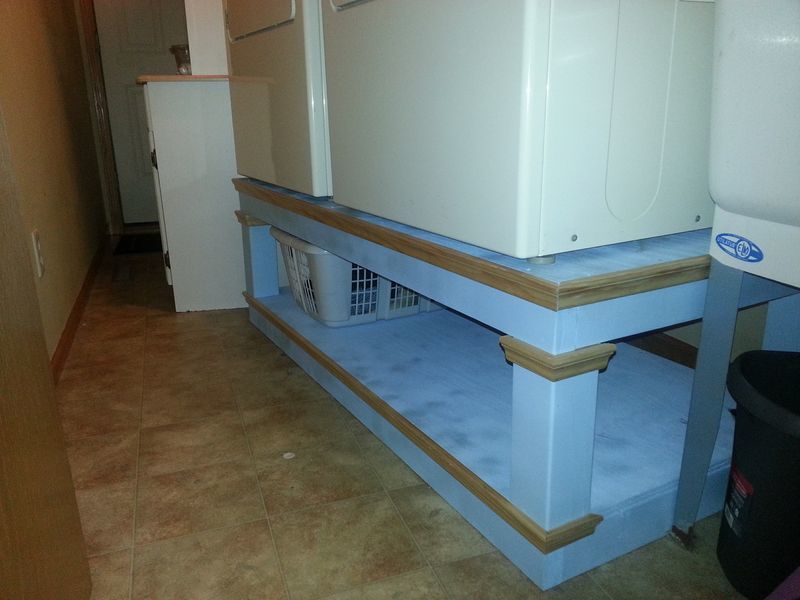
Pretty Blue Laundry Pedestal
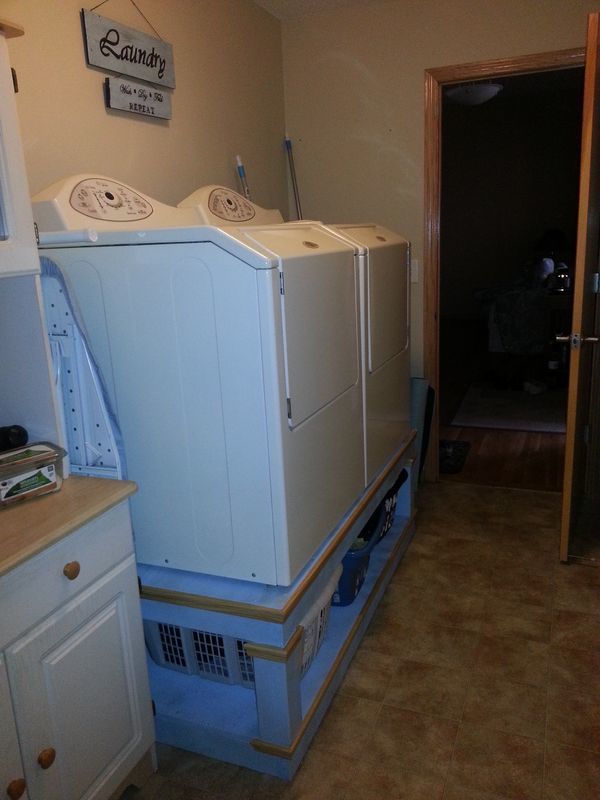
This was my first Ana White project and I couldn't be happier with the way it turned out! I didn't change any measurements. I did add trim along the top and bottom.
I was going to paint it white with blue trim but my white paint didn't look usable anymore. So I went all blue and I'm happy the way it turned out. I decided to leave the trim natural. I really like the blue pop in the laundry room!
Built from Plan(s)
Estimated Cost
$110
Estimated Time Investment
Afternoon Project (3-6 Hours)
Finish Used
A mistint paint I picked up at Home Depot. I painted with roller and brush. I sprayed with clear coat.
Recommended Skill Level
Beginner
Comments
Wed, 05/27/2015 - 06:47
Total Height
Hi, I am looking to build this and have the same washer/dryer set and wanted to know if you could tell me how tall this is from the ground to the top of the controls for the units. We currently have a closet these are in with shelving about the units so I don't have a lot of extra room. Thanks
Wed, 05/27/2015 - 22:32
Custom
That is the wonderful thing about building custom. You can build it to suit your space, machines and what you might want to store underneath. Machines can vary quite a bit so I'd suggest measuring your space, then you machines and find out how big you can build a pedestal.
Sun, 10/29/2023 - 14:18
Yes it's a nice job but i…
Yes it's a nice job but i will tell you something ....... As appliance technician this kind of pedestal is a nightmare for us ..lol
I suggest put some wheels under the pedestal in order to move it around if need
Just an idea
But is a beautiful work anyways
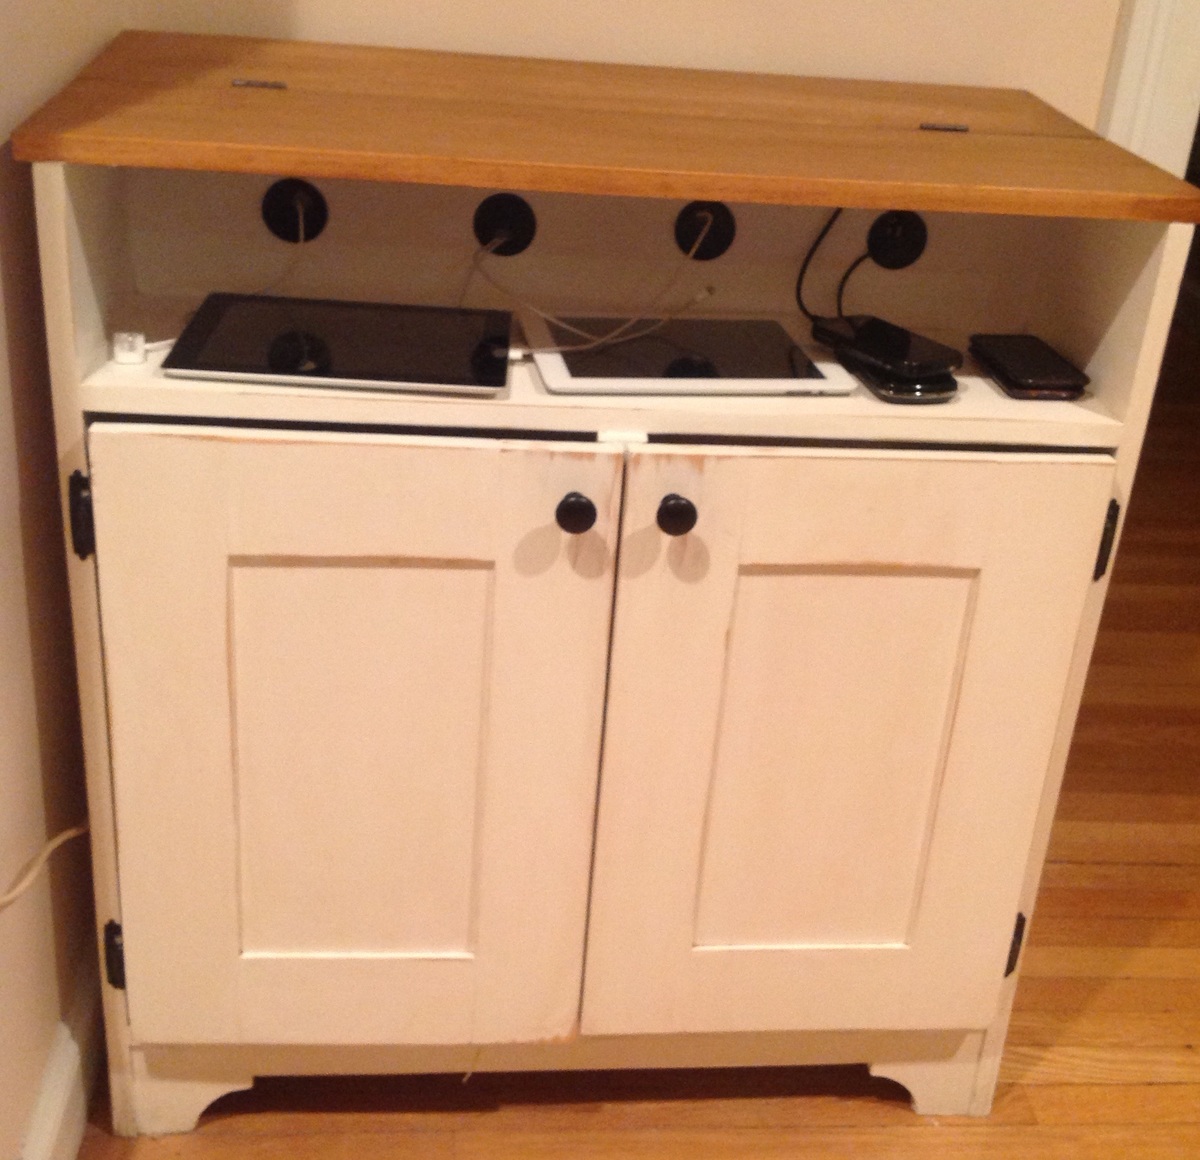
Charging table litter box
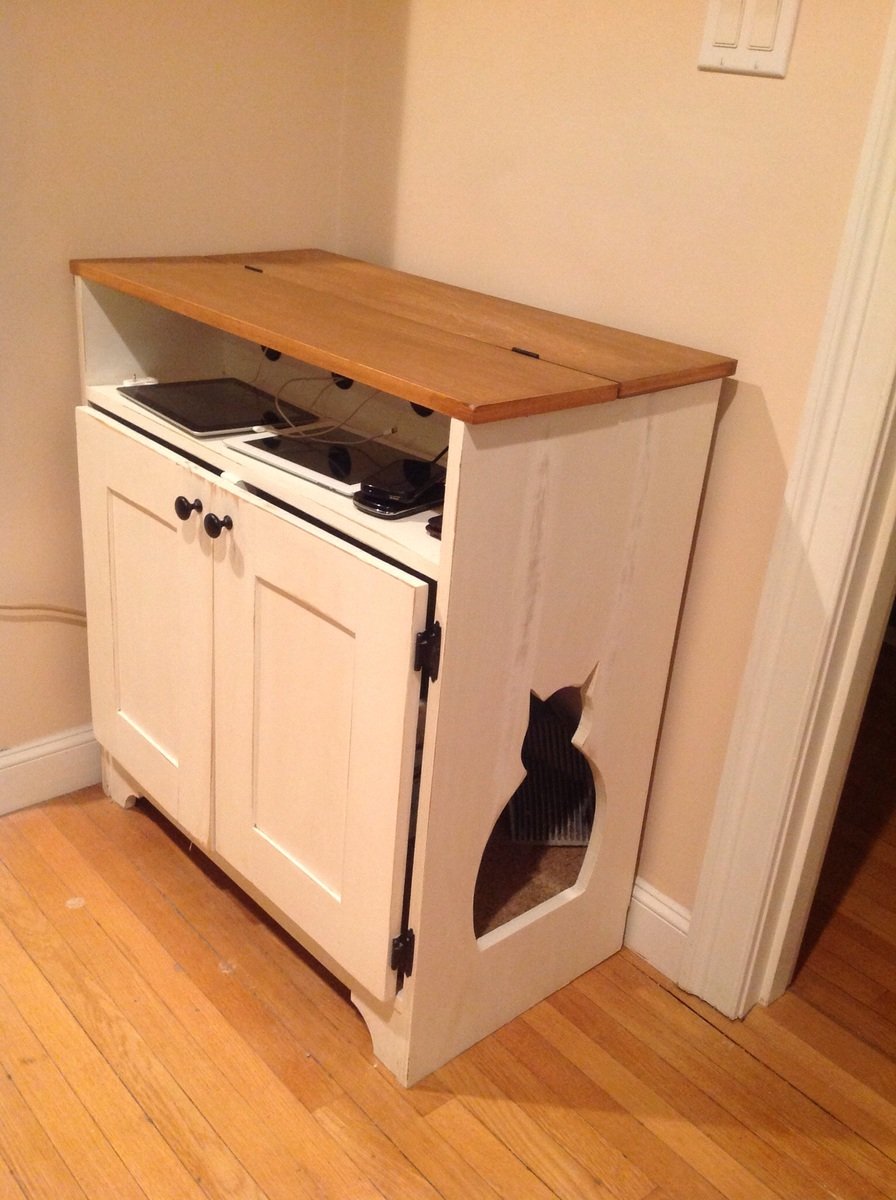
Adapted from plans for Bedside charging table. Made it taller and wider to accommodate a hidden litter box inside. Cut out a cat silhouette for entry through the side. Cabinet is big enough for litter box and extra litter and scoop. Antique painted white finish distressed by sanding and used a coffee glaze over it.
Built from Plan(s)
Estimated Cost
$100
Estimated Time Investment
Weekend Project (10-20 Hours)
Finish Used
White paint distressed the a coffee glaze to antique it.
Recommended Skill Level
Beginner
Comments

Mon, 03/23/2015 - 05:27
I love this! I especially
I love this! I especially love the little cat cut out :)

Ana White Console-my version!

Used the grandy sliding door console plans but modified due to space. Shortened it to a 5 foot length. Wanted rustic feeling so did a custom stain using a golden pecan mixed with golden mahogany. Being mindful of cost and used pine with bead board on the back. Super pleased with the result! Thanks for the ability to use your plans!
Built from Plan(s)
Estimated Cost
$125 without labor
Estimated Time Investment
Weekend Project (10-20 Hours)
Recommended Skill Level
Intermediate
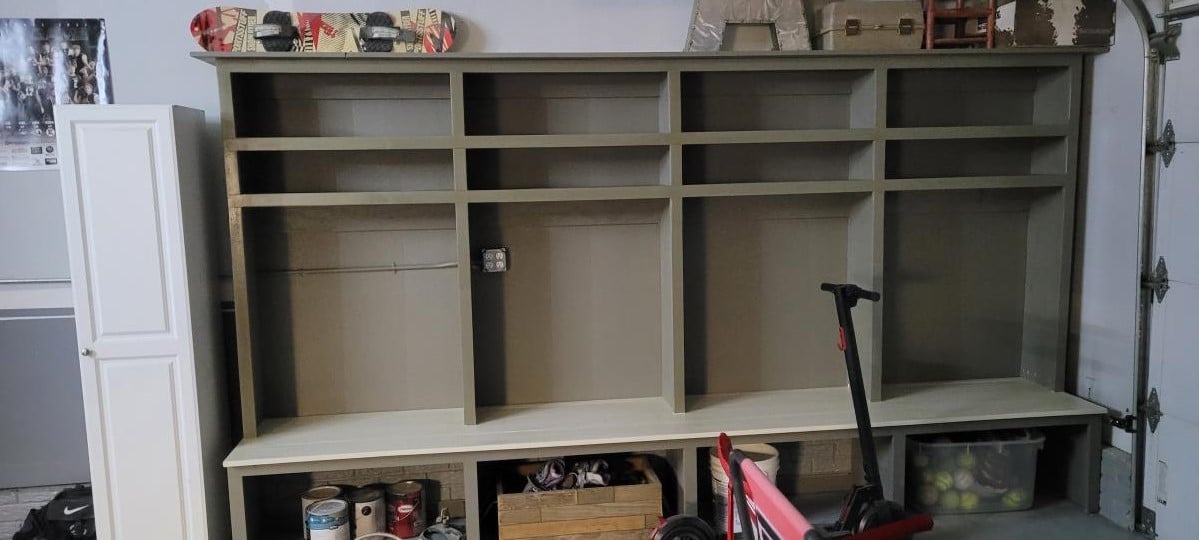
Open bench and hutch
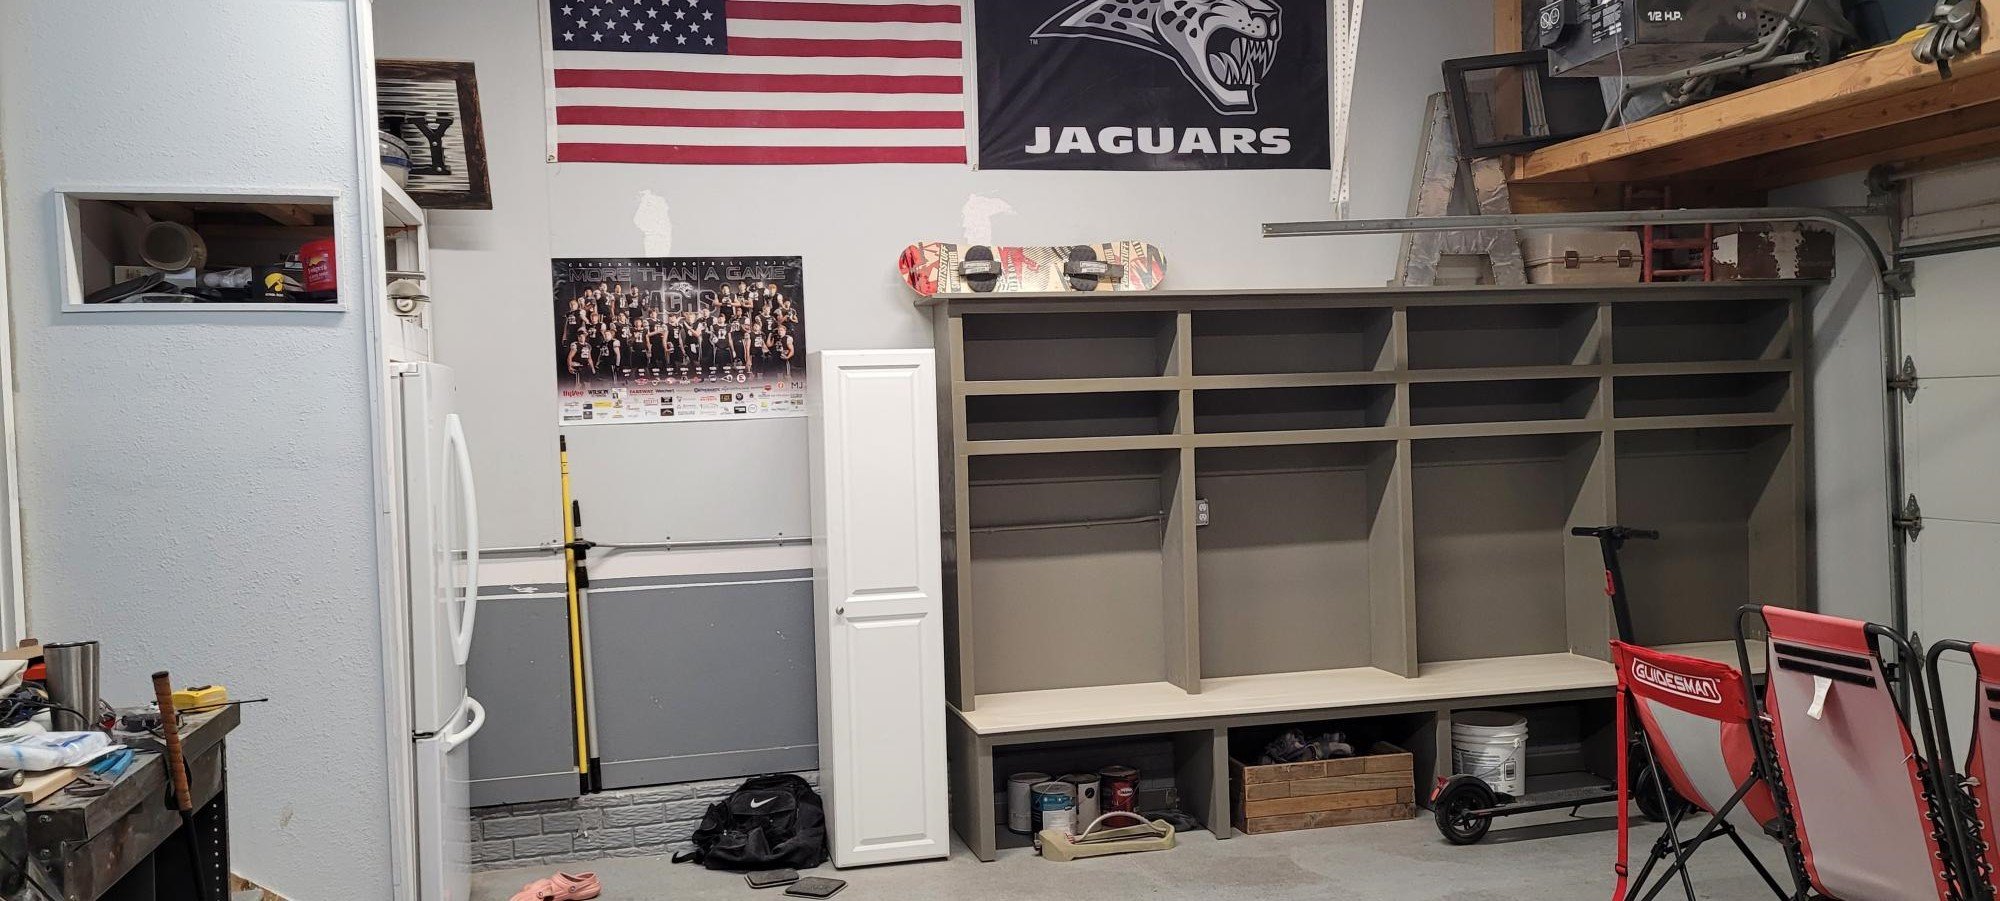
Thanks Anna for the inspiration. My bench is 12 feet long.
Comments
Teenage Mutant Ninja Turtle Bed
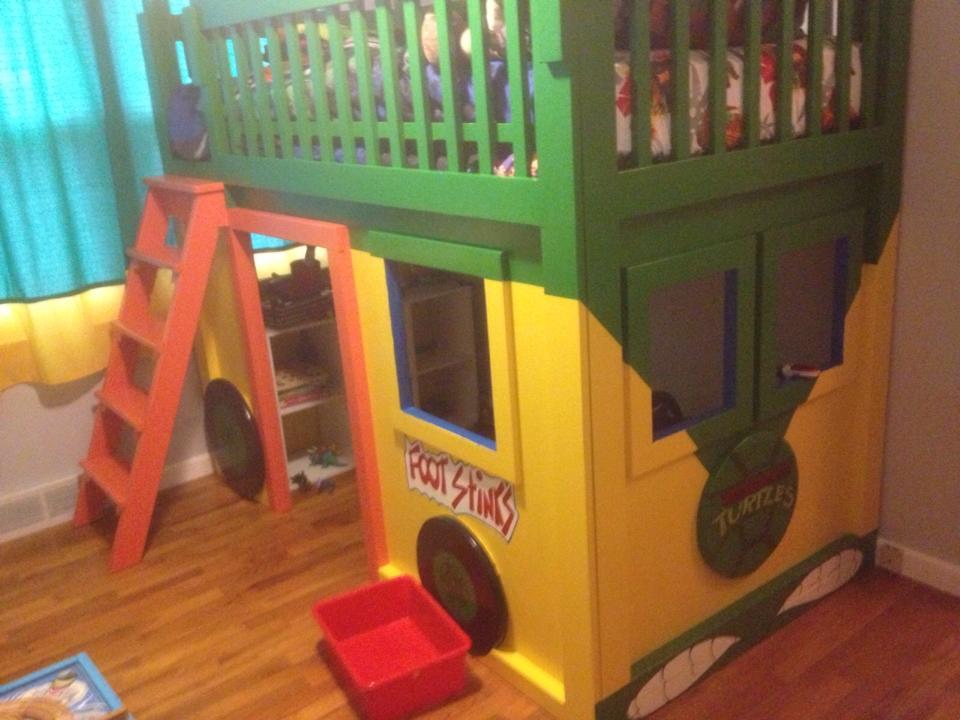
For this project, we followed the plans for the Firetruck Bed and also modified them a bit to fit our needs in the room. From start to finish, this project took two weeks to complete and cost us roughly $200 to build and $100 to paint. We were lucky though in that nearly everything we needed to purchase was on special or sale.
Built from Plan(s)
Estimated Cost
$300
Estimated Time Investment
Week Long Project (20 Hours or More)
Finish Used
Clark & Kensington latex paint & Minwax polycrylic clear coat (semi-gloss)
Recommended Skill Level
Intermediate
Comments
Tryde Coffee Table
Tryde coffee table
Built from Plan(s)
Estimated Cost
$100
Estimated Time Investment
Day Project (6-9 Hours)
Recommended Skill Level
Beginner
American Girl Bunk Bed - YAY - so easy, we did it!

Thanks for the easy tutorial...Made that last night with my two oldest kids (7 and 9) and we love it!
Estimated Cost
Cost was higher than what was said on the blog - Altogether 50 dollars because Lowes charged us for the leftover cut wood.
Estimated Time Investment
Weekend Project (10-20 Hours)
Recommended Skill Level
Beginner
Entry table
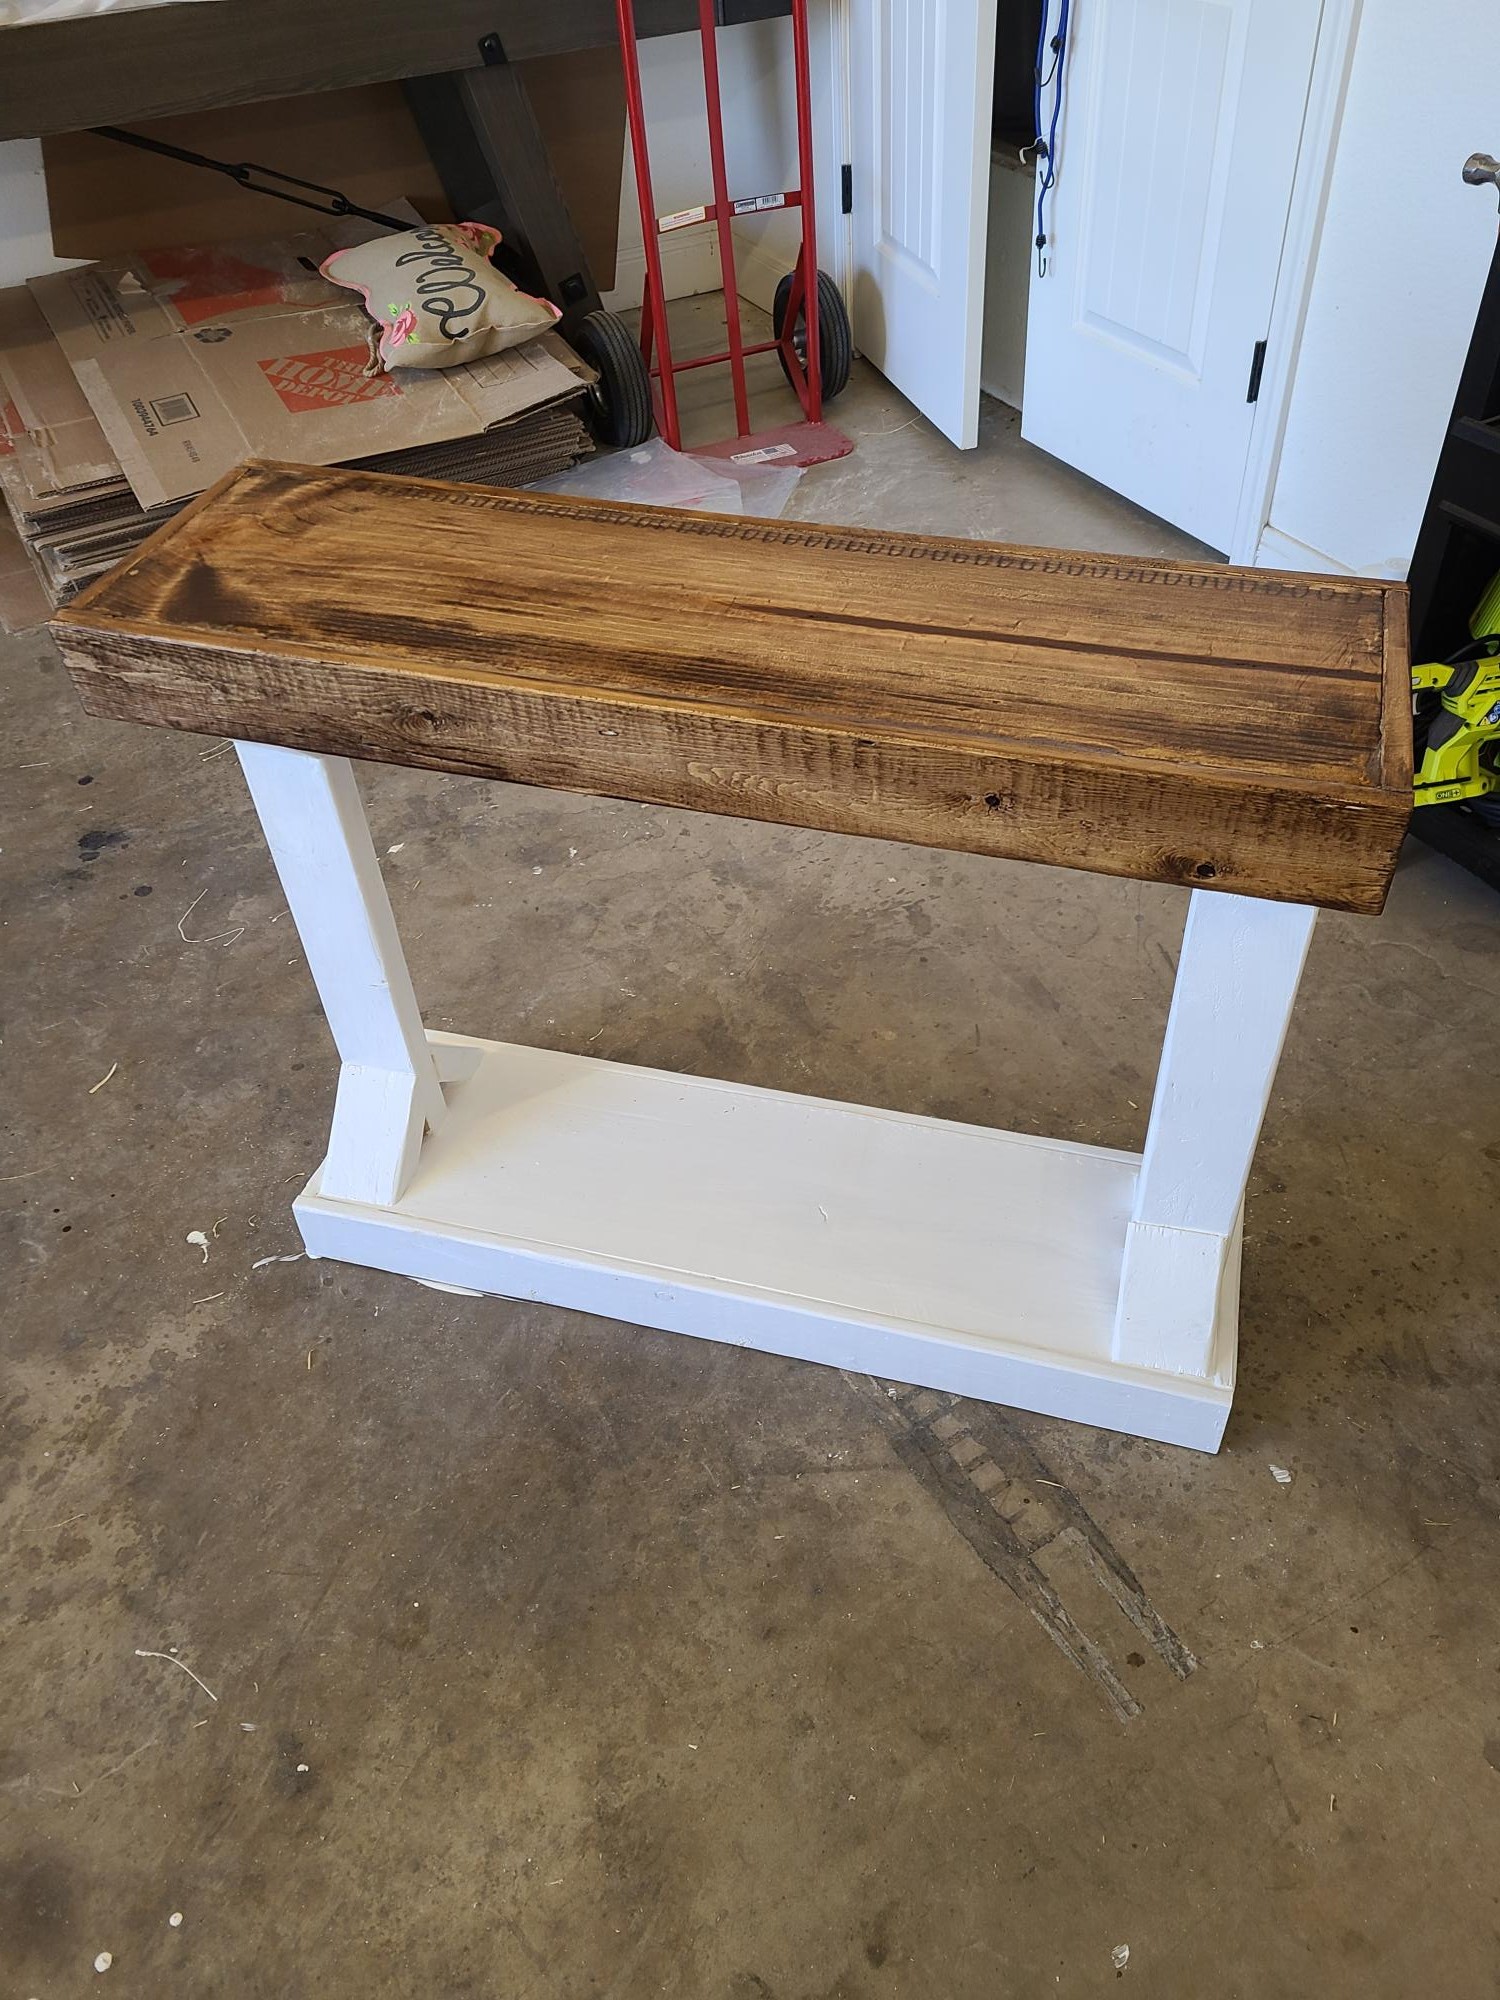
Cool project
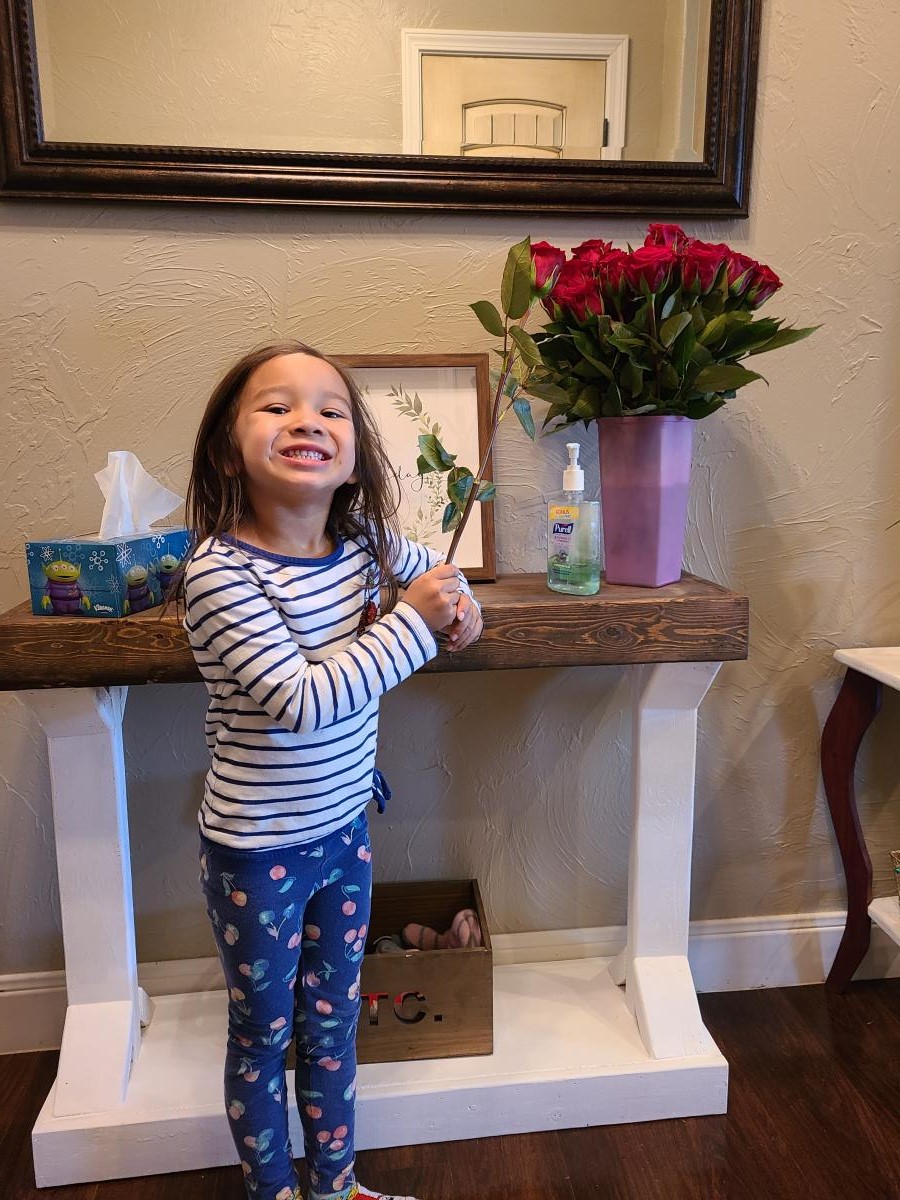
Built from Plan(s)
Comments
My Little Princesses Playhouse
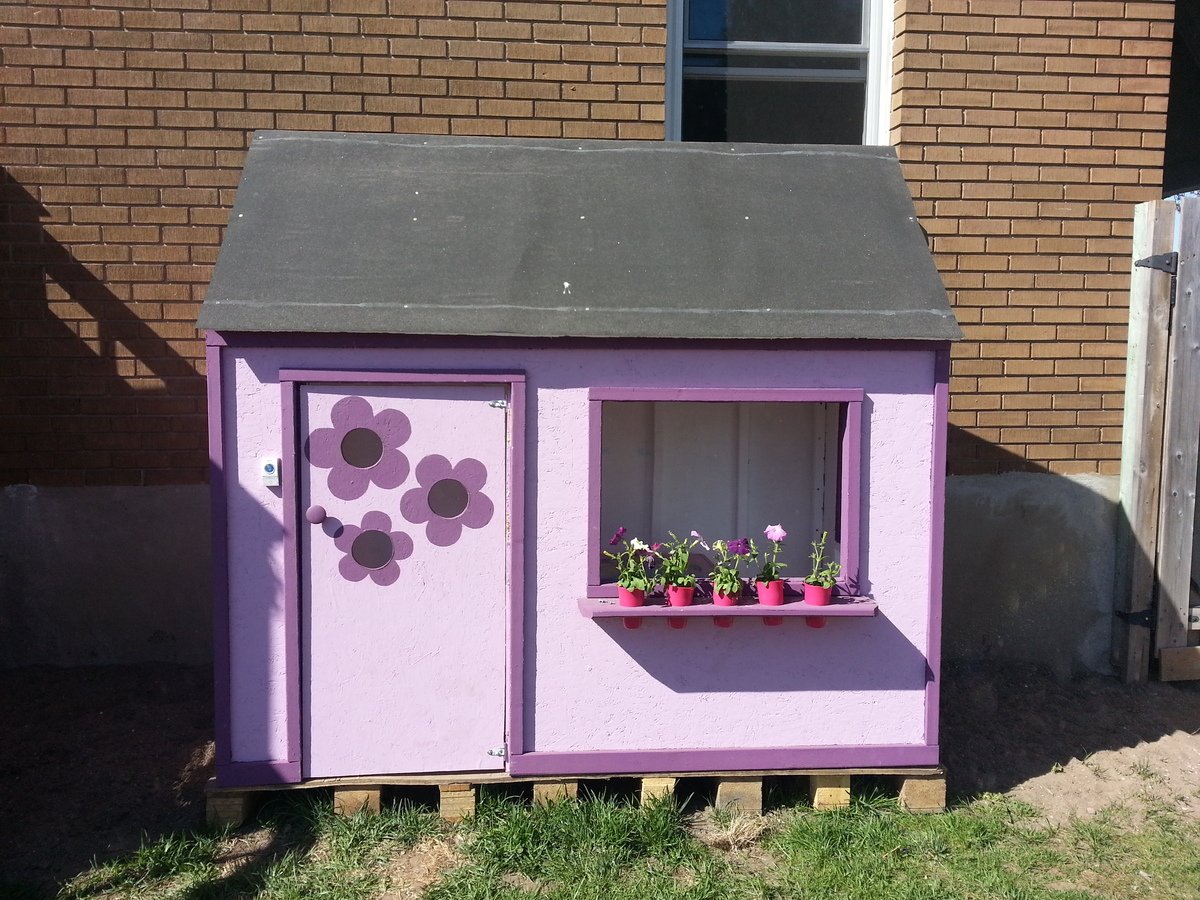
This was the first thing I have ever built, and I loved making the playhouse! I took pictures of every step I did! It was very rewarding to see the look on my girls faces with it was done!! They absolutely love it!!! Thank you for posting the plans.
Built from Plan(s)
Estimated Time Investment
Week Long Project (20 Hours or More)
Recommended Skill Level
Starter Project
Upcycle headboard shelf

Repurposed twin headboard to shelf for a granddaughter's birthday present. I added a shelf from a repurposed bed rail leaving the supports and attaching it to the headboard with glue and nail gun. I painted it with Ace Royal neon blue, and Ace fluorescent pink and green on the knobs which I found on sale at a local building center.
Estimated Cost
$30 - $14 for the neon blue paint, $7.00 both cans of fluorescent spray paint & $.50 each for 5 knobs on sale.
Estimated Time Investment
An Hour or Two (0-2 Hours)
Finish Used
Satin Ace Royal neon blue & fluorescent pink & green spray paint
Recommended Skill Level
Beginner
Loves the outcome...printmakers caninet

We used library catalog handles that I found cheap on Amazon. We adjusted depth reducing 3 inches and did an routered edge wood overlay on top. I also had my husband router all 1x2 and 1x3 except short edges of 1x2's. My favorite project yet but it took a couple week so to finish between job and kids. I used honey stain and 3-5 coats of poly until I was happy. Thanks for the guidance and giving me a plan to work from.
Built from Plan(s)
Estimated Cost
I had some wood on hand but would say $150ish
Estimated Time Investment
Week Long Project (20 Hours or More)
Finish Used
Honey stain / poly
Recommended Skill Level
Intermediate
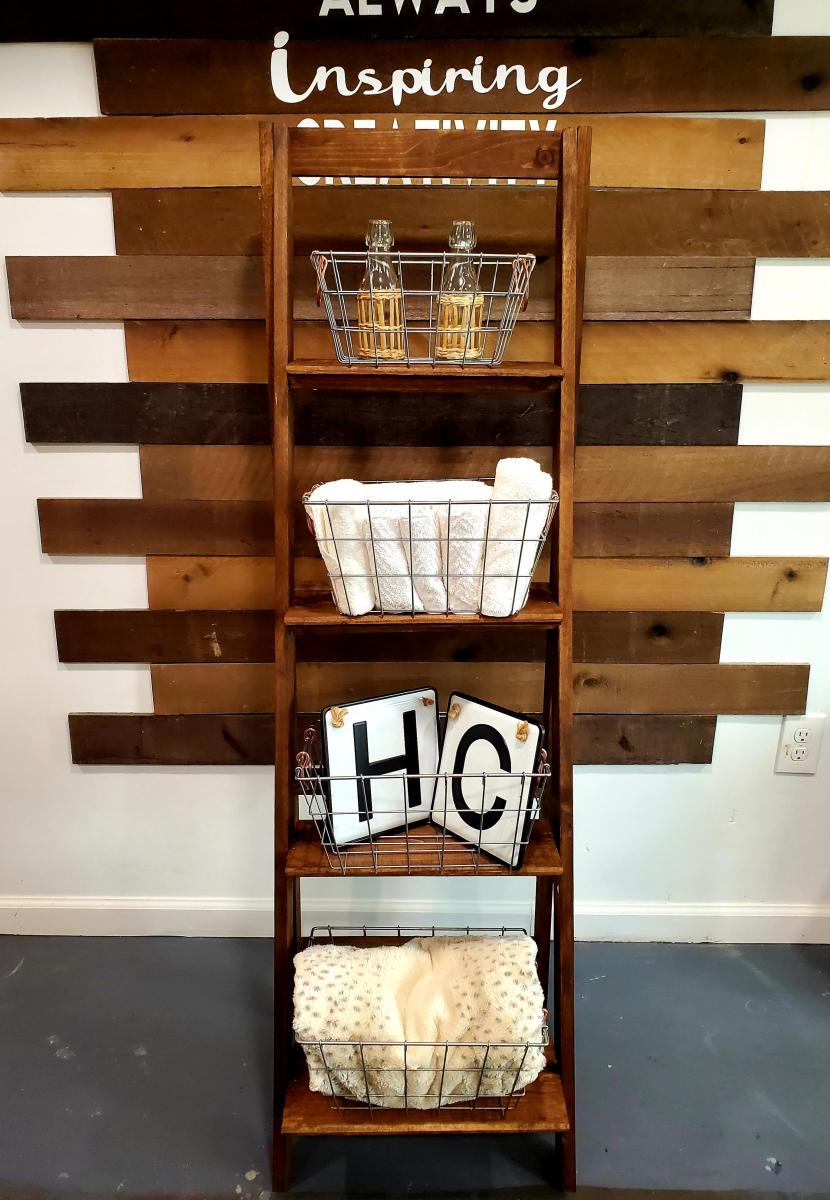
Ladder Shelf
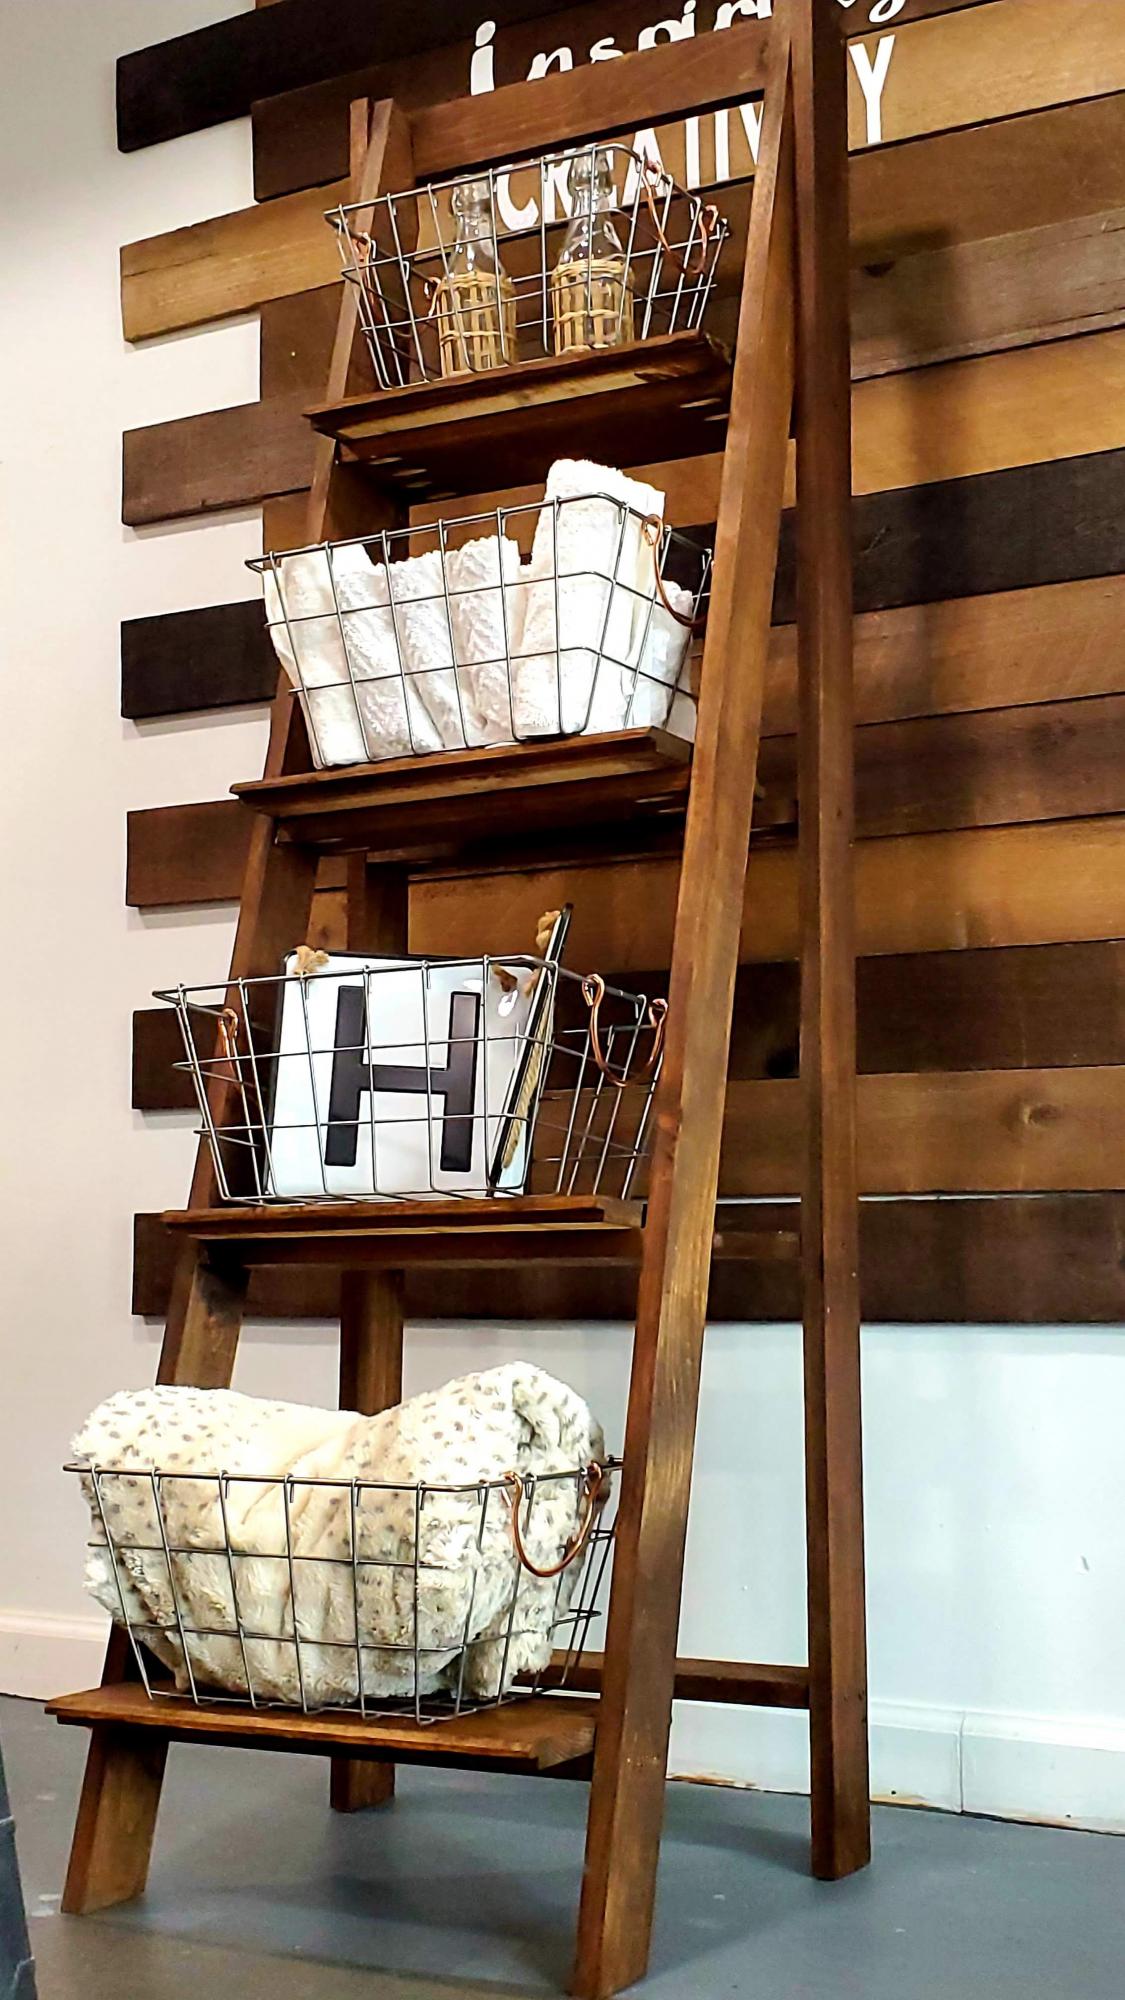
As new enthusiastic Woodworker, I was looking for a project to learn some new skills and add some extra storage in my work area and this ladder shelf was it. I loved the detailed plans. Although I got STUCK on finding the "off center" of an angle. I was able to manage. In the end I think it came out great!
Built from Plan(s)
Comments
Sarah's Perfect Bookshelves
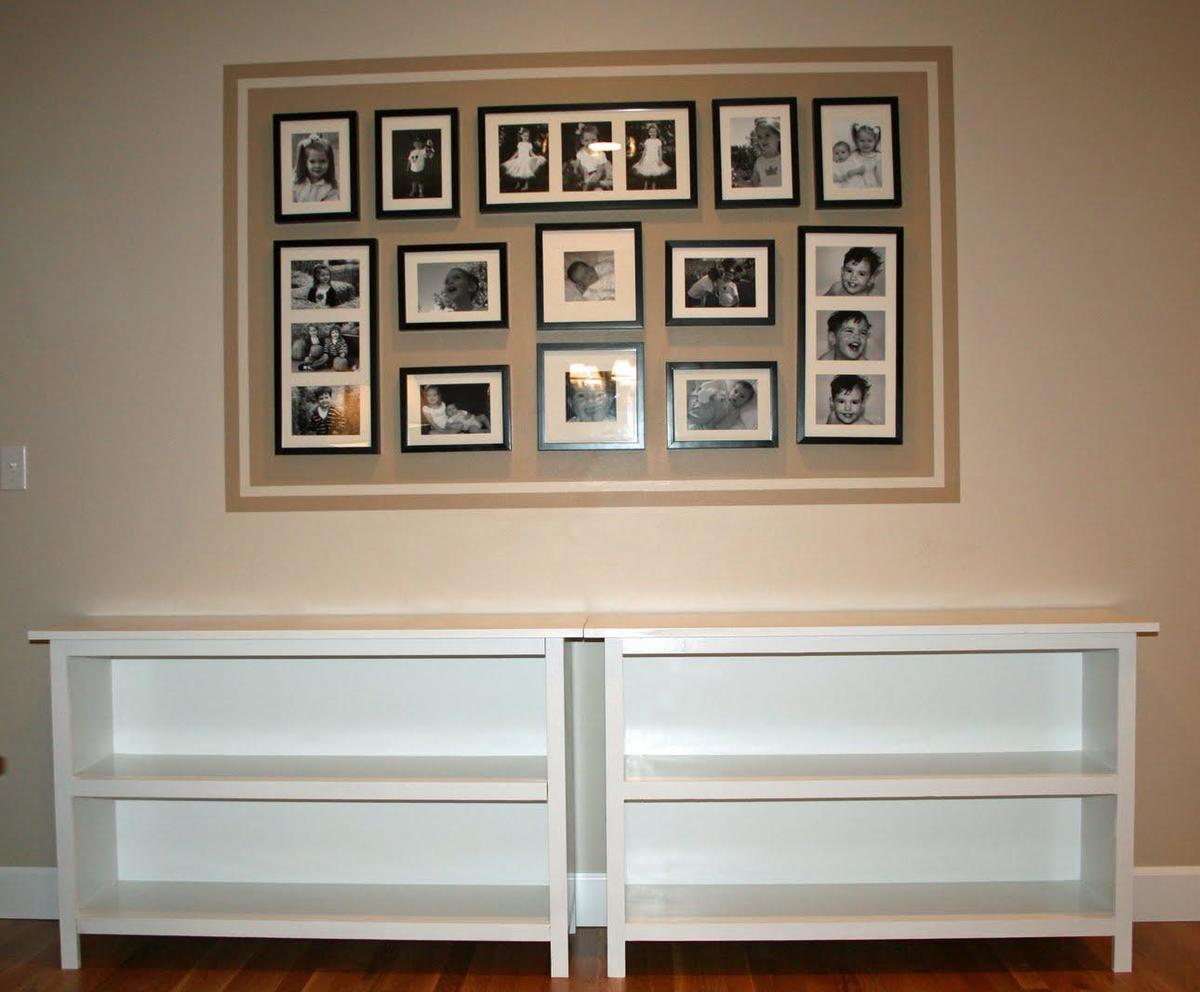
My husband is an aeronautical engineer and reads plans all day as a part of his job–even he thought your plans were fantastic. Great job! He did the building and I did the painting of the shelves. I did request that he add a back onto the shelves, so he left the trim off the backs of the shelves and fit in a piece of 3/4 MDF. It worked beautifully! We spent $75 on these two shelves–it would have been more like $50, except the additional MDF (for the shelf backs) added to the cost. Our only suggestion after doing this project is to go to a lumber yard for the pine. Ours is from one of the big box stores and, even though my husband went through a lot of wood, all of the choices were pretty bad. We went ahead and used this subpar wood, but I think our end result would be even better with better quality wood.
Thank you SO much for designing these plans for us. We’ve been planning on bookcases for quite awhile, but my husband hadn’t had time to come up with plans. When I found these plans on your site, I informed him that this was our weekend project! Soon he’ll be building a bed and trundle for our little boy–using your plans, of course!
Built from Plan(s)
Estimated Cost
$50 without backs
Estimated Time Investment
Afternoon Project (3-6 Hours)
Finish Used
White paint
Recommended Skill Level
Beginner
Santa is a cool guy... (Modified Train Table)
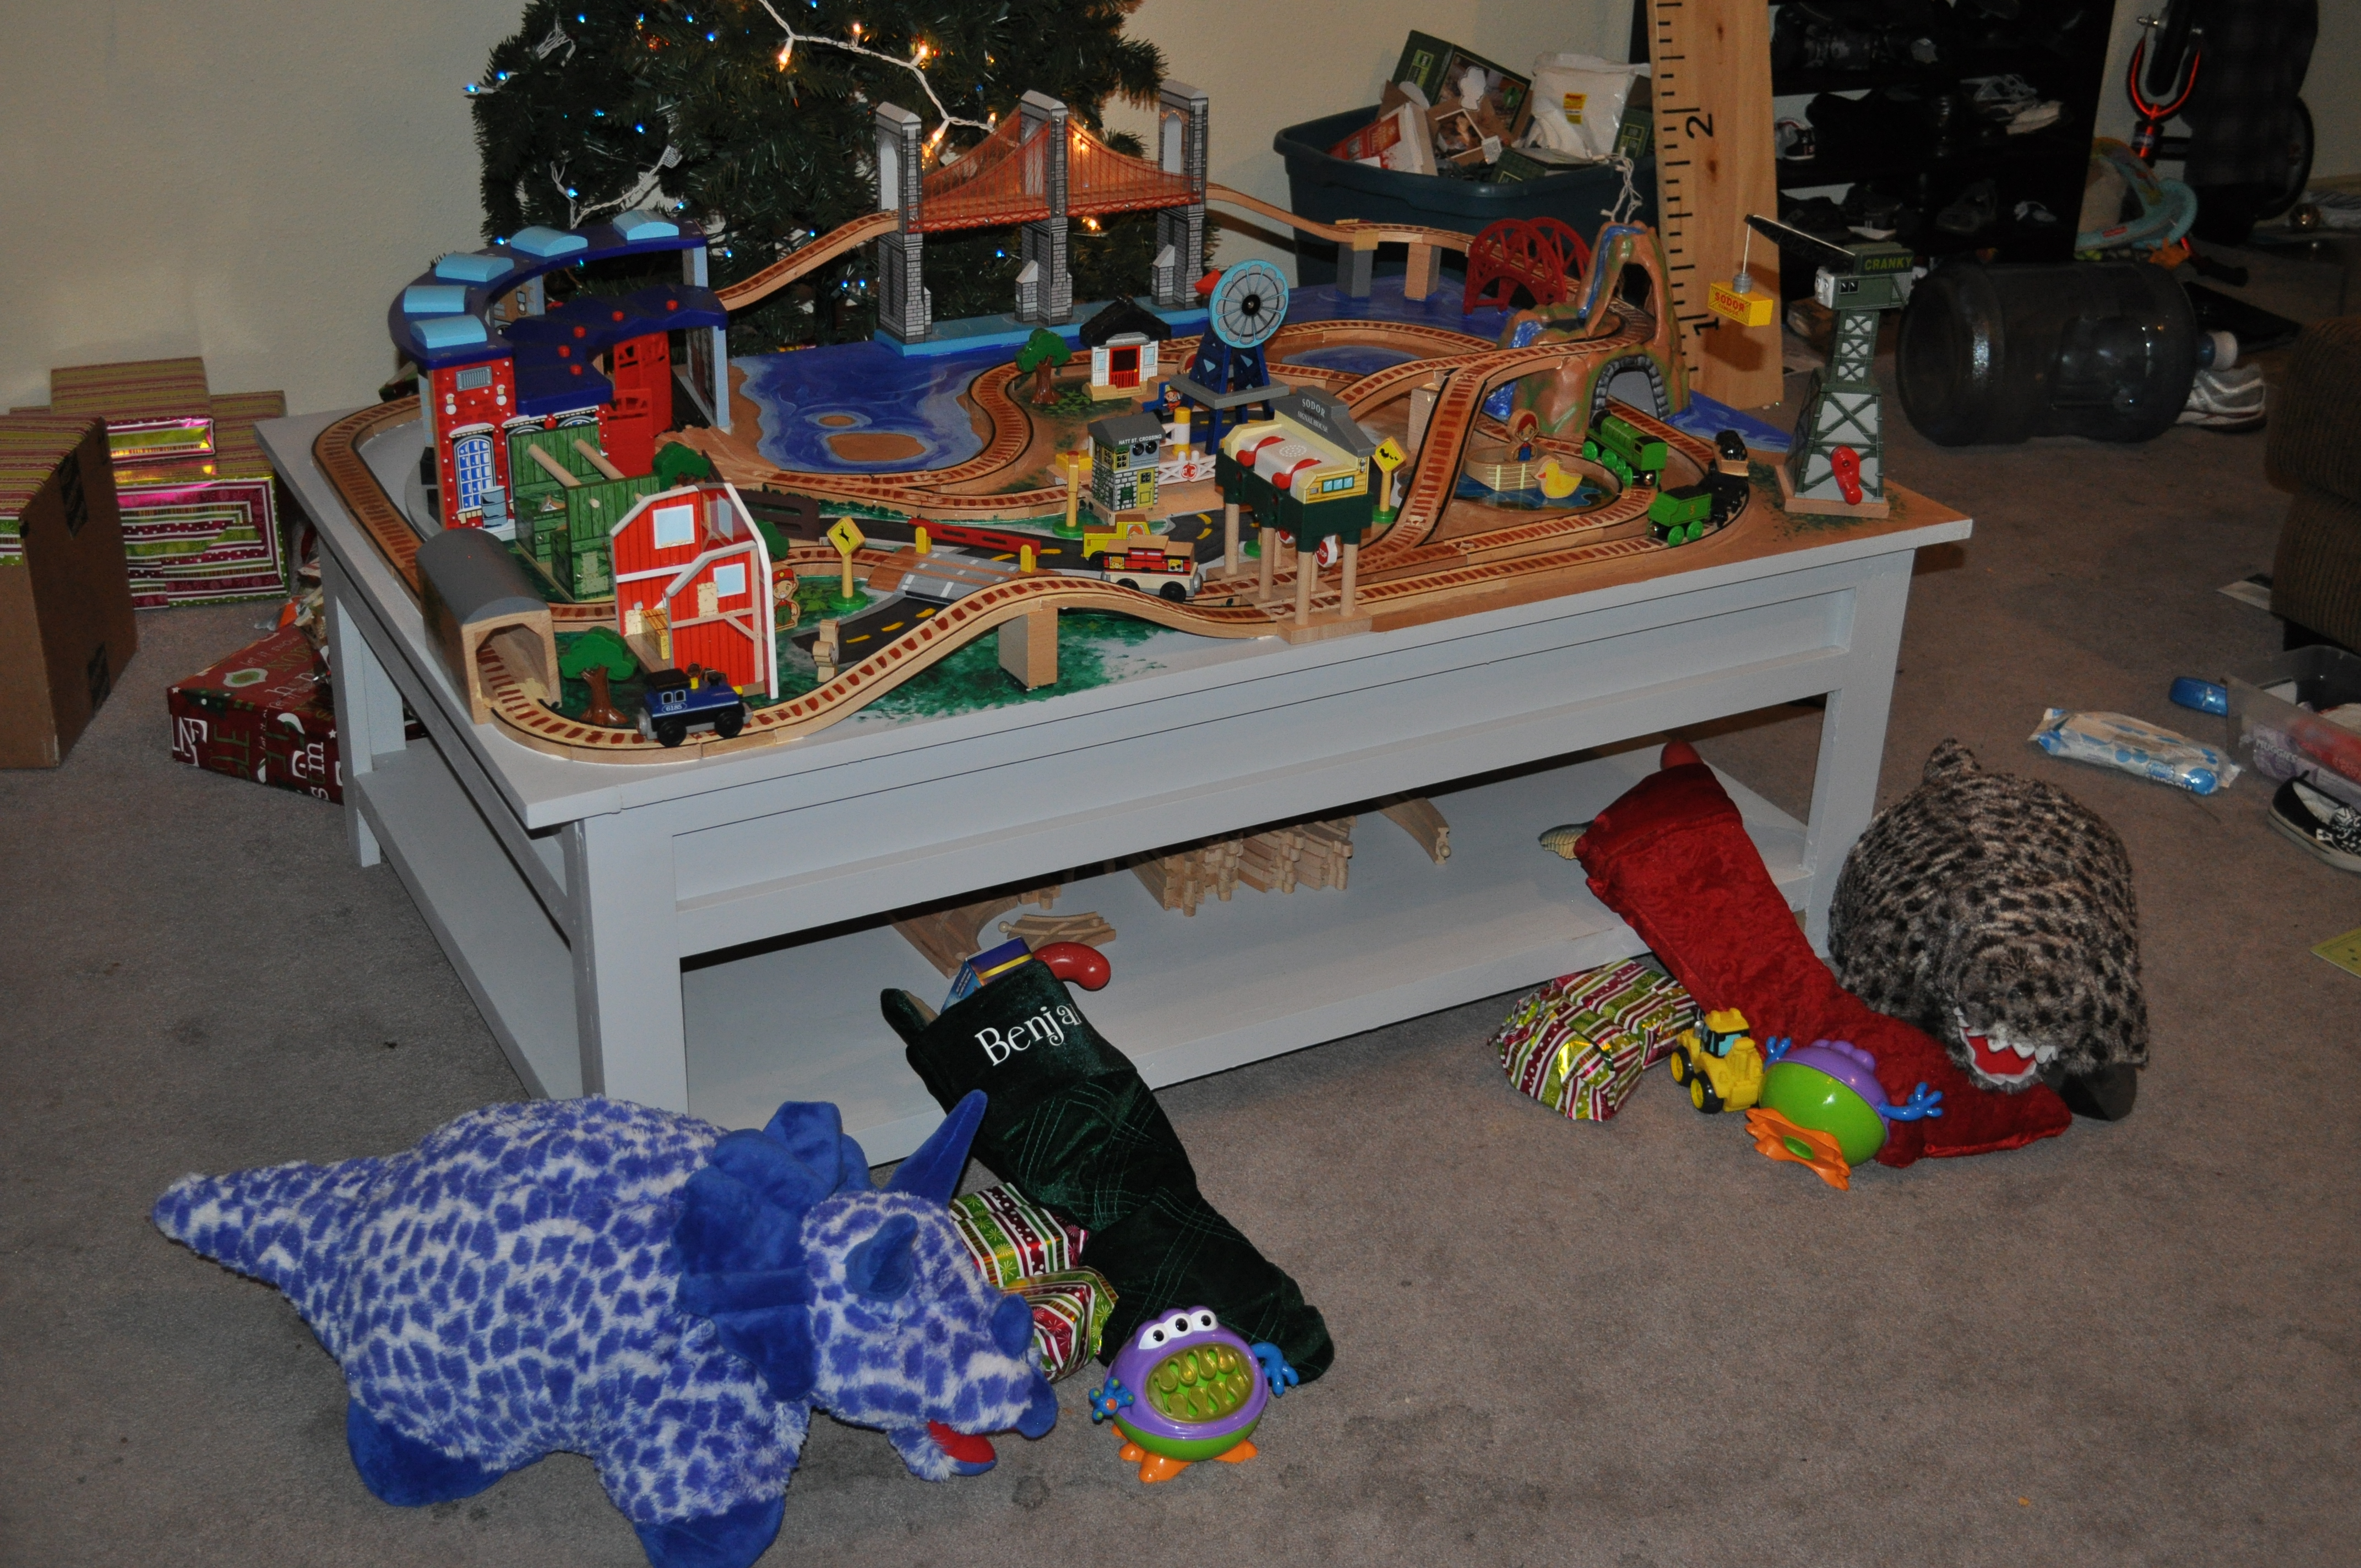
Santa decided to get come to Ana this year for some help with a train table instead of getting one from (insert big box toy store here). It ended up being pretty easy and a lot of fun, and our boys loved it! Santa decided he needed as much room on top as possible to put train and didn't need it to hide away so we skipped the cutting the top piece of plywood in half and left out the middle peice. We then added a track set and a few extras and painted the top. Thanks for the plans Ana! -(Santa)

Built from Plan(s)
Estimated Time Investment
Weekend Project (10-20 Hours)
Finish Used
Brush on primer and some Oops Valspar from the store, forgot which color!
Recommended Skill Level
Beginner
Comments
Ana White
Thu, 03/26/2015 - 15:15
This is beautiful!
This is beautiful!