Rustic X Coffee Table, take 2
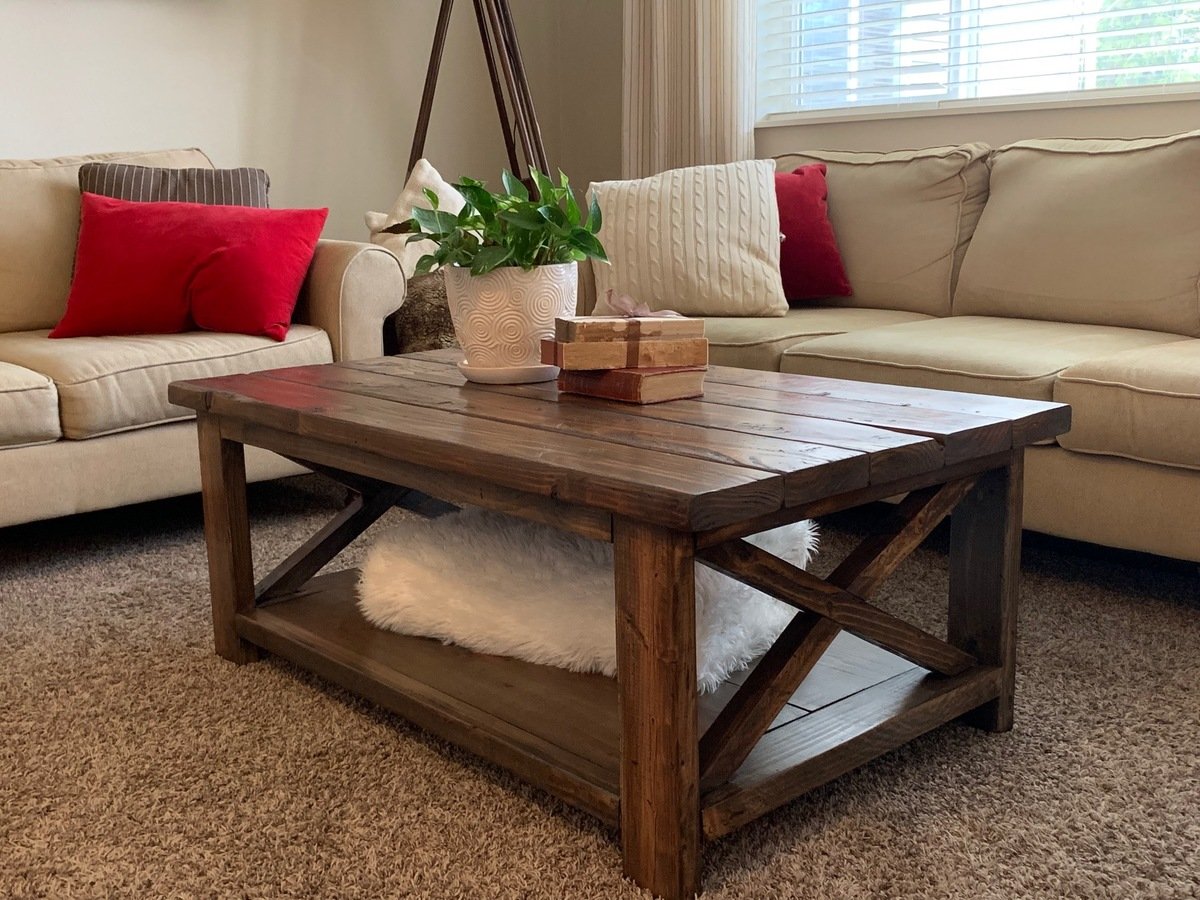
Made from leftover wood from other projects. Adjusted the plan to accomodate the lengths of wood I had available.


Made from leftover wood from other projects. Adjusted the plan to accomodate the lengths of wood I had available.


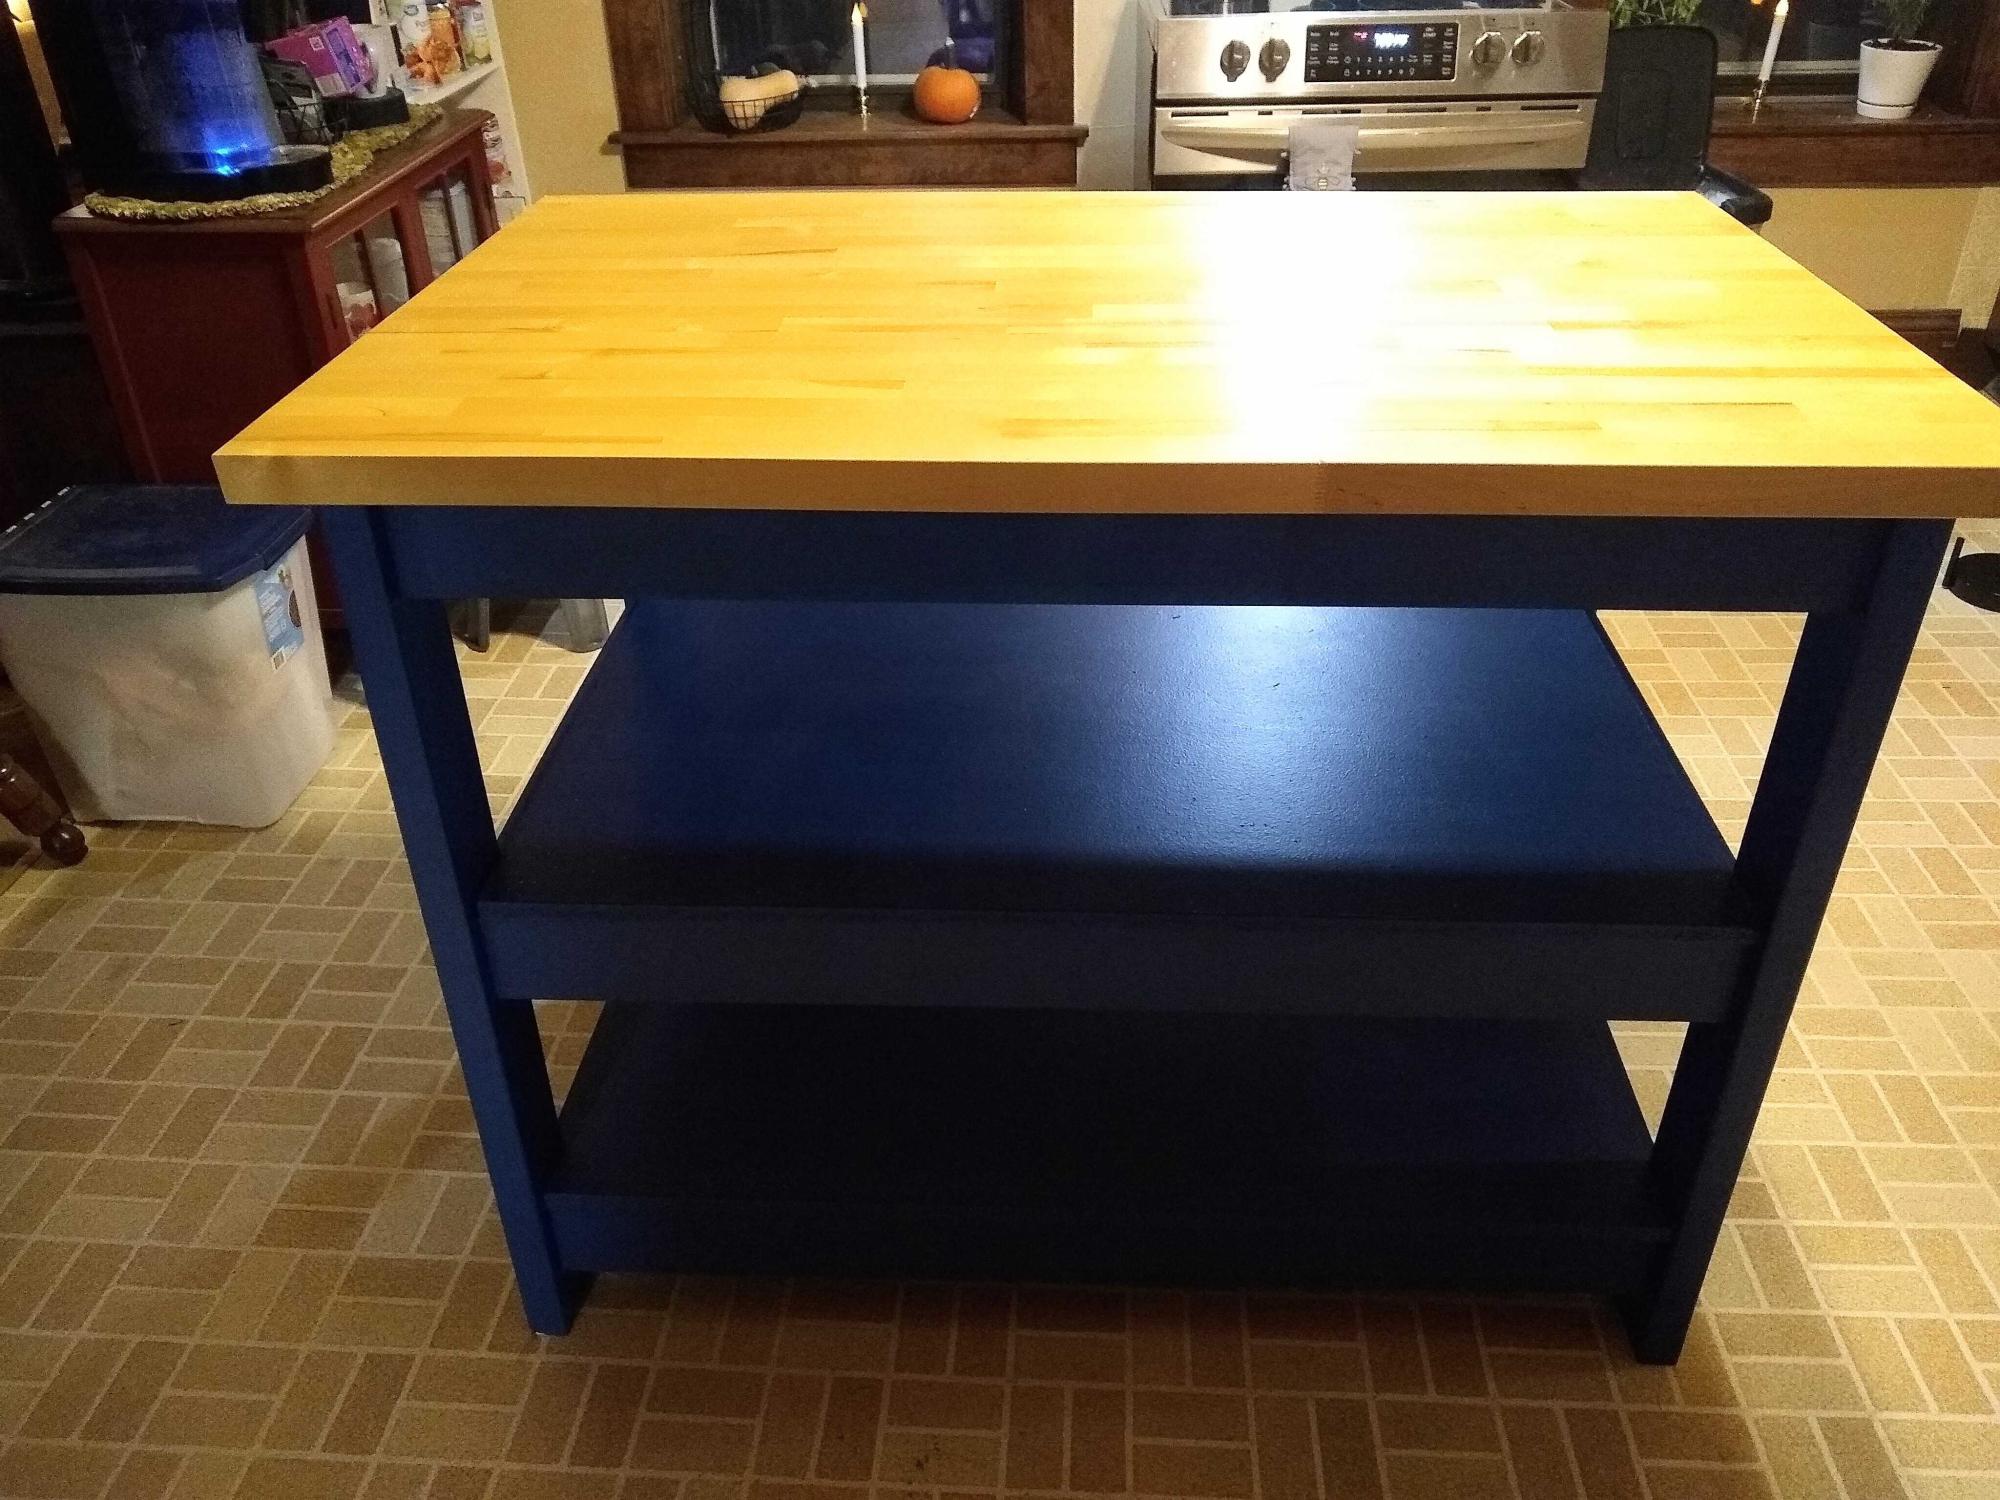
We desperately needed more counter space and storage in our kitchen, so we turned to Ana for inspiration. This island is based on the Simple Kitchen Island plan. We purchased a 30" x 48" butcher block countertop and adjusted the dimensions to fit. We also added a second shelf for additional storage. We used materials we had on hand (2x4s and 1x4s for the frame, and MDF for the shelves). We're fairly new to DIY projects on this scale, but the complete, detailed instructions provided on the website gave us the confidence to make the adjustments we needed to make our kitchen island a reality. Thank you, Ana!
Wed, 12/21/2022 - 13:01
Stunning finish, love the butcher block top, thanks so much for sharing!
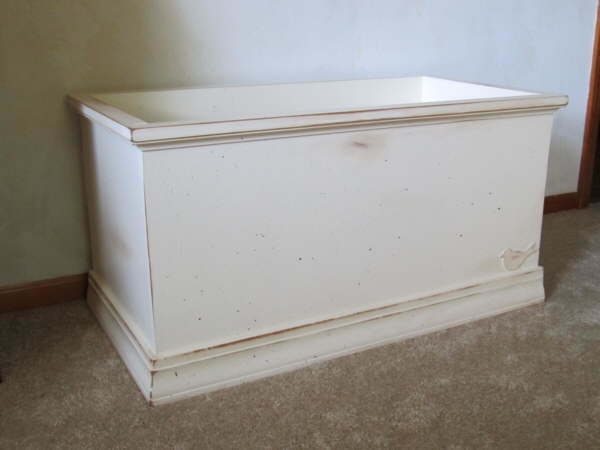
Though I'd spent a few months crocheting a baby blanket, my mother also wanted something special and lasting as a gift for a future new family member. She tried to think of something unique, but kept coming up empty. I went online to help her, and looked for newborn items. Unfortunately, I just kept running into toys, toys, and more toys. Ones that would be "grown out of" quickly, too. It was late at night, and very quiet, the time when your brain is calm and sometimes things just dawn on you.
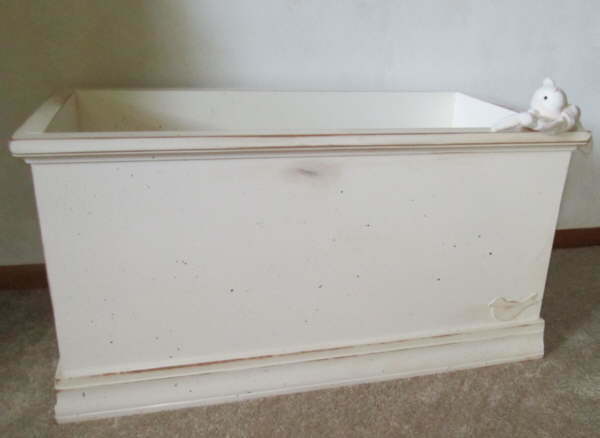
Why not a toy BOX? (And one already "worn in," so that it could take a lot of play throughout the years.) I knew right where to look for a plan--Ana White's website! It ended up being a gift for him from both of us, and while he's a little too young to notice it now, we hope it grows with him and brings him years of joy.
Thank you, Ana, for sharing your talent and helping us (and so many others) create something truly special. That old blanket can wait until Christmas!
Sun, 09/11/2011 - 04:36
What a wonderful idea! As baby girl gets older it could become a hope chest (not a common thing to have nowadays but still useful and appreciated). For the cuddly boys, a storage locker for sport jerseys, memorabelia, etc. A gift that truly lasts a lifetime!
Sun, 09/11/2011 - 18:42
mikejillnelson5, those are great suggestions! Another one for boys as they age is to use it as a place to dump sports gear (basketballs, baseballs, bats, etc.).
Kids as they age can flip the toy box around, so that anything that becomes "childish" to them--like a name or added detail--can be hidden against a wall.
Mon, 09/12/2011 - 08:52
My Step-daughter-in-law just announced she is pregnant with her third. What a great gift I could make for the baby!!
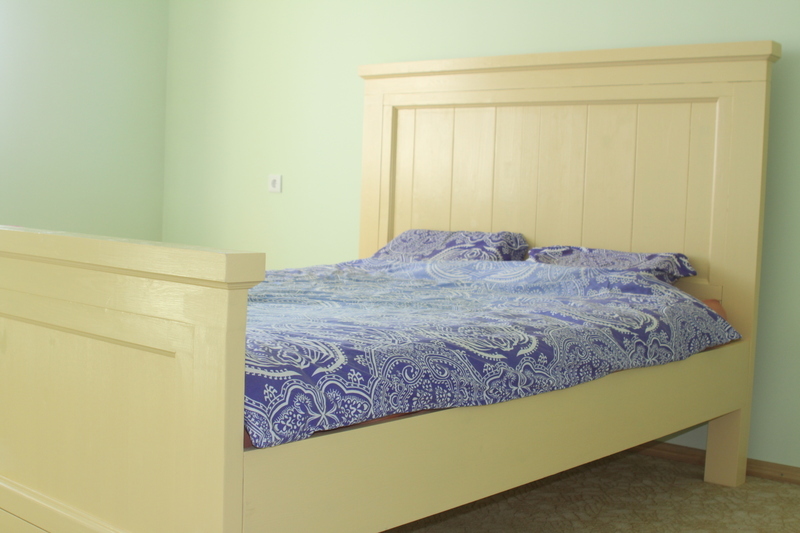
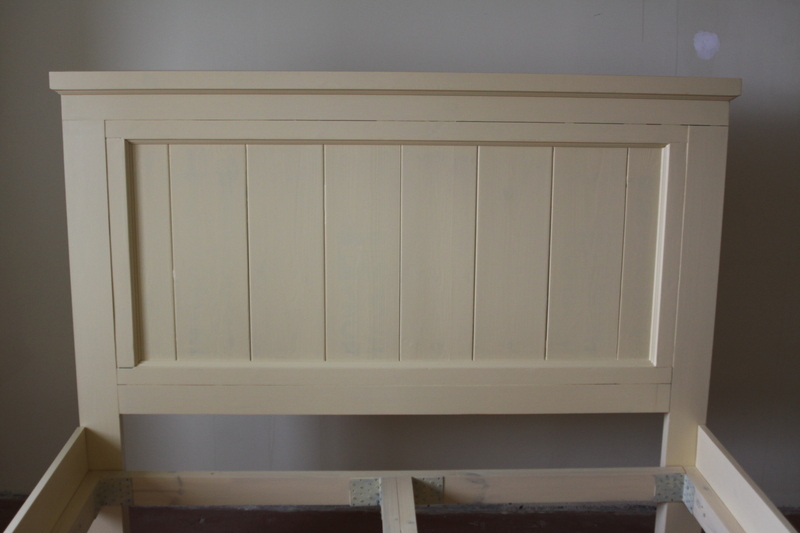
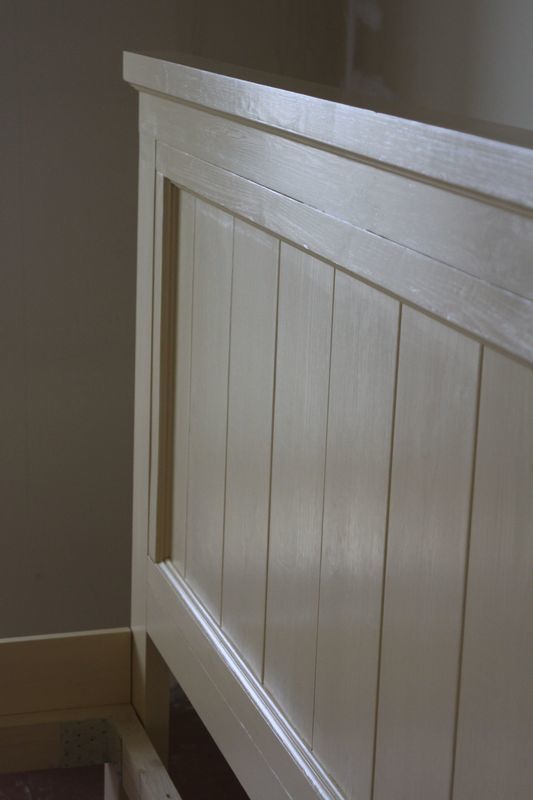
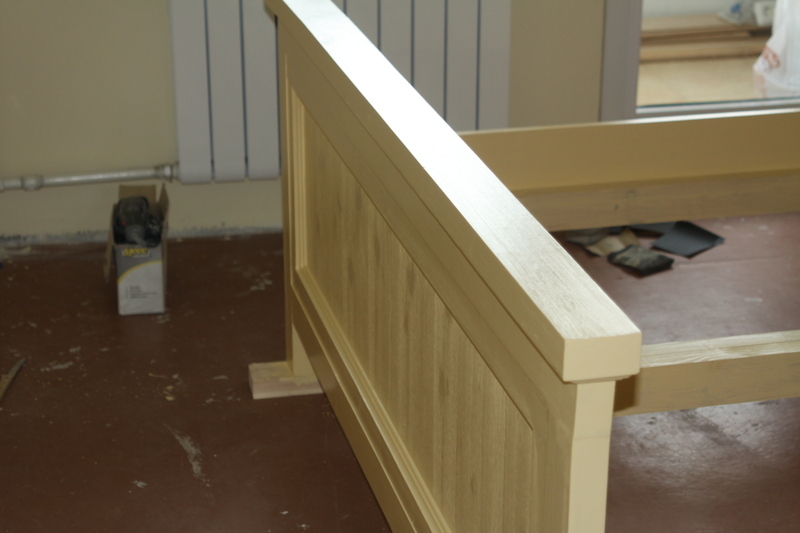
Modified Farmhouse style bad. Used lighter wood for headrest and footrest. Changed measurements for Lithuanian size of mattress (200x160cm). For headboard panel were used pallets wood so it was necessary to paint it right. Also Added some trims for decorating edges.
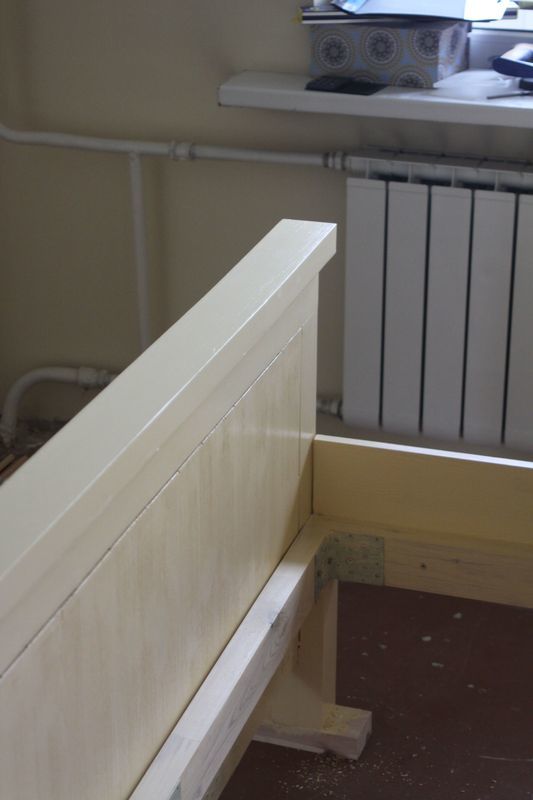
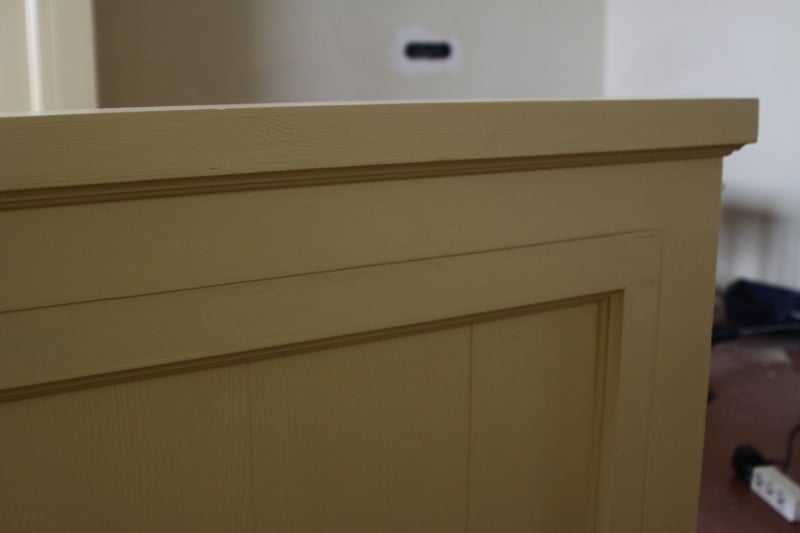
Sun, 09/29/2013 - 06:37
I wish I would have seen your plan before I built my bed. Your head and footboard bases make it a lot easier to attach the side rails. Paint color and texture look good too. Did you use a satin finish?
Sun, 09/29/2013 - 08:25
Thank you for your opinion.
I used glossy paint and its over. No final polishing or lacking ant the end if you asking this.

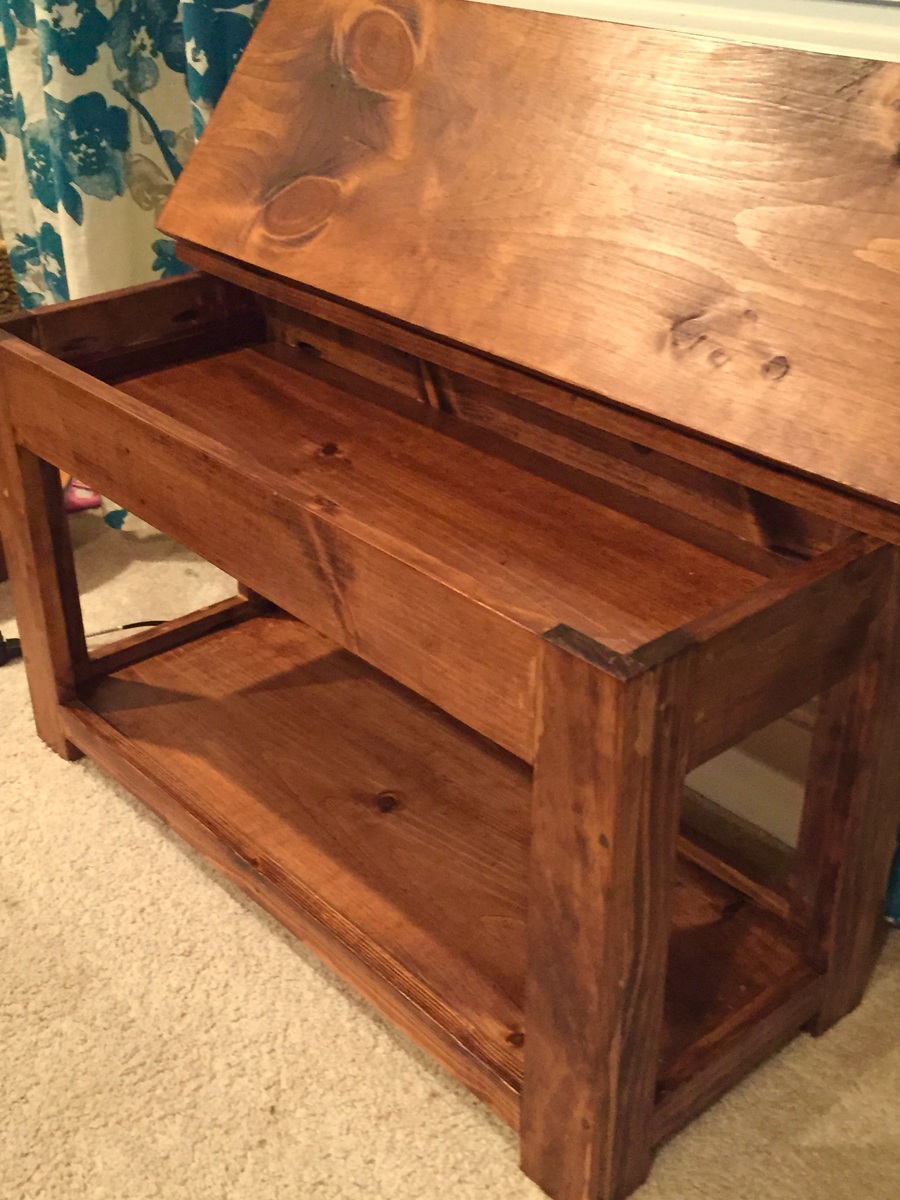
I made two of these as gifts. I modified the plans for a smaller bench length and width. They are 33in long on the top with a 1.5 overhang. I chose to place the 1x4 on top at the end as it was easier to stain and finish. Instead of wood glue since it was finished I used 3 pocket hole screws in the back, 2 corner braces with antique bronze finish on the ends under overhang and 2 on the inside of the storage area and gorilla glue.this made it very solid. It also made positioning it easy as I screwed the corner braces to the bottom side of the 1x4 face. I measured for a 1in overhang and 3/4 of an inch for the thickness of the back board. By doing so I could simply place the board on top of the bench and center it for 1.5 in overhang on ends then simply screw in the remaining screw hole in the inside of the storage compartment.
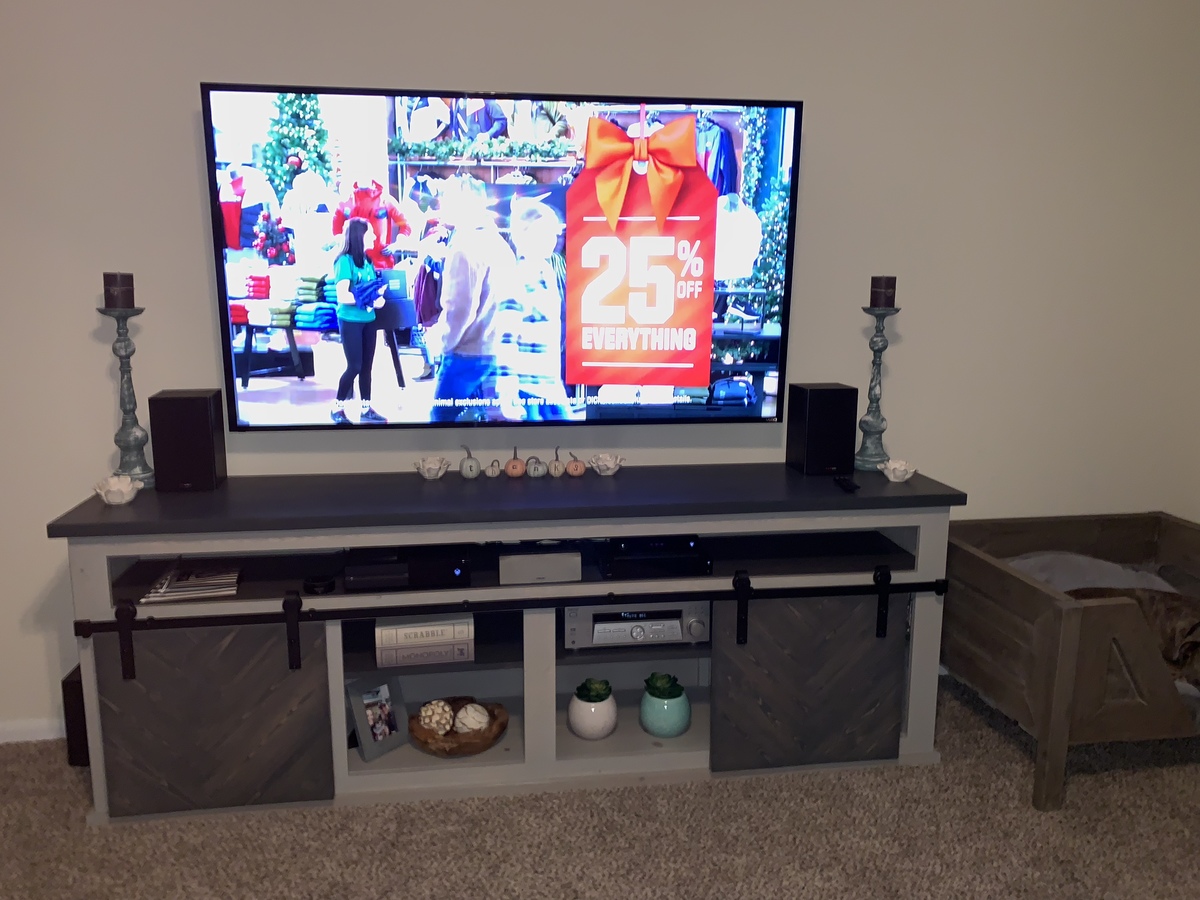
Designed from the Grandy Sliding Door console, but I modified it by extending it to 8ft wide, and added a media shelf to not cover remote sensors for my set top boxes. This is my first build from Ana White so it took a little more time and expense than I hoped only because of some startup tools I decided to get to help the process.
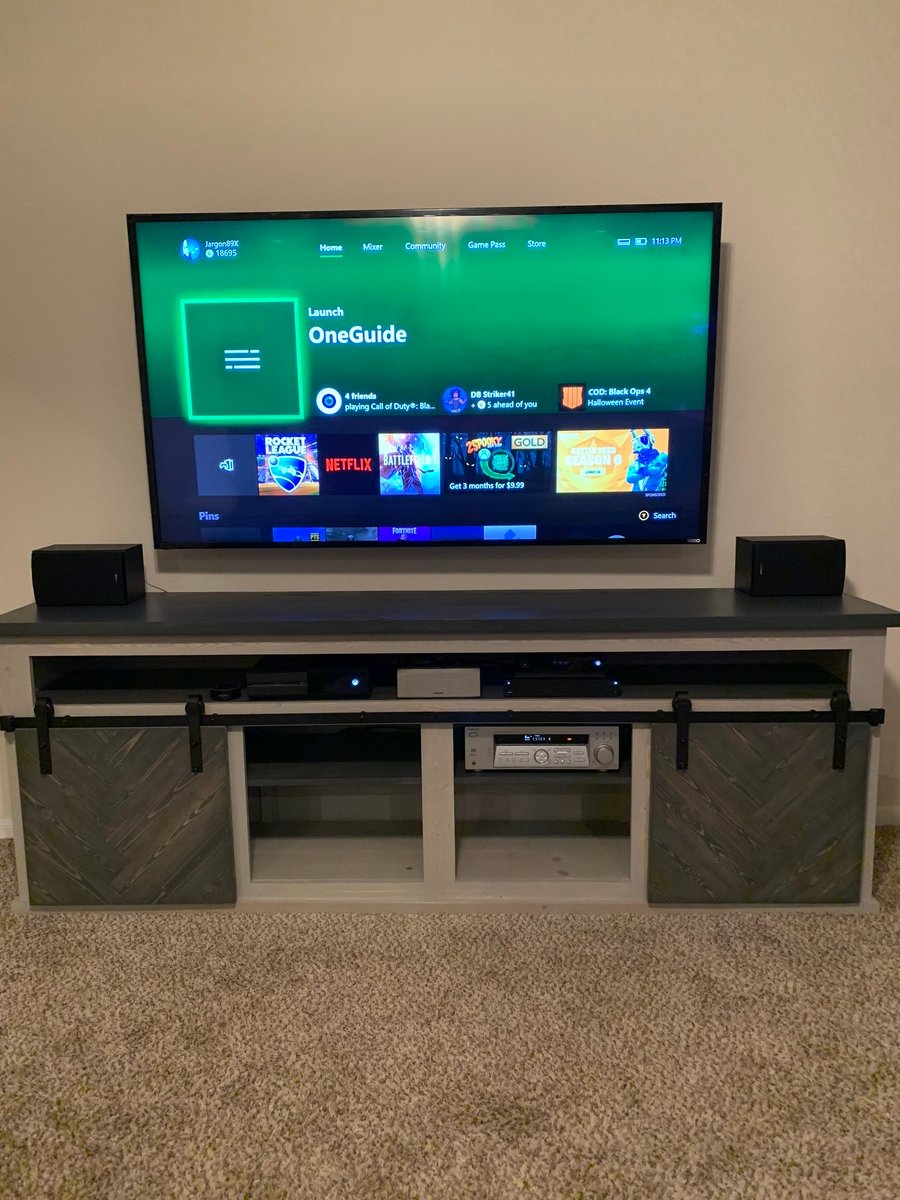
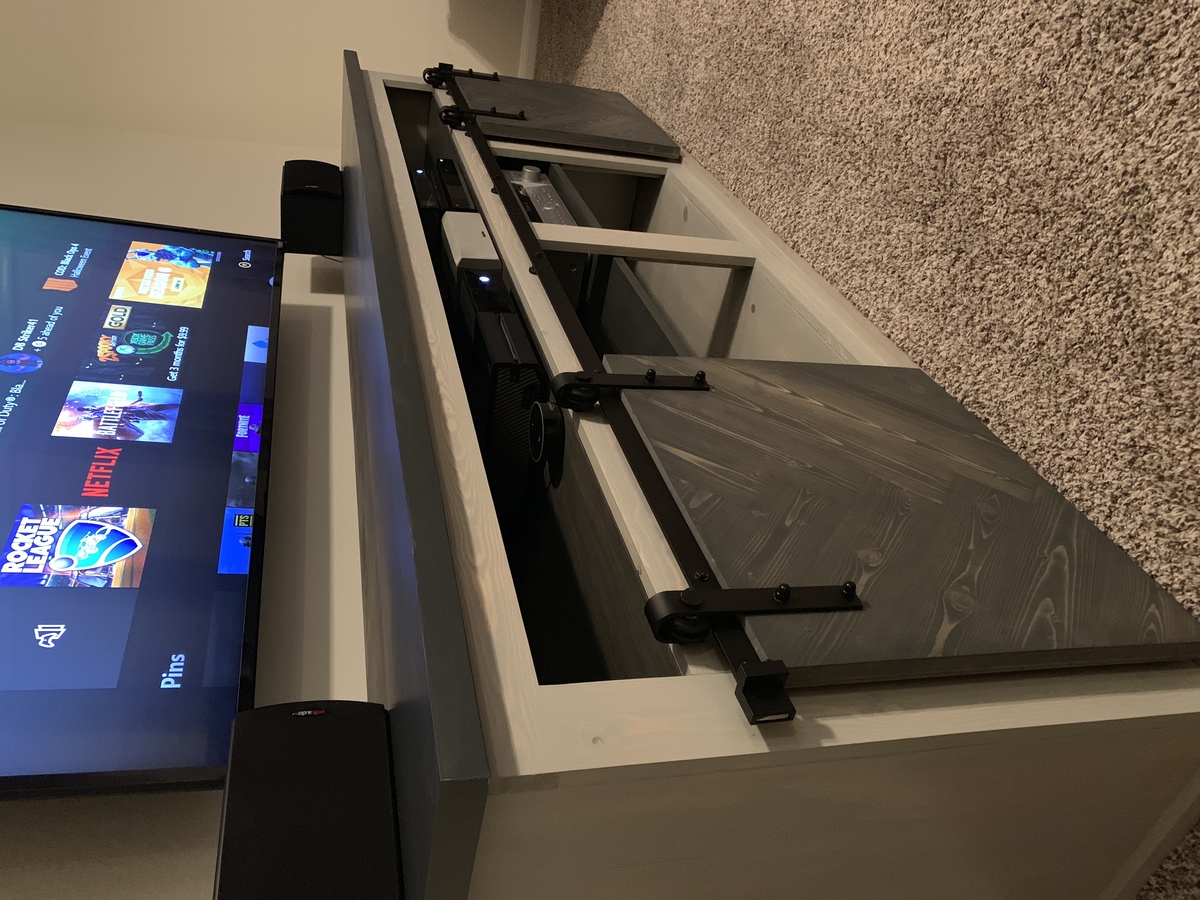
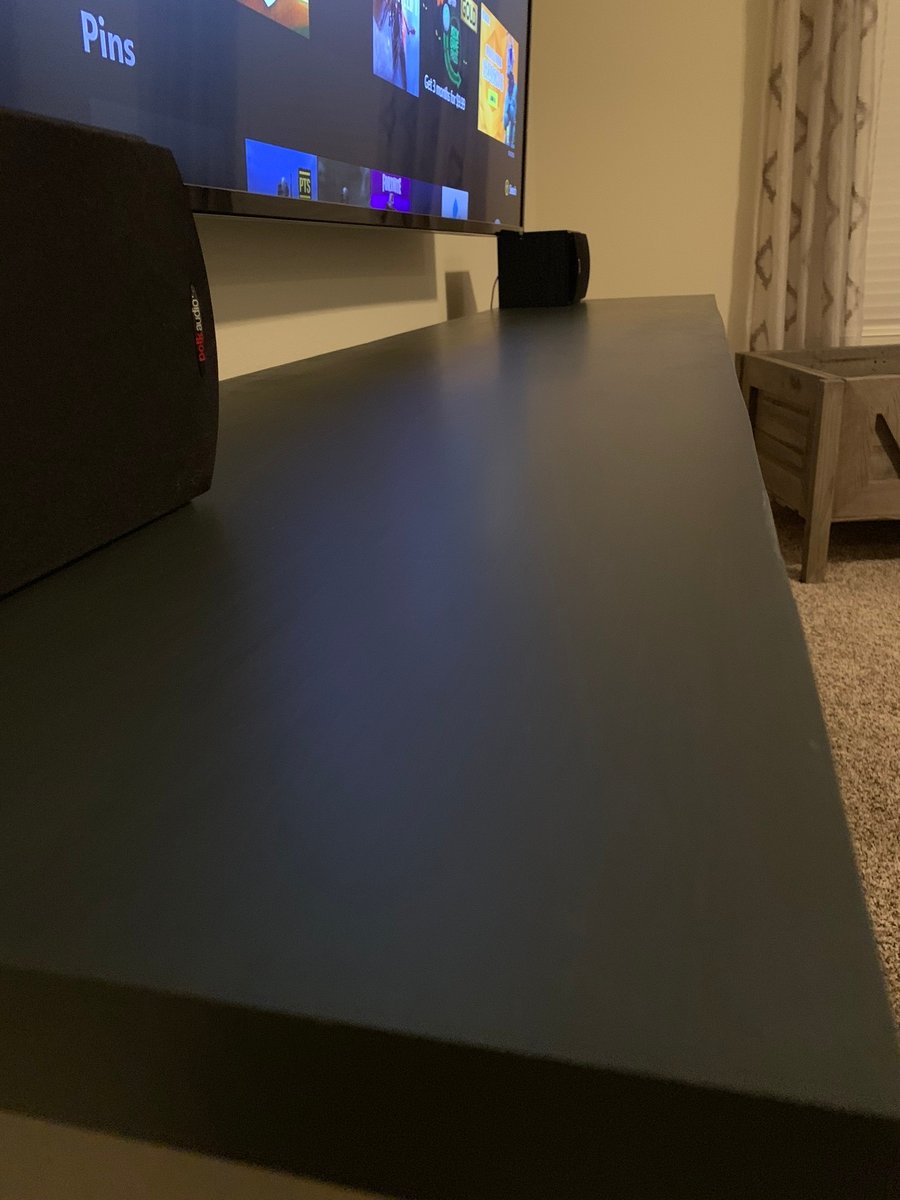
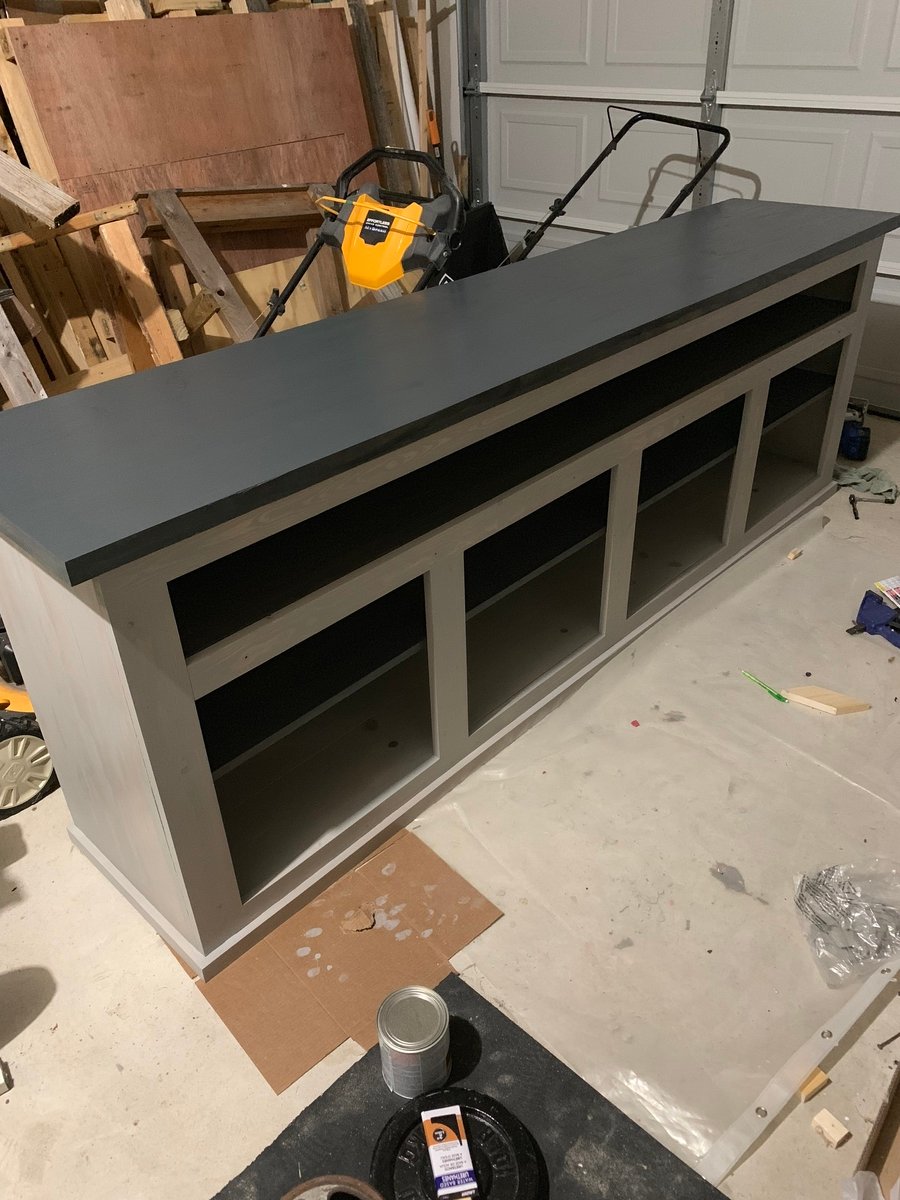
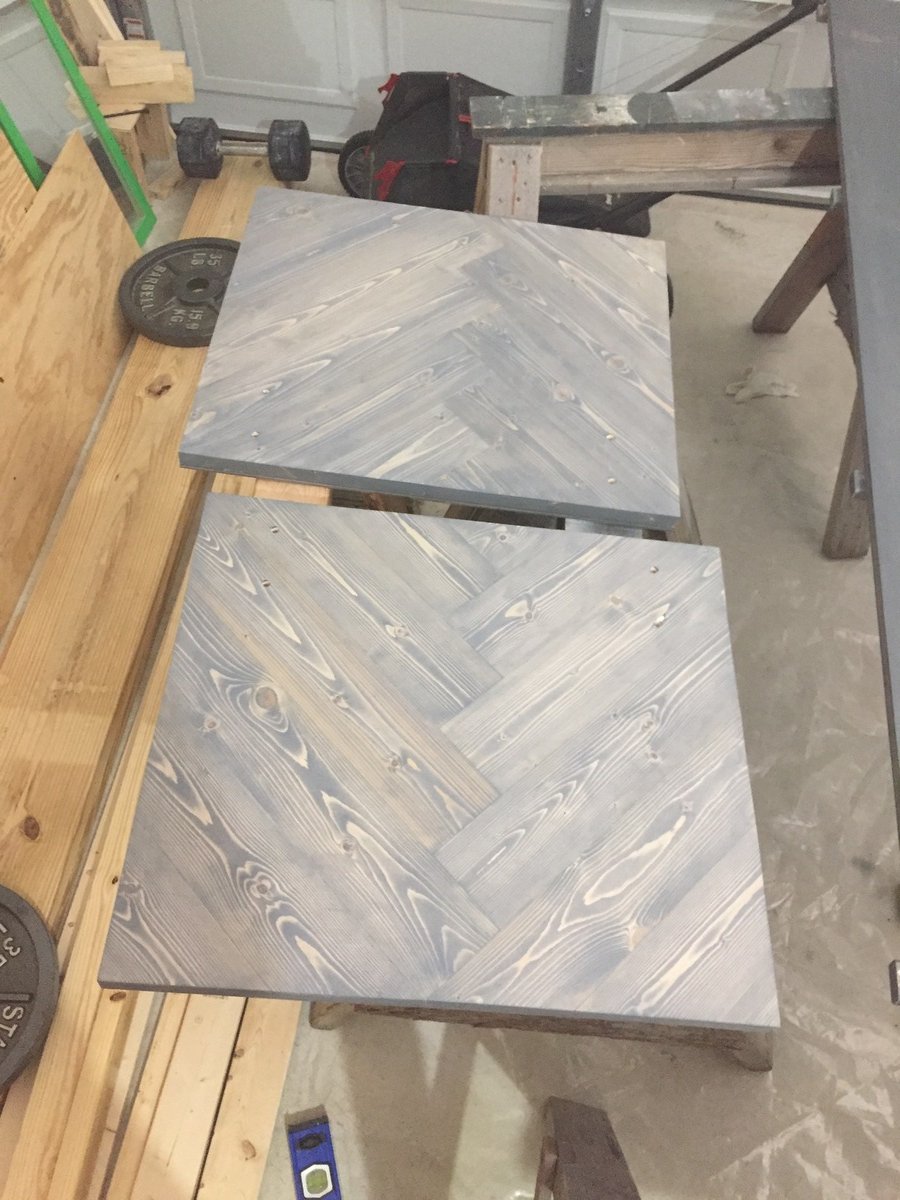
Sun, 12/12/2021 - 21:41
I realize its been years since this comment was posted, But i started with a 1/4 ply. Then topped it with 1x4 common wood to create the chevron. They are glued and held with clamps tight against the previous as i built it out. Can provide more pictures if interested.
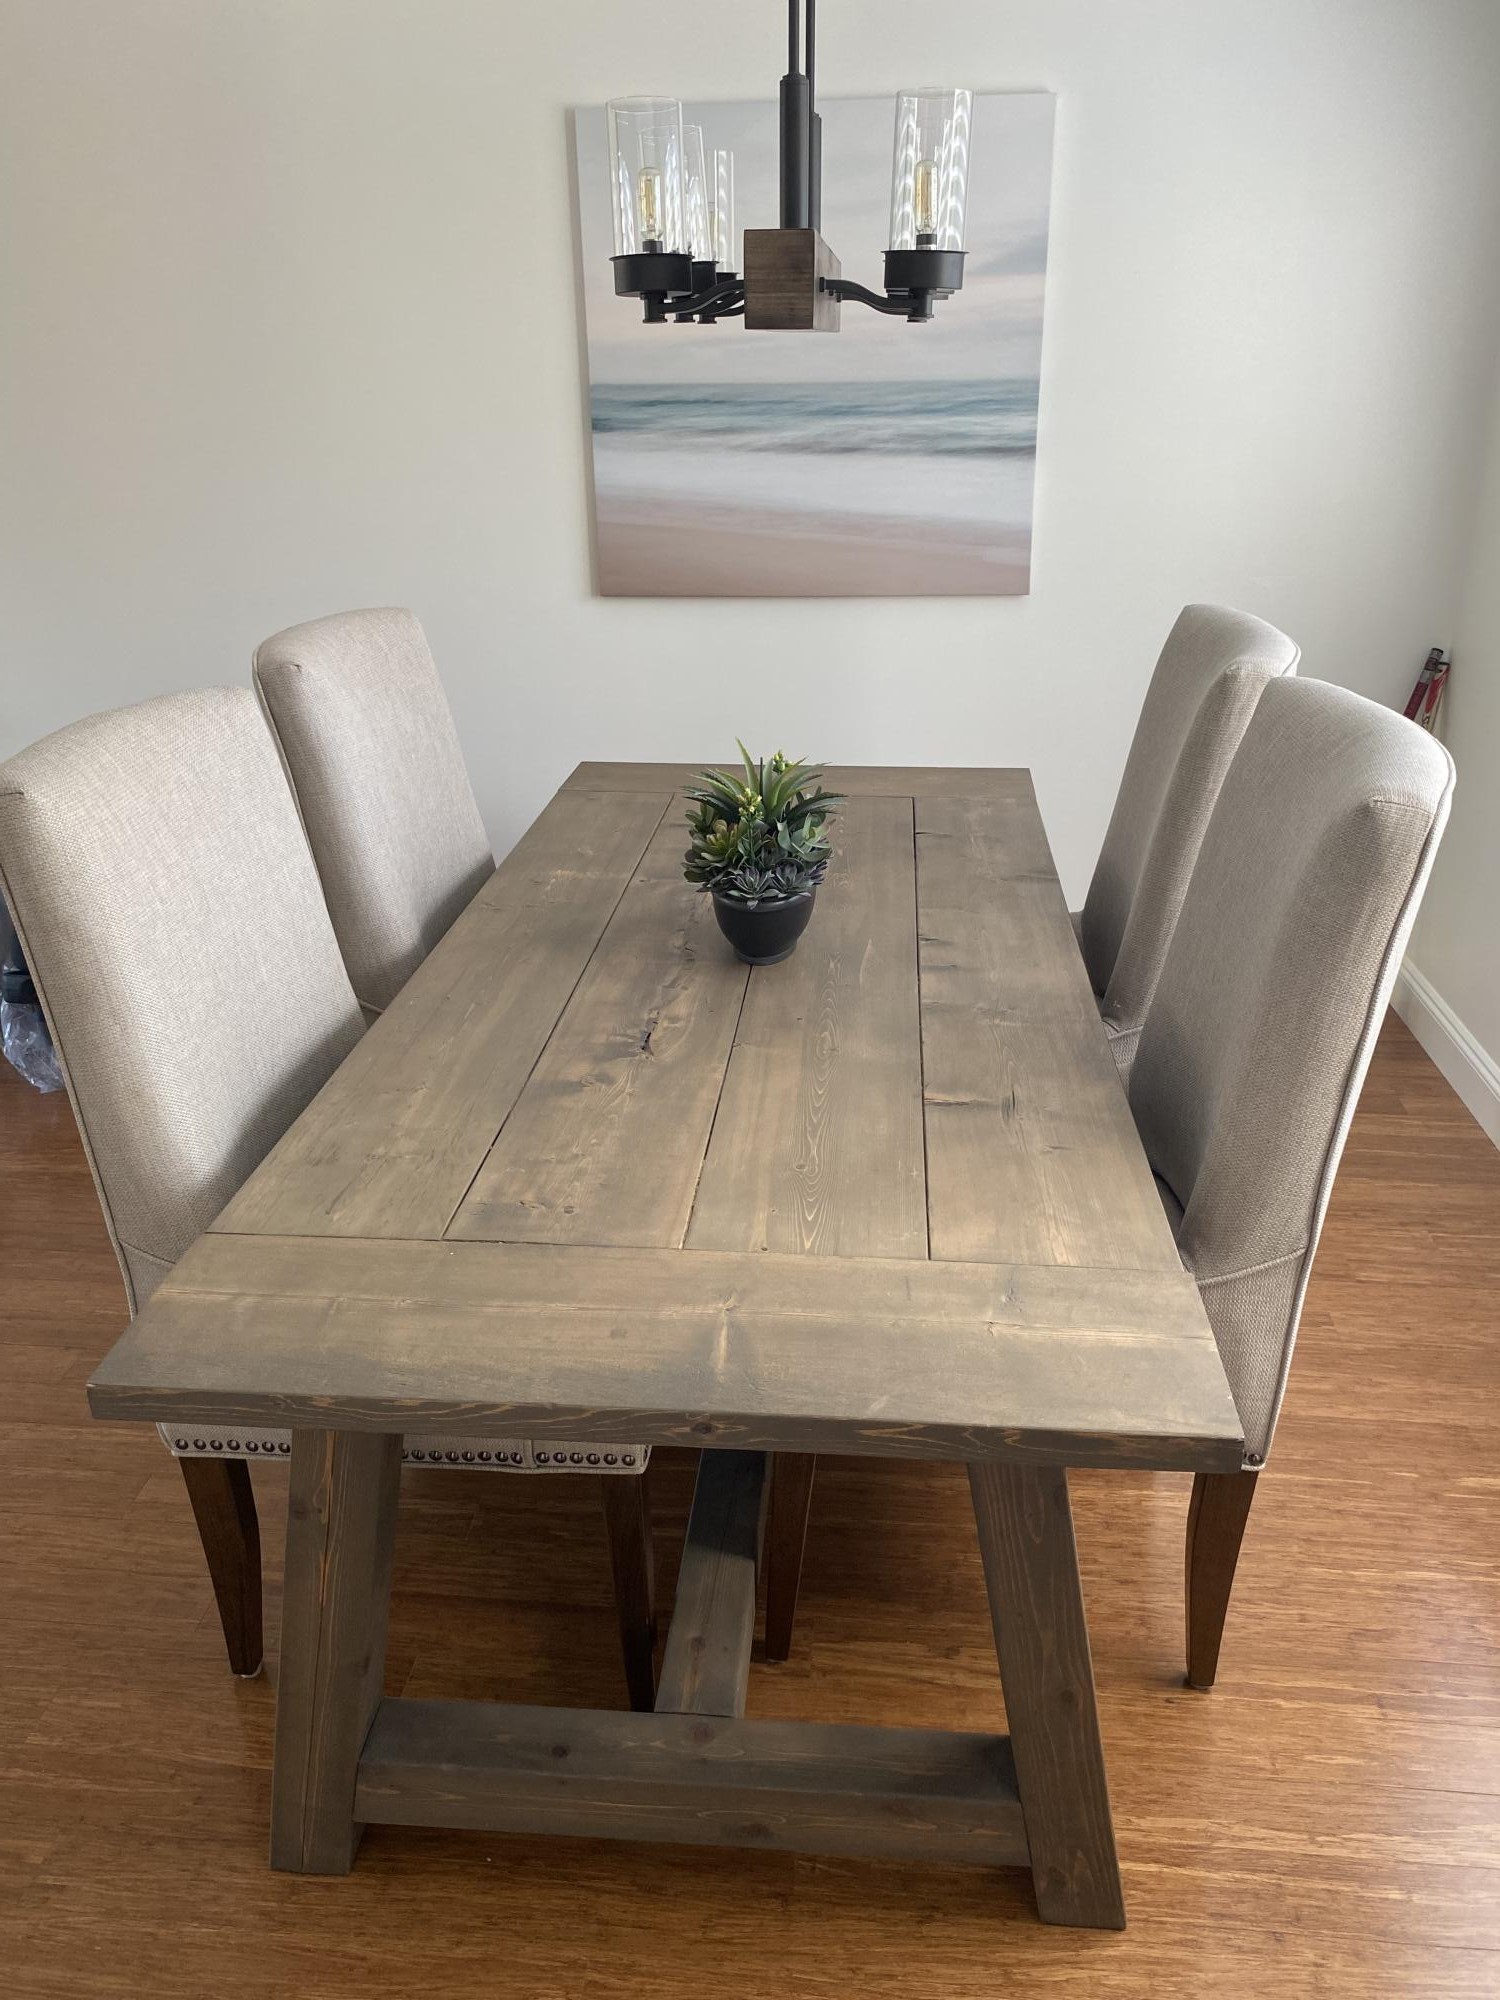
Post and beam farm house table.
Completed 4 years ago by myself while using the Ana-whites plans.
Matching baby change table and crib are also finished for our newborn arriving Jan 3rd.
Thu, 12/29/2022 - 11:19
Very pretty, love the finish! Thank you so much for uploading a brag post.
I made this this February for my daughter’s birthday. I did not use Ana’s plans for same desk since at the time I did not know this site existed. I made my own plans that were influenced by Ballard design and Pottery Barn catalogs. It took me many nights though if you have the time it should not take more than a weekend to make.
I added a keyboard shelf using special slides hat I found at HD.
I made it out pine and plywood from HD. I trimmed the bottom with a trim and painted with primer and high gloss White Dove Valspar paint.
Thu, 03/15/2012 - 22:47
Your desk turned out beautifully! Does the bottom drawer hold hanging files? Ana's plan mentions buying rails that fit on the sides of the drawers and cost about $1.50, but she doesn't mention specifics. I wondered if you found something that worked for this purpose.
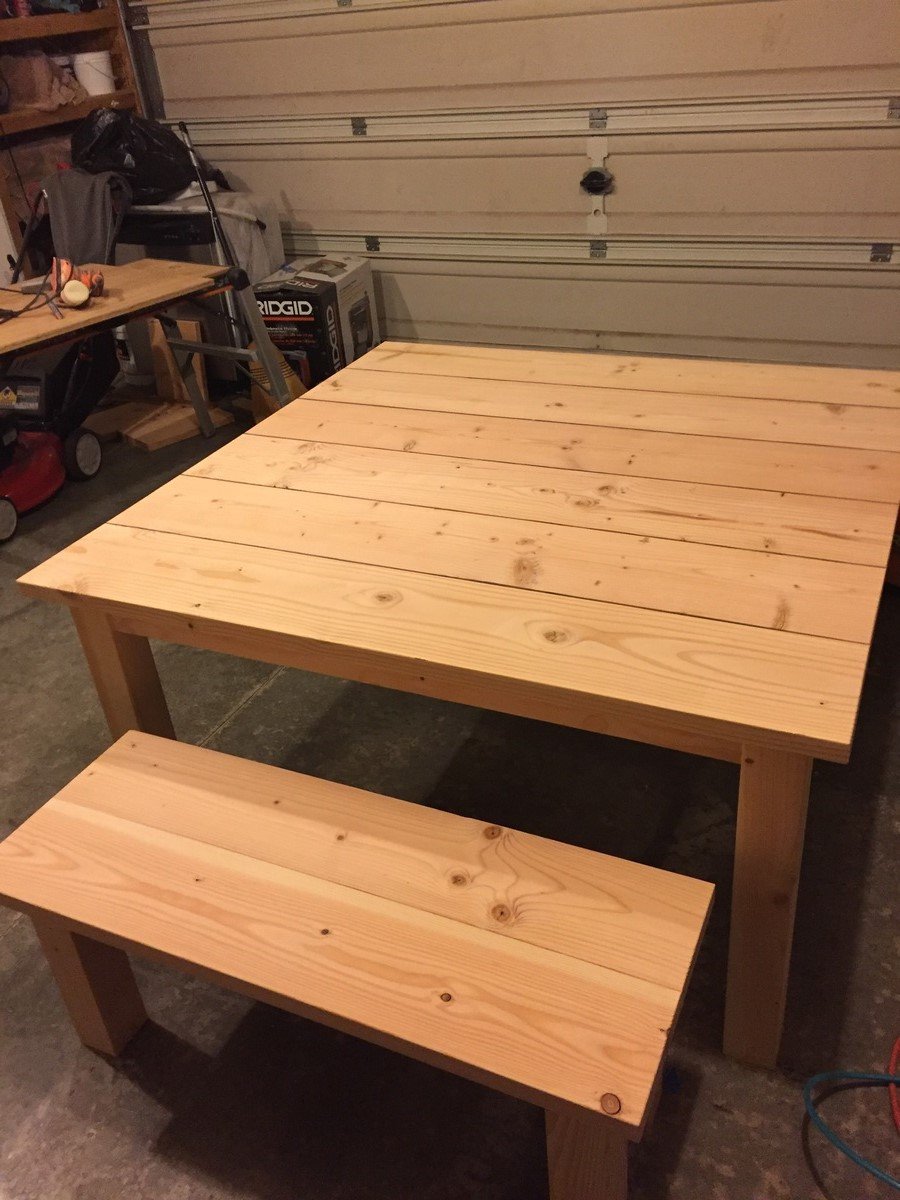
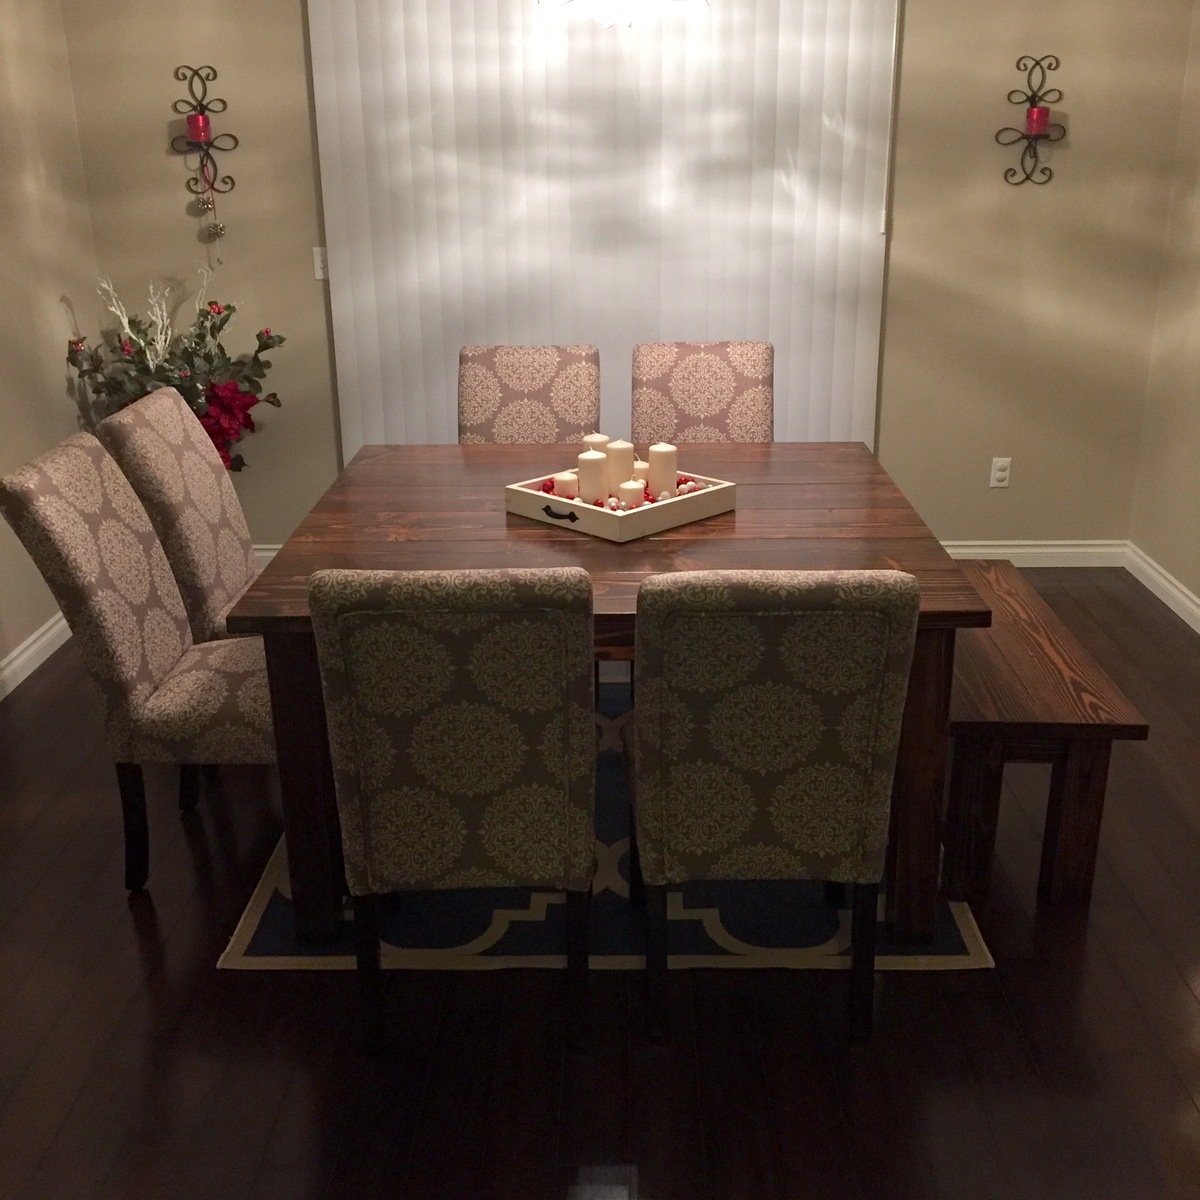
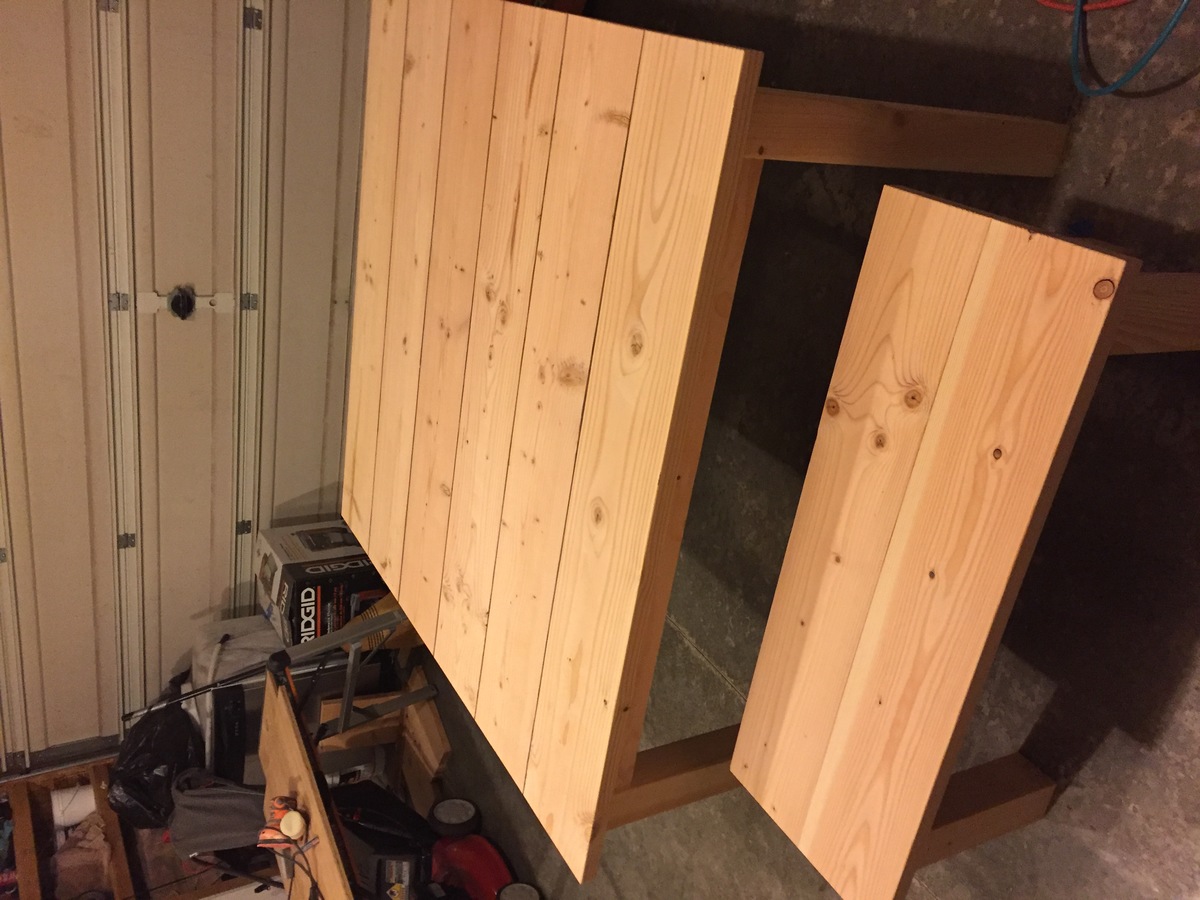
This is a 5x5ft square farmhouse table that I built for my dining room. It's all kiln dried construction lumber. I bought a thickness planer to get this right. I got tired of the twists in the boards that made it impossible to get the table top flat and consistent. It's completely worth it. I cut all the boards down from 2x12 lumber to 10 inch width. I routered the edge of each plank with 1/8 bit to give it a small crack in between the planks. I sprayed the new varathane poly, water-based, and it came out perfect. I ended up with 4 coats.
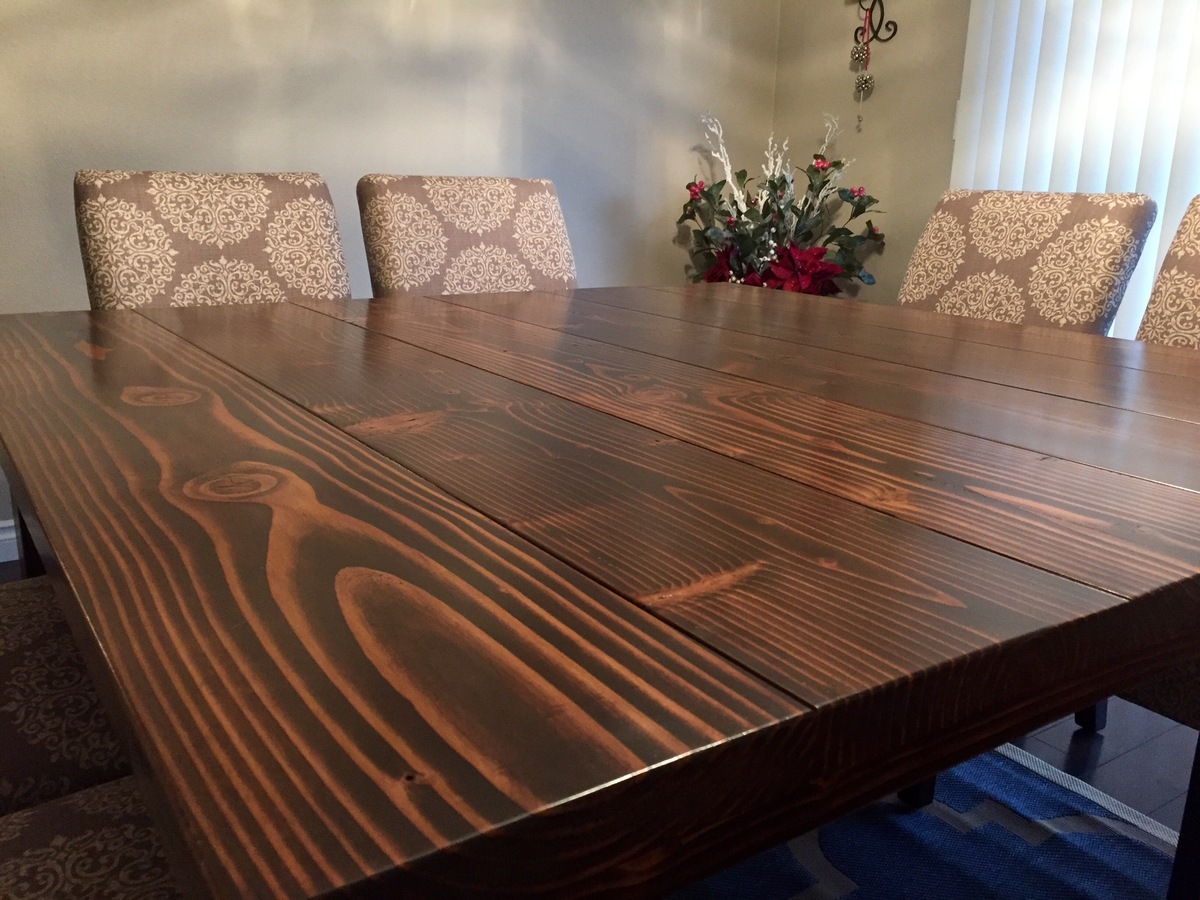
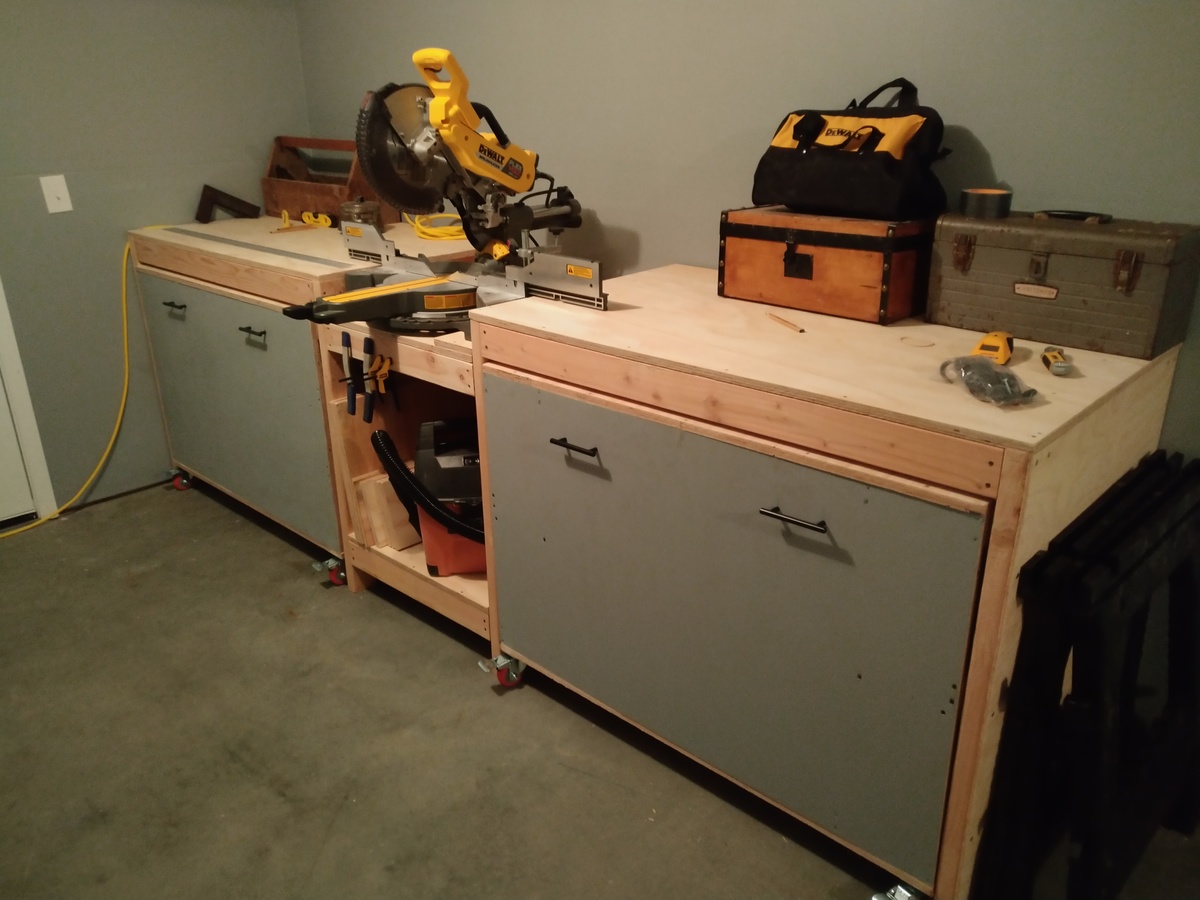
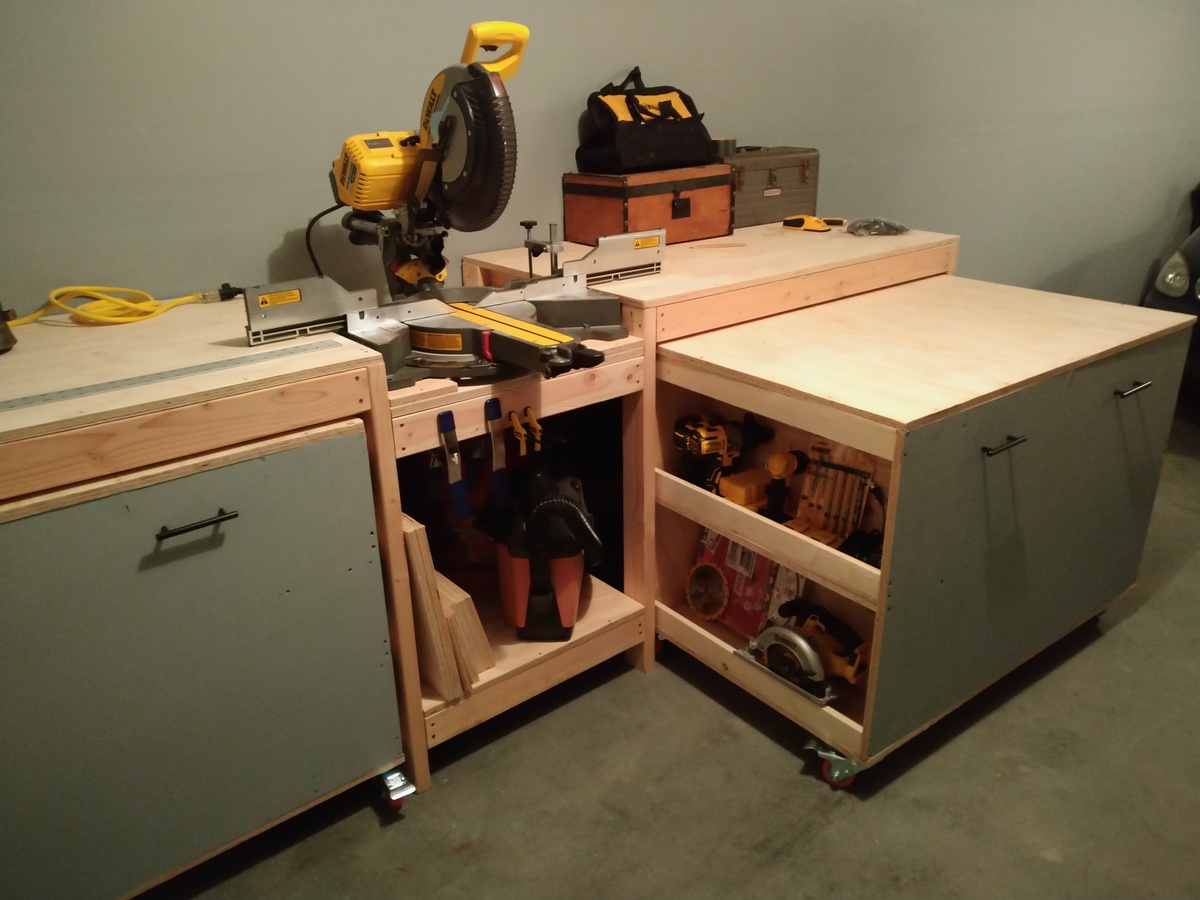
Really enjoyed the build.
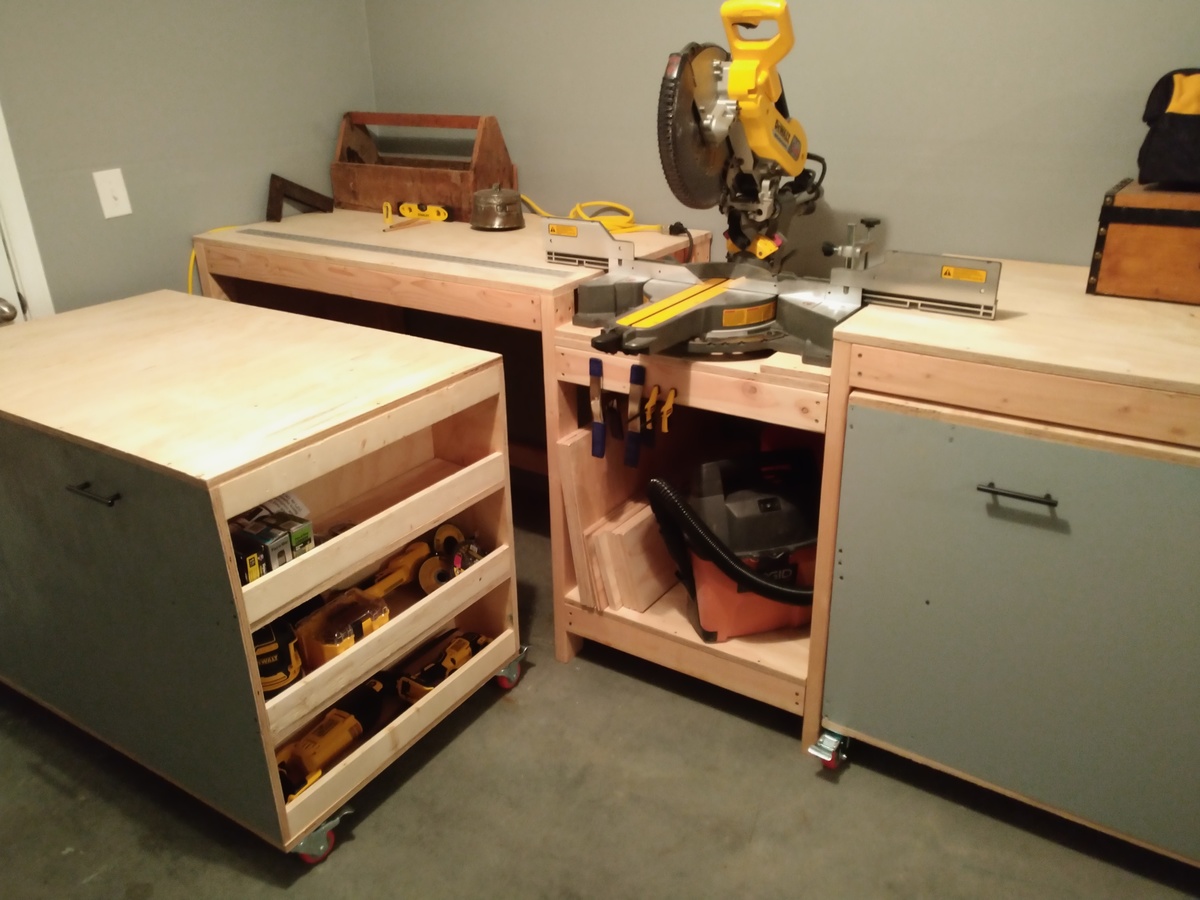
You don't really need a Brad nailer or stapler, I did it with good old hammer and nails. Just brace it well when nailing into unsupported beams. You also don't need a tablesaw, I did all the plywood cuts with a circle saw. The shelves in the original plan are deceptively small. After building one side with the shelves how the plan has them, I decided to build the other cart with only one shelf for two on each side instead of four, gives a lot more space. I didn't add any shelves to the other side of the left cart, planning on adding hooks to hang extension cords and such in there. Make sure you predrill, I still had cracking issues even with the self drilling screws. I would recommend splurging on quality plywood especially for the tops and front.
I plan on adding a dust hood and shelves above each side. Also going to do the tablesaw and bench tool mods to the carts when I get those tools.
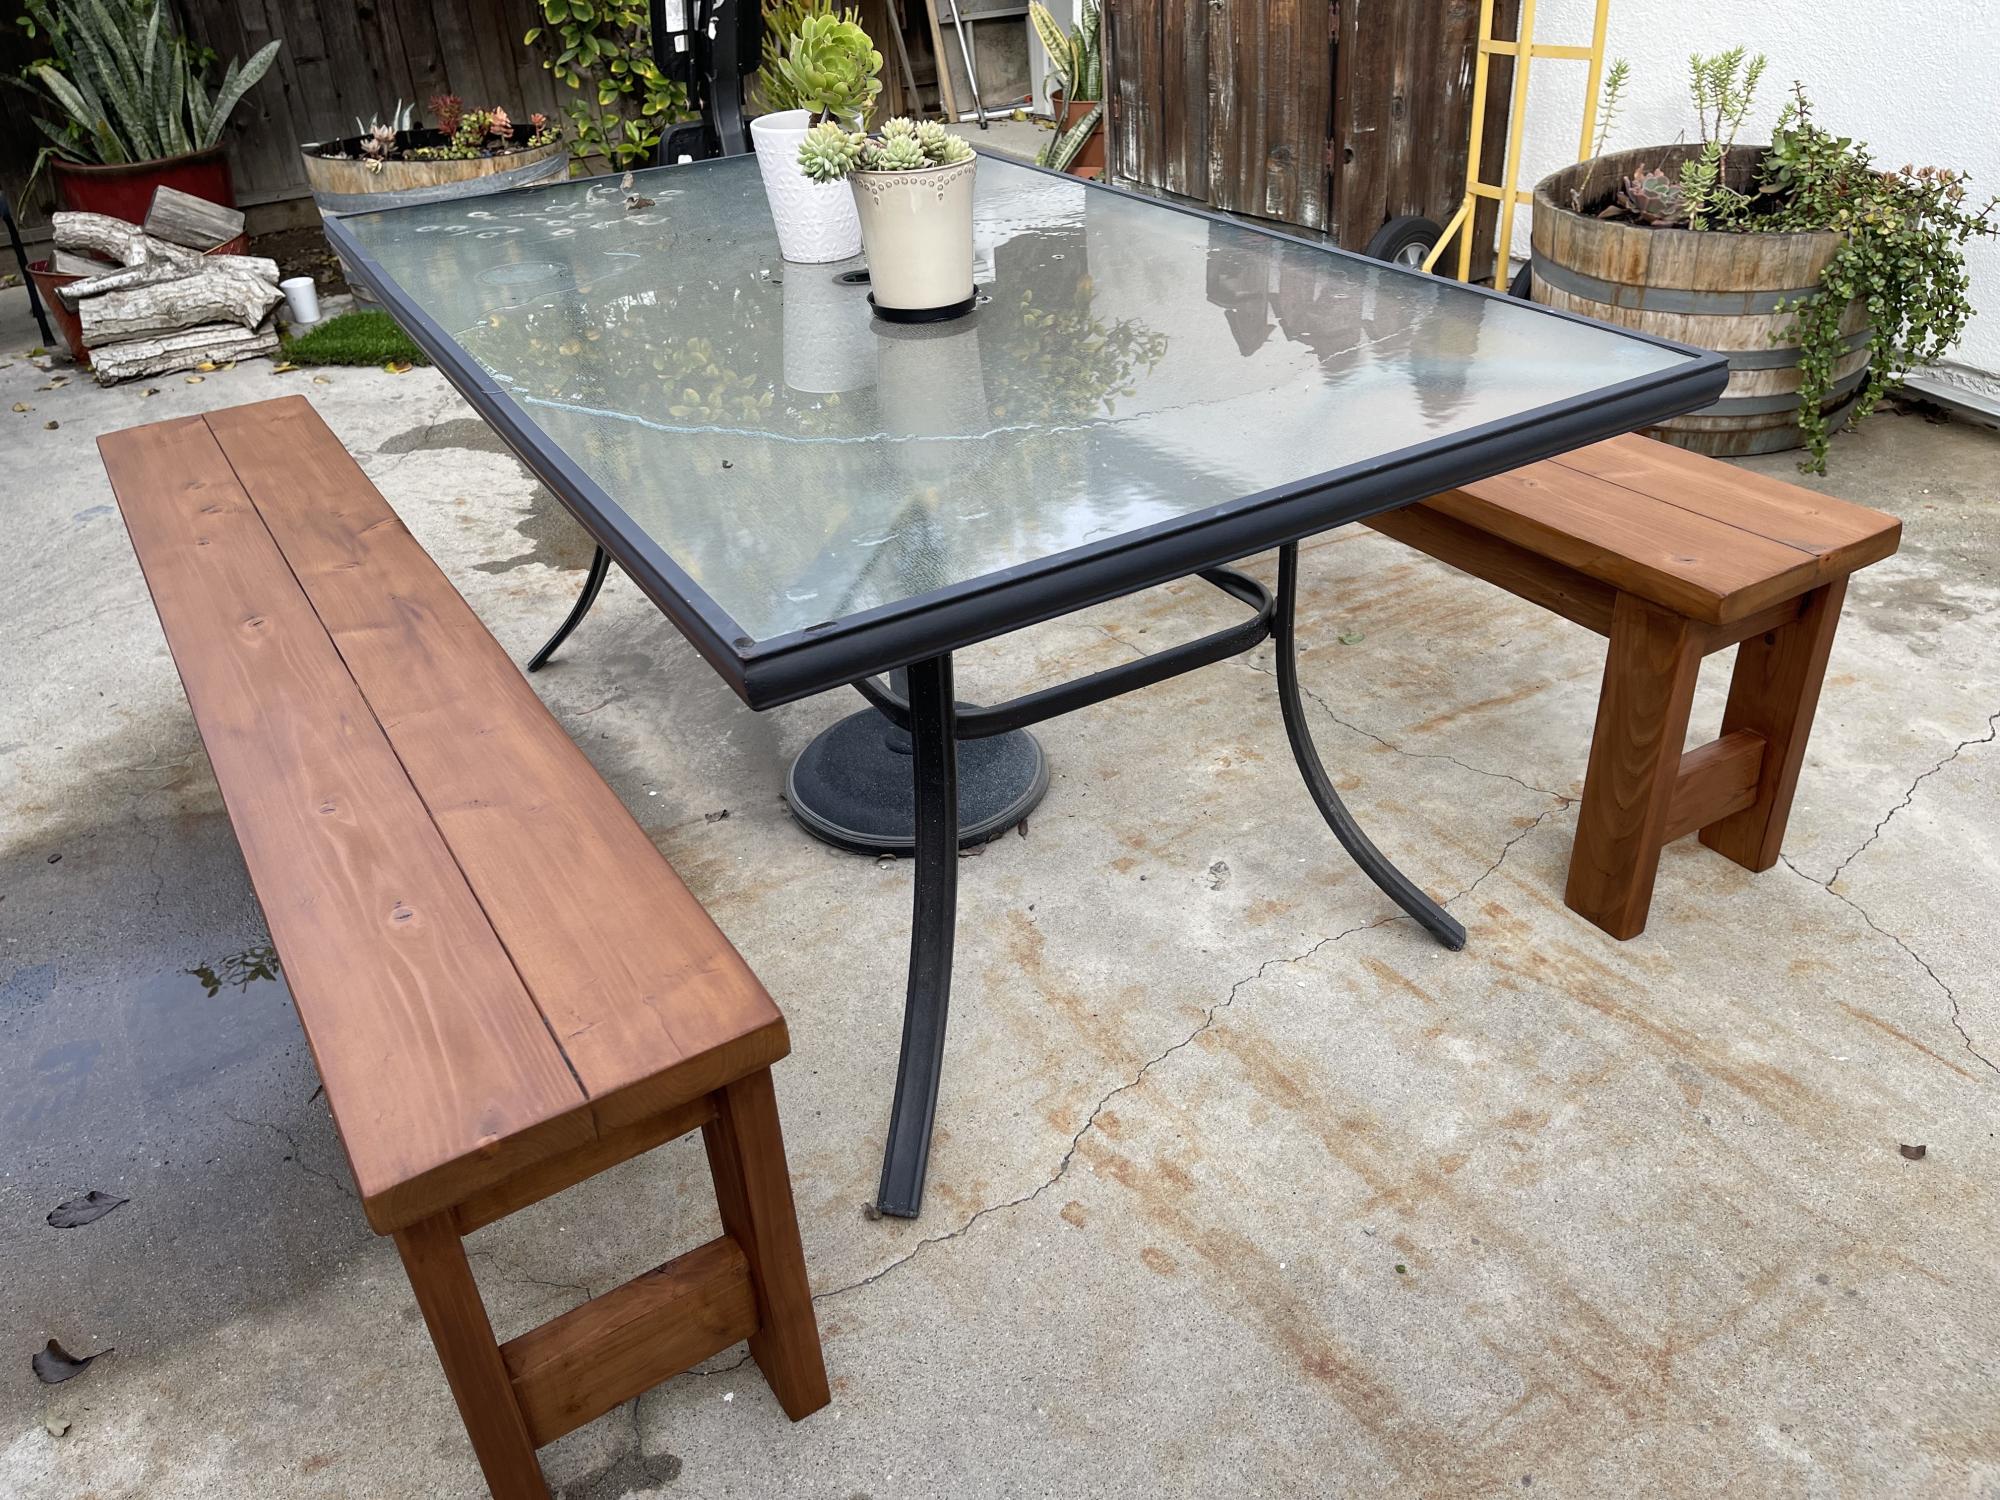
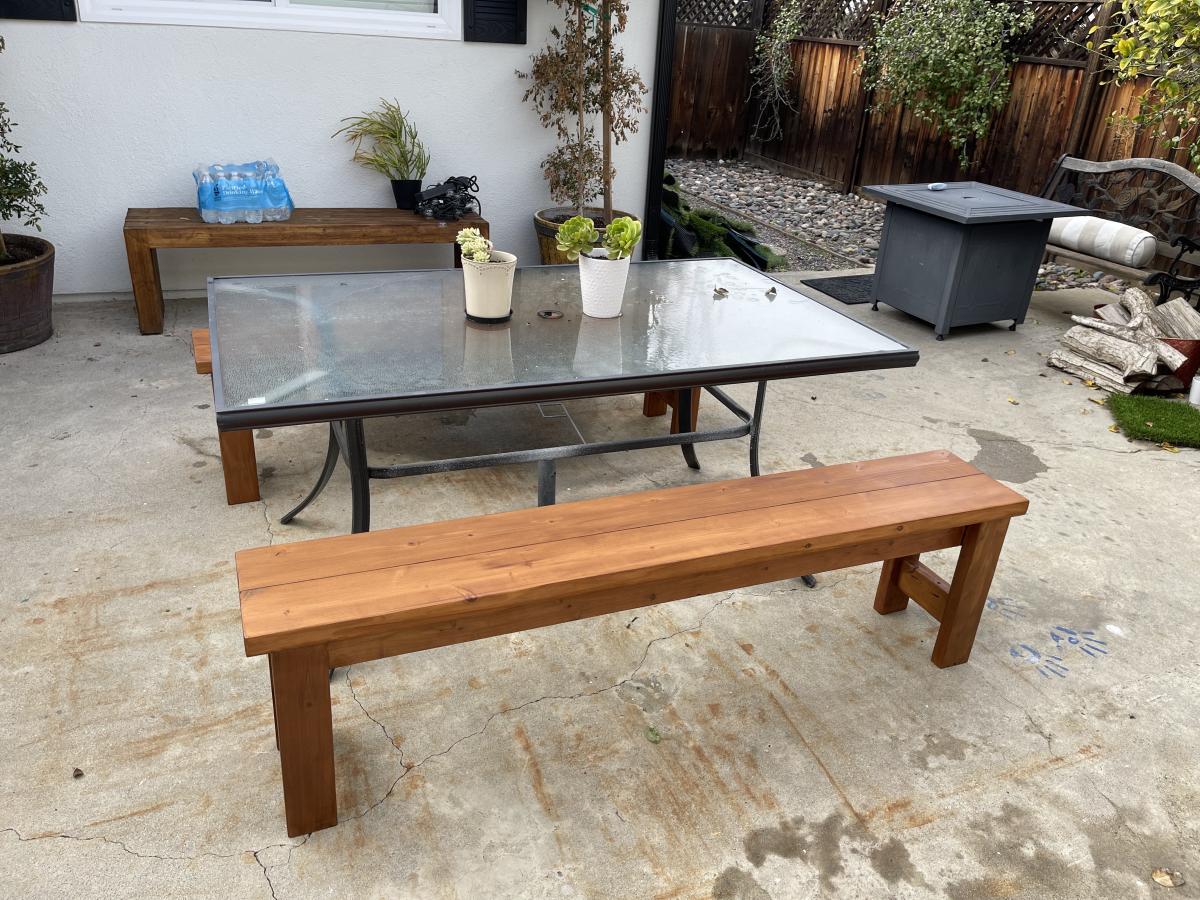
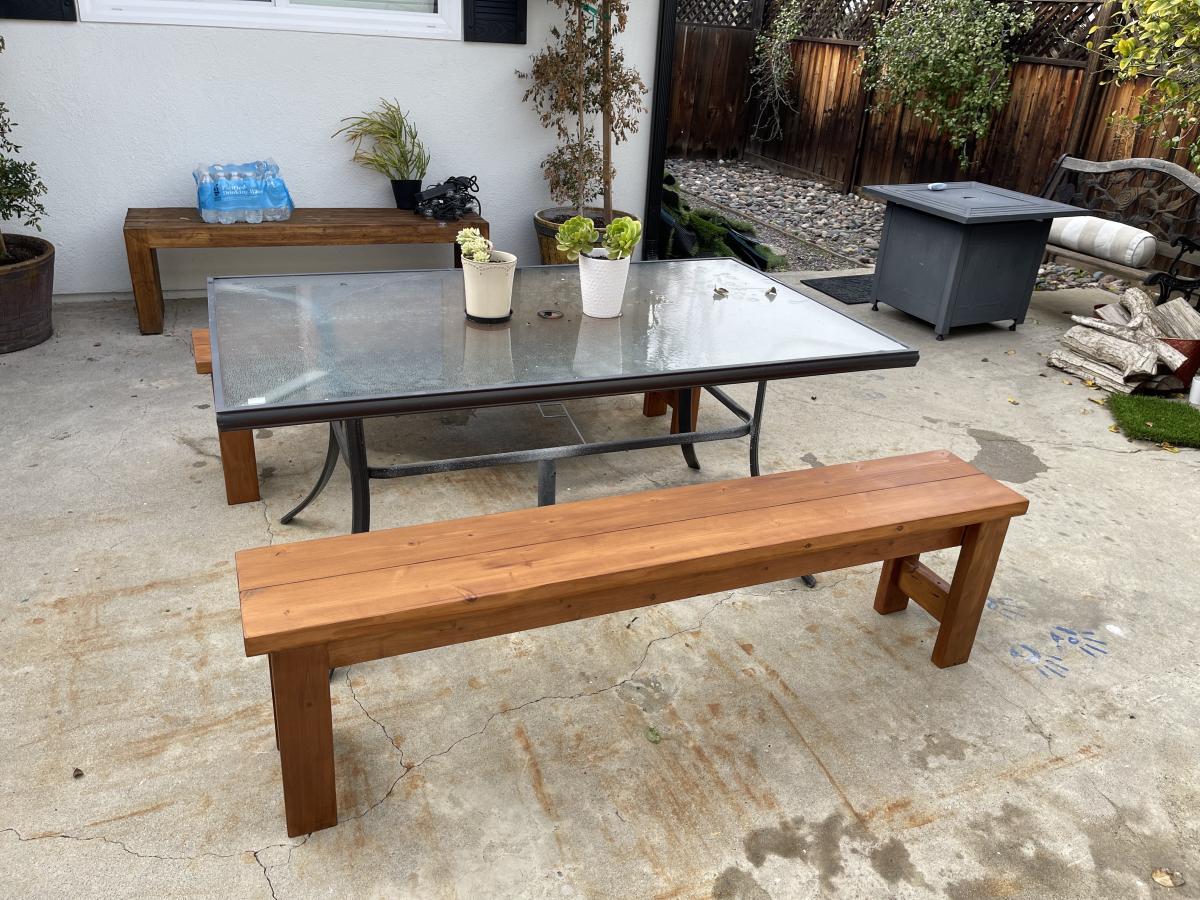
A set of beautiful farm benches for our outdoor table. I built these beauties with redwood wood using only pocket holes to avoid exposing any screws. The only place where I had to use pocket holes plugs was in the leg stretchers to avoid seeing the pocket holes.
I applied pre-stain wood conditioner and then stained them using Dark Brown transparent stain. I wanted the wood grain to be visible through the stain and this allowed me to do just that.
We loved the Tryde coffee table, but thought a more industrial look would fit better in our apartment. We saw some black iron pipes at Home Depot and decided to use these for the legs. It turned out great and looks really good with the rest of the furniture! Thanks for the plan!
Thu, 09/29/2011 - 09:54
That turned out so cool! LOVE, LOVE, LOVE the black pipe legs!
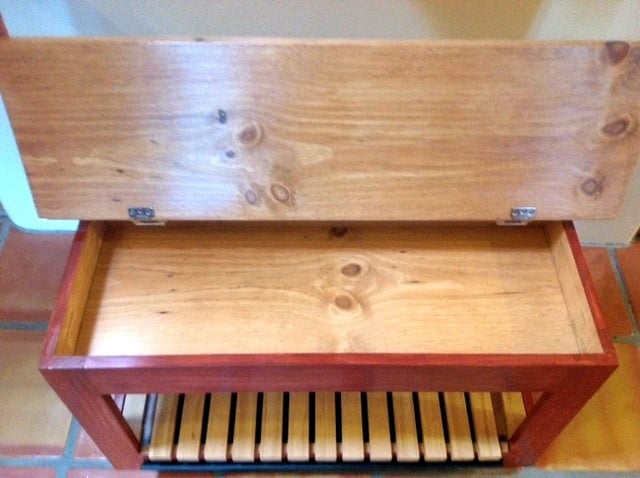
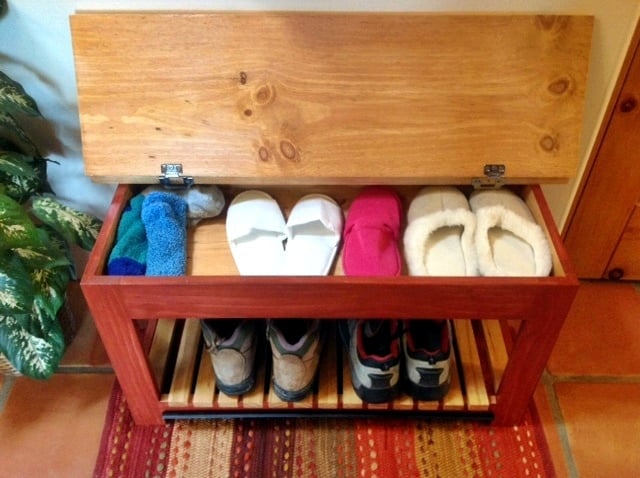
So my sister's house is on a rural, sandy lot. Did I mention sand...lots of sand. Her tile doesn't react well to sand-covered shoes , so they needed a place for guests to take off street shoes to replace them with spa booties. I offered to build them a storage bench for that purpose.
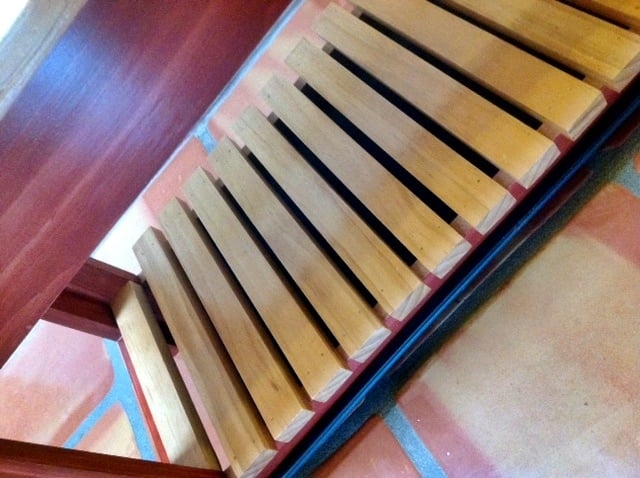
I modified the bench to make it shorter as per my sister's request. She also wanted the lower shelf modified to place a boot tray on it to catch the sand. I suggested replacing the lower shelf with rails to place the shoes on so the sand could fall off onto the boot tray. We nailed finish nails into the legs under the rails and slid the tray onto them. Now she can remove the tray easily to dispose of the...sand.
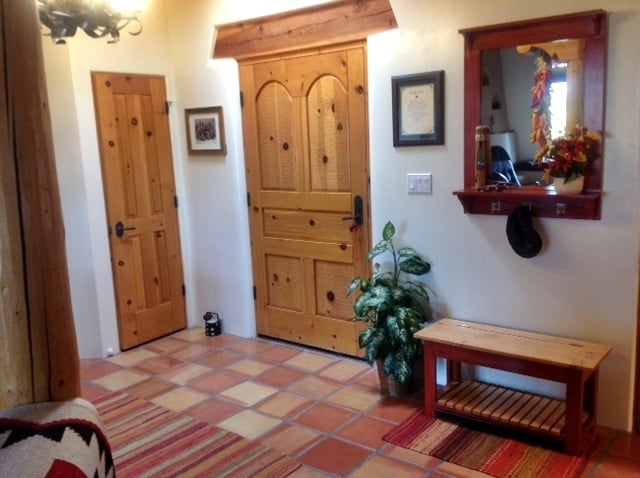
The finish on the body matches the mirror, which hangs above it. The lid of the bench was stained to match the finish on the doors, posts, etc. I used wrap around inset hinges from here: http://www.rocklerpro.com/product.cfm?page=5135&rrt=1
I checked this as a weekend project because of dry time for stain and poly.
Thank you, ANA for the awesome plans.
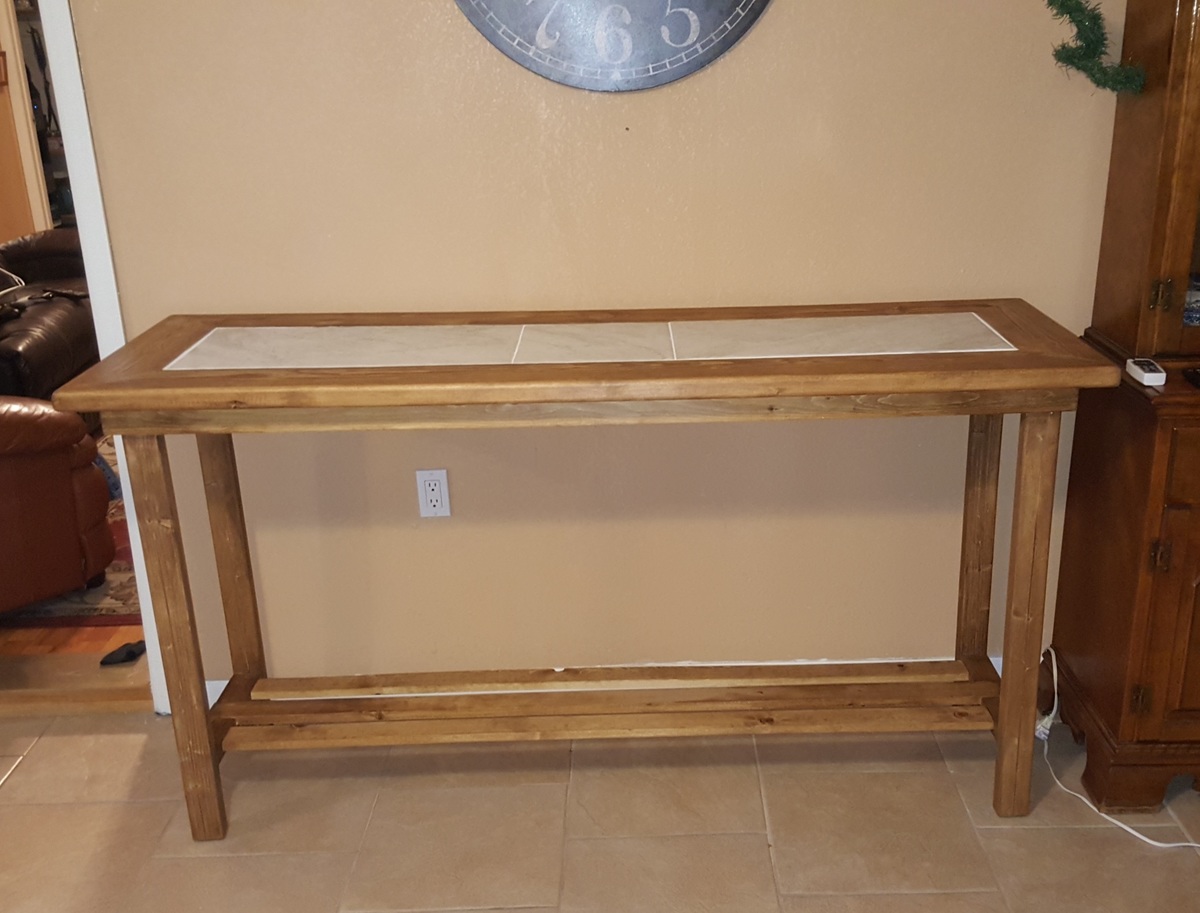
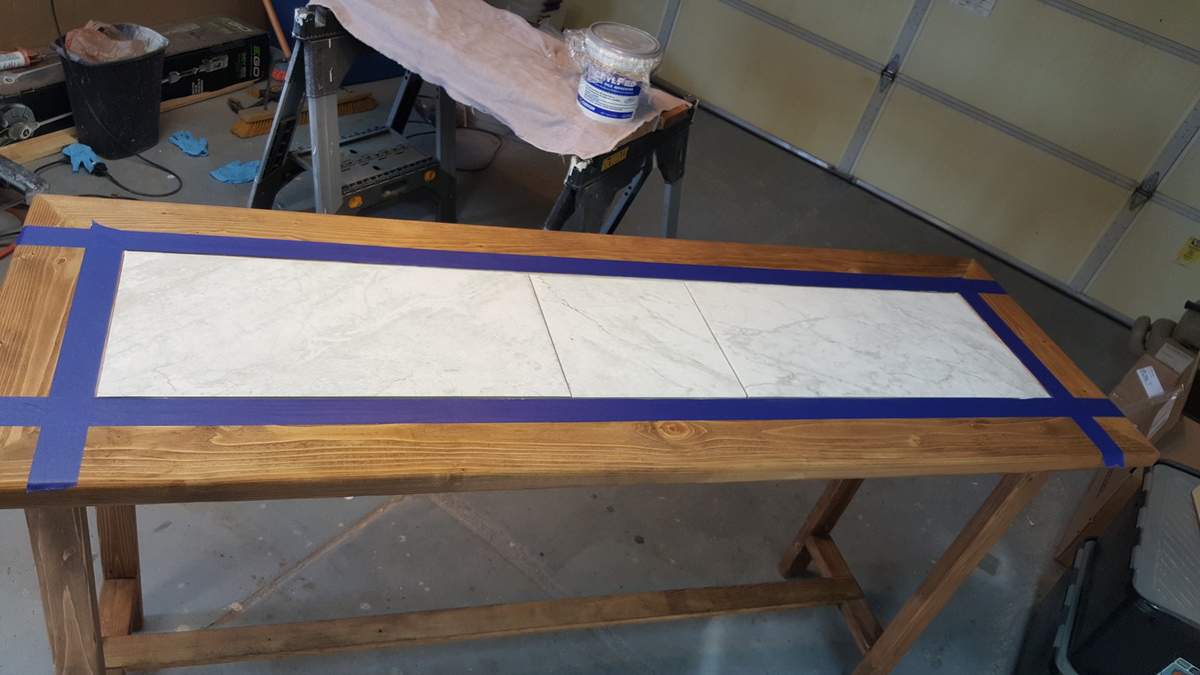
The goal of this project was to create a buffet / serving table to compliment the large farmhouse table I made a while back. We have been using a folding table for a buffet line at large family gatherings and that just didnt seem right when placed next to the giant 10' table. (info for the table: http://www.ana-white.com/2014/07/big-farmhouse-table)
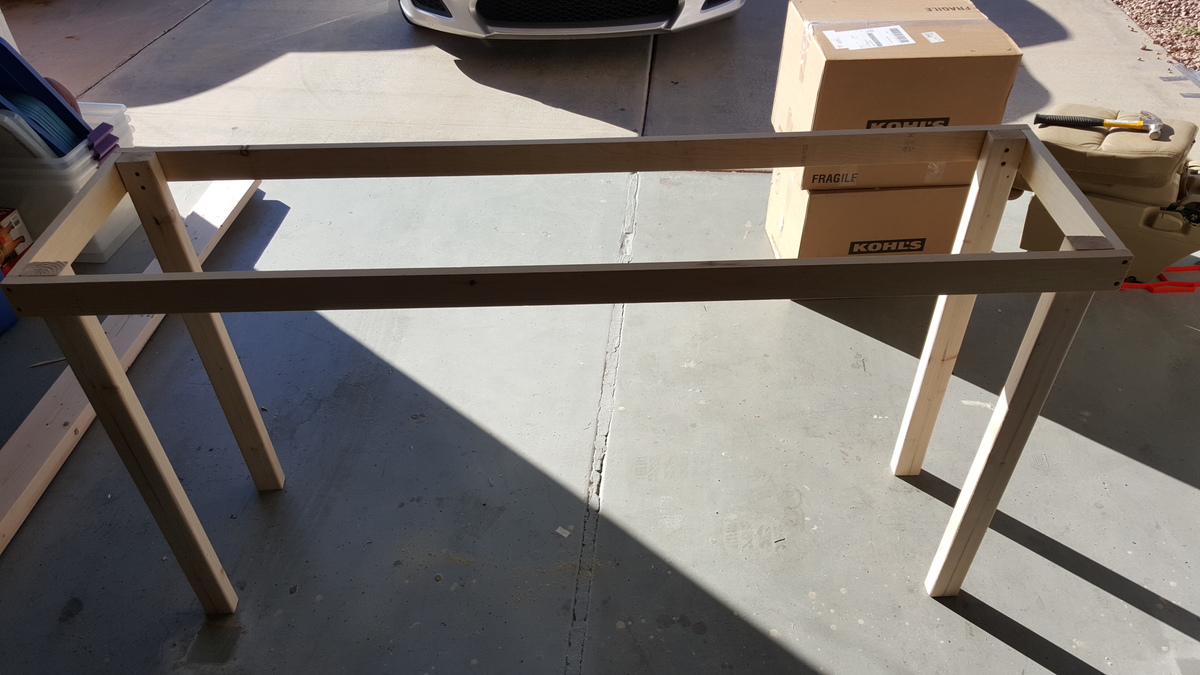
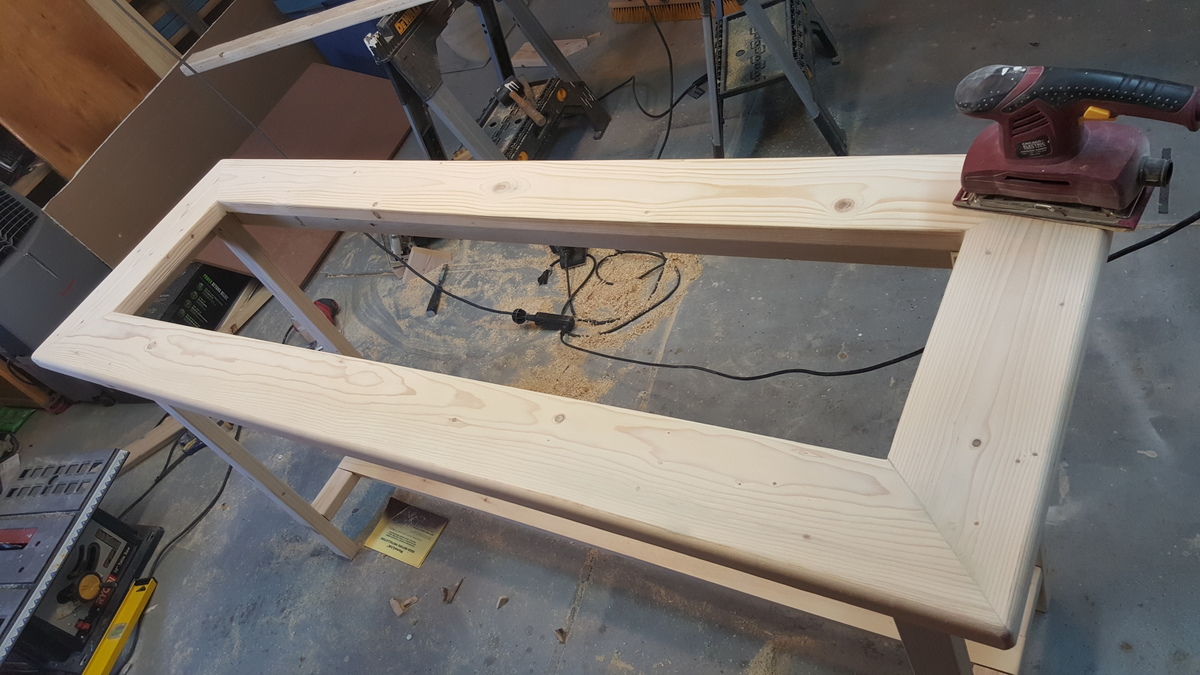
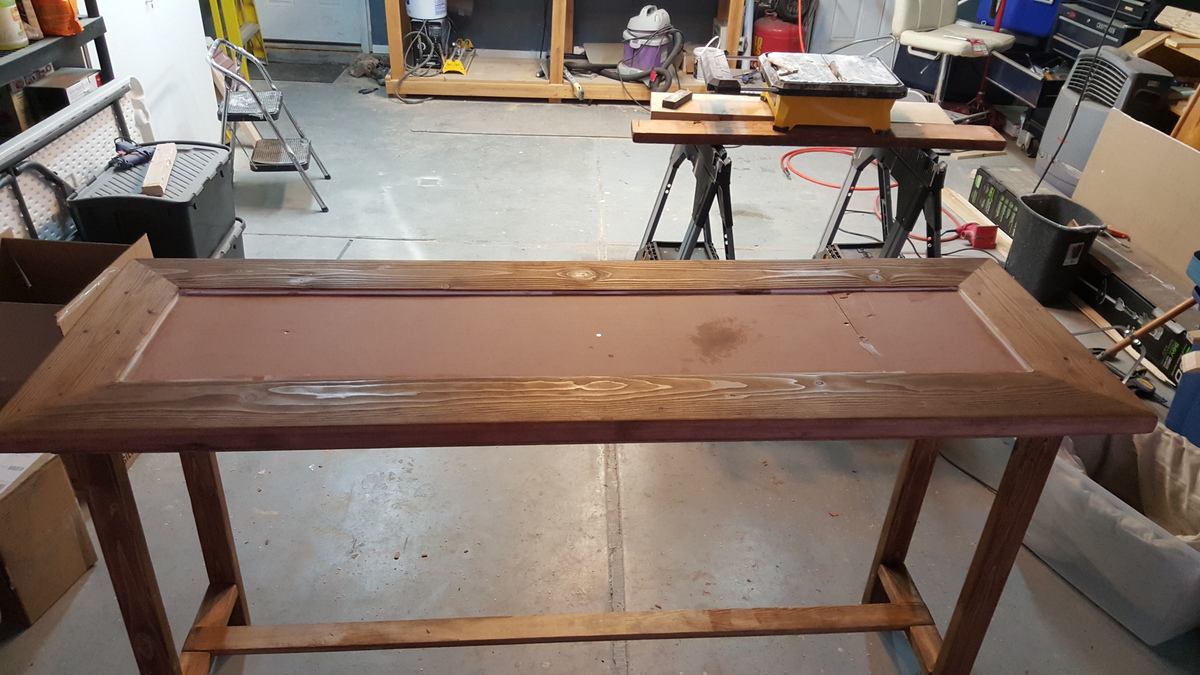
The build is similar to the farmhouse table, but the materials are a bit smaller due to the size of the table. The legs are 2x3's and the table top itself is made of 2x6's outlining a 2' x 5' section of tile. All of the other materials (stretchers and apron) are made from 1x3s. The tile is set so it sits about 1/8" higher than the wood. This is to allow hot pans and plates to be placed directly on the tile without a trivet or other separator. The tile sets on a 3/4" piece of MDF supported by small 1x2 slats underneath.
All of the joinery is accomplished with glue and Kreg Jig / Screws.
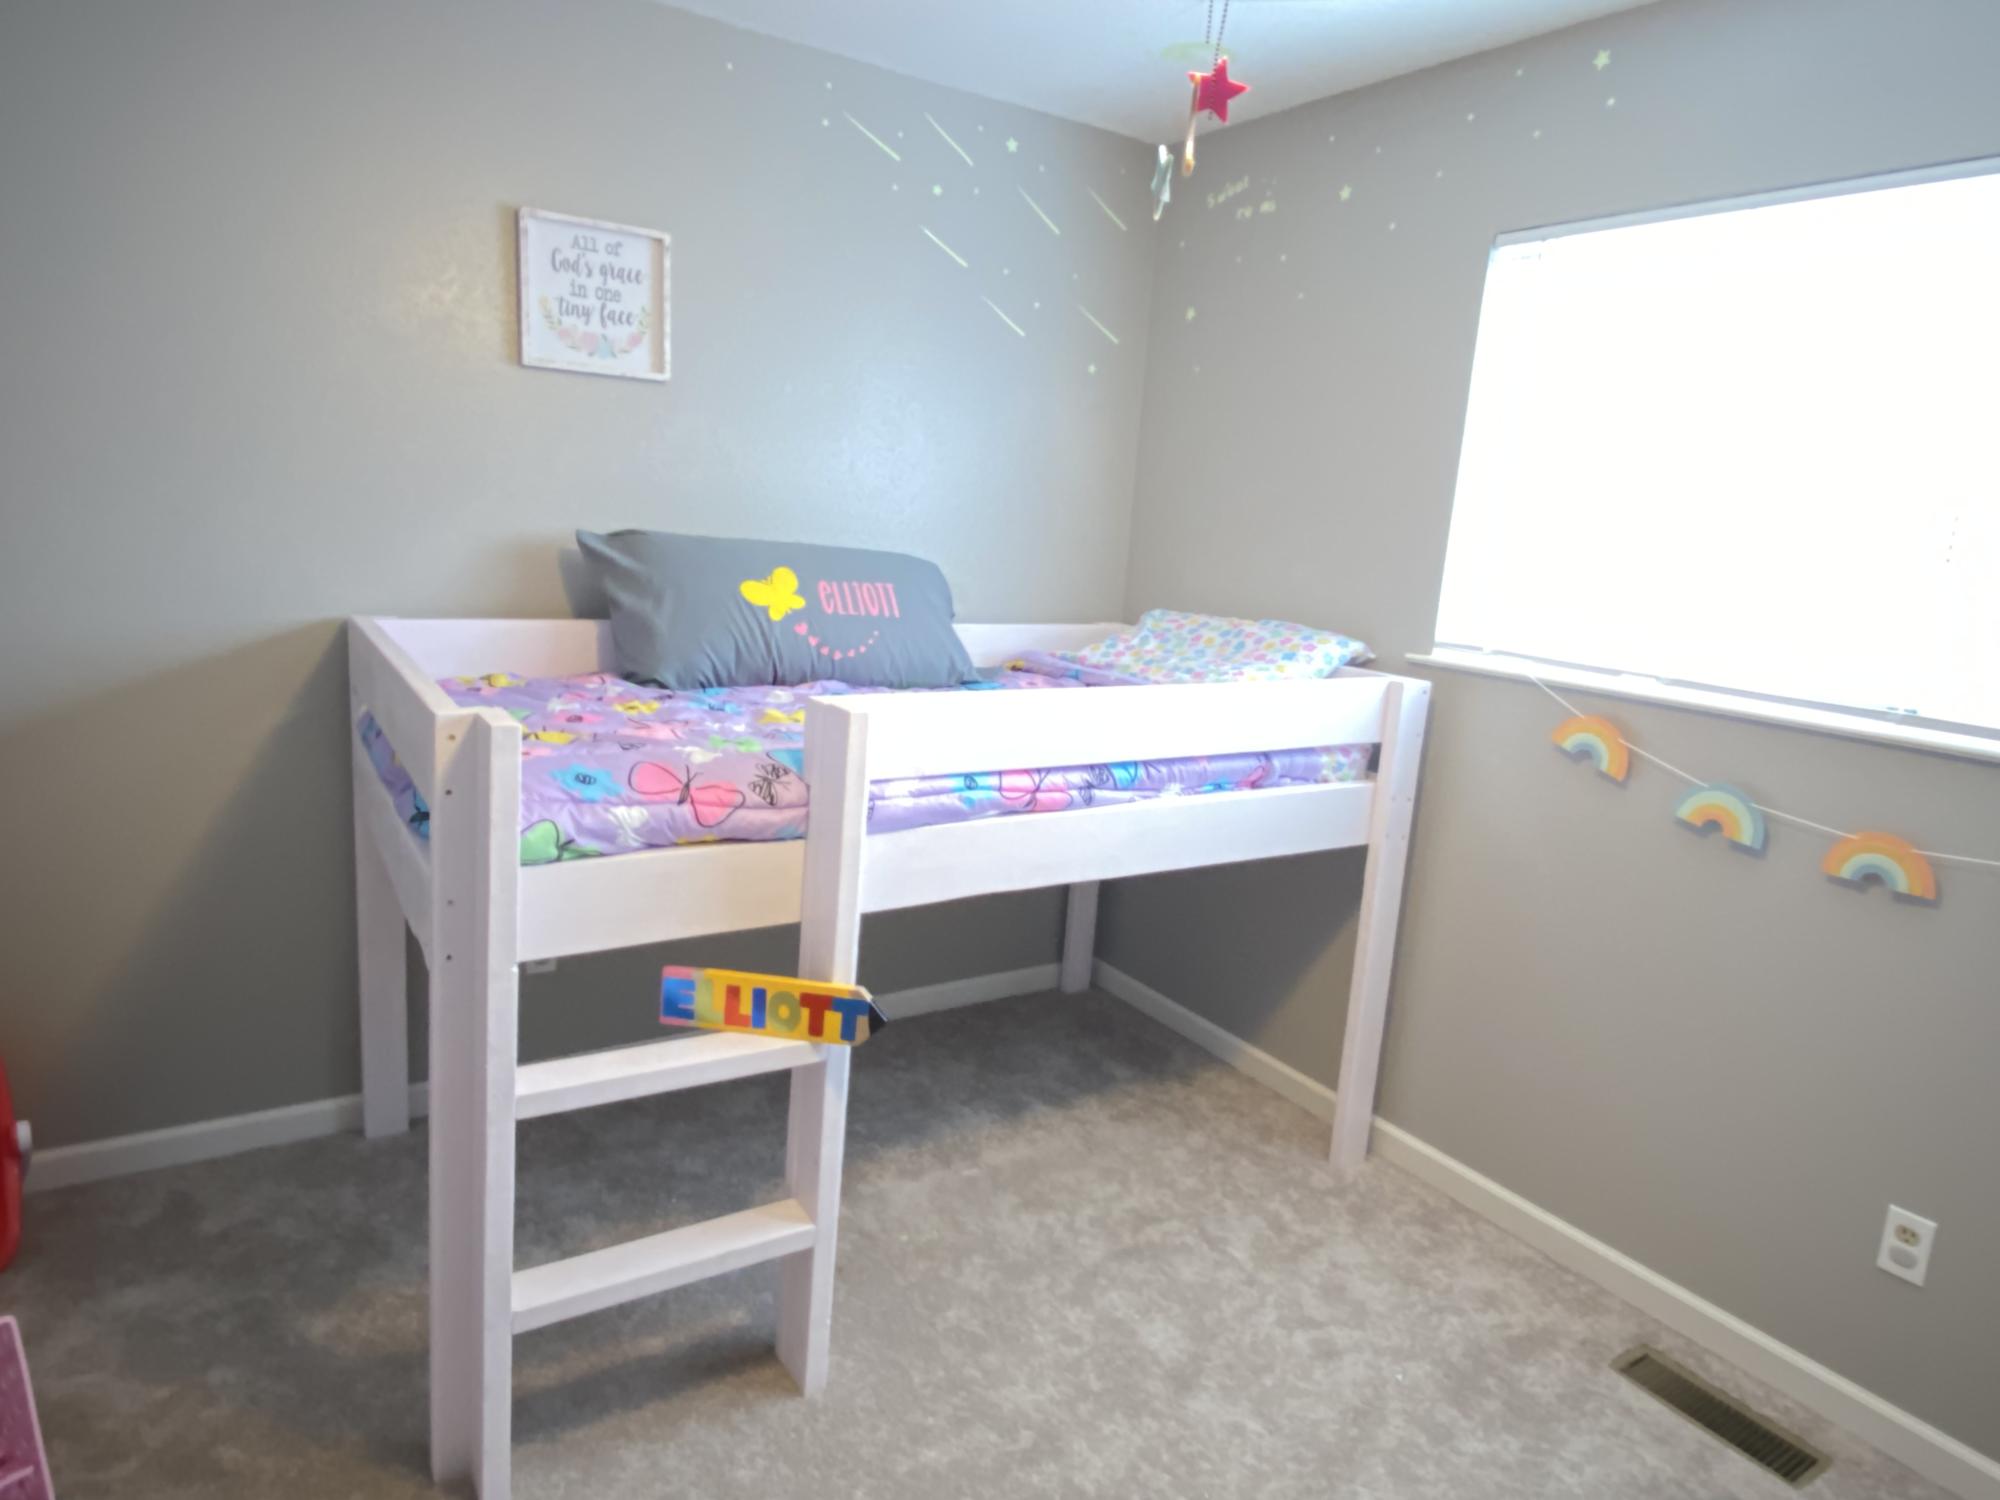
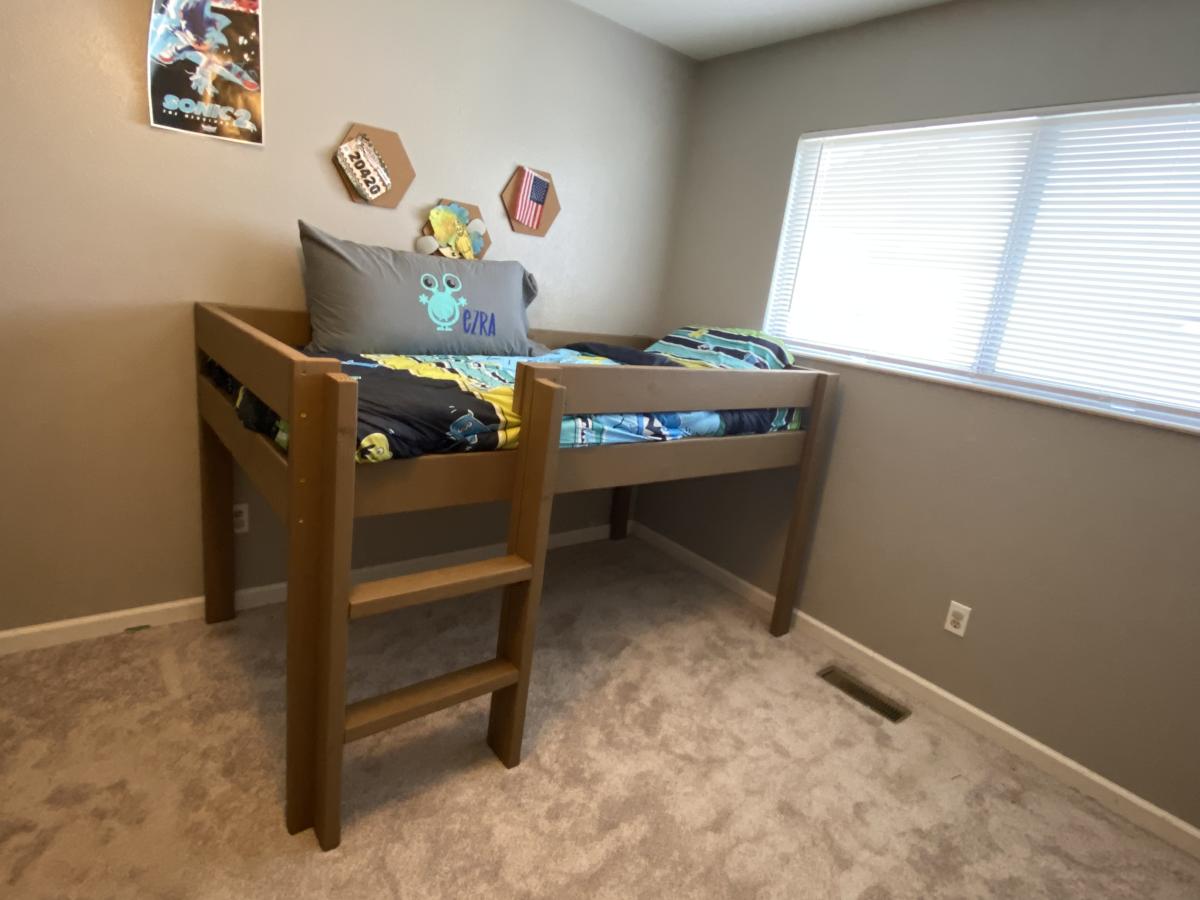
These loft beds were made for Christmas for my grand daughter and grand son !! They now sleep in their own beds!! It was fun to build!
Our local Habitat for Humanity puts on an annual event where they get folks to restore discarded or worn down furniture and sell them at auction. My wife and I participated last year and this year I was asked to build 4 dog houses and then they were going to let local designers/decorators finish them out.
I figured it would be easy to find a good dog house plan, but I was wrong so I had to come up with my own designs. I did not want to use plywood becauase I wanted them to look good. So I used 1x4's and 1x6's. I built them all just a little bit different, but the same basic design on all 3. Since I am not very good with circular cuts, did not do any fancy 1/2 circle doorways!
There are "after" pictures on the Blog. Thanks for looking!
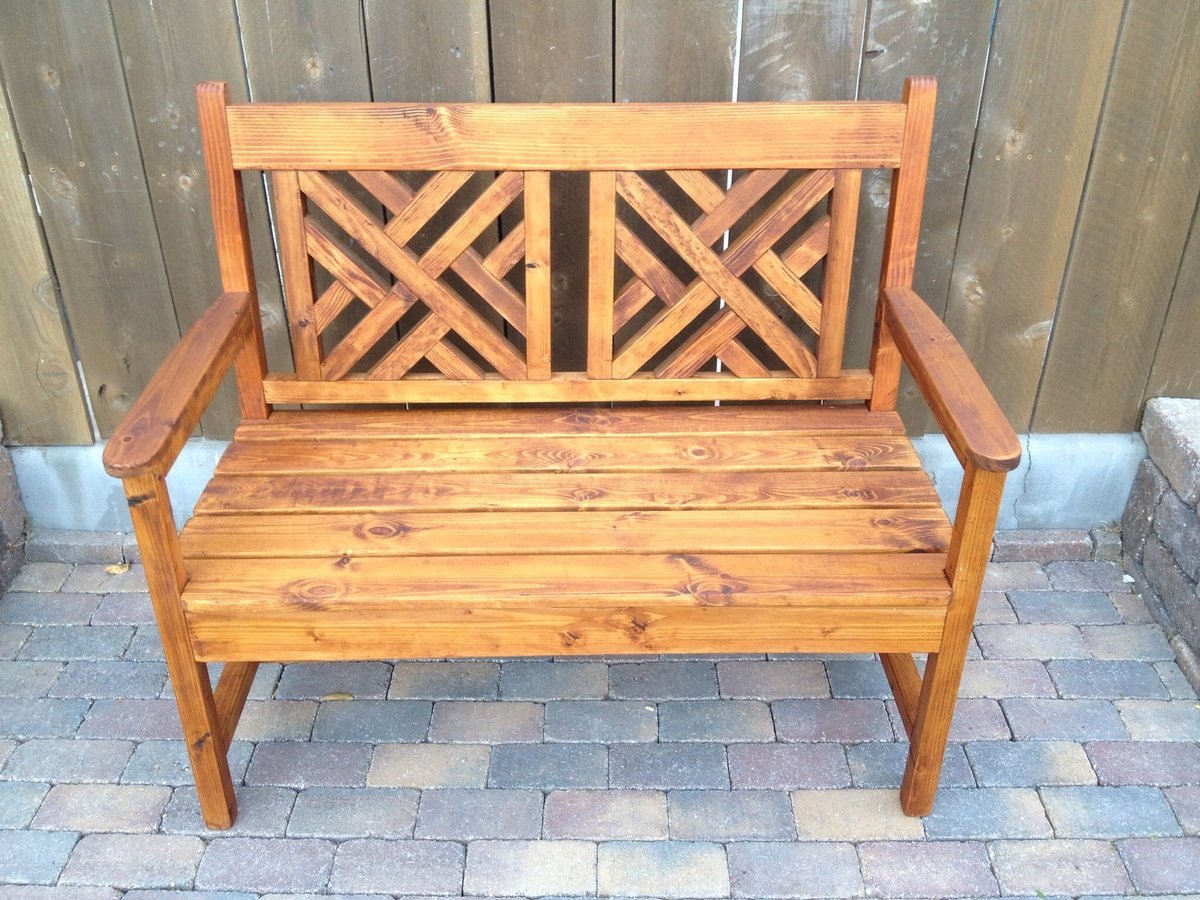
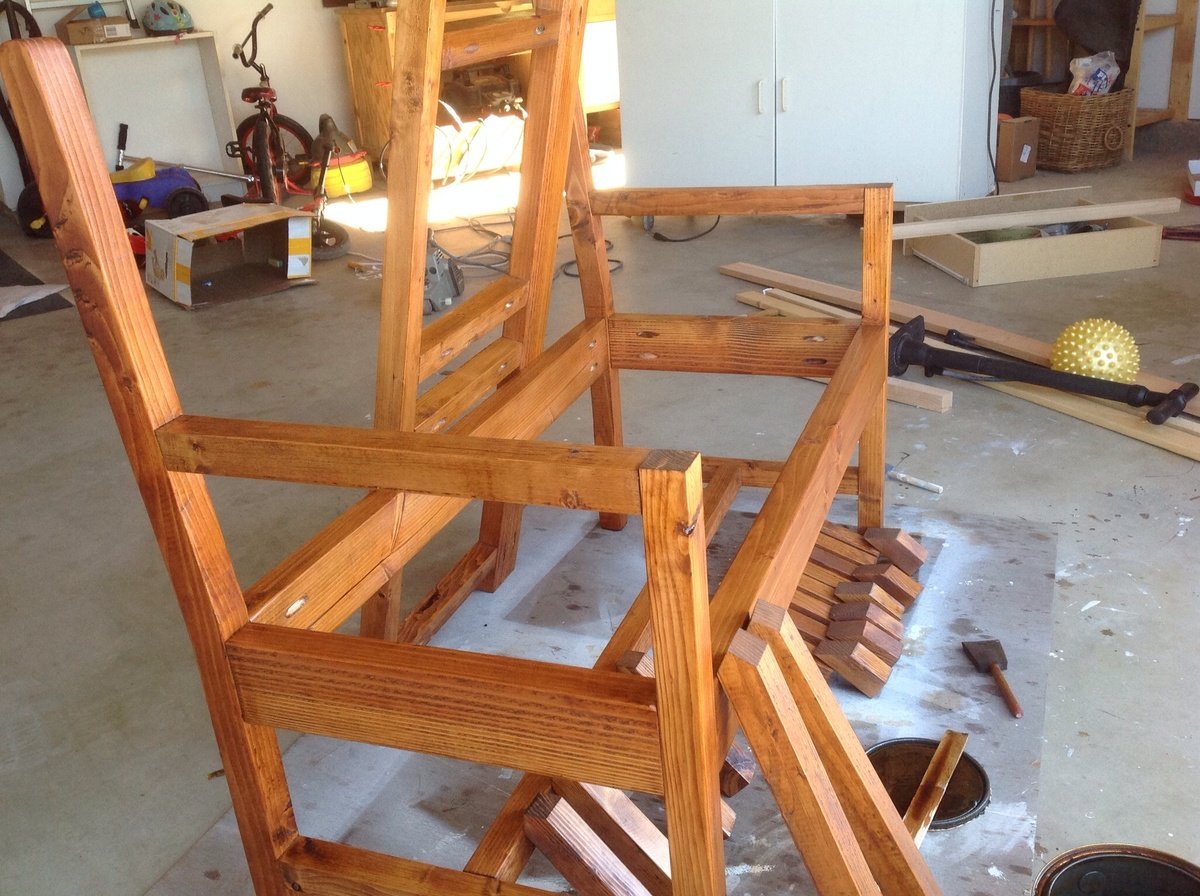
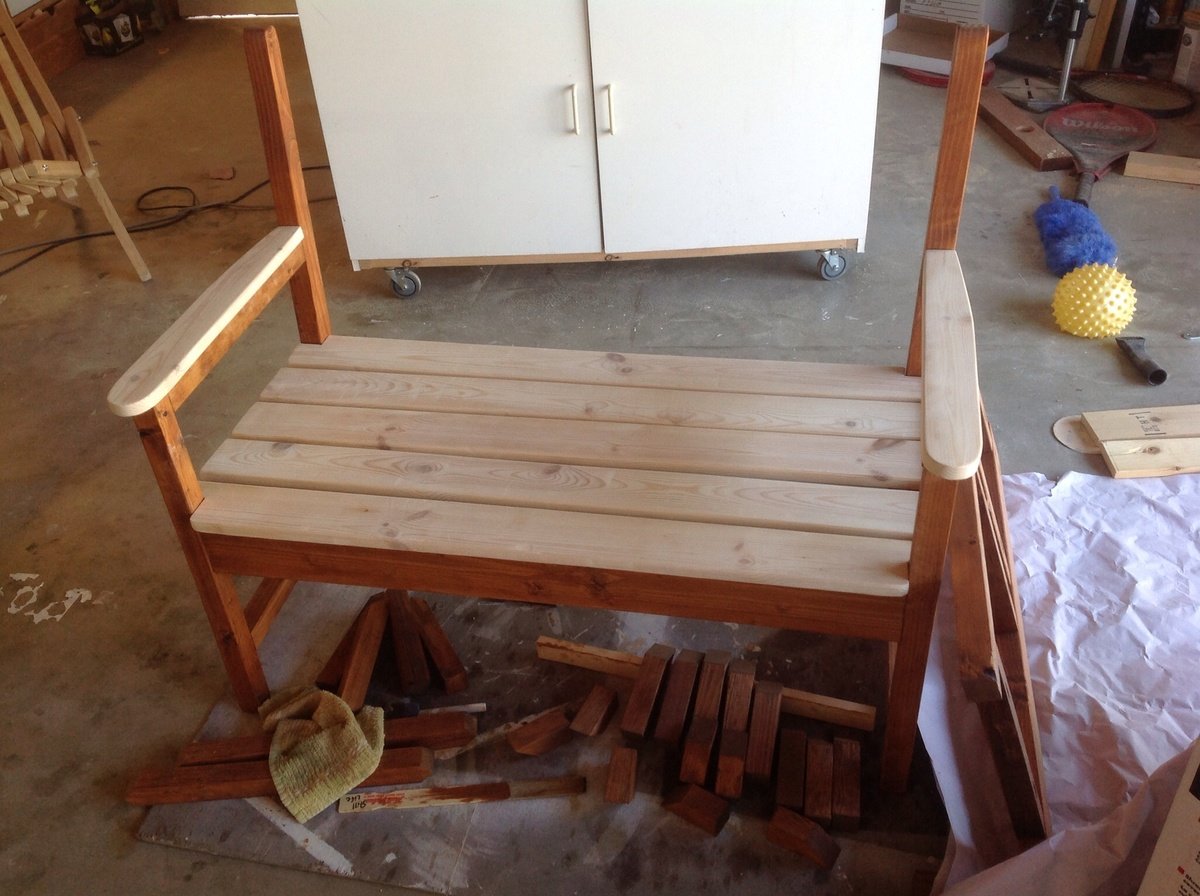
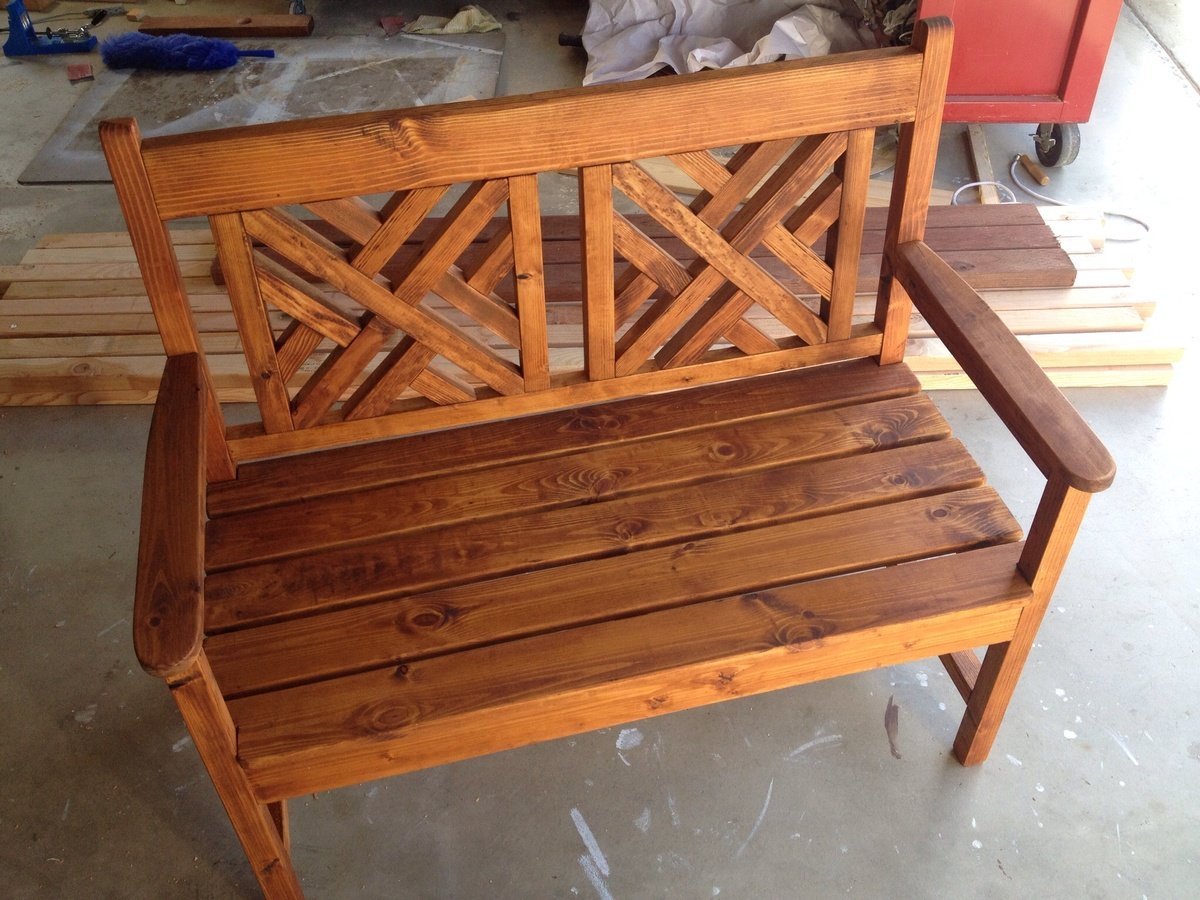
This was my first furniture build & the plans were a great help. Learned a lot along the way, made a few minor changes (1x4 on front of seat gives a little overhang) & had a lot of fun with the project. Our 2 kids are equally proud.
Sat, 10/05/2013 - 19:08
This is beautiful! So jealous it's your 1st project!!
Made this for my granddaughter Reagan's American Girl doll. I made the bed and my wife made the sheets and blanket and pillow. Your plans were awesome!