Pony Wall Workbench
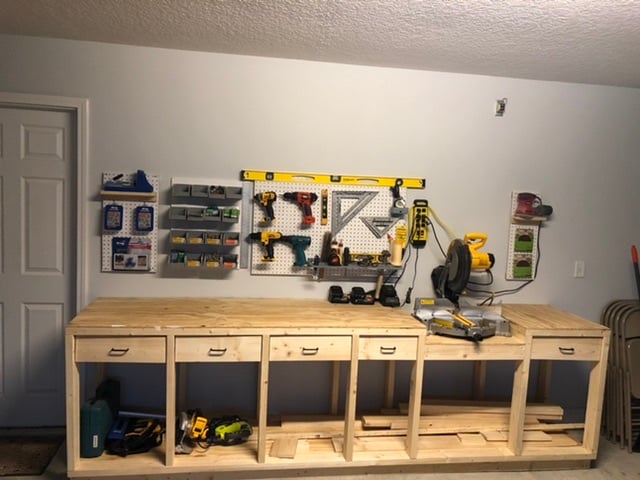
Had to size the project done to fit my garage wall.
Left the sides open to use as storage for wood.
Overall Everything worked out, love it!

Had to size the project done to fit my garage wall.
Left the sides open to use as storage for wood.
Overall Everything worked out, love it!

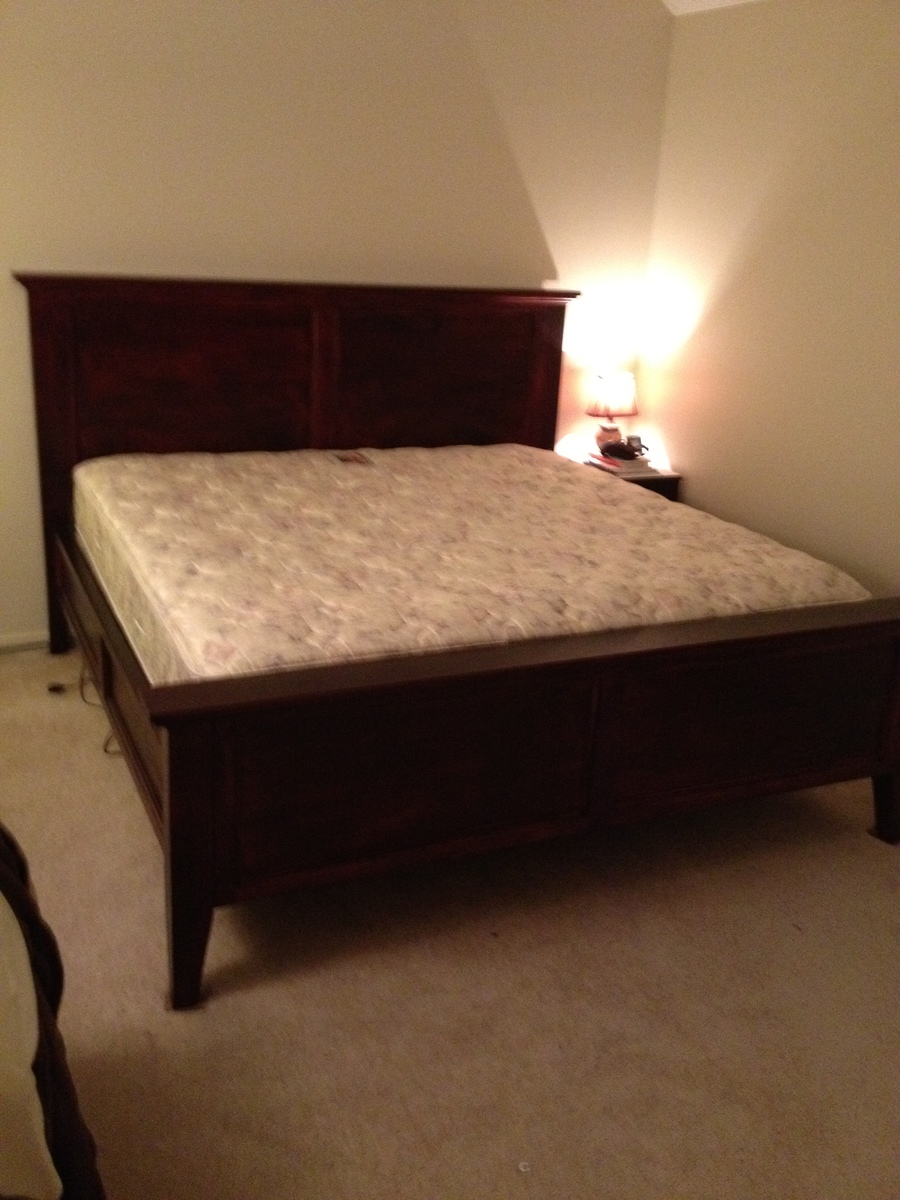
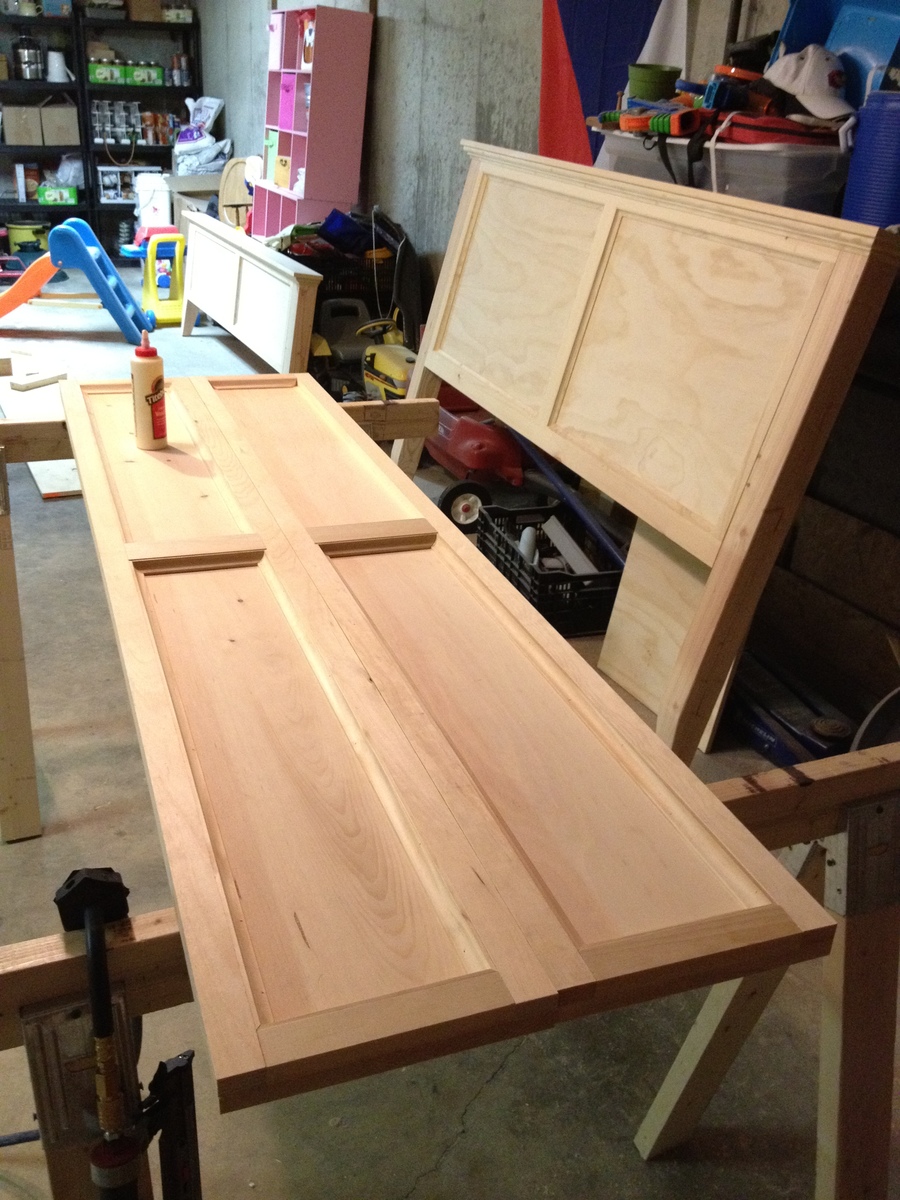
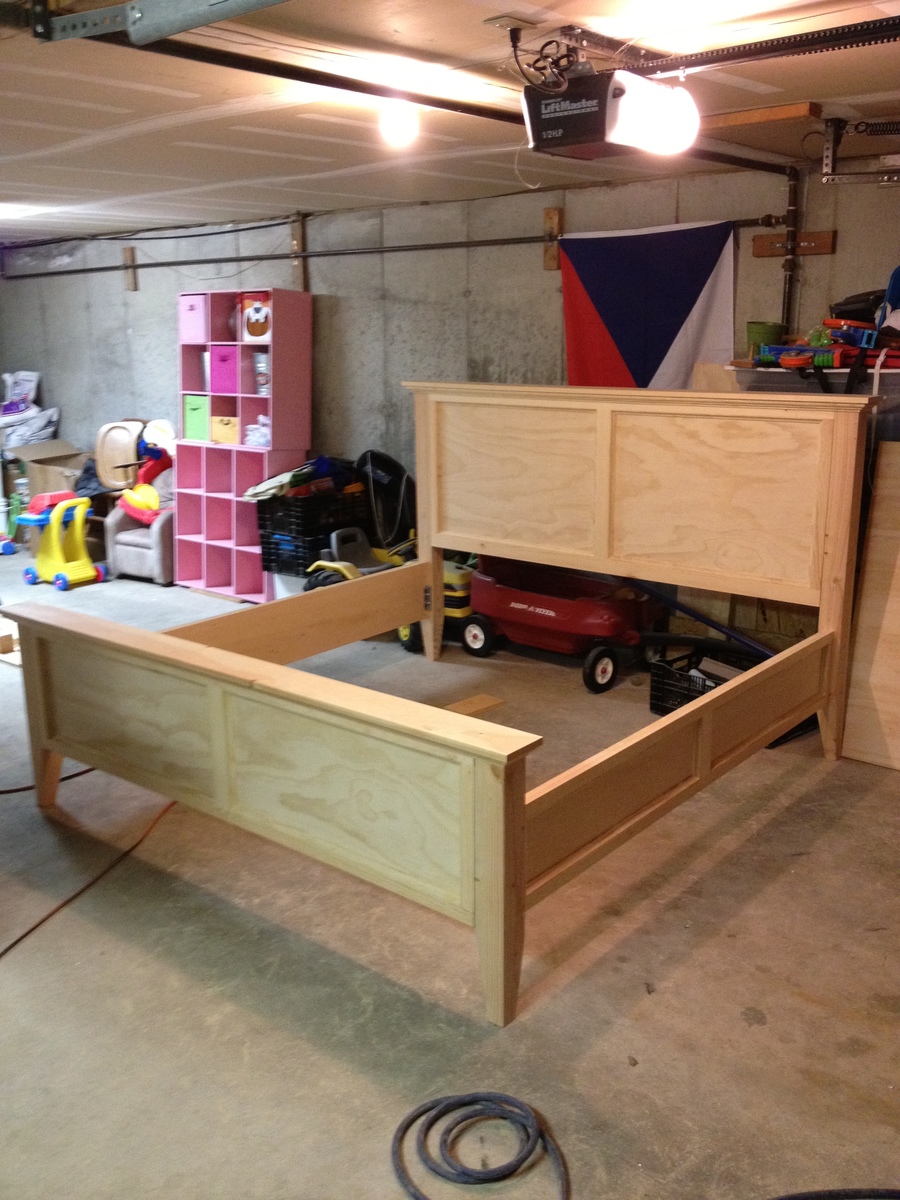
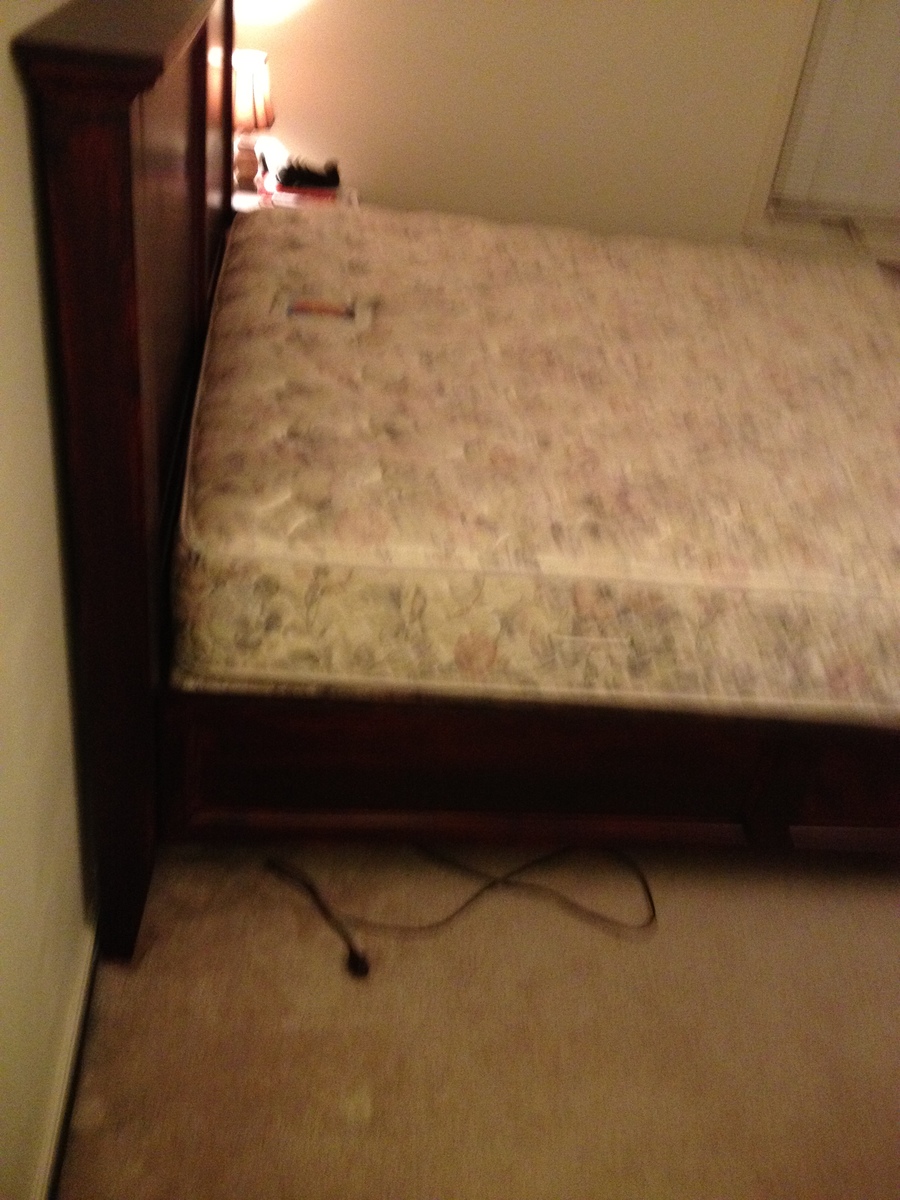
Modern farmhouse bed for our cottage.
I pulled most of my ideas for this from the Farmhouse Bed and some of the modified brag posts. It's all pine - I didn't want to spend the extra for something harder, but it's triple finished, so that should help with durability.
Tue, 08/07/2012 - 06:46
What a beautiful build! Please modify your post so that there is a main picture for all to see on the home page.
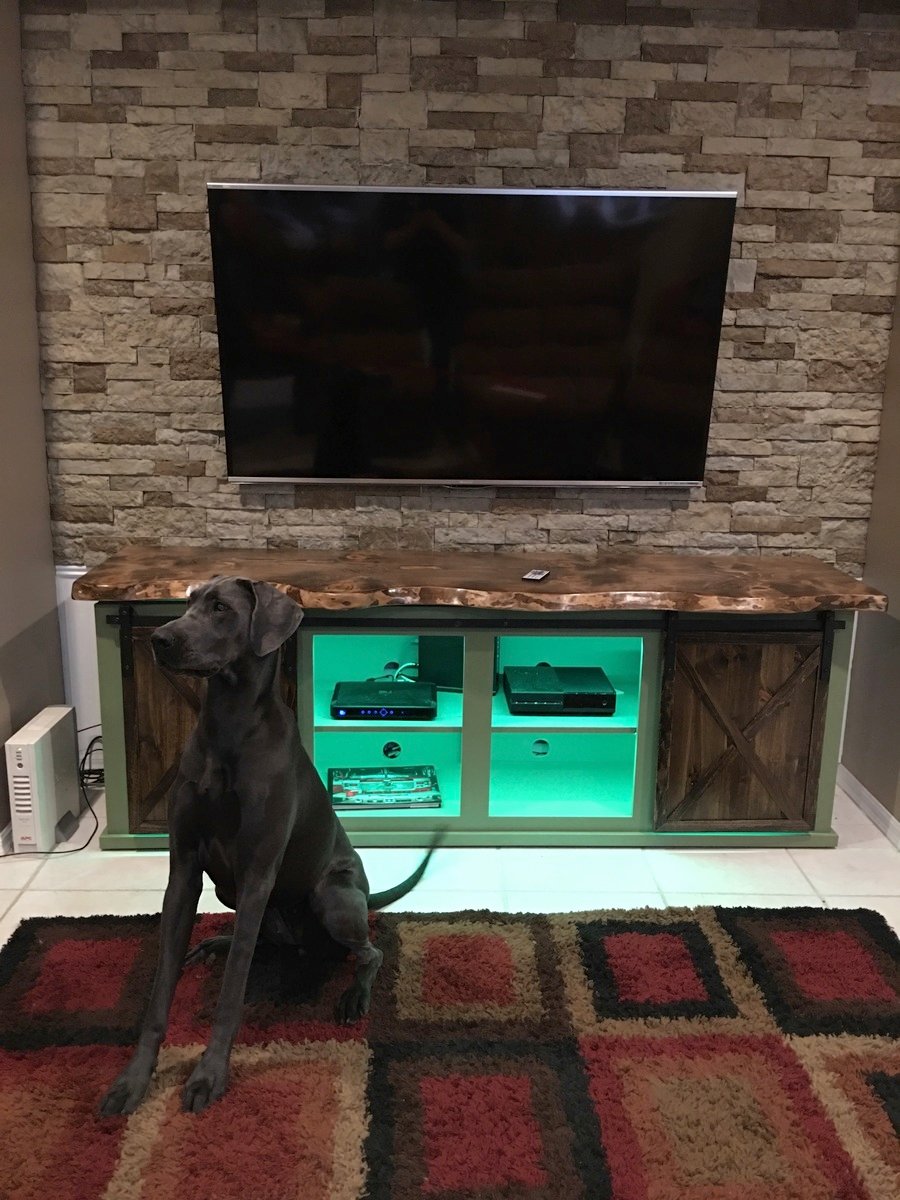
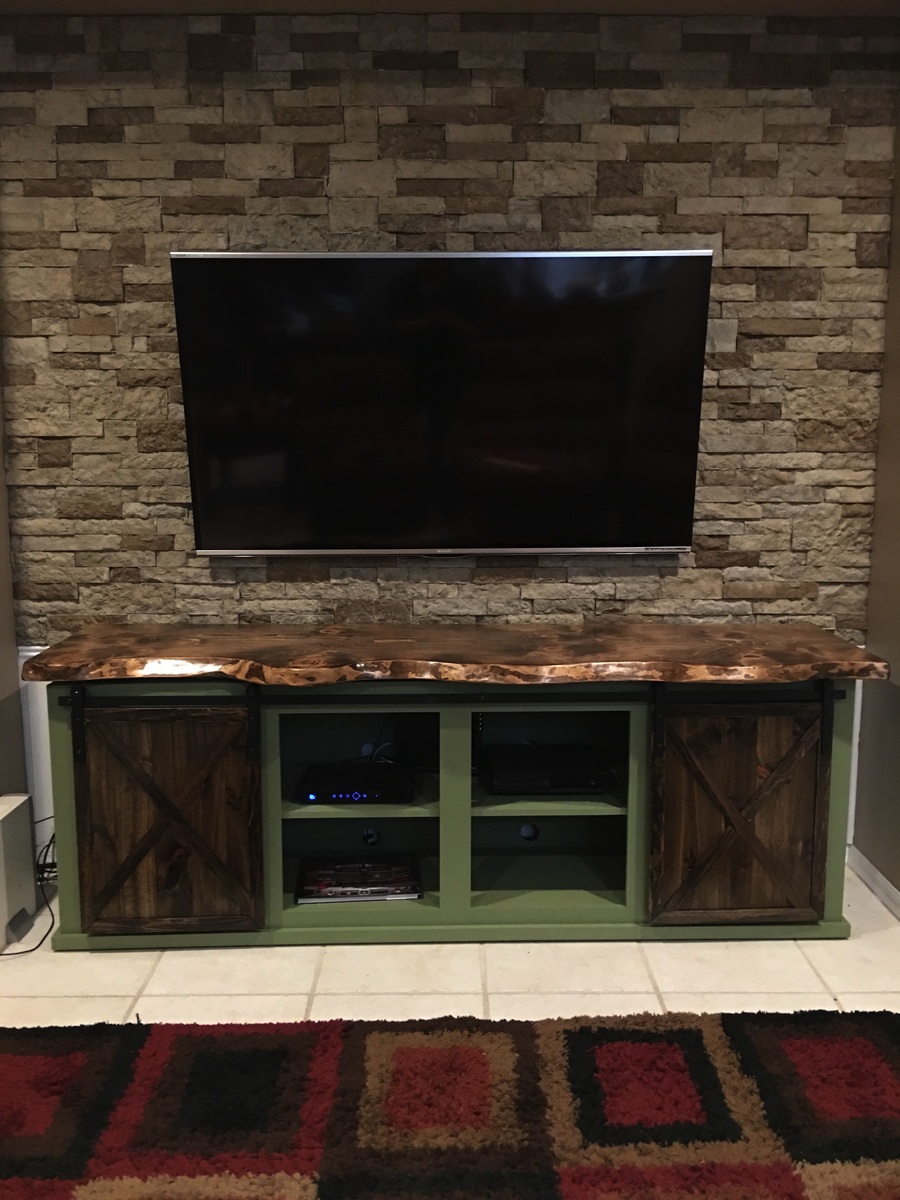
My wife and I were originally going to build a different plan from Ana, but she wanted to have hanging barn doors and we found this and said PERFECT! I tweaked the plans a little for the height as it would be too close to tv (where will I put my turntable?! :P ) and started to build. Built it from all pine. The structure wasnt too bad and went together wonderful. Painted it up with an exterior grade paint for durability, but didnt like how easy it would actually marr so I hit with three coats of spray polycrilic from minwax.
Due to time constraints and traveling every weekend, this took us all of a better part of 5 weeks to complete.
Made all the track from McMaster aluminum, some amazon pulleys for wheels, and some shoulder bolts w/ locknuts. This prevents from overtorquing the nuts down and binding the wheels :)
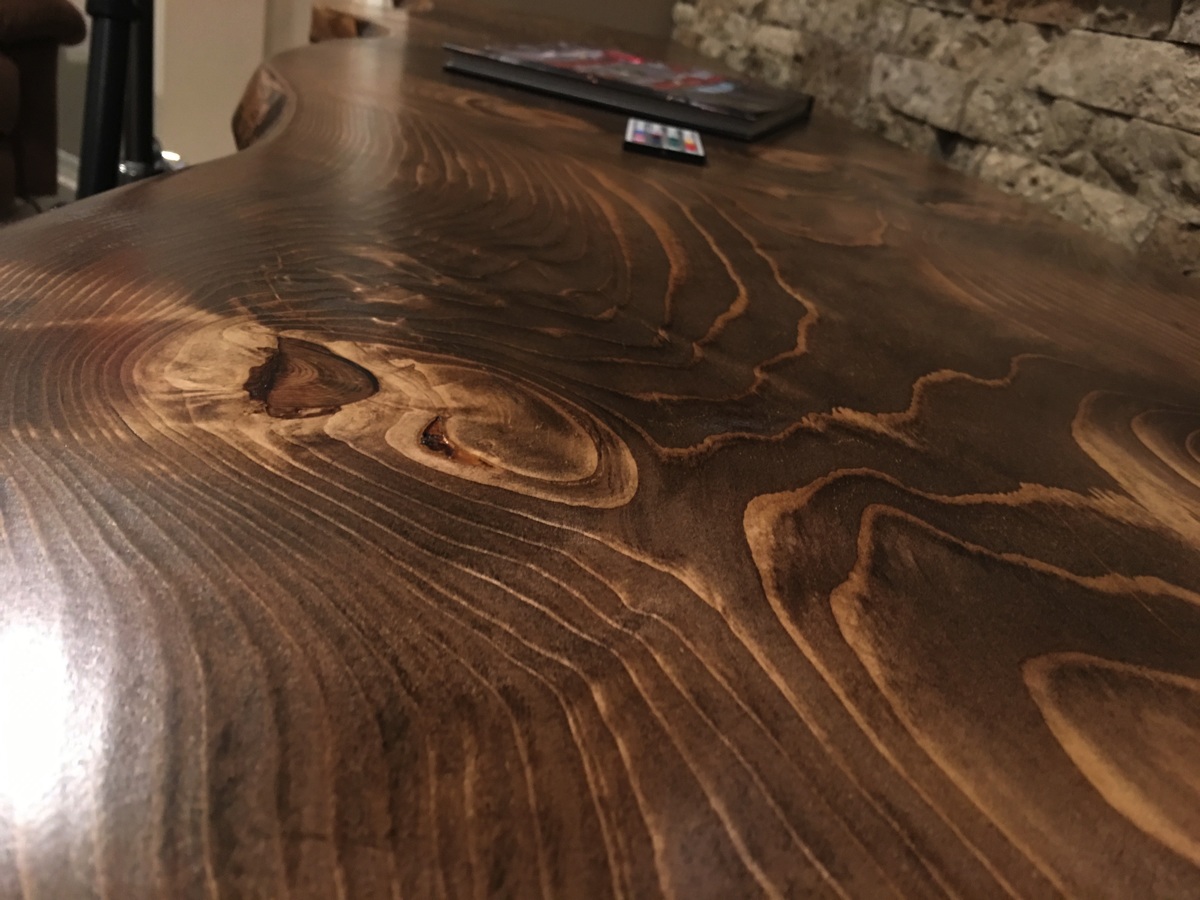
The TOP is my favorite part! I ordered a 13' piece of live edge pine slab w/ bark on from a mill in Ohio shipped to Florida, and had them rip it to my 92.5" length and the width I wanted for the top. Once I received I filled all the cracks/voids/knots with West Systems 2 part epoy, then sanded the entire unit from 80, 120, 220 grit. I used a belt sander to rip off any bark I couldnt pry off. Then some pre-stain, a very quick wiped off coat of Minwax Espresso, and 3 coats of spray on satin polyurethane (only 2 on bottom). Came out BEAUTIFUL!
Bought some TE brand LED light kit (5m) on amazon for $18 shipped and super glued to the shelf. Had to put a 0.50" hole on one side toward the front to pass the light string thru, and used electrical tape to black out the lights running vertical in the corner. They are also programmable and color changing.
Table top is 92.5" long
Unit is 88.5" long
Beautiful piece that people have been raving about.
Thanks Ana for the plans!
Thu, 09/22/2016 - 11:30
also, this table is 92.5" wide. Thats a 70" TV and a great dane. Some people have thought its small and didnt realize the tv and dog size lol
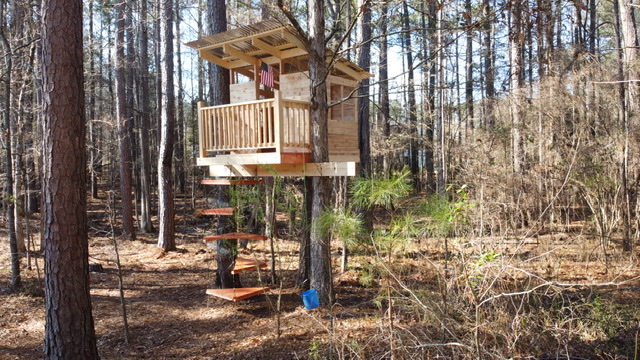
I modified the modern tree house plan and added some safety features for young kids. I did a spiral up ladder enclosed with a mesh net so they can’t fall very far. I also added more siding and put cross bracing in window wells to limit opening size. Finally, a full porch style railing and the main support beams are pinned at one end and have a self designed treehouse sliding bracket to allow for tree movement in the wind.
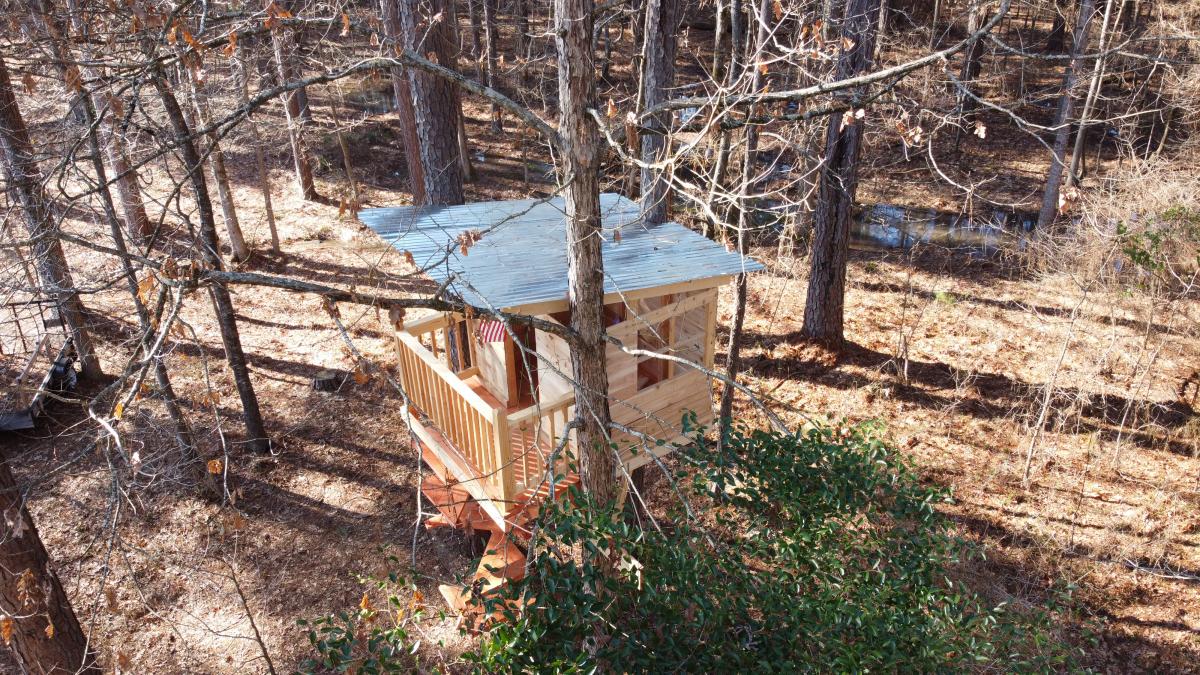
Wed, 11/18/2020 - 11:16
Absolutely love all the features you added! Thanks for sharing:)
Sat, 10/30/2021 - 07:09
Hi! I know this post was forever ago, but this is exactly how I want the treehouse to be for the my kids! I am trying to see if there was anyway you could show me how you did the modifications! I’d be forever grateful!
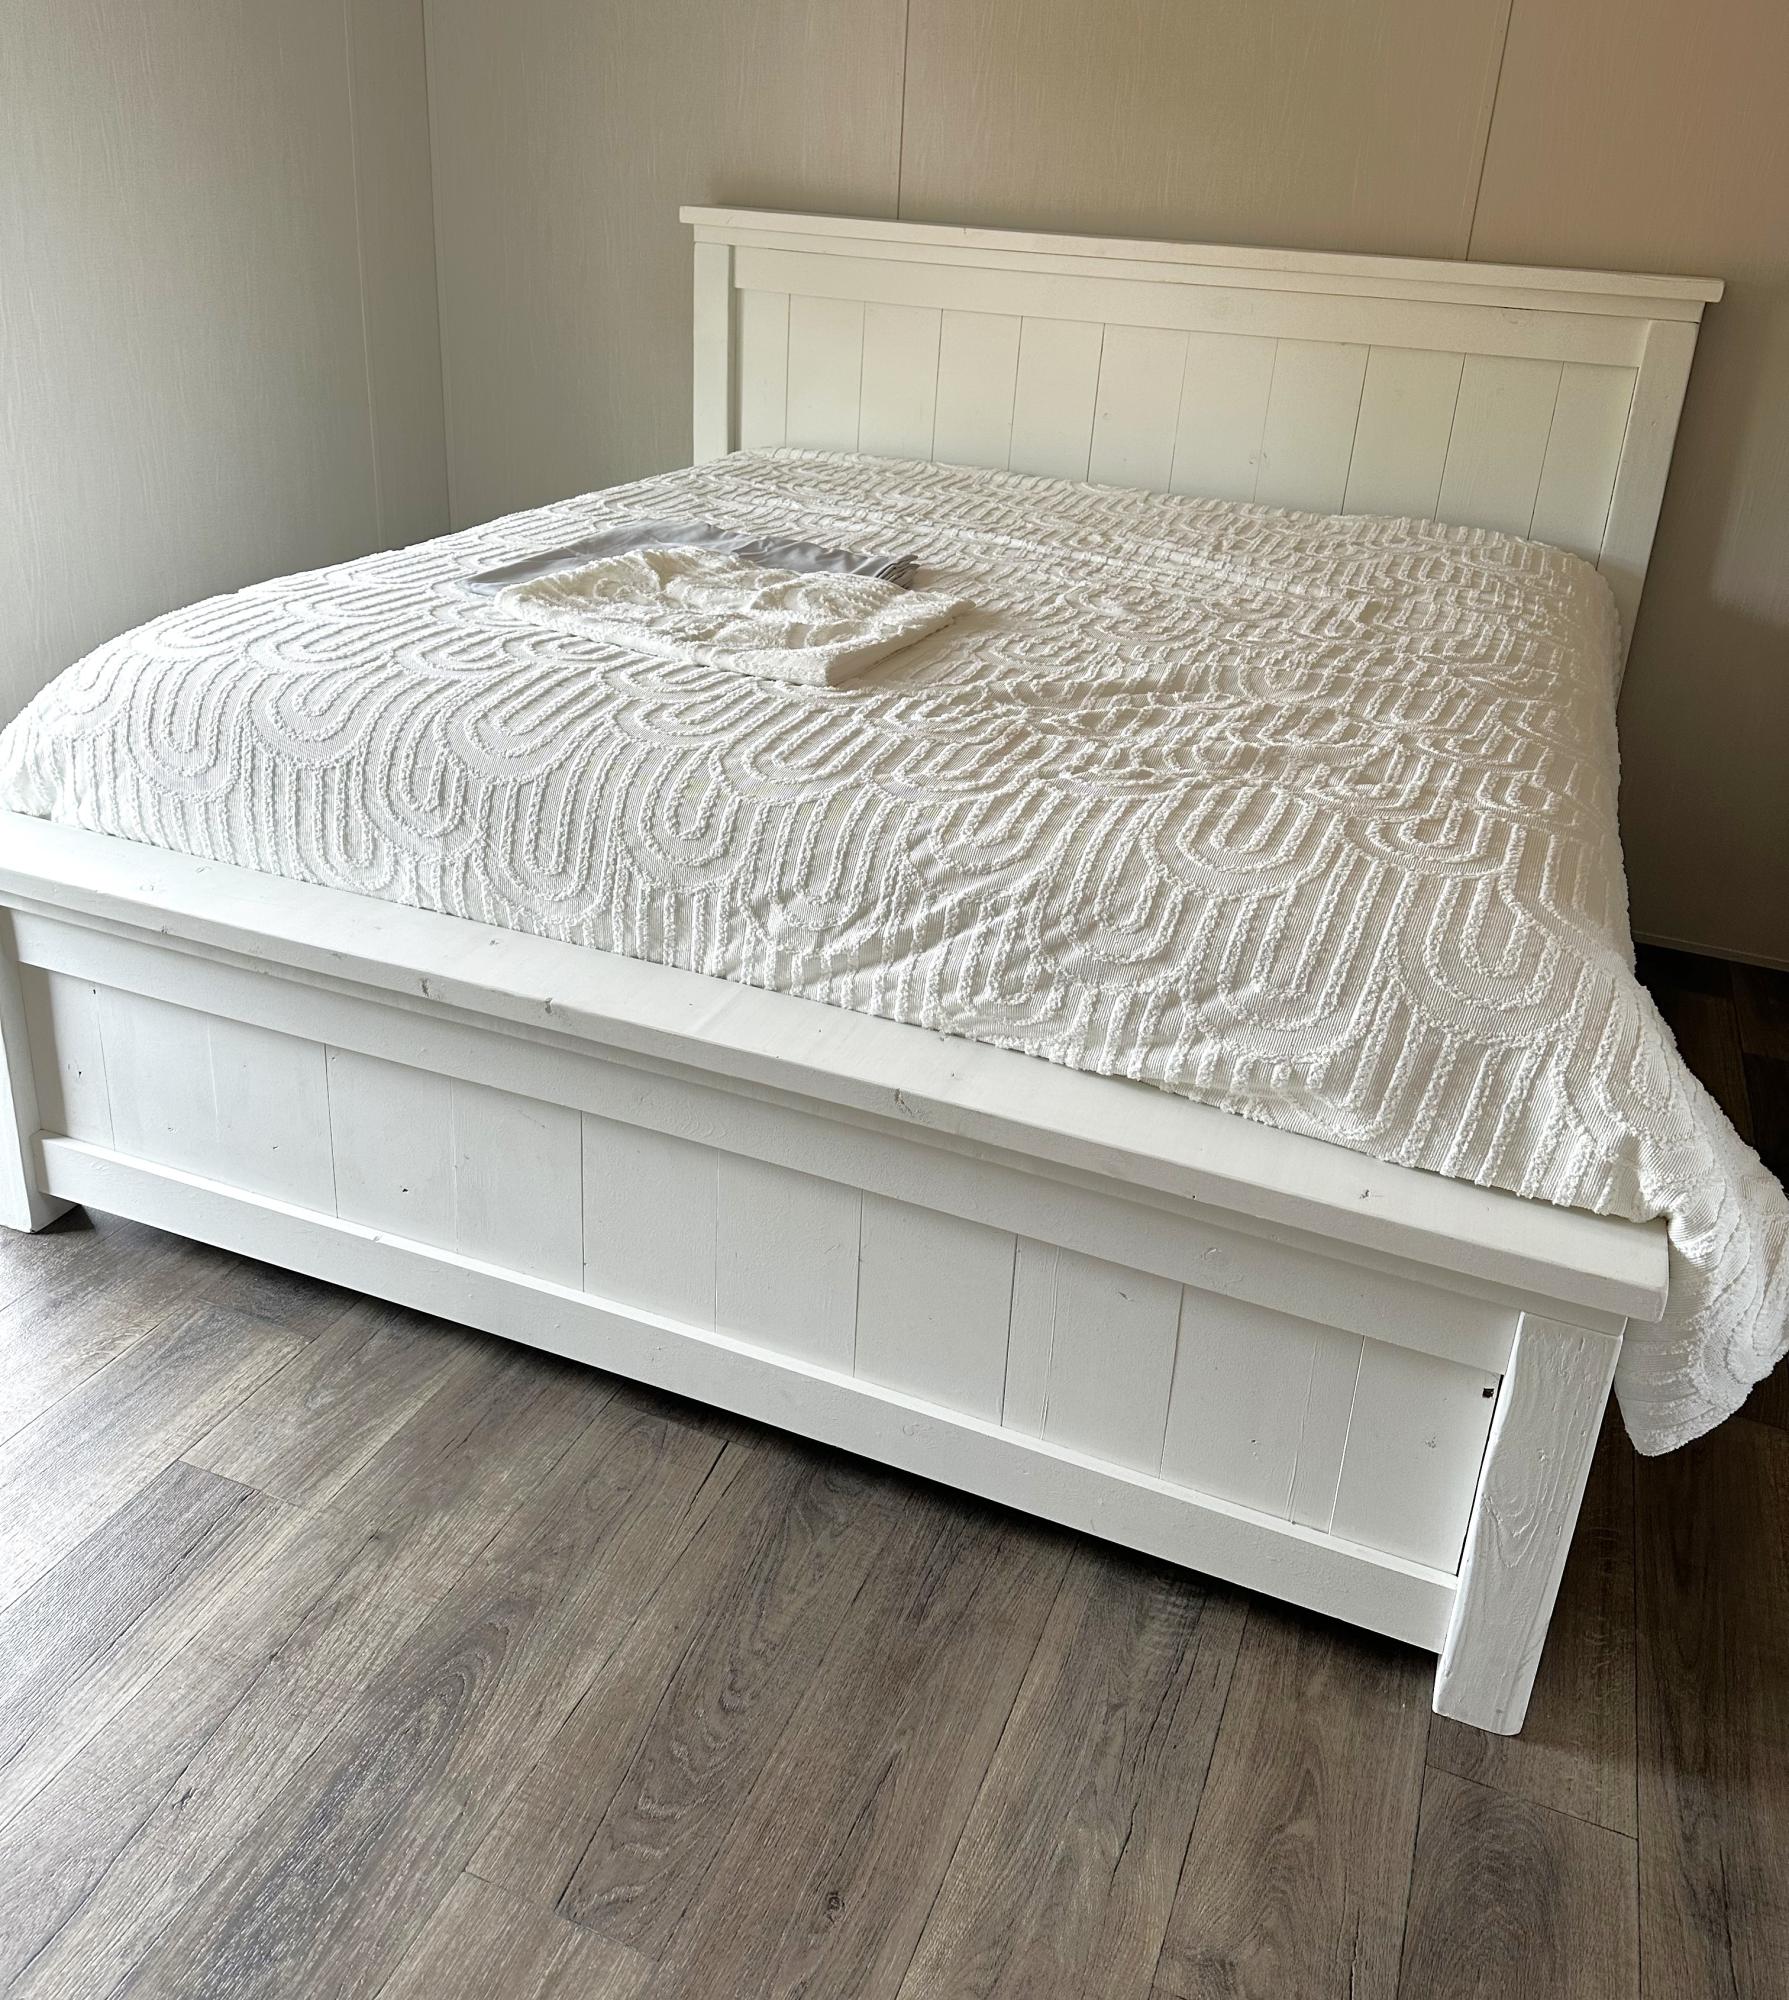
Fancy Farmhouse King Bed
Heather Kay
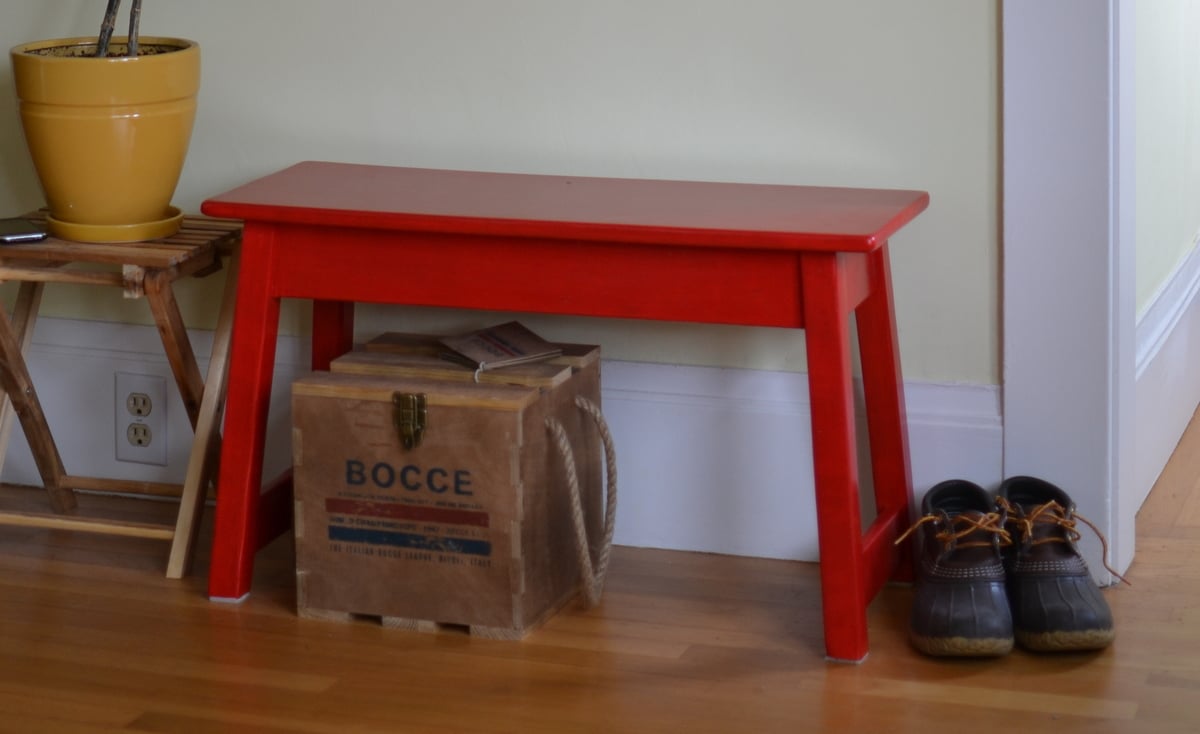
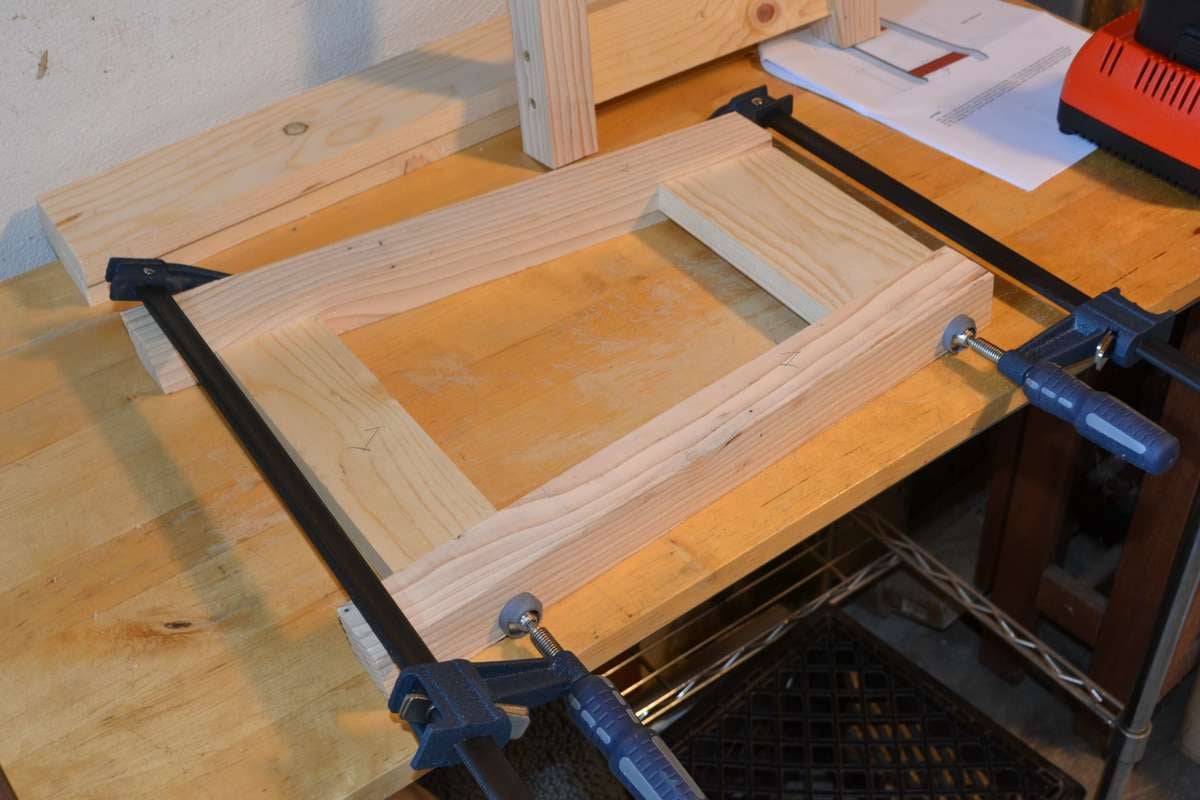
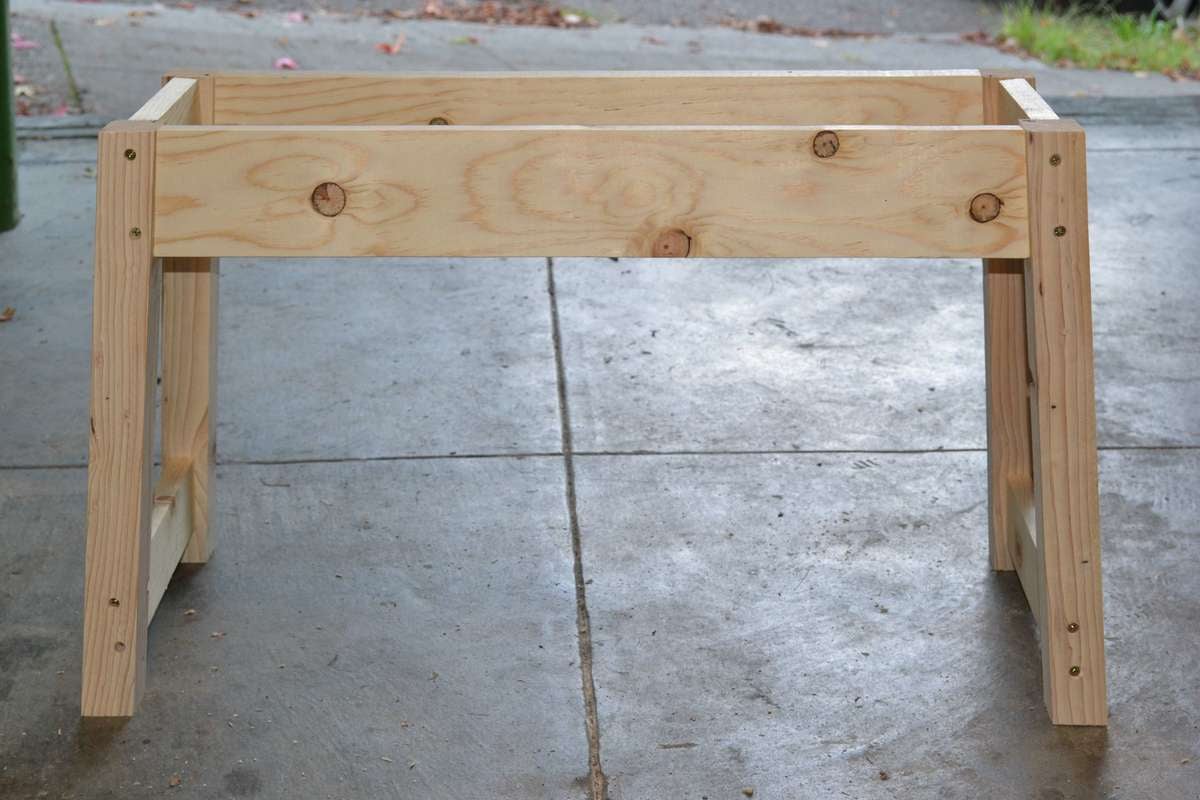
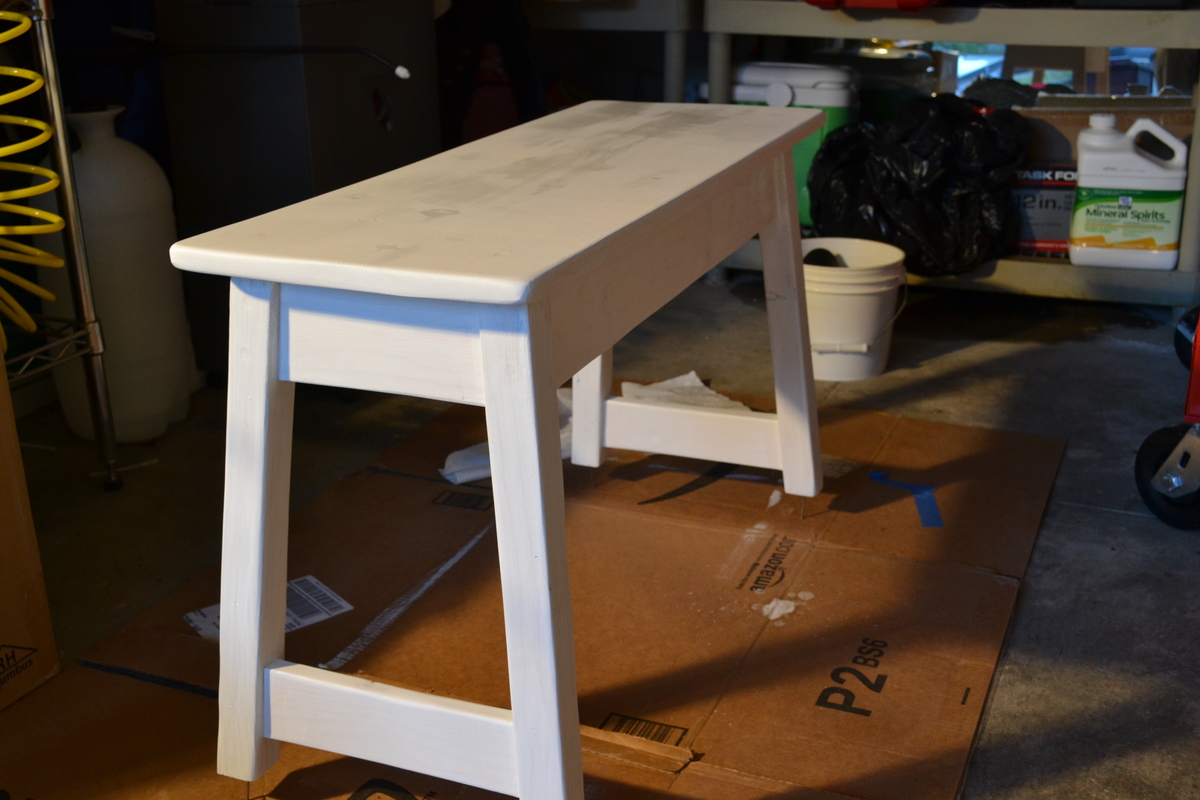
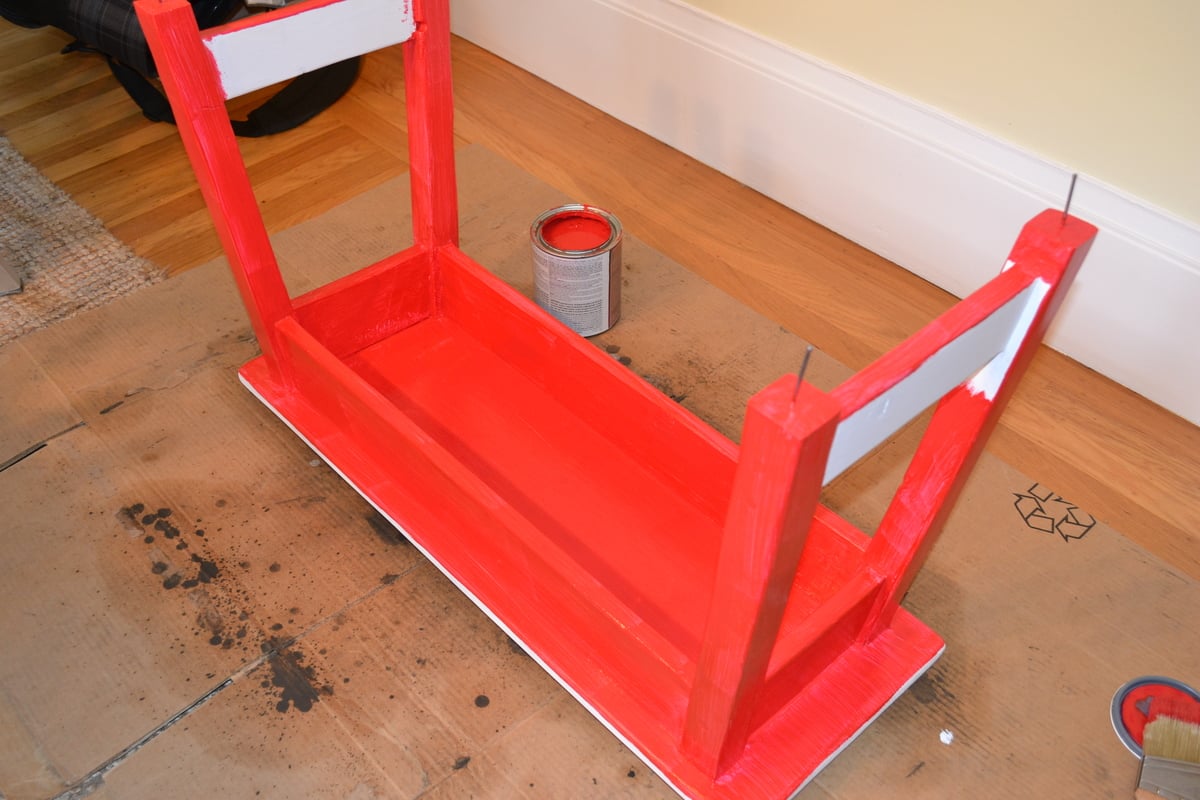
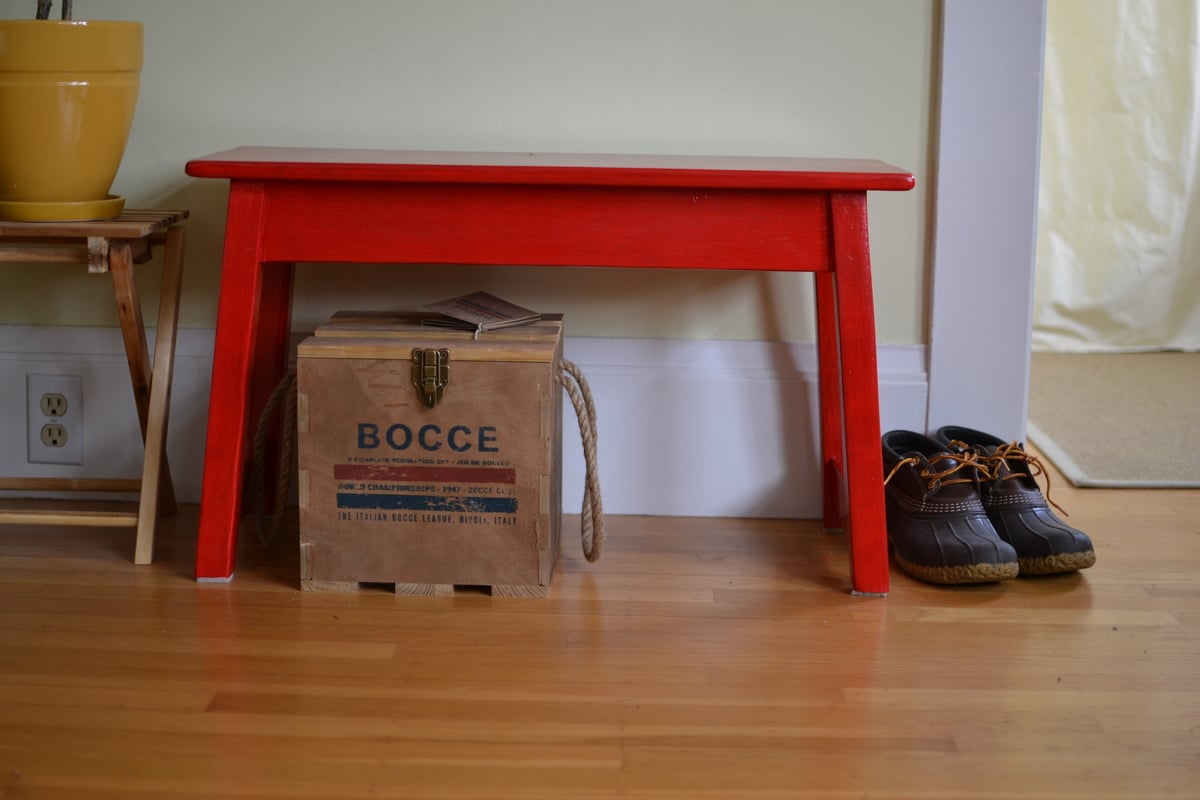
I loved this project as soon as I saw it on Ana's site. I made a few changes to the plans in order to suit my needs and also as an excuse to use my new tools. I left out the cross supports in order to accomodate storage underneath the stool and it still retains exceptional strength without the supports. I also used my new router to round the edges on the top peice to give it a more finished feel. I'm really happy with the results and have made multiple for friends and family, both painted and stained.
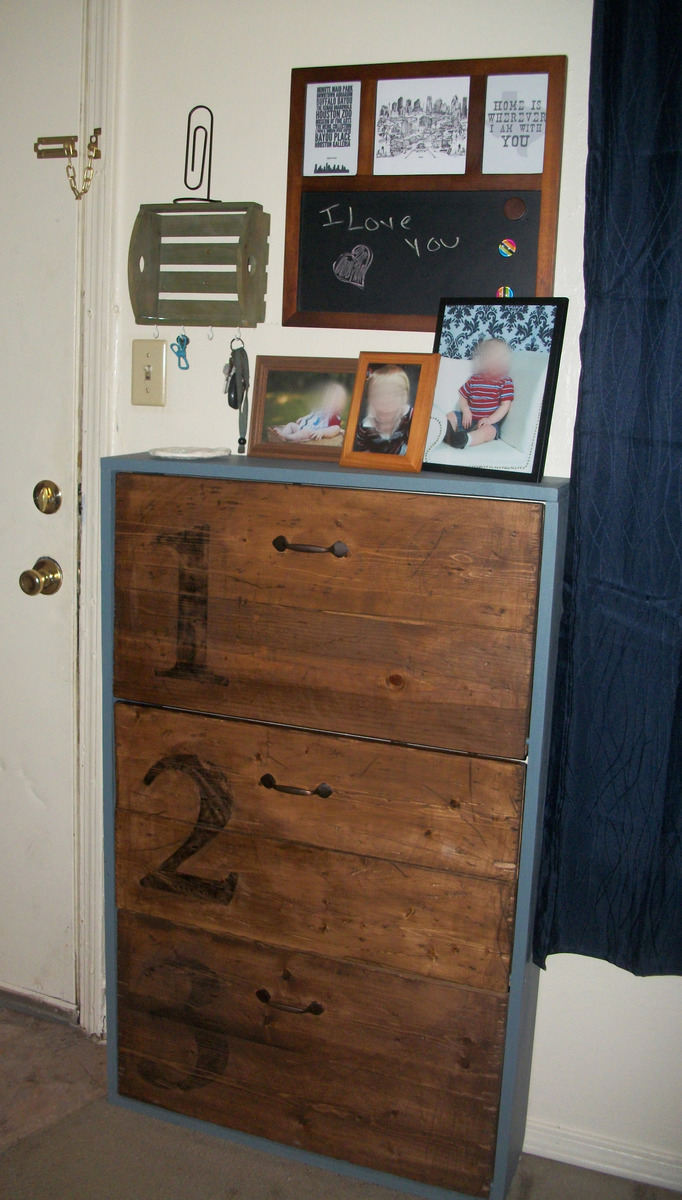
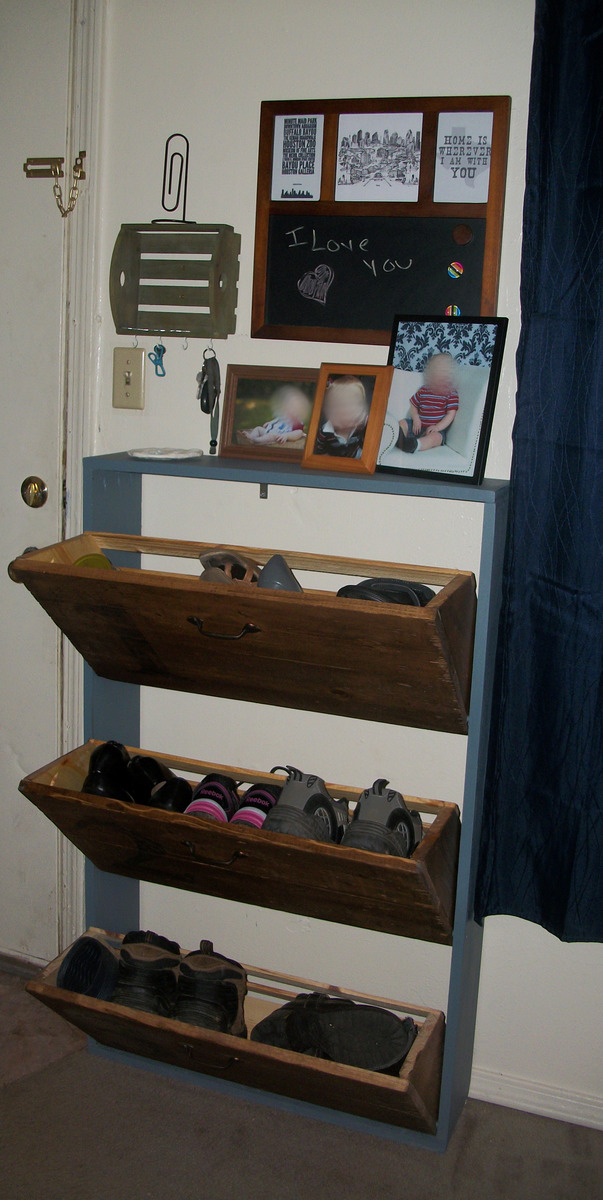
This started off as a project for spring break and ended up taking over two months to finish up (and it's still not completely finished... the third drawer needs to be poly'ed still)! I seriously overestimated how hard it would be to make everything fit right and dh had to help out some making things fit together, the dowel pins and the notches to make the drawers tip out and he made the stencil for the numbers but I pretty much did the rest myself. With a handsaw and a drill. That's it. We didn't have any other power tools at the time. If we had the proper power tools, a babysitter for the weekend and nothing else to do but work on it, I think it could be done in a weekend.
I needed something to fill the awkward narrow space by the door and we needed shoe storage so I modified Ana's plan to make it narrower and added an extra drawer. I was orginally going to put feet on it like the plans call for but we decided we liked it better without. We used a thrift store belt for the drawer catches that keep it from tipping all the way out. It is braced to the studs in the wall with corner braces. Everyone comments on it when they see it and we've had several people ask if we could make them one!

I have been looking for shelves to add to my bathroom however nothing stood out. The leaning bathroom shelf was the project that I needed! I changed the plans to fit the area and it looks great!
Pop of color ✔️
Knit storage baskets ✔️
One of a kind hand drawing from Paris ✔️
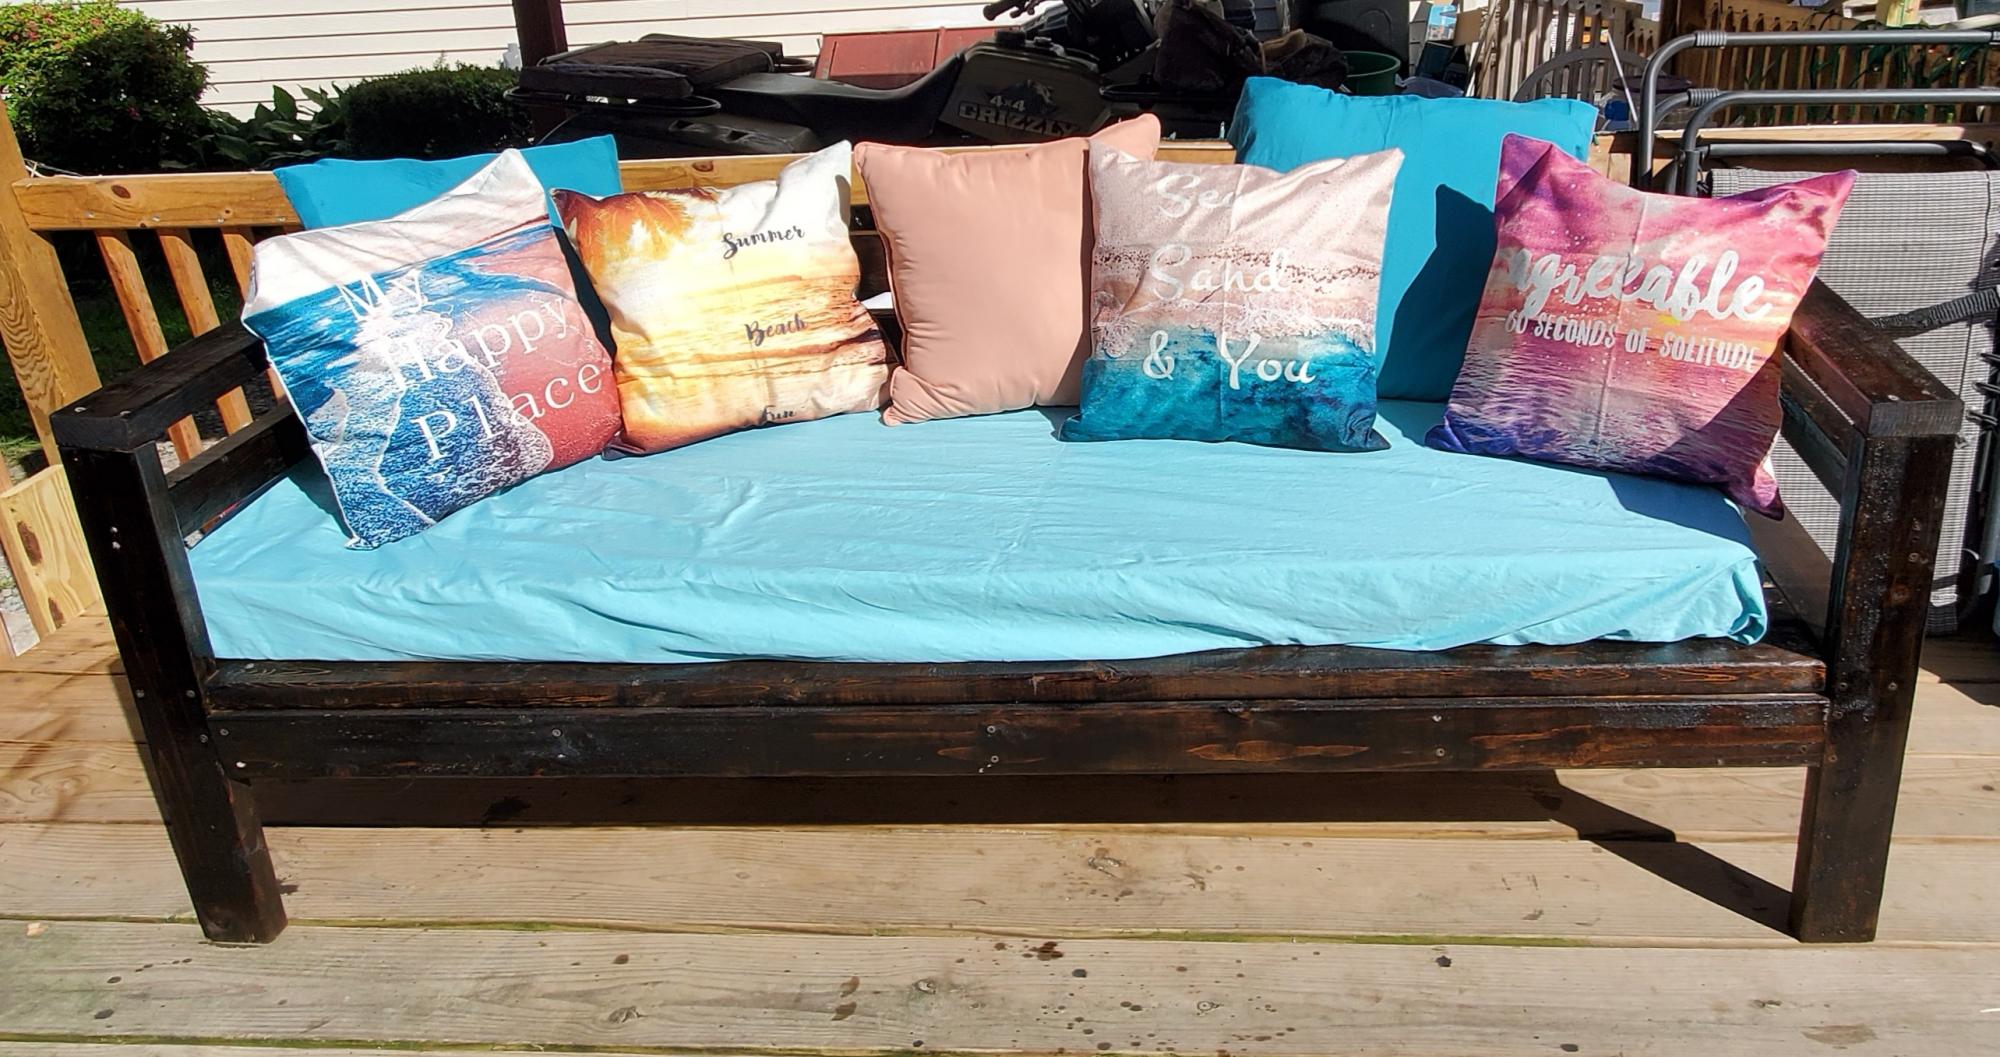
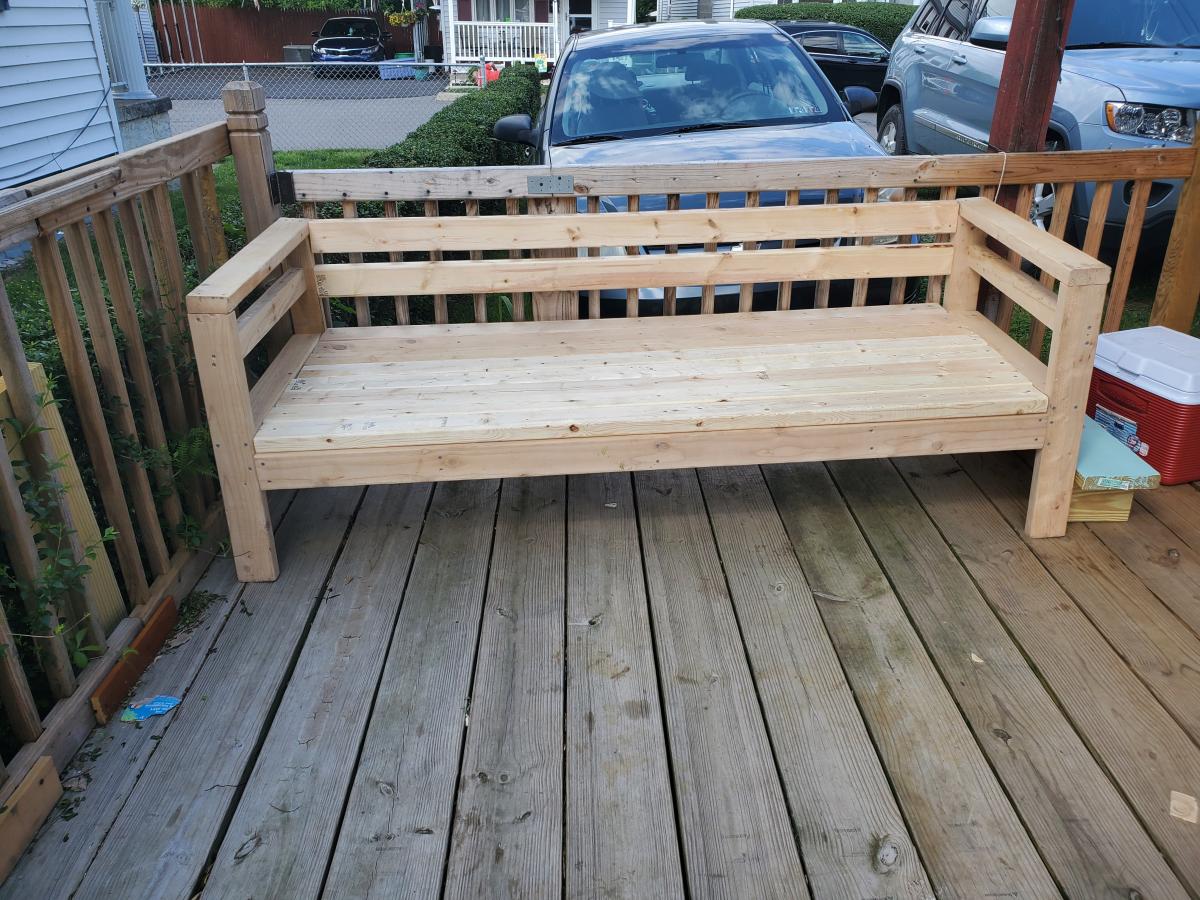
My first big project. I'm pretty proud of it. I followed the plans for Ana's 2x4 couch.
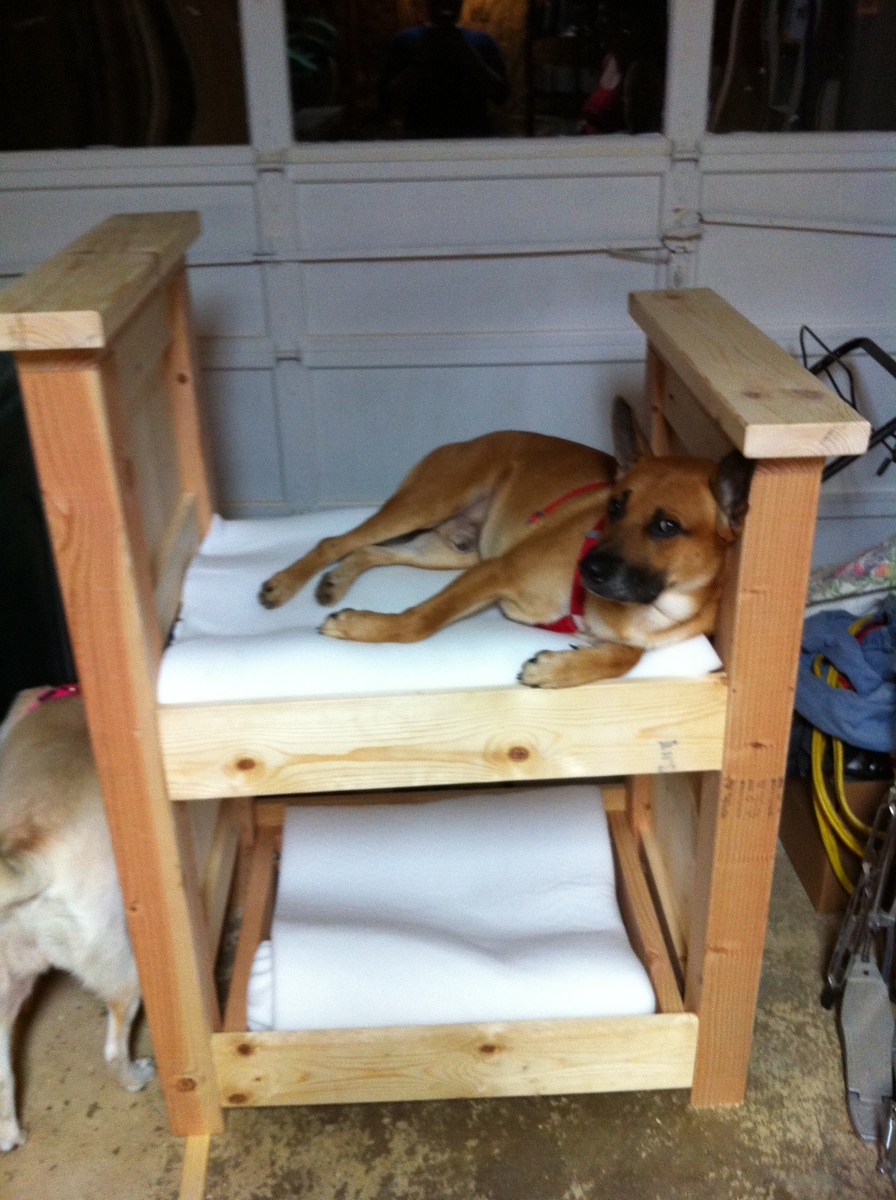
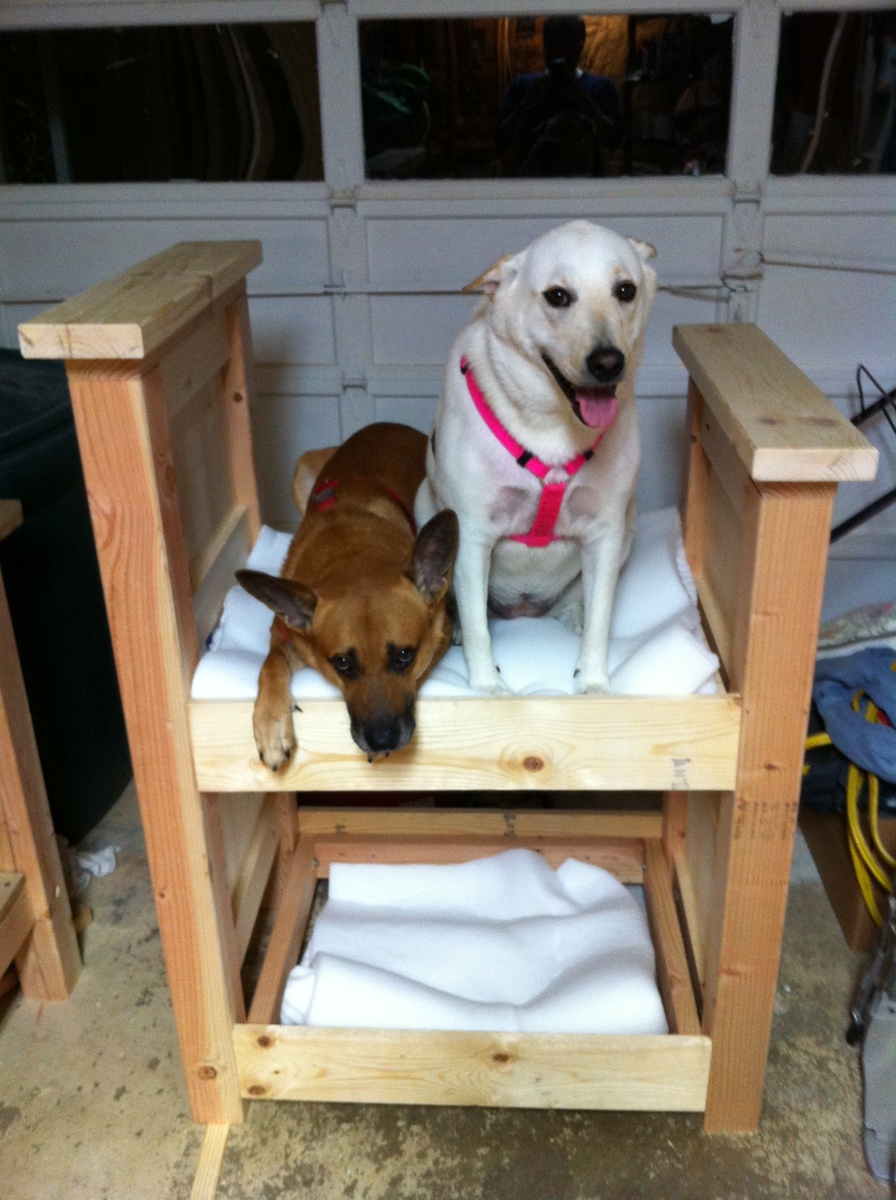
I built this dog bunk bed based on the queen farmhouse bed. As you can see the dogs are already fighting over the top bunk. This bed is very very sturdy and should give many years of use. Yes I spoil my dogs.
Tue, 08/14/2012 - 17:23
Can you tell they're already fighting over the top bunk! I'm debating on painting it white. I like the natural look though. Thanks for the comment! :)
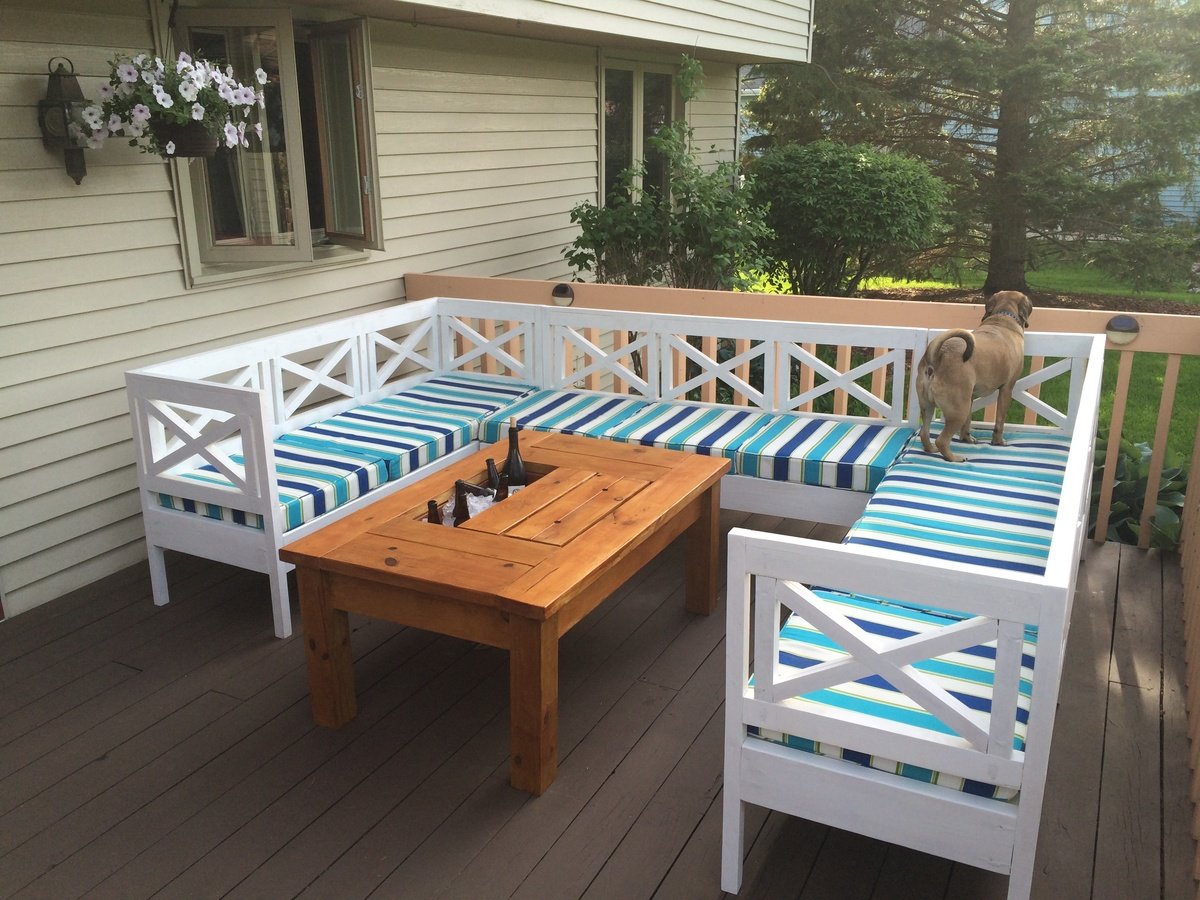
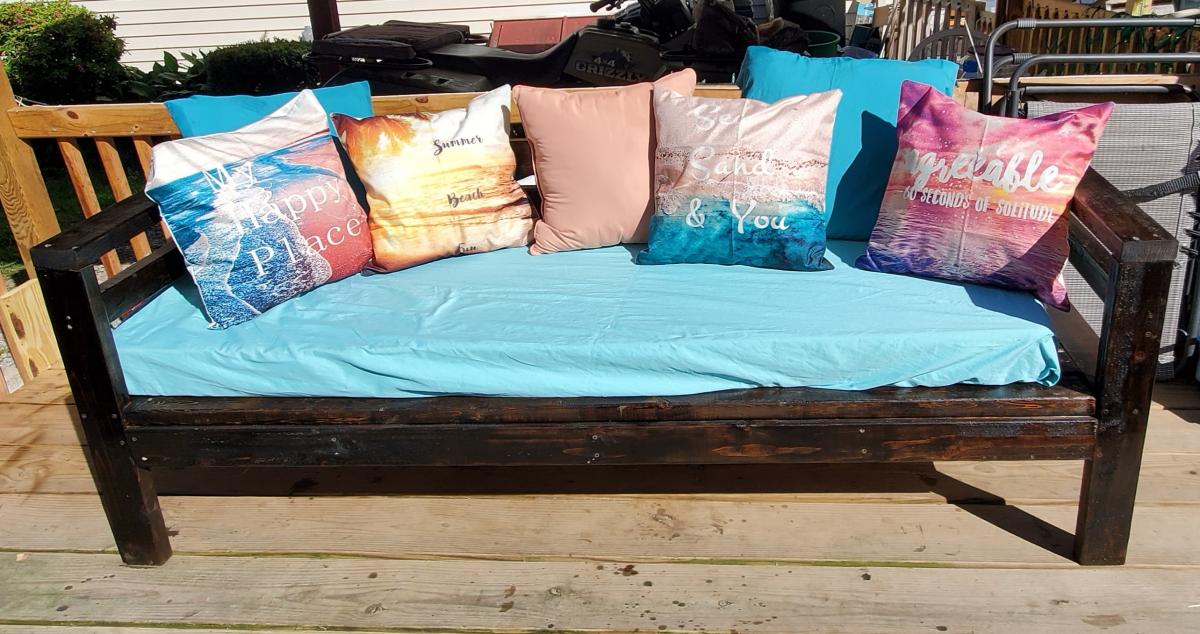
For whatever reason, right before spring, Pier One had these $45 cushions on clearance for $11.13. It took us trips to 4 different stores to collect all the cushions, but we had a new patio set for our new house (minus the sofas). As such, I modified Ana's plans to accommodate the smaller size of the cushions (22x22). Then, I used the savings from the cushions to justify buying a new table saw. It took a while to buy and cut all the lumber, kreg-jig everything together, fill all the holes, sand, seal all the wood, etc., but the work was well worth it. Nearing completion of this project, I built the pictured modified cooler coffee table to ensure that no guest ever has to get up from their seat for any reason during a summer barbeque.
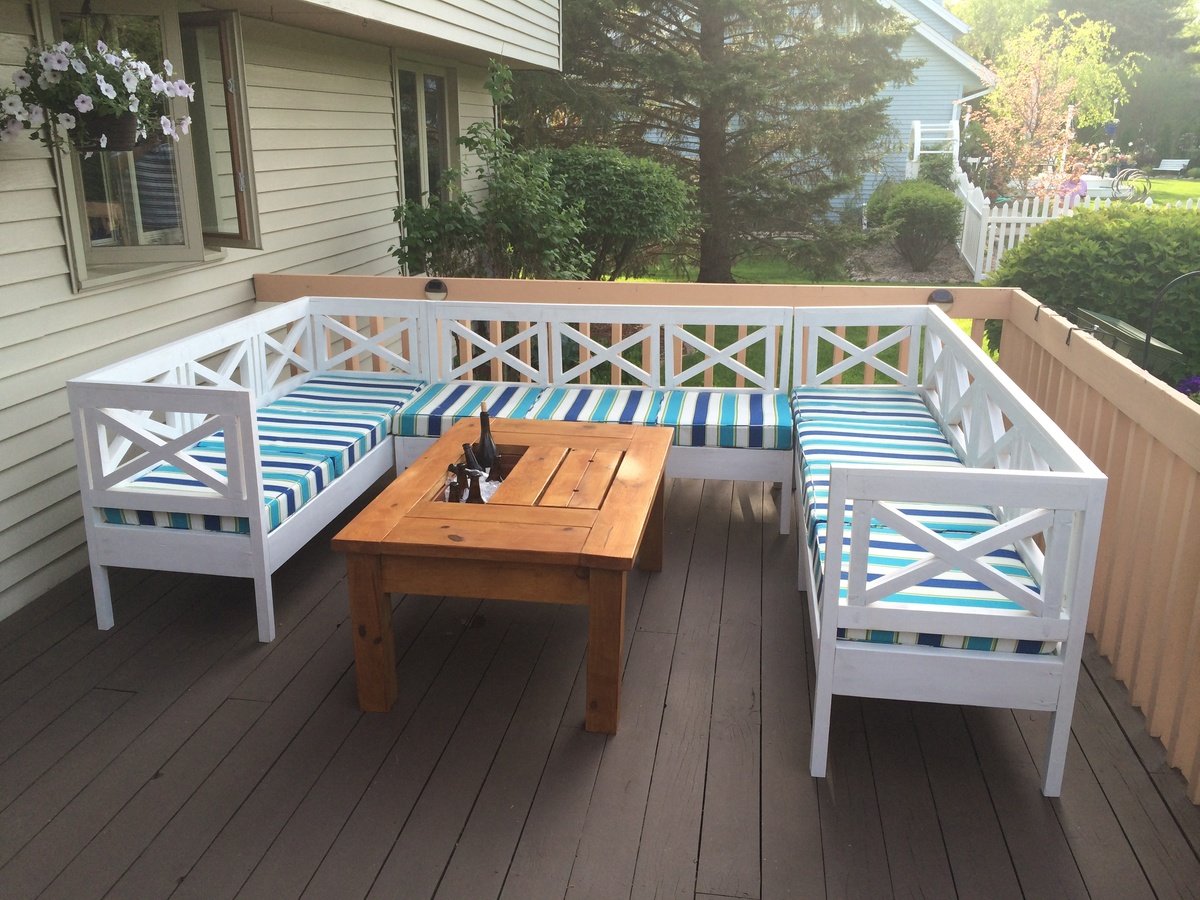
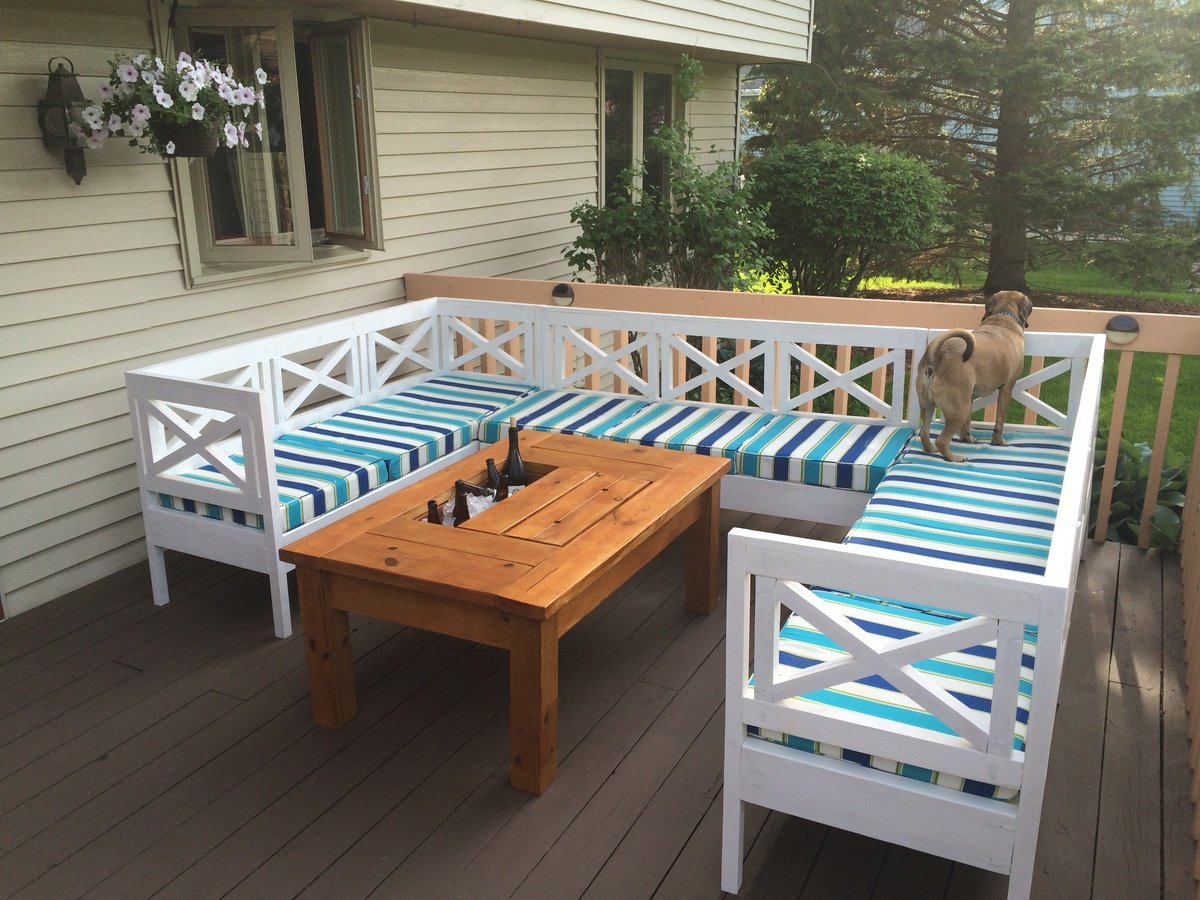
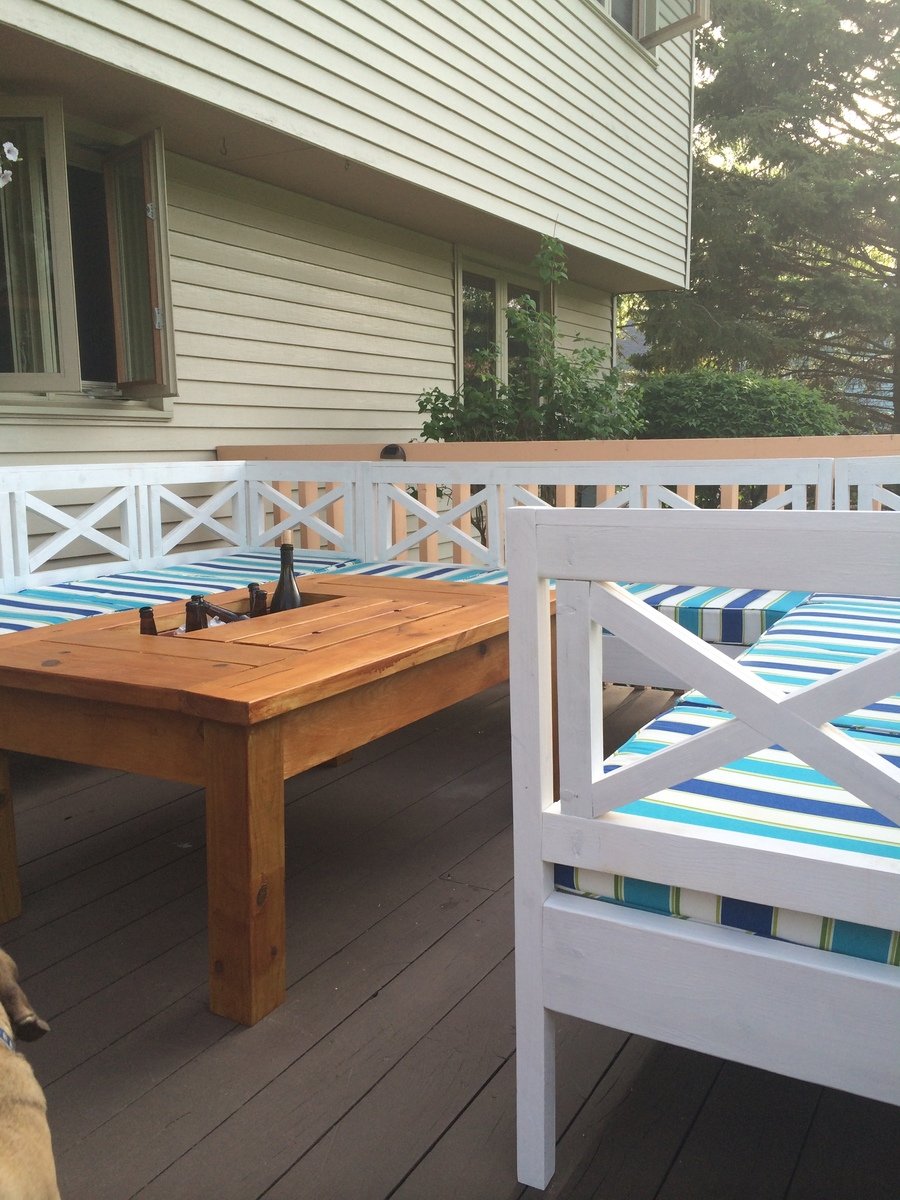
Tue, 06/10/2014 - 08:01
Thanks ILoveDIYing! It's funny because I noticed the modified rectangles daybed project that you posted last night, and based on your awesome job, I wondered to myself whether I tackled the right project. All the "X" cuts on the back of the weatherly couch get a little tedious, but it is well worth it after you finish. One piece of advice (which I picked up from other commenters) if you do build the weatherly (which I forgot to mention above) is to create a slight slope for slats underneath the seat cushions from front to back. Otherwise, the couch is a little too upright for comfort.
Tue, 07/15/2014 - 02:07
I actually built (2) 45" love seats similar to this design, a 90" daybed with same backrest design and a two-seat bench with table in between to create an outdoor sectional... Would love to share the pics but I don't see a way to attach the file?
Tue, 07/15/2014 - 02:10
I couldn't see how to add pics for brags so I made my profile pic the pic of the sectional I wanted to share... If I'm missing something on how to share the project pics can someone, heeeelp lol
Wed, 07/16/2014 - 13:40
Jose, from the small picture you posted, your new white weatherly's look great! To post a brag, way down on the right-hand column, near your account info, there is a link to "Contribute a brag post." When you follow the link, there is a form that allows you to enter info about the project, link to the plans, attach photos, etc. Good luck!
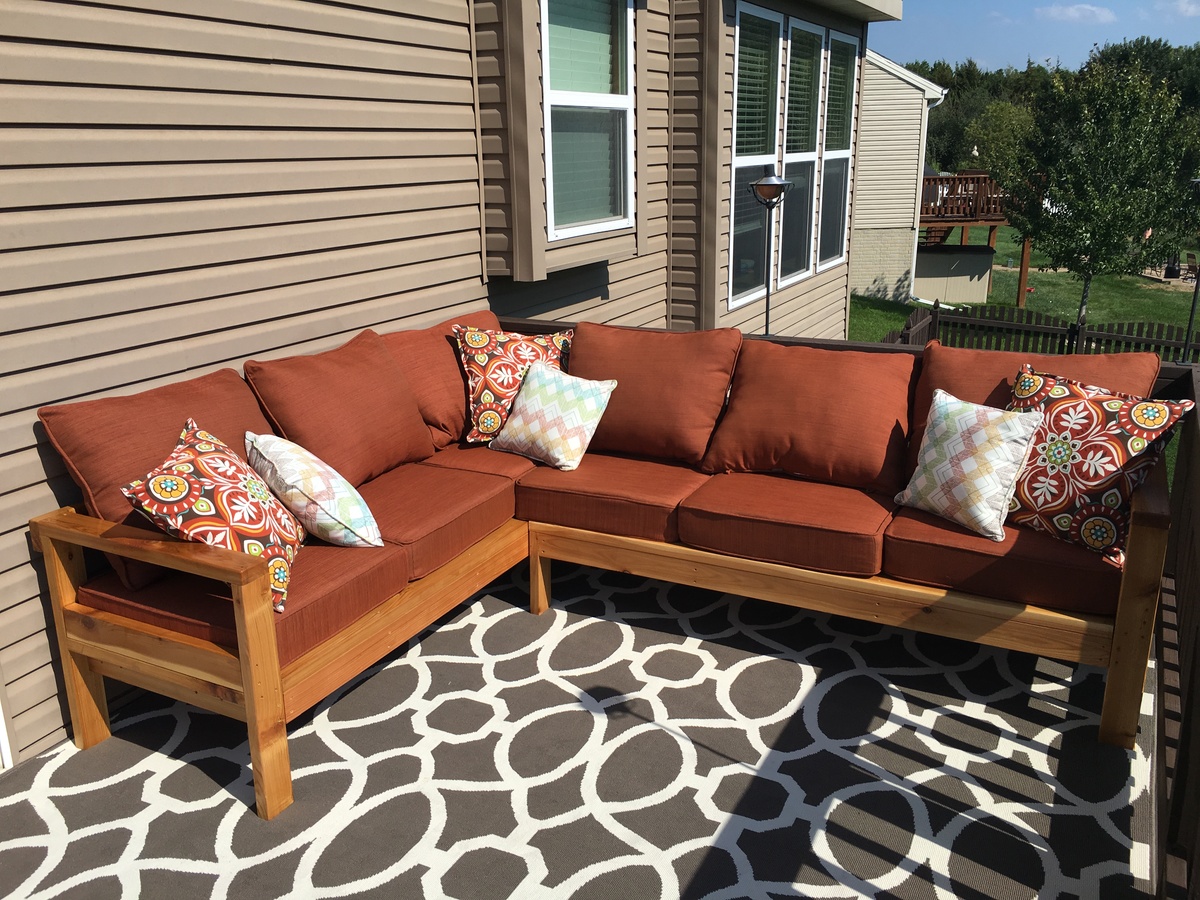
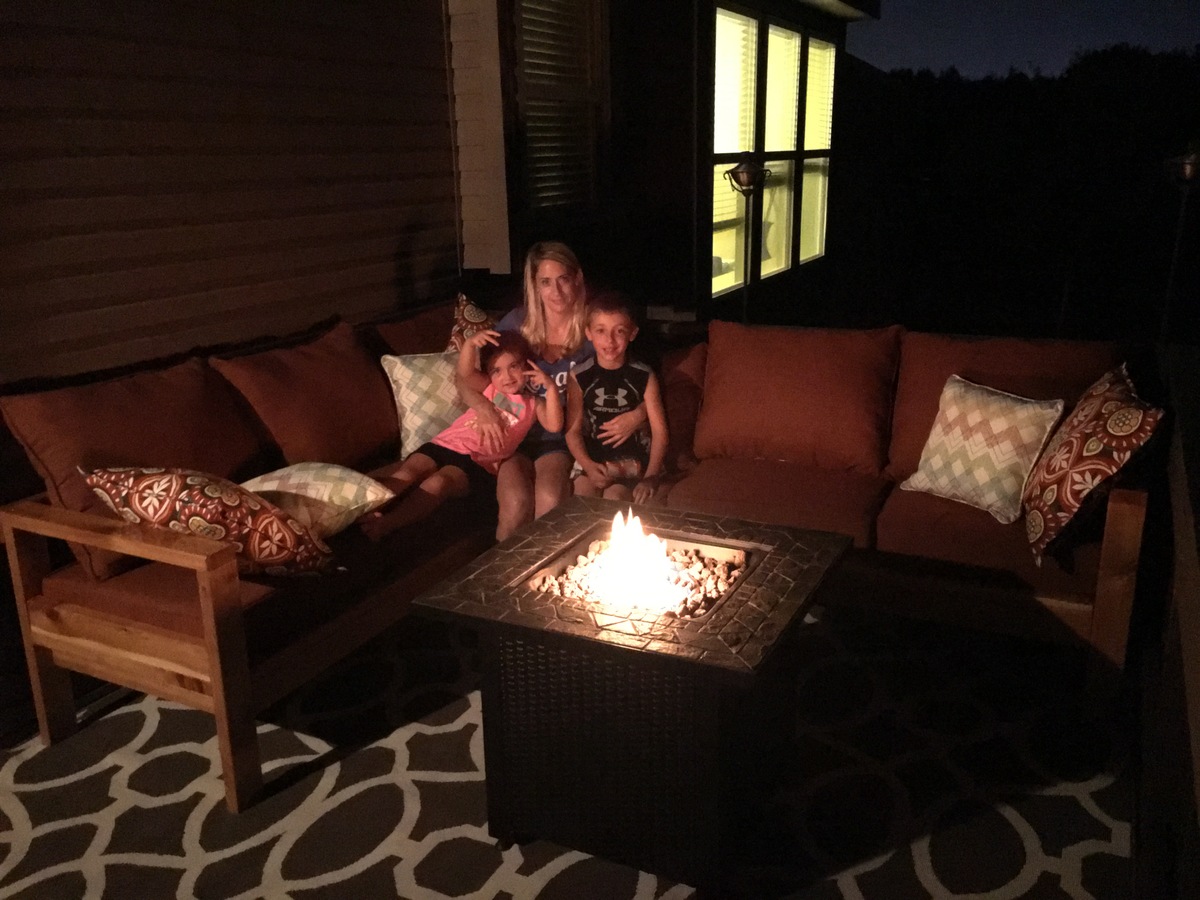
My wife sent me your YouTube video of making the sectional. She asked me if I would make her one. It was perfect timing because our 9 year anniversary was just around the corner. So my 5 yr old daughter and I went to Lowes and purchased the supplies on a Friday night. Her 8 year old brother and her helped me measure, and assemble (I did all the cutting;). We enjoyed the project as a family and were very proud to present to mommy for a gift...
thank you!
Jack Christensen
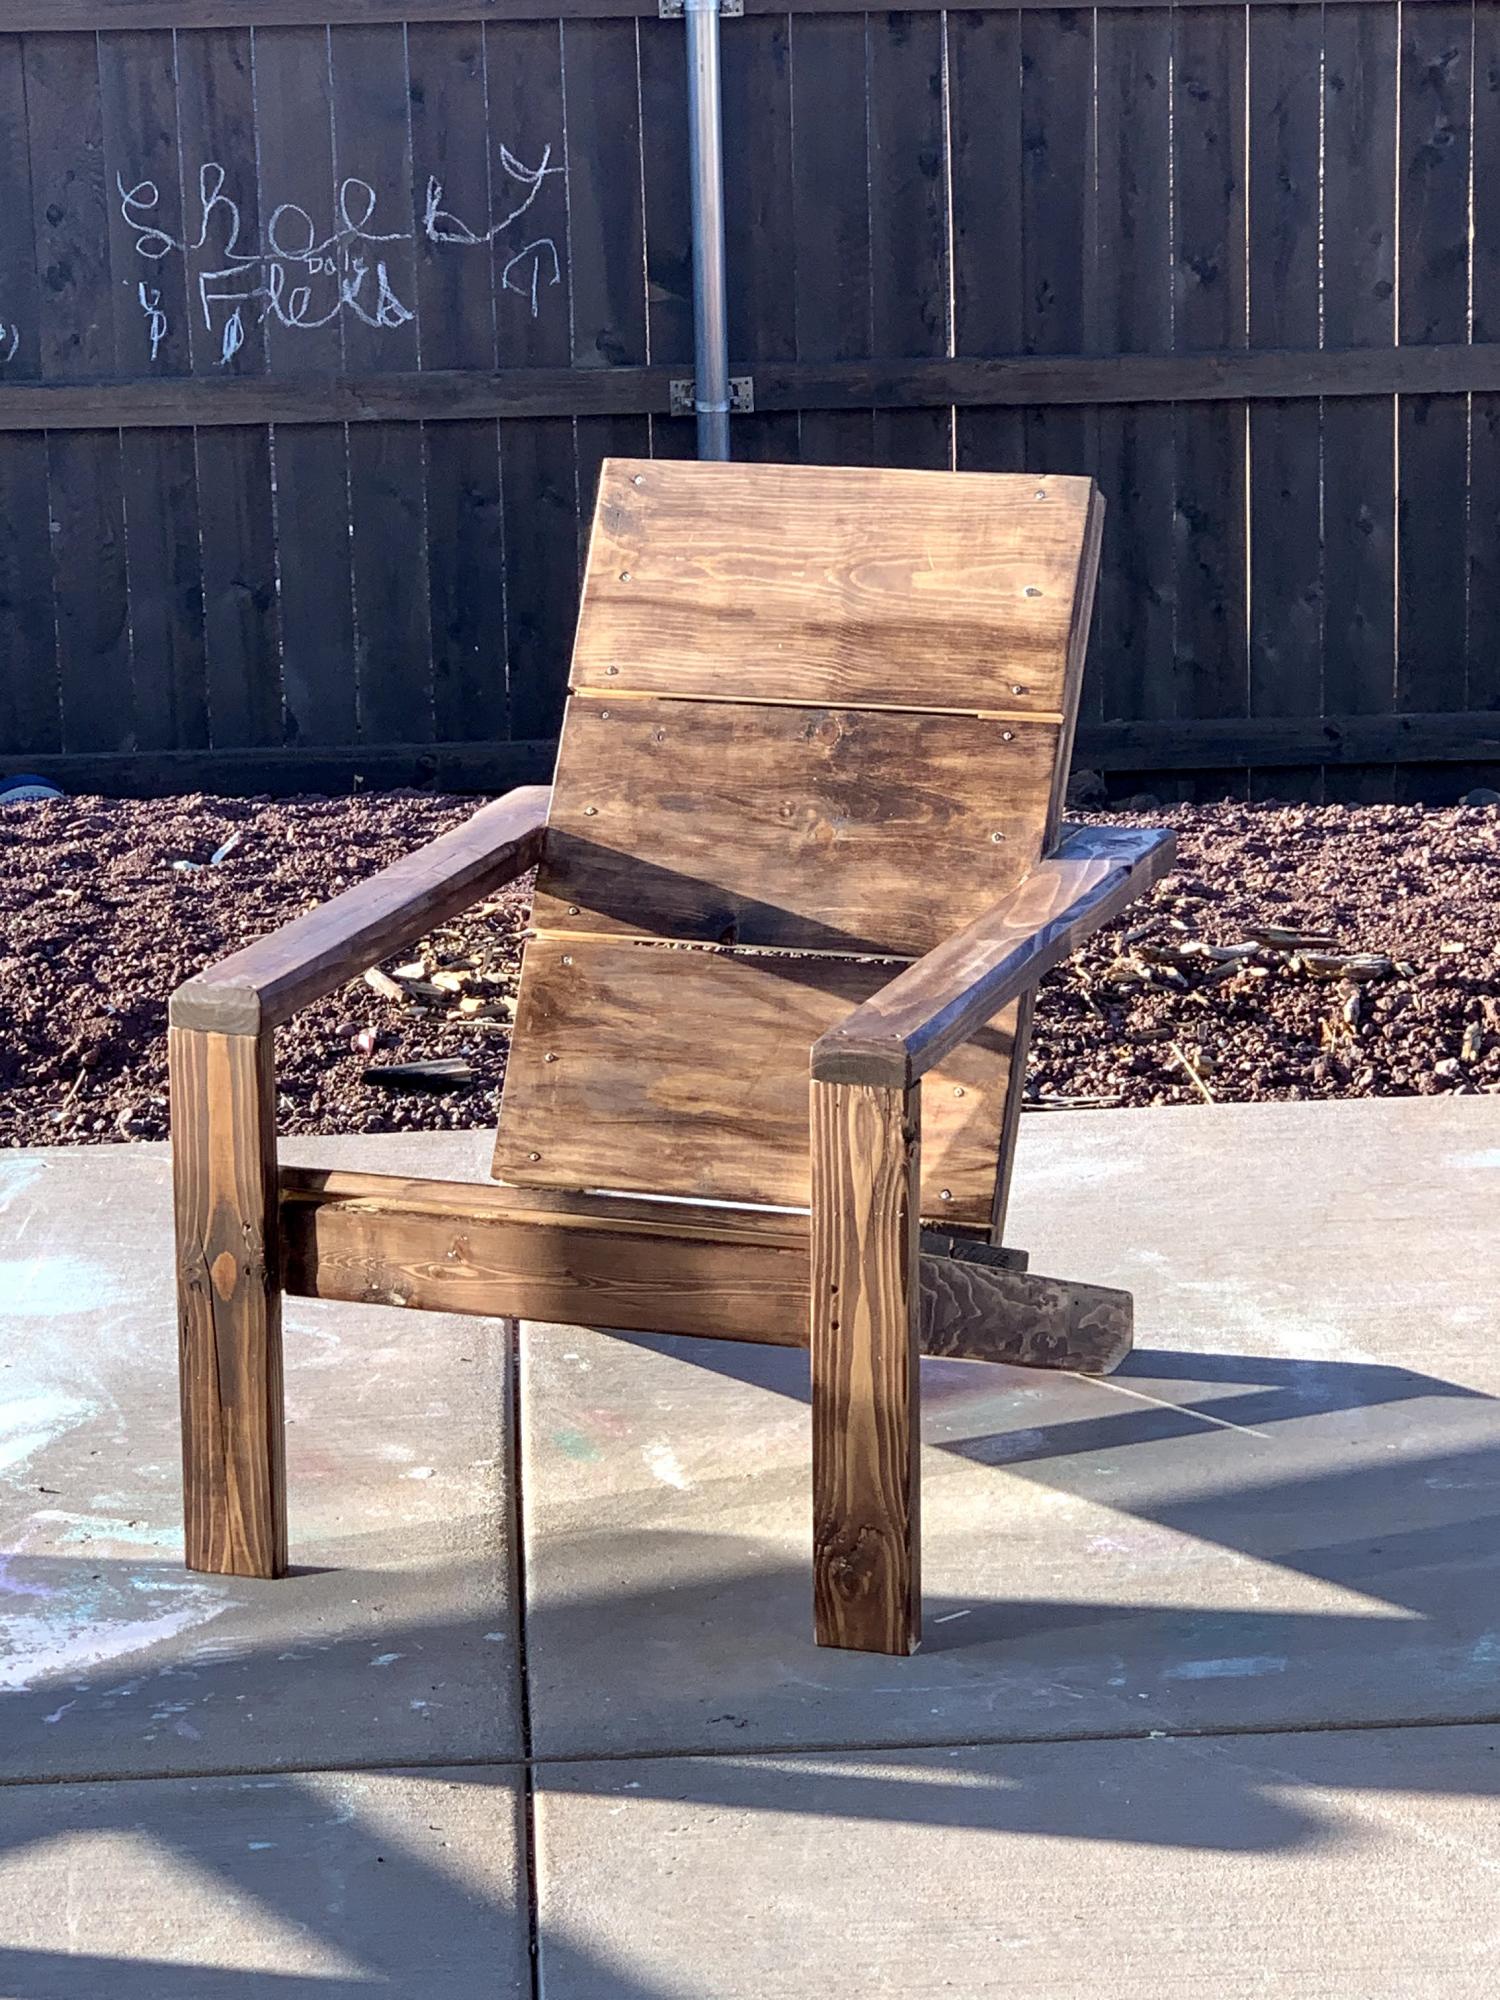
We did three at once and it was pretty hard.
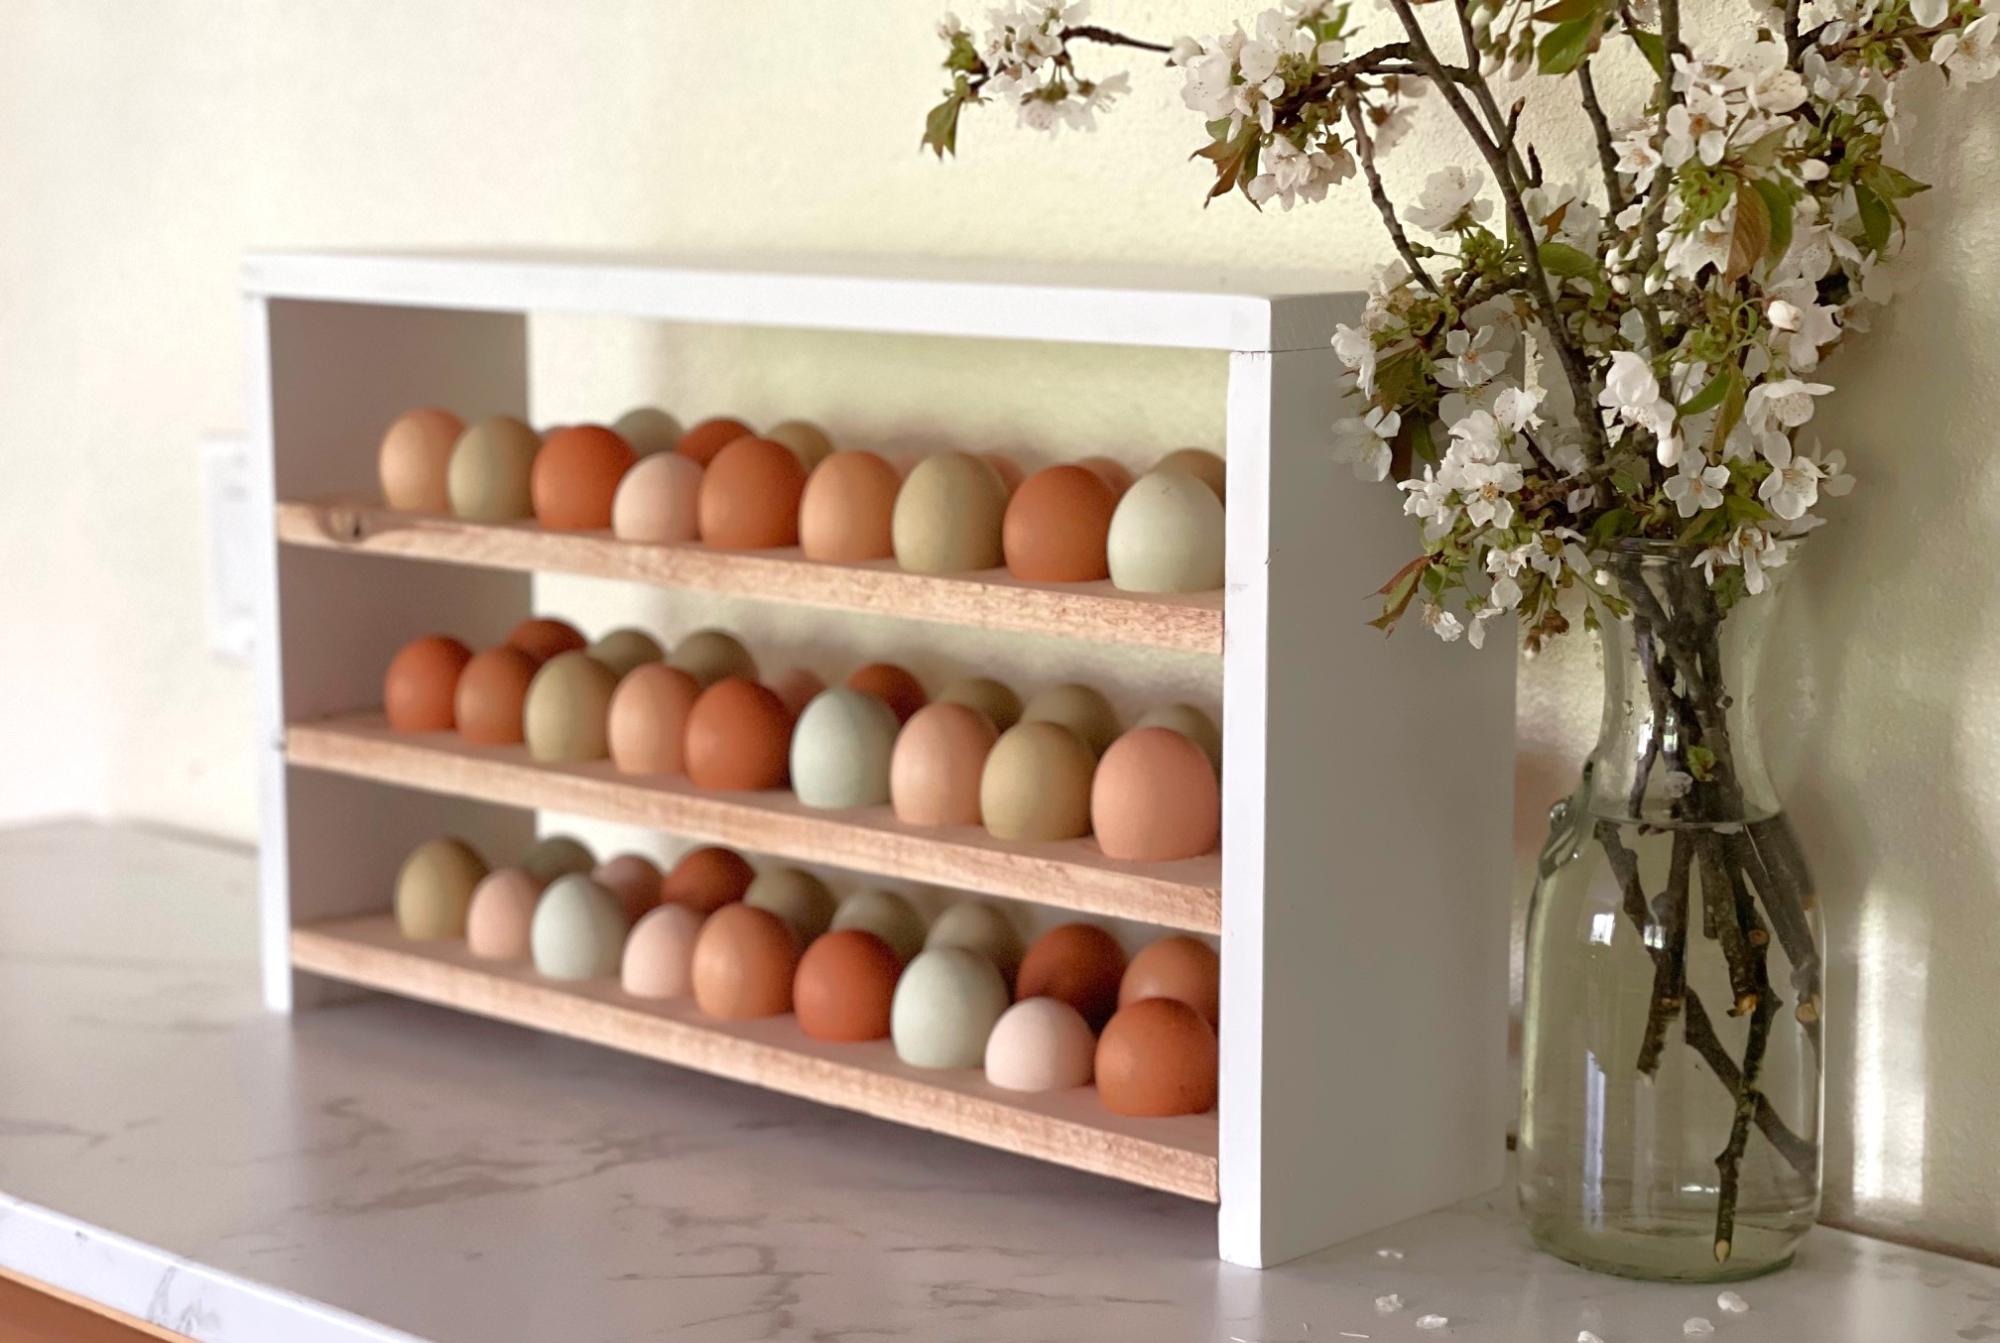
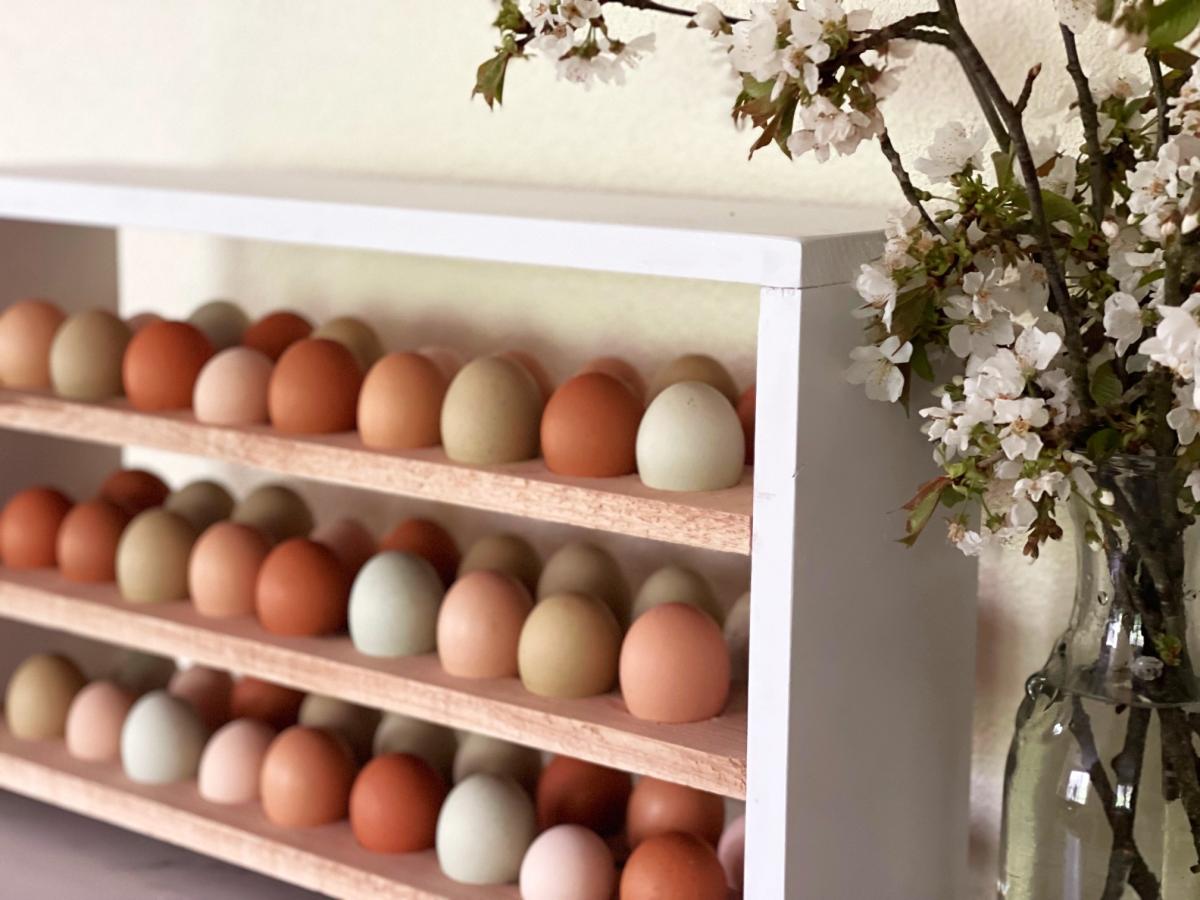
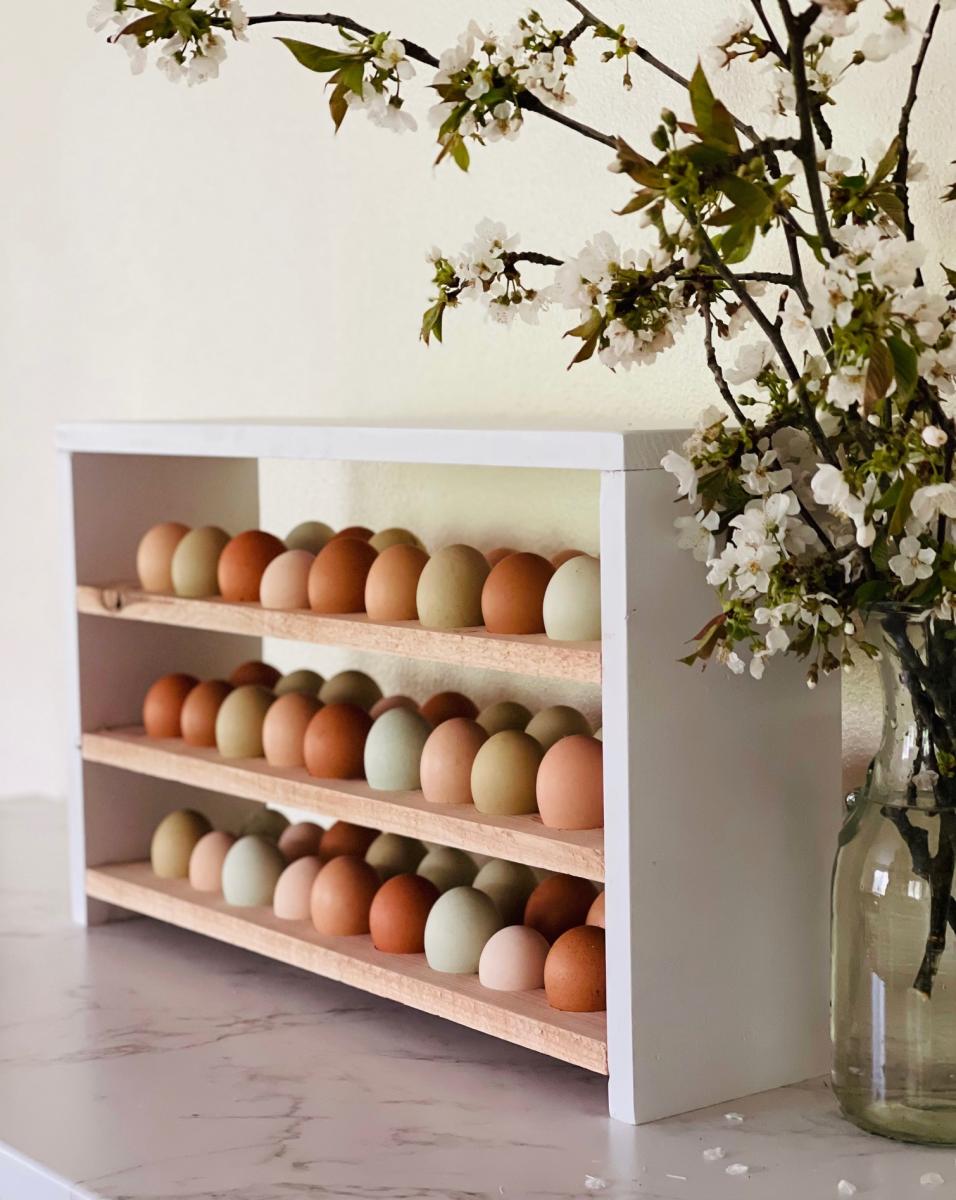
I used Ana's plans with modifications to hold 4 and a half dozen eggs. I love that it can sit on my counter and display those beautiful farm fresh eggs!
I decided to start the large desk plan, with these bases being the start. I didn't use the formaldehyde-free plywood yet, but plan on using it for the remainder of the project. I also decided to paint it, instead of using stain and/or polyurethane. I wanted to try to make the room feel more open (it's pretty small) and like the fresh feeling of the white.
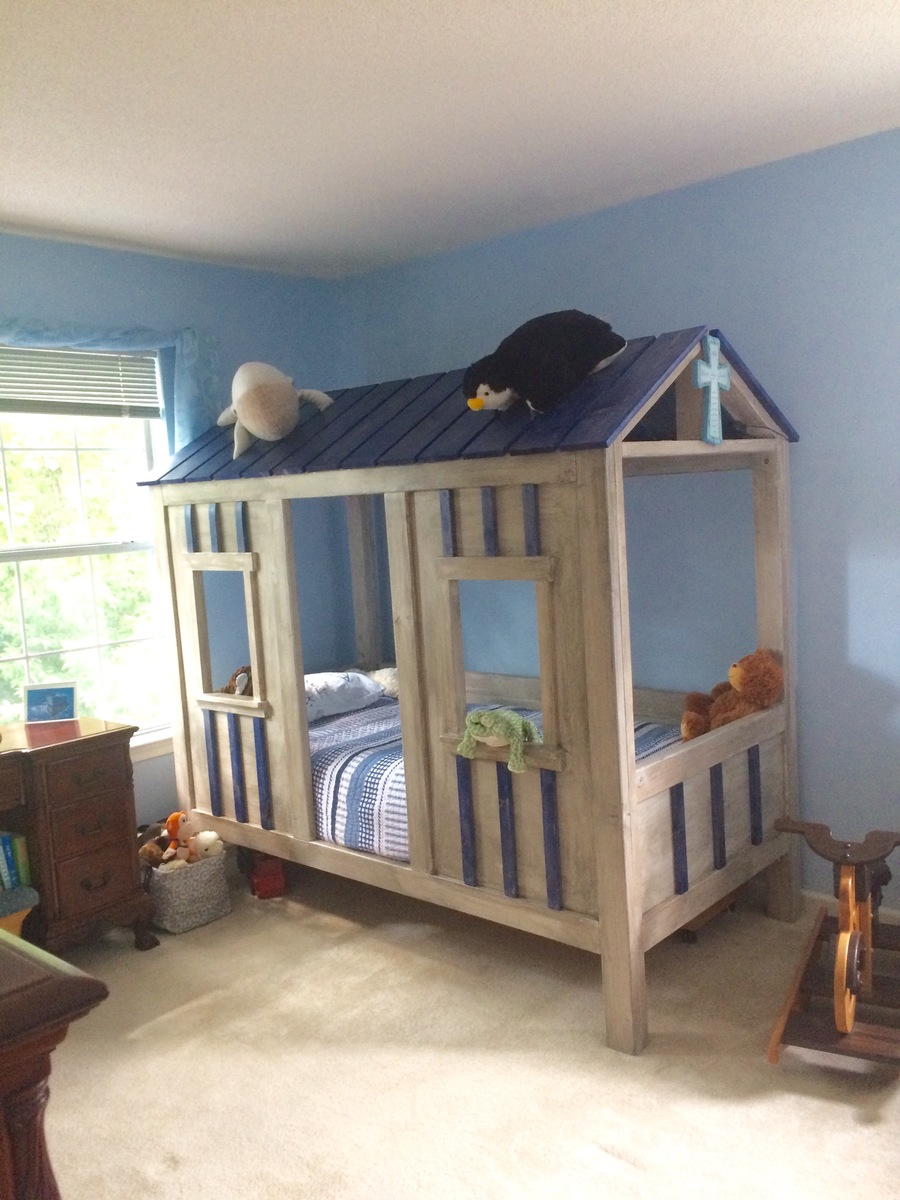
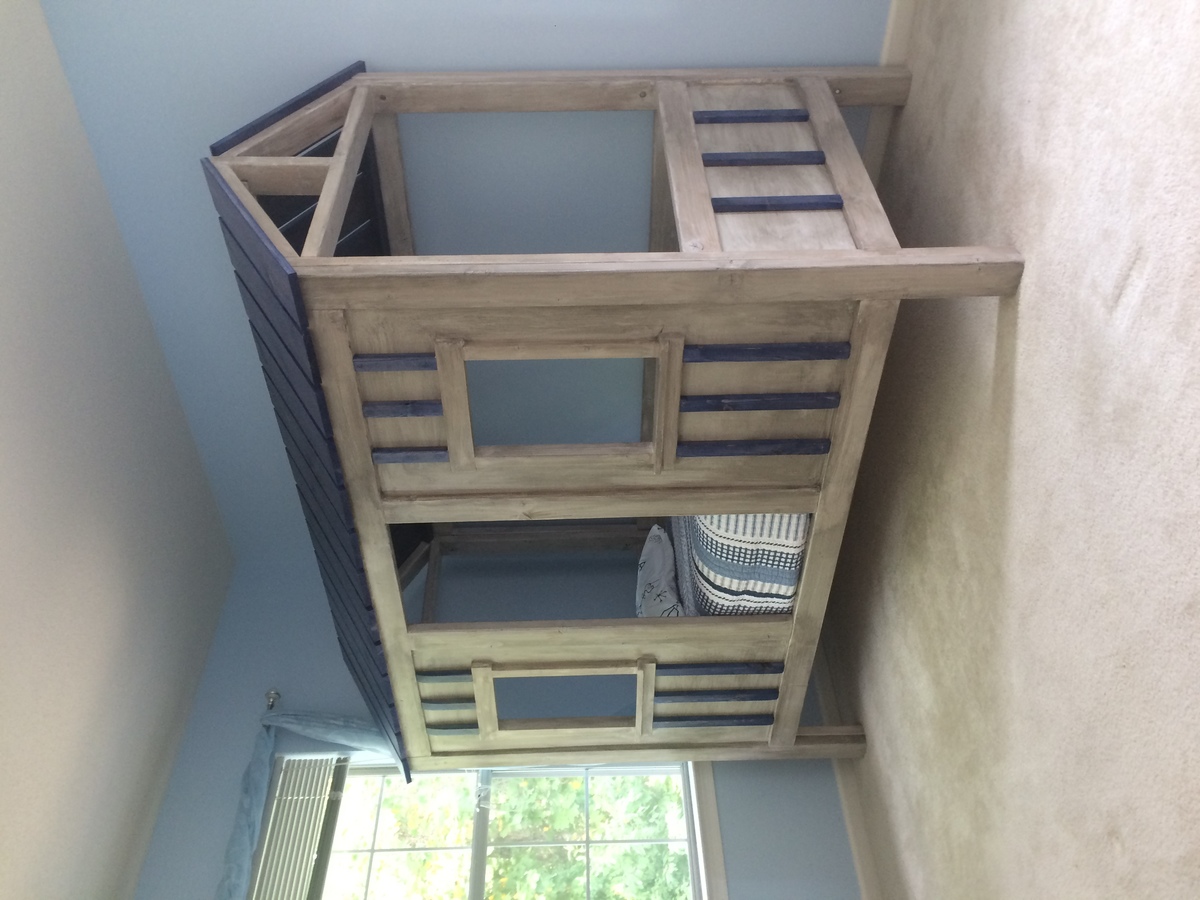
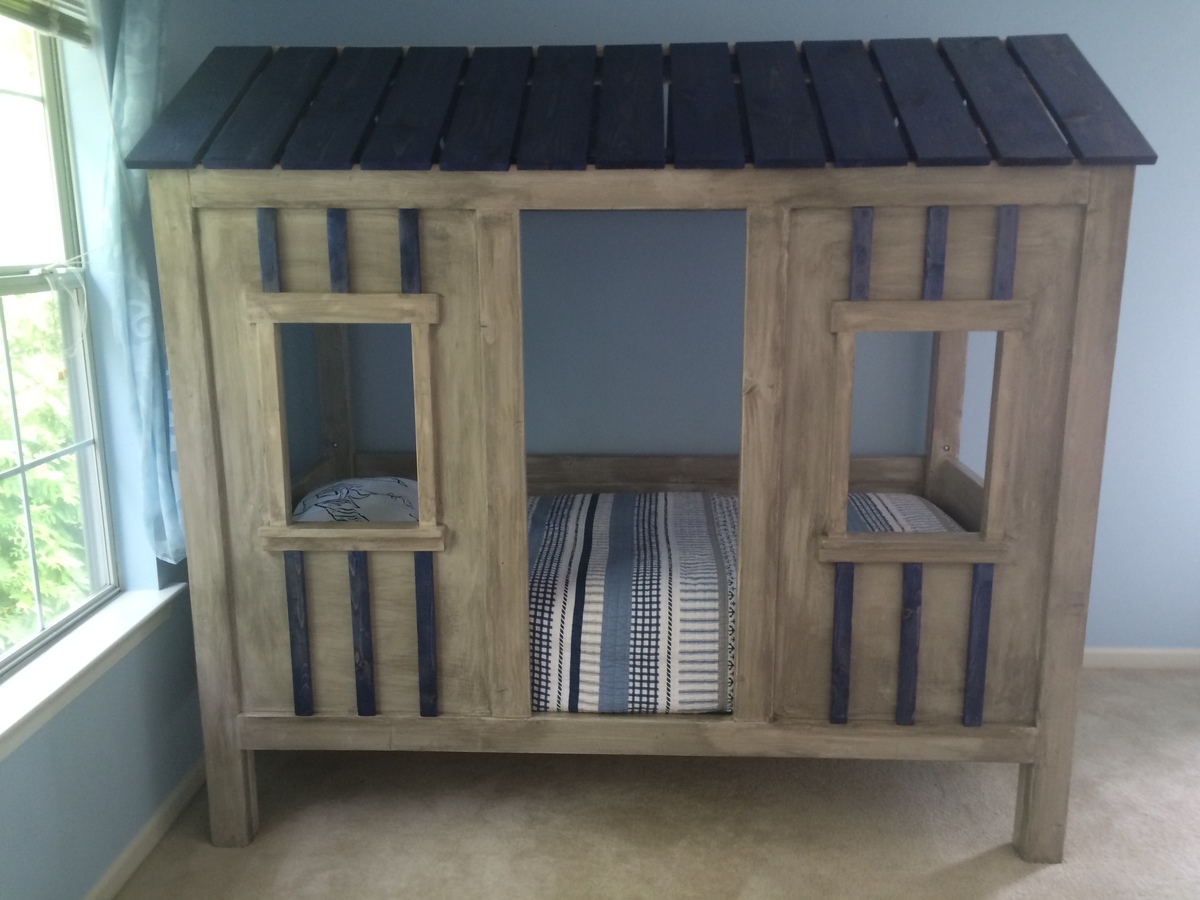
Took my husband, stepdad, and I about 6 days to complete the project. Ended up following the plans to exact and the twin mattress is a great fit, I was worried the measurements would be too small. We did the main cabin in whitewash with antique glaze and the roof and batten board a blue with antique glaze.
This is our second time building the Rustic X Console Table. It is such a fun project! I have all the details and more pictures on my blog.
Comments
Ana White Admin
Wed, 11/18/2020 - 14:40
Sweet!
It looks great, thanks for sharing!