Dry Bar
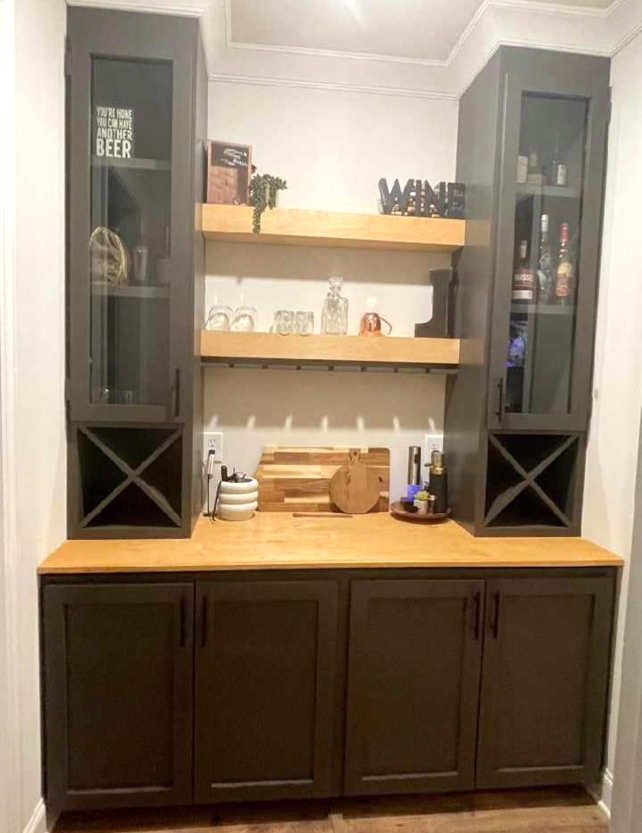
DIY Dry Bar by Brian Pettibone
Plans linked to help others achieve a similar build
DIY Dry Bar by Brian Pettibone
Plans linked to help others achieve a similar build
While building this plan, we decided we liked it better with doors on the inside, and shelves on the outside. With some modern paint choices, we made this classic plan fit our style!
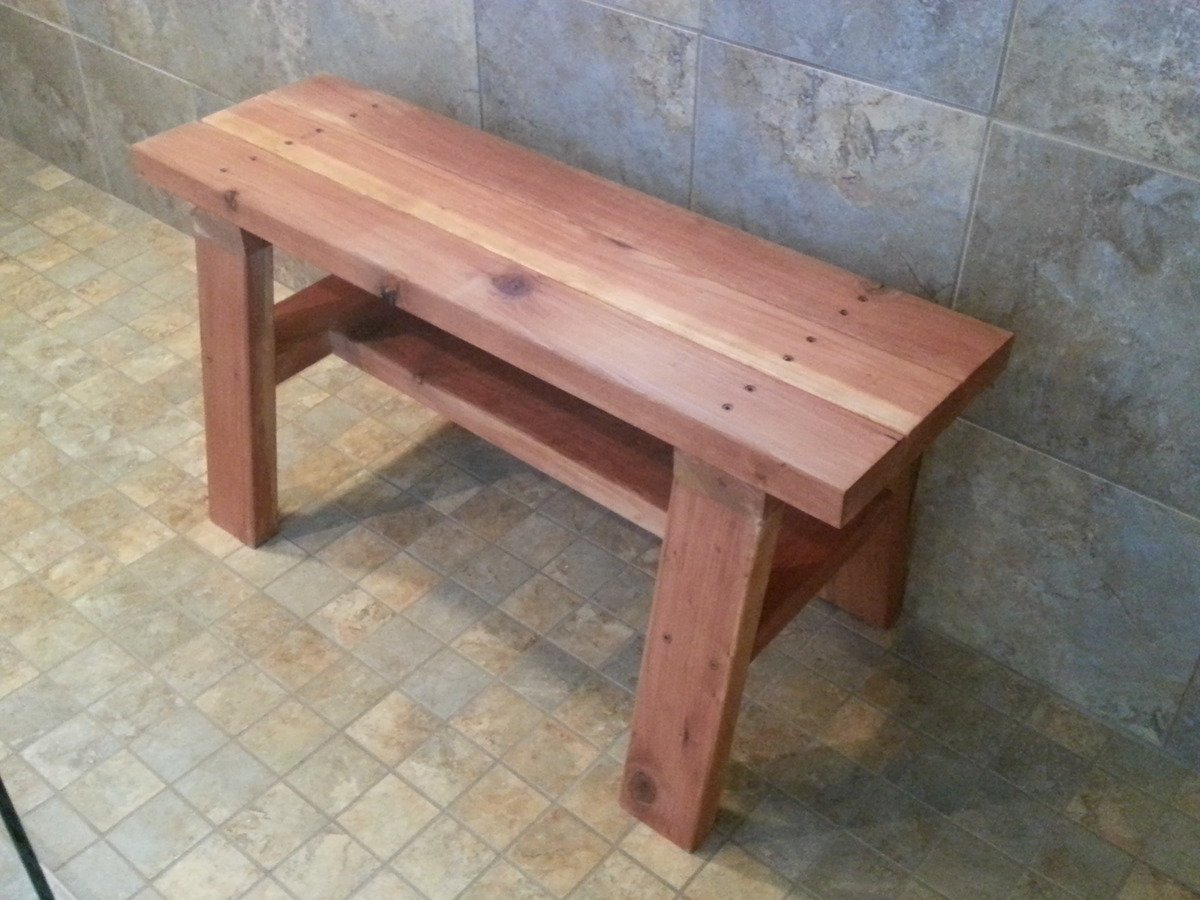
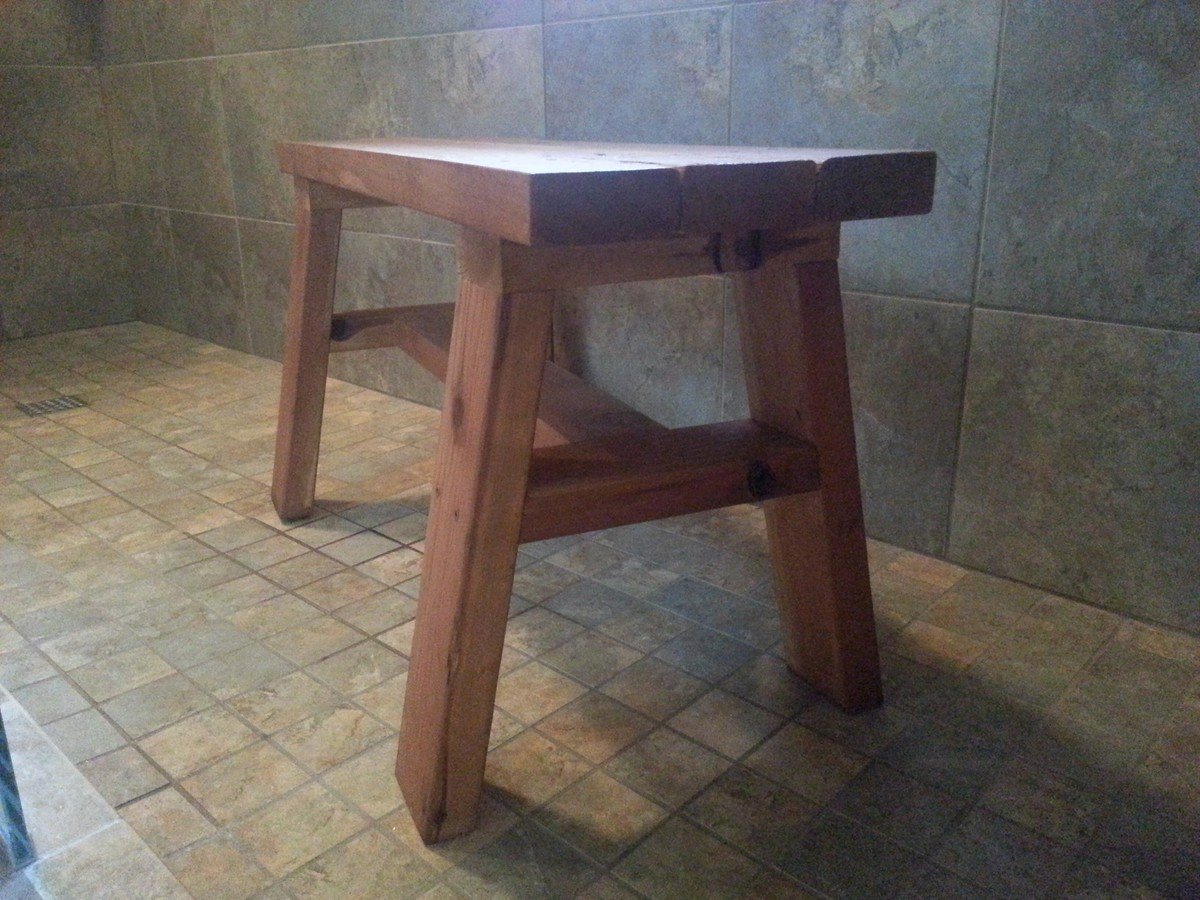
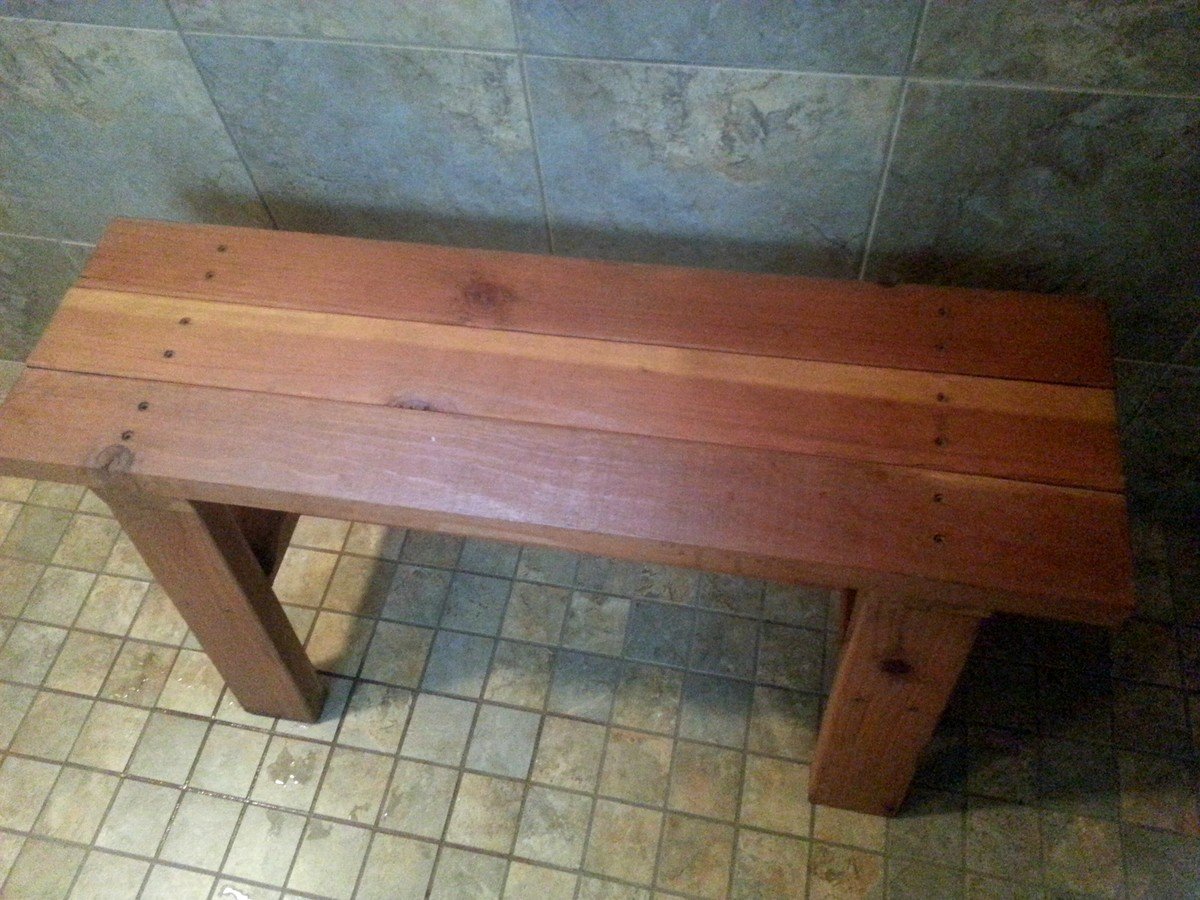
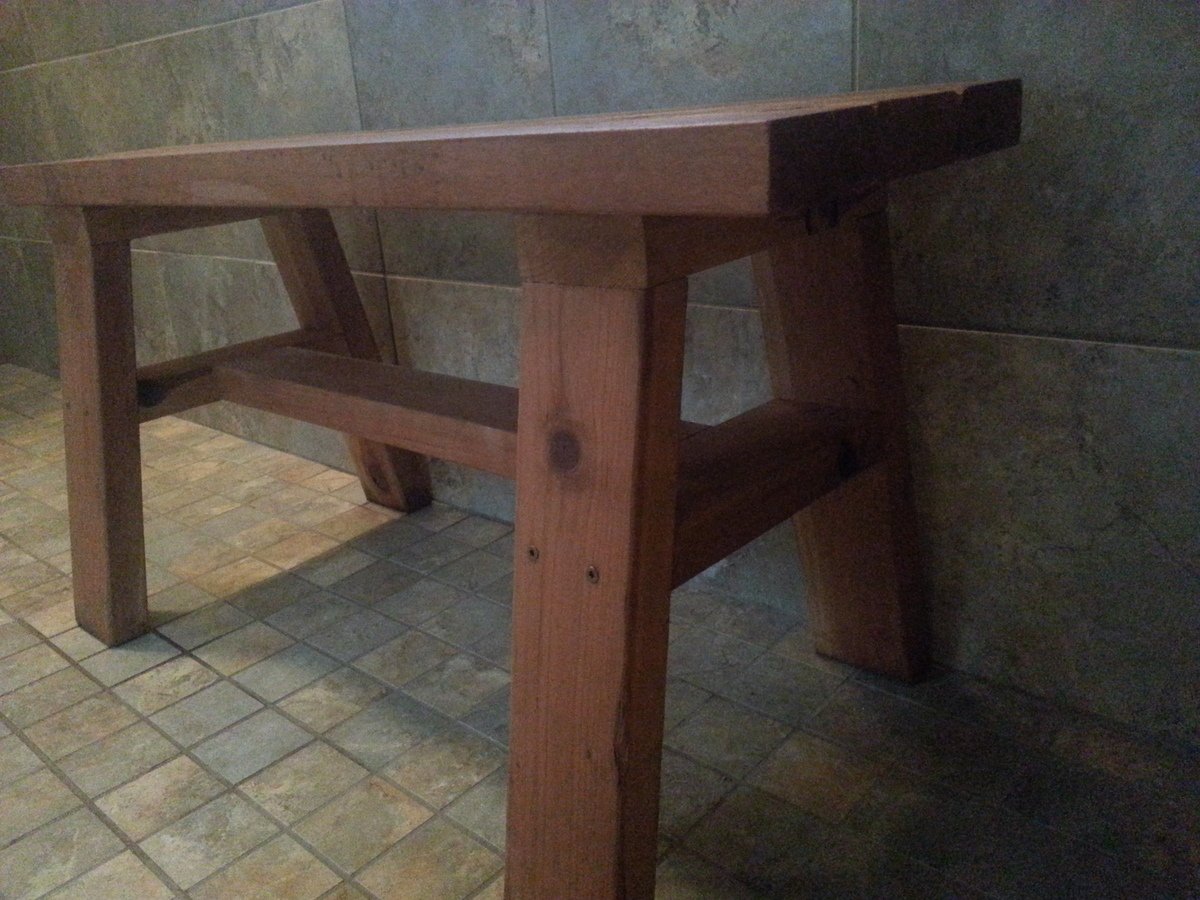
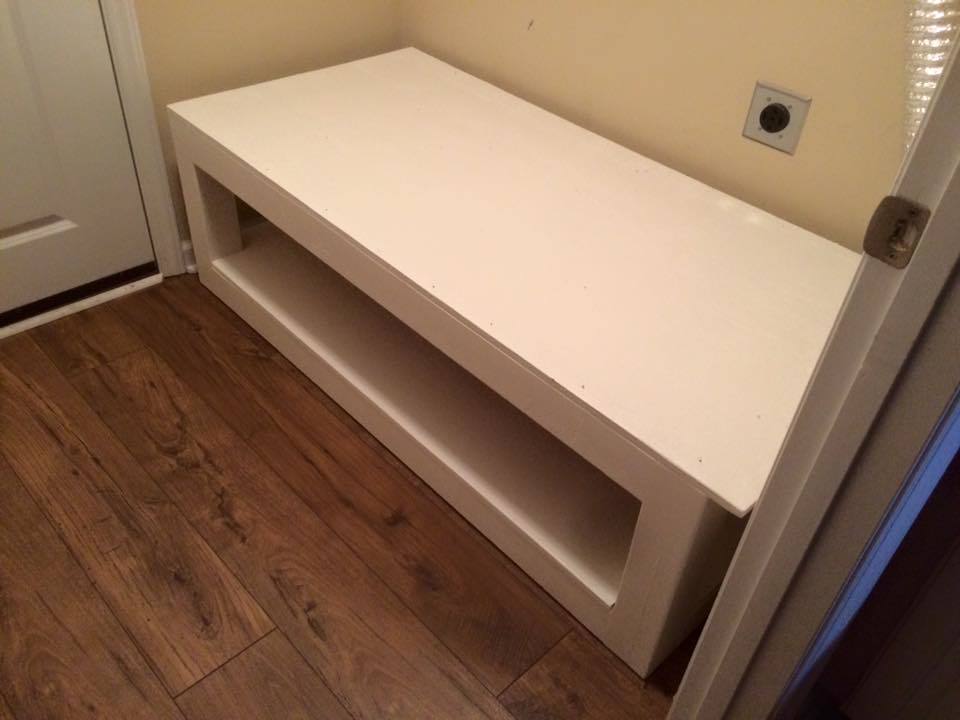
I wanted to build a small shower bench. I used the Providence Bench Plans and just made it a bit smaller with a few adjustments. This bench is 35" long and 18" tall. I did not use the cross supports on the bottom because it was so short. Also, you will see that I turned the bottom stretcher and side supports flat/horizontal. I put the screws for the seat boards through the top down just because this was the easiest way for me to do it. The plans did not show in detail how to attach the seat boards from the underside. It just said "finally, the seat boards." I guess they probably used a pocket jig. I bought a pocket jig and used it in the couple of places, but this was my first time using it. I used brown, coated decking screws in the places I did not use the pocket screws. This was my first attempt at building anything and my first time to use a pocket jig. I used a natural wood stain and Behr Weather-Proofing since it will be in a wet area.
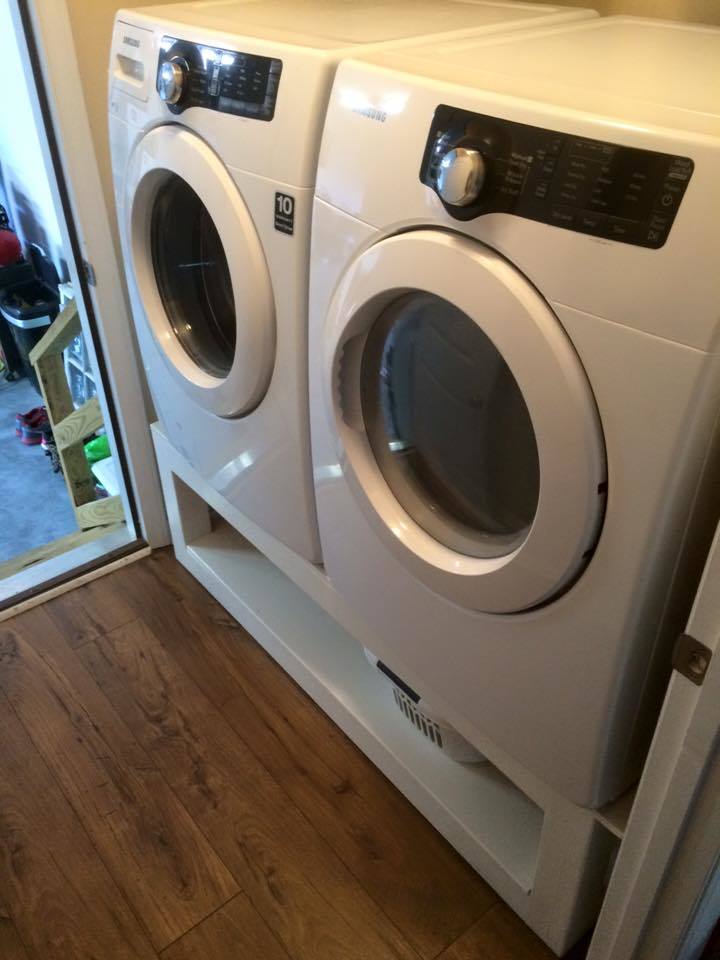
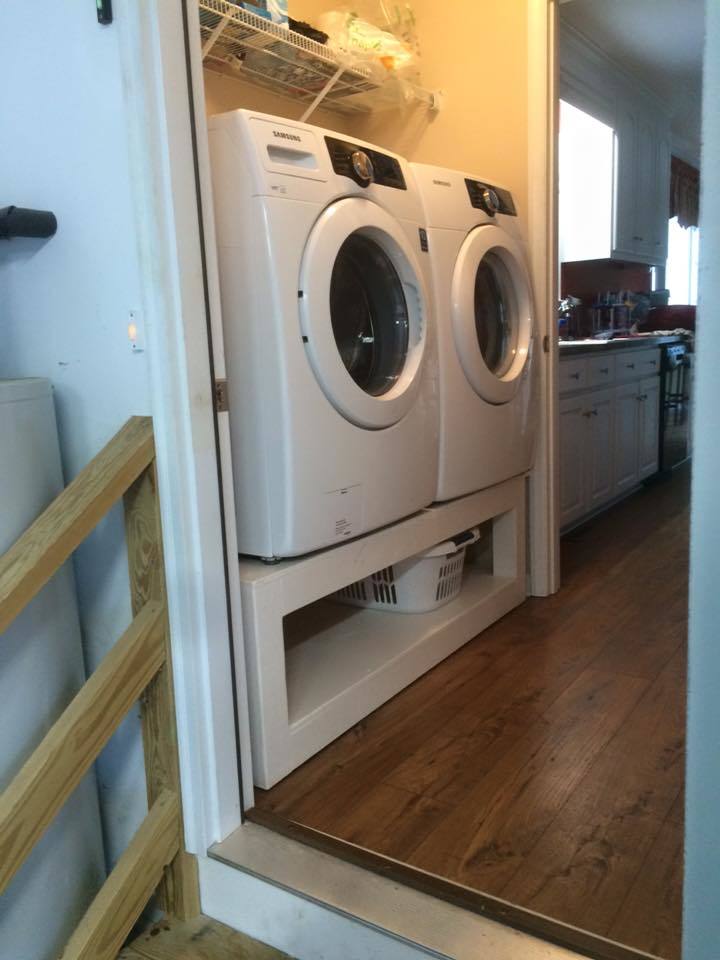
my wife tagged me on facebook right before Xmas with the plans and picture of this, so i dusted off my tools and built her one as a present. its not only great for her but it makes the laundry easier for me as well. I had to mofidy the base of mine because my dryer vent comes up through the floor in the corner.

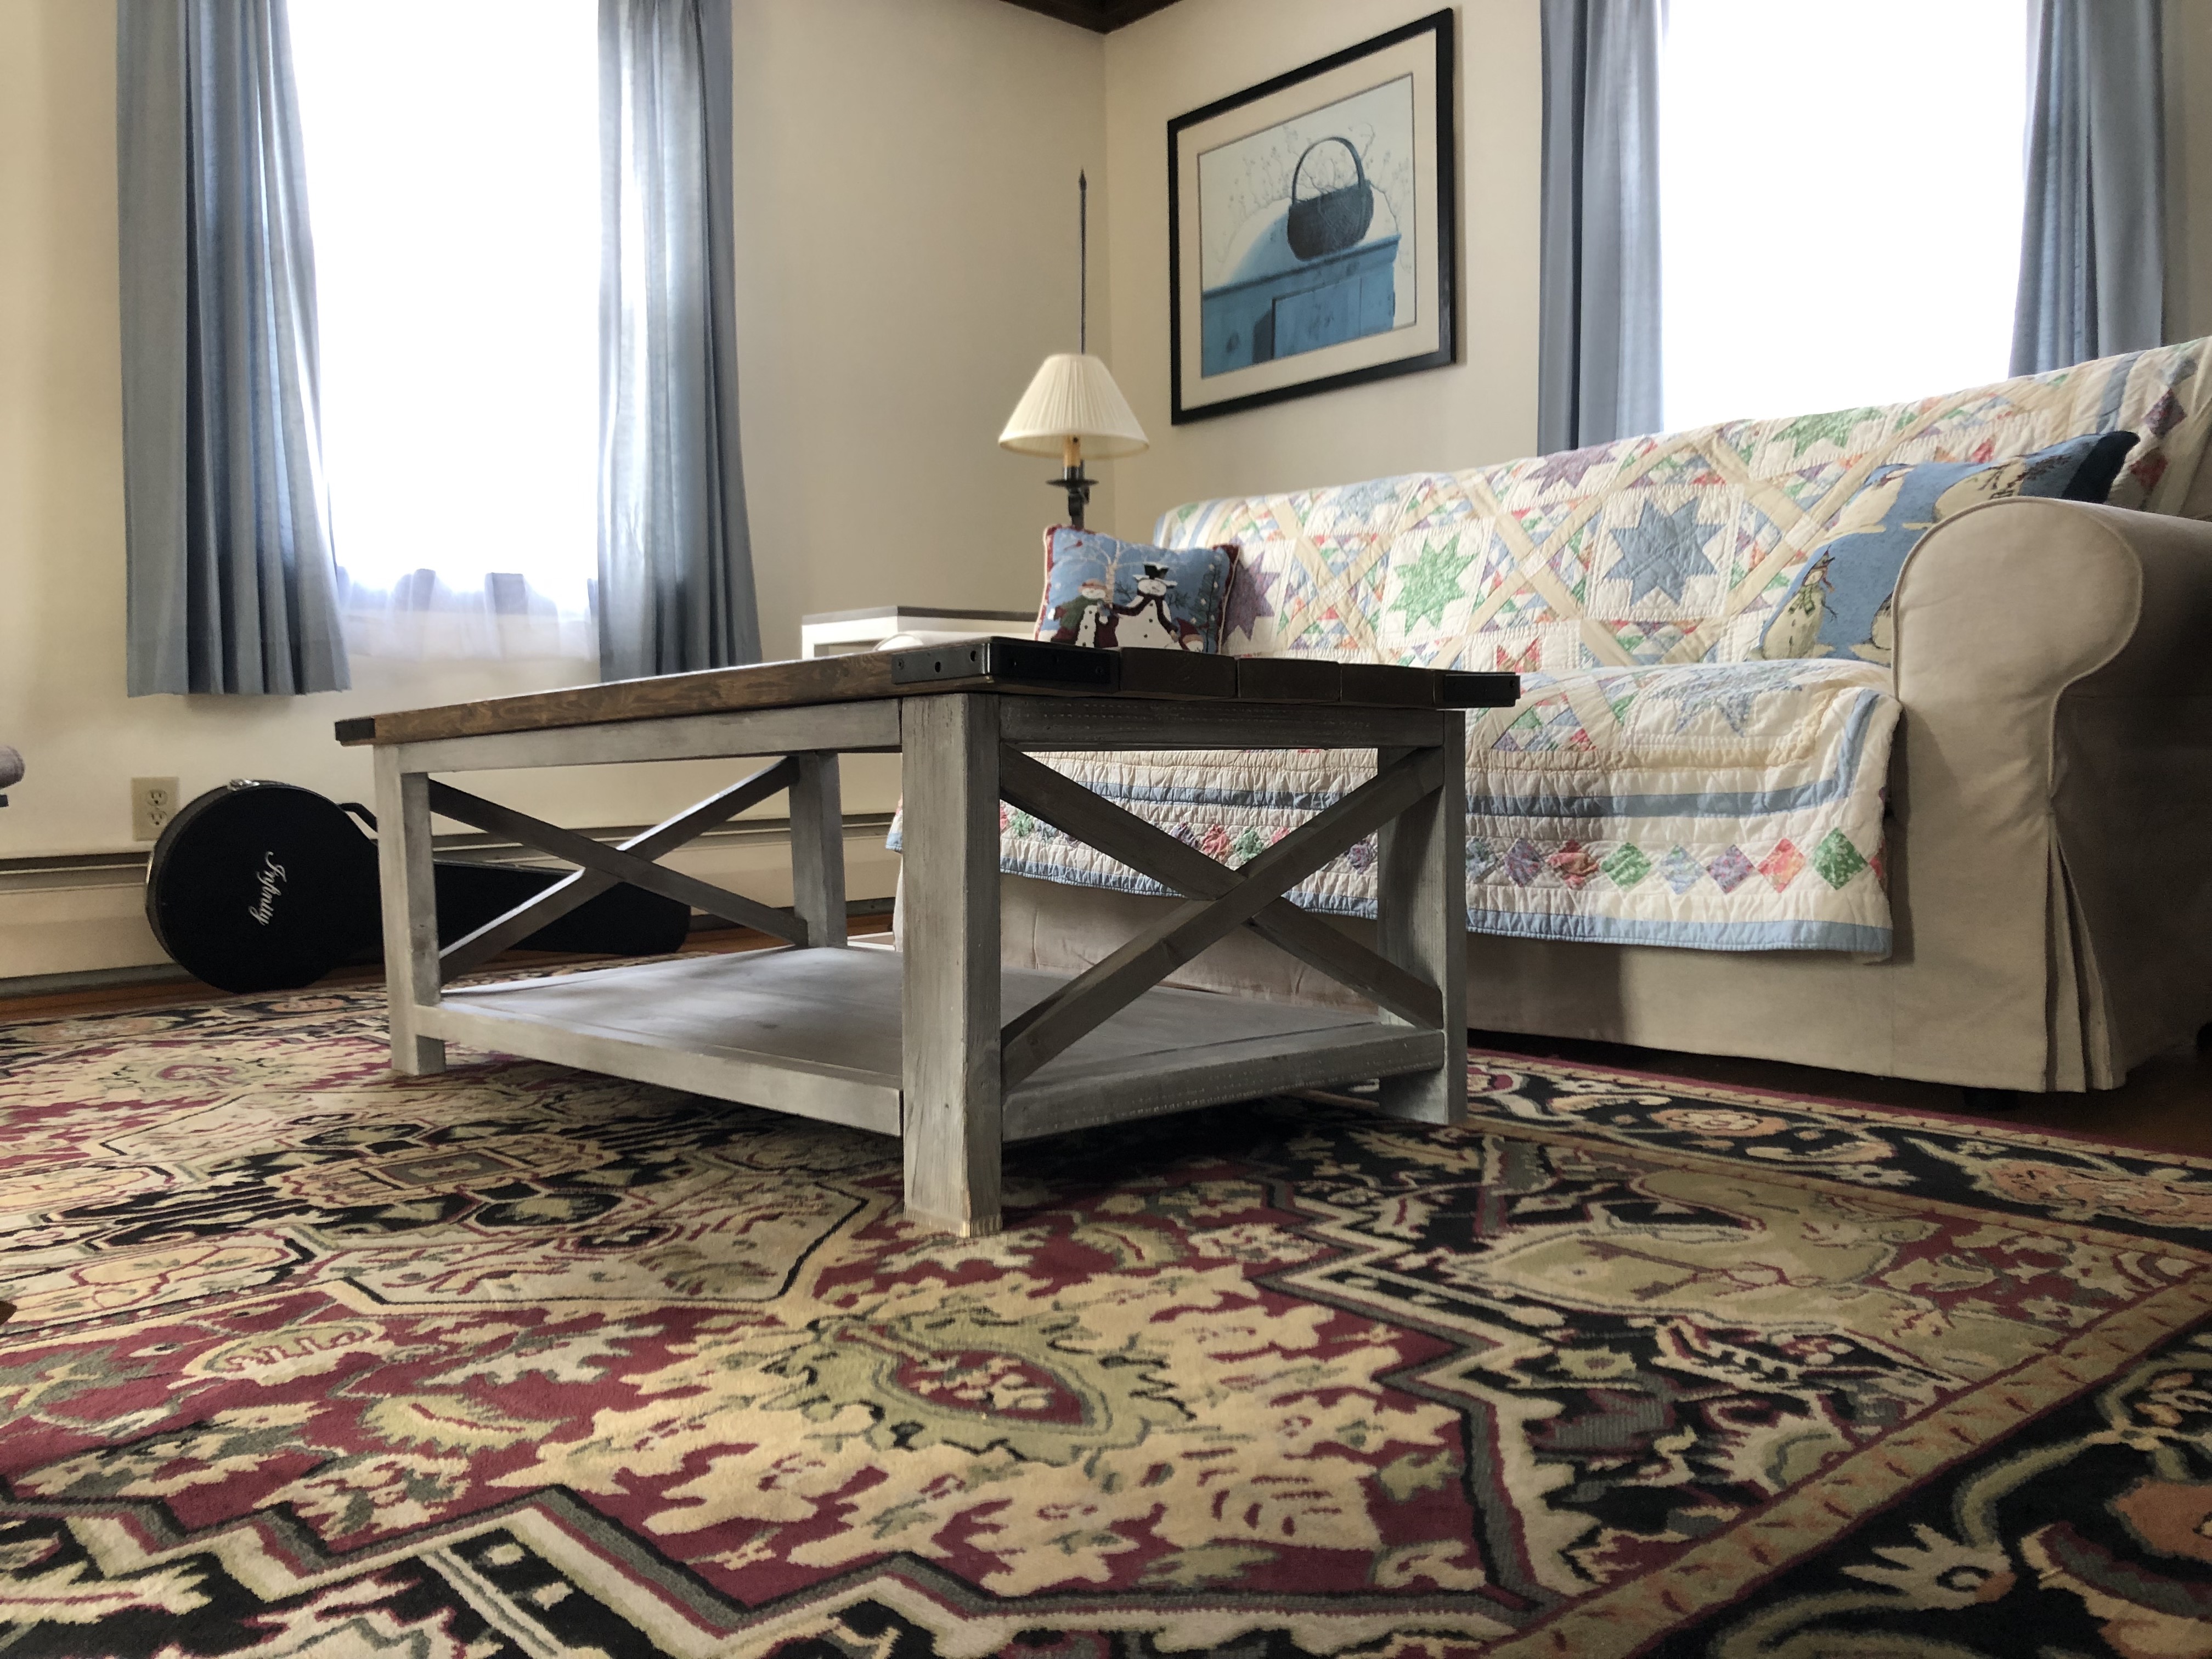
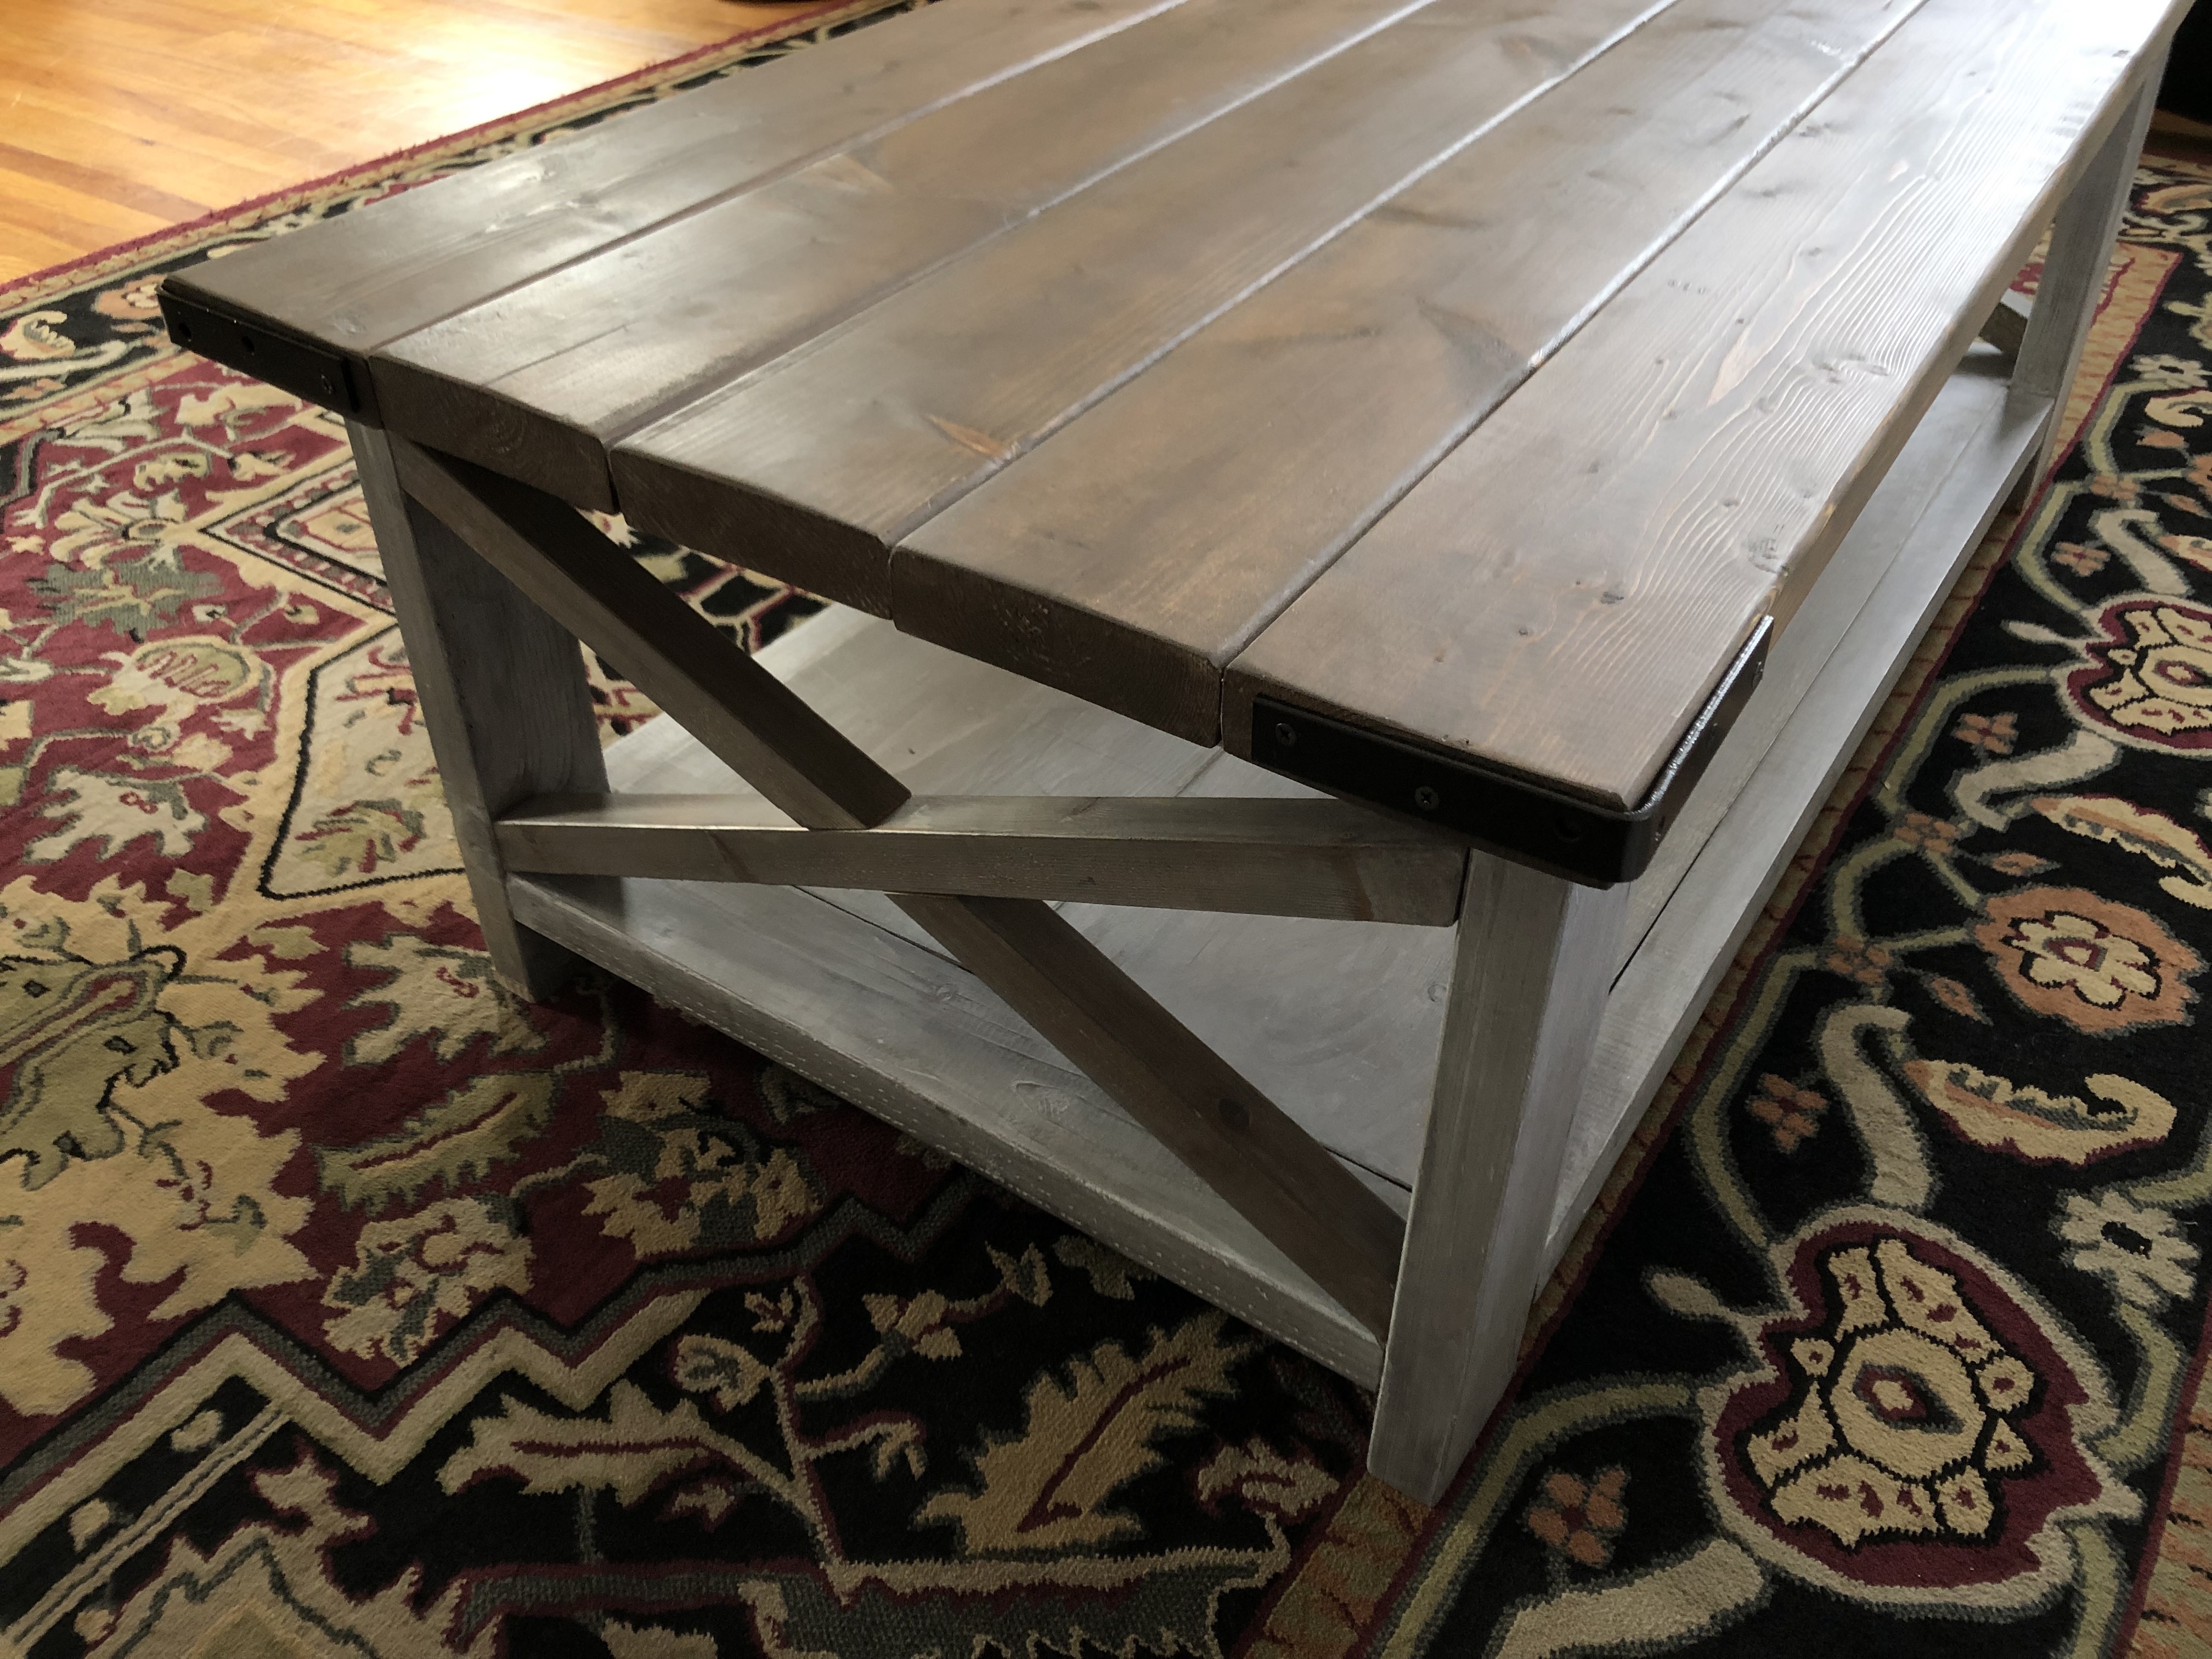
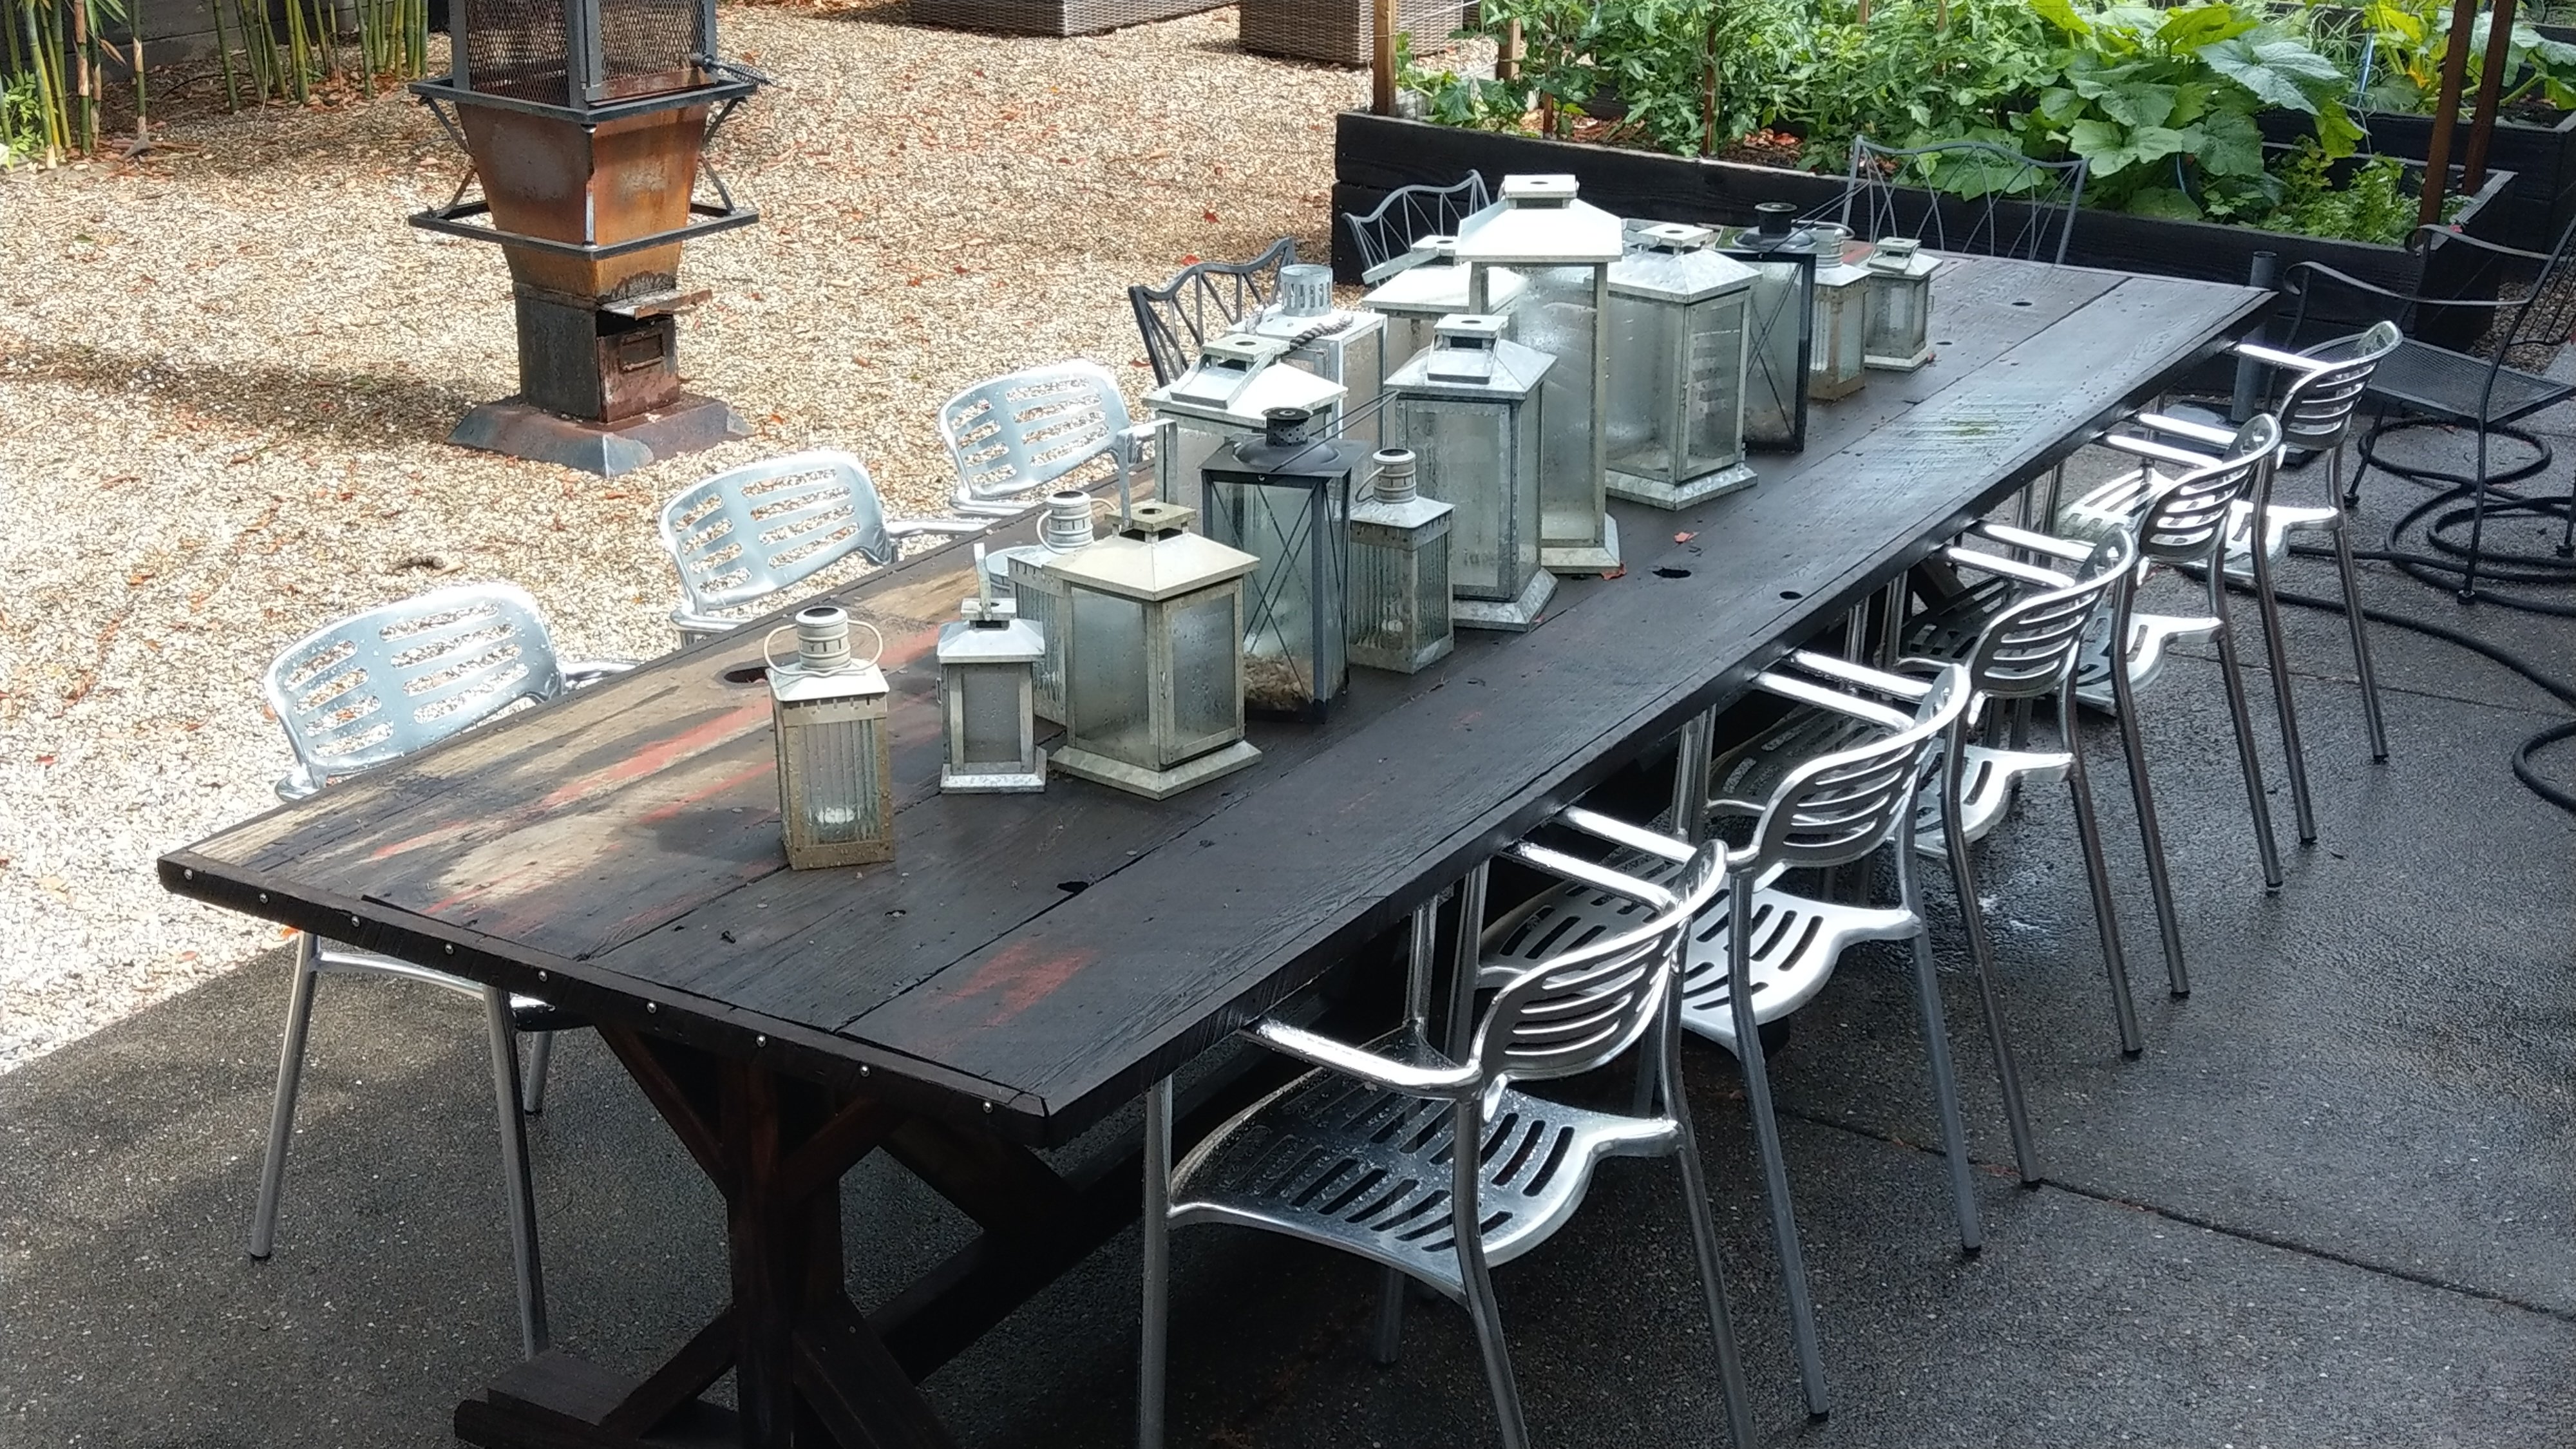
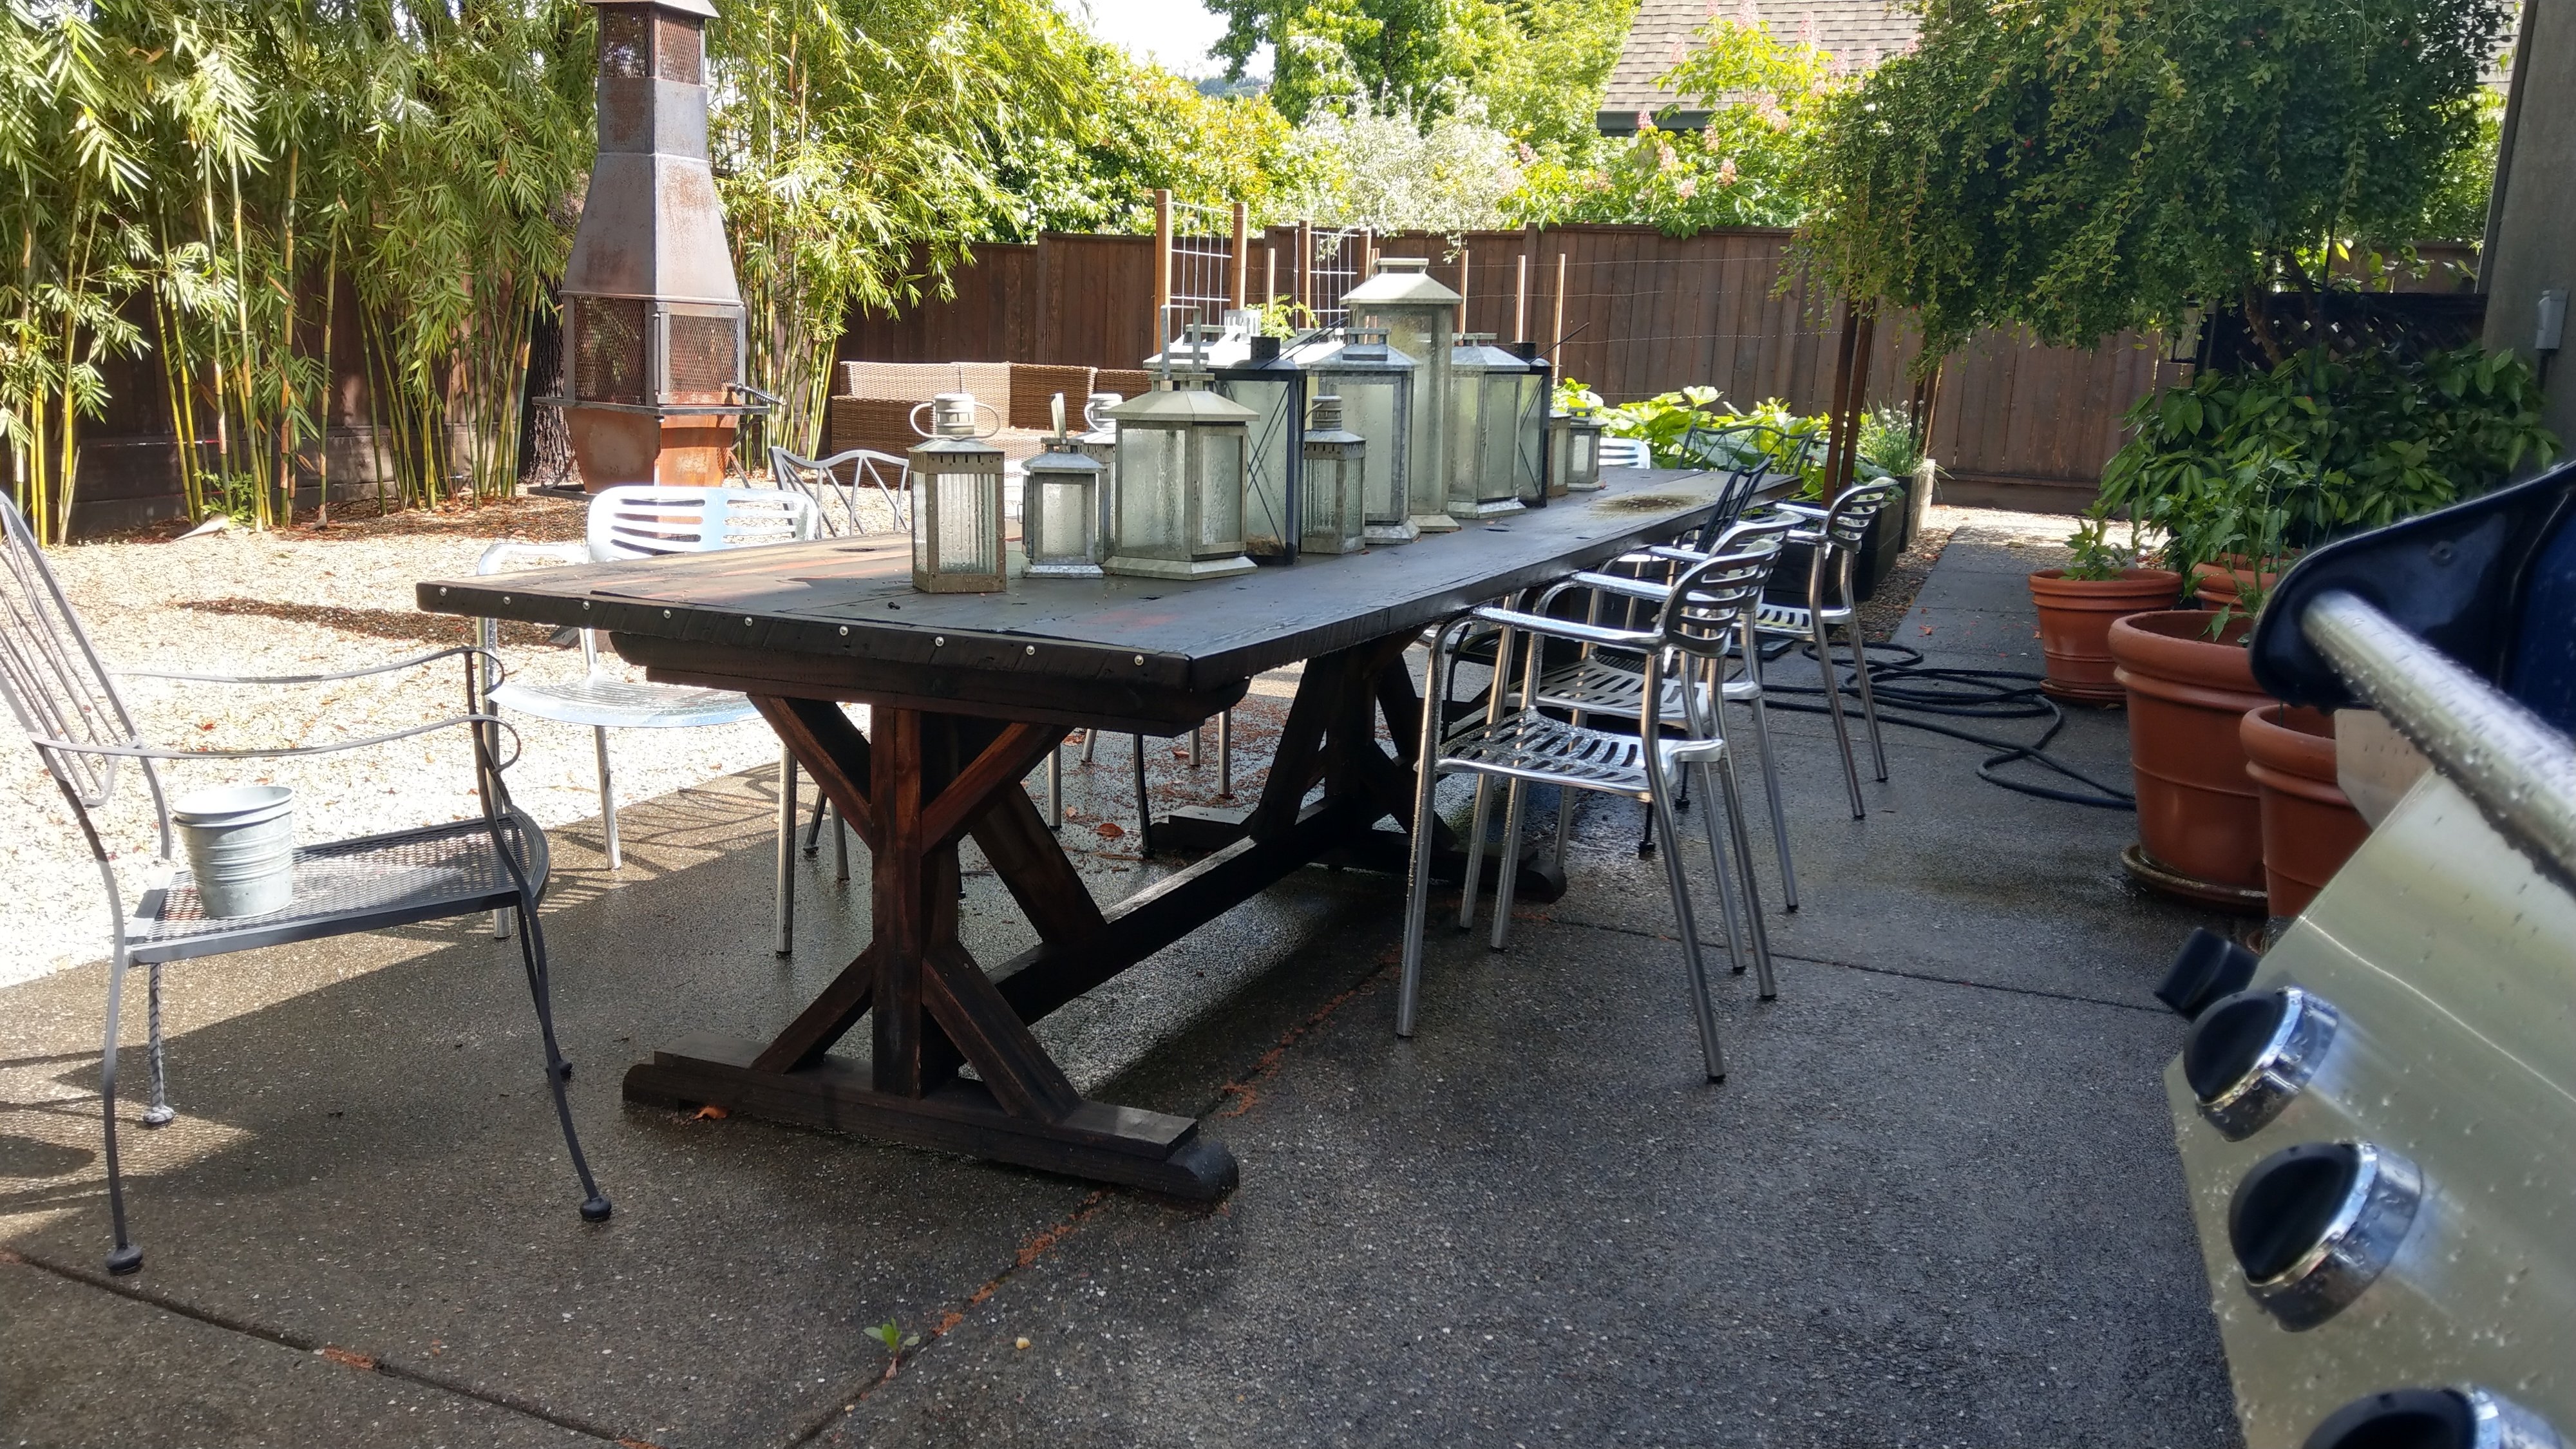
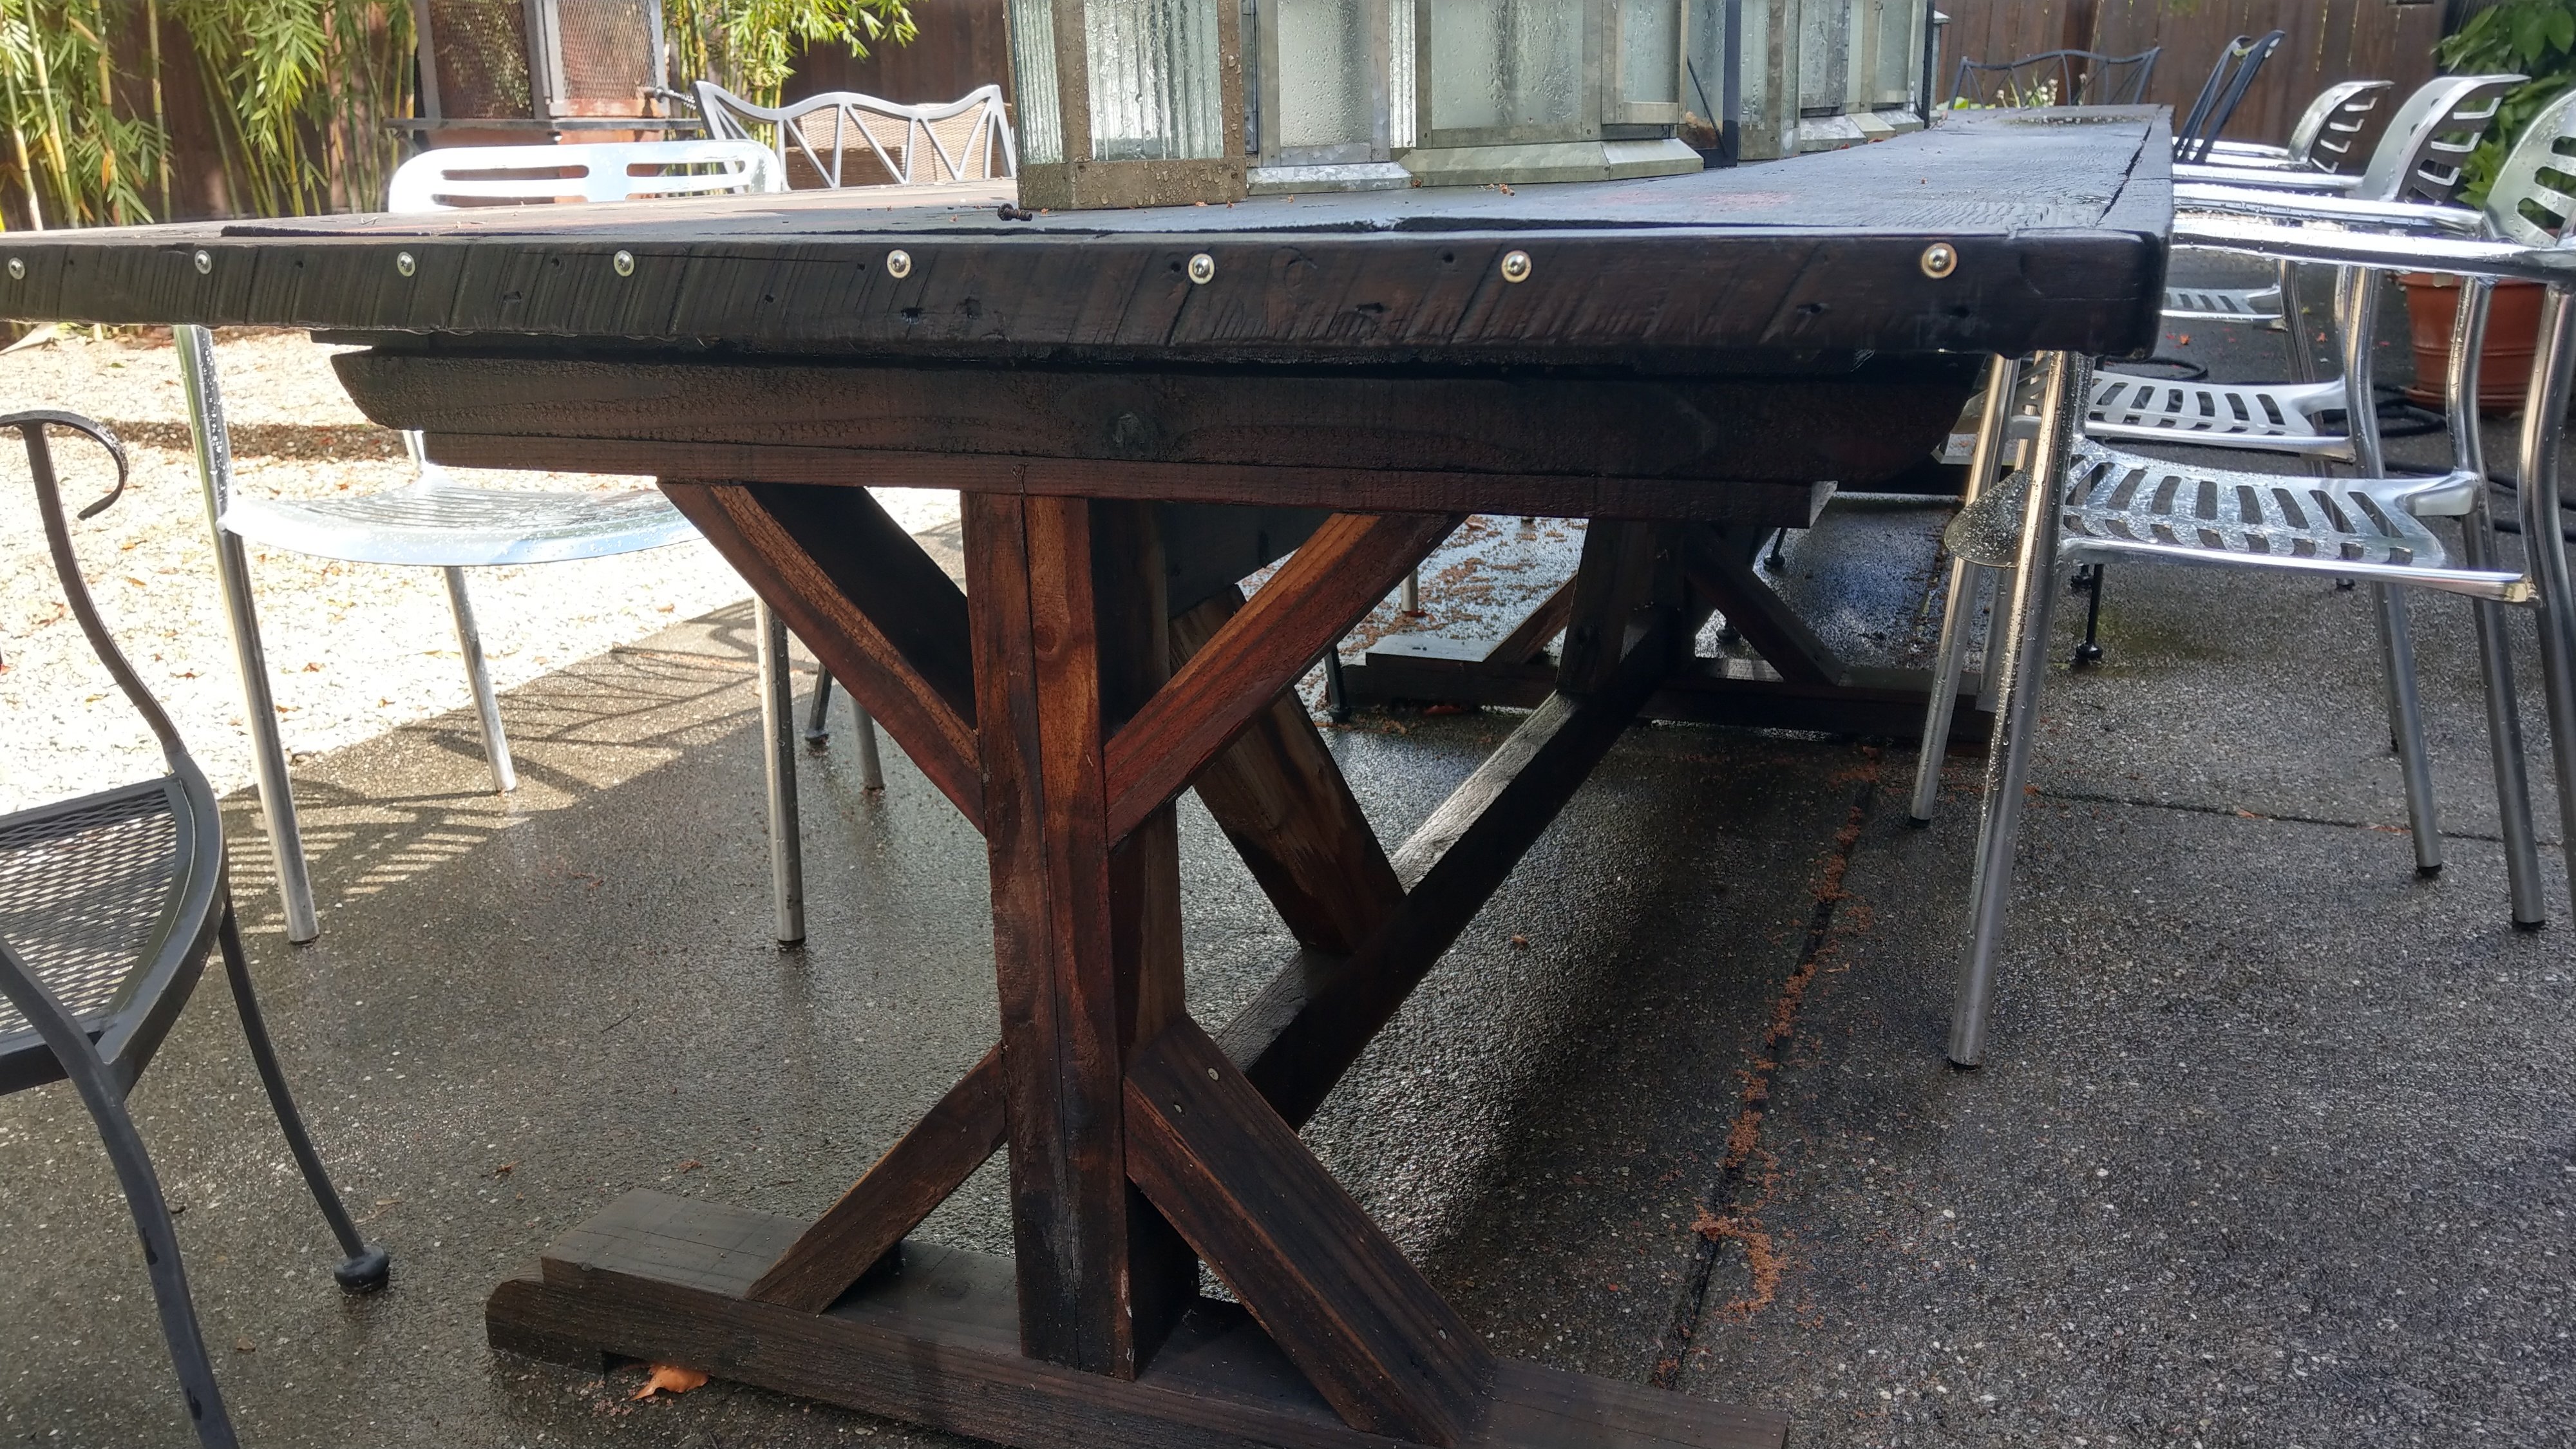
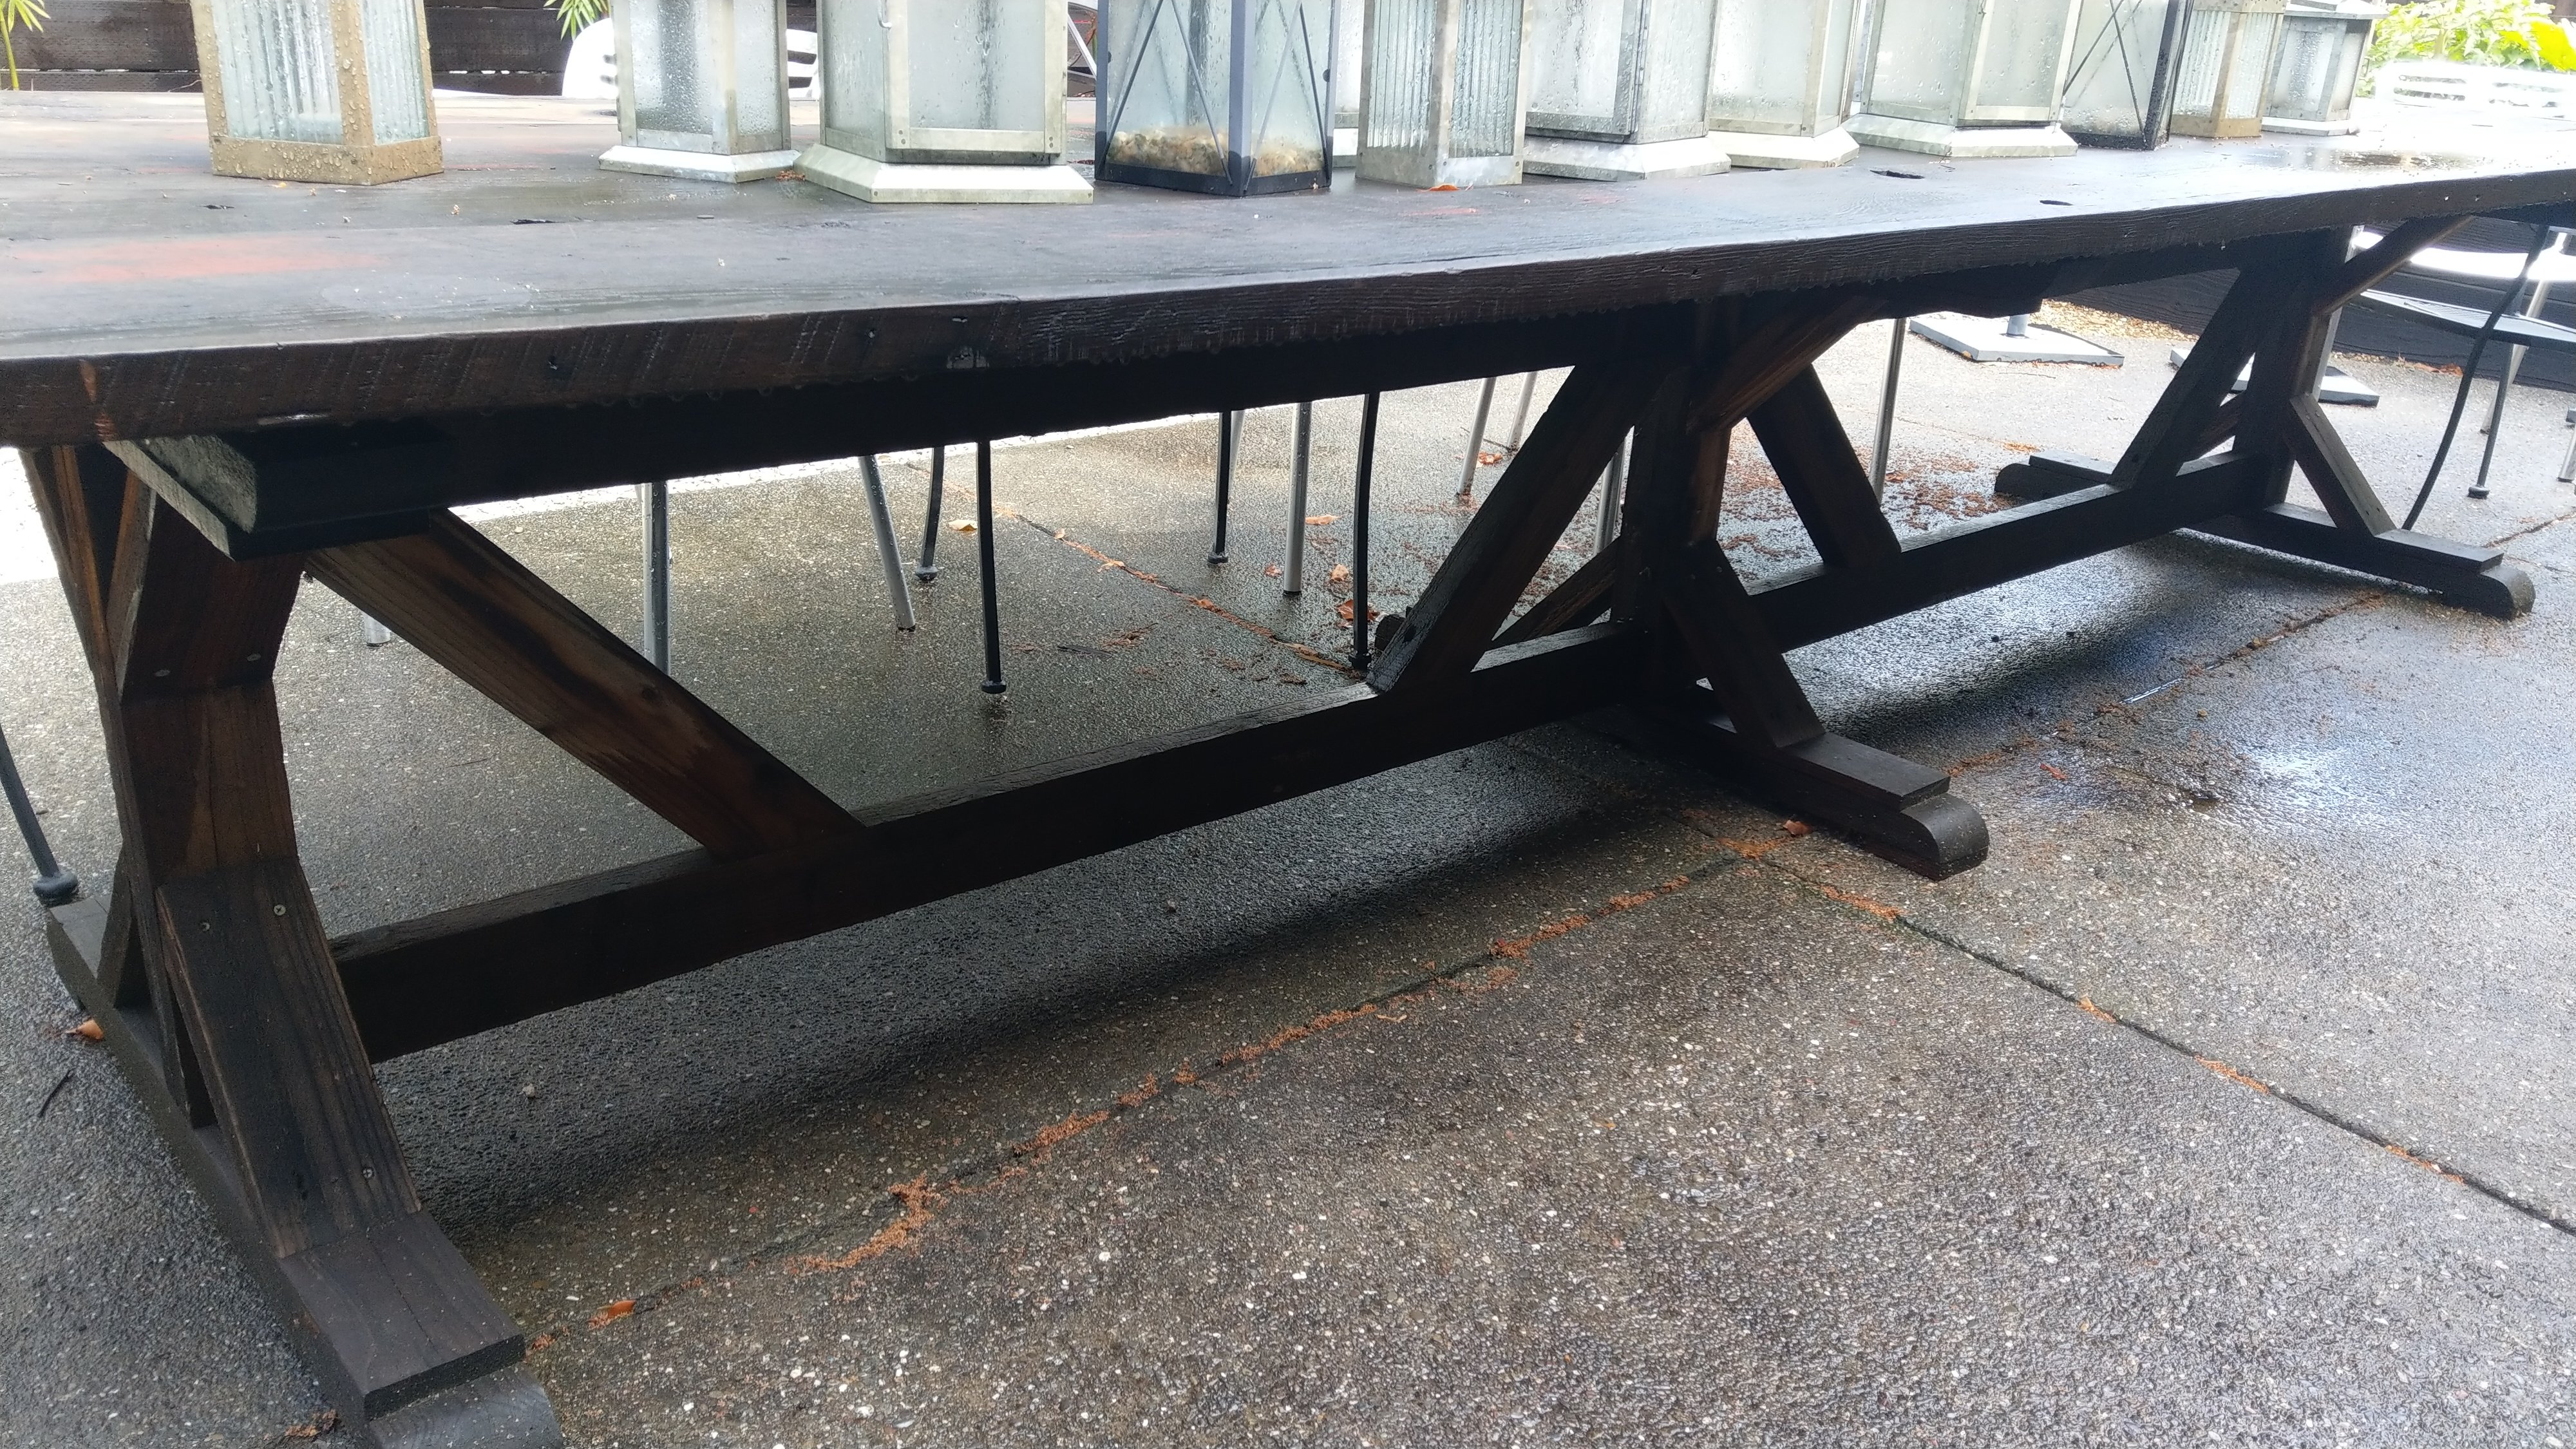
This was a challenge for me, since those 2x6 top boards were slightly twisted and or cupped. I love the X detail and that was fun to put together. I found some "L" brackets and spray painted them for the ends. I stained all the wood first, before assembling.It's a gray/brown stain, one of my favorites. I decided to white wash over the stain doing all of table except for the top. I used a wax finish.
Love it, many times my ukulele, mandolin, banjo and fiddle are all tucked away underneath.

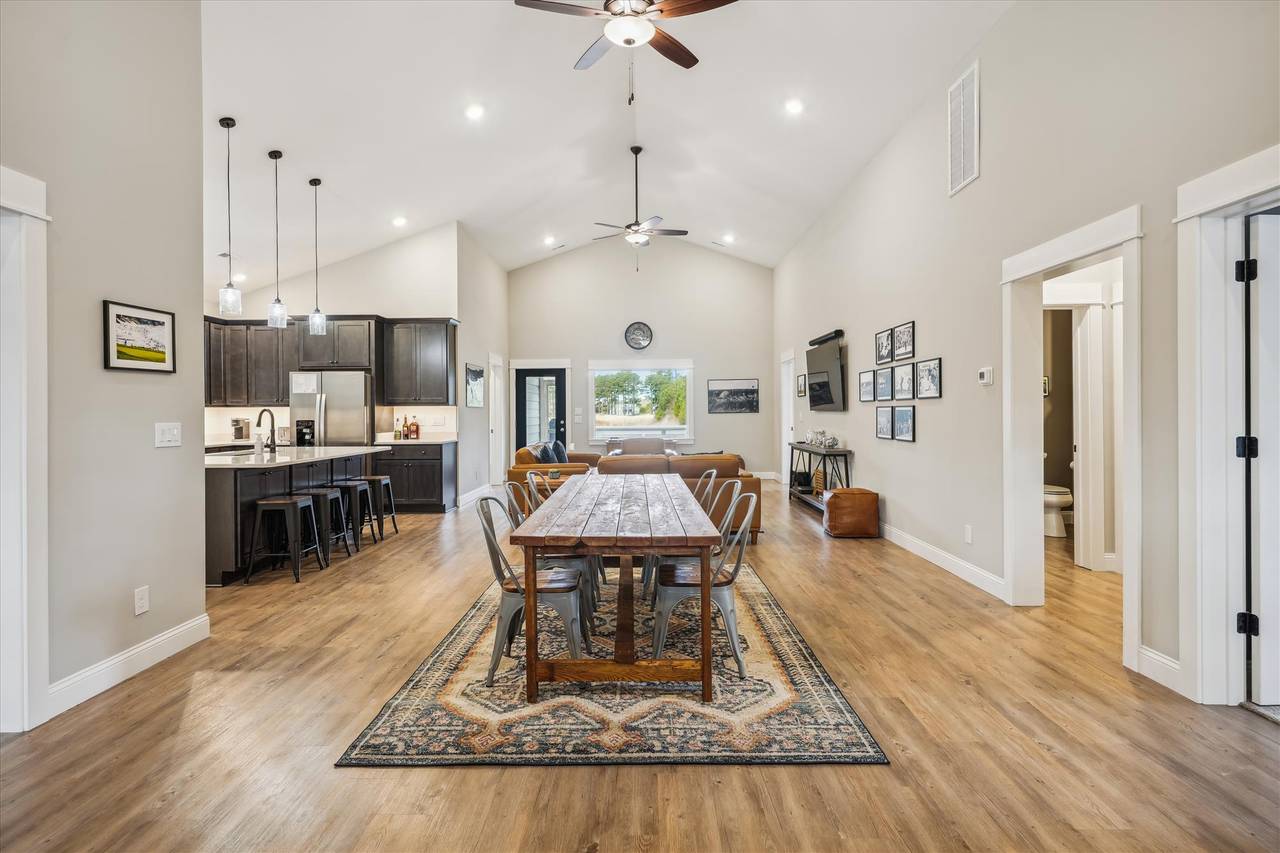
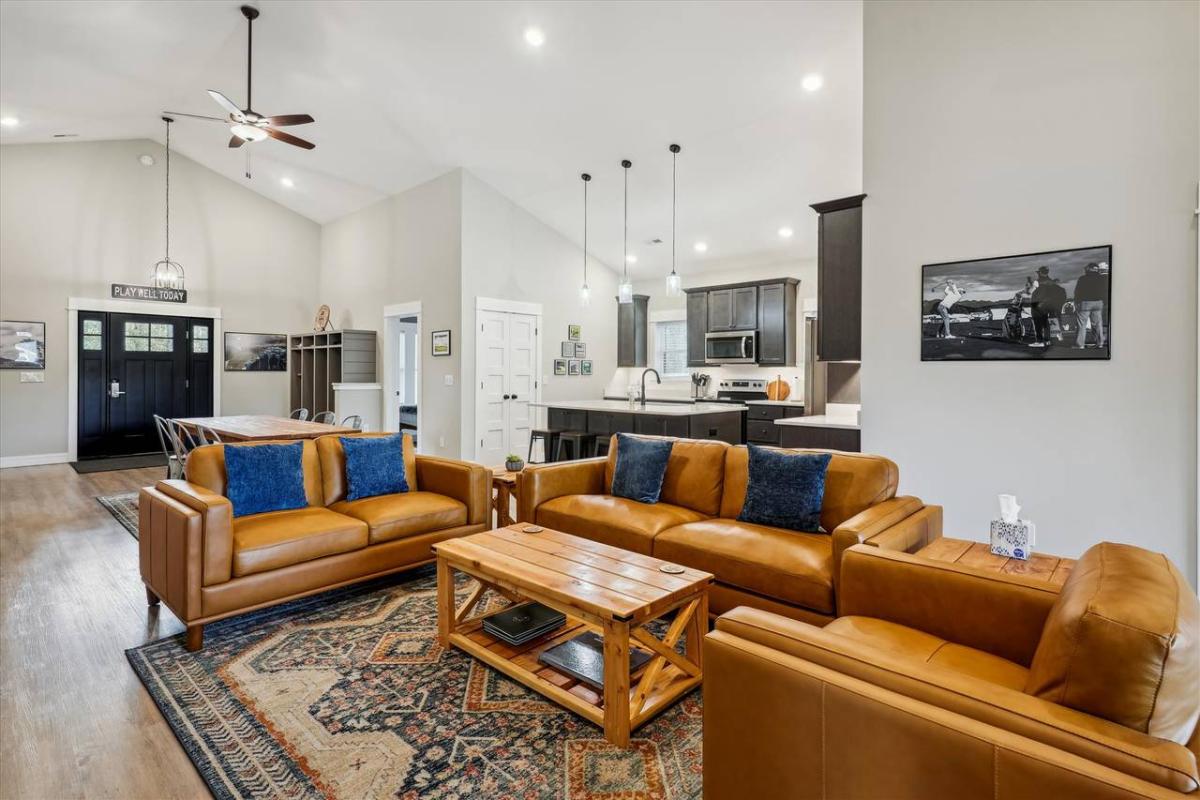
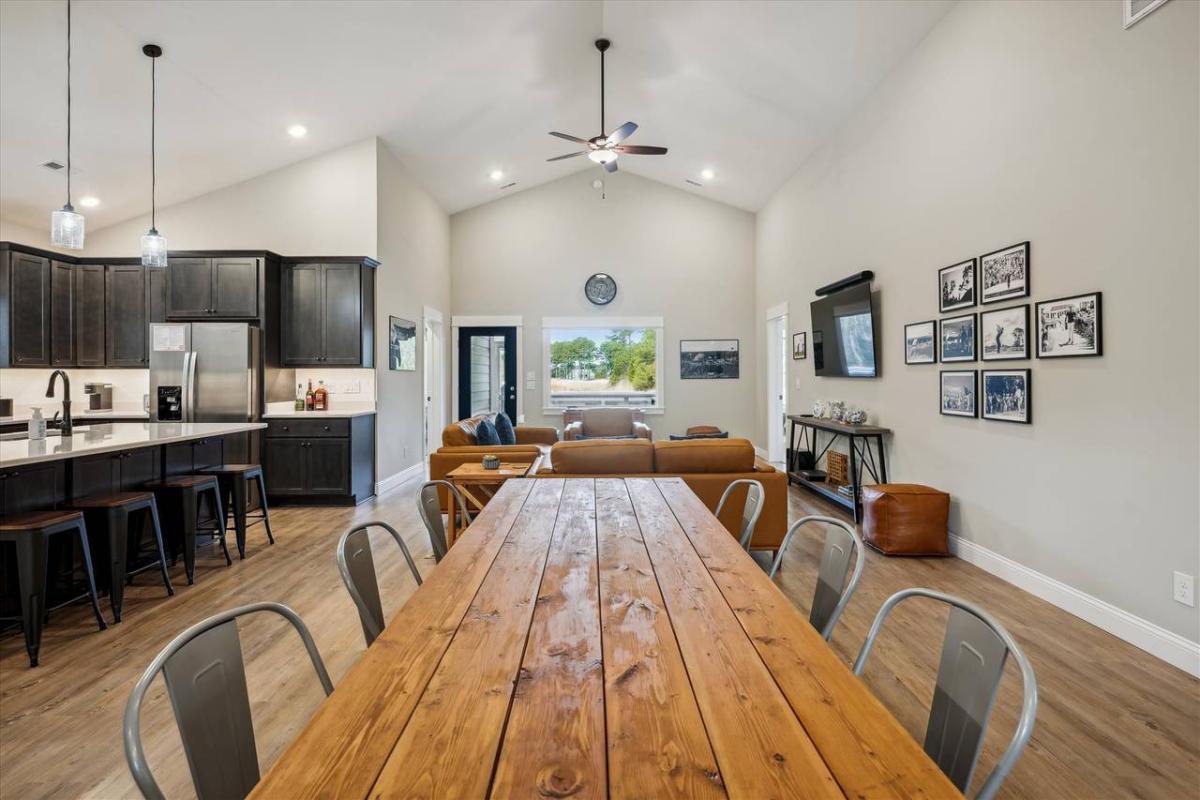
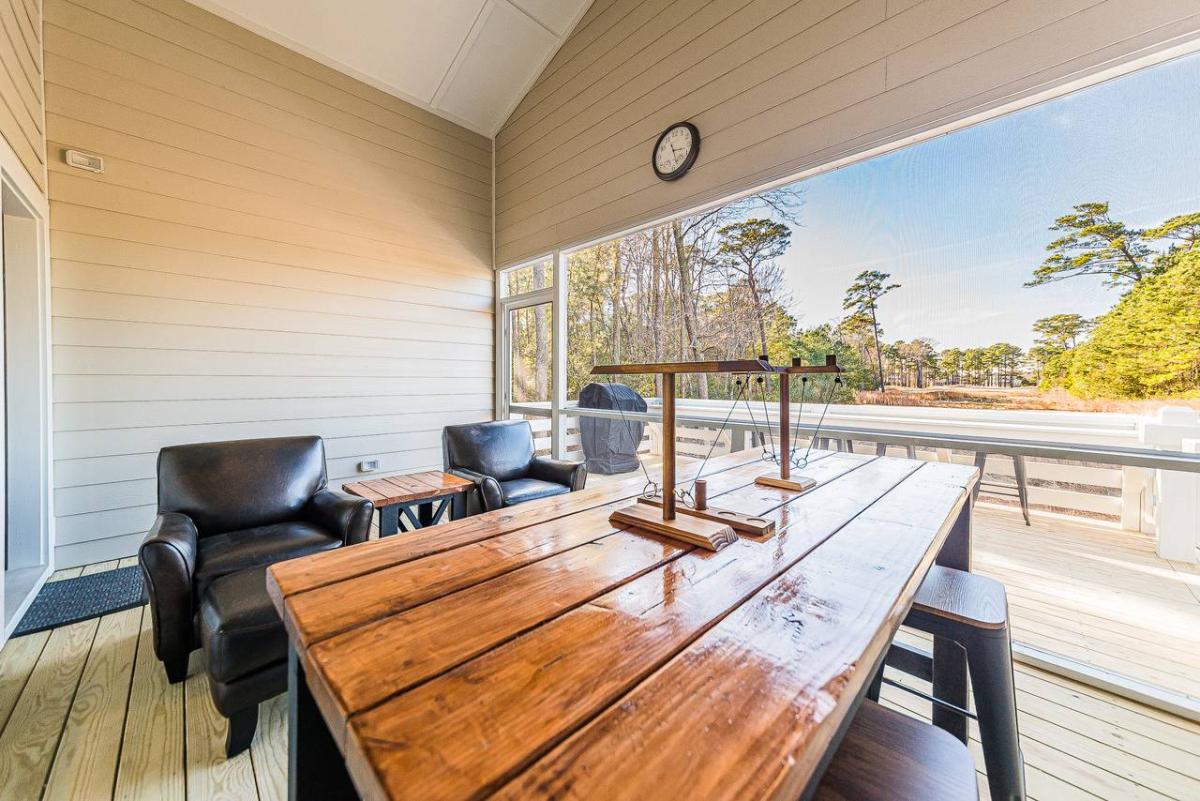
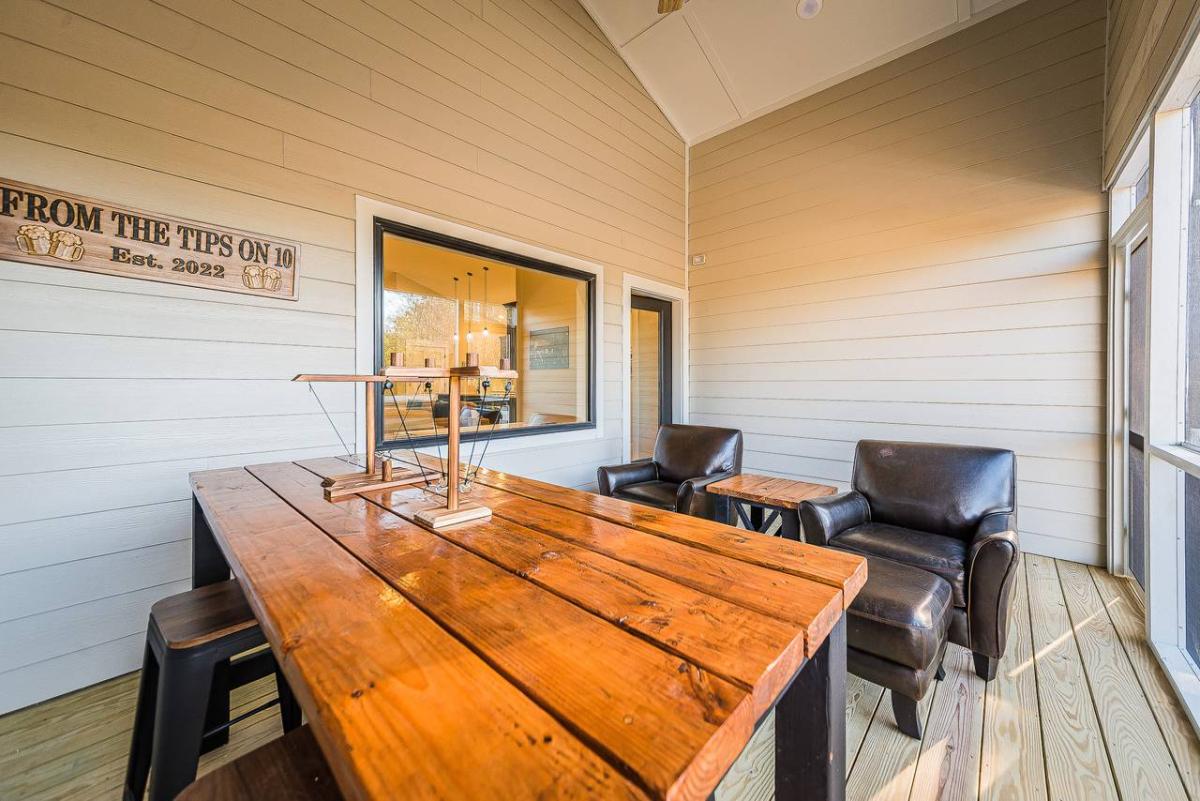
While my vacation property was being built I got hooked on Ana’s plans. Farm table, followed by coffee and end tables and finally a fabulous pub table.
Can’t wait to entertain.
Fri, 02/24/2023 - 09:11
WOW, these are amazing and look fabulous in the space! Thank you for sharing.
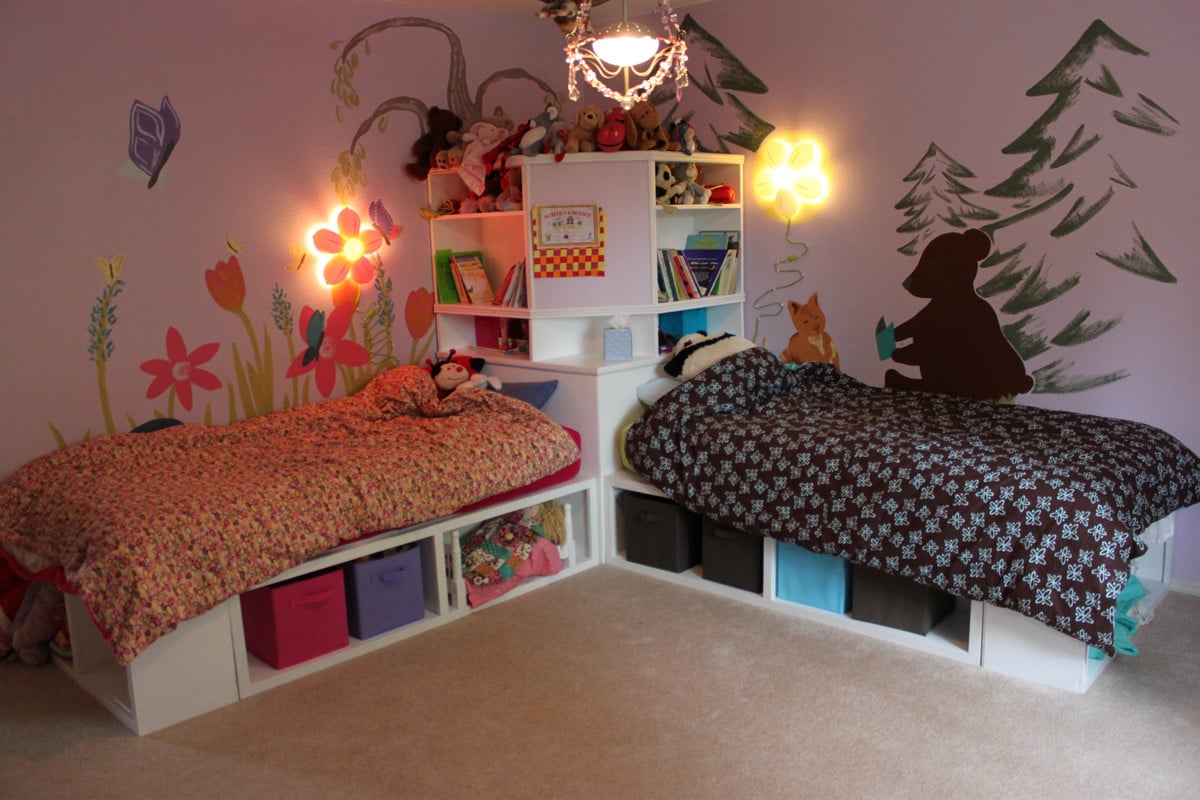
When we moved into our new house, I figured it was time to replace my girls's mattresses on the floor with actual beds. so I set about making the twin storage beds with corner unit. I primed all the wood prior to cutting and assembling, and that made things go much faster. Assembling the corner unit was tricky, since i really didn't want to have sanding and much paint in their bedroom. (i loaded in the beds first and the corner unit a week later). I added trim that wasn't on the plan, and also used the magnetic paint on the center area, although it makes a weak magnetic surface. All in all, I LOVE the way it turns out and no one can believe that I built it and didn't buy it... (although it seems obvious to me when you look closely LOL)
Fri, 11/04/2011 - 11:42
It looks great, and I love what you did with the walls! Free hand with paint, or decals? Either way, its darling and clearly gives each girl her own space.
We have the same lamps - quite popular :)
I am trying to figure out a clever way to put three girls in a (huge) room and I think something like this or a bunkbed combo would make it fun and new for them..
Sun, 01/08/2012 - 18:36
Where can I find the plans for the top half of the corner unit.? Your beds are exactly what I want for my girls. Thanks for sharing.
Mon, 10/08/2012 - 17:25
I see the plans for the beds and for the top part of the corner unit but what about the bottom part. please HELP I'm I totally missing it?
Mon, 10/08/2012 - 17:25
I see the plans for the beds and for the top part of the corner unit but what about the bottom part. please HELP I'm I totally missing it?
Mon, 10/08/2012 - 17:25
I see the plans for the beds and for the top part of the corner unit but what about the bottom part. please HELP am I totally missing it?
Mon, 01/18/2016 - 06:30
The links to the top and bottom of the corner unit seem broken; is there still access to these plans? Thanks for your help!
Fri, 11/18/2016 - 17:24
I have been round and round where are the plans for the Hutch?
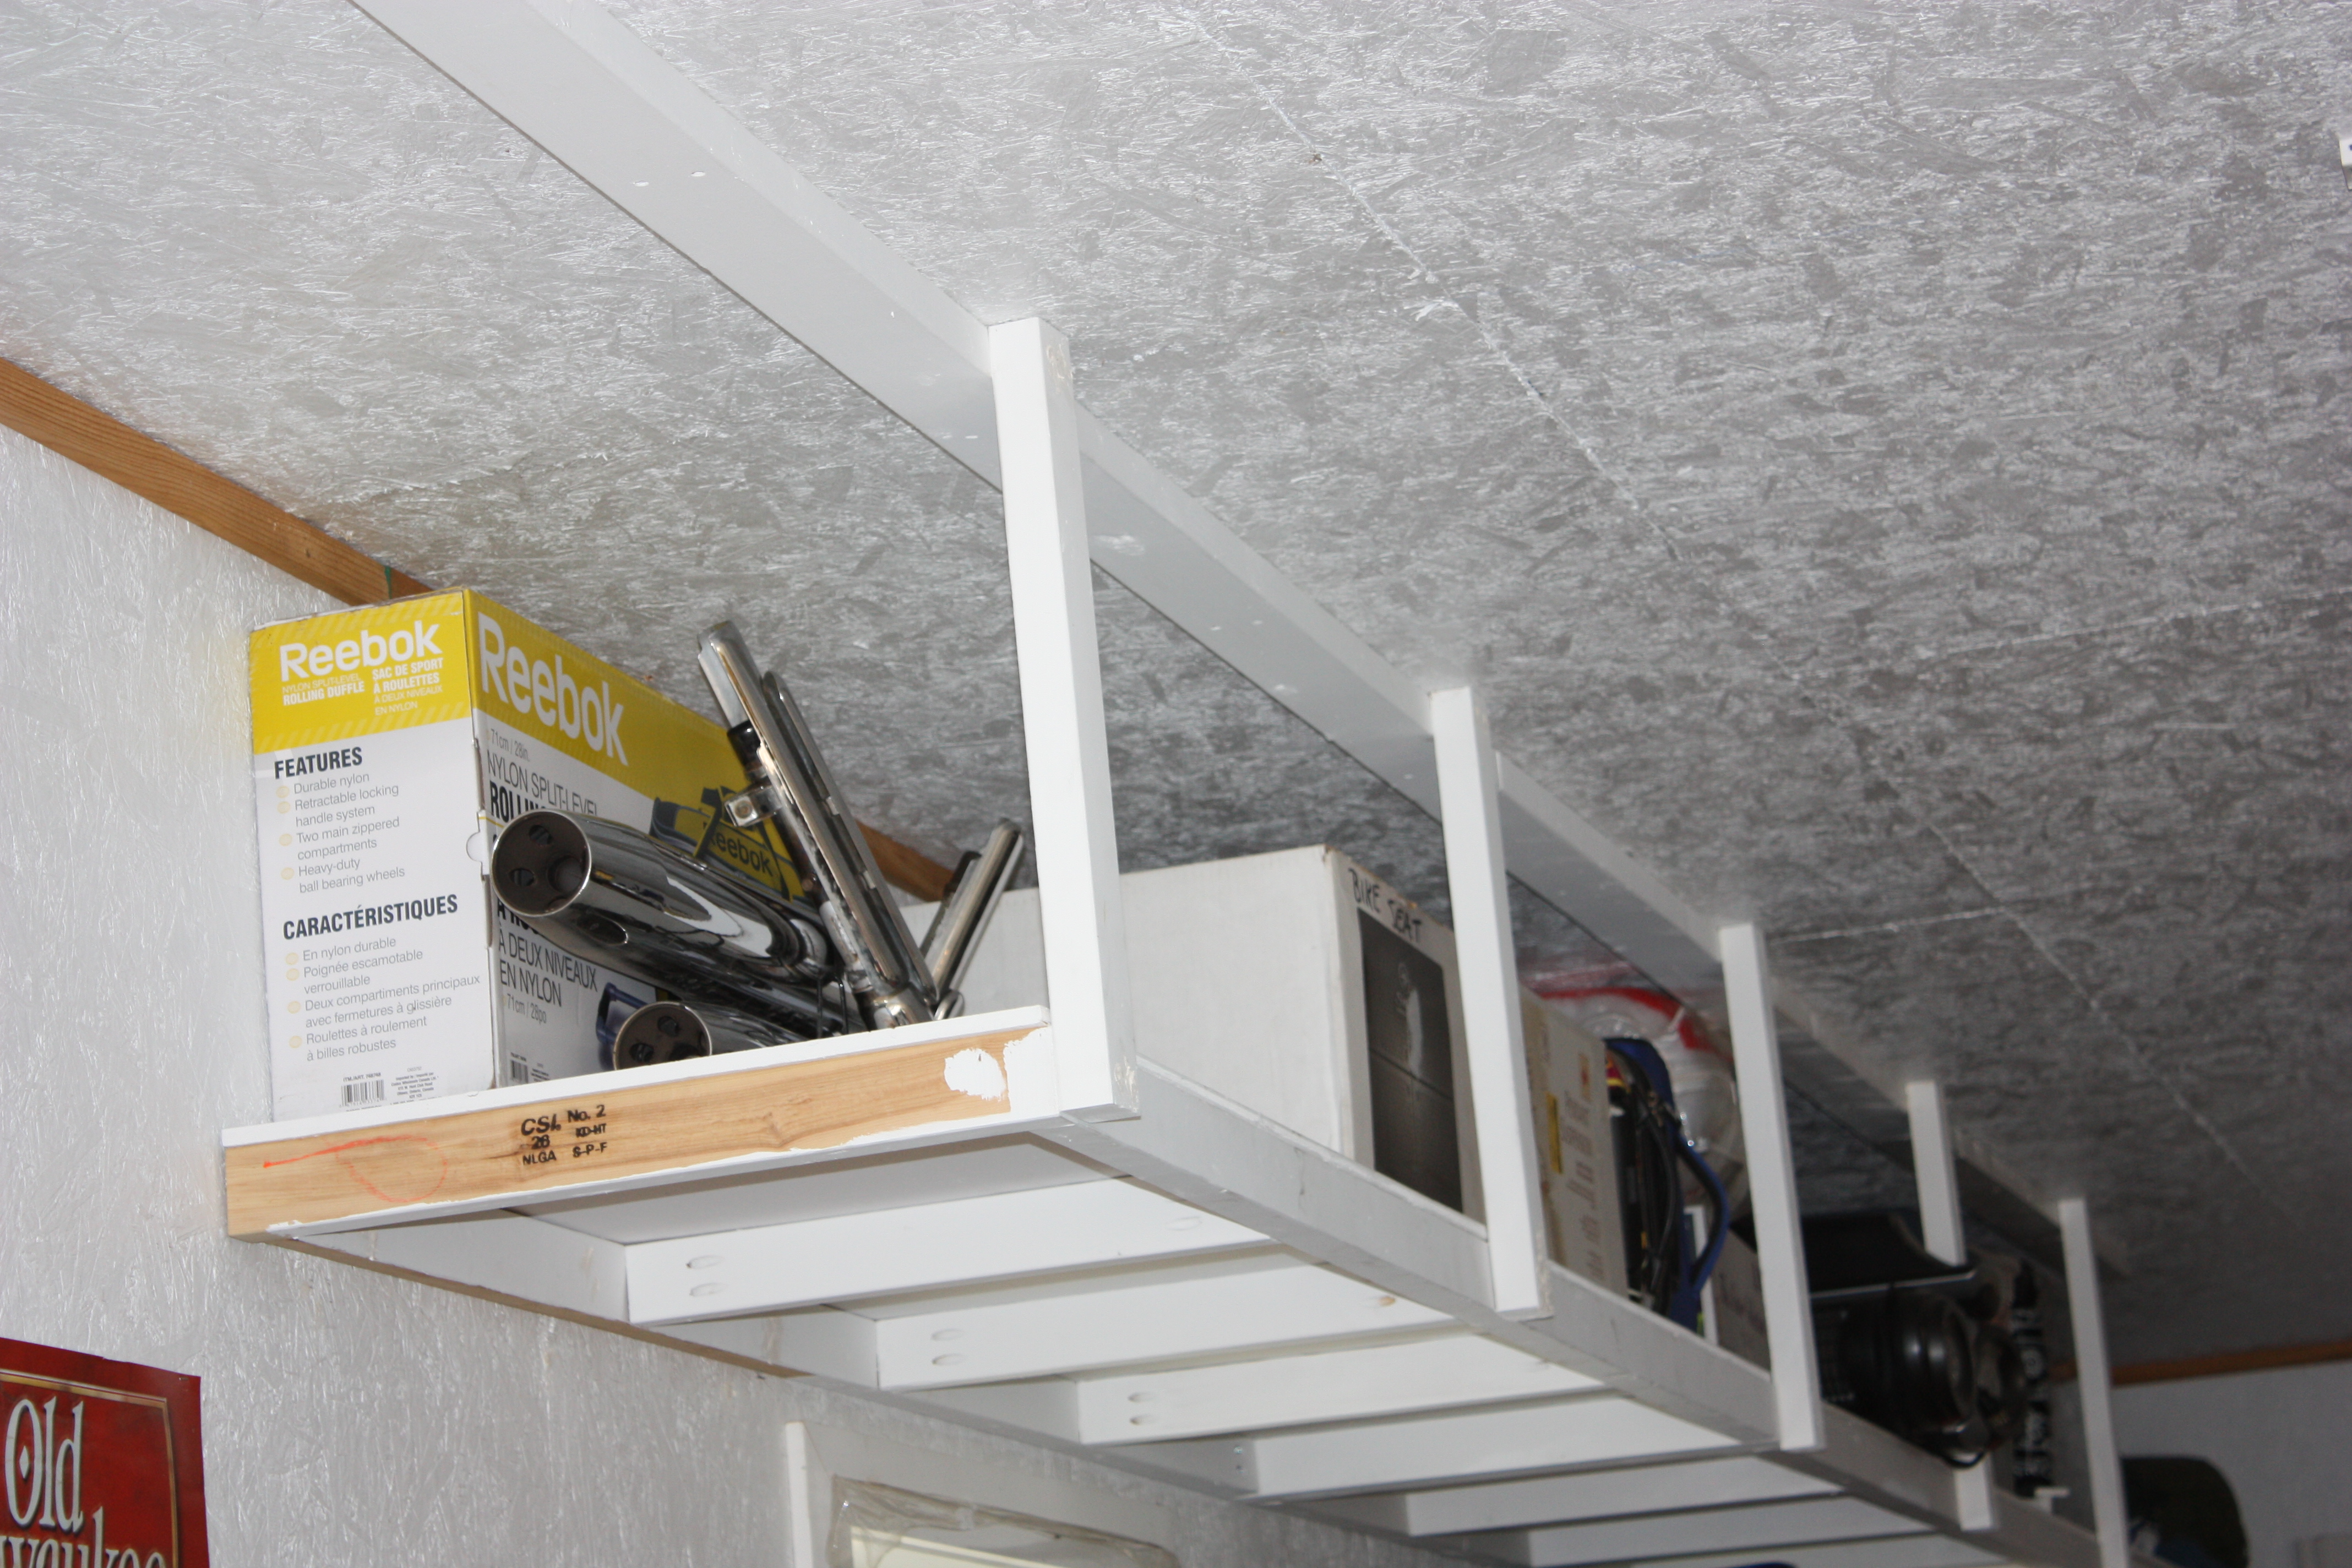
This project was born out of desperation for some way to organize our garage. It is not difficult to build, and it went pretty quickly with two of us. It probably didn't take more than four hours tops for each section. I've seen the prices for garage storage components and some of them are staggering! We have removed a tall chrome shelf, and moved a ton of stuff onto these shelves, creating a hundred square feet of floor space! And for only $25! Come on over and check it out on my blog! Val

In reply to Awesome! This is just what I by moosmani
Thu, 10/24/2013 - 20:17
Glad you like them! They've been a real sanity-saver!

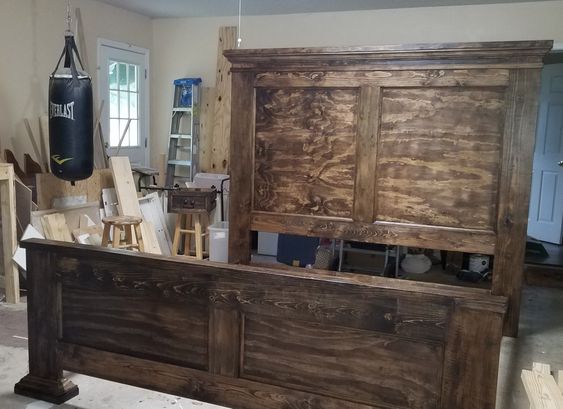
My wife wanted an antiqued turquiose headboard for our beach house. Your plans and dimensions worked perfectly. I added the center support to bring the warped boards into compliance. Thank you Ana ...
This my first woodworking project. It is far from perfect but turned out okay!

Sat, 05/04/2019 - 13:43
Love it! This is gorgeous, what a great first project.
Thank you for sharing a brag post, we appreciate it!
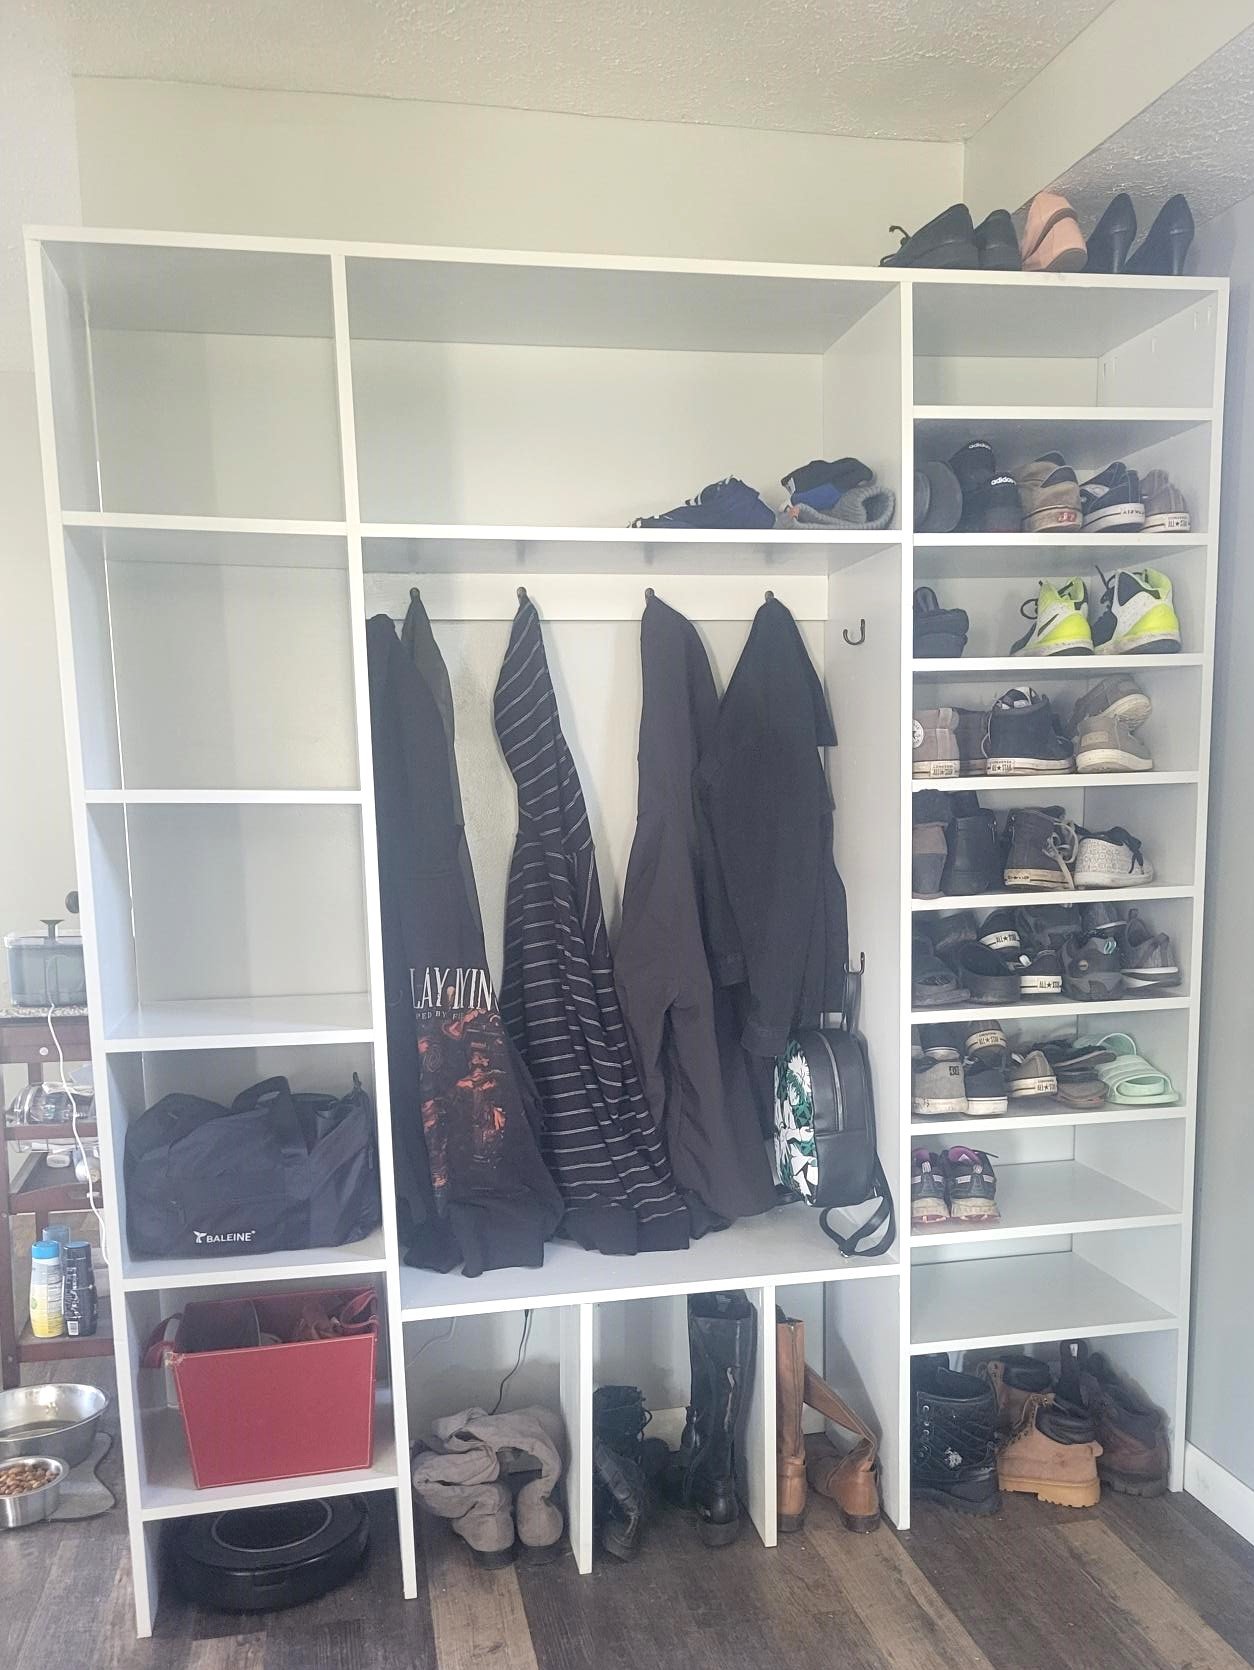
Used this app to build a custom nook for shoes and coats. Its been fantastic and super easy to put together!

Sun, 02/26/2023 - 16:29
Great custom solution! Thank you so much for sharing your awesome project.

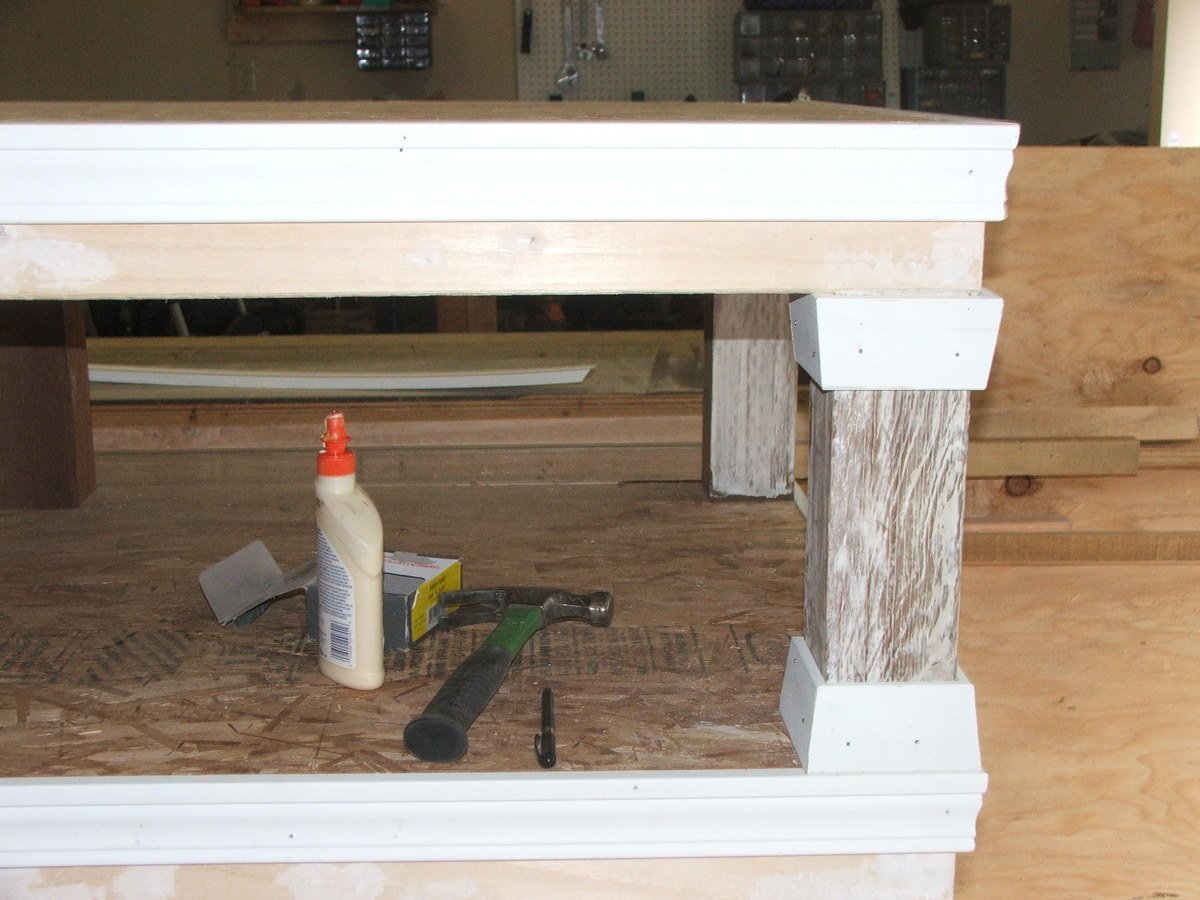
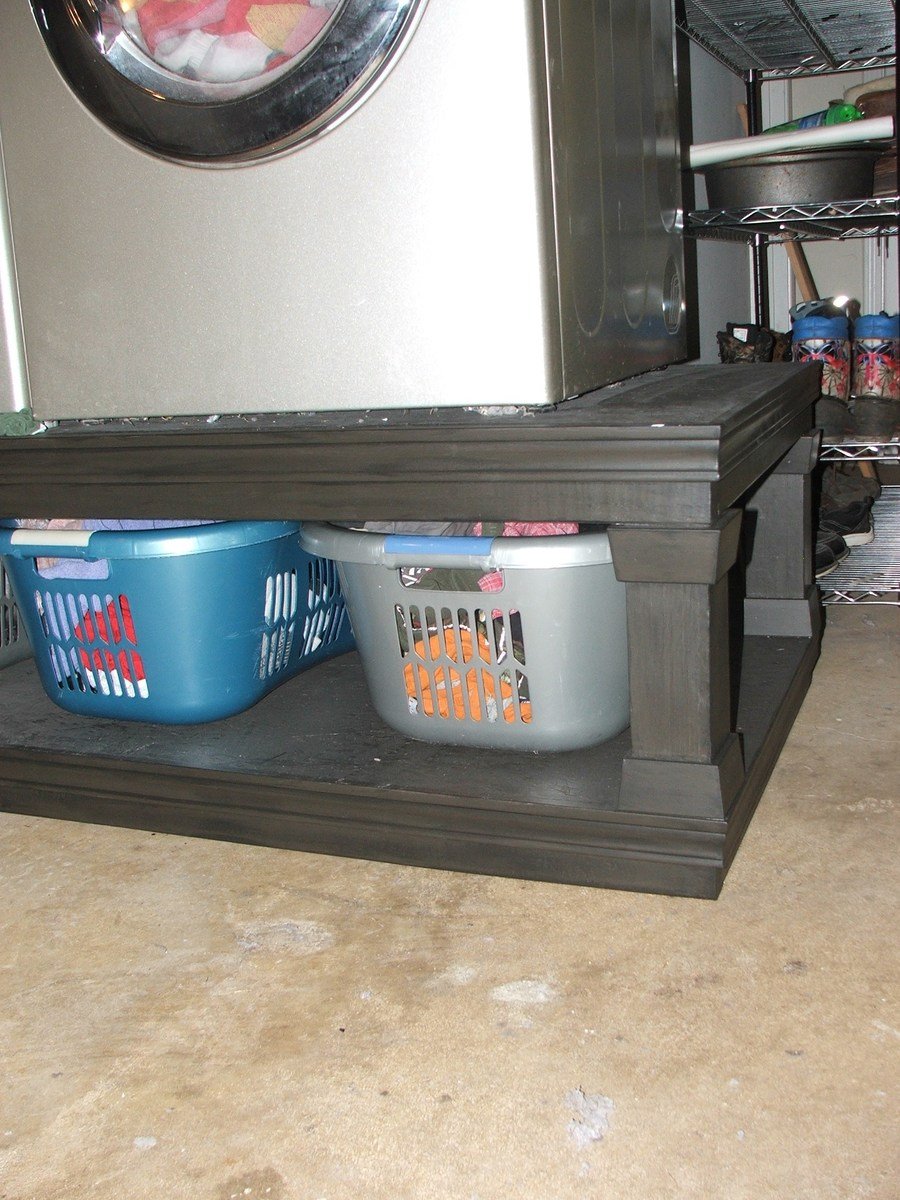
Used the plans here, but adjusted to fit my own hampers and to use all scraps on hand, including leftover primer and paint. Completly FREE build!
Sun, 12/04/2011 - 08:22
This looks awesome!! Very curious to know how you like it and do you have any problems keeping the washer on the pedestal. Are the washer and dryer mounted to the pedestal, if so how? Have been looking at lots of these plans but none of the comments talk about using it.
Wed, 02/01/2012 - 11:37
As long as the washer has been well levelled with the bottom levellers attached and your floor and pedestal are level, there really shouldn't be a problem. I did make the pedestal larger because I was a little nervous also. So far no problems whatsoever.
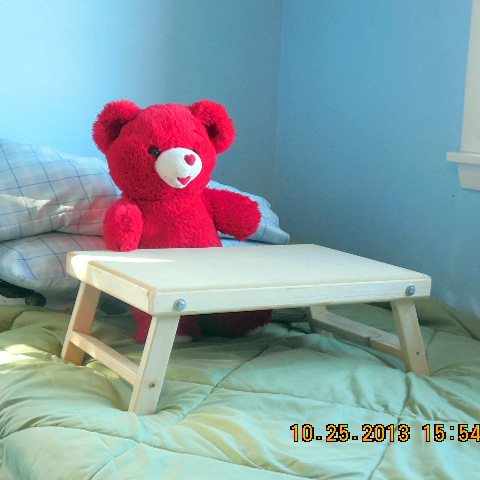
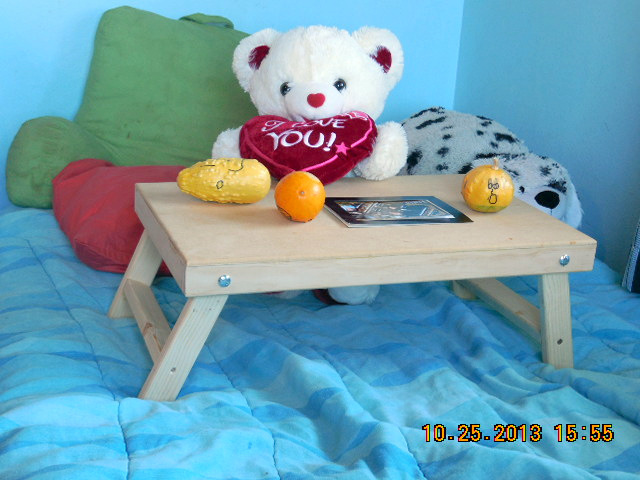
A lap desk for each Grandkid. They love using them for watching TV, reading, and a flat surface for building Lego castles...
Just a couple of suggestions. First the holes must be drilled exactly in the middle of the leg and the frame or the leg will not fold properly. I suggest placing the hole about 1/16" off center and then sanding the leg to make it flush when folded. Second the bolt only needs to be 2". I also used my $30 trim router from Harbor Freight to round-over all of the exposed edges.
Sat, 11/30/2013 - 06:55
Did you have any issues with the cap nuts loosening when you raise and lower the legs? I bought 2" bolts (1/4" bolts and drilled 1/4" holes. Now the bolts turn when I raise and lower the legs and the cap nuts loosen. I'd appreciate any suggestions you might have. Thanks!

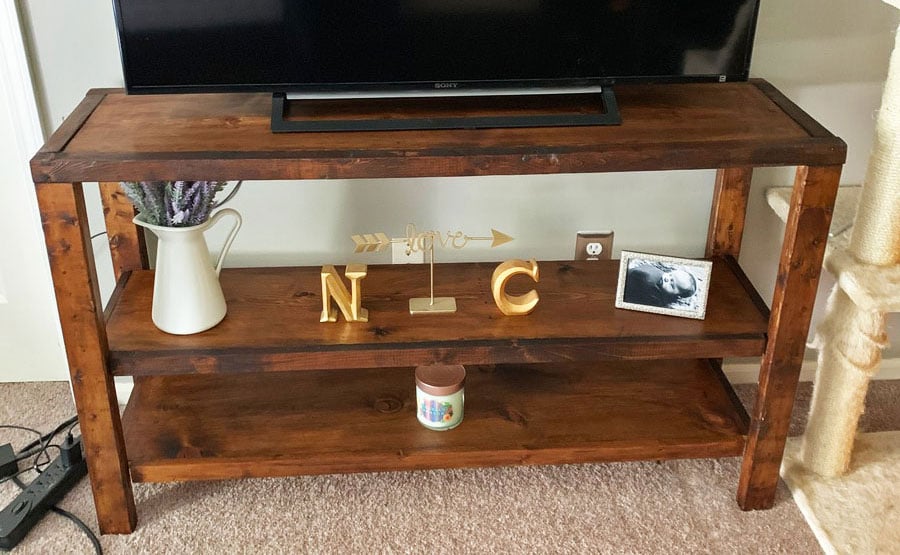
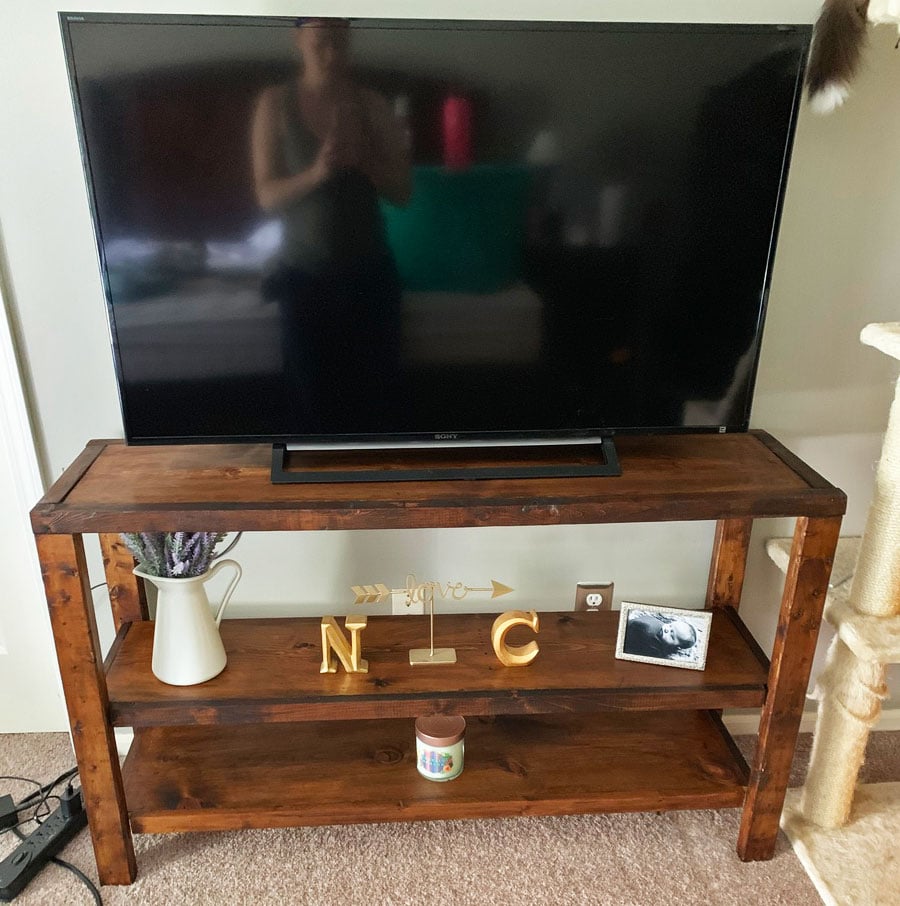
I made a simple rolling crate, and put it on its sides. Attached casters on the bottom. I used my scrap 2x4's for the top. Boom! A beautiful rolling side table with storage.


I had a client send me a pic of the bed she wanted. It was very similar to Ana's tall panel bed. She was upsizing from a queen to a king and wanted it to match her previous set.
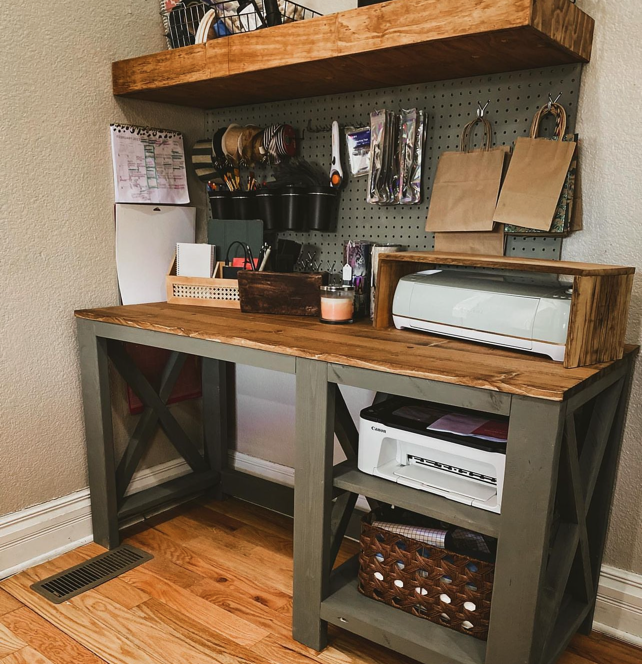
"It’s screaming creative clutter 🤣😅 but at least I got it built! Thank you so much @anawhitediy for the desk plans 🖤"
Andrea Howell

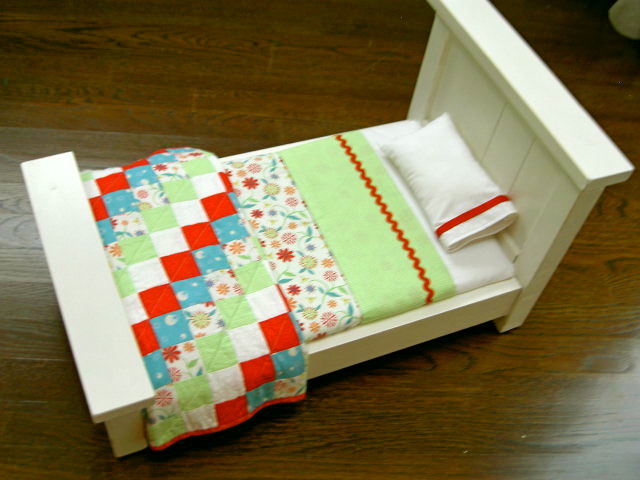
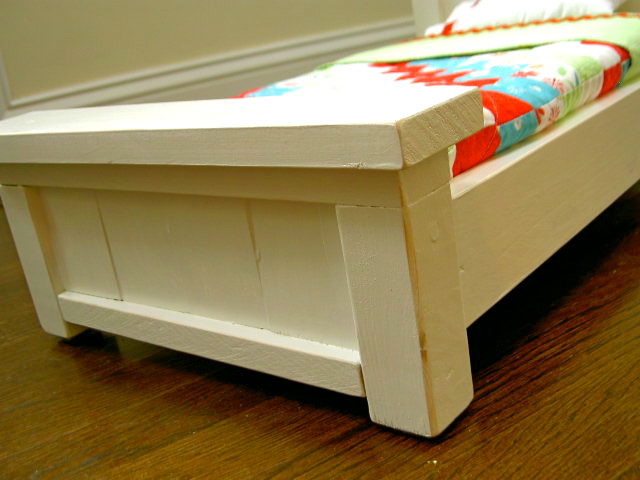
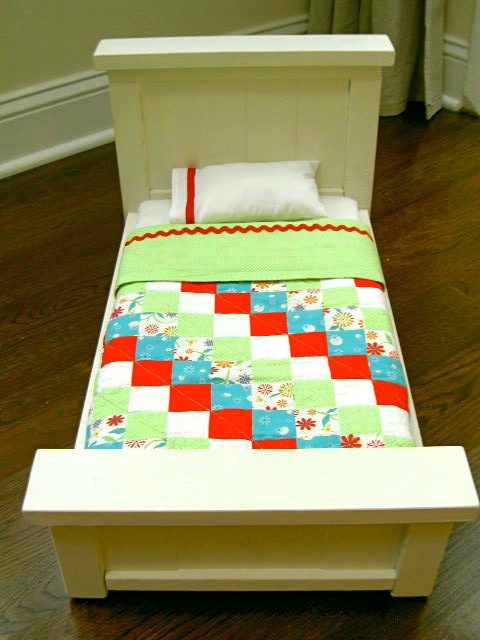
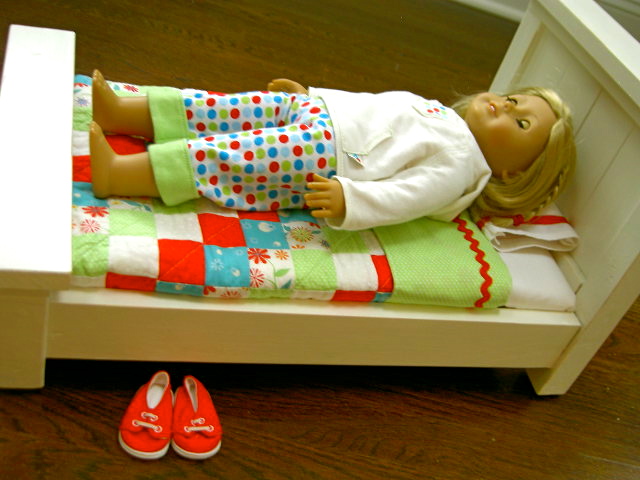
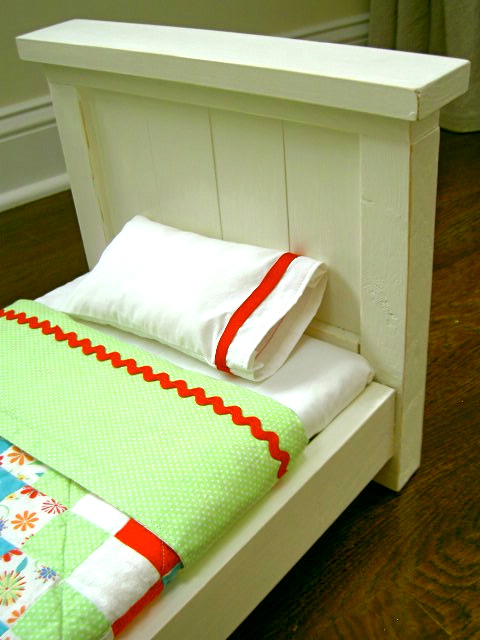
Farmhouse doll bed modified one slat narrower.
Thu, 11/17/2011 - 10:07
Jaime this bed and bedding is adorable!!! I love the colors! Thanks for sharing with us!

In reply to Jaime this bed and bedding is by Ana White
Thu, 11/17/2011 - 12:17
Hope you don't mind the modification to make it narrower. Thinking about you getting that roof on asap! Happy Thanksgiving.
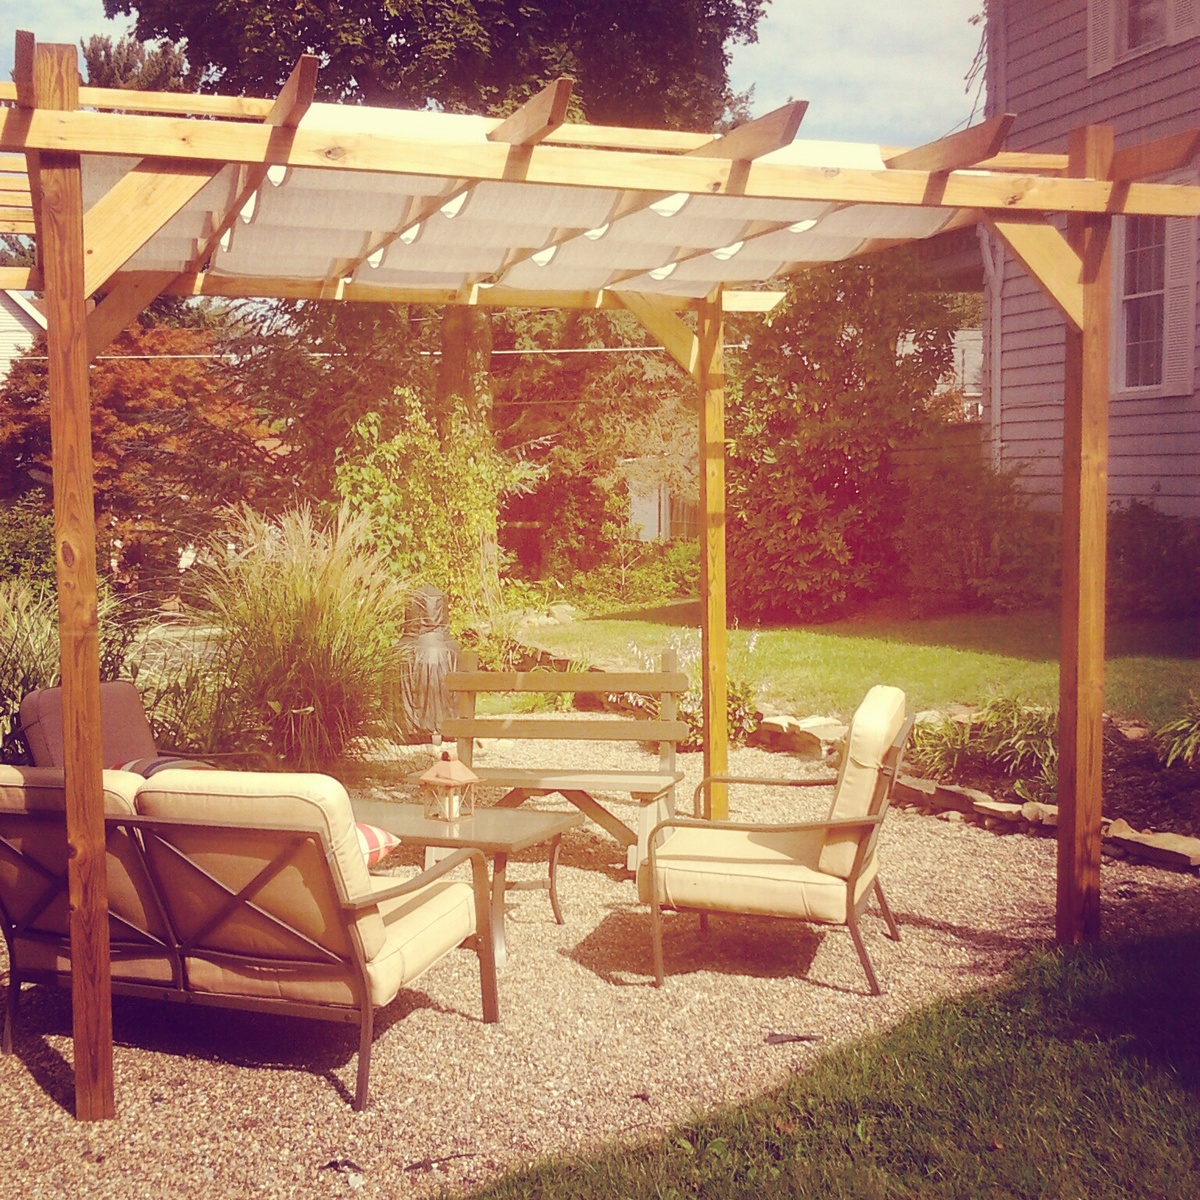
This Pergola cost around 200 to build for lumber, concrete (poured around posts) and an additional 50-60 for fabric used to create shade.
It went up in about 8 hours from start to finish with the help of a novice friend.
I omitted some of the column details to save time and money.
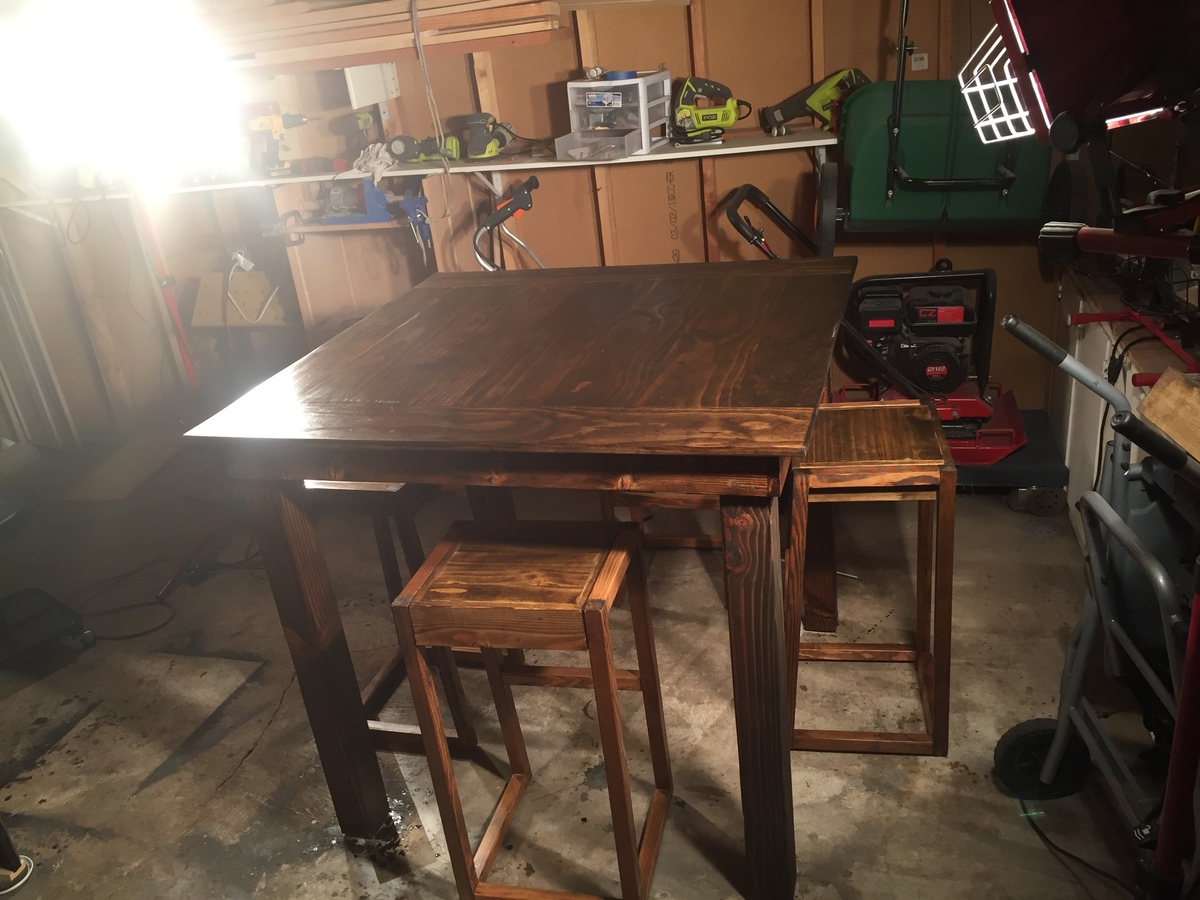
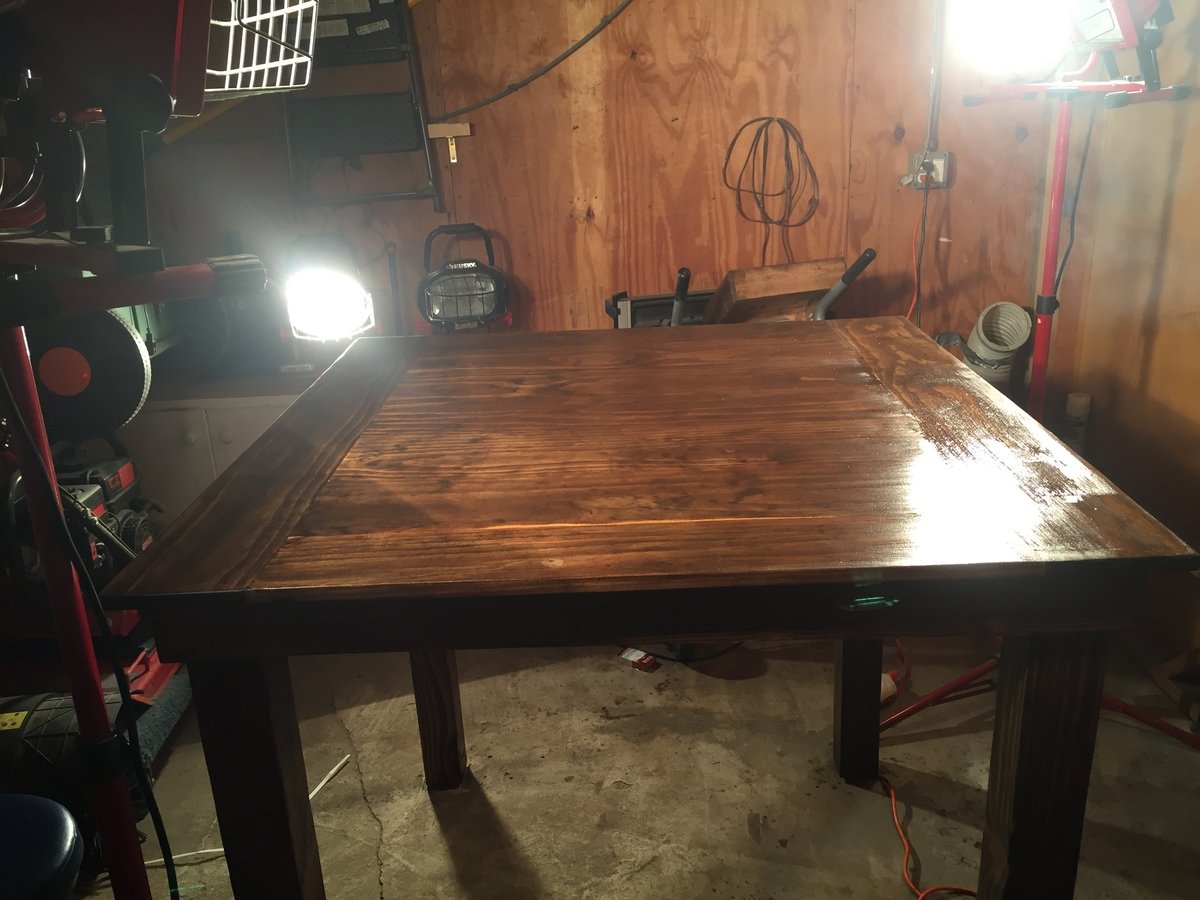
This was a lot of fun. Altered it to make it 44" x 44". 4 seater
I came across some 18'x12"x1" (actual size) boards that were milled around 1870. These planks came out of the roof for the building. Rather than cut them down I just built a "double frame"
I used 2x redwood for the frame.
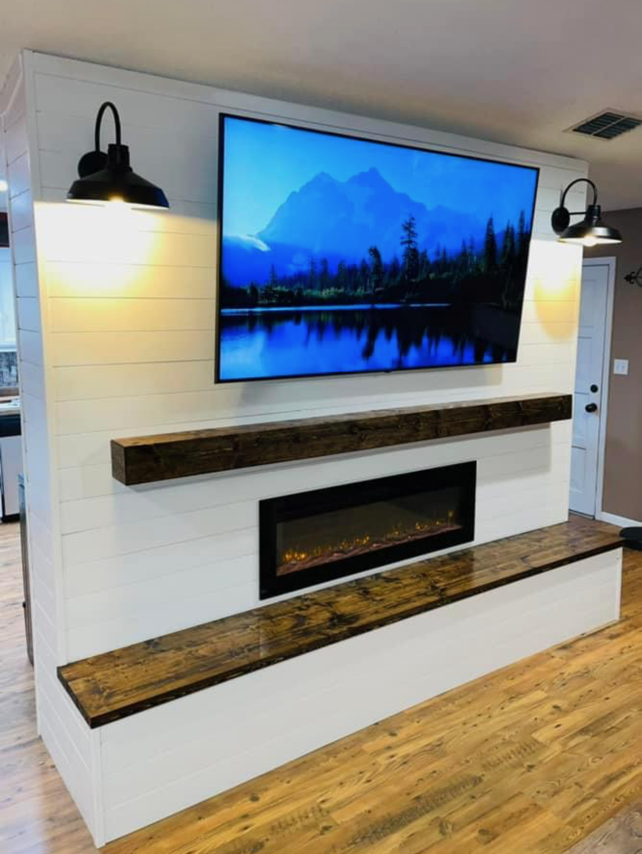
Here is my version of the shiplap fireplace wall finished up!
Shared by Cass Griffin