Community Brag Posts

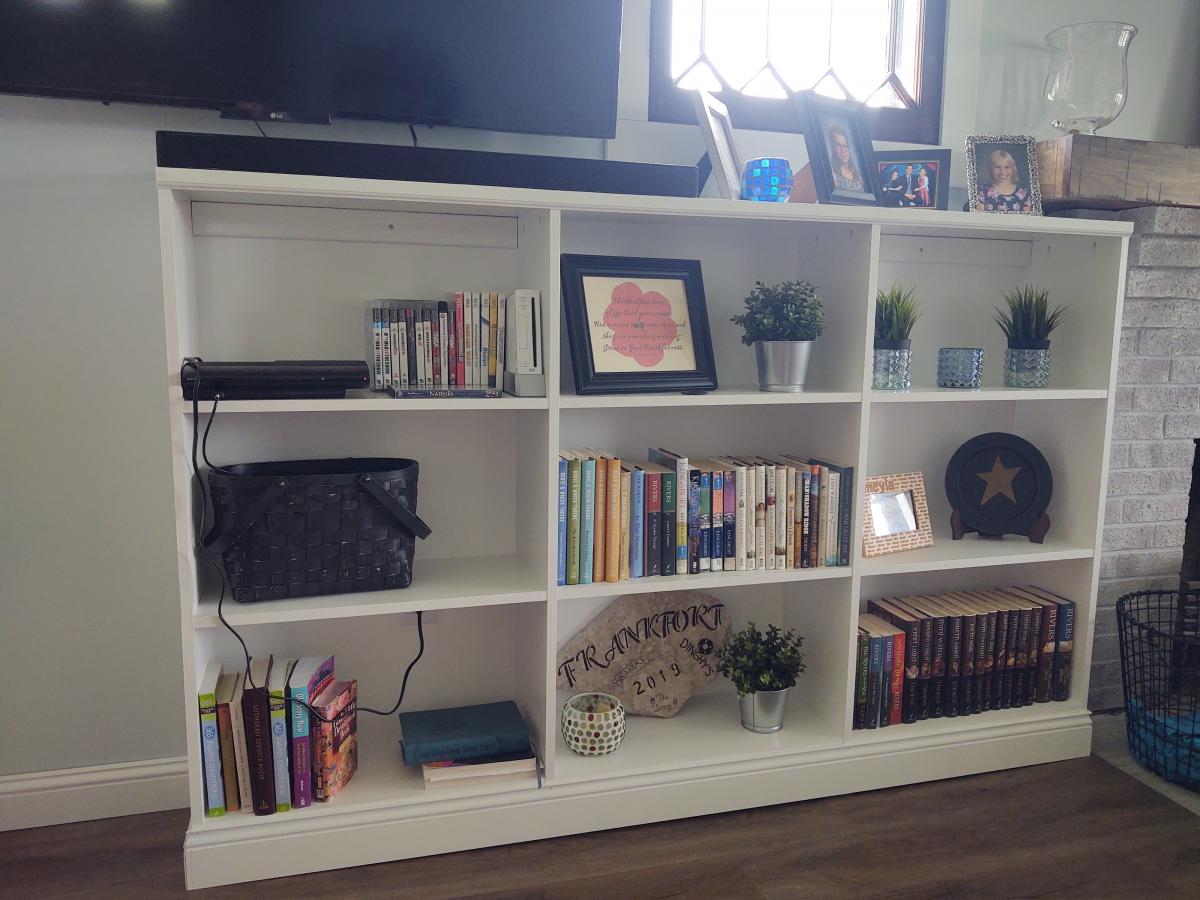
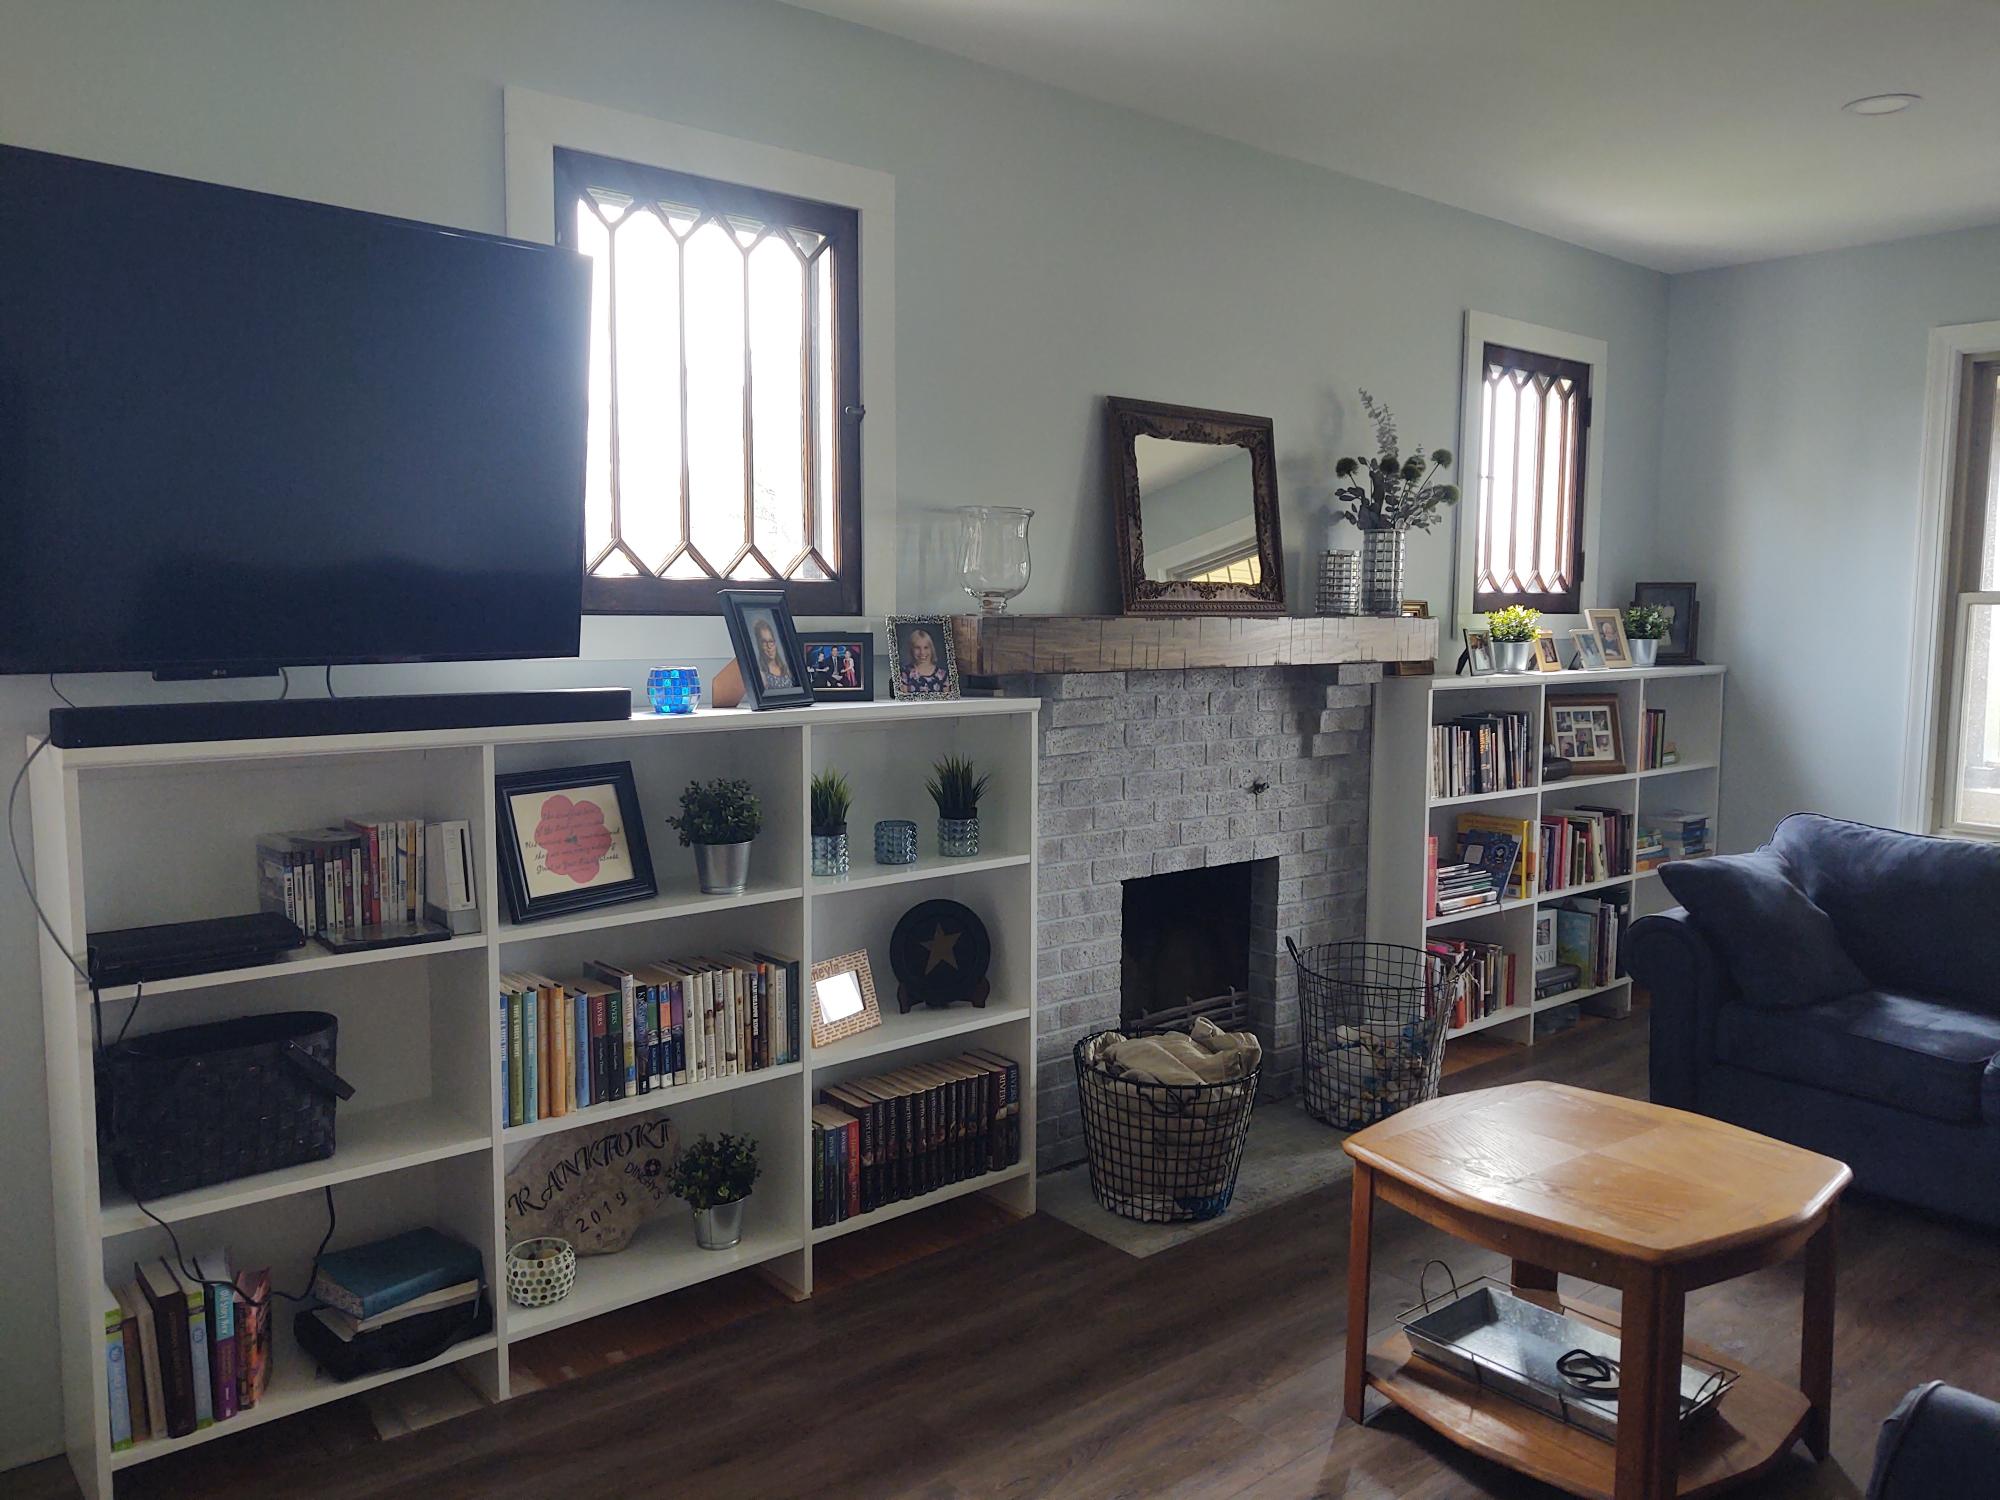
Living room bookshelves

Submitted by Anonymous (not verified) on Thu, 05/06/2021 - 06:27

We ordered 2 custom bookshelves using the configurator. Each is 48" x 72" and 11.5 in deep. We primed and painted the pieces first, then assembled using pocket screws. A little touch up required. We attached a back of 1/4 in plywood for a cleaner look, and attached to wall, added baseboard trim. Attached a small facing piece to top edge only. We love them!

Estimated Cost
$450
Estimated Time Investment
Weekend Project (10-20 Hours)
Finish Used
Lightly sanded, applied Shellac primer, lightly sanded any rough spots, then applied 2 coats of white trim paint. We painted the pieces first, then assembled.
Recommended Skill Level
Intermediate

Comments

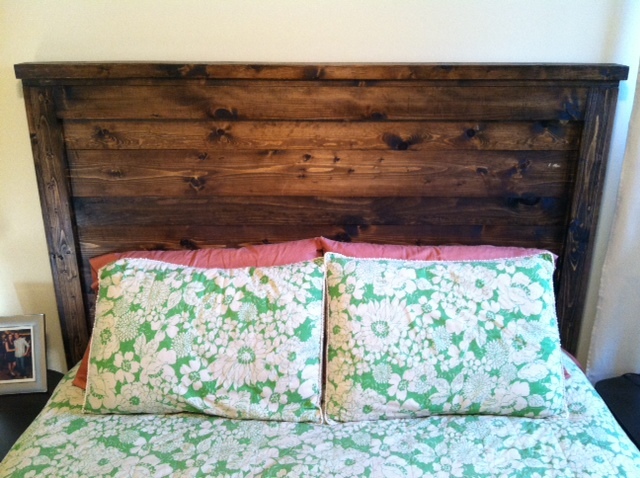
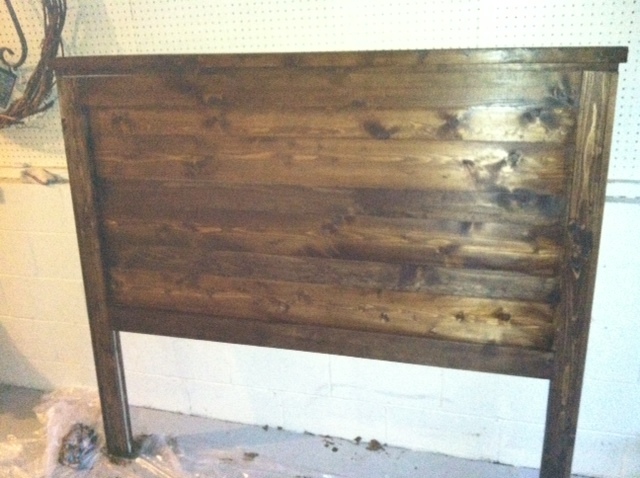
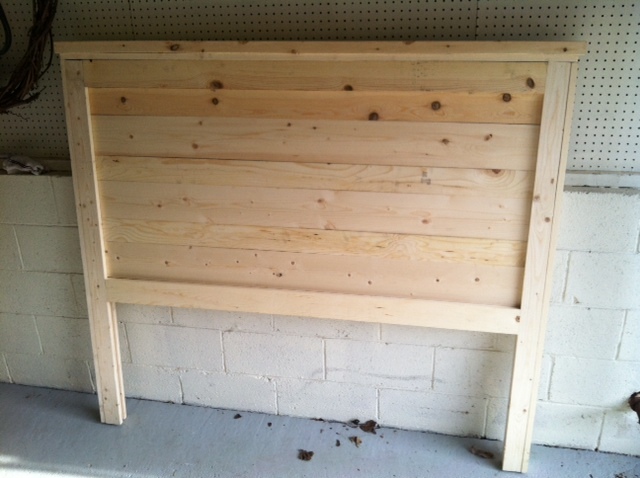
Beautiful Headboard

Submitted by EmilyE on Sun, 03/31/2013 - 10:05

This was my first project from this site, and I couldn't be happier with it! It was easy and fun. I didn't have ANY supplies outside of a hammer, so my cost was a little higher since I had to purchase everything - nails, wood conditioner, stain, polyurethane, sand paper, etc.

Overall, very happy with how it turned out!

Estimated Cost
$110
Estimated Time Investment
Weekend Project (10-20 Hours)
Finish Used
Dark Walnut stain
Recommended Skill Level
Starter Project

Children's Bunk Bed

Over a year ago my wife Rebecca and I decided that our two oldest children would love to have bunk beds.  They are close in age and already share many toys, so sharing a room made sense.  Plus we had to make room for our third child that was on his way!

We searched for bunk beds and found that those within our budget were made of low quality plywood.  We were concerned about the safety of potential bunk beds and whether they could withstand our boys’ roughness.  Quality bunk beds, on the other hand, were easily above a thousand dollars which was way beyond our budget.  We were pretty bummed that we could not find our kids a suitable bunk bed within our expectations.

Then Rebecca suggested: “You could build them one.”

Hmmmmmm.  It was an interesting statement from my wife, perhaps even a challenge.  A challenge that I immediately immersed myself into.  Mission accepted!

What I did differently:

  • Added extra posts for a sturdier bunk bed.
  • Bunk bed is longer to fit twin mattresses, height increased.
  • Added rail slats and trim.
  • Added LED lights.
Built from Plan(s)
Estimated Cost
Approx $500
Estimated Time Investment
Weekend Project (10-20 Hours)
Finish Used
Rust-oleum Light Walnut = 3 coats, Polyurethane Satin Interior = 3 coats
Recommended Skill Level
Beginner

Comments

Rustic X Console Table

Submitted by Anonymous (not verified) on Fri, 05/12/2017 - 17:11

I built this table for my sister-in-law's townhome. I also put the stone on the fireplace.

Built from Plan(s)
Estimated Cost
$75
Estimated Time Investment
Weekend Project (10-20 Hours)
Finish Used
Homemade with 0000 steel wool and vinegar
Recommended Skill Level
Beginner

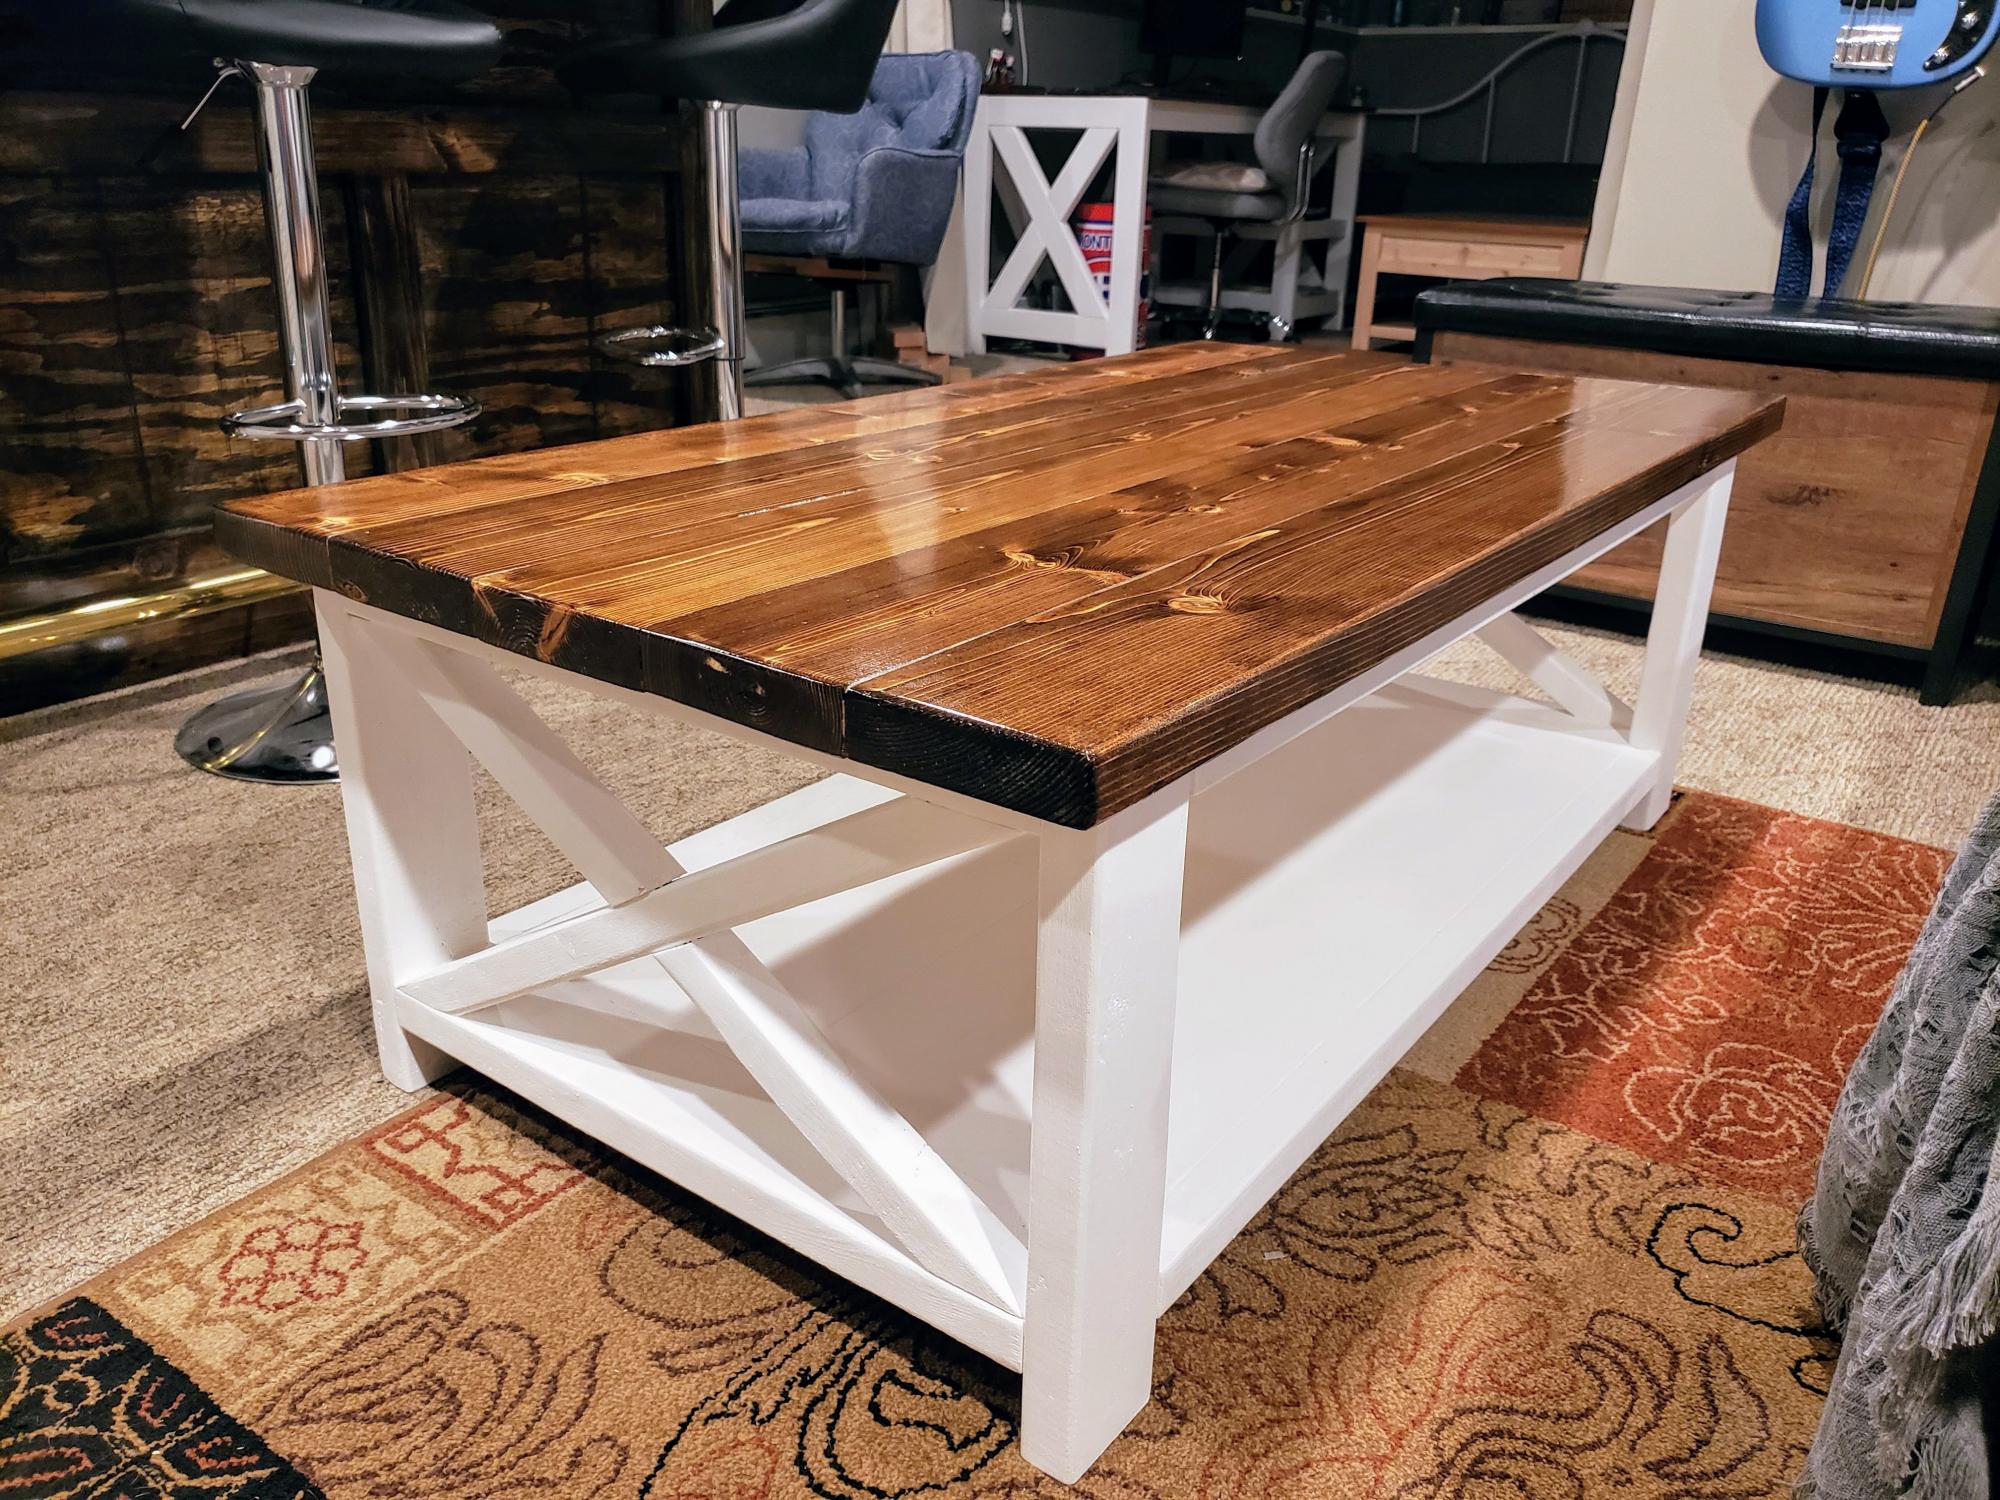
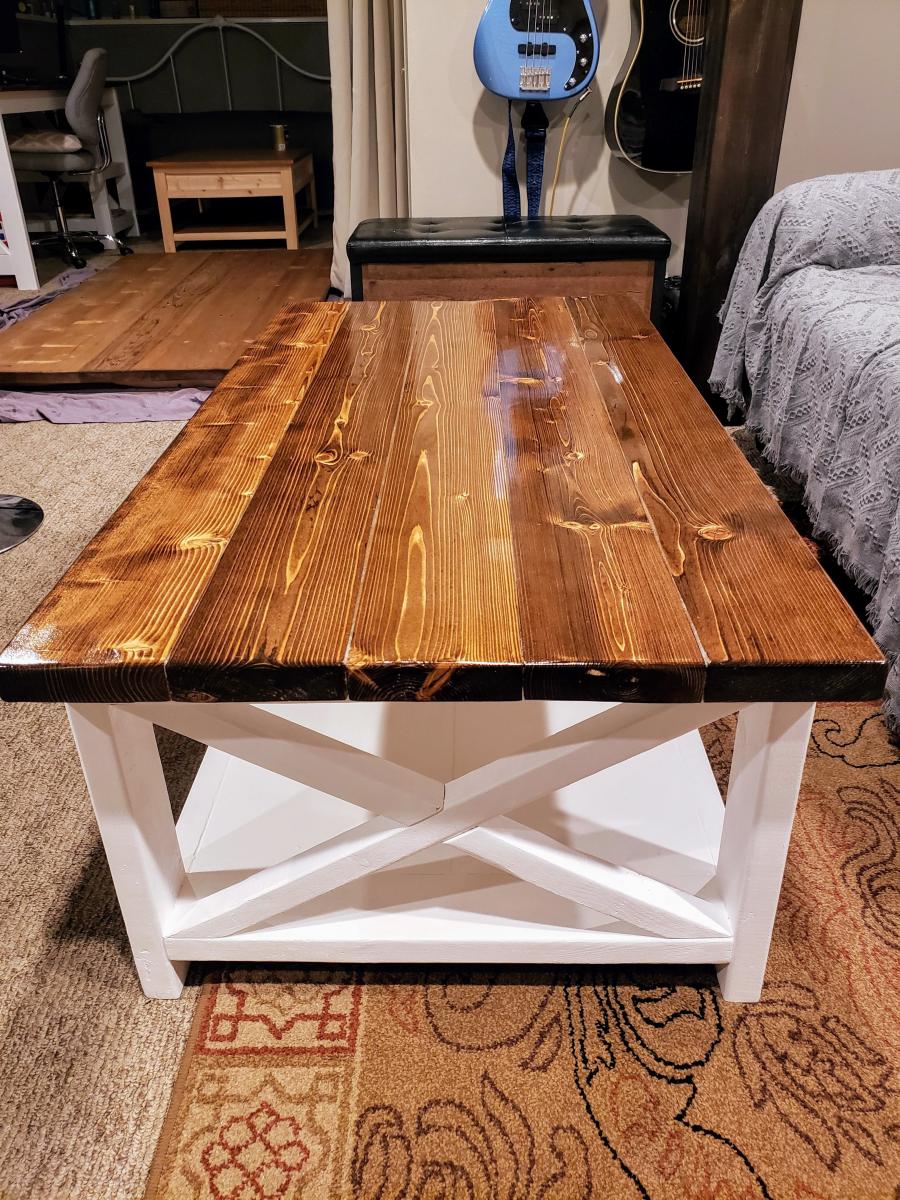
Rustic X Coffee Table

Submitted by Dan Dodd on Fri, 05/14/2021 - 06:37

Here is one of the coffee tables I built for a customer. Honey Stain, gloss polyurethane. Took about 4 hours total. Fun build

Built from Plan(s)
Estimated Cost
80
Estimated Time Investment
Afternoon Project (3-6 Hours)
Finish Used
Honey Stain, gloss poly, white gloss paint
Recommended Skill Level
Beginner

Comments

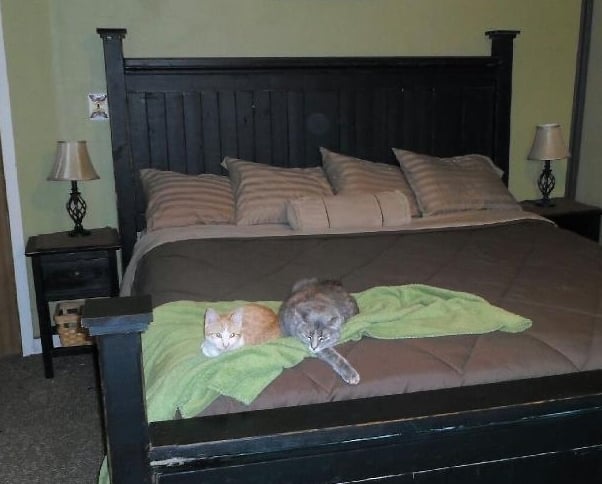
King farmhouse bed, black distressed finish

Submitted by CaraRene13 on Tue, 04/02/2013 - 22:24

After seeing one in the brag posts and reading pretty much every one of the farmhouse bed plans,I too modified the original farmhouse king plans to create a four poster bed. The 4x4s are untreated Douglas fir. I cut each 4x4 only once. The top posts are 35in. and the bottom are 61in. I personally think the bottom posts are too tall but my husband really likes them the way they are.Since this bed was his birthday present, he wins :) The post caps are 1x6s cut to 4.5 and 5.5 squares then stacked on each other.
I used 1x4 furring strips to make the headboard and footboard panels instead of 1x8s. I made the wide center panel from a 1x8 I had on hand. This made the total width of the headboard and footboard 76 in. (between the 4x4 posts) As I did not wish to use a box spring, I used 2x6s for the side rails with 2x4s spanning the width of the bed. I then ran a a 2x4 down the center and mounted a 5th leg, made from a 4x4, under the center of the bed. The 2x6 side rails are covered by a painted and distressed 1x10.

Estimated Cost
250
Estimated Time Investment
Weekend Project (10-20 Hours)
Finish Used
Black distressed finish. After my initial sanding I applied a base coat of Valspar signature in Cracked Pepper and a second coat of color place black onyx (because it had it on hand and wanted to save money) if I had it to do over I would use two coats of the Valspar. There is an amazing difference in the color and finish of these two blacks...I then sanded the edges and applied minwax early American stain to the sanded areas. Please forgive the dark picture. it really does not do the finish justice...I work nights so we keep our bedroom very dark. This made photographing a black bed quite difficult.
Recommended Skill Level
Beginner

Comments

CaraRene13

Wed, 04/03/2013 - 22:55

Thanks :) We're very happy with it. I finished it a couple weeks ago.
I also built the nightstand on the right side of the bed (left in the picture) from the mini farmhouse table plans. I modified it so I could use scrap wood I already had and to fit the odd angled wall of our bedroom.I also did not want to make another trip to the store since its a 50 mile round trip for me.
I absolutely love Ana and the plans on this site!! My to-do list is a mile long ...

Vanity Built In

My hubby built this because of the original inspiration of the one on your site.  The Vanity Hutch with recessed lights.  So thankful to have had the original photo and plans to work from.  I love how it came out. The countertops are concrete.

Love, love, love the ideas on your website.  Thanks so much!

Estimated Cost
Hutch was approximately 20 dollars for wood, 24 dollars for lights, mirror is stock from Home Depot and cut at a glass shop to size 40 dollars.
Estimated Time Investment
Afternoon Project (3-6 Hours)
Finish Used
Behr semi gloss pure white
Recommended Skill Level
Beginner

Comments

Outdoor Sofa Build

Submitted by Anonymous (not verified) on Mon, 05/15/2017 - 11:33

Im so proud, this was my first big proyect. The instructions are just perfect like a nice recipe :)

Built from Plan(s)
Estimated Cost
Wood 50$,screws 10$, Stain 8$
And the cushions some that i have at home and few from IKEA.


Estimated Time Investment
Afternoon Project (3-6 Hours)
Finish Used
Stain minwax 211. I sand it first.
Recommended Skill Level
Beginner

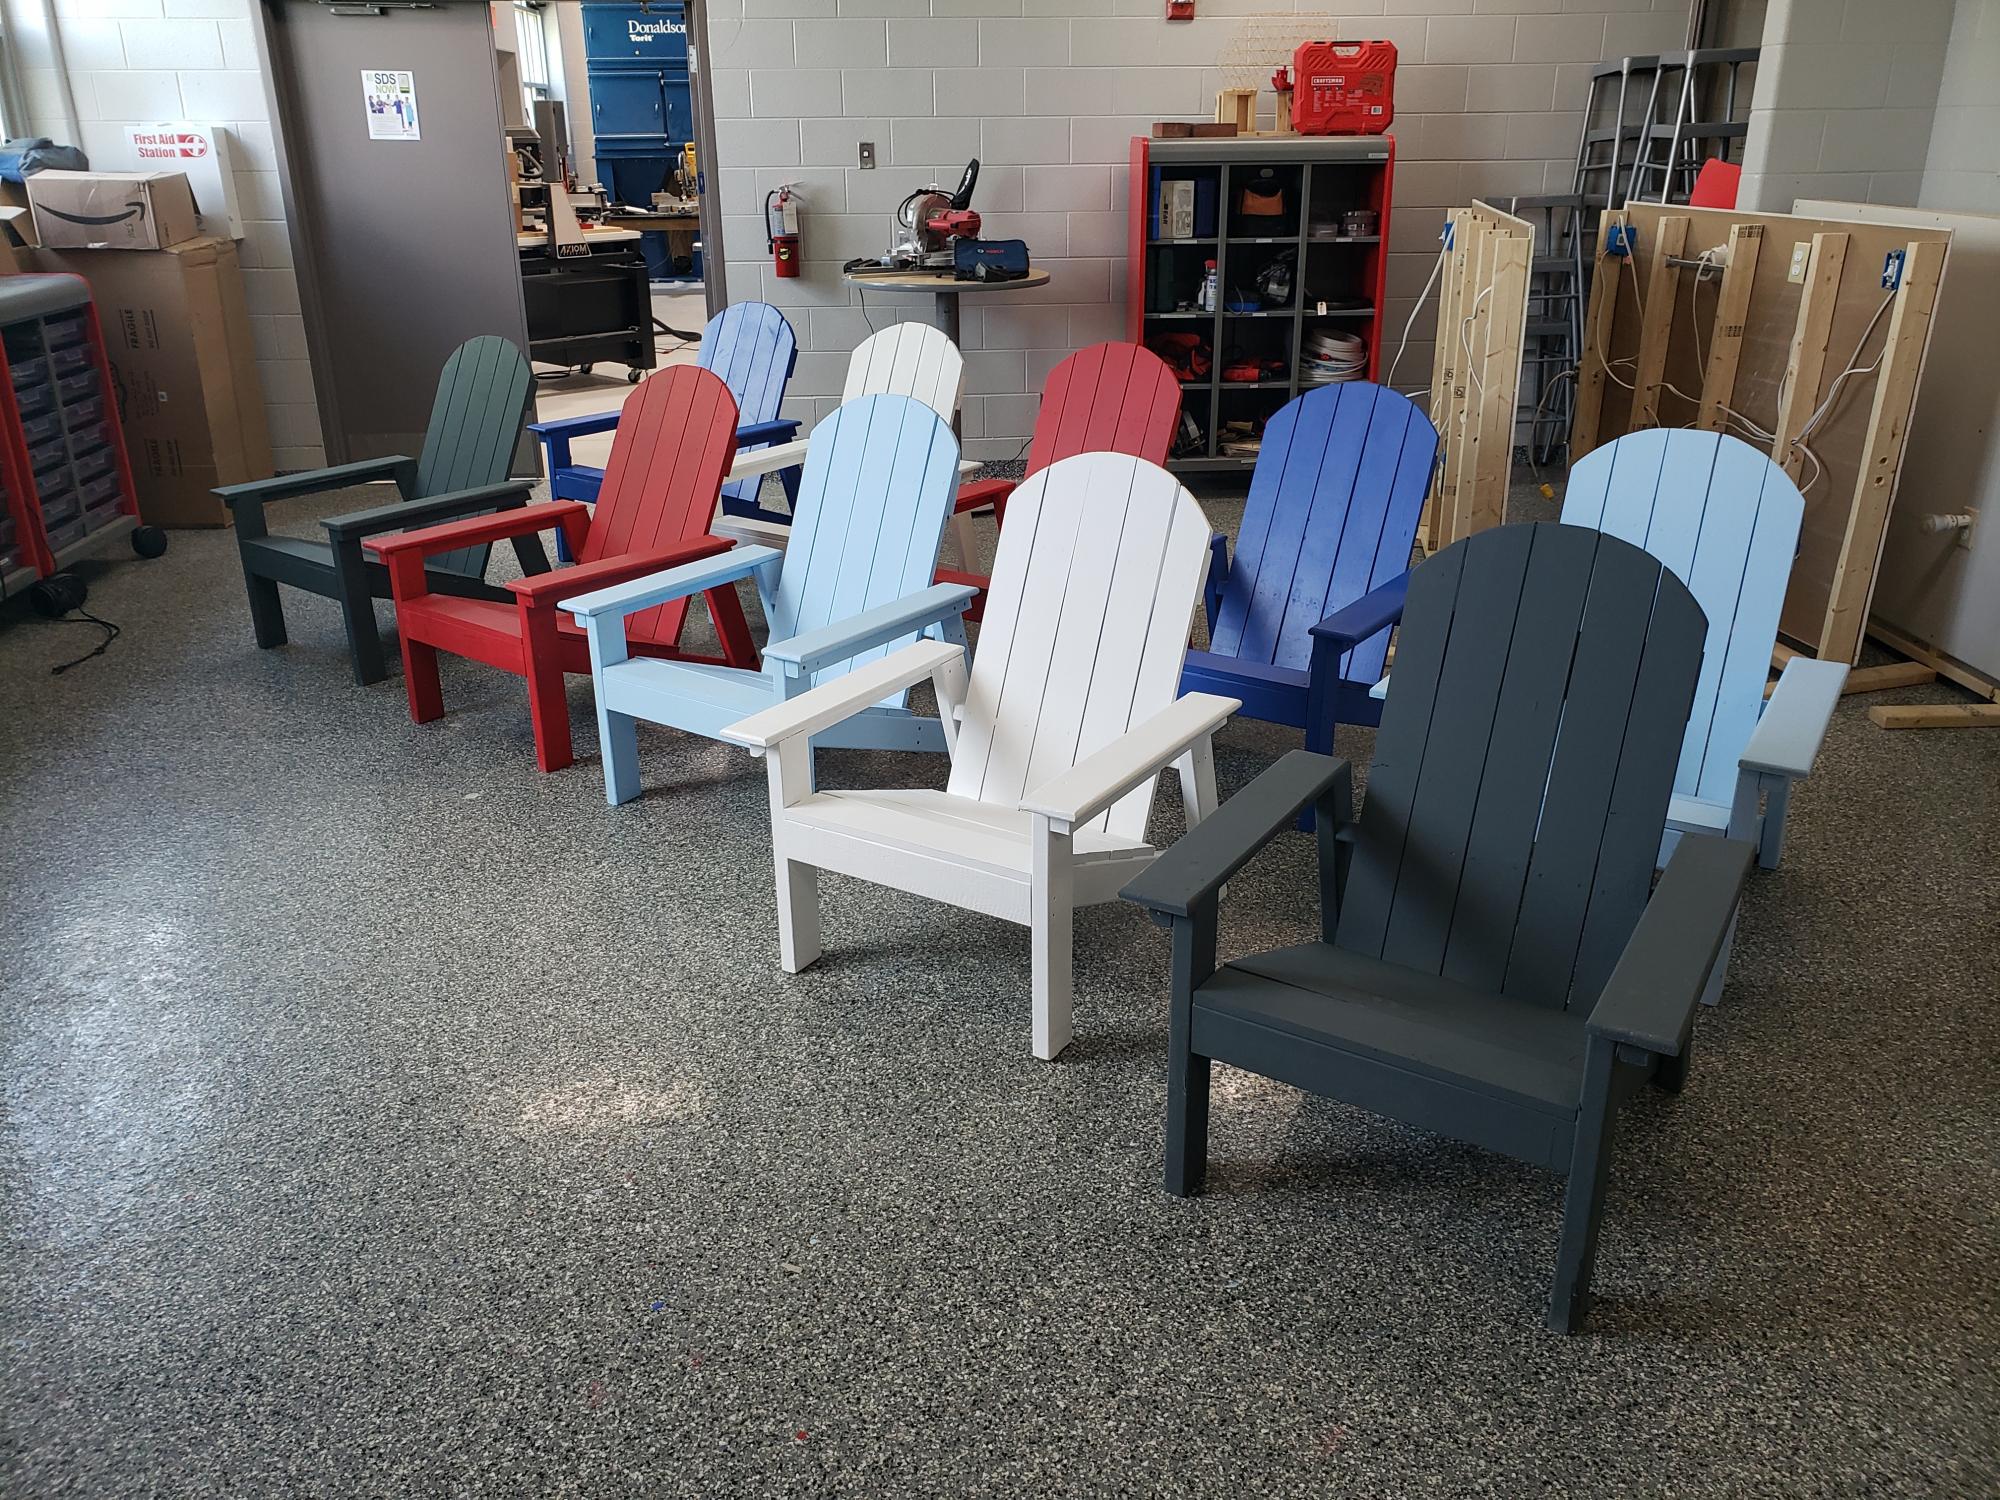
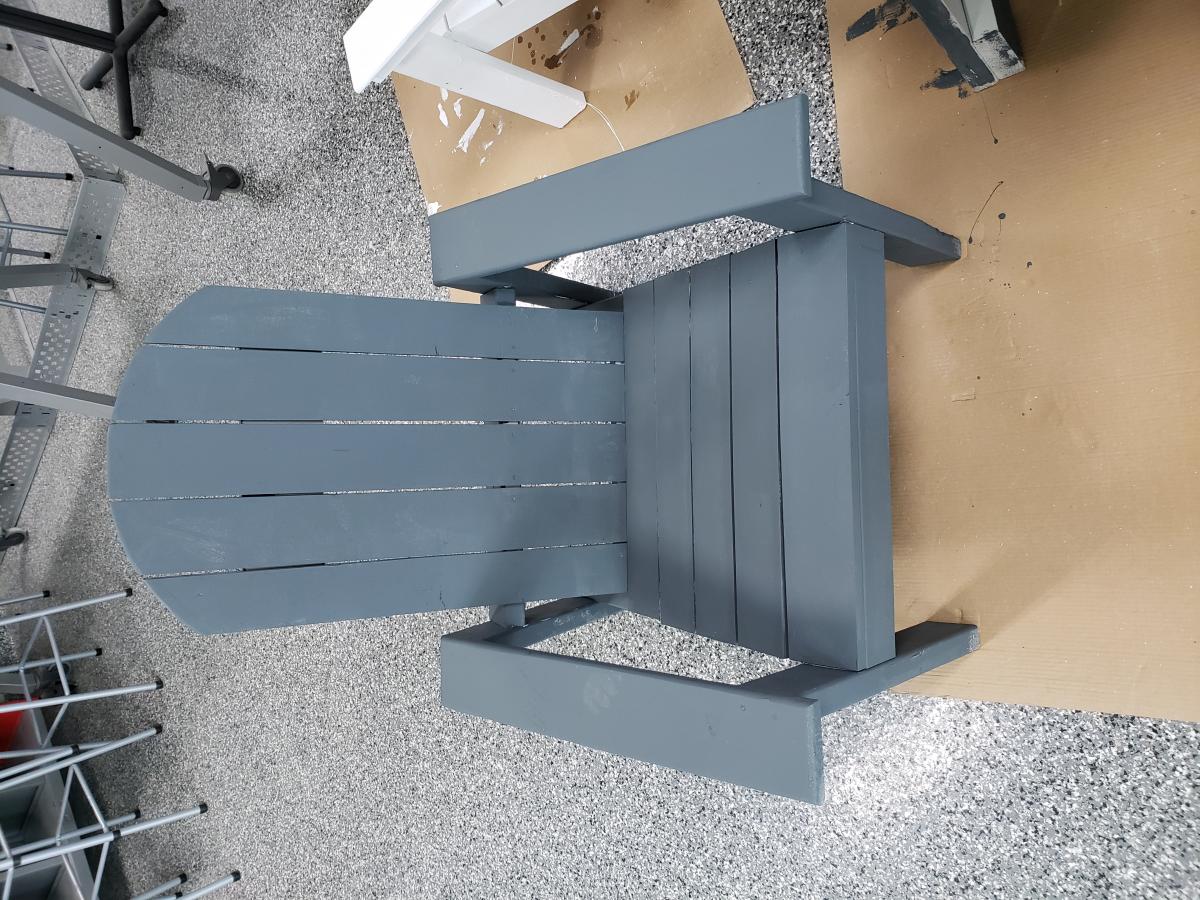
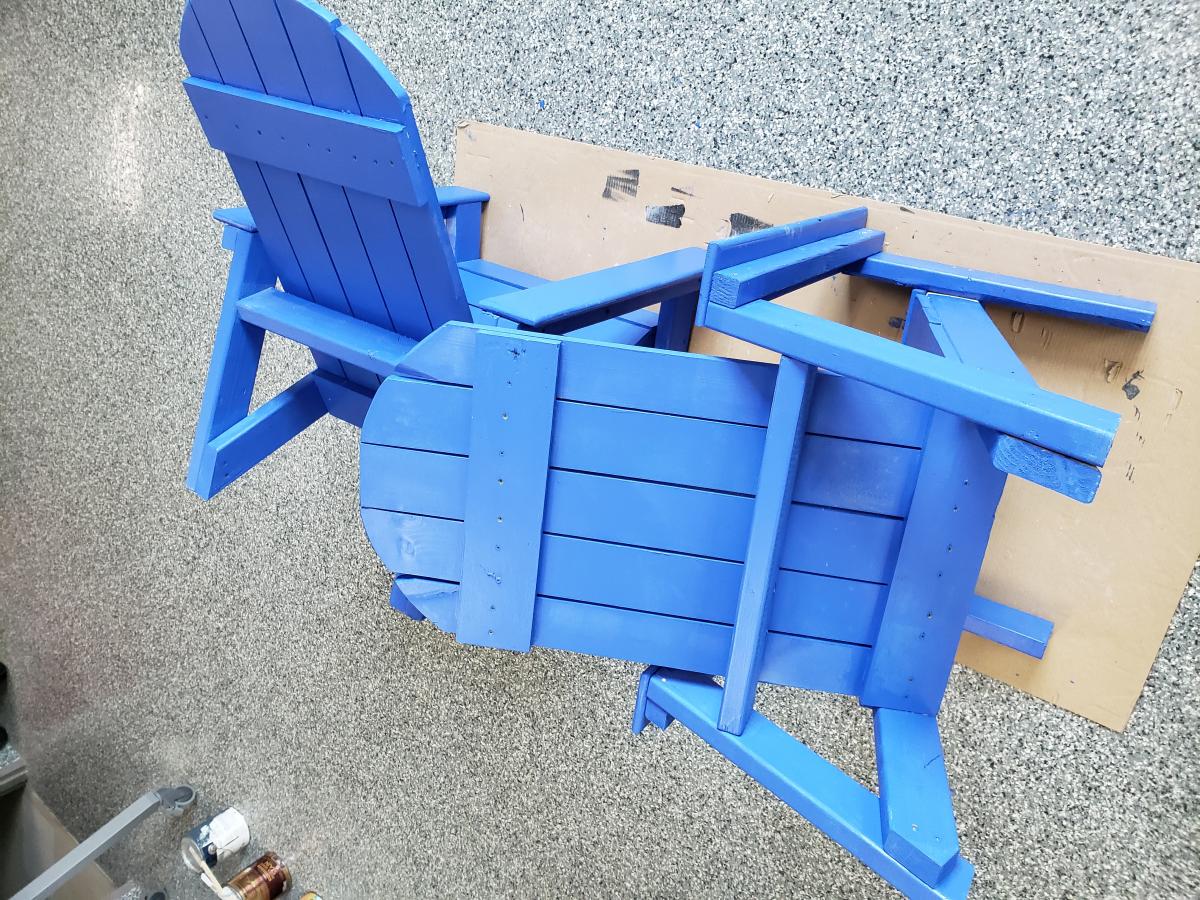
Adirondack Chairs built by High School Class

Submitted by Anonymous (not verified) on Mon, 05/24/2021 - 18:07

Thirty High School Students spent several weeks in the classroom building a dozen of the Adirondack chairs. By the time they were completing the last of the chairs, they pretty much could build them from memory. They really had no trouble building the chairs and learned how to use all of the tools in the school shop.

Estimated Cost
$70
Estimated Time Investment
Afternoon Project (3-6 Hours)
Finish Used
We painted the chairs several different colors using latex exterior paint from Lowes.
Recommended Skill Level
Beginner

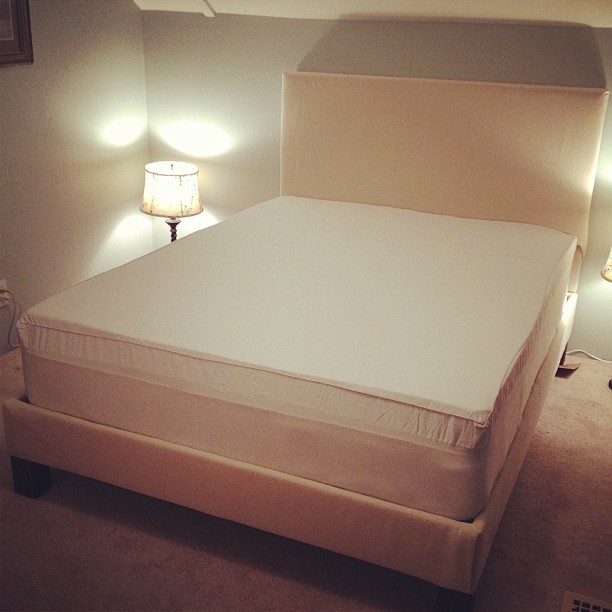
Upholstered Bed

I used your chunky bed plans with Big Box Detox's plans for upholstery. It wasn't hard, we just spent a lot of time thinking and not doing. Ha. I wrote a little blog about our adveture. http://thepreppyparent.blogspot.com/2013/04/making-bed.html

Estimated Cost
$120
Estimated Time Investment
Weekend Project (10-20 Hours)
Recommended Skill Level
Beginner

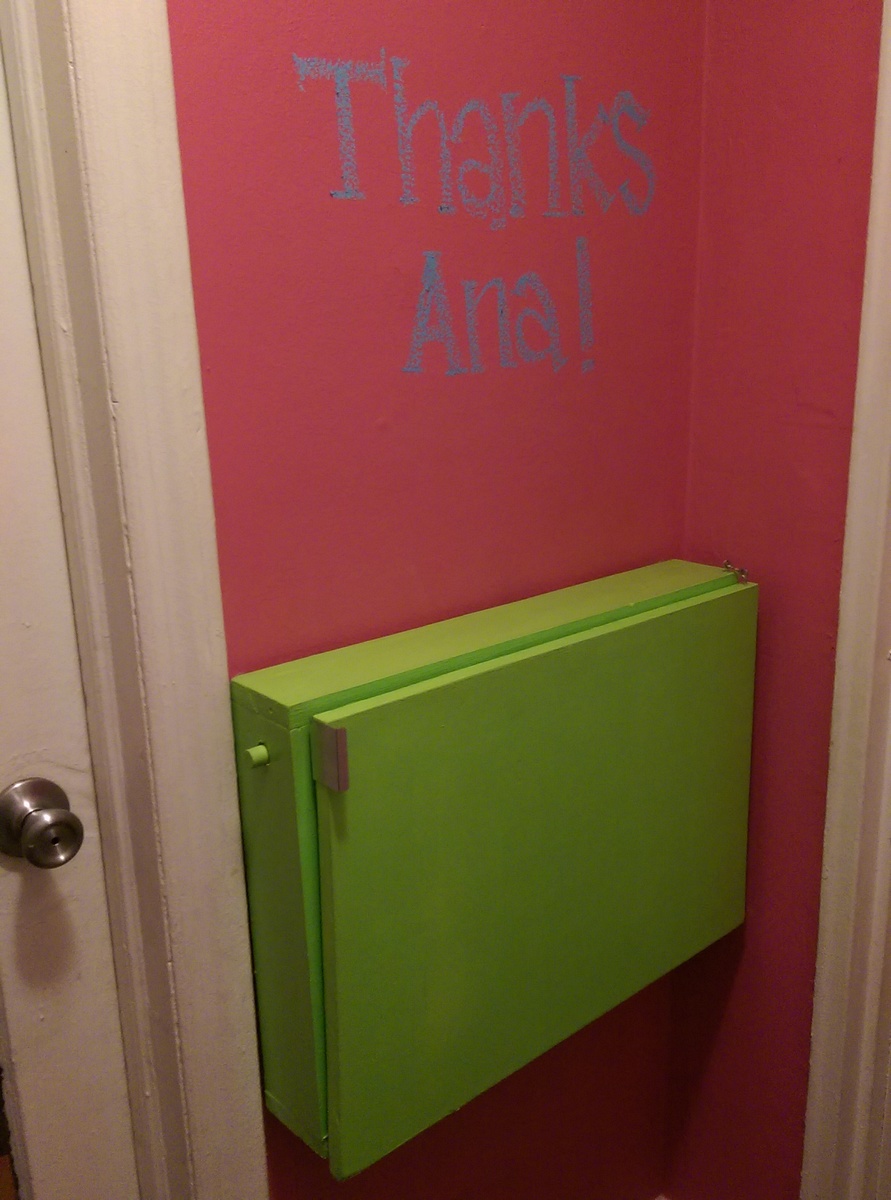
Emmett & Luka's Hallway Murphy Desk

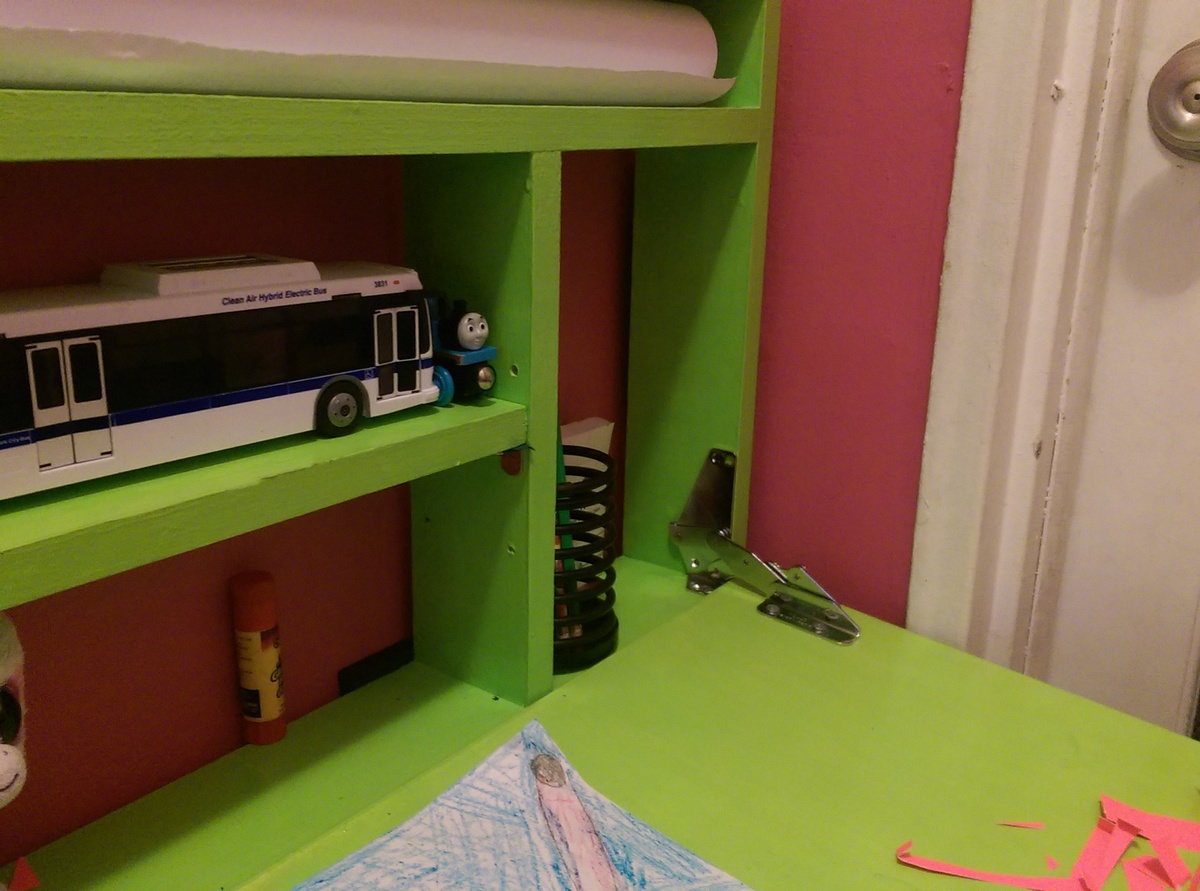
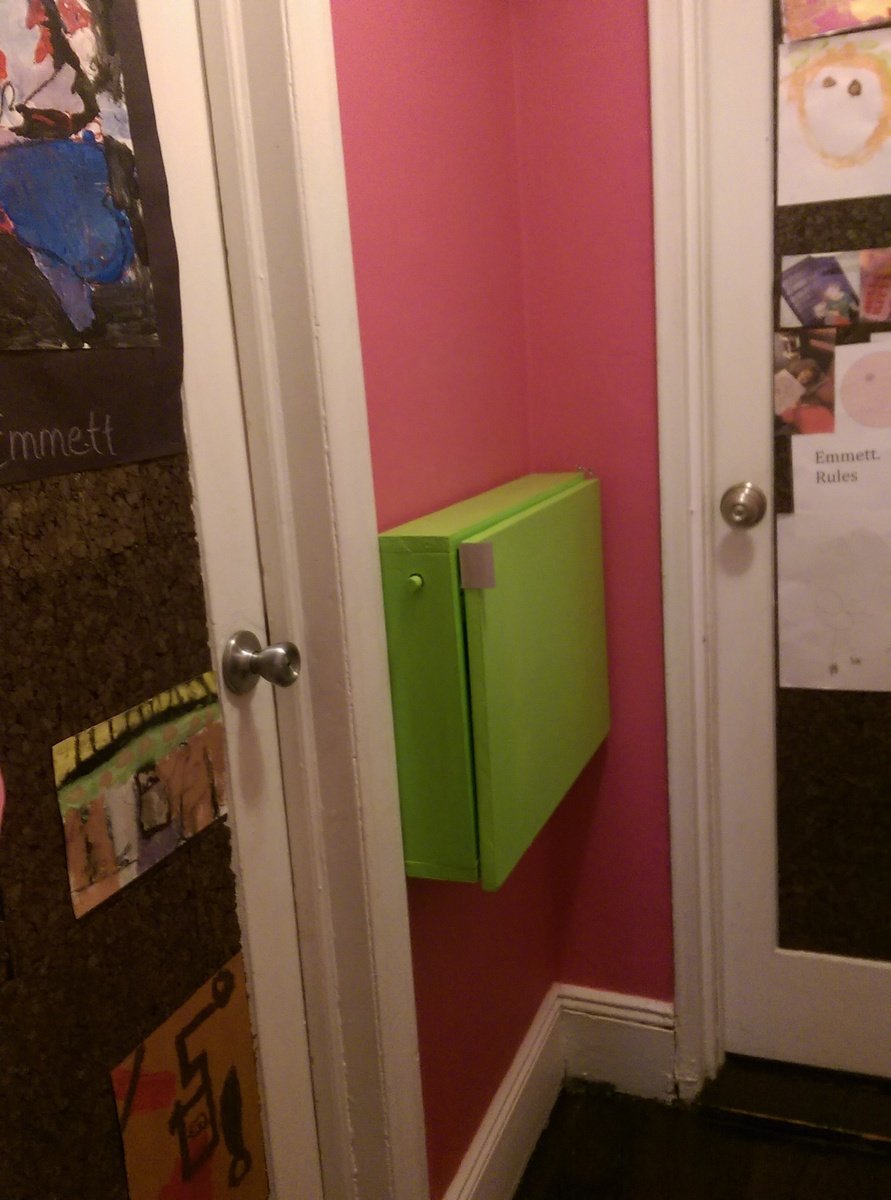
My wife and I live in a 575 sq ft Manhattan apartment with two young boys so space is extremely limited! Last year when our older son was 6 he had the idea to turn our tiny bathroom hallway area into a work space for his growing homework assignments. It took me a year, but it all fell into place when I found this design. Luckily we live in a quirky old 1844 brick row house and I've been lucky enough to craft a small space in the basement where I can keep my tools and work on projects. Even a small desk like this takes more space than you think!

I had to make it a bit smaller to fit the wall space we have. Then I realized the exterior hinges wouldn't have enough clearance because of the door frame. I found a neat set of interior hinges made by Pojjo but they attached to the sides as well as the bottom so the craft paper section was in the way. Then my wife said, "Can you flip it upside-down?" Absolutely. The only other hack I added was adjustable peg slots for the shelf on the left.

I did a twist on the chalkboard theme by painting the desk in a semi-gloss but the entire hallway in hot pink chalkboard paint--pink is my son's fave color =:-) Hudson Paints has an amazing range of chalkboard paint colors.

We love, love, love this design--thanks, Ana!
Estimated Cost
$50
Estimated Time Investment
Weekend Project (10-20 Hours)
Finish Used
Benjamin Moore Natura "Margarita Green" in semi-gloss; walls Hudson Paints "Sweet 13" pink chalkboard paint.
Recommended Skill Level
Beginner

Comments

Farm Table with Built in Coolers

Submitted by Anonymous (not verified) on Fri, 05/19/2017 - 11:35

I built this table using a modified version of the Ana White, Fancy X Farm Table plans. The coolers are two, 36 inch plastic planter boxes. If you have any questions, please let me know.

Built from Plan(s)
Estimated Cost
$200
Estimated Time Investment
Week Long Project (20 Hours or More)
Finish Used
My wife used classic Gray stain from Minwax along with a Lime wash and glaze.
Recommended Skill Level
Intermediate

Outdoor Dining Set

Submitted by ikeymedesu on Sun, 05/30/2021 - 20:00

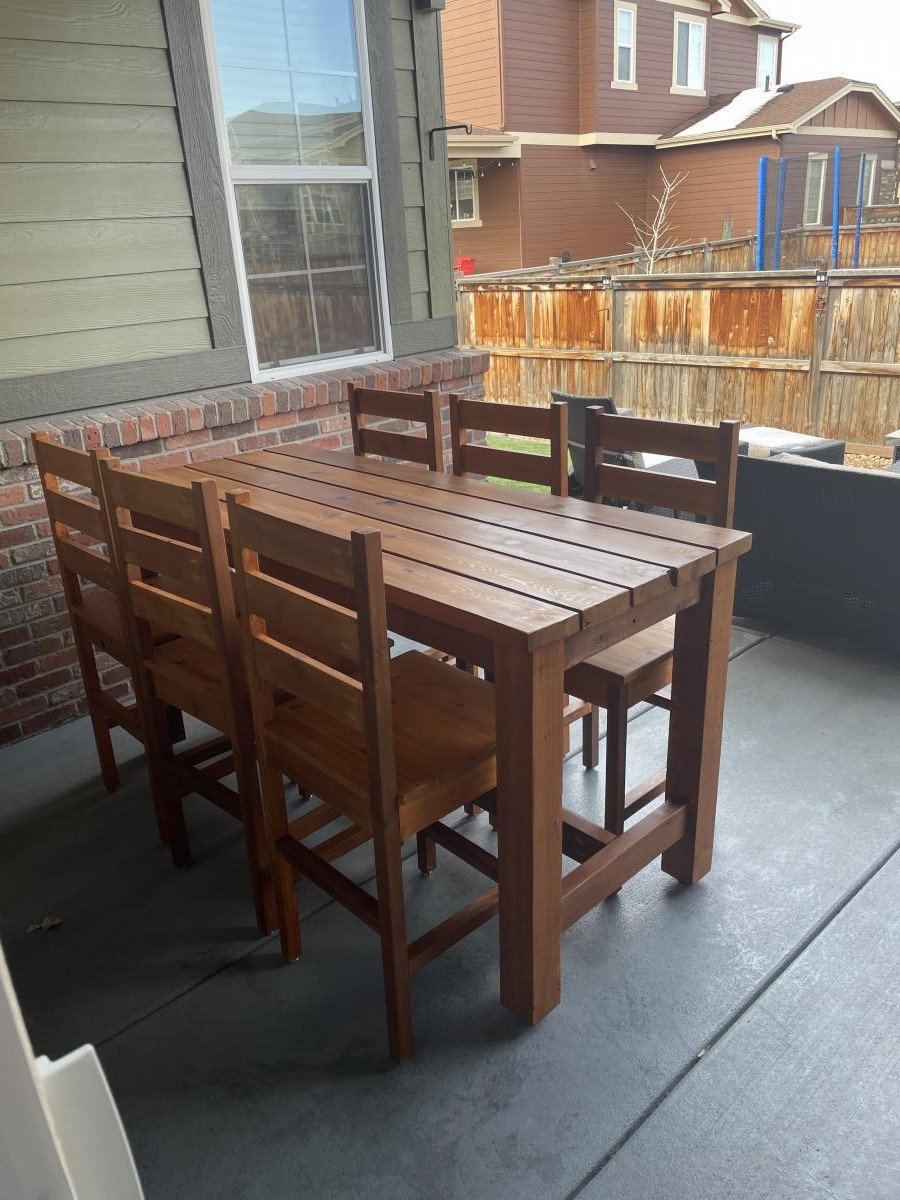
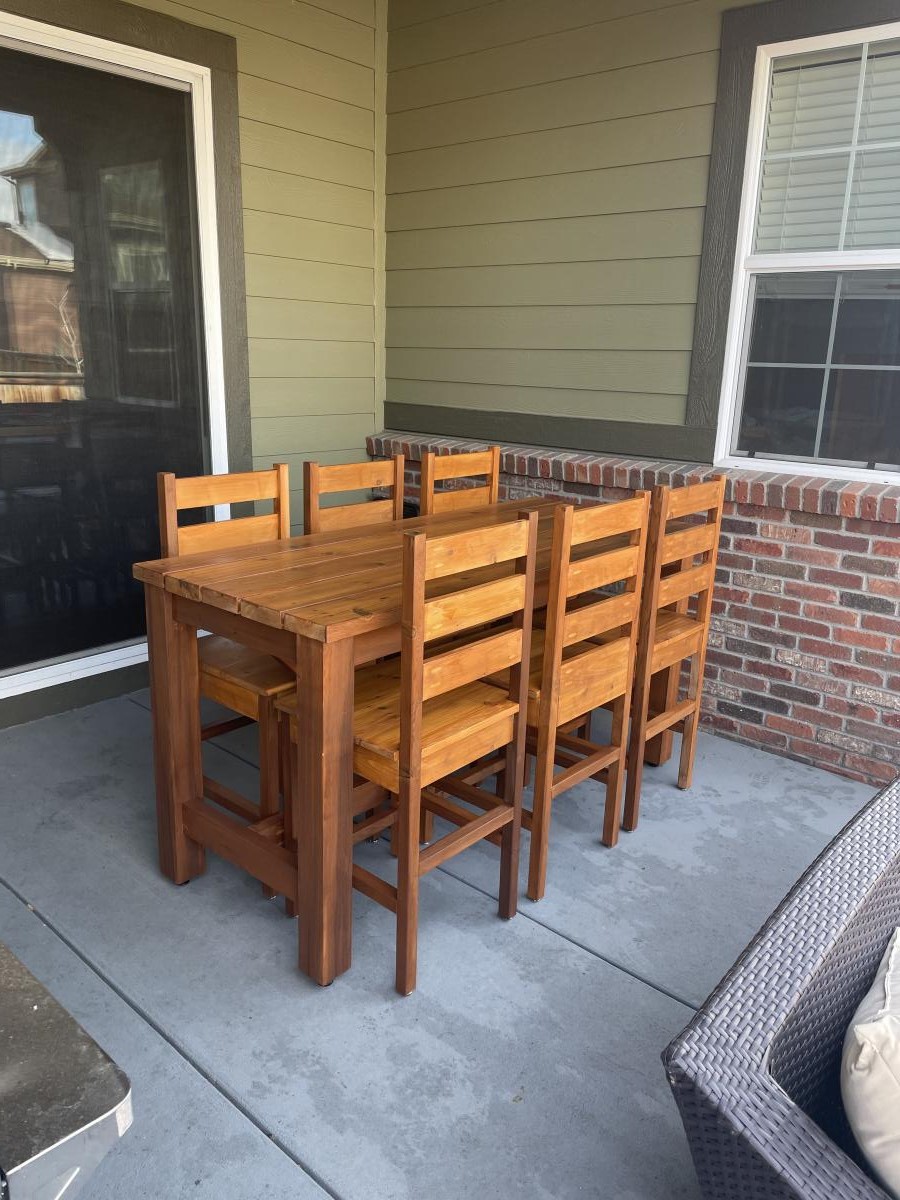
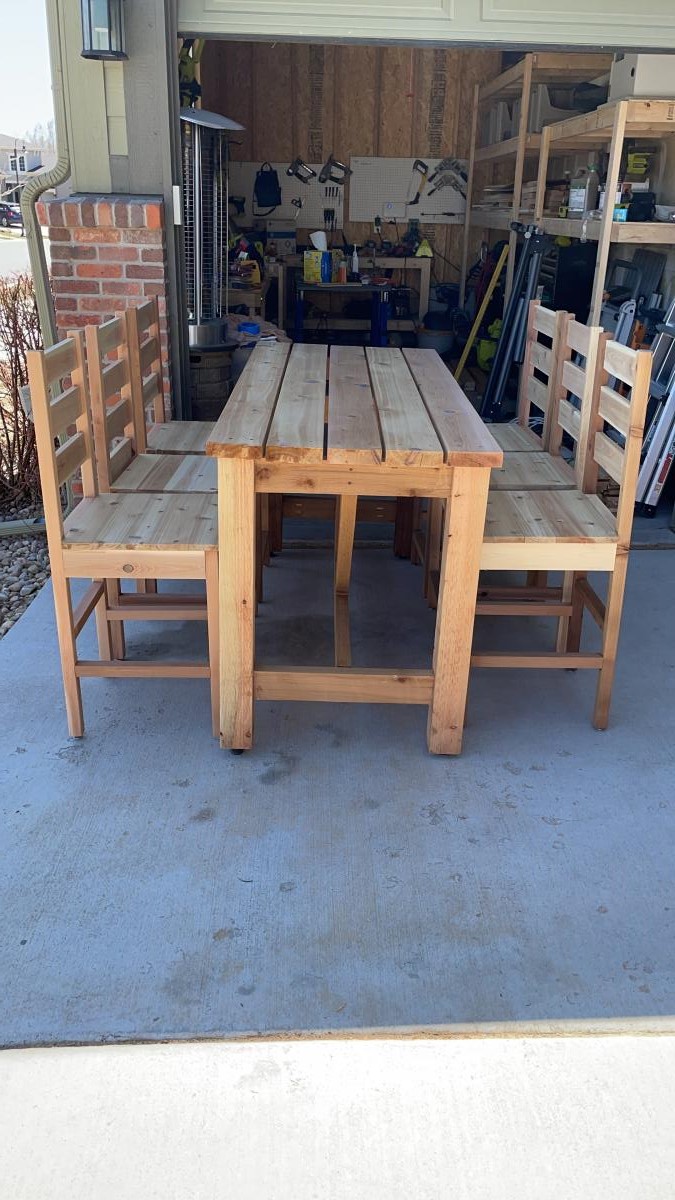
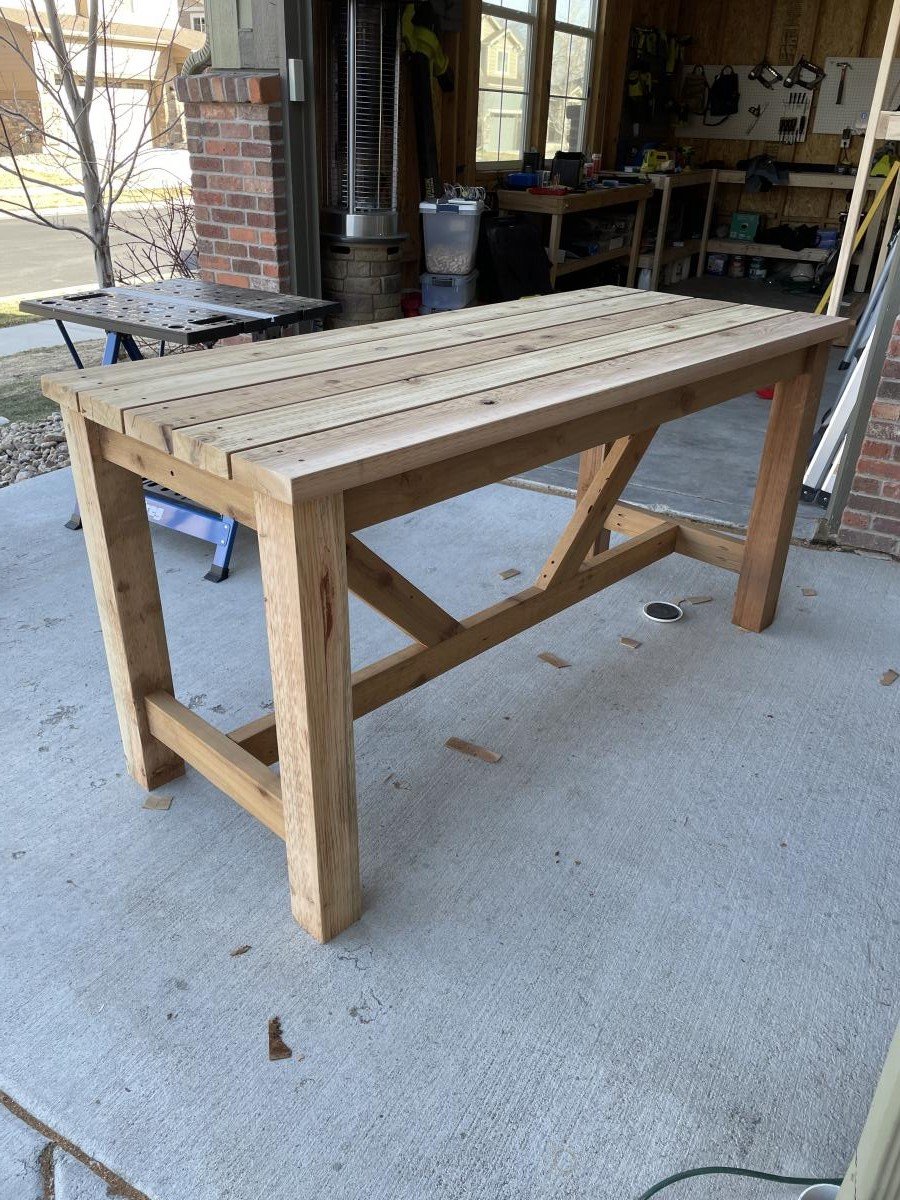
First part of the outdoor entertainment build was a 6-person dining set. Learned a lot from this build, and it was a great project to build confidence and get back into woodworking. This set is a tank - heavy, durable, yet comfortable and beautiful. We look forward to many gatherings with friends and family, just quiet dinners with the two of use and the pups.

Estimated Cost
700
Estimated Time Investment
Weekend Project (10-20 Hours)
Finish Used
Sanded down to 80 on all framing pieces and to 150 on the tabletop and parts of the chairs that make contact with the body. Used Behr Premium Cedar Naturaltone Transparent Waterproofing Exterior Wood Finish.
Recommended Skill Level
Intermediate

Comments

Seasonal And Holiday

Simple Modern Outdoor Sectional

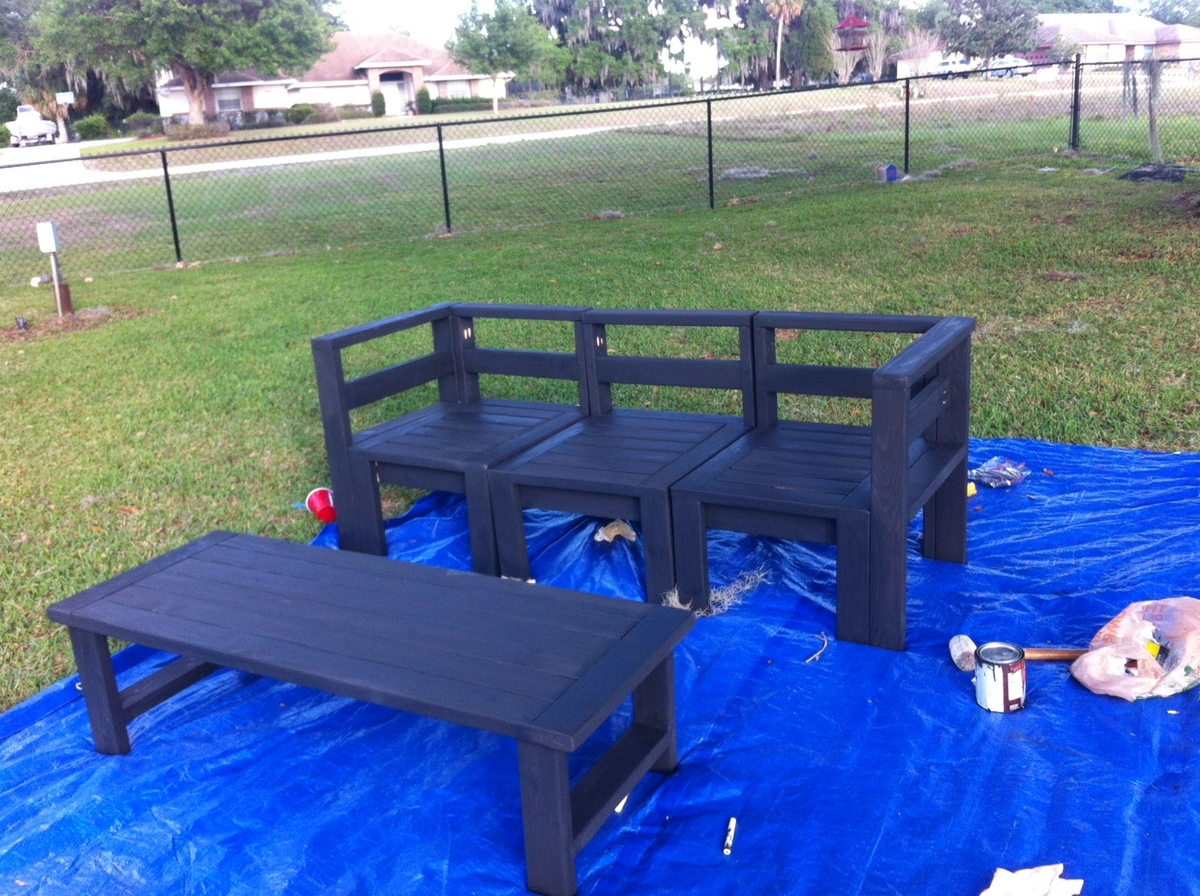
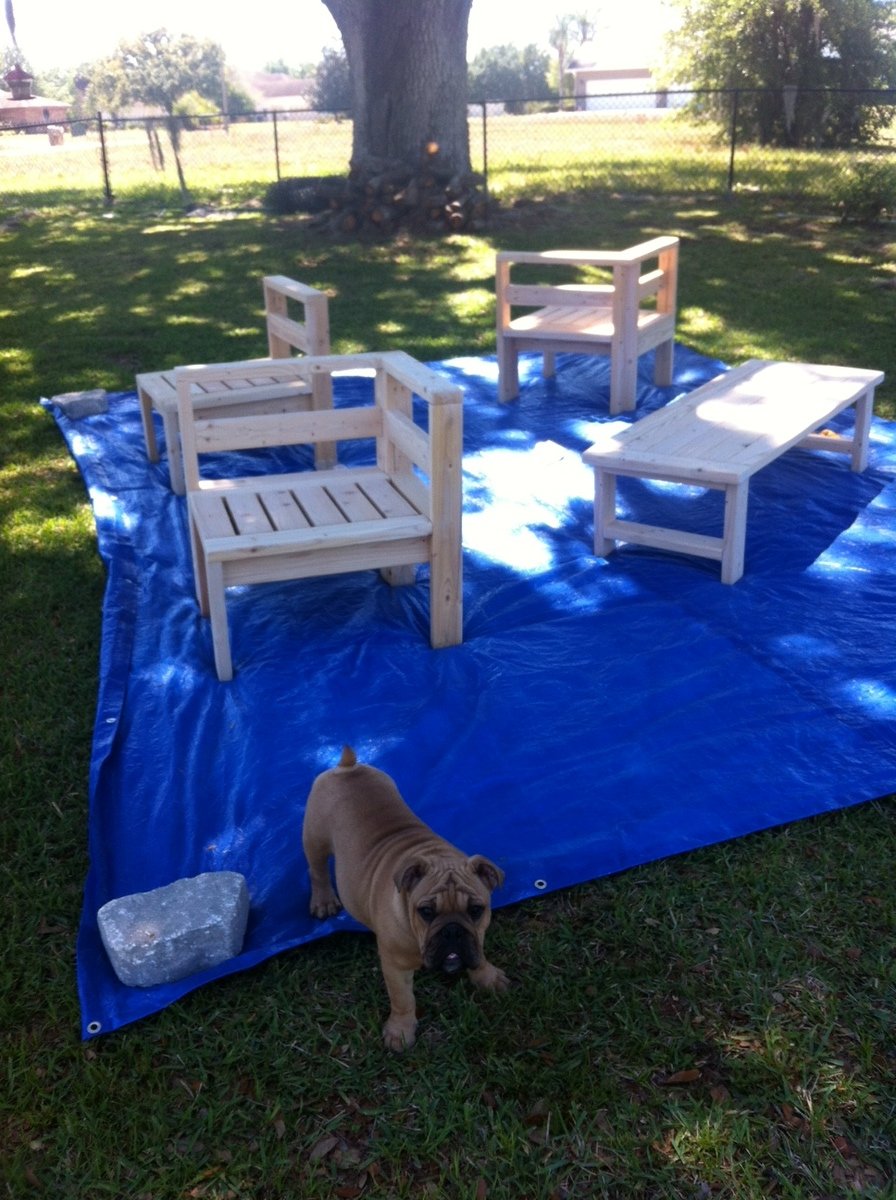
Submitted by KrysFL on Sun, 04/07/2013 - 19:29

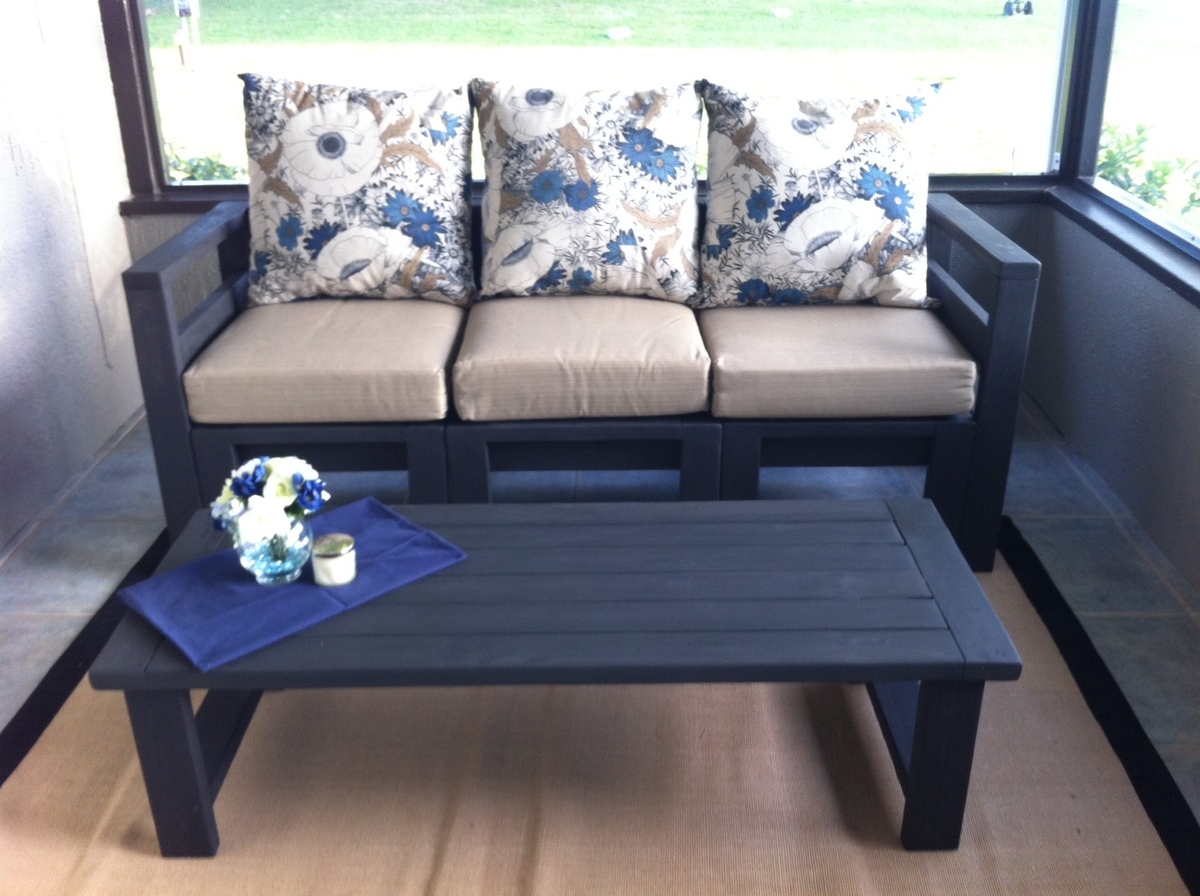
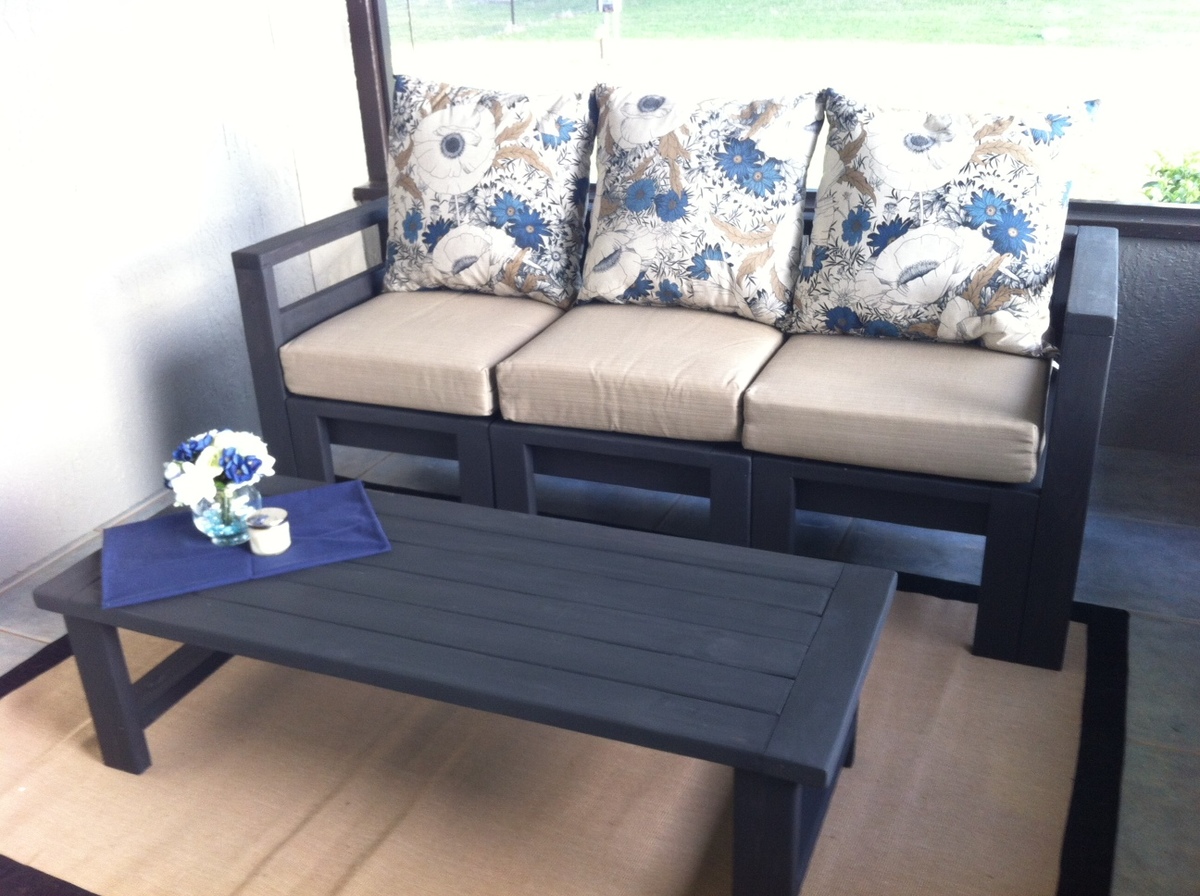
I modified the measurements and used 2" x 4" boards instead of 1 " x 4"
I also modified this to fit 22" cushions from Target ($29.99 each). I bought the pillows from Ross for $16.99 each. I used deck stain in Ebony from Lowes (Olympic Brand).
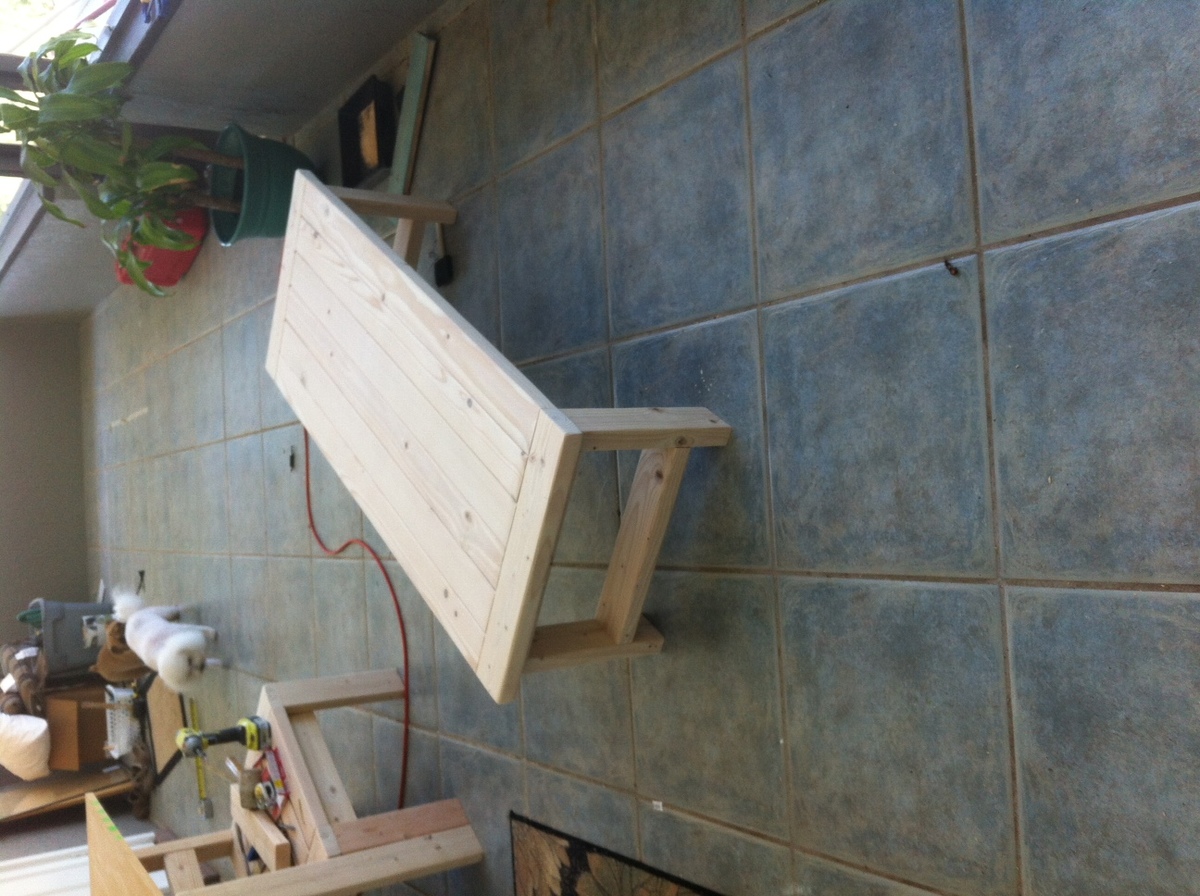
I built the coffee table myself, no plans for this one.
I was very happy that what I thought would be more of a rustic look turned into a more modern look (which fits my style better).
Not too shabby for my first build! Can't wait to build a matching chair.
Great plans! Thank you Ana!

Estimated Cost
With cushions/pillows $220 (without cushions $100)
Estimated Time Investment
Weekend Project (10-20 Hours)
Finish Used
Ebony solid colored deck stain from Lowes (Olympic brand)
Recommended Skill Level
Starter Project

Clara table & chairs

Submitted by bdubay on Sun, 02/22/2015 - 19:13

I made the one with the different color chairs and chalkboard table top first. 

I then made the batman set for my nephew.

I recommend using 2x2's for the legs on the chairs like another bragger does, the 1x2's weren't sturdy enough for my kiddos.

Thanks for the plans!

Estimated Cost
About $50 for one table and 4 chairs.
Estimated Time Investment
Afternoon Project (3-6 Hours)
Finish Used
paint
Recommended Skill Level
Beginner

Weatherly Sectional

Submitted by Anonymous (not verified) on Mon, 05/22/2017 - 20:08

Ana's plans are so easy to follow. This sectional was a breeze to build.

Built from Plan(s)
Estimated Cost
$120 lumber and materials $400 cushions
Estimated Time Investment
Weekend Project (10-20 Hours)
Finish Used
Glidden outdoor paint.
Recommended Skill Level
Intermediate
Seasonal And Holiday

King Size Bed

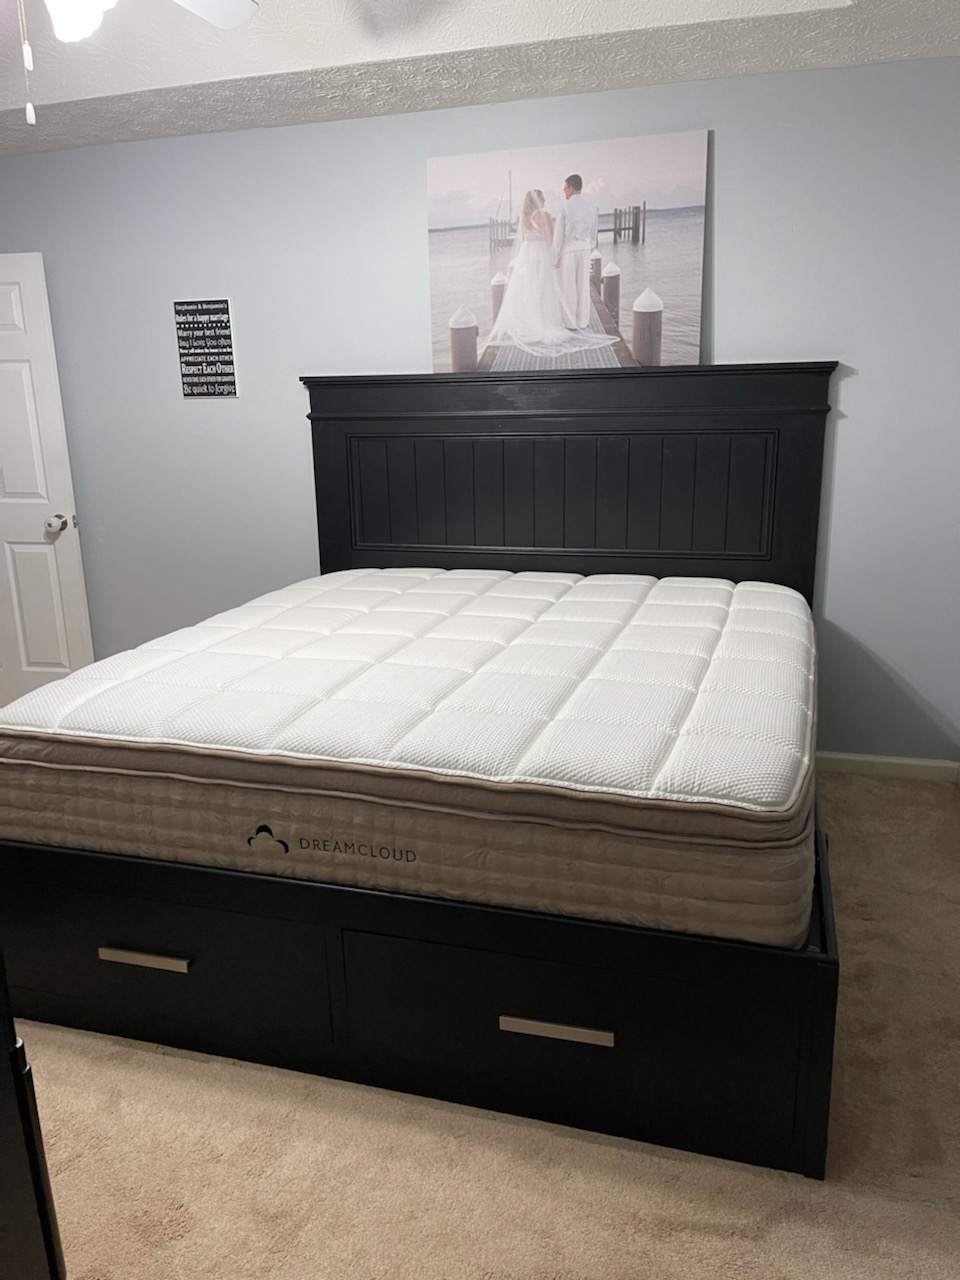
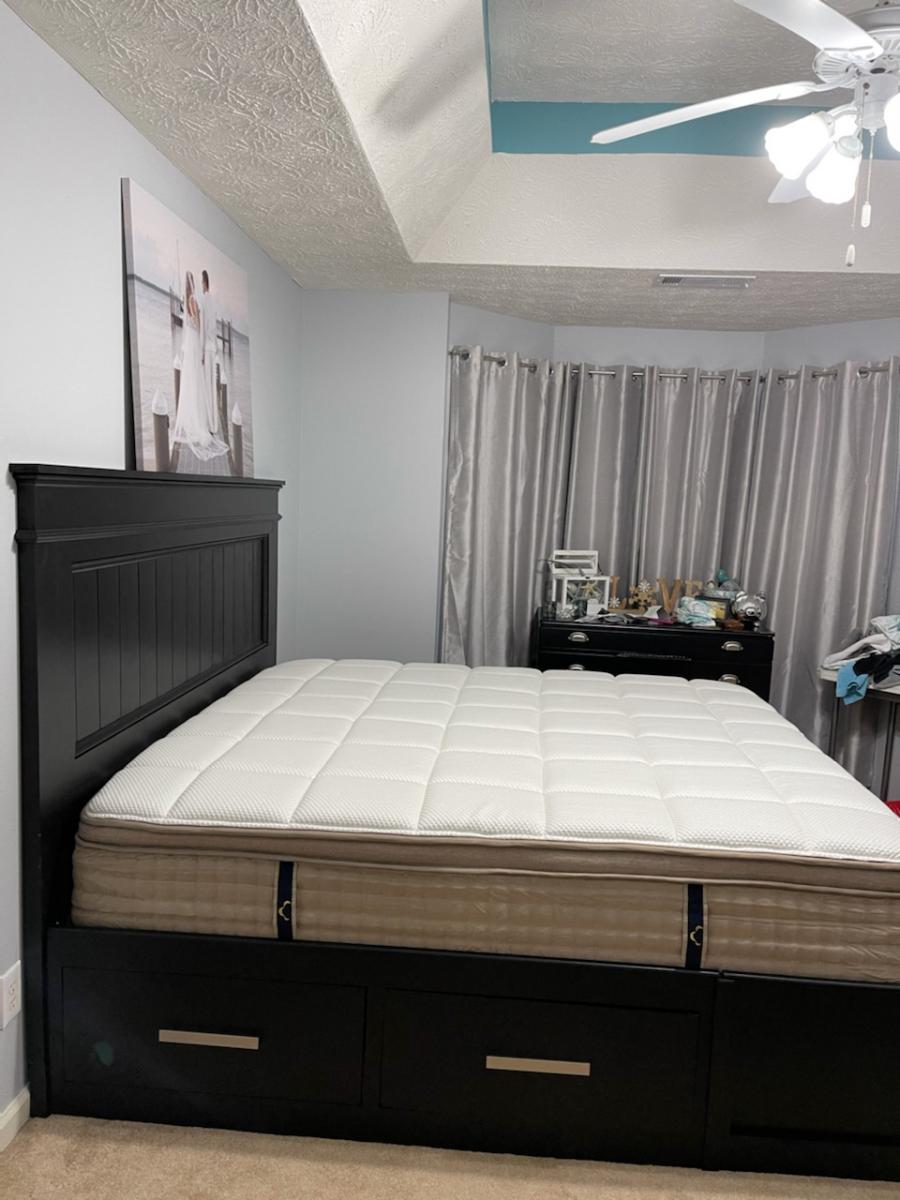
My daughter and son in law decide after 2nd kid that they needed a King size bed. I used 1 plan for head board and storage base for the other plan. This was a fun project and was really easy. I made some minor modifications to the plans for the Head board to be used. 1 tip when making the drawers: Take your time and by all means make sure it is square. Thanks for the plans!

General Store Cubbie Record Shelves

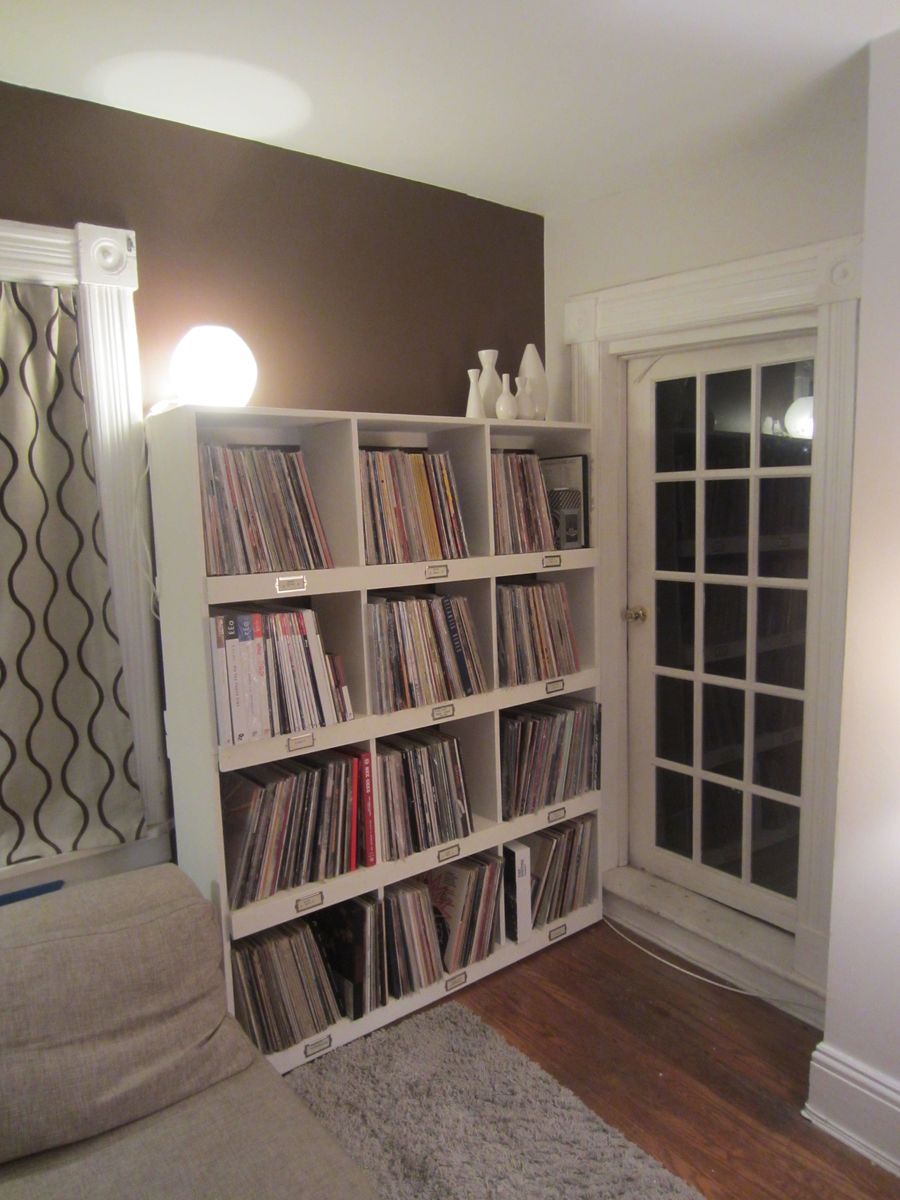
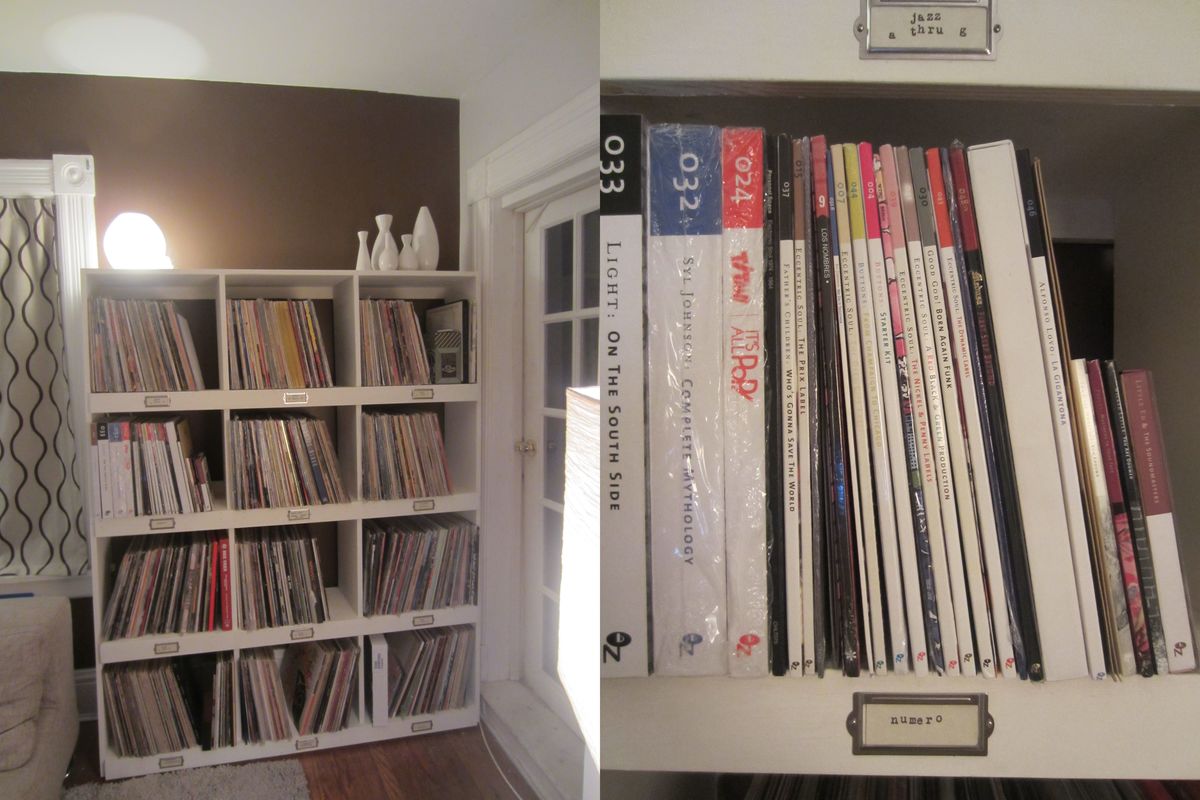
I started with the plans for General Store Cubbies - and built them as record shelves . I love them and think they turned out great . They were my first Kreg Jig project and i learned a lot and cant wait for the next project. These are all pine - if i were to do it again i would use plywood.

Built from Plan(s)
Estimated Cost
$200 including paint and tags.
Estimated Time Investment
Weekend Project (10-20 Hours)
Finish Used
Record Shelves
Recommended Skill Level
Intermediate

Side Street Full Size Bed

Submitted by Medickep on Thu, 02/26/2015 - 19:41


I made the side street bunk beds for one one of my sons, so it was time to make a project for my other one. I showed him several different beds, but in the end, he wanted it to look like the same style as his brothers....Of course!  He picked the colors!!

Unlike the bunk beds, I painted these before I put it together, and boy what a difference!


Built from Plan(s)
Estimated Cost
60$ plus paint??
Estimated Time Investment
Weekend Project (10-20 Hours)
Finish Used
I used a Behr Marquee paint which advertises one coat on any product. It did really well without any primer. I painted all of the pieces before I assemble it, than gave it a light coat after the build! Great paint!
Recommended Skill Level
Beginner

Comments

Medickep

Fri, 05/08/2015 - 13:06

I just noticed this comment as I don't get emailed anymore for some reason so sorry and thank you!

Added a board for higher beds

Submitted by Anonymous (not verified) on Fri, 05/26/2017 - 13:09

I added a board on the height of the beds to make it easier for an older person (me!). The plan came together beautifully, and I did all the work myself.

Built from Plan(s)
Estimated Time Investment
Weekend Project (10-20 Hours)
Recommended Skill Level
Beginner
Seasonal And Holiday

Highland outhouse

Submitted by Anonymous (not verified) on Tue, 06/15/2021 - 04:25

It's the first thing I've built on my land in the Cape Breton highlands, Nova Scotia, Canada. We staked it down because it gets really windy here! Great design, thanks Ana!

Built from Plan(s)
Estimated Cost
$800 CAD
Estimated Time Investment
Weekend Project (10-20 Hours)
Finish Used
1 coat primer, 1 coat paint (velvet finish) and green asphalt singles because the hardware store had no alternative.
Recommended Skill Level
Intermediate

Comments