Community Brag Posts

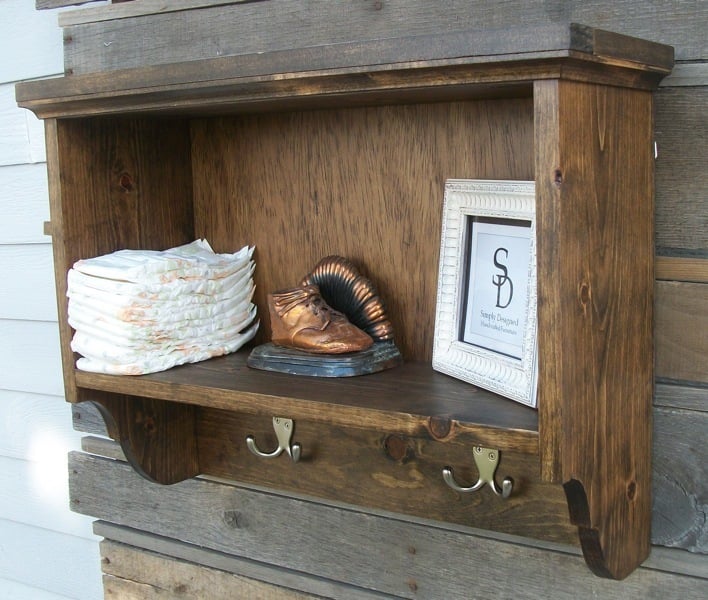
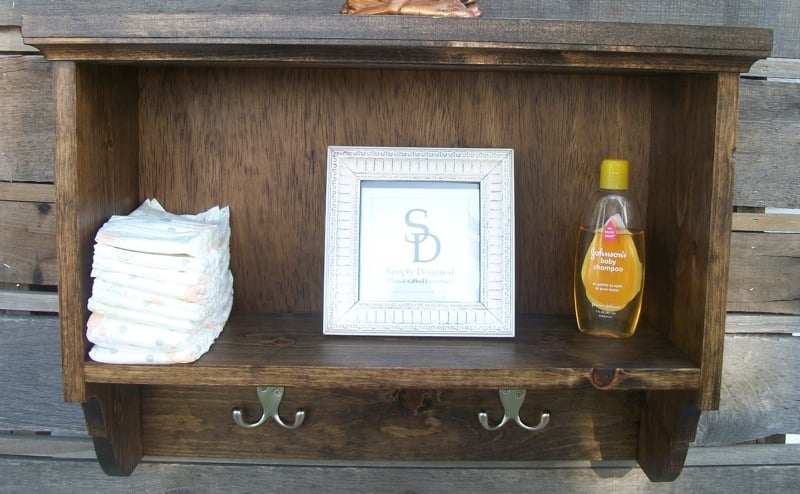
A Baby Shower Gift...

Submitted by tracysmith on Thu, 09/13/2012 - 17:03

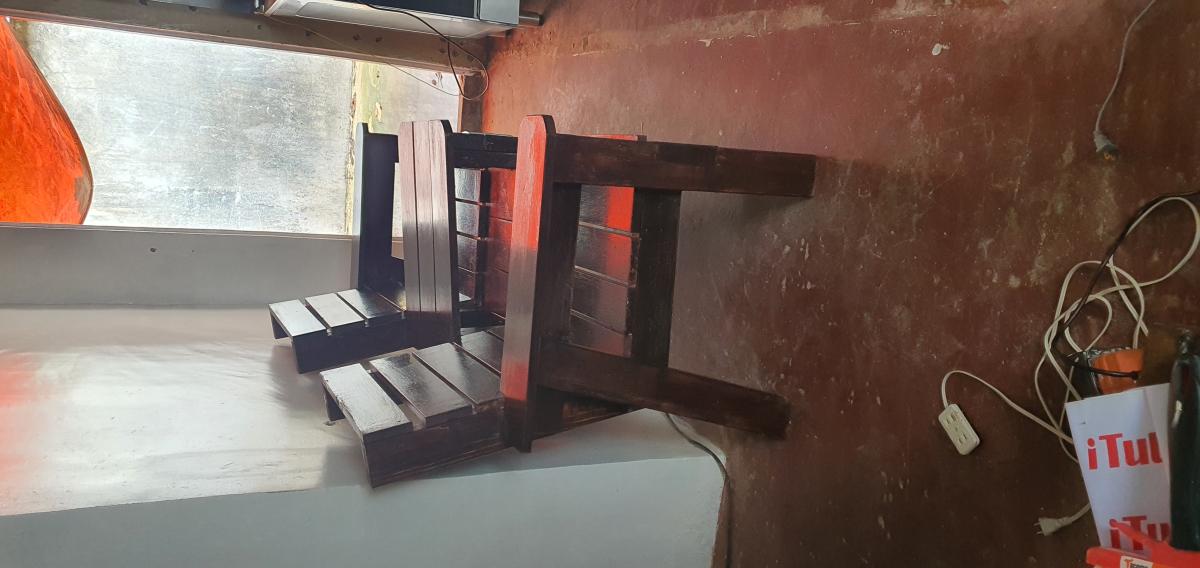
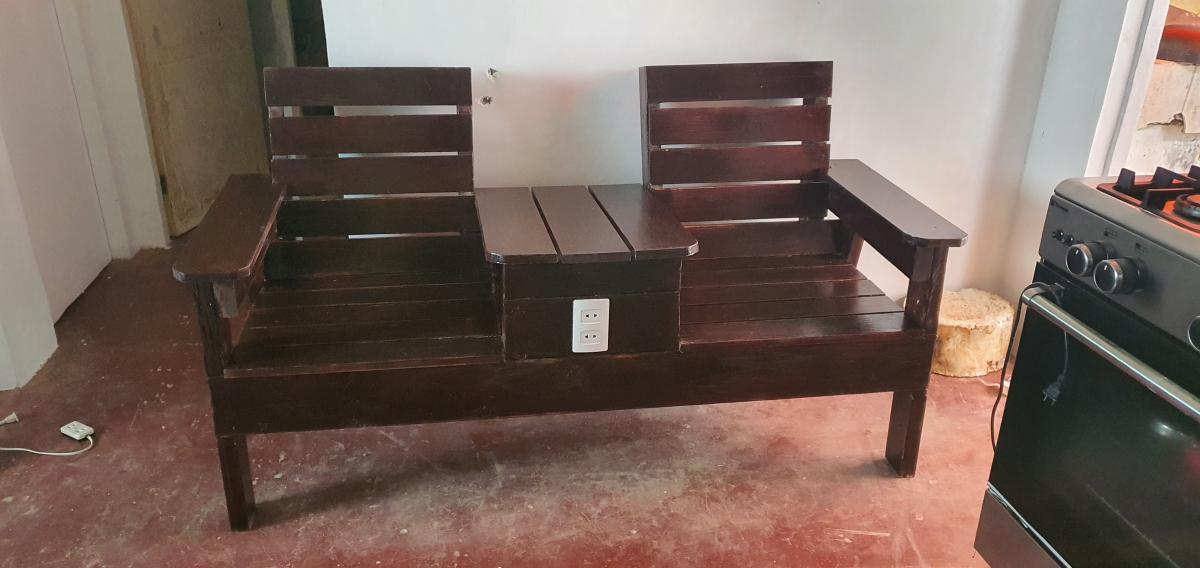
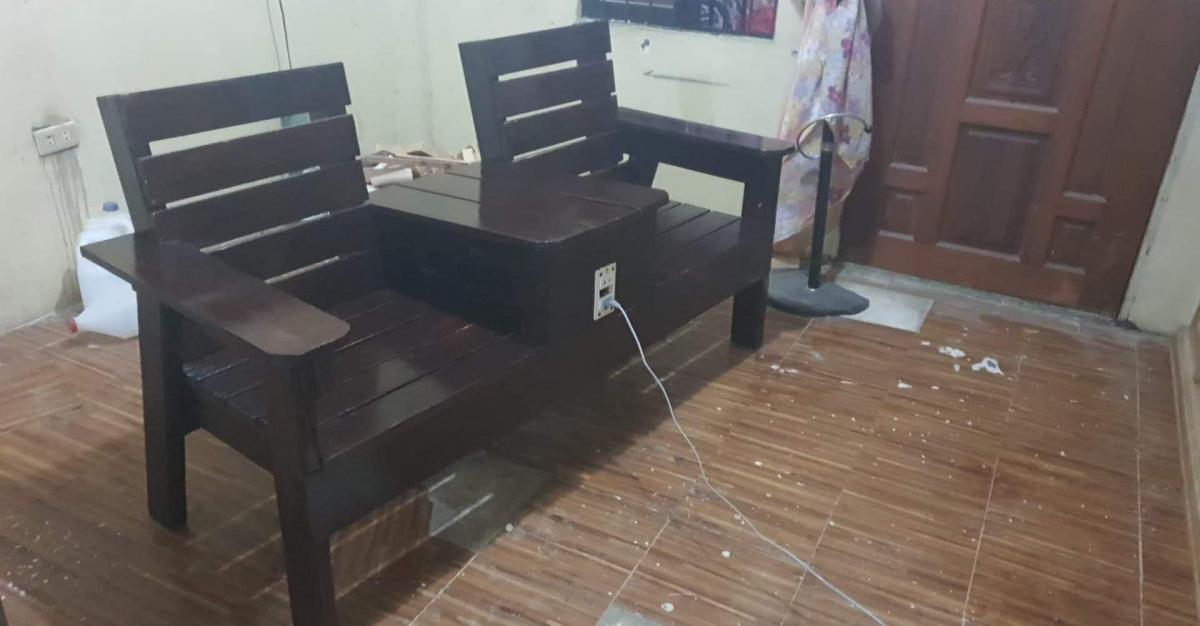
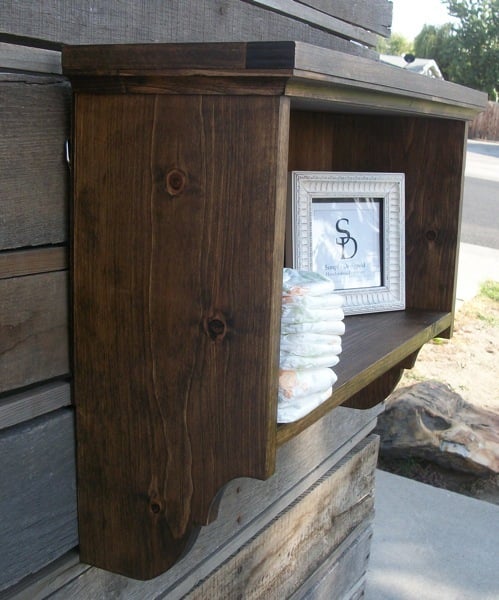
I built this for a friends upcoming baby shower! She has yet to receive it so I hope she loves it. It was super easy to build, even the fancy scrolling at the bottom of the sides was relatively easy. I can say that only because I'm an experienced builder, but for someone new to this, it could be daunting. Just go slow and try it out on practice boards first!

Estimated Cost
about $20
Estimated Time Investment
Afternoon Project (3-6 Hours)
Finish Used
Minwax Antique dark walnut and spray on polyurethane
Recommended Skill Level
Beginner

Comments

lemp8b

Wed, 08/17/2016 - 11:01

Hi,

Do you ever make pieces for other people? I absolutely love this, but we live in a small apartment and don't have the space or resources to have the right tools for the job. We're newlywed students on a budget too, so any I've found in stores have been way out of our price range.
Just thought I'd ask, since I think the one you made here is beautiful!

Ella's sandbox

Submitted by Wudupg1 on Fri, 07/11/2014 - 13:53

So easy and fun!

Estimated Cost
$130
Estimated Time Investment
Day Project (6-9 Hours)
Recommended Skill Level
Beginner

Comments

blacknigt

Fri, 07/11/2014 - 22:09

She comes to me an says DADDY ( with a straight face)
* i want a merry go round *
Um i cant afford that hunny, she says w. out a pause -But you build everything else-

...I froze.

lol well Ana my dear friend I think I need your help on this one...

spiceylg

Sat, 07/12/2014 - 17:56

Out of the mouth of babes....priceless! Nice build, too!

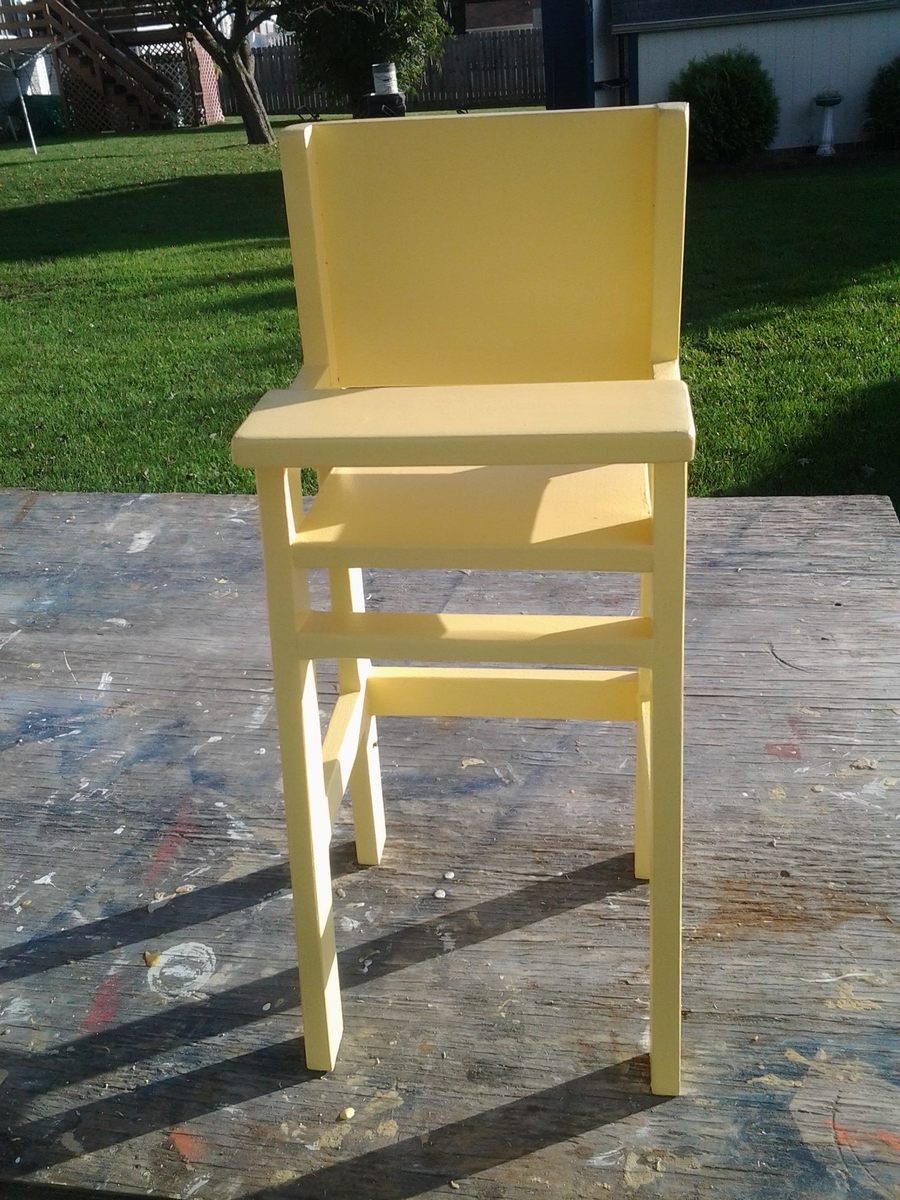
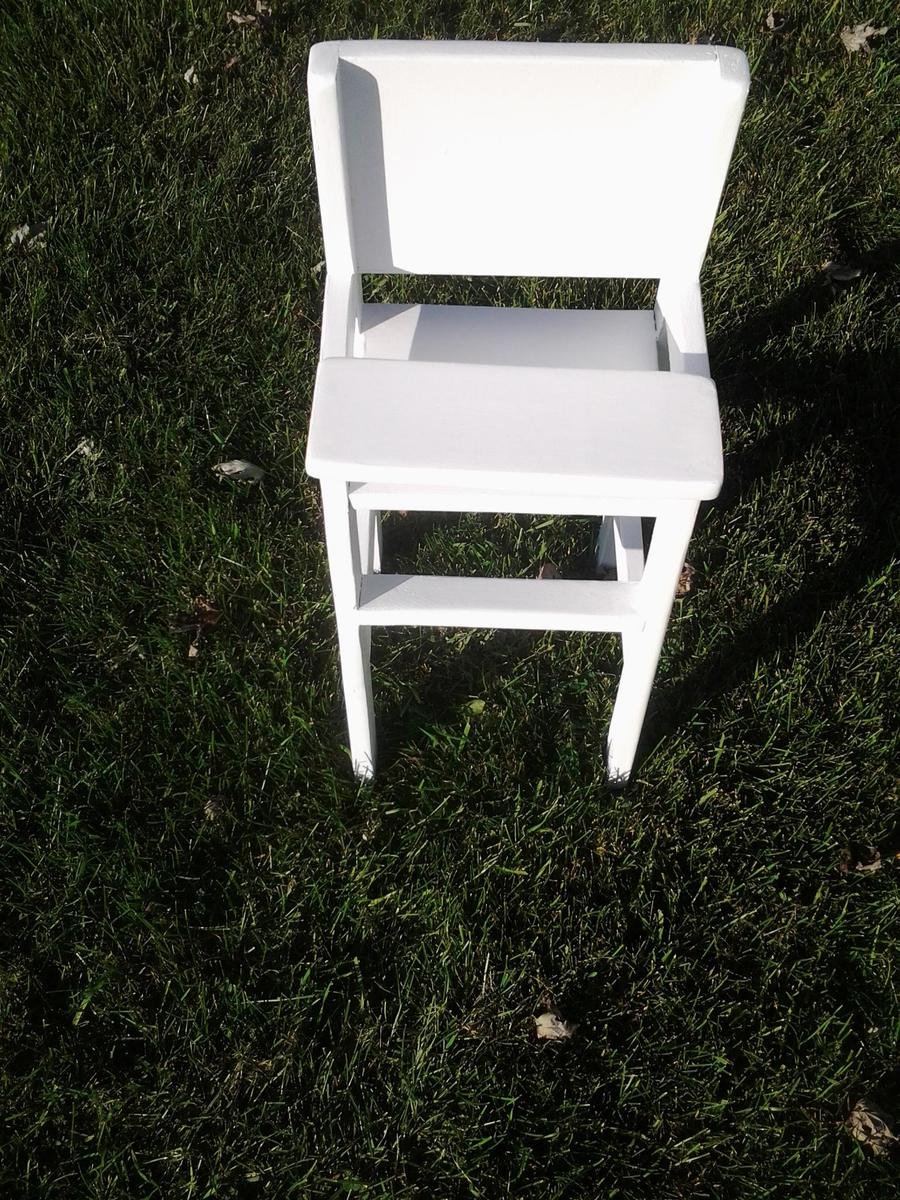
GREAT CHRISTMAS GIFTS

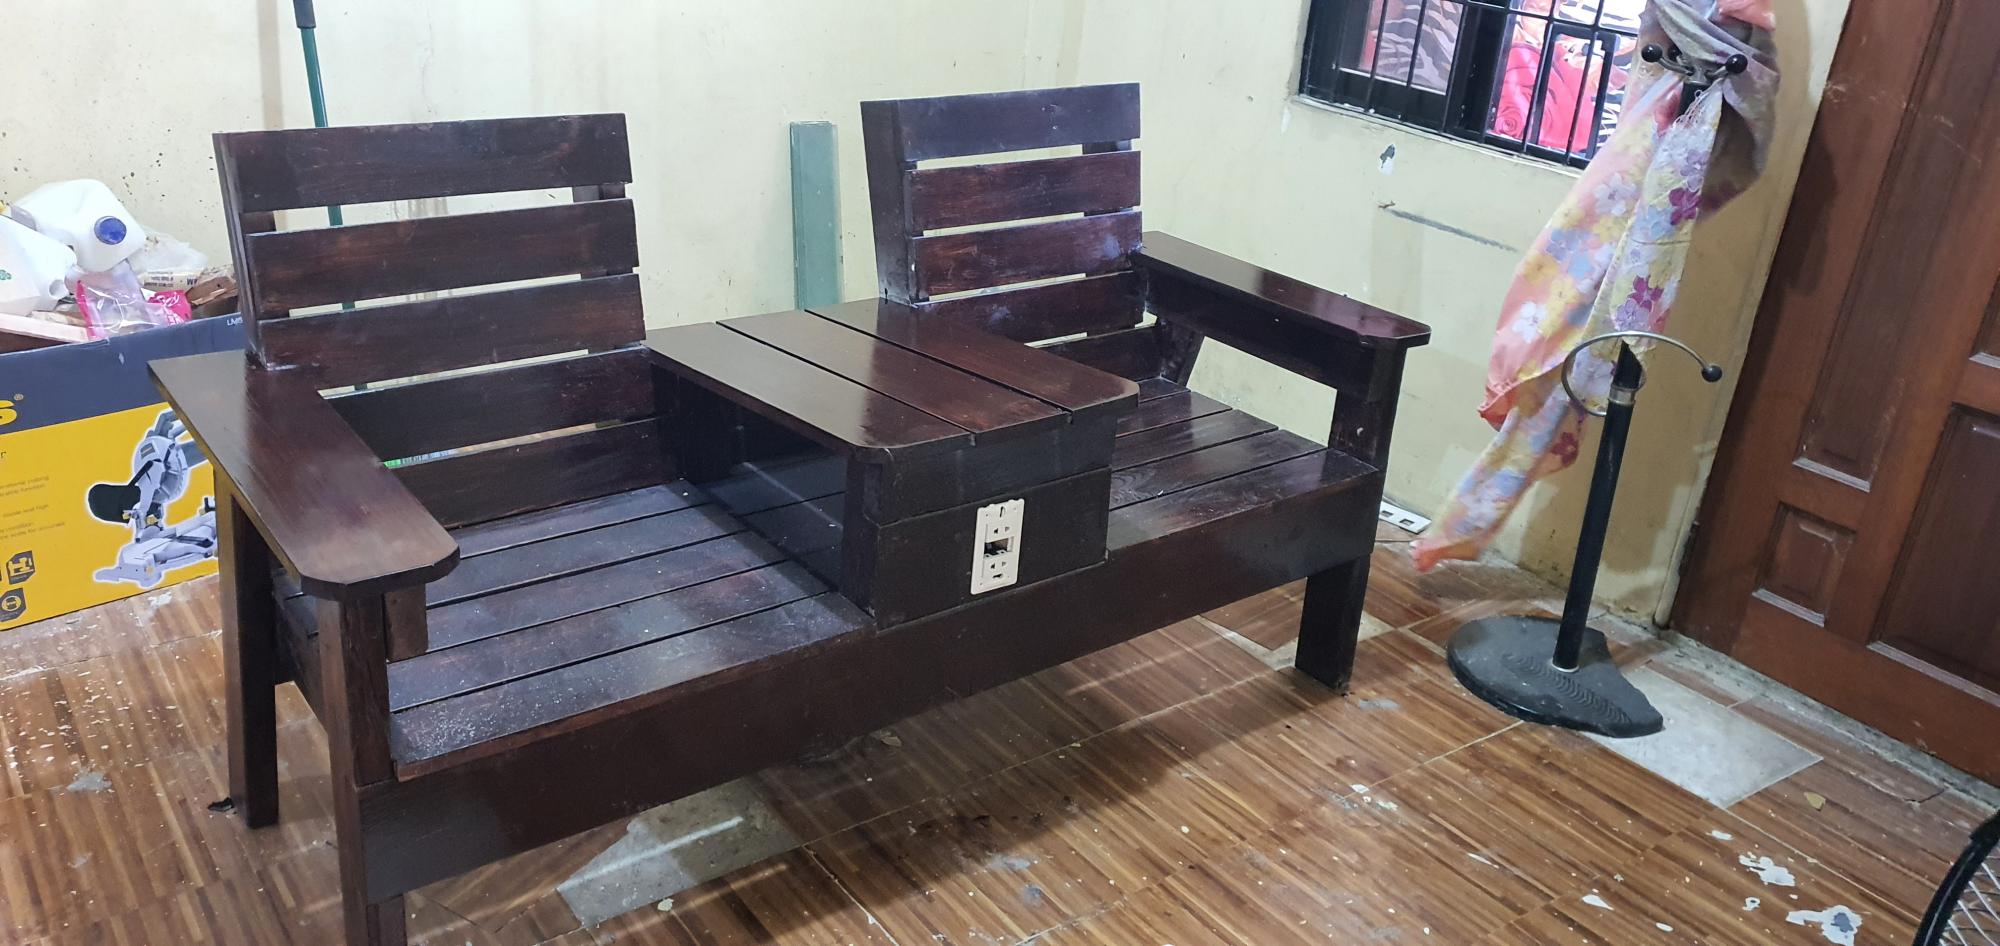
These Chairs  where fun and  easy to build. I used 1x8 for the back. I used counter sunk 1  1/4 in screws and  pocket holes and  kreig screws. I thought A hinge would not be safe so I screws the tray down with a 2in overhang. Can not wait until Christmas.

Built from Plan(s)
Estimated Cost
$15
Estimated Time Investment
Afternoon Project (3-6 Hours)
Finish Used
123 primer and Pratt and Lambert semi- gloss interior paint
Recommended Skill Level
Beginner

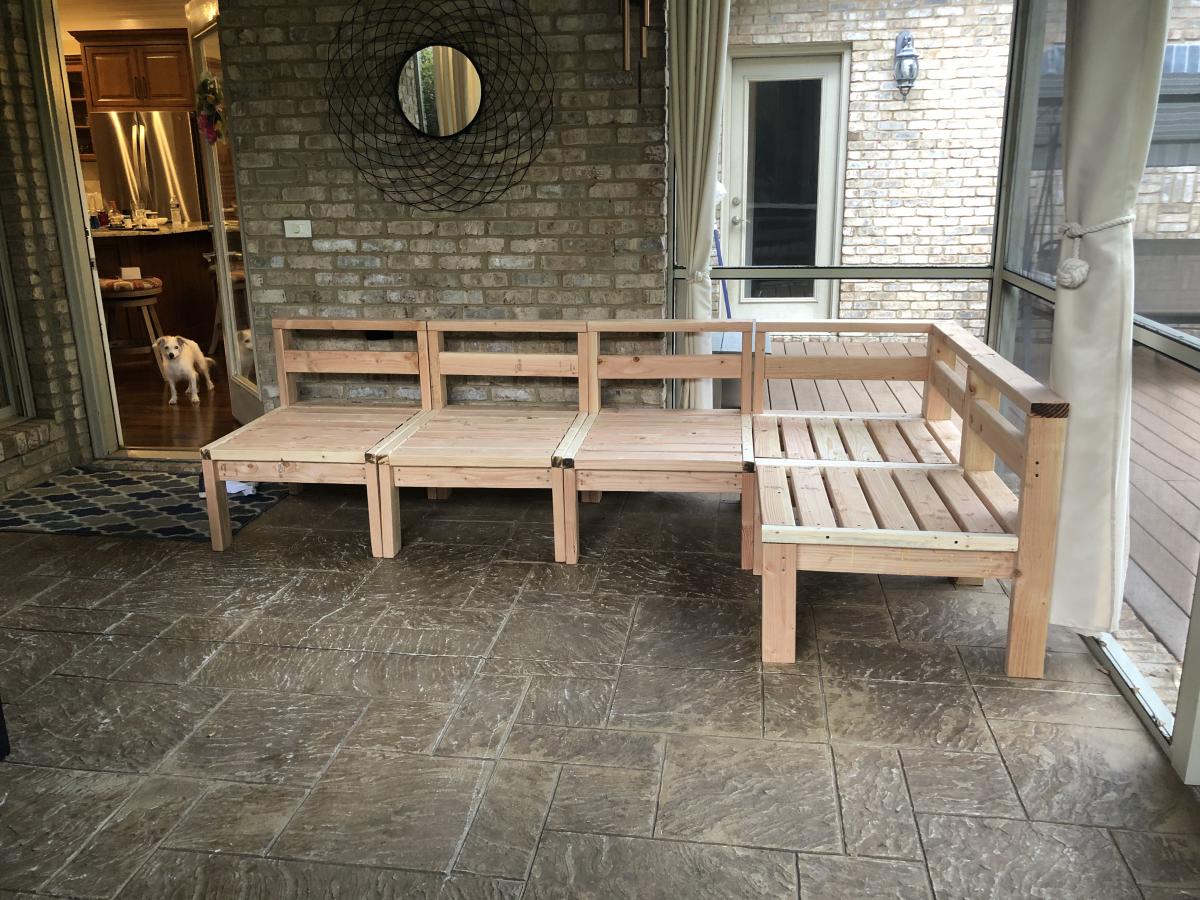
Simple Modern Outdoor Sectional

Ten-day project (construction plus sewing) that concluded with exactly what we needed for our space. No big issues with the plan and really pleased with the result. Making the cushions was only possible through upholstery sewing experience. Thank you Ana White!

Estimated Cost
$400
Estimated Time Investment
Week Long Project (20 Hours or More)
Finish Used
Rustoleum Gloss Black Spray Paint
Recommended Skill Level
Intermediate

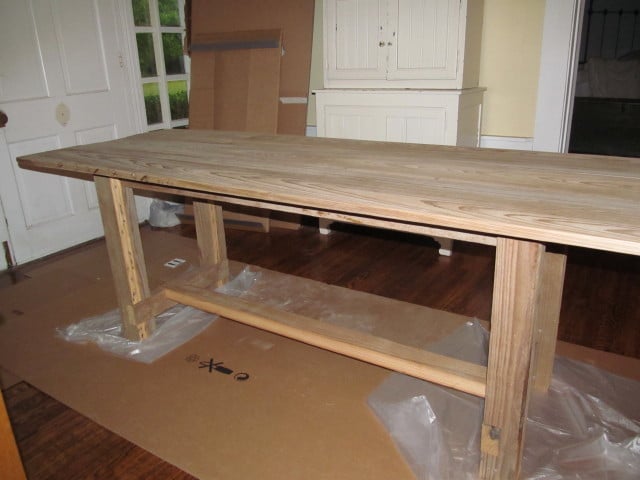
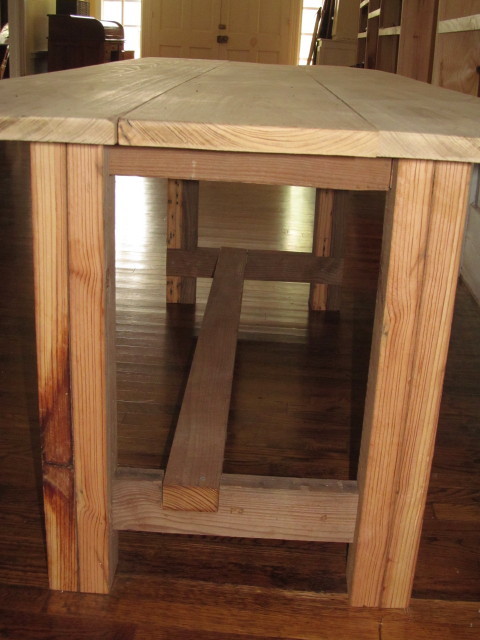
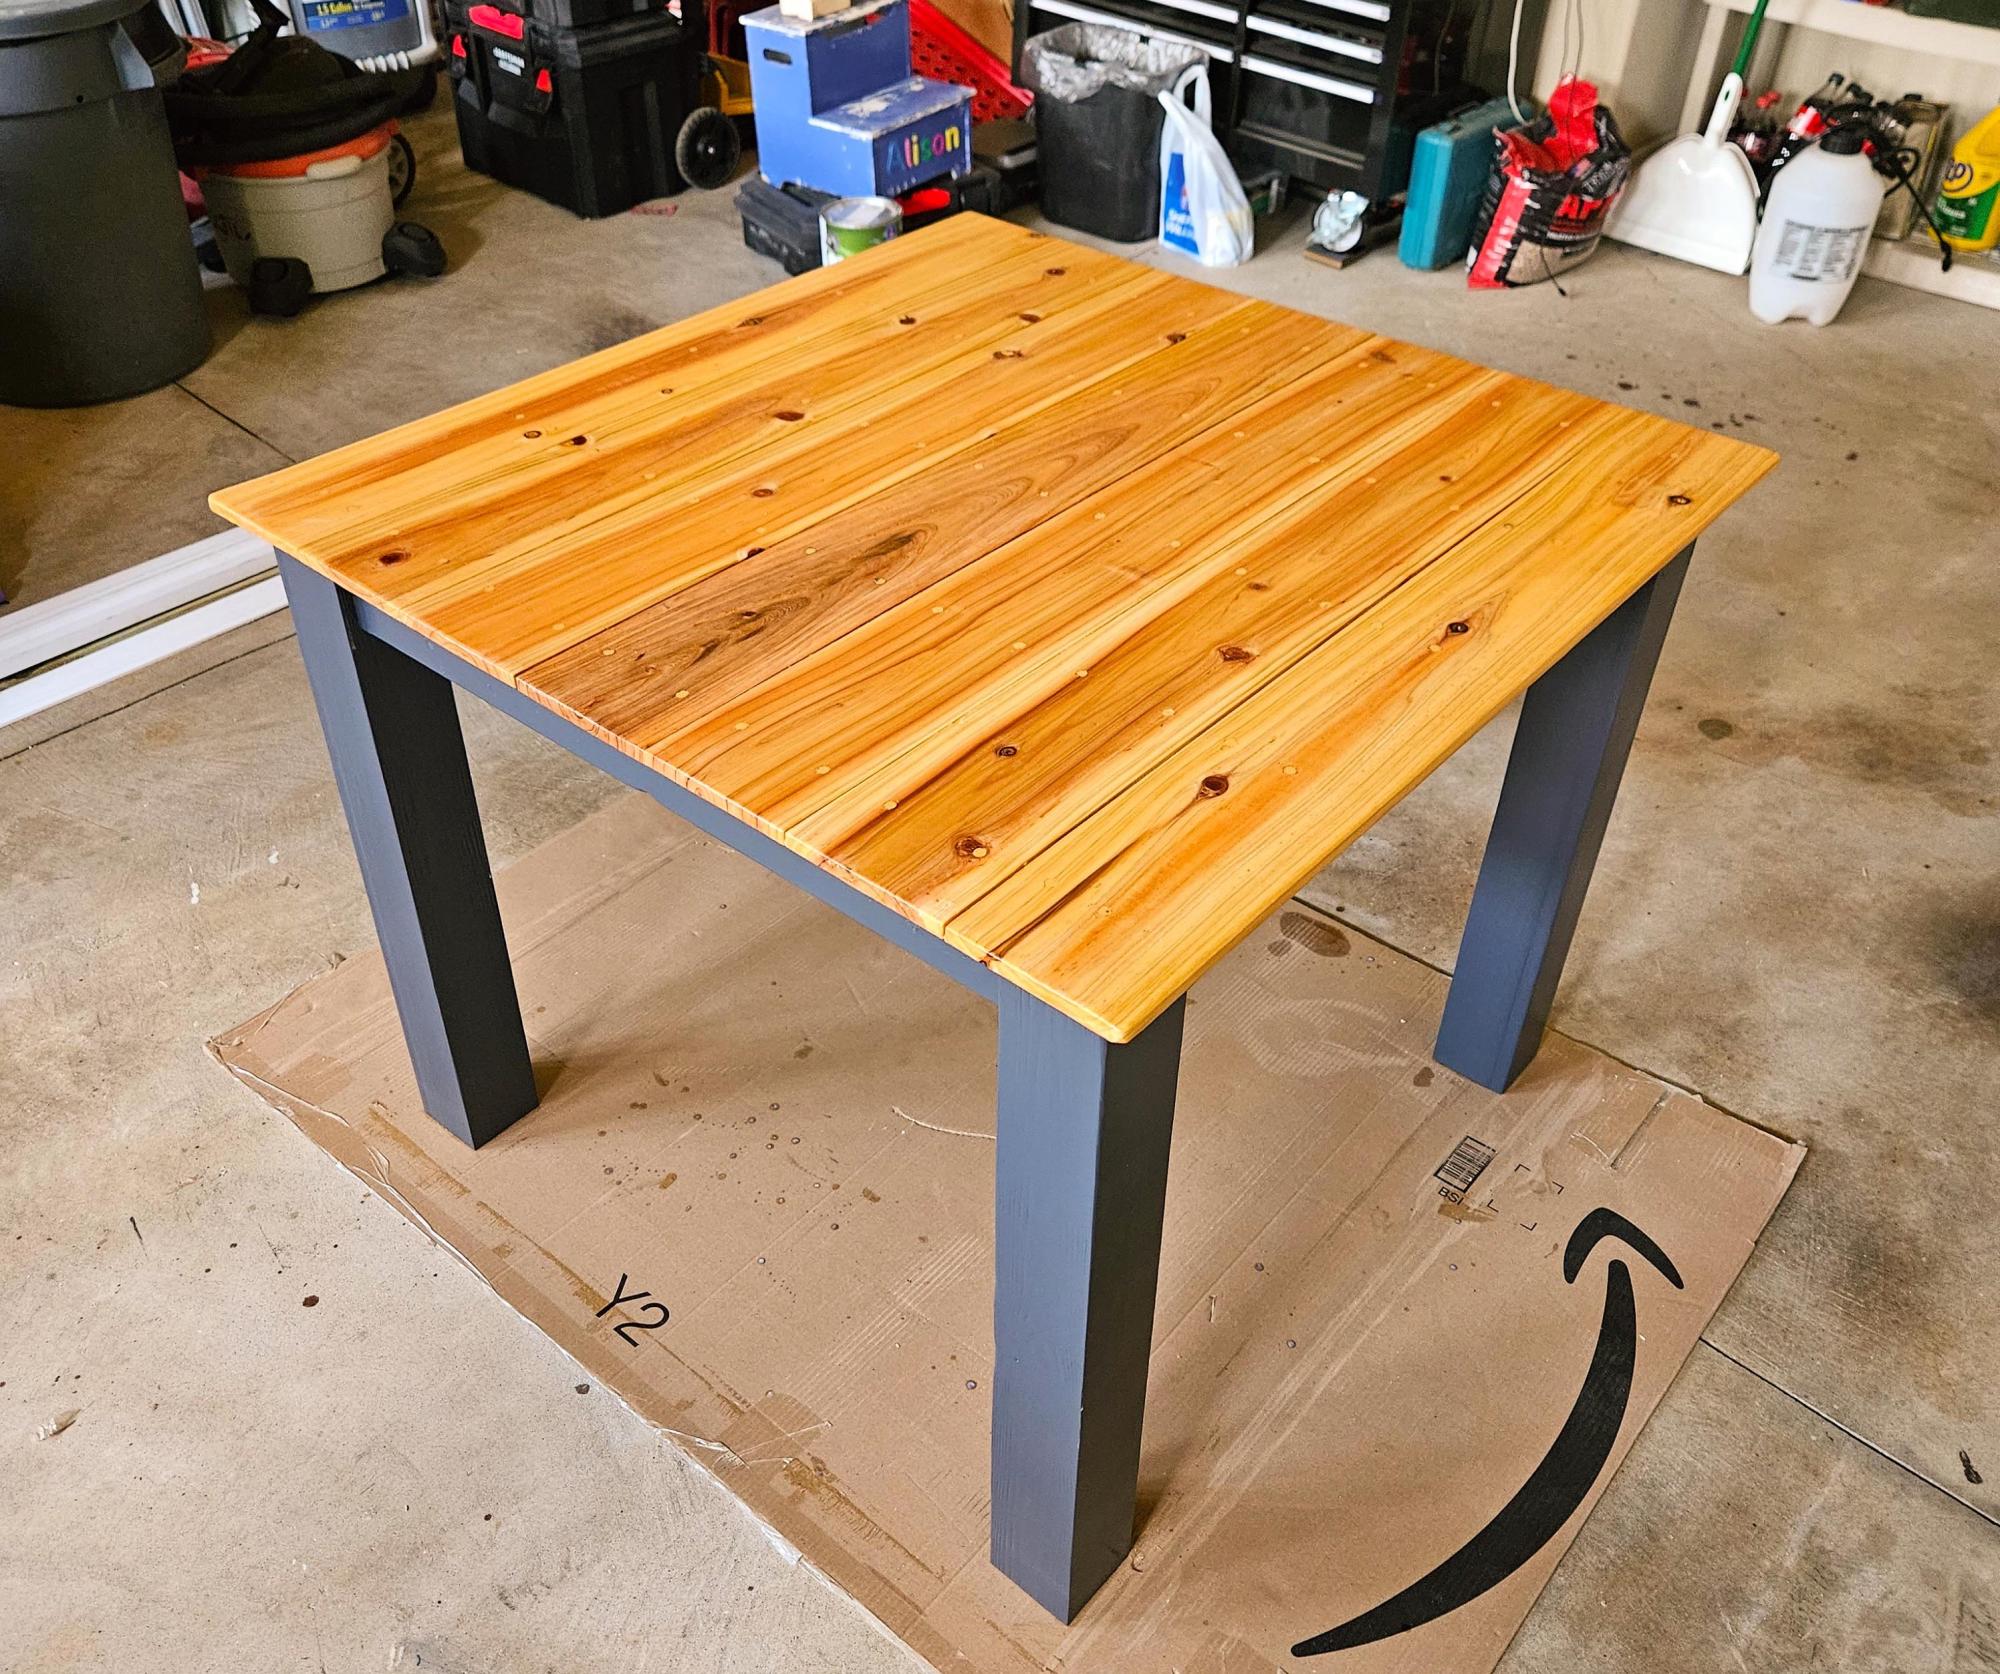
We built a table using reclaimed wood!

We modified the farmhouse table plan and made office desks from reclaimed lumber! Check out the full post on my blog: http://livingvintageco.com/category/do-it-yourself/woodworking/.

Estimated Cost
$500
Estimated Time Investment
Day Project (6-9 Hours)
Recommended Skill Level
Beginner

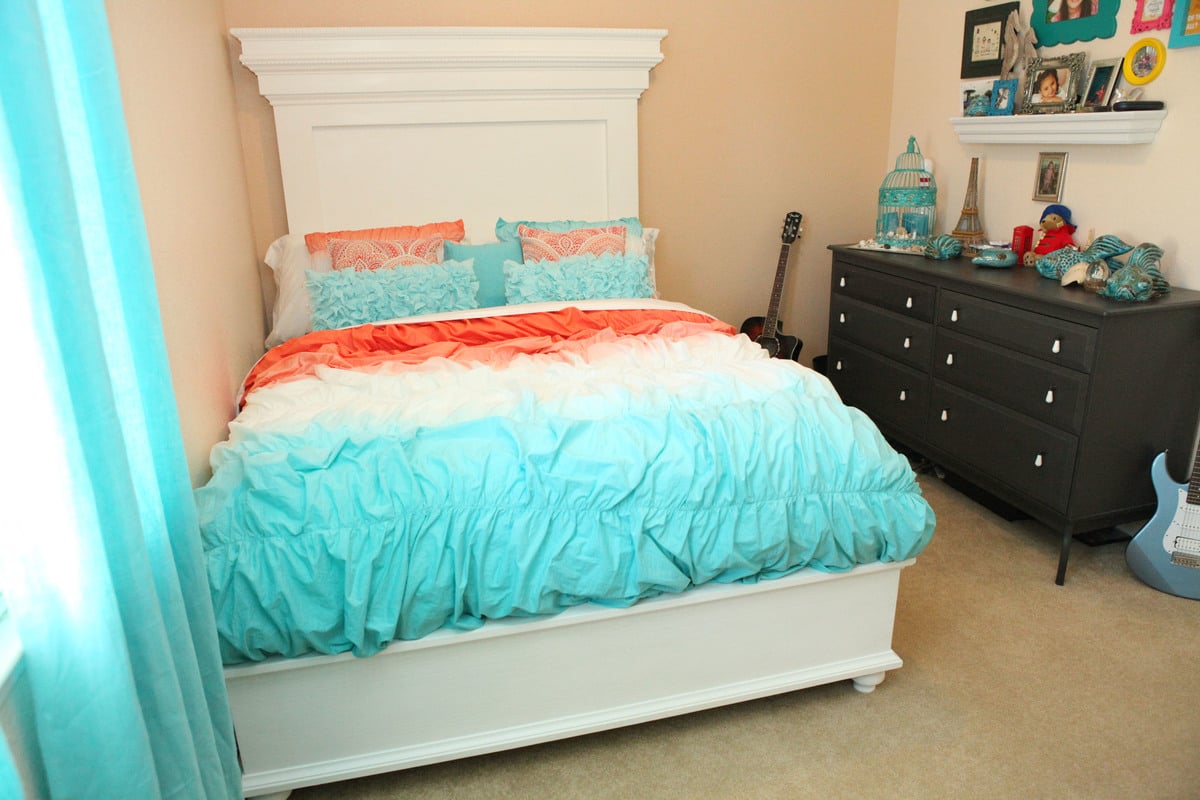
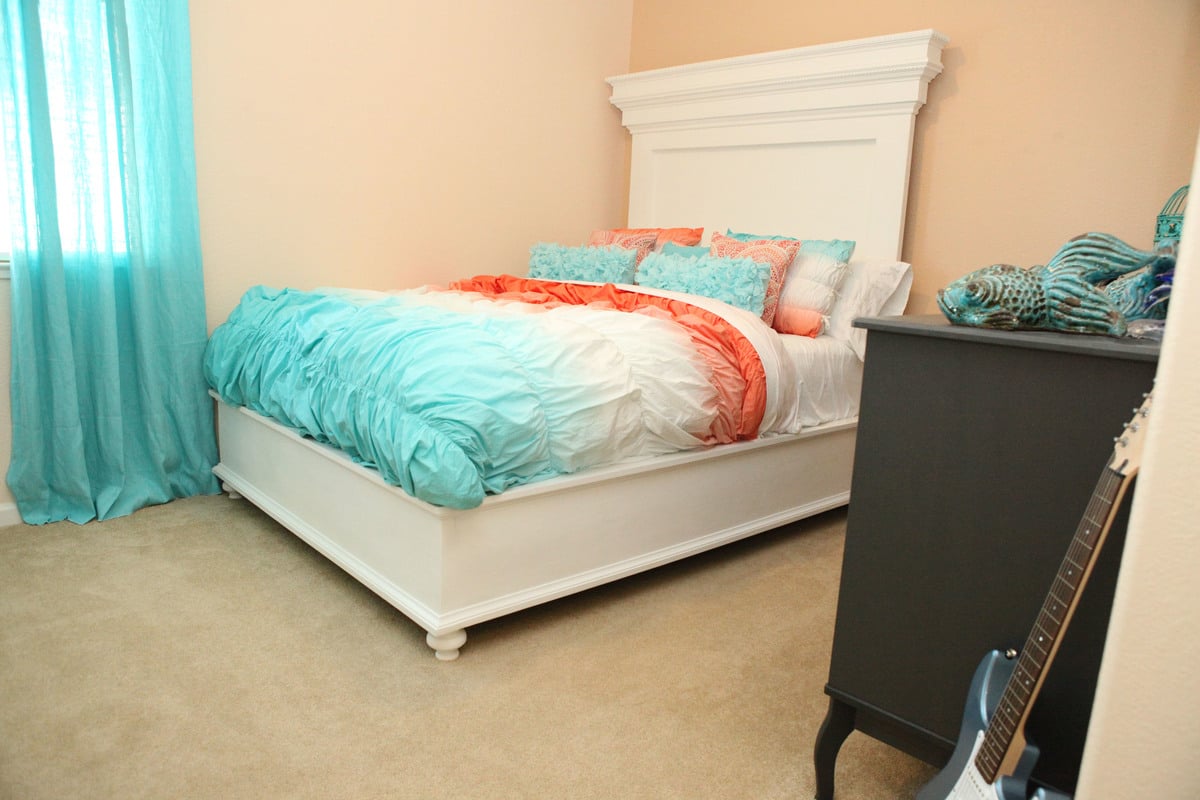
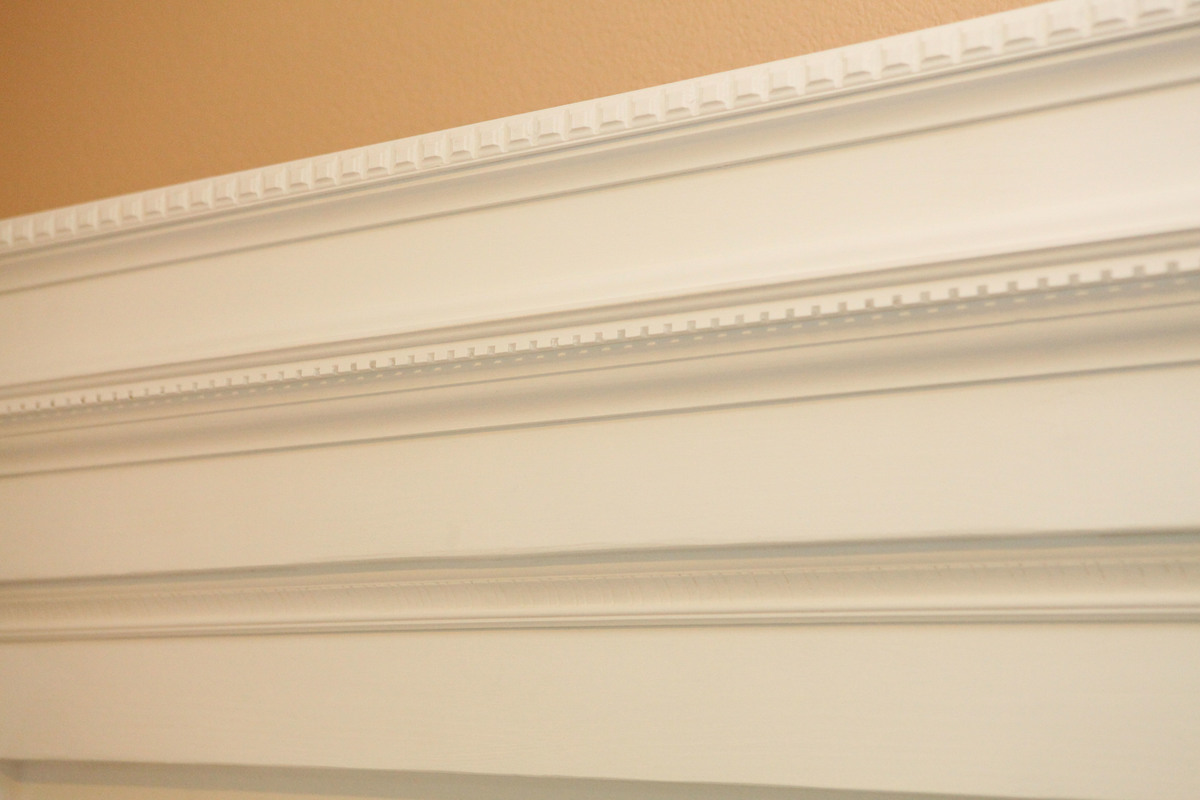
Mantel Moulding Headboard with Chestwick Platform Base

Submitted by Luckysme on Mon, 07/14/2014 - 13:26

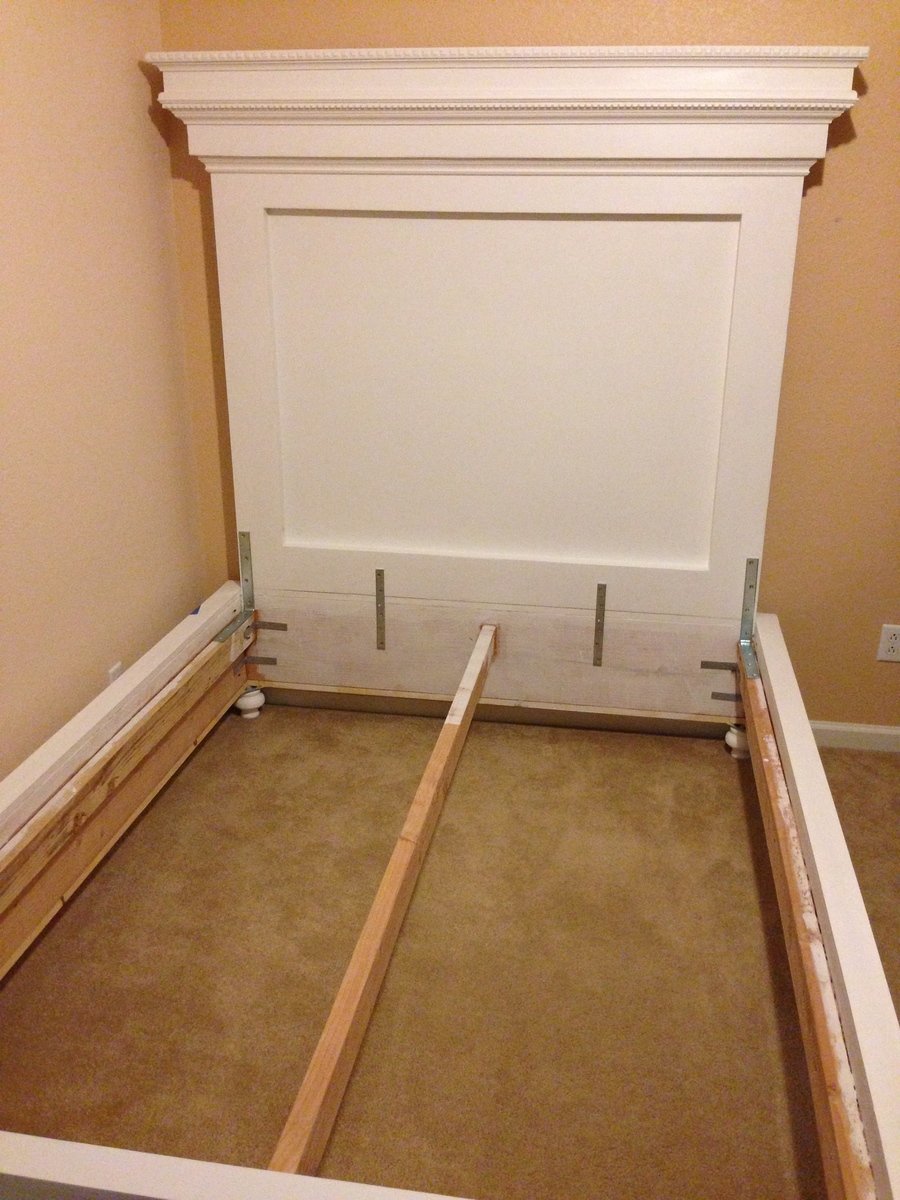
My husband and I took two plans, the Mantel Moulding Headboard, and the Chestwick Platform Bed. We made some slight modifications which are as follows.

For the Mantel Moulding Headboard I wanted it to be a tall. The original plans called for the headboard to be 61 1/2 inches. We made ours so that it sat at 74 inches. We also made the width of the headboard 60 inches so that it was a perfect fit for the base.

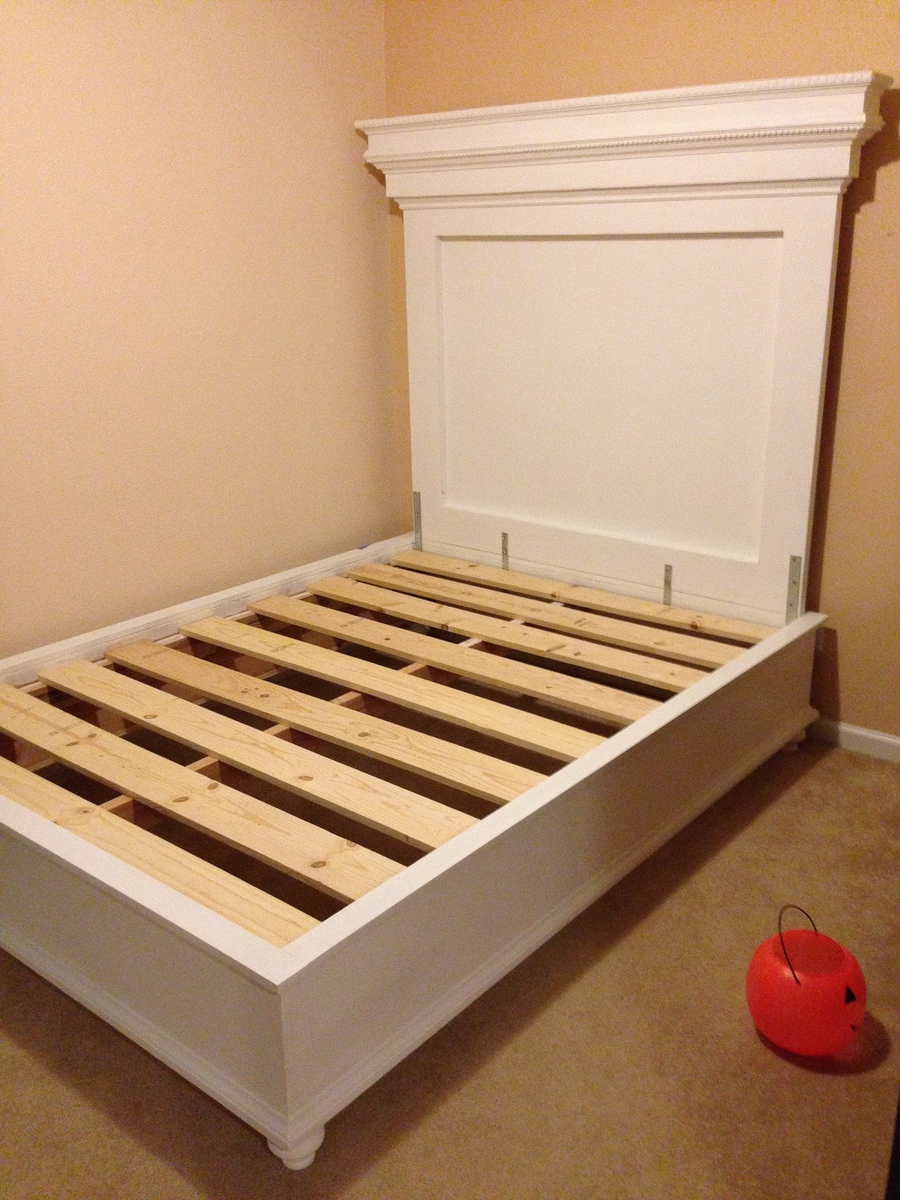
For the Chestwick Platform bed we used 2X12's. Since we decided to make the headboard taller, I felt that the 2X8s wouldn't have been aesthetically pleasing. We used heavy duty top corner plates to screw in the bun feet.

Mounting the headboard: Due to the size of this headboard, it is recommended that you attach to a stud in the wall behind headboard to prevent forward tipping. We used french fleat picture hanger with wall dog mounting screws (200 lbs), read instructions. We attached two vertical 1X2's to the back of the headboard for added support, since the headboard rests on the platform bed. After the headboard was properly secured to the wall, and resting on the platform bed, we then installed four mounting brackets. 2 heavy duty corner brackets, and 2 mounting brackets. The heavy duty corner brackets are long enough to screw into the mattress supports, the platform bed, and the headboard (see pics).

This was our second project, and we couldn't have done it without Ana's help.
Estimated Time Investment
Week Long Project (20 Hours or More)
Finish Used
Primer: Zinsser Shellac.
Paint: Annie Sloan Pure White Chalk Paint.
Finish: Annie Sloan Clear Wax
Recommended Skill Level
Intermediate

Laundry Room Table For Front Loaders

Submitted by Anonymous (not verified) on Thu, 10/20/2016 - 13:58

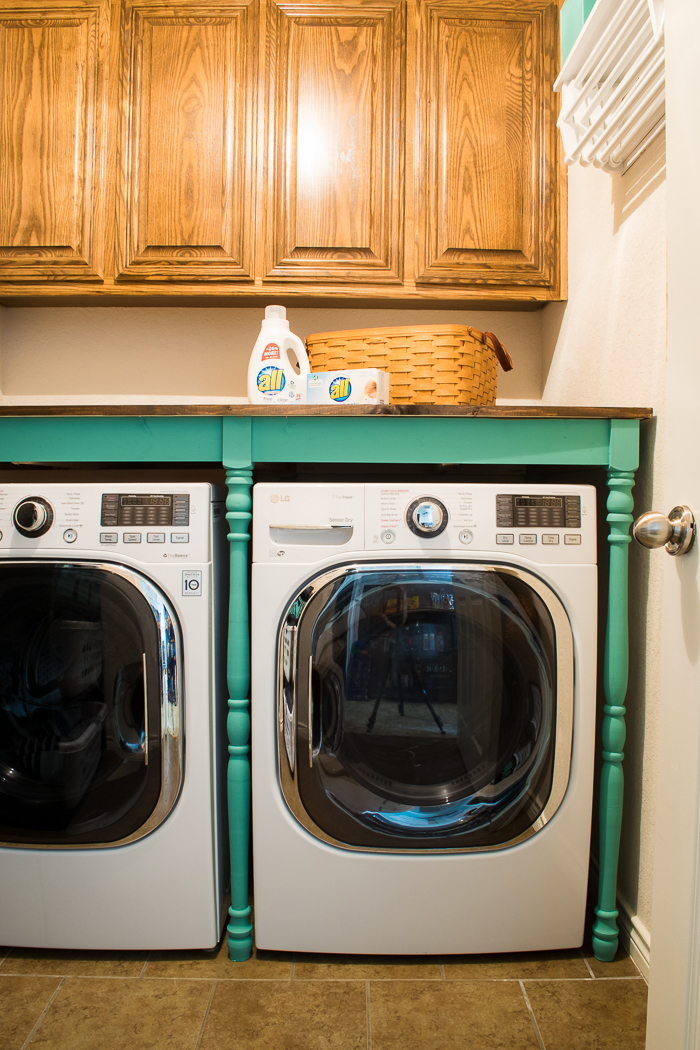
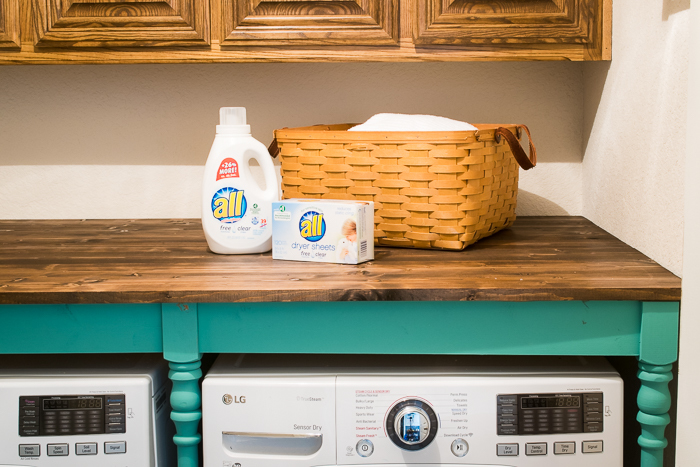
I followed Ana's basic table plans but modified it to have legs in the middle (6 legs instead of 4). I used ballisters/ banisters found out our local Habitat for Humanity Restore for the legs which helped cut down the cost. 

Estimated Cost
Under $100. Approx $86 for my lumber.
Estimated Time Investment
Afternoon Project (3-6 Hours)
Finish Used
I used chalk paint (Country Chic in Bliss) and minwax stain.
Recommended Skill Level
Beginner

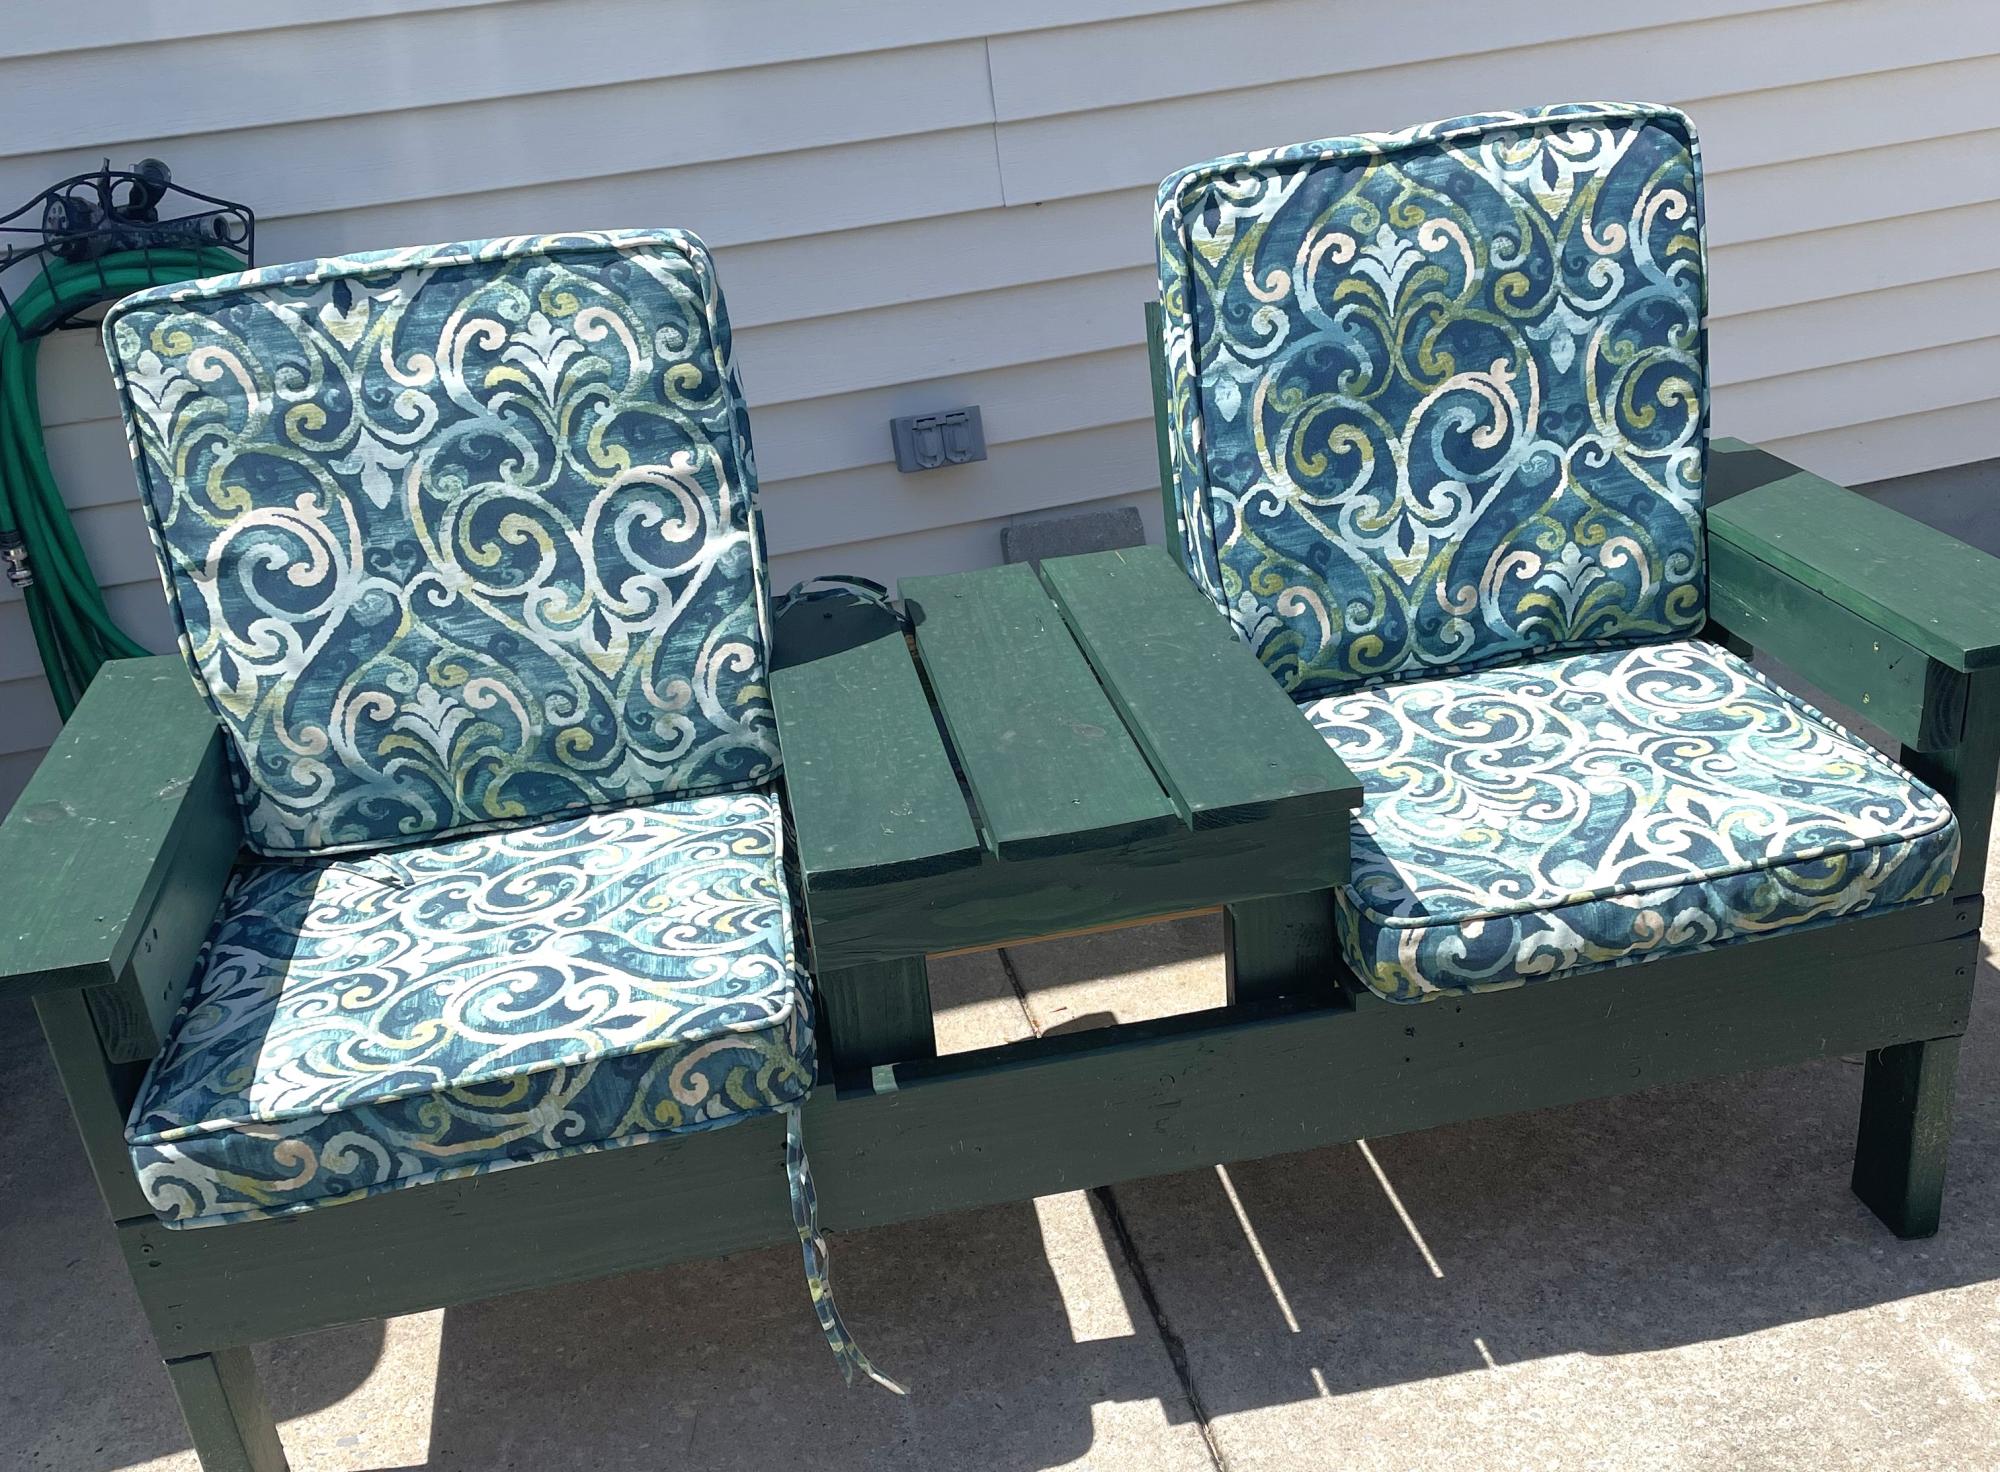
DIY Outdoor Furniture

Submitted by Anonymous (not verified) on Mon, 06/03/2024 - 09:25

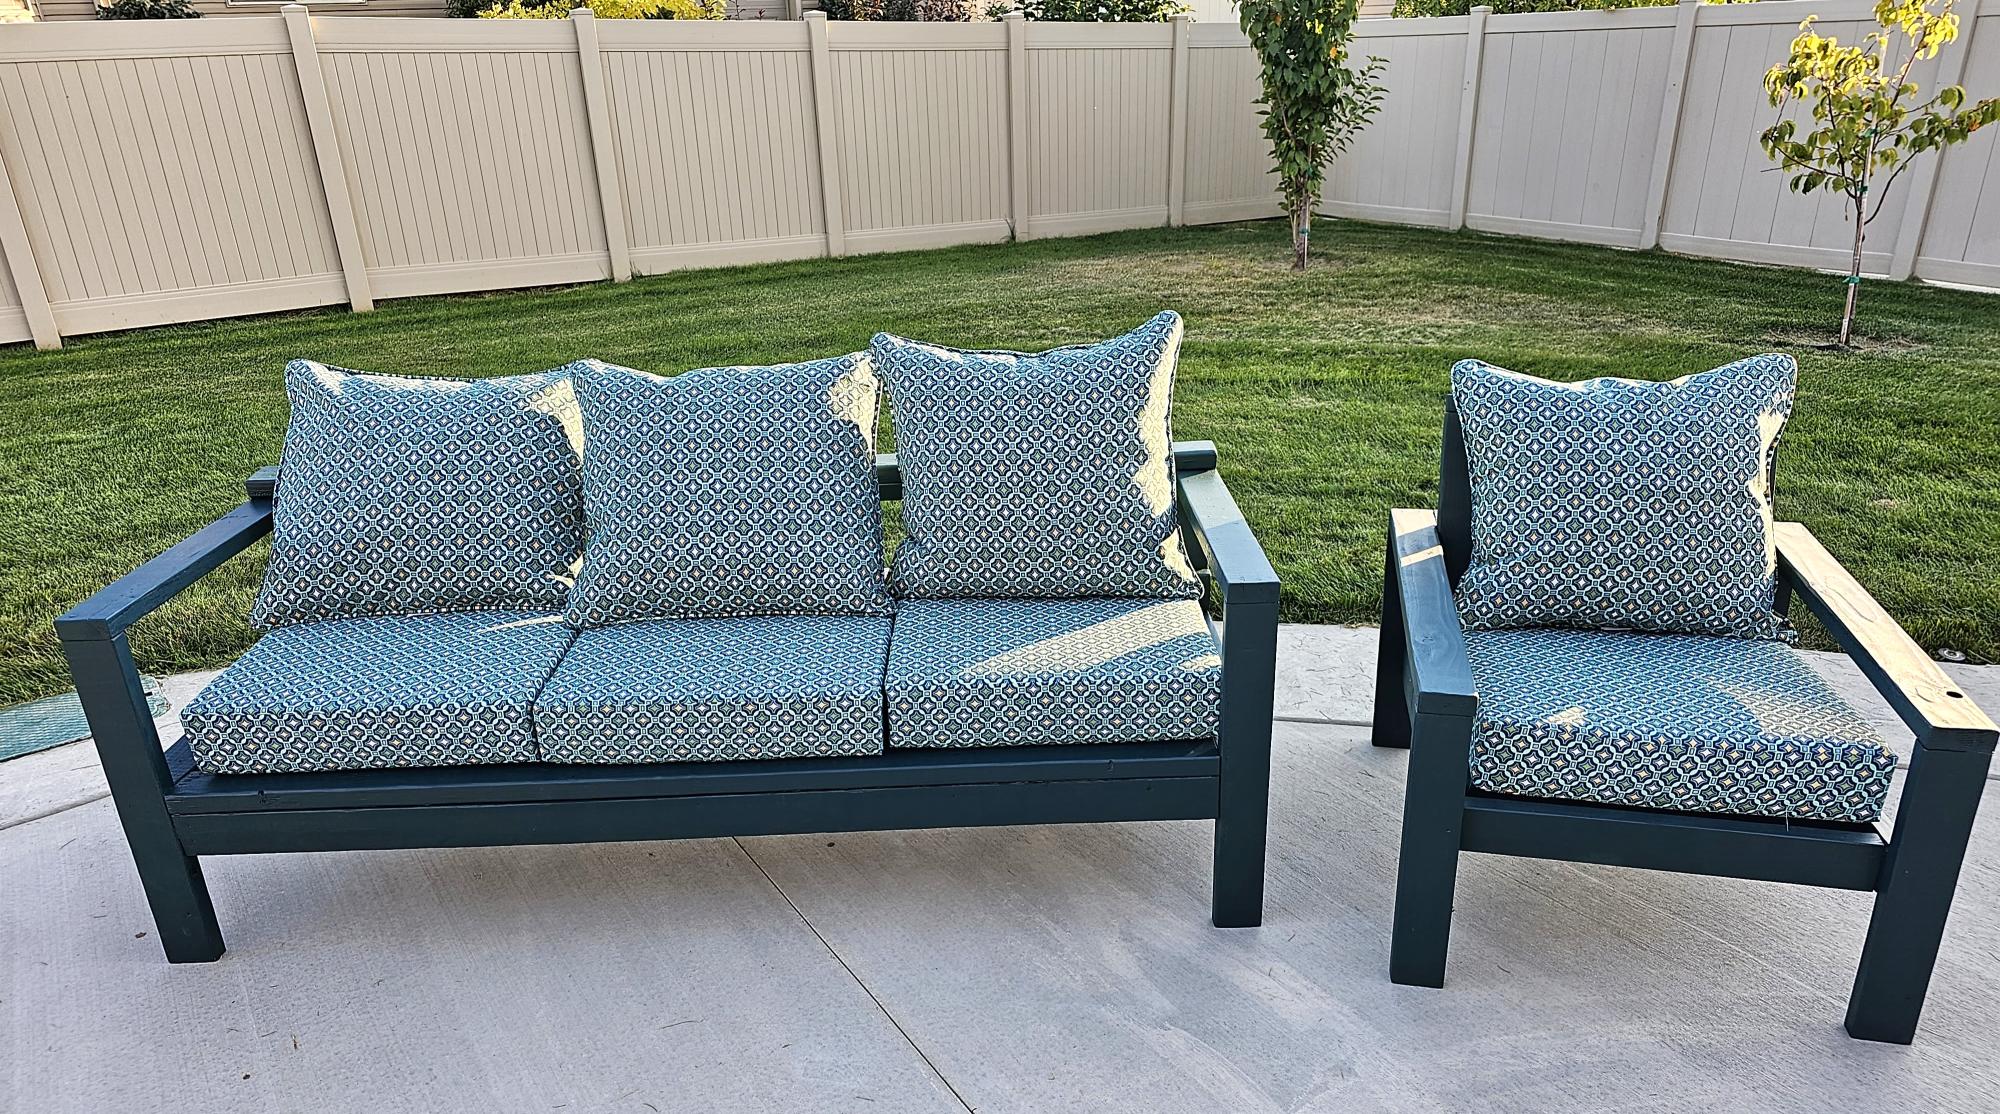
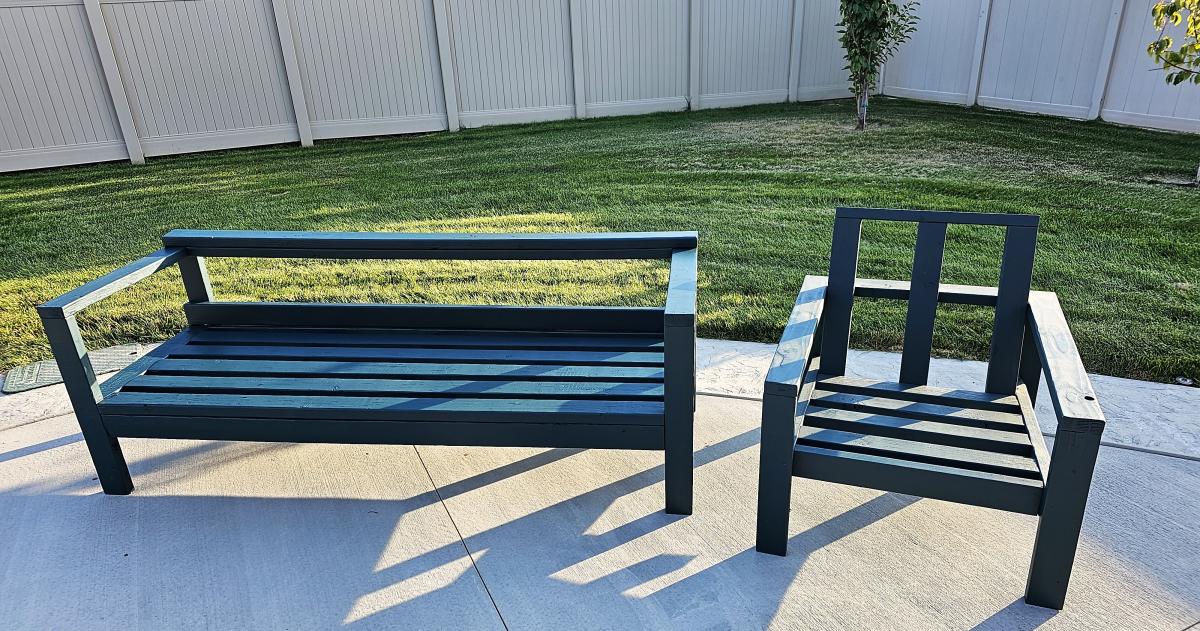
I couldn't see spending several thousand for outdoor furniture, so I looked at what you had done. It was so much easier and sturdier than I thought it would be. Thank you for all you do for the community.
I added the board on the back of the sofa to stop the cushions from slipping through. My wife wanted a fun color so we found a waterproof stain and had it tinted. I thought it came out very nice.


iTable!

Submitted by megan_m on Tue, 09/18/2012 - 17:53

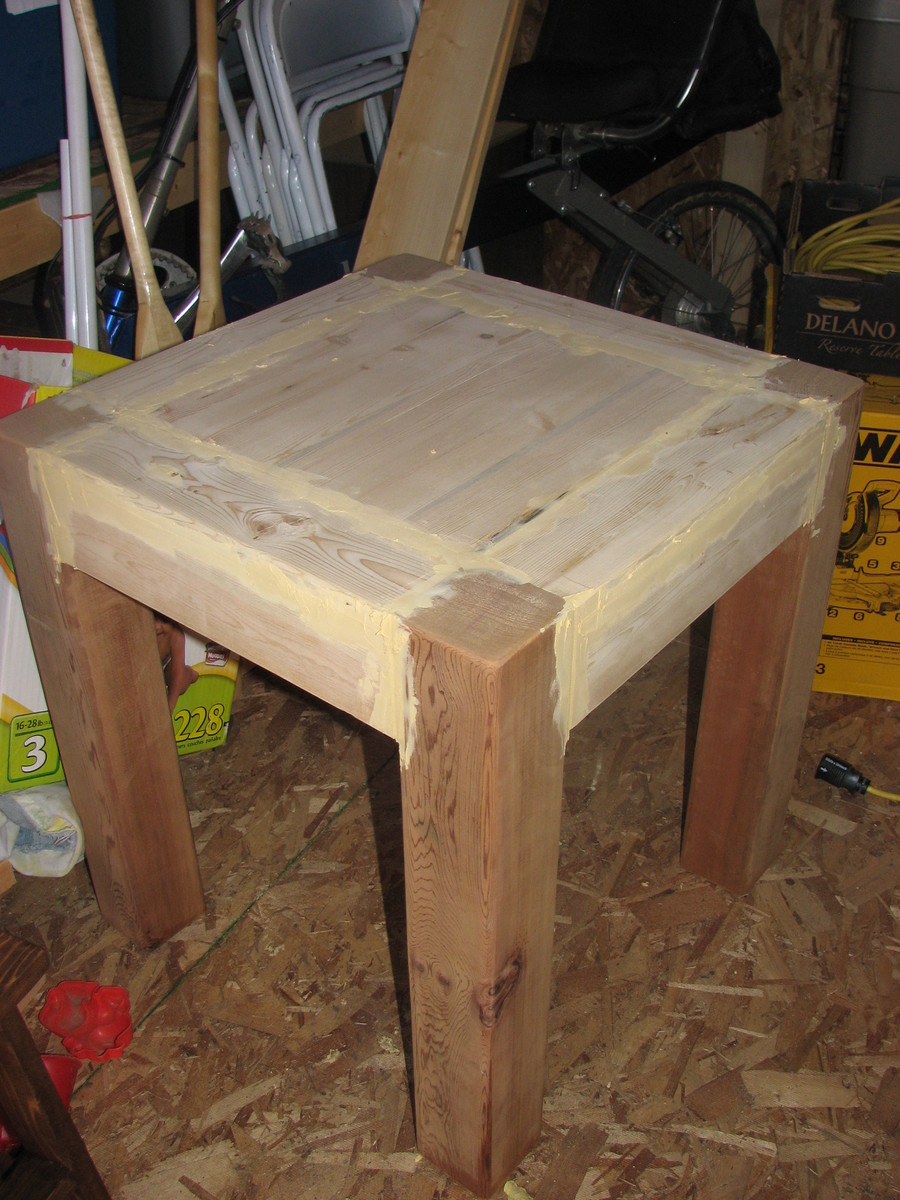
My husband and I are very happy with how this table turned out, we put it together in a couple of hours on a weekend. It took me a couple weeks of sanding and staining and sanding and staining to finish it, but it was worth it.
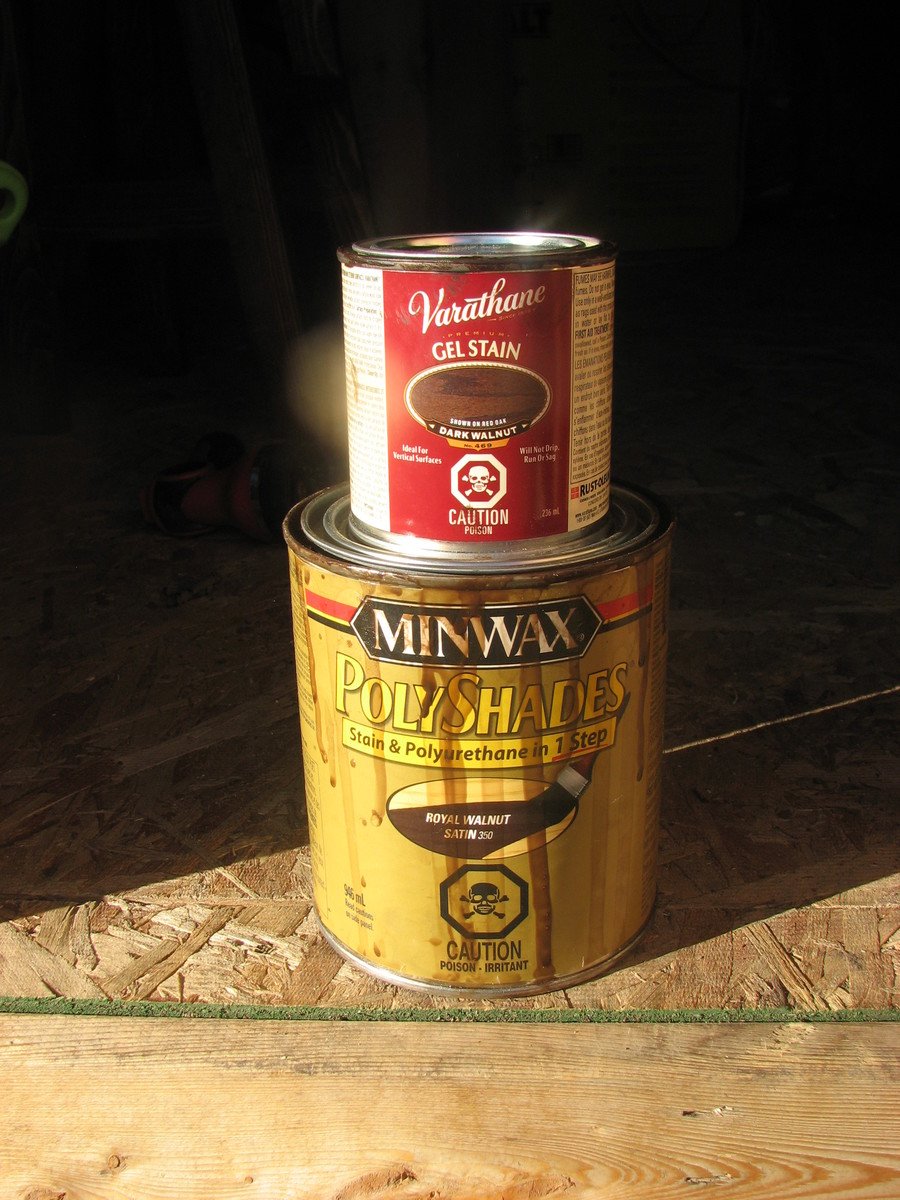
Decided to use up some previously bought stain, Minwax Polyshades in Royal Walnut, but it just wasn't getting as dark a color as I wanted, even after three coats, so I picked up some Varathane Gel Stain in Dark Walnut. 2 coats of that brought it up to a nice rich color.
I'd like to say that I'll never do that many coats of stain again, but I will probably have to go through the whole process again, as we have a in-progress matching side table that I want to finish the same. :)

Built from Plan(s)
Estimated Cost
$75?
Estimated Time Investment
Weekend Project (10-20 Hours)
Finish Used
3 coats of Minwax Polyshades in Royal Walnut
2 coats of Varathane Gel Stain in Dark Walnut
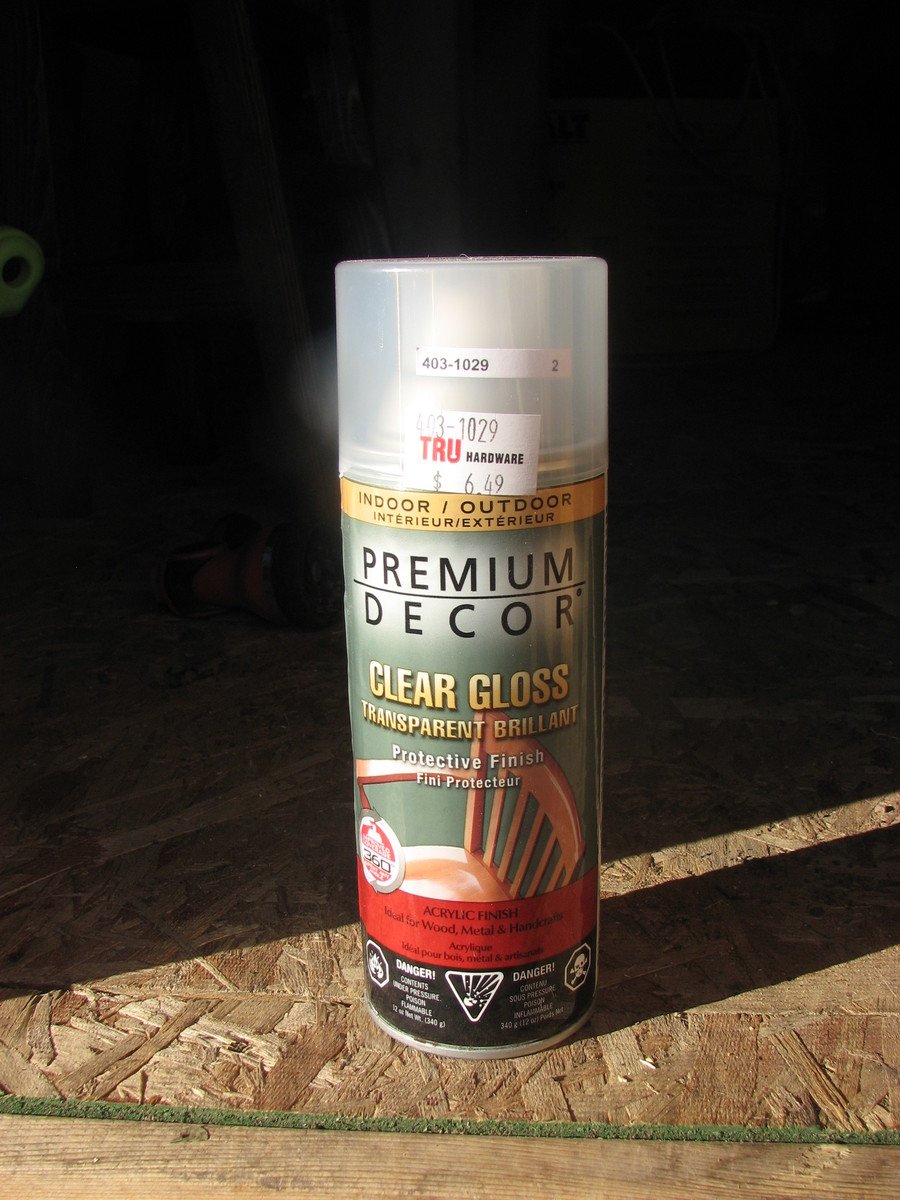
2 coats of Clear Gloss Protective Finish
(sanded lightly with very fine steel wool after every coat)
Recommended Skill Level
Beginner

Comments

HappyDouta (not verified)

Thu, 09/20/2012 - 07:33

hi there,

what a lovely piece of furniture

can i just ask? is that wood putty used or wood filler, prior to sanding

thanks

k

megan_m

Fri, 09/21/2012 - 13:31

I used elmer's paintable/stainable wood filler. I wound have rather not had to use anything because it isn't completely invisible when it was finsighed, but the edges of the 4x4's we got were pre-rounded so they left some gaps in the top and sides, and some of our other joins weren't completely straight either.

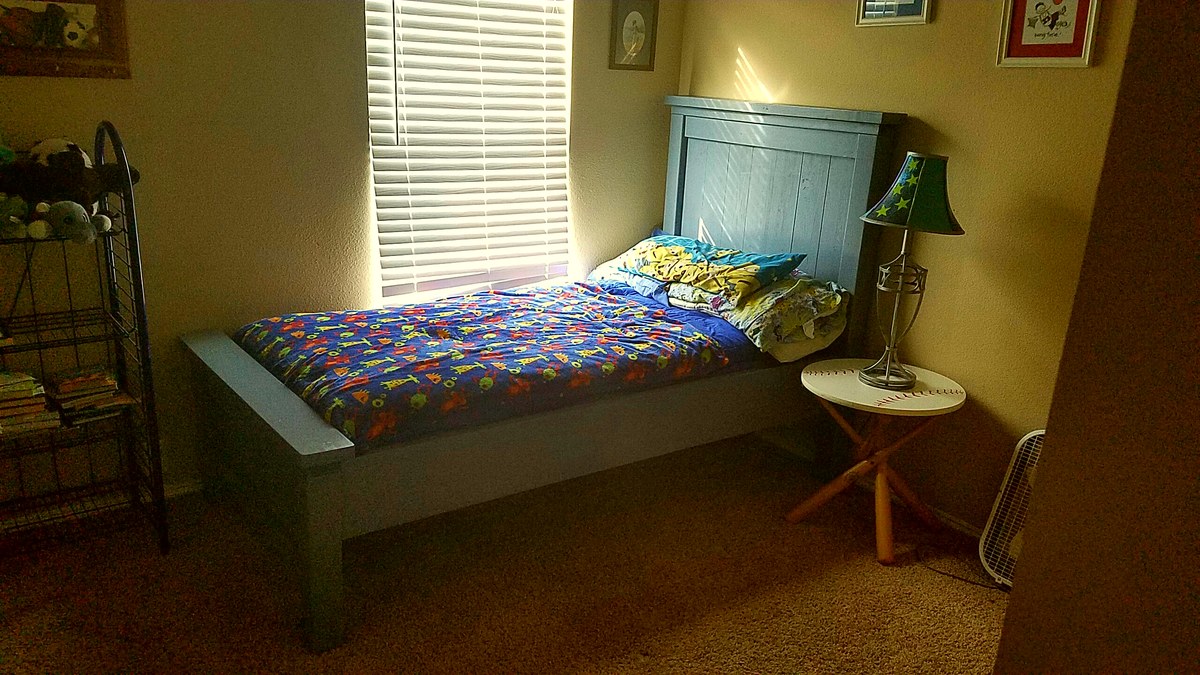
Farmhouse Bed for my son

Submitted by Anonymous (not verified) on Sun, 10/23/2016 - 18:29

Came out fantastic!  I made this one for my son and have now been recruited by my daughter to make another!

Estimated Cost
$130.00
Estimated Time Investment
Weekend Project (10-20 Hours)
Finish Used
Providence Blue Wood Stain and two coats of poly.
Recommended Skill Level
Beginner

Beautiful steps

Directions worked like a charm, thank you, Ana for what you do!

Comments

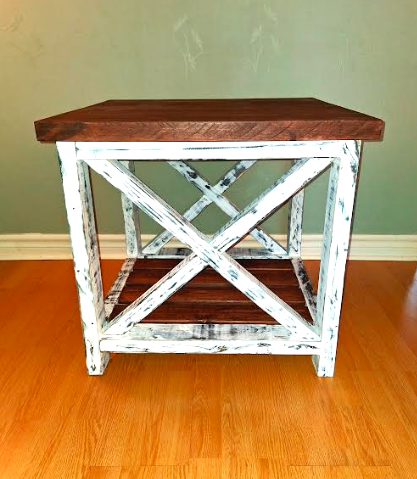
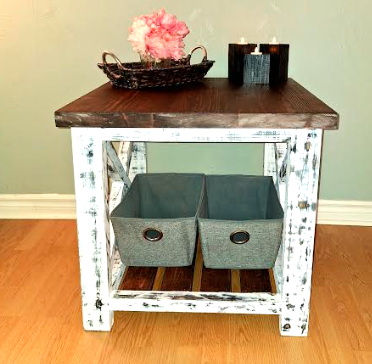
Farmhouse Side Table

Submitted by Anonymous (not verified) on Sat, 06/08/2024 - 08:57

I made 2 side/end tables, farmhouse style with X braces and distressed. Dark walnut water based stain on the top and slats.Coat of black paint on the frame and a coat of white on top of it. Had fun with my sander and gave it an awesome look.

Thank you Ana!

Picard Woodworking

Built from Plan(s)

Workbench Console and Hutch

We are in so in love with this finished piece! We made some modifications to the original plan to fit our needs. We made the top wider - 24" wide like the Pottery Barn original. We also used 4X4's for the legs and widened the distance between the legs to sit the shelves inside the legs.

We also built the second shelf. We created the second shelf to hold wine, so we modified the front of the shelf to allow for the wine bottle necks to rest. The handle was made from plumbing hardware. We got this wonderful idea from one of the posters on this site, I need to find their name to give proper credit, but it worked beautifully.

For the hutch, we also made modifications for our needs. We made it taller by 4" (so 40" tall). We used 1 X 12's for the shelves for a deeper shelf. We also raised the bottom shelf up to accommodate our Keurig coffee maker. We did not divide the middle shelf to leave a tall opening for some items we wanted to display. We also left a gap at the bottom of the hutch for cords.

Once built we distressed the entire piece, then stained with Provencial stain, and finished off with a semi-gloss poly.

The best thing, it cost about 10% of the price of the original!!

Estimated Time Investment
Weekend Project (10-20 Hours)
Finish Used
Minwax Provencial Stain
Recommended Skill Level
Intermediate

Comments

tommirhea

Fri, 09/21/2012 - 06:43

This is so awesome, and nobody will have one anything like it! I love how you totally modified it for your space. The gap for the cords was brilliant-that would be something I would of thought of after I was completely done! This is very inspiring. Thank you for sharing.

Chalkboard

Child's chalkboard as a birthday present. "Frozen" inspired color theme. Received feedback that it would also work very well as a boutique store sidewalk sign.

Built from Plan(s)
Estimated Cost
$10-$15
Estimated Time Investment
An Hour or Two (0-2 Hours)
Finish Used
Behr Paint and Primer in turquoise. Acrylic Paint in Purple.
Recommended Skill Level
Starter Project

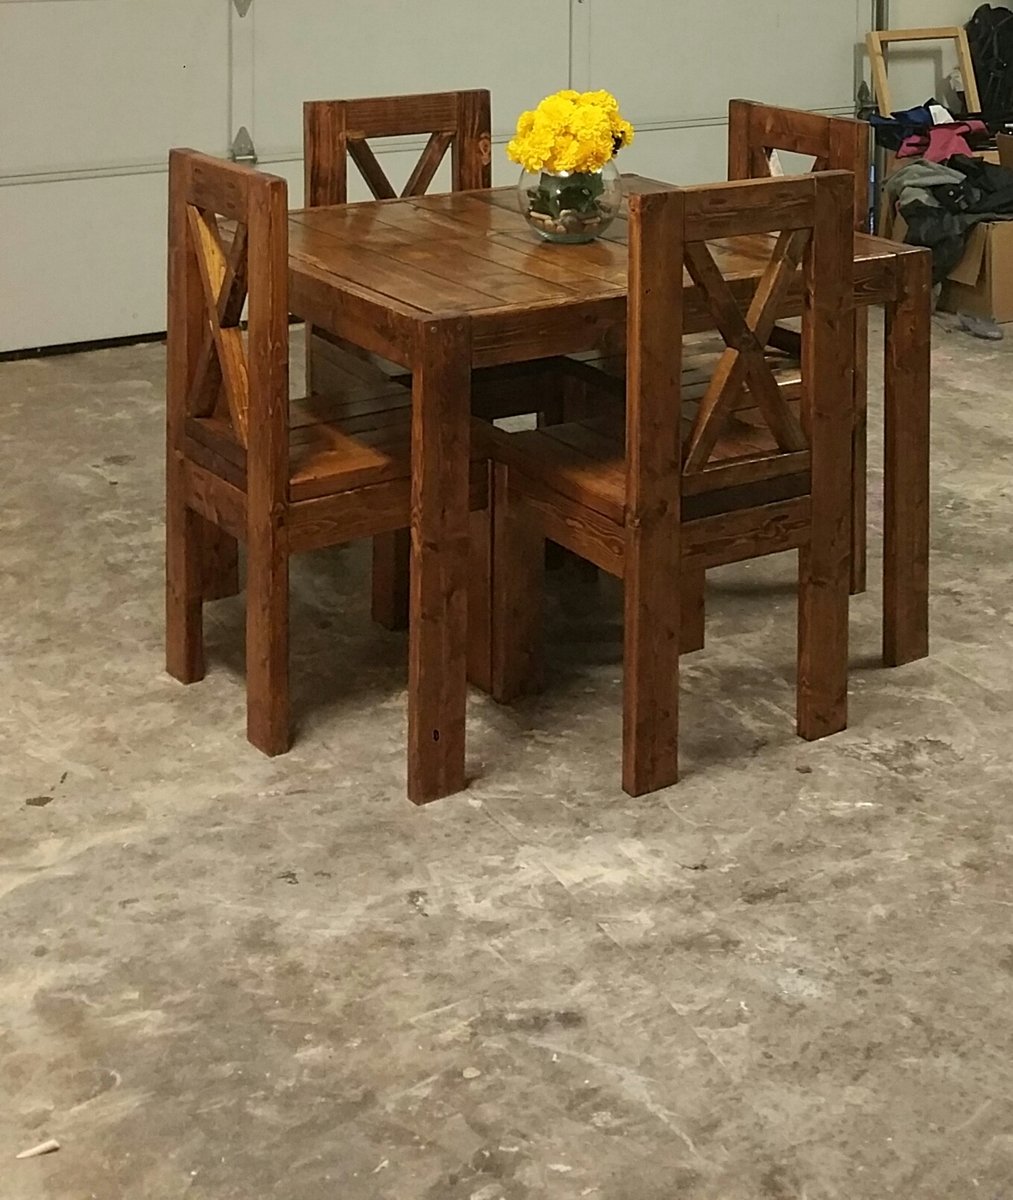
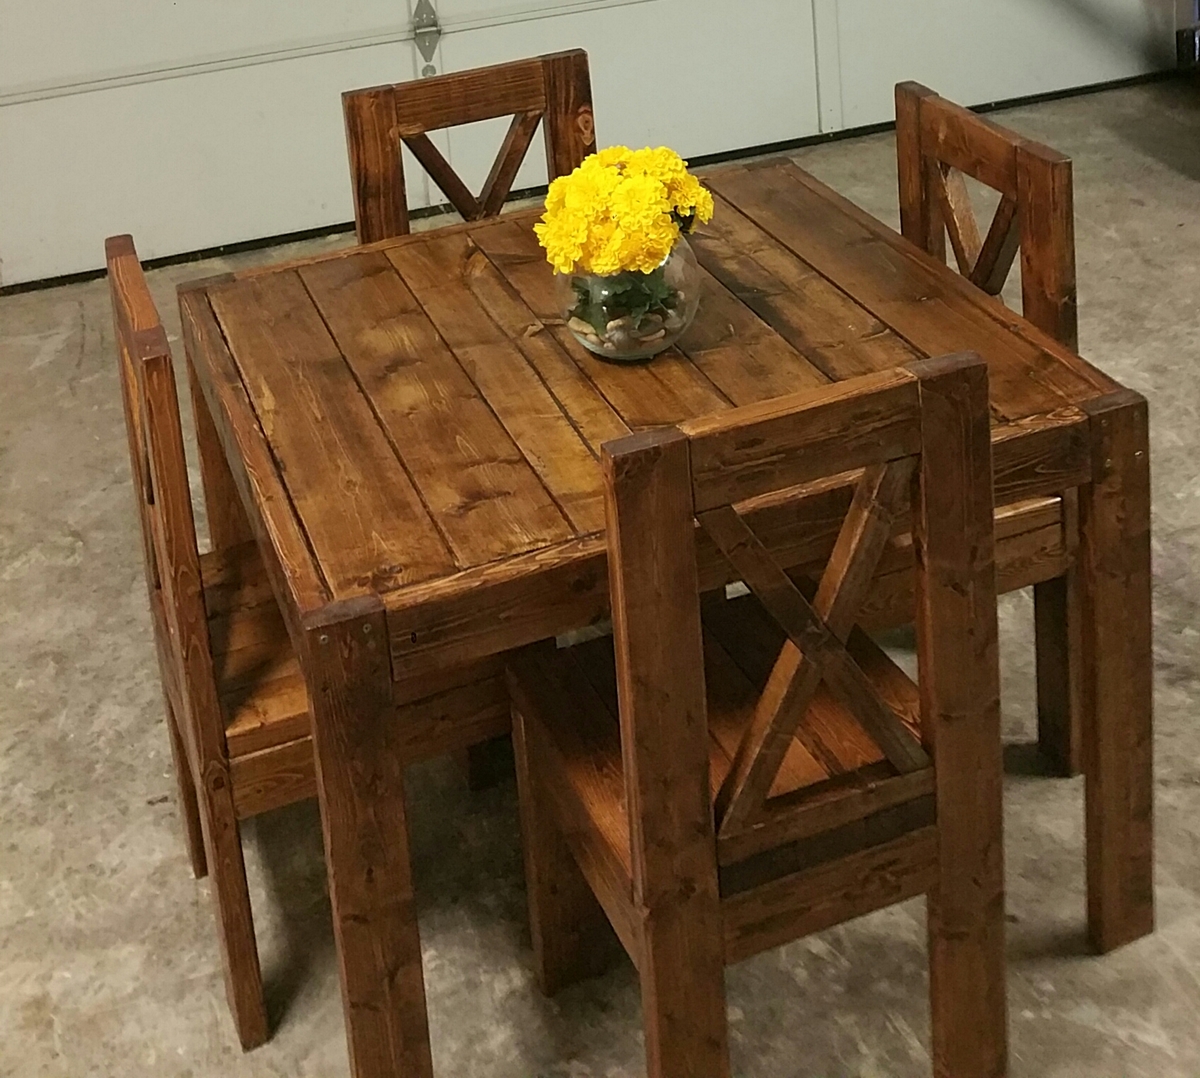
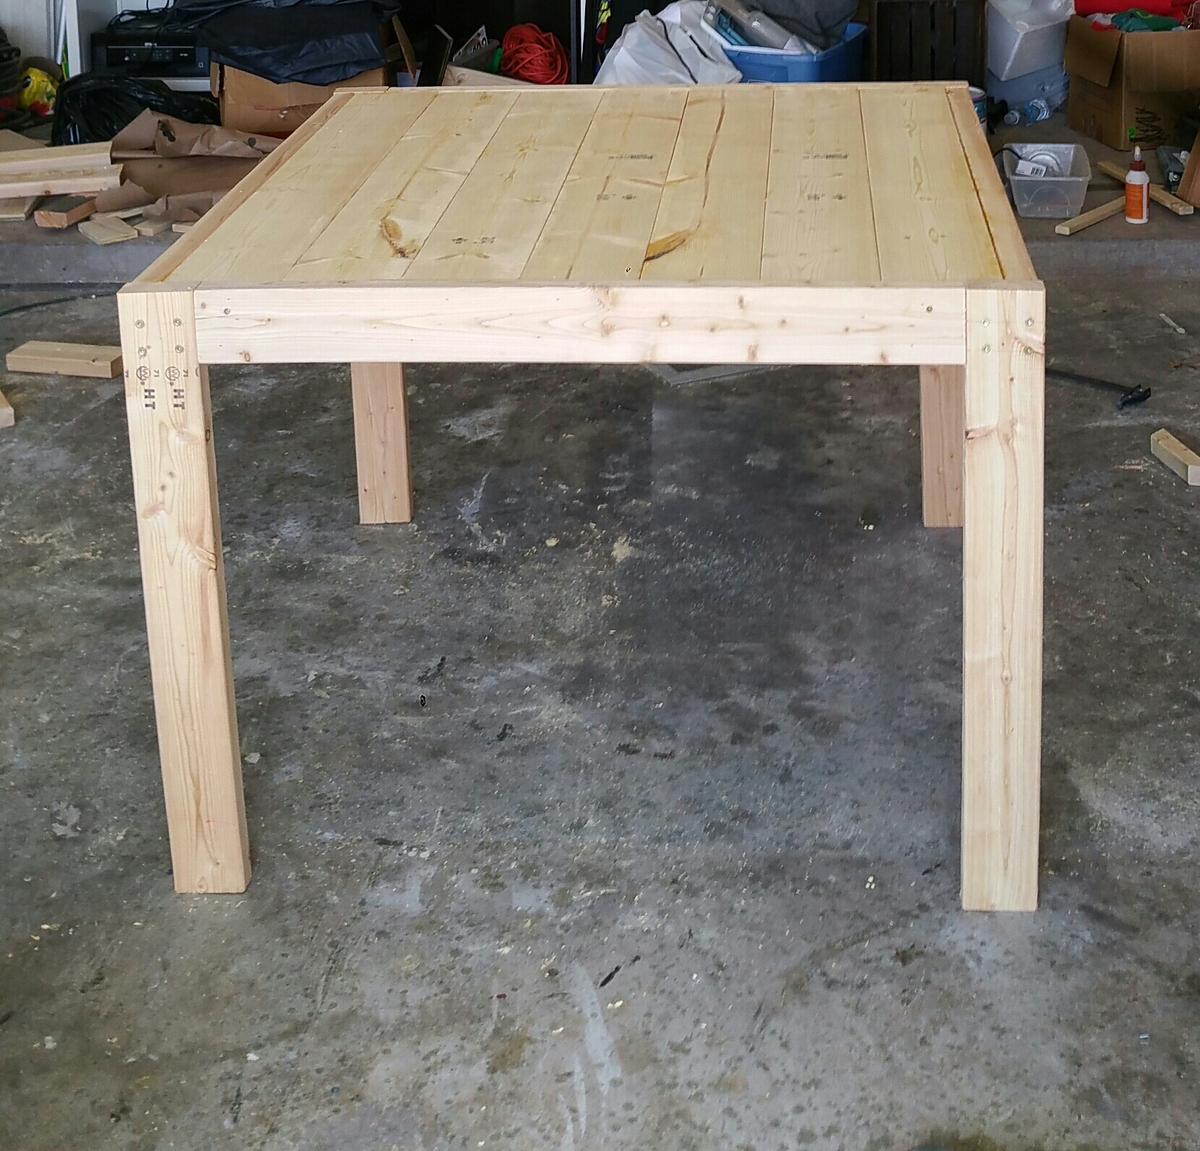
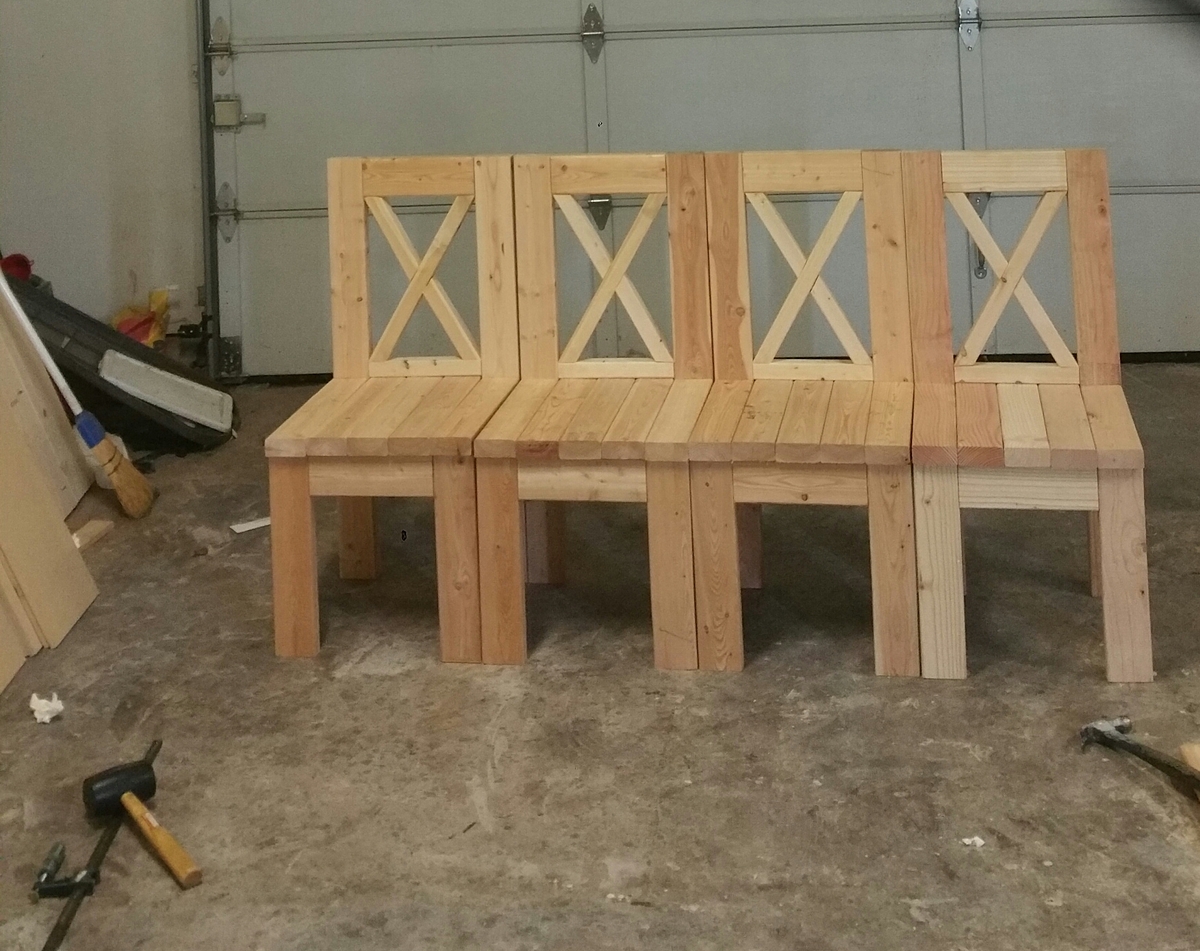
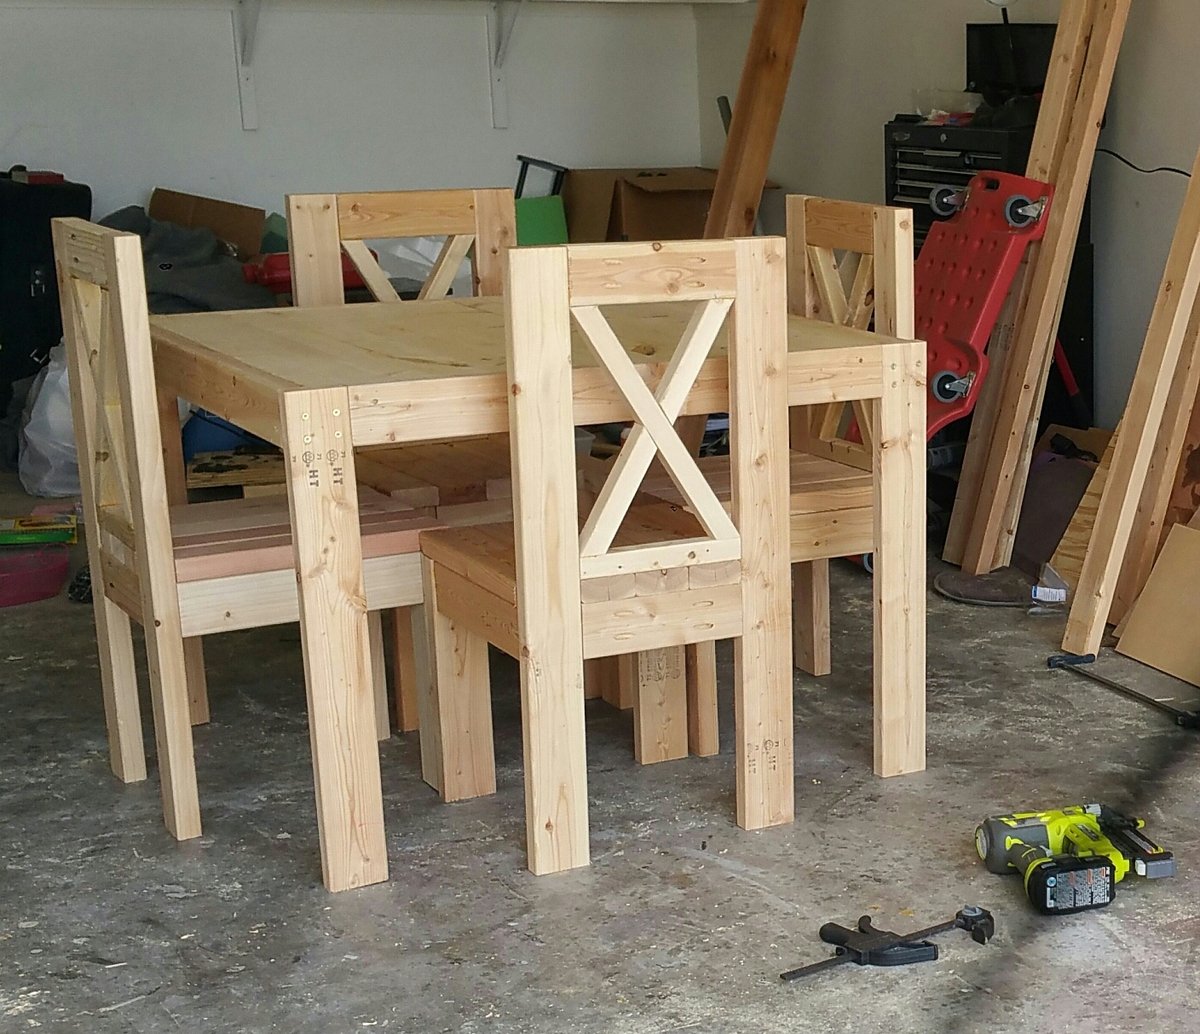
Square Dining table and Chairs

Submitted by Sb1212 on Wed, 10/26/2016 - 20:38

I built this square table and 4 chairs. It was a really fun build!! It measures 41Lx41Wx30H. 

Estimated Cost
$100
Estimated Time Investment
Day Project (6-9 Hours)
Finish Used
I used Early American by Minwax and 2 coats of semi-gloss clear coat.
Recommended Skill Level
Intermediate

Comments

Linda Douglas

Thu, 10/14/2021 - 14:49

Awesome job! It looks great as a set, very nice. :) I love the chairs, did you find the plans for these or did you just figure it out yourself? I want to make this table and the chairs you made would be perfect..if I can find the plans. I'd appreciate any help for the chairs. Have a great day.

Mud Kitchen

Submitted by Noyehx4 on Mon, 07/20/2020 - 12:48

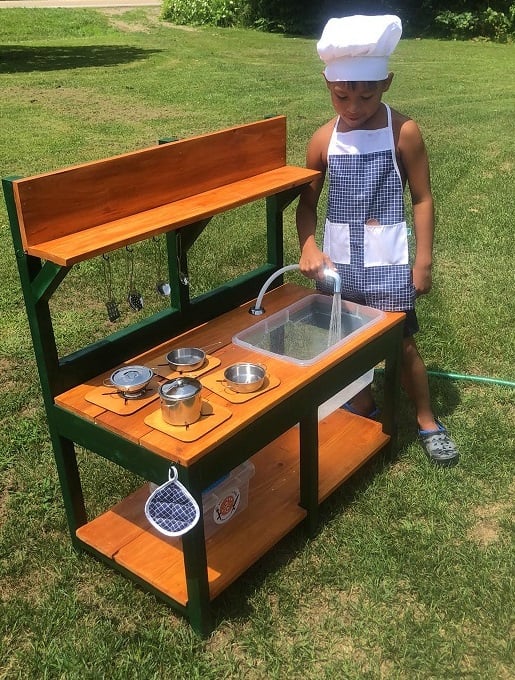
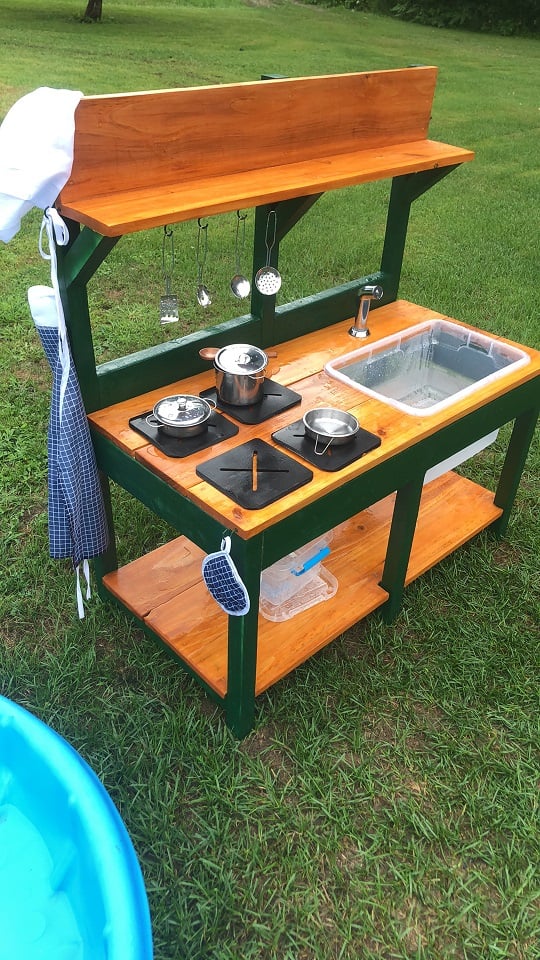
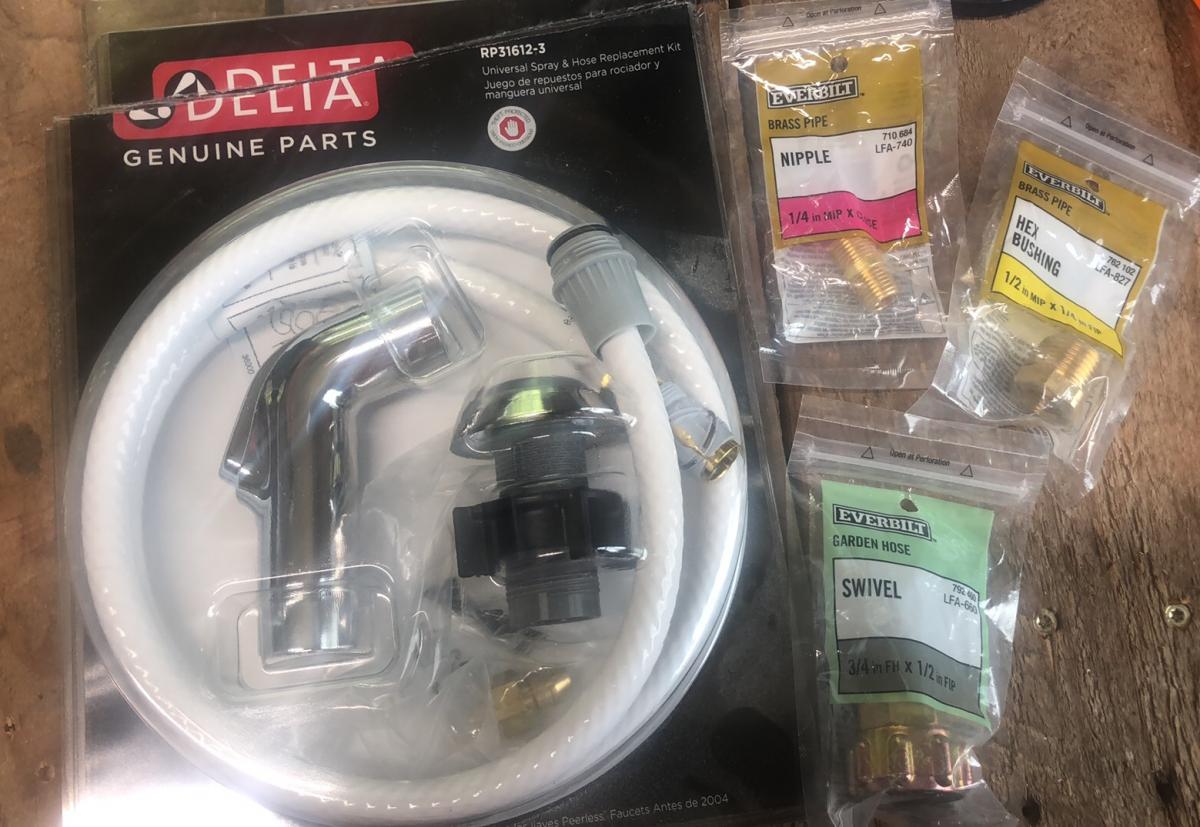
This was my first build, like ever. I am very proud! Props given to my hubby who is a carpenter by trade. I went back and forth on stains and paint colors at home depot. He didn't rush me and was awesome the entire time! He actually picked up the supplies, and is now a fan of the self tap screws! He thought he knew where everything in home depot was, but he had to ask to find those LOL. He wanted to use his new nail gun, but I wanted to follow the plans. The plans are awesome! We decided not to add an oven door just yet. Likely will soon. (Avoiding pinched fingers for now) I also have the knobs for the front, but it was hot and since I had only just stained them, they needed time to dry and second coat yet. (I kind of forgot about them once I finished them with my new dremel) We purchased the hose kit from the kitchen section at home depot. It came with everything, I searched market place and even posted asking if anyone had a used one for sale. No luck. This was $20 and came with everything, the guys at home depot showed me what adapters to get to ensure that it would hook up to our garden hose, and we grabbed those too and they worked perfectly! I messed up cutting one of the angles for the shelf the wrong way, but there was enough scraps for my husband to help me fix it. It was a fun build, and so rewarding to see our kids playing with it! I used my dremel 4300 and it wasn't powerful enough for the thicker wood, so my stove tops are thinner, but he actually enjoys setting them up and spraying them off the table with his hose! I painted the brass hooks green when we were painting the kitchen so they would match. The pots and pans came with the little tote and the apron chef hat and pot holder. It was a perfect finishing touch. *Edit to add photos kitchen hose kit from home depot, reading comments, others had a hard time finding adapters. I suggest taking what you have with you to home depot so they can show you what adapters you need. We needed three because we have a quick attachment on the end of our garden hose, (for our sprayer) now little mans mud kitchen can be connected and disconnected easily!

Built from Plan(s)
Estimated Cost
$75
Estimated Time Investment
Weekend Project (10-20 Hours)
Finish Used
Rust-Oleum Ultra Cover 2X Enamel Spray Paint and Behr Semi-Transparent Waterproofing Exterior Wood Stain and Sealer
Recommended Skill Level
Starter Project

Bistrol Outdoor Lounge Chairs

Submitted by newpassion on Mon, 09/24/2012 - 14:56

This was my very first project. I cut the wood during the week, to have it ready for the weekend. I intended this to be my summer project. I had so much fun, i completed building both chairs in a day and a half!!!!! I then ordered the foam which took a couple weeks. I ordered the fabric online. I had two large pillows which I covered and used them for the back cushion. The total cost for BOTH chairs was under $250.00. Looking forward to my next project. :)

Estimated Time Investment
Weekend Project (10-20 Hours)
Finish Used
I only used Helmsman Urethane ,which gave it a natural look.
Recommended Skill Level
Starter Project

Comments

newpassion

Tue, 09/25/2012 - 06:36

I ordered the foam from DLT Larson Fabrics, Livonia, MI Because of the size 6x28x30 ,the did not have it in stock. They were $54. each.

Back