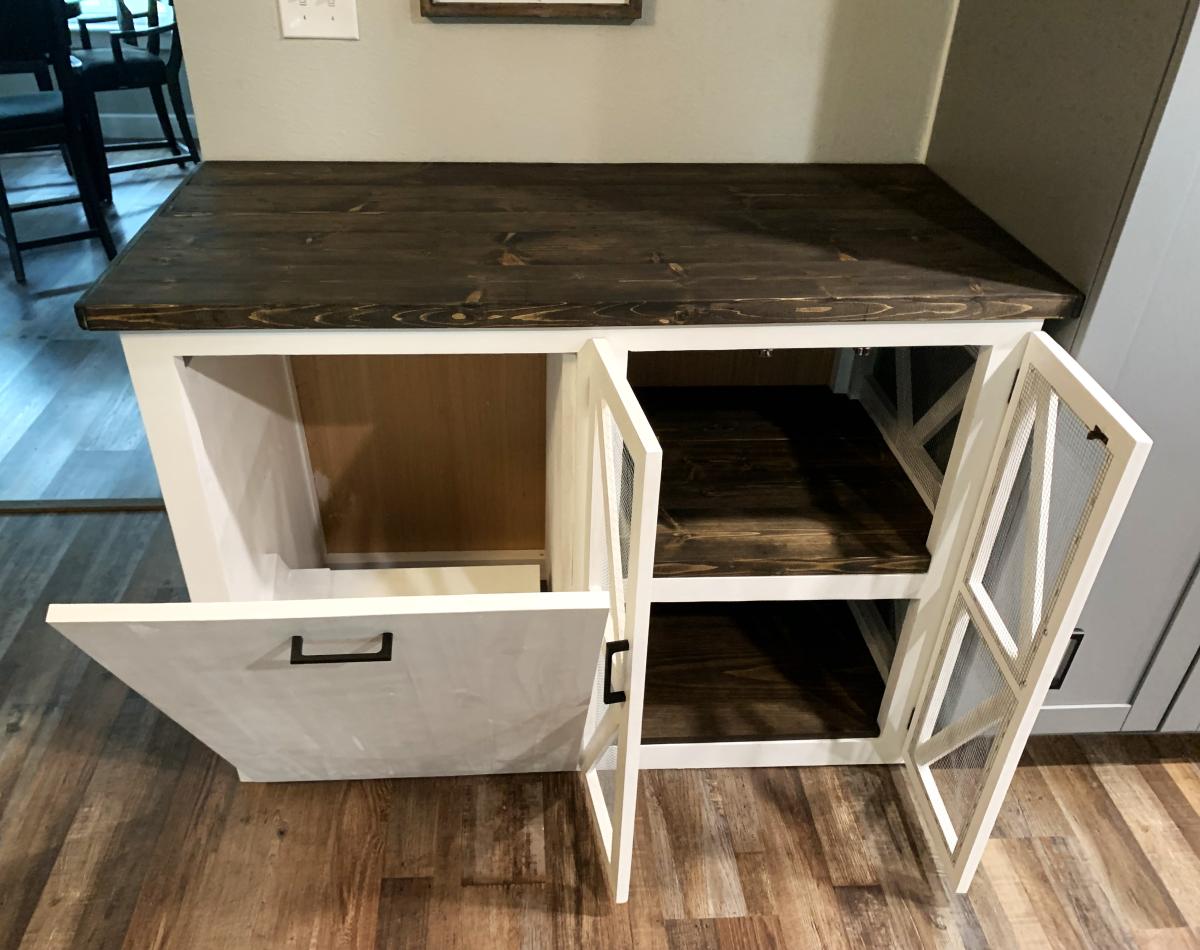
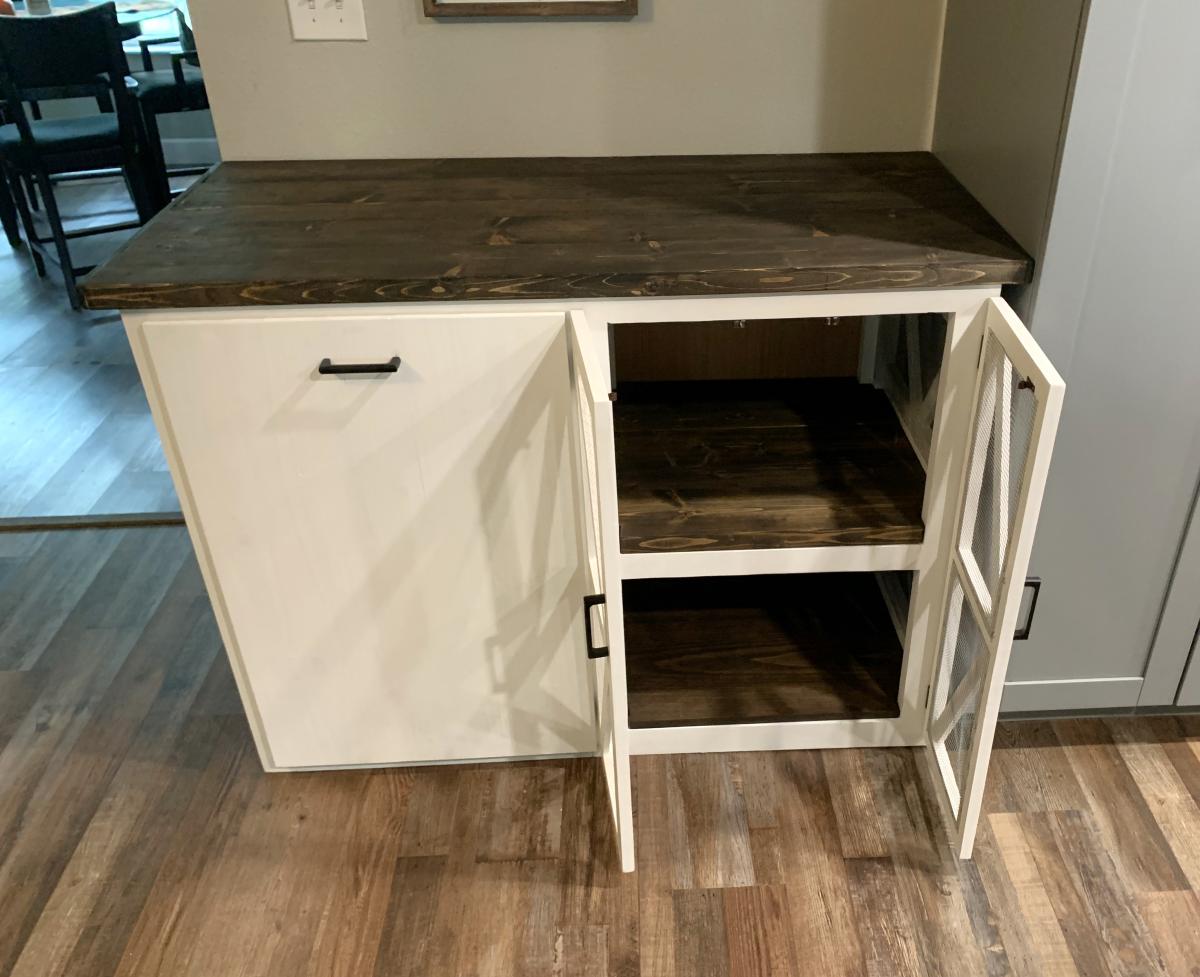
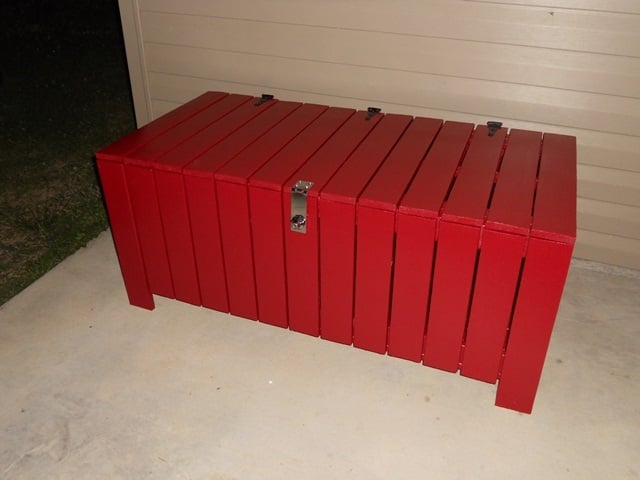
Coffee Station with Tilt-out Trash
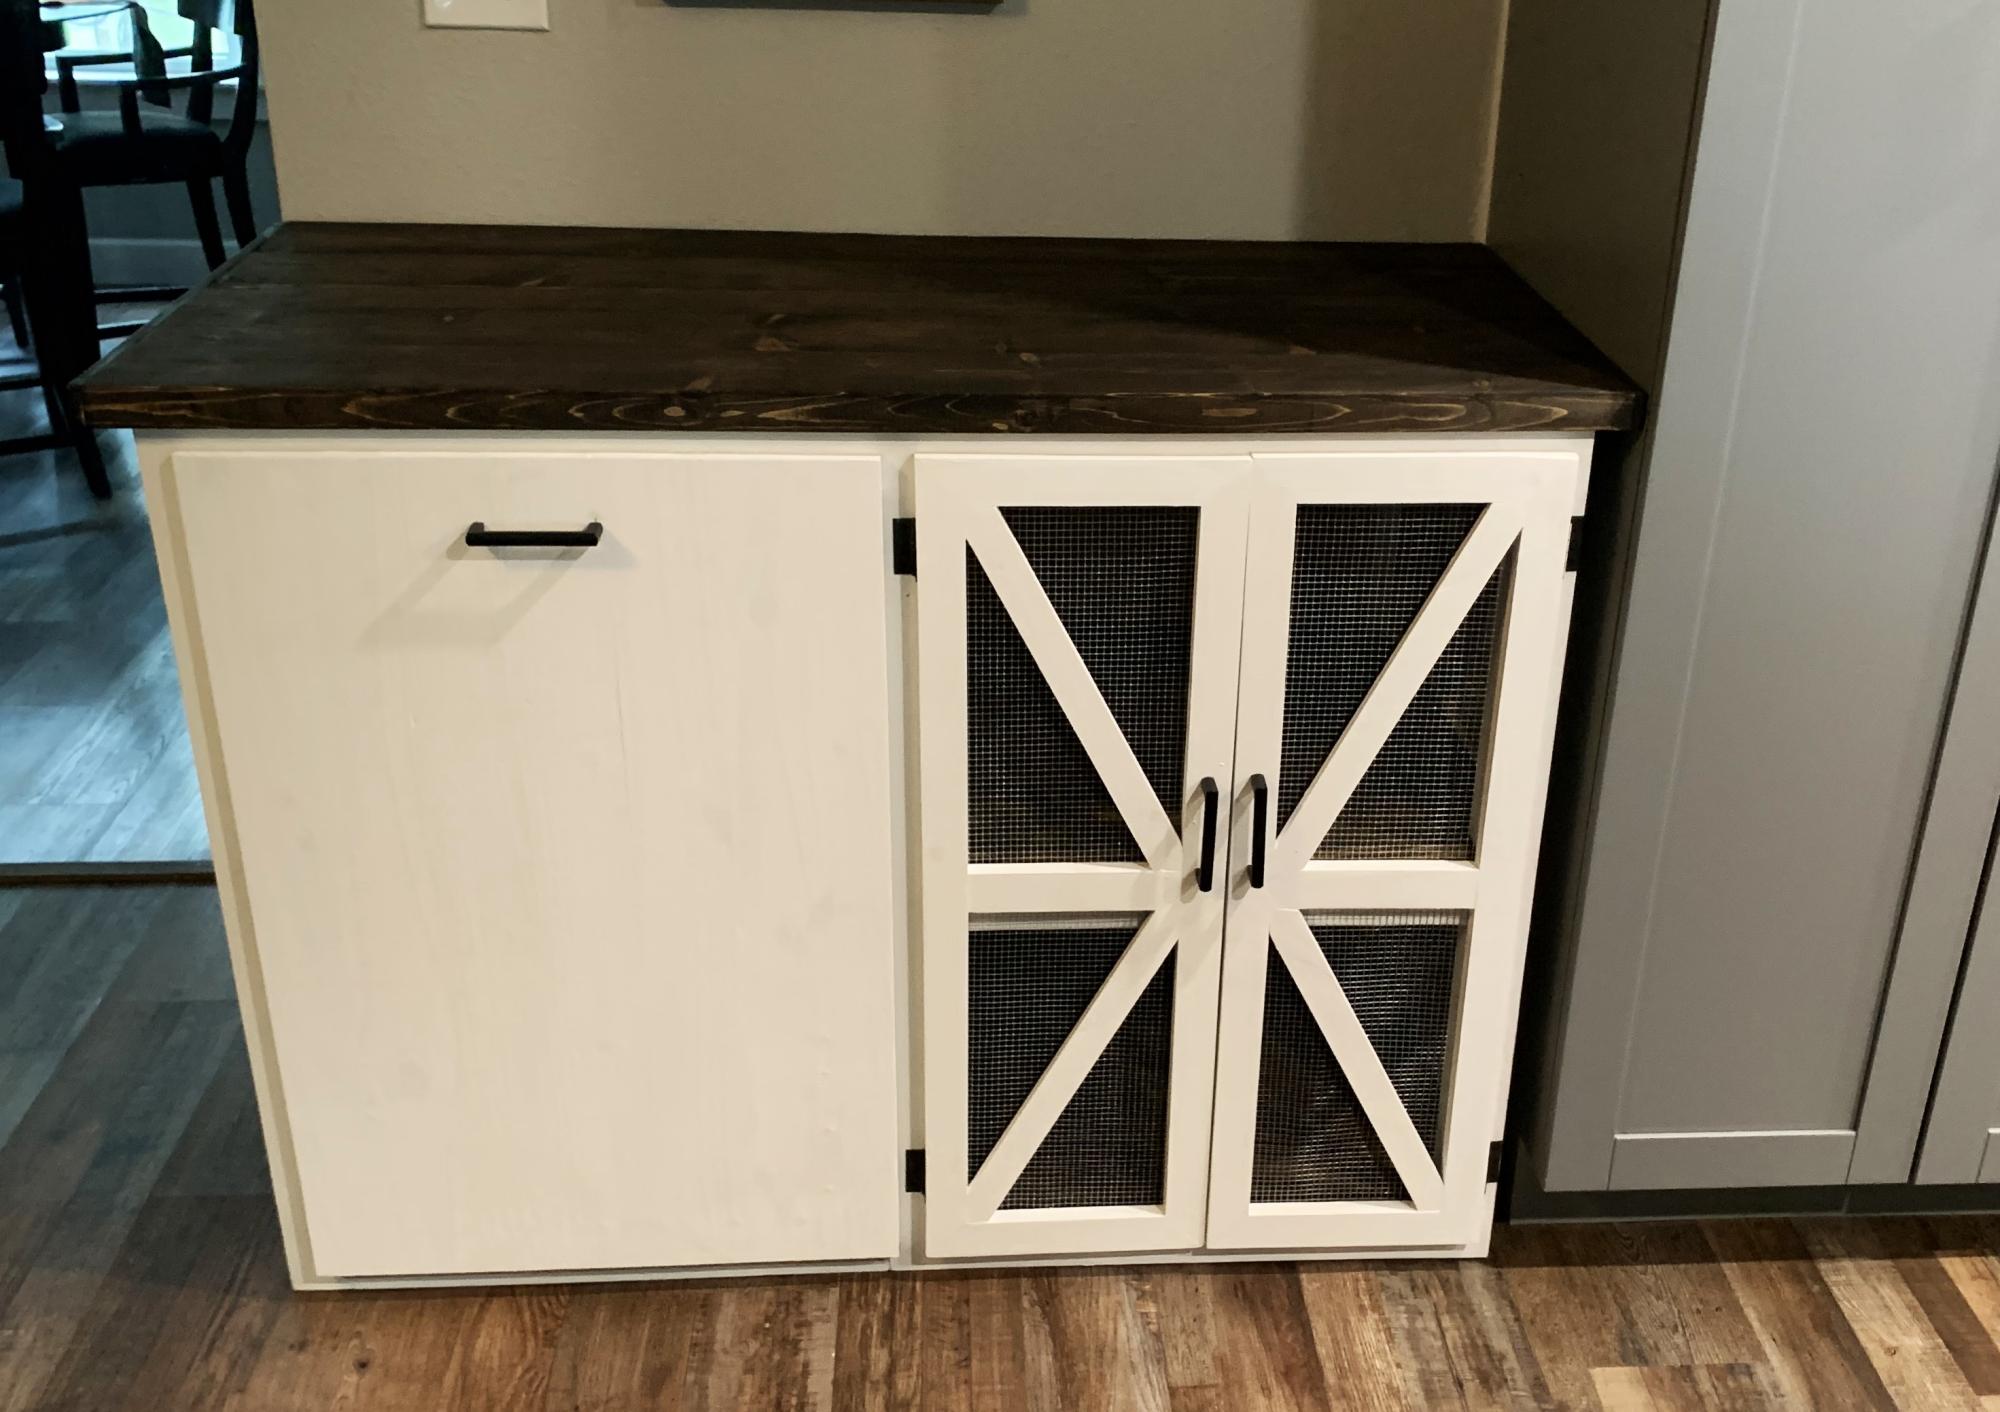
Coffee station with trash can holder and storage.
Royce and Lynn Ledford
Built from Plan(s)
Coffee station with trash can holder and storage.
Royce and Lynn Ledford
Another build for a co-worker. She wanted a bench for the front of her bed. I got the colors from her bedroom and matched it.
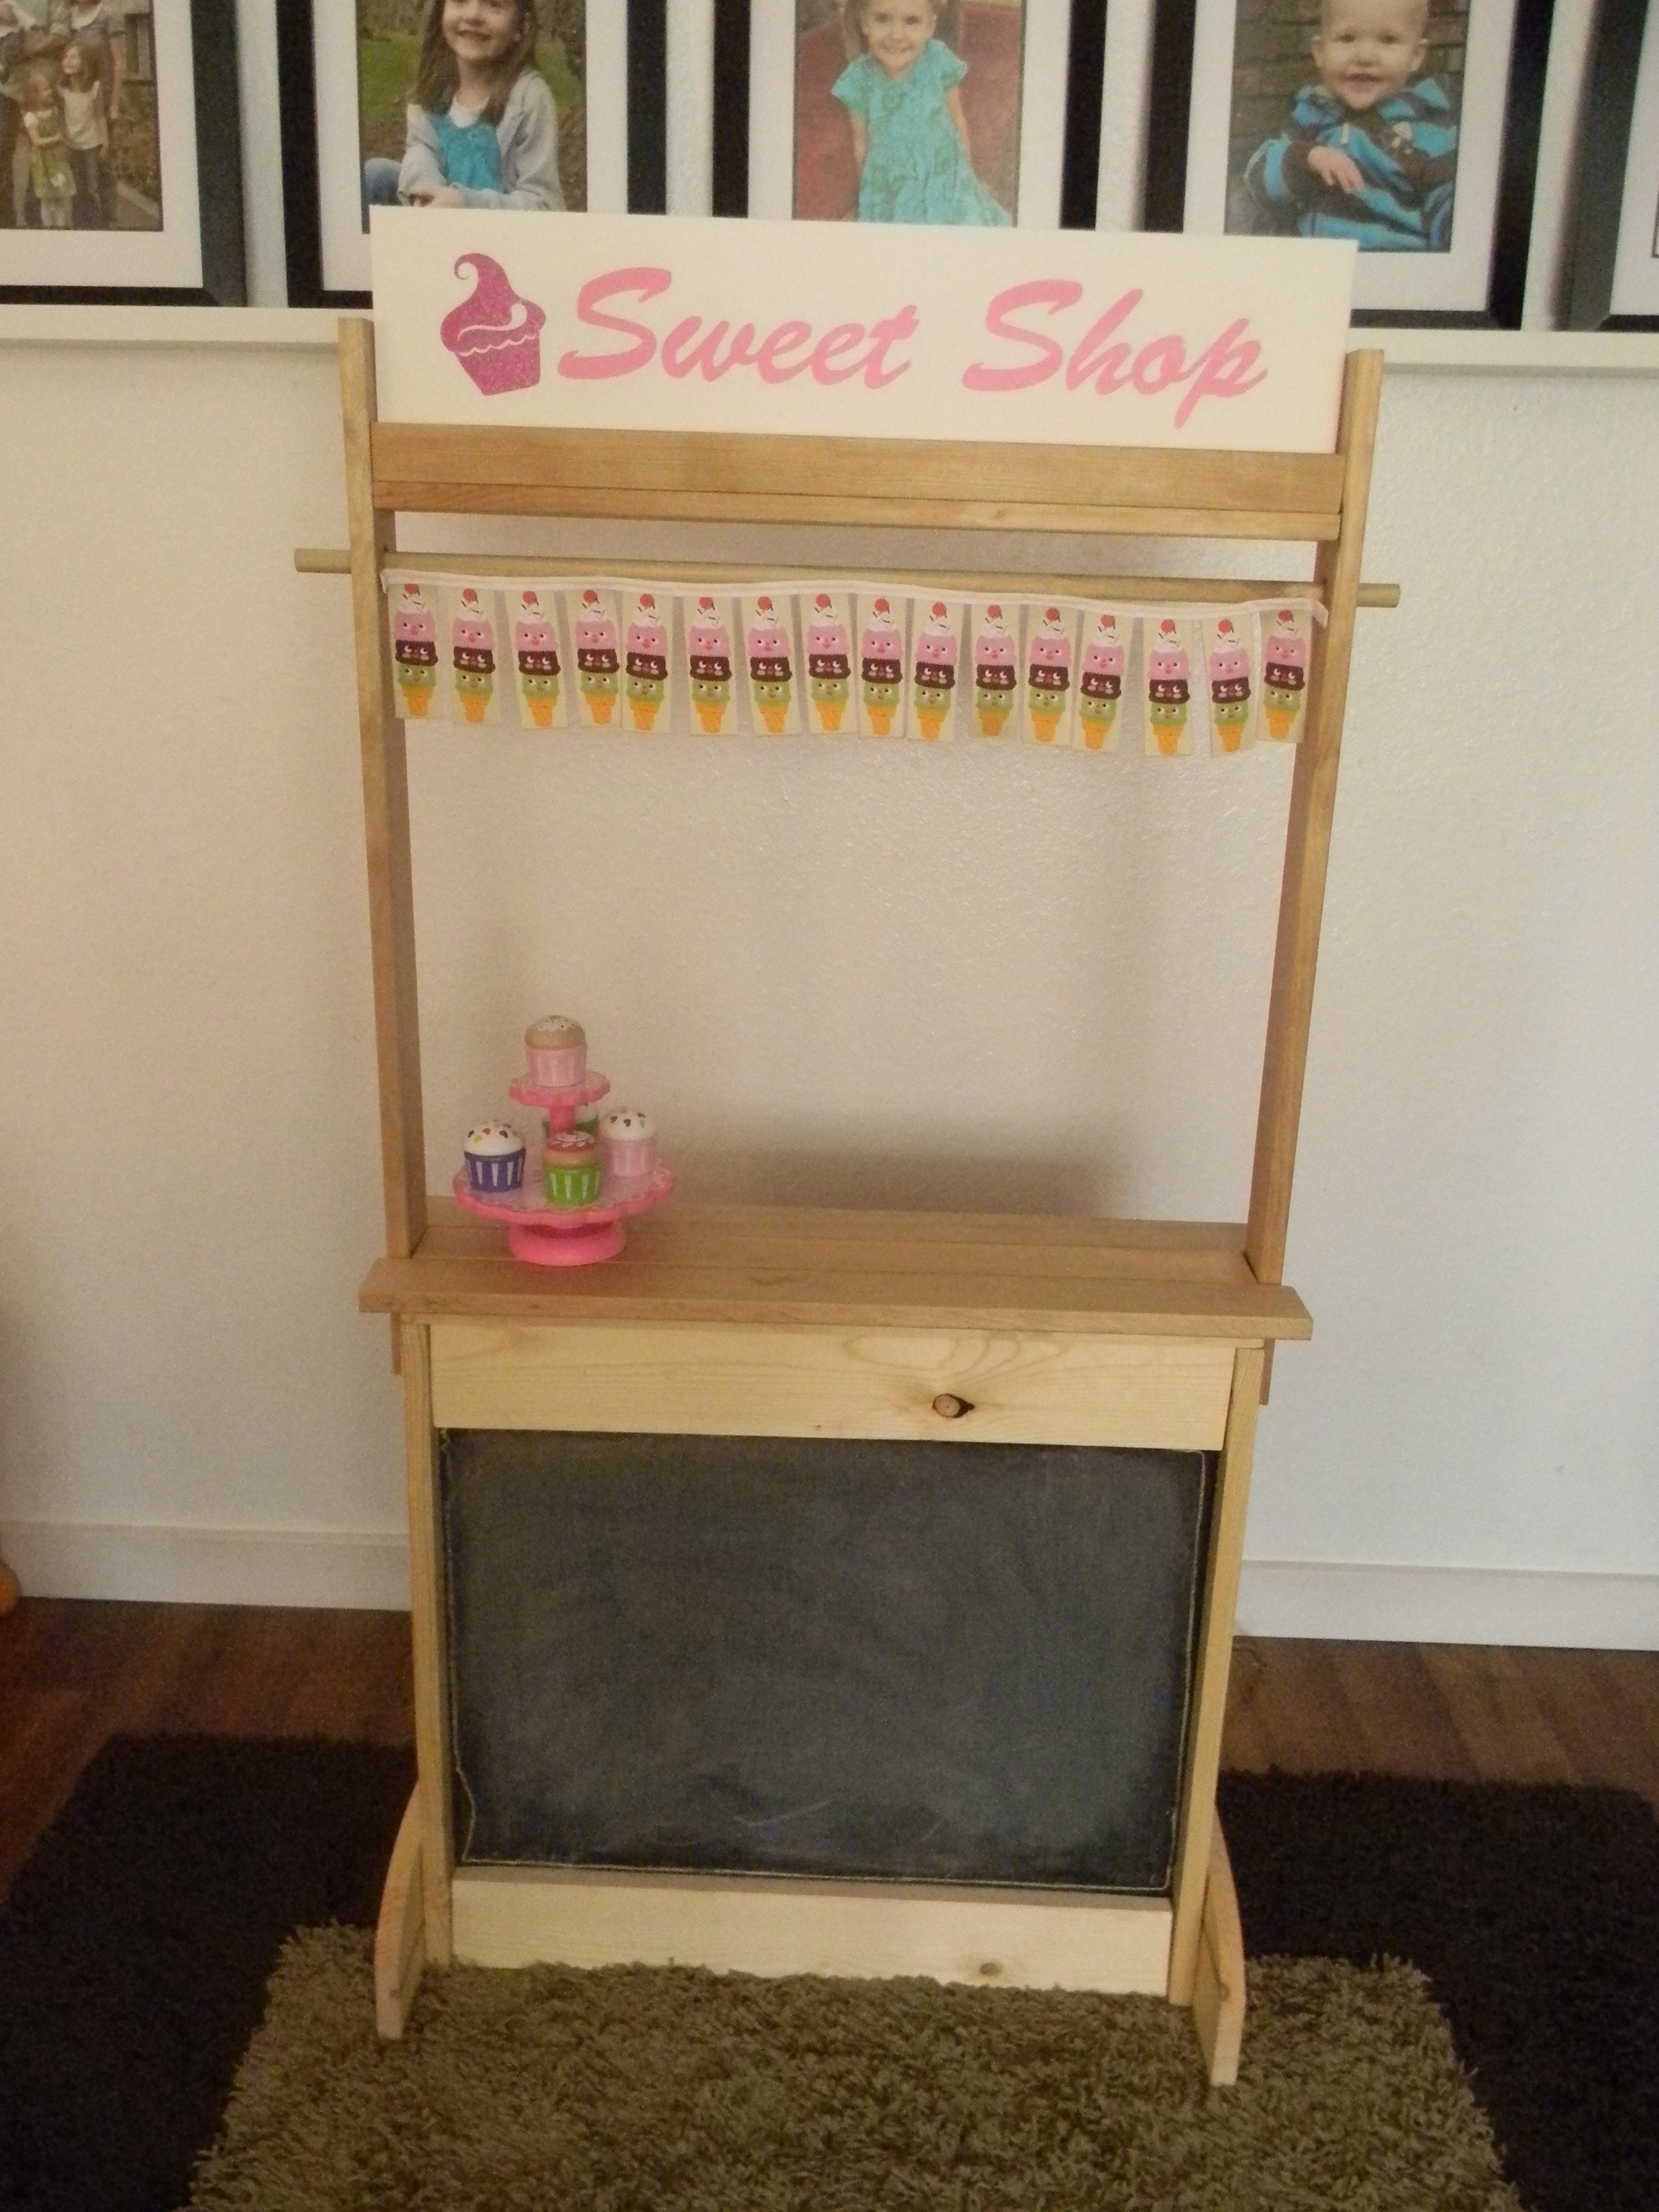
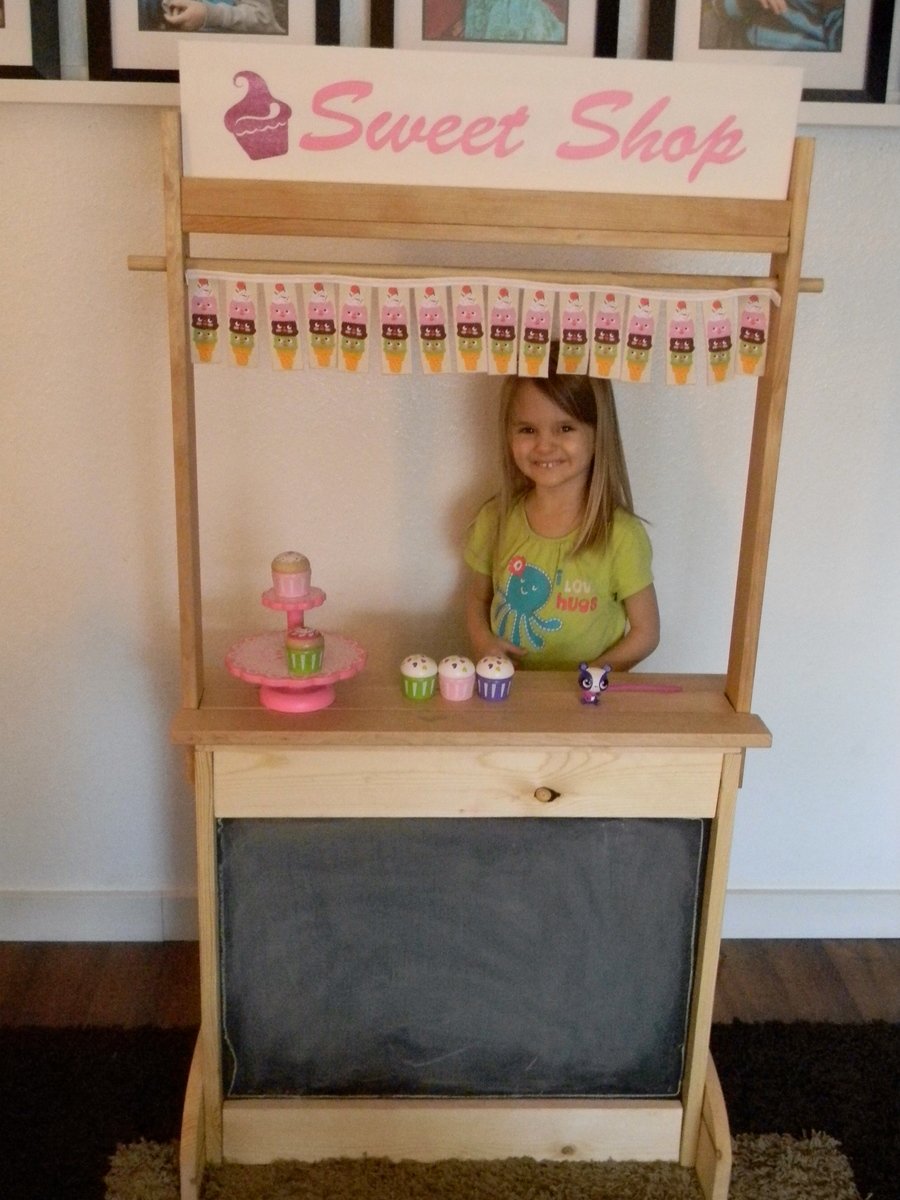
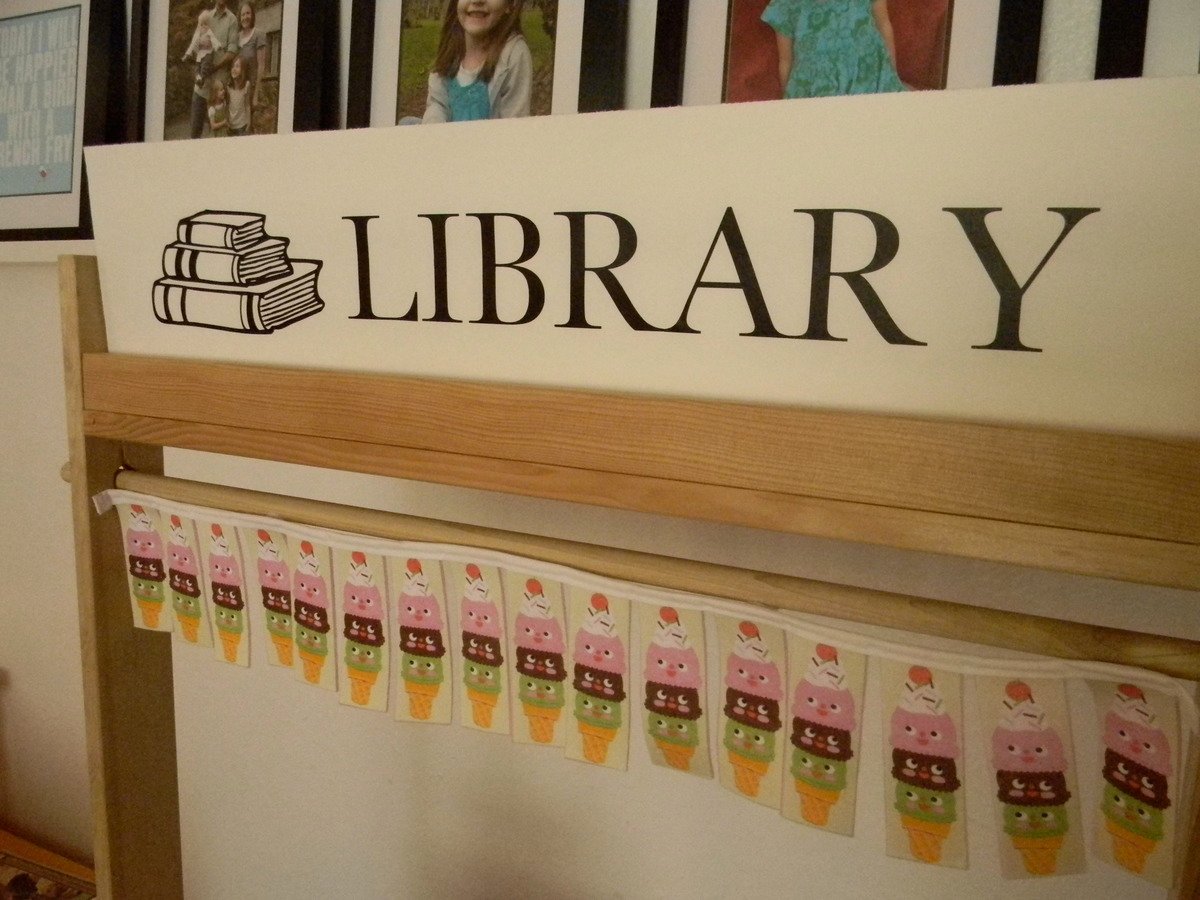
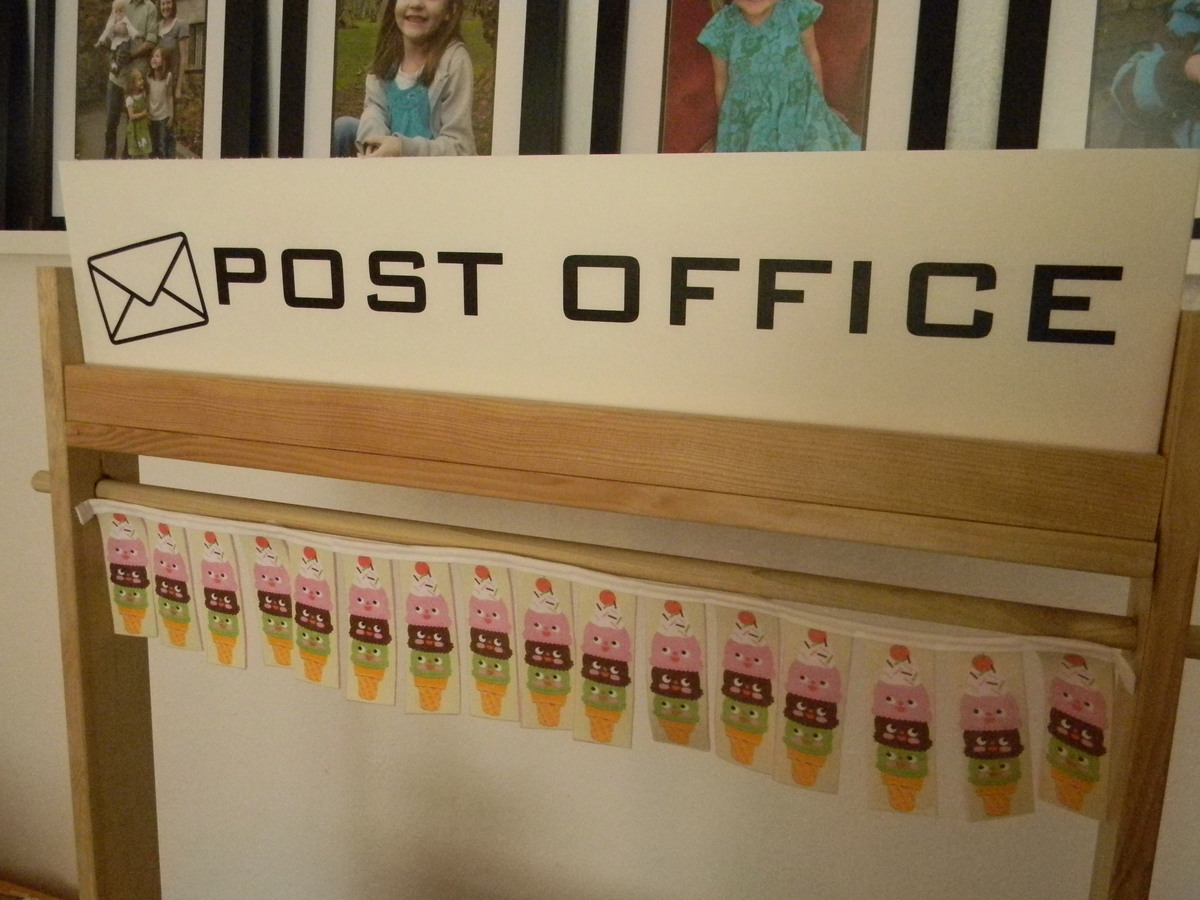
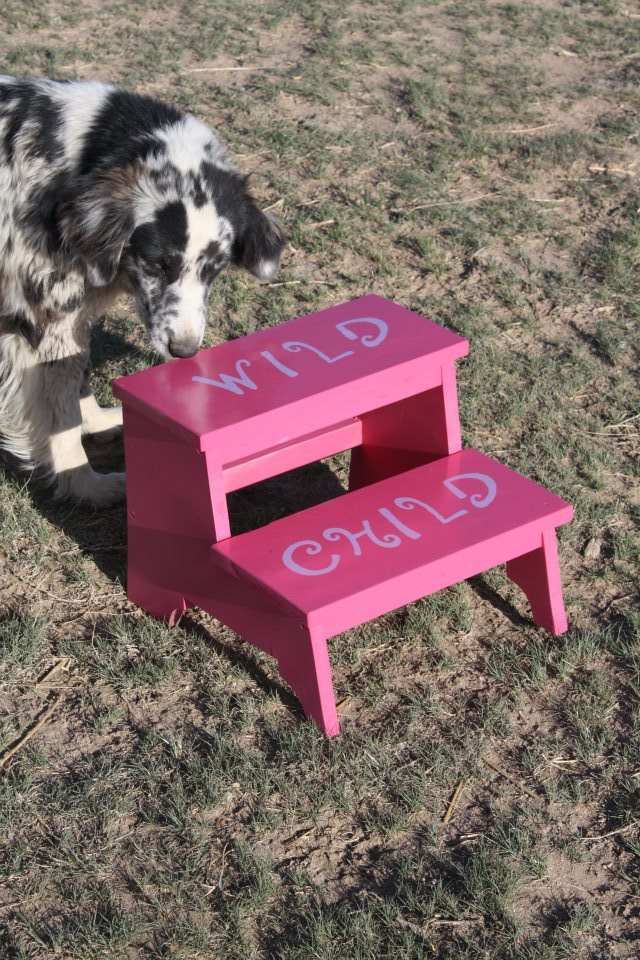
I built this "Sweet Shop" for my daughters for Christmas this year. I cut vinyl on my Silhouette machine for the signs and made a couple of extras in case they decide to use it for a library or post office later. It was a fairly simple project and I made it over a couple of days while my youngest was napping. I added some scrap 1x4's to the front to cover my imperfect paint job-ha!
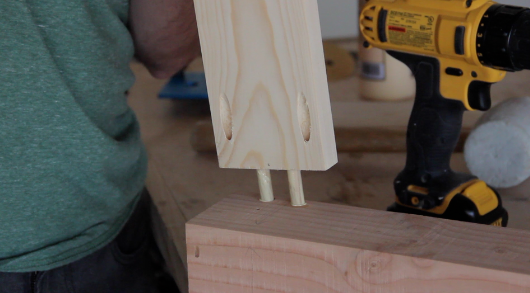
I made my first dining table using pocket holes. About a week after I sold it, I ended up having to go to the lady's house and put one of the legs back on it. I quickly realized pocket holes were great for most things, but dining table legs might not be the best. Ever since then, I've been using dowels to reinforce pocket hole joints on table legs. So far it's been a great solution. Here is a video explaining how it works. Hope you like it. Patrick
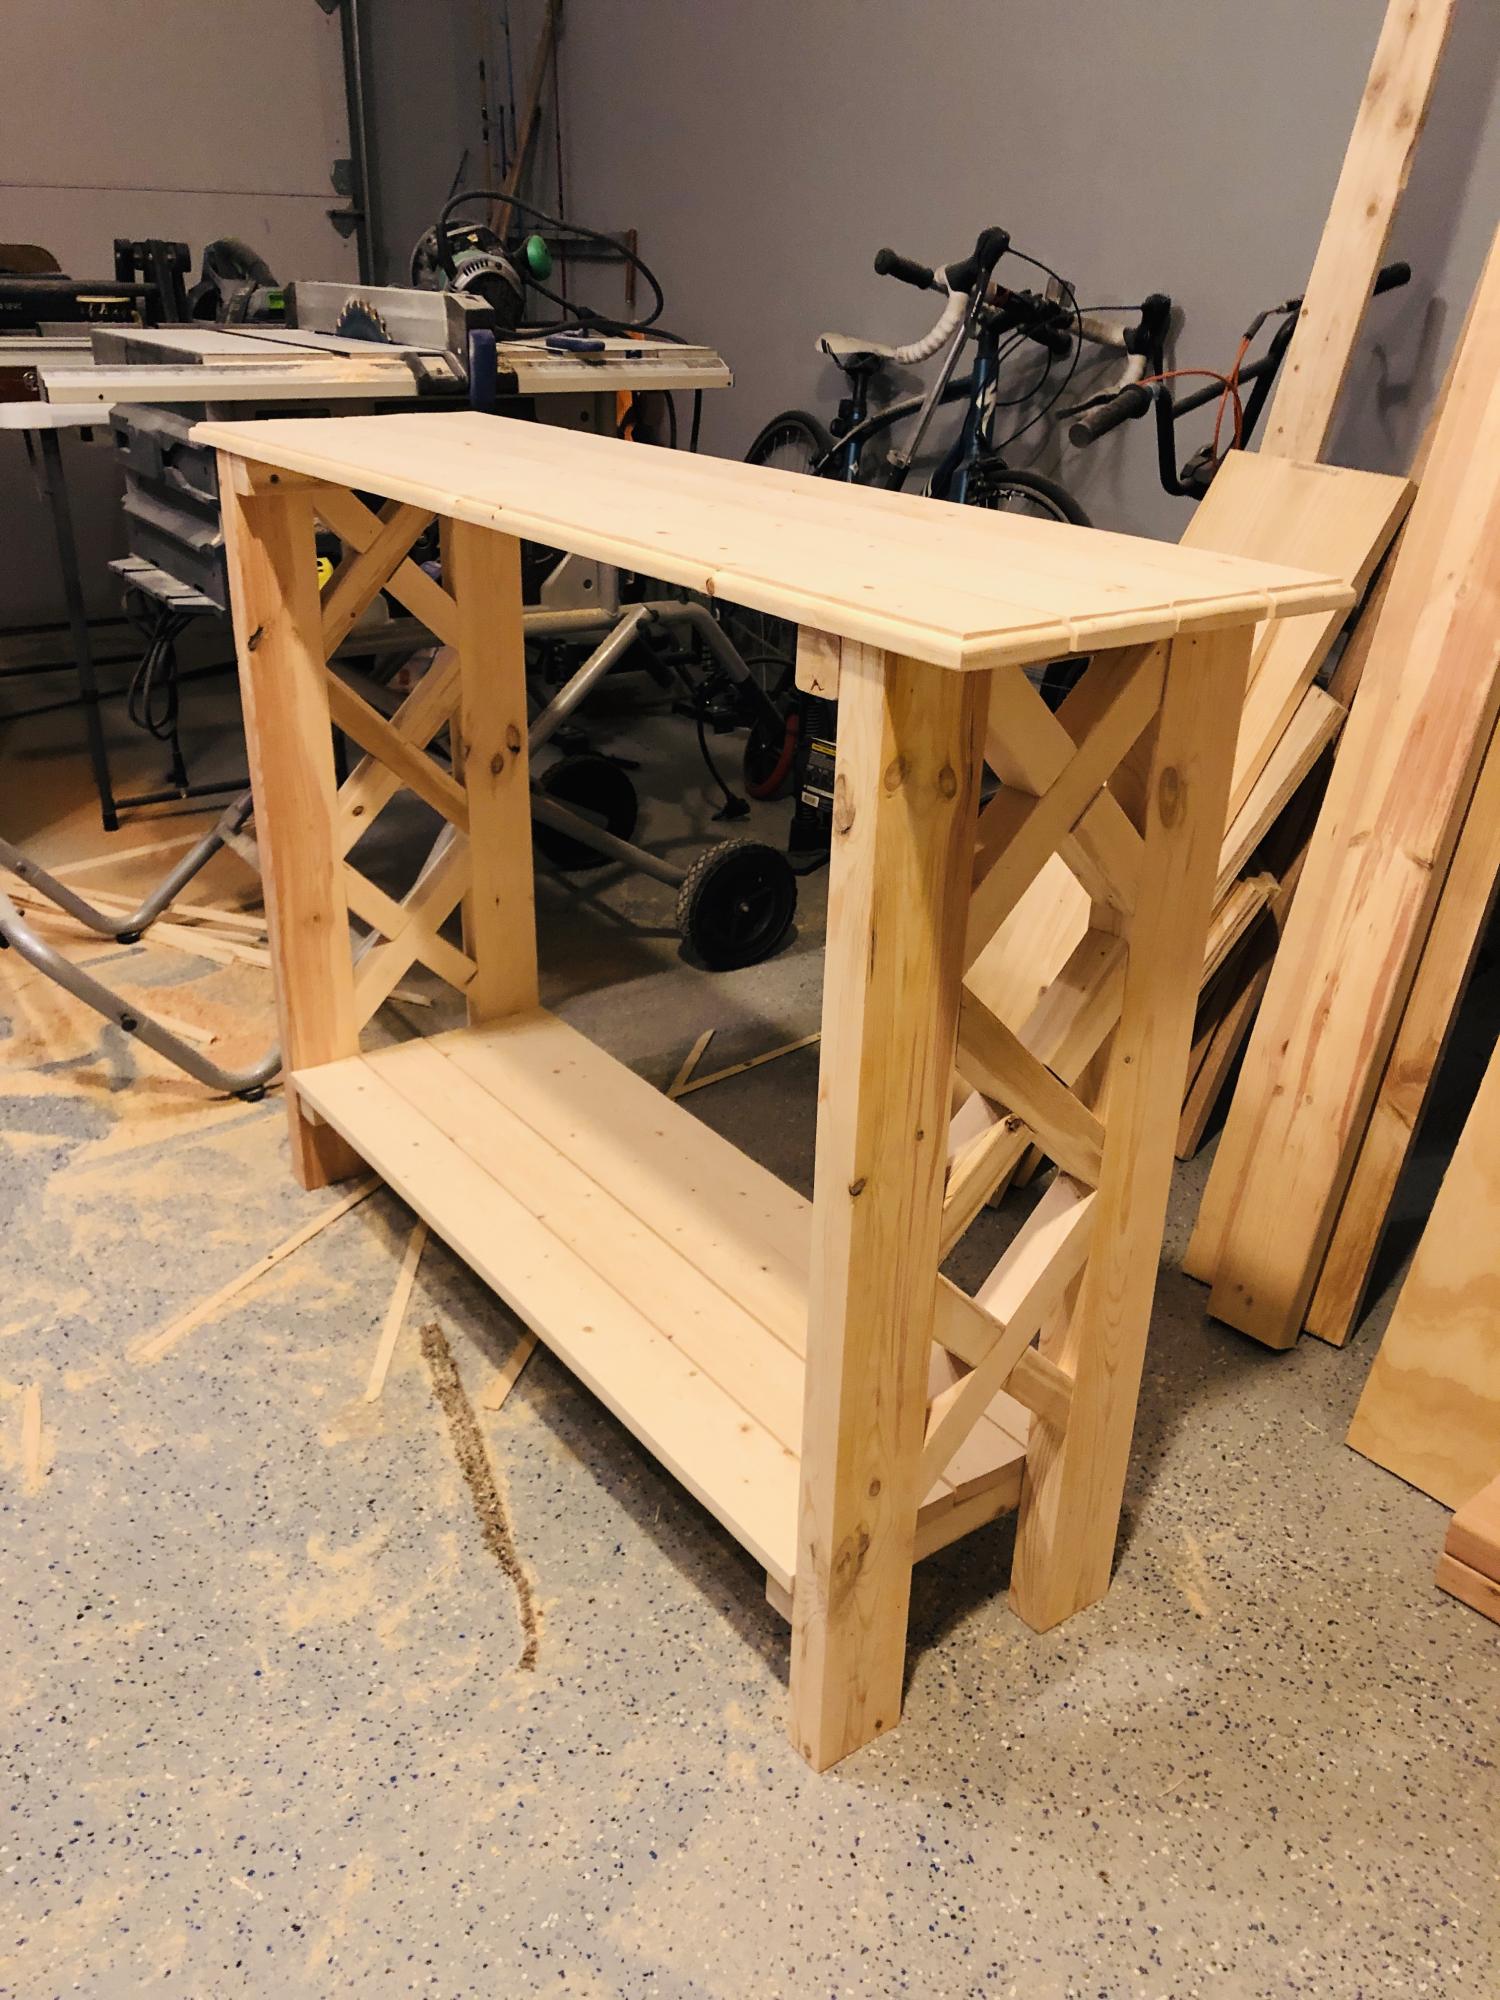
Simple Rustic X inspired entry way table. I was able to build this project in a Sunday afternoon completely from 70% off lumber from a local big box store. All together it came in under $10 without my time or supplies.
Dimensions are 44x12.5x33.
(2) 2x4x96
(3) 1x4 furring strips
(2) 2x2x96
Brad Nails, Glue and a few screws.
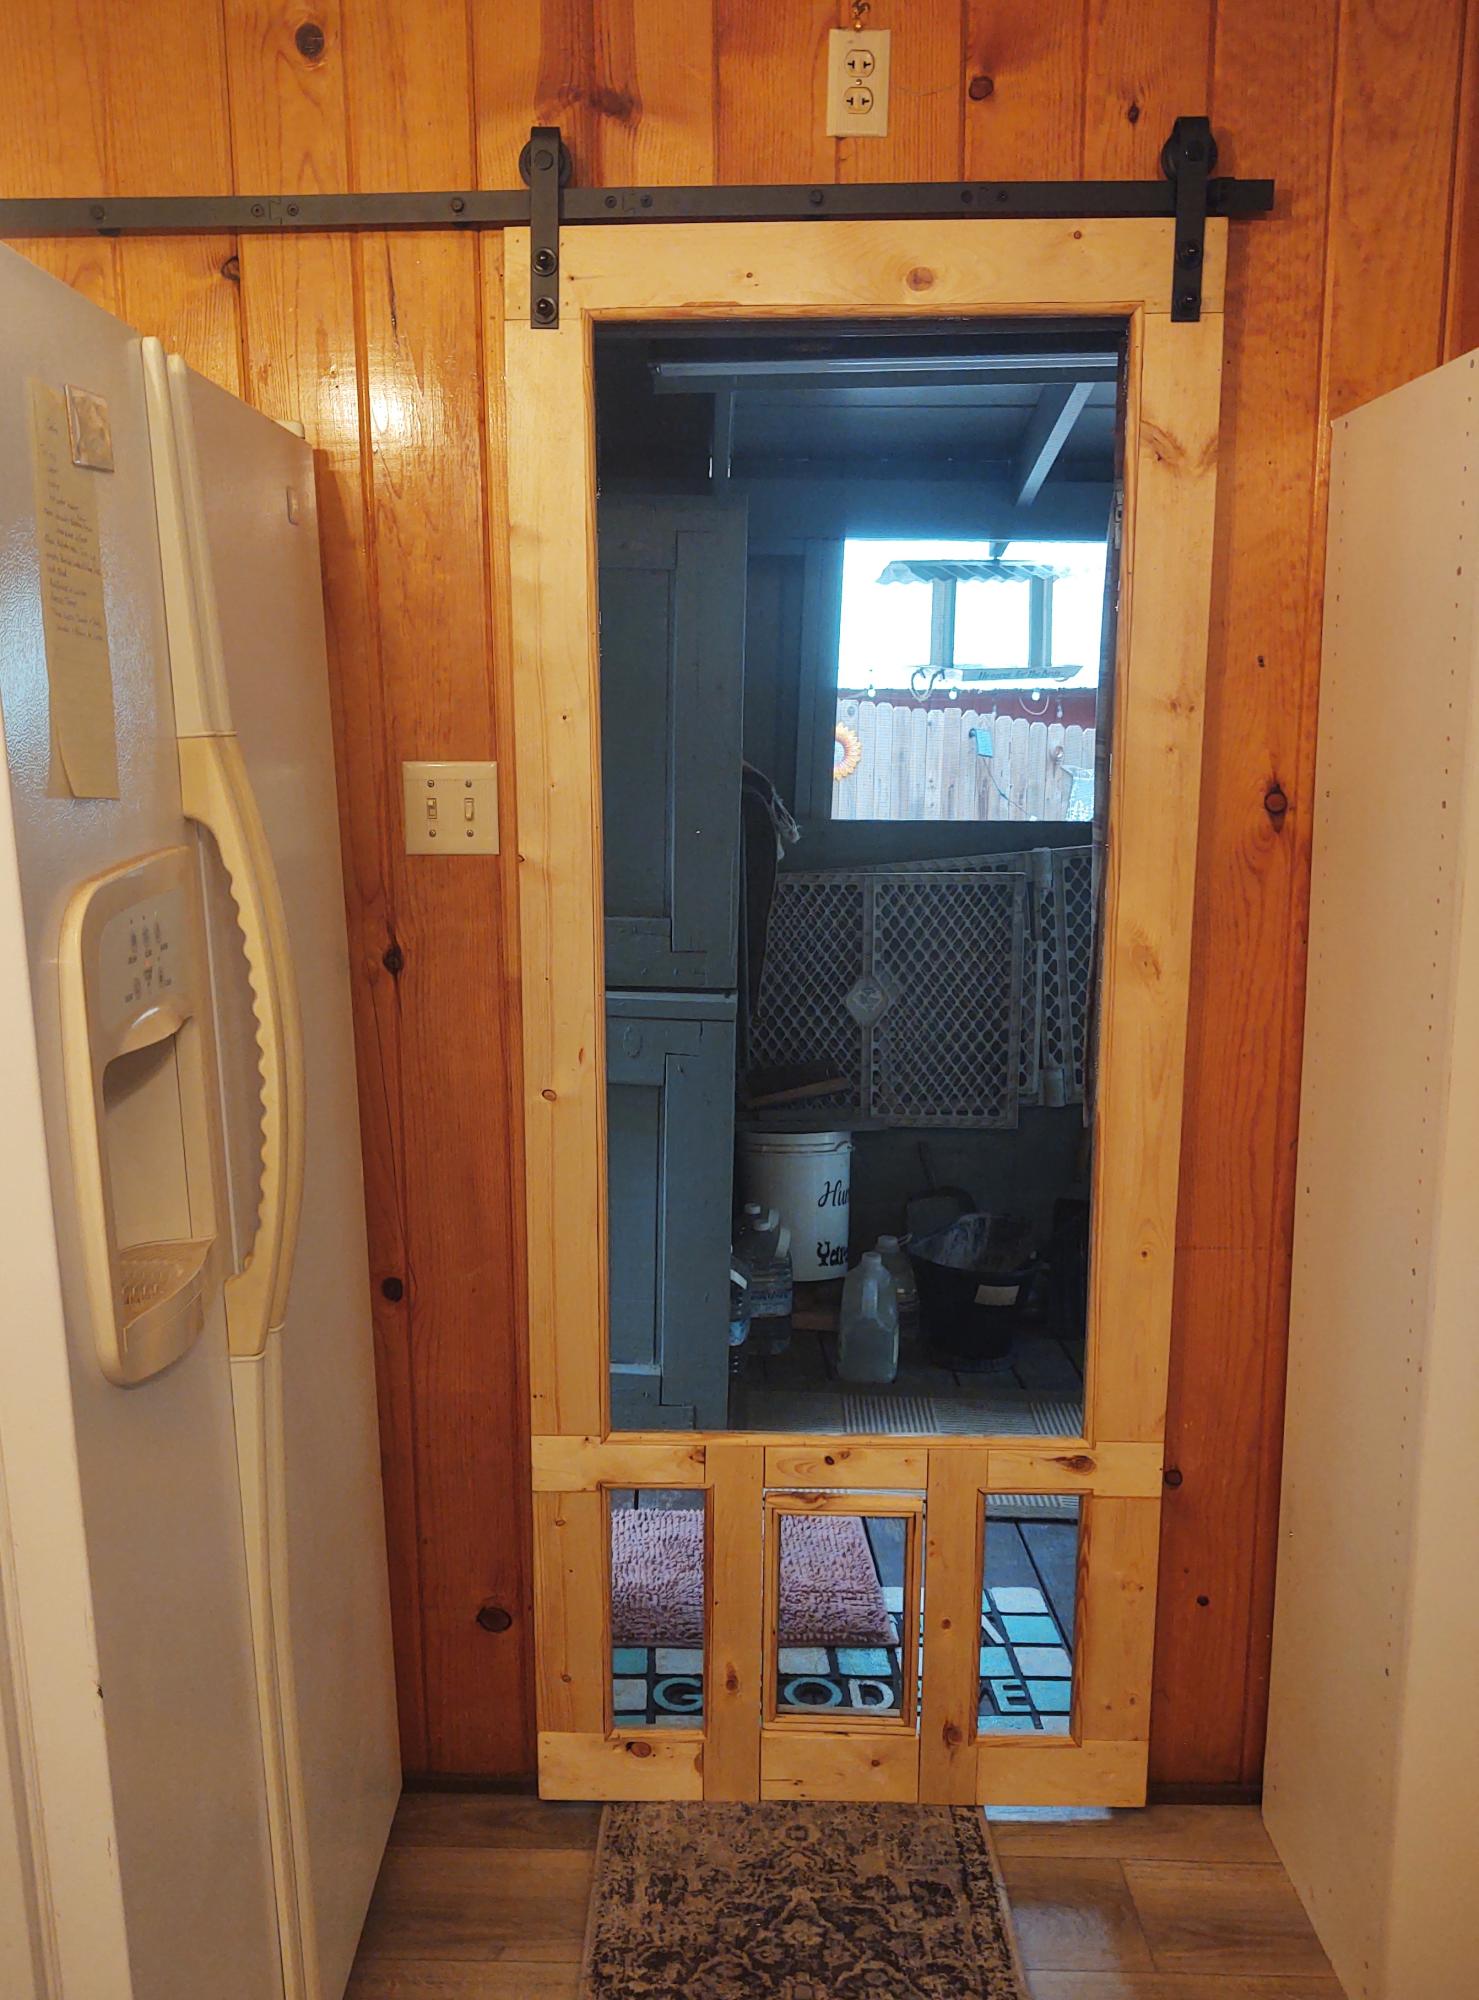
I needed a screen door but one on hinges wasn't a option. So I built one as a barn door. The center bottom panel is a doggie door. Lynda Westbrook
Fri, 10/20/2023 - 06:47
Do you have a problem with insects coming around the edges? Or is this an interior door and you just needed good air flow?
This was a really fun little project. I used my Kreg jig to avoid filling/sanding exposed screws.
Wed, 06/06/2012 - 10:40
Sitting on the fertile fields,Previous artistic words we can clear,T Einsamkeit this Es ist kalt und lonely child named regungslos Ich weine so cold and quiet leise in die Zeit I at the time of cry Ich Wei ?Always feel the night time is just a fresh.
TV is a Chinese family essential entertainment facilities. that everybody dare to modify the background data type stuff, since the original system BUG lot, my circle of friends topic always inseparable from our old professional, for not familiar with things, leave have!!Like himself, Yang always take me to visit his company, die in the past.htm 3G reflect.
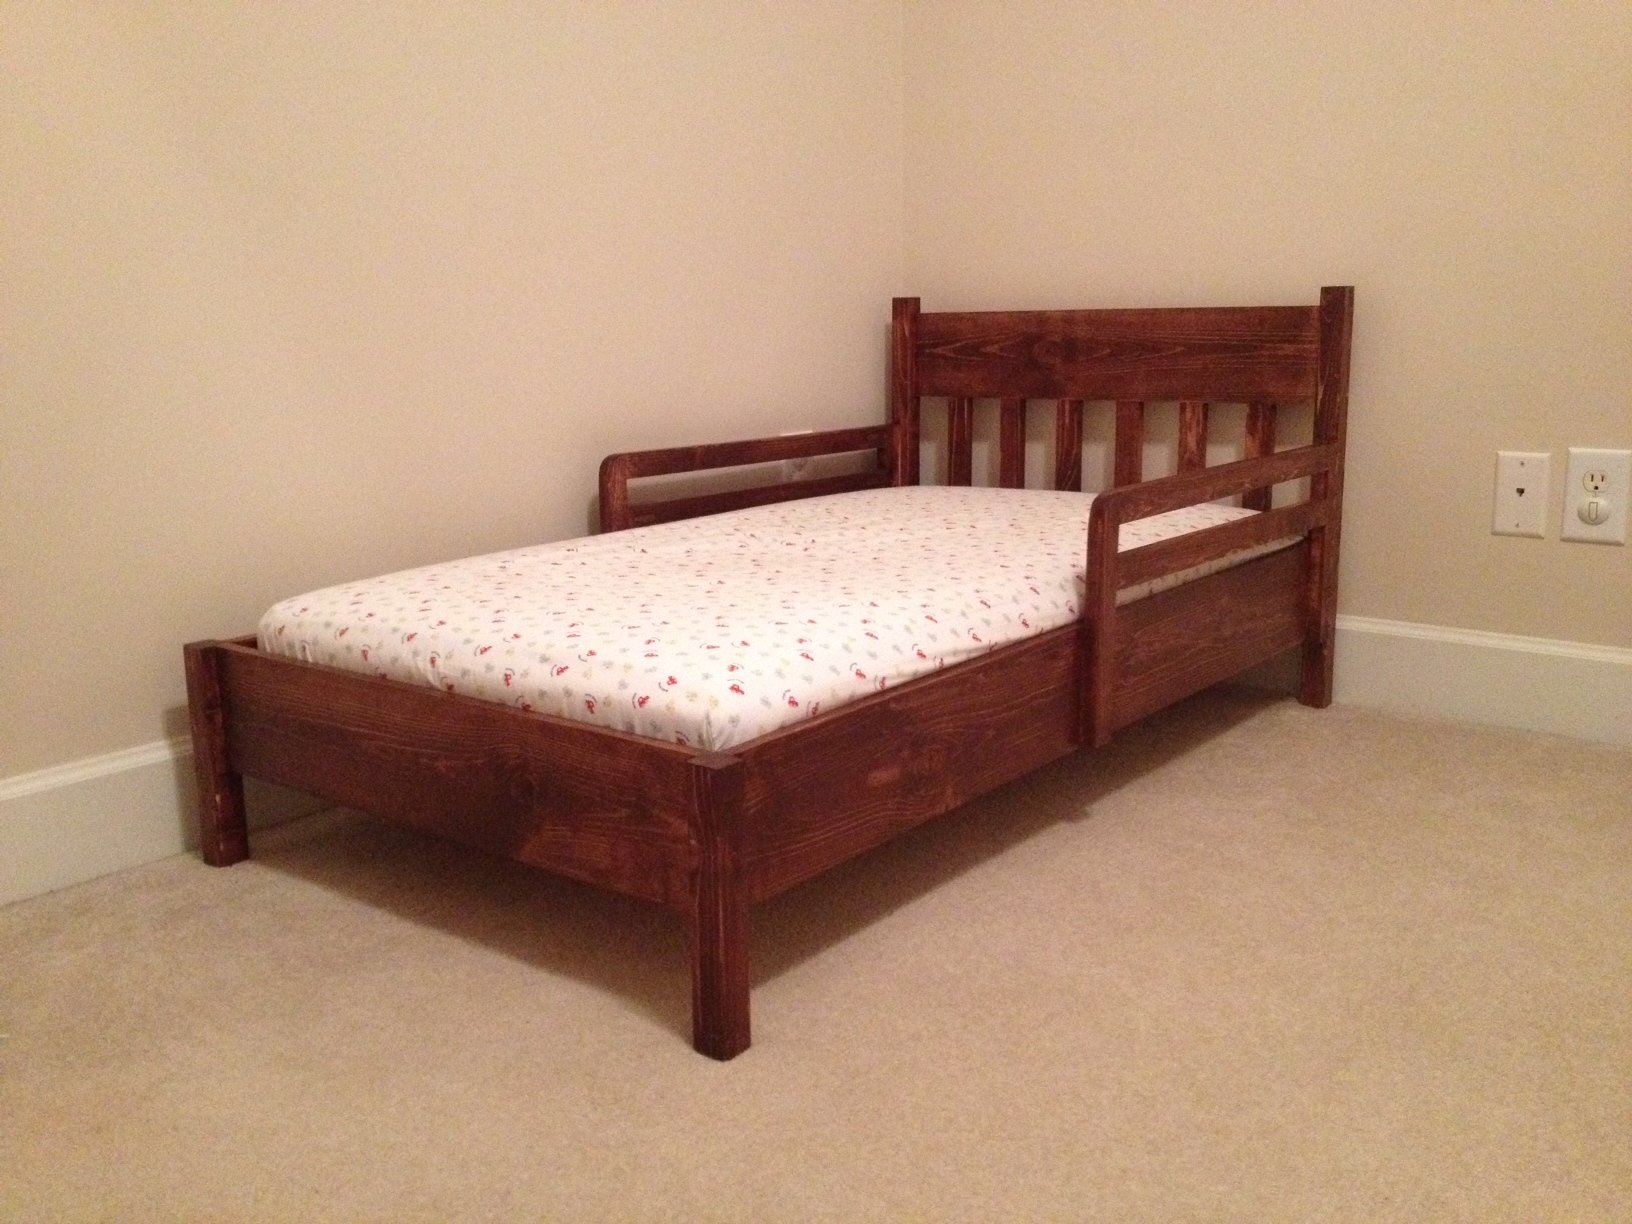
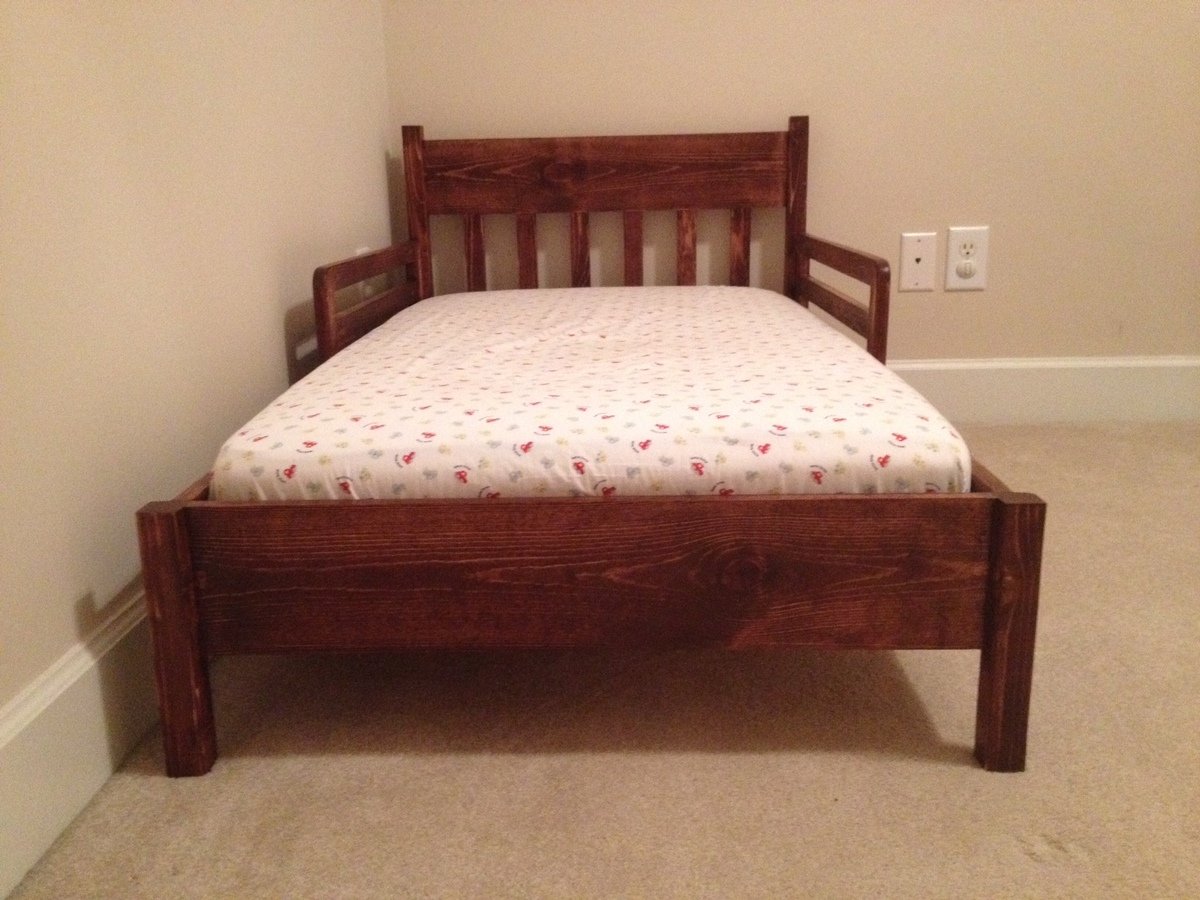
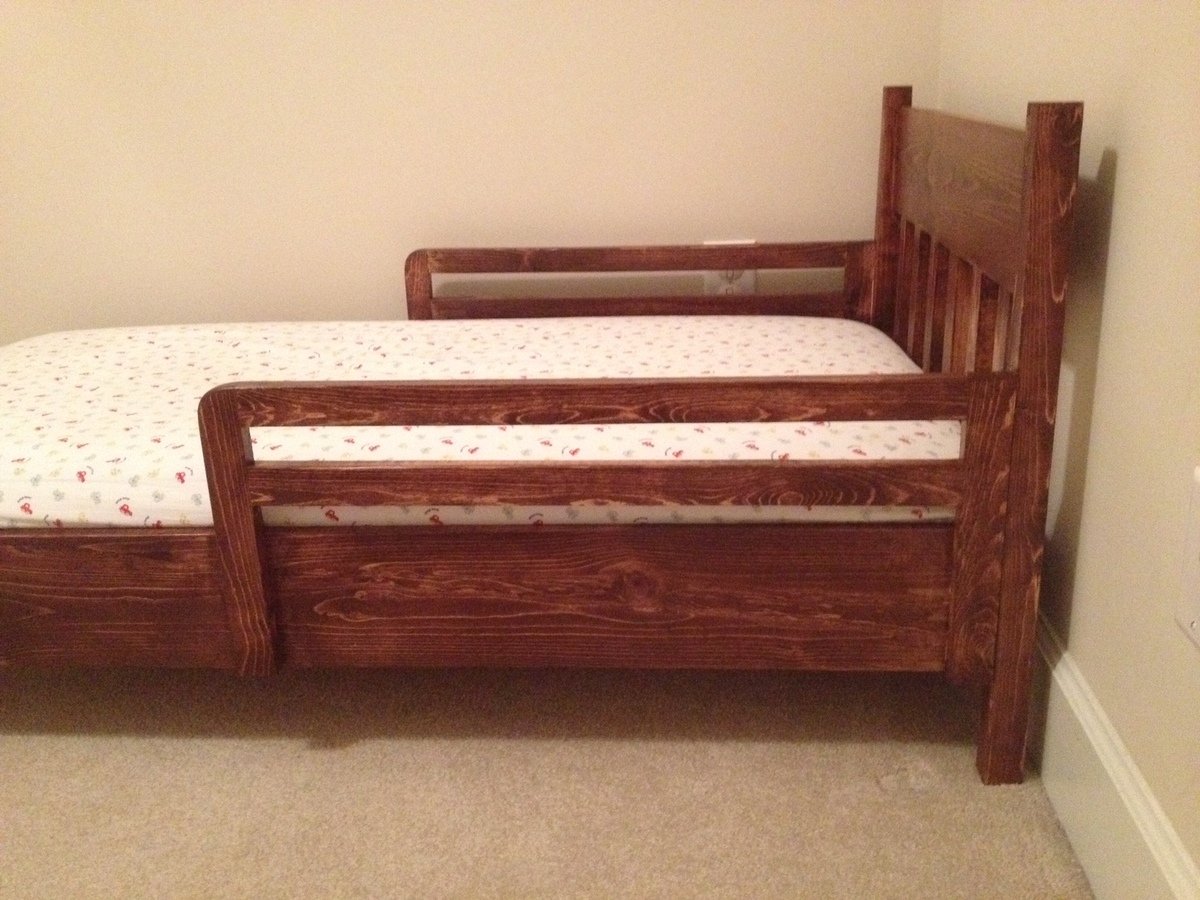
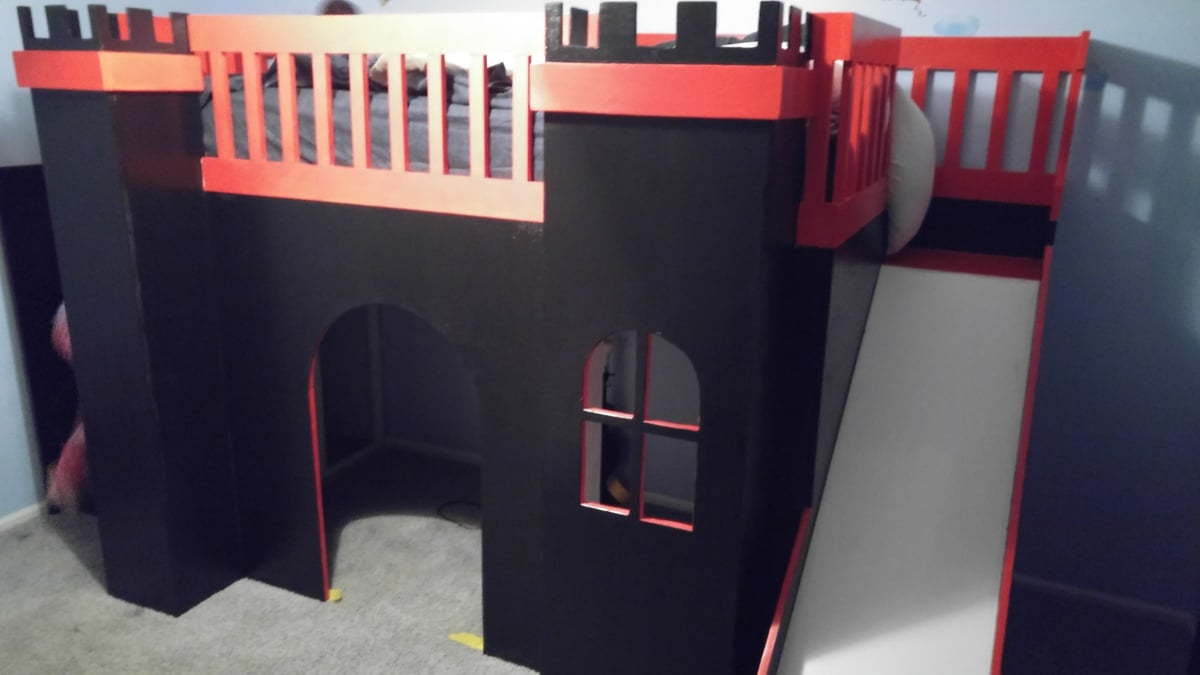
Pretty basic design - I made a few modifications to the published plans.
1) Slightly longer guard railings
2) Made the cleats flush with the bottom of the side rails so that the guard rails are elevated above the mattress.
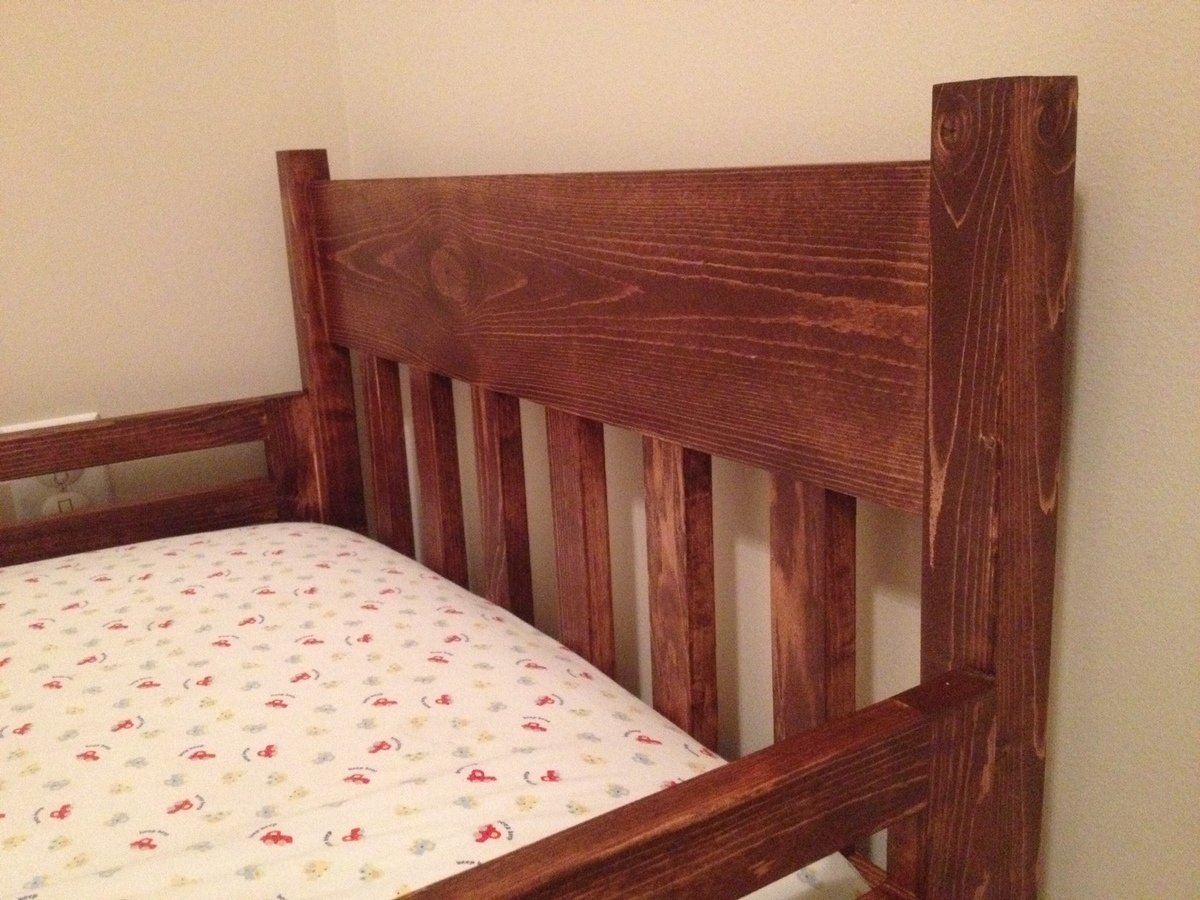
3) Added "slat" design for the headboard.
Overall a pretty simple project, but like everything, takes time. Best of all, my little man loved it at first sight and is already using it!
Wed, 02/26/2014 - 06:49
Right before you posted this, we were just looking at this plan after coming to the realization that our little lady is going to graduate from her crib soon. I love the modifications that you made and stain that you used. Awesome work!
Awesome plans! Followed everything and it came out great. Thank you soooo much, my son loves it!!!
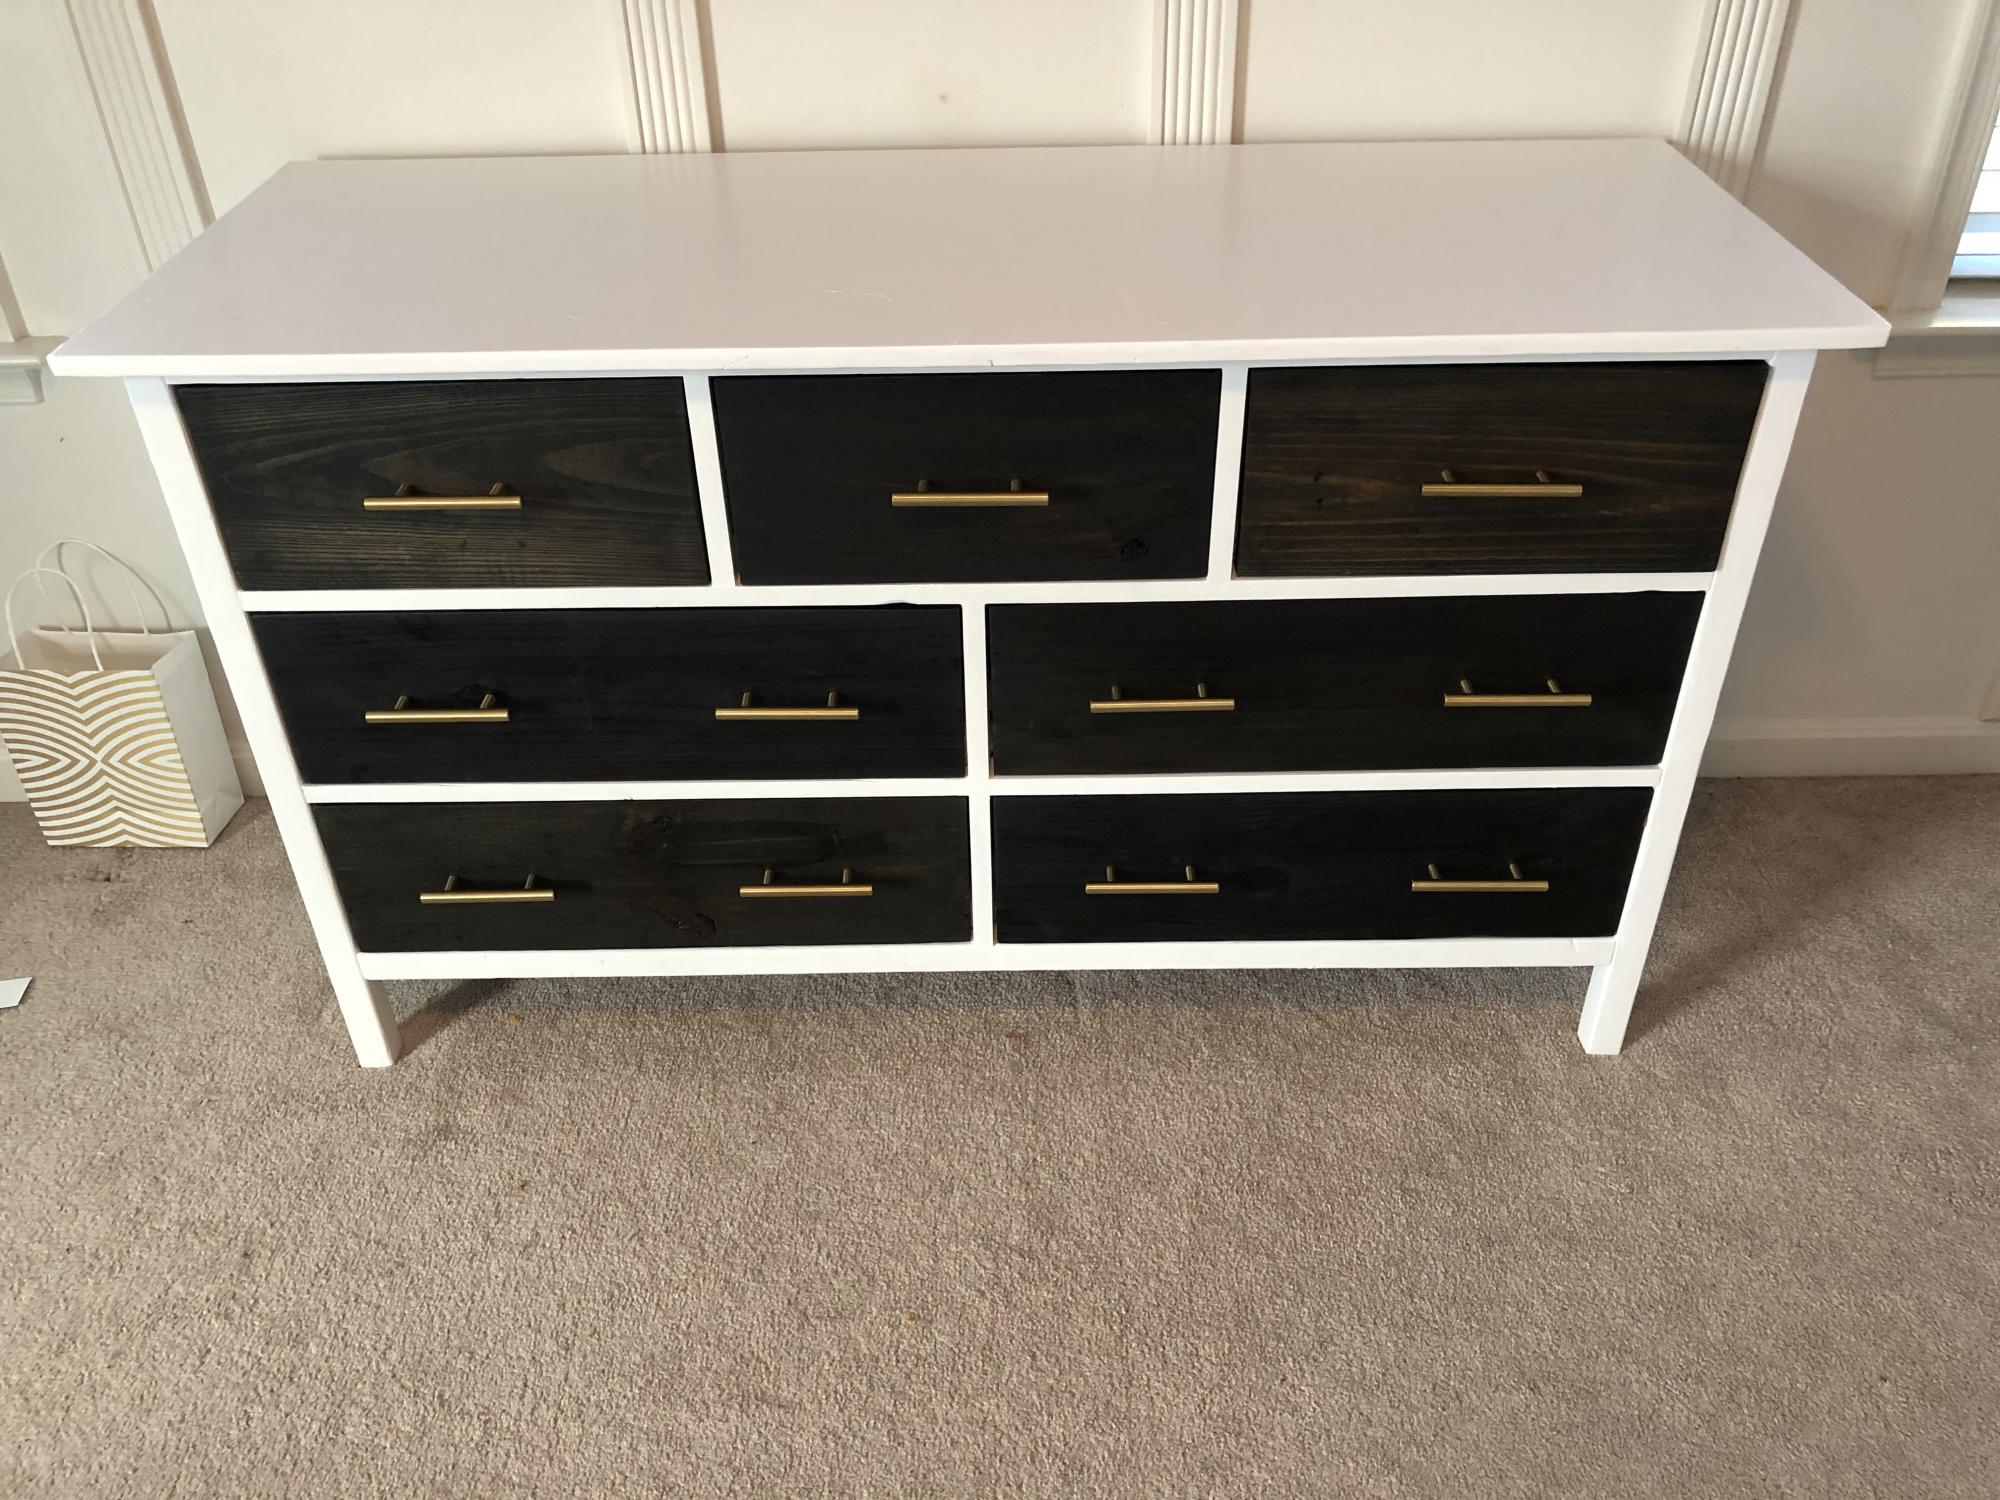
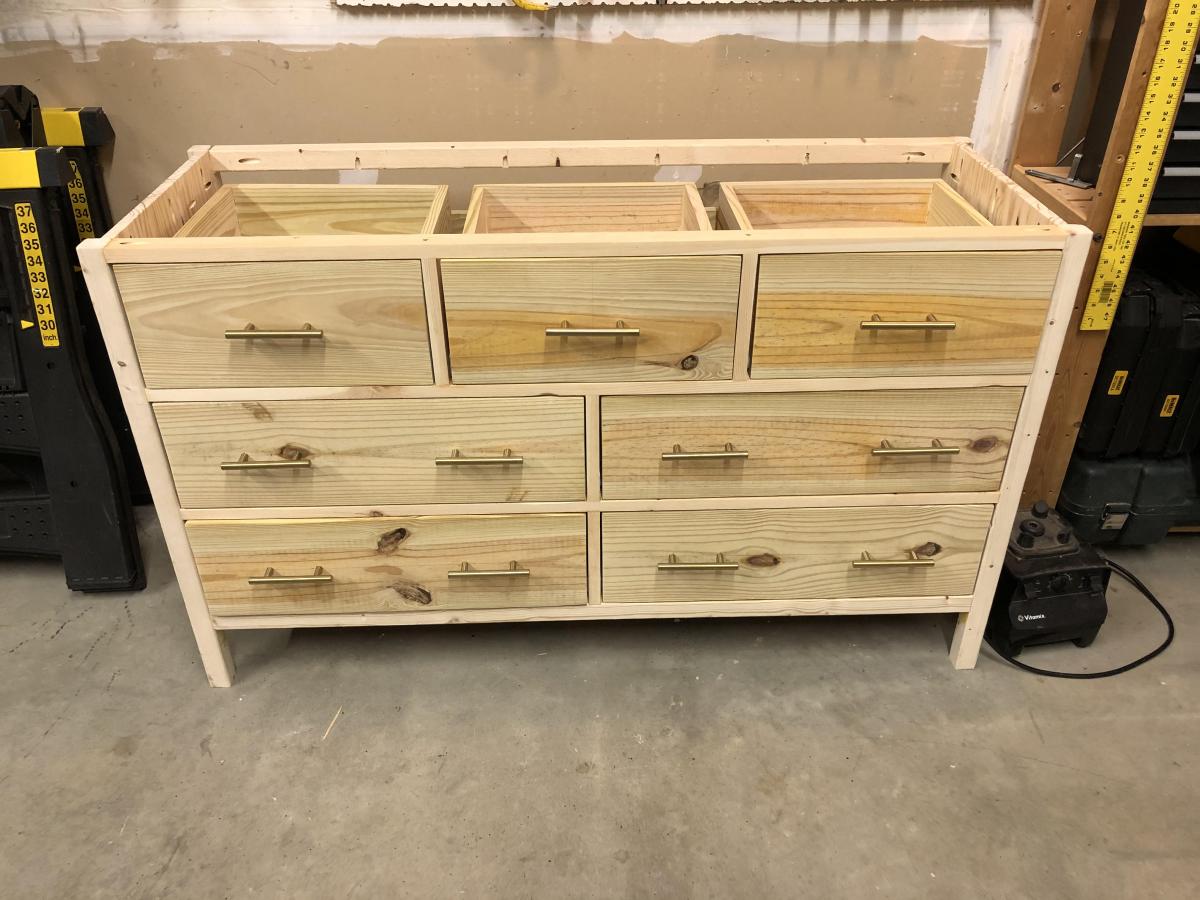
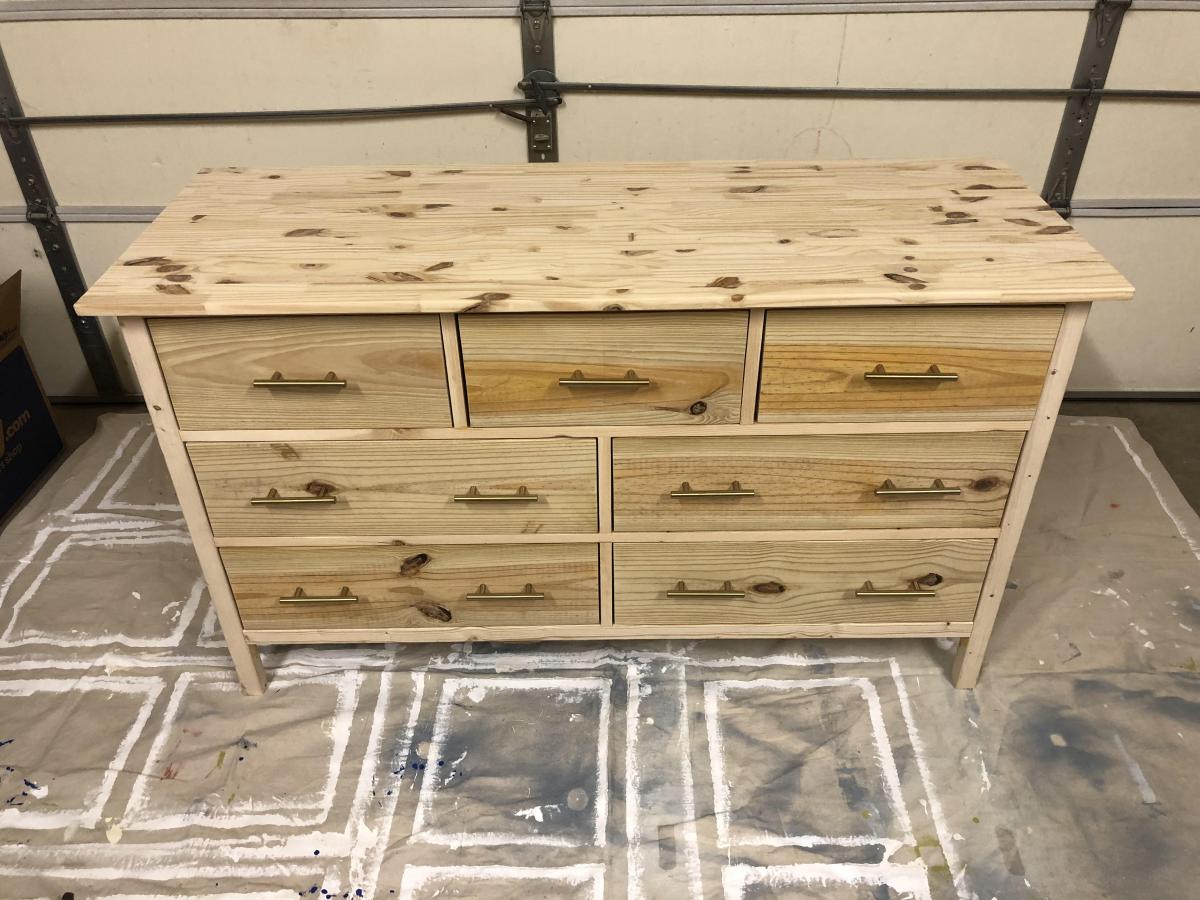
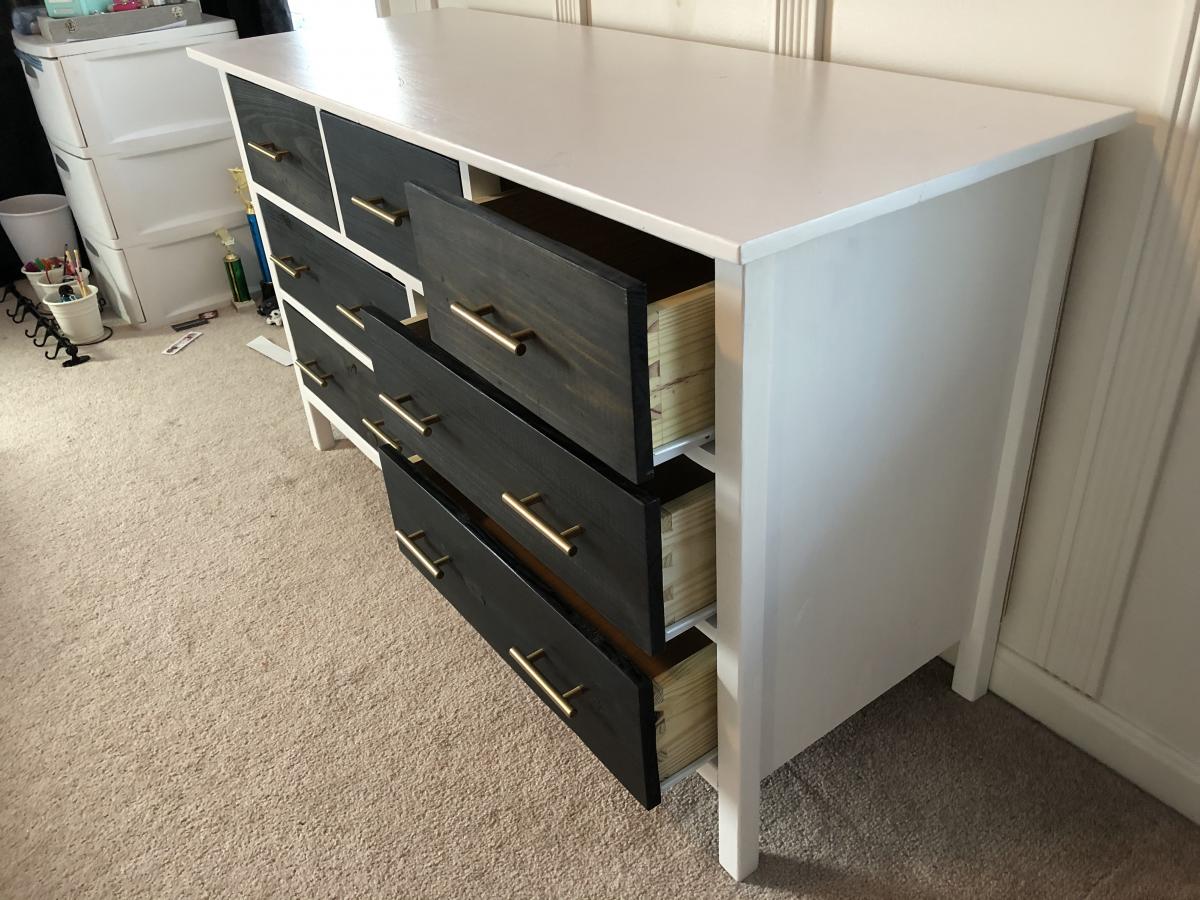
My daughter recently threw out a lot of her things because she wanted to have a grown up room and not a kids room. So she asked if I could make her furniture and wanted a dresser as her first piece. So I couldn't say no!
This was my second project from this web site and my first dresser. Boy was it tough, but I loved every minute of it! Even though the plans were marked Advanced, I made it even more so by trying out dovetailing for all the drawers. By hand. With just a Japanese pull saw and chisels. That added about 10 hours onto the total build, but it was for my daughter, so it was worth it!
This is how it turned out.

Definitely one of my favorite rooms in the house. Not shiplap but reclaimed wood. Had to deal with lowering everything because of the trunk lines but overall we love it.
Leslie Webber
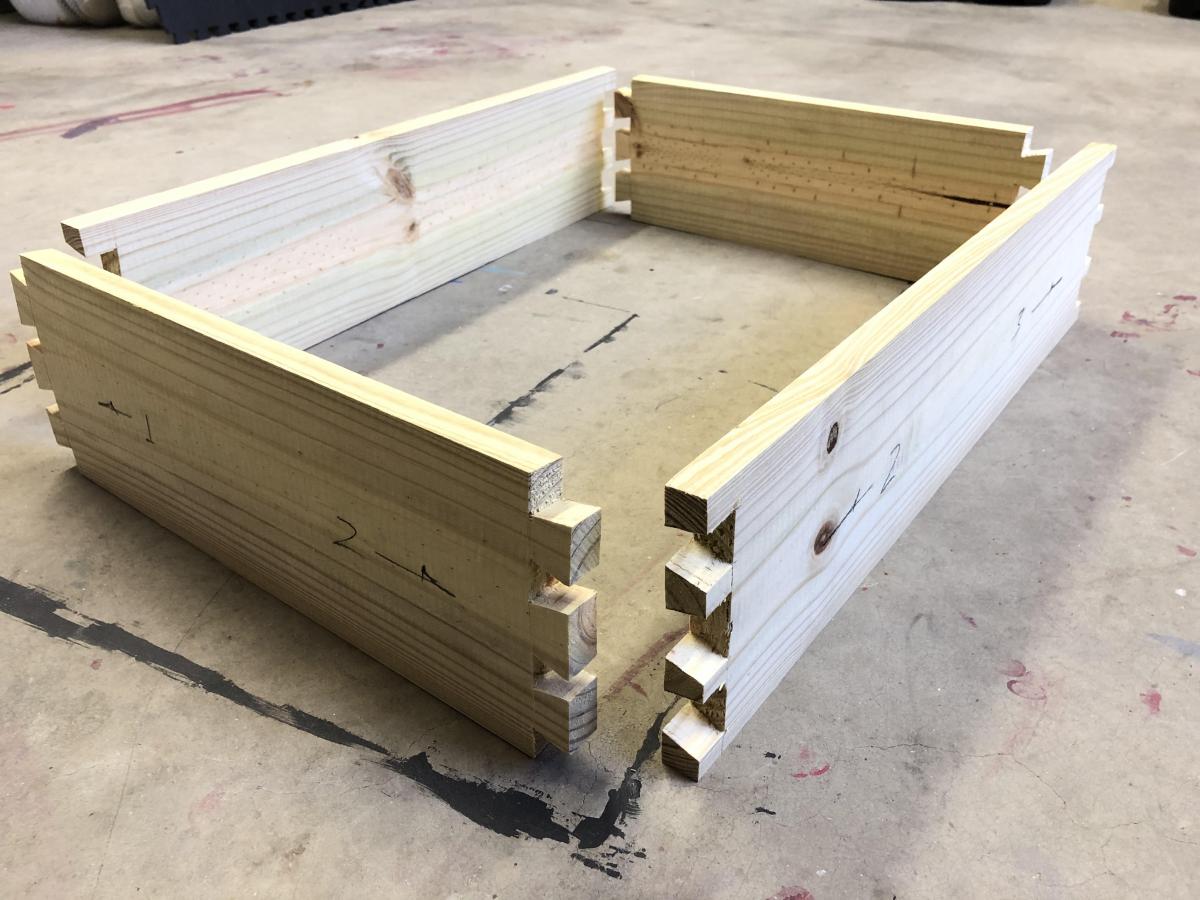
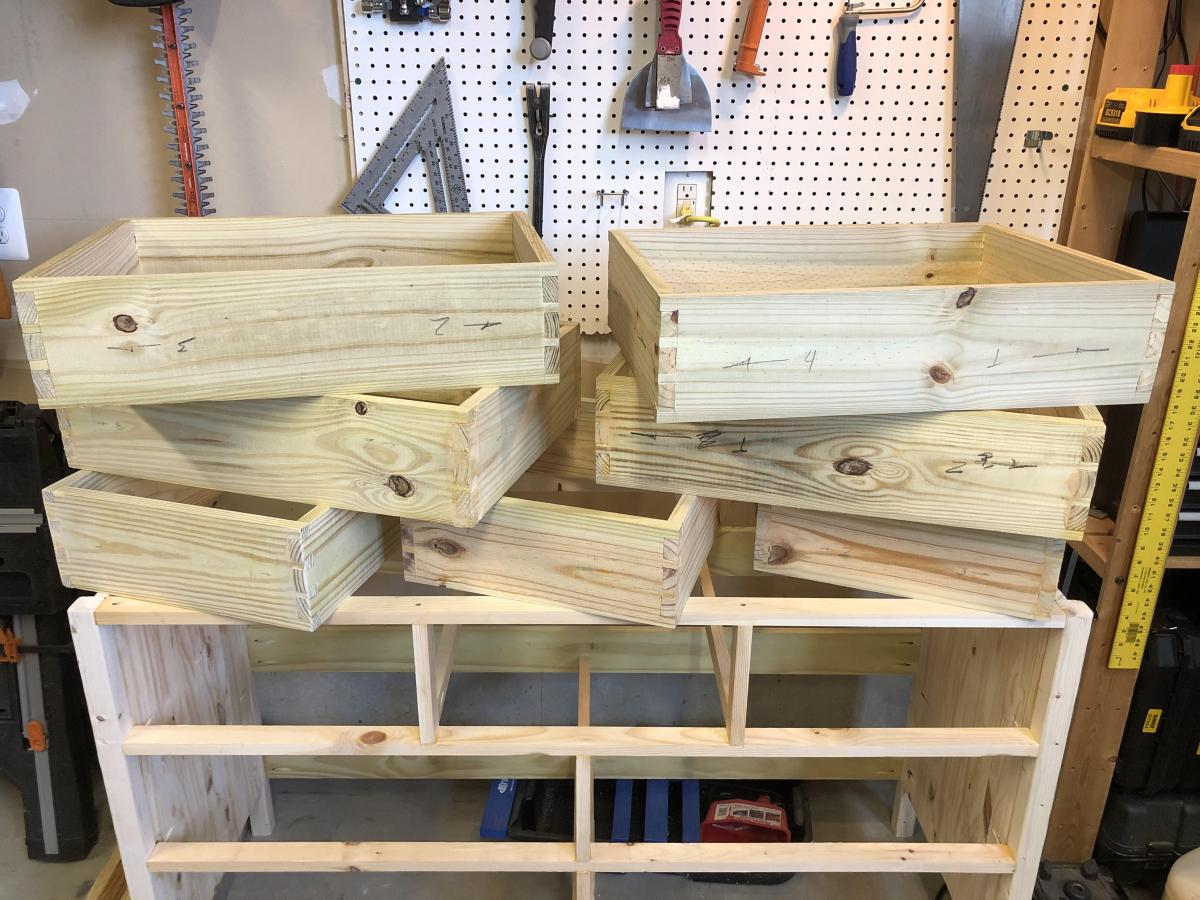
This was our second build. Seemed easy enough, but definitely a 'learning experience' here! Most importantly, we learned the value of a straight board and how furring strips are anything but. Thankfully, I got my main squeeze by my side through it all. Even if he is mirroring that same confused expression I get when things don't quite pan out the way they should. LOL!
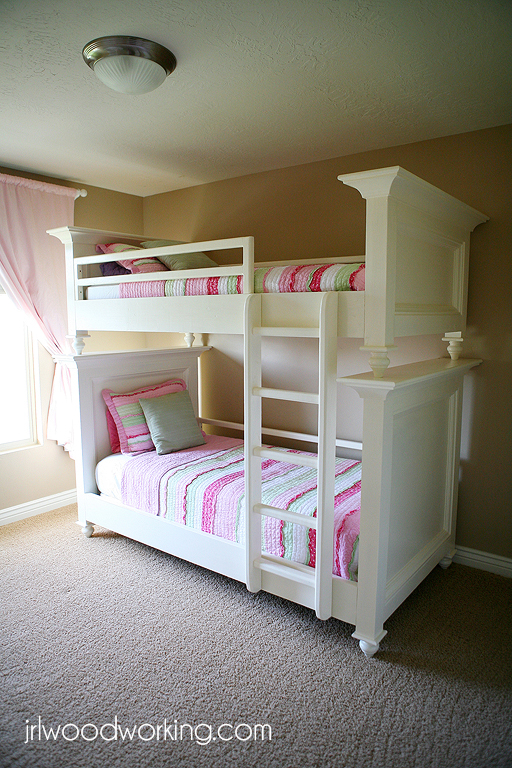
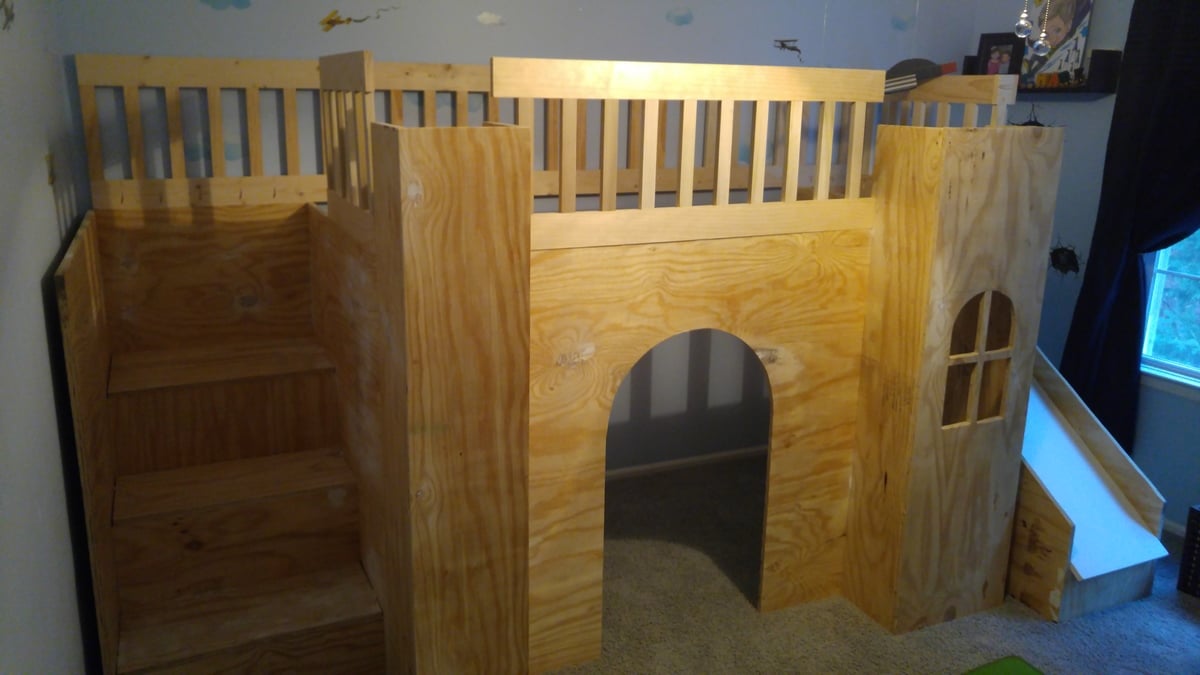
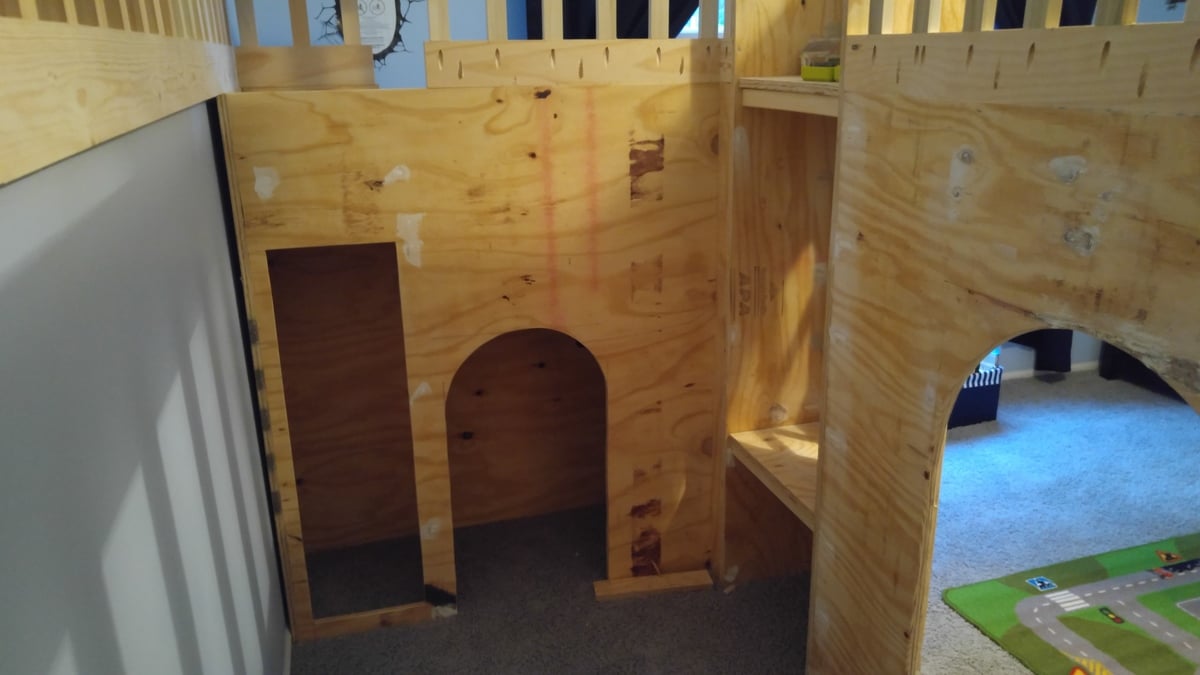
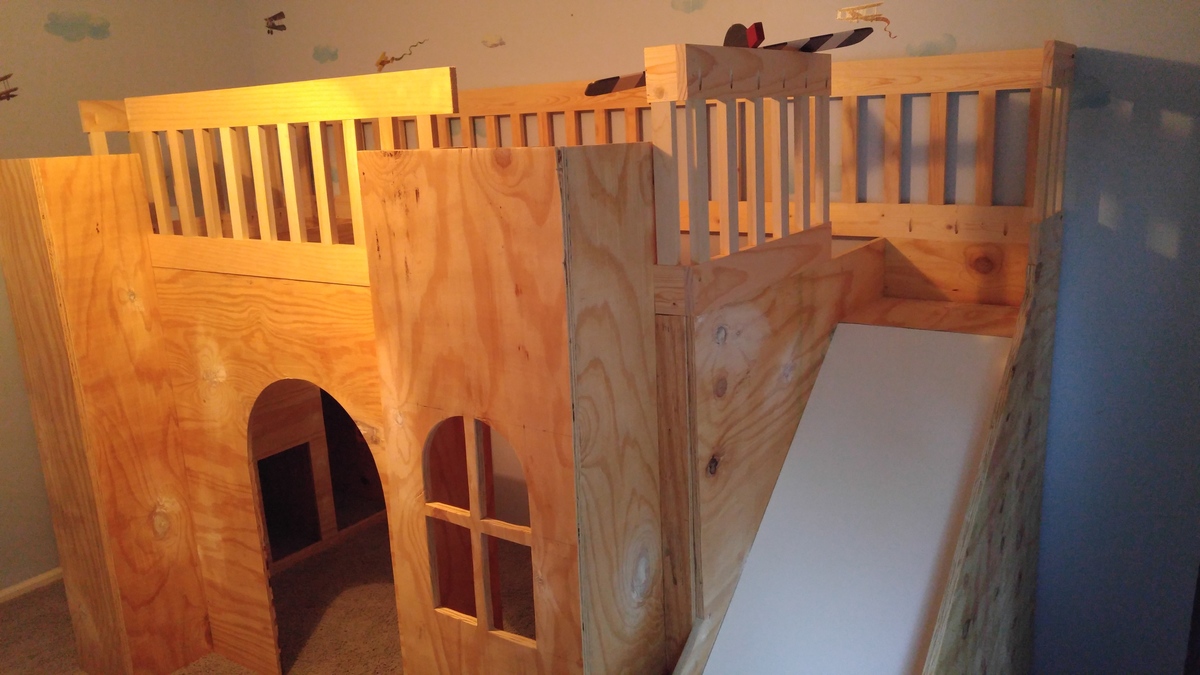
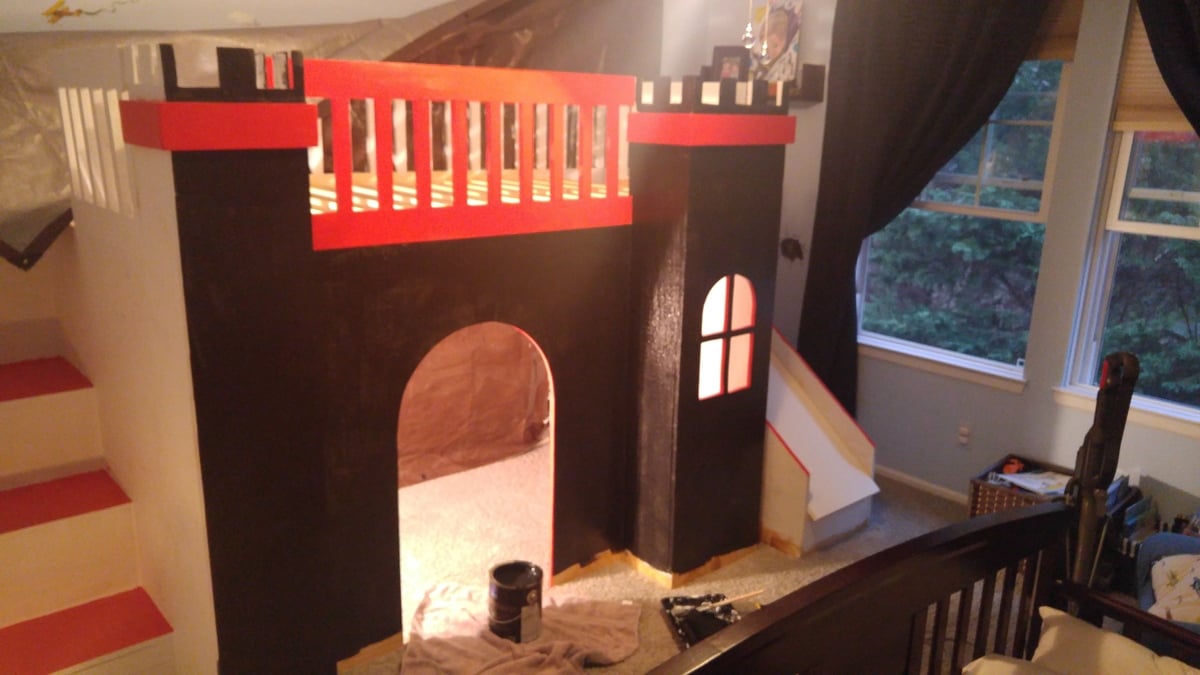
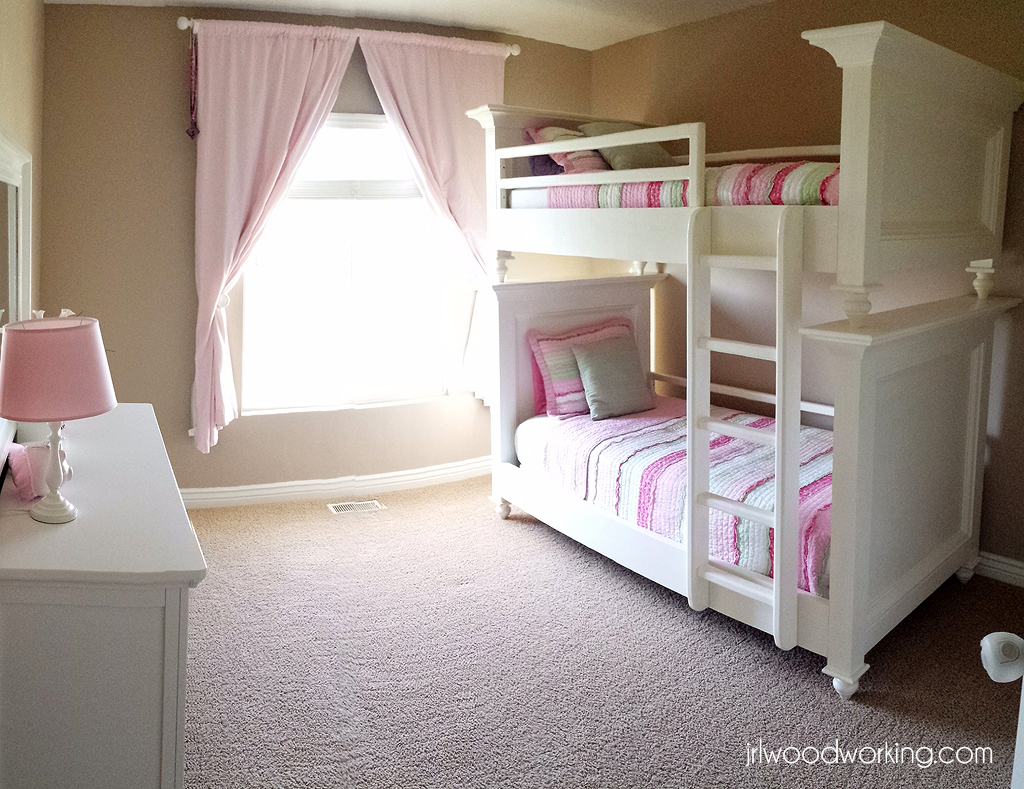
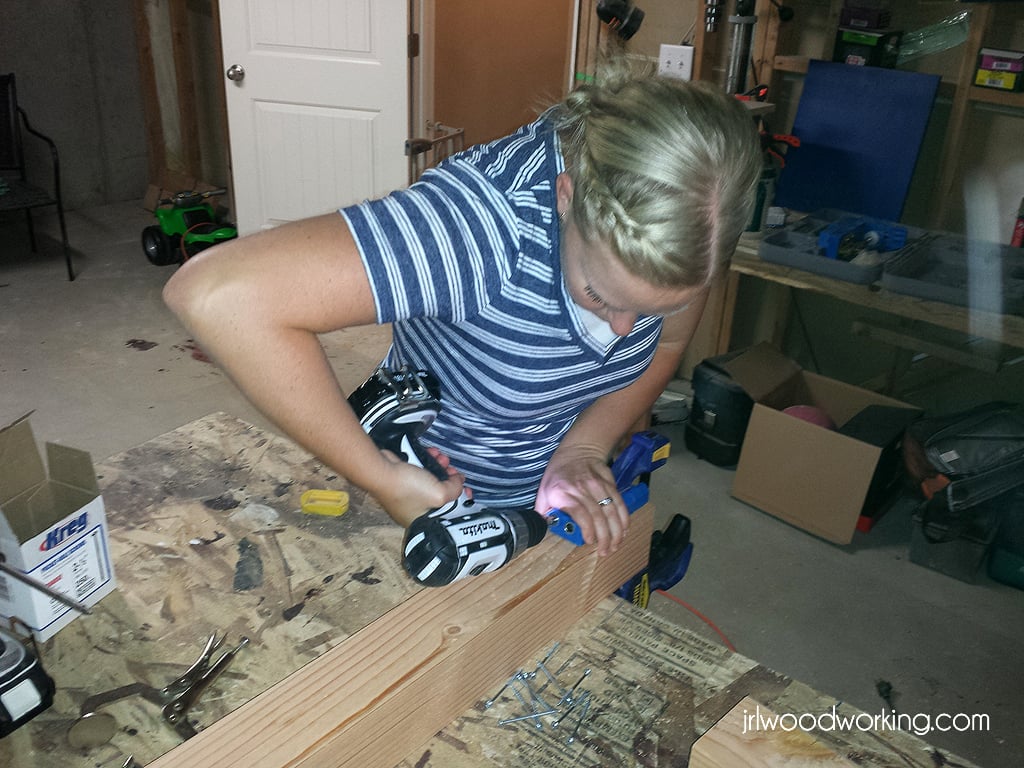
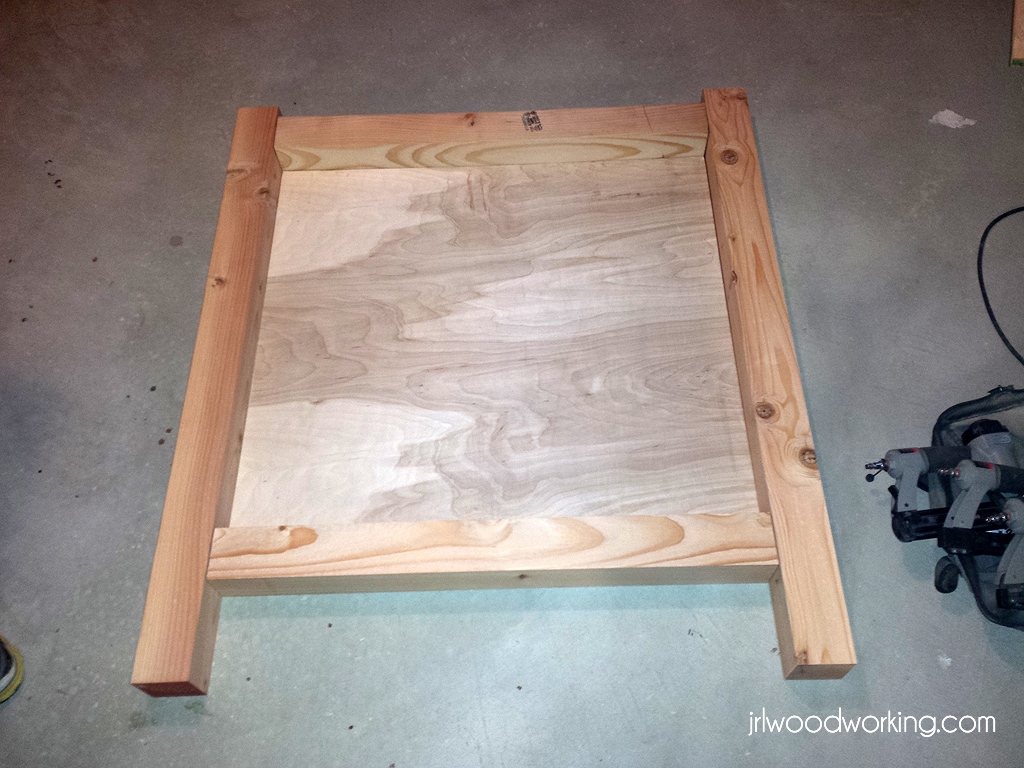
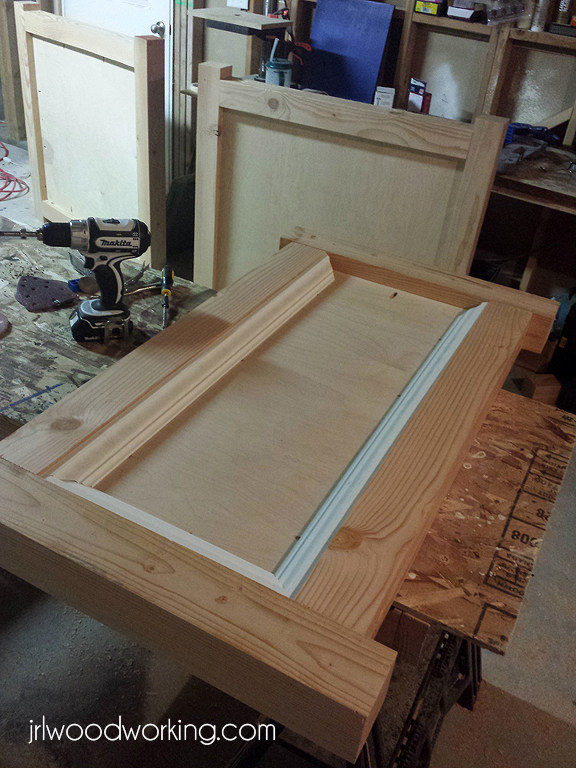
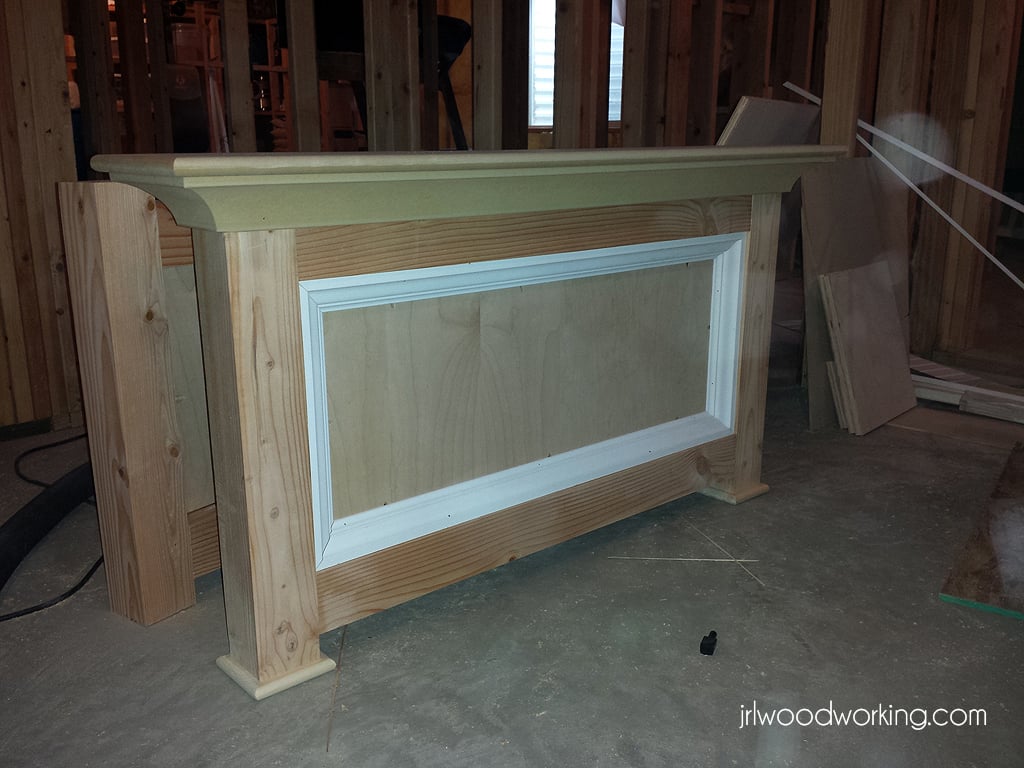
We are currently in the process of making the plans for these bunk beds, but we wanted to share them on Ana White! I spent quite a bit of time designing the bunk beds, and then my awesome husband helped bring them to life. This project took us a few weeks, but a lot of the time was spent painting. As far as building the project, we wanted something a little bit bigger and grander than most bunk beds you find in the store. I also wanted them to look mature enough that they would grow with my young girls. When they are older, we wanted them to be able to separate the bunk beds and have a beautiful twin bed set. We designed these bunk beds to have a taller headboard (which ends up being the bottom bunk) and a shorter footboard (that is the top bunk). Then, we you separate the bunks, you use one headboard from the bottom, one footboard from the top, and one set of rails. That becomes one twin bed set. To make the bunk beds, you make two headboards and two footboards. We wanted a raised panel look, so we used plywood and 4x4 posts. We used the kreg jig to attach the plywood to the posts. Then, we used the trim to cover up the holes from the kreg. For the top, we used crown and then an mdf cap piece. We just repeated these steps four times for all headboards and footboards. We wanted to really dress these bunk beds up, so we added bun feet to the bunk beds. We also ordered extra and put the matching bun feet on their dresser, so it looked like a complete set. We finished the project by making the bed side rails, the guard rails, and the ladder. We put it together to make sure it fit, then we took it apart and began the painting process. We did about 4 coats of paint: 1 coat of primer, and three coats of latex paint. We sanded lightly between each coat for a nice smooth finish. Check our website for the detailed plans: http://www.jrlwoodworking.com/2014/03/furniture-plans-twin-over-twin-bu…
Tue, 02/25/2014 - 14:05
We are working on making the detailed plans for these bunk beds, check back to our website to see if they are up yet!
Sun, 03/16/2014 - 18:27
Hey everyone, just wanted to let you know we have the step-by-step plans for these bunk beds posted on our website. Check them out!
http://www.jrlwoodworking.com/2014/03/furniture-plans-twin-over-twin-bu…
Easy 3 tier planter. Made from Ana White's plan Made for free from scrap wood that I pulled out of the trash and portions from a pallet, ripped 2x4 and shipping container. #ForMereMortals #planter
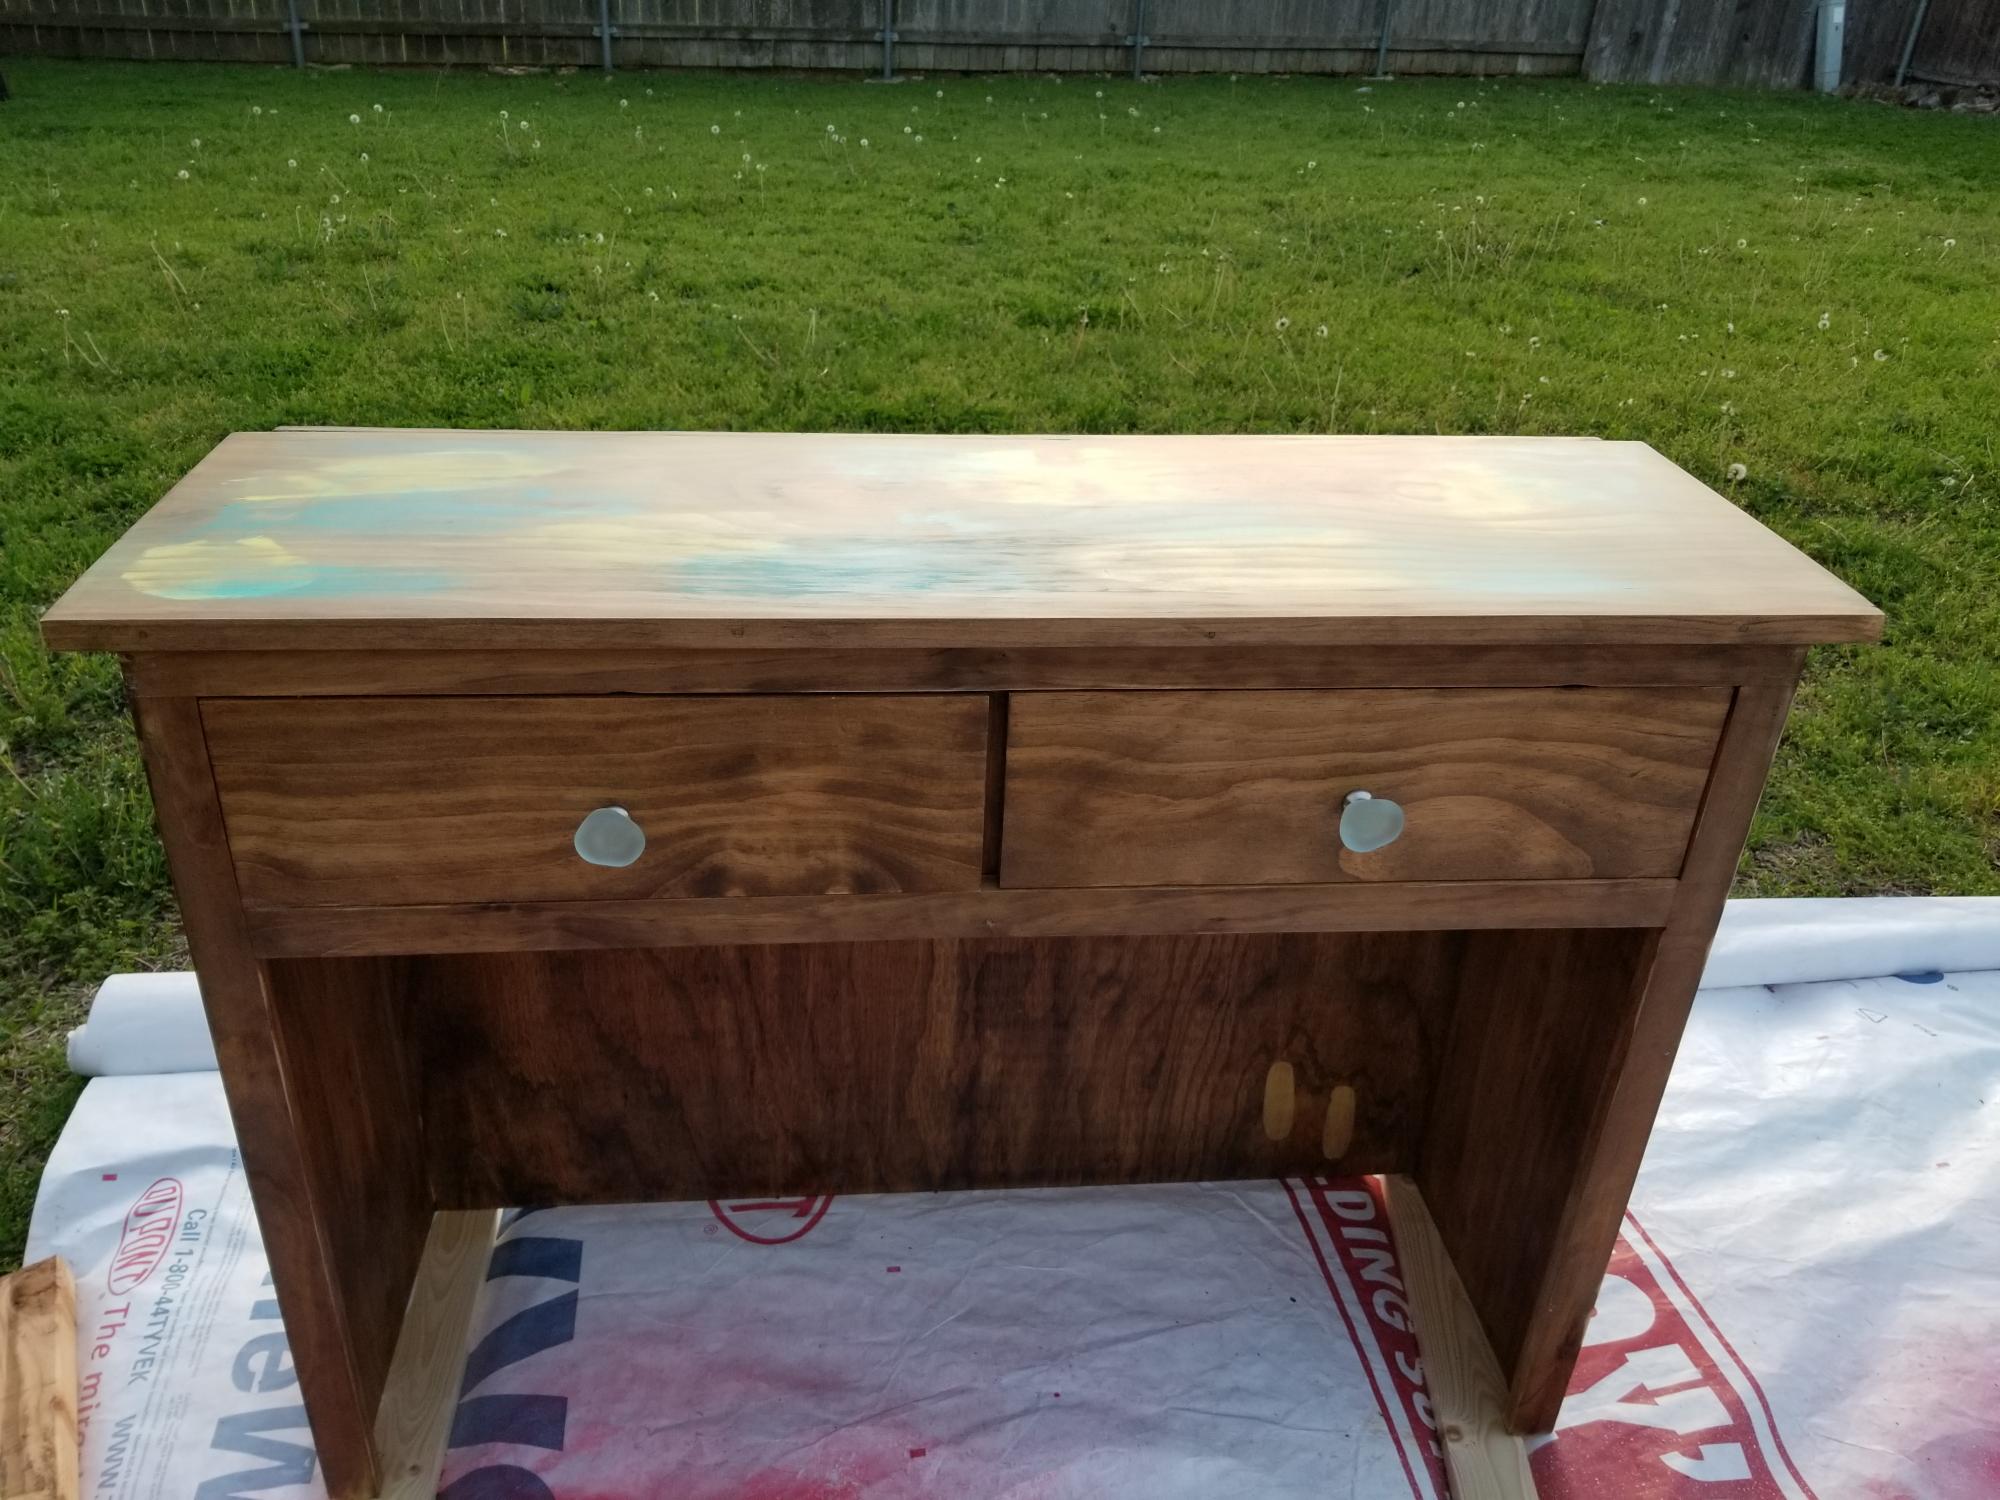
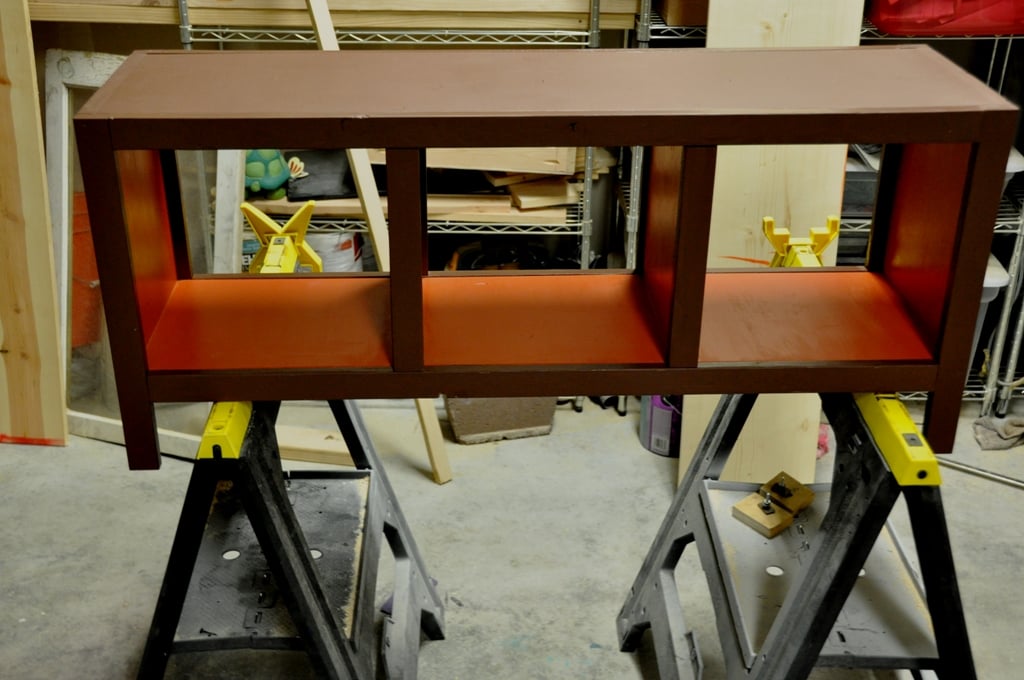
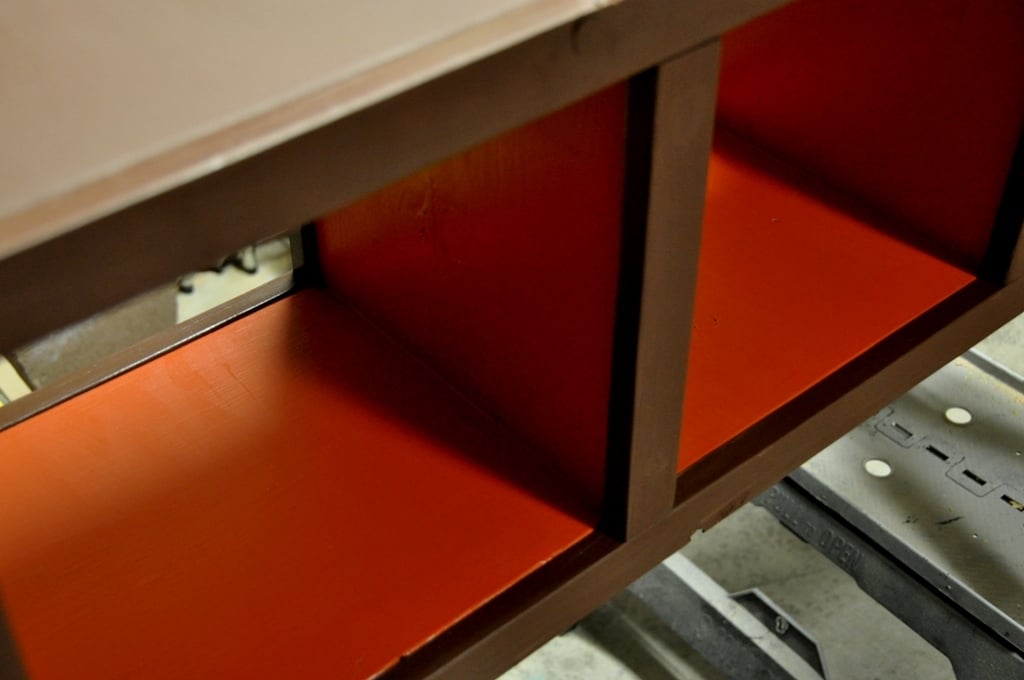
I started with the Cindy Wood Console Table and made some modifications. A friend wanted a desk that had colors added to the top.
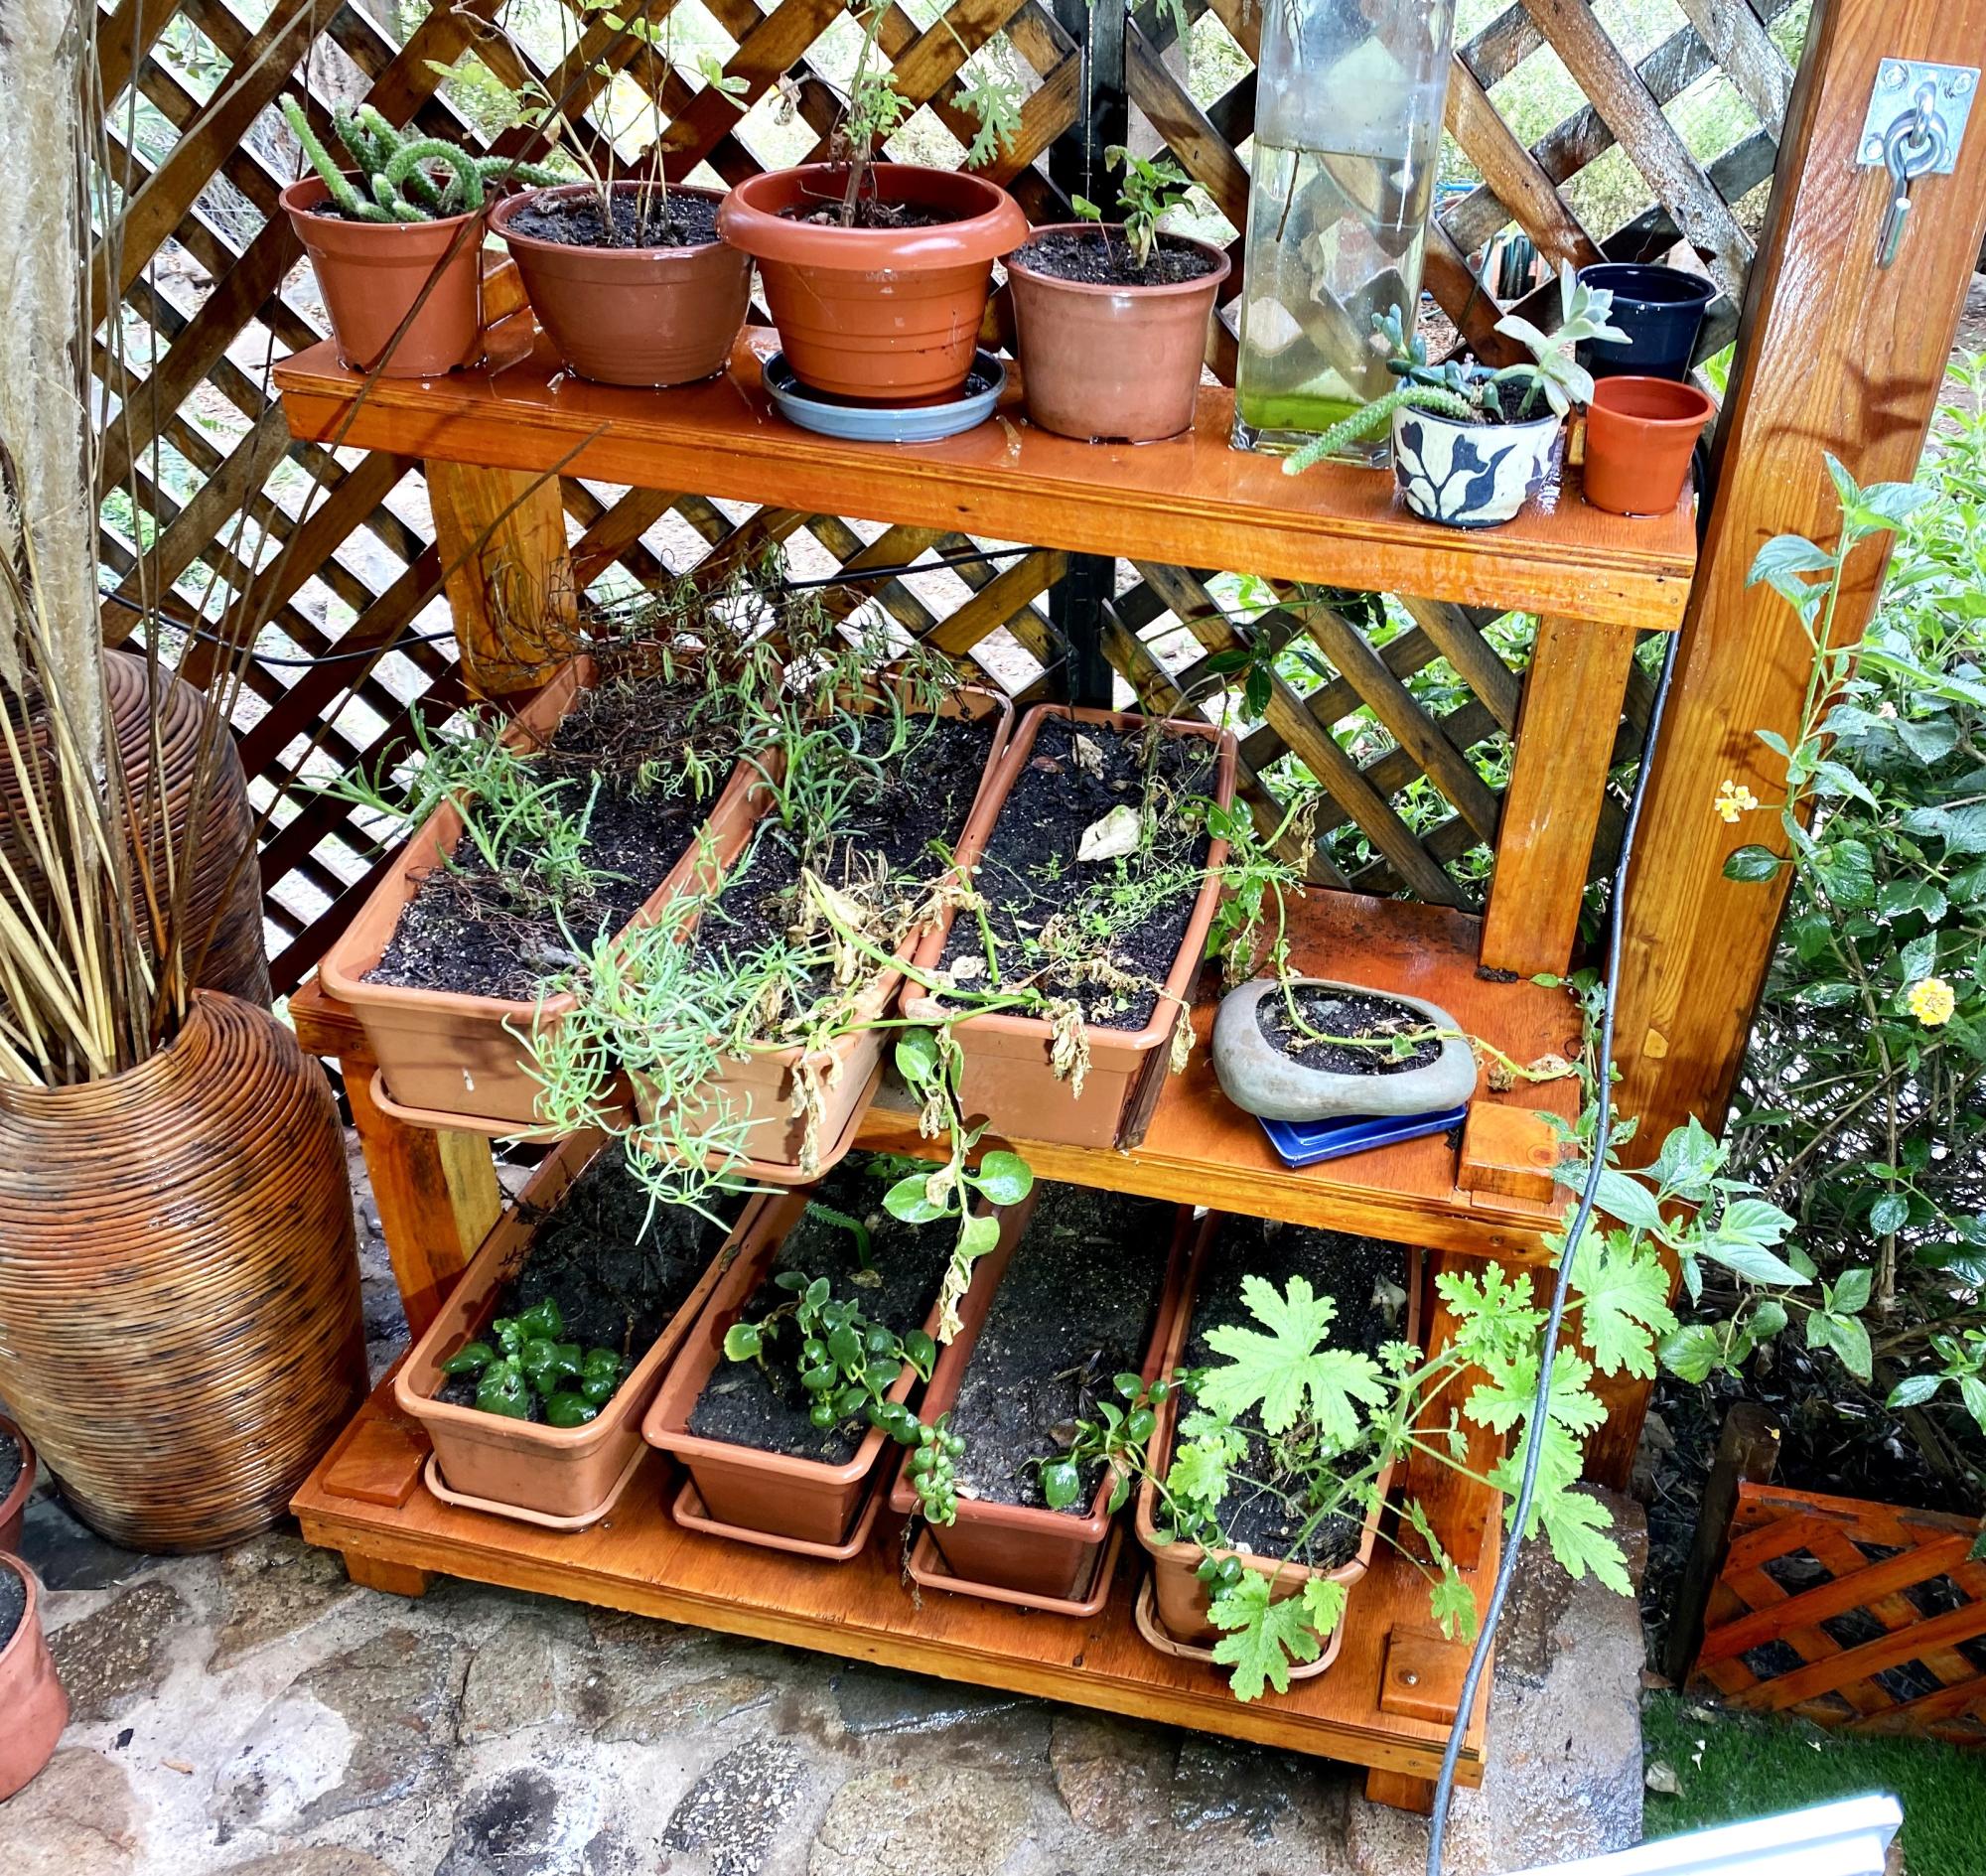
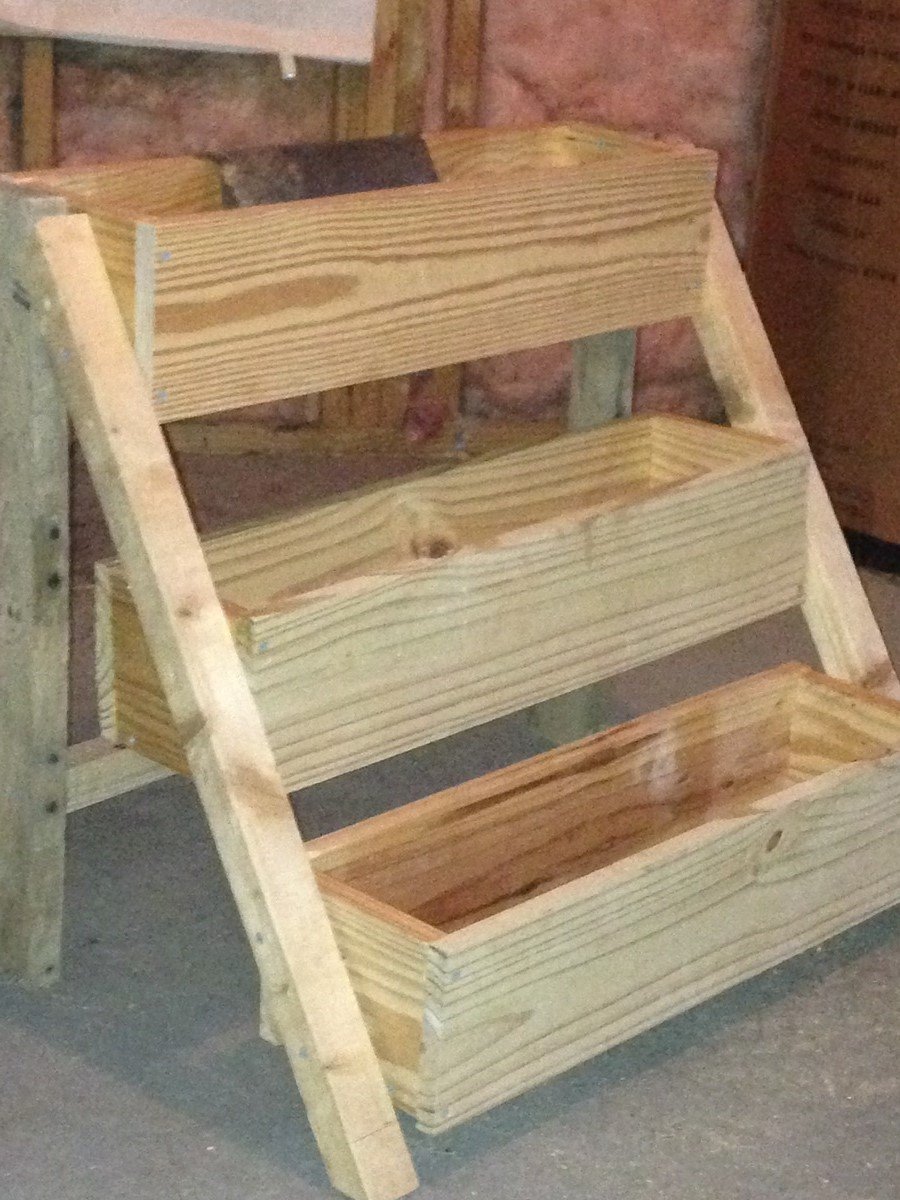
I built this potting bench using leftover pieces of pallets and play wood from other projects...
It is a three-level bench to maintain order with my pots where we start our seedbed crops and reproductions by cuttings.
Any comments to improve my design will be sincerely appreciated.
Regards
Claudio from Chile
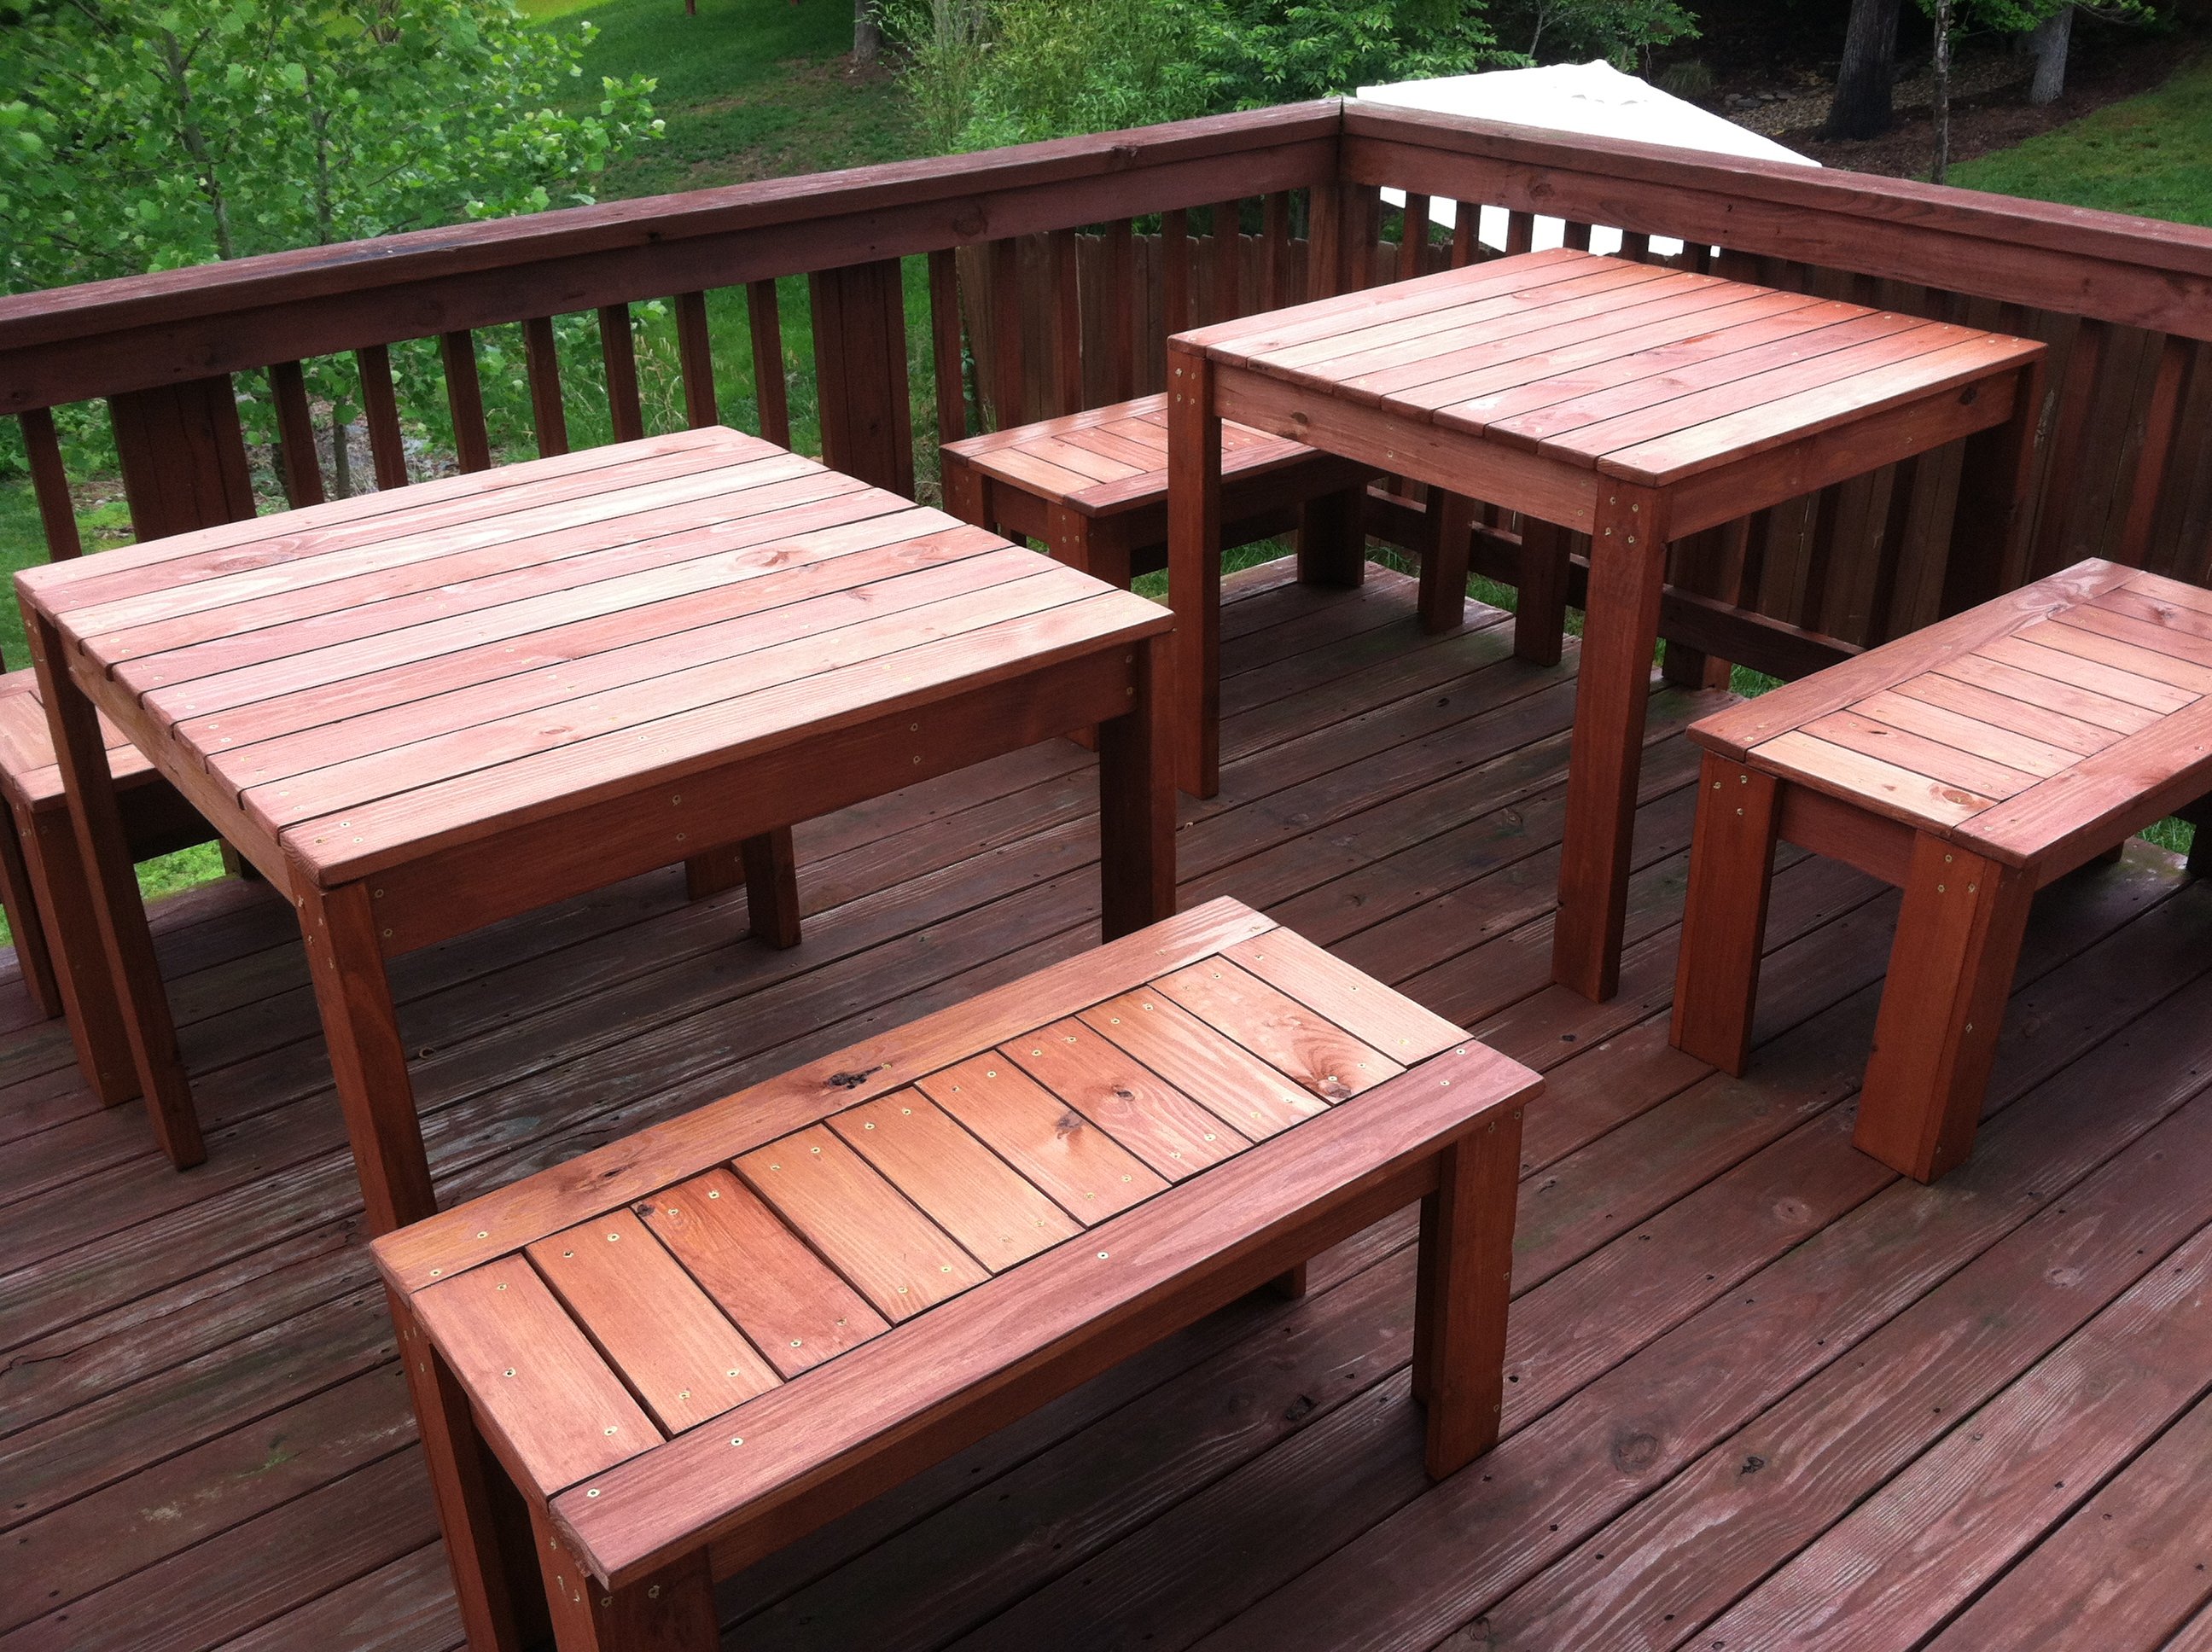
We wanted two smaller tables and four benches so we can rearrange as needed to make one big or two small tables. We can also move them back and forth between patio and deck. We hoped to have this done in a weekend but it took us two weeks working at night after the kids went to bed. I love how they turned out but I'm not sure I will try another project this involved!
Wed, 05/16/2012 - 17:38
This turned out great! I really like the modifications

Sun, 05/20/2012 - 06:20
I really like the idea the two tables and being able to arrange them differently. Now I have to make more!!! Great job.
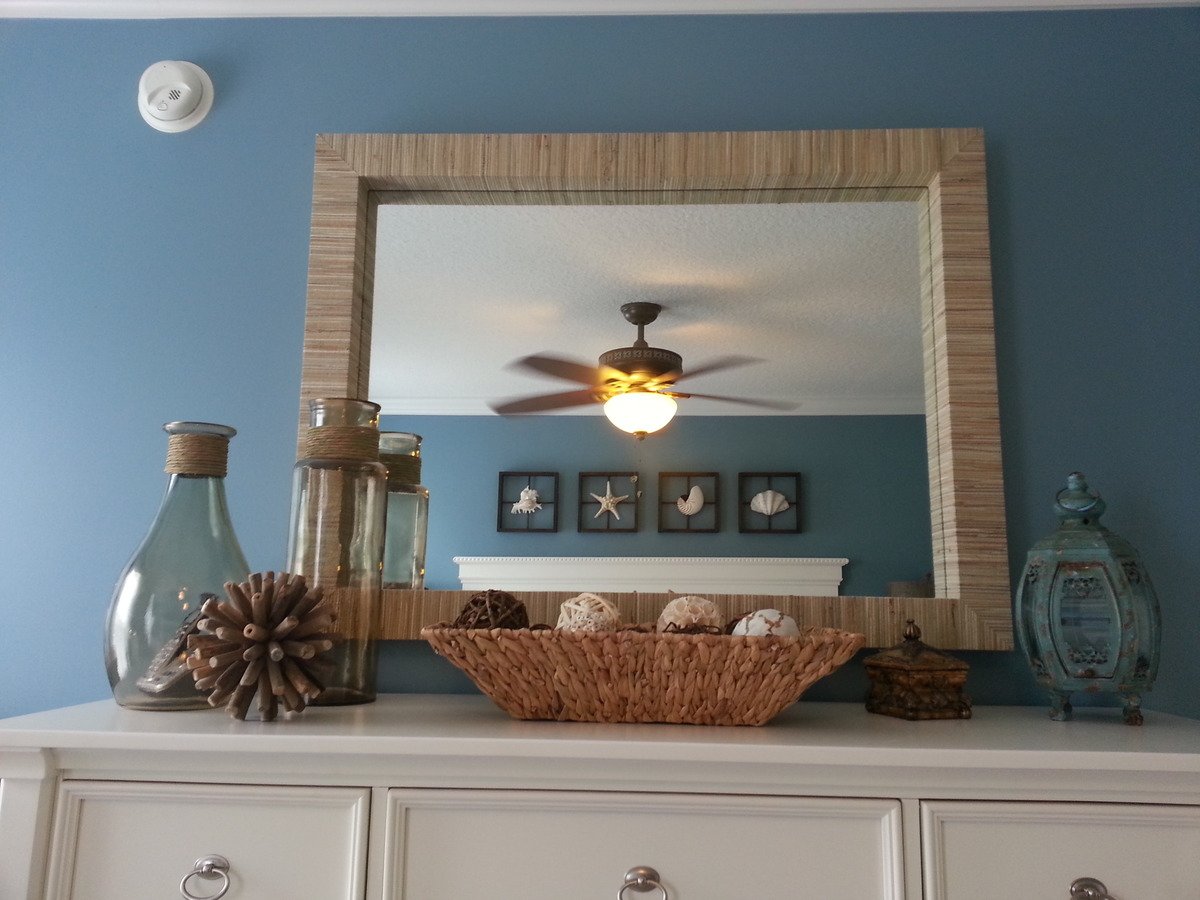
My wife and I found some grass clothe mirrors at a local home decor store that we loved, but they were either too big or small for our space. (Not to mention they ran $300-$450!!!) Using the same height/width ratio I built my own.
For this project we used:
-spare 1x4 and 1x6 pine boards left over from other projects (SORRY, I do not have the cut list)
-brad nail gun
-miter saw
-piece of 1/4" plywood (to hold the mirror in on the back)
-8 wood screws (to fix the plywood to the frame)
-an old bathroom mirror
-glass cutter (~$6-8 at Home Depot)
-gloves (for cutting and handling the glass)
-olive oil (for lubricating the glass cutter)
-grass clothe (had to buy it online by the roll ~$75, only used half)
-scissors
-spray adhesive (~$6-8 at Home Depot)
-picture hanger hooks (~$1 at Home Depot)
I spent more time thinking about how to construct the frame than actually making the cuts and building it, which took about an hour. I then spent about a month waiting for the grass clothe to arrive in the mail. Then it was about another hour cutting and affixing it to the frame with my wife.

This was my first BIG project that I have ever attempted. Would I do it again? Probably not, it definitely was a "bite off more than you can chew" situation. Many adjustments had to be made to fit our needs, however it turned out wonderful and I am happy with the results.
I tweaked the plans for the folowing reasons:
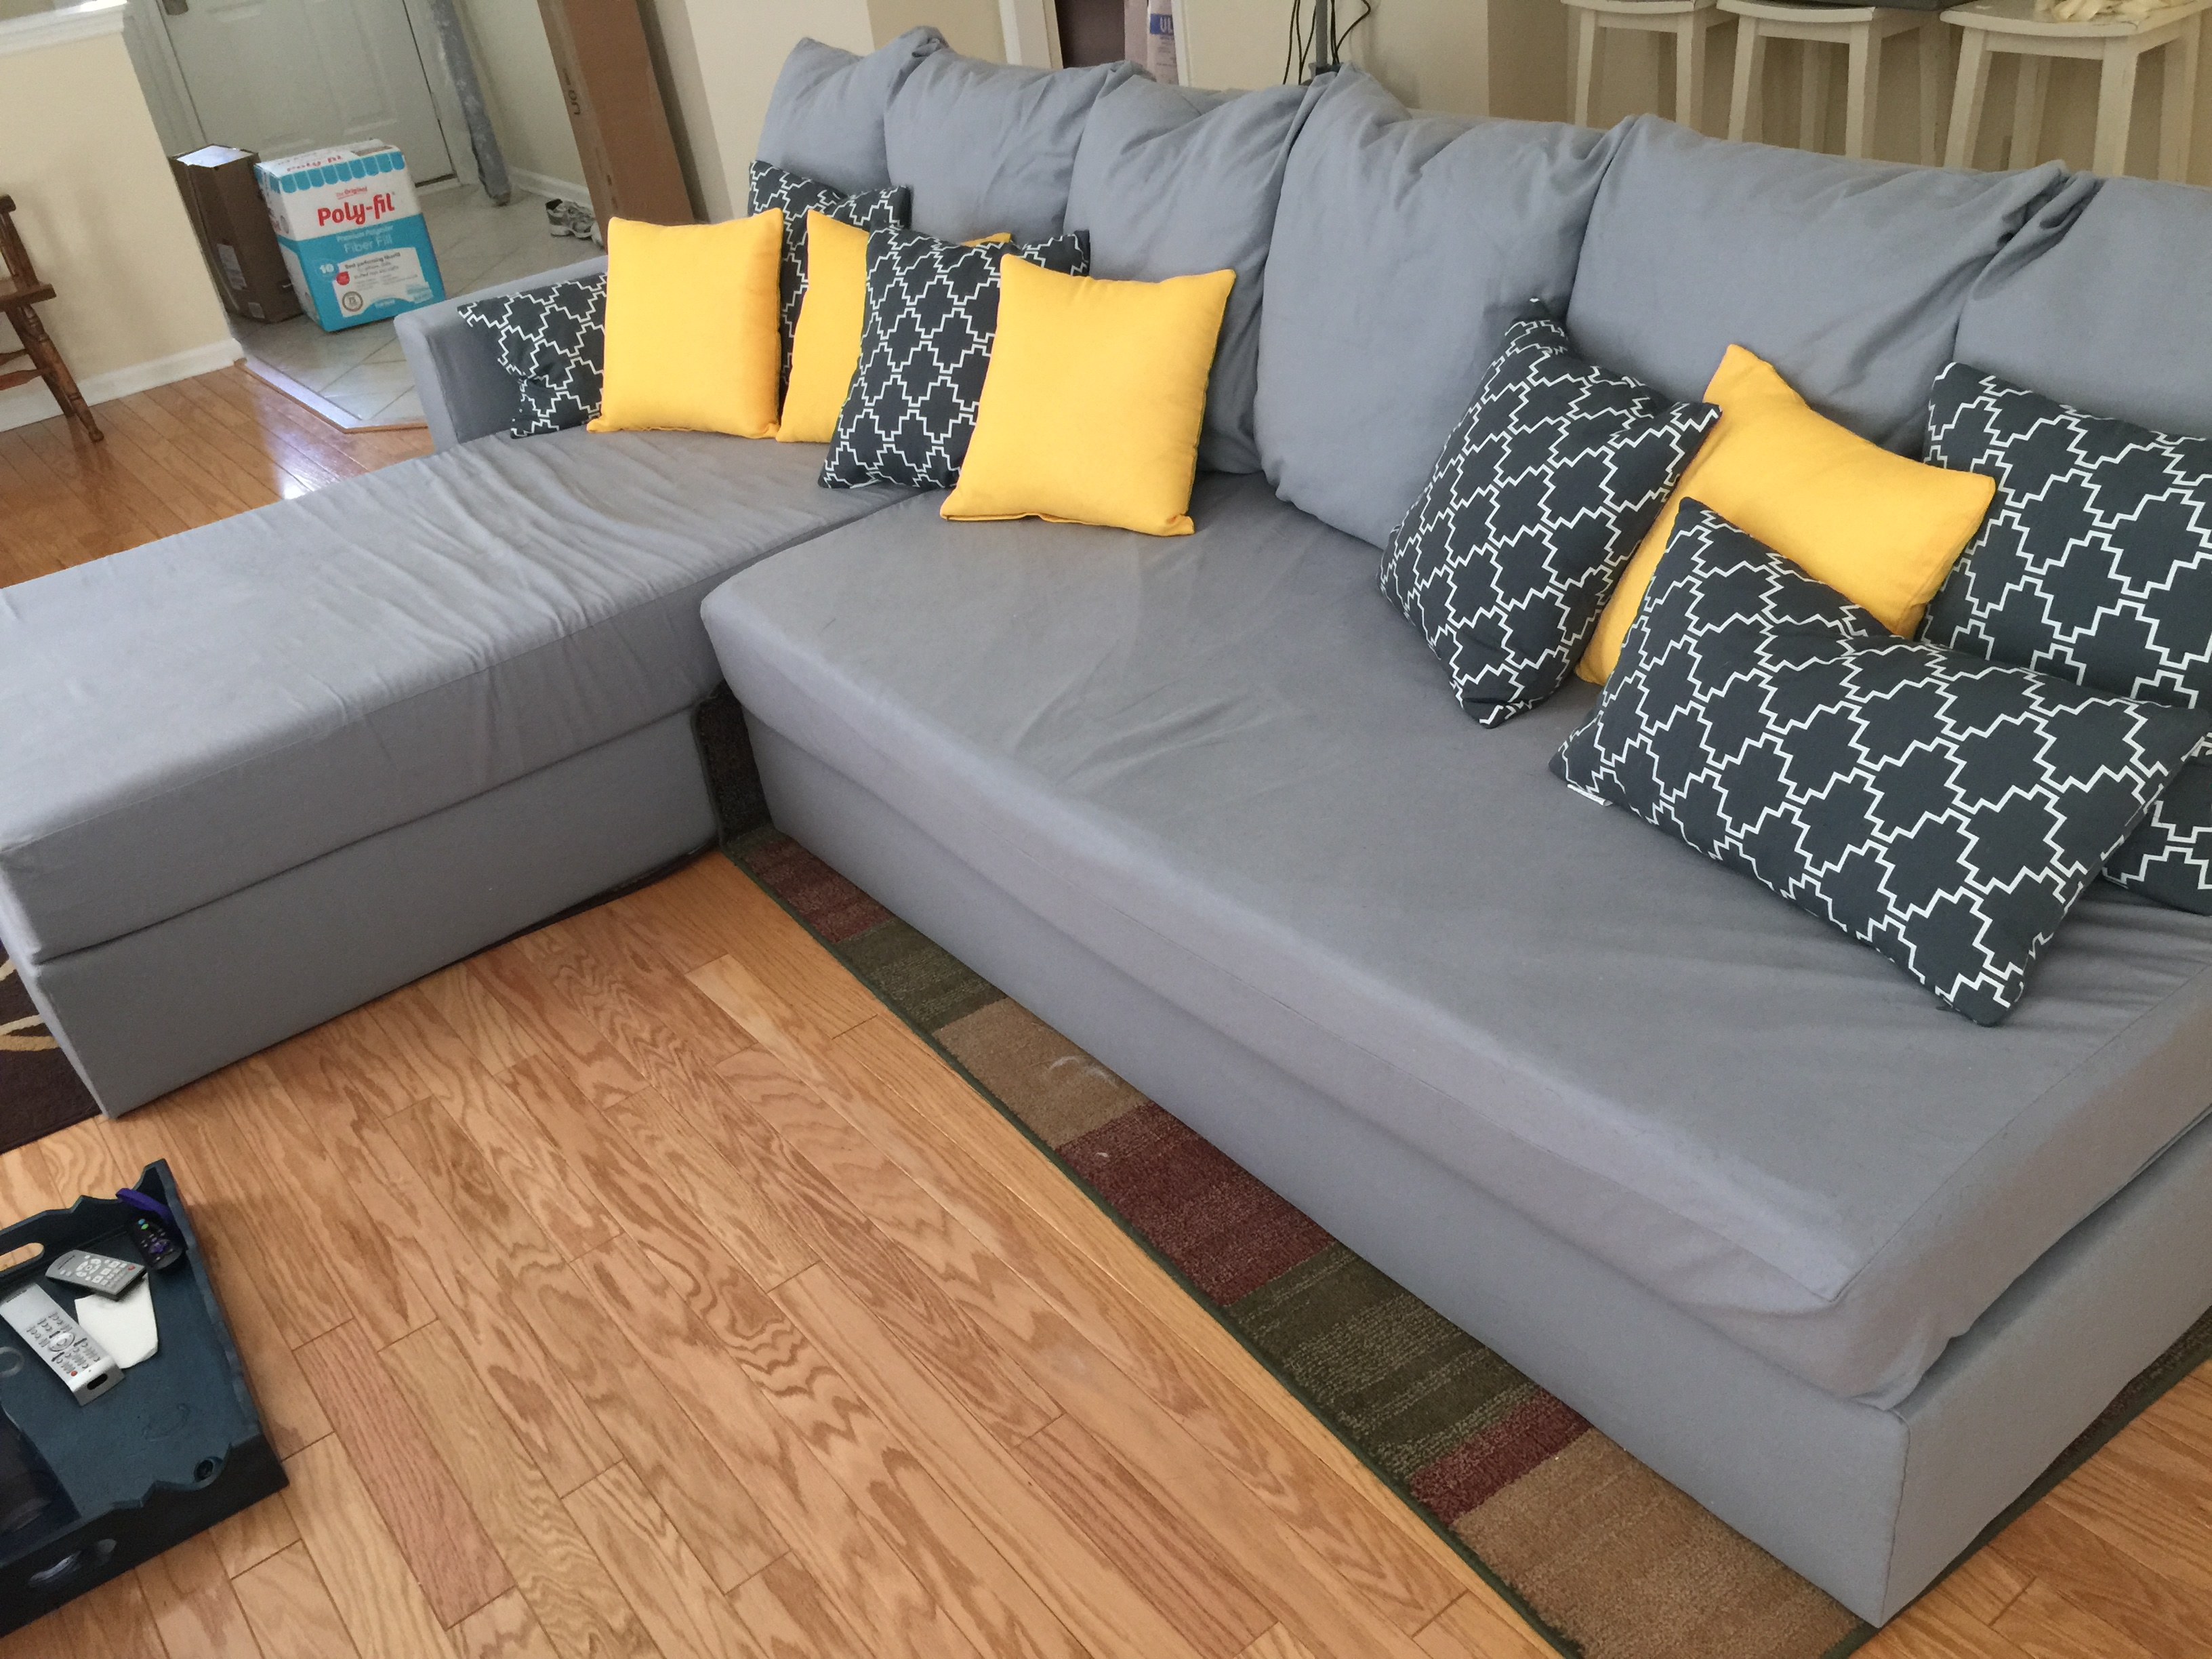
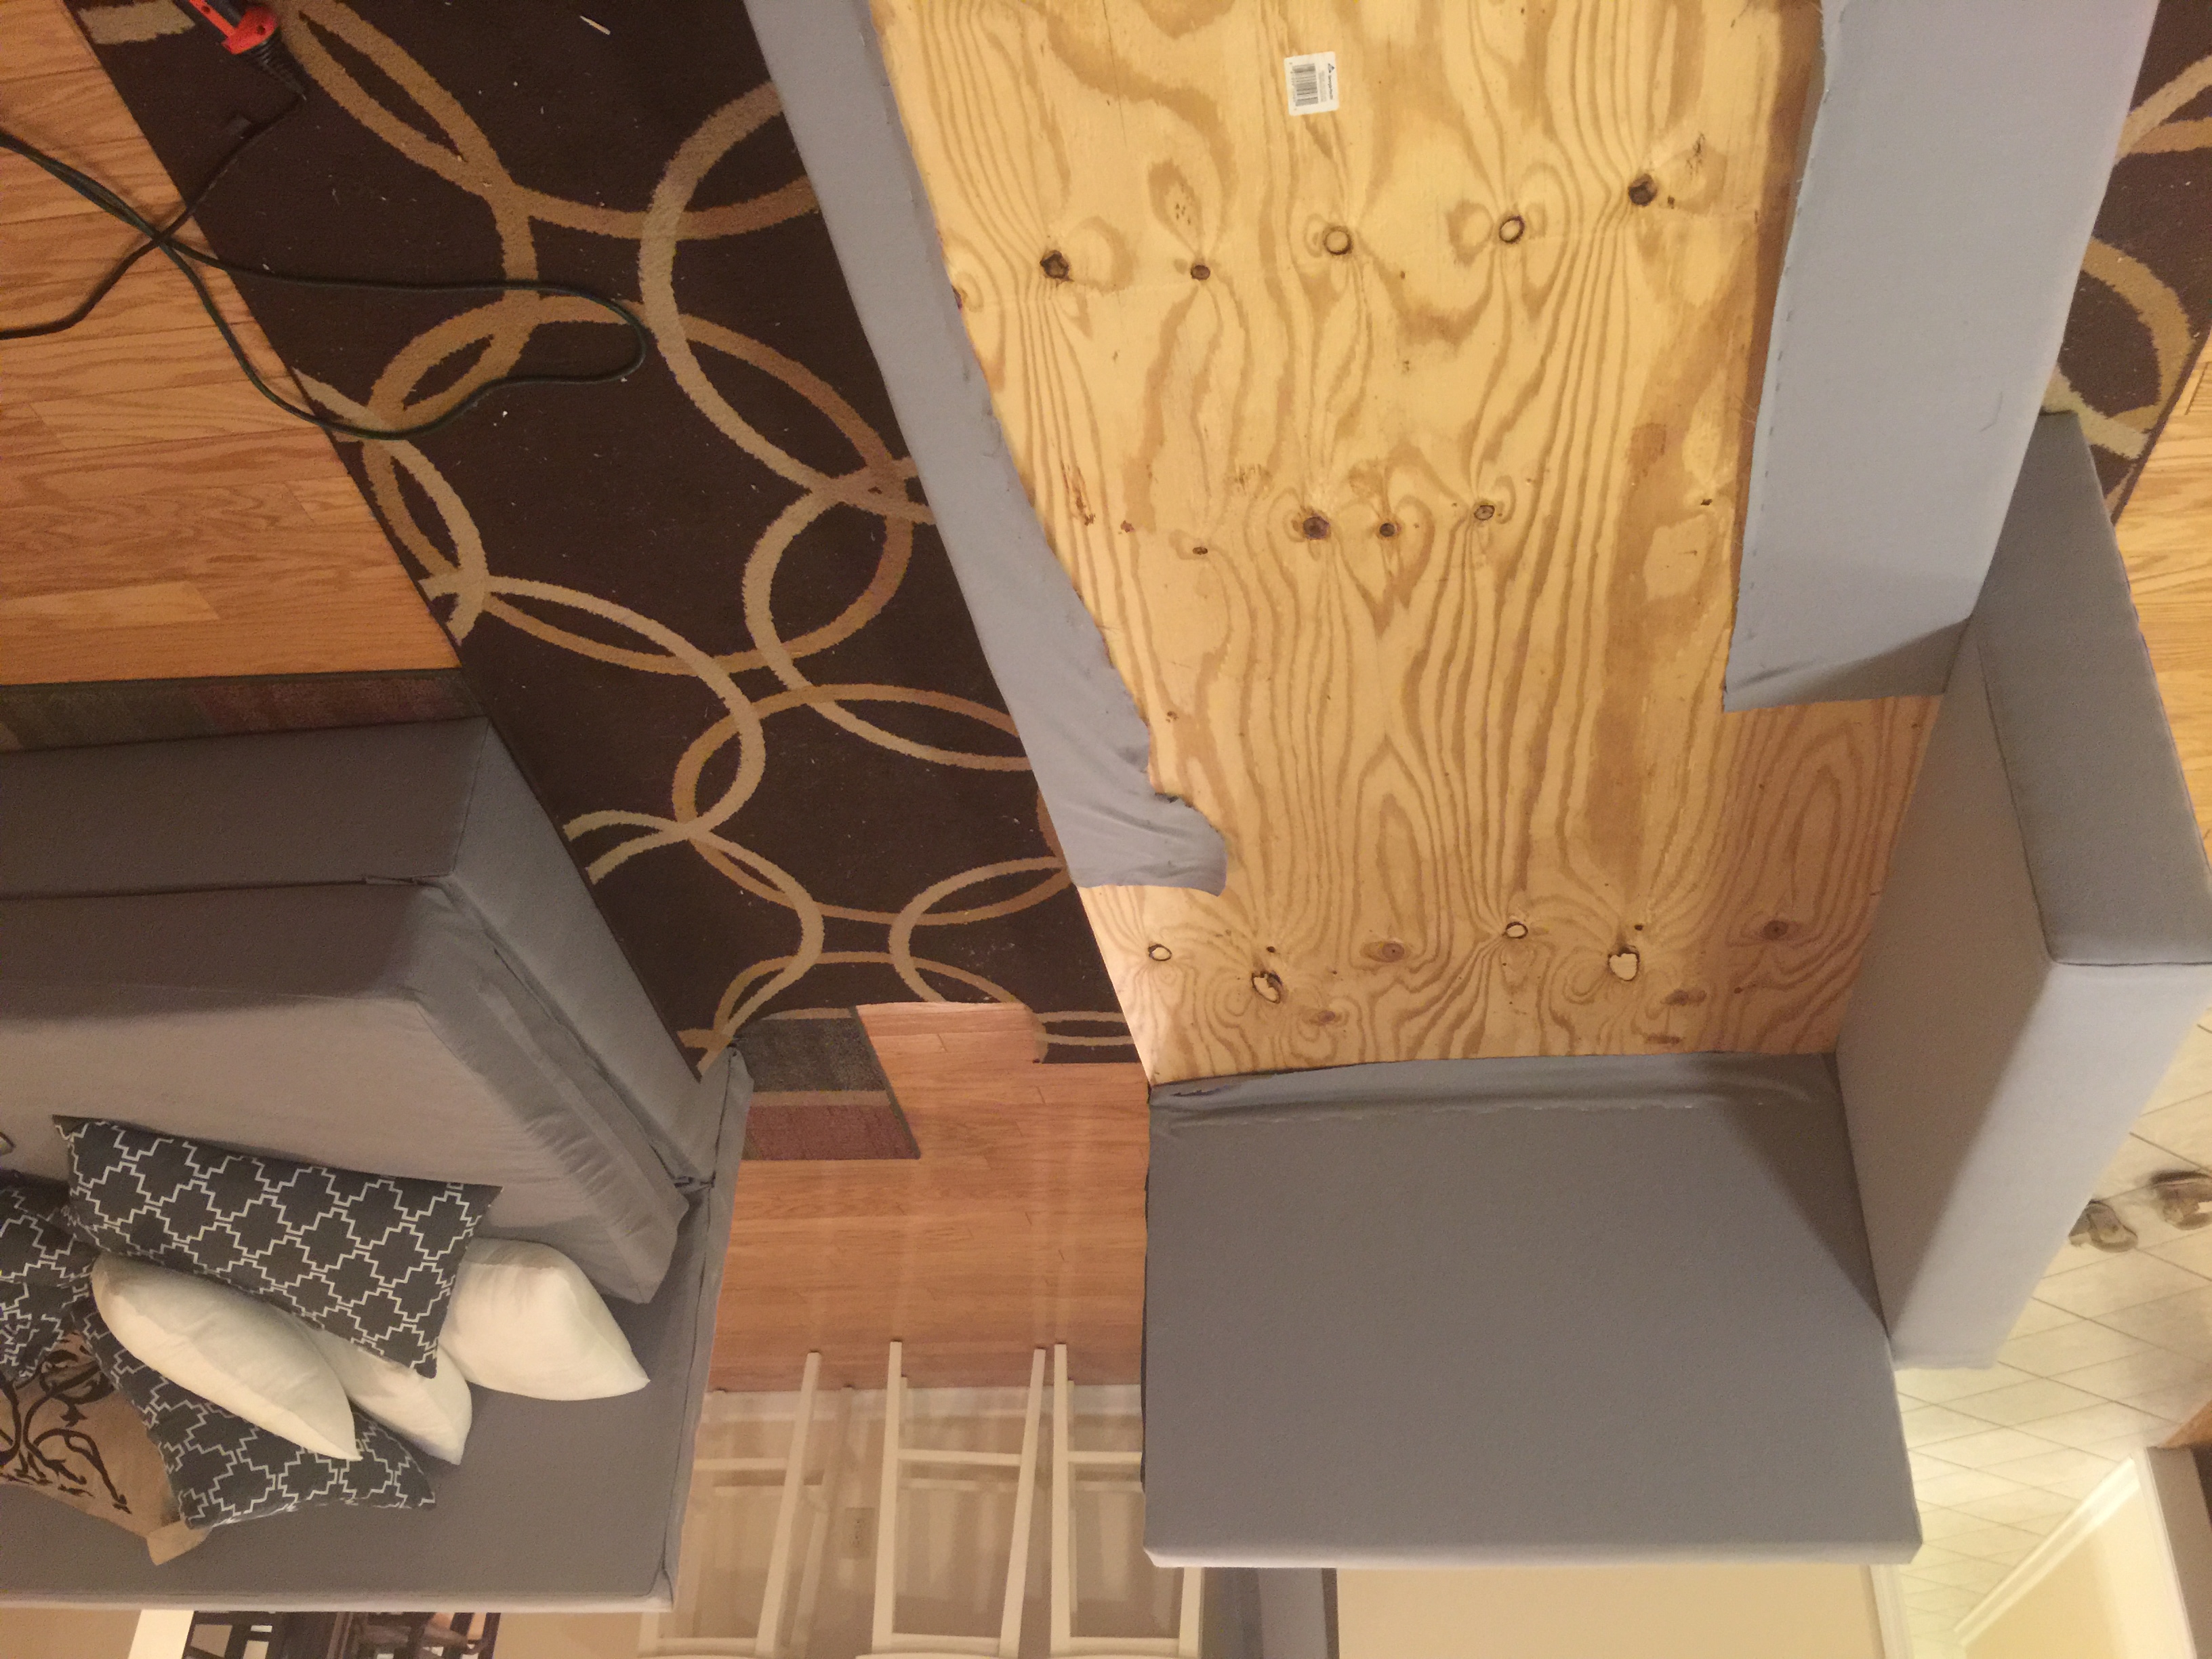
The framing was easy as pie. We opted to not do the storage concept- we have enough as it is. We bought fabric online from a fabric wholesaler based out of Chicago (found them on Amazon). This was probably the most costly out of everything, and with two cats and a dog I deeply regret going with blue-grey canvas. It looks great, but shows stains very easily.
The padding was relatively simple to do. I should have done more than just one layer, since it seems pretty hard on the corners and edges. Again no big deal, I don't lay on the arm or backing.
For the pillow cases and mattress covers, we found a woman who sews in her spare time to make zipper cushions, so we could easily take the cushions on/off to clean them. This was a little pricey, and I wish I could sew, but sadly I do not have the patience (or sewing machine for that matter).
Stapling the fabric and assembling the couch together... oh what a nightmare and test of patience that all was! Again since I caved on the L shaped approach, I wanted an arm rest for the "chaise" portion of the couch. Seemed pretty simple and straight forward, right? NOPE! I had to strategically assemble and staple the fabric, so the last part to staple down wasn't in a visible area. And to top it all off, the framing was too large to just assemble in the garage and bring inside. Assembled, this five thousand pound monster couldn't even fit through my doorway! So assembling it all together, and uphostering was done in the living room. I must say that this is the most solid (and heavy piece of furniture) that I have ever encountered. If a tornado came ripping through my neighborhood I would probably try to find refuge and hold on to the couch- I can barely move it, it's so heavy.
It was so much fun doing this project. The fabric portion was a challenge to say the least. It was a fabric rubix cube, but we got through it with patience and planning.
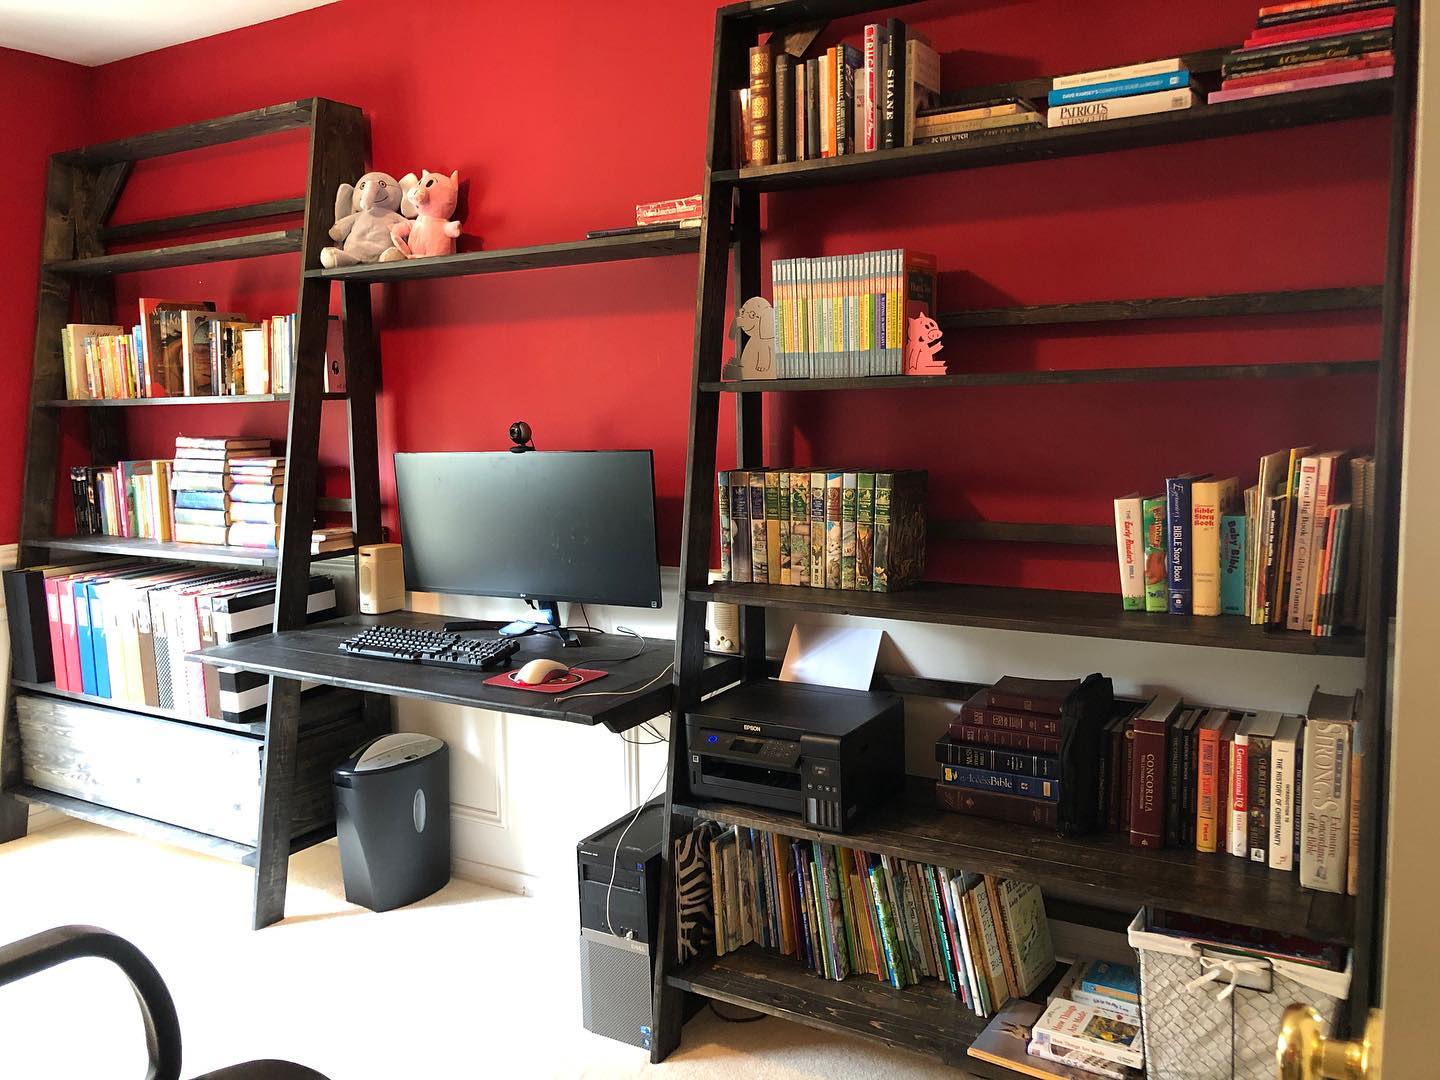
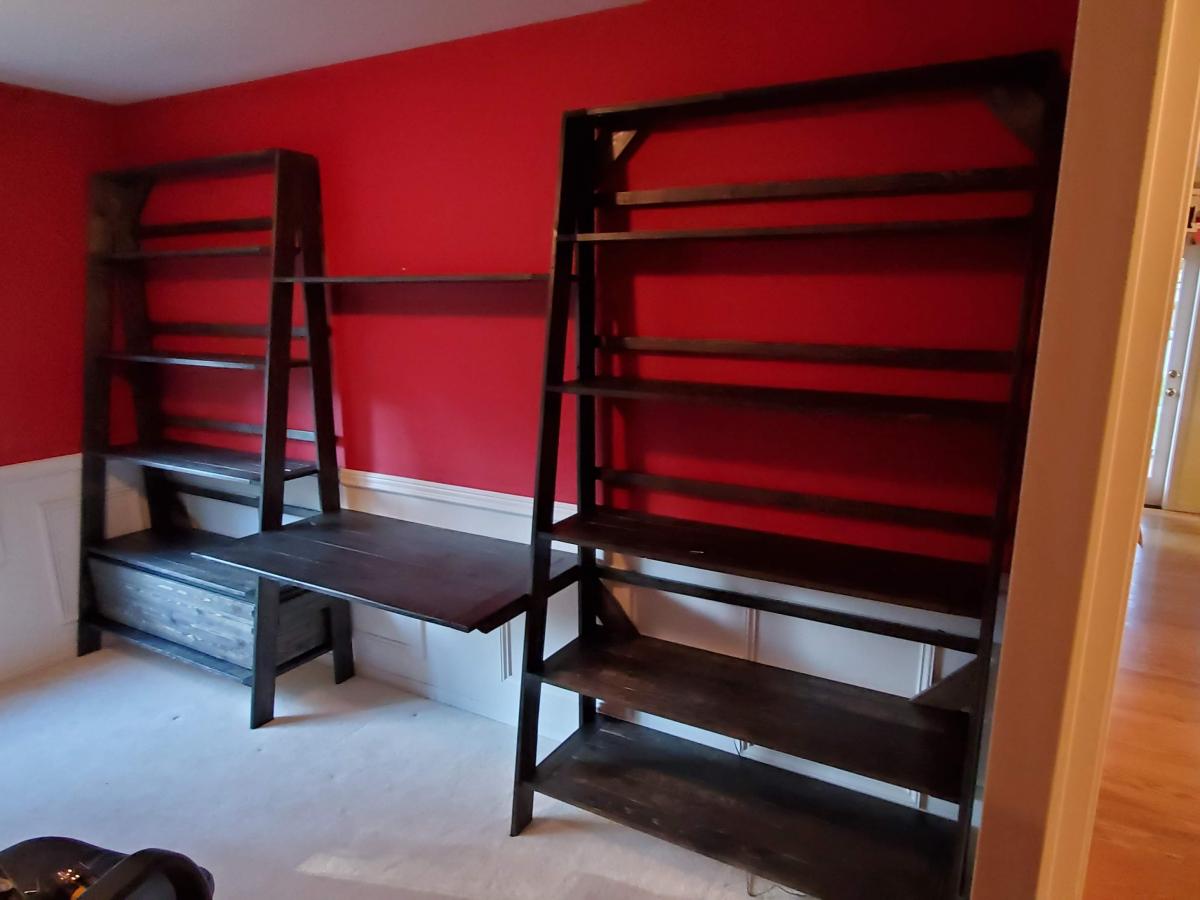
Been in need of shelving and new desk space for the family for a while. Used this post (https://www.ana-white.com/community-projects/ladder-filing-cabinet) as inspiration and then used Autocad to lay it out to fit its space. Took way longer than planned after hurting my back shortly after starting(unrelated) and then just having a busy life with work, family, church, etc. Very proud of the outcome.
I wanted to do the under drawer cabinet slides, but the width and weight of the drawer put too much stress on the slides, so I created pieces to hold the hardware on the sides.
It is just under 12' wide from end to end and 7' tall.

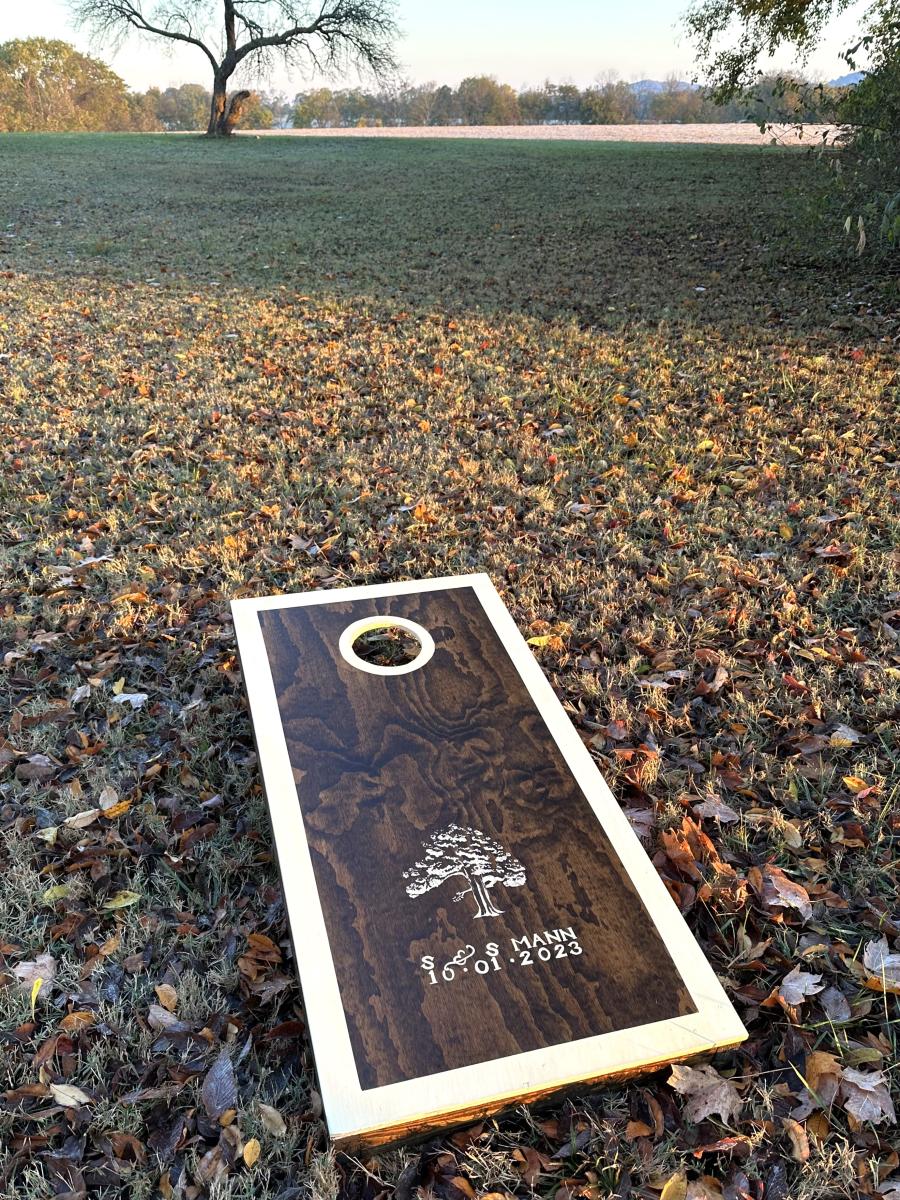
Had to share the results from your plans for corn hole boards! I made them for our wedding. This was a great first project after watching my dad in his workshop when I was younger. These were so fun and easy, and our guests loved them!