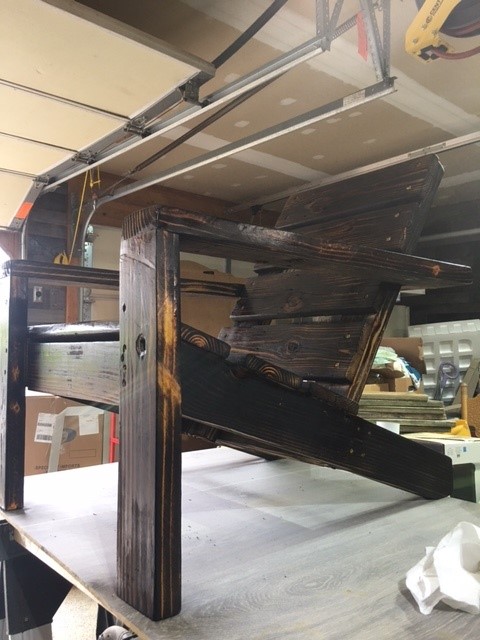
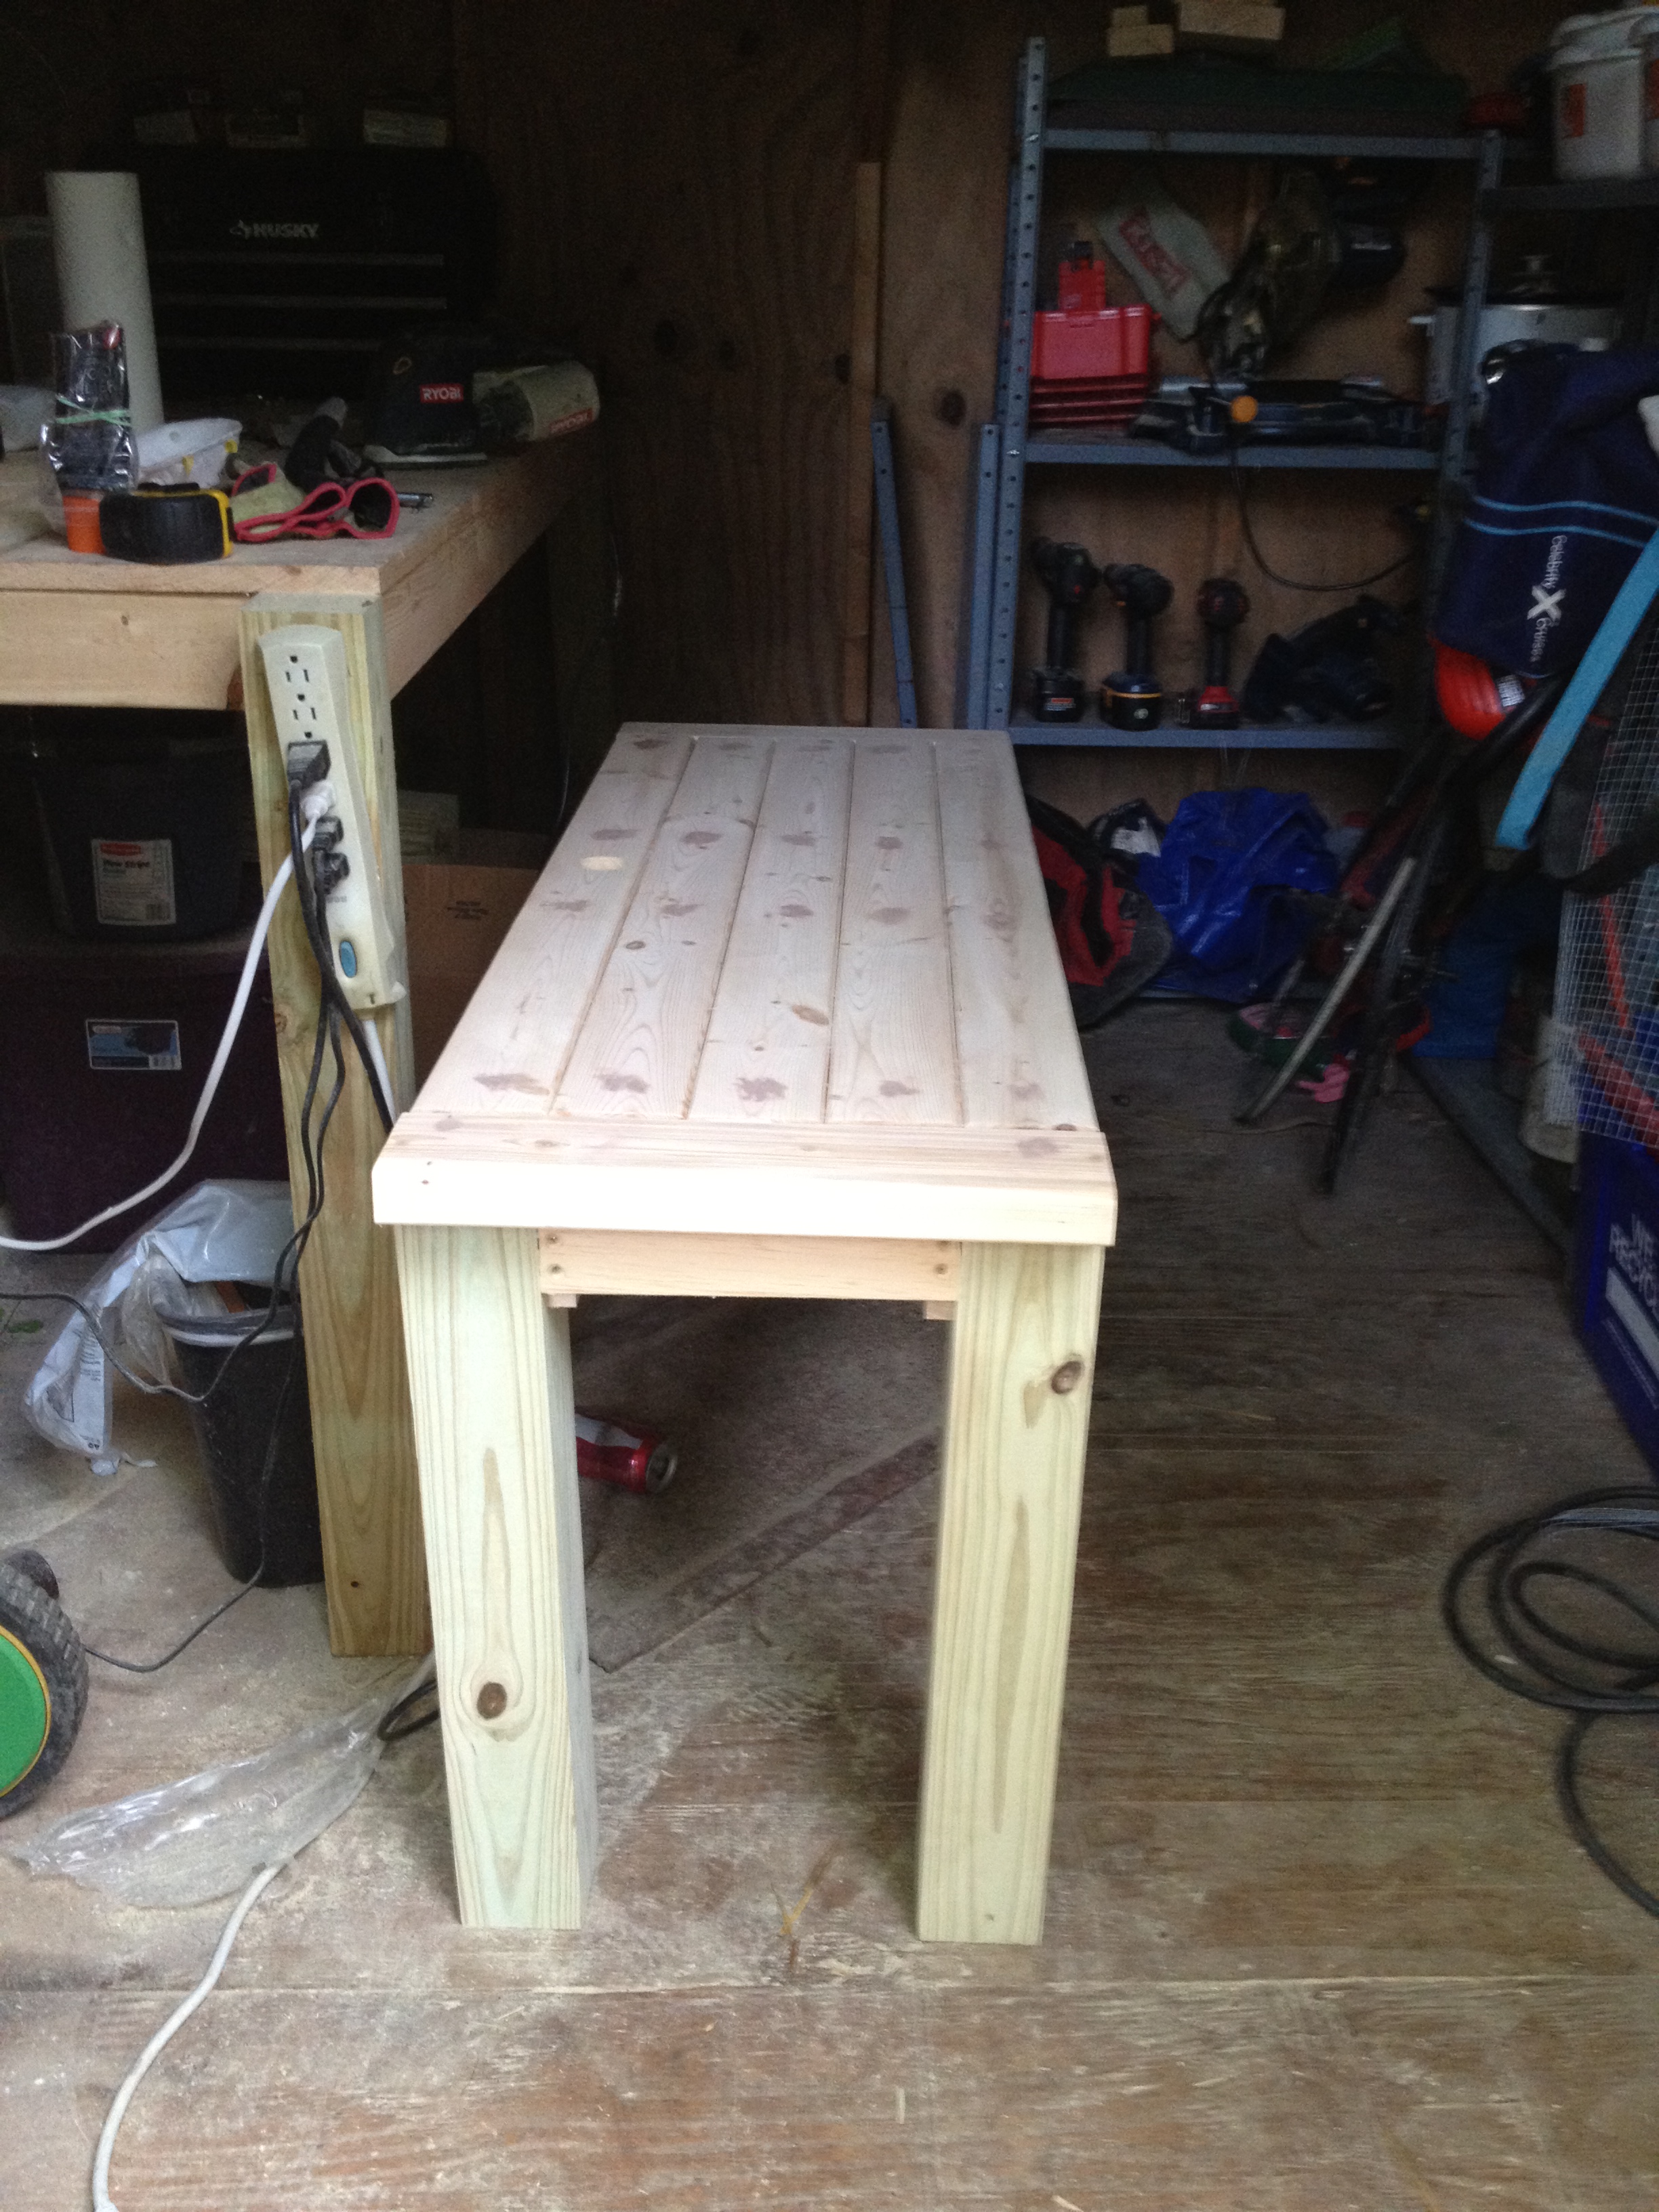
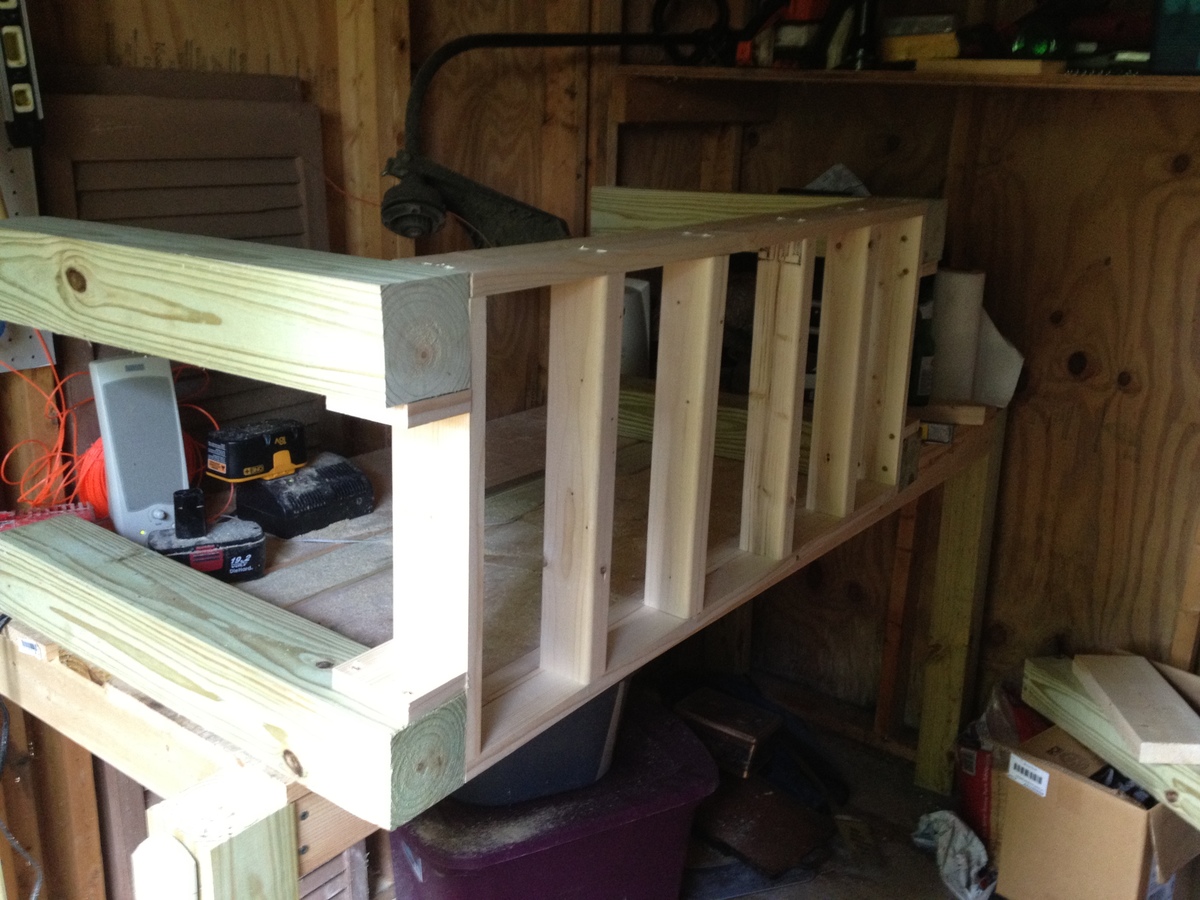
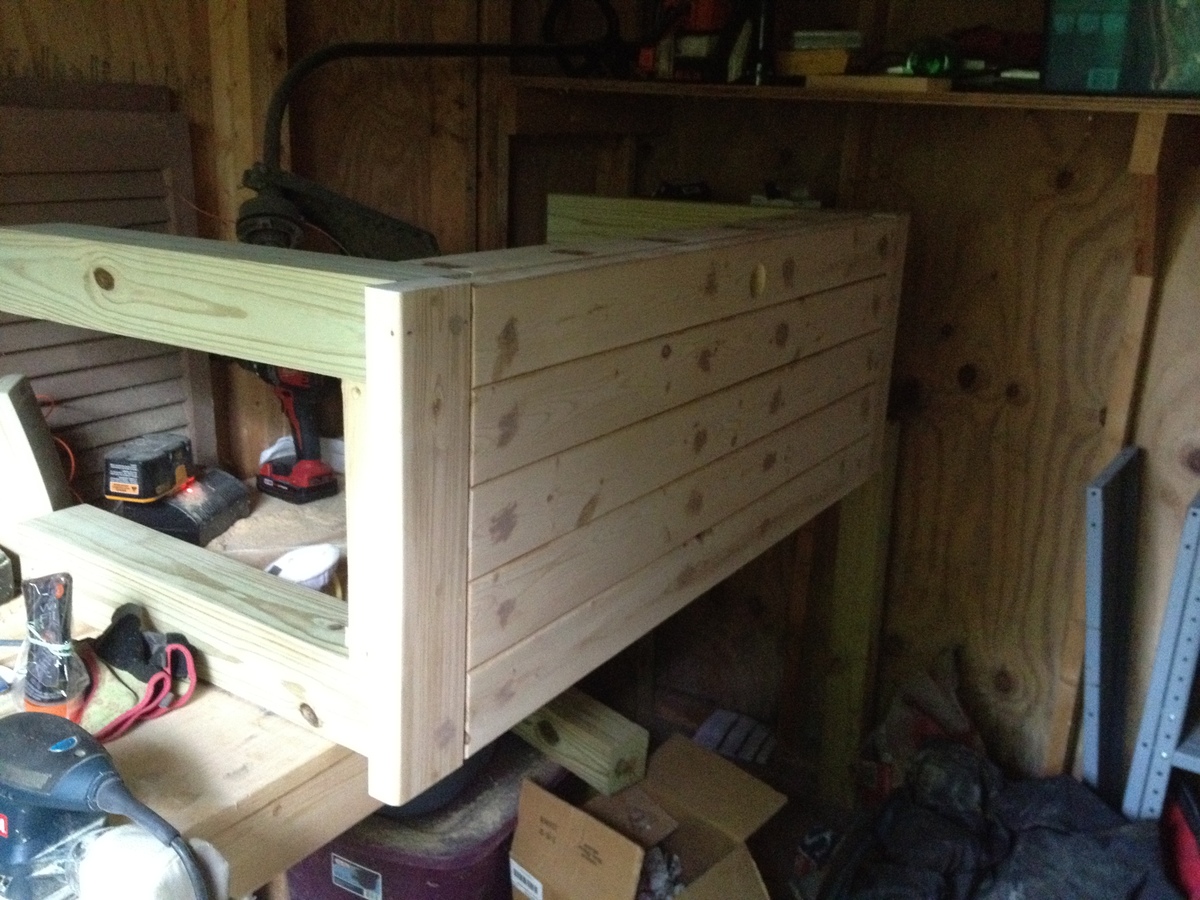
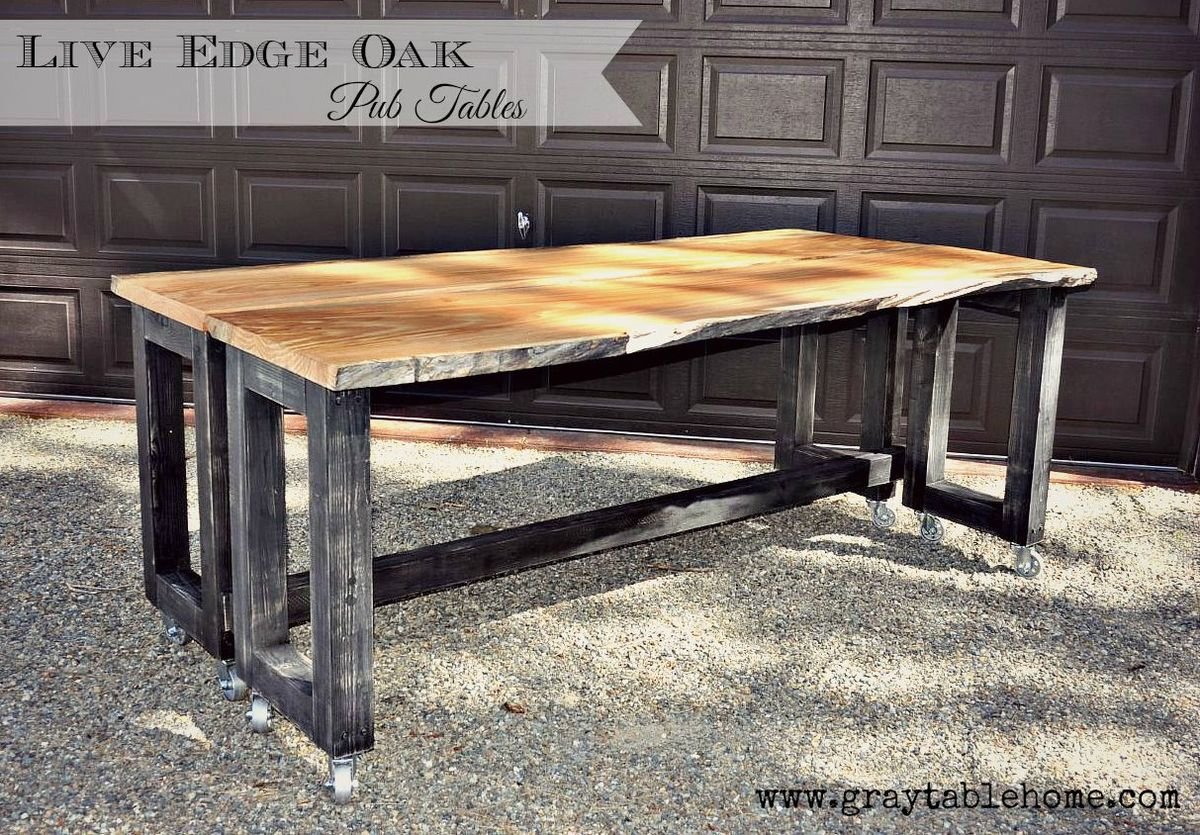
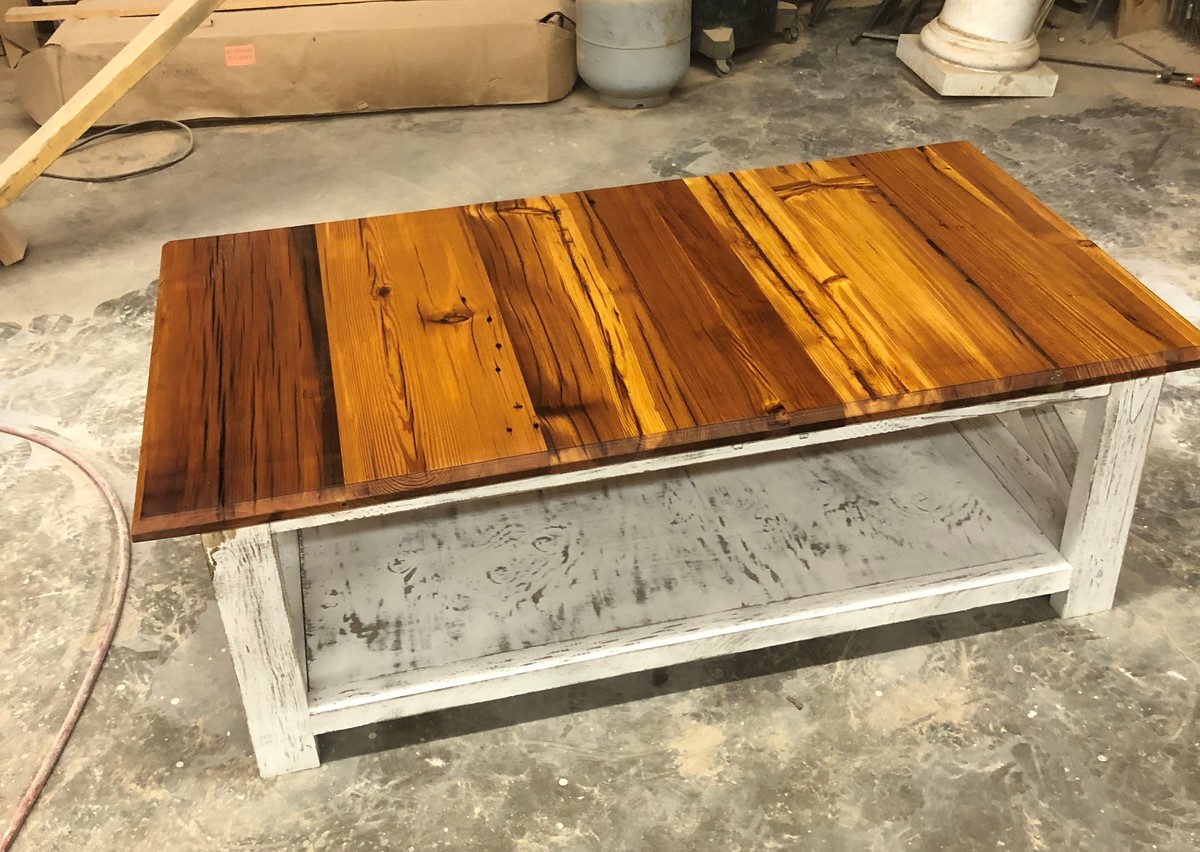
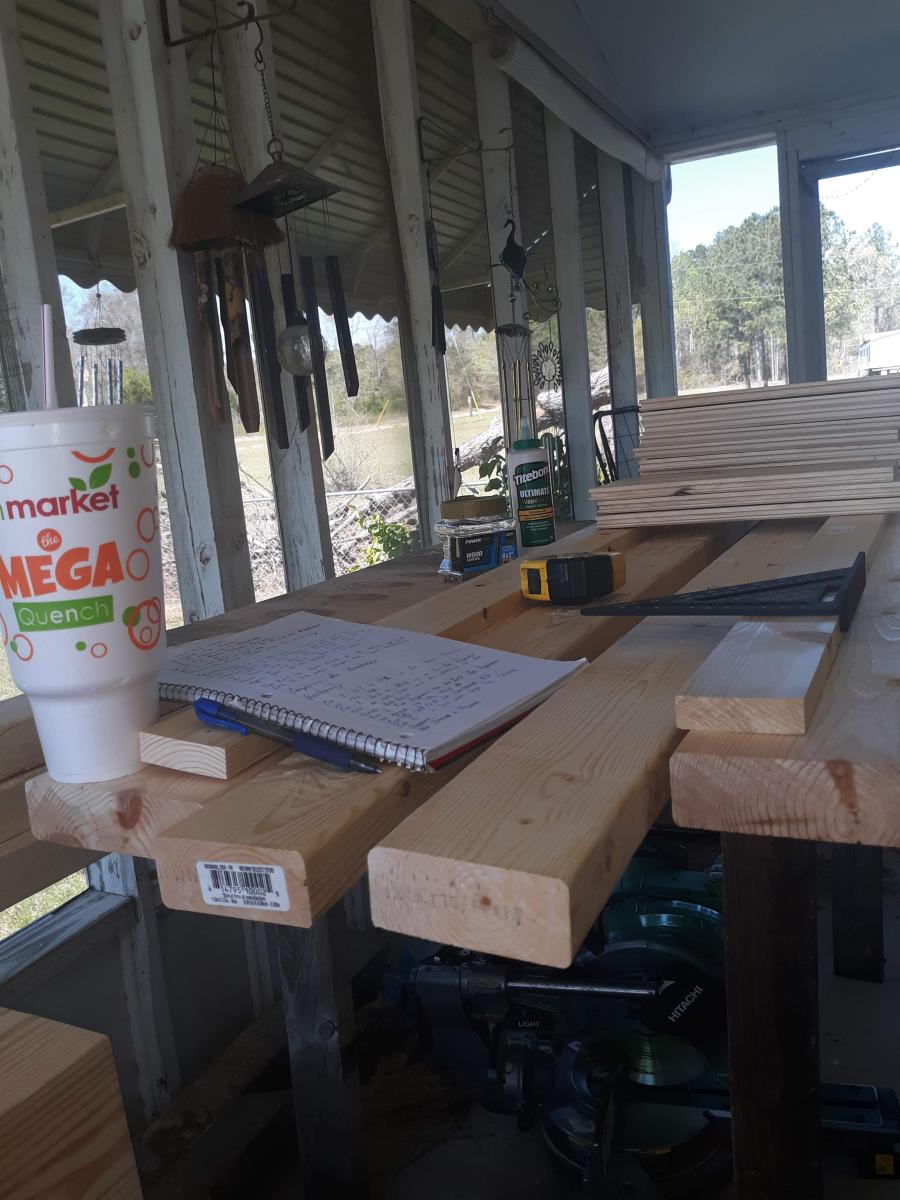
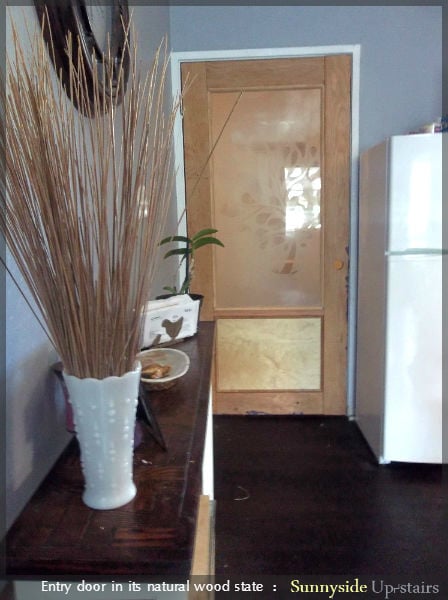
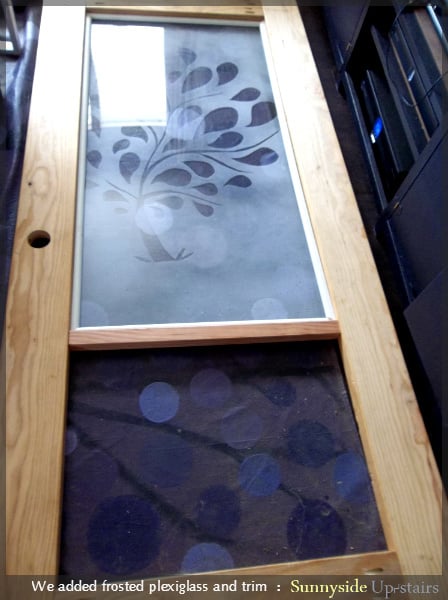
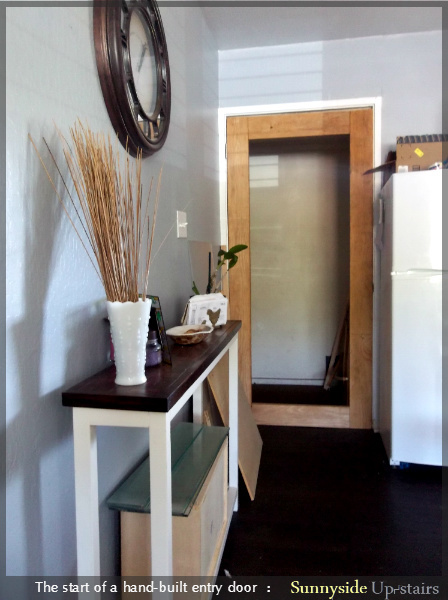
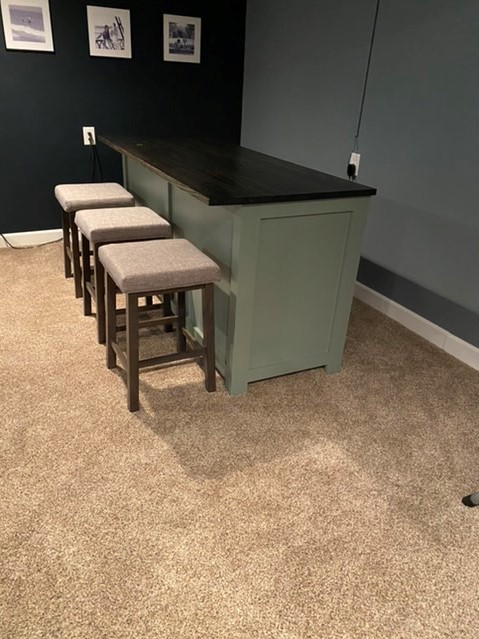
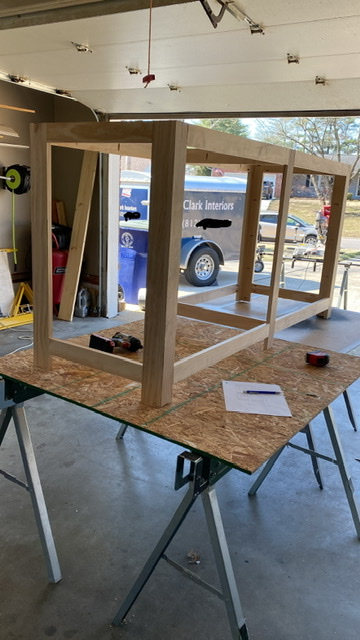
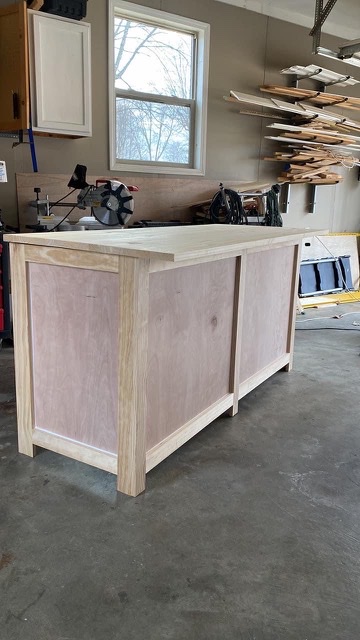
This is my first real project that I took my time on. Actually my first real project ever. I wanted to replace my Ikea console table because it has started to bow (Ikea furniture does not fend well on moves). I modified the measurements and this is now 24" wide 18" tall - same length. Solid piece of furniture. I could not find all the lumber, but I improvised. Since this was my first project, I could not get the boards to match up all too well, and I do not have a chop saw that would cut a 2x6 - when I placed the 2x6 I did not like the look so I swapped it out with 2x4's.
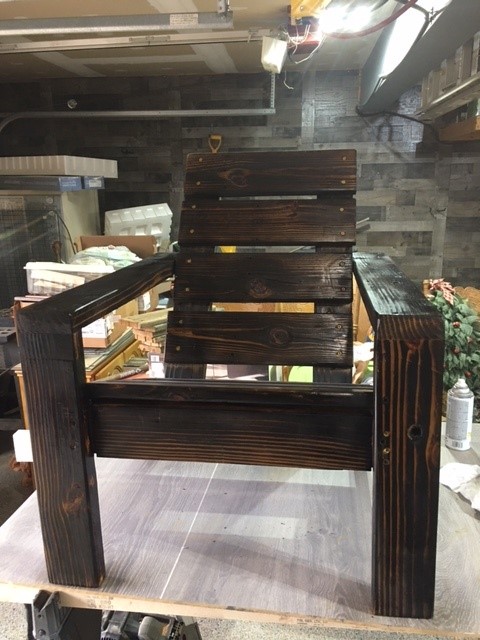
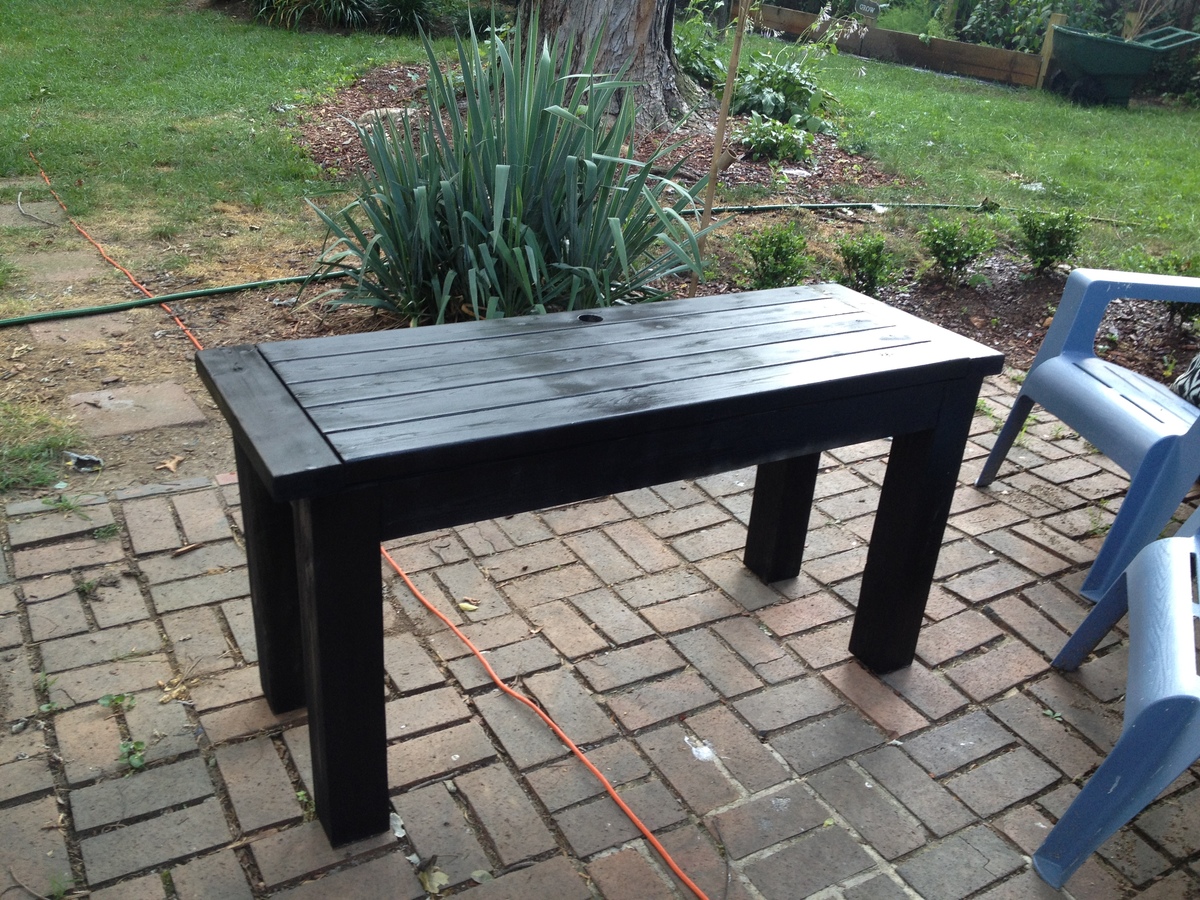
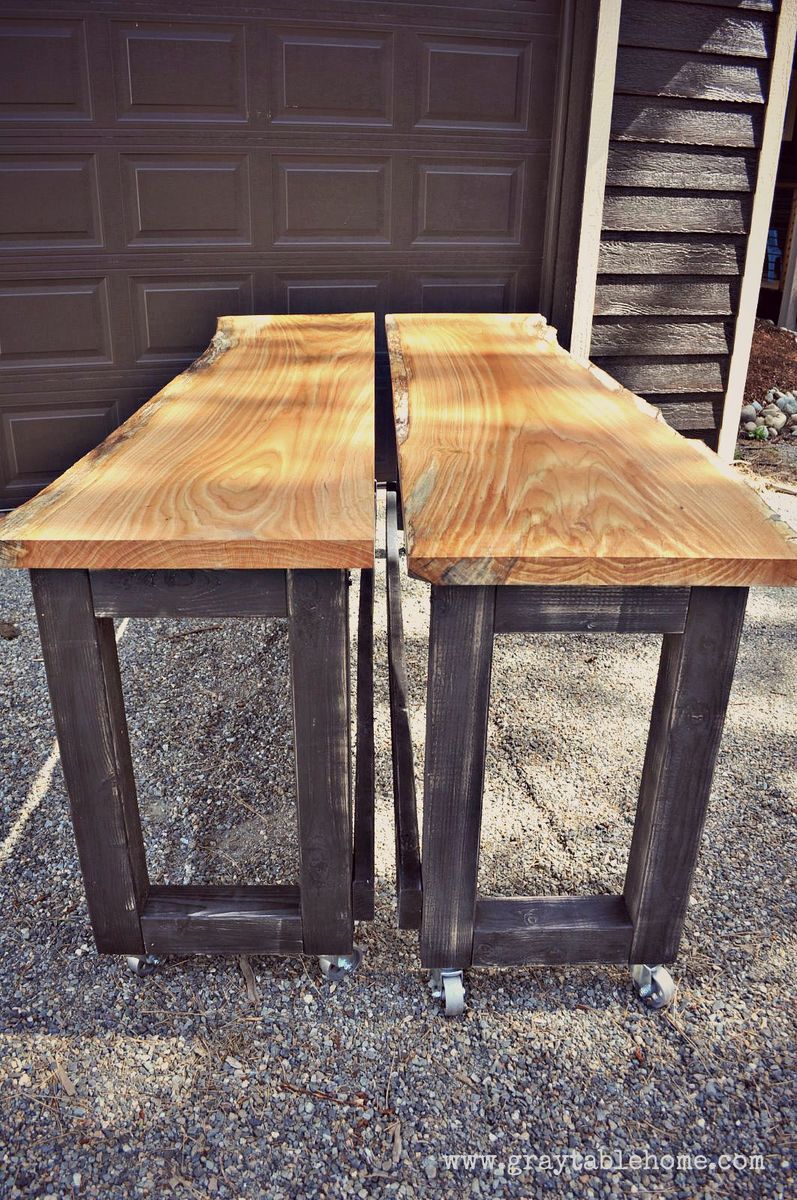
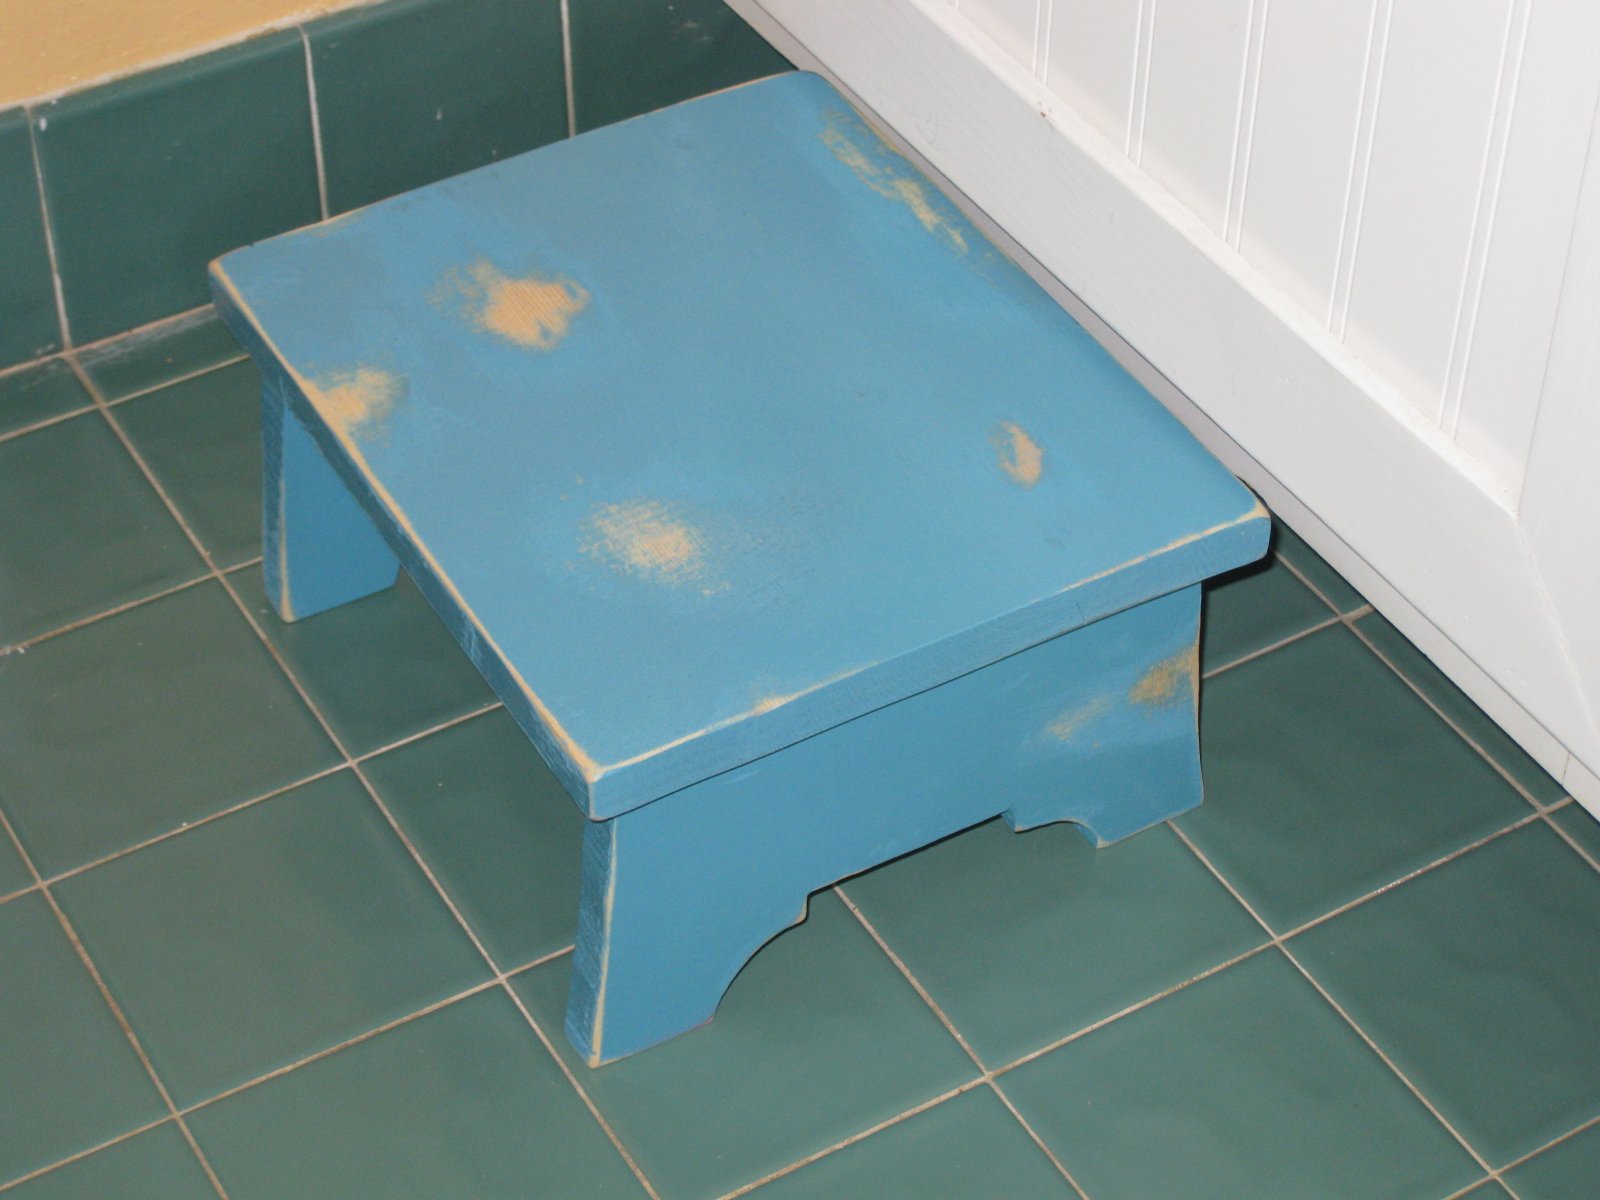
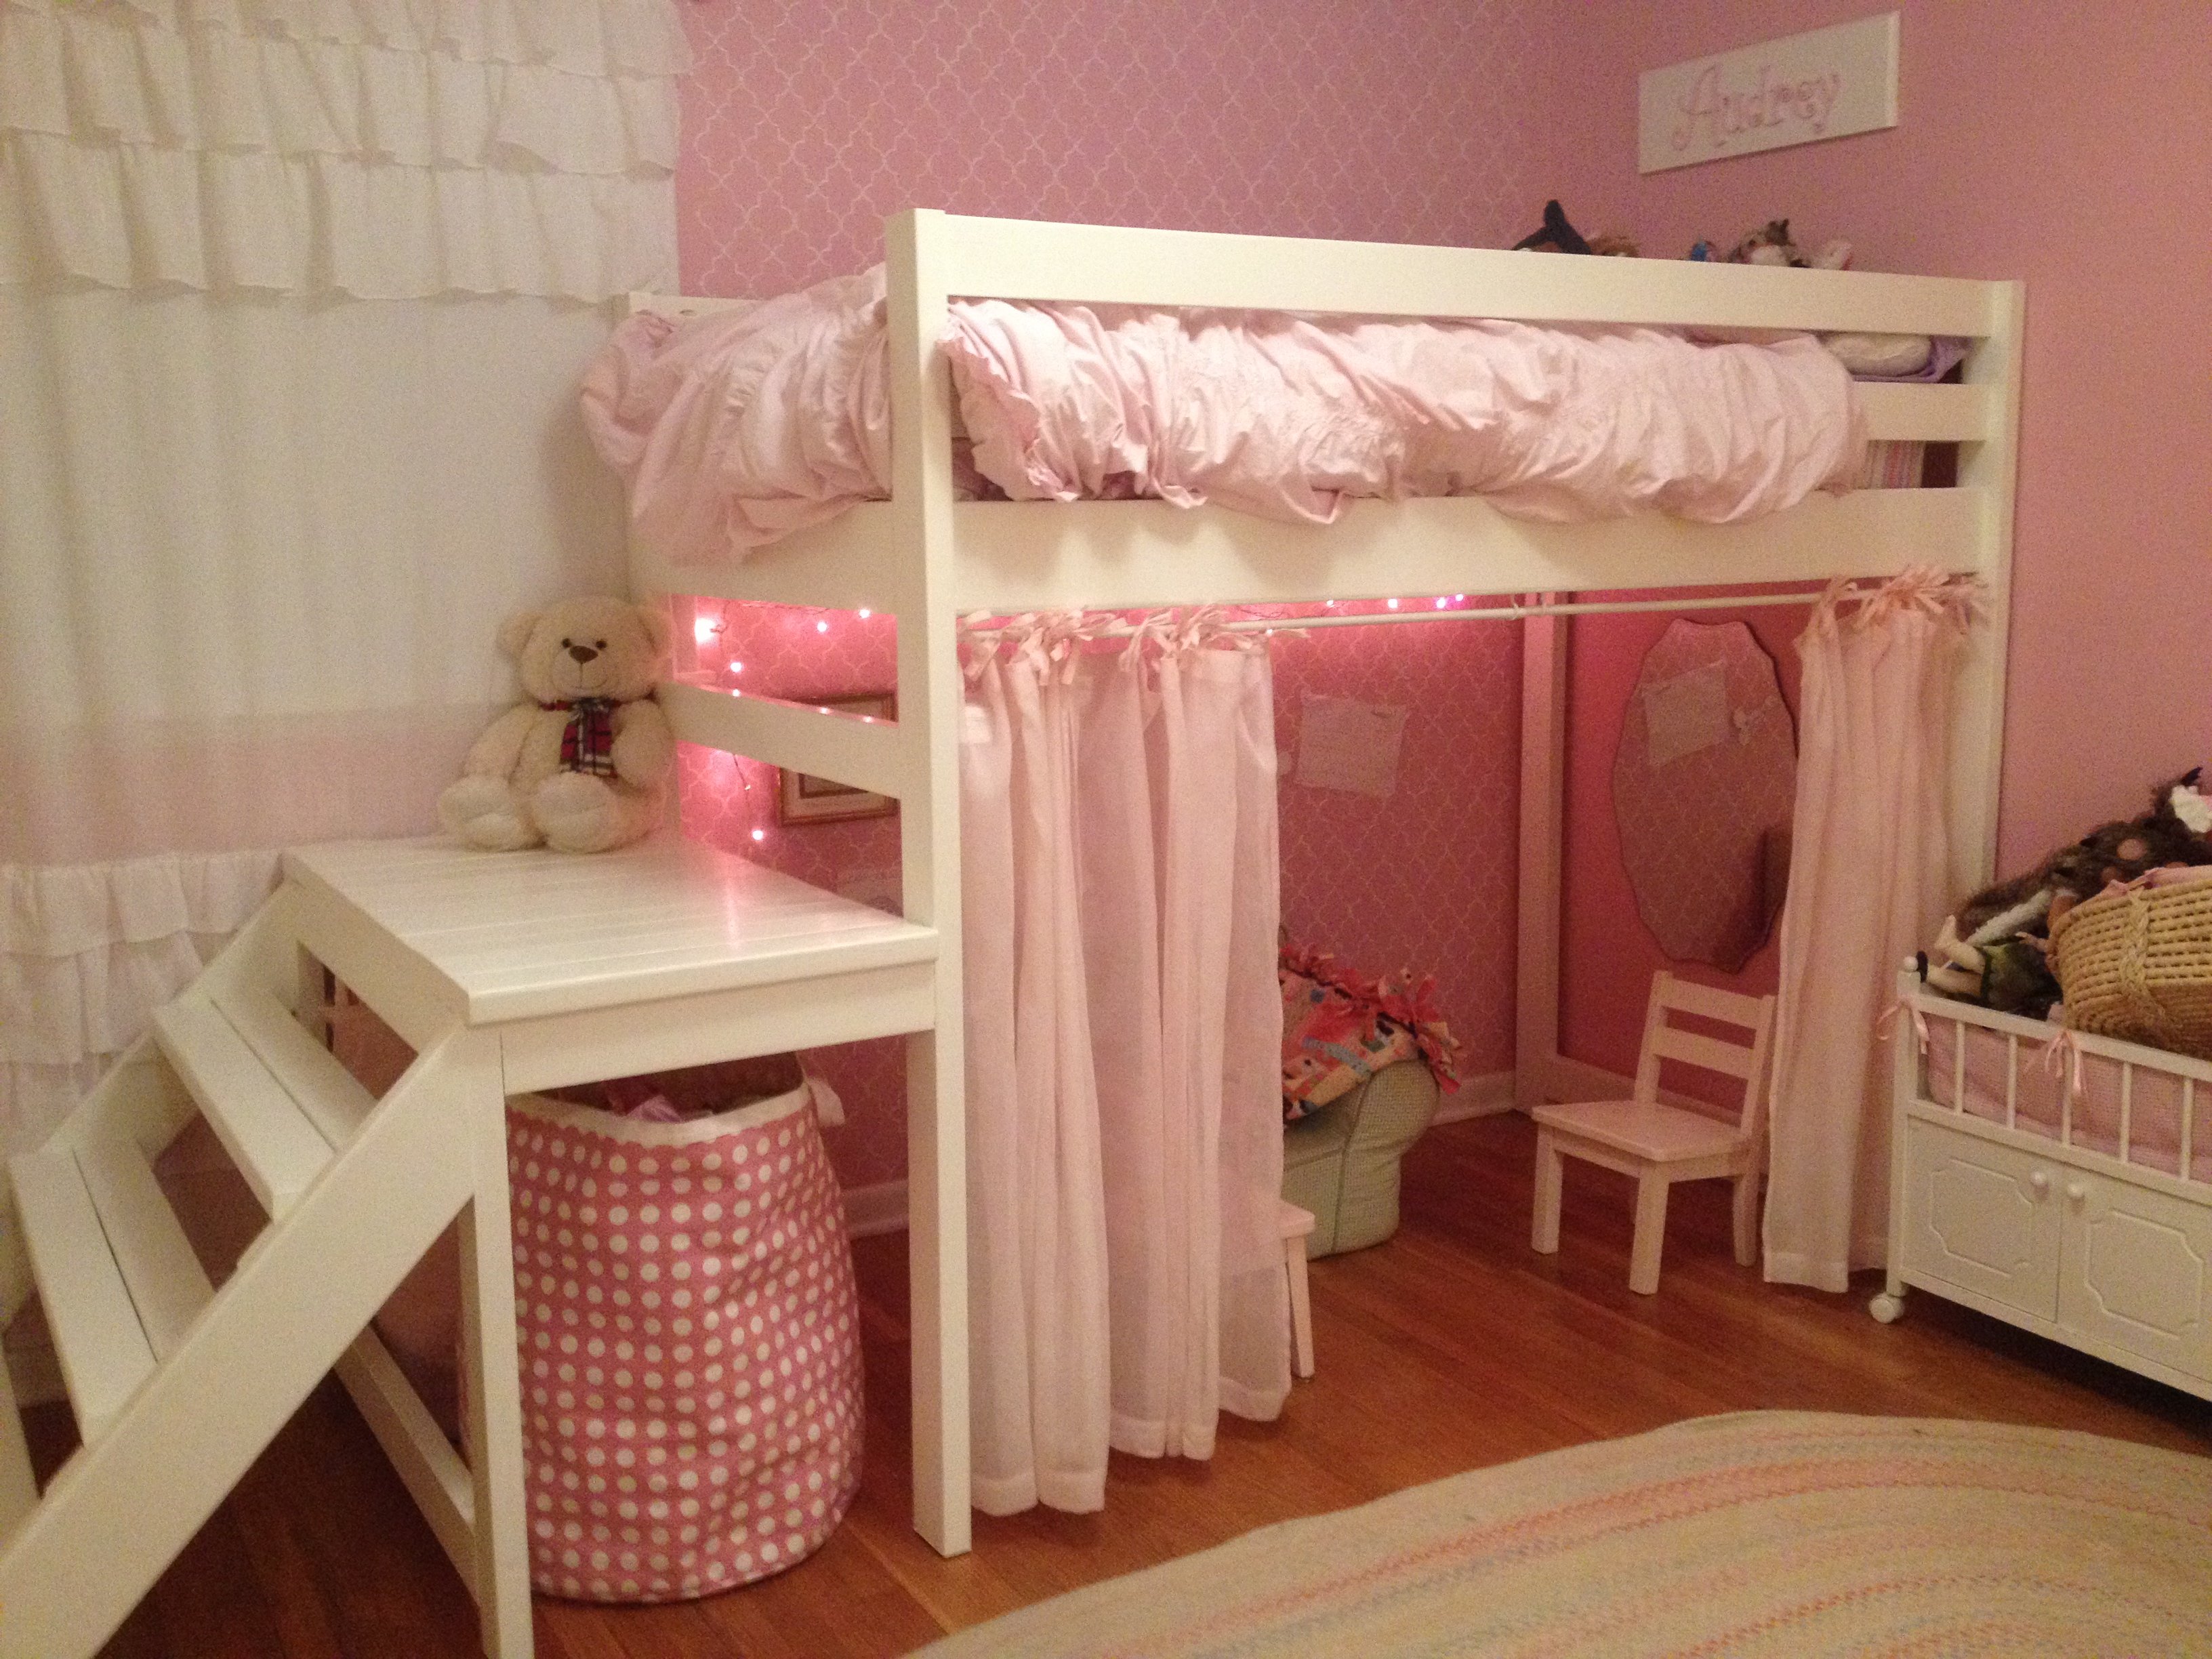
I used Rustoleum black lacquer spray paint. I like how the grain came out, however, it took way too much spray paint. I will consider using black latex paint next time.
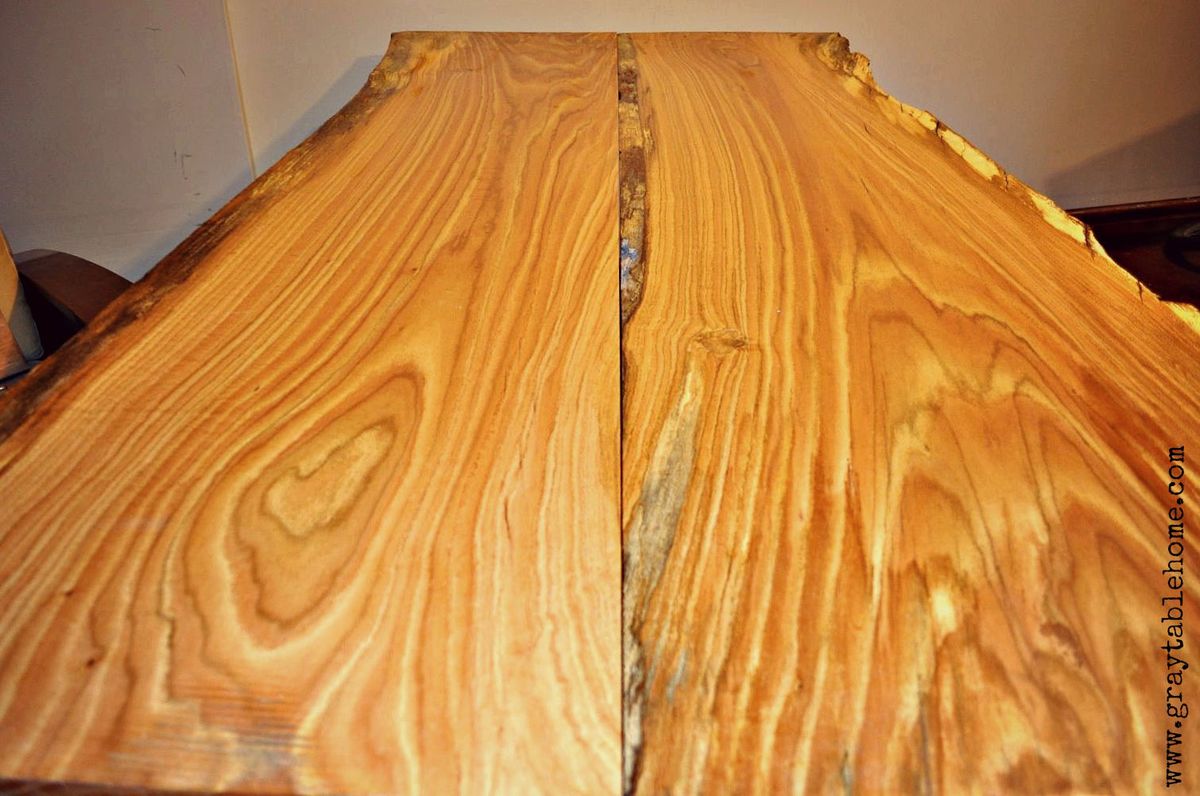
I have since applied 2 coats of poly and sanded it down and steel wooled it - and finally a coat of paste wax to preserve it. If I do not like the imperfections, I just might make it an outside patio table.
Thank you so much for these plans, I spend 3 hours at work looking through all the plans on you site. I even have bought the lumber for my next project - an outdoor table (same design) so that I can use it next to the grill as a counter surface and wire baskets.
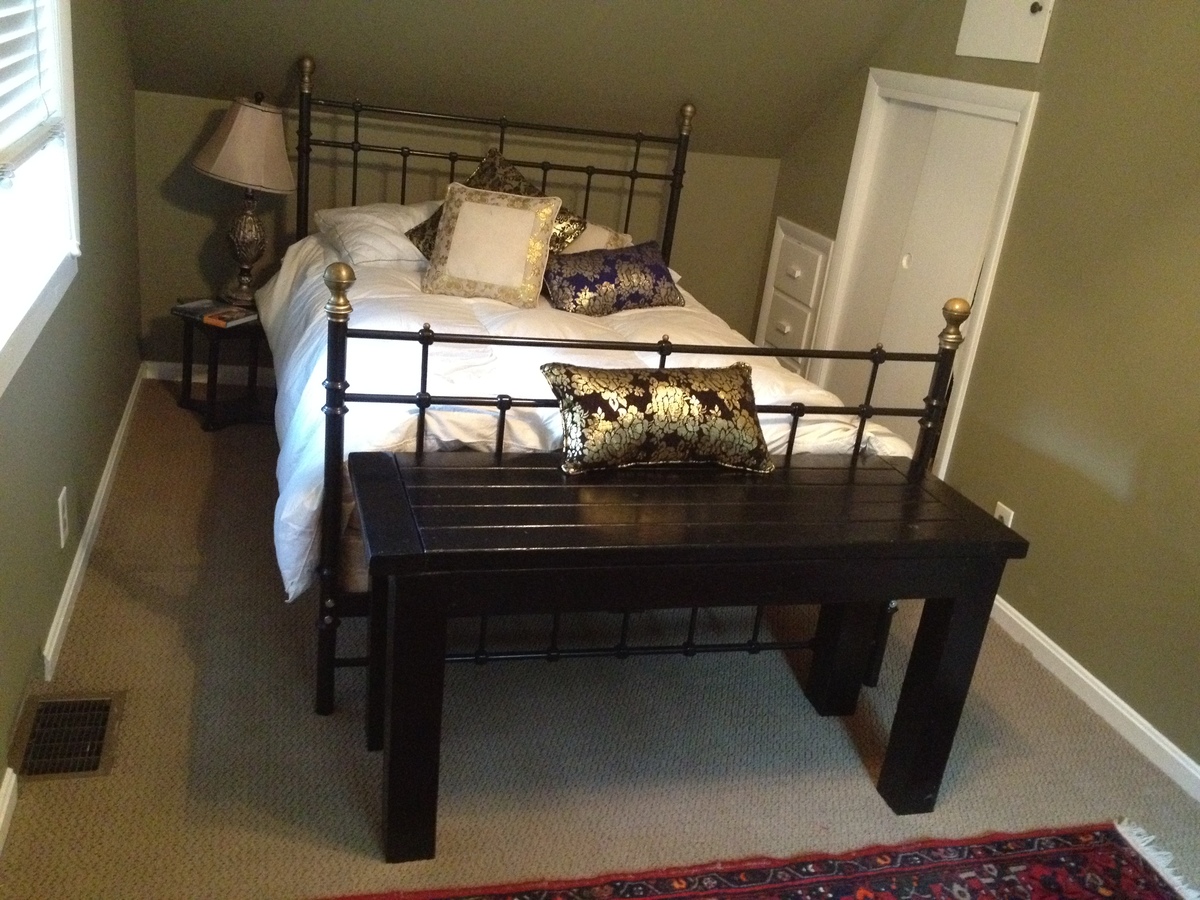
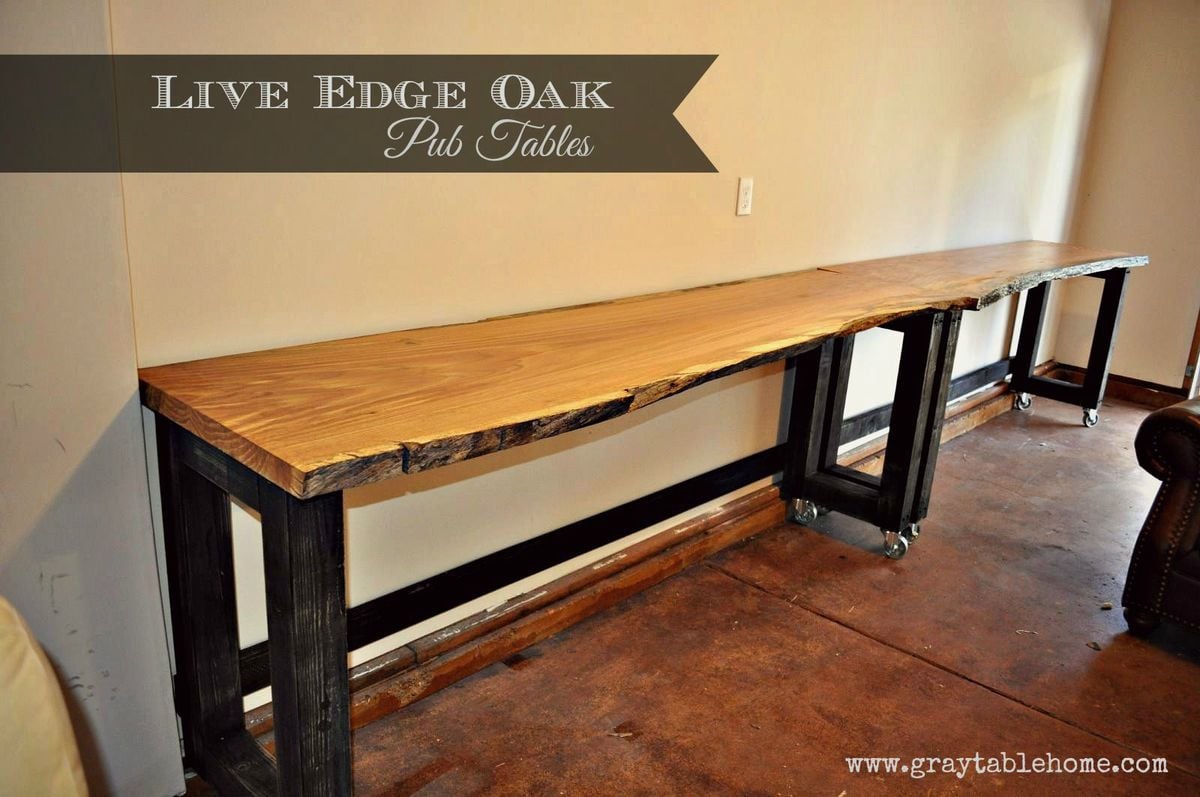
***UPDATE*** - I finished the table, however it came out 4" less wide than the old table, however I was able to re-purpose it and use it as an end table for one of the guest bedrooms. The table could have come out a little better, I guess I can only get better!
Again thank you!


Comments
JoanneS
Fri, 07/19/2013 - 15:17
Great job!
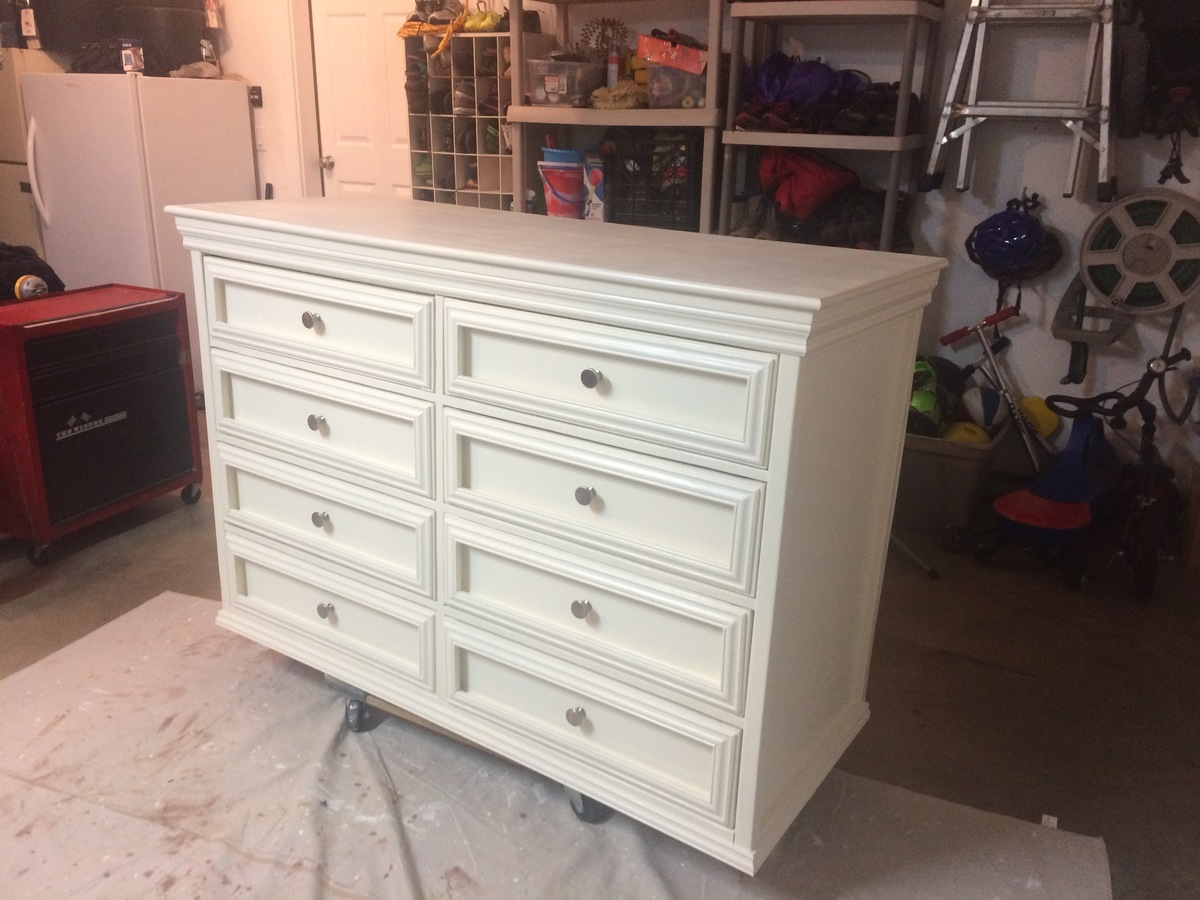
Looks great! Love the color and the trims you used. Where did you find your hinge hardware? PS- How did you like the baking soda paint? I've tried ASCP which was good but very pricey, and last time made my own with some plaster of paris. Your finish is lovely.
Newfey
Sat, 07/20/2013 - 18:47
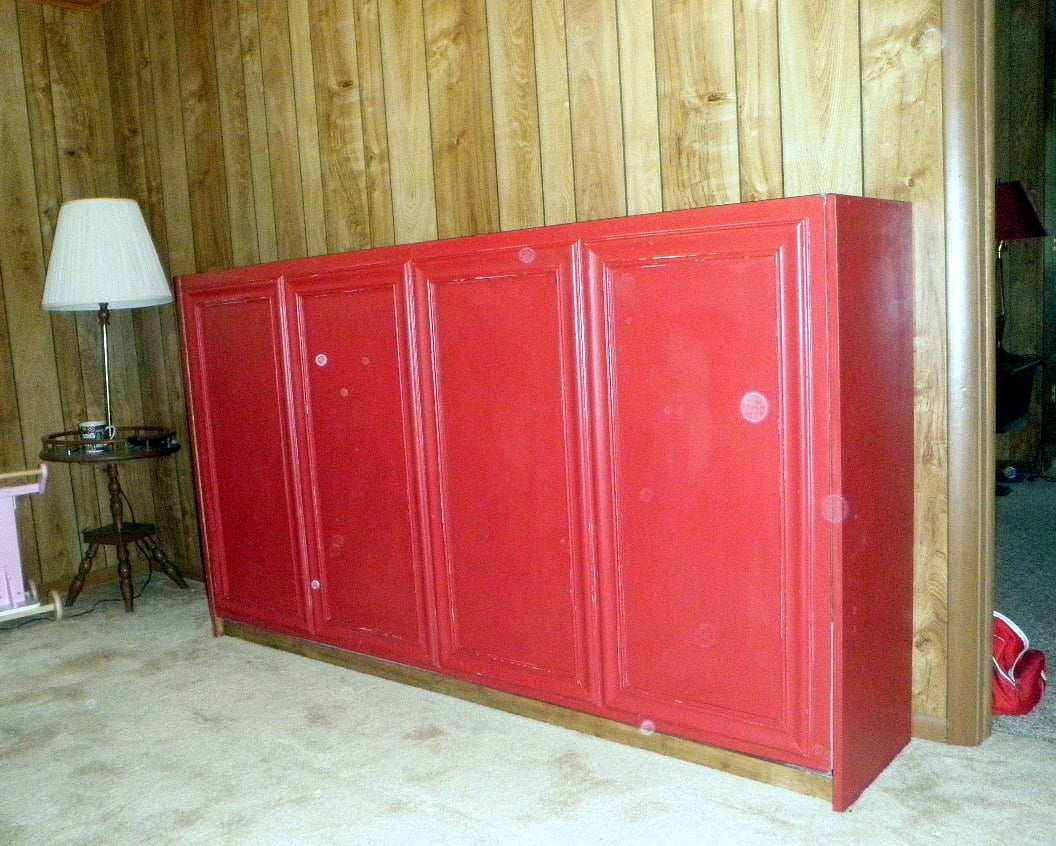
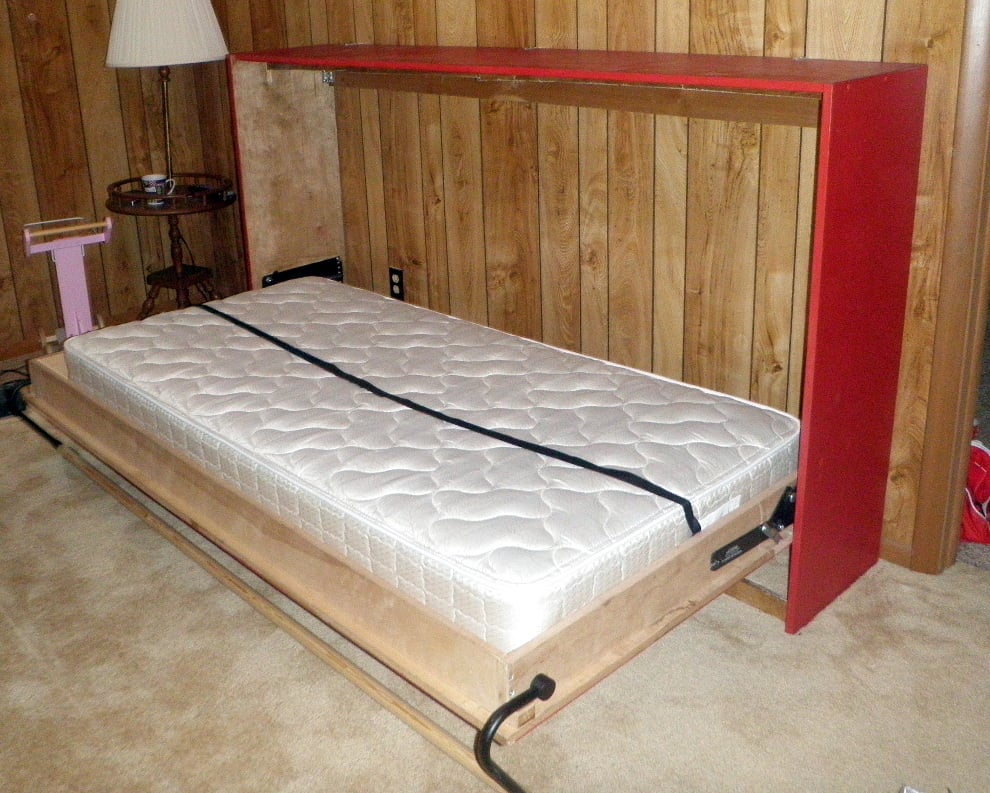
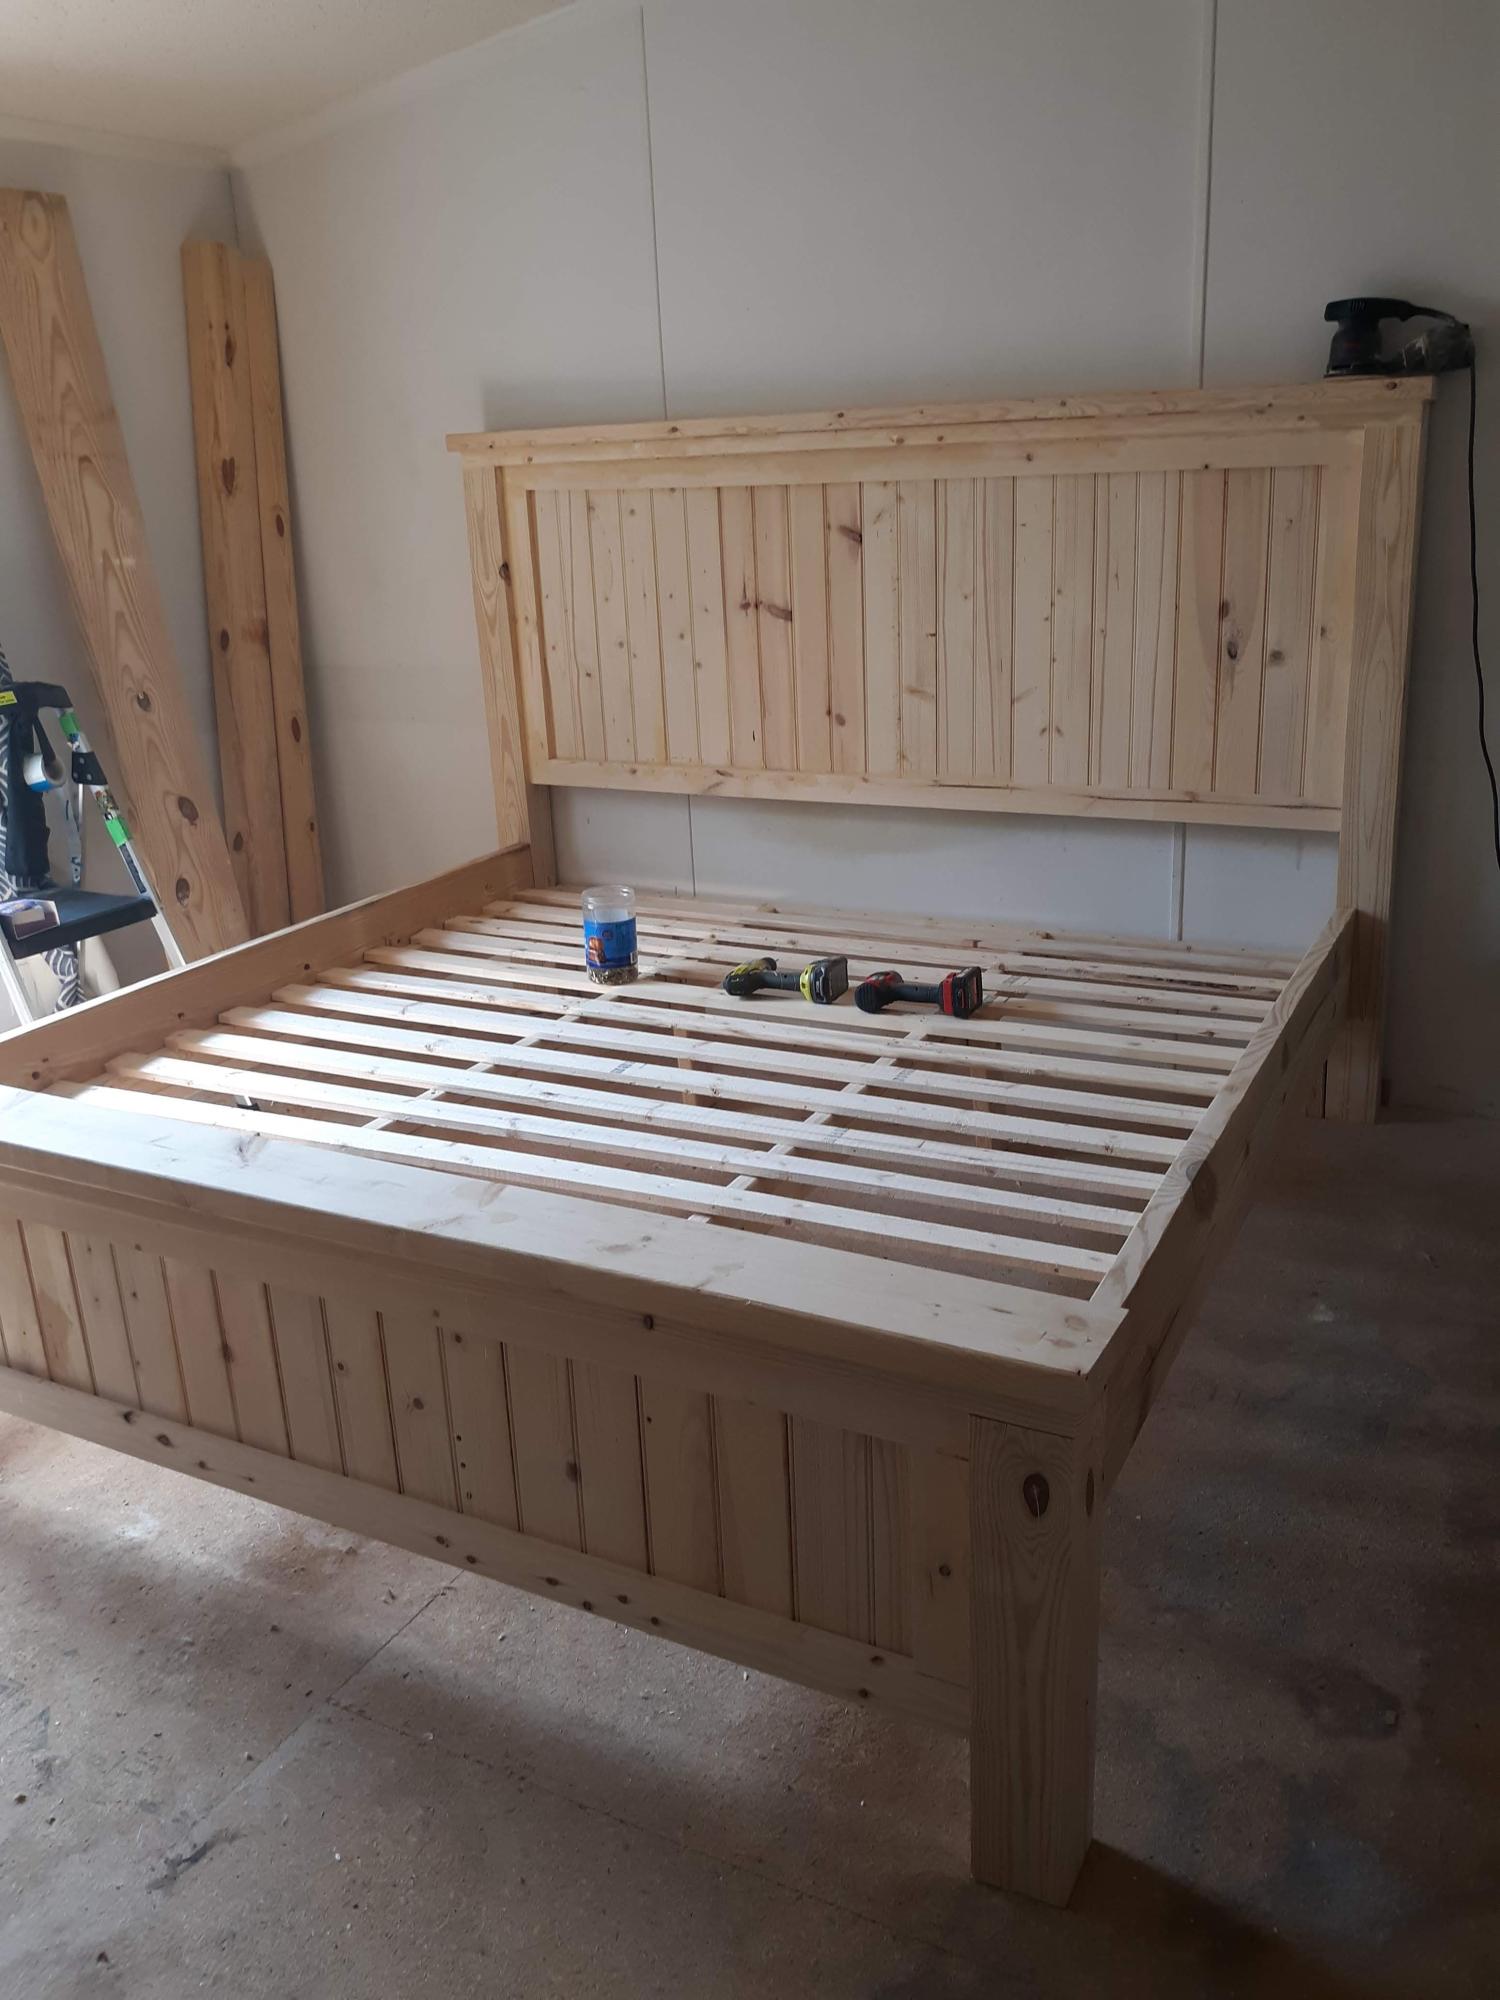
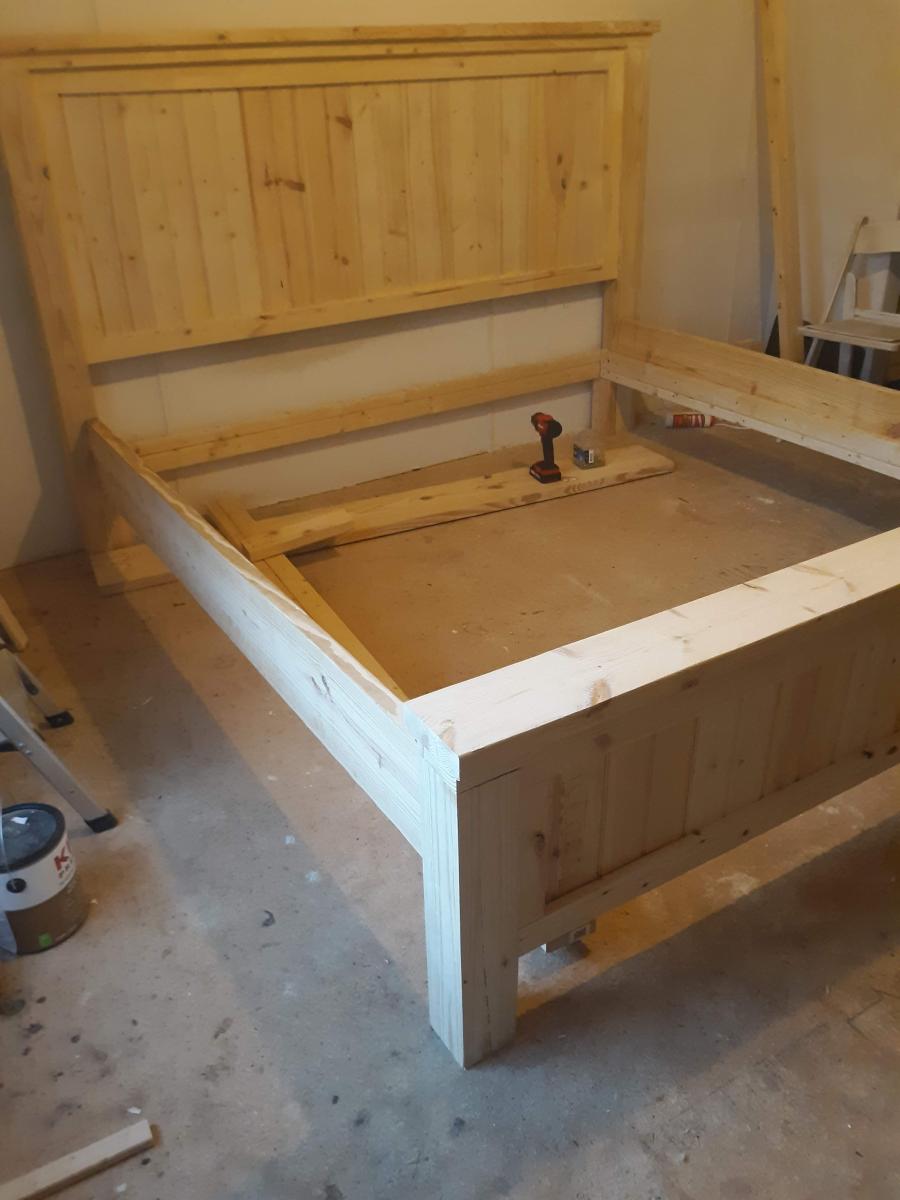
Murphy Bed
I bought the spring hardware on line. I can't take the credit for the paint as my daughter did that part. She loves the way that the baking soda and paint covers everything and it is a whole lot less expensive than buying the commercial stuff.
Ashiq1
Sun, 09/28/2014 - 01:02
Murphy Bed
I found some cool designed Murphy Bed Collection. Also bought one. Its so cool. Just happy to get that. You also can check this place <a href="http://murphybedikea.com/">murphy beds</a>
Ashiq1
Sun, 09/28/2014 - 01:03
Murphy beds are really cool
Murphy beds are really cool Item!
Enrique
Wed, 01/31/2018 - 08:58
Great Job
It looks really great !
whitepawn
Sat, 05/30/2020 - 09:05
Blueprint?
Where are the plans for THIS bed?