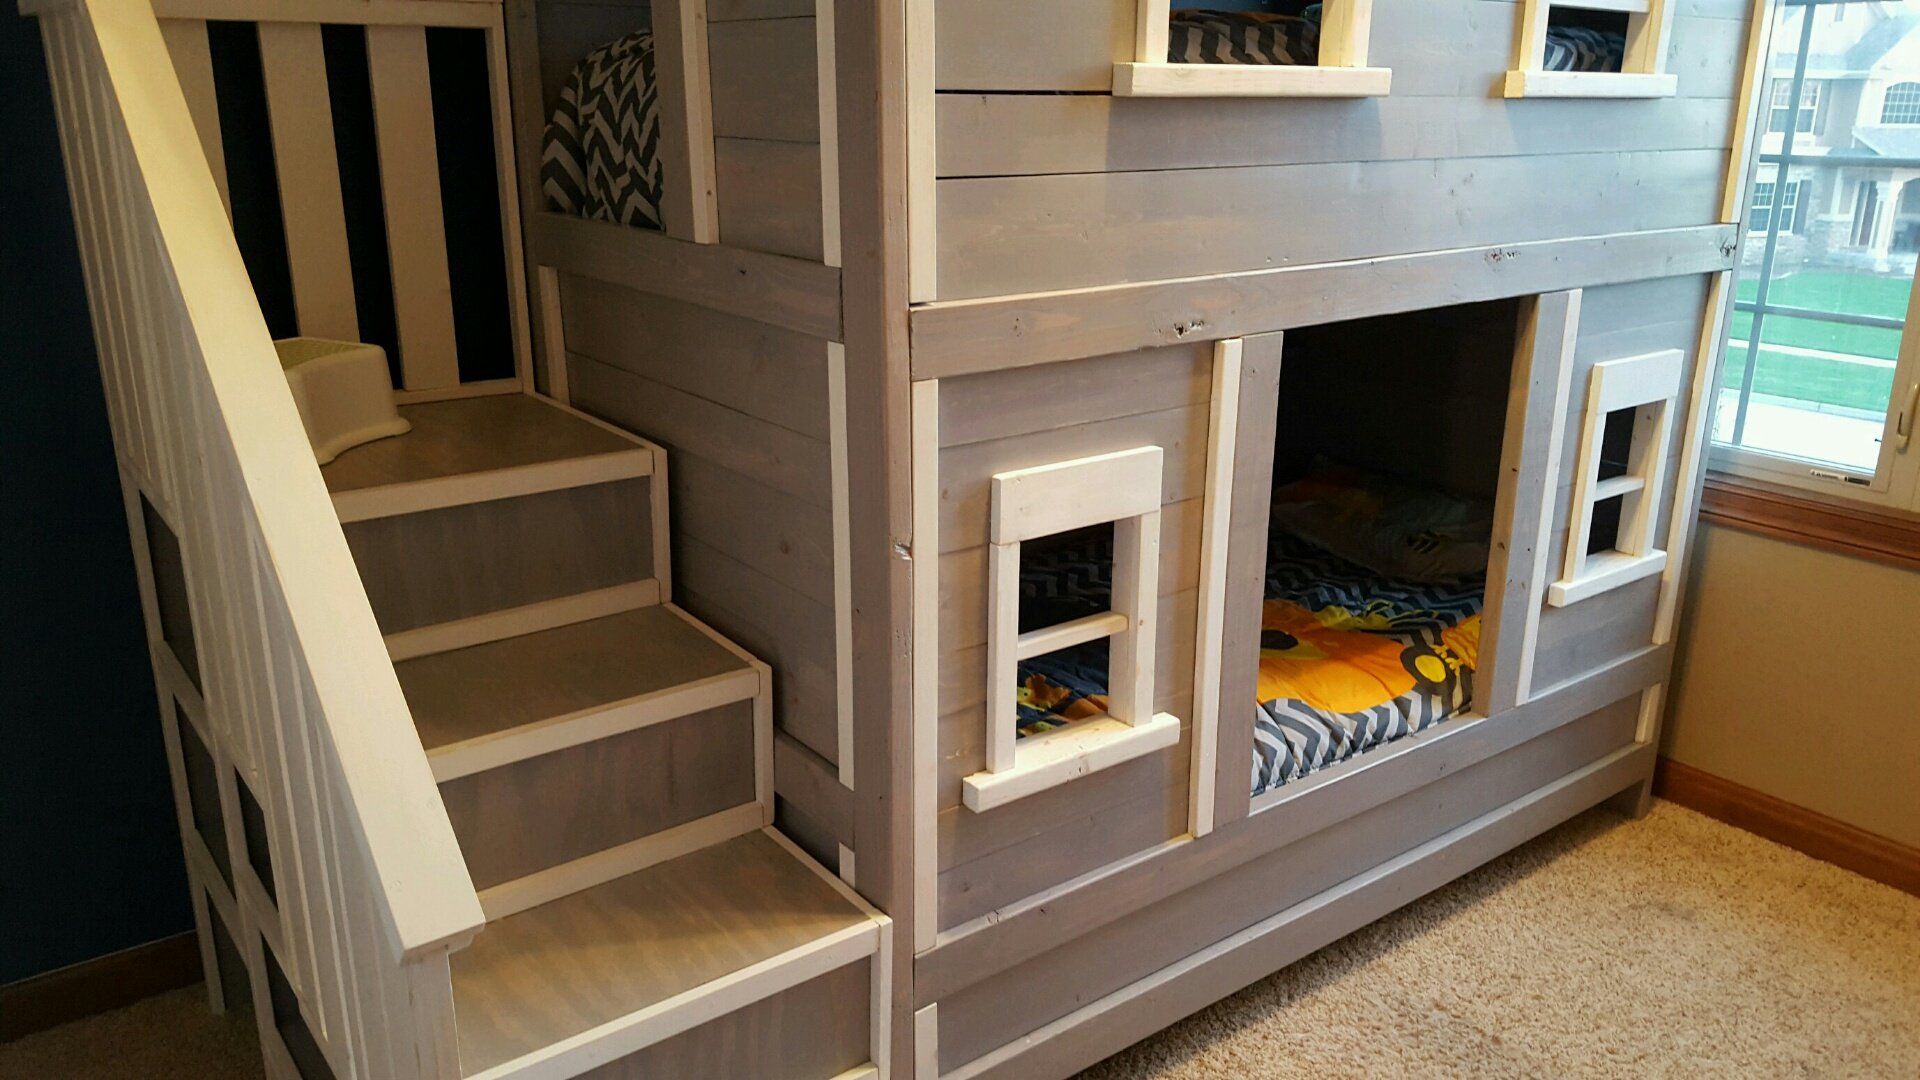
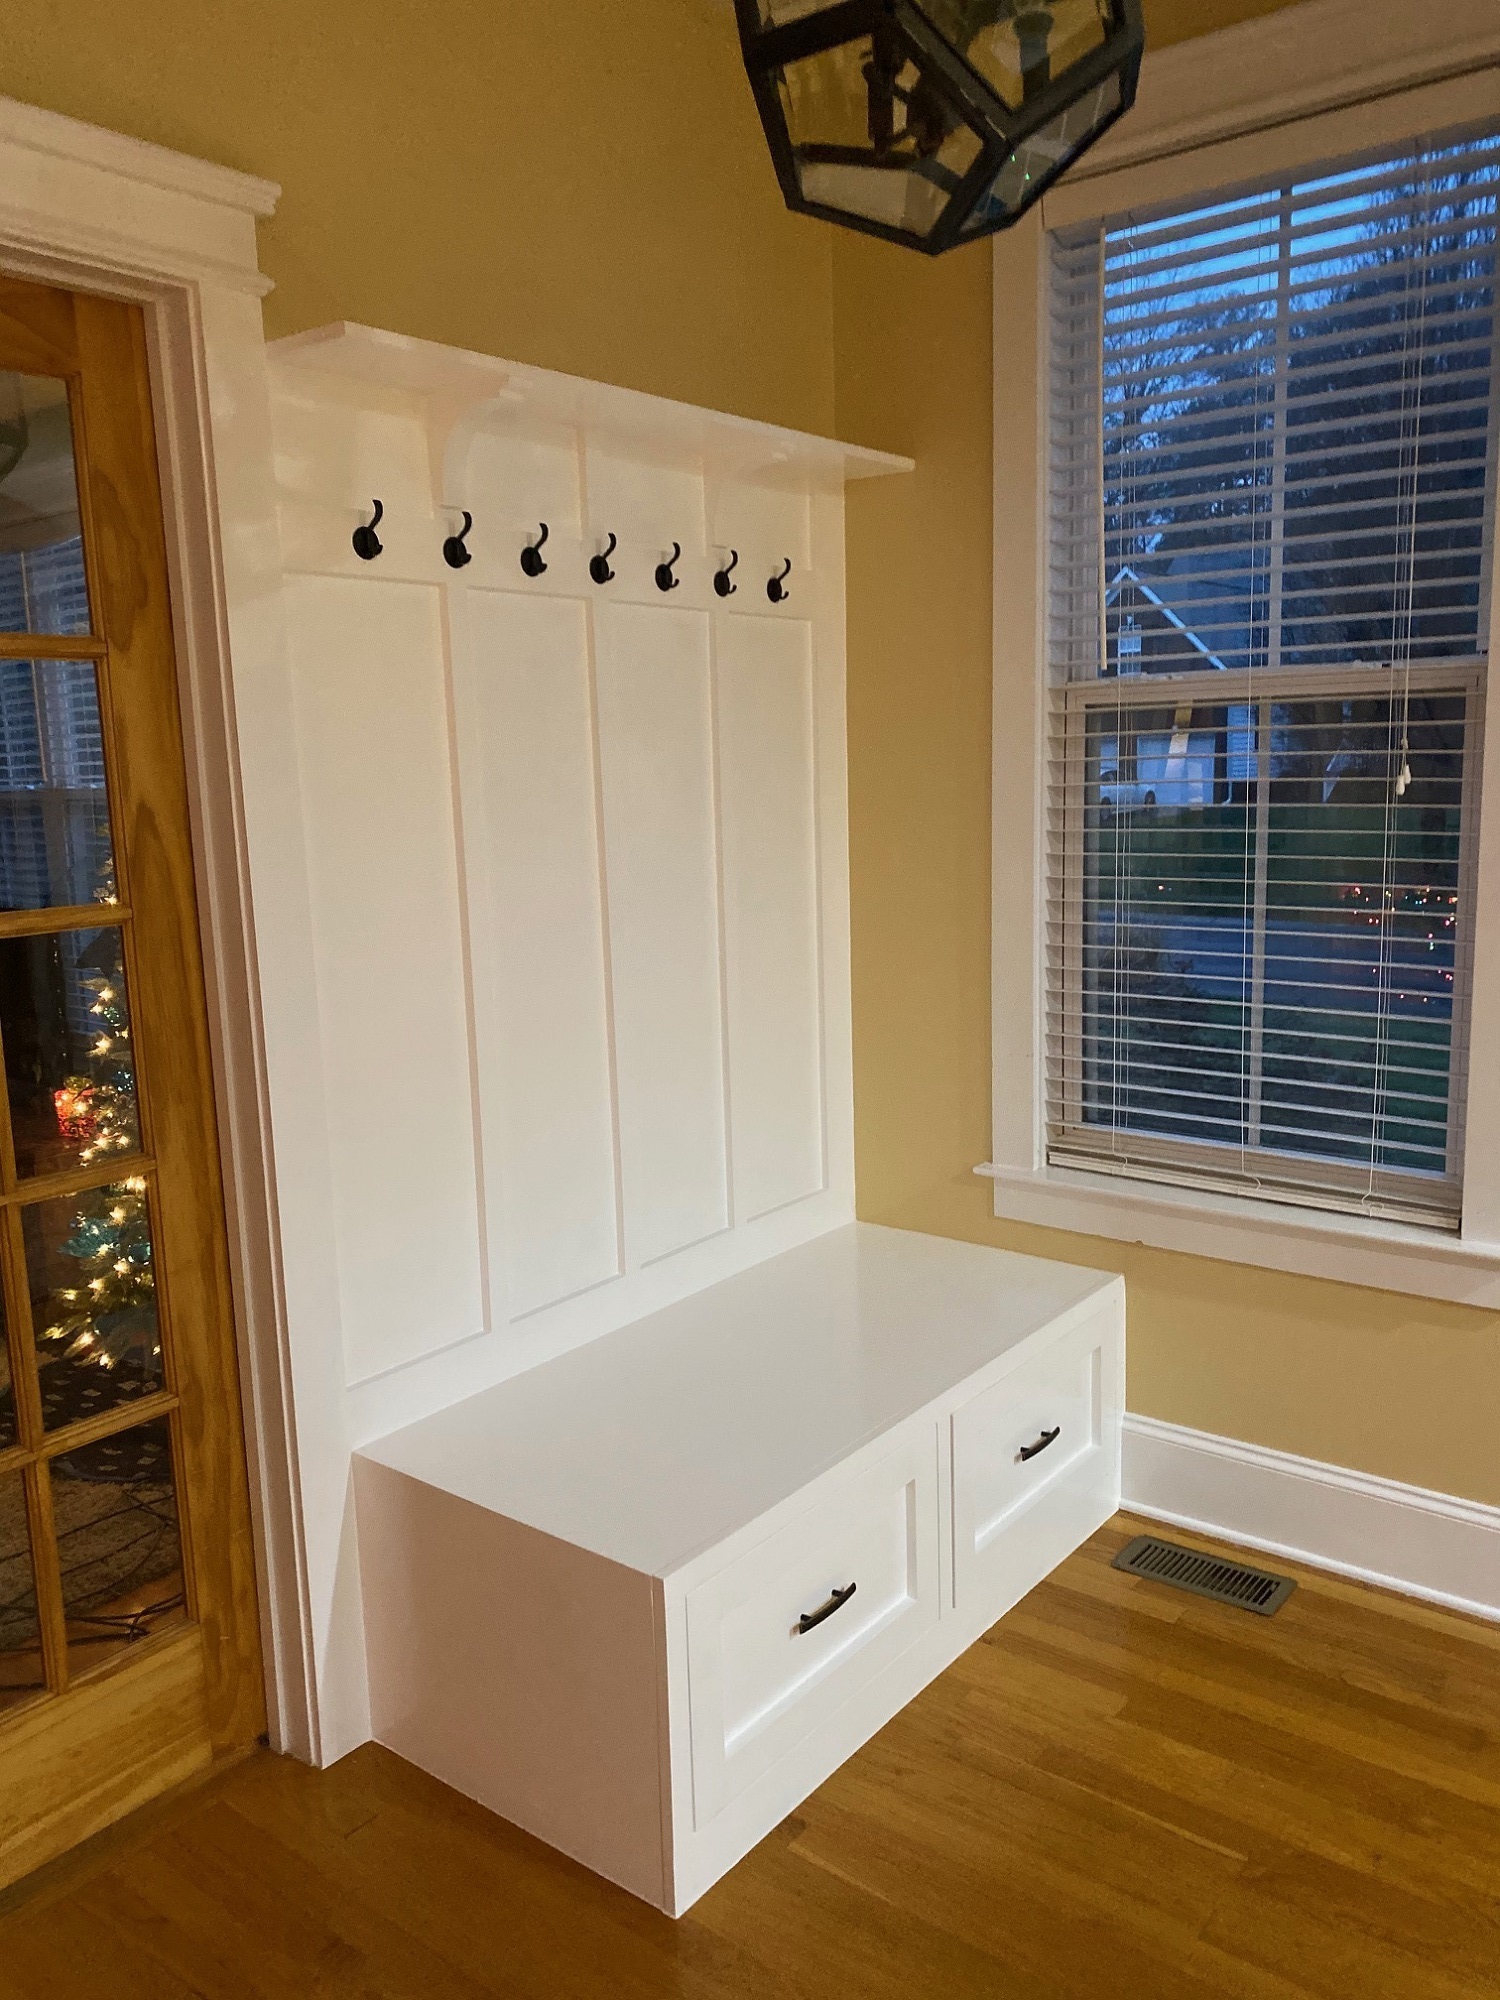
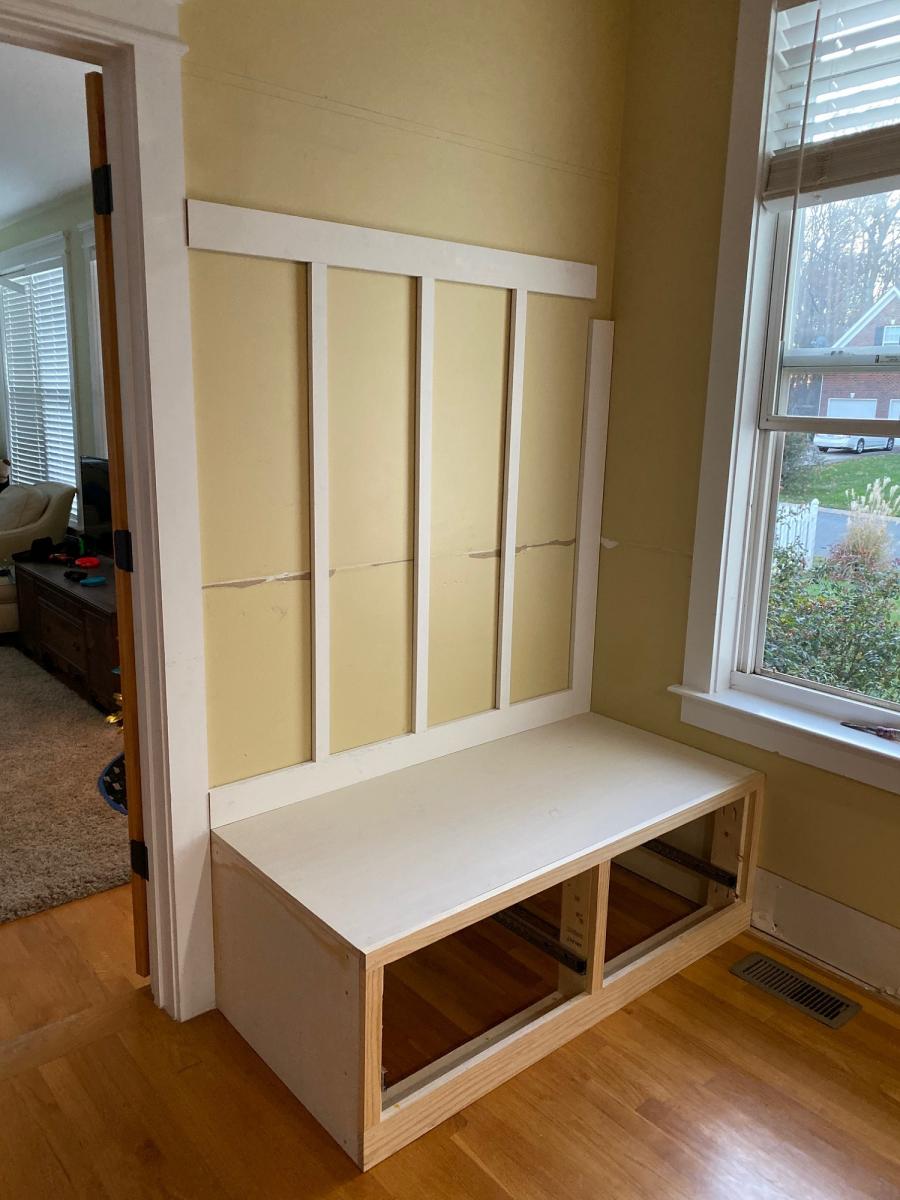
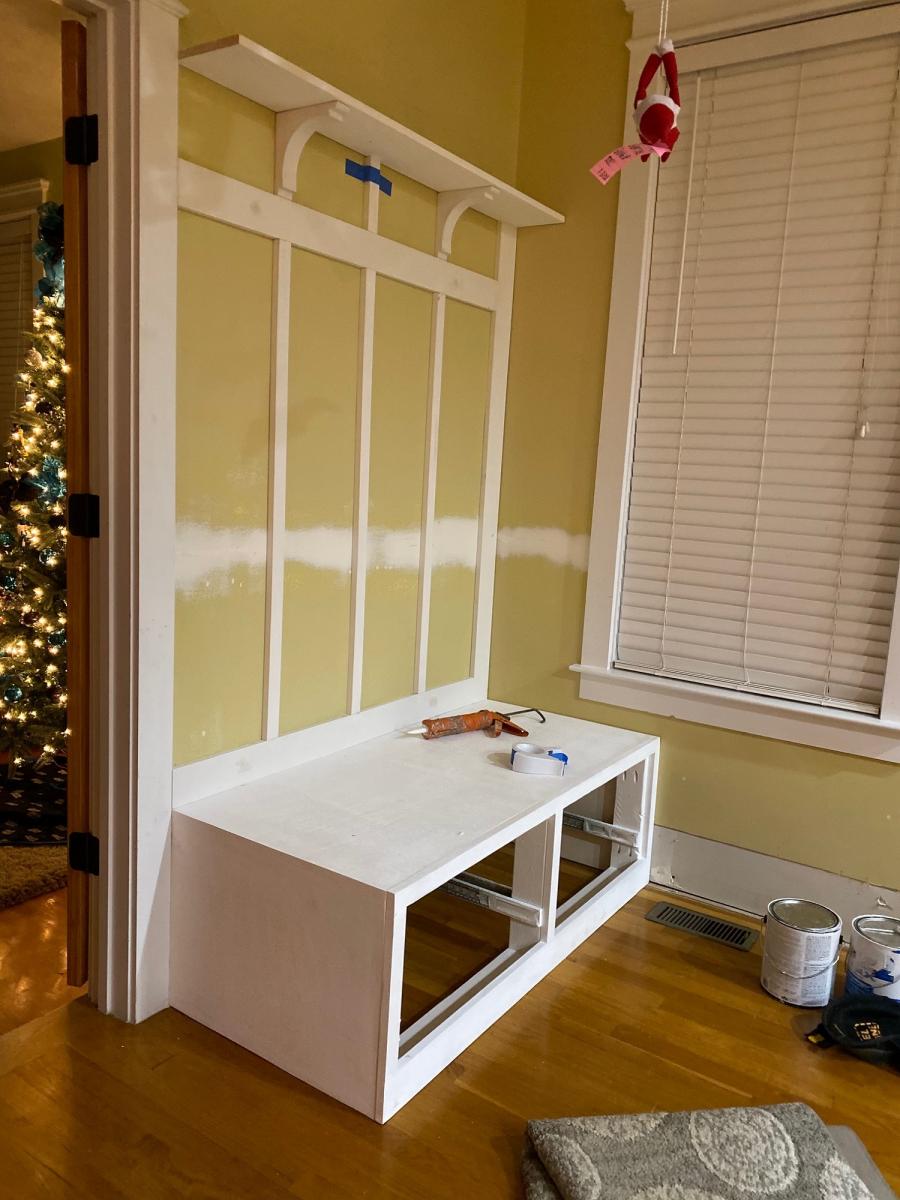
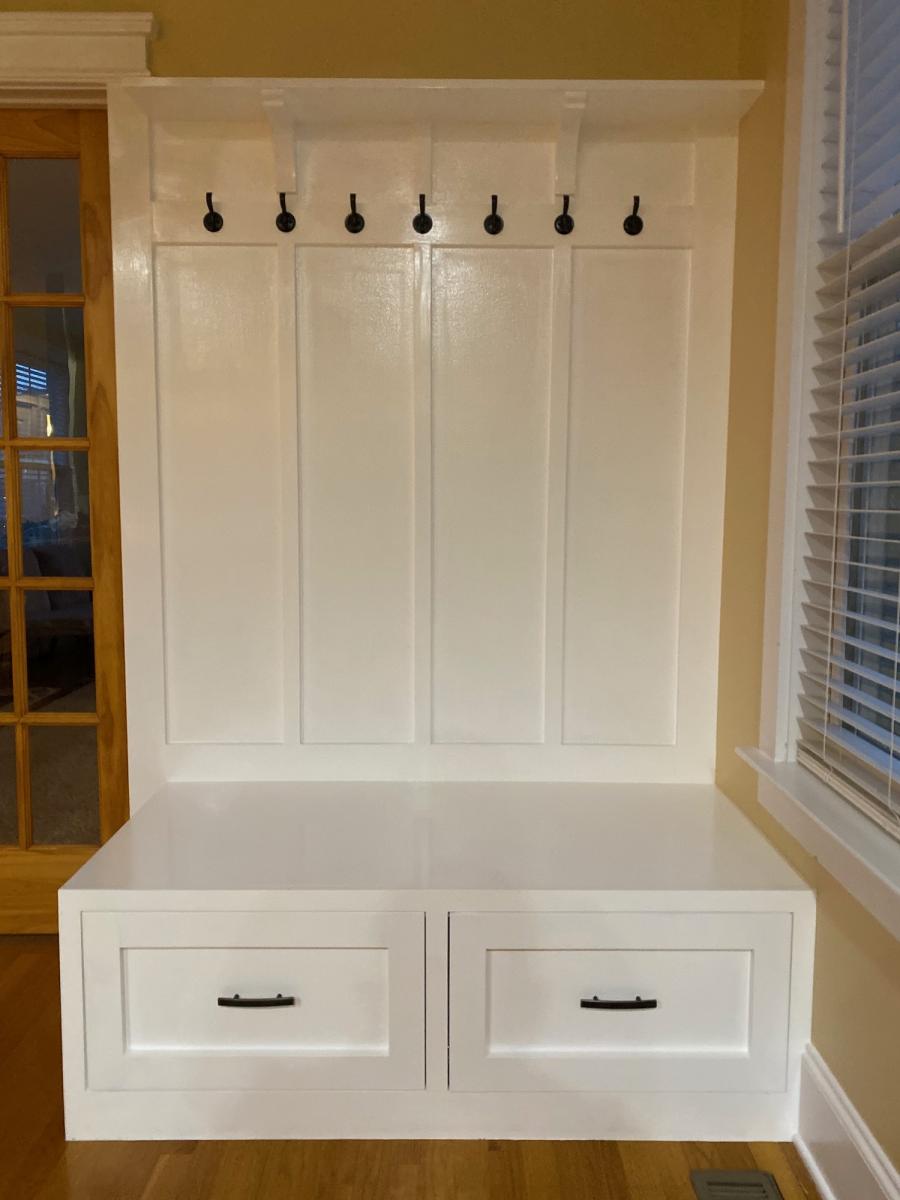
Sweet Pea Bunk Bed for Boys

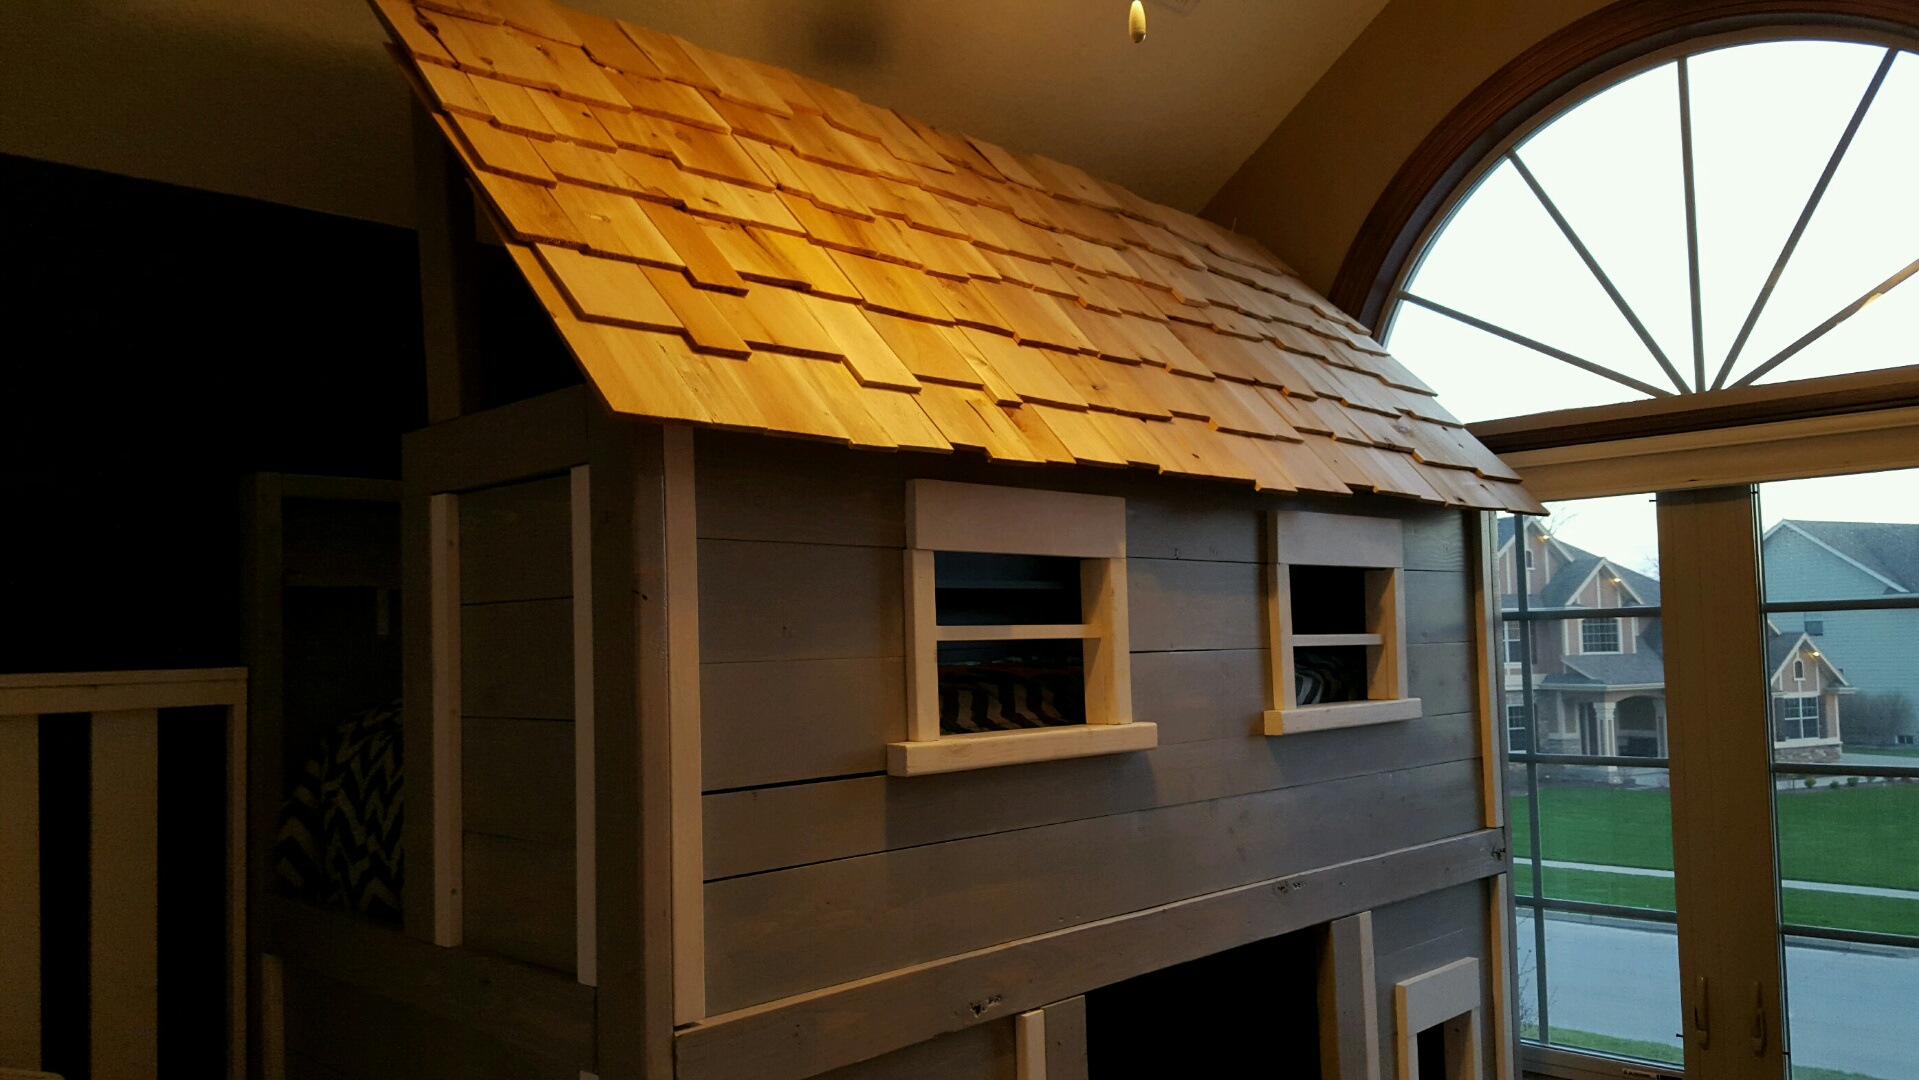
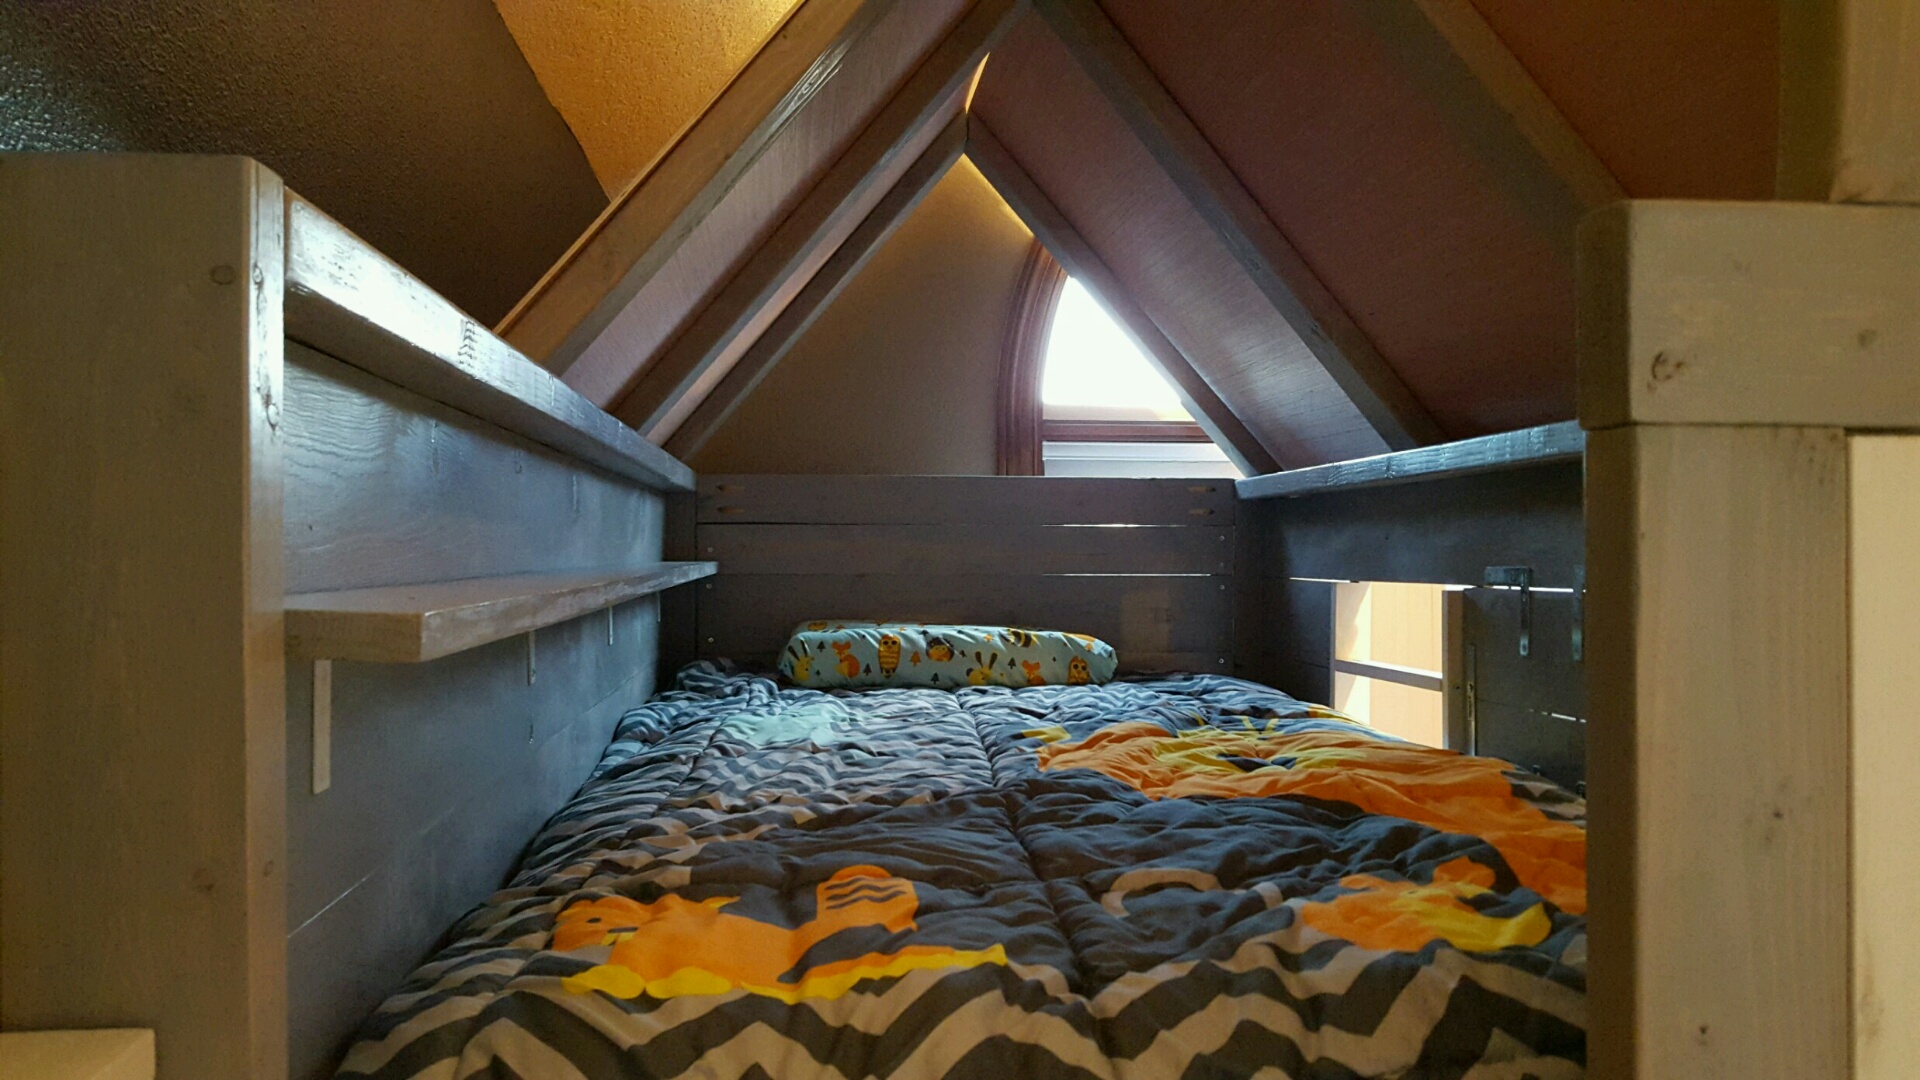
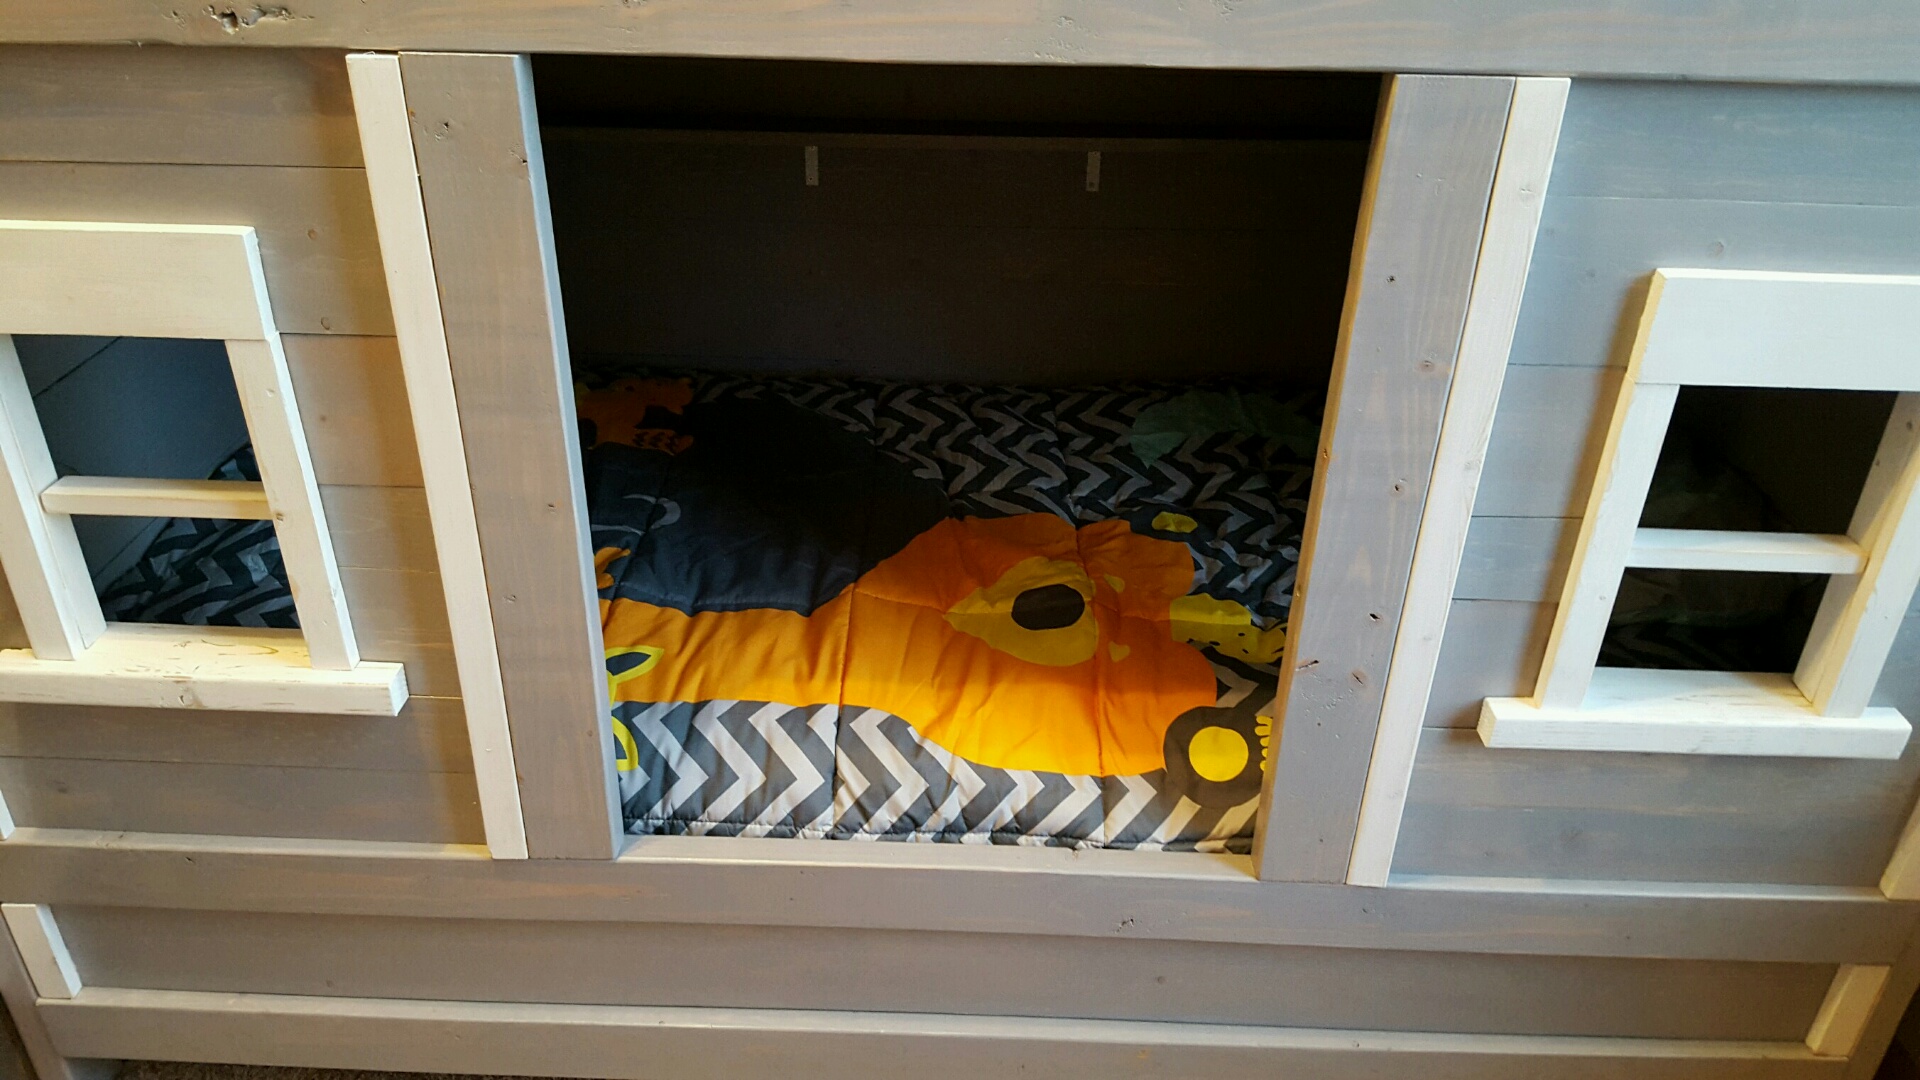
This took a lot of time. Many nights and weekends. We used a grey stain and poly for the planks and white paint and poly for the trim. I had to remove the under bed storage because the mattresses we bought were very thick so it was modified a little. Also I added some additional support to each side with another 2x4 because I felt it wasn't sturdy enough with just one support on the stair side. I also included a full roof with cedar shingles so that one of my twin boys doesn't jump out. They are 3 year old maniacs.
Built from Plan(s)
Estimated Cost
$700
Estimated Time Investment
Week Long Project (20 Hours or More)
Finish Used
Planks are grey stain and poly, trim is white paint and poly.
Recommended Skill Level
Intermediate


Comments
birdsandsoap
Thu, 04/14/2016 - 20:40
This looks amazing!
I love the cedar shakes on the roof, what a cool looking bed!
jennings134
Sat, 04/16/2016 - 06:31
Bed
Thanks! I posted this as a Guest so I'm not sure how to link it with my account now. I still need to put the second bar on the windows and do the pergola. I'll post new pics when 100% complete!