Community Brag Posts

Modified Simple Modern Outdoor Table and Benches

Submitted by AandTsMom on Wed, 05/16/2012 - 10:21

We wanted two smaller tables and four benches so we can rearrange as needed to make one big or two small tables. We can also move them back and forth between patio and deck. We hoped to have this done in a weekend but it took us two weeks working at night after the kids went to bed. I love how they turned out but I'm not sure I will try another project this involved!

Estimated Cost
$200
Estimated Time Investment
Week Long Project (20 Hours or More)
Recommended Skill Level
Intermediate

Comments

Finns-Dad

Sun, 05/20/2012 - 06:20

I really like the idea the two tables and being able to arrange them differently. Now I have to make more!!! Great job.

Coastal Mirror

Submitted by Jon Moore on Sun, 03/02/2014 - 11:09

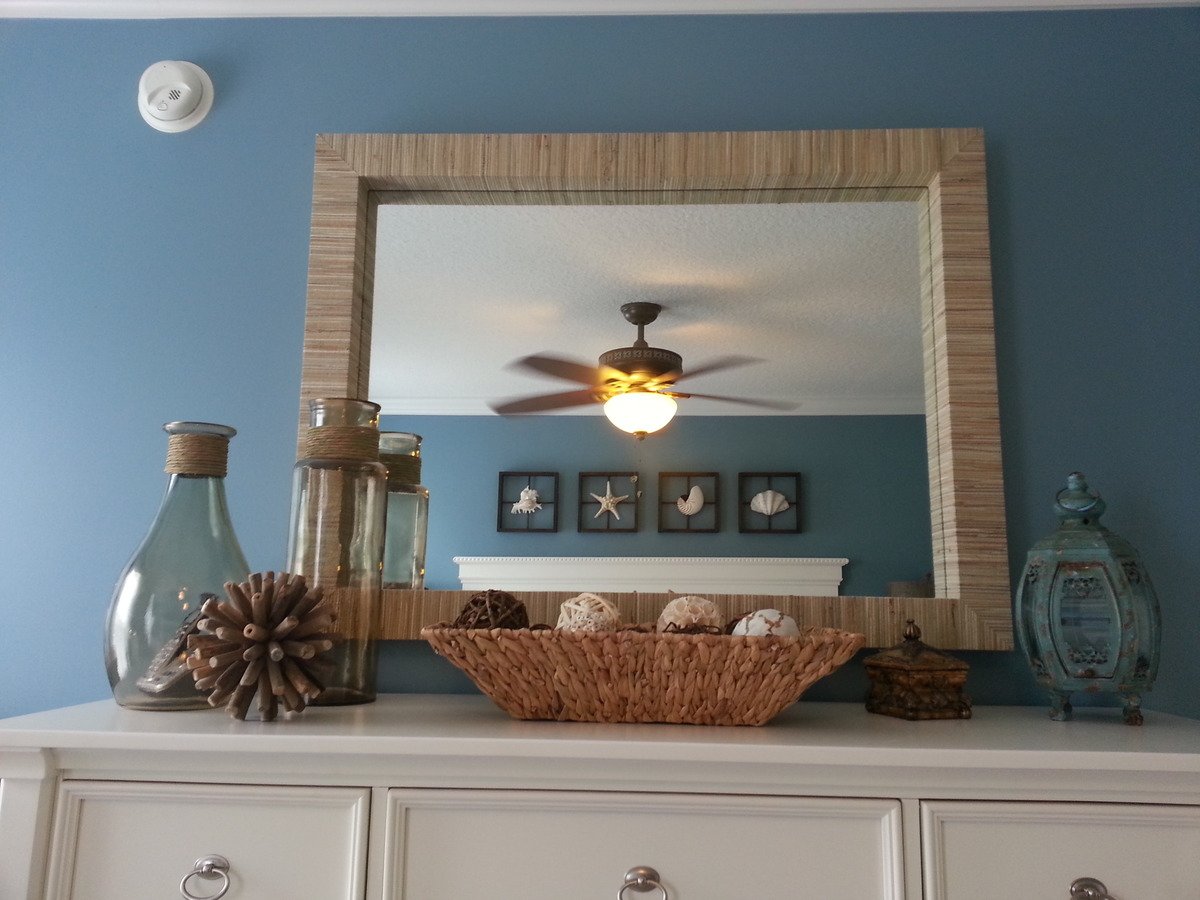
My wife and I found some grass clothe mirrors at a local home decor store that we loved, but they were either too big or small for our space. (Not to mention they ran $300-$450!!!) Using the same height/width ratio I built my own.

For this project we used:
-spare 1x4 and 1x6 pine boards left over from other projects (SORRY, I do not have the cut list)
-brad nail gun
-miter saw
-piece of 1/4" plywood (to hold the mirror in on the back)
-8 wood screws (to fix the plywood to the frame)
-an old bathroom mirror
-glass cutter (~$6-8 at Home Depot)
-gloves (for cutting and handling the glass)
-olive oil (for lubricating the glass cutter)
-grass clothe (had to buy it online by the roll ~$75, only used half)
-scissors
-spray adhesive (~$6-8 at Home Depot)
-picture hanger hooks (~$1 at Home Depot)

I spent more time thinking about how to construct the frame than actually making the cuts and building it, which took about an hour. I then spent about a month waiting for the grass clothe to arrive in the mail. Then it was about another hour cutting and affixing it to the frame with my wife.

Estimated Time Investment
Afternoon Project (3-6 Hours)
Finish Used
grass clothe
Recommended Skill Level
Beginner

So comfortable!

Submitted by Anonymous (not verified) on Tue, 05/31/2016 - 09:28

This was my first BIG project that I have ever attempted.  Would I do it again?  Probably not, it definitely was a "bite off more than you can chew" situation.  Many adjustments had to be made to fit our needs, however it turned out wonderful and I am happy with the results.


I tweaked the plans for the folowing reasons:

  • Twin XL mattresses - I wanted something thick and soft, as well as supportive.  I was able to find memory foam twin xl mattresses (thank you amazon) and they delivered right to my door.  This was the first factor in changing around all the measurements (to fit the mattresses).
  • L shaped couch - The husband wanted an L shaped couch.  I wanted two identical couches, since it seemed a lot more simple to do this.  I lost that battle, perhaps I gave in to the notion that I could take on the added challenge.

The framing was easy as pie.  We opted to not do the storage concept- we have enough as it is.  We bought fabric online from a fabric wholesaler based out of Chicago (found them on Amazon).  This was probably the most costly out of everything, and with two cats and a dog I deeply regret going with blue-grey canvas.  It looks great, but shows stains very easily.


The padding was relatively simple to do.  I should have done more than just one layer, since it seems pretty hard on the corners and edges.  Again no big deal, I don't lay on the arm or backing.


For the pillow cases and mattress covers, we found a woman who sews in her spare time to make zipper cushions, so we could easily take the cushions on/off to clean them.  This was a little pricey, and I wish I could sew, but sadly I do not have the patience (or sewing machine for that matter).


Stapling the fabric and assembling the couch together... oh what a nightmare and test of patience that all was!  Again since I caved on the L shaped approach, I wanted an arm rest for the "chaise" portion of the couch.  Seemed pretty simple and straight forward, right?  NOPE!  I had to strategically assemble and staple the fabric, so the last part to staple down wasn't in a visible area.  And to top it all off, the framing was too large to just assemble in the garage and bring inside.  Assembled, this five thousand pound monster couldn't even fit through my doorway!  So assembling it all together, and uphostering was done in the living room.  I must say that this is the most solid (and heavy piece of furniture) that I have ever encountered.  If a tornado came ripping through my neighborhood I would probably try to find refuge and hold on to the couch- I can barely move it, it's so heavy.


It was so much fun doing this project.  The fabric portion was a challenge to say the least.  It was a fabric rubix cube, but we got through it with patience and planning.

Built from Plan(s)
Estimated Cost
1500
Estimated Time Investment
Week Long Project (20 Hours or More)
Recommended Skill Level
Advanced

Country Entertainment Center

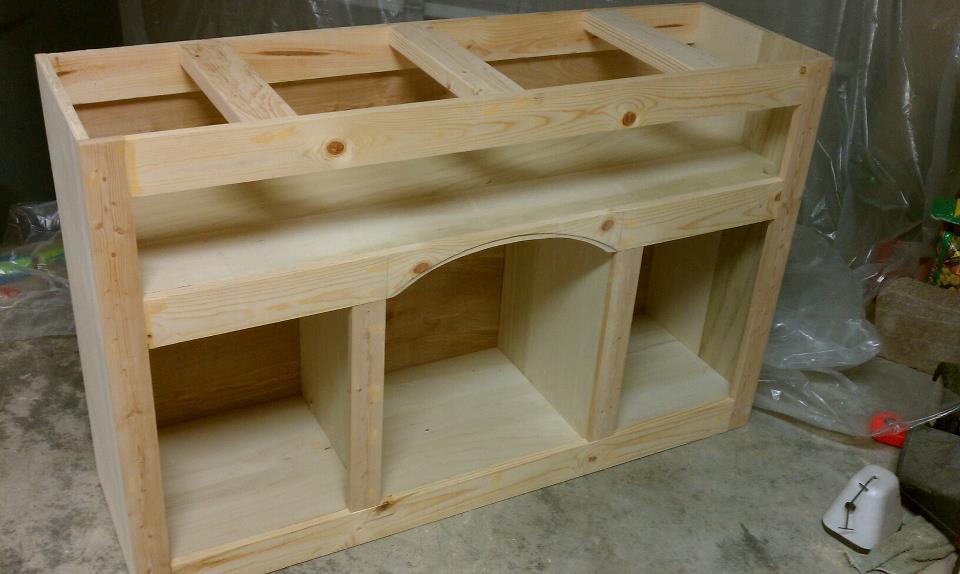
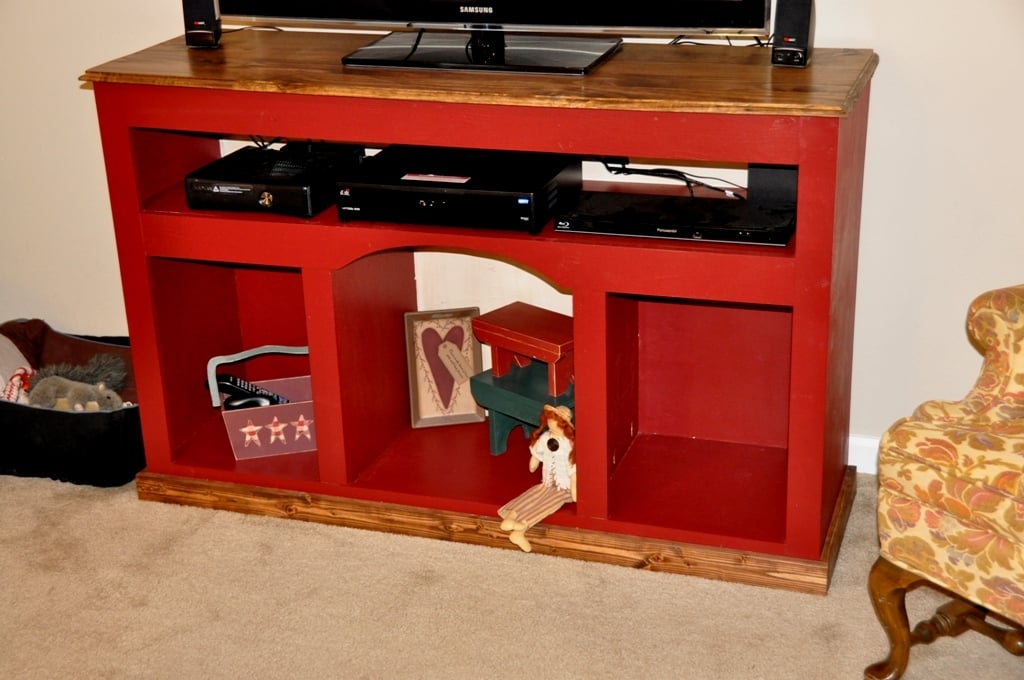
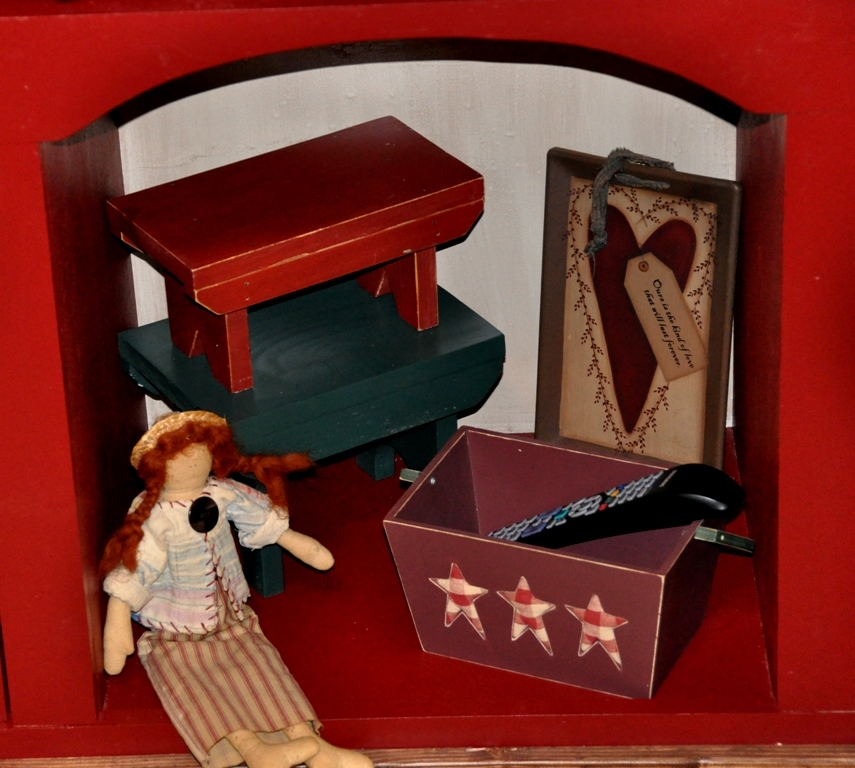
Another piece that my wife saw online that she liked. We wanted a new entertainment center for the house. I looked at the photo and drew up the plans in my head and got to building. This was a one day build and came together really nice.

Estimated Cost
$60.00
Estimated Time Investment
Day Project (6-9 Hours)
Finish Used
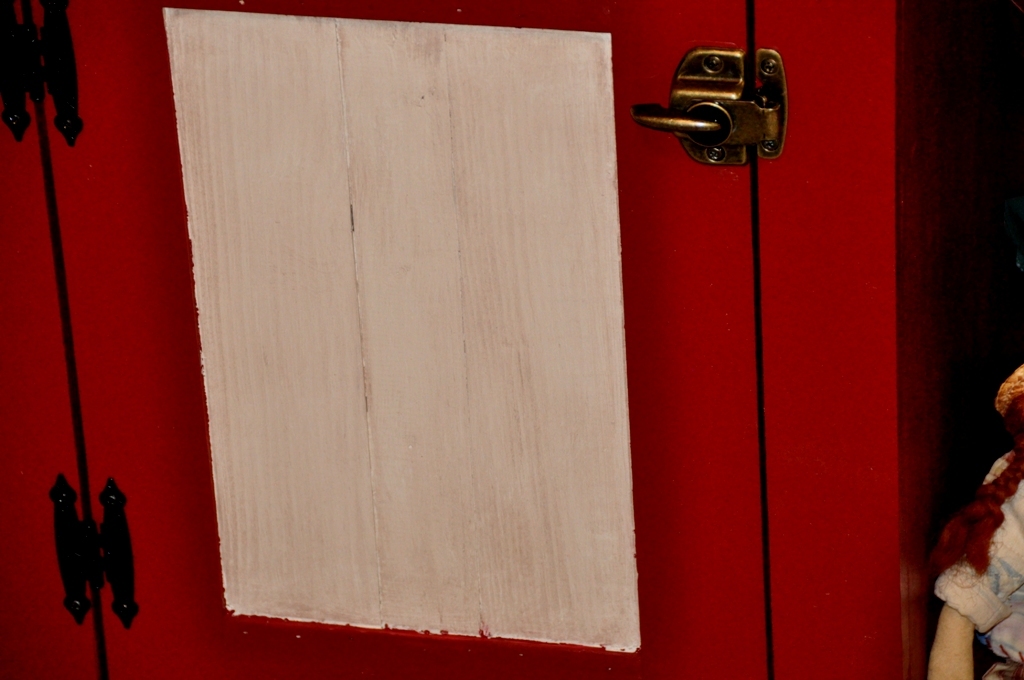
Burgundy Behr paint, Minwax Special Walnut stain, and Antique white with stain wiped
Recommended Skill Level
Intermediate

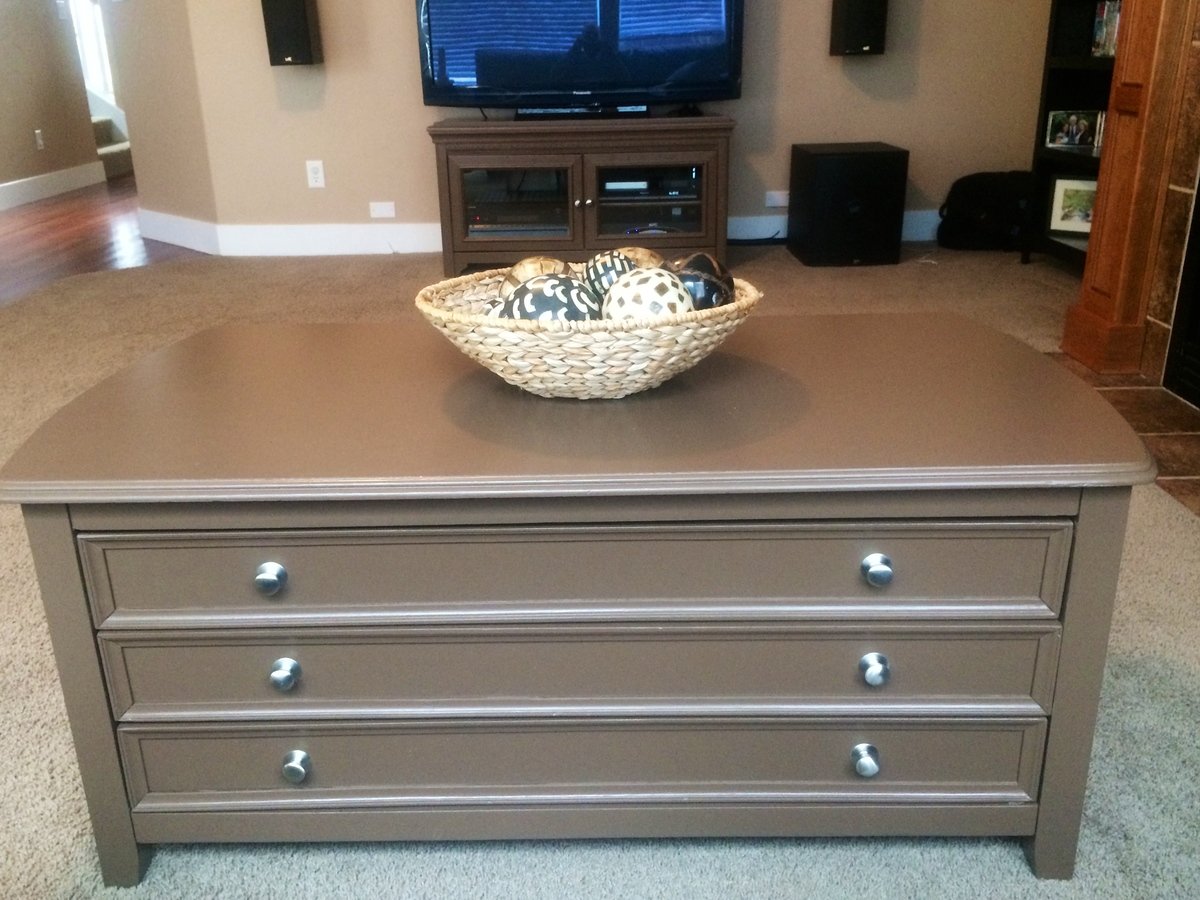
Finishing project

Submitted by Medickep on Tue, 03/04/2014 - 14:16

I decided to post this project as I know there is room for more information on finishing. I know I can be overwhelmed with all the different types of finish work out there as well as their associated tips/tricks, which are often not on the manufacture's directions!

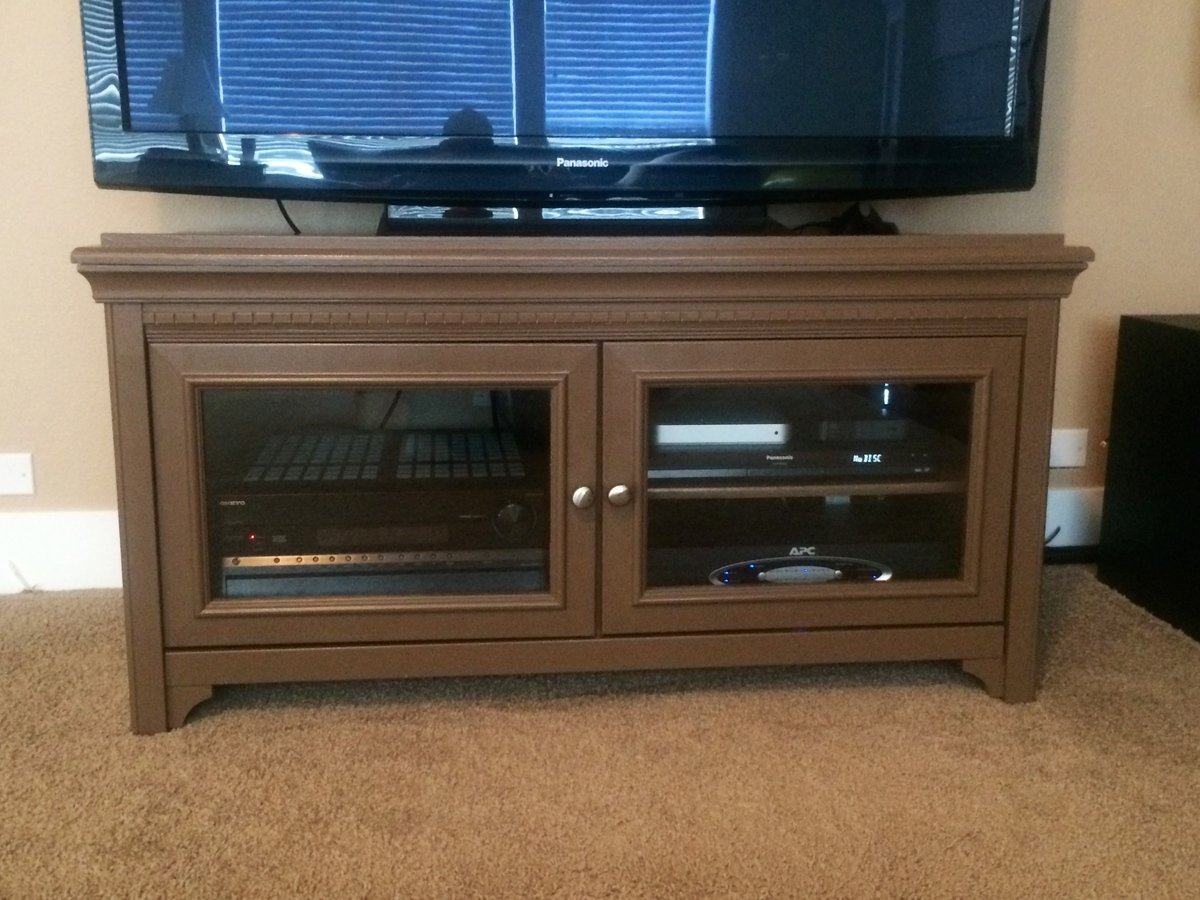
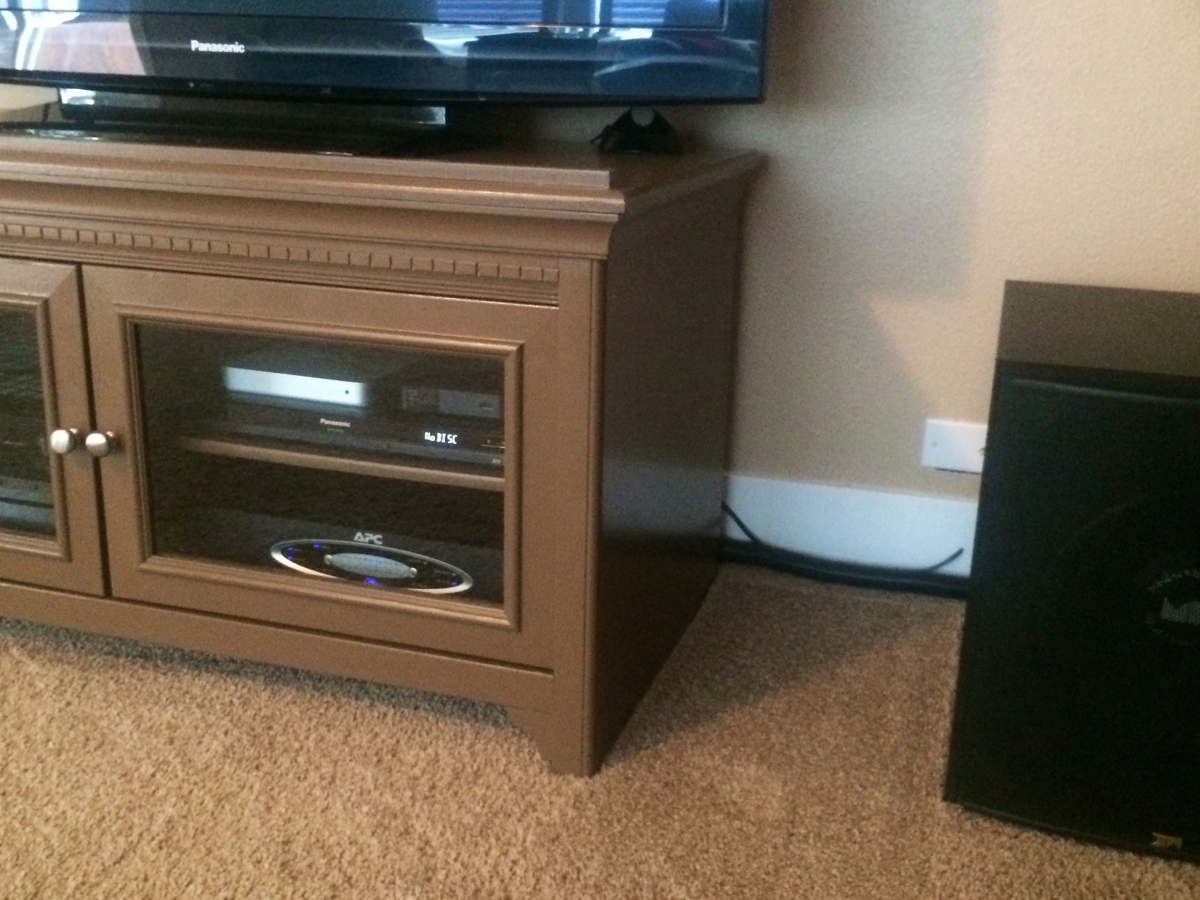
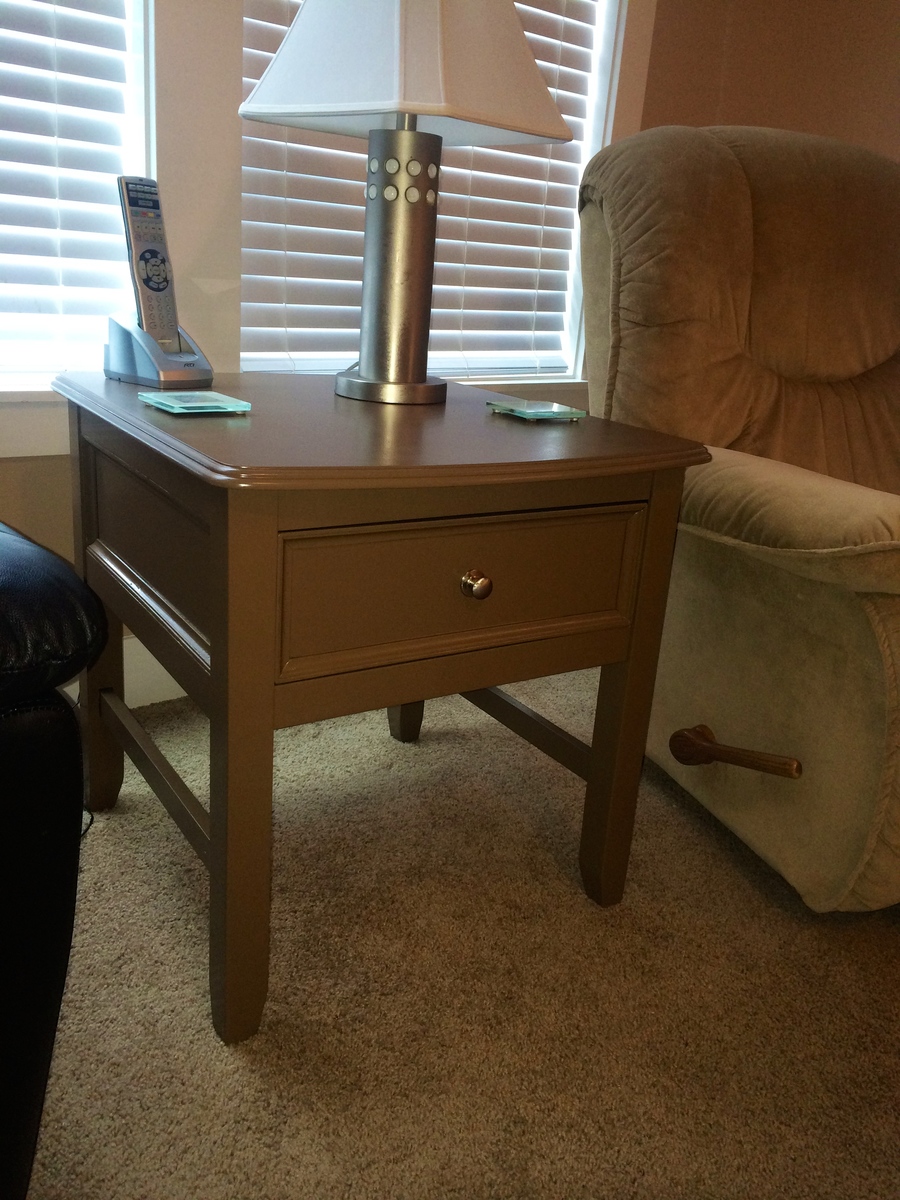
My wife and I had some black furniture, which we were tired of. Some of it started from my bachelor days and some came later just to match things we already have. I really wanted to build new stuff for our living room, but it seemed like a little a bit of a waste, considering we liked it, minus the color!

Even though it was all sold as "better that Ikea" furniture, it was all pretty cheaply made with weak quarter turn screw joints and MDF.

The first thing I did was to take each piece apart and glue, pocket screw and nail the heck out of each piece.

I than scuff up the finish (committed now :-) ) with some 220 sandpaper. While my wife and I decided what color we wanted I looked into oil based paint. Even though it usually can't be found at HD or Lowe's a guy who worked in the paint department and was a professional painter for 30 years advised me to find some.

We both agreed that Latex paint never really seems to dry all the way, especially for a surface, which will have glasses and what not placed on them.

I got some oil based paint from a "paint store" and also bought a product called Penetrol to put in the paint. The Penetrol "watered down" the paint to allow more working time and avoid brush marks. I really tried to avoid usually a brush, and mainly used a very tight , high quality foam roller. It really work great and I just made sure I covered each area all the way from one side to the other. I would start with less Penetrol than they say. My paint was like soup and although it worked great, I figured you can always add more, but you can't take it out!!

The oil paint took about two days to dry in my garage (very cold now) and than I moved it into my house for the rest of the time. Once it was "cured" 3-4 days, it formed a shell like surface, which did not require any poly at all!

I feel it's about as good as you can get without having a sprayer. It was definitely more clean up as I needed paint thinner for the brushes I did use, but I stored them in zip loc bags in my garage refrigerator in between coats, until I was completely done!!

I hope this post helps someone out there!!
Estimated Cost
47.00 for one gallon of oil based paint
Estimated Time Investment
Weekend Project (10-20 Hours)
Finish Used
Oil based paint
Recommended Skill Level
Intermediate

Farmhouse Table

Submitted by Anonymous (not verified) on Thu, 06/02/2016 - 22:18

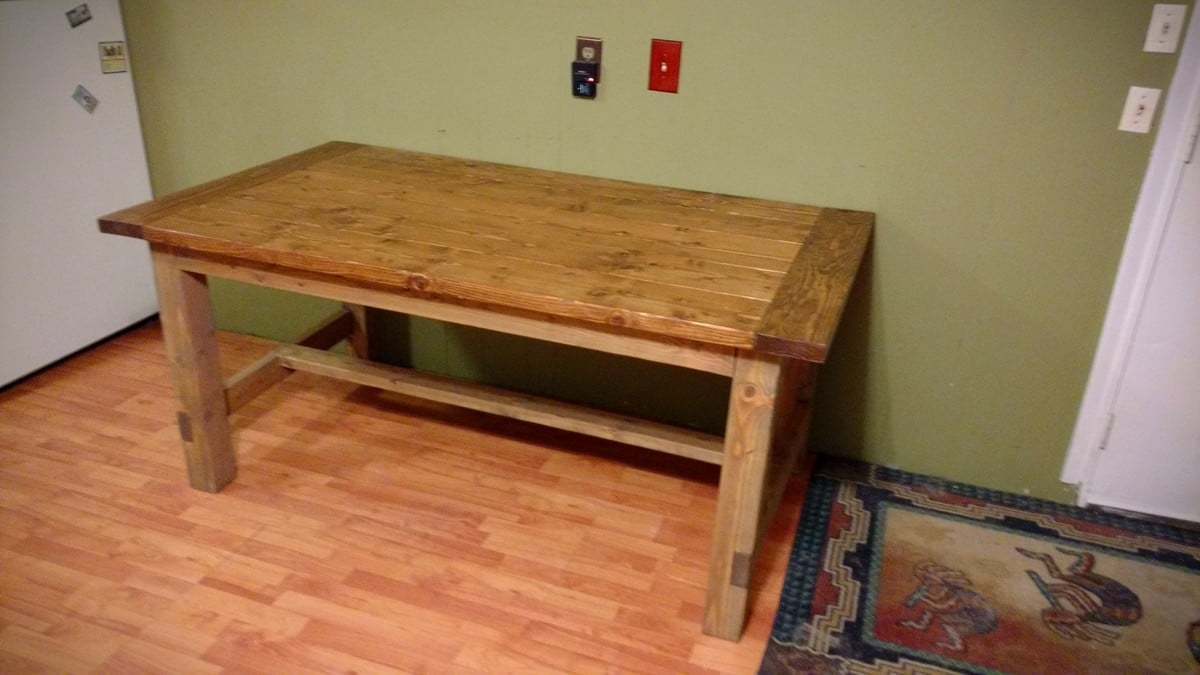
This build was my 5th build and turned out pretty good. I used weathered oak for the base and early american for the top. I will be building a few farmhouse benches to go along each side, and then pick up some oak chairs to refinish for the ends. Total cost for table was probably around $110, since I had polyurethane on hand, and it took me a couple weekends to build. Love how it turned out, very stable table!.

Estimated Cost
$110 +/-
Estimated Time Investment
Weekend Project (10-20 Hours)
Finish Used
Minwax Weathered Oak
Minwax Early American
Rustoleum Triple Thick Polyurethane
Recommended Skill Level
Beginner

Comments

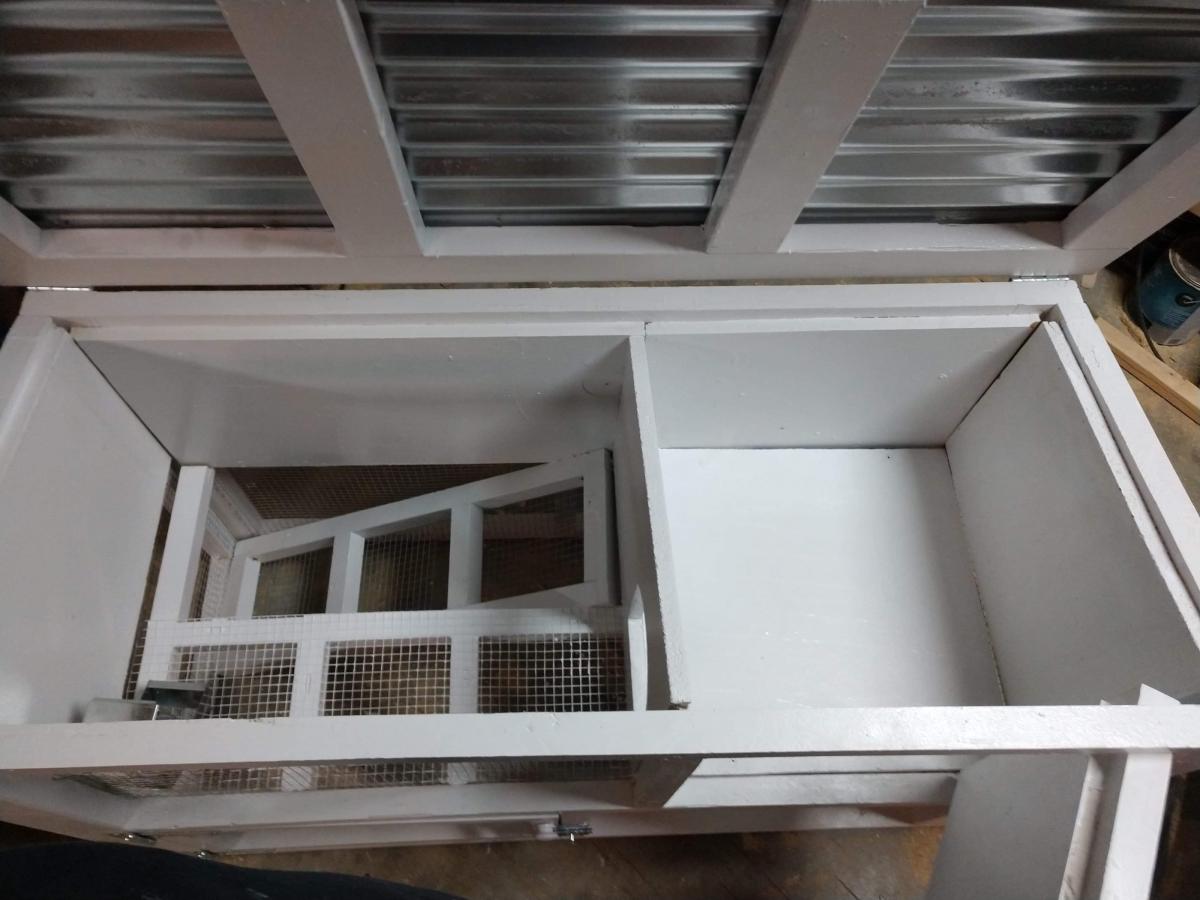
Bunny Hutch

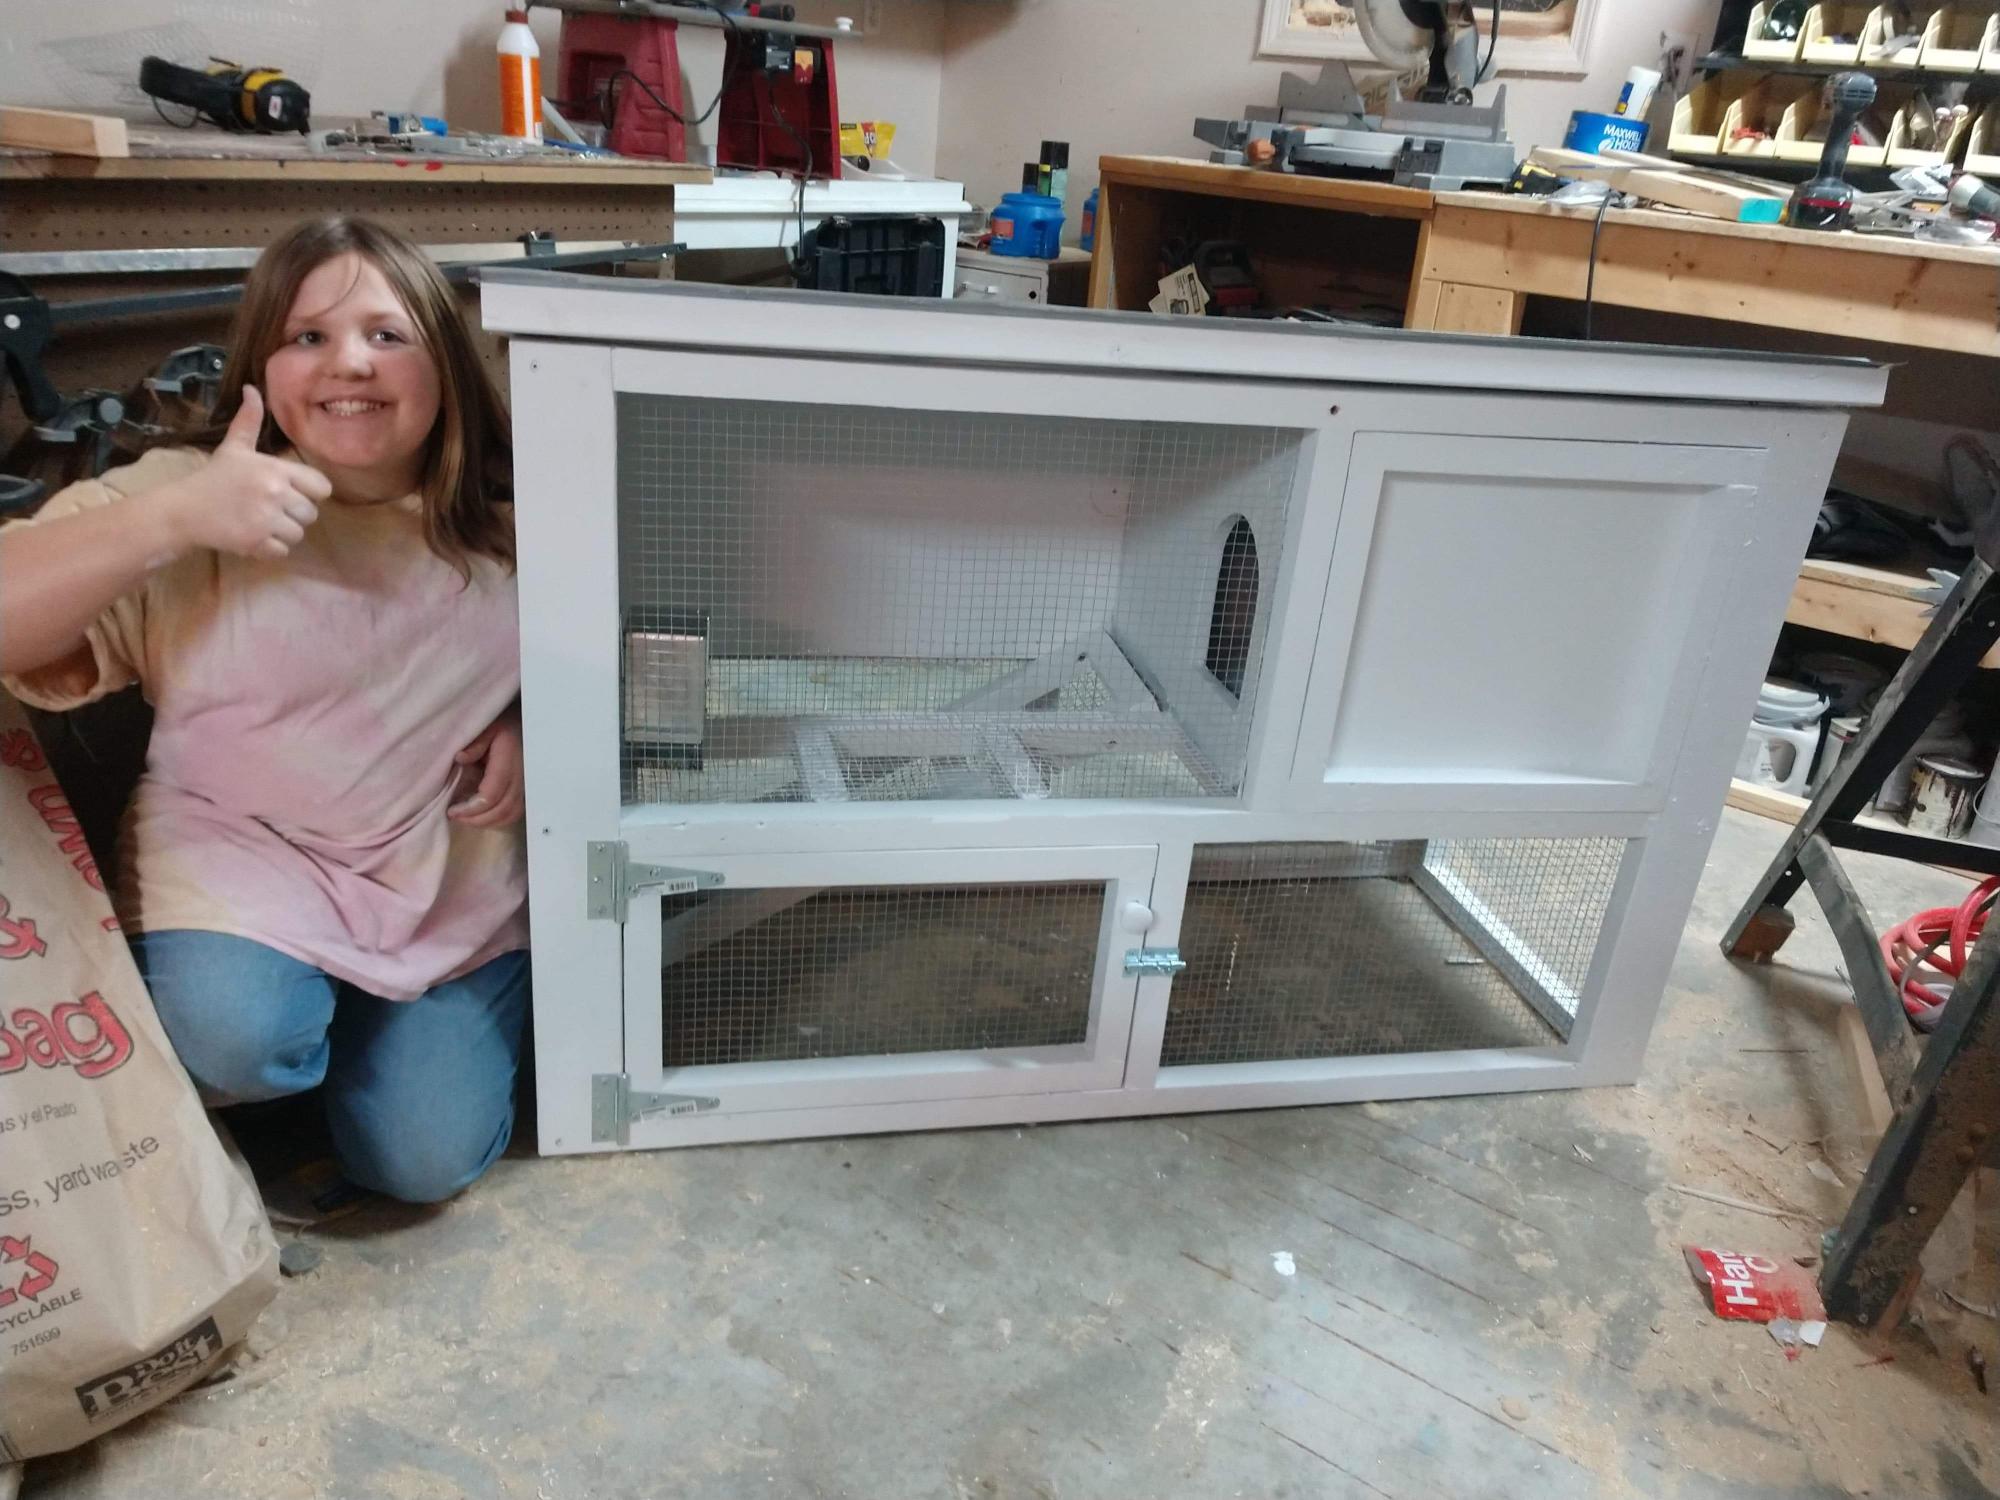
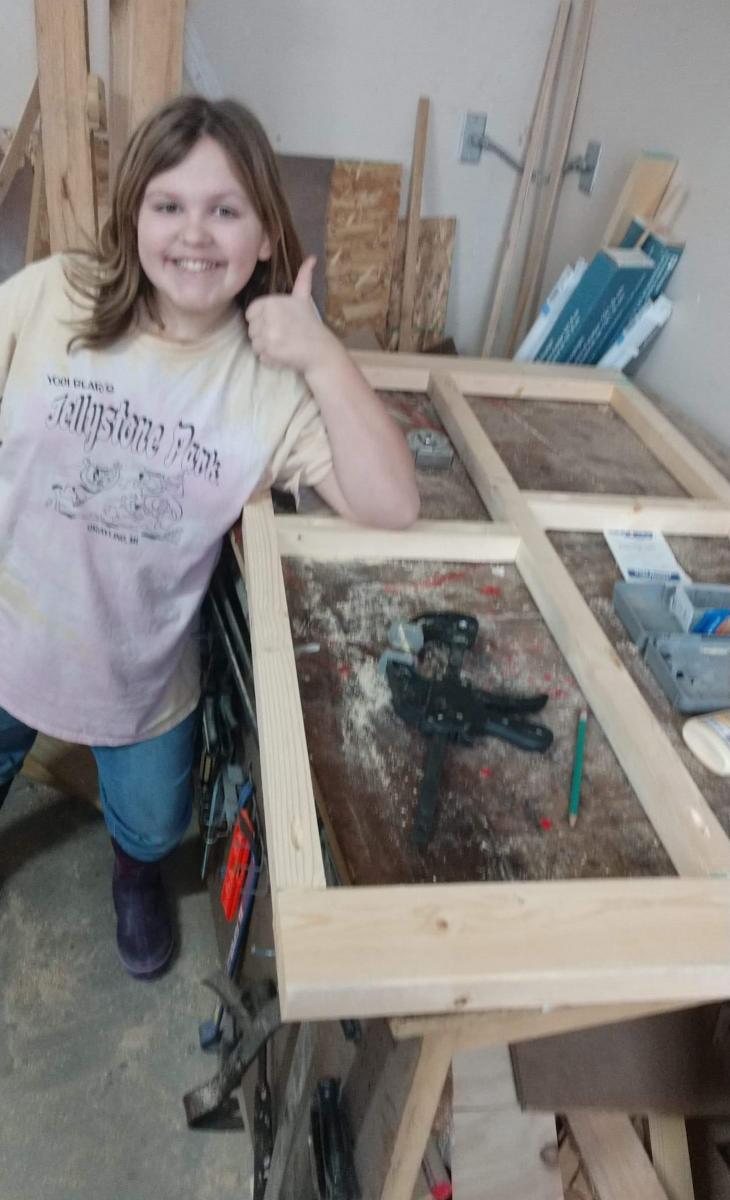
My daughter got a bunny from her teacher (shaking fist in frustration) and I thought it would be a good opportunity to teach her some skills. I was inspired by the toy bunny hutch. When she finished she said, " I can make anything now" so mission accomplished!

Built from Plan(s)
Estimated Time Investment
Week Long Project (20 Hours or More)
Finish Used
Paint
Recommended Skill Level
Beginner

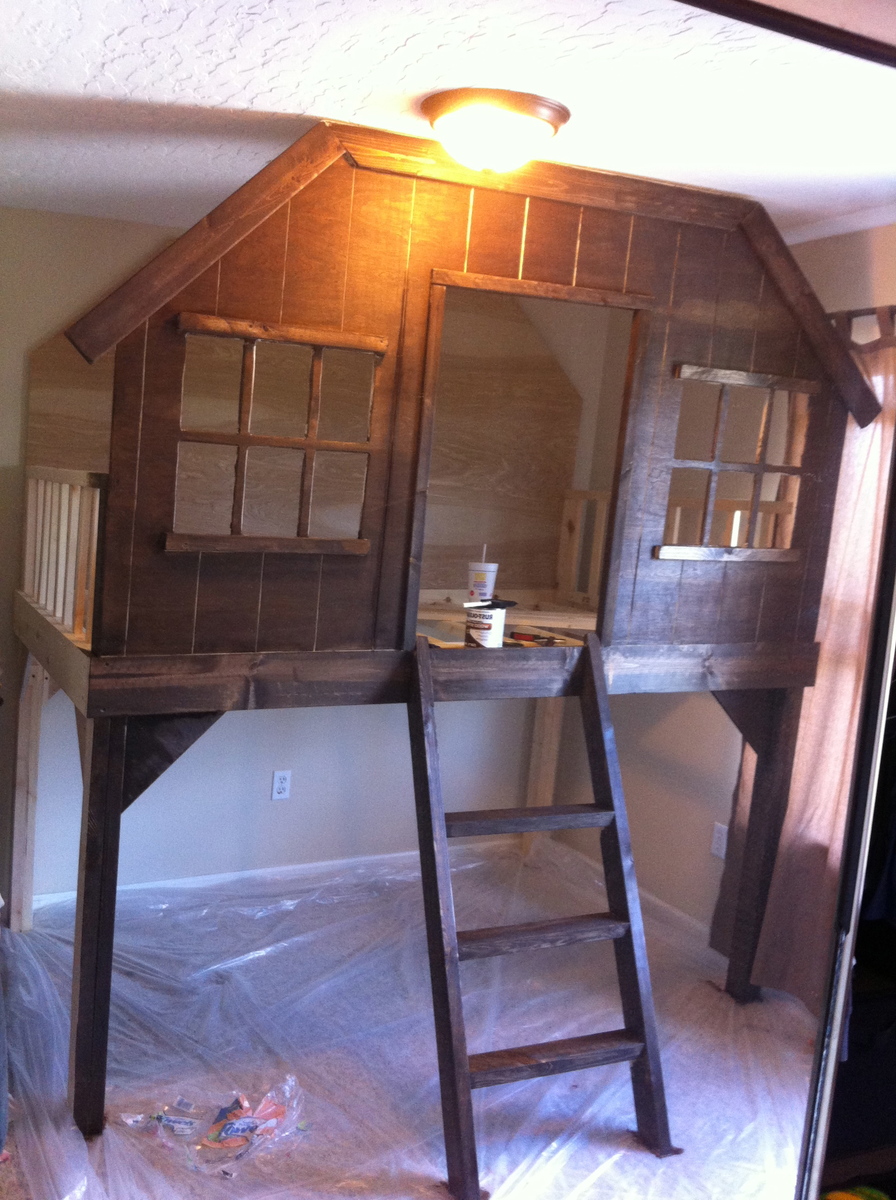
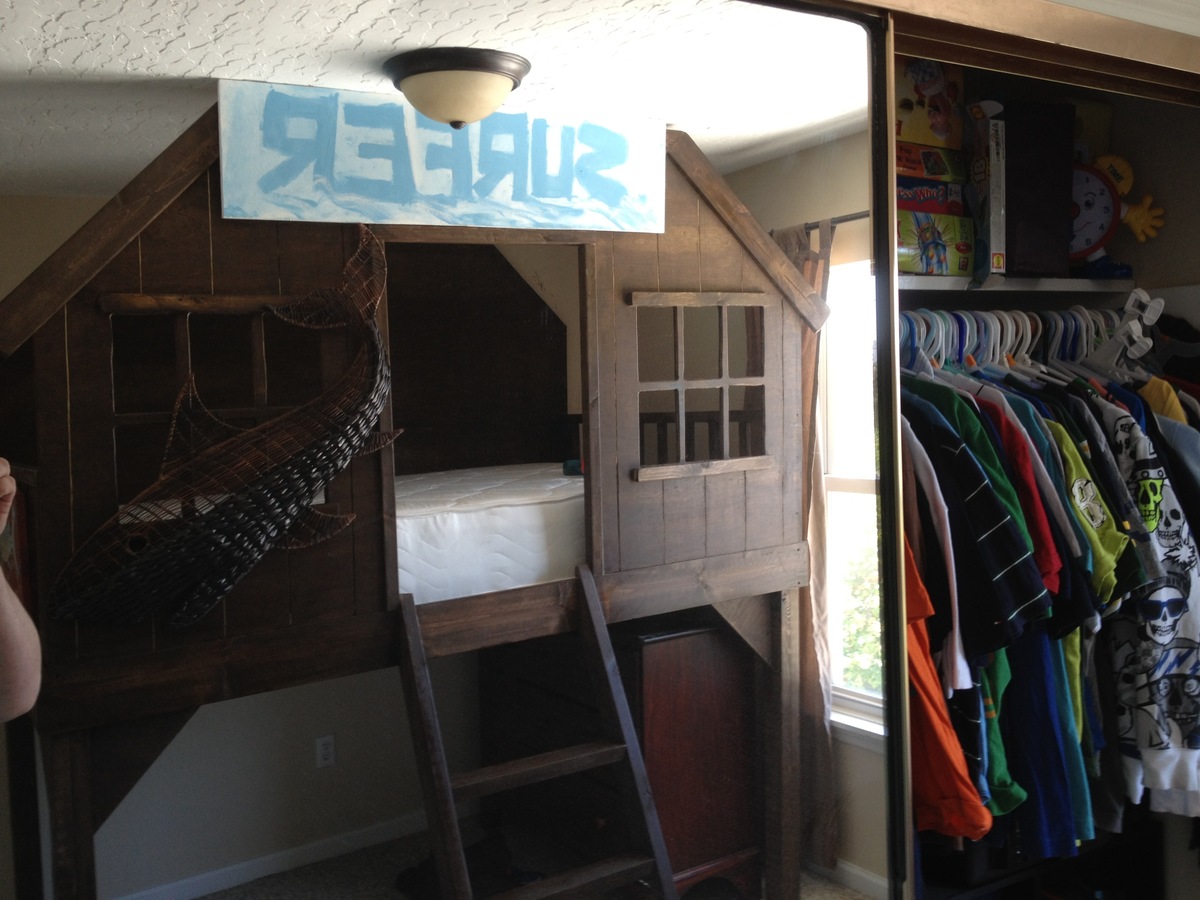
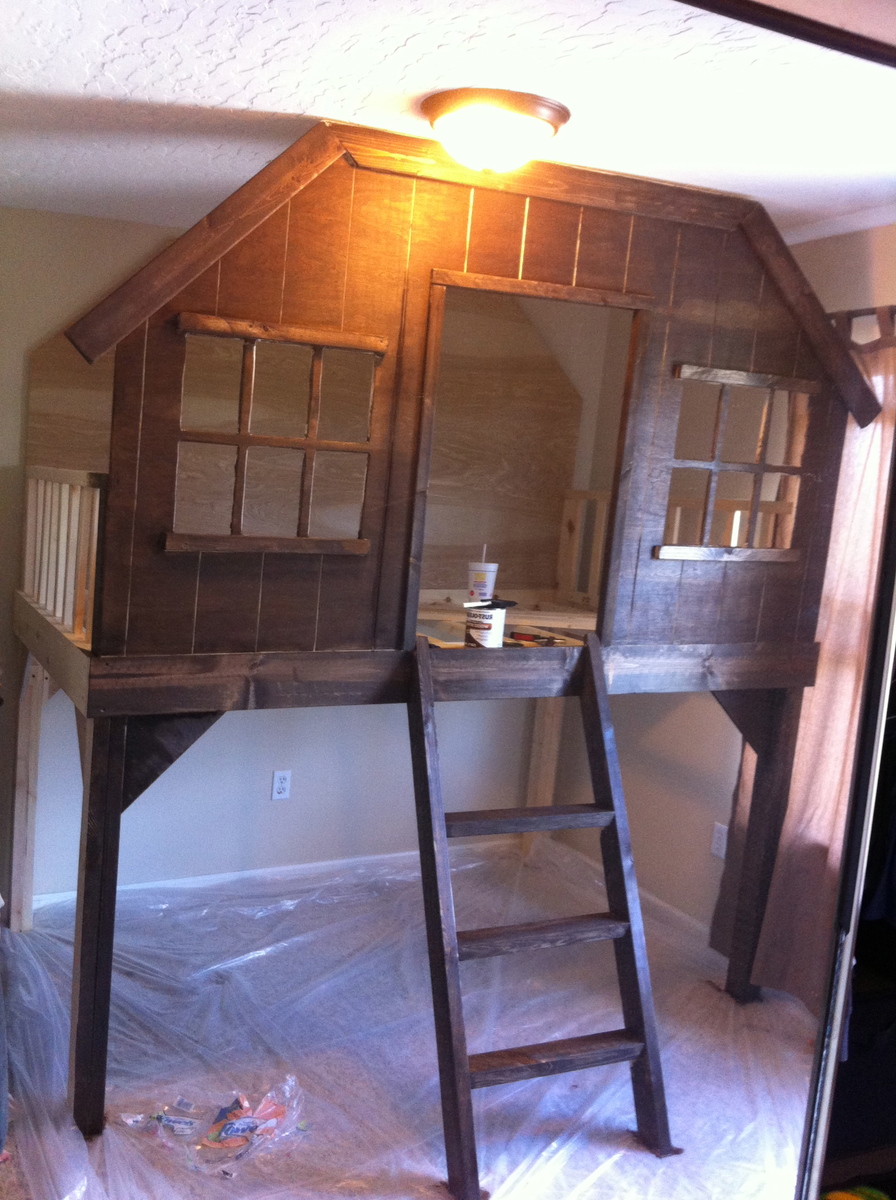
Surfer Shack

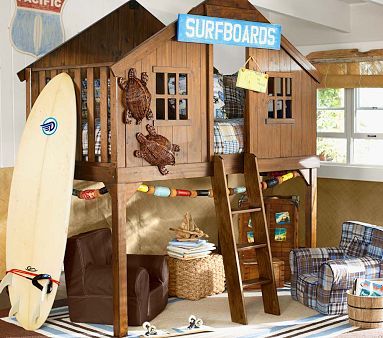
My buddy wanted this bed from Pottery Barn Kids but didn't want to spend $1300. It cost him $250 in materials and i built it for $300. So you DIY'ers could do it for $250. We also adjusted the size to fit a full size mattress.

Built from Plan(s)
Estimated Cost
$250
Estimated Time Investment
Weekend Project (10-20 Hours)
Finish Used
Kona wood stain
Recommended Skill Level
Intermediate

Comments

Rachael Cabos (not verified)

Wed, 06/06/2012 - 16:35

What were the dimensions?

Alexis buchanan (not verified)

Sun, 09/23/2012 - 14:42

Both my boys want to sleep up top I have a nice corner window seal that I'd like to put the l shaped loft at mid height double twin any suggestions also would like the entry on both ends so my 9 yr old can descend without waking my middle son would like a detachable slide in the middle

Recycle Console

Submitted by Jennybeth on Fri, 03/07/2014 - 06:47

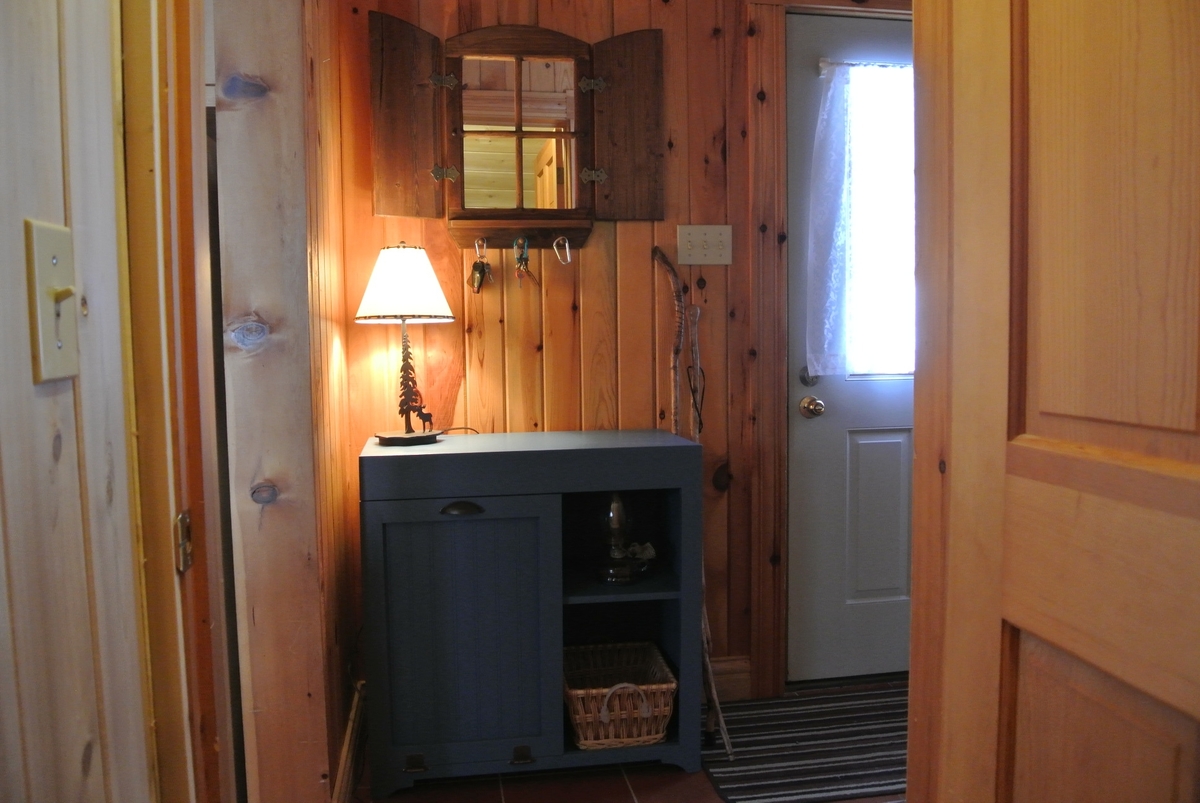
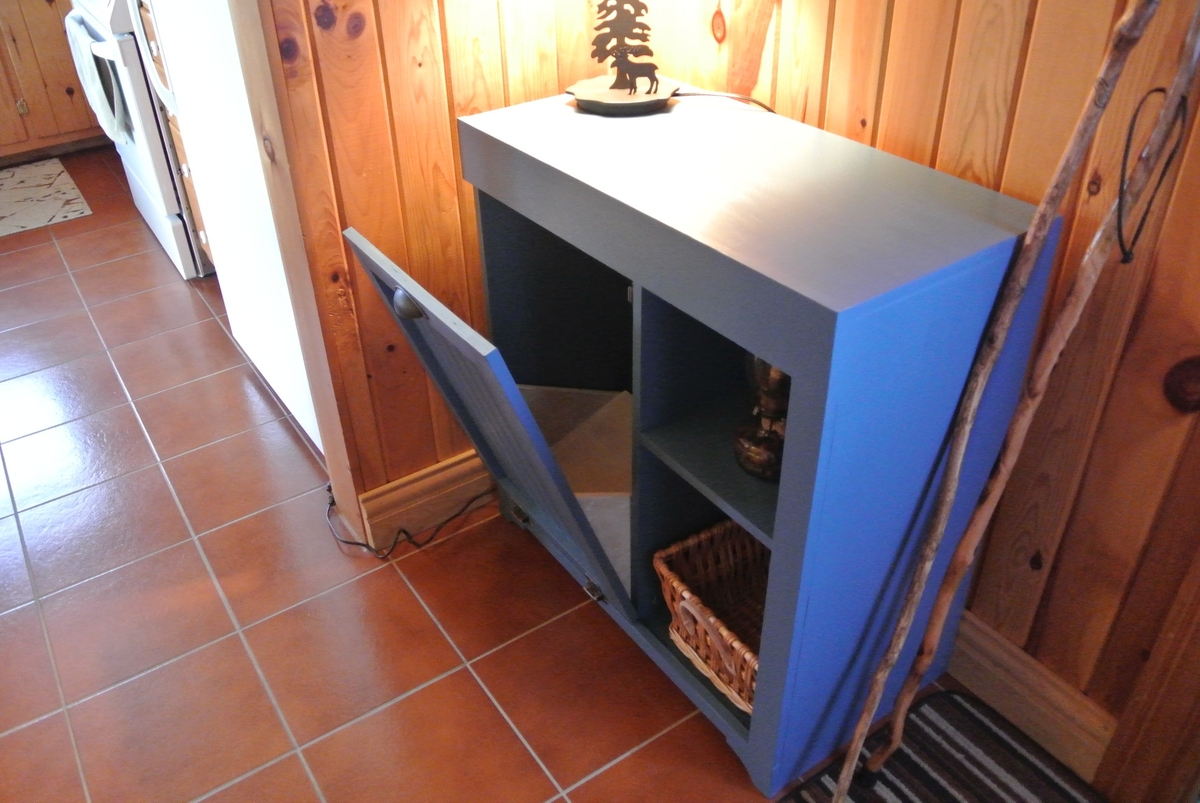
This is my attempt at Ana's recycle console project from her new book "The Handbuilt Home". I made a couple of small changes to the pattern but for the most part stayed on course with her plans.

This piece of furniture is now being used at our cottage. I used 3/4 inch birch plywood for the cabinet and shelf and i used 1/2 inch MDF for the foldout compartment. I decided to use the MDF as it was a bit lighter than the plywood so not as much weight on the door when tilting it out.

The color is from Martha Stewart and is called Cayman Blue.

Estimated Cost
$75.00
Estimated Time Investment
Weekend Project (10-20 Hours)
Finish Used
latex primer and paint
Recommended Skill Level
Intermediate

Made into 2 chairs!

Submitted by Anonymous (not verified) on Tue, 06/07/2016 - 05:42

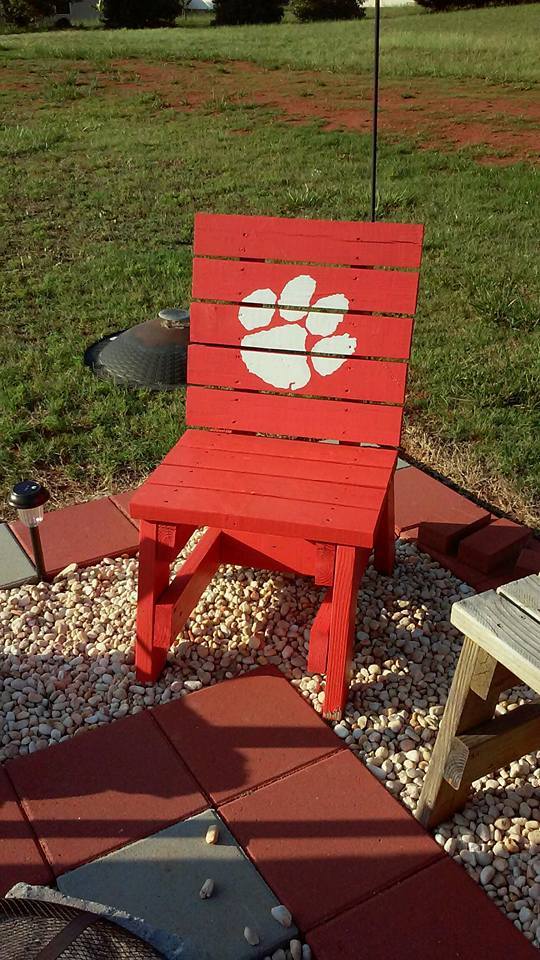
Built the bench first and even made a 7 foot bench for the barn then decided to try making chairs and having my husband paint them!

Estimated Cost
$40.00
Estimated Time Investment
Afternoon Project (3-6 Hours)
Recommended Skill Level
Intermediate

Craft Table

Submitted by Anonymous (not verified) on Mon, 11/13/2023 - 09:02

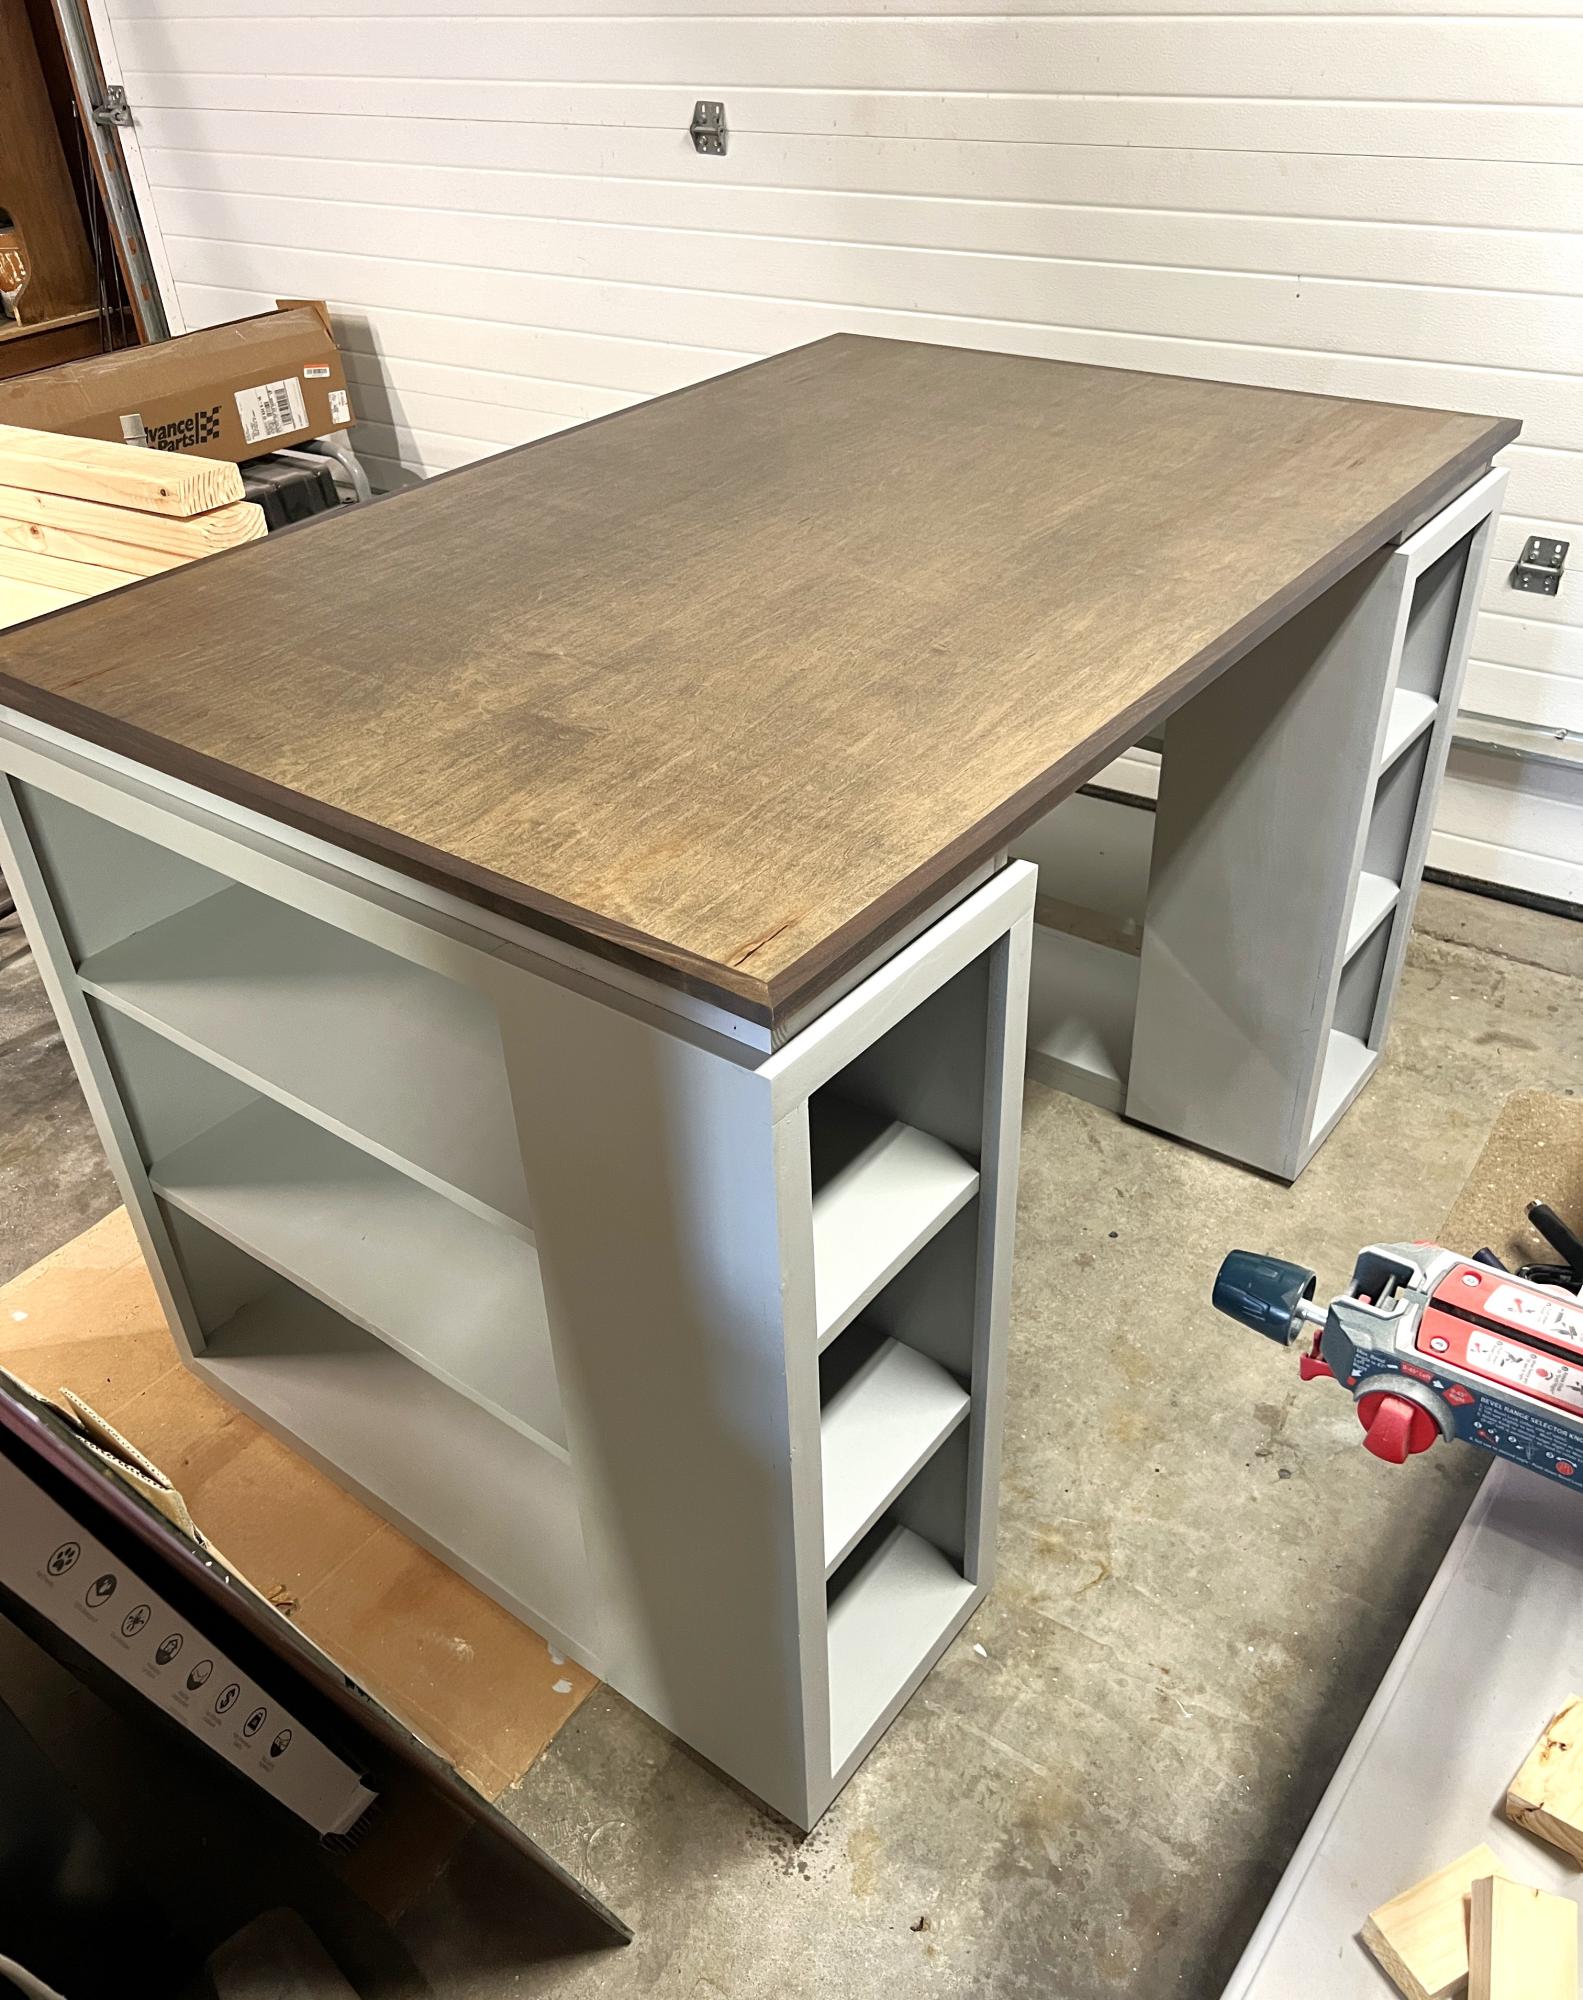
Maple top plywood wrapped with walnut trim. Stain is minwax aged barrel. Warm satin polyurethane finish.

Built from Plan(s)

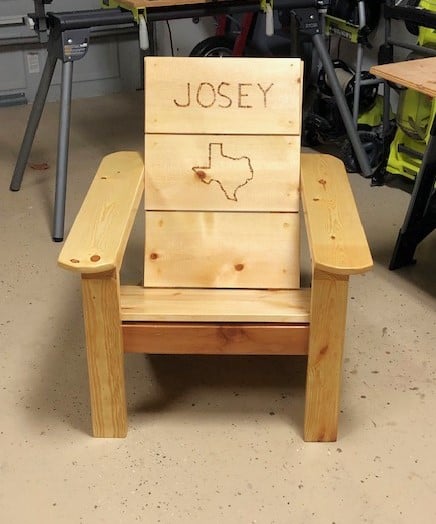
Adirondack Stool or End Table

Submitted by Tammy MT on Sat, 05/26/2012 - 09:06

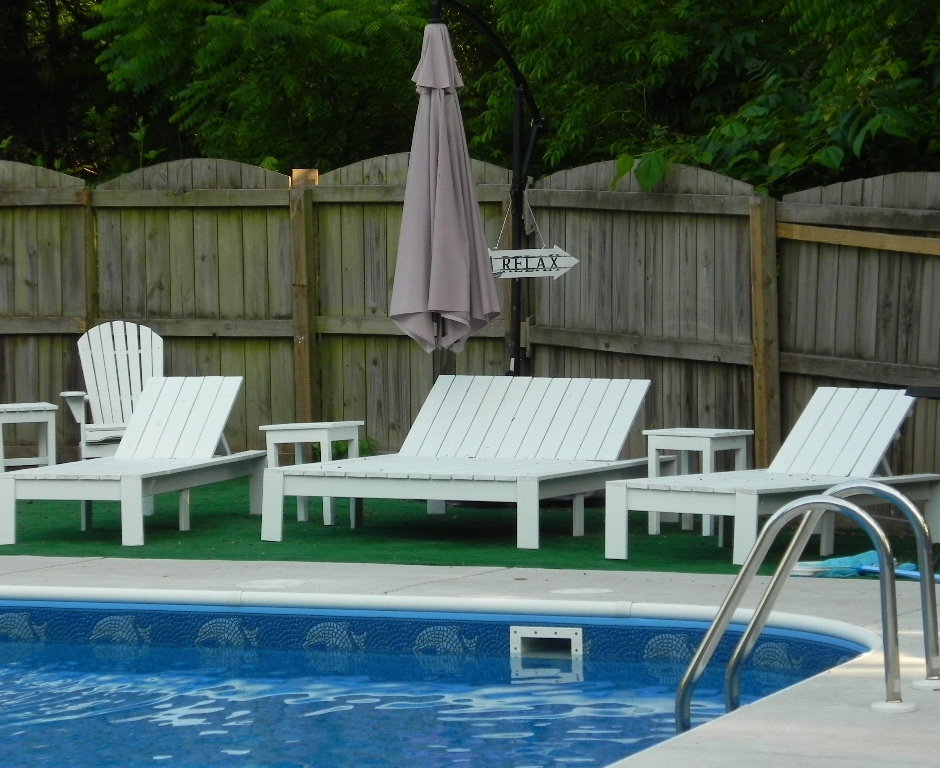
We made 4 of these end tables using all the leftover scrap wood from the loungers. We painted them white so the backyard would look bright.

We made all 4 of them in about 30 minutes. They were so simple. We should have started with them, instead of the loungers since they were a little more difficult for us beginners.

Built from Plan(s)
Estimated Cost
Used scraps
Finish Used
Painted white
Recommended Skill Level
Starter Project

Double Tilt-Out Trash & Recycle Bin – DIY

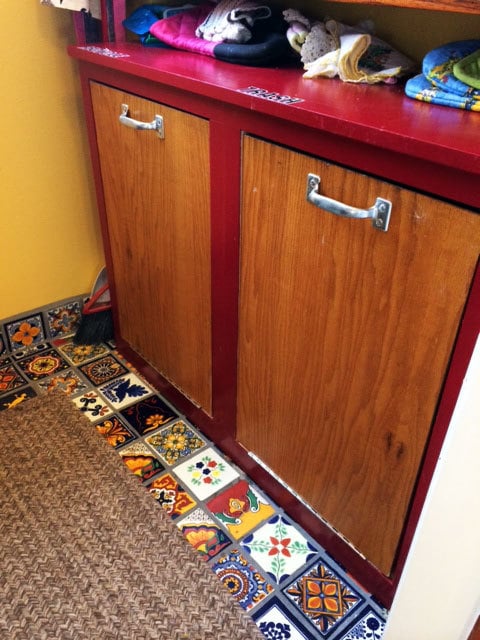
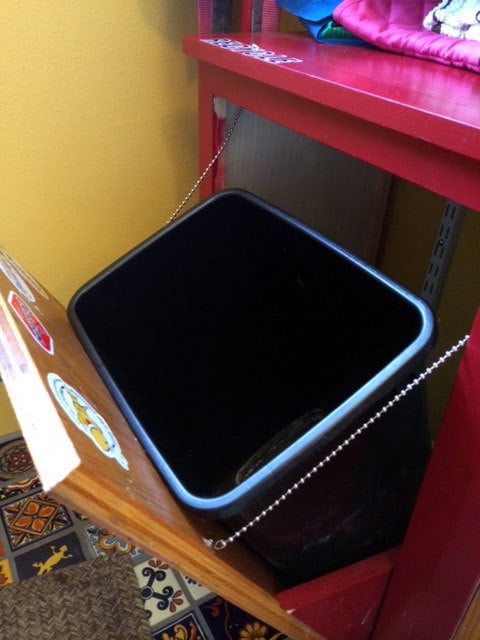
When we built our small mudroom and pantry addition, I new I needed a tilt out trash bin, nothing on the market fit the space the way I wanted. So I of course came here to Ana-white.com :) the "wood tilt out trash can or recycling cabinet plans" were perfect with a bit of hacking I made it fit exactly!

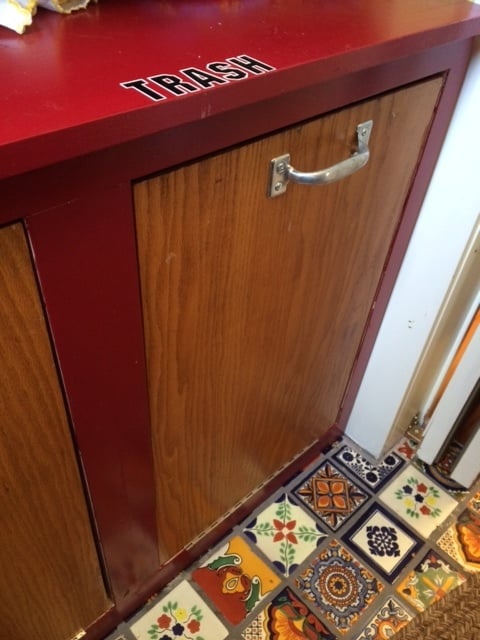
I made 2 cabinets into 1 unit,
used salvage/old cabinet door fronts I cut to size
Painted the box red and kept the oak cabinets all wood grain
Added handles
Added ball chain to keep the doors from falling over.

LOVE this! fits perfect in our mudroom and it was a pretty quick project too!

Estimated Cost
$60
Estimated Time Investment
Day Project (6-9 Hours)
Finish Used
red satin house paint, polyurethane satin finish for door fronts.
Recommended Skill Level
Intermediate

Sliding Door Console

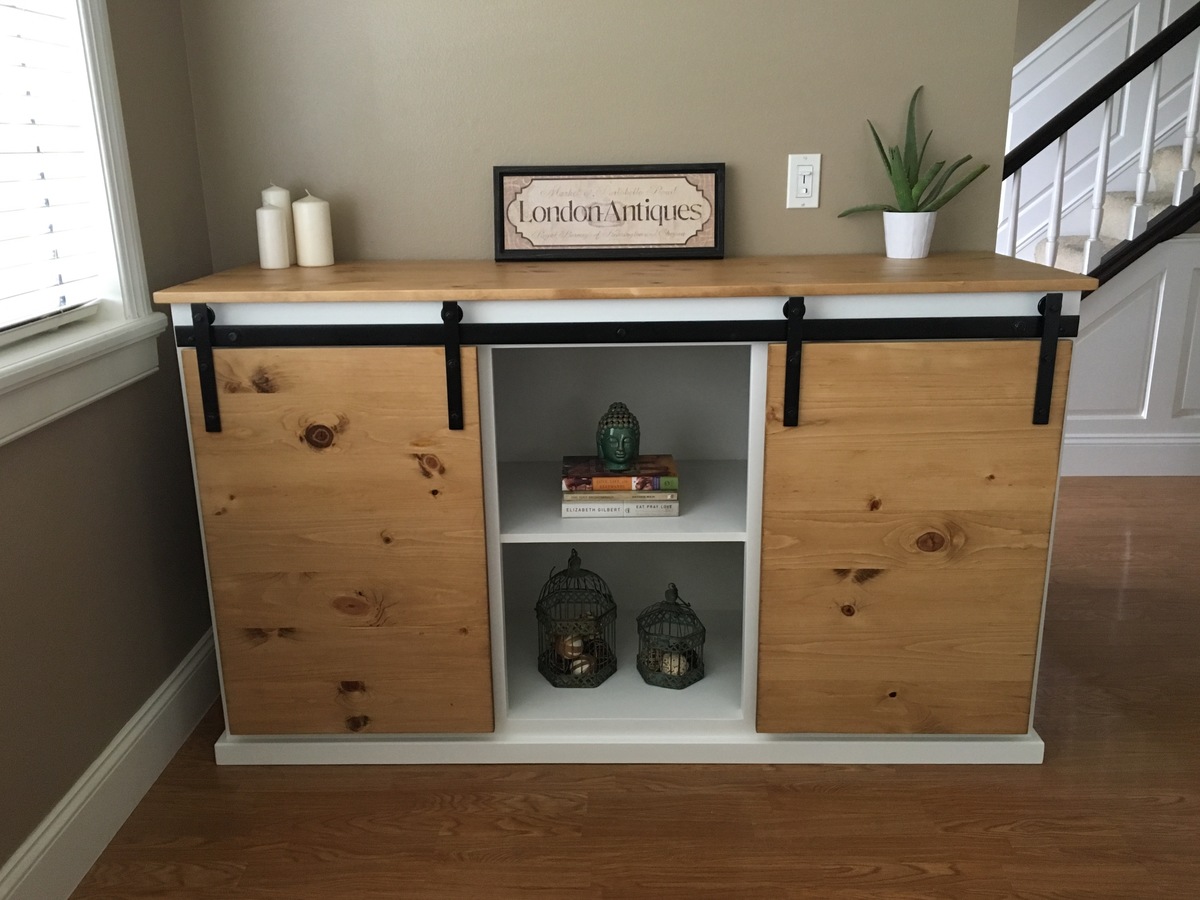
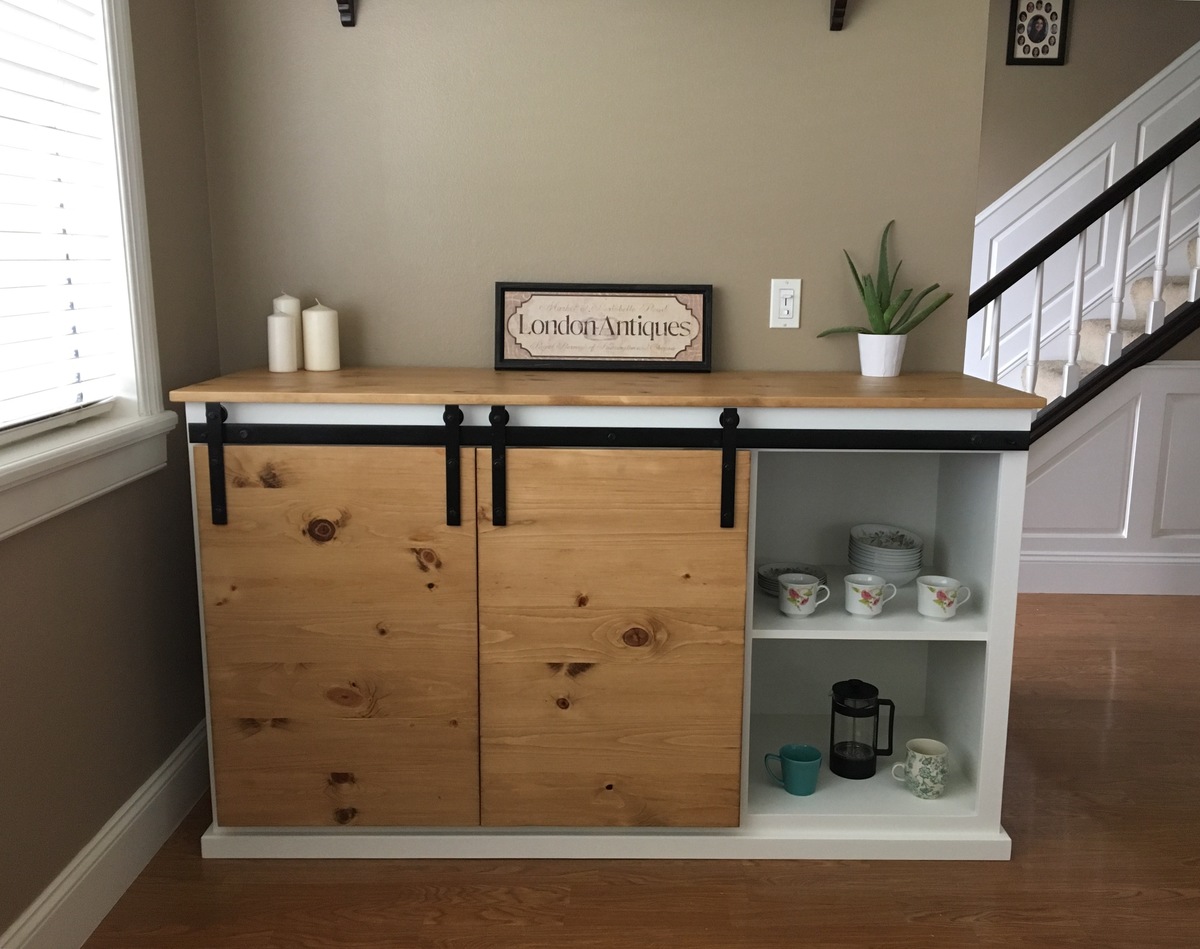
I modified the plans to have three compartments instead of four. Also, the hardware was a challenge.  Tip: use a wheel that has an internal bearing. 

Built from Plan(s)
Estimated Cost
$200.00
Estimated Time Investment
Weekend Project (10-20 Hours)
Finish Used
pre-stain and golden oak by minwax
Recommended Skill Level
Intermediate

X table, inspired from Ana's plan

Submitted by Anonymous (not verified) on Thu, 04/16/2020 - 04:05

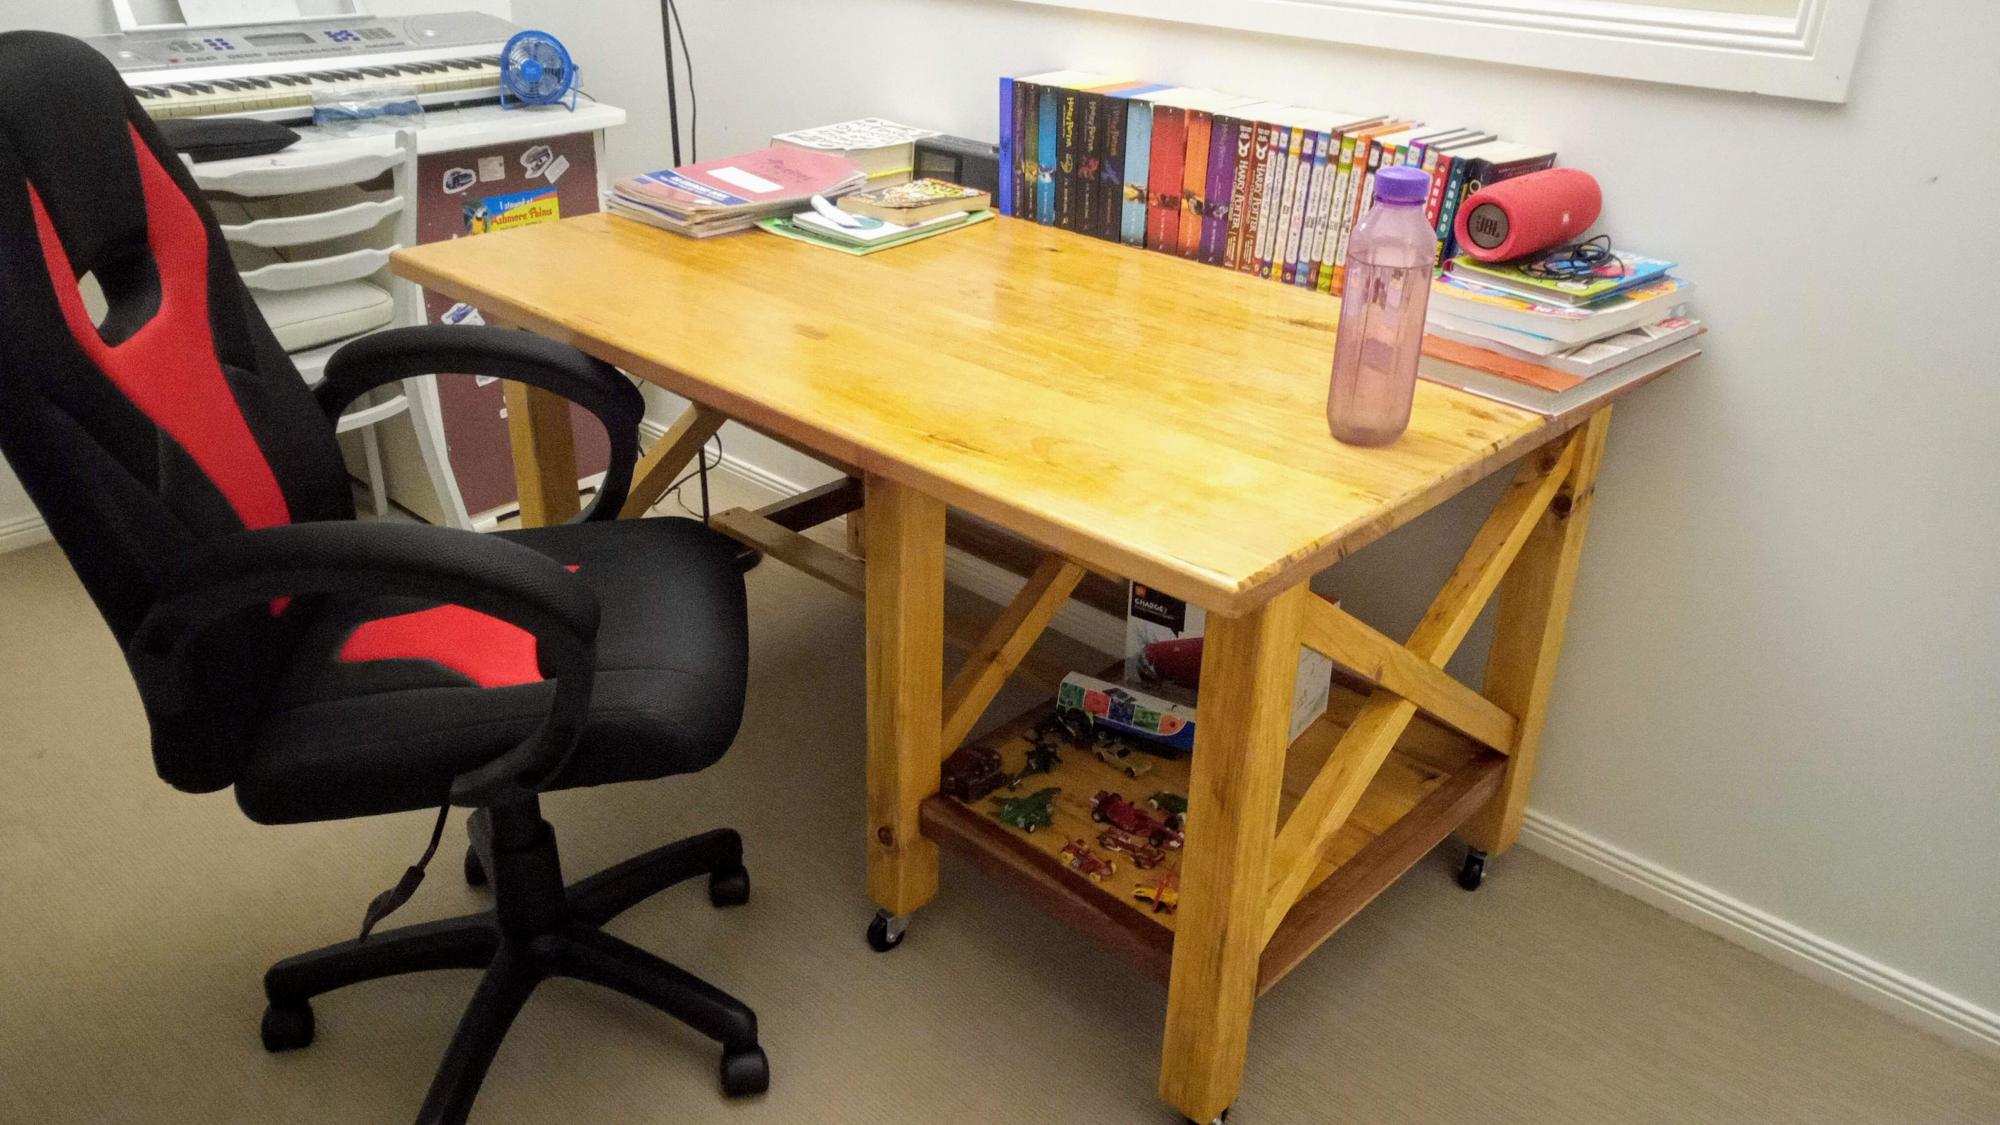
Credit goes to Ana for her excellent table plan. Most of my timbers were I found free at the hardware store (Bunnings Warehouse in Melbourne, Australia). Tabletop I made from construction grade hardwood, jointed, glued and biscuit joined, planned, and sanded (40 to 600 grit).

Bunnings has a free timber section where they store all offcuts that are expensive to get rid off than given away for free. I had some 50 odds 70mm by 70mm rough timber pieces that they used for packaging pallets. I then run them through the jointer, thicknesser to bring them down to 65mm by 65mm.

Bunnings dropped the price of construction hardwood nearly half as much as due to defects they have. They were 90mm by 35mm, and 3.6meter long and they cut it half for free.

Tabletop is 1200mm by 900mm. The total height of the table is 750mm including castor wheels. I think I spend more bucks in electricity bills than materials mainly due to running all types of machines forever :) The Shellac is expensive in Australia as much as the hardware was when compared against USA price tag.

Estimated Cost
$45
Estimated Time Investment
Week Long Project (20 Hours or More)
Finish Used
Shellac (Feast and Watson 250 gm). Used less than half in 1 lit of methylated spirit.
Recommended Skill Level
Beginner

2 Person Adirondack

Submitted by Tony H on Sat, 11/18/2023 - 11:36

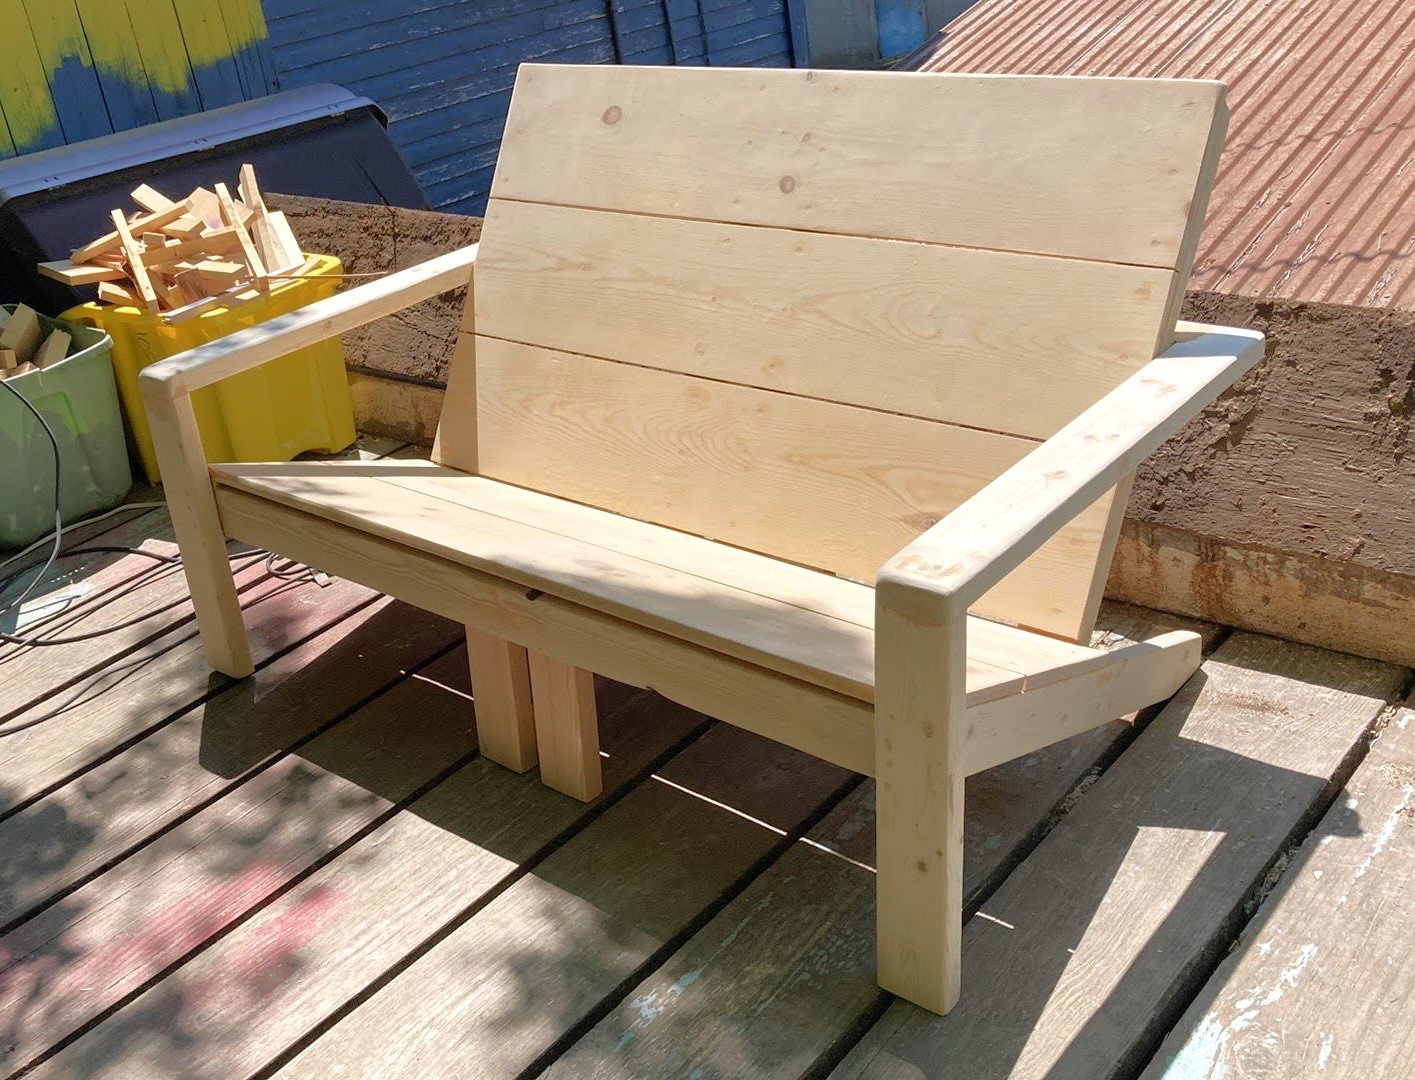
 A customer asked me to make them two singles and a double. Unfortunately, not as comfortable as the single chair.  There’s nowhere to put one of your arms.  If I do another double, I’ll add an arm rest in the center.  The middle is supported by a double 30 degree leg. 

Seasonal And Holiday

PALLET PROJECTS COMPLETE :)

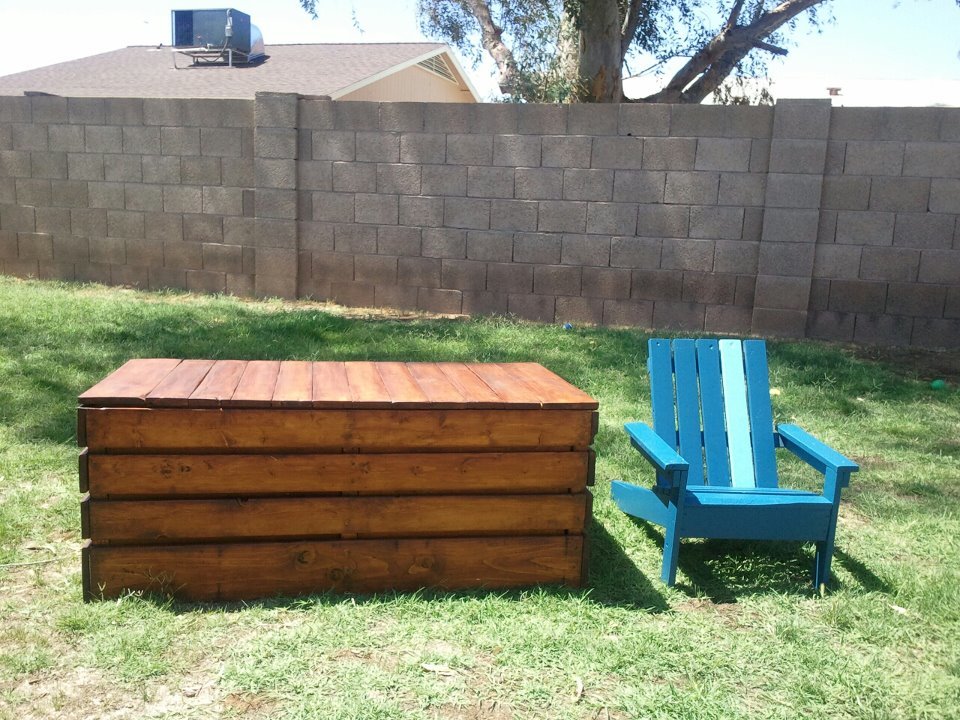
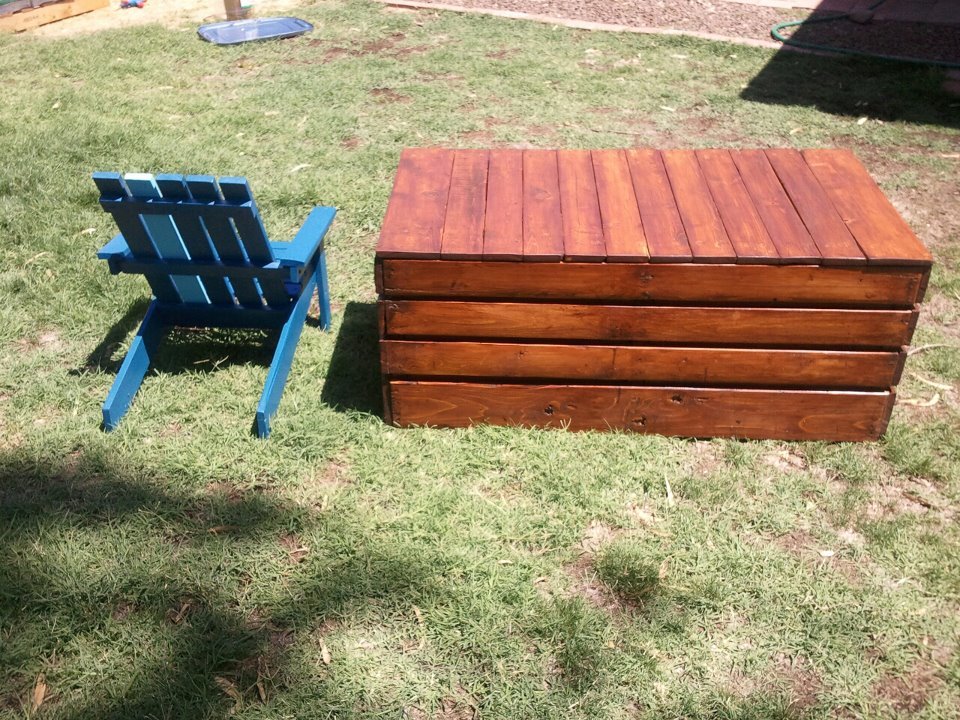
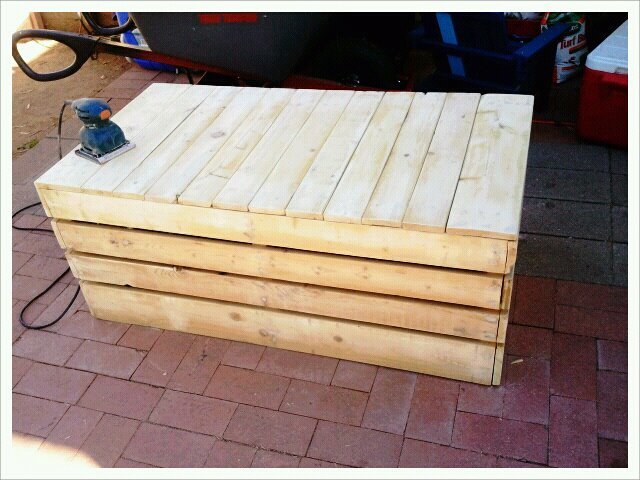
MY PALLET PROJECTS FINALLY COMPLETE!! TOOK SOME TIME TO GET DONE SINCE I HAD TO TAKE APART N DO TONES OF SANDING.. COMPLETELY WORTH IT THOUGH.. THE ADIRONDACK CHAIR I USED PLANS FROM THIS VERY HELPFUL SIGHT. THE STORAGE TABLE BENCH I HONESTLY JUST STARTED BUILDING WITH NO PLANS. FIGURED ITS A BOX WITH A LID, I CAN HANDLE THAT.. LOL WELL I DID AND CANT WAIT FOR THE START OF THE NEXT PROJECT. AND YES IT WILL BE FROM PALLETS AS WELL.
Built from Plan(s)
Estimated Cost
20$ FOR BOTH
Estimated Time Investment
Weekend Project (10-20 Hours)
Finish Used
STAIN AND PAINT
Recommended Skill Level
Beginner

Mommas First

Submitted by msburnz on Sat, 03/15/2014 - 18:01

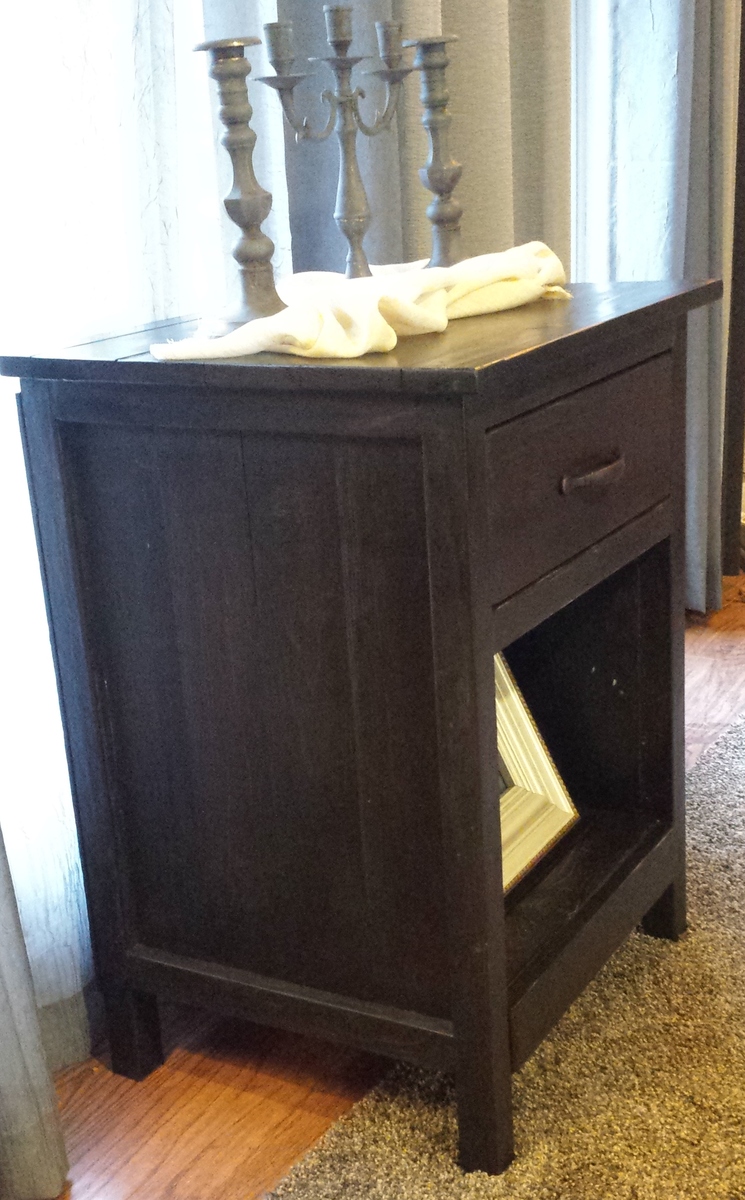
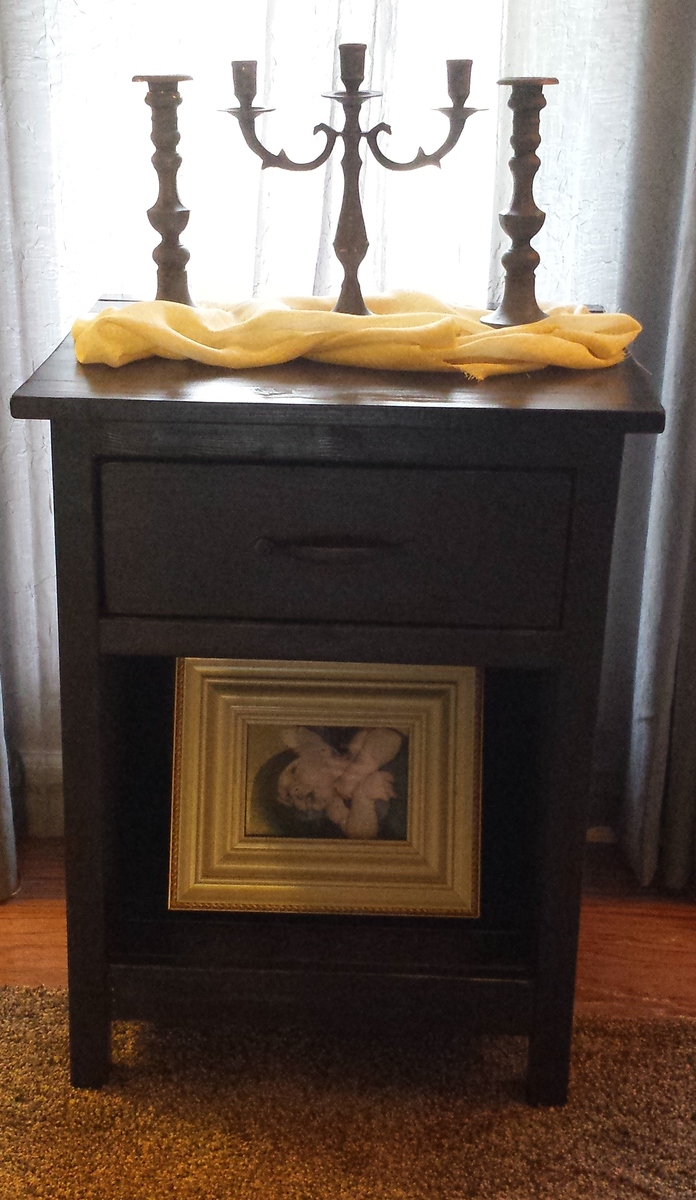
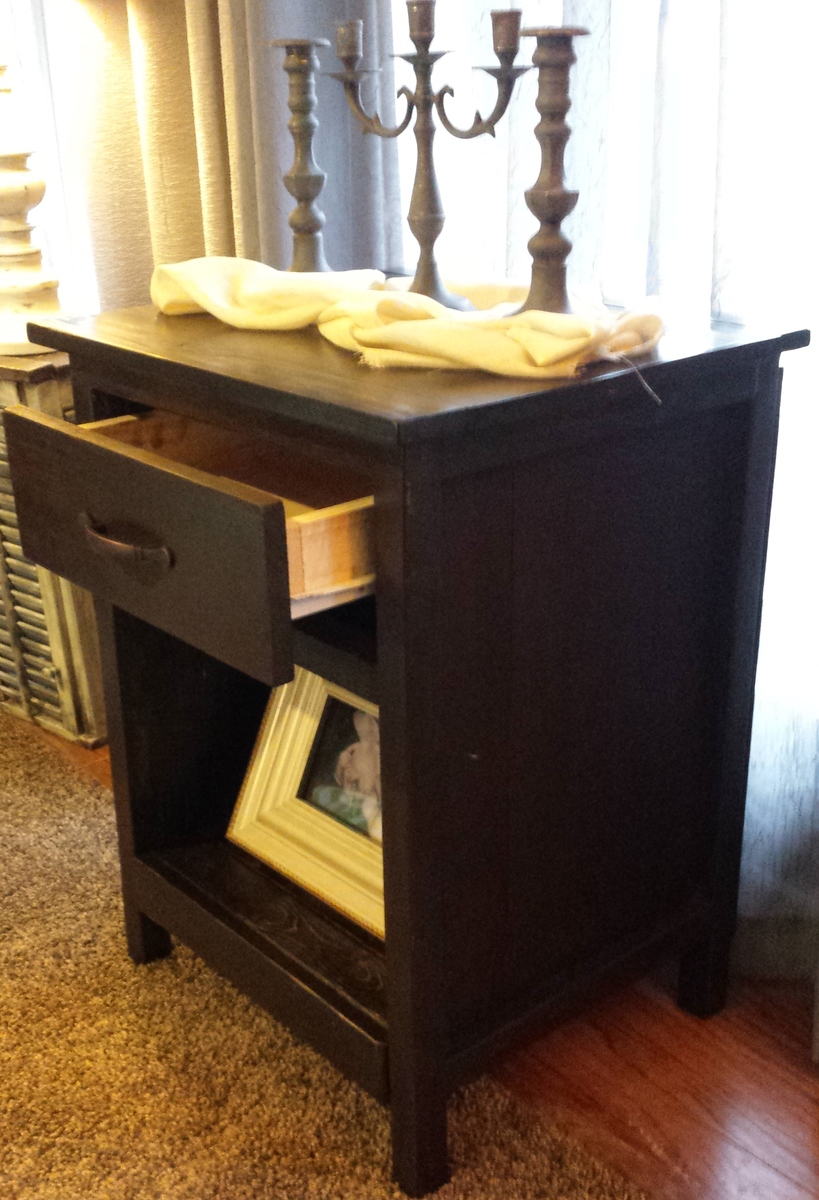
I got scared in the middle of the project and feared that my drawers would not work. I opted for a drawer and a shelf instead of three drawers. I wish now I would have followed through with the plans because the drawer works GREAT! I had a lot of learning opportunities with this project...but all in all, for my first big build...I LOVE IT!!
Estimated Cost
$100
Estimated Time Investment
Weekend Project (10-20 Hours)
Finish Used
Minwax Polyshades. I used two stain colors: I stained the first layer with a black stain (minwax) and the top layer I used the polyshades.
Recommended Skill Level
Beginner

Modified X-base Table

Submitted by Anonymous (not verified) on Wed, 06/15/2016 - 13:20

I had been looking for a console table that would compliment my dining table for months.  Nothing I found was really working out, but these plans are perfect.  The only problem was that I couldn't get the stacked look to work well with the tabletop I had because of the way the apron is made.

Still I love the way it turned out and am glad I found these plans.  I also made it taller than a normal console table so it can be multi-purpose for us.

Built from Plan(s)
Estimated Cost
I fully believe that the $55 is probably accurate if I had to purchase all the wood for this project. Since I reused wood and had all the materials already, it cost me a whopping $20 for the tabletop I found at a liquidation sale.
Estimated Time Investment
Weekend Project (10-20 Hours)
Finish Used
Minwax English Chestnut 233 & Oil-modified Polyurethane
Recommended Skill Level
Beginner
Back