Community Brag Posts

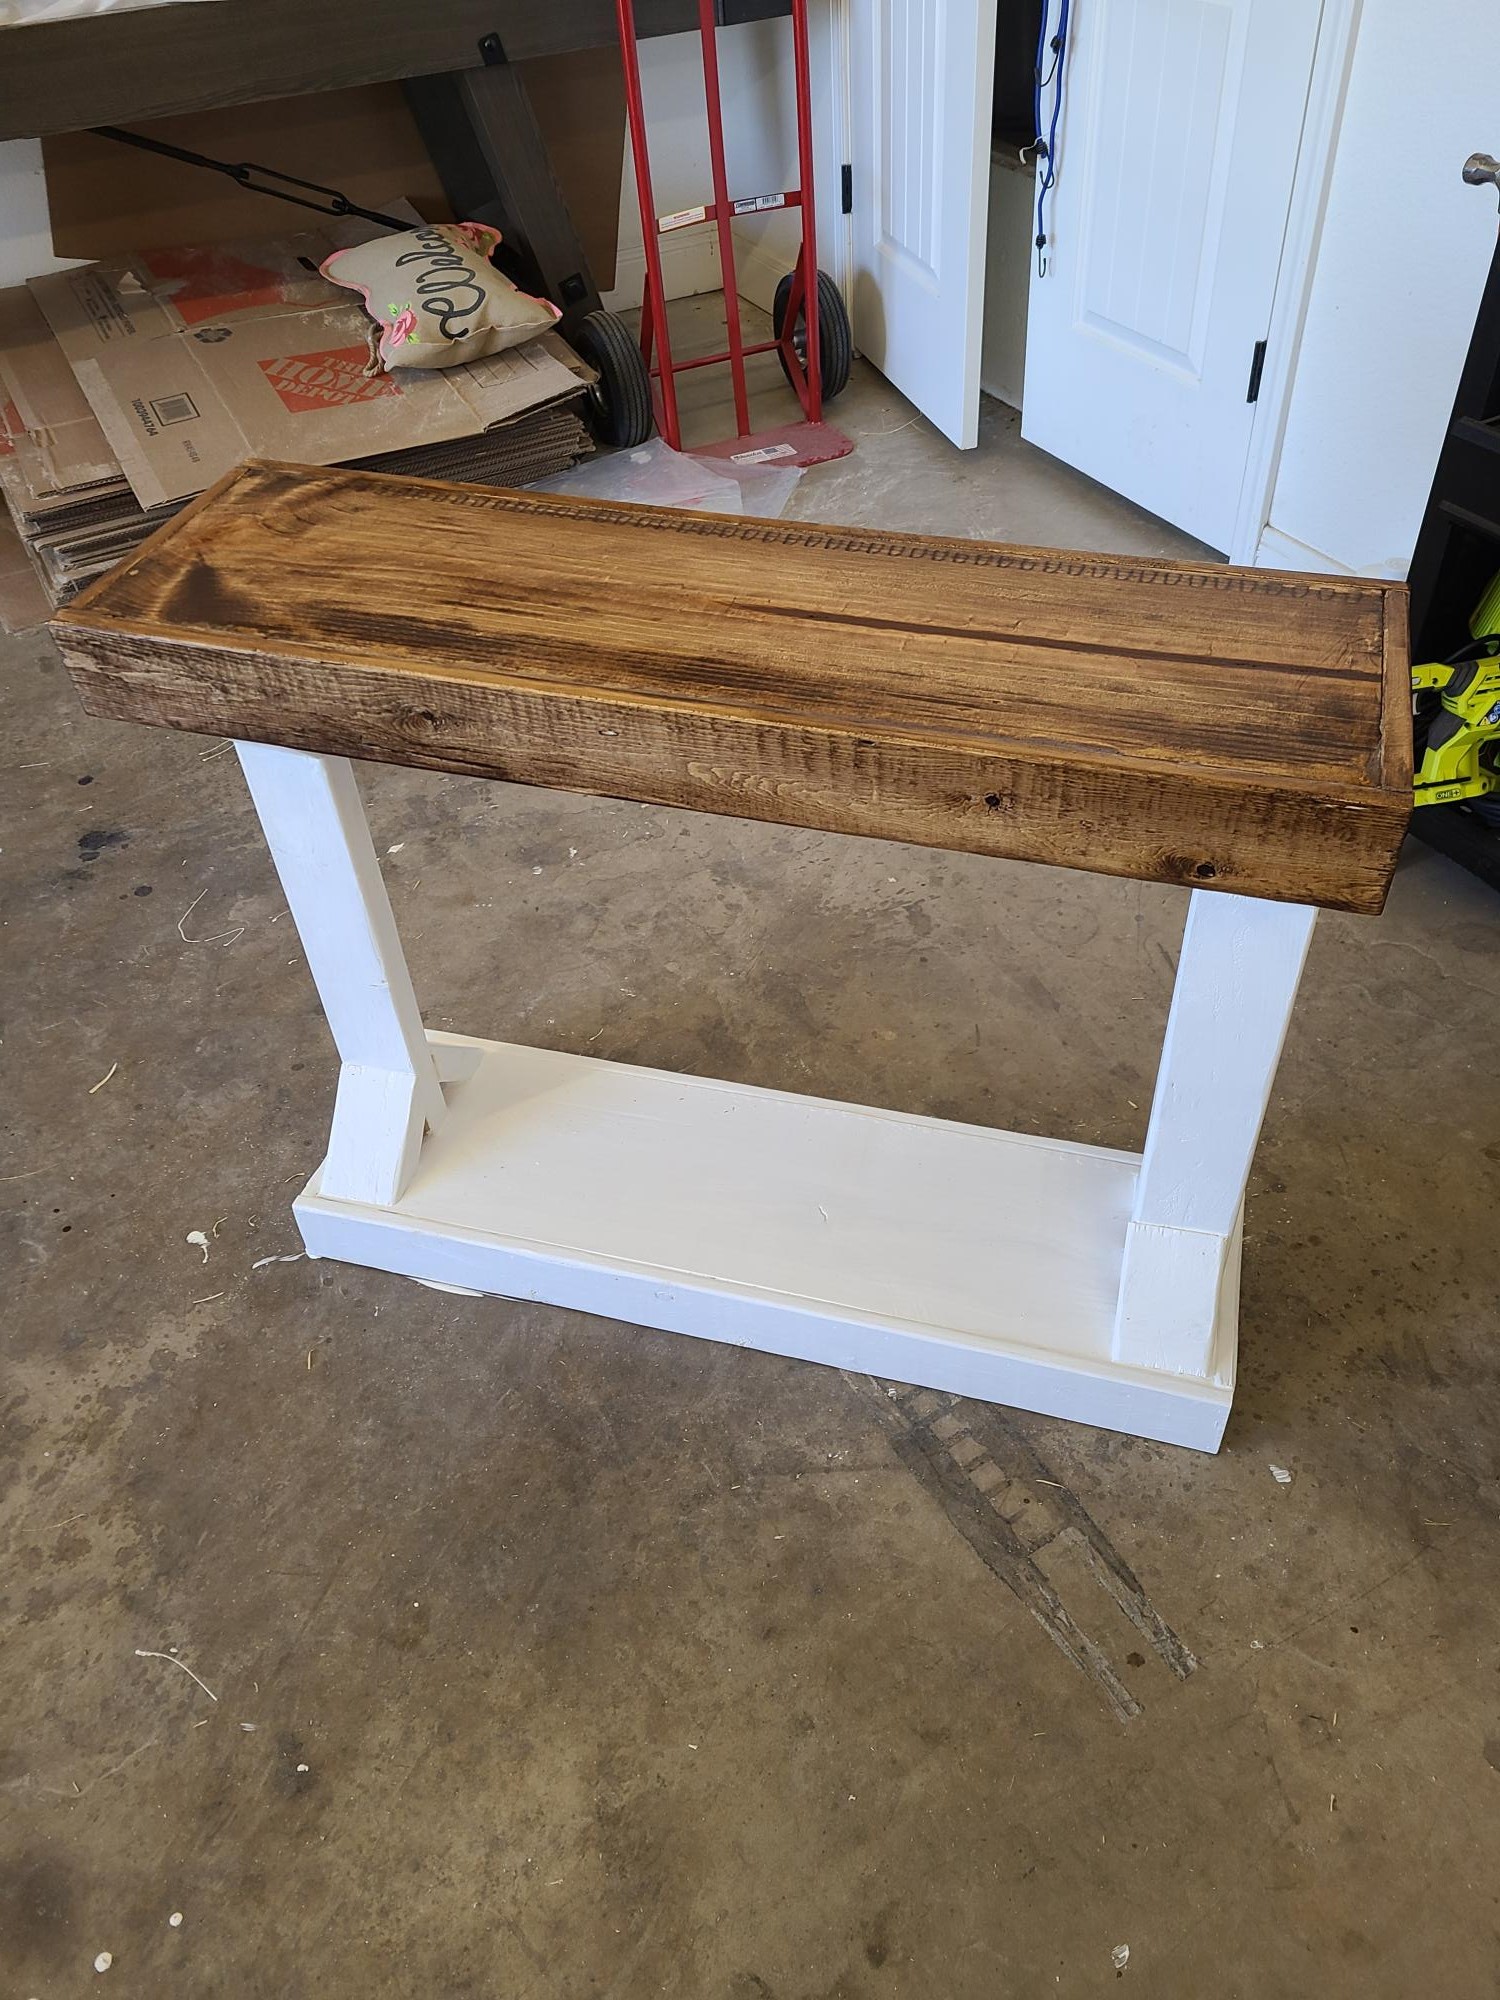
Ana White Console-my version!

Submitted by Anonymous (not verified) on Sat, 06/24/2017 - 14:44

Used the grandy sliding door console plans but modified due to space. Shortened it to a 5 foot length. Wanted rustic feeling so did a custom stain using a golden pecan mixed with golden mahogany. Being mindful of cost and used pine with bead board on the back.  Super pleased with the result! Thanks for the ability to use your plans!

Built from Plan(s)
Estimated Cost
$125 without labor
Estimated Time Investment
Weekend Project (10-20 Hours)
Recommended Skill Level
Intermediate

Teenage Mutant Ninja Turtle Bed

Submitted by KarahM318 on Sun, 05/05/2013 - 20:21

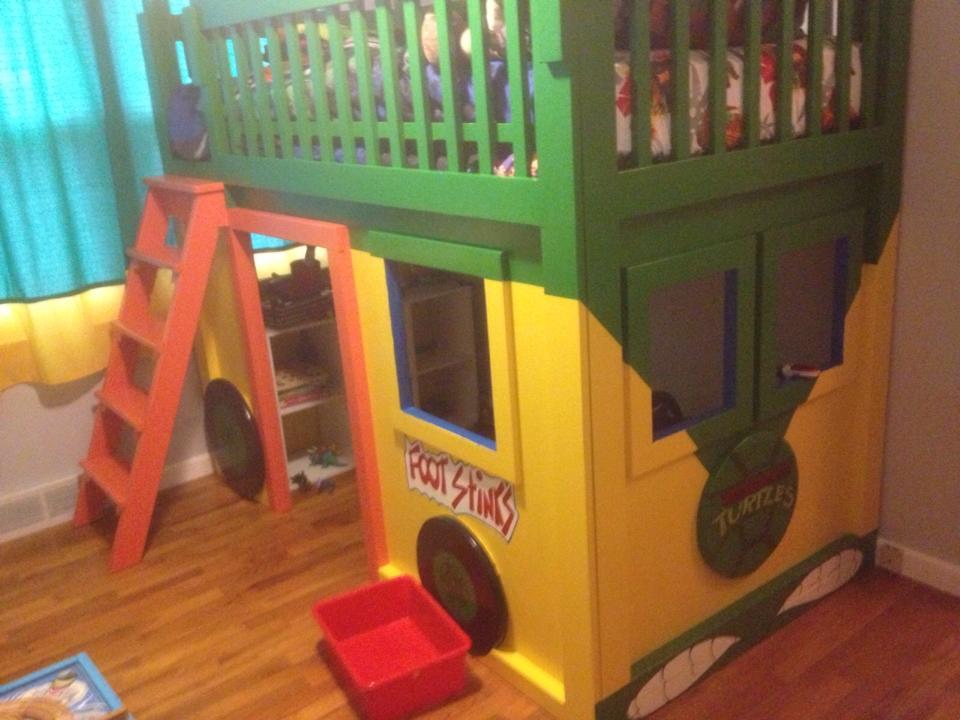
For this project, we followed the plans for the Firetruck Bed and also modified them a bit to fit our needs in the room. From start to finish, this project took two weeks to complete and cost us roughly $200 to build and $100 to paint. We were lucky though in that nearly everything we needed to purchase was on special or sale.

Built from Plan(s)
Estimated Cost
$300
Estimated Time Investment
Week Long Project (20 Hours or More)
Finish Used
Clark & Kensington latex paint & Minwax polycrylic clear coat (semi-gloss)
Recommended Skill Level
Intermediate

Comments

kim20904

Wed, 01/15/2014 - 07:33

can you tell me how you modified the plans to make this bed? I don't know much about building anything but I would like to build this for my son. Thank you Kim

American Girl Bunk Bed - YAY - so easy, we did it!

Submitted by Anonymous (not verified) on Mon, 06/26/2017 - 14:13

Thanks for the easy tutorial...Made that last night with my two oldest kids (7 and 9) and we love it! 

Estimated Cost
Cost was higher than what was said on the blog - Altogether 50 dollars because Lowes charged us for the leftover cut wood.
Estimated Time Investment
Weekend Project (10-20 Hours)
Recommended Skill Level
Beginner

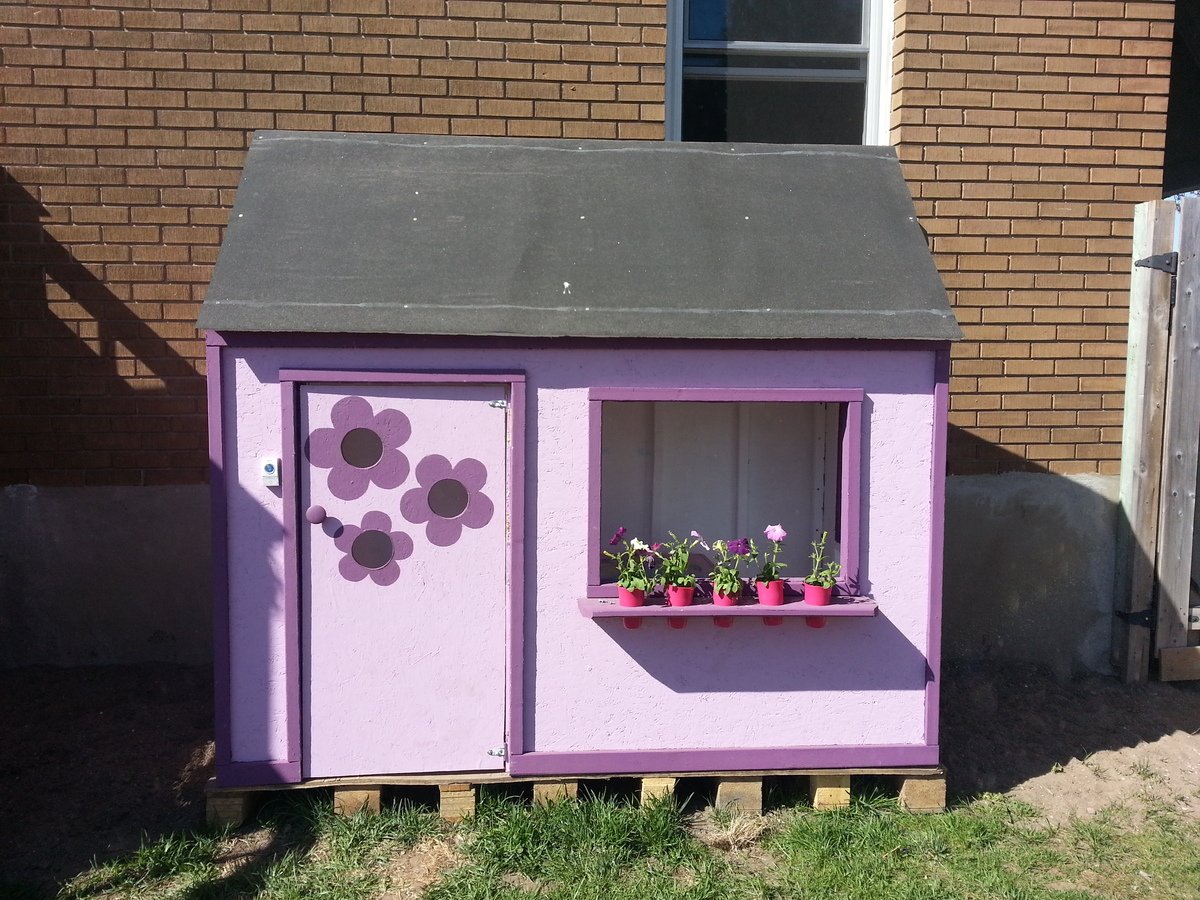
My Little Princesses Playhouse

Submitted by sanmaurais on Tue, 05/07/2013 - 17:00

This was the first thing I have ever built, and I loved making the playhouse! I took pictures of every step I did! It was very rewarding to see the look on my girls faces with it was done!! They absolutely love it!!! Thank you for posting the plans.

Estimated Time Investment
Week Long Project (20 Hours or More)
Recommended Skill Level
Starter Project

Upcycle headboard shelf

Submitted by LARMO on Sun, 03/29/2015 - 16:47

Repurposed twin headboard to shelf for a granddaughter's birthday present. I added a shelf from a repurposed bed rail leaving the supports and attaching it to the headboard with glue and nail gun. I painted it with Ace Royal neon blue, and Ace fluorescent pink and green on the knobs which I found on sale at a local building center. 

Estimated Cost
$30 - $14 for the neon blue paint, $7.00 both cans of fluorescent spray paint & $.50 each for 5 knobs on sale.
Estimated Time Investment
An Hour or Two (0-2 Hours)
Finish Used
Satin Ace Royal neon blue & fluorescent pink & green spray paint
Recommended Skill Level
Beginner

Loves the outcome...printmakers caninet

Submitted by Anonymous (not verified) on Thu, 06/29/2017 - 10:55

We used library catalog handles that I found cheap on Amazon. We adjusted depth reducing 3 inches and did an routered edge wood overlay on top. I also had my husband router all 1x2 and 1x3 except short edges of 1x2's. My favorite project yet but it took a couple week so to finish between job and kids. I used honey stain and 3-5 coats of poly until I was happy. Thanks for the guidance and giving me a plan to work from.

Built from Plan(s)
Estimated Cost
I had some wood on hand but would say $150ish
Estimated Time Investment
Week Long Project (20 Hours or More)
Finish Used
Honey stain / poly
Recommended Skill Level
Intermediate

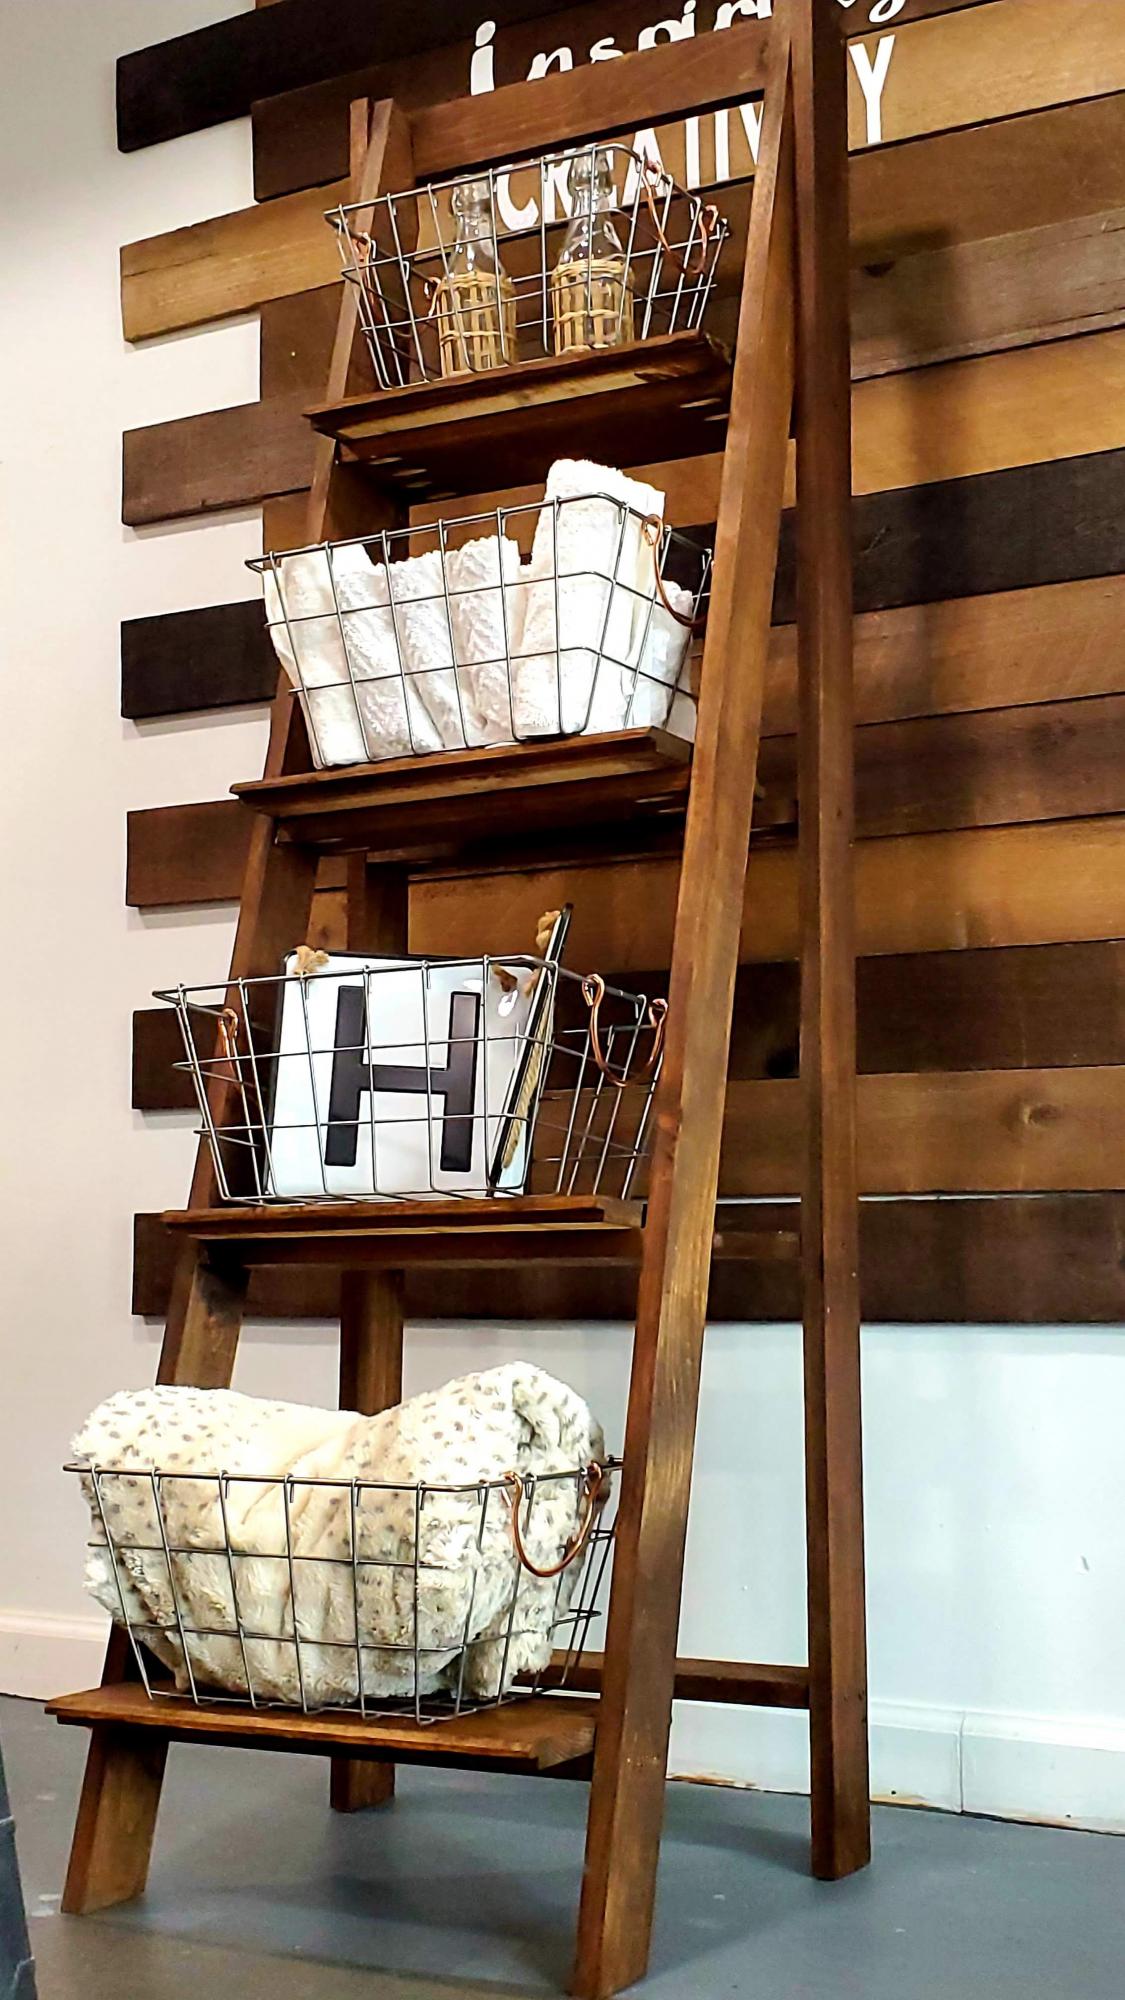
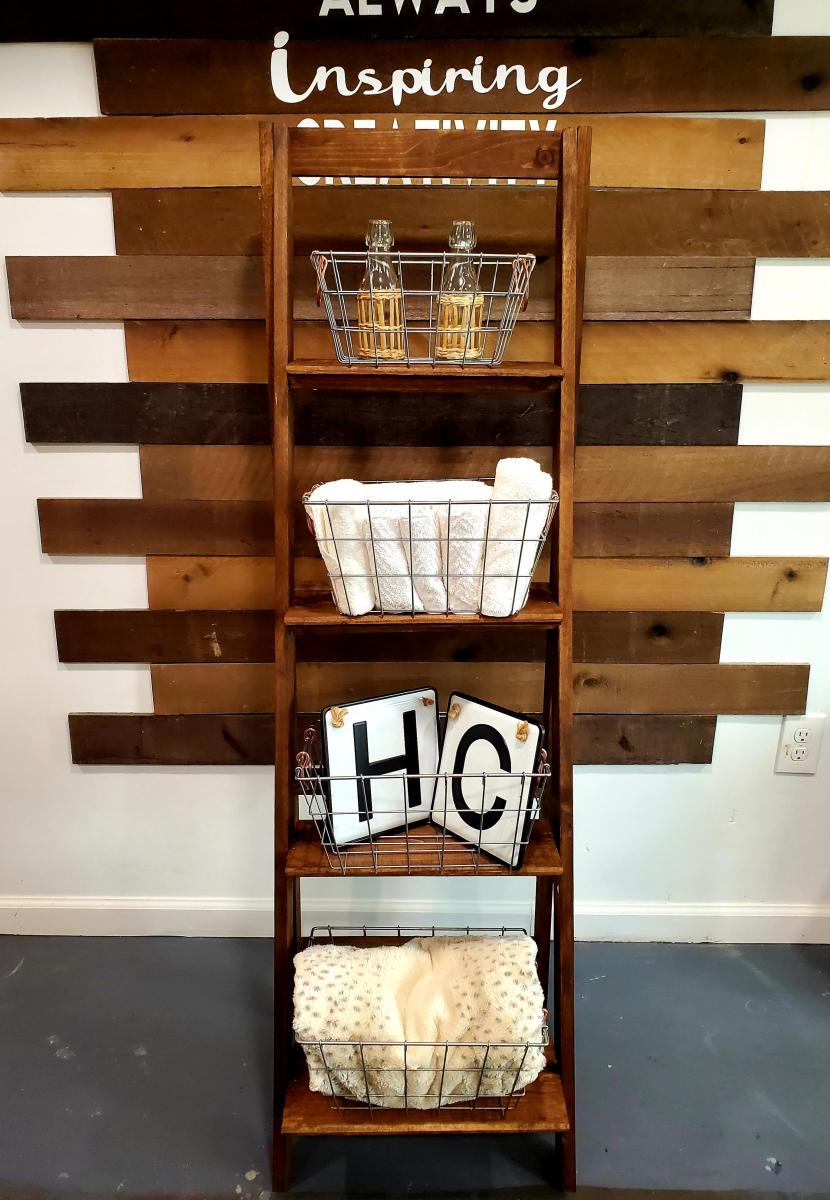
Ladder Shelf

Submitted by Anonymous (not verified) on Mon, 10/04/2021 - 12:51

As new enthusiastic Woodworker, I was looking for a project to learn some new skills and add some extra storage in my work area and this ladder shelf was it. I loved the detailed plans. Although I got STUCK on finding the "off center" of an angle. I was able to manage. In the end I think it came out great!

Built from Plan(s)

Comments

Sarah's Perfect Bookshelves

Submitted by community-cont… on Fri, 02/25/2011 - 10:54

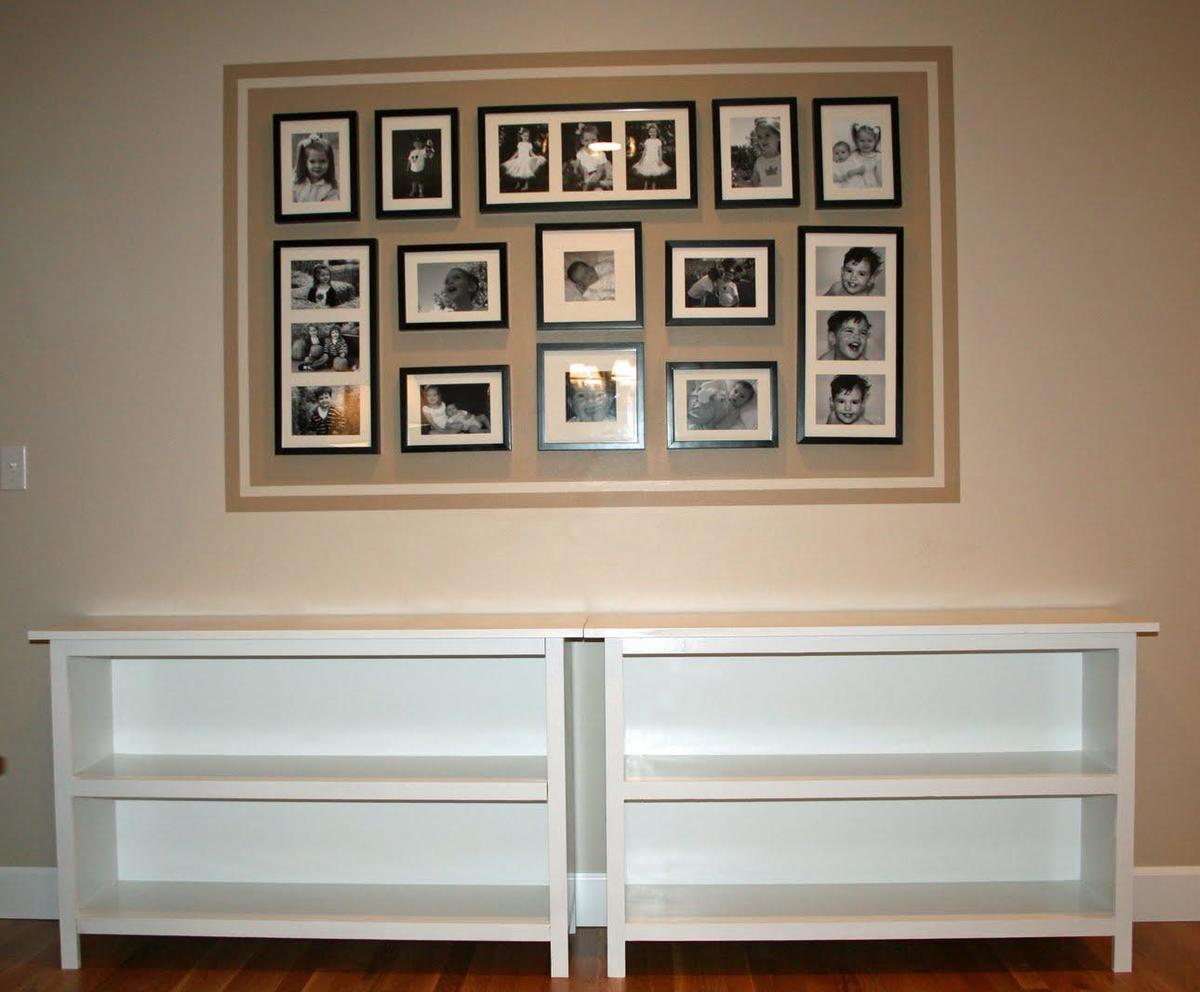
My husband is an aeronautical engineer and reads plans all day as a part of his job–even he thought your plans were fantastic. Great job! He did the building and I did the painting of the shelves. I did request that he add a back onto the shelves, so he left the trim off the backs of the shelves and fit in a piece of 3/4 MDF. It worked beautifully! We spent $75 on these two shelves–it would have been more like $50, except the additional MDF (for the shelf backs) added to the cost. Our only suggestion after doing this project is to go to a lumber yard for the pine. Ours is from one of the big box stores and, even though my husband went through a lot of wood, all of the choices were pretty bad. We went ahead and used this subpar wood, but I think our end result would be even better with better quality wood.

Thank you SO much for designing these plans for us. We’ve been planning on bookcases for quite awhile, but my husband hadn’t had time to come up with plans. When I found these plans on your site, I informed him that this was our weekend project! Soon he’ll be building a bed and trundle for our little boy–using your plans, of course!

Built from Plan(s)
Estimated Cost
$50 without backs
Estimated Time Investment
Afternoon Project (3-6 Hours)
Finish Used
White paint
Recommended Skill Level
Beginner

Santa is a cool guy... (Modified Train Table)

Submitted by TatafuFam on Thu, 05/09/2013 - 14:06

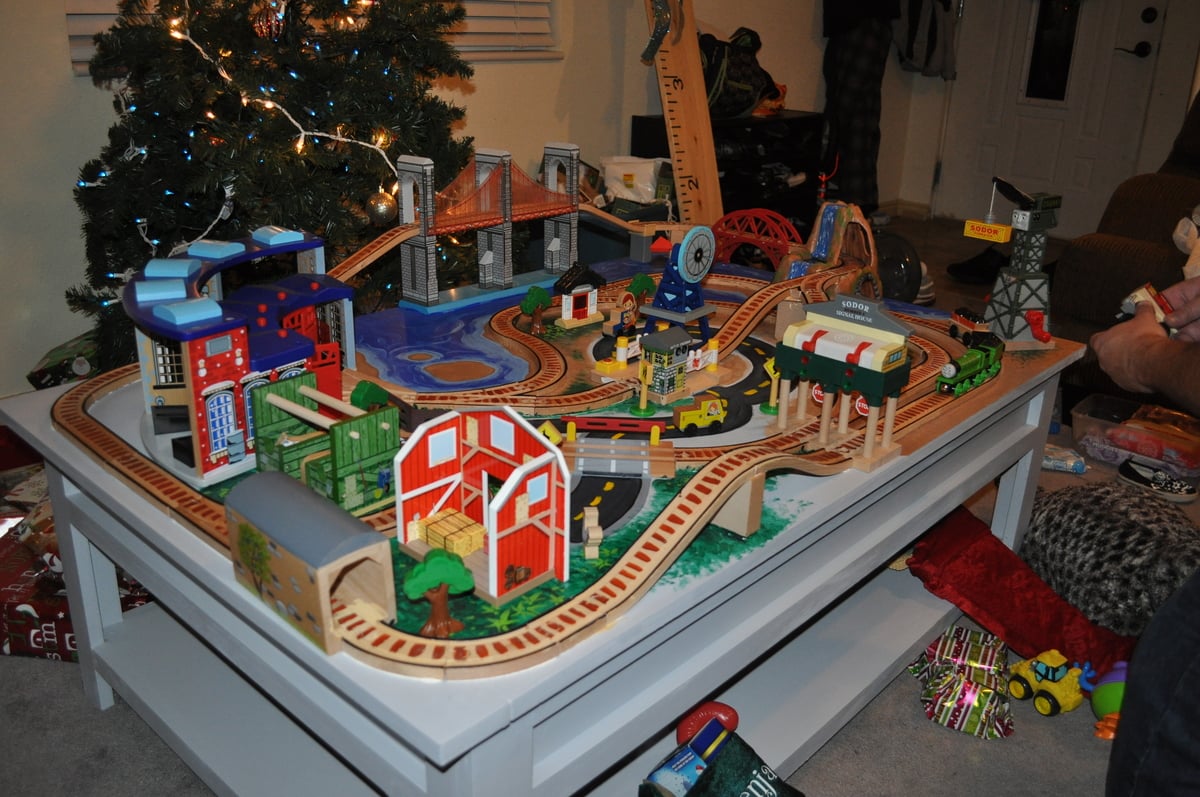
Santa decided to get come to Ana this year for some help with a train table instead of getting one from (insert big box toy store here). It ended up being pretty easy and a lot of fun, and our boys loved it! Santa decided he needed as much room on top as possible to put train and didn't need it to hide away so we skipped the cutting the top piece of plywood in half and left out the middle peice. We then added a track set and a few extras and painted the top. Thanks for the plans Ana! -(Santa)

Built from Plan(s)
Estimated Time Investment
Weekend Project (10-20 Hours)
Finish Used
Brush on primer and some Oops Valspar from the store, forgot which color!
Recommended Skill Level
Beginner

Leaning art easel

Submitted by Calmly on Tue, 03/31/2015 - 08:57

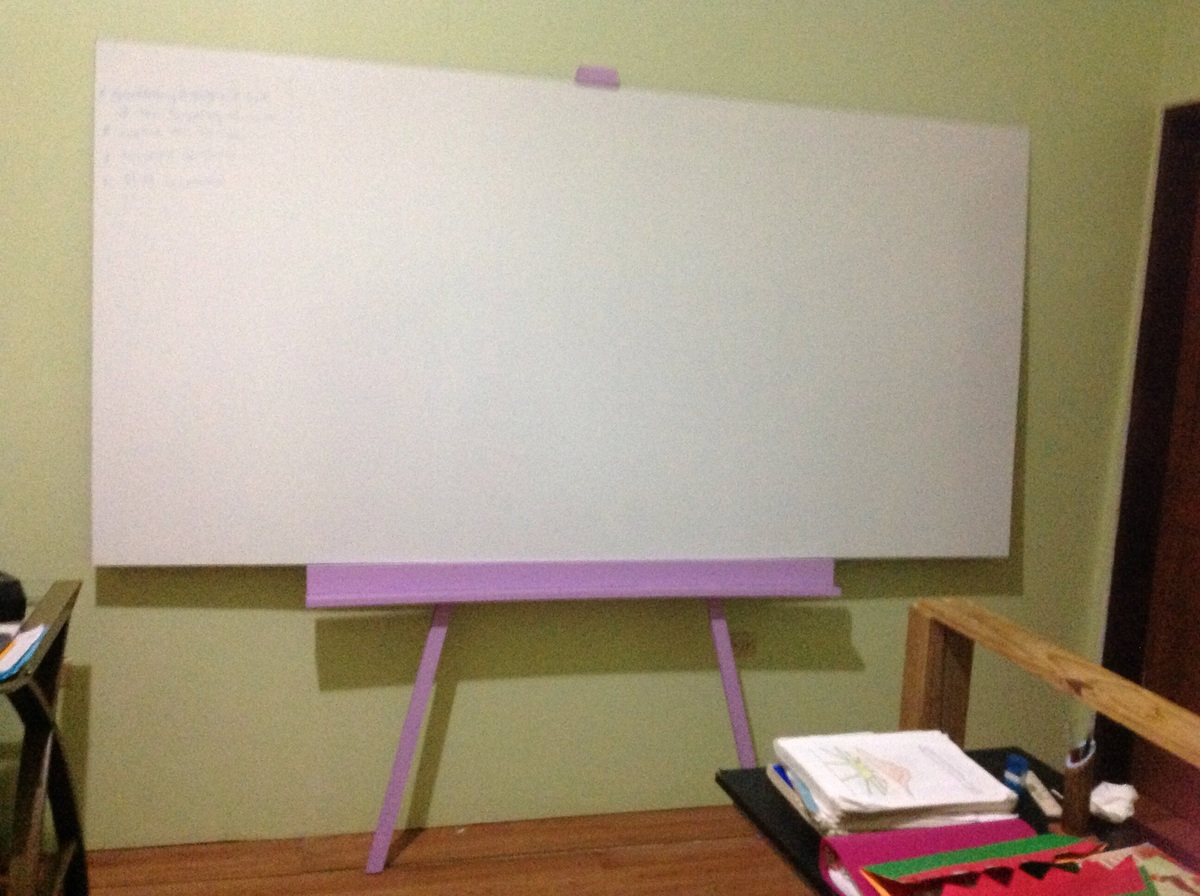
My husband and I built this to place our huge white board on for homeschooling. We altered it a bit by adjusting the length to 7 ft. It was painted lavender ( my favorite color). I may have to add another easel to prevent the white board from sliding off. Thank you Ana for your awesome plans.

Built from Plan(s)
Estimated Cost
The cost was about 20.00 which includes the white board. 2.70 each for 1 by 2 , white board cost 15.00 and I hade 1 by 3 scraps
Estimated Time Investment
An Hour or Two (0-2 Hours)
Recommended Skill Level
Beginner

Comments

Our Lemonade Stand

Submitted by Anonymous (not verified) on Sun, 07/02/2017 - 14:42

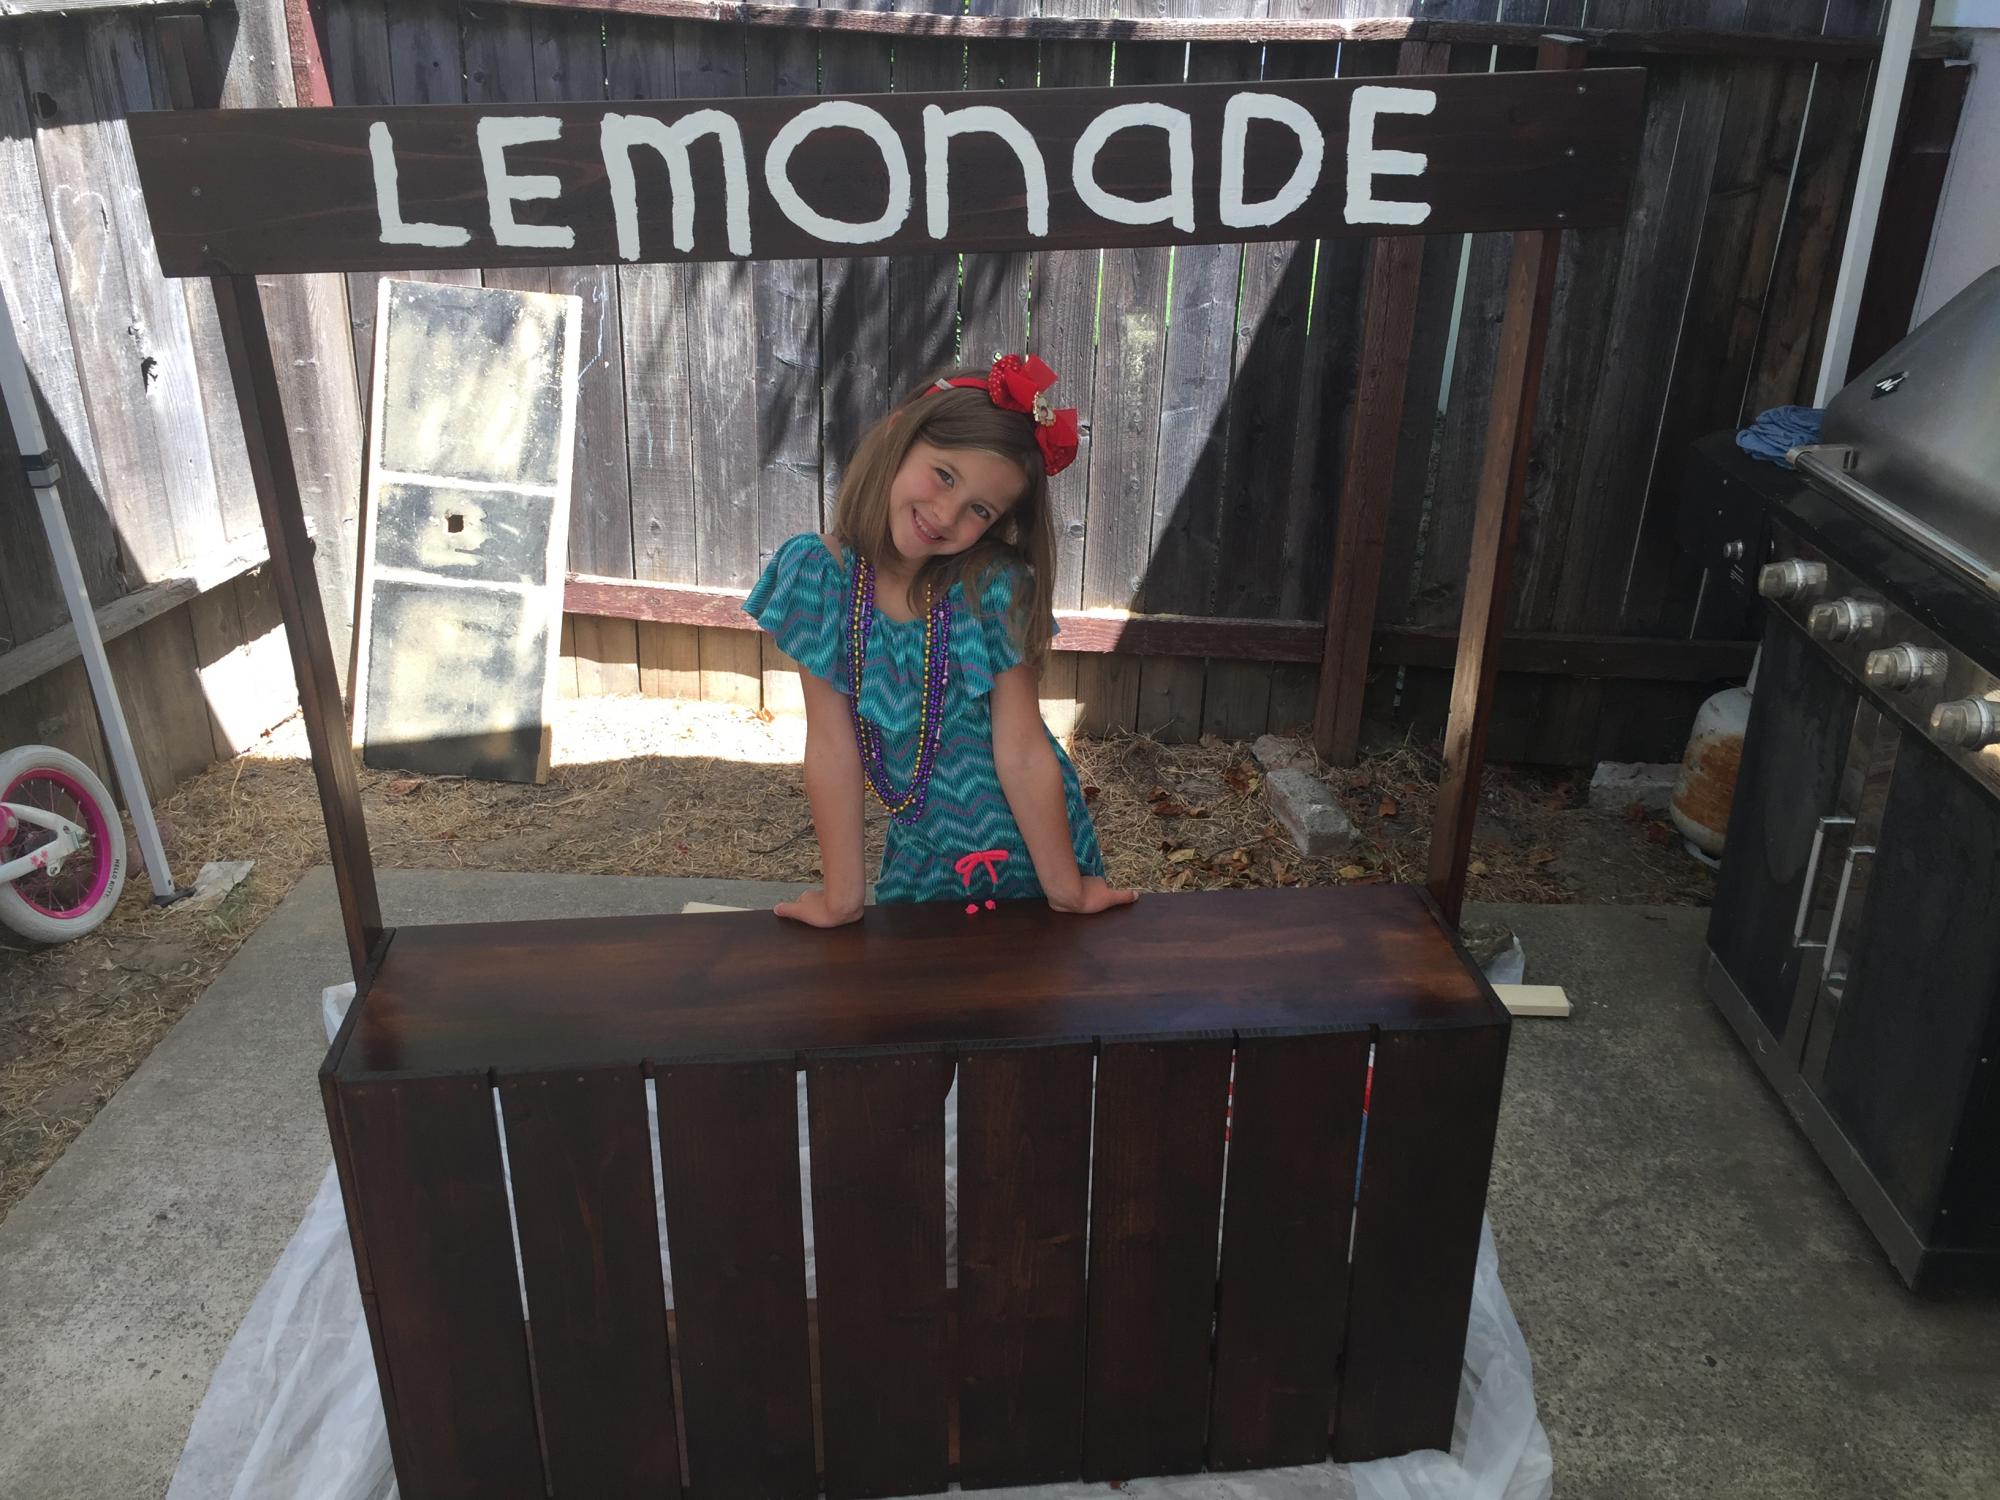
This was a fun project... i really enjoyed it! It was my first time staining, so I learned some things, and it got a lot of compliments from customers!

Built from Plan(s)
Estimated Cost
50
Estimated Time Investment
Day Project (6-9 Hours)
Finish Used
2 coats of Early American stain.
Recommended Skill Level
Beginner

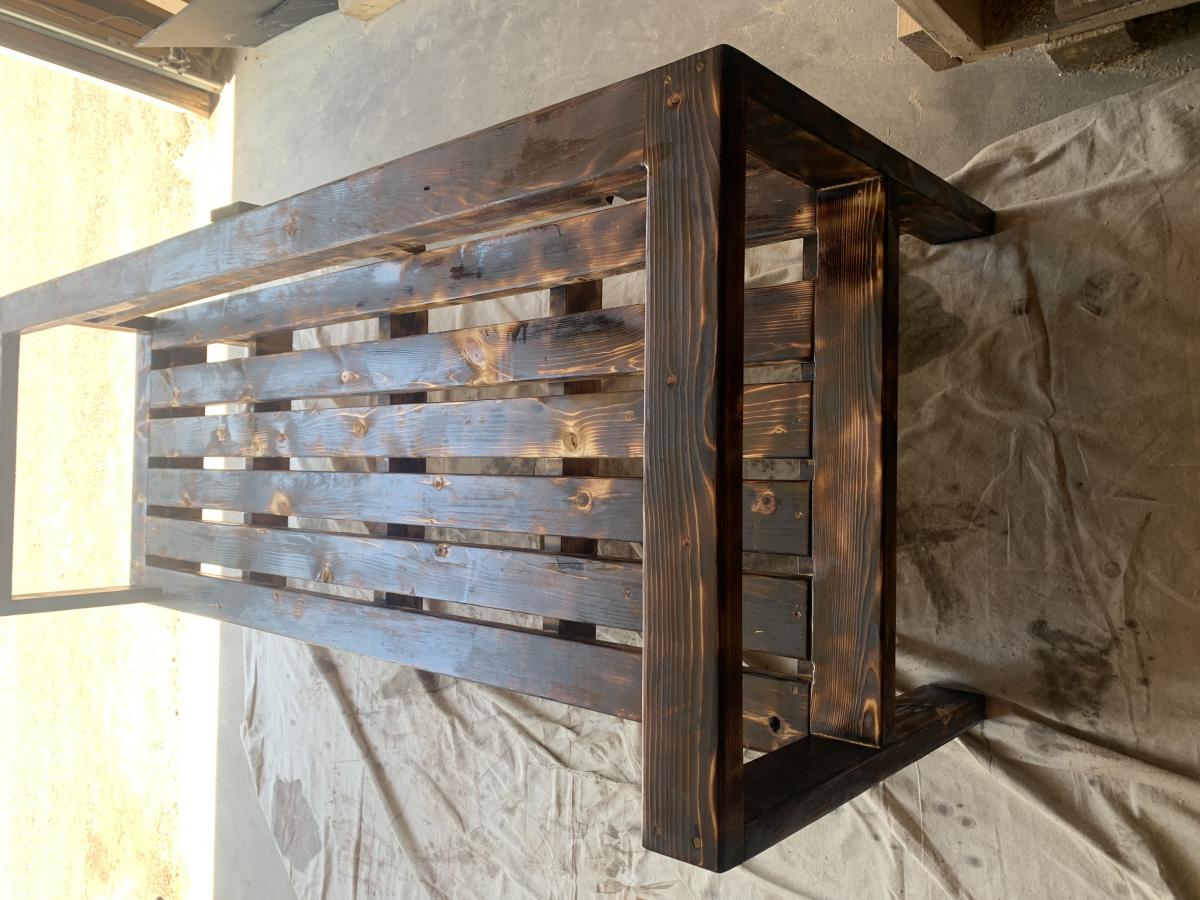
Outdoor bench

Submitted by Anonymous (not verified) on Mon, 10/04/2021 - 13:27

I used the 2x4 outdoor sofa plans. Finished with a Shou sugi Ban and few coats of outdoor finish. The build was pretty simple for a rookie wood worker! Thanks 🙏🏾

Comments

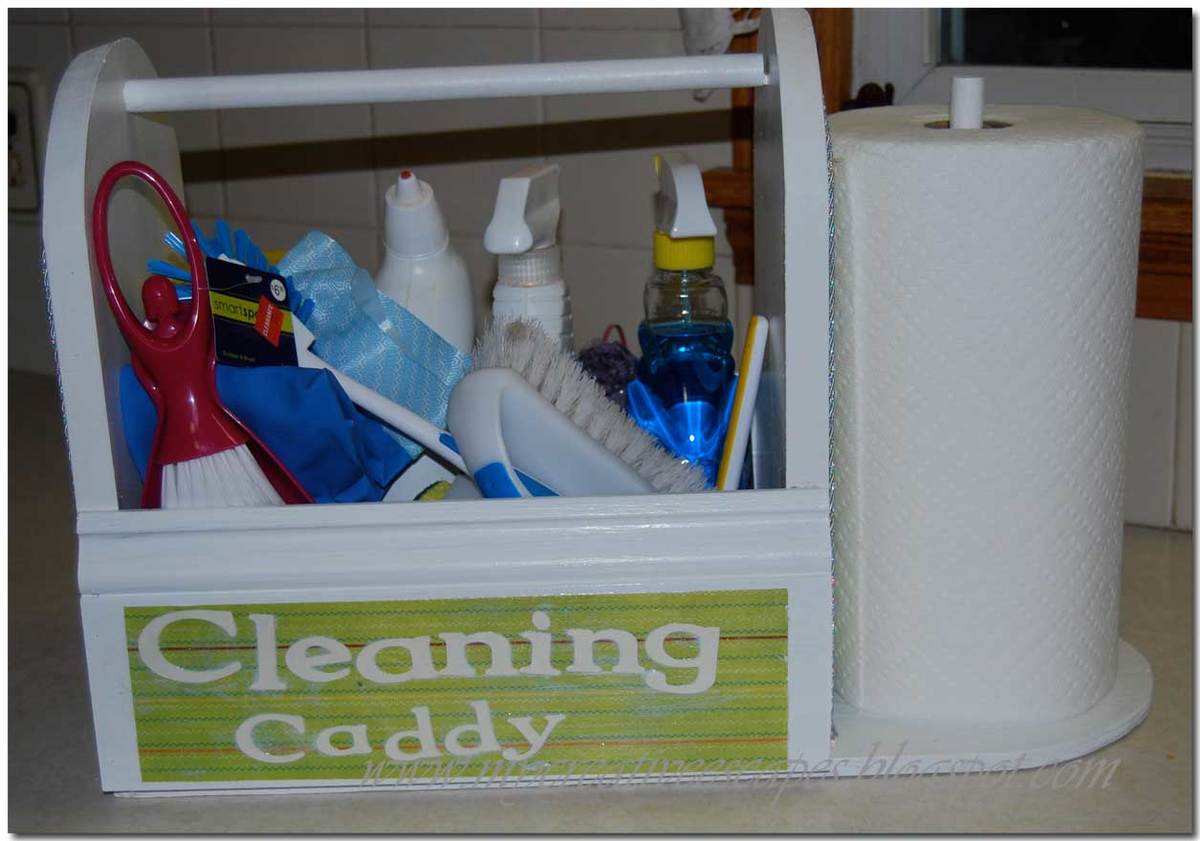
Cleaning Caddy

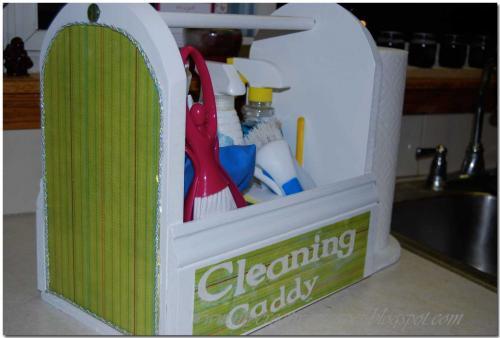
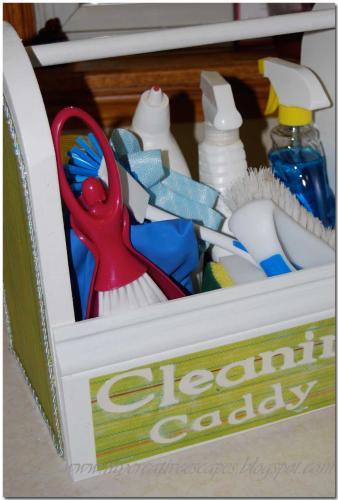
I wanted to build a cleaning caddy. Normally when I go to clean – I want to do it all at once. We have a bigger house – so I’ll be upstairs in the kids room – and realize I left the Windex downstairs – get upstairs – I left the paper towels downstairs….SERIOUSLY. So – hopefully this will stop that from happening!!!

So – here we have my Cleaning Caddy!! It was actually pretty easy to build. I had everything on hand. I had the dowels from another project – so that is how I based everything.

I took two left over pieces of MDF and made a design, cut it out with a Jig Saw. I wanted to make sure it was tall enough for the cleaning bottles.

Then I screwed the dowel to each side of the MDF sides.

I then measure the length I needed for the sides – I used scrap base molding we had laying around – I don’t even know where it came from!

Then came the bottom – I measured out the sides – and then I wanted it long enough to hold a roll of paper towels.

Glued and nailed everything in with the nailer (always use glue too – this thing is kind of heavy with all the cleaning supplies)

I screwed the dowel in from the bottom for the paper towels.

I painted it many times with white trim paint – used many different types of wood so I wanted it to look uniform.

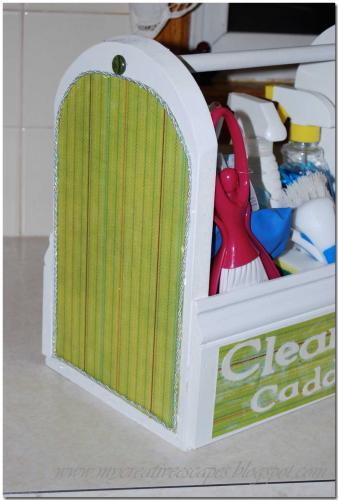
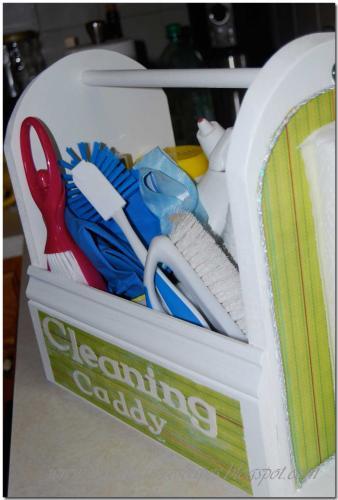
Then for the finishing touches – I went to my abundant scrapbook paper collection – Mod Podged it all up. Love that stuff!!! On the front – I cut out “Cleaning Caddy” with my Cricut. And on the sides I trimmed it out with cording I had on hand, just used hot glue and did about a 6 inch section at a time. I hot glued buttons where my screws were on the outside tops. My counter sink bit was the wrong size, so they stuck out a little. Now it’s a nice decorative element.
Estimated Cost
Free
Estimated Time Investment
An Hour or Two (0-2 Hours)
Finish Used
Sanding, priming, painting, mod podge
Recommended Skill Level
Beginner

Counter height planter

Submitted by h.abbott on Sat, 05/11/2013 - 18:40

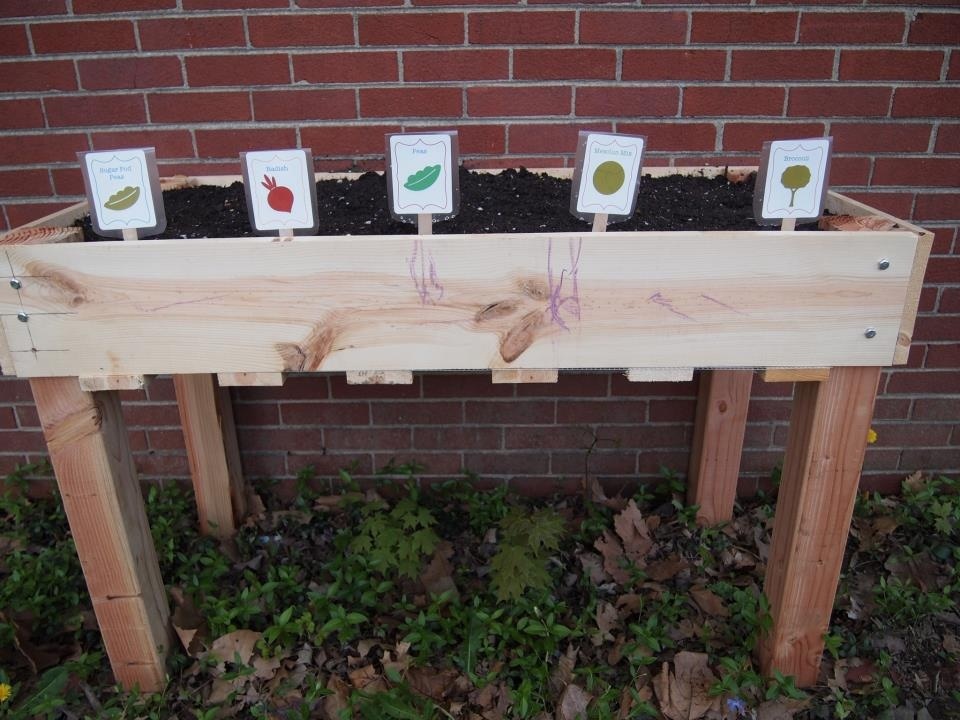
We needed extra garden space this year and I thought adding one of these planters would be a great addition. So far it has. It allows me to easily weed, which is my most despised gardening job. Added bonus that the dog can't dig it up, and bunnies can't nibble on my plants. It also makes a great art canvas for my son's chalk drawings.

Estimated Time Investment
An Hour or Two (0-2 Hours)
Recommended Skill Level
Starter Project

Comments

Janettx

Fri, 05/31/2013 - 04:25

Great job, glad you were able to follow my lame attempt at giving instruction! beautiful job!

pattyf50

Wed, 04/20/2016 - 12:55

Hi I live in north Dakota we get about 10 ft of snow every January, I am planning on making the counter height garden boxes, but how do I keep the snow in winter from crushing them. Patty

pattyf50

Wed, 04/20/2016 - 12:55

Hi I live in north Dakota we get about 10 ft of snow every January, I am planning on making the counter height garden boxes, but how do I keep the snow in winter from crushing them. Patty

Jewelry Organizer

Submitted by CSaintD on Wed, 04/01/2015 - 10:20

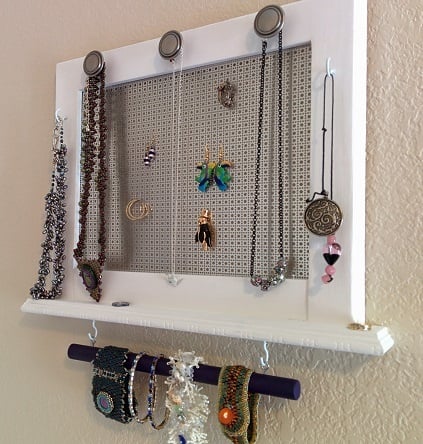
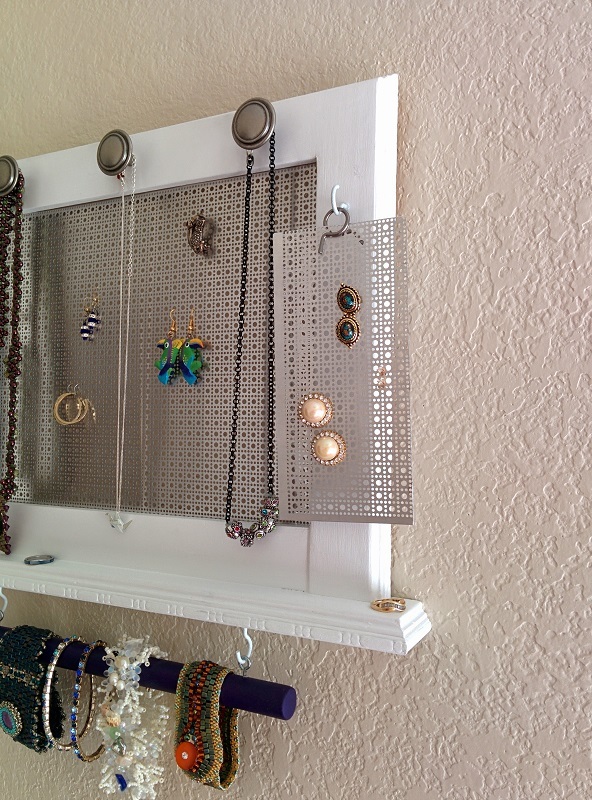
I really didn't have a plan for this, but looked around on this site and on the internet and found something like what I wanted to do, so just made a simple frame out of scrap 1x2s.  I made a groove in the center of each 1x2 with my table saw before assembling.  I found this pretty punctured metal at Lowes and cut it to size, slid it into the grooves then attached the bottom of the frame and the little shelf.  I added a 3/4" bead and sausage trim piece around the whole thing to finish it off nicely.  The bracelet holder is a dowel rod that I painted purple and attached with eye hooks and cup hooks to the bottom of the little shelf.  Since it was hard to put earing studs in the center (with the backs on), I also cut another piece of the metal, filed down the edges and attached a llittle ring clip, that can hang from one of the cup hooks if needed.  I'm happy with how this came out and I hope my Daughter-in-Law will enjoy this birthday gift.

Built from Plan(s)
Estimated Cost
The metal was the most expensive part at $26 for a 2' x 4' sheet. You could do this with hardware cloth for a lot cheaper, but I wanted the look of the metal. The trim was $5 and cuphooks $3. The other pieces I had in my scrap pile and hardware drawer.
Estimated Time Investment
Day Project (6-9 Hours)
Finish Used
White gloss paint and purple craft paint. Spray lacquer on the dowel rod.
Recommended Skill Level
Beginner

Comments

CSaintD

Wed, 04/01/2015 - 18:23

Yes, I was trying to imagine some way to do what you suggested, but just couldn't make it work. I didn't want to make a door - which would be the ideal solution. Also, fiddling around with the frame may make it unstable on the wall, so I just thought this would be easier. She can lift the whole thing off and add and remove studs at a comfortable height without worrying about removing necklaces, etc.

Modern dresser

Submitted by Anonymous (not verified) on Tue, 07/04/2017 - 22:16

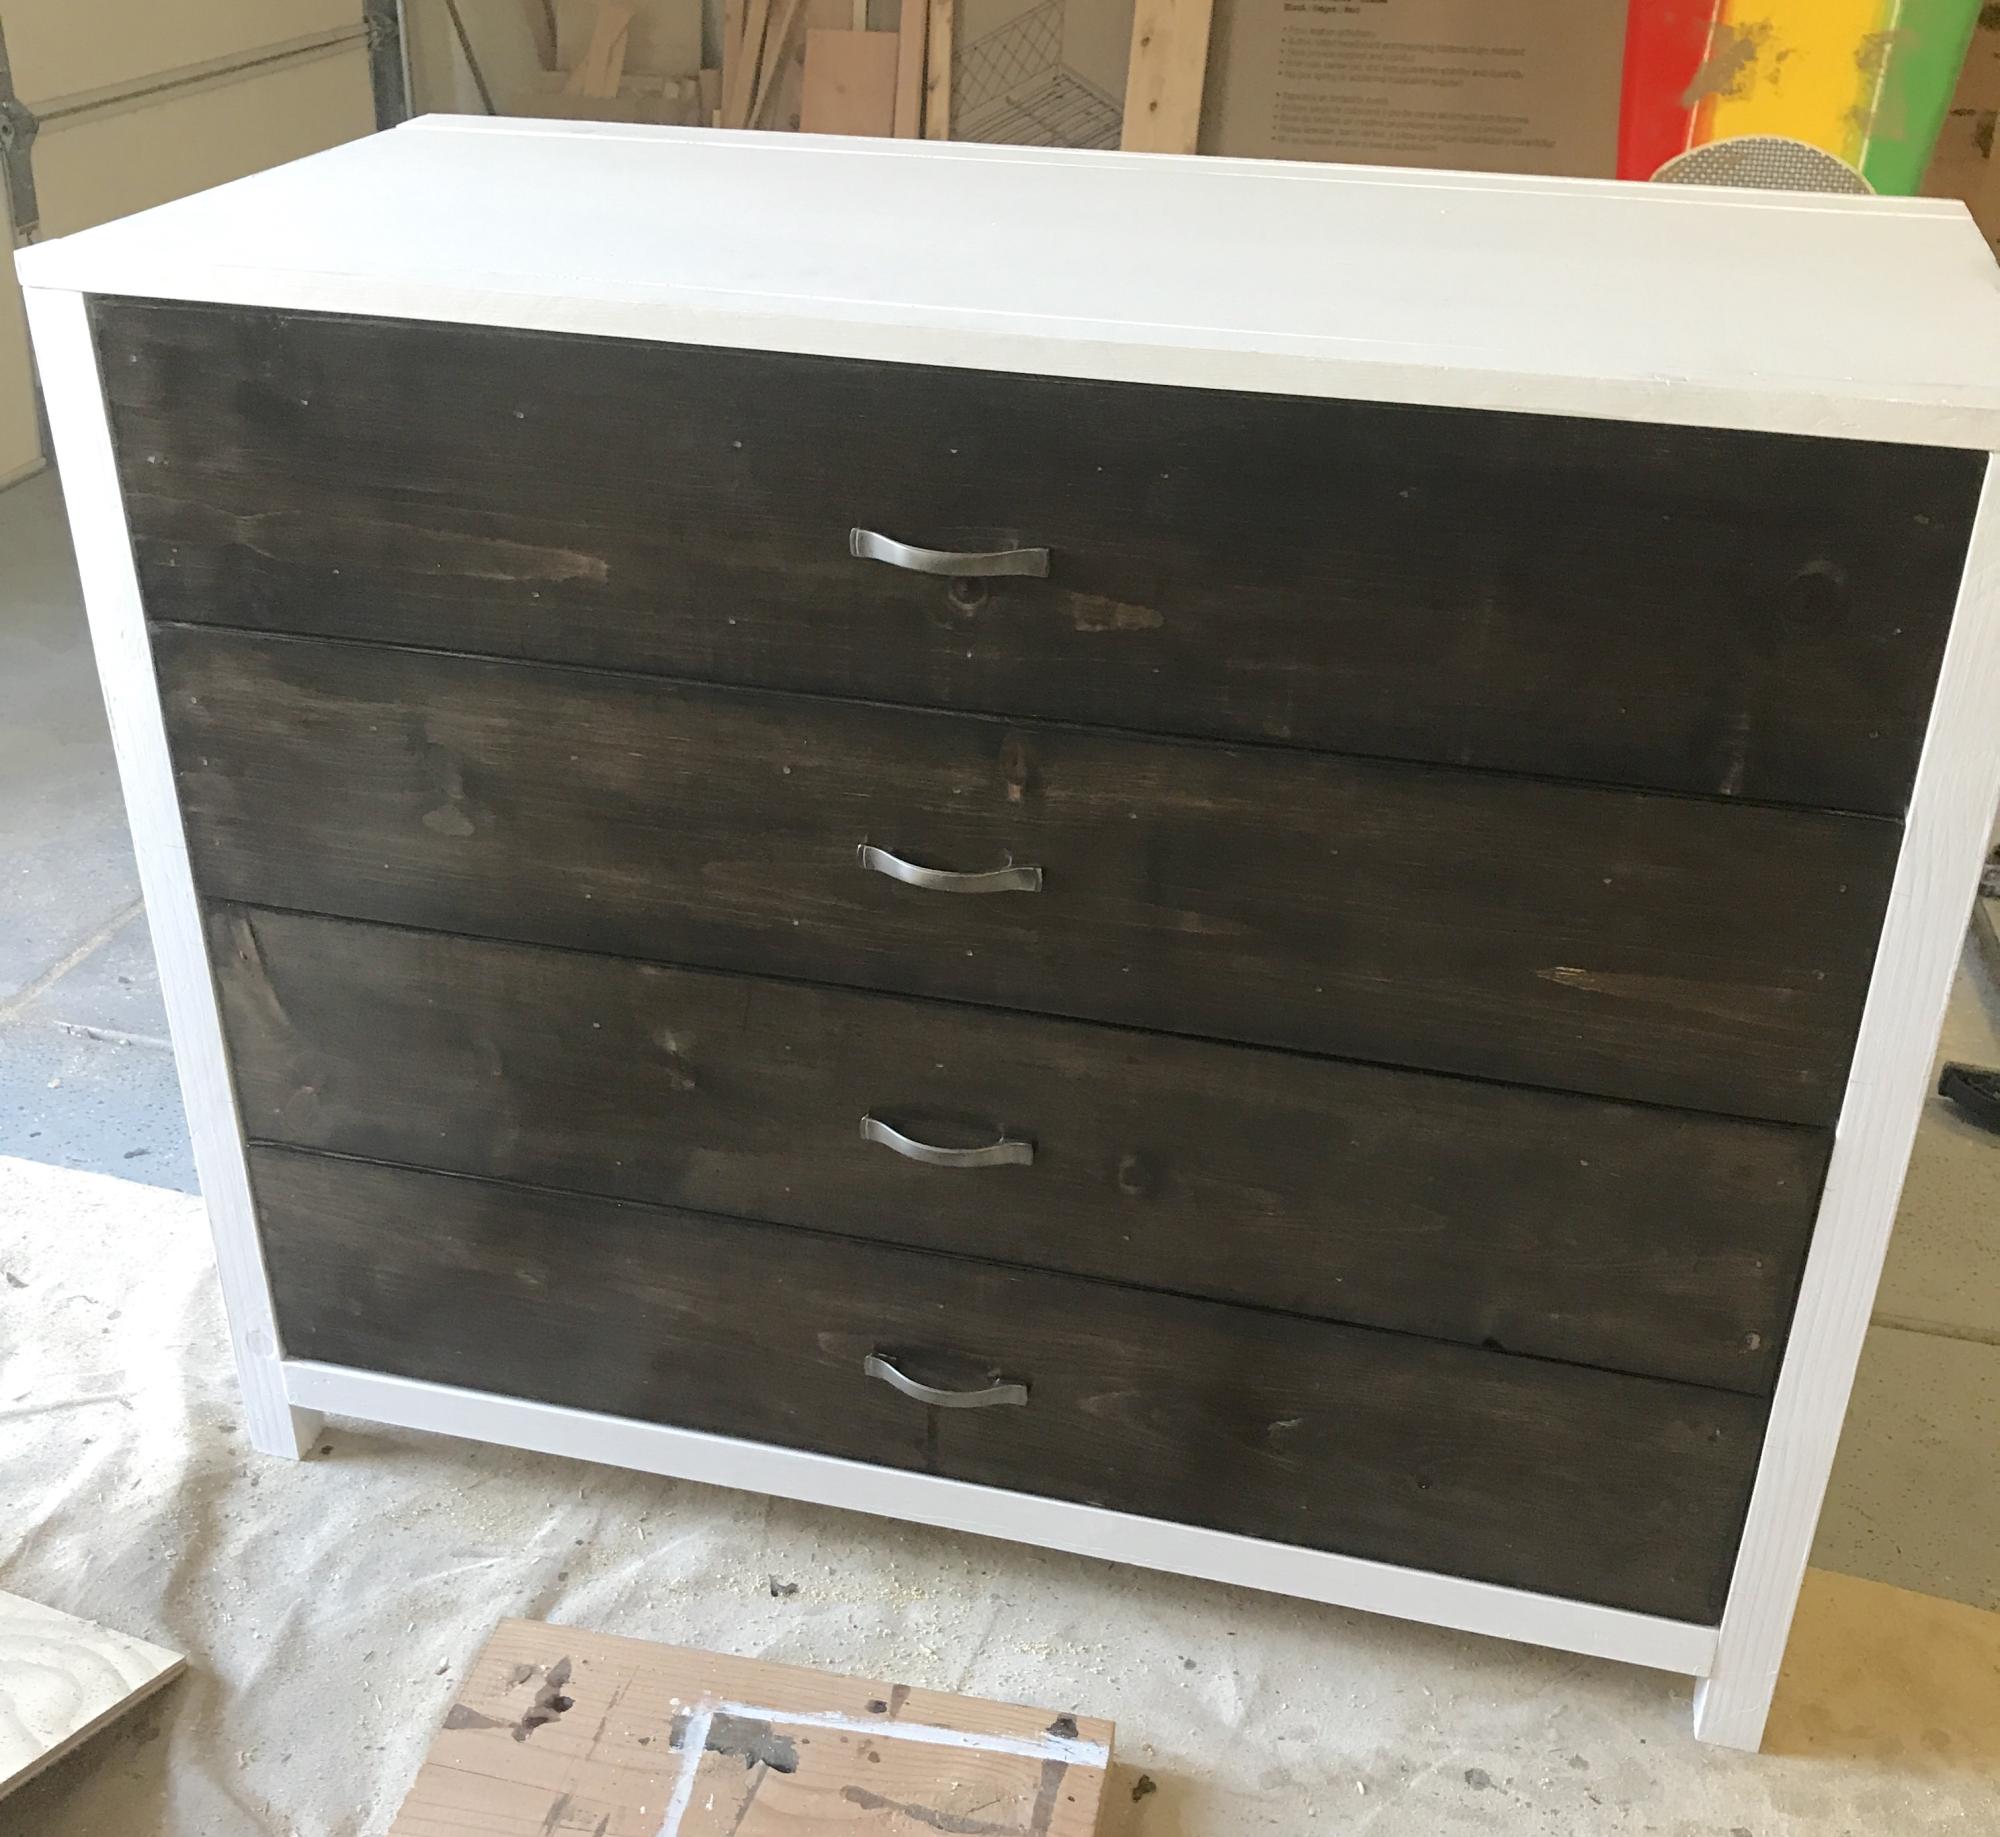
Instead of the double handles I went for a center handle. Little darker stain than what's posted. 

Built from Plan(s)
Estimated Cost
$200
Estimated Time Investment
Weekend Project (10-20 Hours)
Finish Used
Flat white oil based paint and a kona brown poly stain
Recommended Skill Level
Intermediate

72” round dining table

Submitted by Anonymous (not verified) on Mon, 10/04/2021 - 13:52

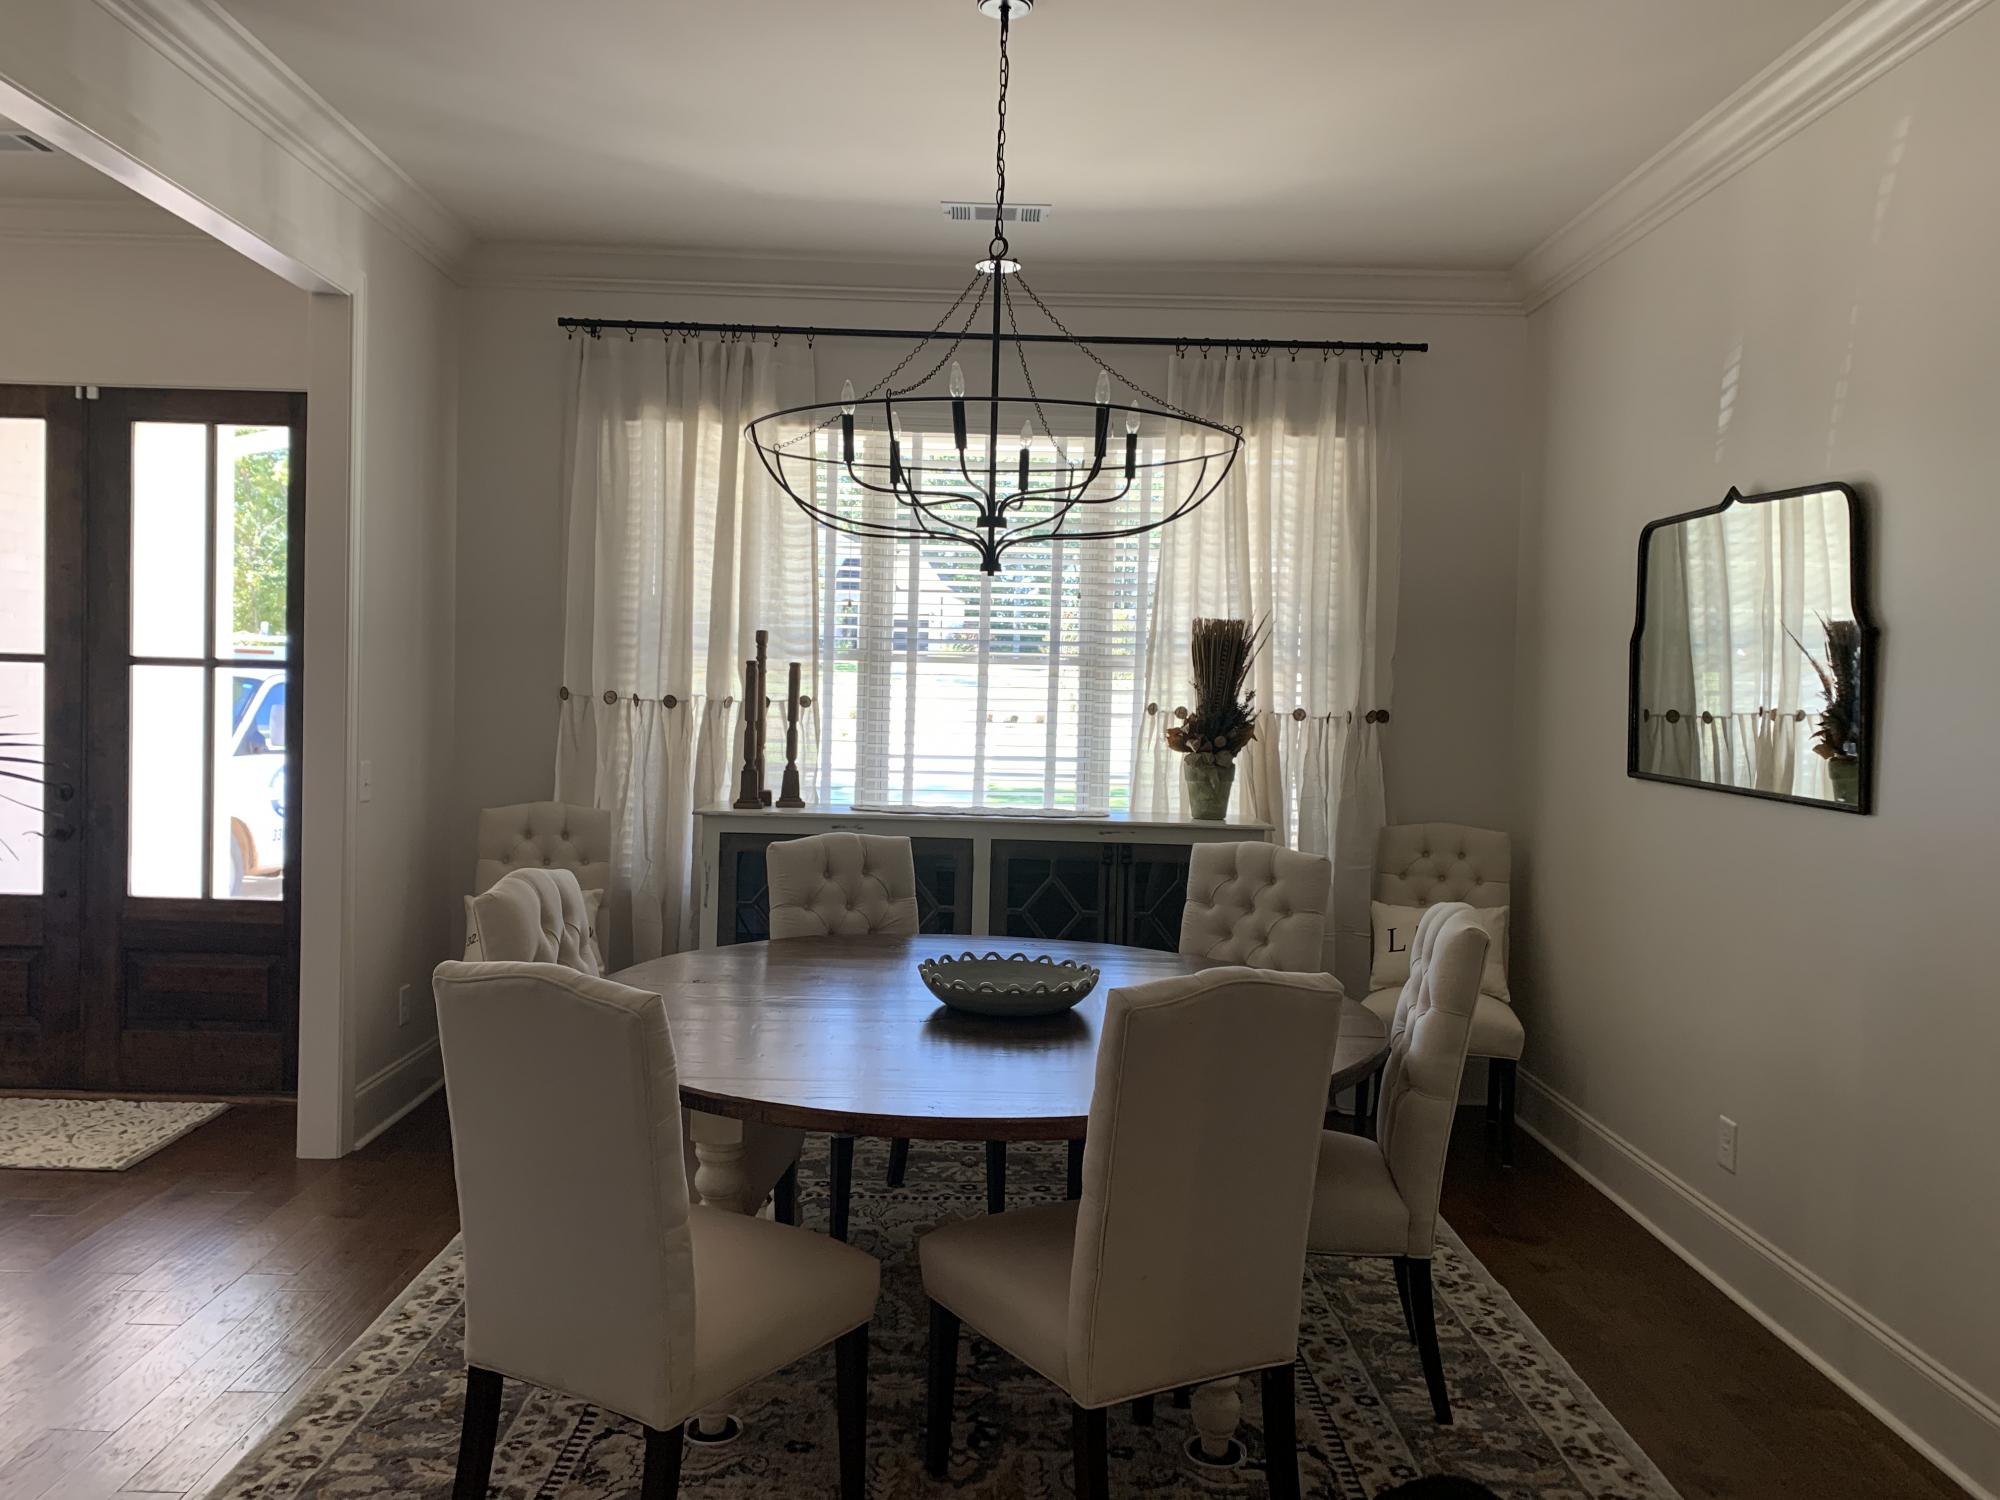
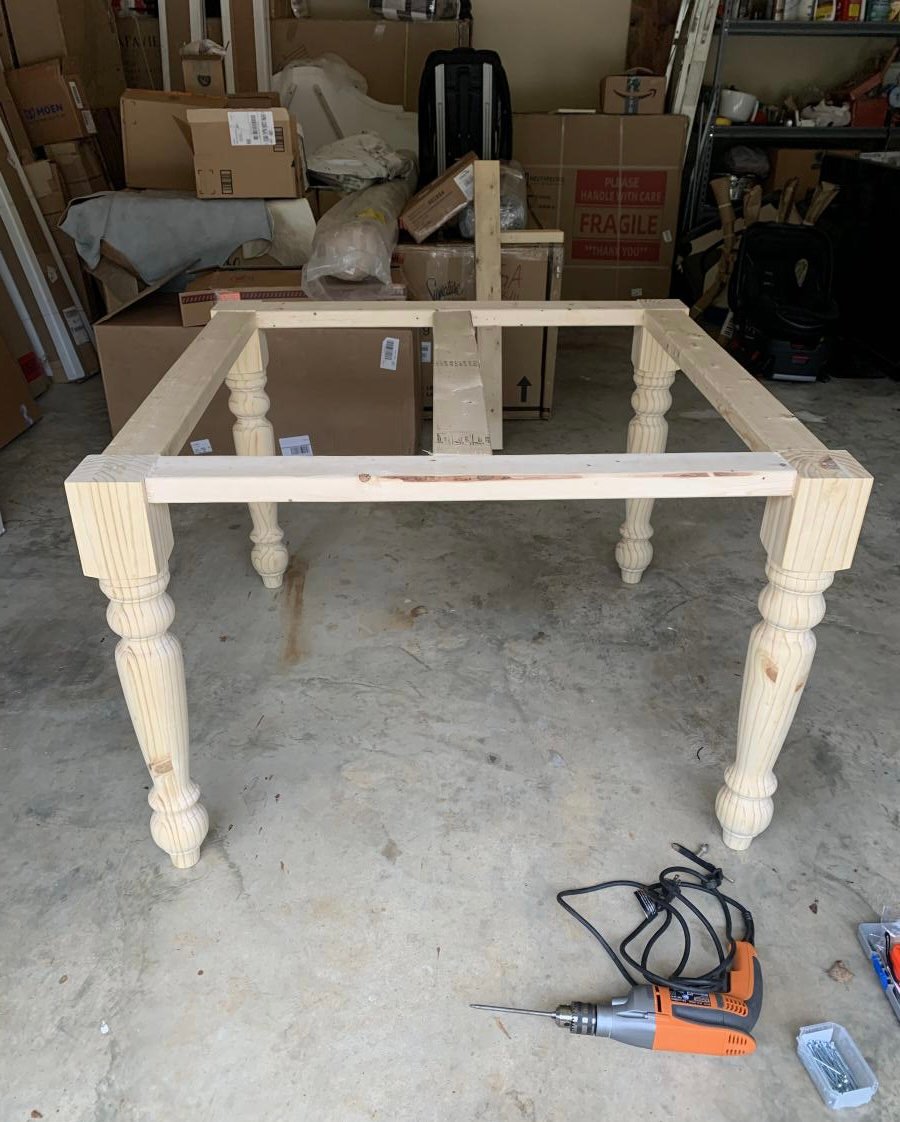
I wanted a 72” round dining’s table for my new home and found your video online. It was not easy to cut a circle, but it was easier than I thought it would be! I’m so happy with the finished product. I used turned legs with a square base instead of the pedestal shown. Have had so many compliments already and it looks fantastic in the space.

Comments

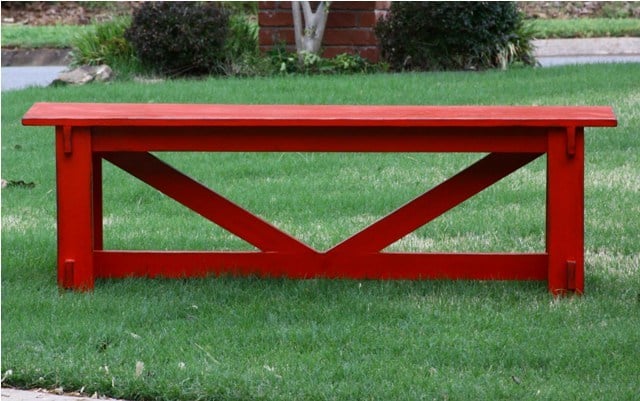
Outdoor Bench

This was my very first project I tackled from Ana's site. I wanted to see if I could do it, so started with something easy. I think it turned out great and looks great in our flower bed in front of our house.

Estimated Time Investment
Weekend Project (10-20 Hours)
Finish Used
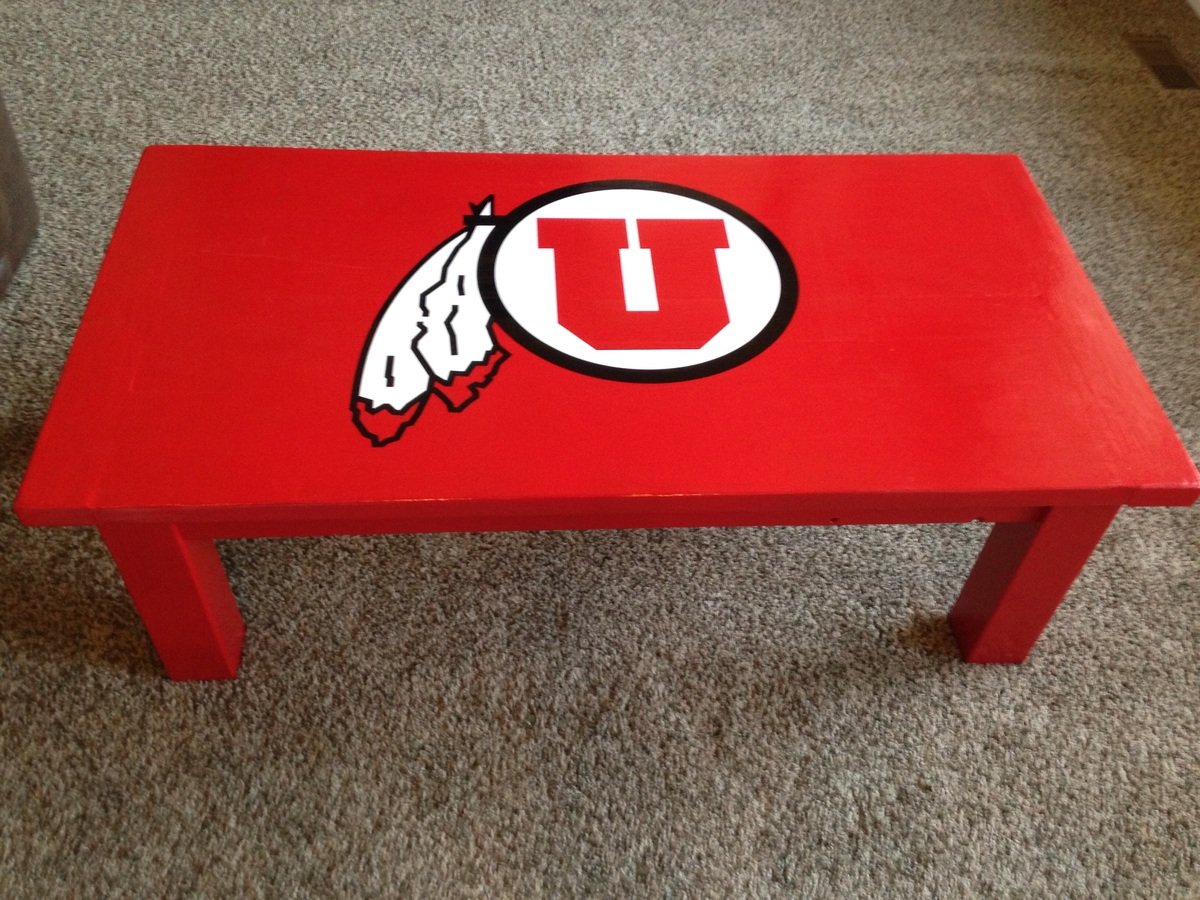
I primed it, painted it red then sanded it down in spots and rubbed stain to give it aged look.
Recommended Skill Level
Starter Project

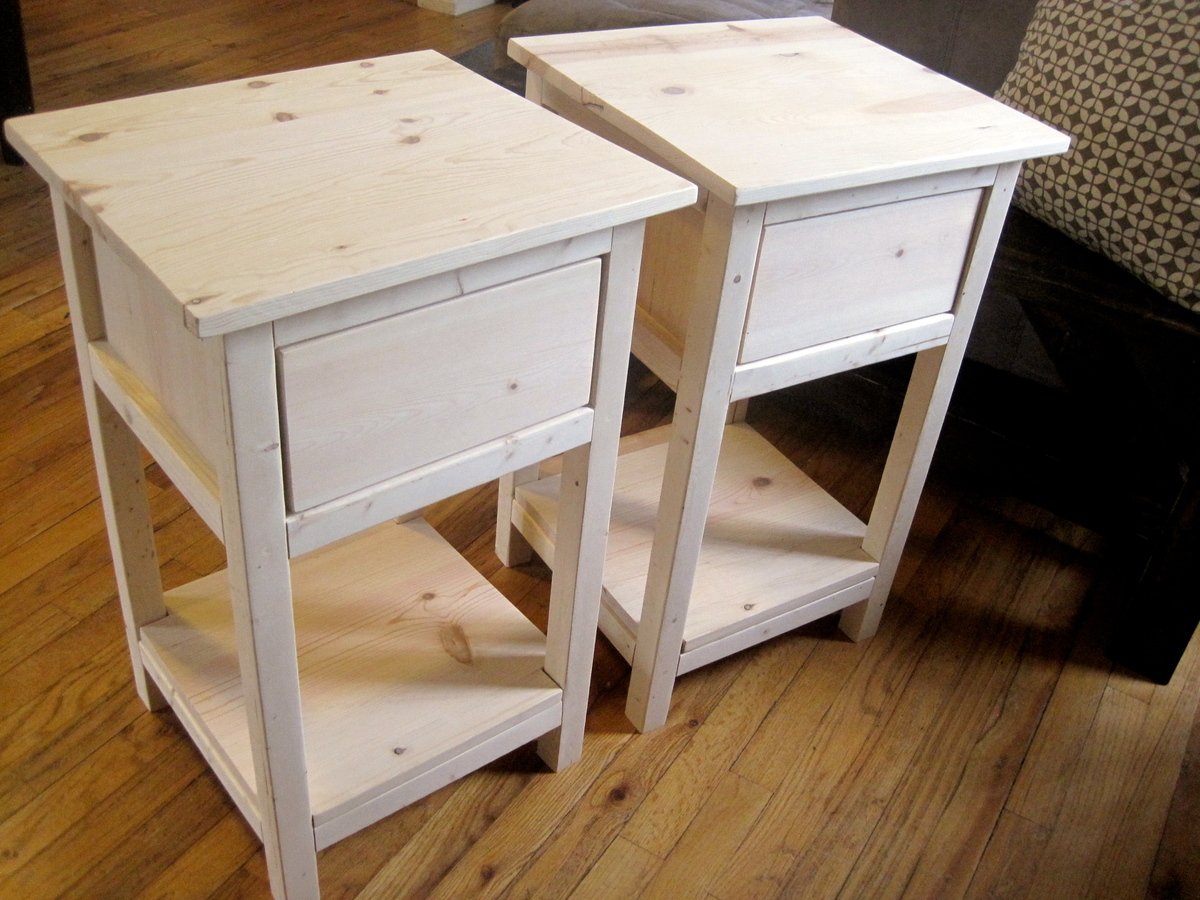
Mini Farmhouse Bedside Table

Submitted by danicarby on Tue, 05/14/2013 - 06:59

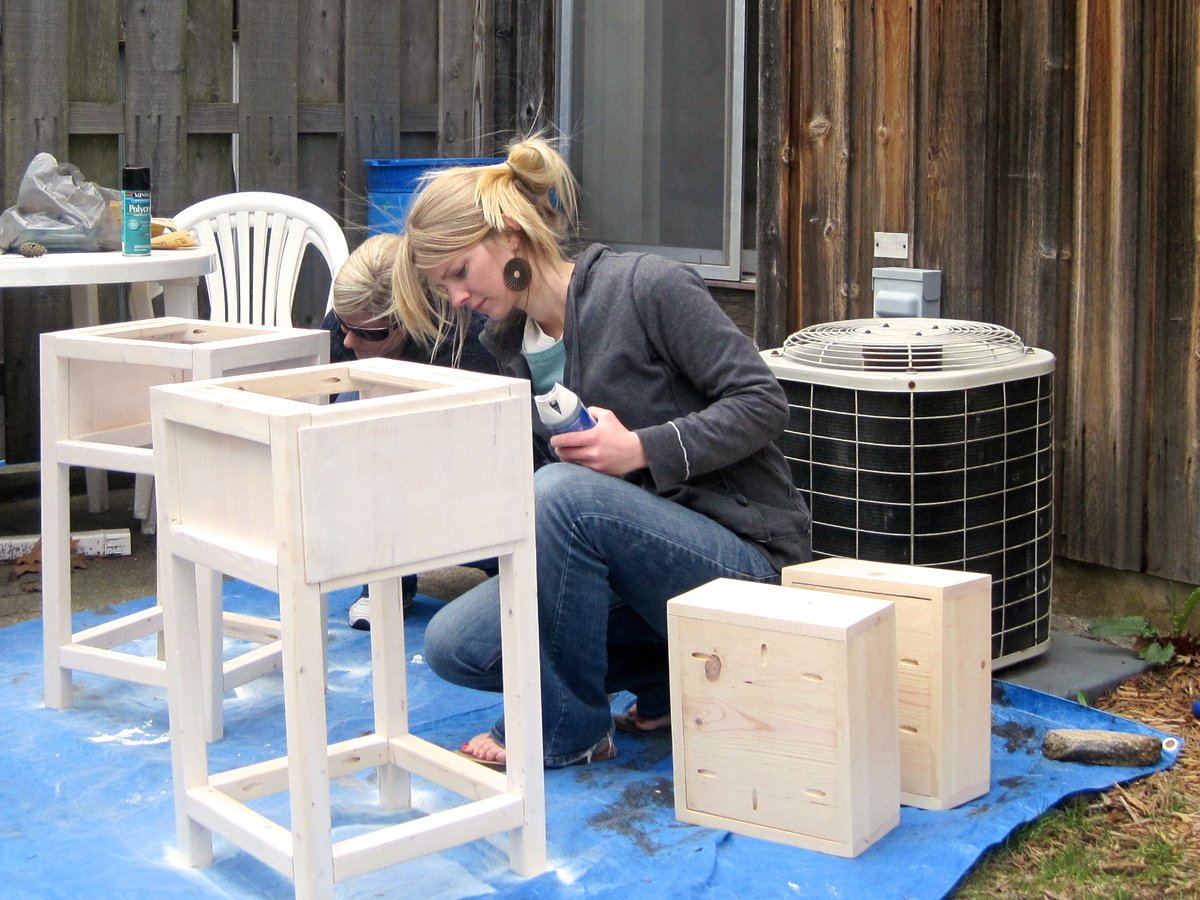
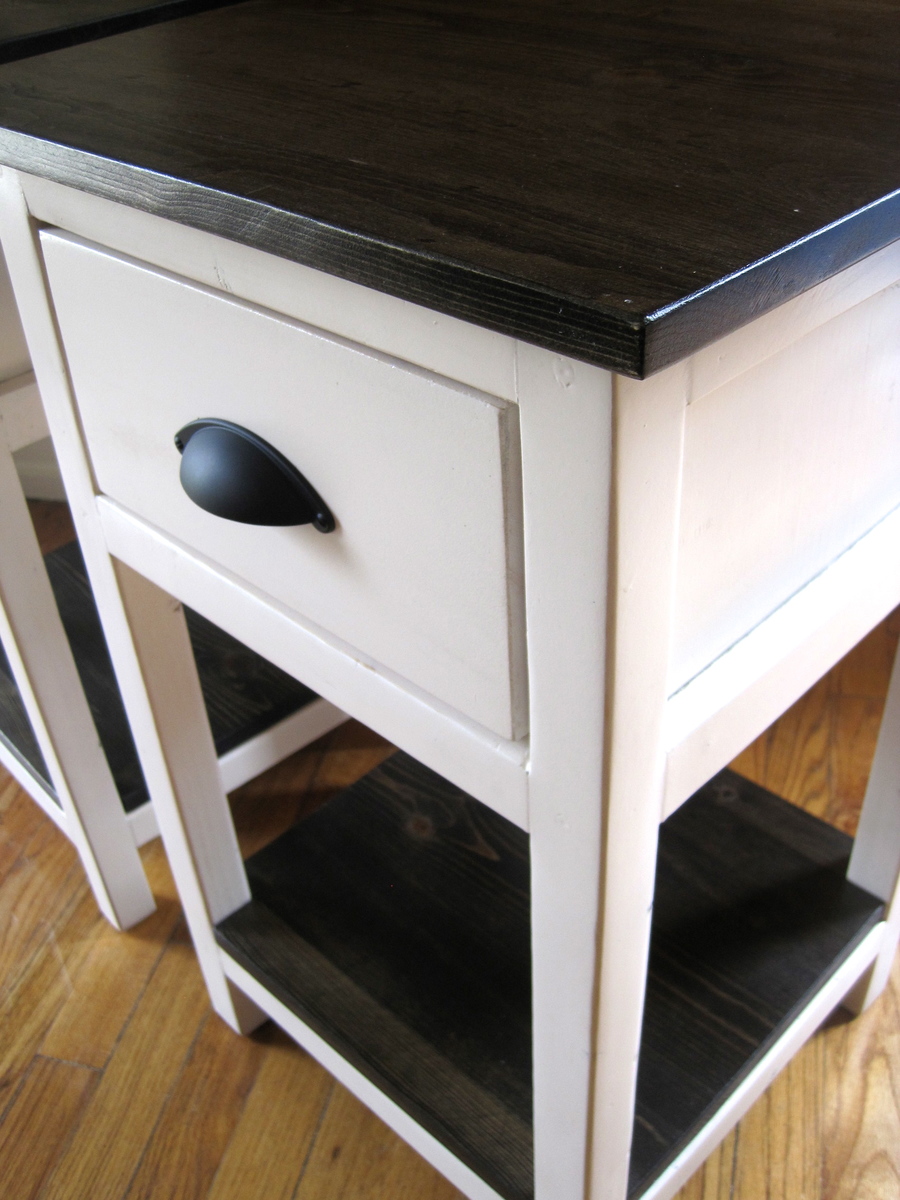
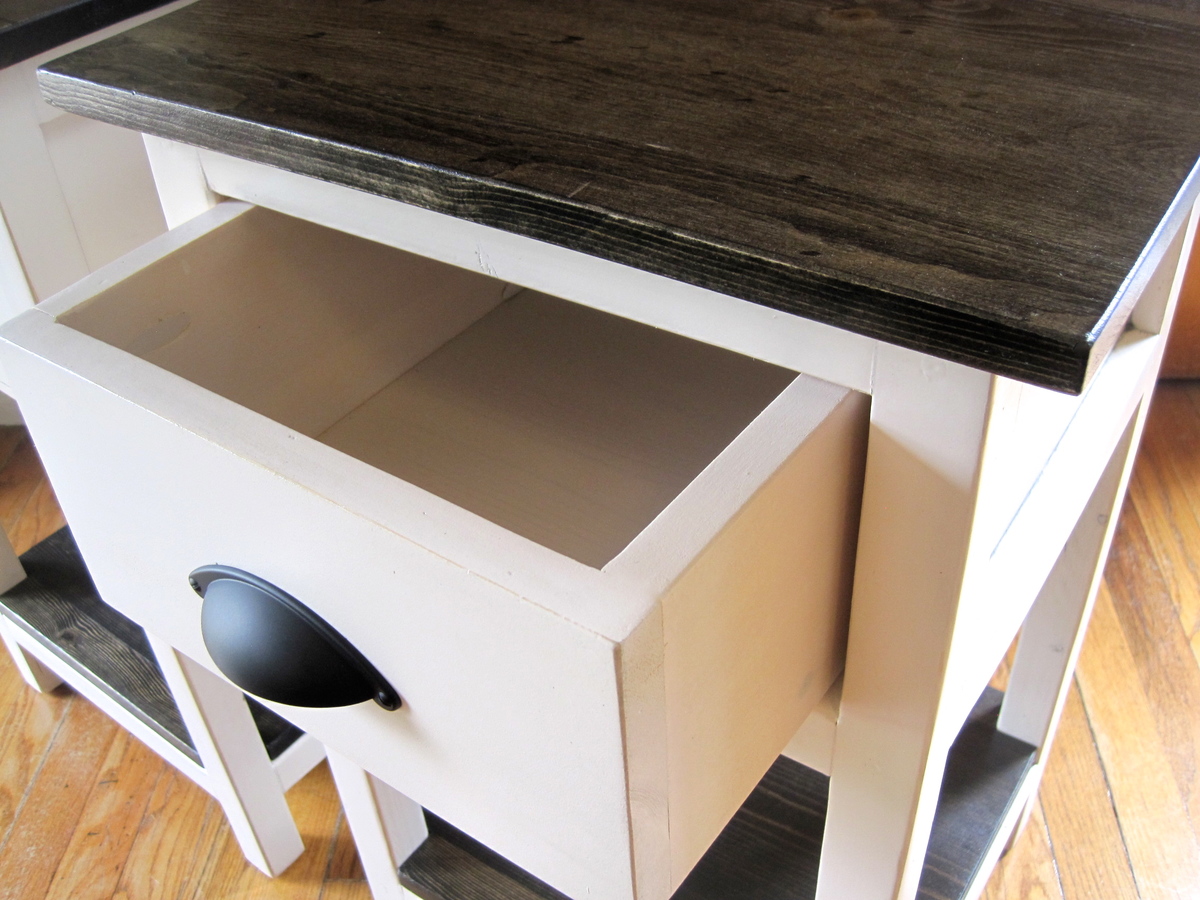
I built these side tables with a friend. We under estimated the time it would take by a long shot! We estimated that with the both of us it took 15+ hours to complete. We spent $120 on all the wood, paint and hardware for both. It was a lot of work and the most time consuming part was the finish (sanding, painting, sanding, painting, clear coat, sanding, clear coat, sanding, clear coat). In the end, it was worth it! They turned out so cute!

Estimated Time Investment
Weekend Project (10-20 Hours)
Finish Used
Creme Spray Paint, Ebony Minwax Stain for top and shelf, and Spray Polyurethane. We sanded in between all the layers for a smooth finish.
Recommended Skill Level
Intermediate

Comments