Adirondack chairs
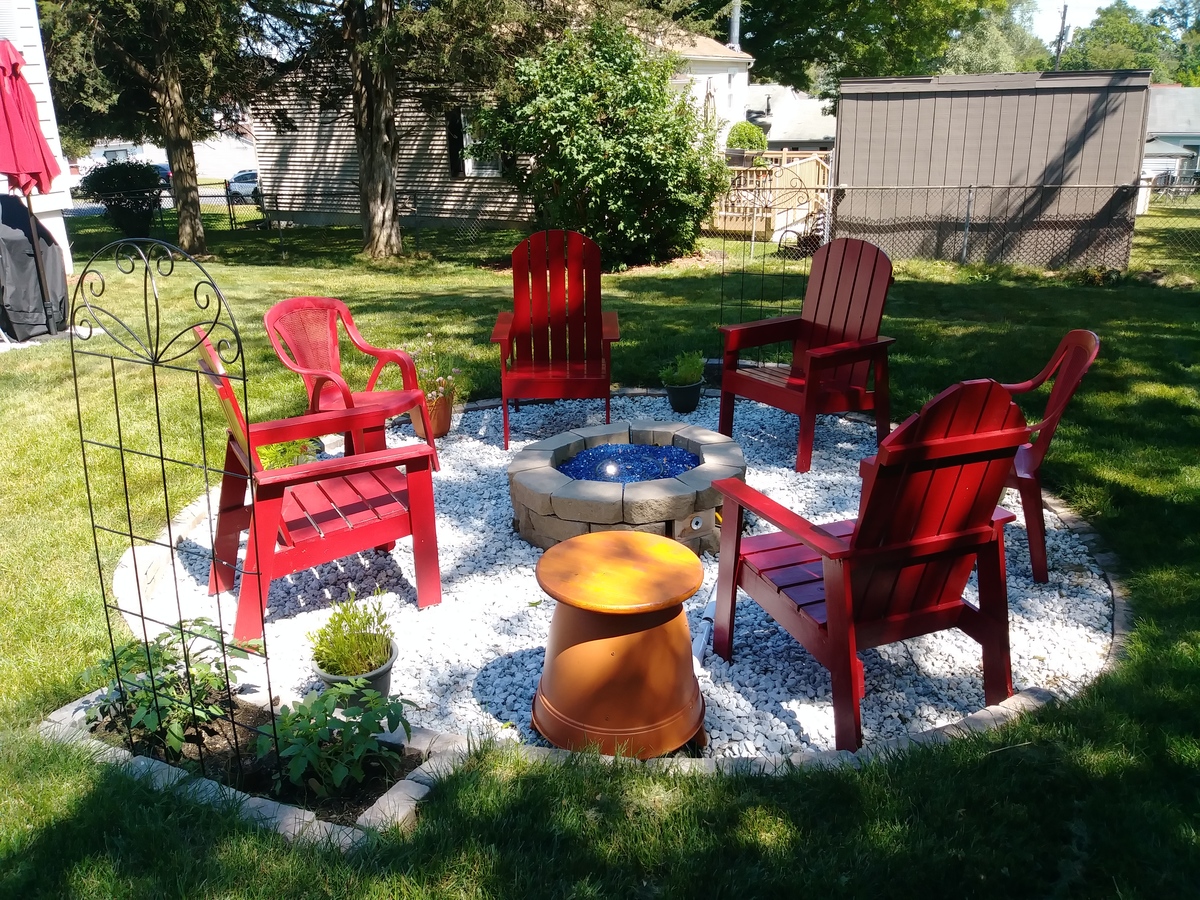
Built from Ana's Adirondack chairs from book.
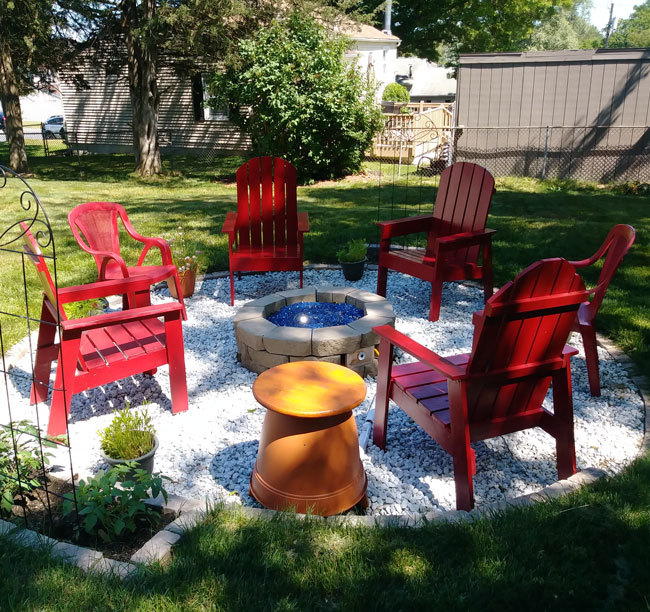

Built from Ana's Adirondack chairs from book.

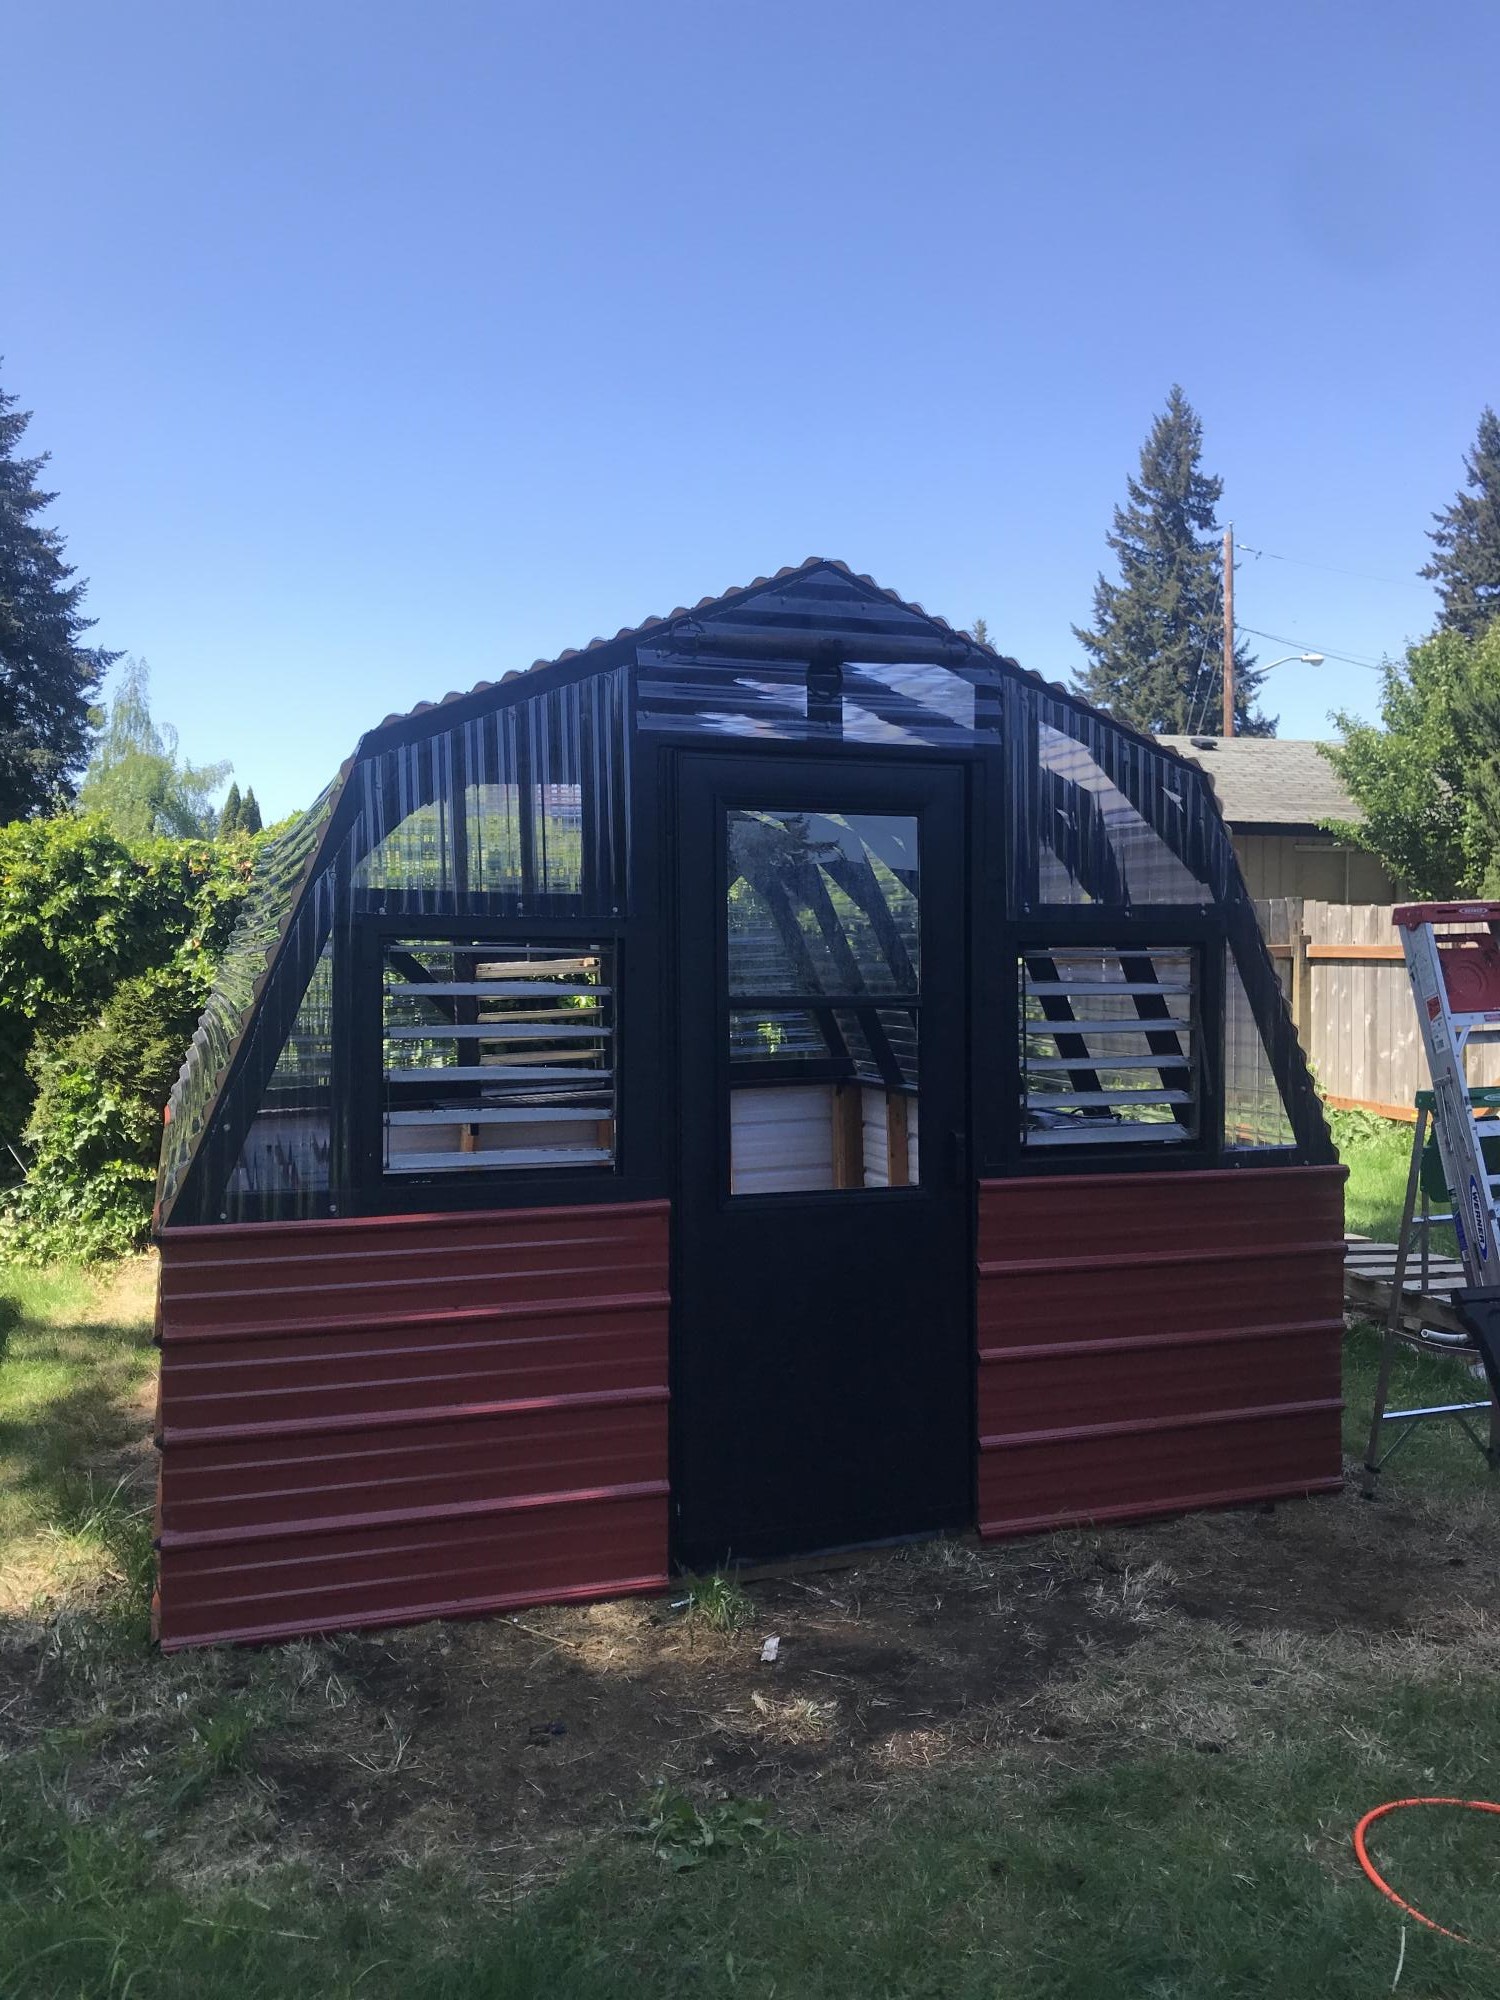
Build this greenhouse using your plans, by myself over 2 weekends. Turned out great!
Fri, 05/06/2022 - 07:40
Wow, this looks so good, love the color combo! Great work, thank you for sharing:)
Loved creating this- I was worried that it wouldn't come out well and I wasn't prepared for the amount of time it took to pick out my supplies, but it's done and I love it! Thanks for the plans and for everyone's brag photos- I loved seeing that others had done it and hoped I could, too.
Mon, 08/06/2012 - 14:12
This is absolutely stunning - I can't wait to make one of my own!
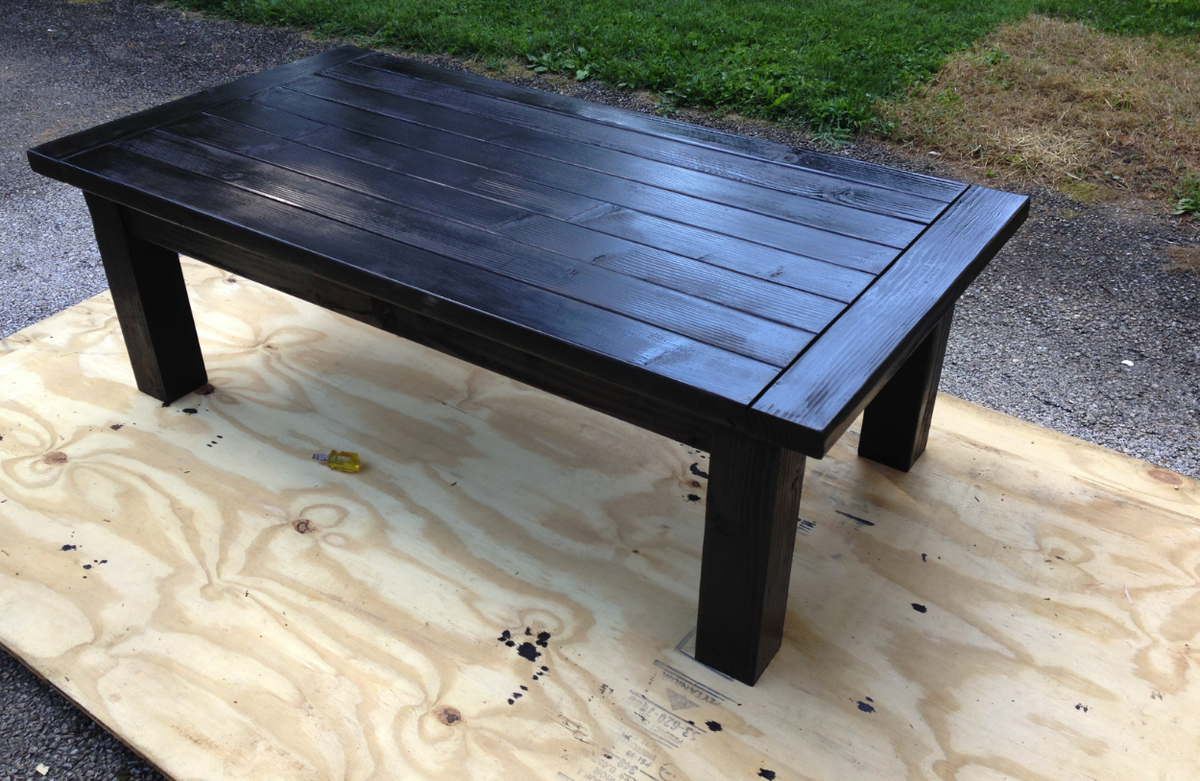
While my wife was away for the weekend, the boys (3 year old twins) decided to surprise her with a new coffee table! We had to get rid of the old IKEA one due to its sharp edges... we've already had one ER visit and nine stitches! A few notes/things I learned: * Pay attention to which side of the wood you leave facing out. A lot of my boards had one smoother side and I accidentally put those face-down. Meant a lot more sanding. * A belt sander would have made this a lot easier. * I took care to round all the exposed outer edges with the sander. A router would have been better for this, as it took a lot of care to make sure they were even. * It's going to get about three coats of polyurethane now, but I still would recommend coasters. This thing is HEAVY. It will probably outlast me. :)
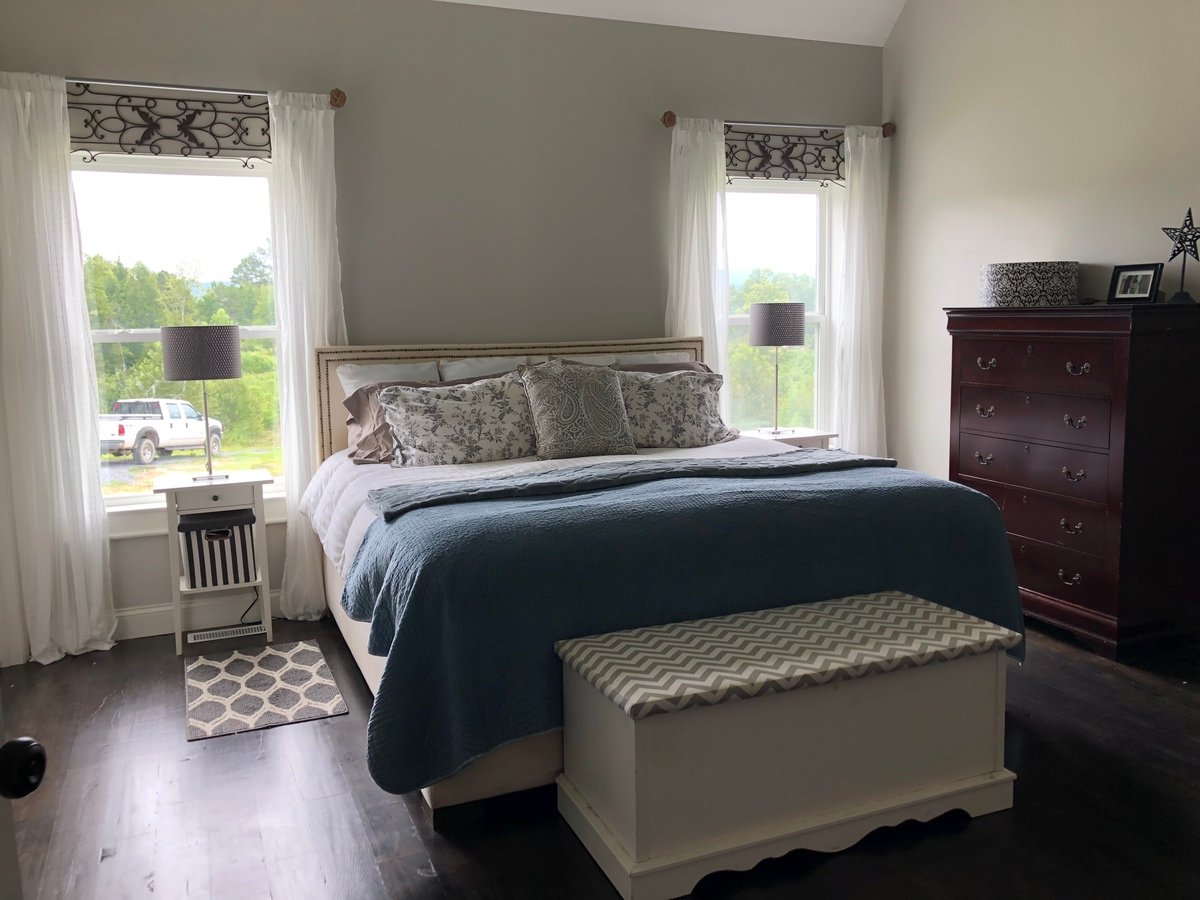
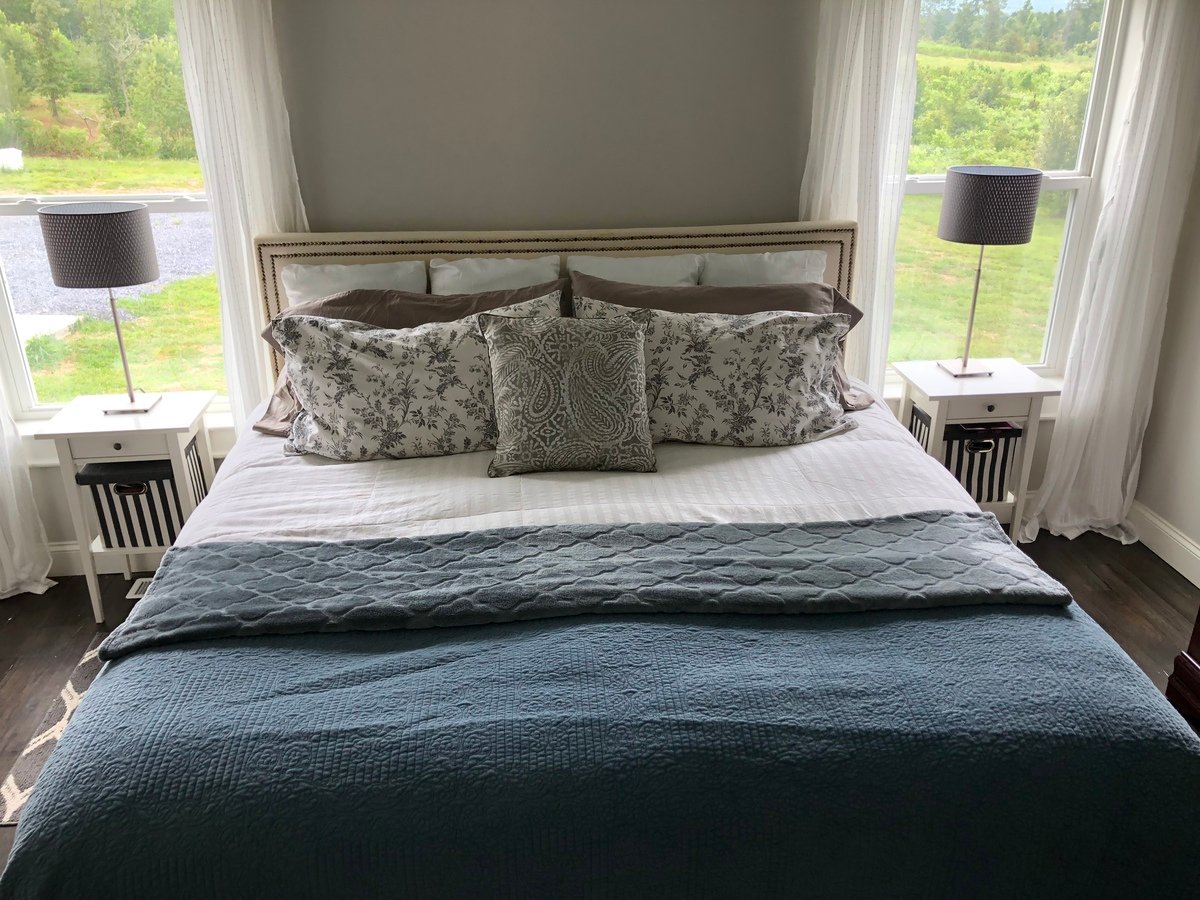
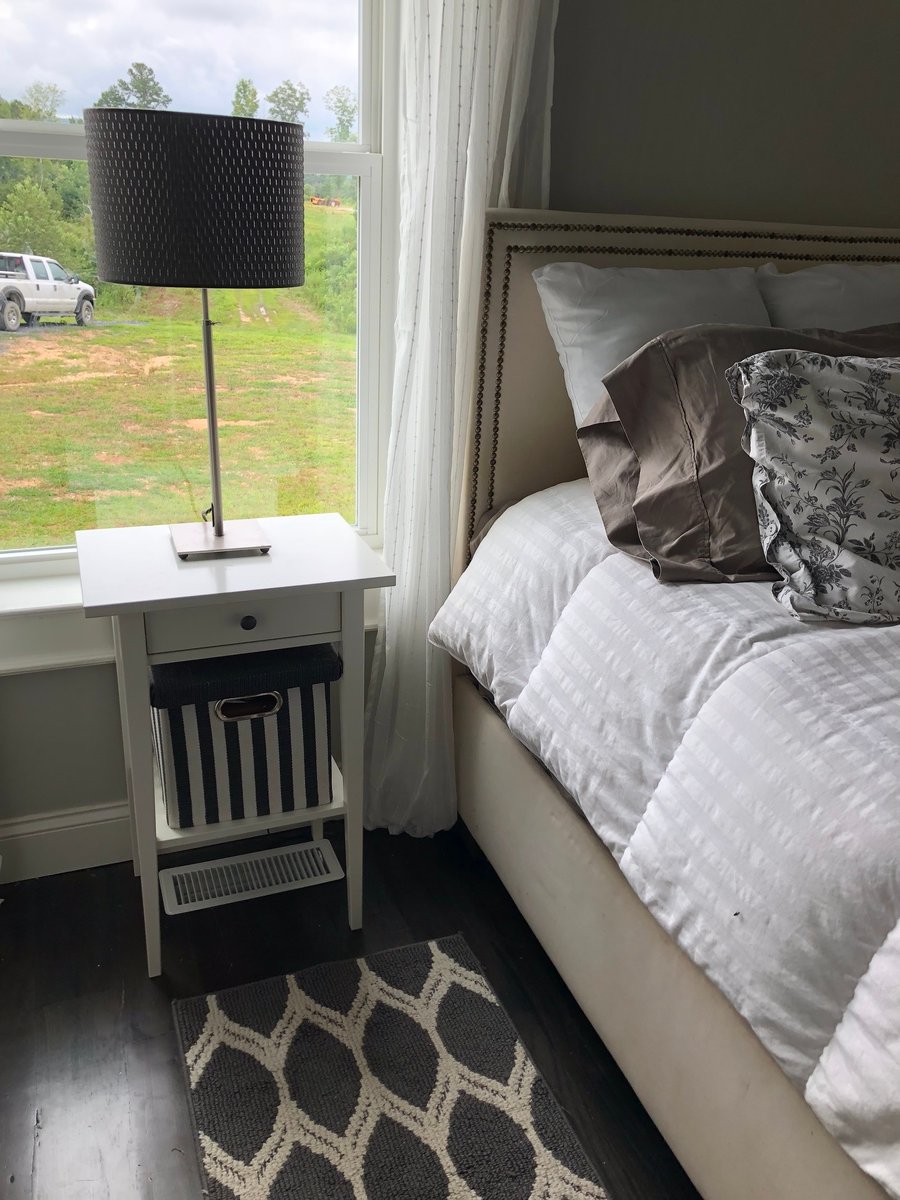
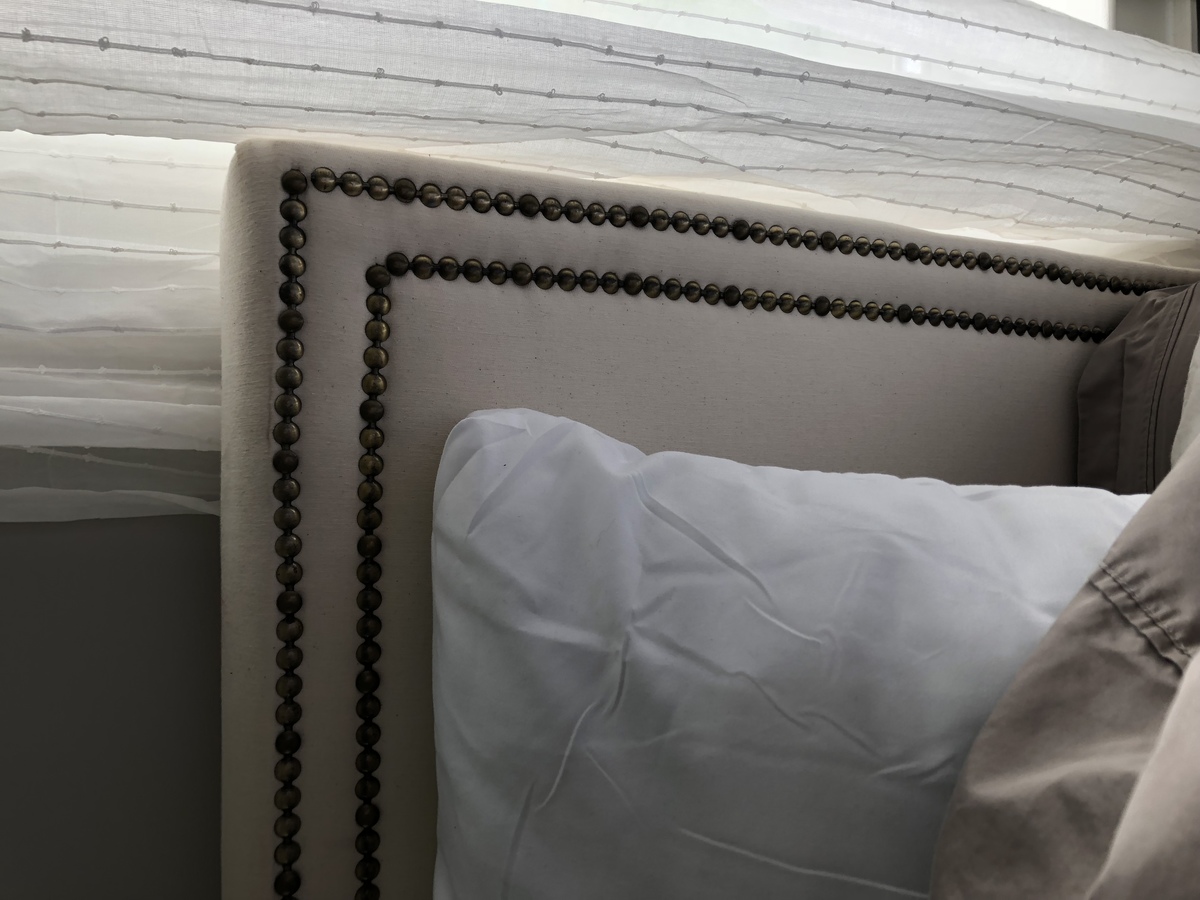
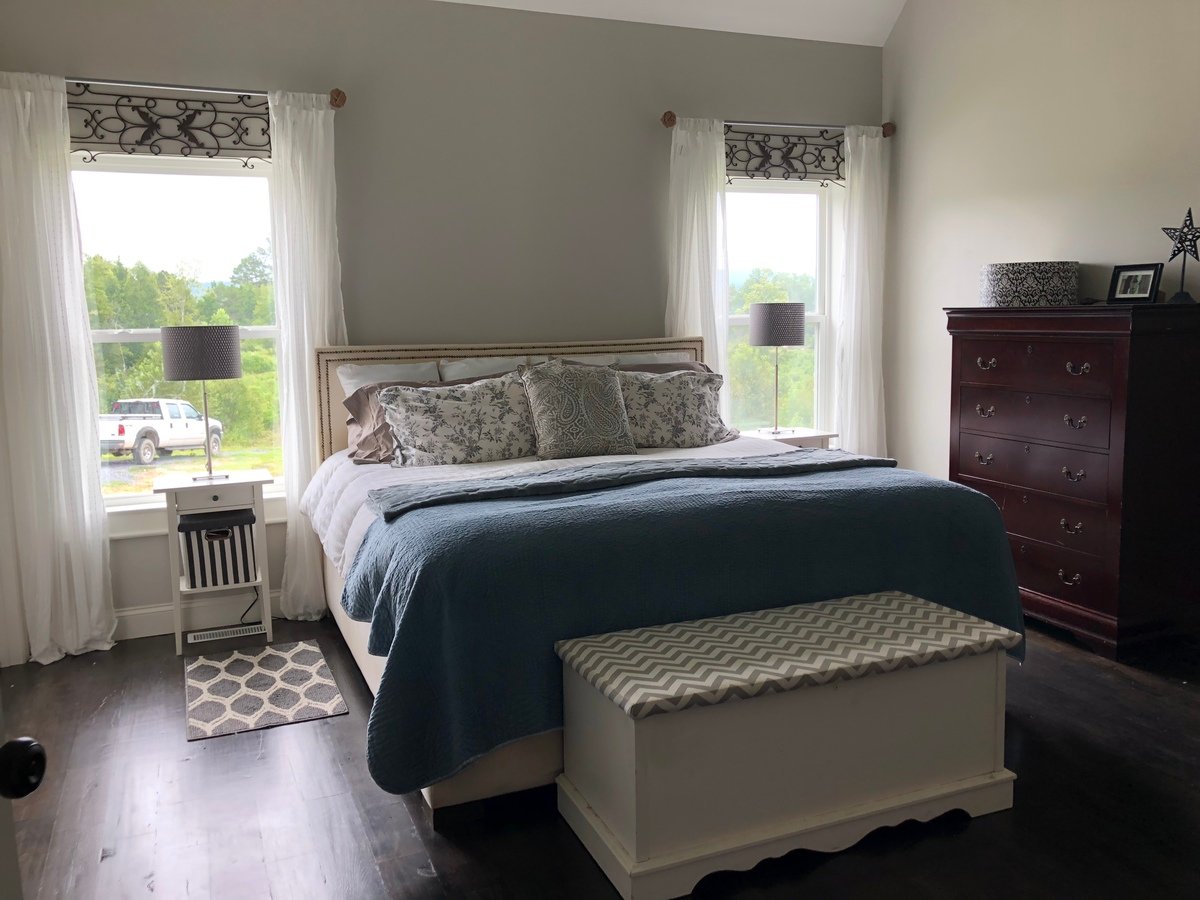
I followed the plans but modified for a king size. I upholstered my bed in a linen colored upholstery fabric and added the nailhead trim to the headboard. This is the most sturdy bed I have ever owned. I don’t know if I will ever be able to buy from a store again!!
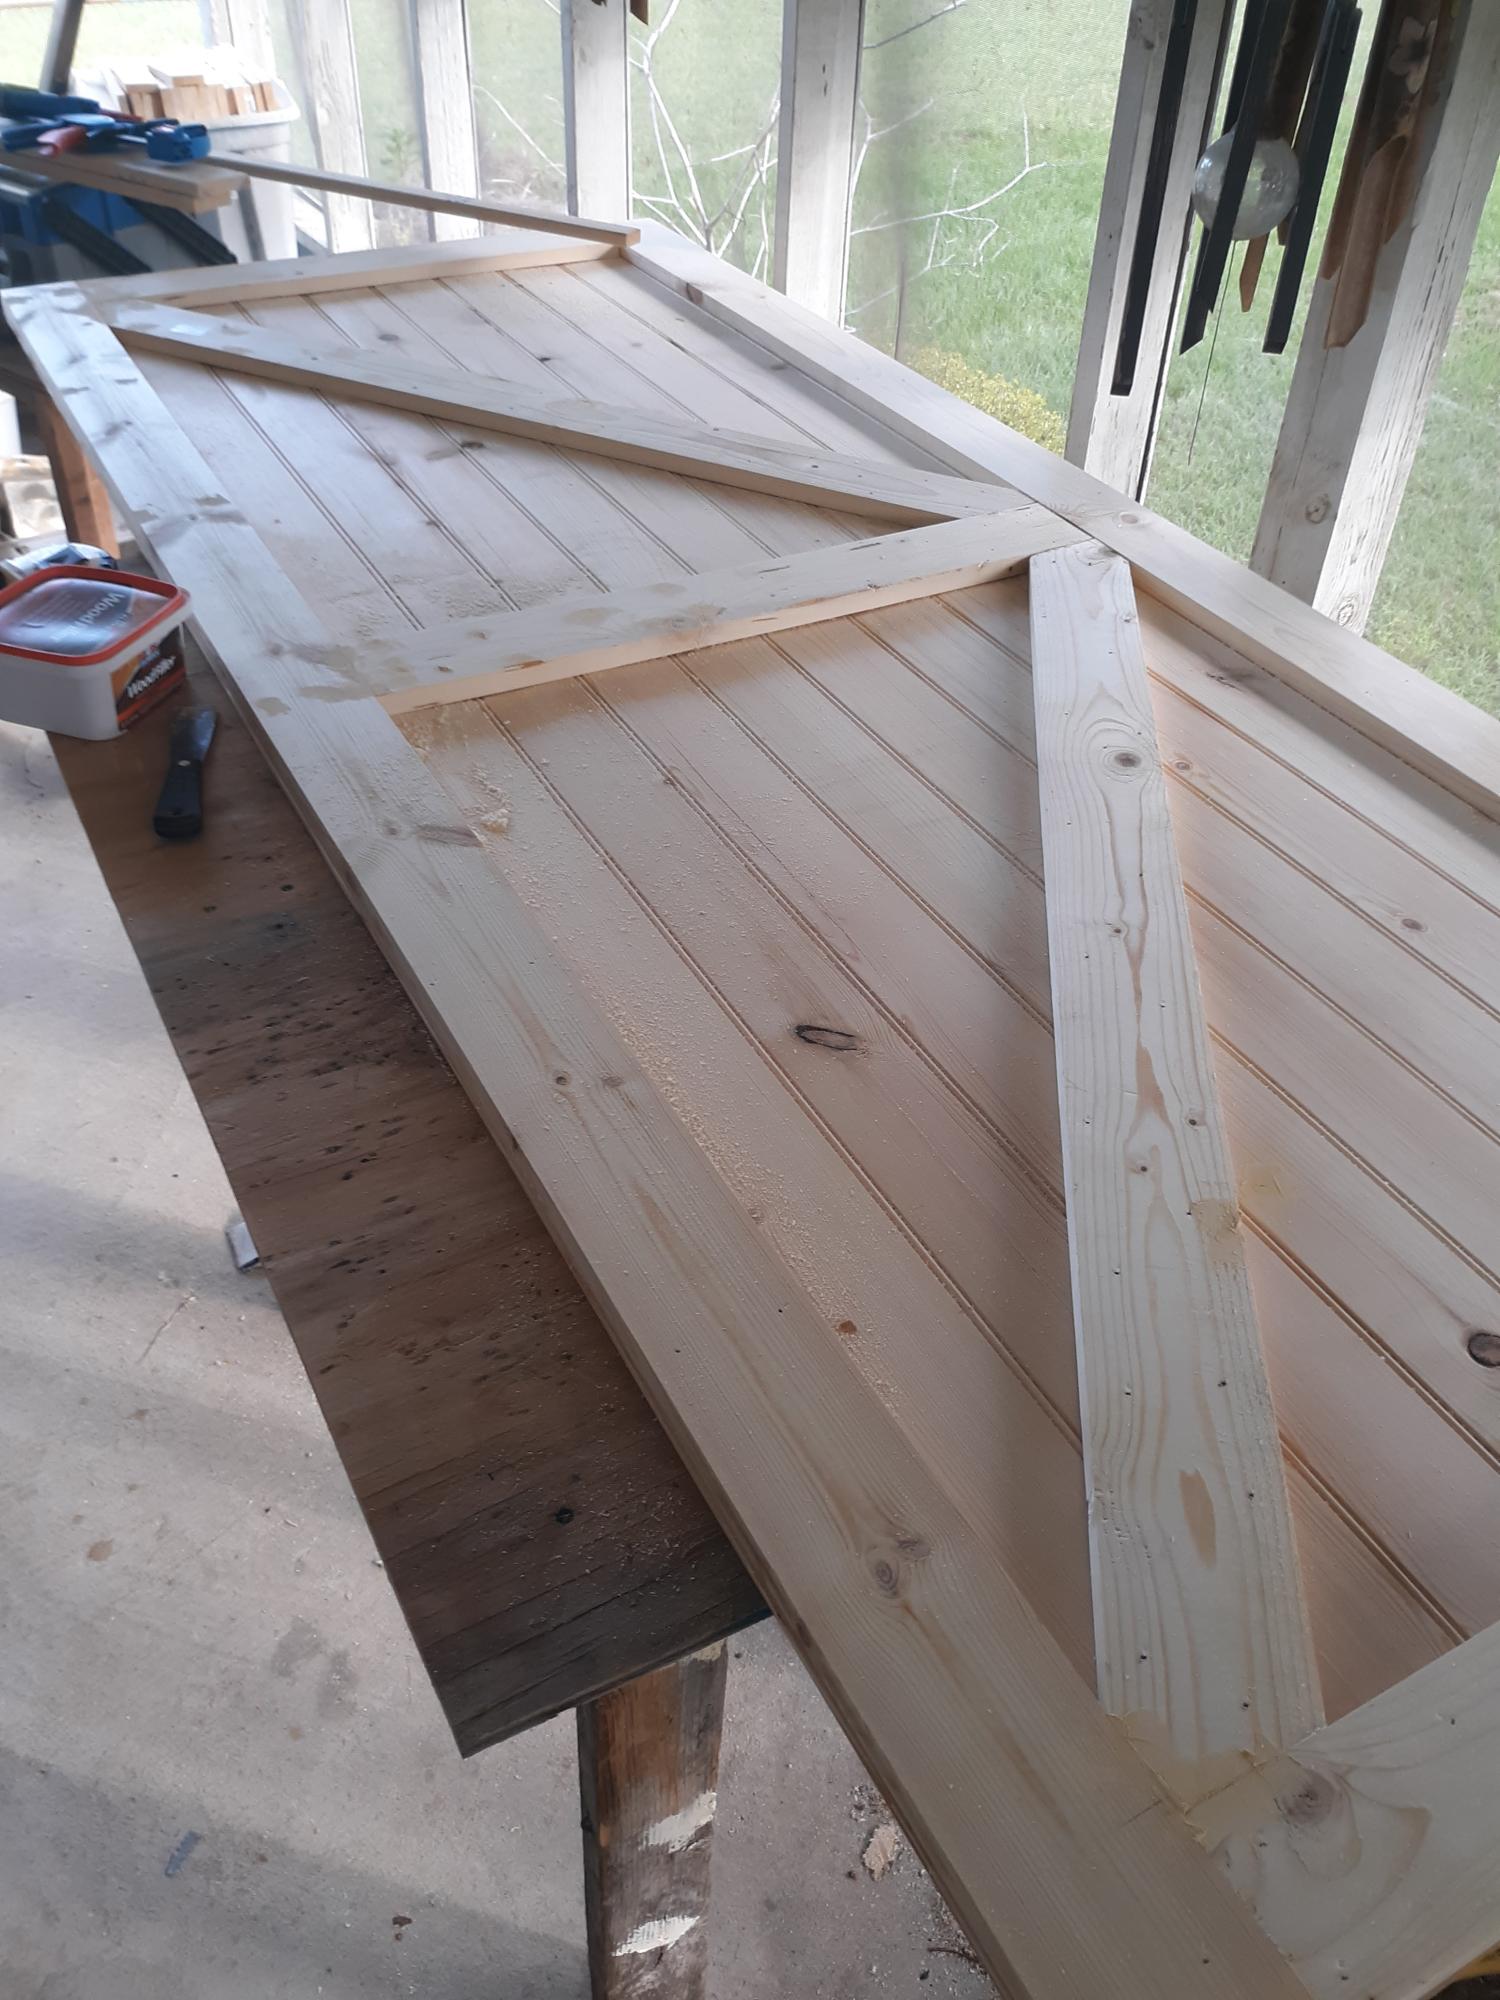
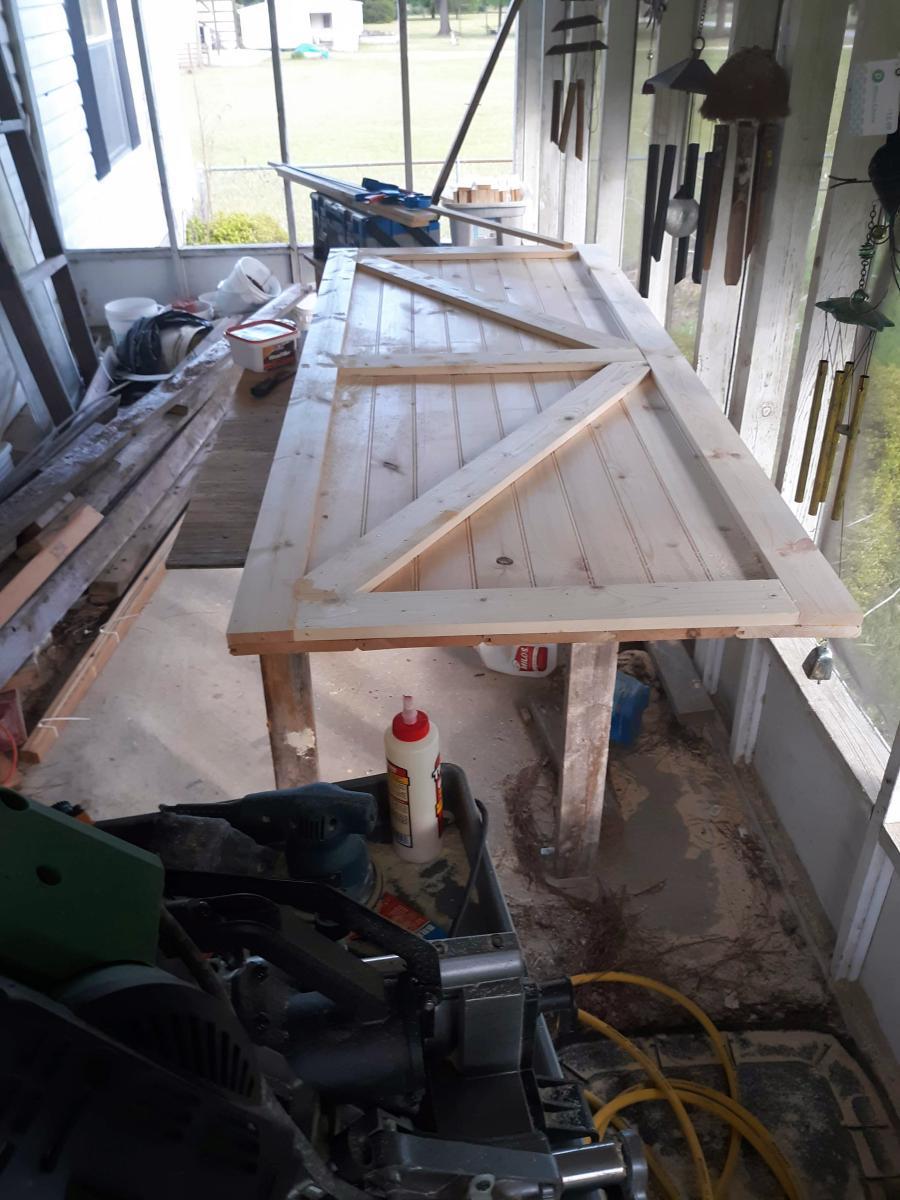
After completing the farmhouse bed, I decided that the closet door had to go. Using the same basic idea of materials, tongue and groove pine and 1x4 square edge boards. I'm very pleased so far as the door came together really well, again the lumber quality that the big box stores have is,less than ideal. Need to do my final sanding before adding a whitewash finish and matte clear poly and the hardware!
This project is closest to the Simple Closet Organizer, but I wanted to be able to re-use the existing components of the closet. The only purchased materials were one sheet of cabinet grade plywood and dowel rod holders (since I already had paint and screws).
Tue, 07/12/2011 - 09:06
This is on my very soon to do list. I actually drew up a sketch yesterday of my plan and the husband seems ready to start! Thanks for sharing yours!.
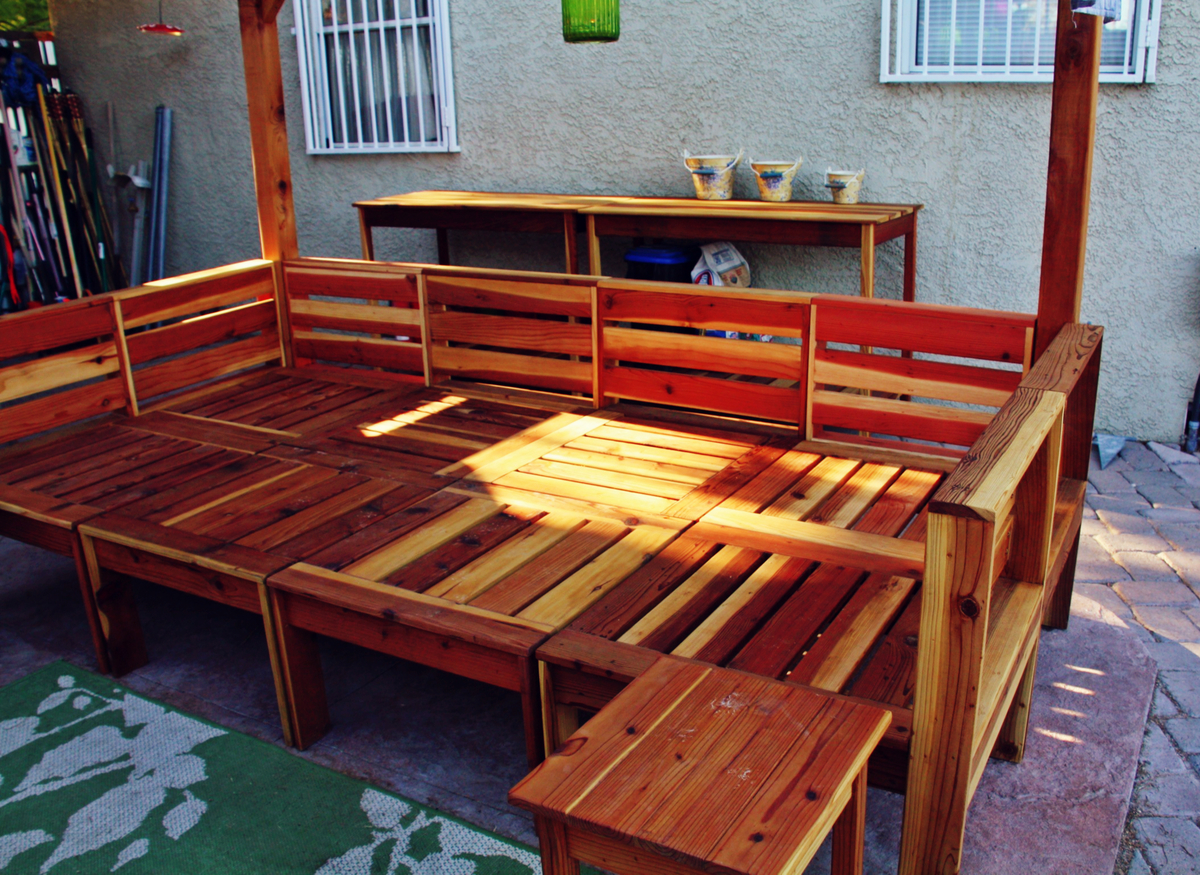
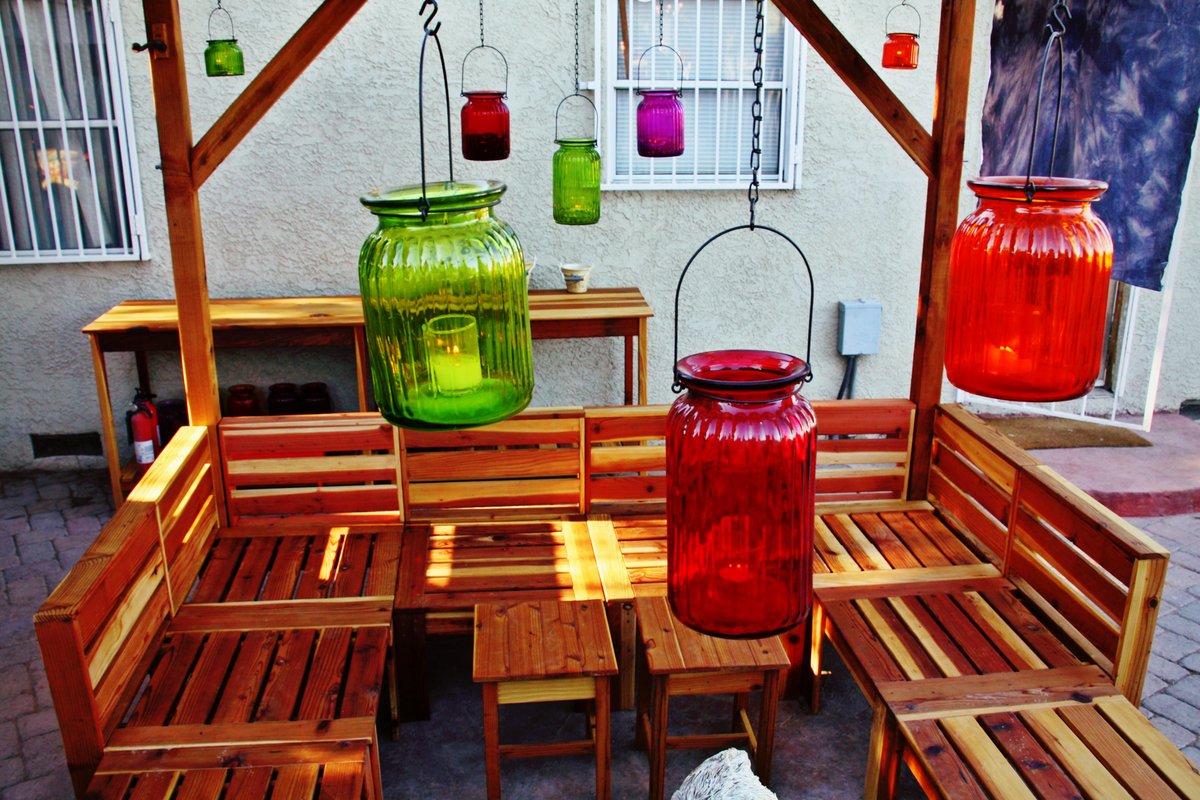
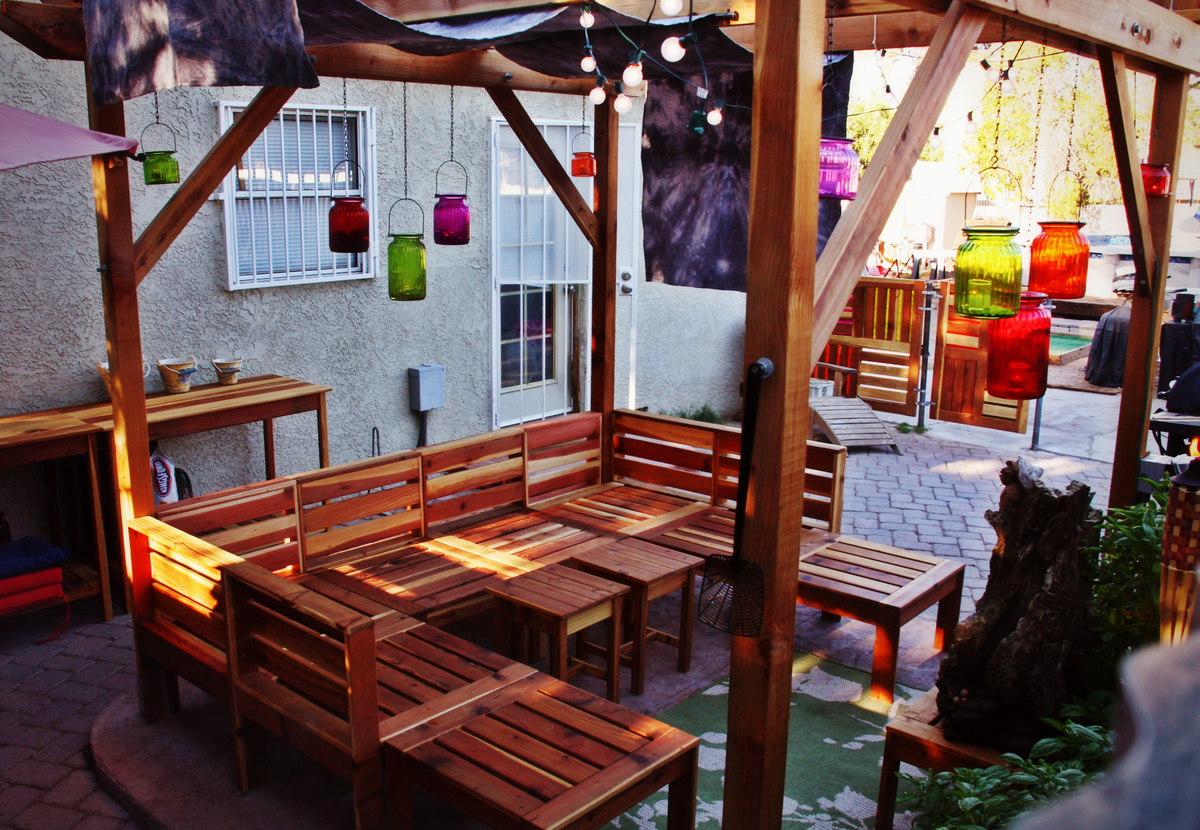
I wanted to build this sectional such that it could be used with or without cushions. I modified the backs so that pillows and cushions would not fall through. Because I wanted to use redwood rather than the cheaper pine stock, I had to rip the lumber myself out of 2x4s. This process was a little tedious and required some minor modifications because the stock was slightly thinner than production lumber. However, this saved me money because each cut list resulted in two chairs rather than one. I also built the ottomans, side tables, and potting tables using ana-white plans. Because I dimensioned the lumber myself, this project took considerably longer than the estimate on the plans. This was a fun project that I will enjoy for many years to come.
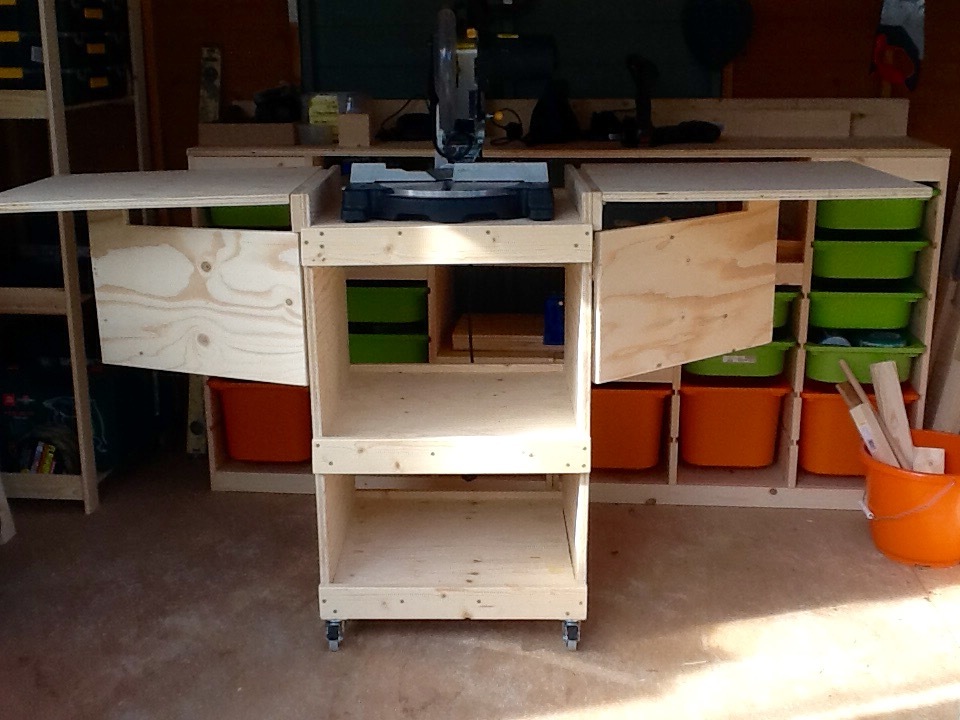
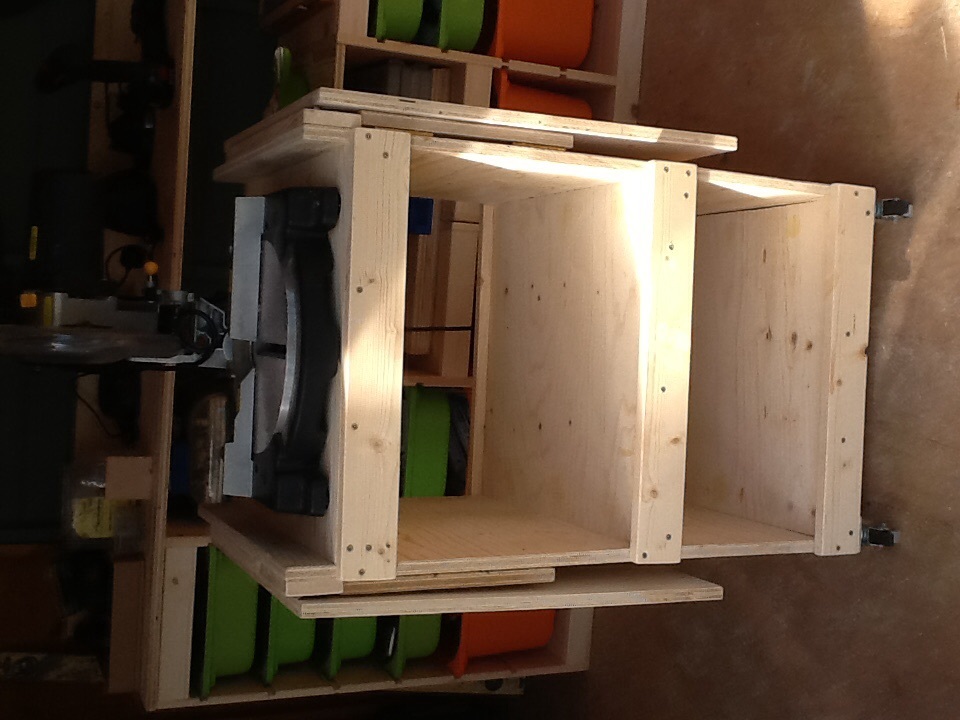
Adaptation to fit my little mitre saw, small workshop and the metric timber available in B&Q. My first build, this should let me build more while staying comfortable and safe. I'm ridiculously pleased with myself!
It took longer to build than expected because my little boy thinks naps are for wimps.
In case anyone in the UK wants to build similar, here's my adapted sizes.
18mm plywood cutting list:
2 85cm x 50cm (sides)
3 50cm x 50cm (shelves)
2 50cm x 60cm (leaves)
2 45cm x 30cm (leaf supports - replaced fancy brackets that were too expensive over here)
Timber cuts:
6 34mm x 34mm @ 50cm (cleats)
6 18mm x 70mm @ 52cm (supports)
2 18mm x 70mm @ 42cm (spacers)
Been a while since I had time to actually build anything worth posting about! My wife wanted some items for her Kindergarten classroom this year, so built several items, most inspired by the Farmhouse family.
Sat, 06/12/2021 - 11:23
I am moving from 15 and half years of third grade to a first year of first grade. I NEED tables for my kids. I plan on building my own. I am building mine as a "2 seater." Would you please share the dimensions of these student tables? I love the teacher desk too. I built something similar for my home.
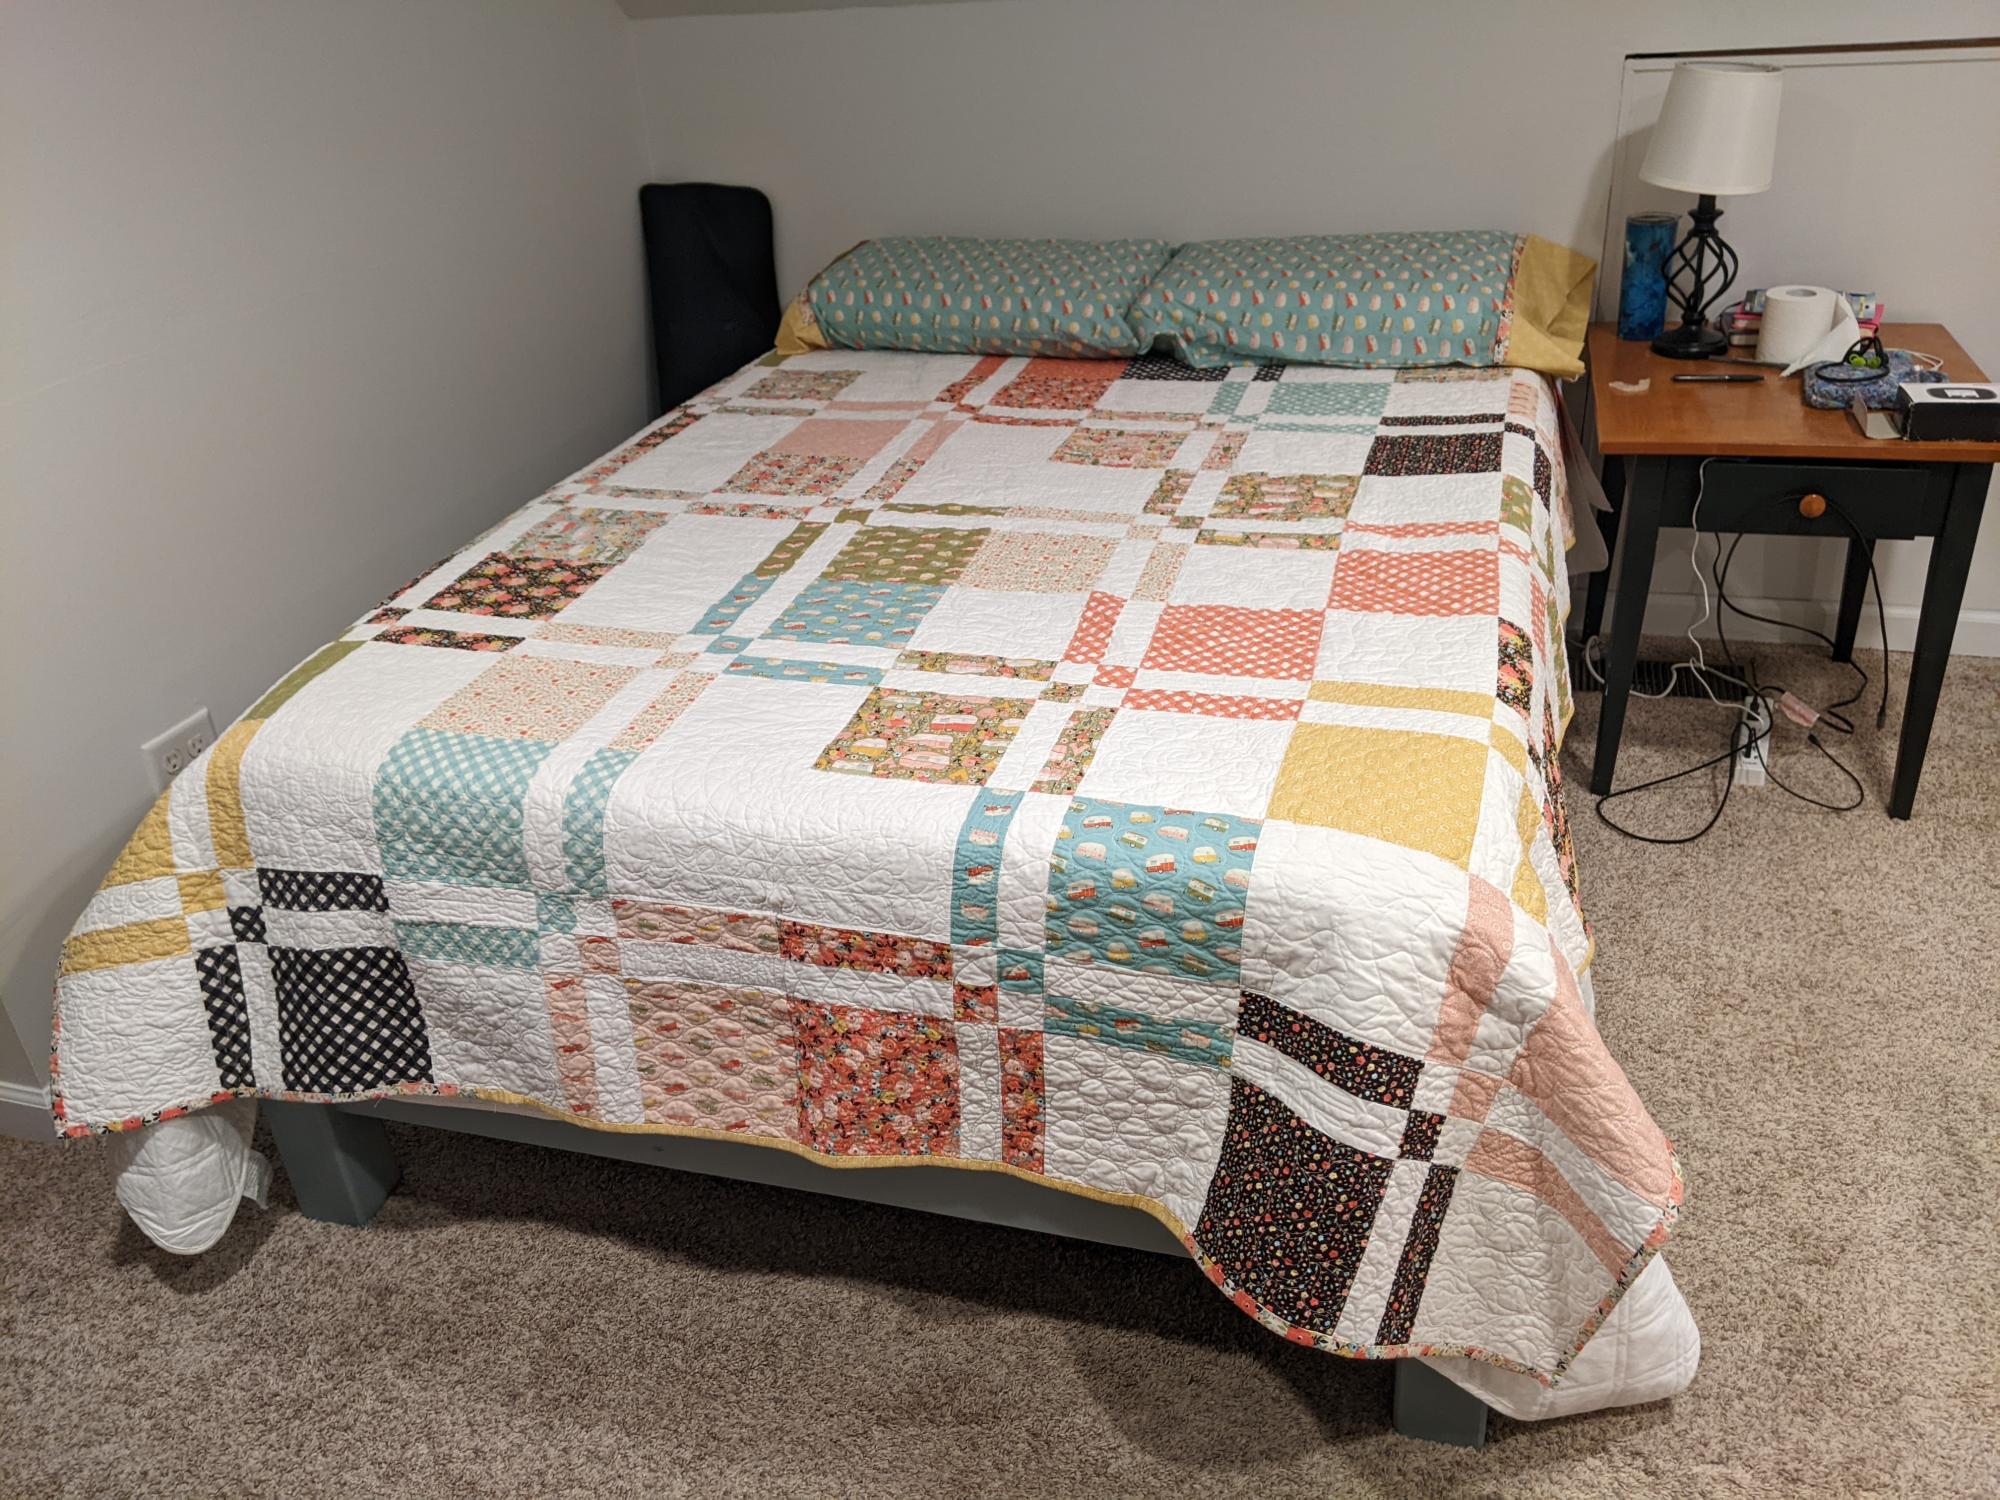
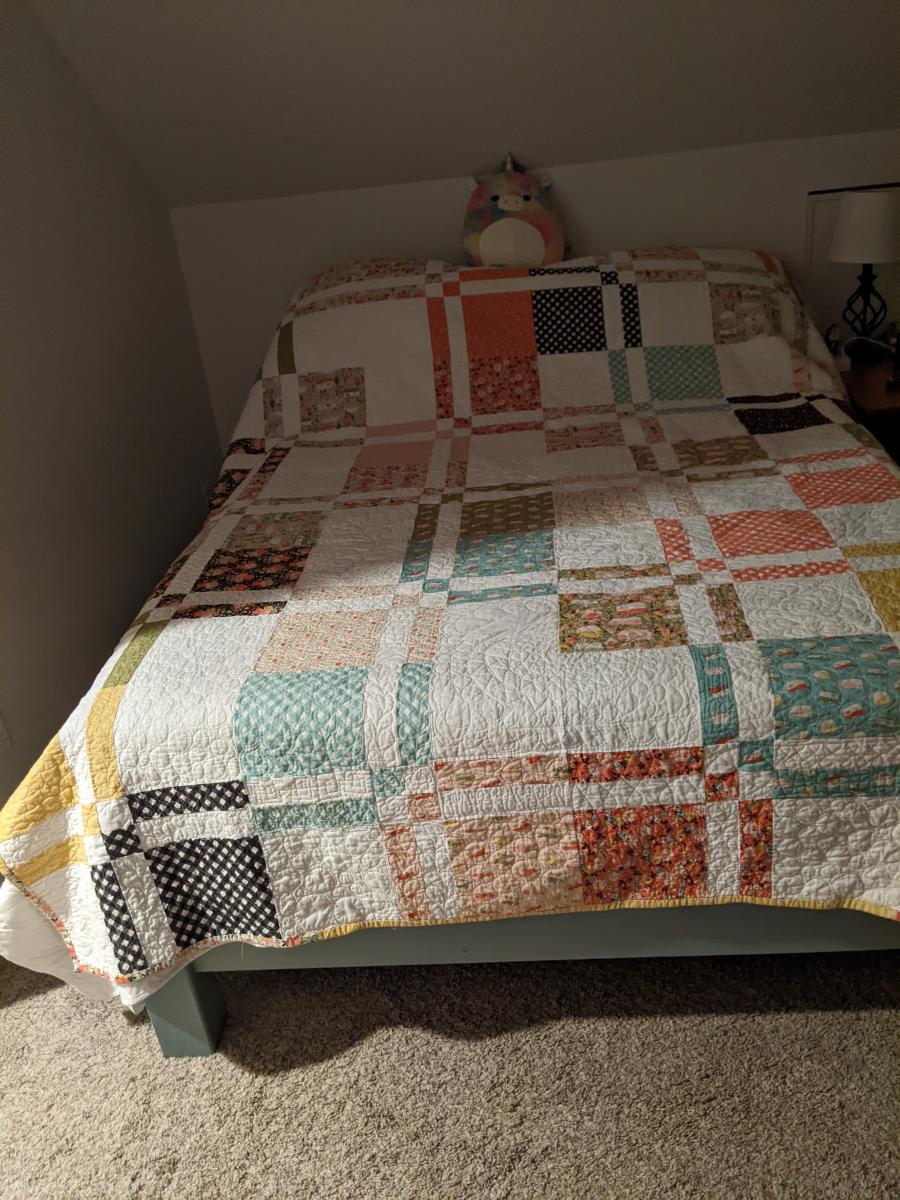
I had to move quickly from Washington to Ohio for a job ( which I've since quit!). I flew here in January, with two suitcases. I ordered a nectar mattress and needed a frame. Built it, stained it vintage blue, love it!
When we finished our playroom I knew I needed to build the lap desk for their nail salon! It's the perfect size to do nails on and it holds all of their nail polish, files and cotton balls. I didn't add the trays on the side of the desk because we didn't have the space. I think I probably spent more time trying to figure out the hinges than I did building the desk!

I needed a microwave cart/table/stand, but couldn't find one at a price I was agreeable with. So naturally I started snooping on the internet. I originally found this plan, http://ana-white.com/2013/05/plans/2x4-craft-table and then modified it to fit my microwave and able to hide my garbage can underneath. I plan on finishing it with a ruffled skirt (to actually hide the can) and stenciling+staining the wood.
A few mods with beefier lumber.
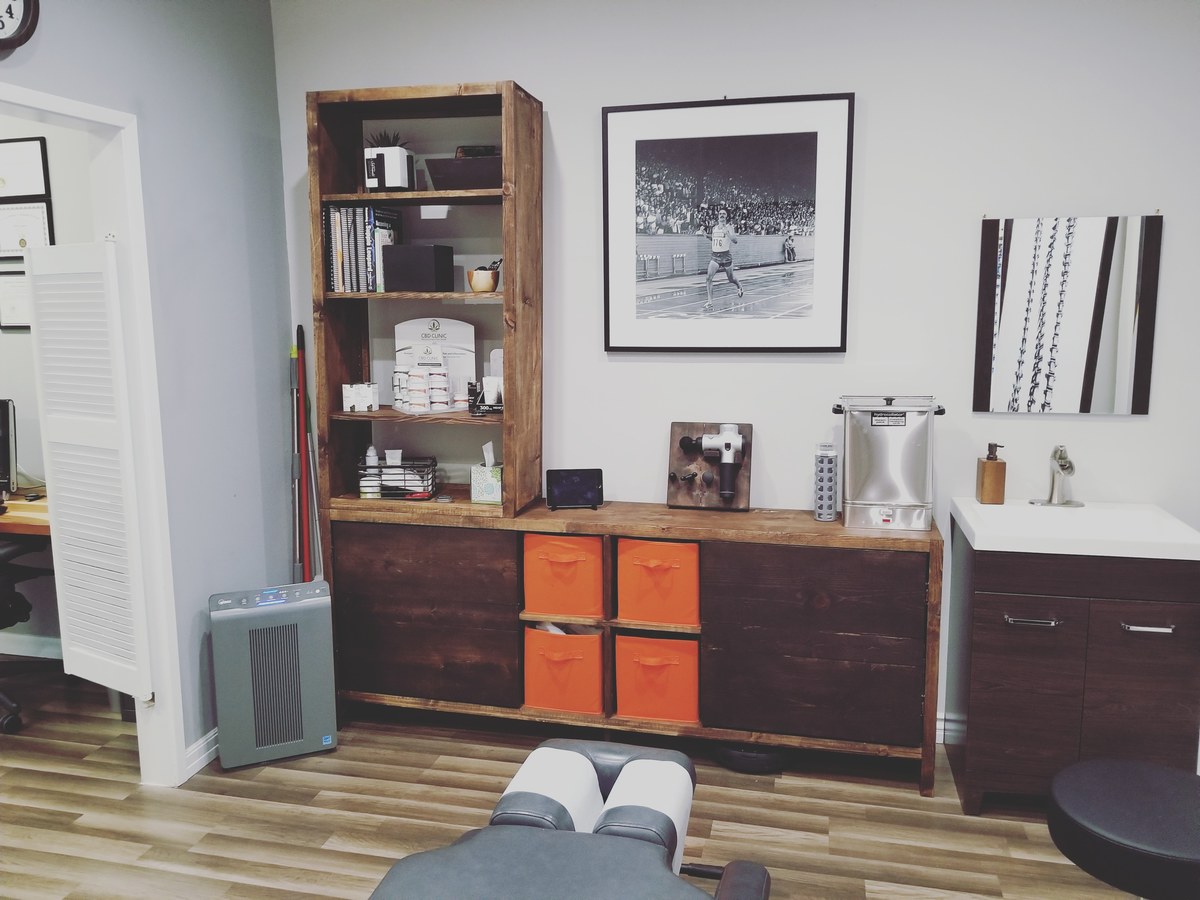
I used the 6 Cubby plans and just started tweaking. First was the plan to just do 12 cubbies, then decided to just put in adjustable shelves for aethetic purposes and not having it look too "Boxy" After that decided it would look better with doors too.
as for the shelf on top, I used the cubby bookshelf plans and just made it wider to match the width of the doors and then decided to also make it adjustable shelving as well. (used the kreg shelf pin system.)
Overall turned out pretty good. I am making a even bigger one for my other room.
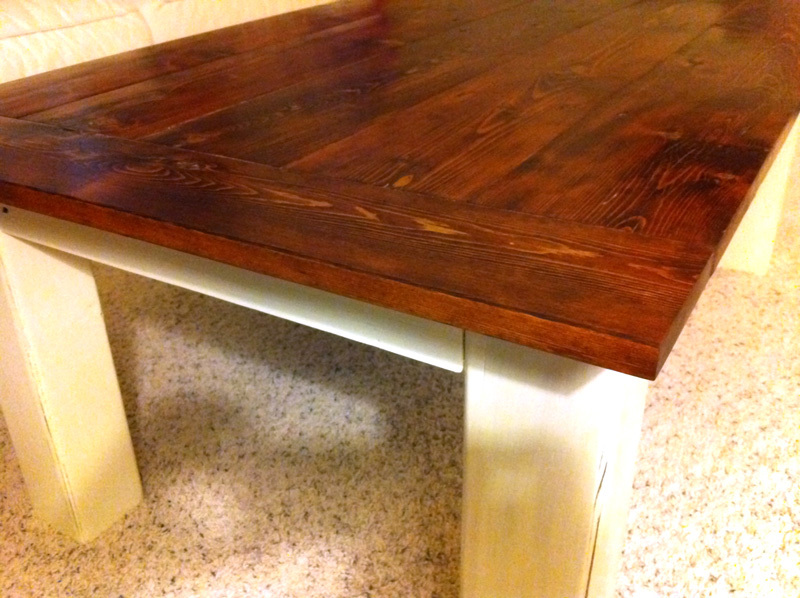
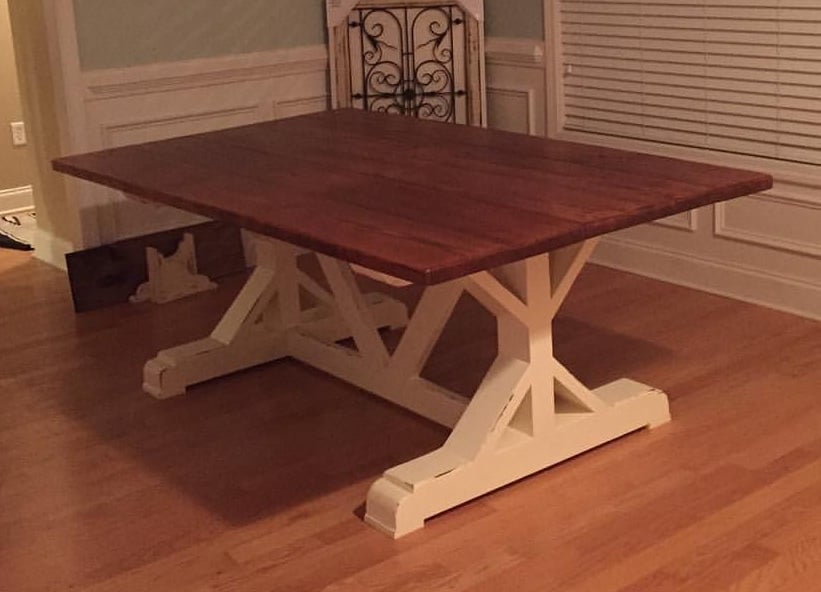
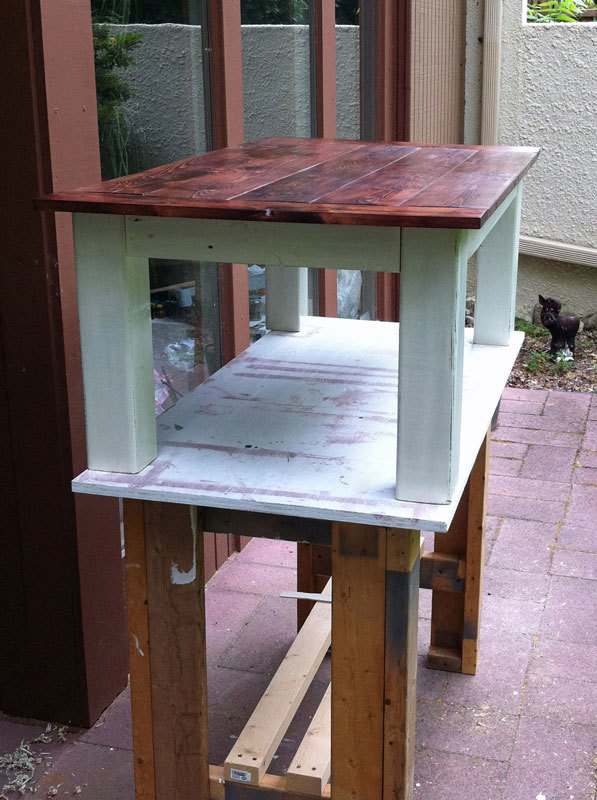
I built this a a birthday gift for my sister. My dad brought me a stack of old fence boards and I used them for everything but the legs (4x4s) and cross pieces (2x2s). I hand planed the boards the assembled everything using Kreg jig, pocket screws and glue. The top I stained with a mix of minwax mahogany and walnut then waxed. The base was painted an off white and distressed. My sister loved it!
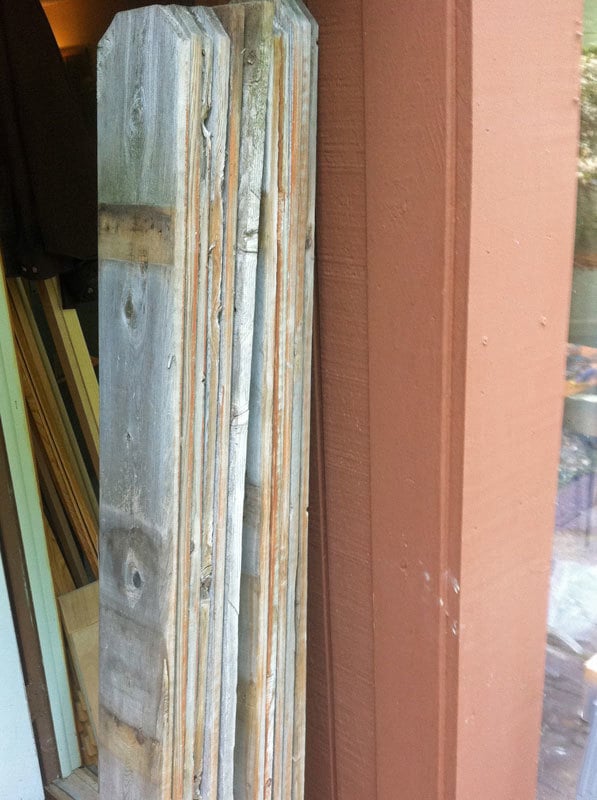
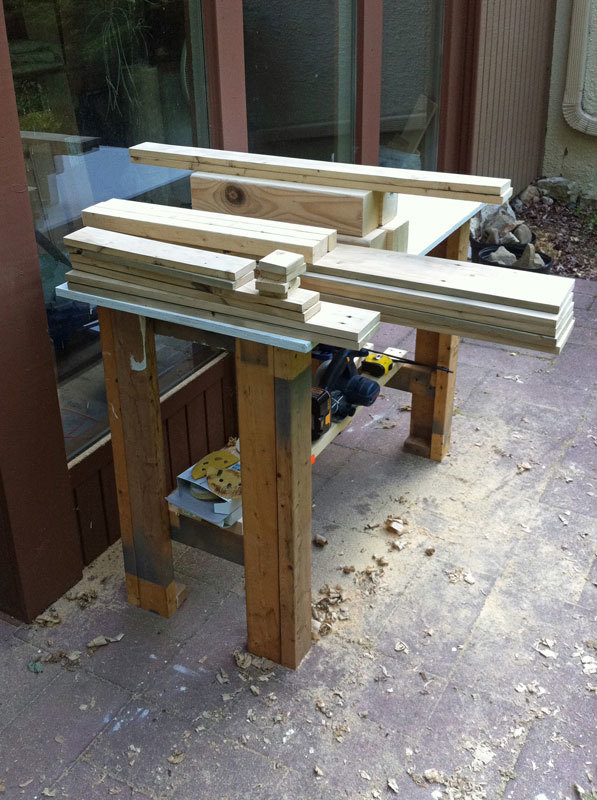
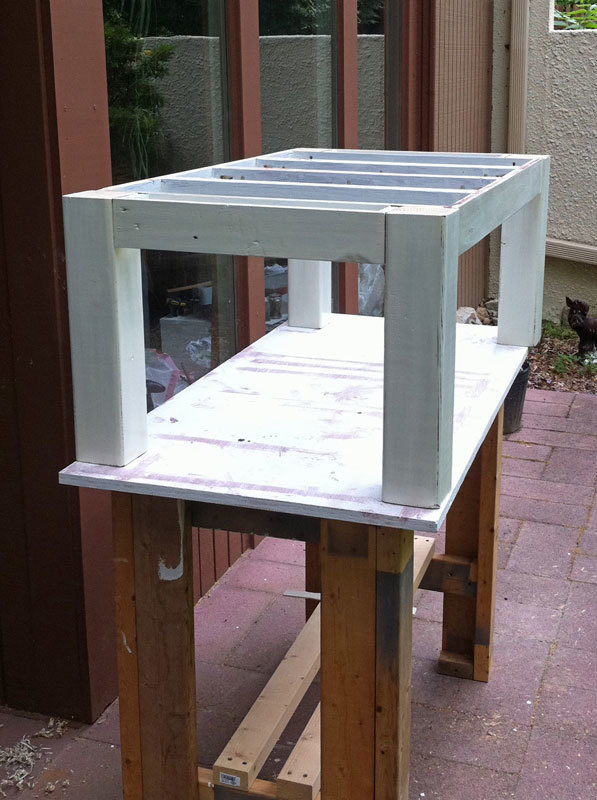
I made this table for my sister's Lake House. It isn't from a specific plan but I used many techniques and tips from Ana White's site to build it. The inspiration came from a table my sister and her husband saw at a Vineyard in Napa Valley. I bought the 4 legs 5" X 5" from Osborne Wood Products Inc. but all the other wood is just builders grade pine. My sister wanted a trestle table, I was a bit worried about stability but this table is rock solid! The table top measures 48" x 90" exactly the size to fit their new dining room! It hangs 12" out from the base all around. I stained it with Minwax Golden Oak oil based stain and finished it with Minwax Polycrylic.


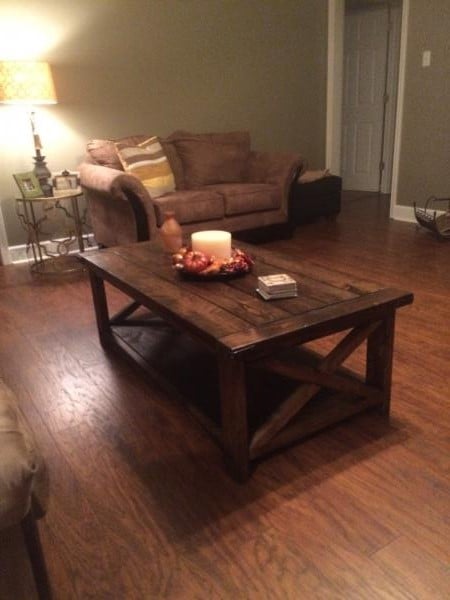
Table is 4 1/2 long. Used
the farmhouse end. And used 2x12 for bottom instead of 1x12
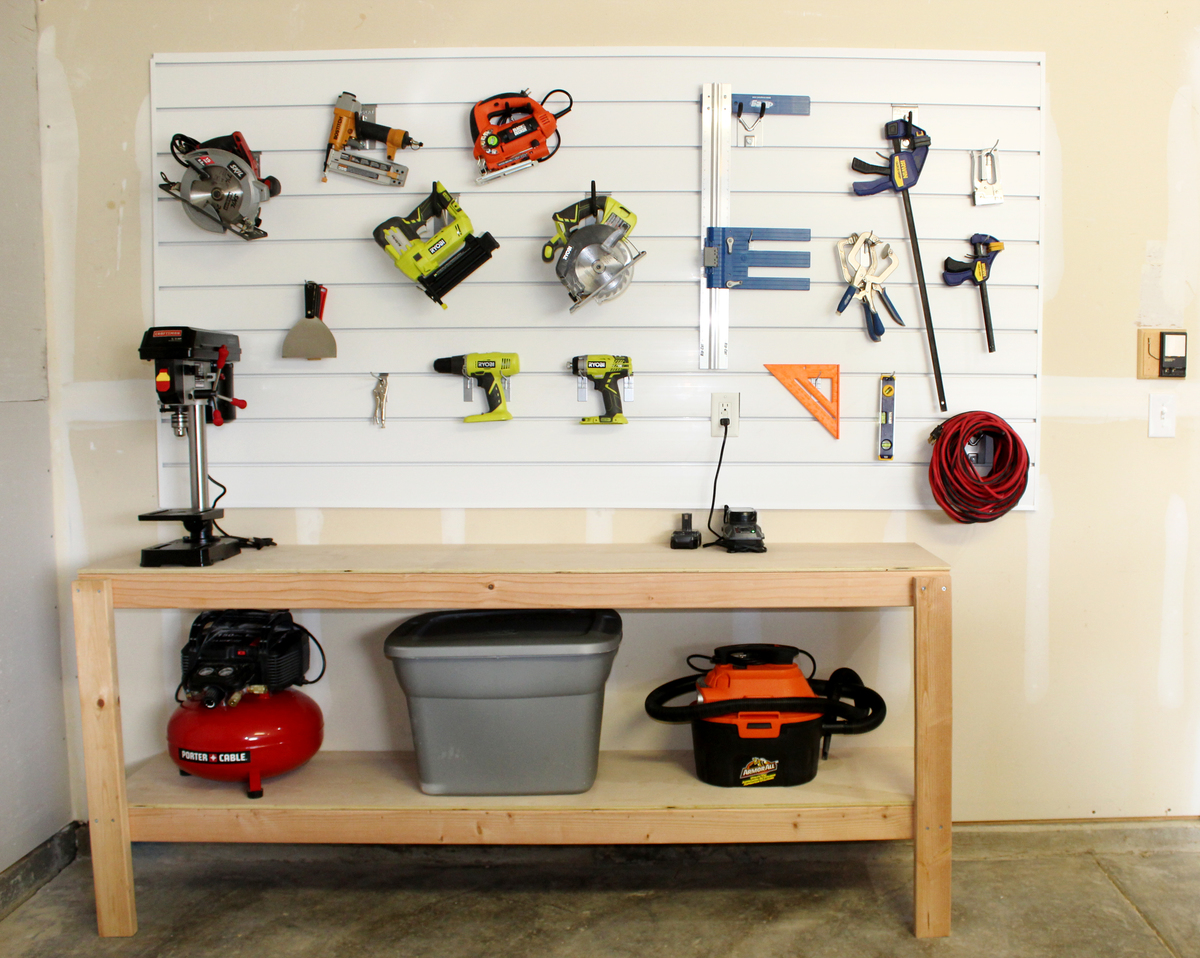
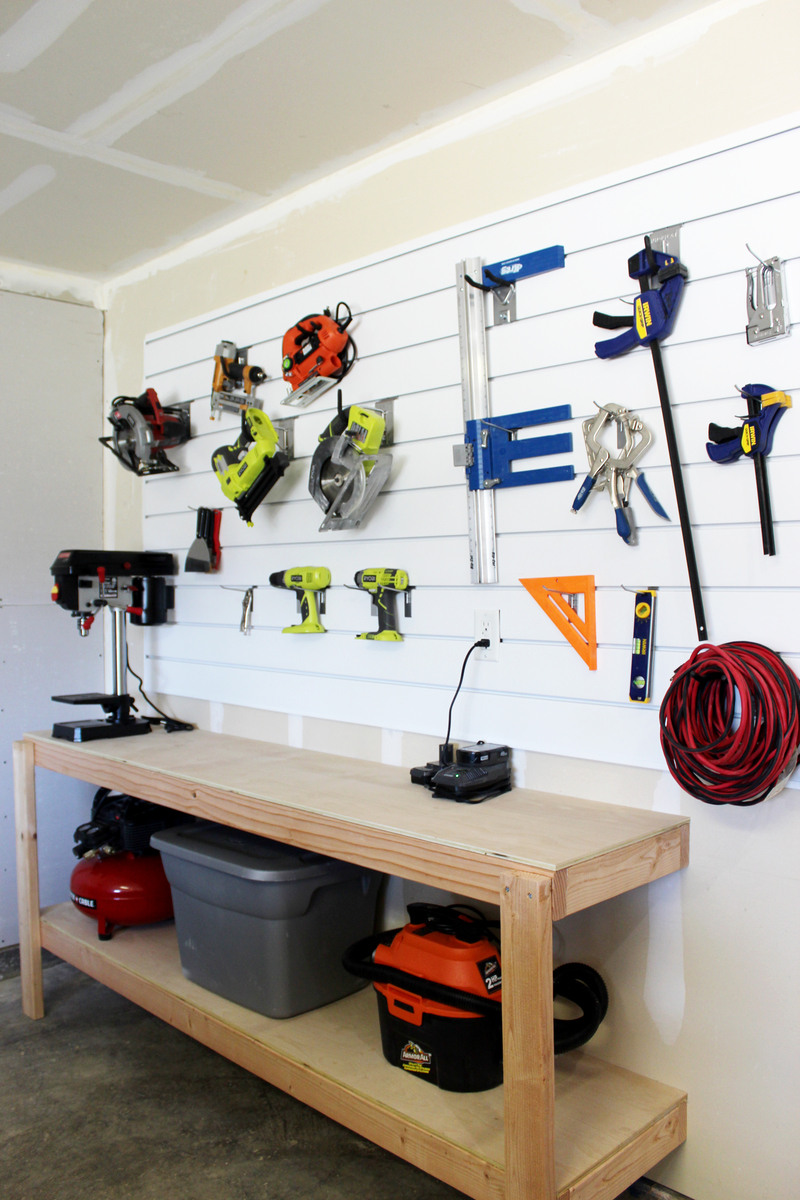
I created shelving and a workbench space for my garage. The plans were simple to use and the shelving ended up being sturdy and level!
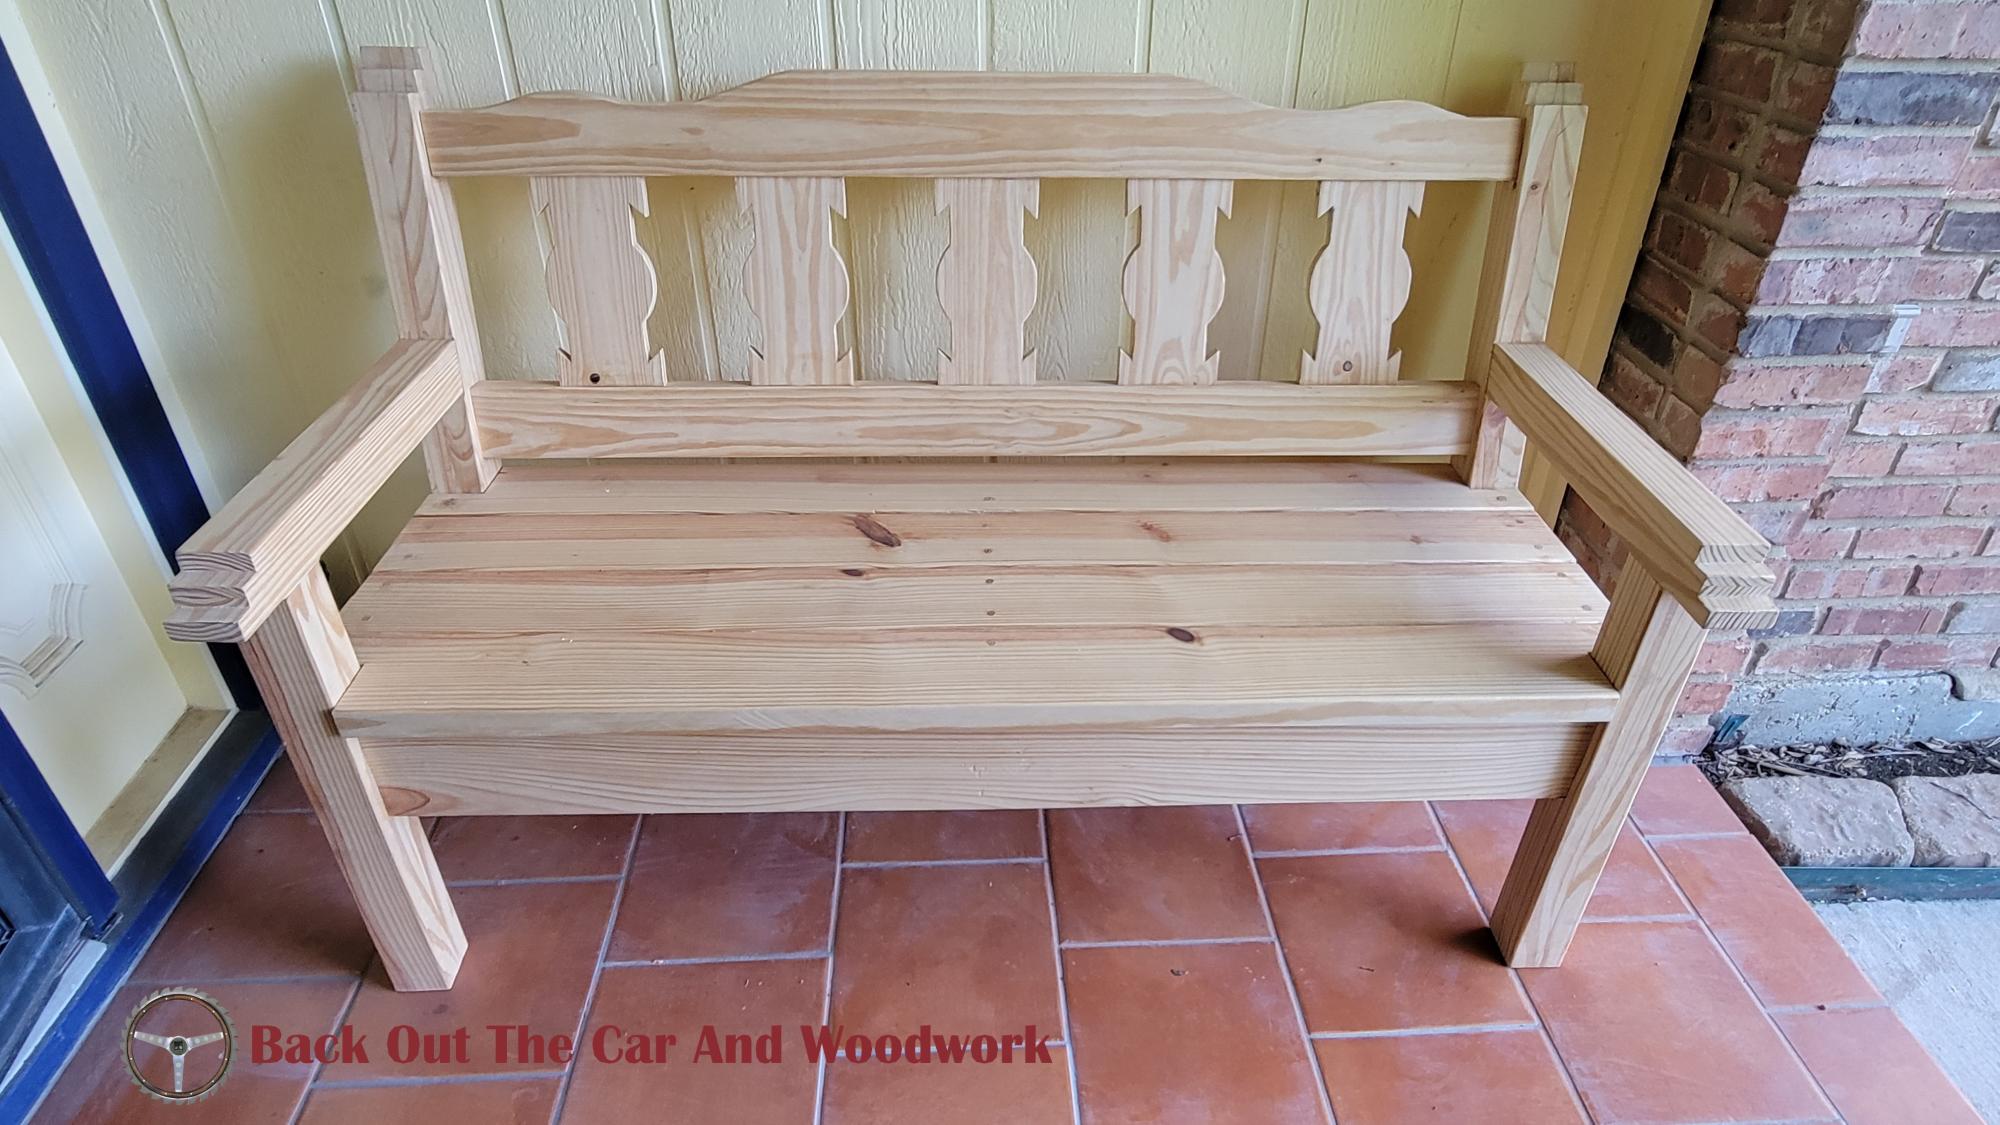
We visit Santa Fe and surrounding areas every summer.
I love all the hacienda furniture but wasn't willing to pay designer prices for the good stuff or deal with transporting it home. I took pictures all over the place, narrowed down the design features, and made my own.
Check out my 4 part video series of the construction on my youtube channel (link below).
You can even see me play some guitar at the end of part 4.
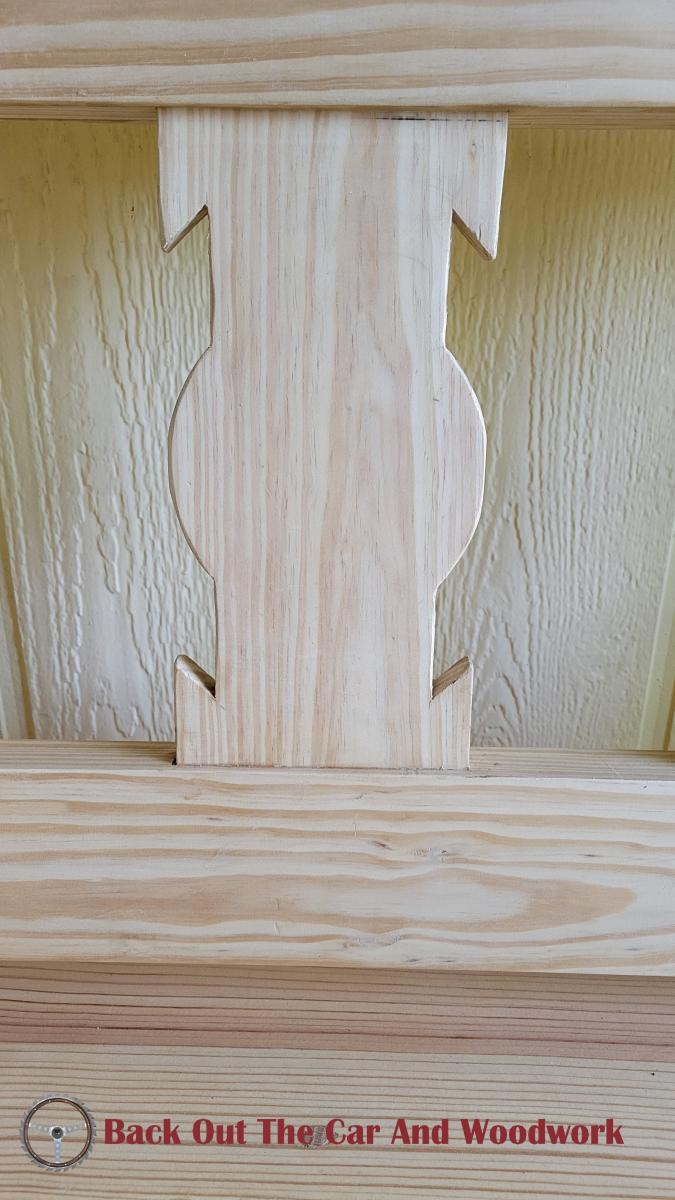
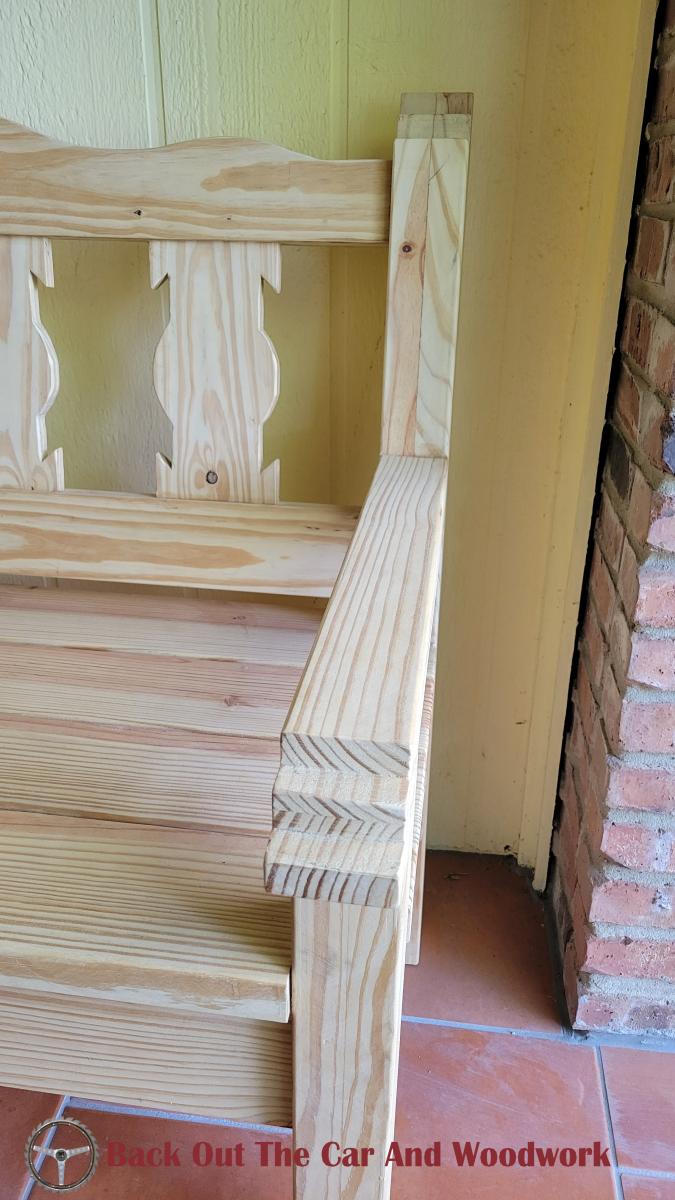
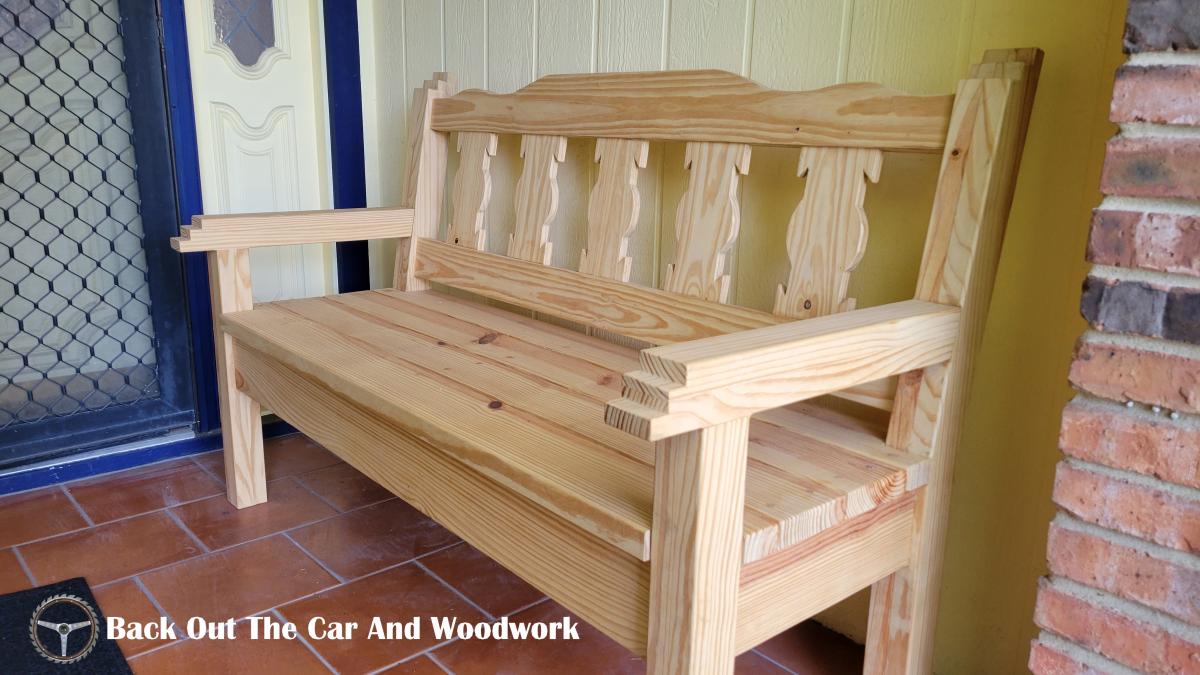
Fri, 06/17/2022 - 07:38
That is so awesome, good for you! Thank you for sharing:)