Community Brag Posts

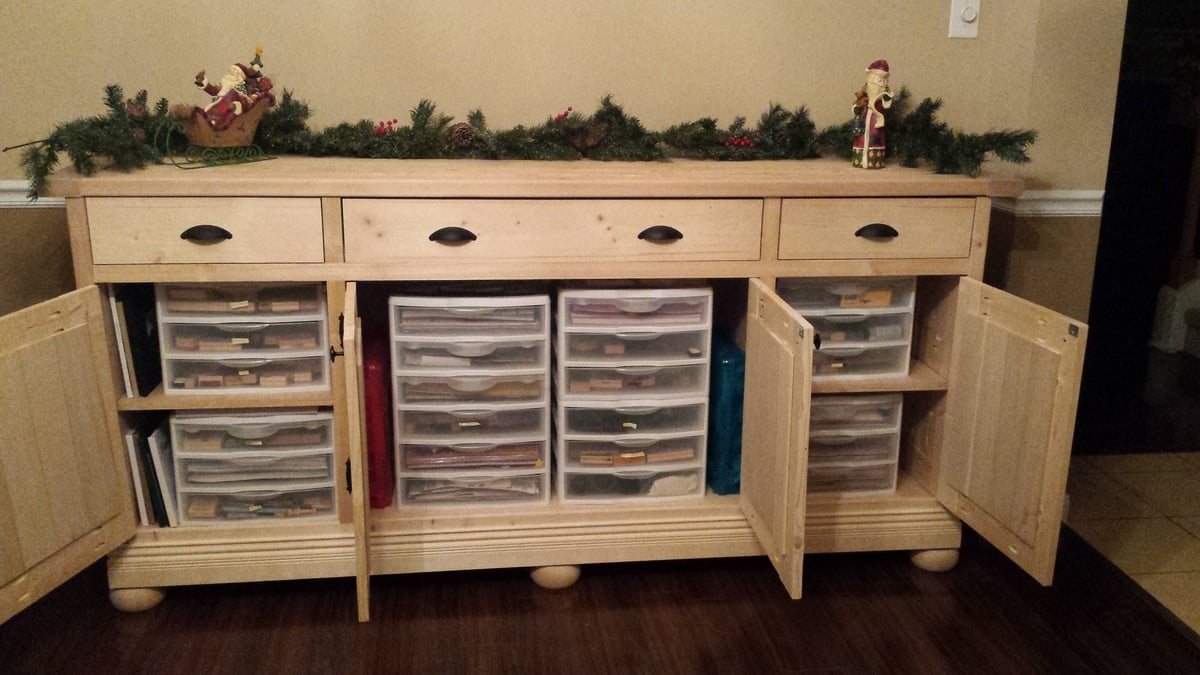
Planked Wood Sideboard

Submitted by JessB. on Tue, 12/09/2014 - 12:20

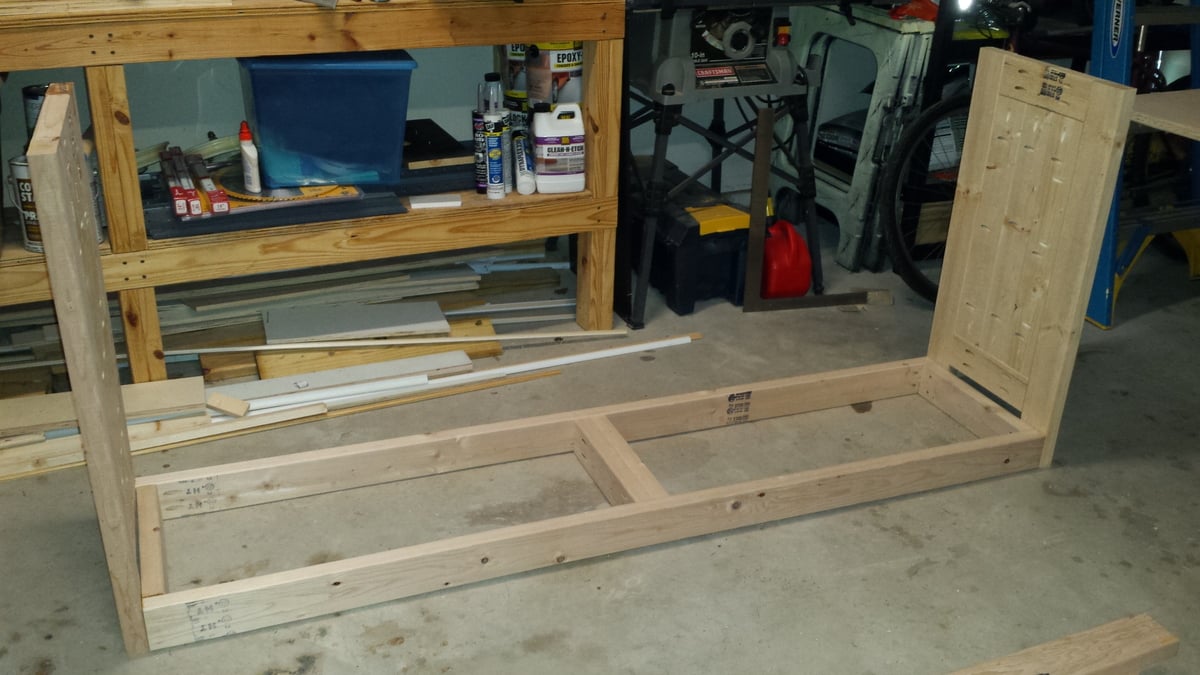
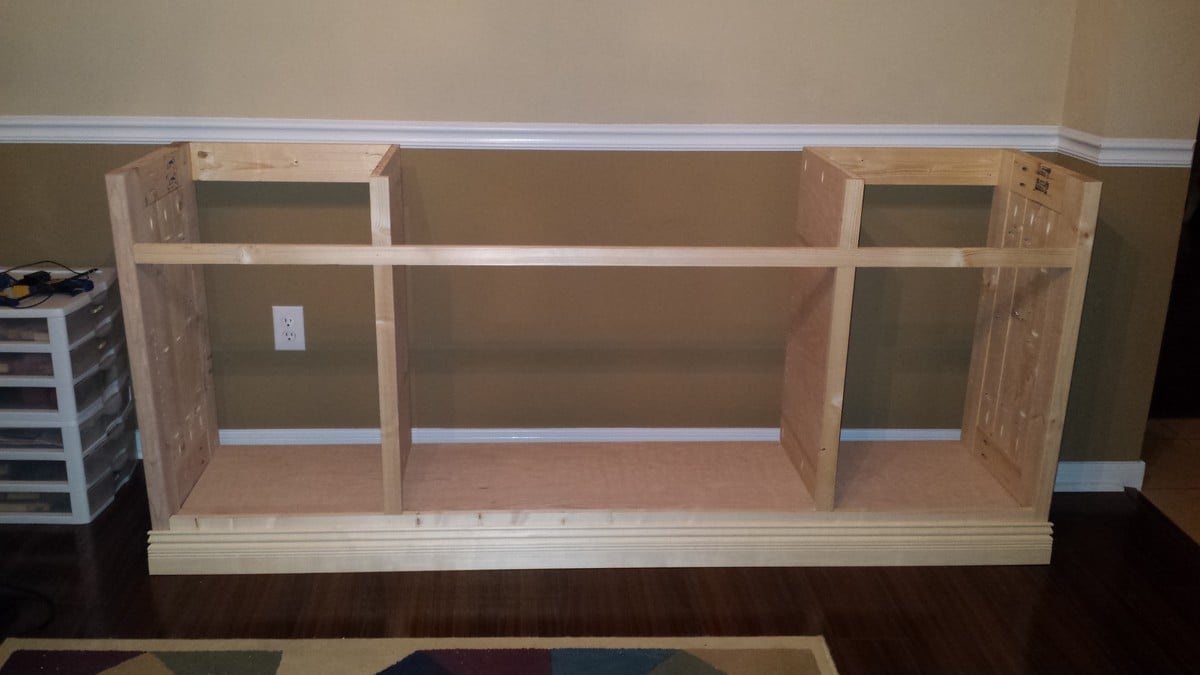
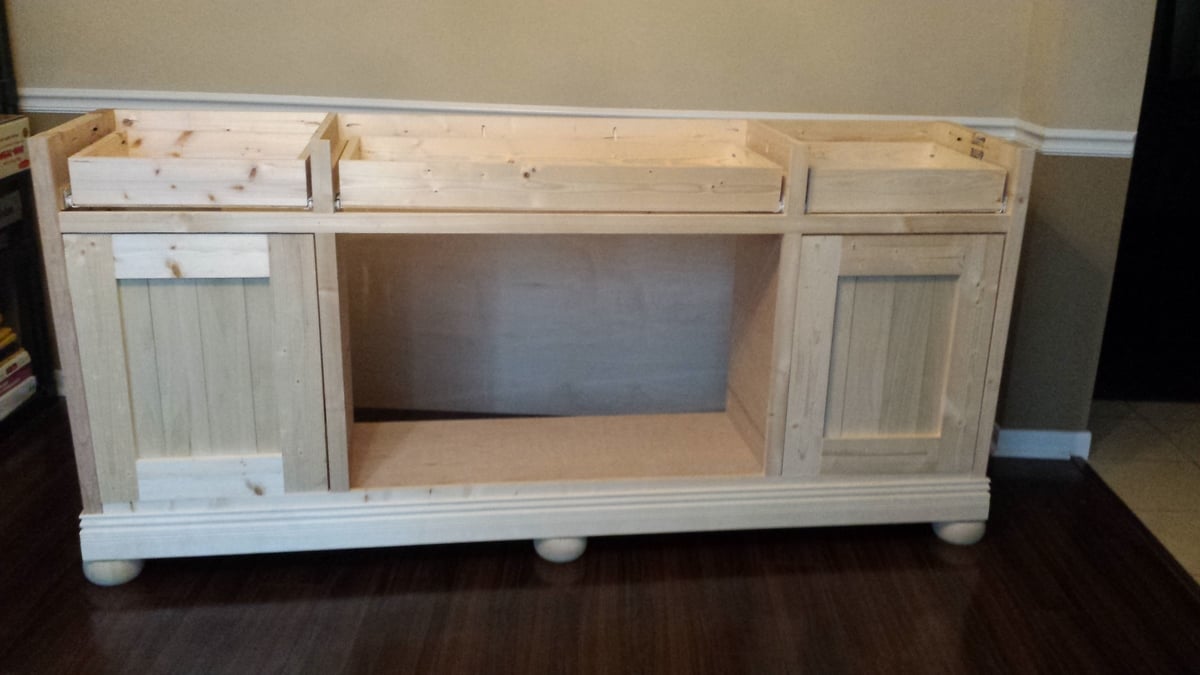
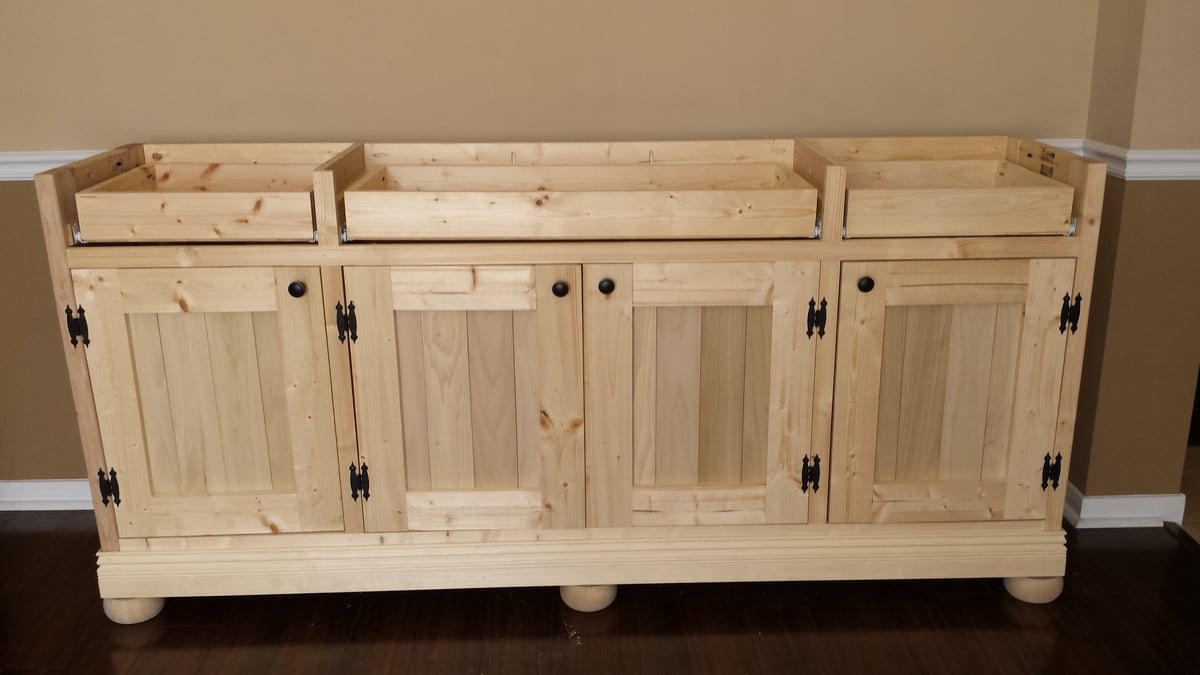
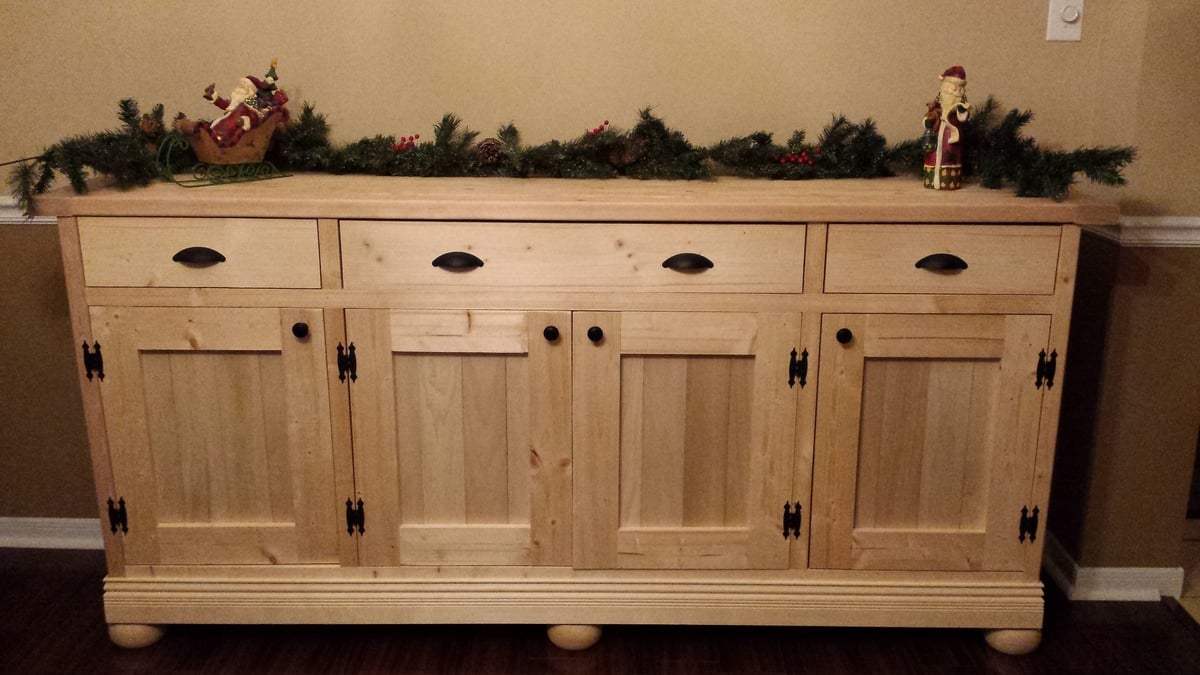
I was looking for something to hold my scrapbooking supplies.  I want to use my formal dining room as my craft room but have the illusion it's still a dining room. This plan was perfect.  This was my first time building anything from Ana's site.  I added feet to the bottom to change up the look just a little.  I also used a more detailed base molding.  I also added some support to the bottom to have somewhere to attach the feet and distribute the weight of all my scrapbooking supplies.  The best advice was to leave the top off until the end.  I also waited to attach the back till the very end also.  I thought I'd have the most trouble with the drawers but the doors ended up being the hardest part for me. Overall I'm very happy with the buffet!  I haven't decided how I'd like to satin it yet. I'll eventually get that done!  On to the next project. :)

Built from Plan(s)
Estimated Time Investment
Weekend Project (10-20 Hours)
Finish Used
none yet
Recommended Skill Level
Beginner

Comments

spiceylg

Thu, 12/11/2014 - 07:45

First build?! Beautifully done and love the mods. Impressed!

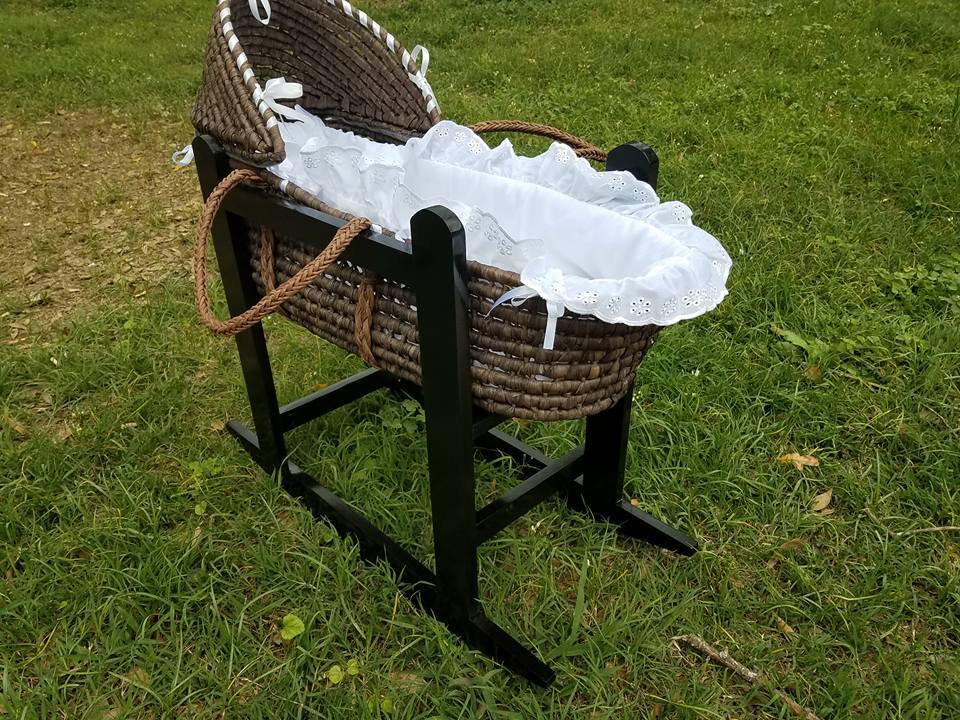
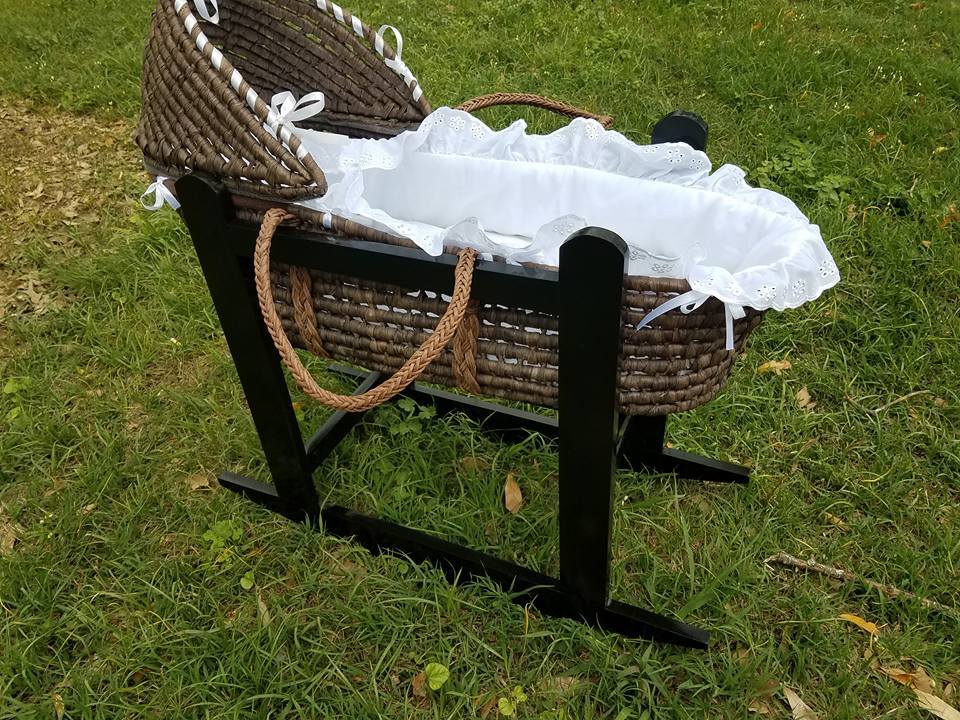
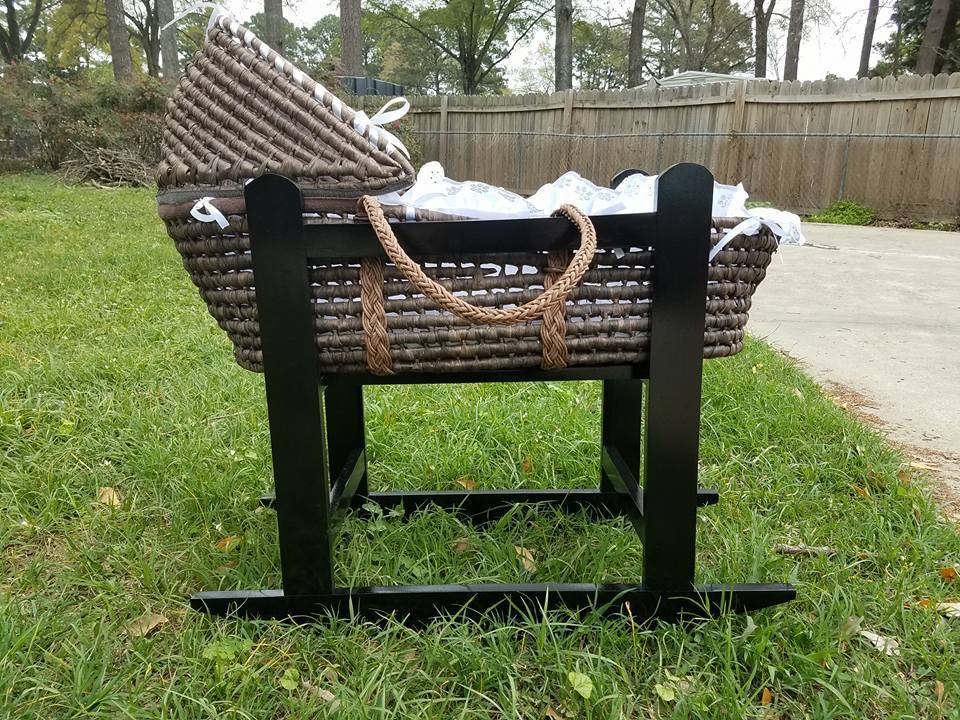
Moses Cradle

Submitted by Anonymous (not verified) on Sun, 03/12/2017 - 17:34

Moses Cradle, easy project. Used a rocker from an old rocking chair and traced it. Finish is Minwax Polyshade in Espresso. Sprayed using my $12 Harbor Freight sprayer. 

Made as a baby shower gift. It was well received!


Built from Plan(s)
Estimated Cost
About $15
Estimated Time Investment
Afternoon Project (3-6 Hours)
Finish Used
Minwax Polyshade in Espresso
Recommended Skill Level
Starter Project

Hailey Bed with Reclaimed Fence Headboard

Submitted by madmo453 on Thu, 02/07/2013 - 19:48

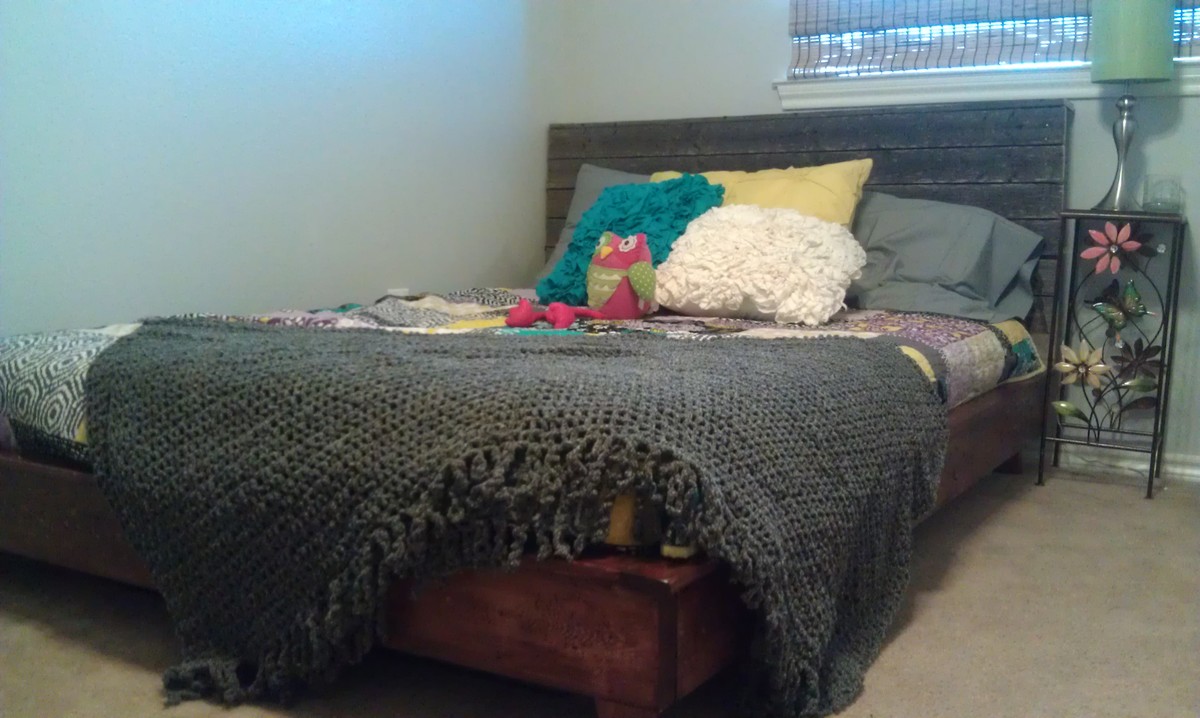
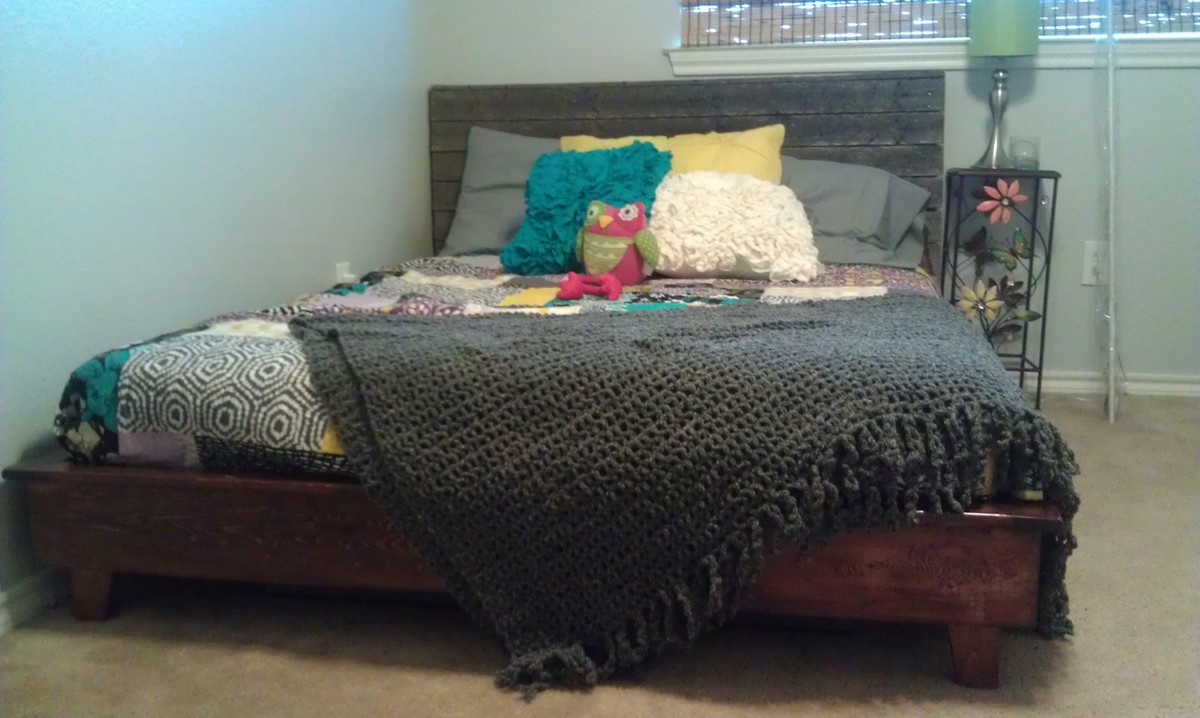
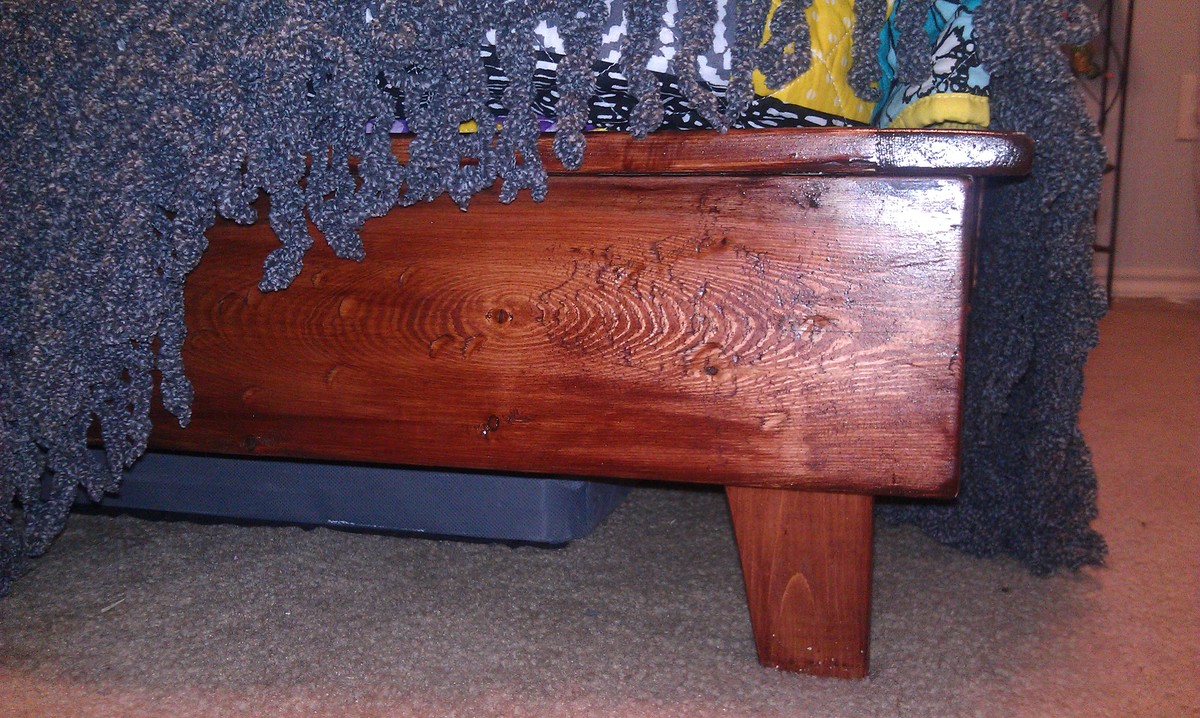
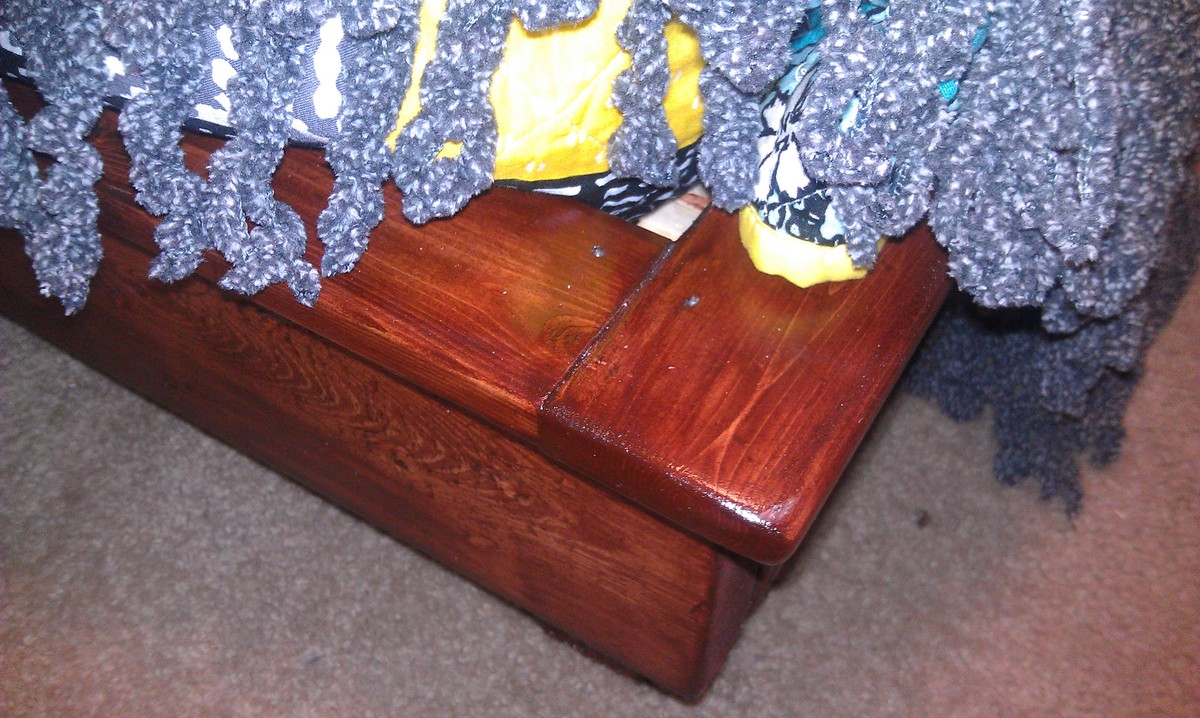
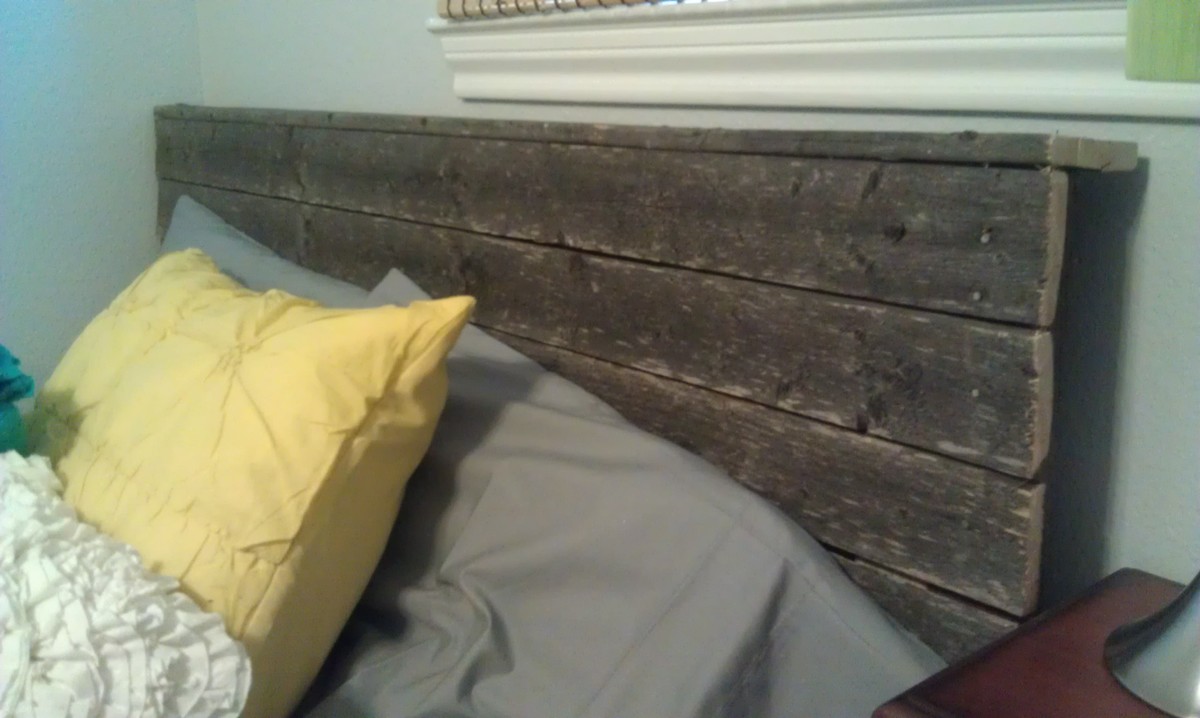
I followed the plans exactly, and added the headboard at my daughter's request. My brother recently tore down an old fence, and I pulled this gate out from under a brush pile. I strengthened it with lots of screws and cut each side to bring it down to the same width as the bed. The whole project cost me somewhere around $150-160 because I literally had nothing but a drill. I had to buy everything from screws to nails to wood conditioner, etc. Not bad for a truly "from-scratch" project.

Built from Plan(s)
Estimated Cost
$160
Estimated Time Investment
Day Project (6-9 Hours)
Finish Used
Satin poly
Recommended Skill Level
Starter Project

Comments

Bathroom Hanging Towel Racks

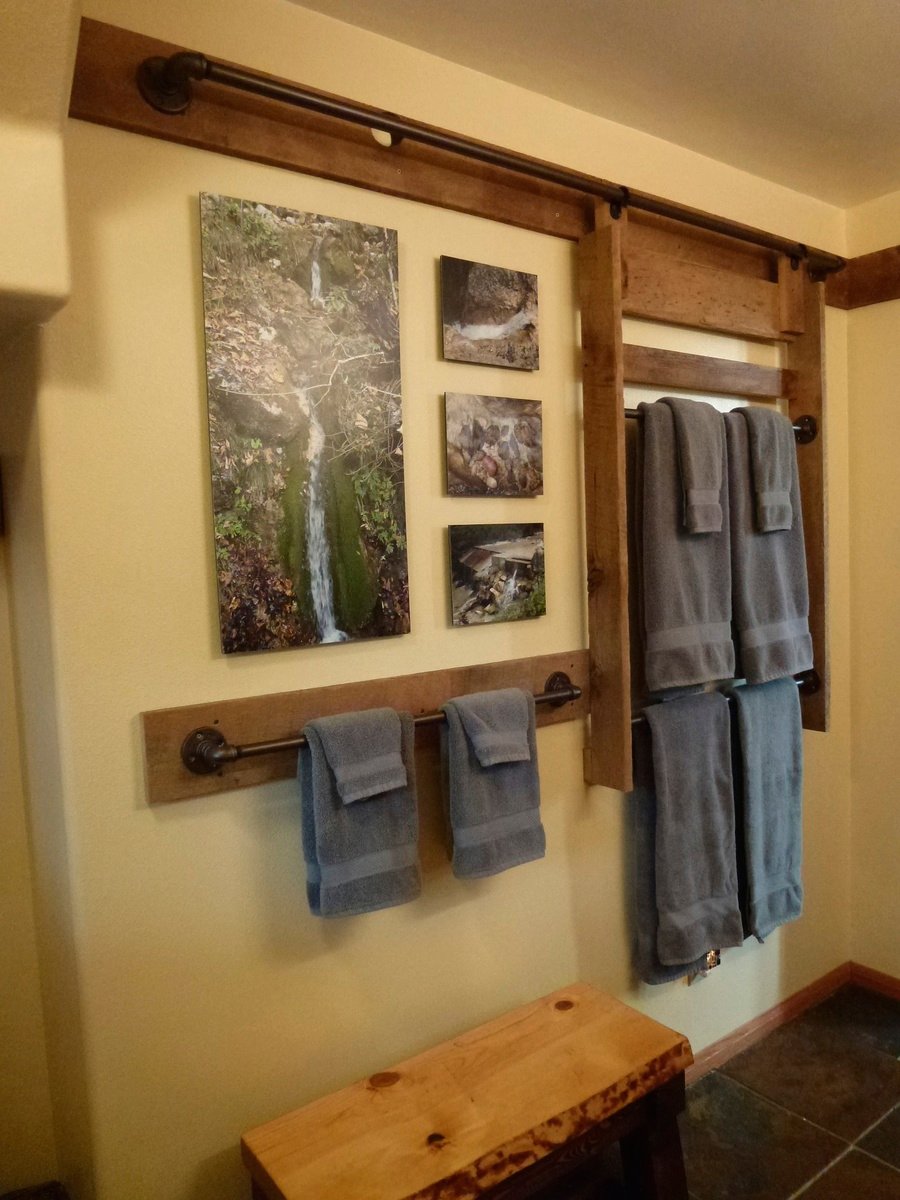
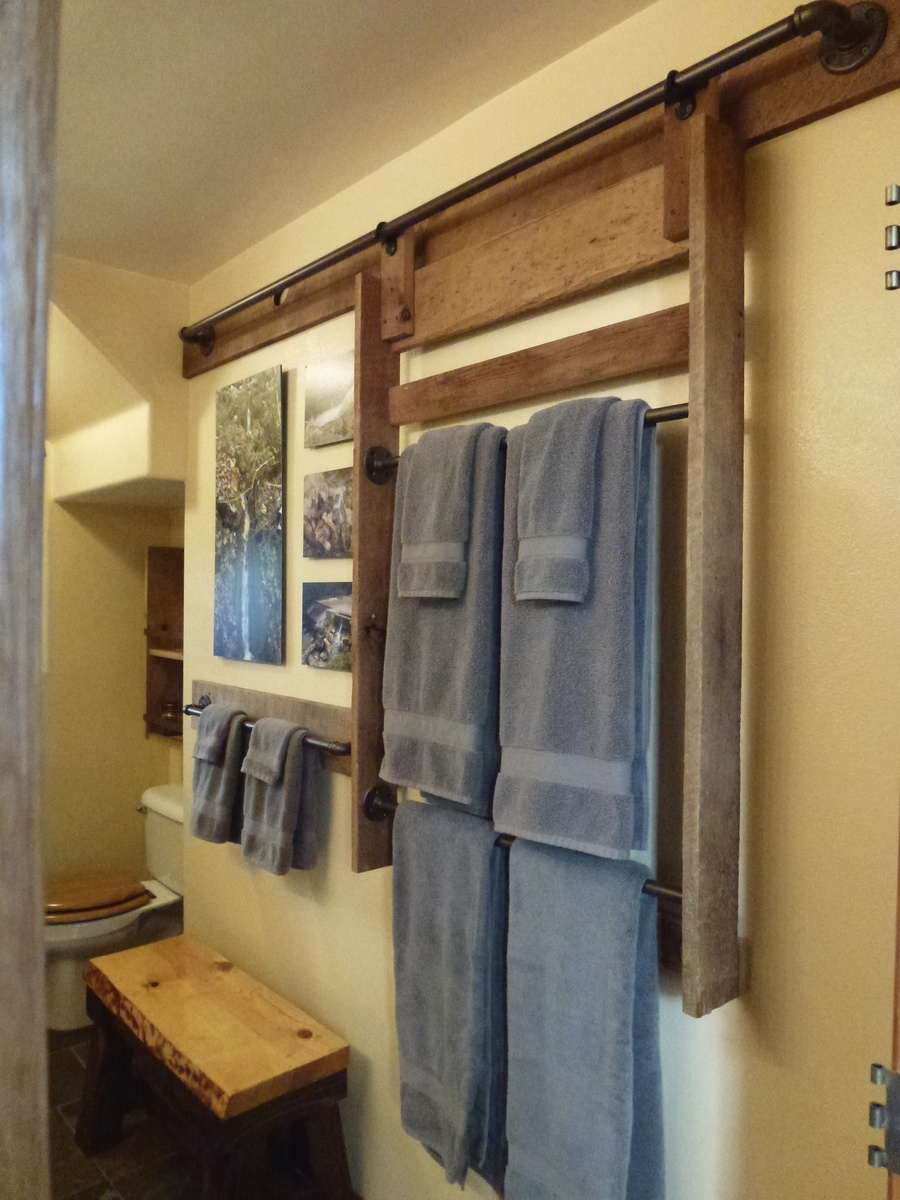
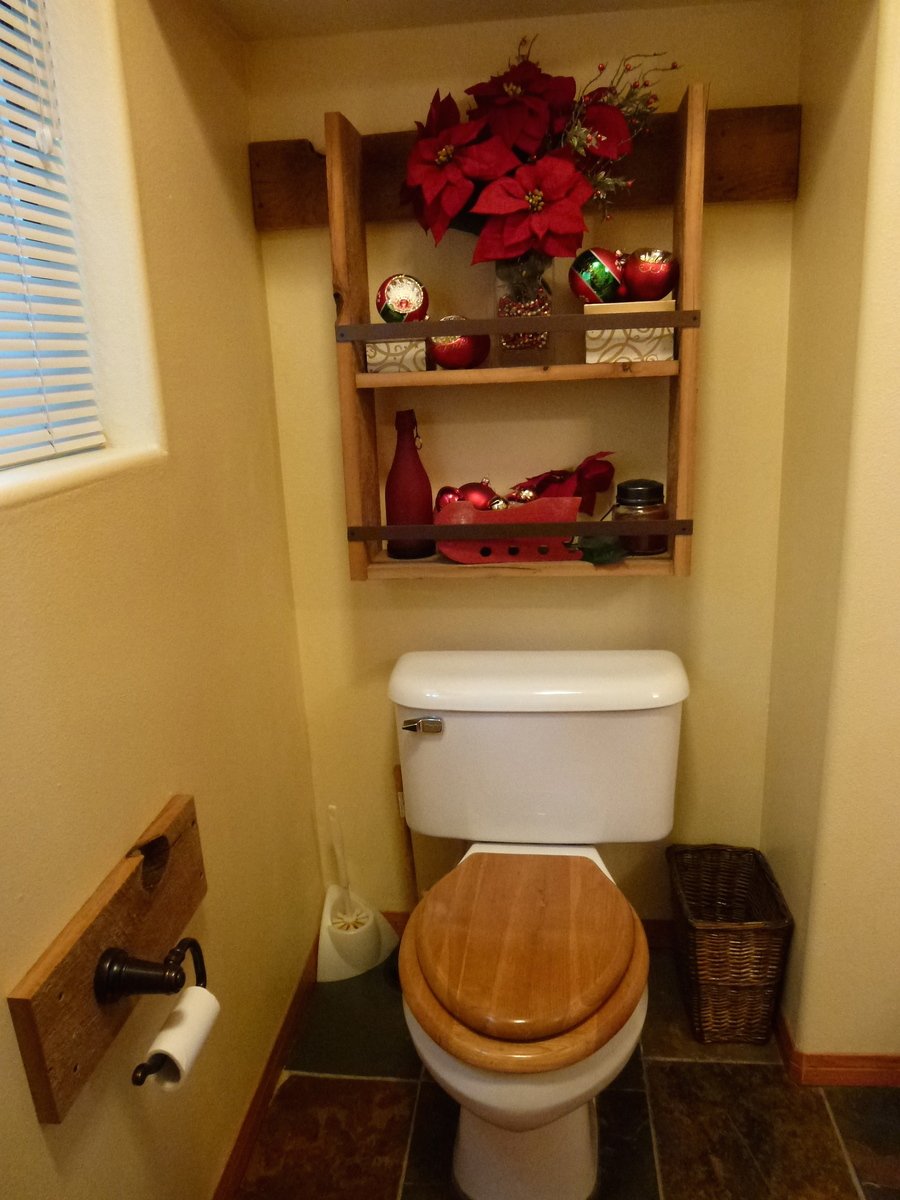
This was really a simple and fun project!  My wife saw this on Ana White and knew immediately that this was a “must do now” endeavor.   The industrial look of the pipes really fit the decorating motif of our guest bath. 

We used reclaimed barn wood purchased at a local hardwood store.  The wood was, presumably, some type of cedar and was very user friendly; no cracking from screws and cut / glued very well.  We did have to run the stock through the joiner first, however, as the edges were weathered, warped & gouged.  We didn’t sand or finish the wood in any manner and it looks exactly as it did when it was part of a standing barn. 

We used 3 – ¾”  30 inch pipes for the towel racks and 1- ¾” six foot pipe for the top rail.  The pipes were  assembled & painted with Rust-Oleum Universal Metallic Paint & Primer in One – Flat Burnished Amber.  Instead of eye hooks to hold the ladder to the top rail, we decided on pre-painted bronze robe hooks.

After stock was squared, pieces were cut for the border and ladder.  The ladder is 32” wide (x) 48” long with 4” boards.  We chose that length so as to accommodate 2 towel racks with enough space for 4 sets of towels.  The assembly was made very simple by first attaching the  30 inch ¾ ” pipes as they really brought the construct into square.   

The only significant challenge to this project was selecting & cutting stock so all of the exposed edges were weathered facades. 

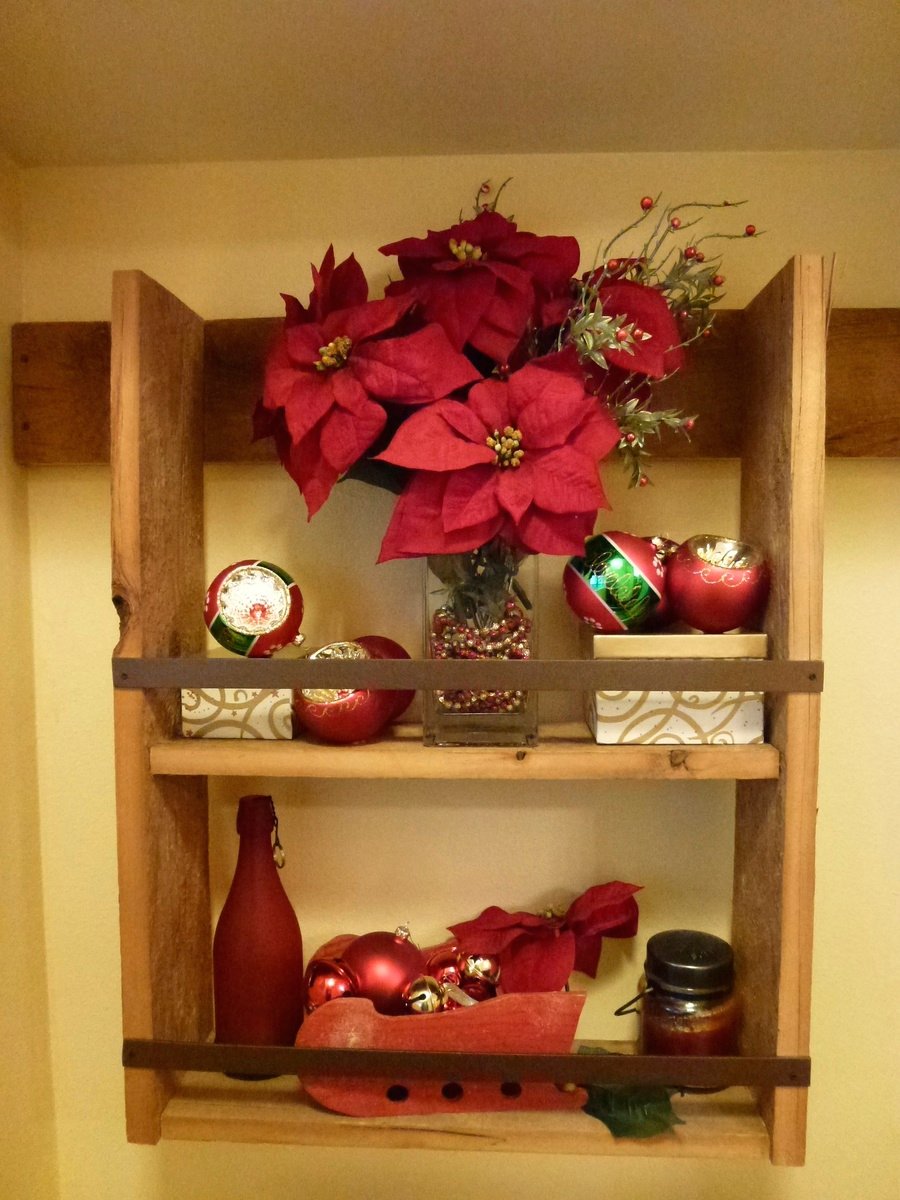
The project was finished off w/ a small shelf 23 “  wide (x) 30” long w/ shelf depth of 7” hung behind the toilet and a toilet paper holder base.

The bard wood was expensive (approximately) $200 for the project) and we spent about 20 hours building it.  It was well worth the effort.  And, to our amazement, all components finished level to the ceiling and square to each other … better “lucky” than “good”.

This was a simple and rewarding Fall project and is recognized by our guests as both a unique and utilitarian augment to our guest bath.
Estimated Cost
$200.00
Estimated Time Investment
Week Long Project (20 Hours or More)
Finish Used
None.
Recommended Skill Level
Beginner

Comments

coffee table

Submitted by Anonymous (not verified) on Tue, 03/14/2017 - 15:38

I built this table in one day and modified the plans to my wife's specs. It is 36"x36" and instead of using the two 1x12s on the bottom I used seven 1x4s cut down to fit and for the top used seven 2x6s which gave it the look she wanted.

Great plans!!!!

Estimated Cost
$40.00
Estimated Time Investment
Day Project (6-9 Hours)
Finish Used
stain and semi gloss sealer
Recommended Skill Level
Intermediate

Kitchen Spa Bench

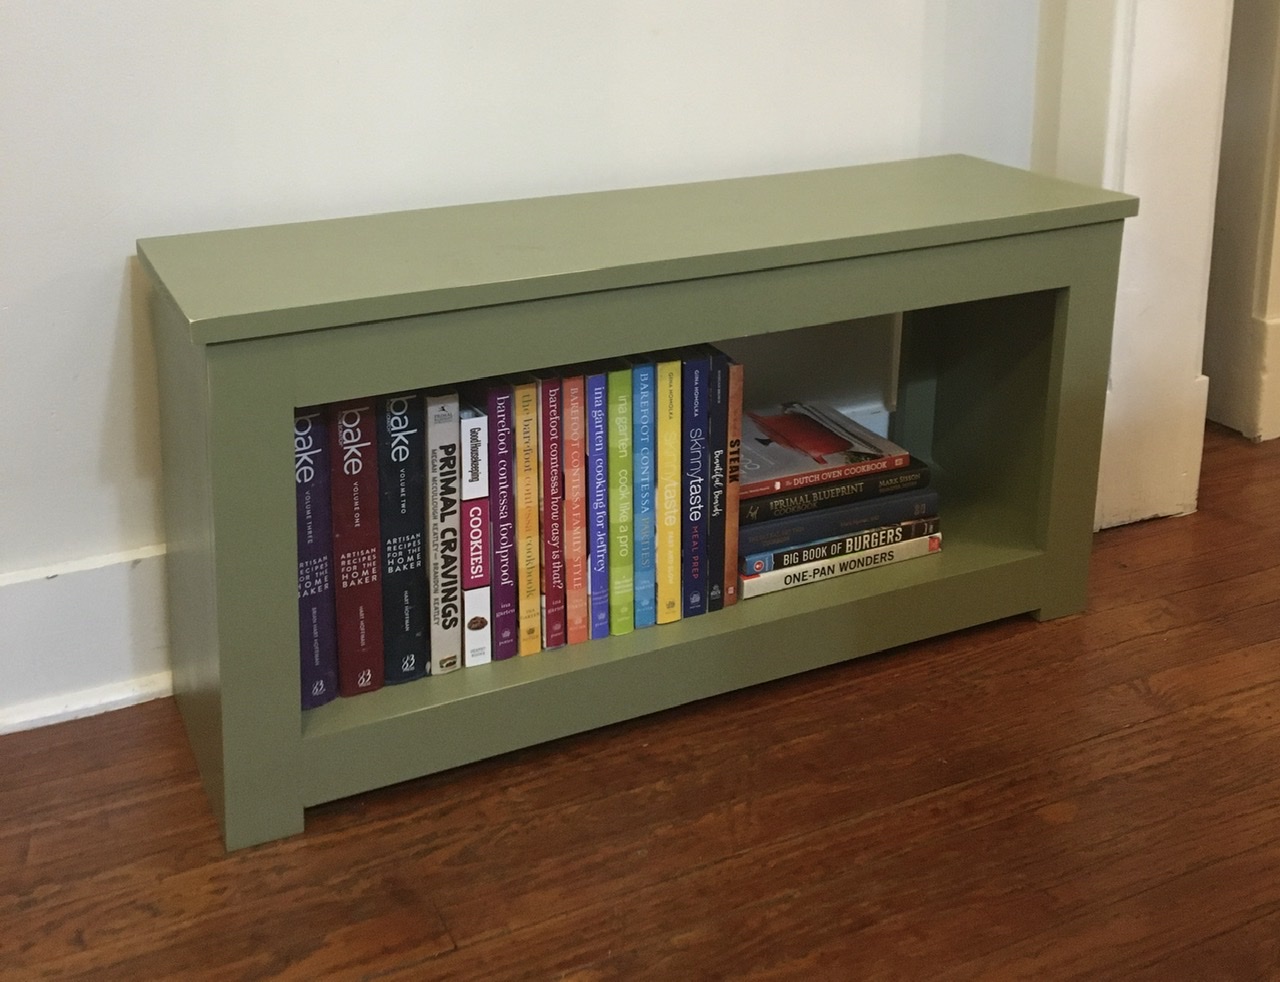
There is no seating in our small kitchen and this spa bench was the perfect solution. Adds just the right amount of space for someone to keep a chef company while cooking or baking.

Estimated Time Investment
Afternoon Project (3-6 Hours)
Finish Used
I used Sherwin Williams’ “Sheraton Sage” in a semi-gloss. Also sanded the edges a bit to create a distressed look.
Recommended Skill Level
Beginner

Comments

Hollman Ledge shelves

Ana's $10 ledges. In Colorado, they cost just a couple bucks more at $13. Thank you, Ana, for helping me see just how easy these shelfs really are!

Estimated Cost
$15
Estimated Time Investment
An Hour or Two (0-2 Hours)
Finish Used
Black tinted stain
Recommended Skill Level
Starter Project

TWIN FARMHOUSE BED

Submitted by Leiah on Mon, 12/15/2014 - 19:30

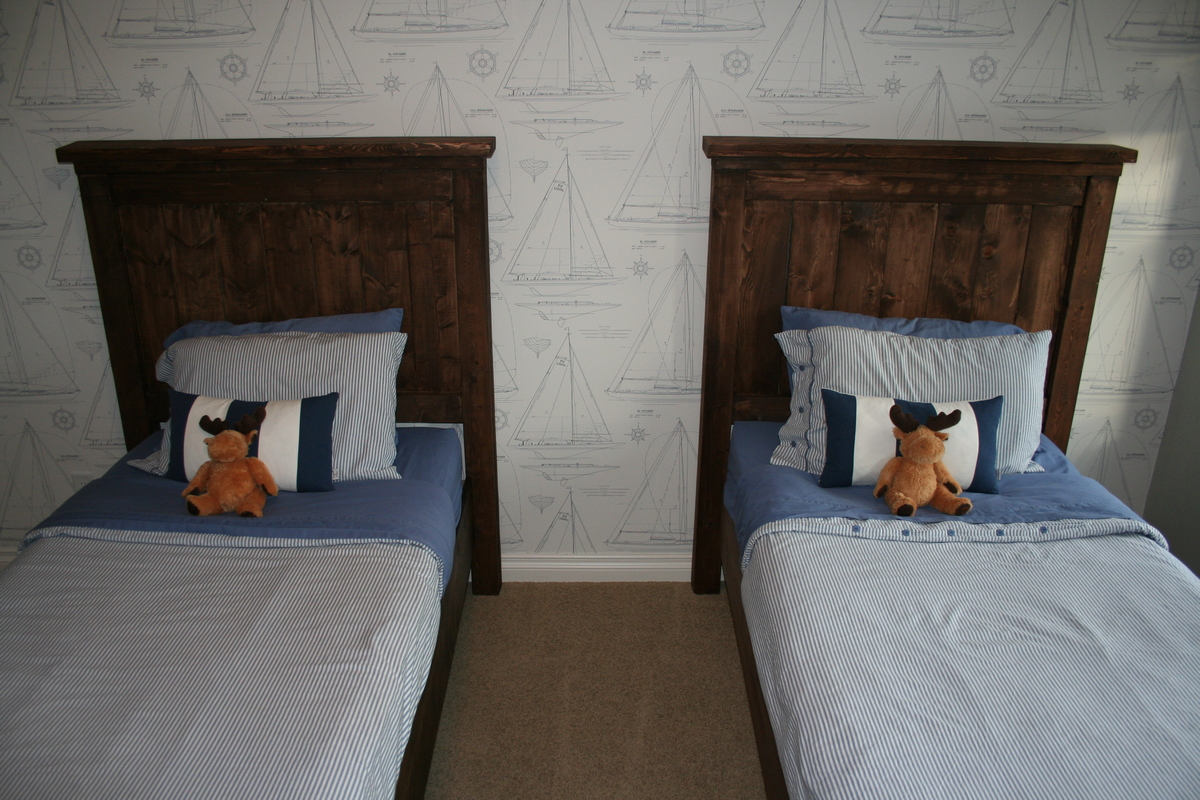
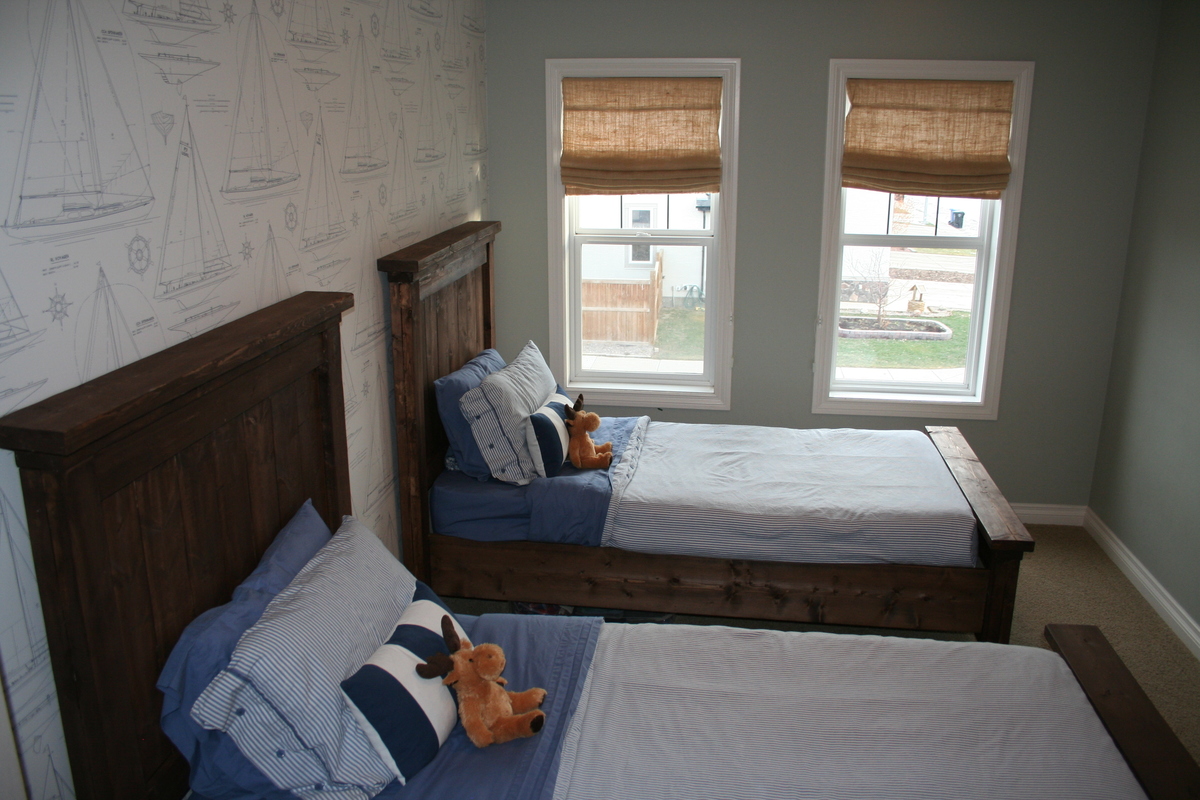
My boys were in desperate need of beds and I am always on a tight budget. I have always loved the farmhouse bed design and decided it was time for DIY project. The instructions made everything so simple. And Home Depot and Lowes are always so helpful in making the cuts....I can do it myselft, but I have to say it is nice to unload the wood and start building right away. 
A few things I learned....

1. Not all 1x6's will be 5.5" wide, so just like the instructions tell you....double check

2. You can't stain wood filler...I had no idea it wouldn't take the stain very well

3. Using 2 2x4 to make a 4x4 post is WAY cheaper

Built from Plan(s)
Estimated Time Investment
Weekend Project (10-20 Hours)
Finish Used
Miniwax walnut stainn
Recommended Skill Level
Intermediate

Comments

TwoCuteKids

Tue, 12/16/2014 - 06:31

They look great, like a pottery barn ad without the $1000 price tag! Love the sail boat wall paper.

spiceylg

Tue, 12/16/2014 - 08:49

These came out great! The room is decorated so nice and I love that wall paper. Some fillers are better than others. One filler I used that takes stain better is Elmer"s ProBond. It has a black label, says it's stainable and is pricier but I do like it. Again, great job!

Our Craft Station

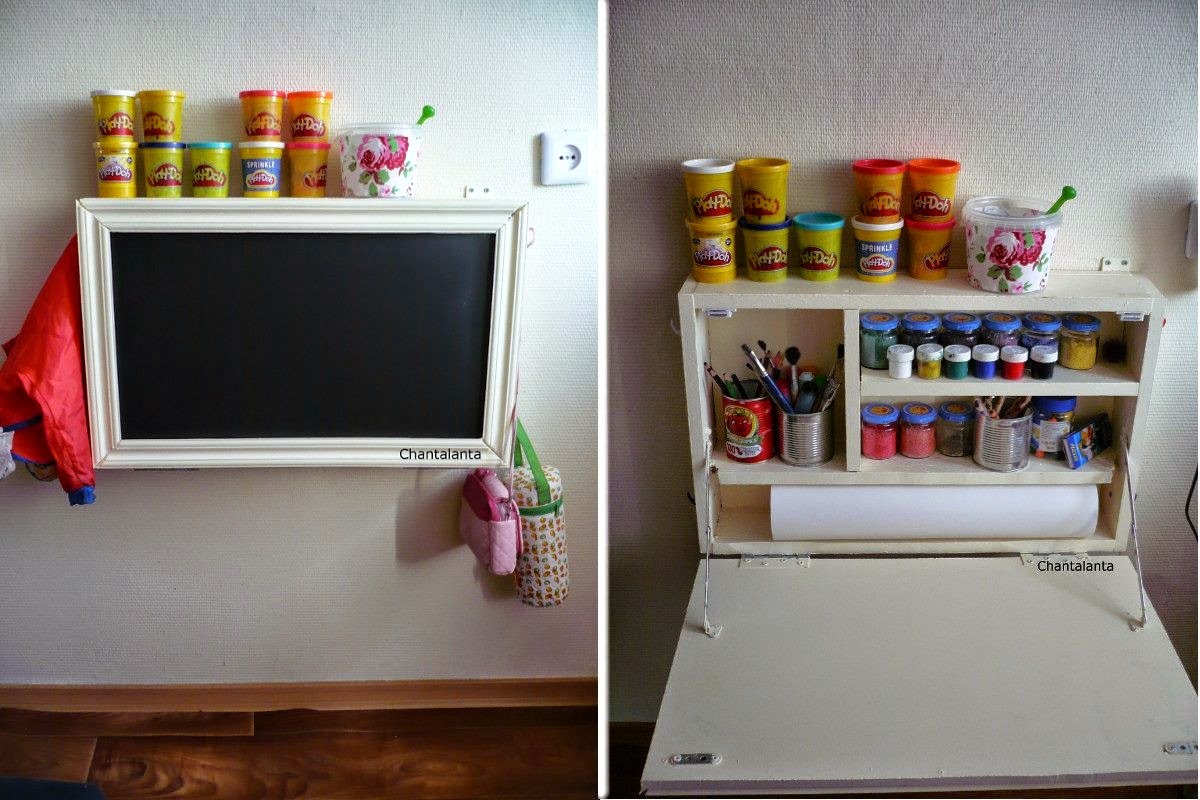
Submitted by Anonymous (not verified) on Fri, 03/17/2017 - 07:09

Dear Anna,

Thanks a ton for such inspiration and detailed instrusctions! I showed then to my husband and he created a craft station for our daughter.

We used different fittings ( used the ones we could find in the nearest shop). Also, to decorate front pannel we used polyurethane molding left from house repairs.

=Tatiana=

Built from Plan(s)
Estimated Time Investment
Afternoon Project (3-6 Hours)
Recommended Skill Level
Beginner

2x4 Modern Adirondack

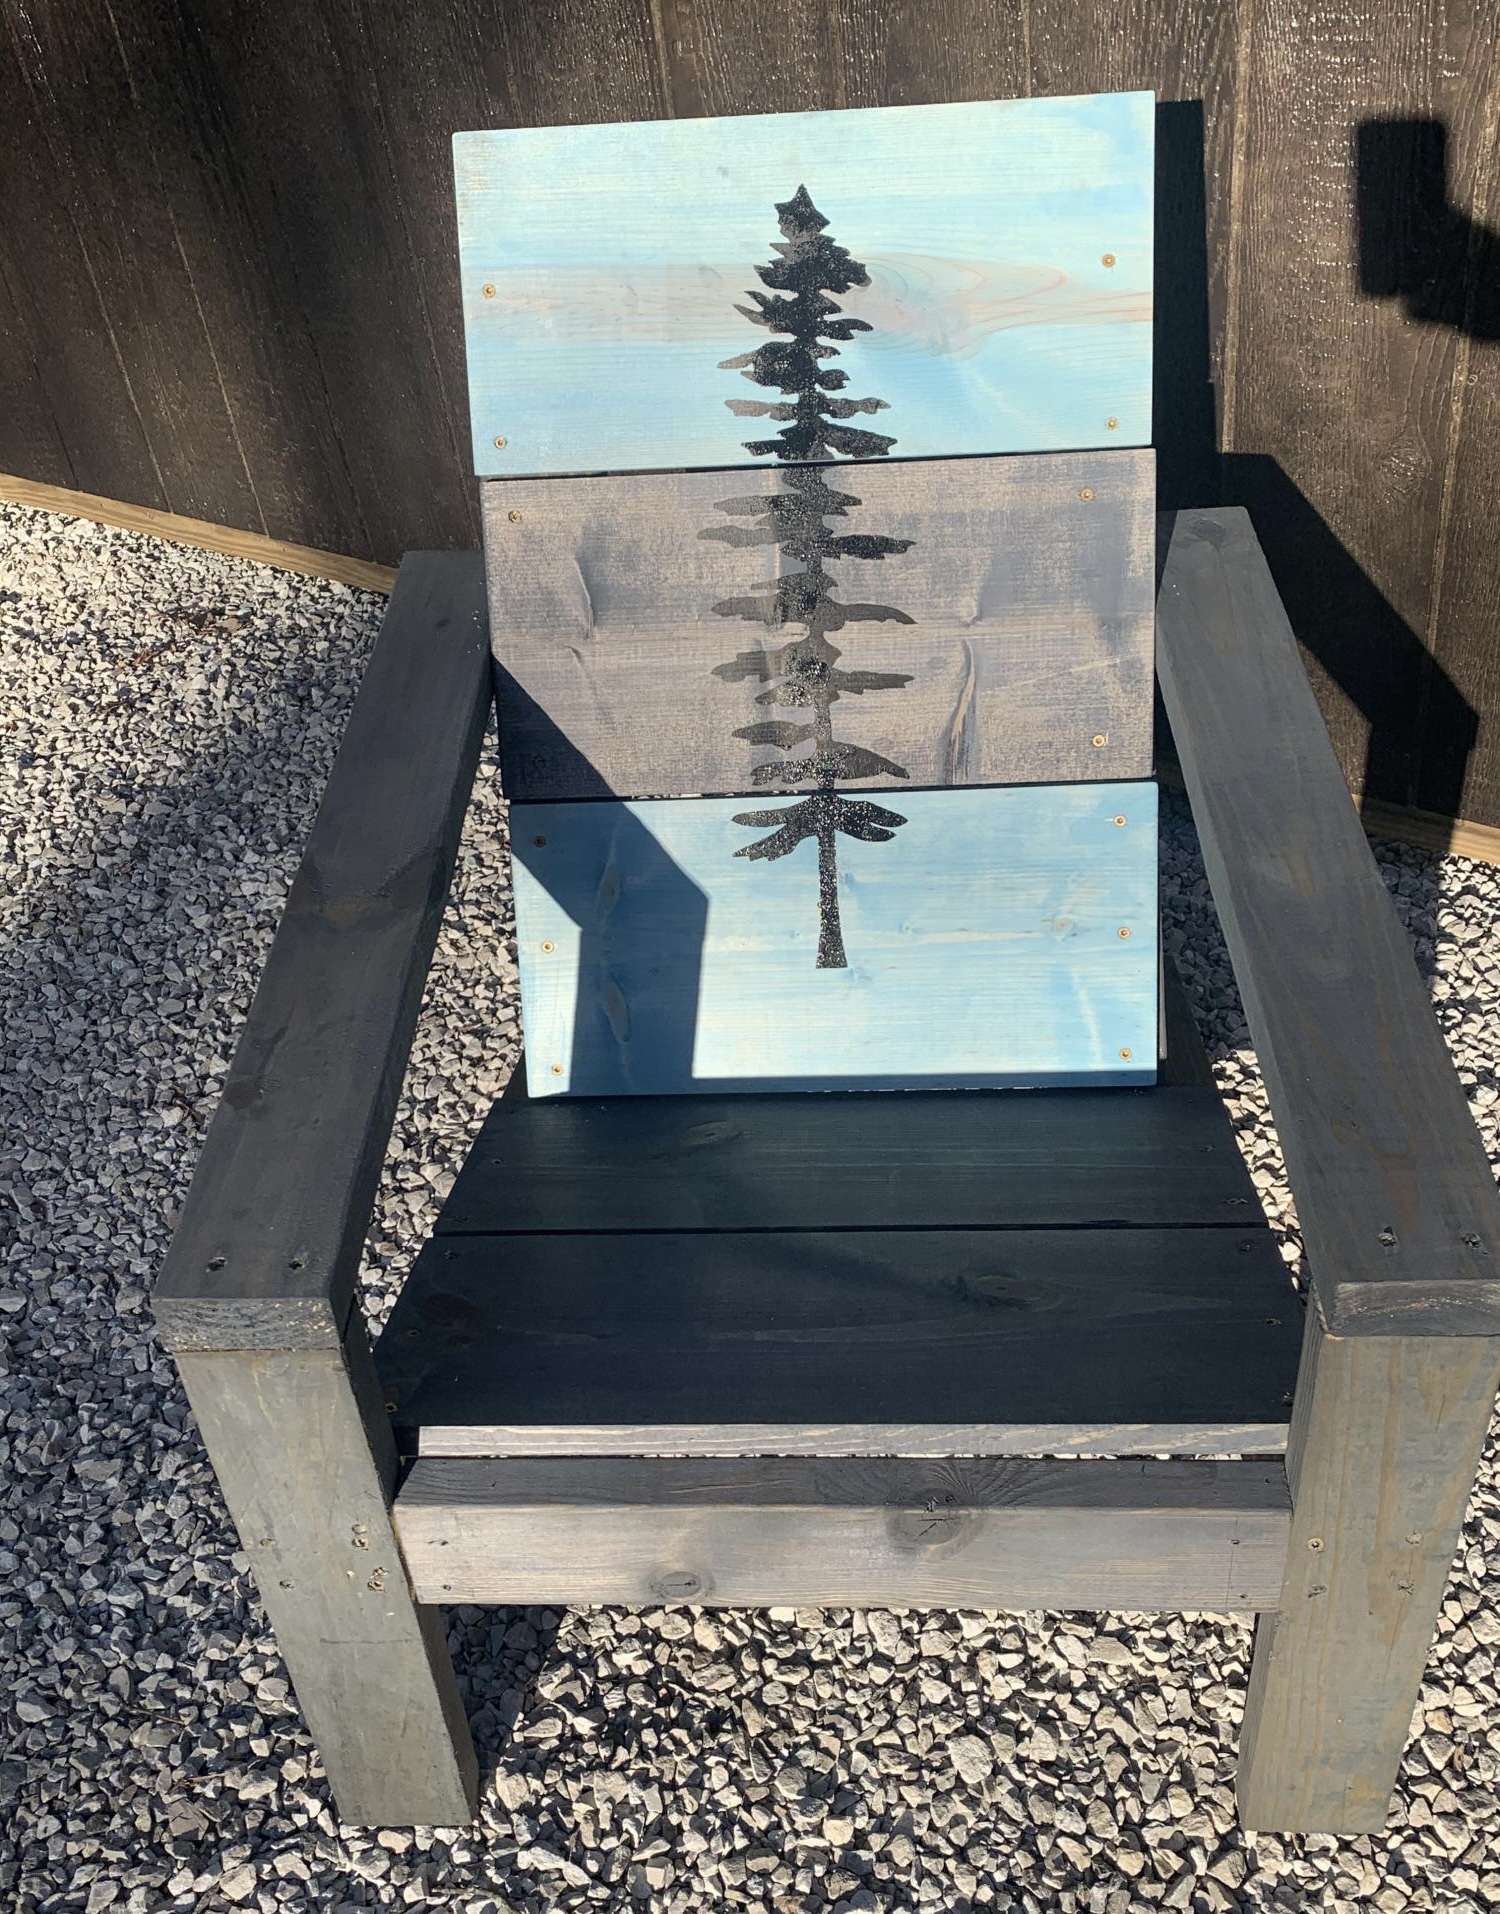
Submitted by blondewolf on Thu, 01/14/2021 - 06:51

This is my second chair I’ve built. The first was proof of concept. This chair (and the subsequent 7 that will follow) are for the rental cabin in the Red River Gorge. Loving this chair! I have no idea why pic is turned sideways, it’s not that way on my phone.

Estimated Time Investment
Afternoon Project (3-6 Hours)
Finish Used
Aged bourbon and blue with a poly to protect it.
Recommended Skill Level
Beginner

Comments

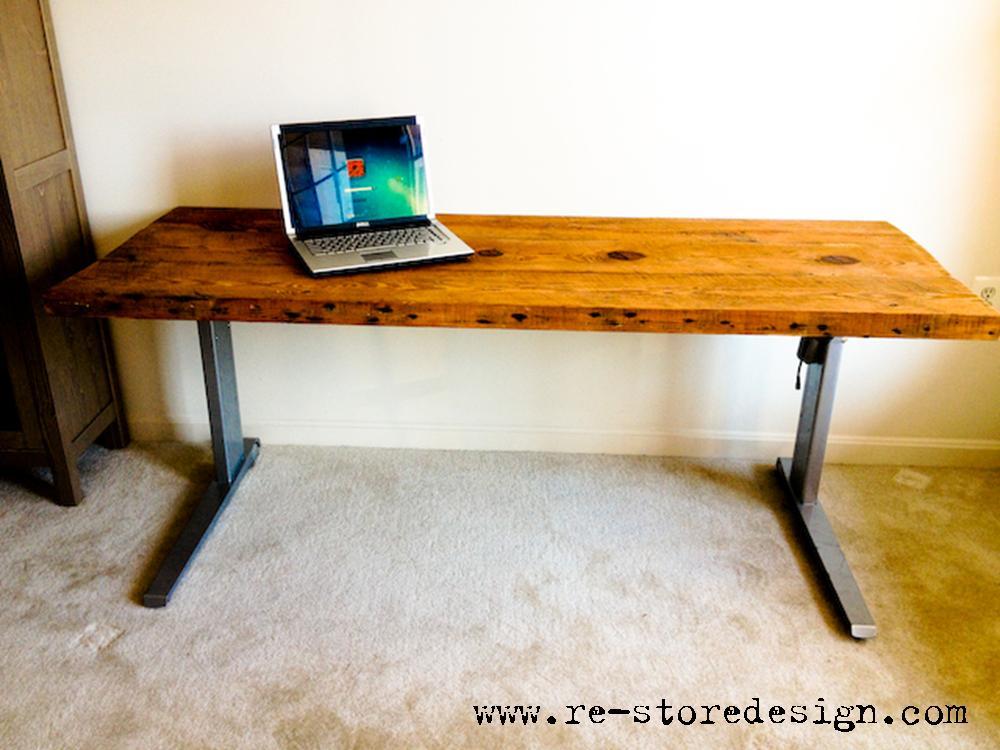
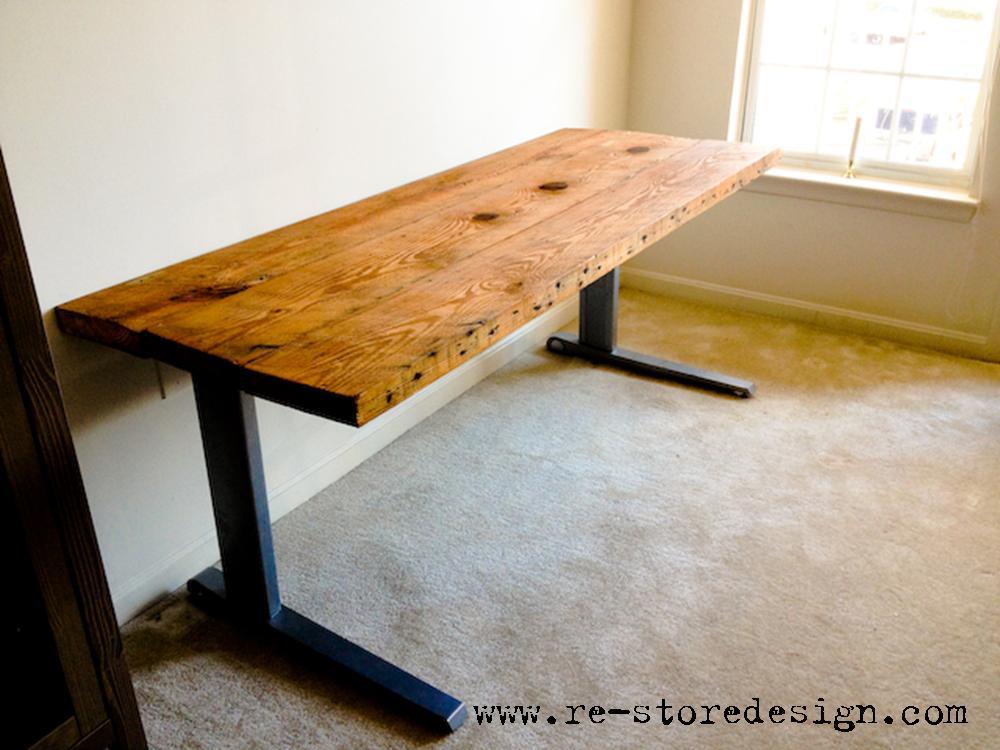
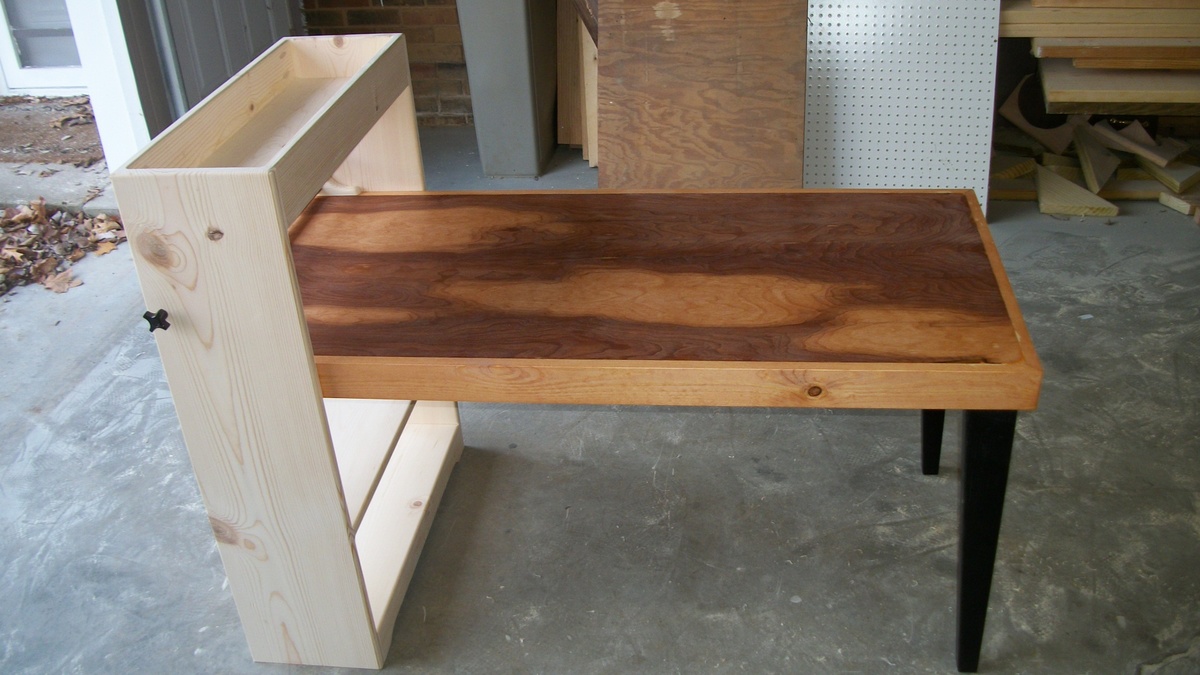
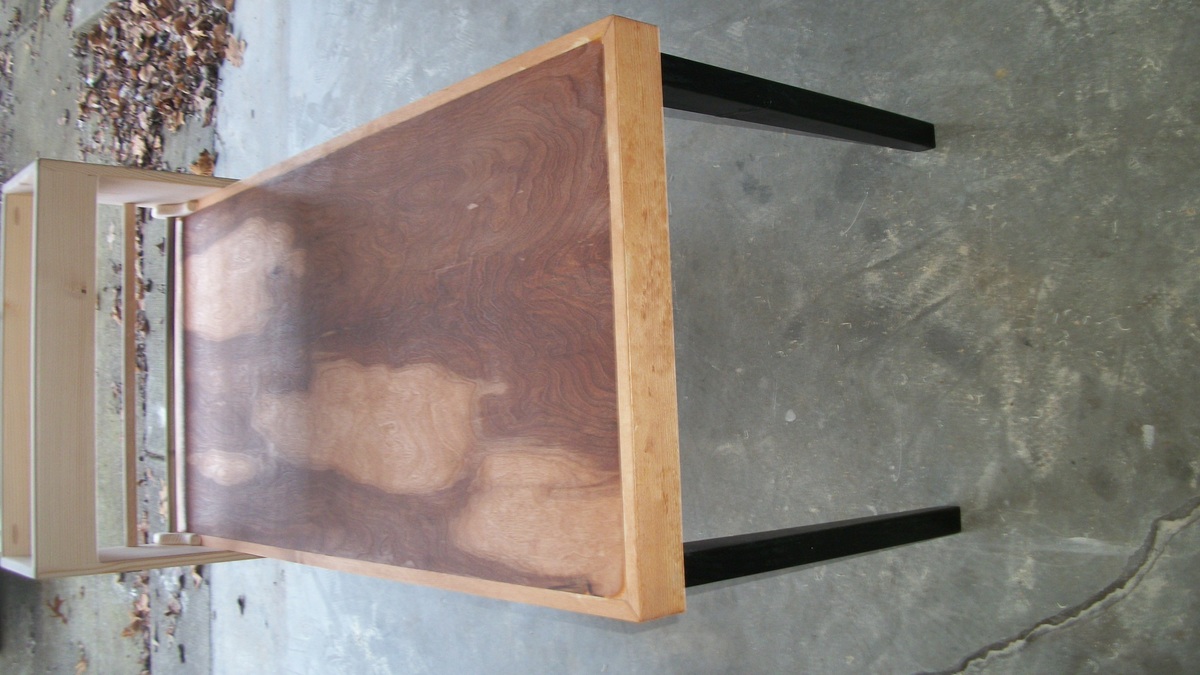
Reclaimed Wood Desk

Reclaimed wood desk top for a Geek Desk stand.

Estimated Cost
50
Estimated Time Investment
Afternoon Project (3-6 Hours)
Finish Used
Teak Oil
Recommended Skill Level
Intermediate

Comments

MamaofThree

Sun, 06/08/2014 - 07:17

Hi. Can you tell me where you got the wood and the legs for this project? This is so beautiful! I'd love to make something like this!

Mudroom Unit

Submitted by AndyH on Wed, 12/17/2014 - 18:42

Mudroom unnit built from own design for a friend to fit a specific space they had.

Finished in a light grey colour.

Estimated Cost
$300
Estimated Time Investment
Week Long Project (20 Hours or More)
Finish Used
Sherwin Williams Useful Gray SW705.
Recommended Skill Level
Beginner

Comments

Media console

Submitted by Anonymous (not verified) on Sun, 03/19/2017 - 17:42

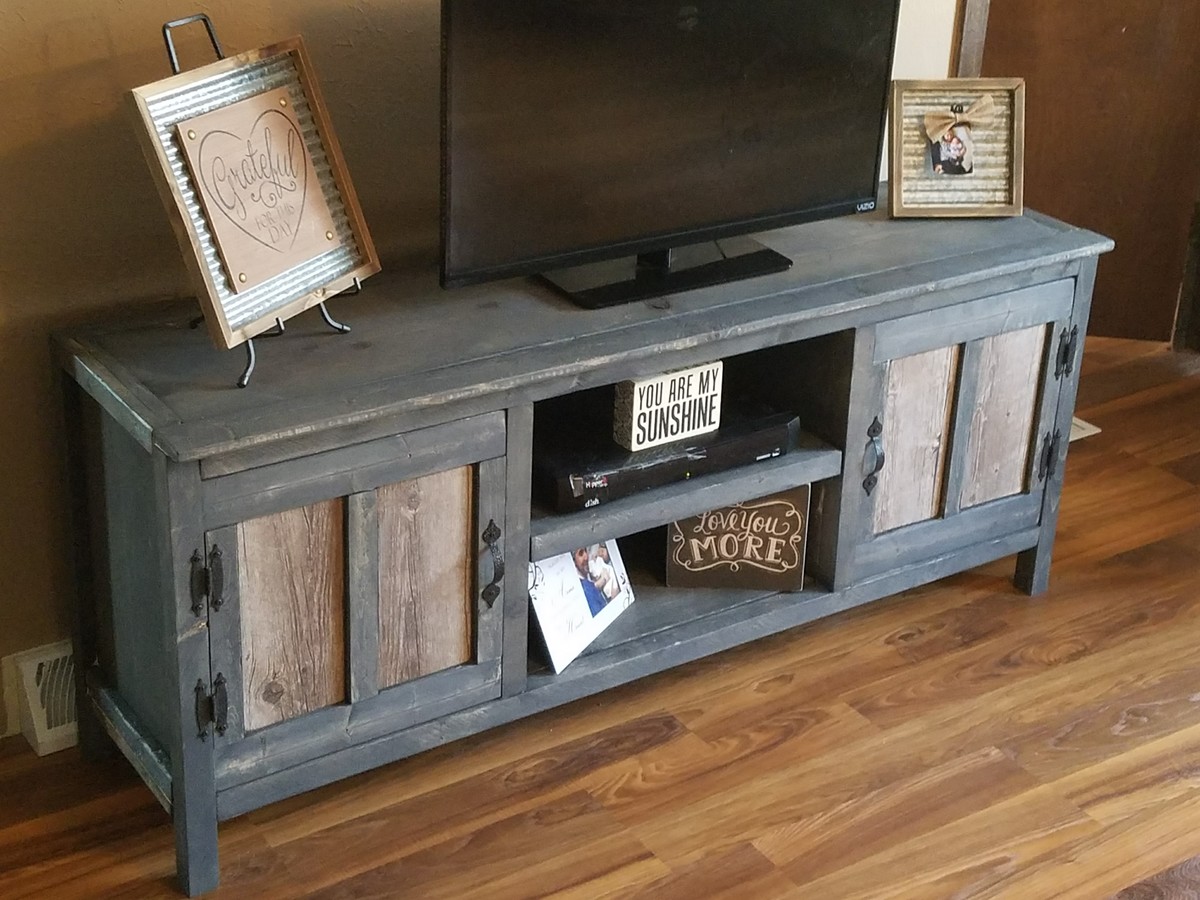
This was a fun build using the media console plans.  I used ceramic tiles with a wood look in the door panels. Fairly inexpensive build and ended up with an expensive looking piece of furniture. 

Estimated Time Investment
Weekend Project (10-20 Hours)
Recommended Skill Level
Intermediate

Coffee table

Submitted by Anonymous (not verified) on Tue, 01/19/2021 - 13:51

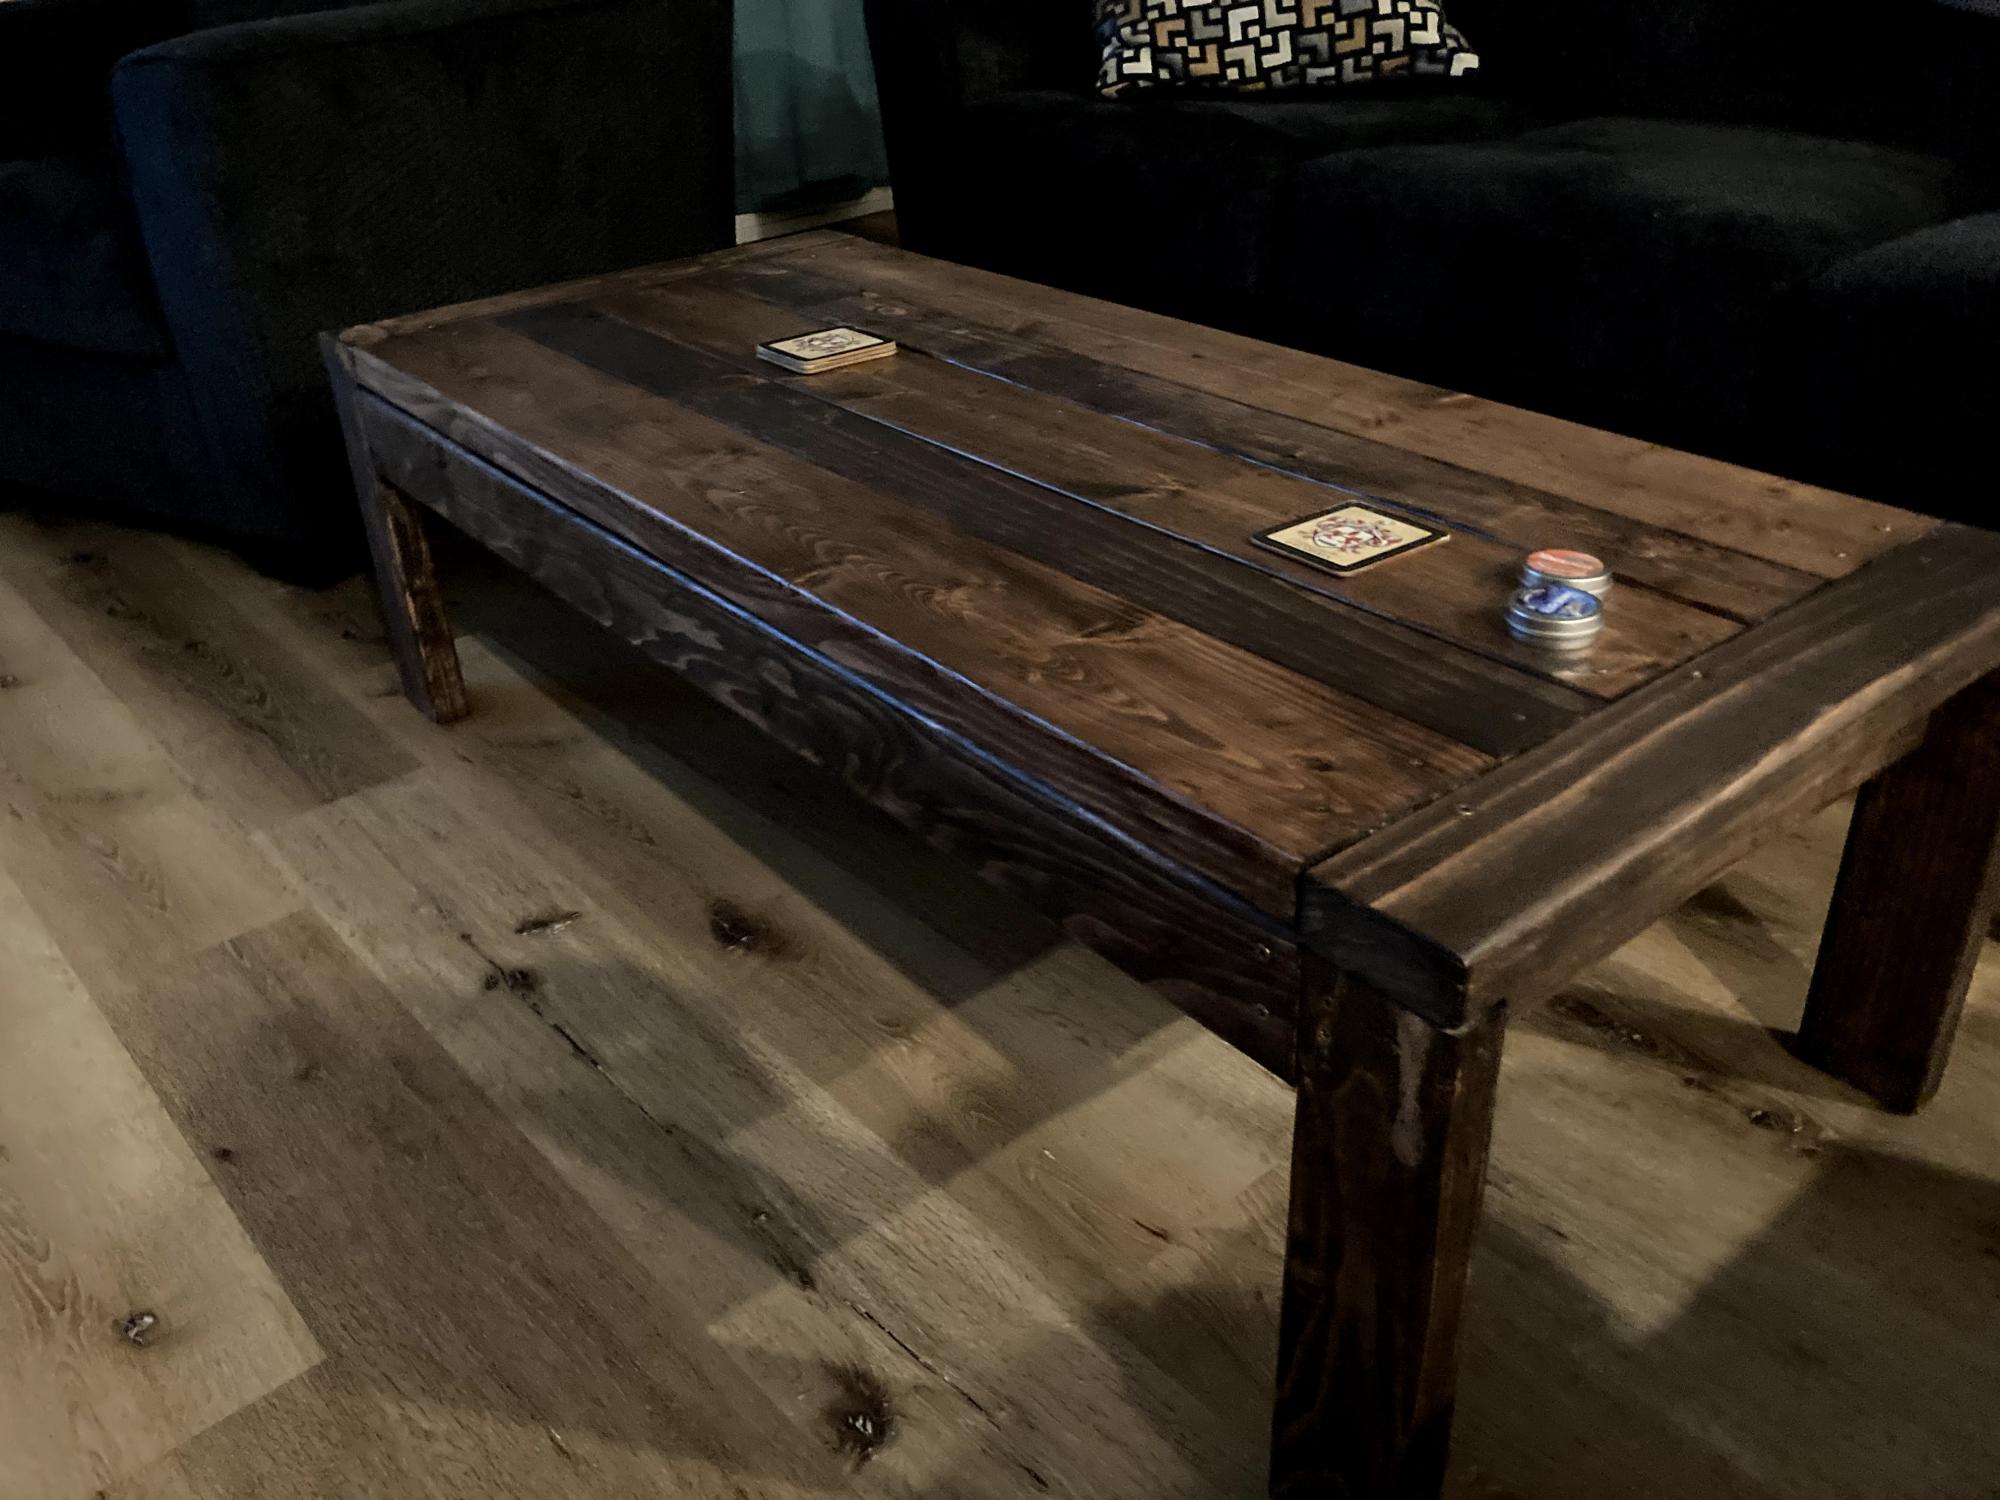
Used coffee table plan from Ana...turned out great. Used the stain/poly combo again, but this time opted to wipe it off. Turned out lighter than I wanted. But still looks great. Chose to do a different pattern for the top.

Built from Plan(s)
Estimated Cost
$50
Finish Used
Kona stain/poly combo.
Recommended Skill Level
Beginner

Necktie folding stool

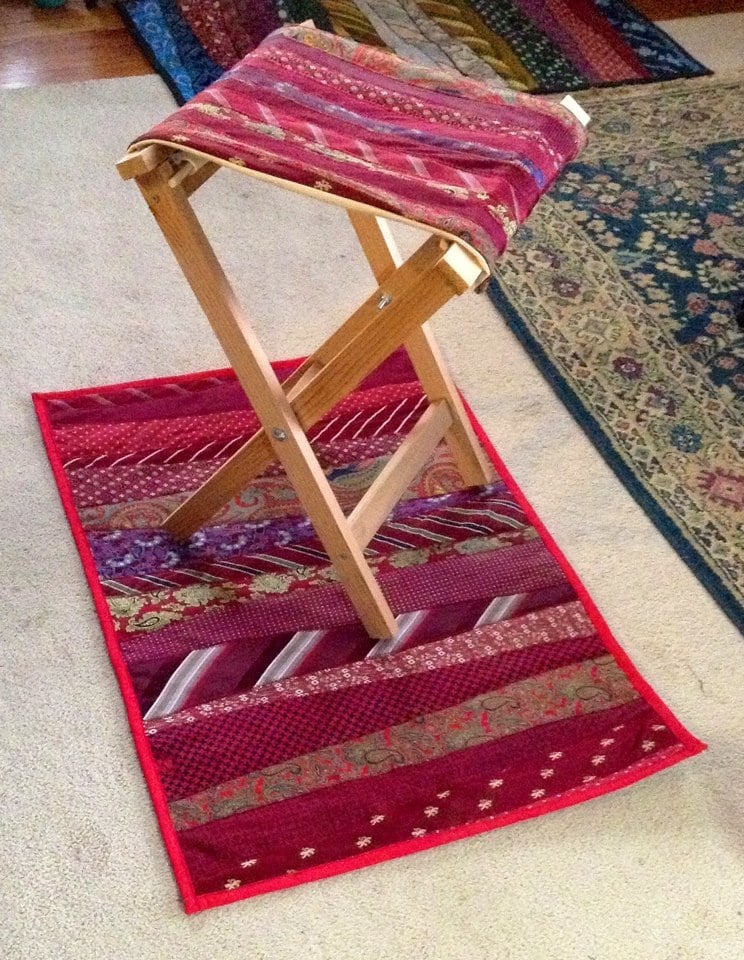
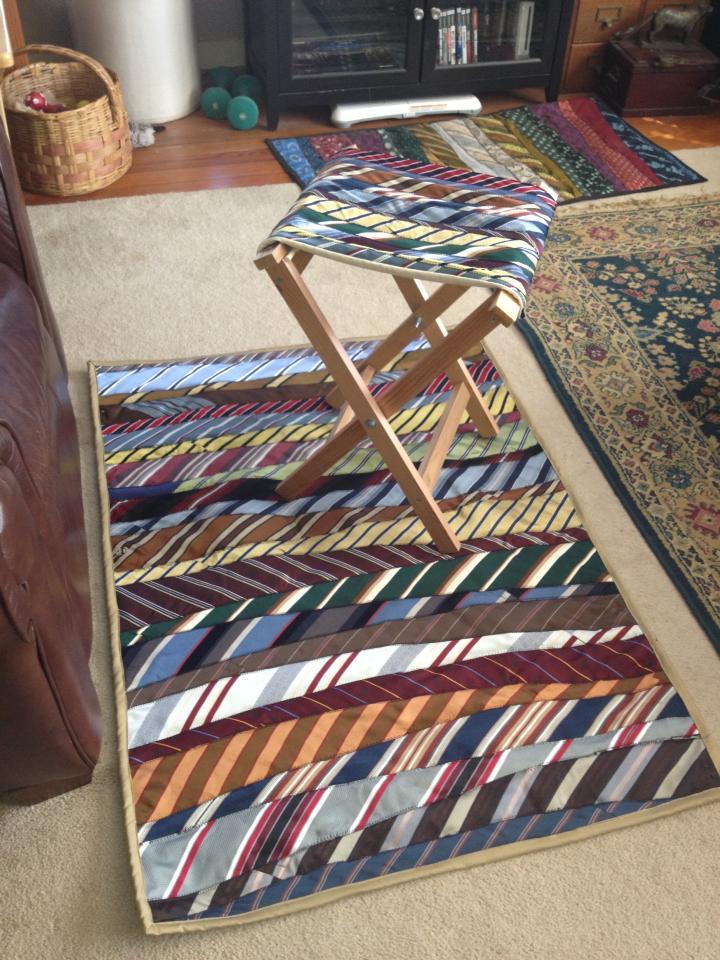
I zigzag stitched vintage neckties to plain canvas and used these directions to construct the stool frame. I used 1 5/8" screws.

Built from Plan(s)
Estimated Cost
$15
Estimated Time Investment
Afternoon Project (3-6 Hours)
Finish Used
none
Recommended Skill Level
Intermediate

Comments

Craft Table

Submitted by gbyrne on Sun, 12/21/2014 - 17:38

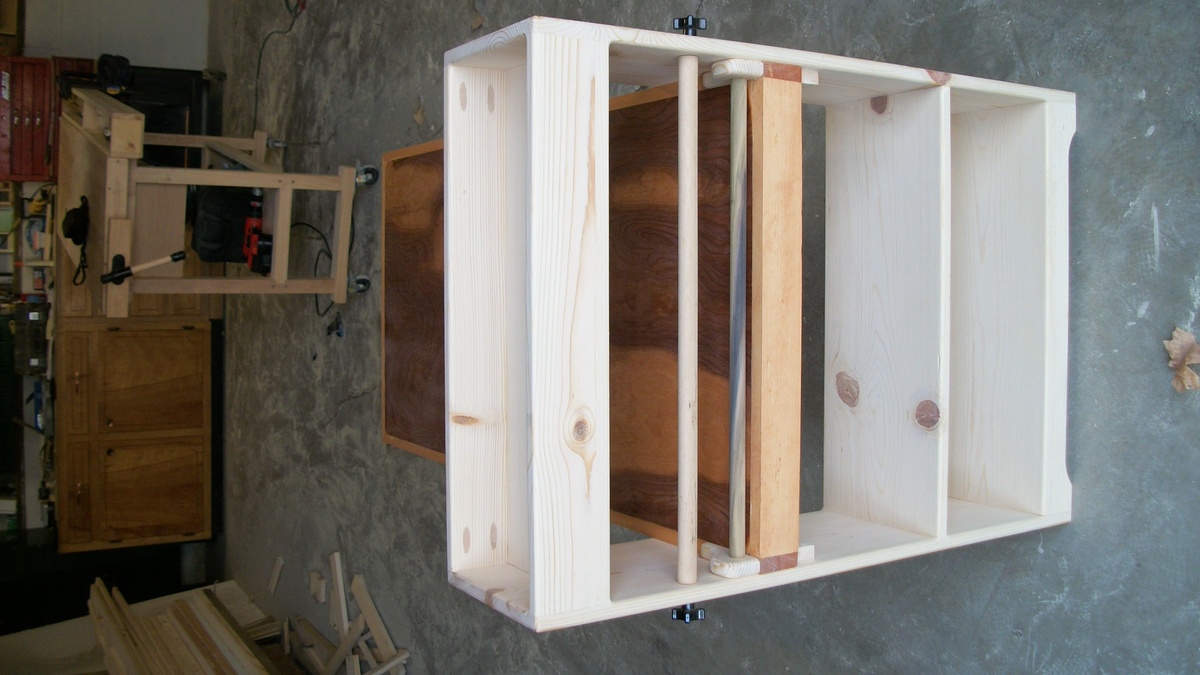
Built this based on the Arts and Crafts Table on Ana White's site. I added a dowel at the back of the table to keep the craft paper close to the table. I also added a removal dowel to hold the roll of craft paper. This dowel may be a little close to the table limiting the paper roll size. I made the table fit very tight so it can be removed when not in use. I use biscits on the table for the edge and pocket holes for the shelfs. This was my first try so adjustments will be made on the next one.

Built from Plan(s)
Estimated Cost
$70
Estimated Time Investment
Weekend Project (10-20 Hours)
Finish Used
Pecan stain on the table. The shelf is unfinished but will be painted.
Recommended Skill Level
Beginner

Dartboard Cabinet

Submitted by Anonymous (not verified) on Wed, 03/22/2017 - 12:42

Here's a couple pics of a dartboard cabinet I made from pallet wood. I routed/chiseled in "Odin's Knot" on the door just because I thought it looks cool. Kind of dartboardish looking! I've also included my highly engineered plan!

Estimated Time Investment
Weekend Project (10-20 Hours)
Finish Used
Golden oak and red oak minwax.
Recommended Skill Level
Intermediate

First Project - Modified Kentwood Nightstand into Bench for hiding a Litter Box

Submitted by ACS_1984 on Sun, 02/17/2013 - 10:23

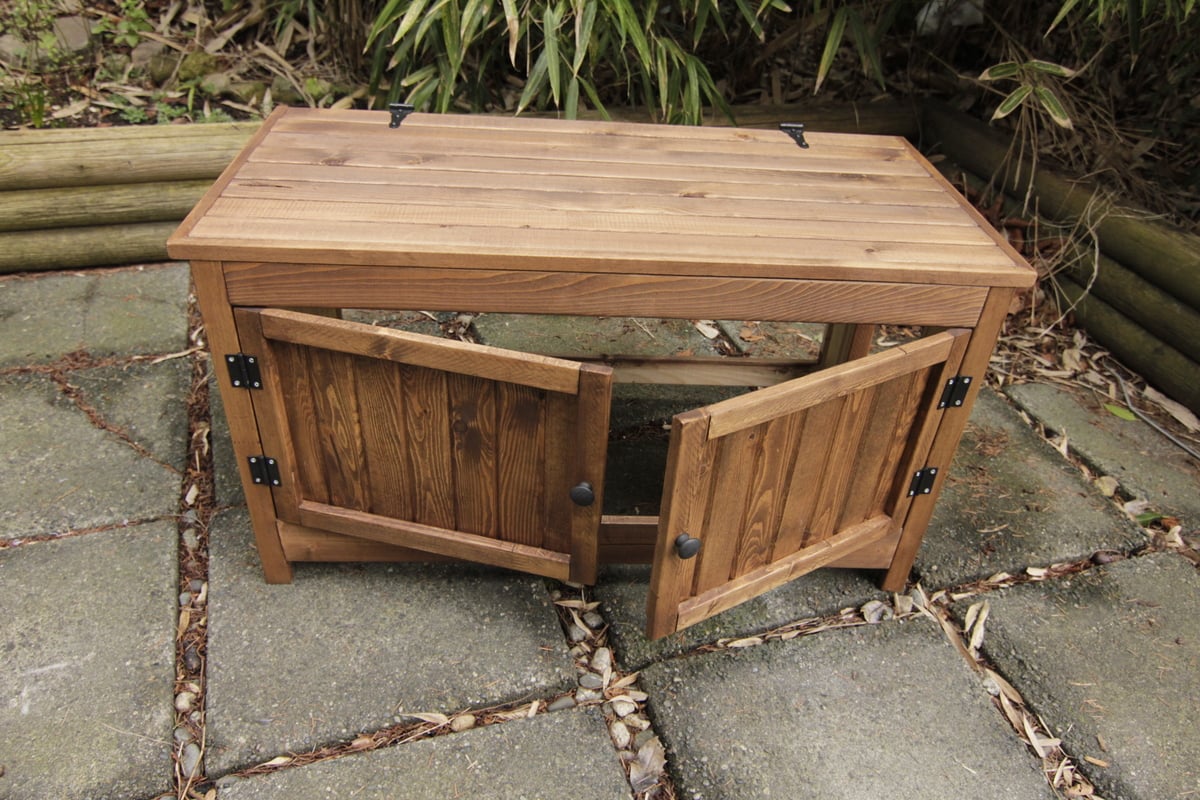
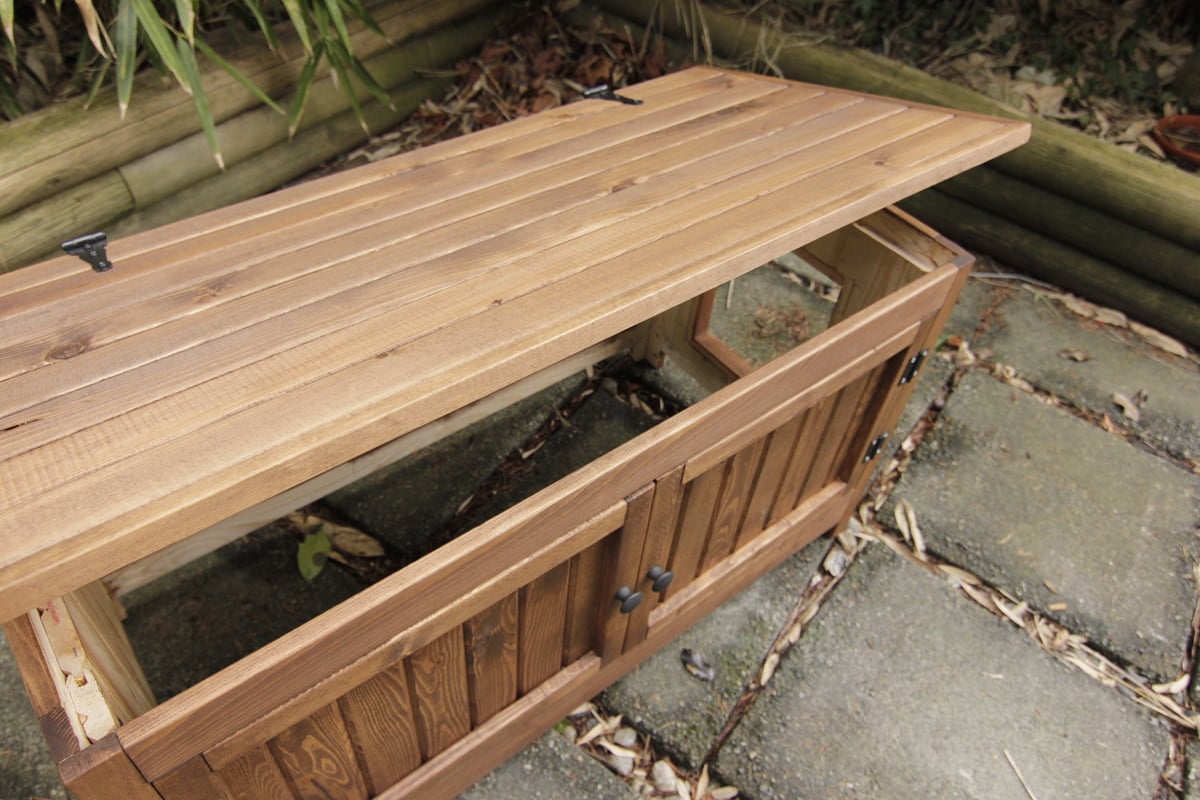
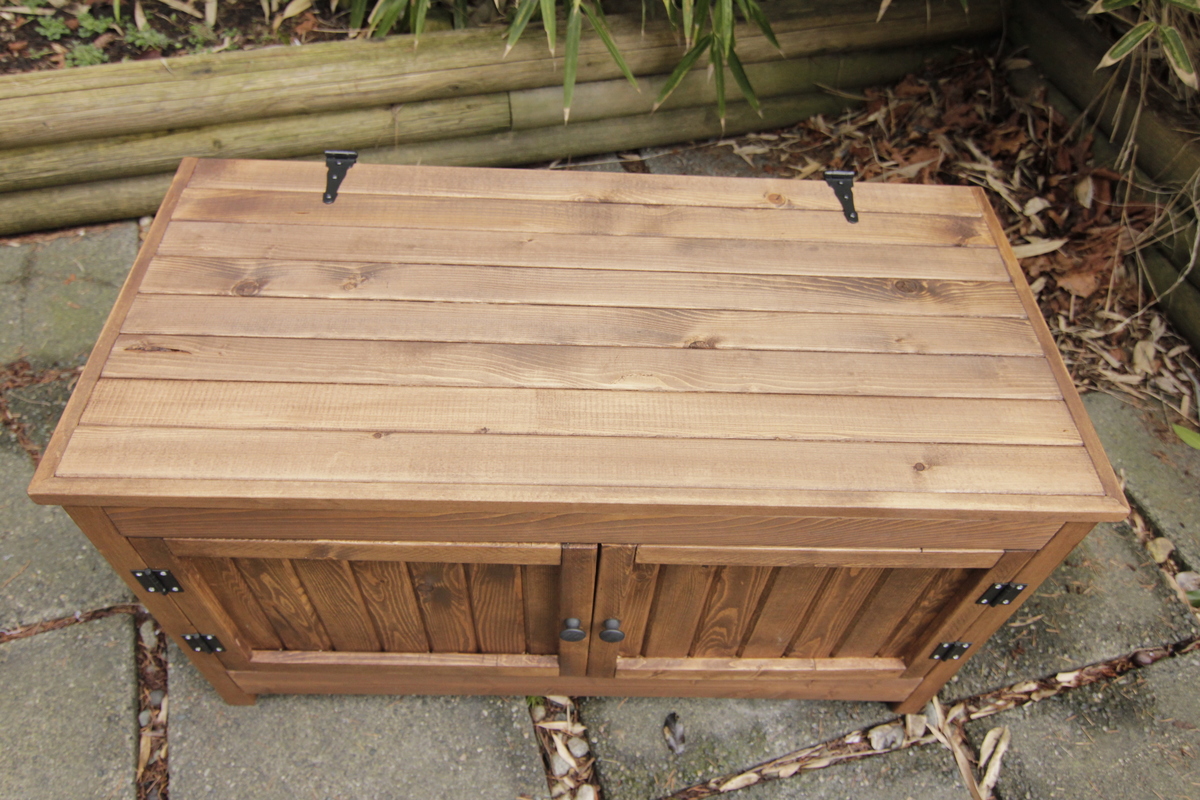
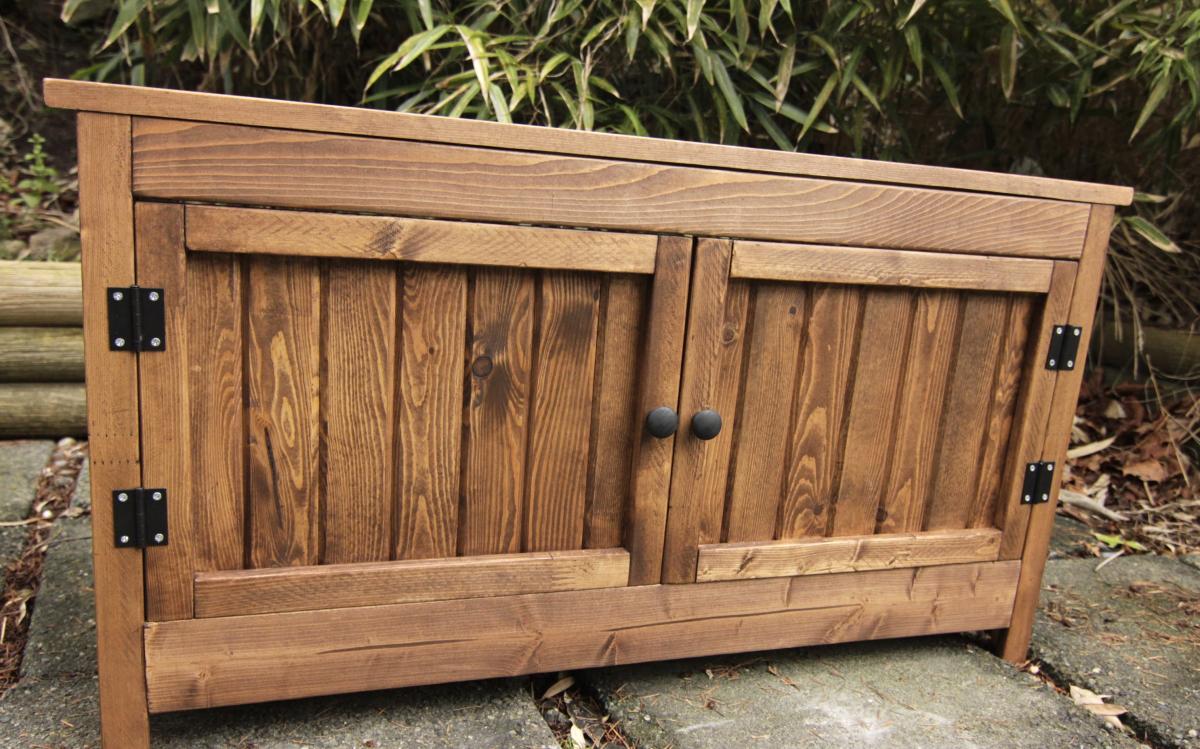
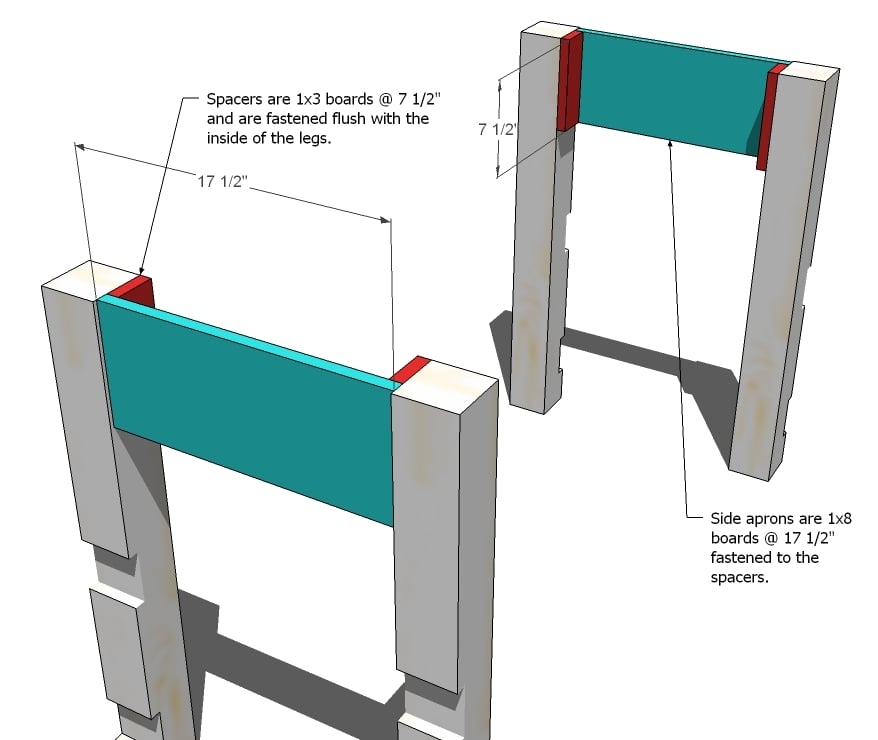
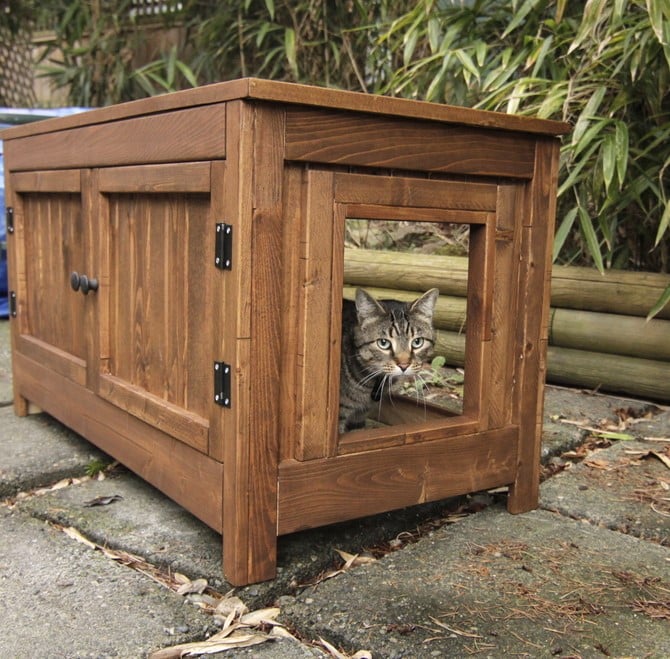
A while back I saw some posts on how to convert Ikea furniture into a litter box hider, which I thought was a great idea. Then I stumbled across the "Shanty-2-Chic" blog and the Kentwood Nightstand (and then of course Ana's site). I LOVED the stand and thought it'd be great to modify that plan into a bench version, so I could hide the litter box. I loosely followed the original plans and modified them to suite the dimensions of the litter box. I also wanted a lid that would lift so I could easily clean the litter box. I also cut a hole in one end so the cats could get in and out. I loved the look of the door on the Nightstand version, so I made two to fit the bench shape. I made one door first, then re-measured for the other door so that they would fit perfectly (good thing I did as the second one ended up needing to be a little longer than the other). In the photos I haven't added the bottom of the box yet, but I'll use L-brackets, attach leftover 1x3 as a border, then lay down old ikea shelves I had kicking around. The shelves will actually work out quite well as they have a laminate finish - making it easier to clean. I have a little carpet square to lay in there are well to catch the litter before the cats walk out. I intend to get a cushion for the top, so that my guests can sit on it when we're hanging out in the kitchen. I won't tell them they're sitting on top of the litter box :) Over all the project took me a really long time, but that was partly because I didn't have all the right tools, was often working in my living room (due to rain and working late at night), and I'm super anal about measuring! I'm really really happy with the way it turned out! P.S I bought the $20 Kreg Jig and must say that I LOVE that thing.

Estimated Cost
$100
Estimated Time Investment
Weekend Project (10-20 Hours)
Finish Used
1) Rust-Oleum Varathane Wood Conditioner (pre-stain)
2) Rust-Oleum Varathane Wood Stain in Dark Walnut
3) Rust-Oleum Varathane Water - Based Wood Finish (for the inside of the box).

I used wood conditioner on the exterior of the box, let sit for about 1/2 hour then painted on the stain with a sponge brush. I wanted it dark to I left the stain on for a while.
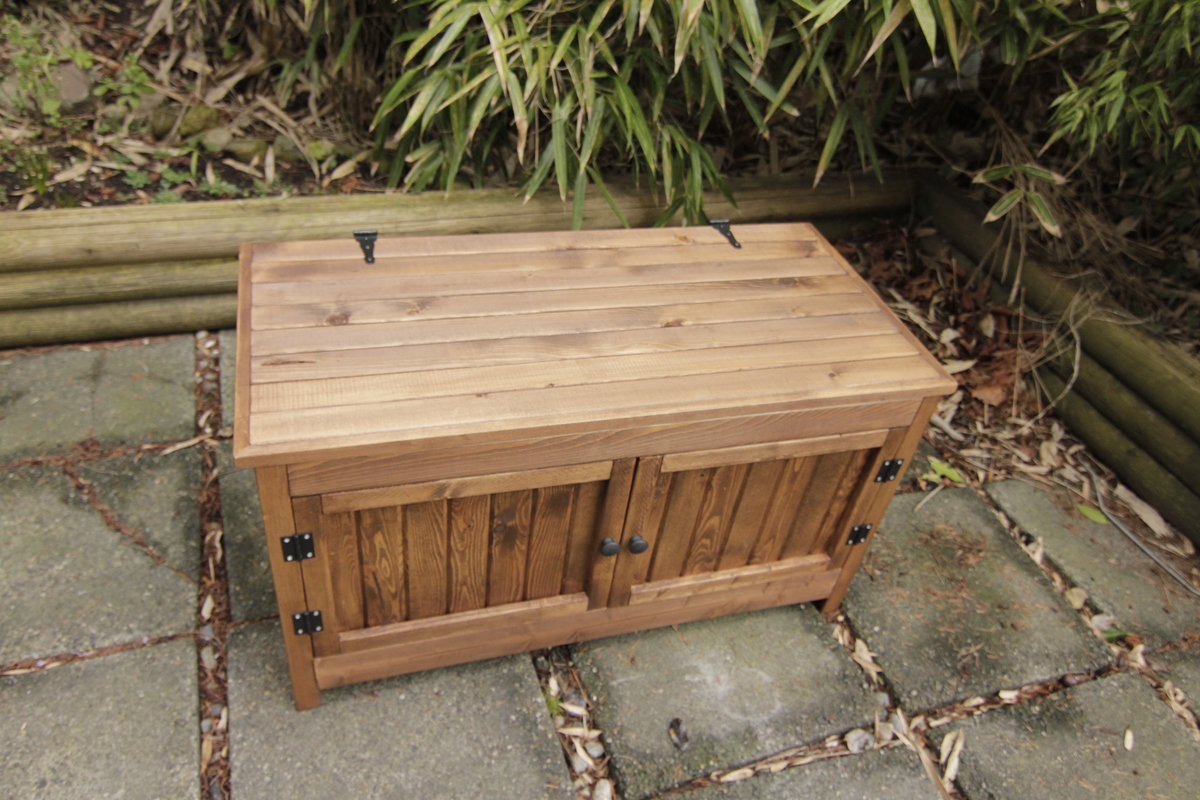
I don't like shiny finishes so I didn't treat the outside of the box, however I did use it on the inside to prevent the wood from absorbing any smells.
Recommended Skill Level
Beginner

Comments

wannabuildit

Mon, 02/18/2013 - 17:20

I really like this idea, I have to put the cat box in the farthest corner of my kitchen also. This is a great idea I hope you dont mind if I use :) Thanks for sharing

EstTexas80

Sat, 01/28/2017 - 11:35

Did you ever happen write down cut lengths and and building plans for this.  It's EXACTLY what my wife and I are looking for, for the entry way of our house.  If you do, I'd really appreciate it.  Thank you.

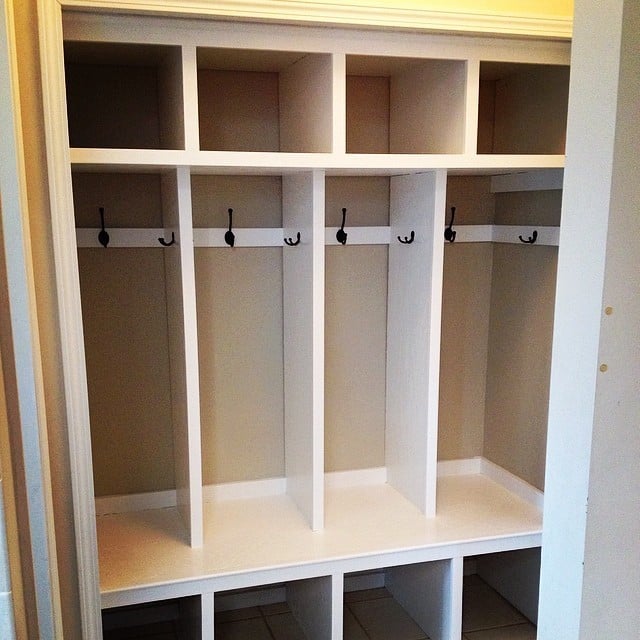
My Mudroom Lockers

Turned an entryway closet into these lockers for my kids.  I used the basic ideas in Ana's Smiling Mudroom for my plans. Lockers are just inside the entrance from the garage.   

Built from Plan(s)
Estimated Cost
$200.00
Estimated Time Investment
Week Long Project (20 Hours or More)
Finish Used
Valspar White Interior Satin
Recommended Skill Level
Intermediate

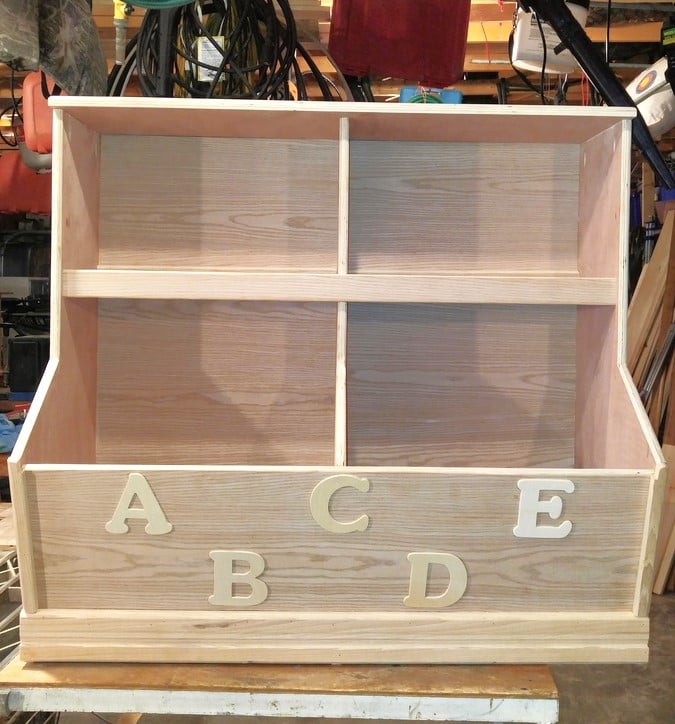
Toy box

Submitted by Anonymous (not verified) on Sat, 03/25/2017 - 18:21

Made this for my grandson. His name is Ace and my initials are BD. ABCDE 

Estimated Cost
$80
Estimated Time Investment
Weekend Project (10-20 Hours)
Finish Used
Unfinshed yet
Recommended Skill Level
Starter Project

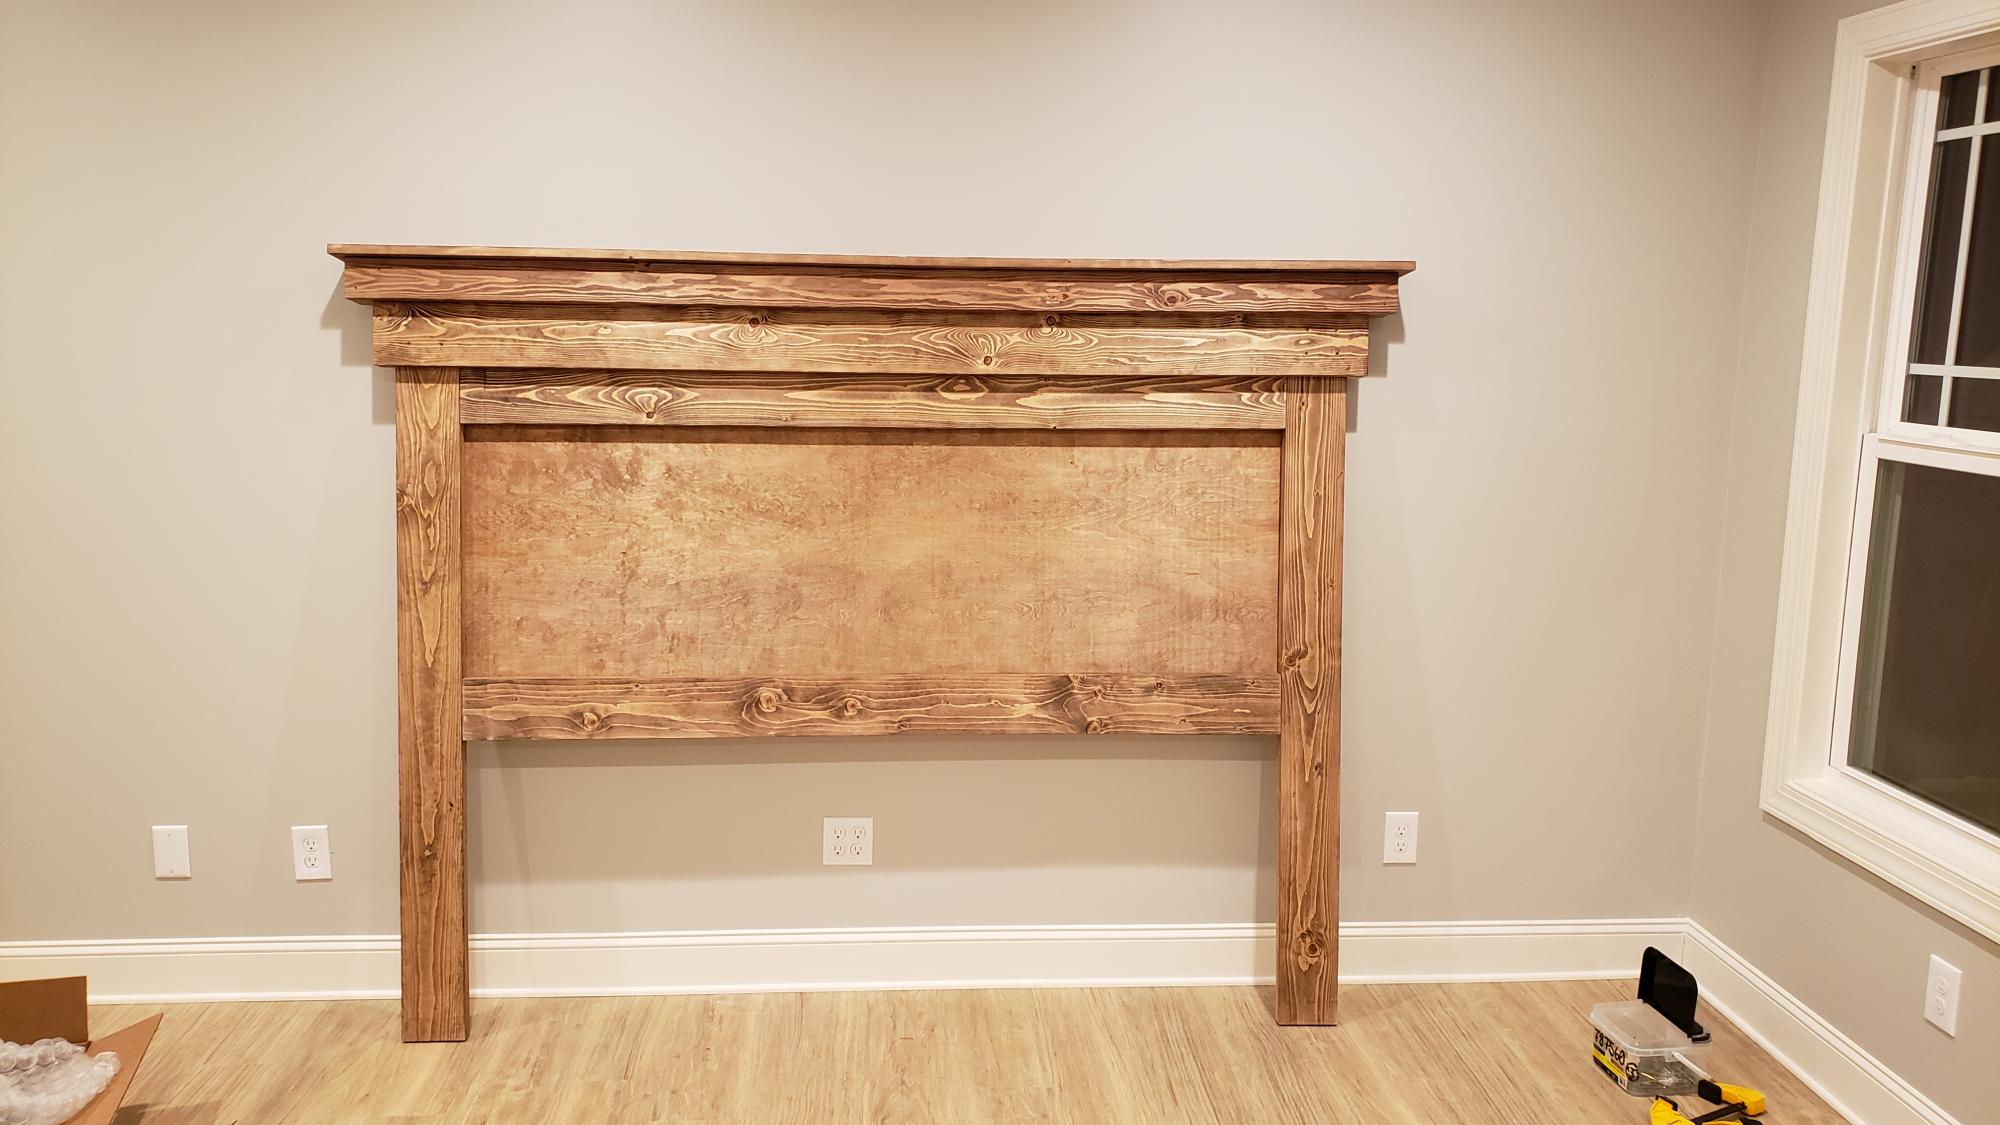
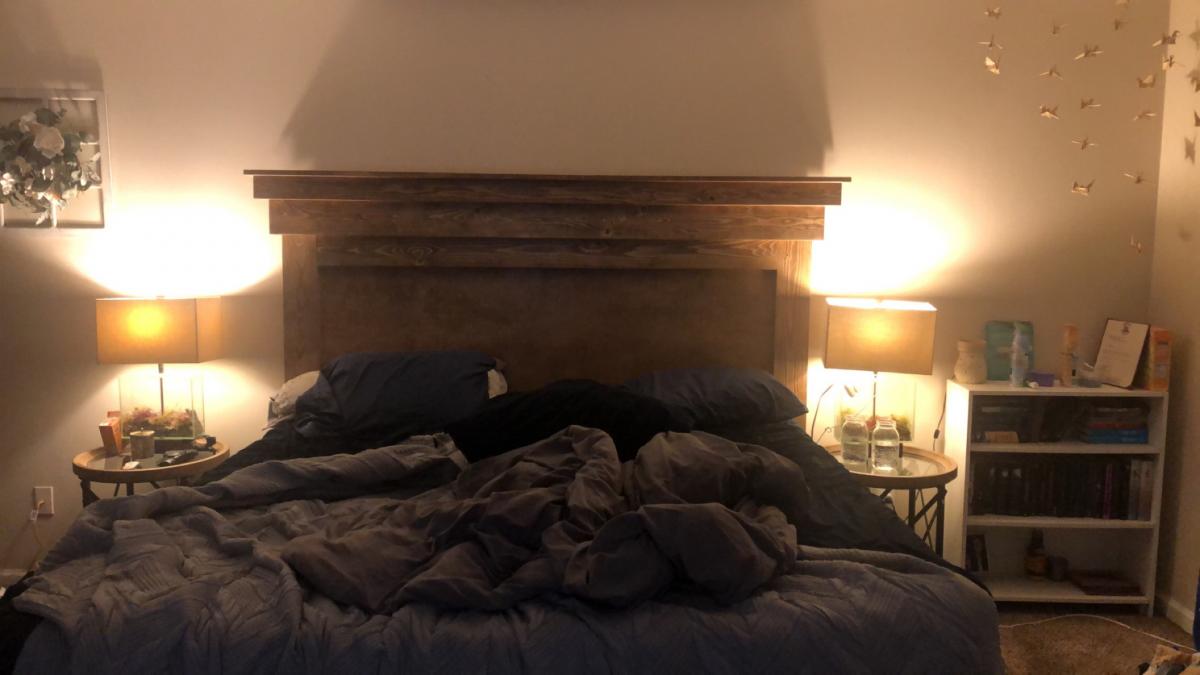
Mantel Moulding Headboard - King Size Here!

Submitted by lydiamatt on Mon, 01/25/2021 - 13:23

Hello,
I have a PDF with material, cut list, and assembly steps for anyone interested. I also used Type 2 wood glue and all screws with this build, substituting for nails in the original plan!
Please email me at [email protected] with any questions!
Thanks
Matt

Built from Plan(s)
Estimated Time Investment
Afternoon Project (3-6 Hours)
Finish Used
I have painted this Extra White, and stained with Special Walnut from Minwax.
Recommended Skill Level
Beginner

Comments