Community Brag Posts

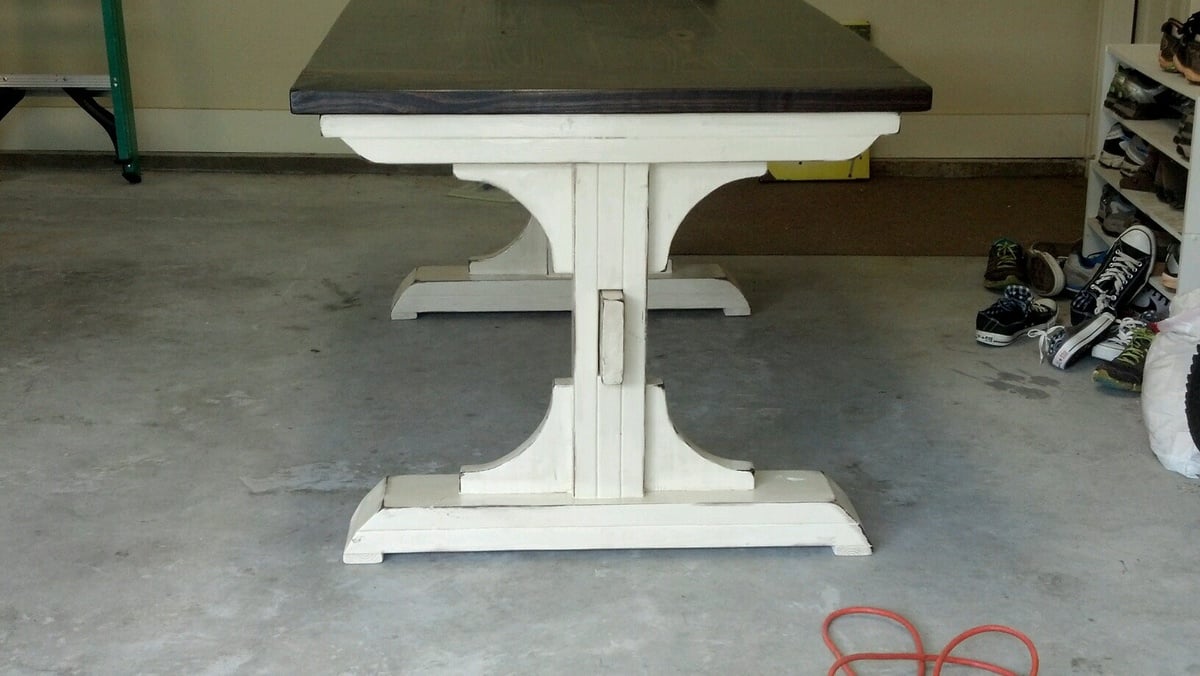
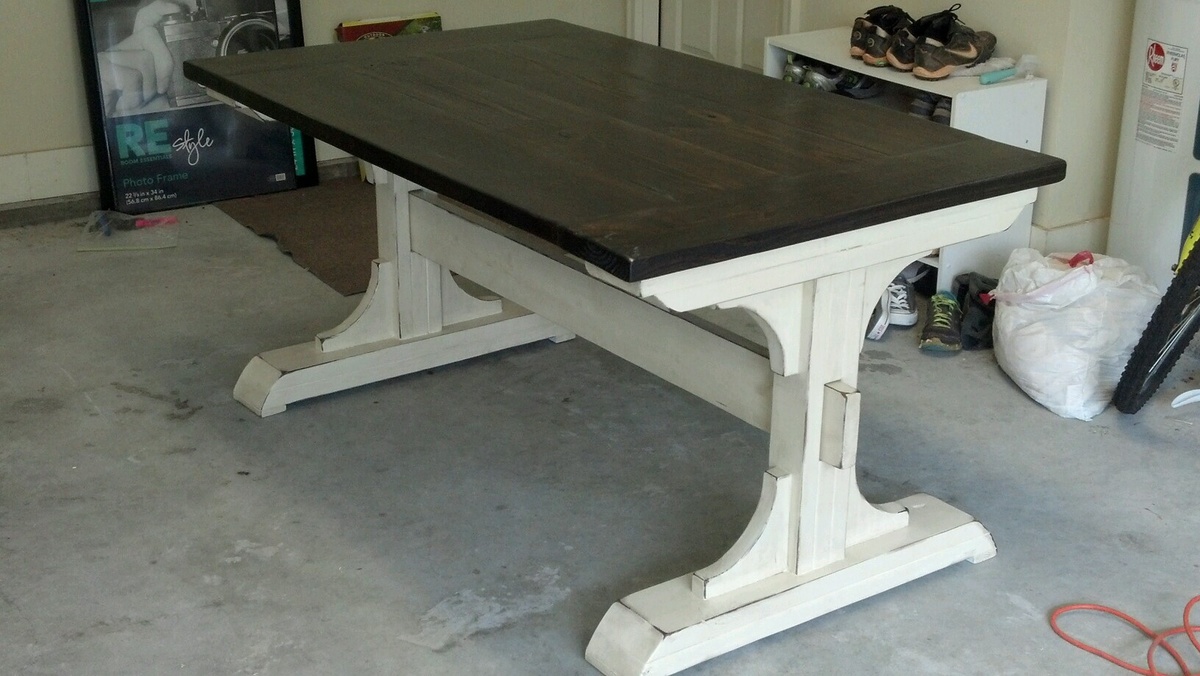
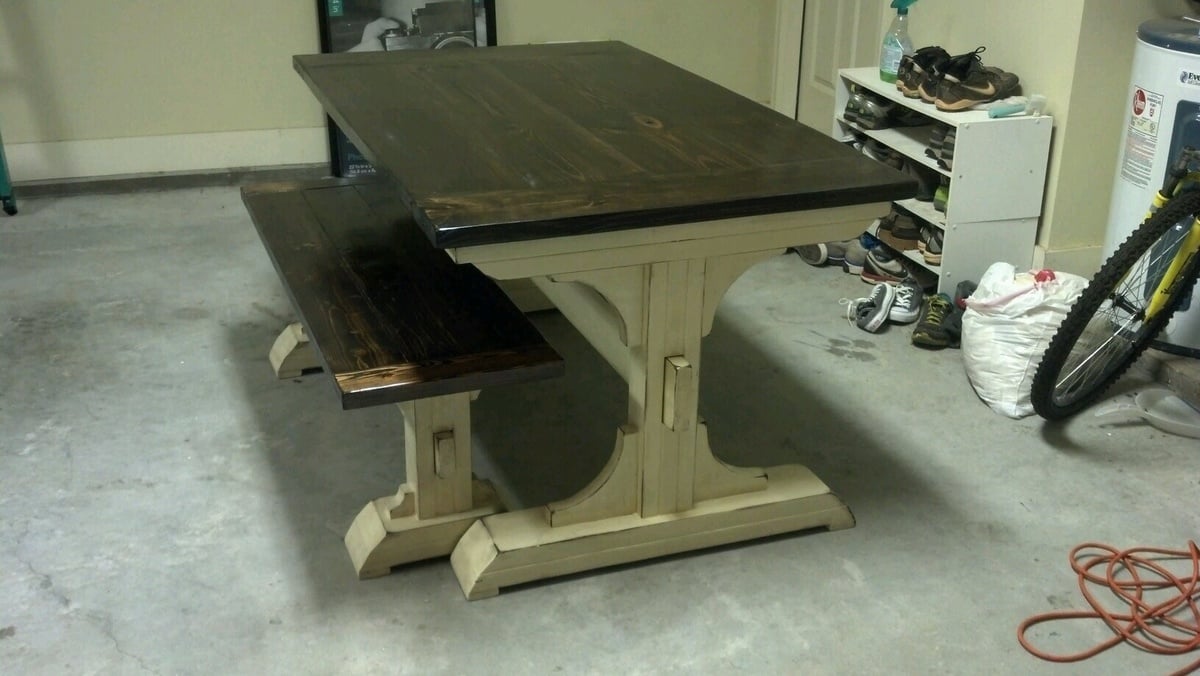
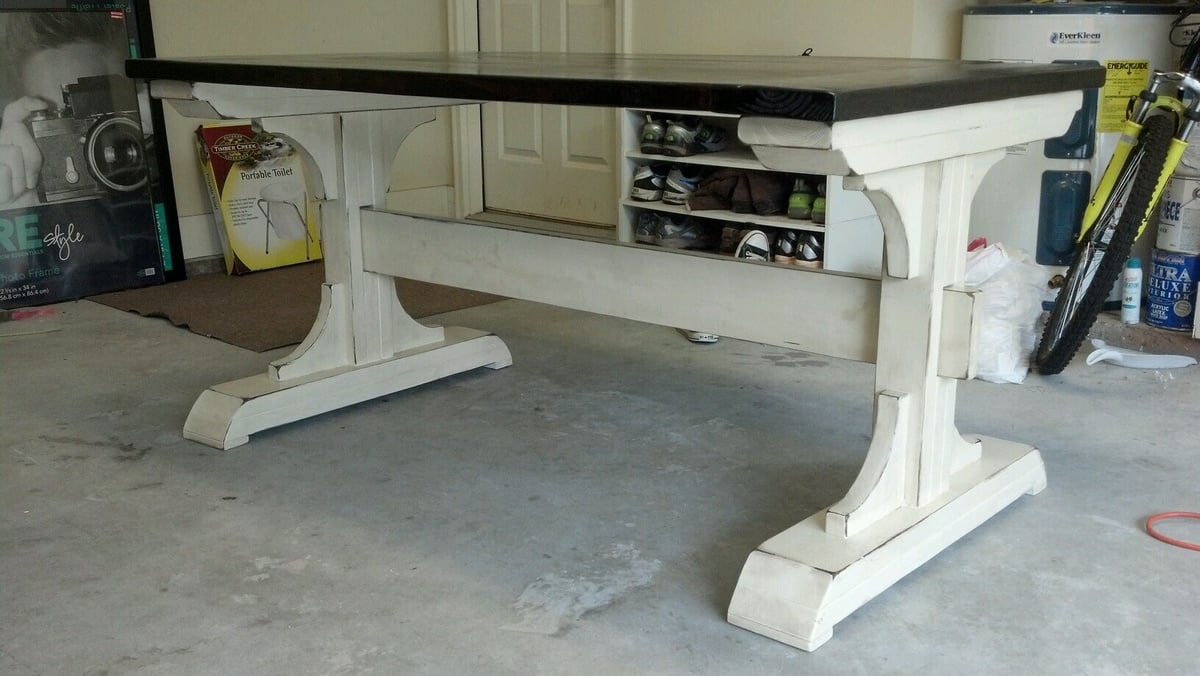
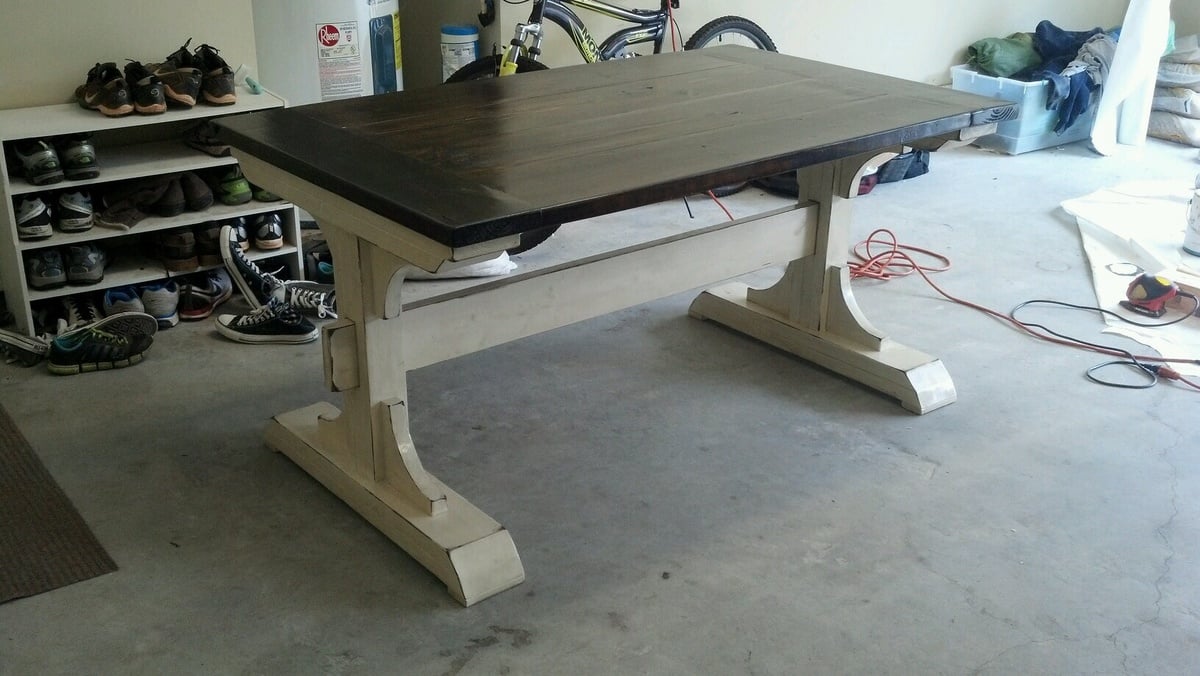
Double pedestal breakfast table and bench

Submitted by Lschnell19 on Sat, 09/21/2013 - 09:24

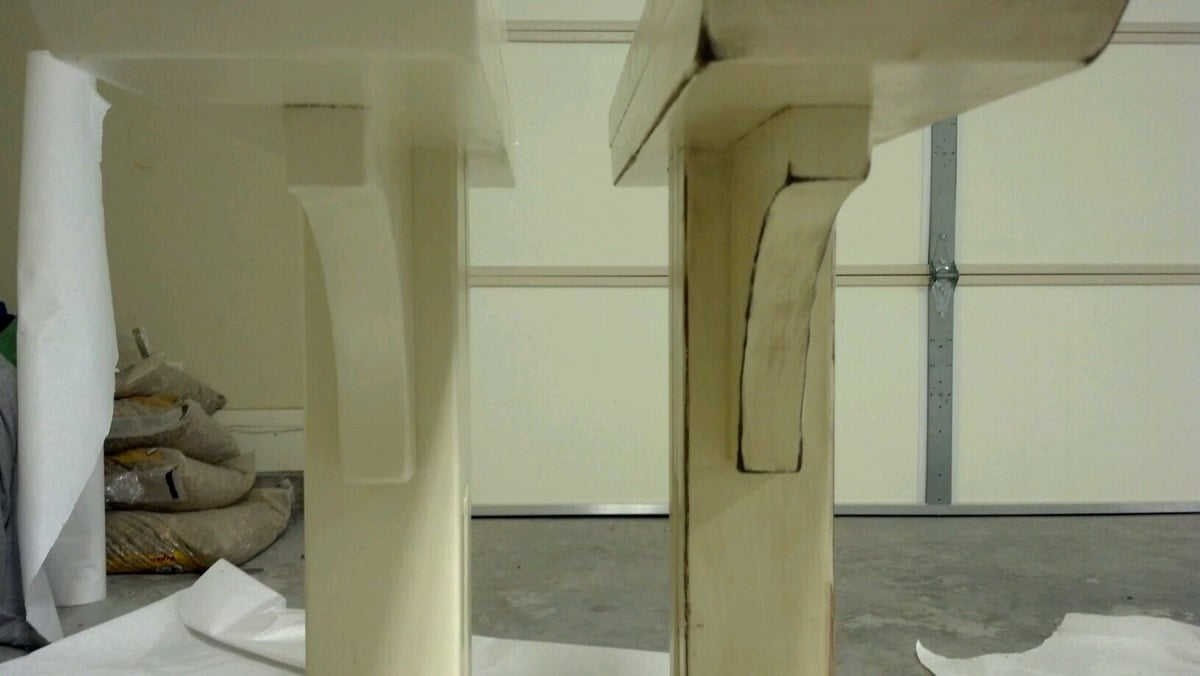
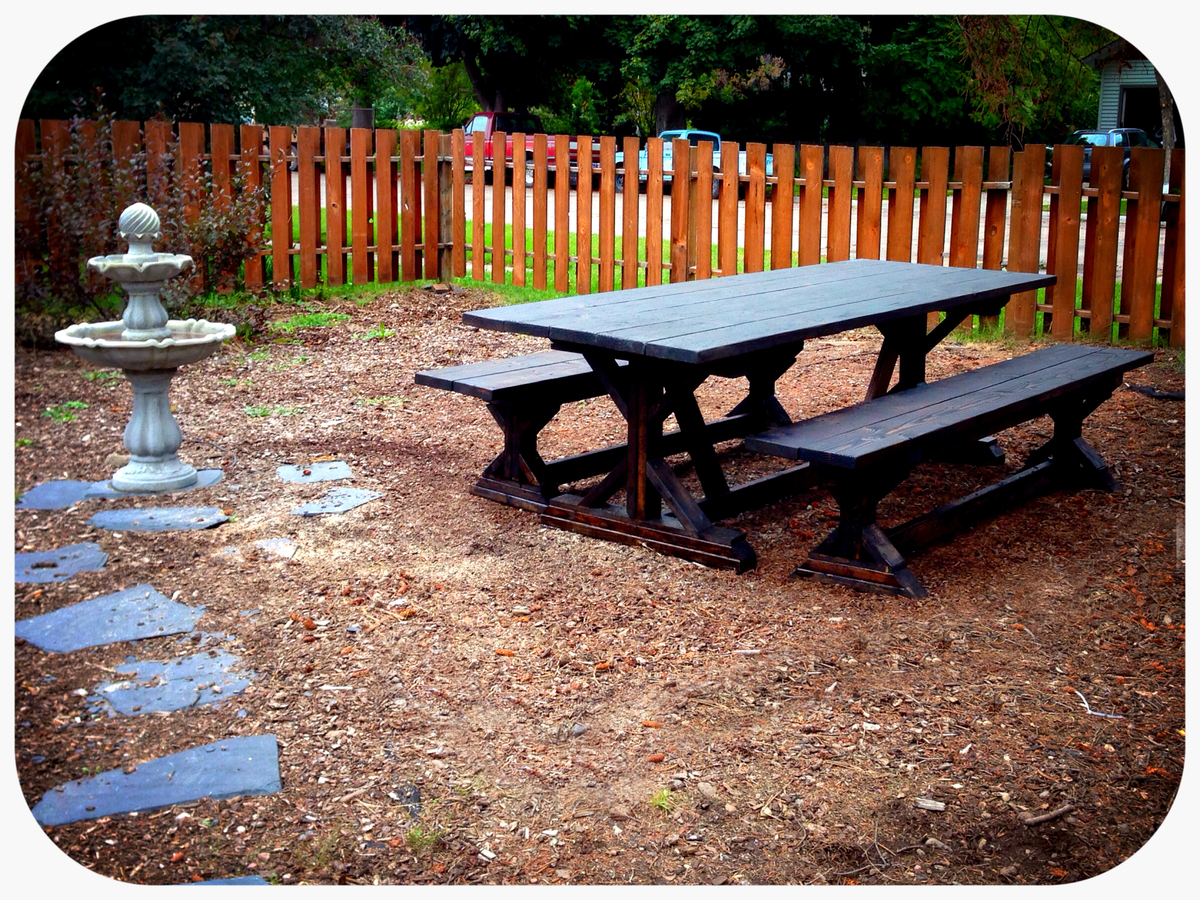
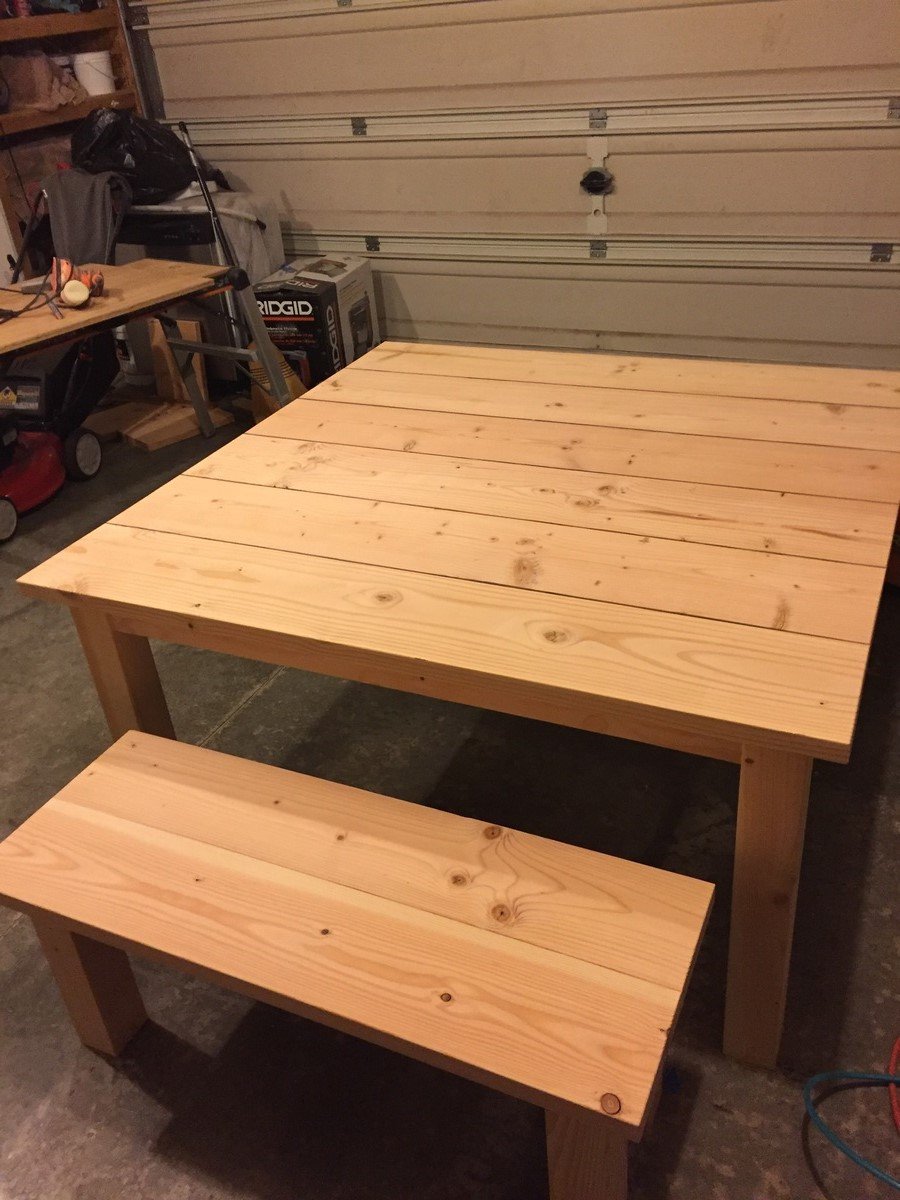
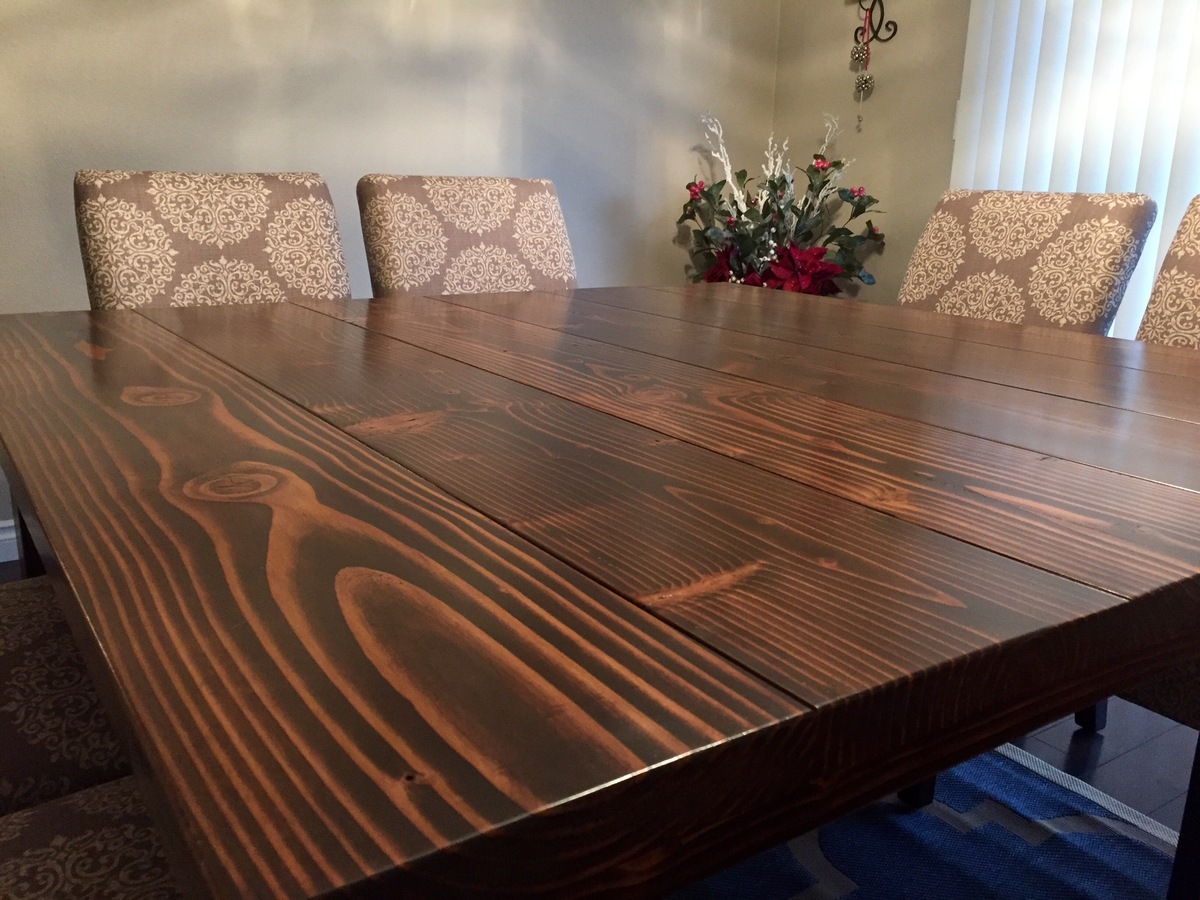
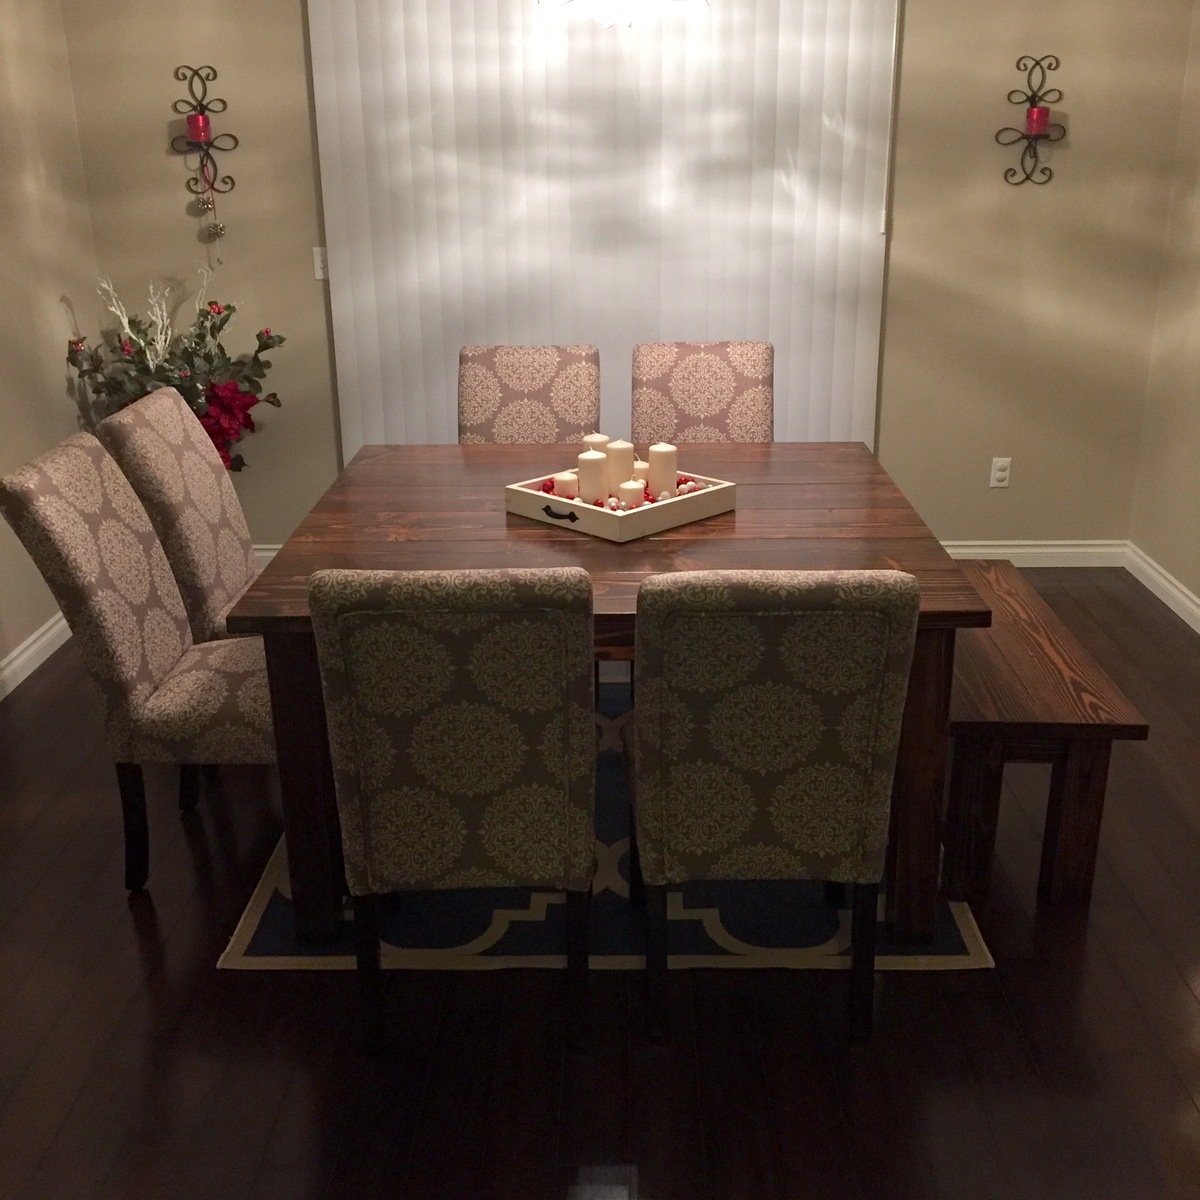
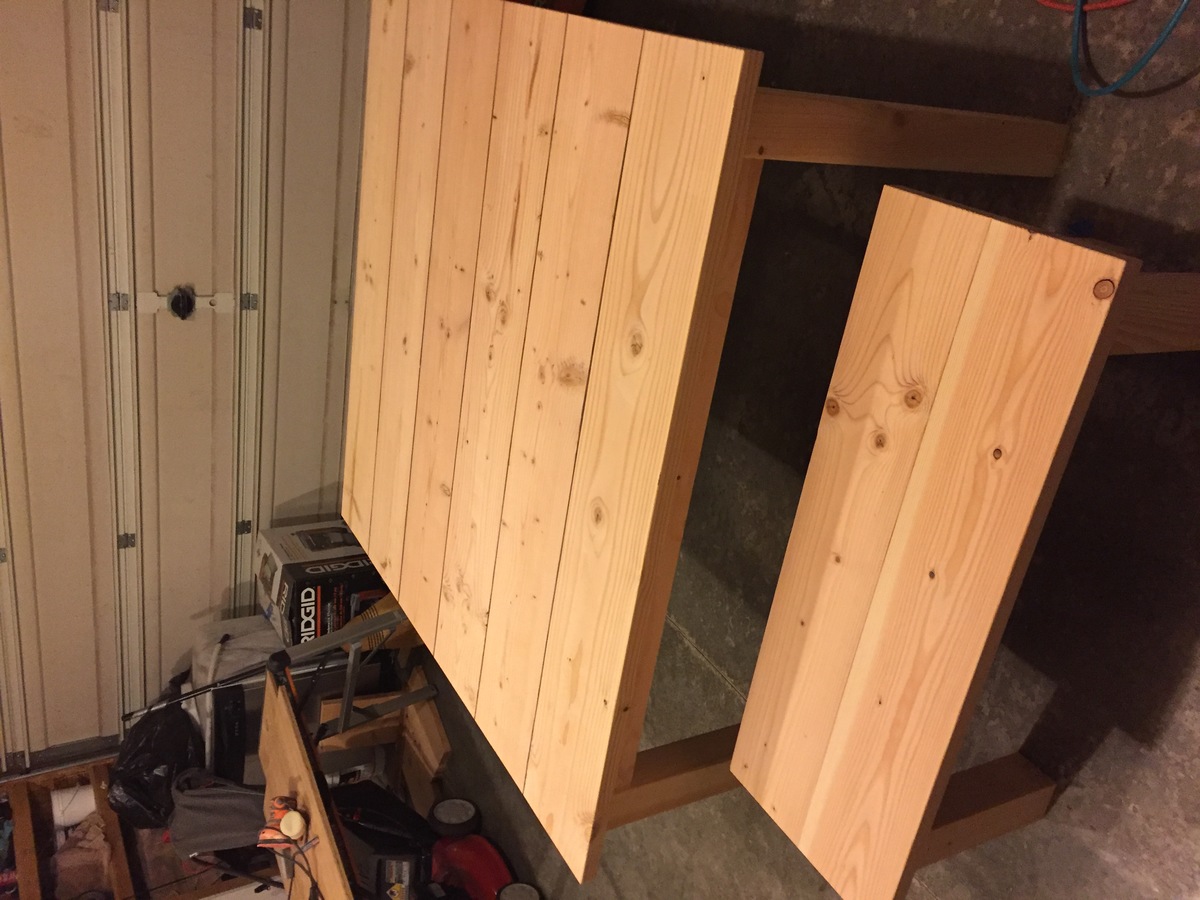
Thank you Ana for yout amazing plans for the triple pedestal table and bench! I modified it to work for the dimensions that I needed which brought it down to a double pedestal table and bench. It ended up as a 3'x5' table. I attempted the antique coffee stain technique but it wasn't taking so I just used the stain that I used on the table top instead of the coffee. I LOVE how it turned out!

Leah

Estimated Cost
$150
Estimated Time Investment
Weekend Project (10-20 Hours)
Finish Used
Primed the legs and then added two coats of latex paint. Sanded the edges and corners and then applied dark walnut minwax stain over the entire surface wiping it off quickly! For the top, I did two coats of dark walnut minmax stain. I finished everything off with two coats of polycrylic.
Recommended Skill Level
Beginner

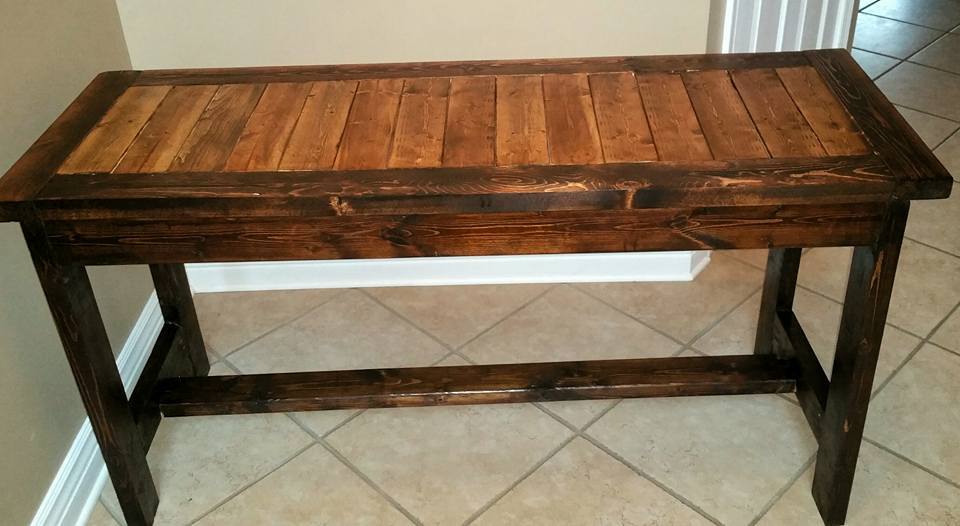
2x4 Desk

Submitted by new2wood on Sun, 11/29/2015 - 20:26

Modifications adopted from two other posters.

Built from Plan(s)
Estimated Cost
$37
Estimated Time Investment
Weekend Project (10-20 Hours)
Recommended Skill Level
Beginner

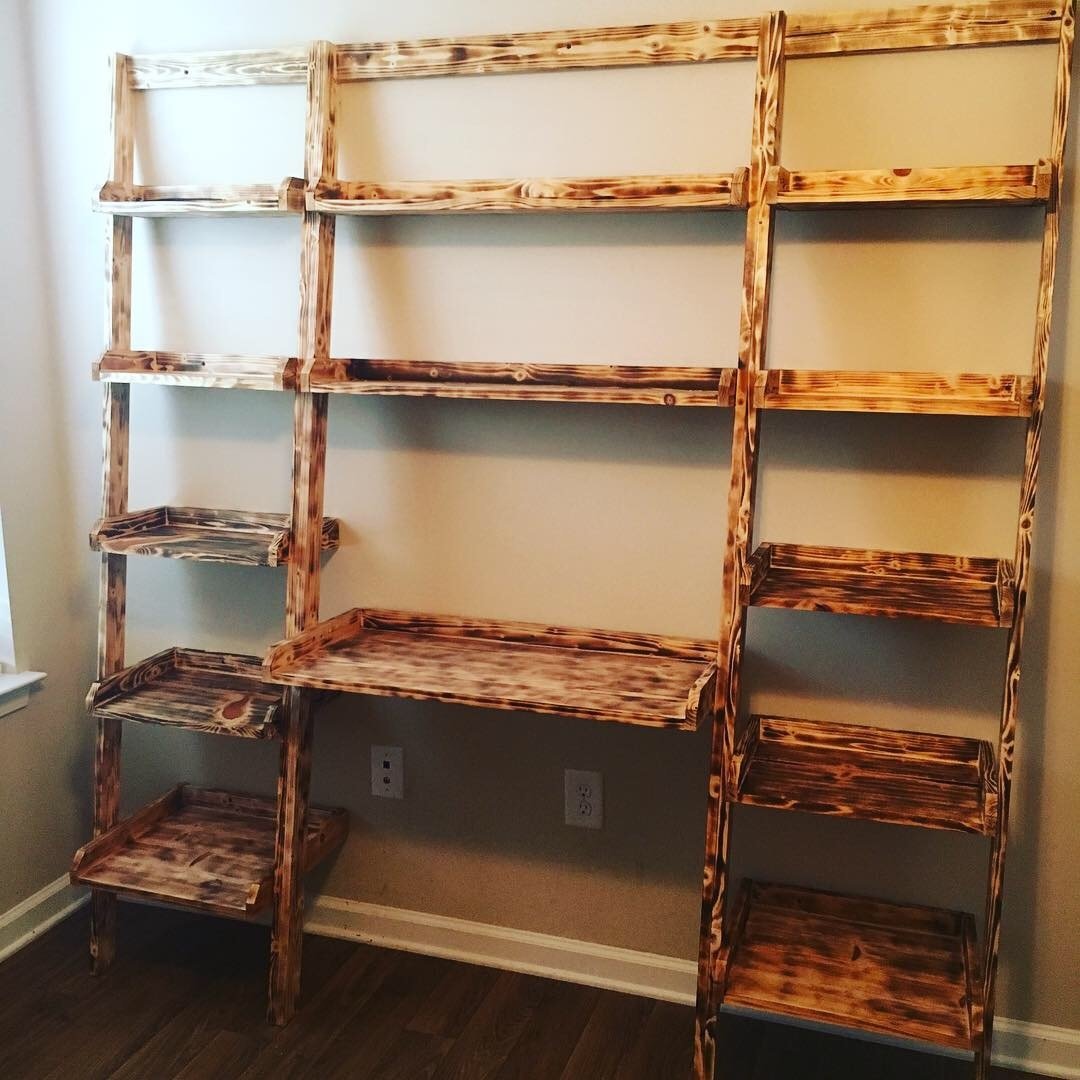
Leaning Desk and Bookshelves

Submitted by Anonymous (not verified) on Sat, 01/19/2019 - 21:22

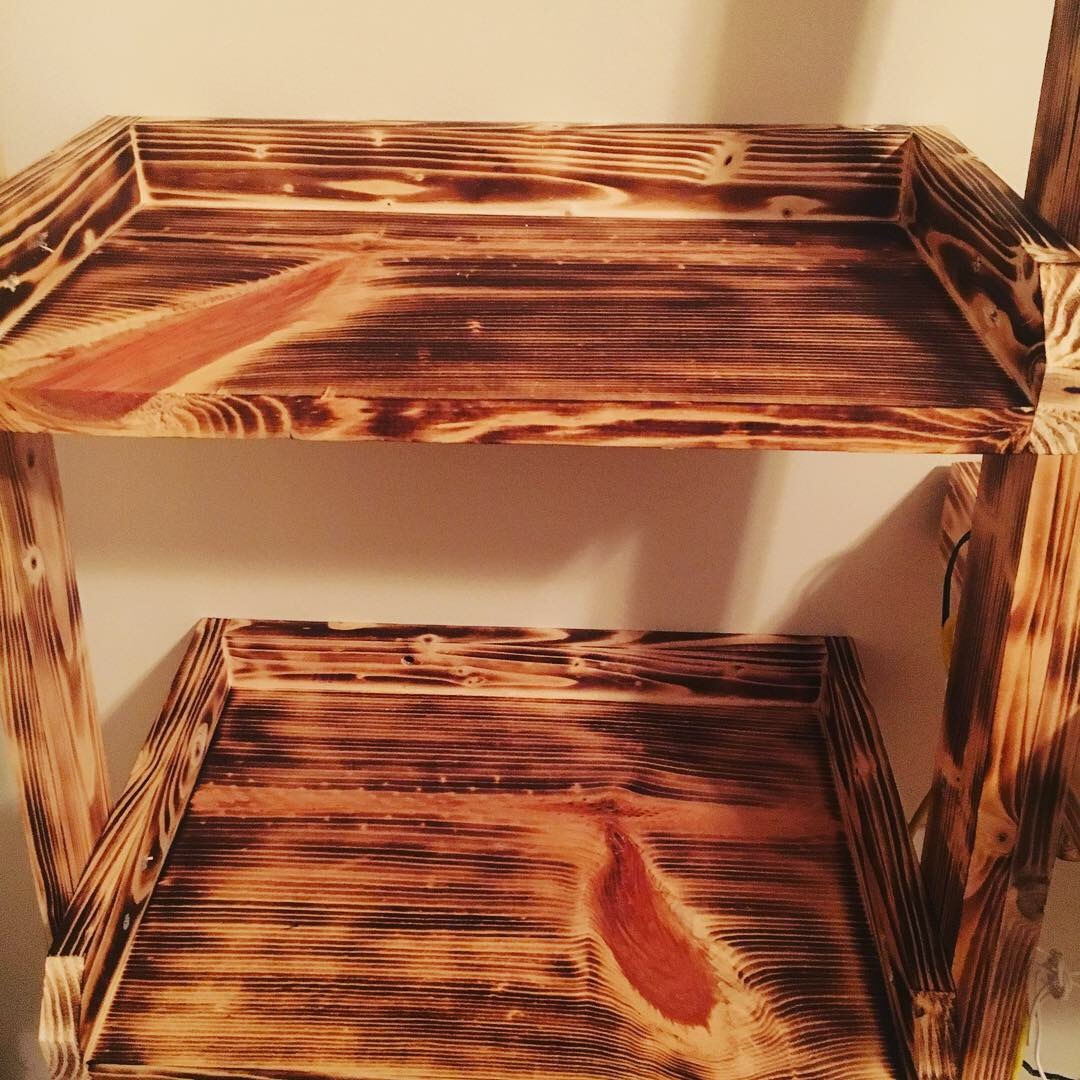
Used a handheld propane torch to “burn” the wood and it turned out amazing! 

Estimated Cost
$100 I didn’t have any wood on hand so had to buy all of it. The rest of materials I already had.
Estimated Time Investment
Day Project (6-9 Hours)
Finish Used
Propane to burn the wood
Recommended Skill Level
Beginner

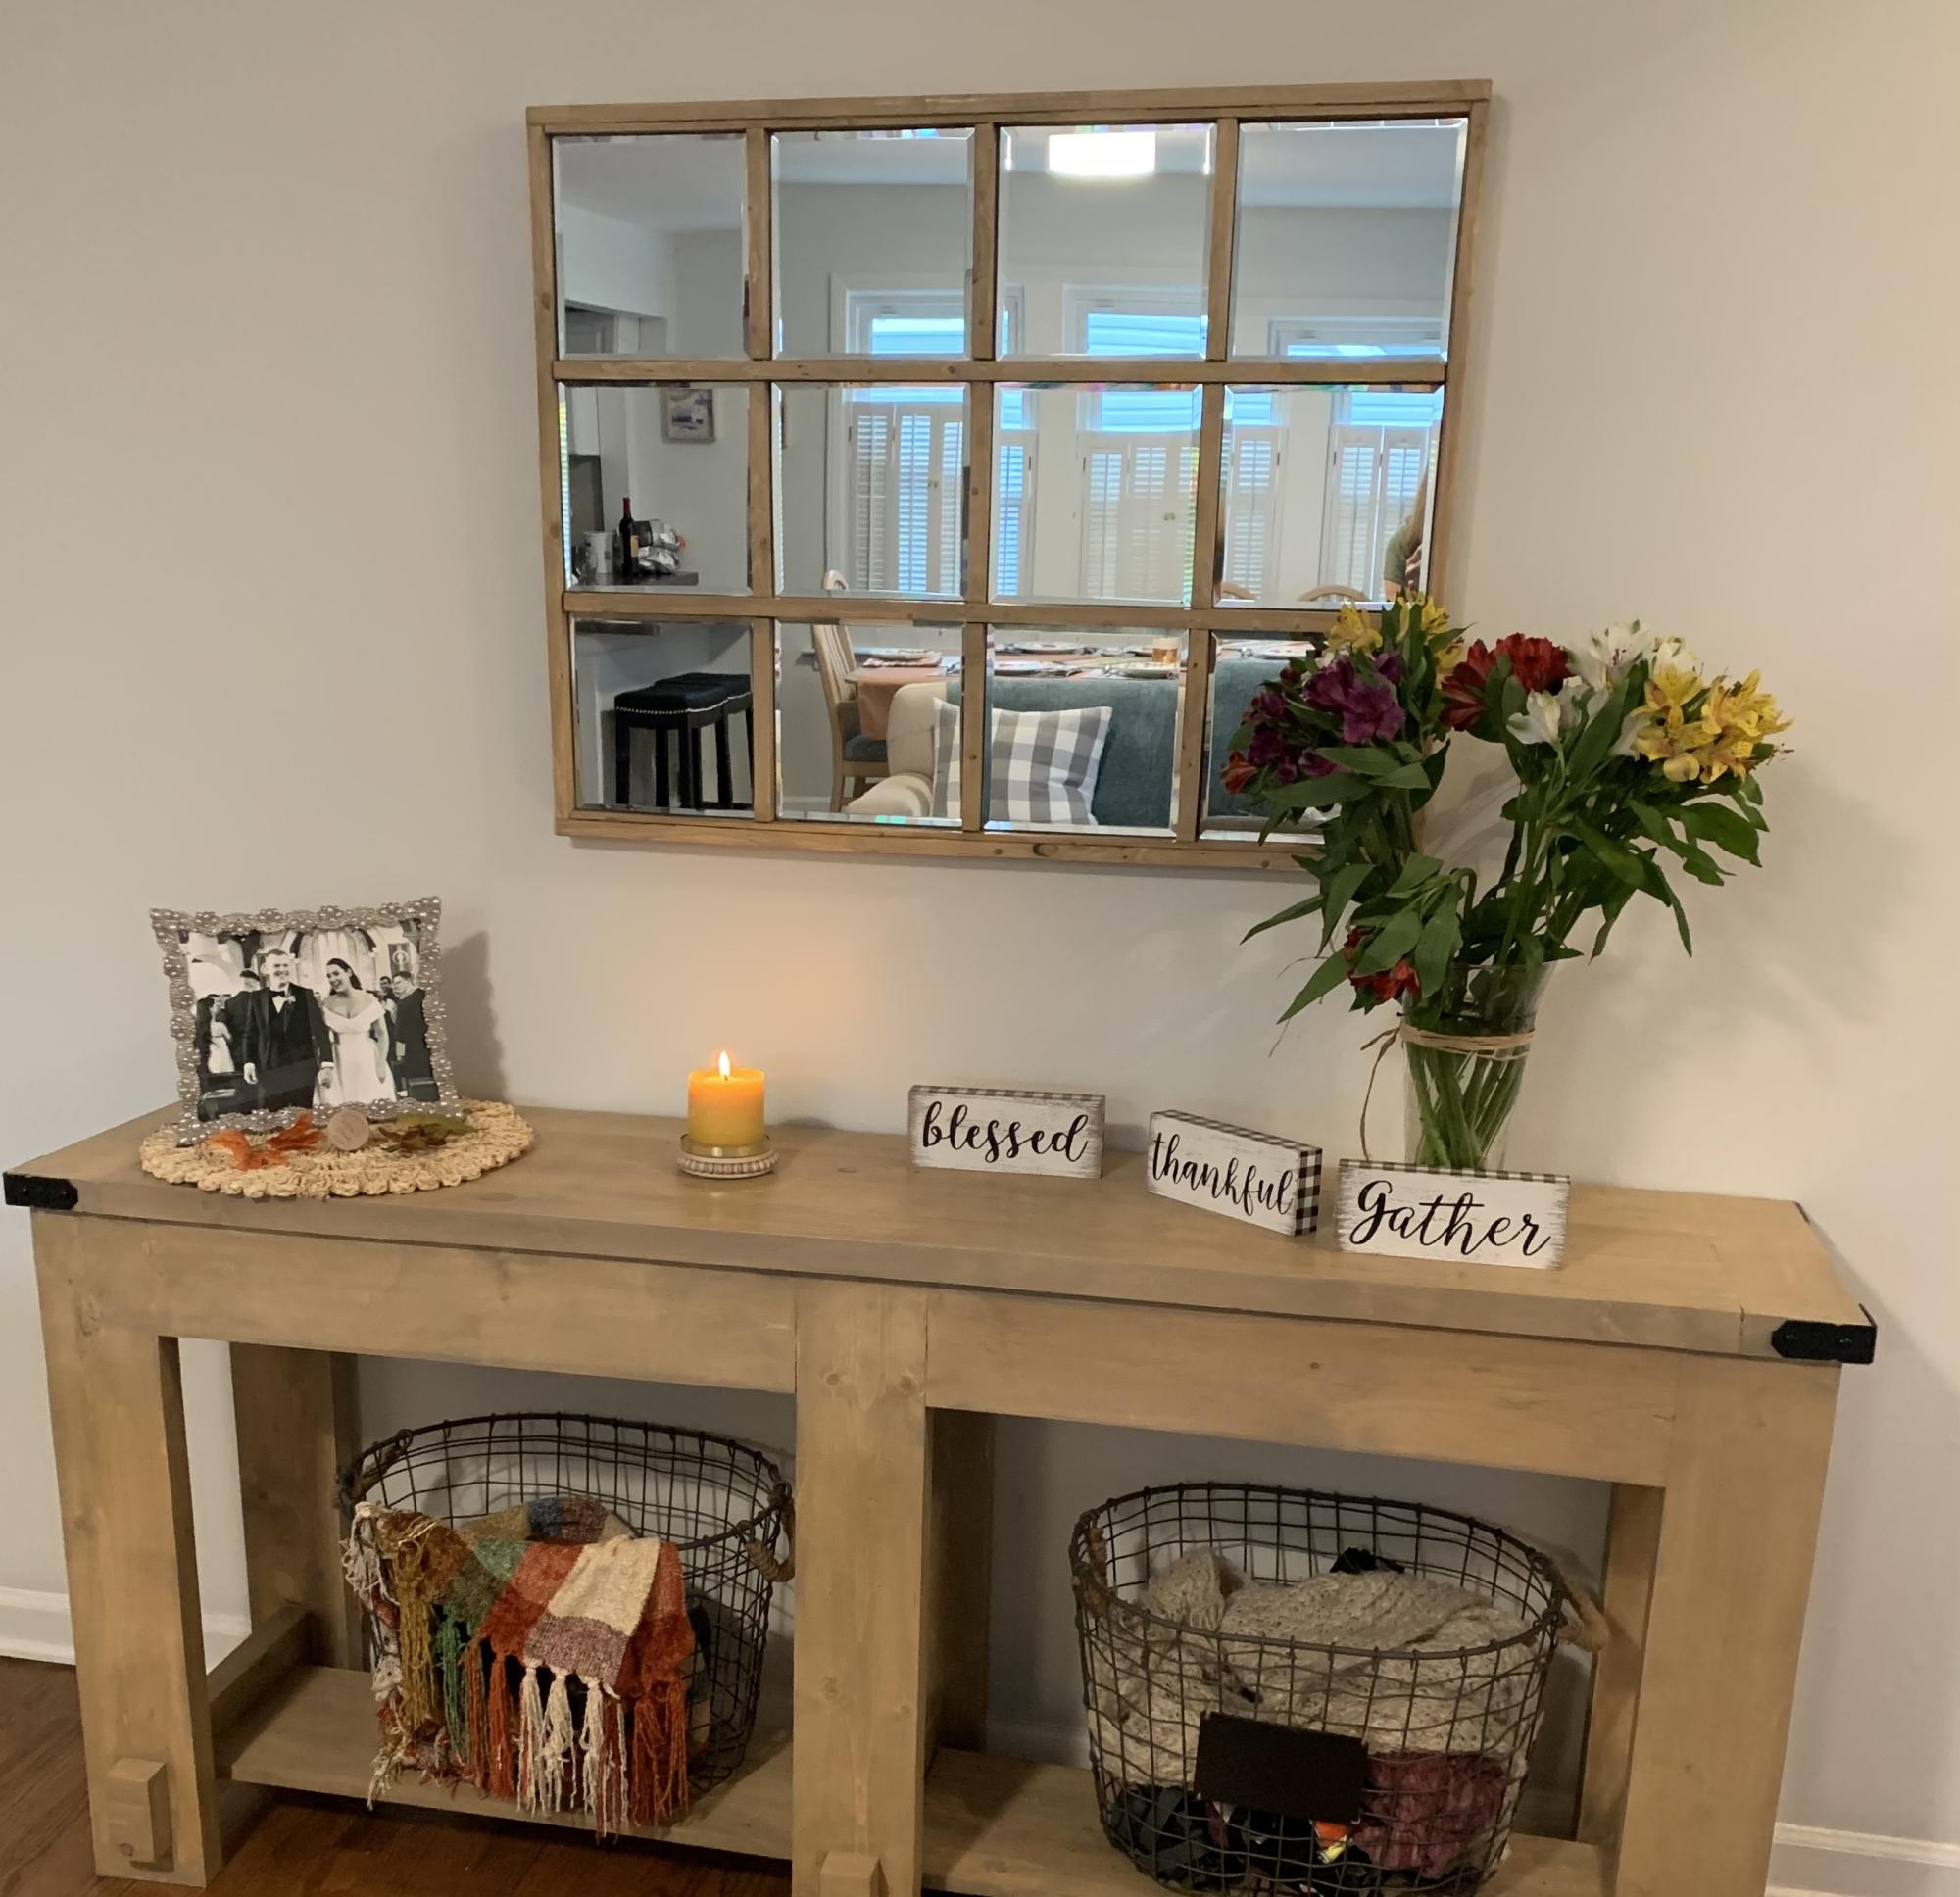
Grid Mirror

Submitted by Anonymous (not verified) on Fri, 11/25/2022 - 06:05

Thank you Ana for your amazing easy to follow plans and videos! I’ve had so many compliments in the mirror and goes great with the table from Shanty2Chic. I went with 8 x 8 mirror tiles. We love it!

Comments

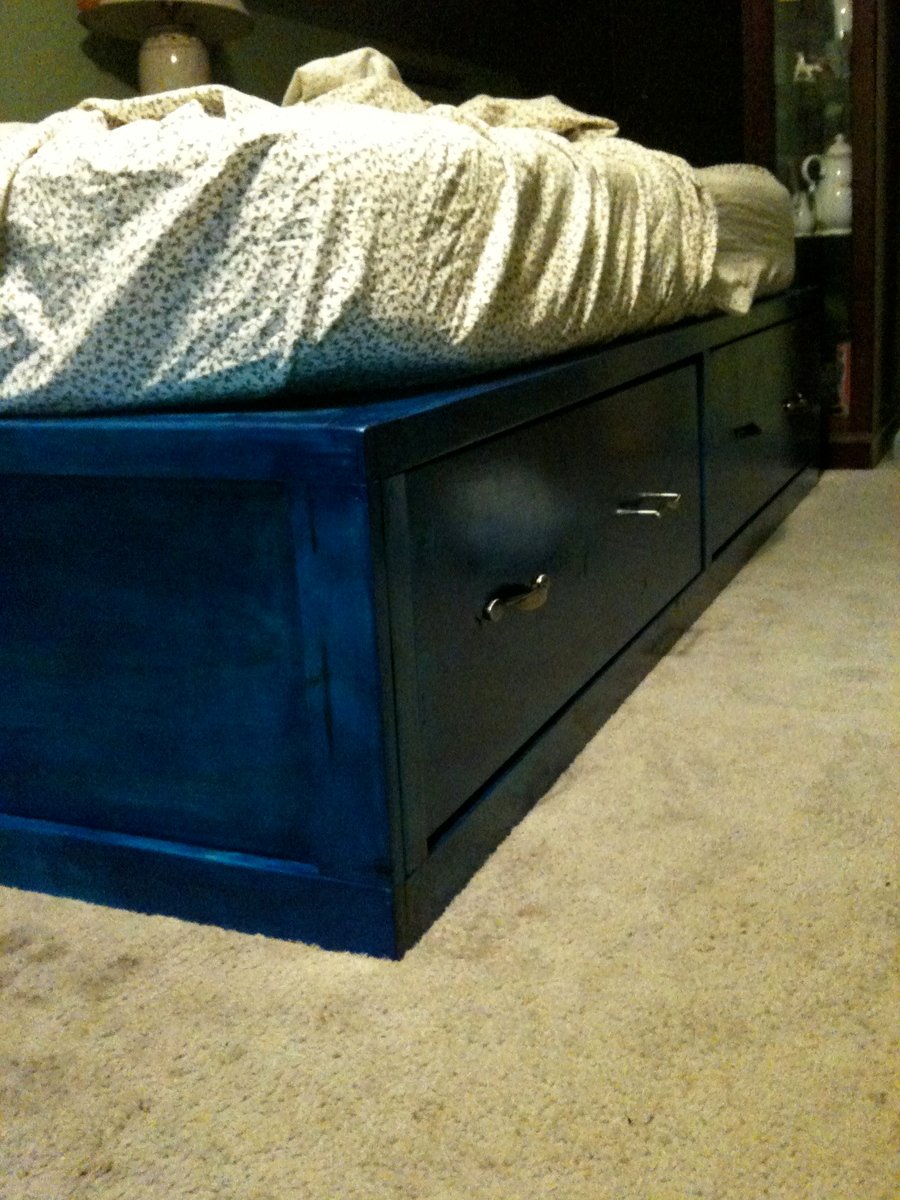
King-size stratton storage bed

Submitted by melanieann on Sat, 09/03/2011 - 14:53

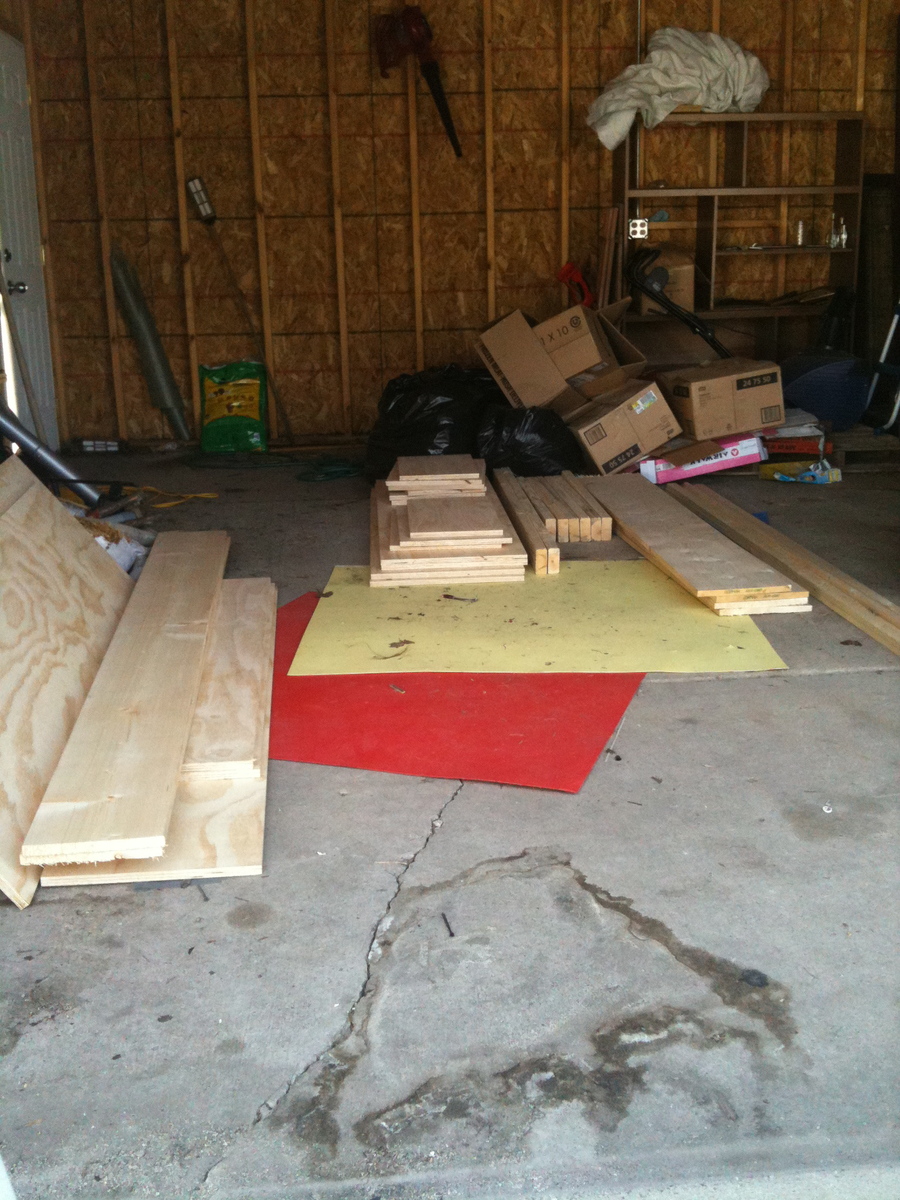
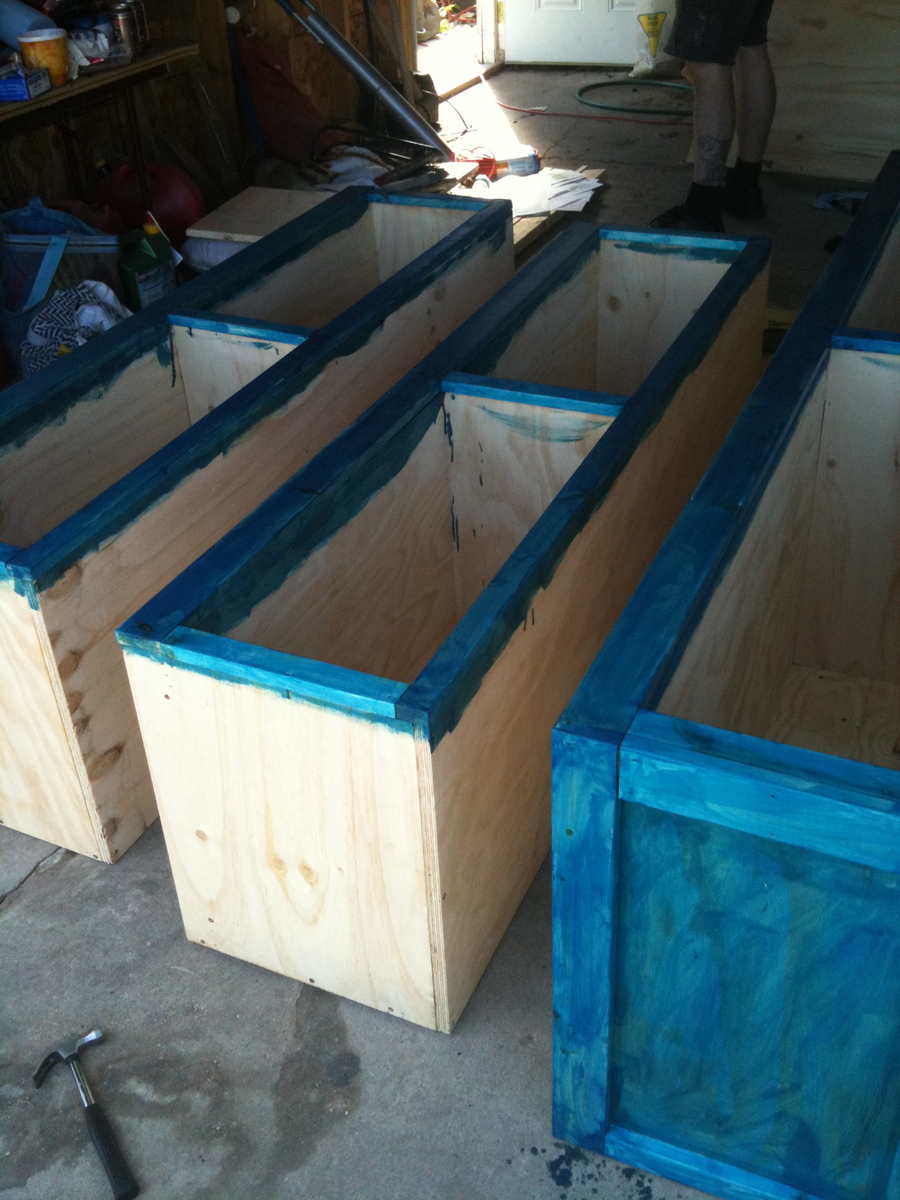
This was our first time building furniture. We built our new bed over the course of four days. We don't own any power saws so opted to give the cut list to our local hardware store who only charged us about $50 for all the cuts.

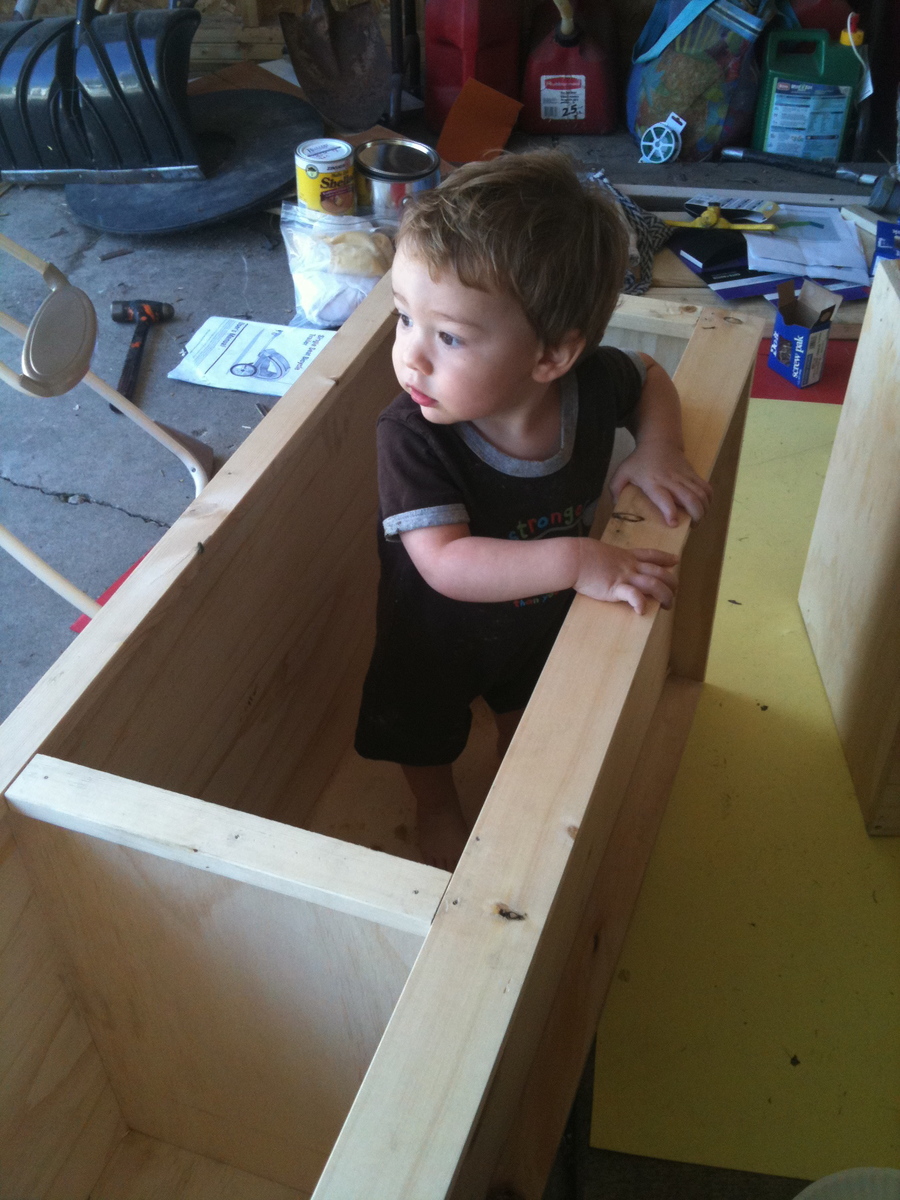
Day one consisted of picking up all the lumber, sorting into the three sections and labeling all the pieces. Day two was the longest day, lots of drilling and measuring and screwing and gluing and even the first two coats of shellac. On the third day we built the drawers, and finished coating everything with shellac. The last day was the installation of the drawer hardware, including the slides.

We're quite happy with the quality of our work, and appreciate the directions and plans. Though we aren't fine furniture makers, and probably none of our corners are 100% square, we finished in the time we thought, pretty close to budget, and with the satisfaction of doing it ourselves.

Built from Plan(s)
Estimated Cost
$600
Estimated Time Investment
Weekend Project (10-20 Hours)
Finish Used
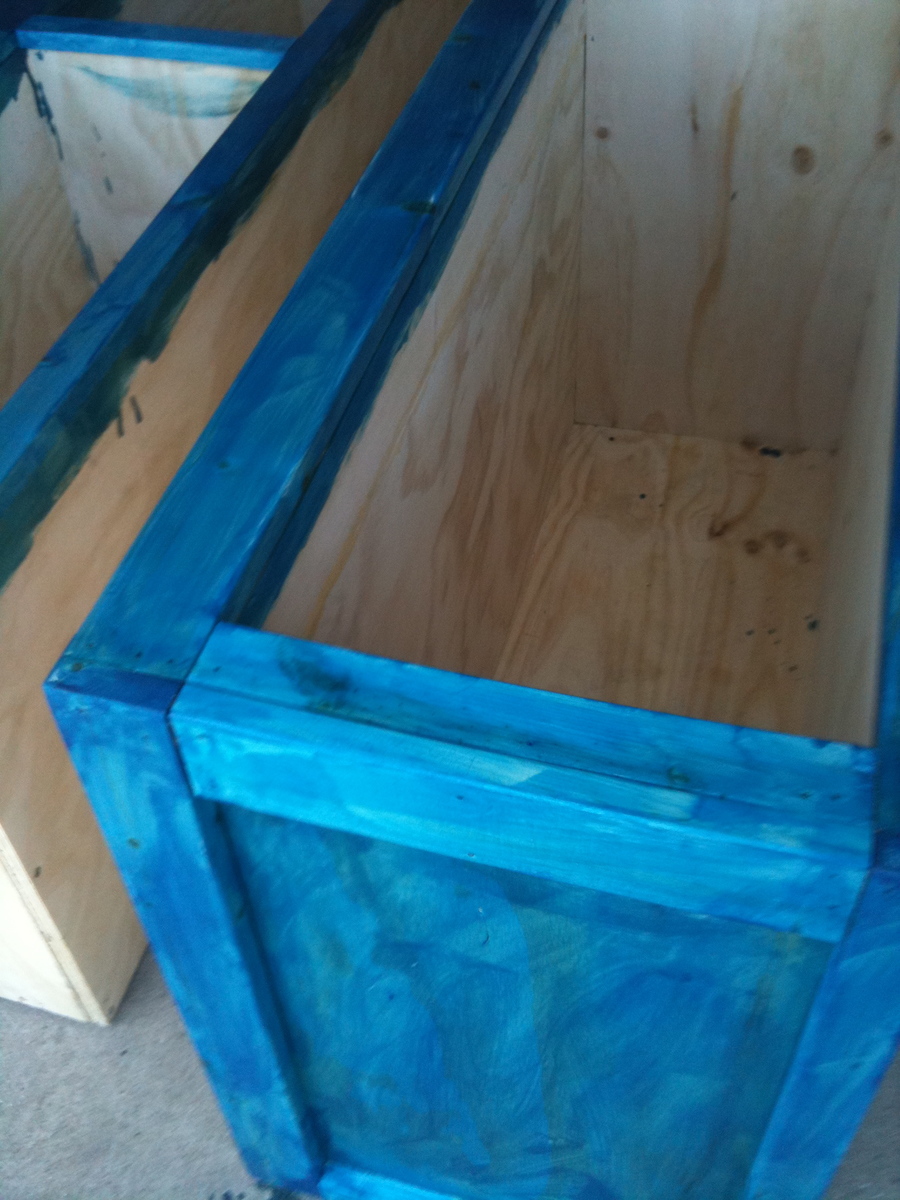
shellac dyed a bright, happy blue.
Recommended Skill Level
Starter Project

Adirondack chairs

Submitted by Debbie742 on Mon, 09/23/2013 - 17:43

I've made 4 of these awesome chairs. The first two I did the same as the plans called for, and also made the stools to go along with them. Then I seen where someone had made the arms larger and added an extra board along the bottom to give it a more finished look, so I did the same and love these even better. Thank you for the plans.

Debora Cadene,
Atikokan, Ontario

Estimated Time Investment
Day Project (6-9 Hours)
Finish Used
I used stain to finish them along with lots of sanding for a smooth finish.
Recommended Skill Level
Beginner

Dining room table and bench

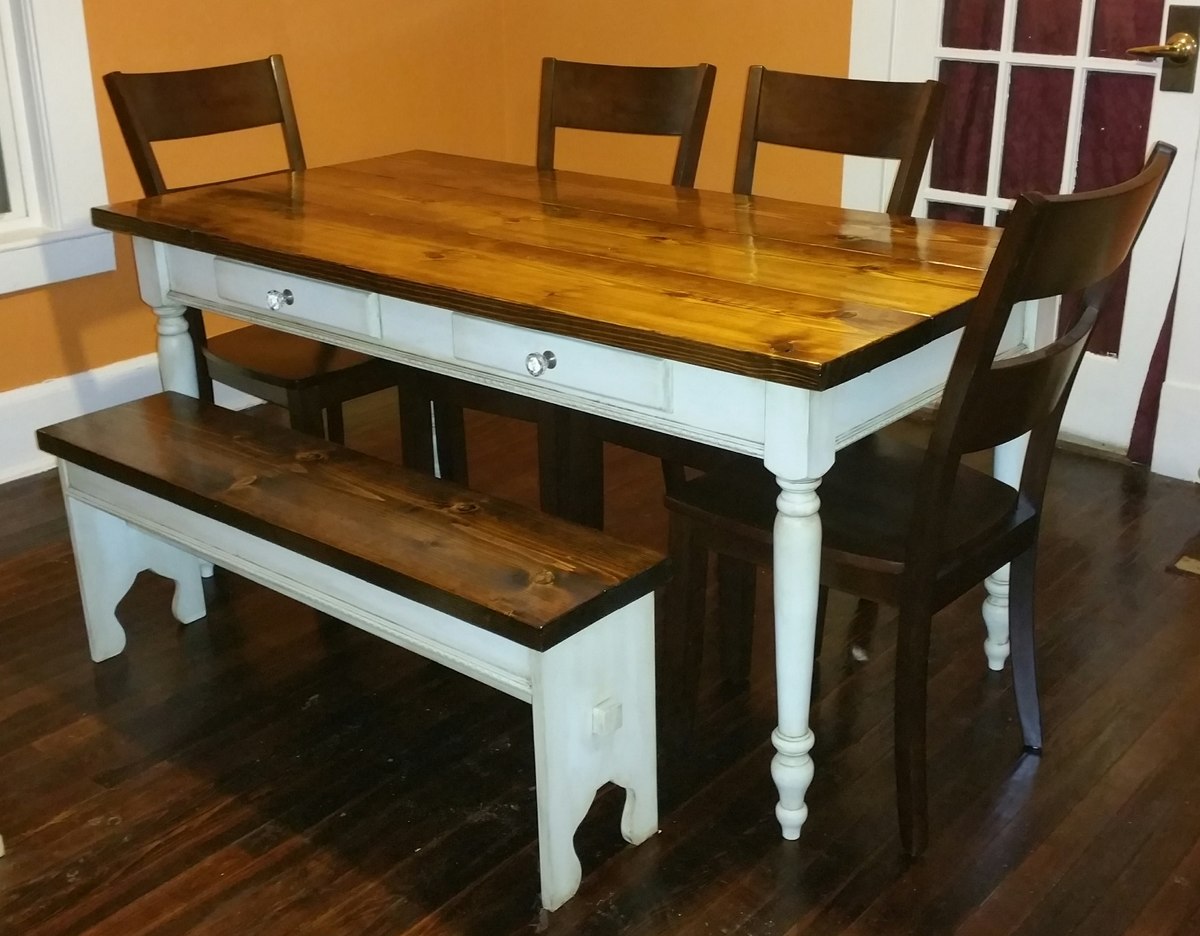
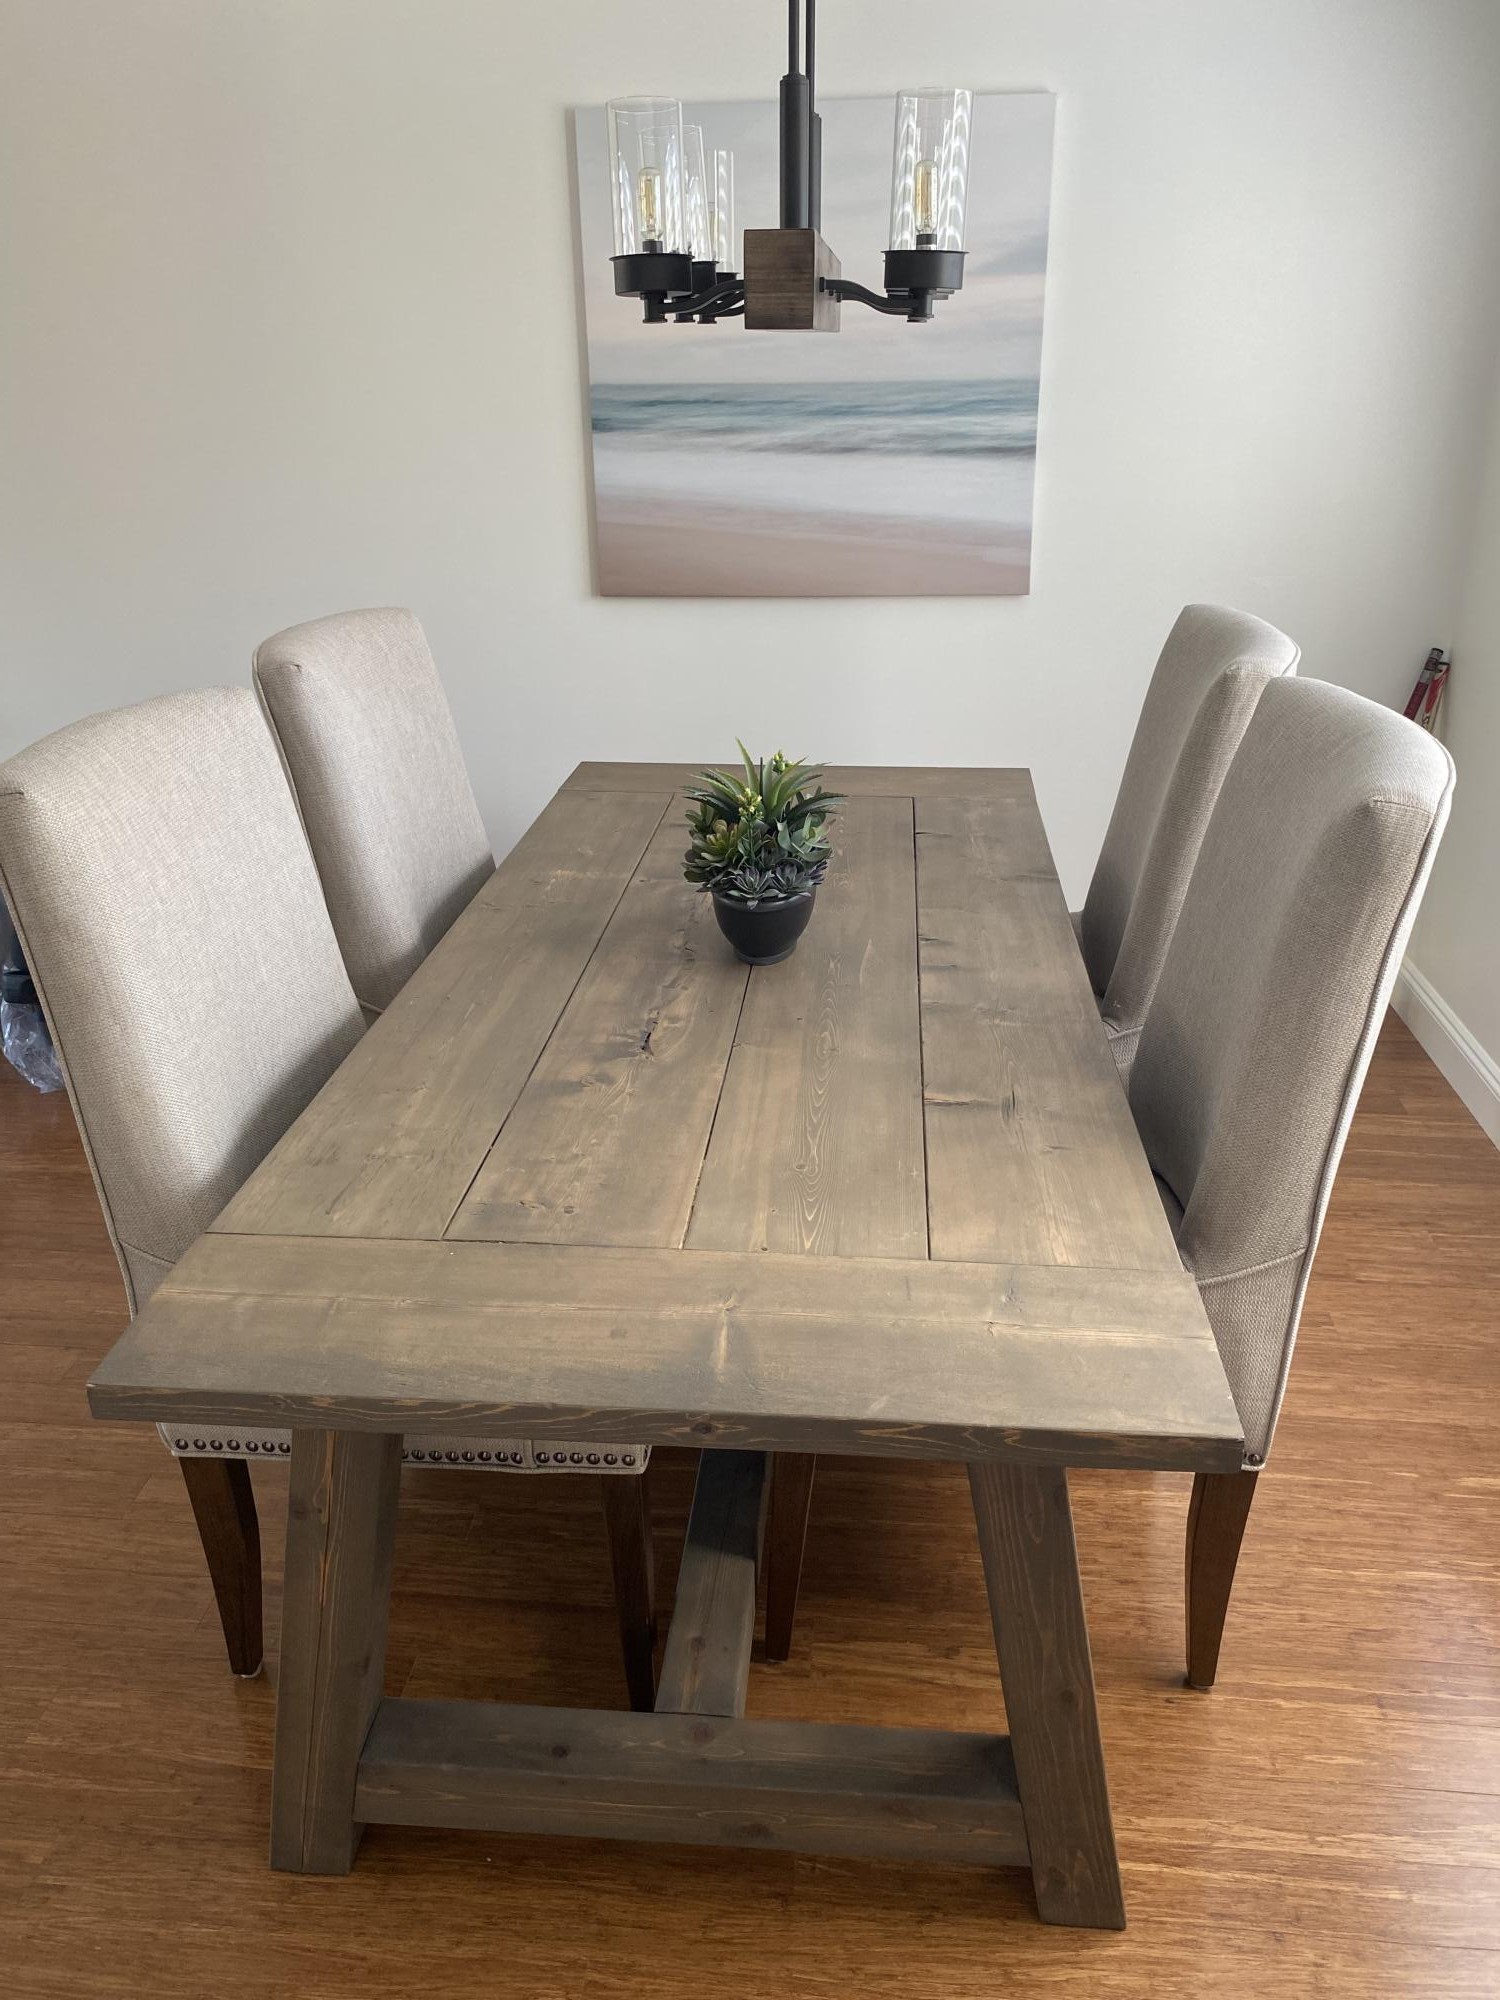
Although I didn't use a plan from this site, I do have Ana to thank for giving me the confidence to go alone and build this from a drawing that my wife drew up. All of my previous builds were from plans on this site so to make this from scratch without any help makes this my favourite build to date.

Table

Top: 2x12s

Aprons: 2x6s. Trim purchased from Lowes

Legs: Purchased from Lowes

Fake drawers: 1x4 ripped to size. Knobs purchased from Lowes


Bench

Top: 2x12

End sections: 1x10 (may replace with 2x10)

Aprons: 2x4


Chairs were purchased separately. (I'm not that confident yet)

Estimated Cost
$200
Estimated Time Investment
Week Long Project (20 Hours or More)
Finish Used
Minwax Honey stain and 3 coats of polyurethane for the table and bench tops. 3 stage latex chalk and wax for the 'shabby chic" finish.
Recommended Skill Level
Intermediate

Comments

gpsmith

Sun, 12/06/2015 - 06:03

Hi,


This looks lovely, just what I'd like to do. Do you mind sharing where you found the plans or if you're a creative whiz, send some photos of the underside so I can see how you constructed it?


Thanks,

Mike Millington

Mon, 12/07/2015 - 07:38

I didn’t use any plans for this. My wife sketched out the design she wanted and I decided to go it alone. This is the first time I’ve built something from scratch without help and it was surprising easy to put together.

This is completely put together with the Kreg jig. The table top is made up of 3, 2 x12s attached together with pocket hole screws. I cut the 4 aprons and attached those to the legs also with pocket hole screws. To give extra support I attached 2, 2x4 cross braces between the longer aprons. The table top was then screwed in place with pocket hole screws through the aprons and 2” screws through the 2 braces.

For the fake drawer fronts, I cut them to size and routed the outer edges to round them off. I then attached the knobs and screwed the drawers in place through the back of the aprons. Finally, I attached trim to the bottom of the aprons. The knobs and trim were bought from Lowes.

The bench was made in a similar way. The top is made from a piece of 2x12, 2x4s for the aprons, the end sections are 2x10s and I used a jigsaw to cut out the arches. All attached together with pocket holes. I then added a 2x2 support beam through both ends and attached matching trim to the aprons.

Hope this helps.

Factory cart coffee table

Submitted by Anonymous (not verified) on Thu, 01/24/2019 - 04:20

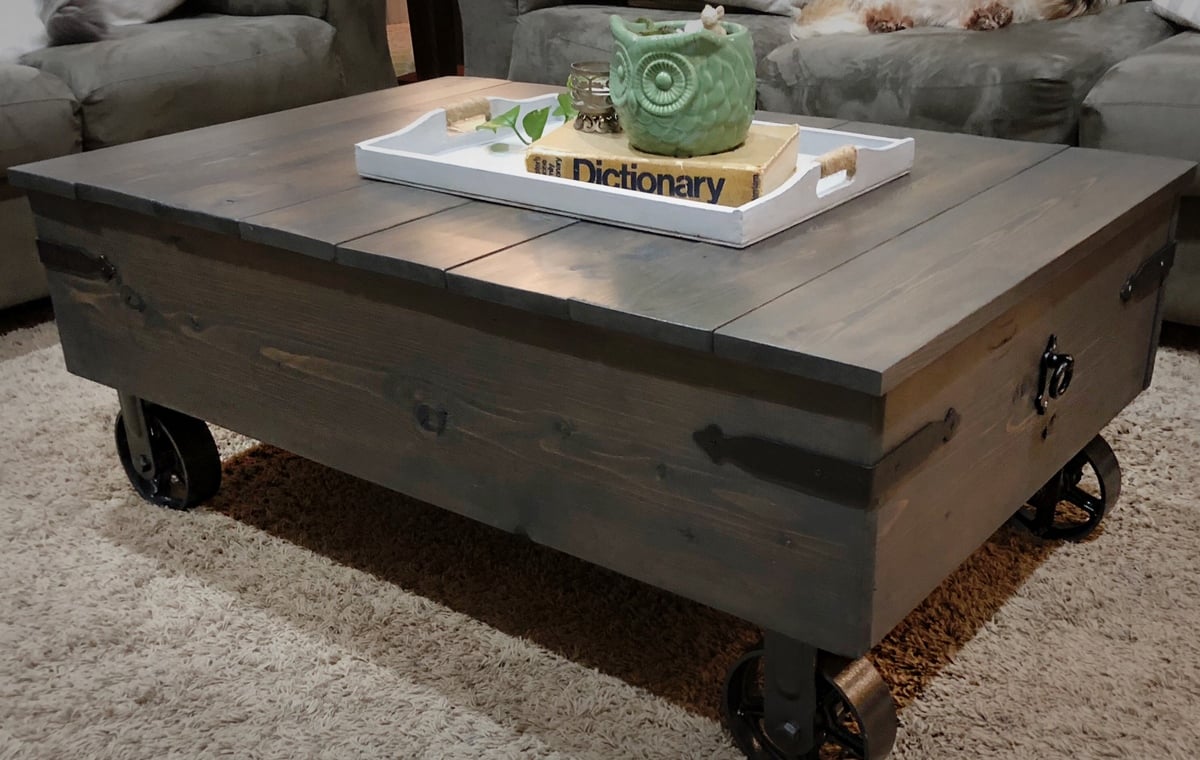
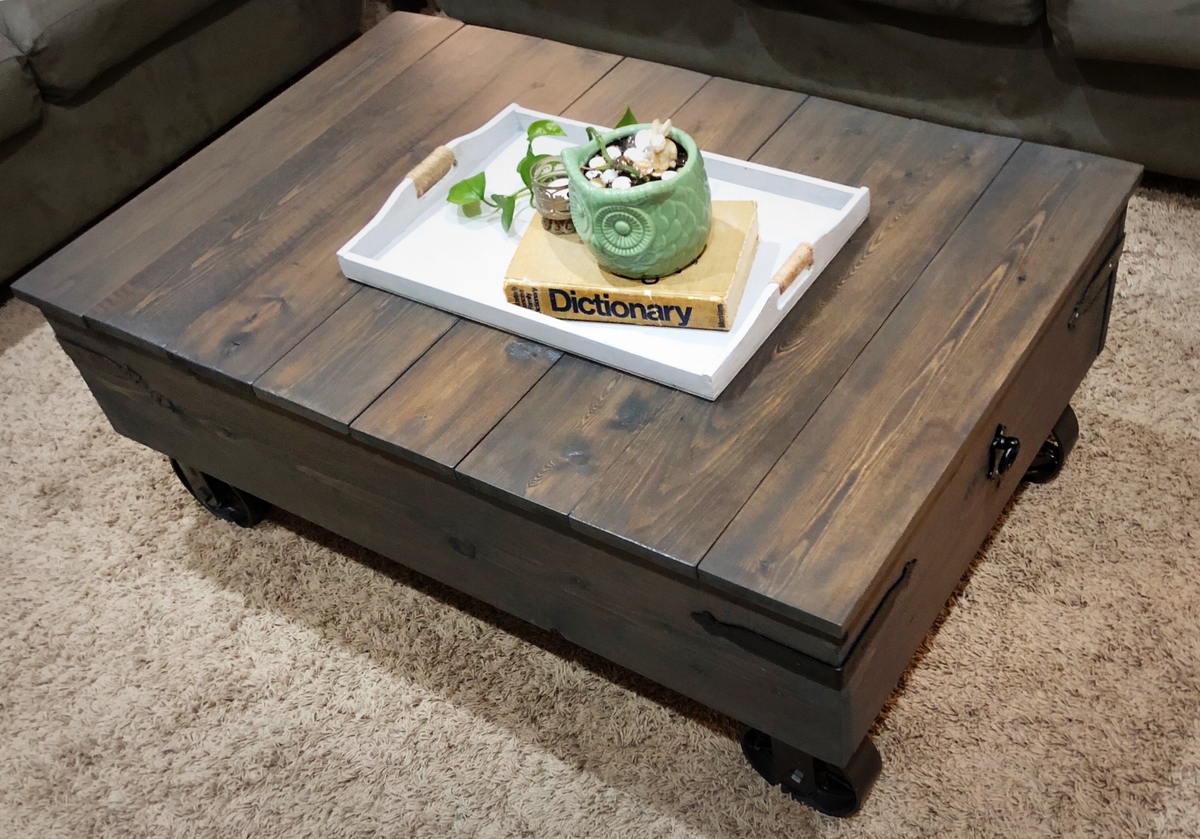
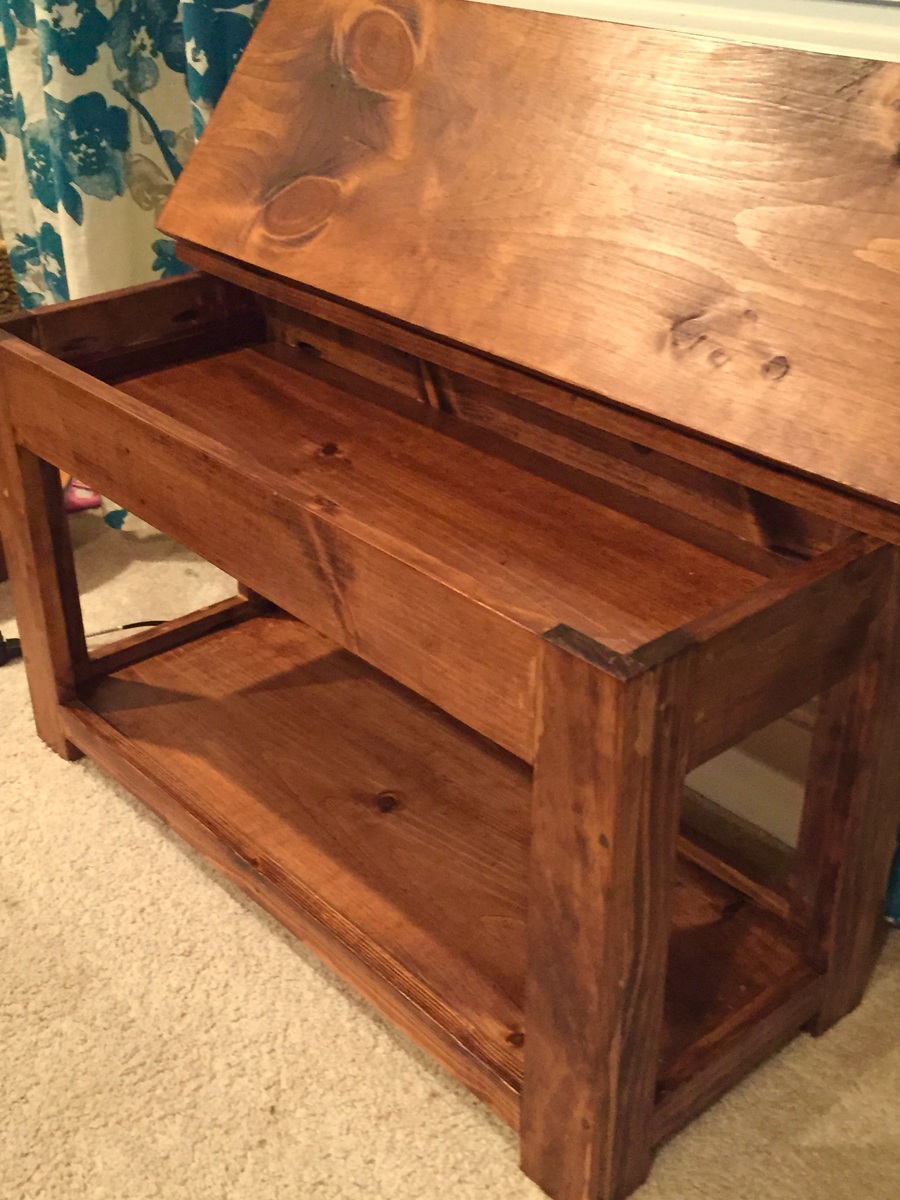
Awesome plan, used 10” boards and 6” wheels to add height. Also added hinges so that the top opens up for storage. Found some hardware to give it some personality. 

Built from Plan(s)
Estimated Cost
$85.00
Estimated Time Investment
Weekend Project (10-20 Hours)
Finish Used
Dark walnut & gray stain, layered.
Recommended Skill Level
Beginner

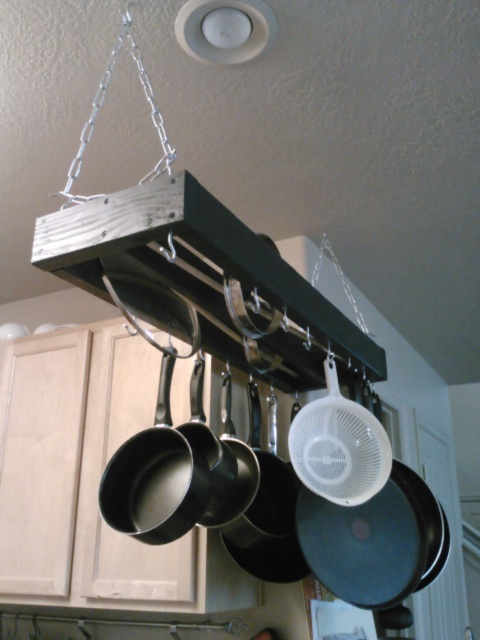
Super Simple Lid and Pot Rack

Submitted by twsnowman on Wed, 09/25/2013 - 19:57

Super Duper Easy

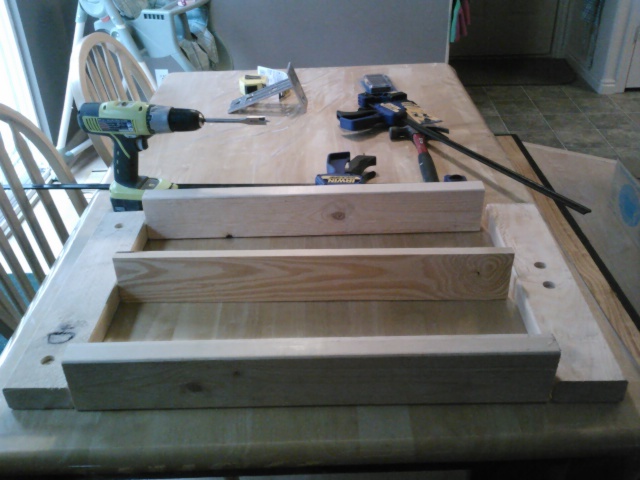
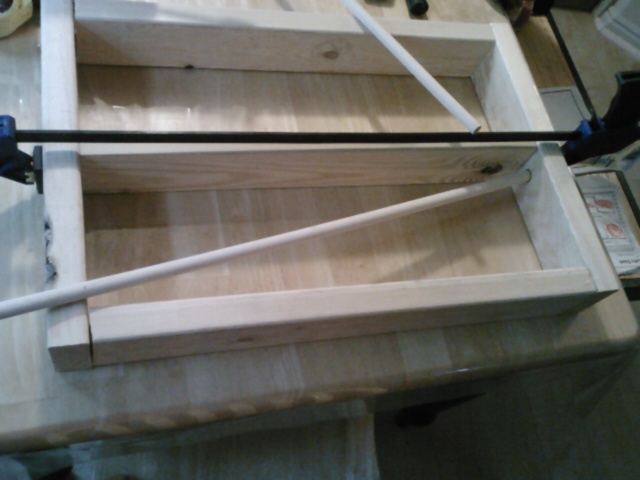
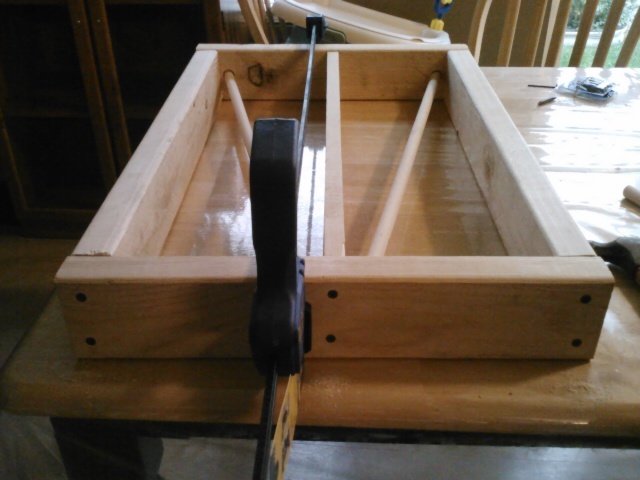
Built in 2 hours including time to change outfits on my daughters' poly-pockets, feed the baby dinner, and pick up kindergarten carpool.
and yes, I did it all on my kitchen table.

I was trying to find plans for a pot-rack that also holds the LIDS!!! By the time I reviewed half a dozen designs that didn't work, I had thought of one myself that works brilliantly. I can reach and store the lids from the ground (yes I'm short) as easily as I can the pots. I hung mine over the kitchen sink so it doubles as a pot/lid drying rack as well.

If you want details on steps I took, materials used, or mistakes I made, message me.

Happy building!

Estimated Cost
$20
Estimated Time Investment
An Hour or Two (0-2 Hours)
Finish Used
Whatever. I just painted with interior semi-gloss tinted to match my table.
Recommended Skill Level
Starter Project

Bristol Blue Jean Lounge Chairs

Submitted by Ekoed on Wed, 12/09/2015 - 11:13

This was my first build, and the instructions were great. I ended building two of them for our porch. The strength of the chairs following the plans is perfectly fine. We have used them every day for the past 6 months and have had no problems. The base cushions were re-claimed from an old couch someone was throwing away. We ripped the old covers off, and my girlfriends mother sewed $9.00 shower curtains over top of them. (Purchased at walmart) The backs are just 4 inch foam purchased from Hobby Lobby. The stain was "blue jean". We love these chairs. Thanks Ana.

Built from Plan(s)
Estimated Time Investment
Weekend Project (10-20 Hours)
Finish Used
Blue Jean
Recommended Skill Level
Beginner

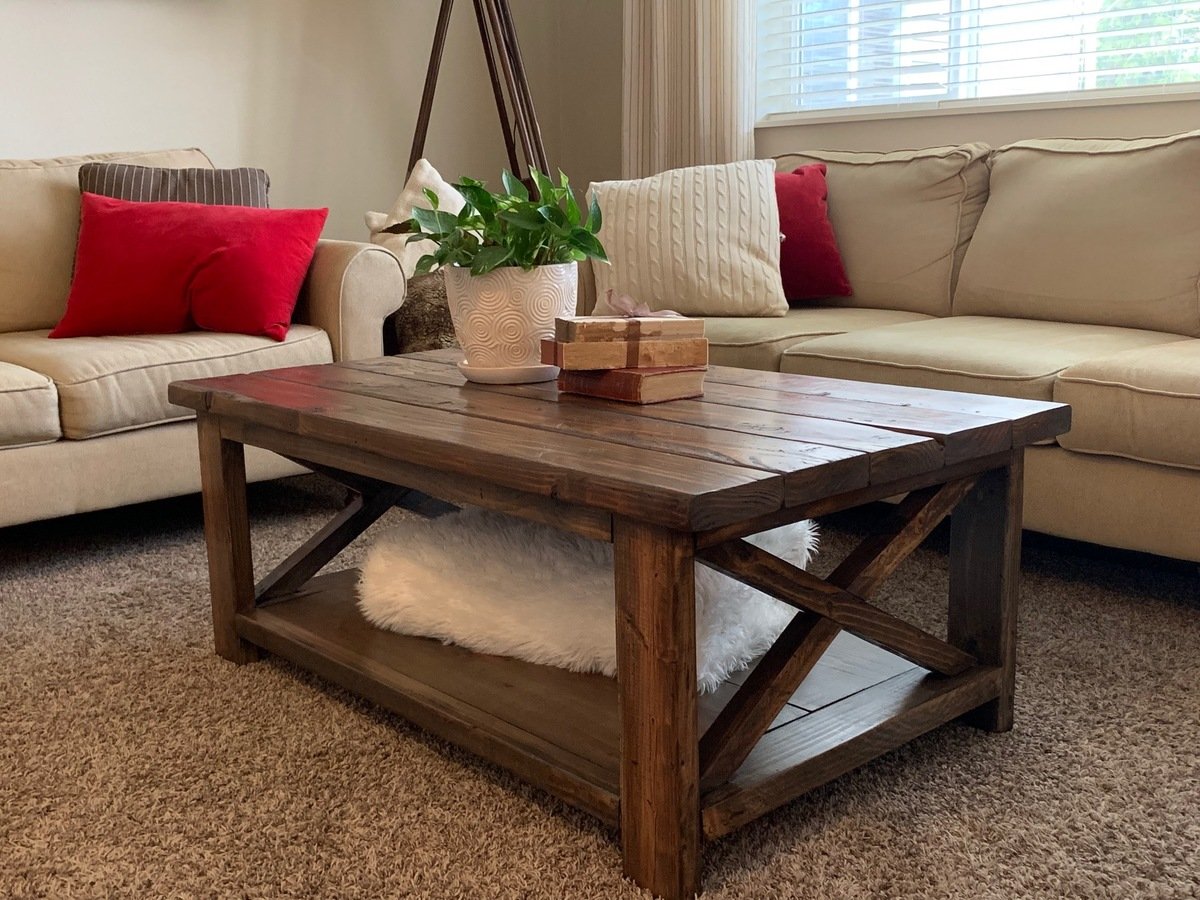
Rustic X Coffee Table, take 2

Submitted by Anonymous (not verified) on Thu, 01/31/2019 - 10:07

Made from leftover wood from other projects.  Adjusted the plan to accomodate the lengths of wood I had available.

Built from Plan(s)
Estimated Time Investment
Afternoon Project (3-6 Hours)
Finish Used
Minwax antique walnut, layered with Rustoleum Weather Gray. Minwax hand-rubbed polyurethane finish (2 coats) and 1 coat of wax.
Recommended Skill Level
Beginner

Kitchen island

Submitted by Anonymous (not verified) on Wed, 12/21/2022 - 07:42

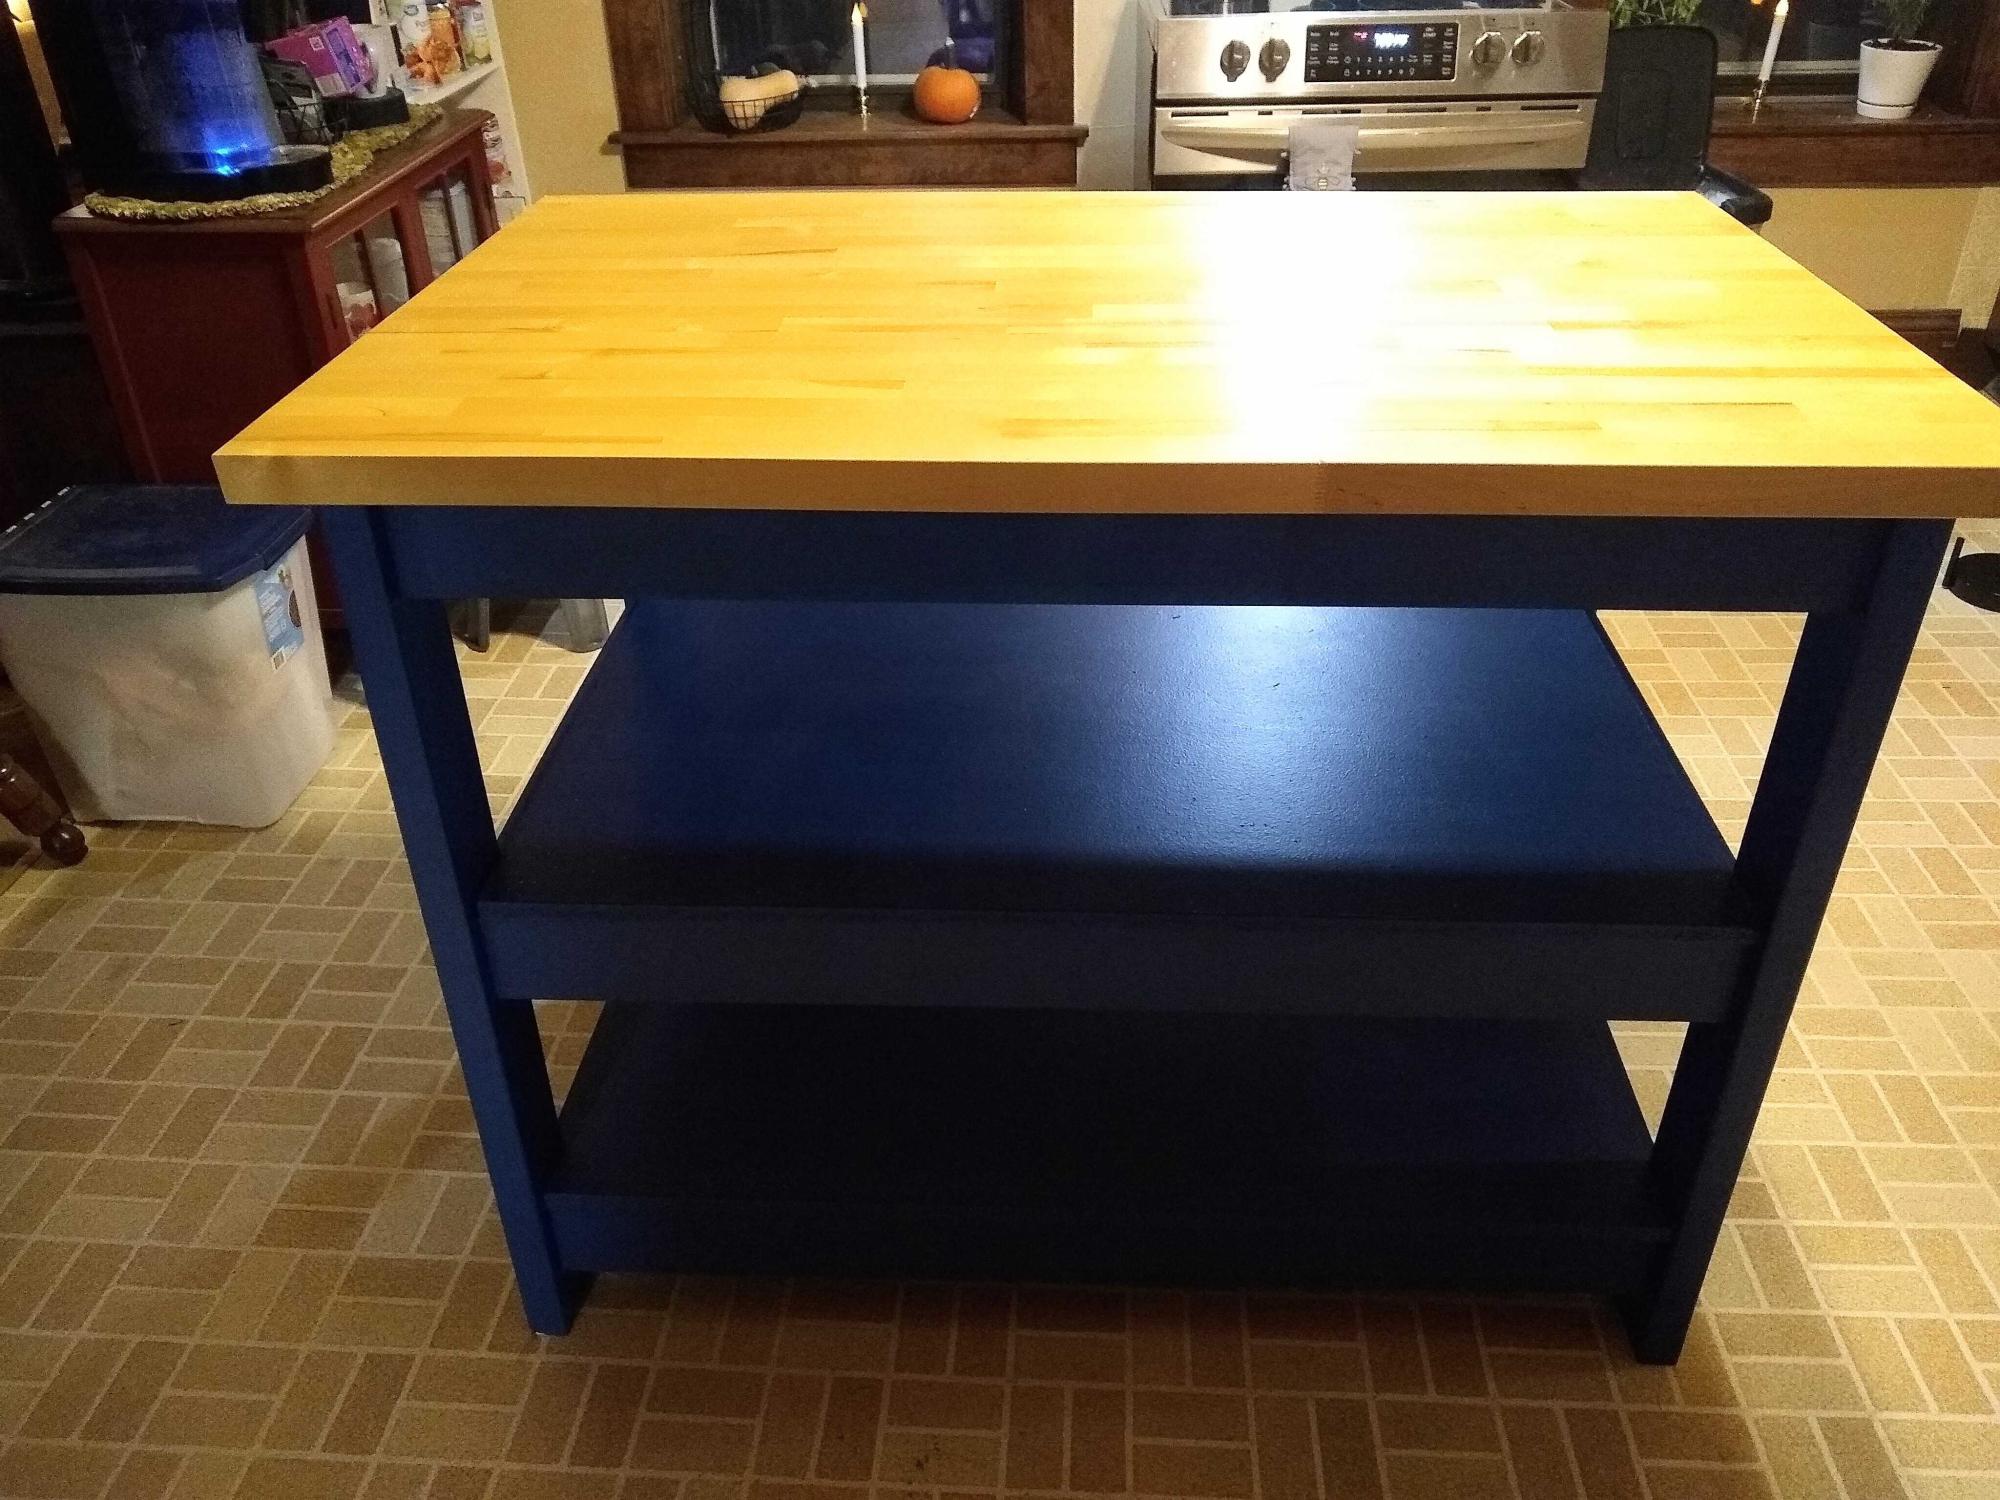
We desperately needed more counter space and storage in our kitchen, so we turned to Ana for inspiration. This island is based on the Simple Kitchen Island plan. We purchased a 30" x 48" butcher block countertop and adjusted the dimensions to fit. We also added a second shelf for additional storage. We used materials we had on hand (2x4s and 1x4s for the frame, and MDF for the shelves). We're fairly new to DIY projects on this scale, but the complete, detailed instructions provided on the website gave us the confidence to make the adjustments we needed to make our kitchen island a reality. Thank you, Ana!

Comments

A Gift to Grow With

Submitted by melissa2 on Sat, 09/10/2011 - 16:33

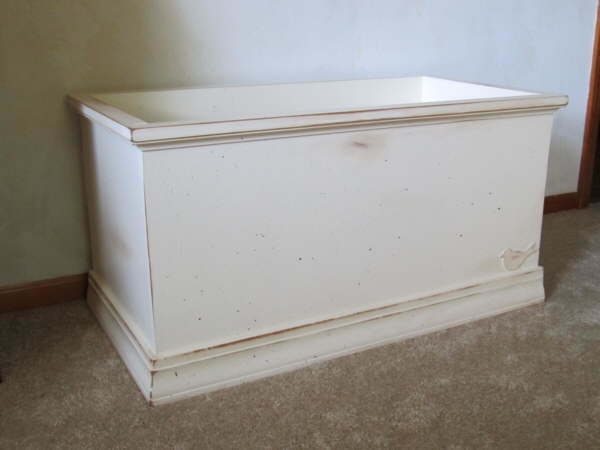
Though I'd spent a few months crocheting a baby blanket, my mother also wanted something special and lasting as a gift for a future new family member. She tried to think of something unique, but kept coming up empty. I went online to help her, and looked for newborn items. Unfortunately, I just kept running into toys, toys, and more toys. Ones that would be "grown out of" quickly, too. It was late at night, and very quiet, the time when your brain is calm and sometimes things just dawn on you.

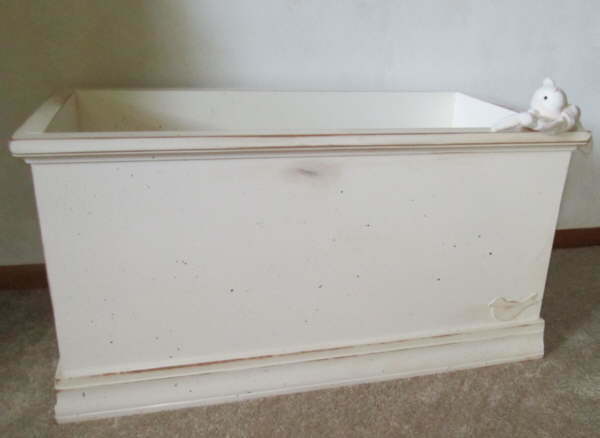
Why not a toy BOX? (And one already "worn in," so that it could take a lot of play throughout the years.) I knew right where to look for a plan--Ana White's website! It ended up being a gift for him from both of us, and while he's a little too young to notice it now, we hope it grows with him and brings him years of joy.

Thank you, Ana, for sharing your talent and helping us (and so many others) create something truly special. That old blanket can wait until Christmas!

Built from Plan(s)
Estimated Cost
$100 or so (with some toys)
Estimated Time Investment
Week Long Project (20 Hours or More)
Finish Used
1) Paint on primer, and use a roller to smooth (with all paint coats); 2) Paint on Painter's Touch or American Accents by Rustoleum in "Heirloom White"; 3) Sand; 4) Paint; 5) Spatter on black craft paint; 6) Sand edges down to bare wood, and some surface areas; 7) Put water in brown craft paint, and use as a stain in sanded-off areas, wiping off excess with paper towels. Use some to make stains on other areas; 8) Hammer in random spots with a meat cleaver; 9) Varnish with one coat of semi-gloss. ~ The bird on the bottom right is a wood applique, purchased from a craft store and added before finishing.
Recommended Skill Level
Intermediate
Comments

mikejillnelson5 (not verified)

Sun, 09/11/2011 - 04:36

What a wonderful idea! As baby girl gets older it could become a hope chest (not a common thing to have nowadays but still useful and appreciated). For the cuddly boys, a storage locker for sport jerseys, memorabelia, etc. A gift that truly lasts a lifetime!

melissa2

Sun, 09/11/2011 - 18:42

mikejillnelson5, those are great suggestions! Another one for boys as they age is to use it as a place to dump sports gear (basketballs, baseballs, bats, etc.).

Kids as they age can flip the toy box around, so that anything that becomes "childish" to them--like a name or added detail--can be hidden against a wall.

Farmhouse style bed

Submitted by mindogas on Sat, 09/28/2013 - 23:53

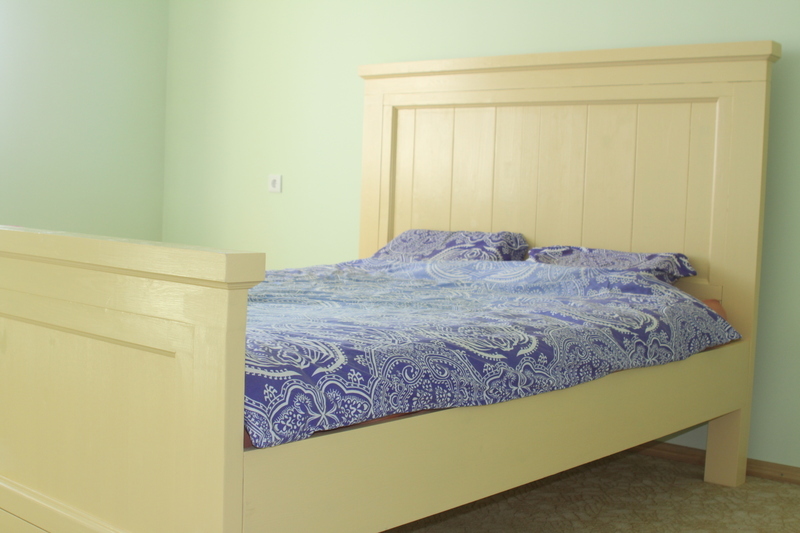
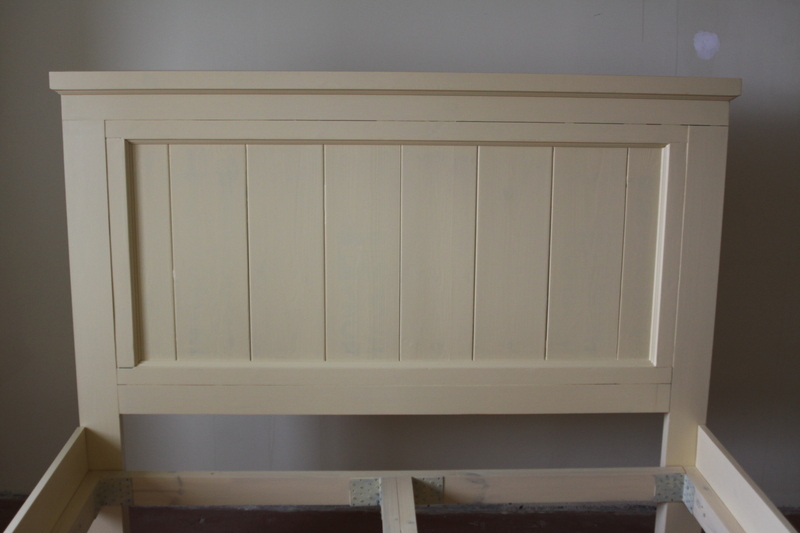
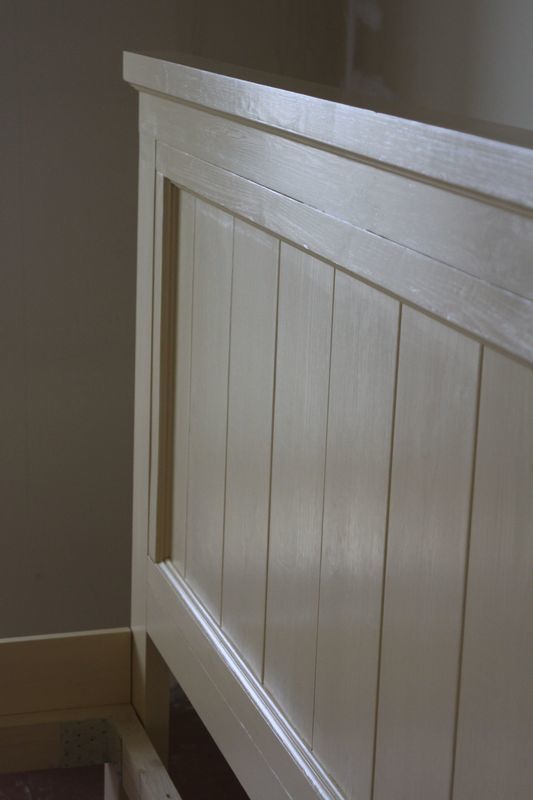
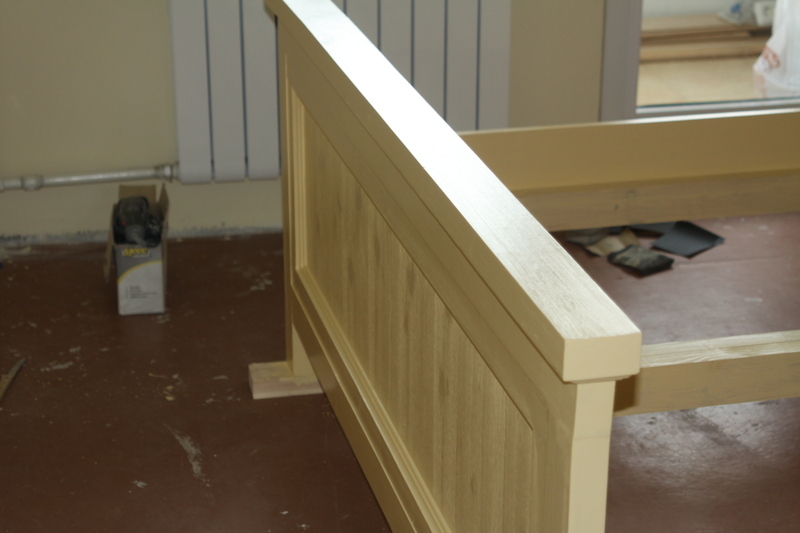
Modified Farmhouse style bad. Used lighter wood for headrest and footrest. Changed measurements for Lithuanian size of mattress (200x160cm). For headboard panel were used pallets wood so it was necessary to paint it right. Also Added some trims for decorating edges.

Estimated Cost
~200$
Estimated Time Investment
Week Long Project (20 Hours or More)
Finish Used
Water based Champagne Sand color paints.
Recommended Skill Level
Beginner

Comments

bclute

Sun, 09/29/2013 - 06:37

I wish I would have seen your plan before I built my bed. Your head and footboard bases make it a lot easier to attach the side rails. Paint color and texture look good too. Did you use a satin finish?

mindogas

Sun, 09/29/2013 - 08:25

Thank you for your opinion.
I used glossy paint and its over. No final polishing or lacking ant the end if you asking this.

Flip top bench

Submitted by Crakes84 on Tue, 12/15/2015 - 06:41

I made two of these as gifts. I modified the plans for a smaller bench length and width. They are 33in long on the top with a 1.5 overhang. I chose to place the 1x4 on top at the end as it was easier to stain and finish. Instead of wood glue since it was finished I used 3 pocket hole screws in the back, 2 corner braces with antique bronze finish on the ends under overhang and 2 on the inside of the storage area and gorilla glue.this made it very solid. It also made positioning it easy as I screwed the corner braces to the bottom side of the 1x4 face. I measured for a 1in overhang and 3/4 of an inch for the thickness of the back board. By doing so I could simply place the board on top of the bench and center it for 1.5 in overhang on ends then simply screw in the remaining screw hole in the inside of the storage  compartment.

Estimated Cost
50bucks
Estimated Time Investment
Day Project (6-9 Hours)
Finish Used
Min wax honey oil stain and 3 coats of minwax semi gloss poly
Recommended Skill Level
Beginner

Customized Sliding Door Console

Submitted by Anonymous (not verified) on Tue, 02/05/2019 - 15:05

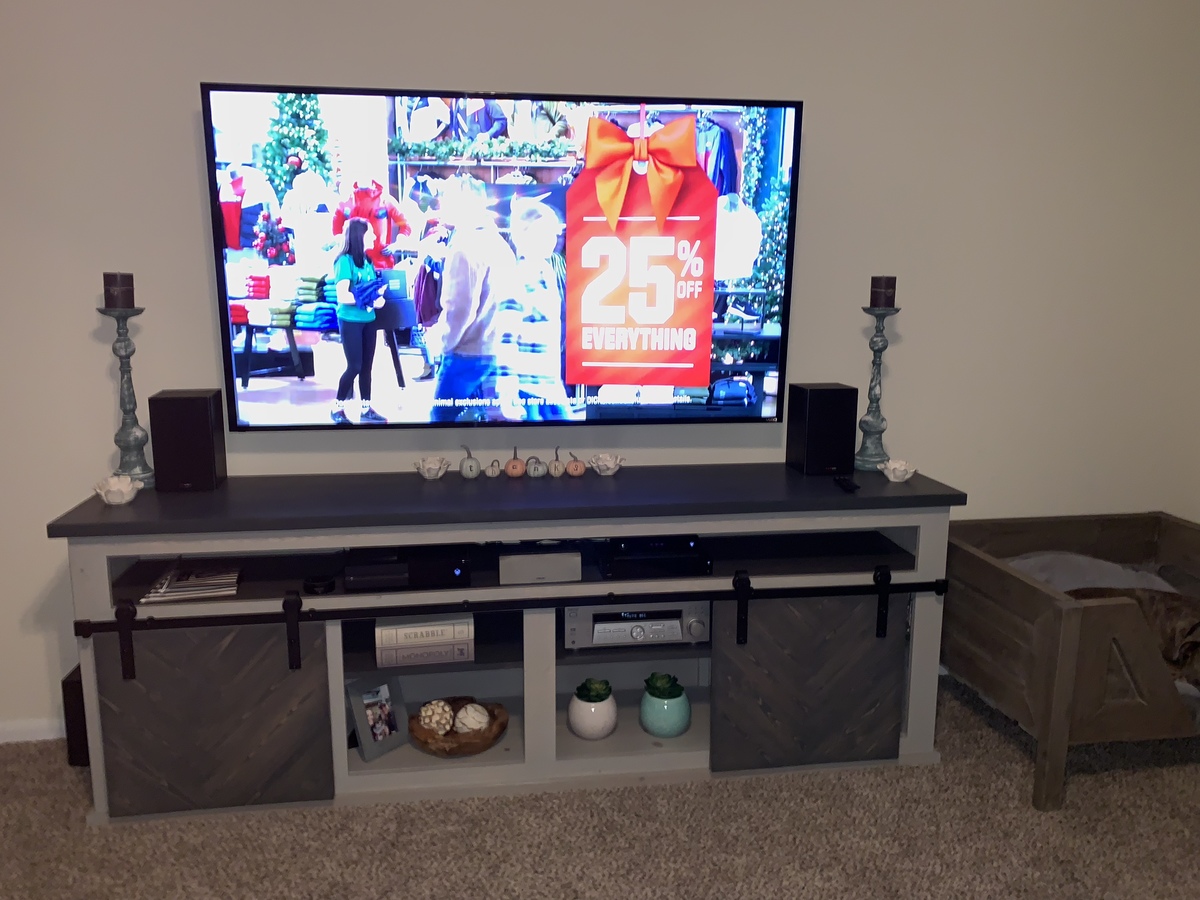
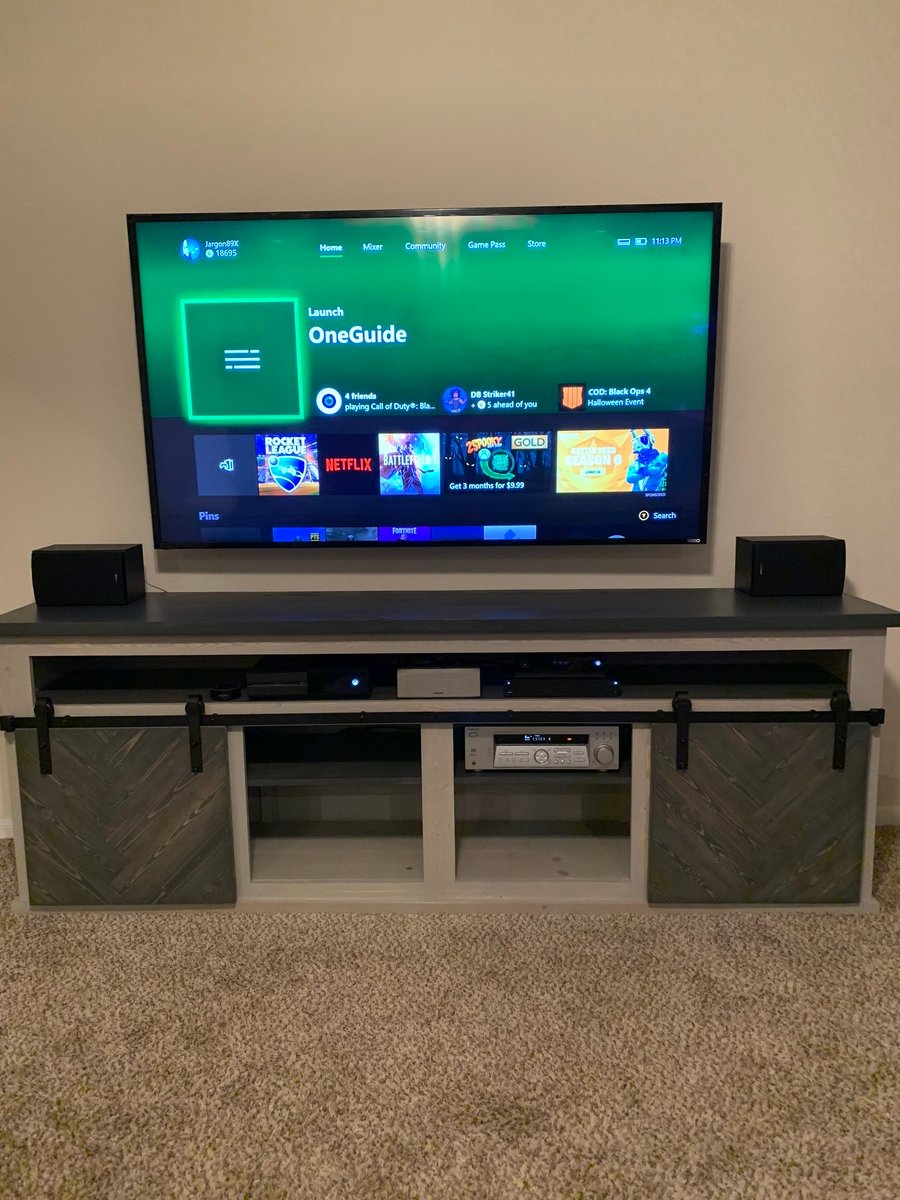
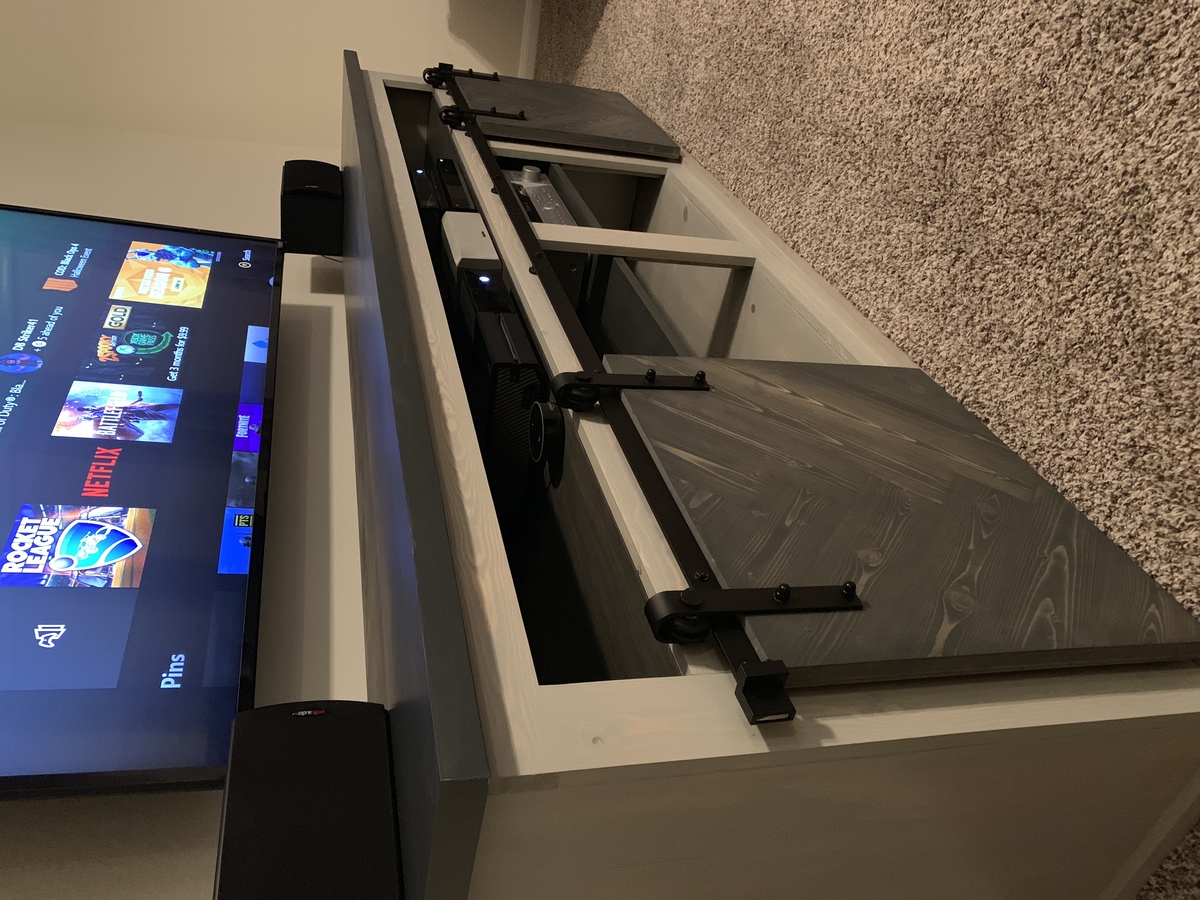
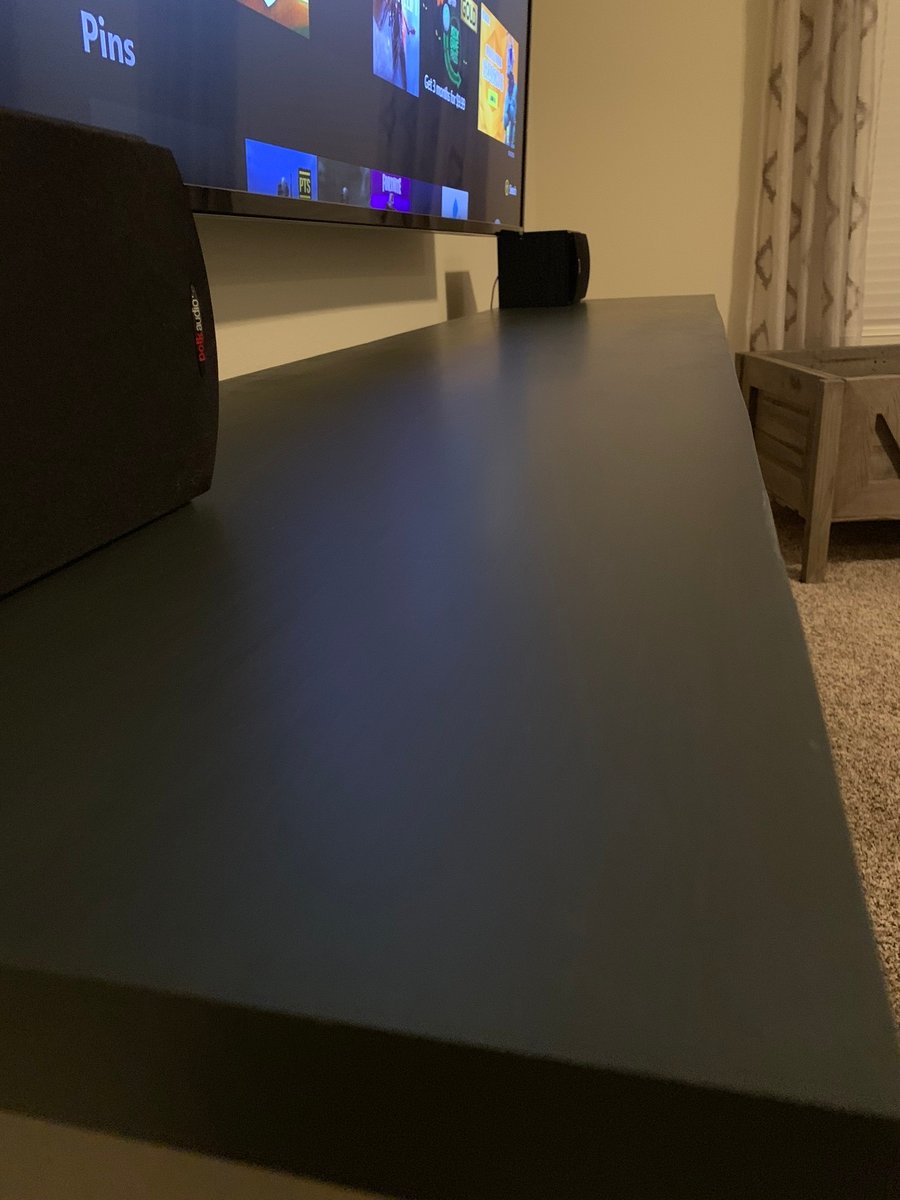
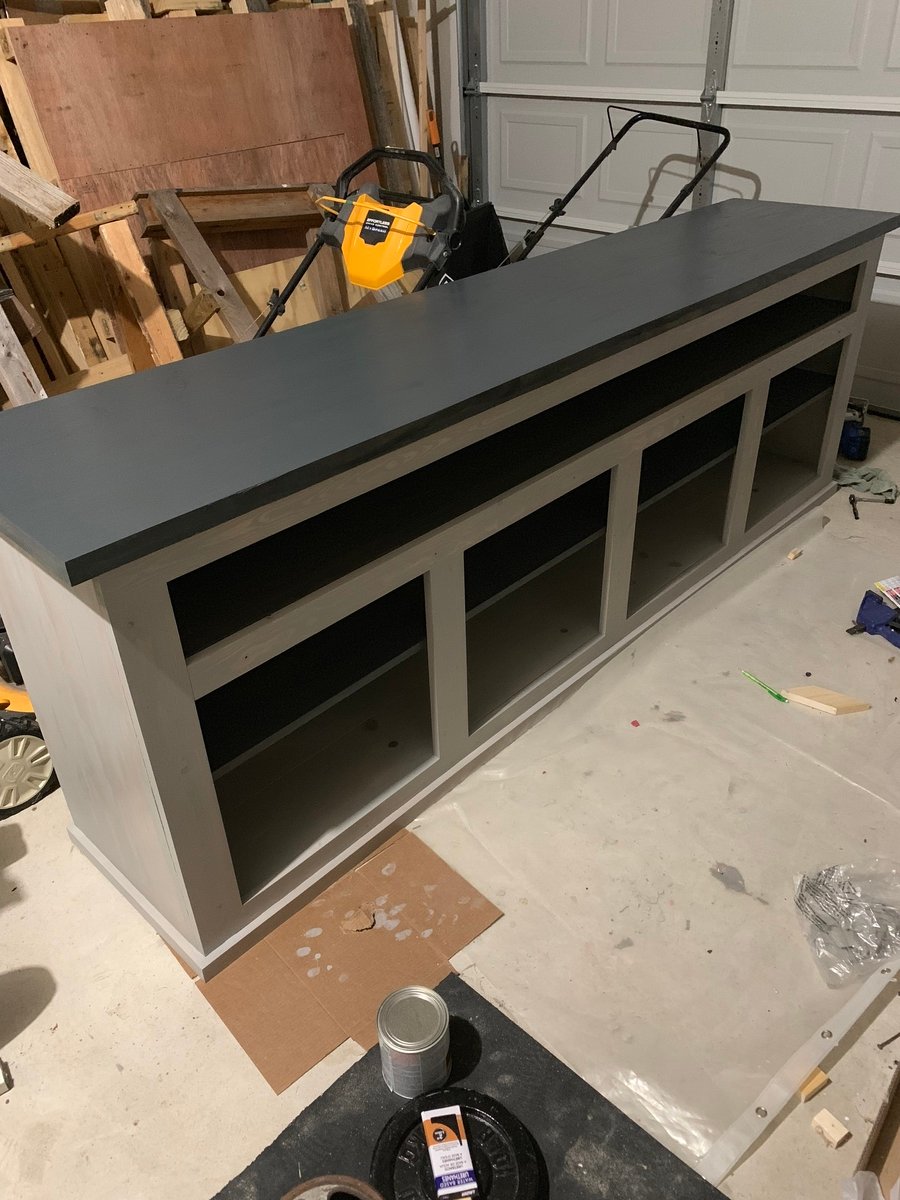
Designed from the Grandy Sliding Door console, but I modified it by extending it to 8ft wide, and added a media shelf to not cover remote sensors for my set top boxes. This is my first build from Ana White so it took a little more time and expense than I hoped only because of some startup tools I decided to get to help the process.

Built from Plan(s)
Estimated Time Investment
Week Long Project (20 Hours or More)
Finish Used
Verathane Carbon Grey and Sunbleached
Recommended Skill Level
Intermediate
Comments

ladybug'13

Mon, 07/01/2019 - 14:08

Nice job! I really like your version, especially the doors. How did you make them? 

Jargon89x

Sun, 12/12/2021 - 21:41

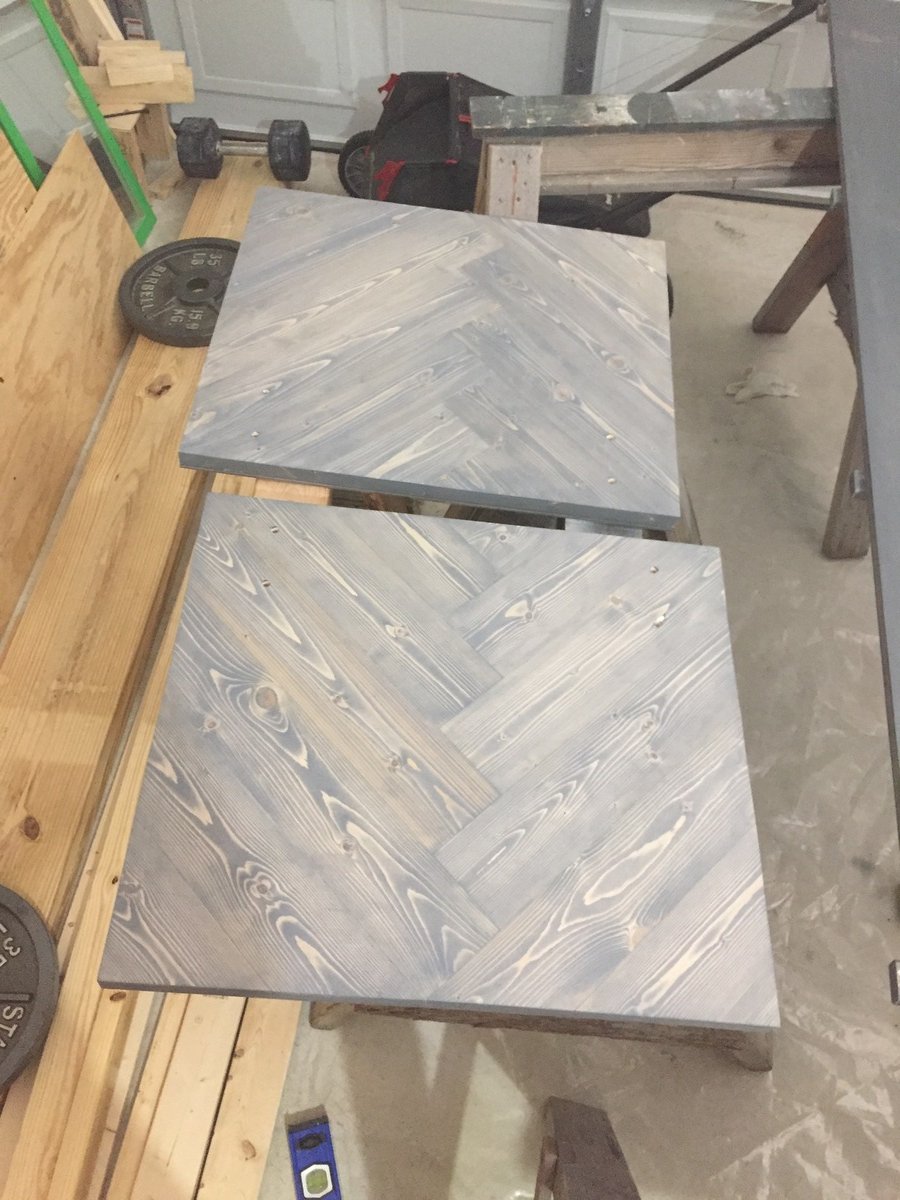
I realize its been years since this comment was posted, But i started with a 1/4 ply. Then topped it with 1x4 common wood to create the chevron. They are glued and held with clamps tight against the previous as i built it out. Can provide more pictures if interested.
Modern farmhouse table

Submitted by Anonymous (not verified) on Thu, 12/29/2022 - 09:45

Post and beam farm house table.

Completed 4 years ago by myself while using the Ana-whites plans.

Matching baby change table and crib are also finished for our newborn arriving Jan 3rd.

Built from Plan(s)

Comments

Desk

Submitted by daliae on Sat, 09/17/2011 - 20:32

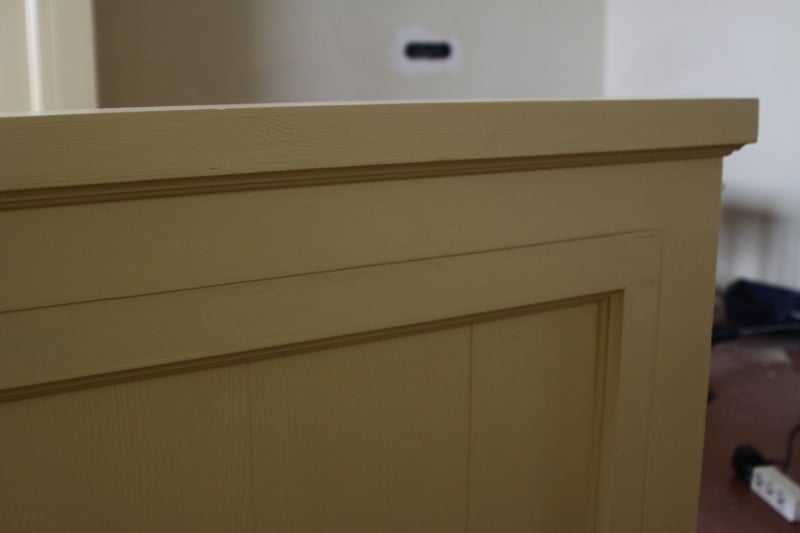
I made this this February for my daughter’s birthday. I did not use Ana’s plans for same desk since at the time I did not know this site existed. I made my own plans that were influenced by Ballard design and Pottery Barn catalogs. It took me many nights though if you have the time it should not take more than a weekend to make.
I added a keyboard shelf using special slides hat I found at HD.

I made it out pine and plywood from HD. I trimmed the bottom with a trim and painted with primer and high gloss White Dove Valspar paint.

Estimated Cost
75&
Estimated Time Investment
Weekend Project (10-20 Hours)
Finish Used
Primer and high gloss White Dove Valspar paint (Lowe's).
Recommended Skill Level
Beginner

Comments

sgilly02 (not verified)

Thu, 03/15/2012 - 22:47

Your desk turned out beautifully! Does the bottom drawer hold hanging files? Ana's plan mentions buying rails that fit on the sides of the drawers and cost about $1.50, but she doesn't mention specifics. I wondered if you found something that worked for this purpose.

FANCY X FARMHOUSE TABLE

Great, fun project. Only used a Kreg jig, Skill Saw and Sander. Super easy.

Estimated Time Investment
Weekend Project (10-20 Hours)
Finish Used
Minwax Jacobean and exterior finish
Recommended Skill Level
Beginner

Square Farmhouse Table

Submitted by Anonymous (not verified) on Fri, 12/18/2015 - 20:12

This is a 5x5ft square farmhouse table that I built for my dining room. It's all kiln dried construction lumber. I bought a thickness planer to get this right. I got tired of the twists in the boards that made it impossible to get the table top flat and consistent. It's completely worth it. I cut all the boards down from 2x12 lumber to 10 inch width. I routered the edge of each plank with 1/8 bit to give it a small crack in between the planks. I sprayed the new varathane poly, water-based, and it came out perfect. I ended up with 4 coats.

Estimated Cost
250-300
Estimated Time Investment
Week Long Project (20 Hours or More)
Finish Used
Varathane Dark Walnut
Recommended Skill Level
Intermediate