Deck chairs
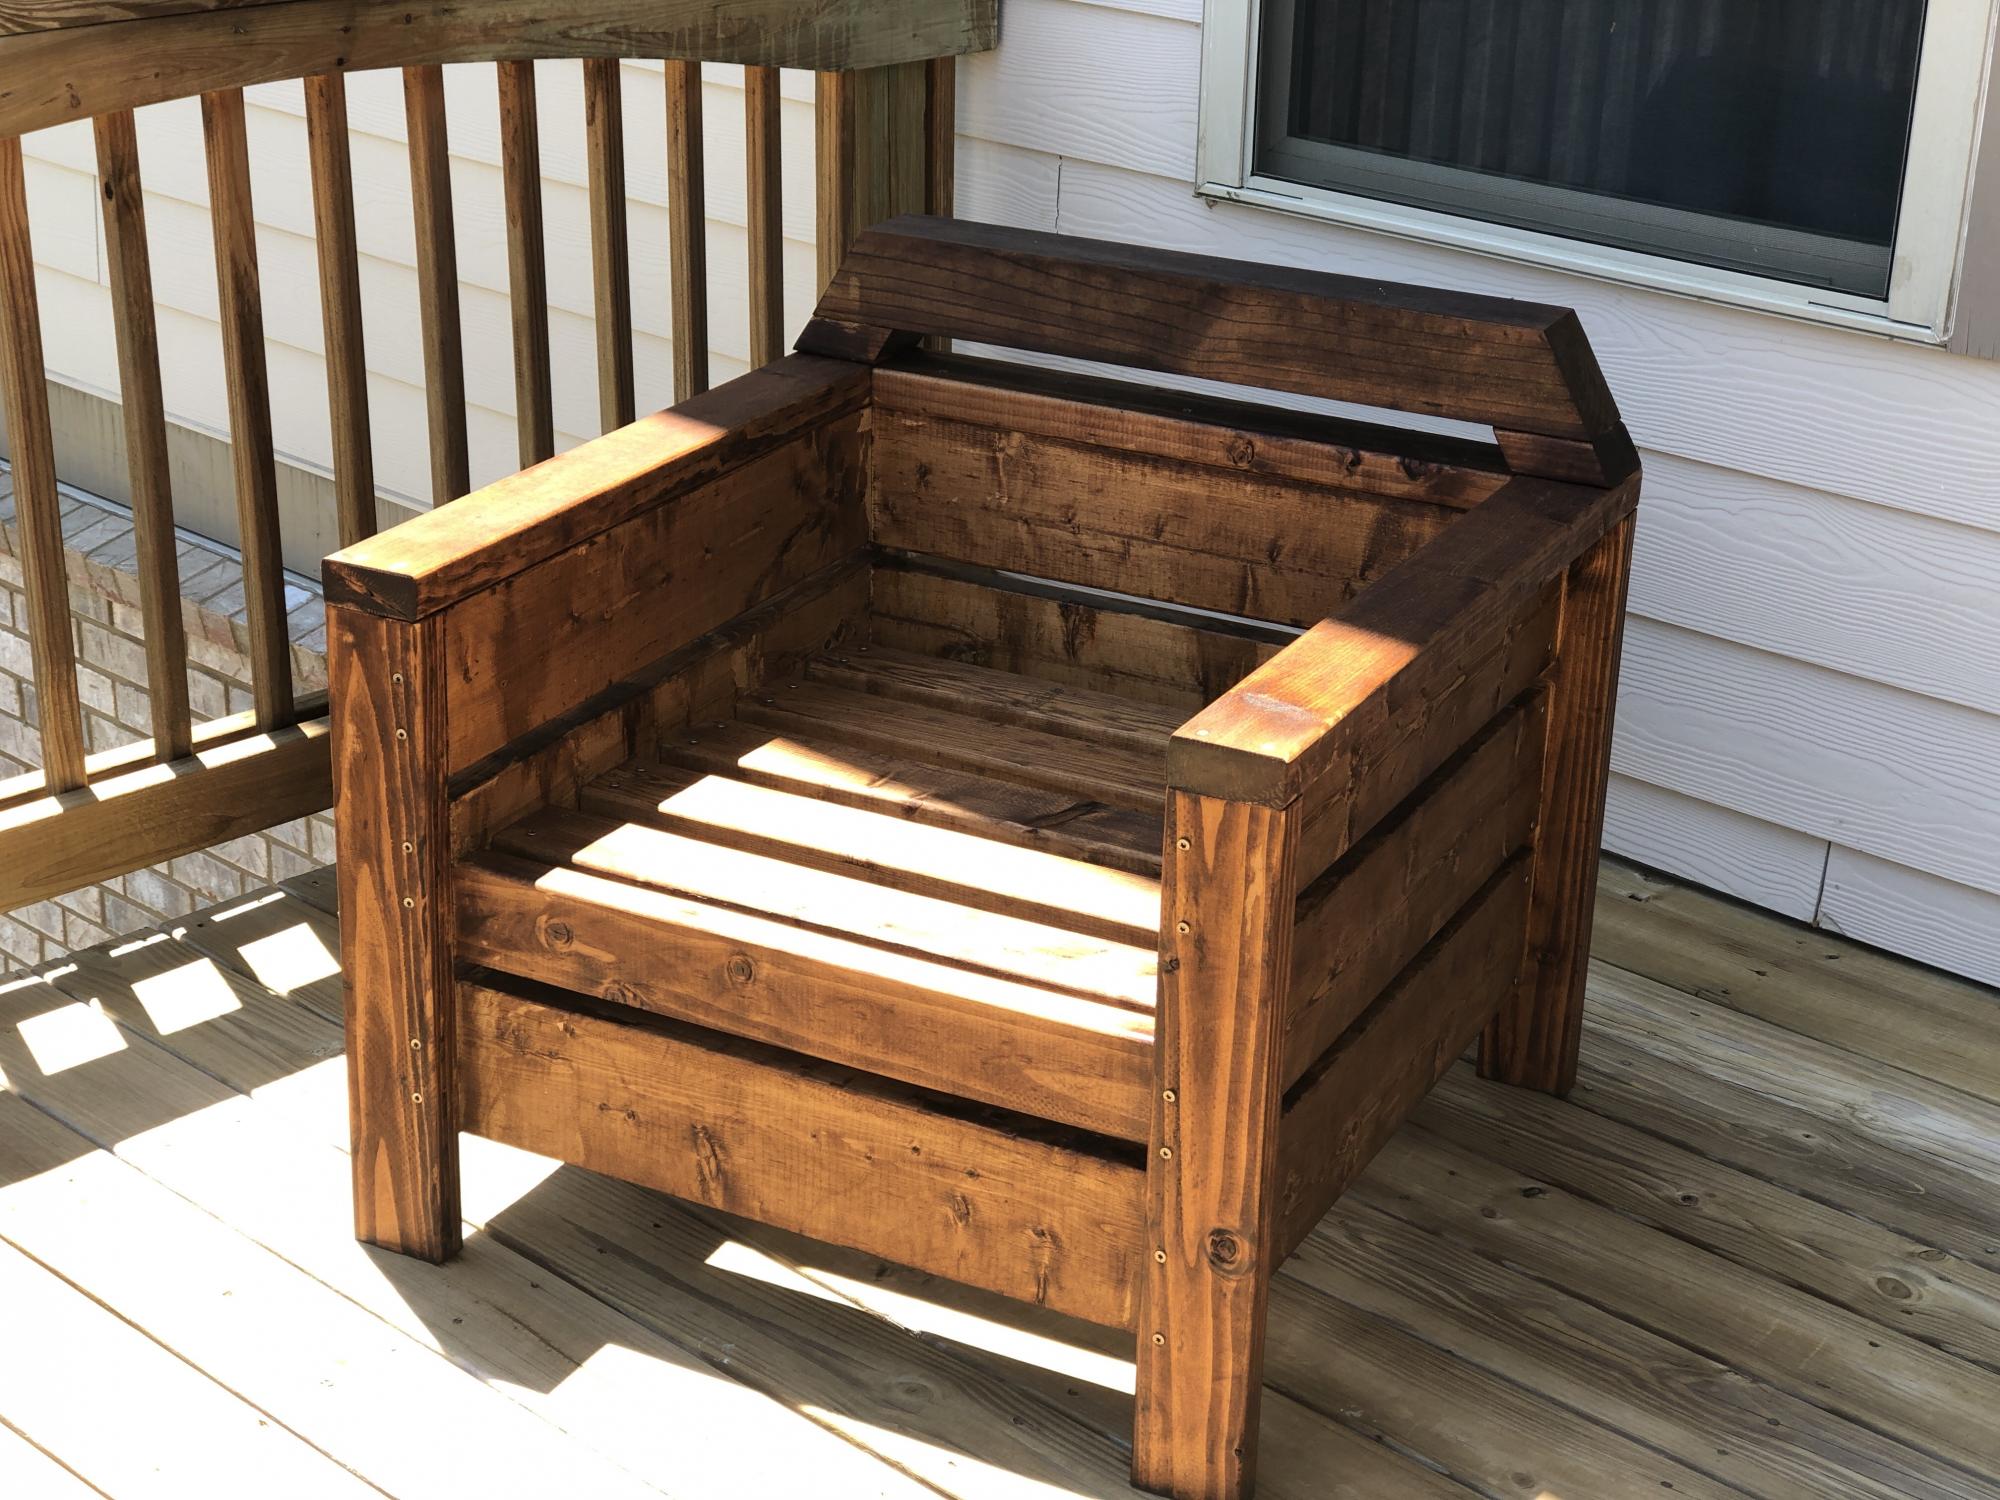
I Love the modern look of these chairs but definitely felt a little uncomfortable without the back rest so decided to add a little more back rest.
Great plan and easy directions to follow - my first wood working project.
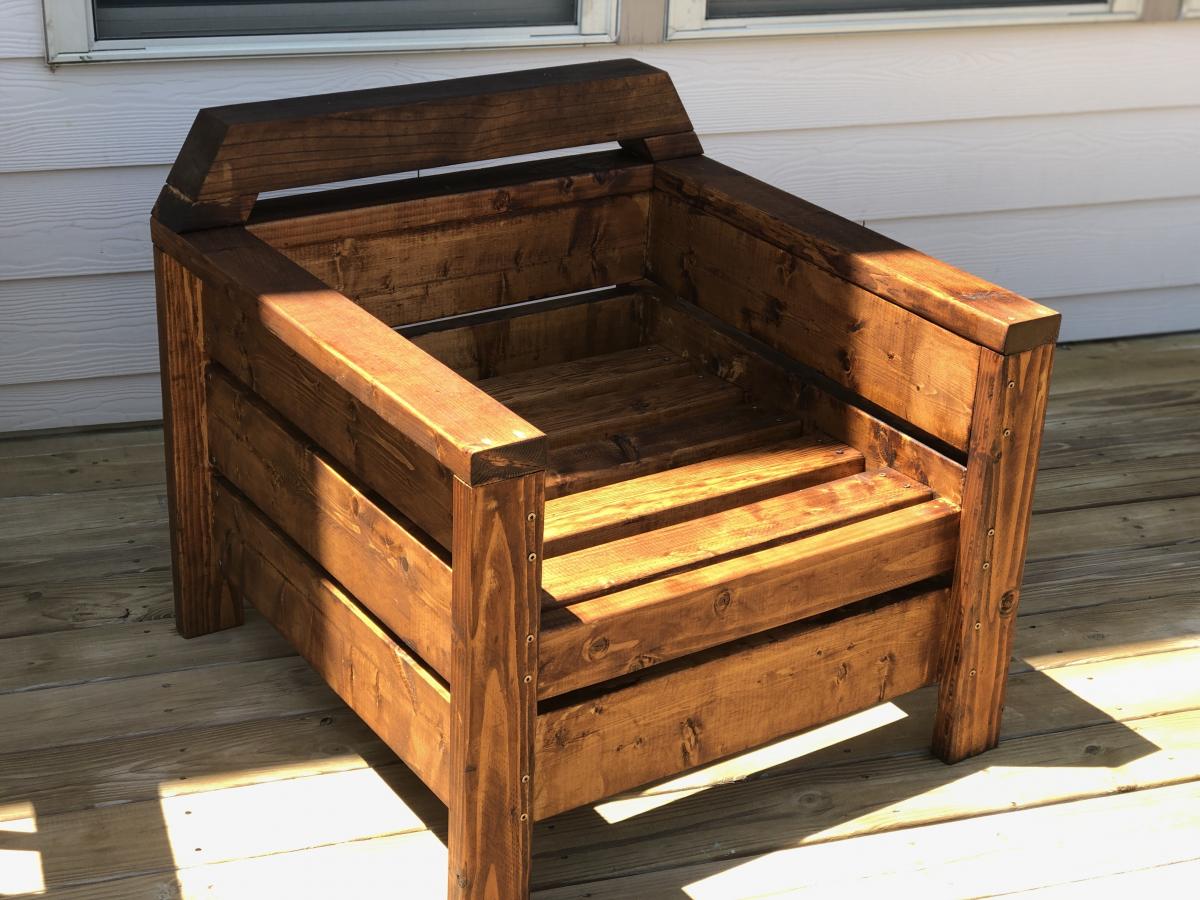
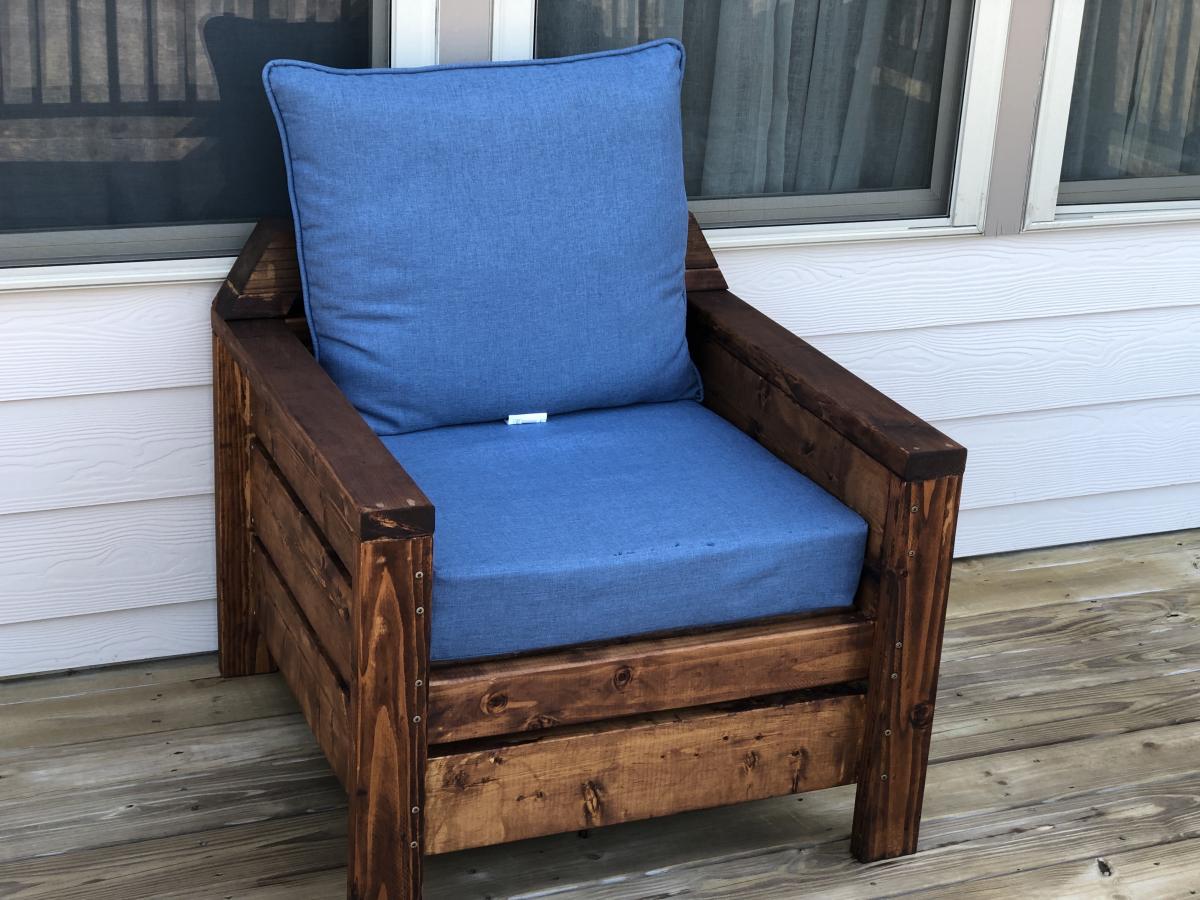

I Love the modern look of these chairs but definitely felt a little uncomfortable without the back rest so decided to add a little more back rest.
Great plan and easy directions to follow - my first wood working project.


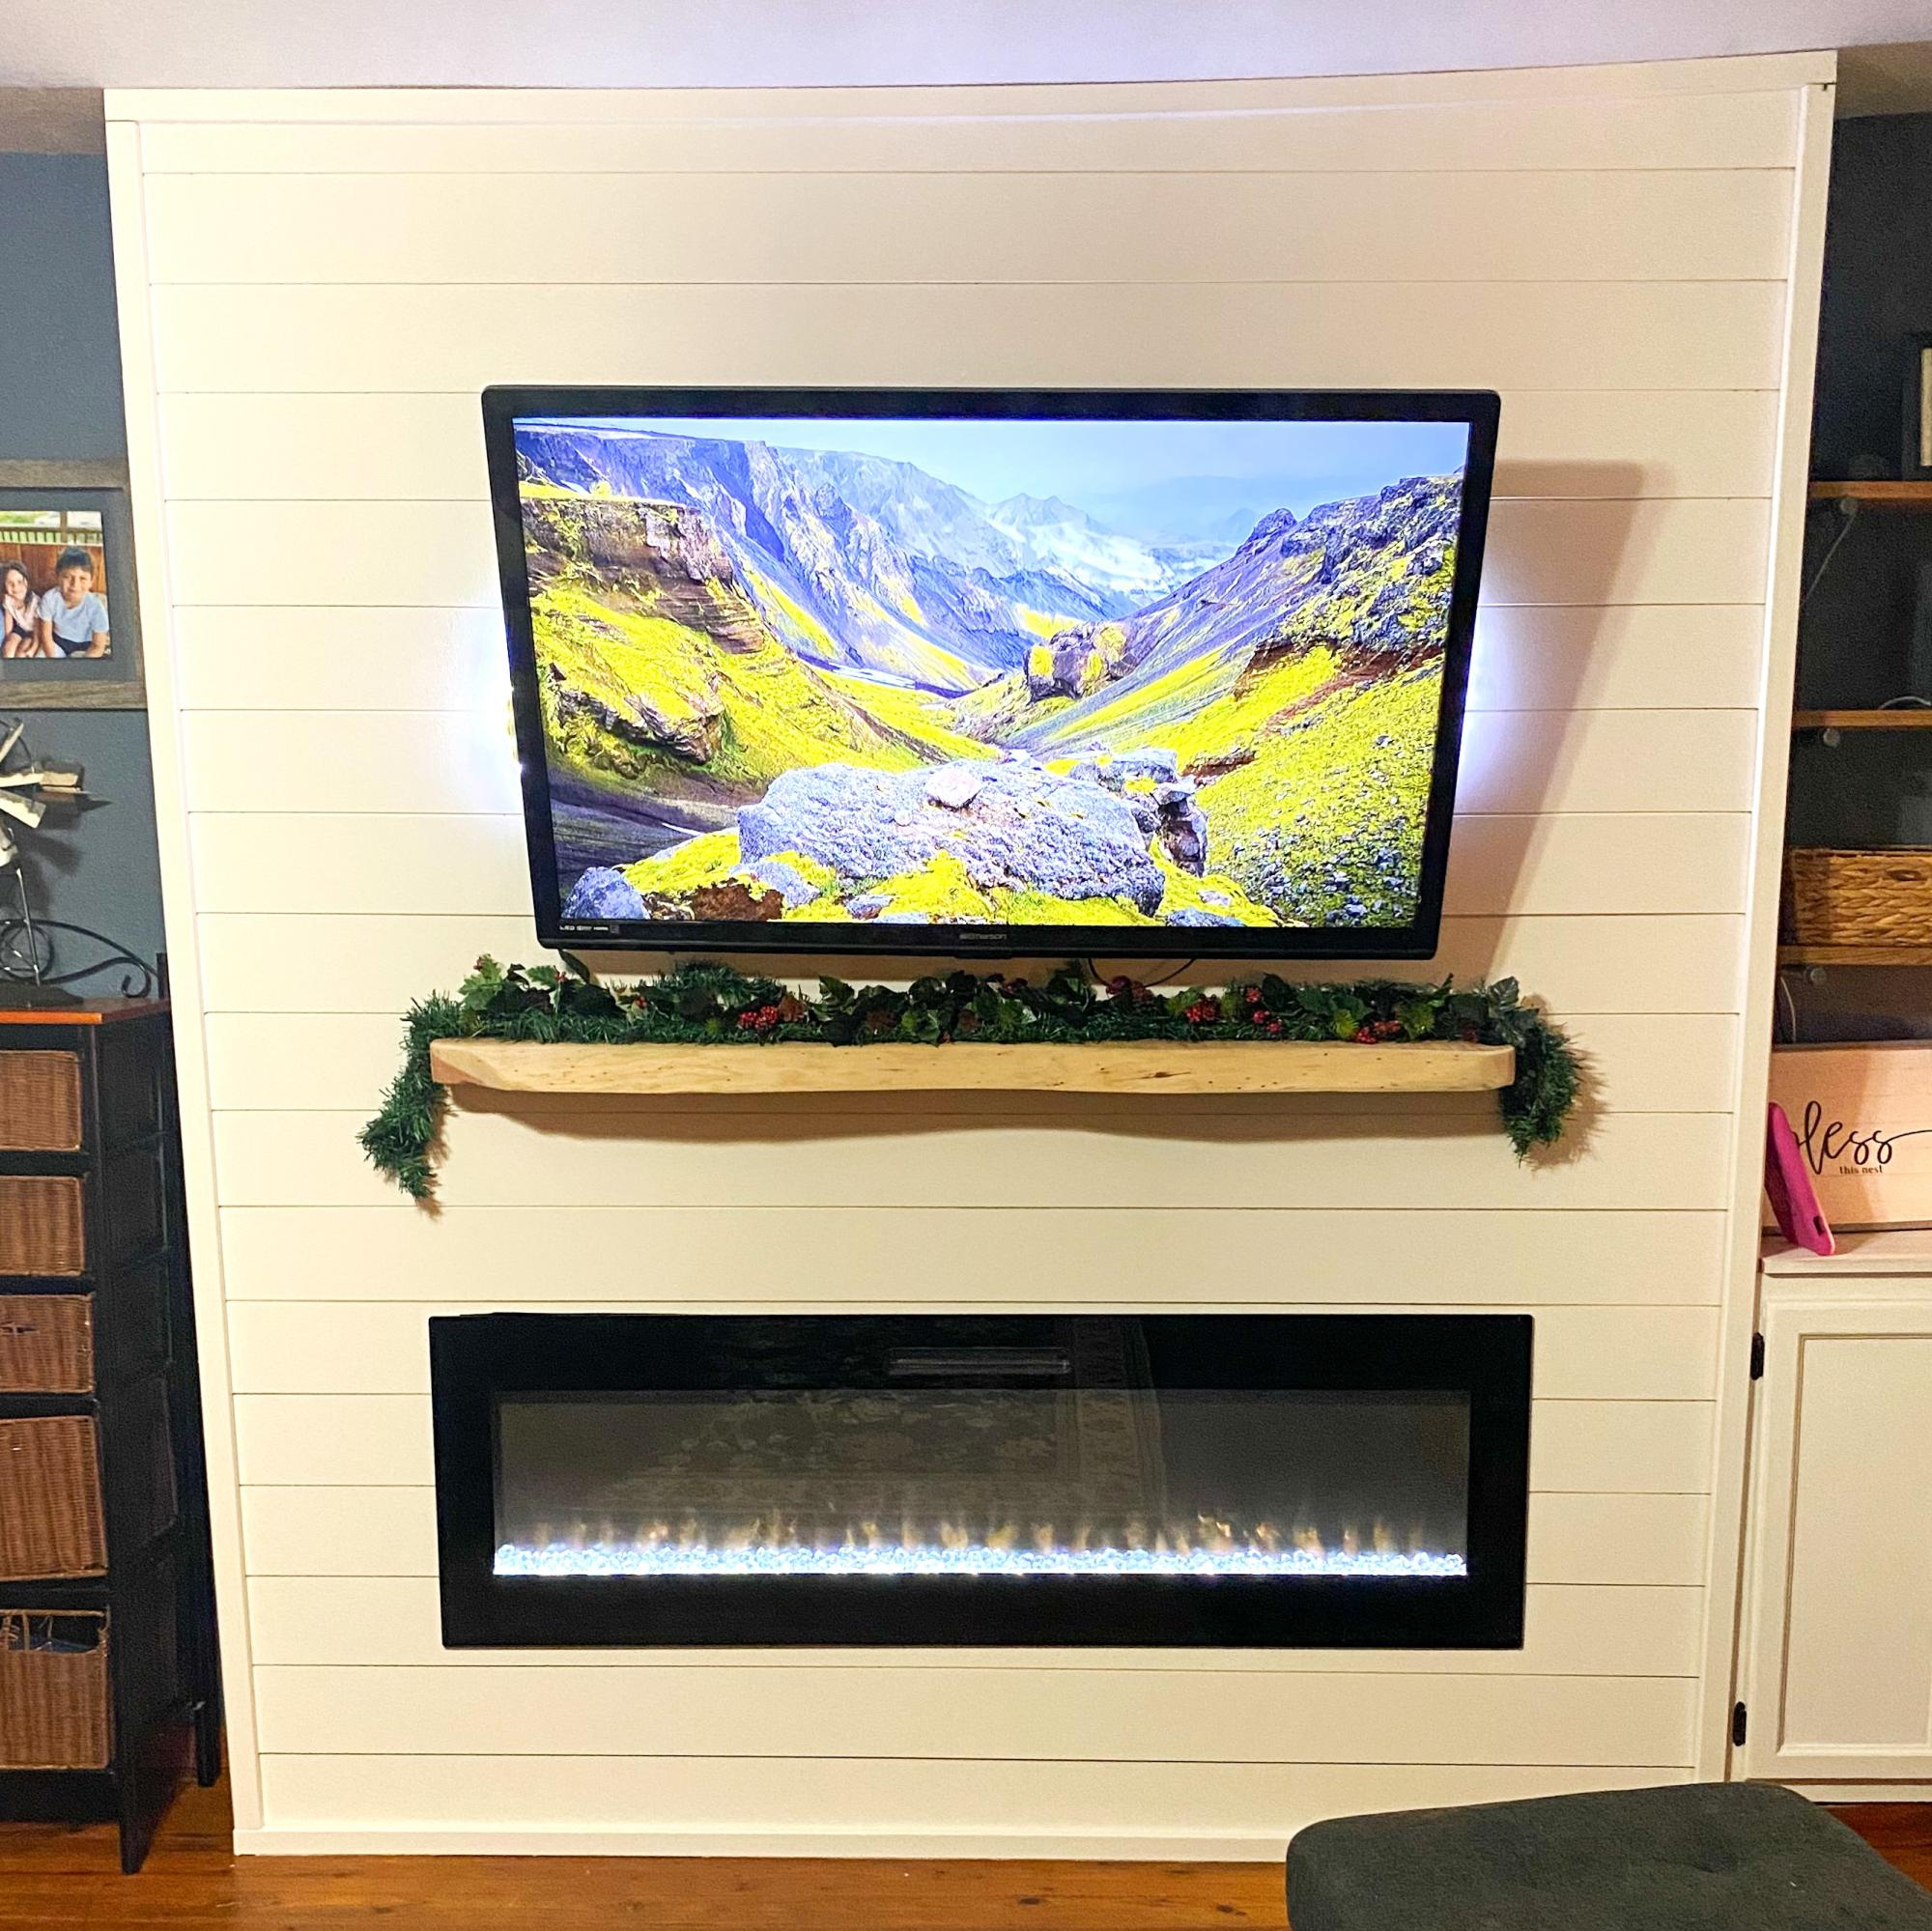
My husband completed this project in three short days.

In search of a sofa table for the sectional we found this site and plans and upgraded using wood instead of MDF and using back splash tile on the top to give a custom feel.
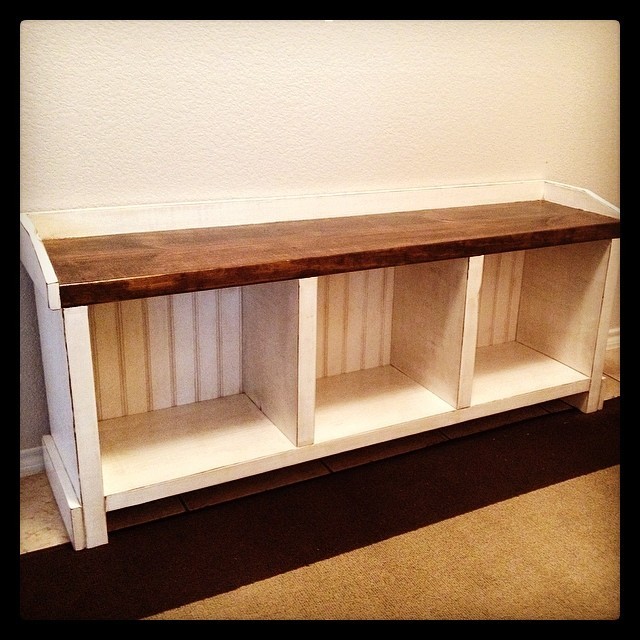
This was the easiest and fastest project ever! We built it out of 2x12's instead of 1x12's but i wish we had done it with 2x16's because baskets are a little hard to find in these dimensions and I would like it a little deeper. But I still love it!
When we bought the wood, we had Home Depot just make all the cuts for us. so when we got home, we just had to assemble it. It went together in about an hour {we did have to make a few adjustments because we used 2x's instead of 1x's but nothing too hard}. We decided to add some screws to the 1x4 back and side rails instead of just nails so that they would be more sturdy. We have 3 kiddos and know that they will be pulled on, walked on, ran into a lot.
The finishing took me about a day to do with lots of breaks in-between.
We stained the seat with Minwax Dark Walnut and then taped it off so that I could pain the rest white. After 3 coats of white paint, I sanded the edges and rubbed the same stain all over it. It made the edges dark and make the paint an off white. Then we put two coats of clear coat on top.
We used some scrap beadboard that we had instead of plywood. I love the finished look!!!
It cost us about $50 or less for the wood. I don't know exactly because we had a few other supplies to get there too. But it was cheap!

Almost done :)


My daughter needed a new bed frame because her box spring broke so it no longer fit on the metal frame. This bed was perfect for what she needed. However, I needed to add one more 1x6 to the headboard. Didn’t realize that until I had the bed together. Will add it later.
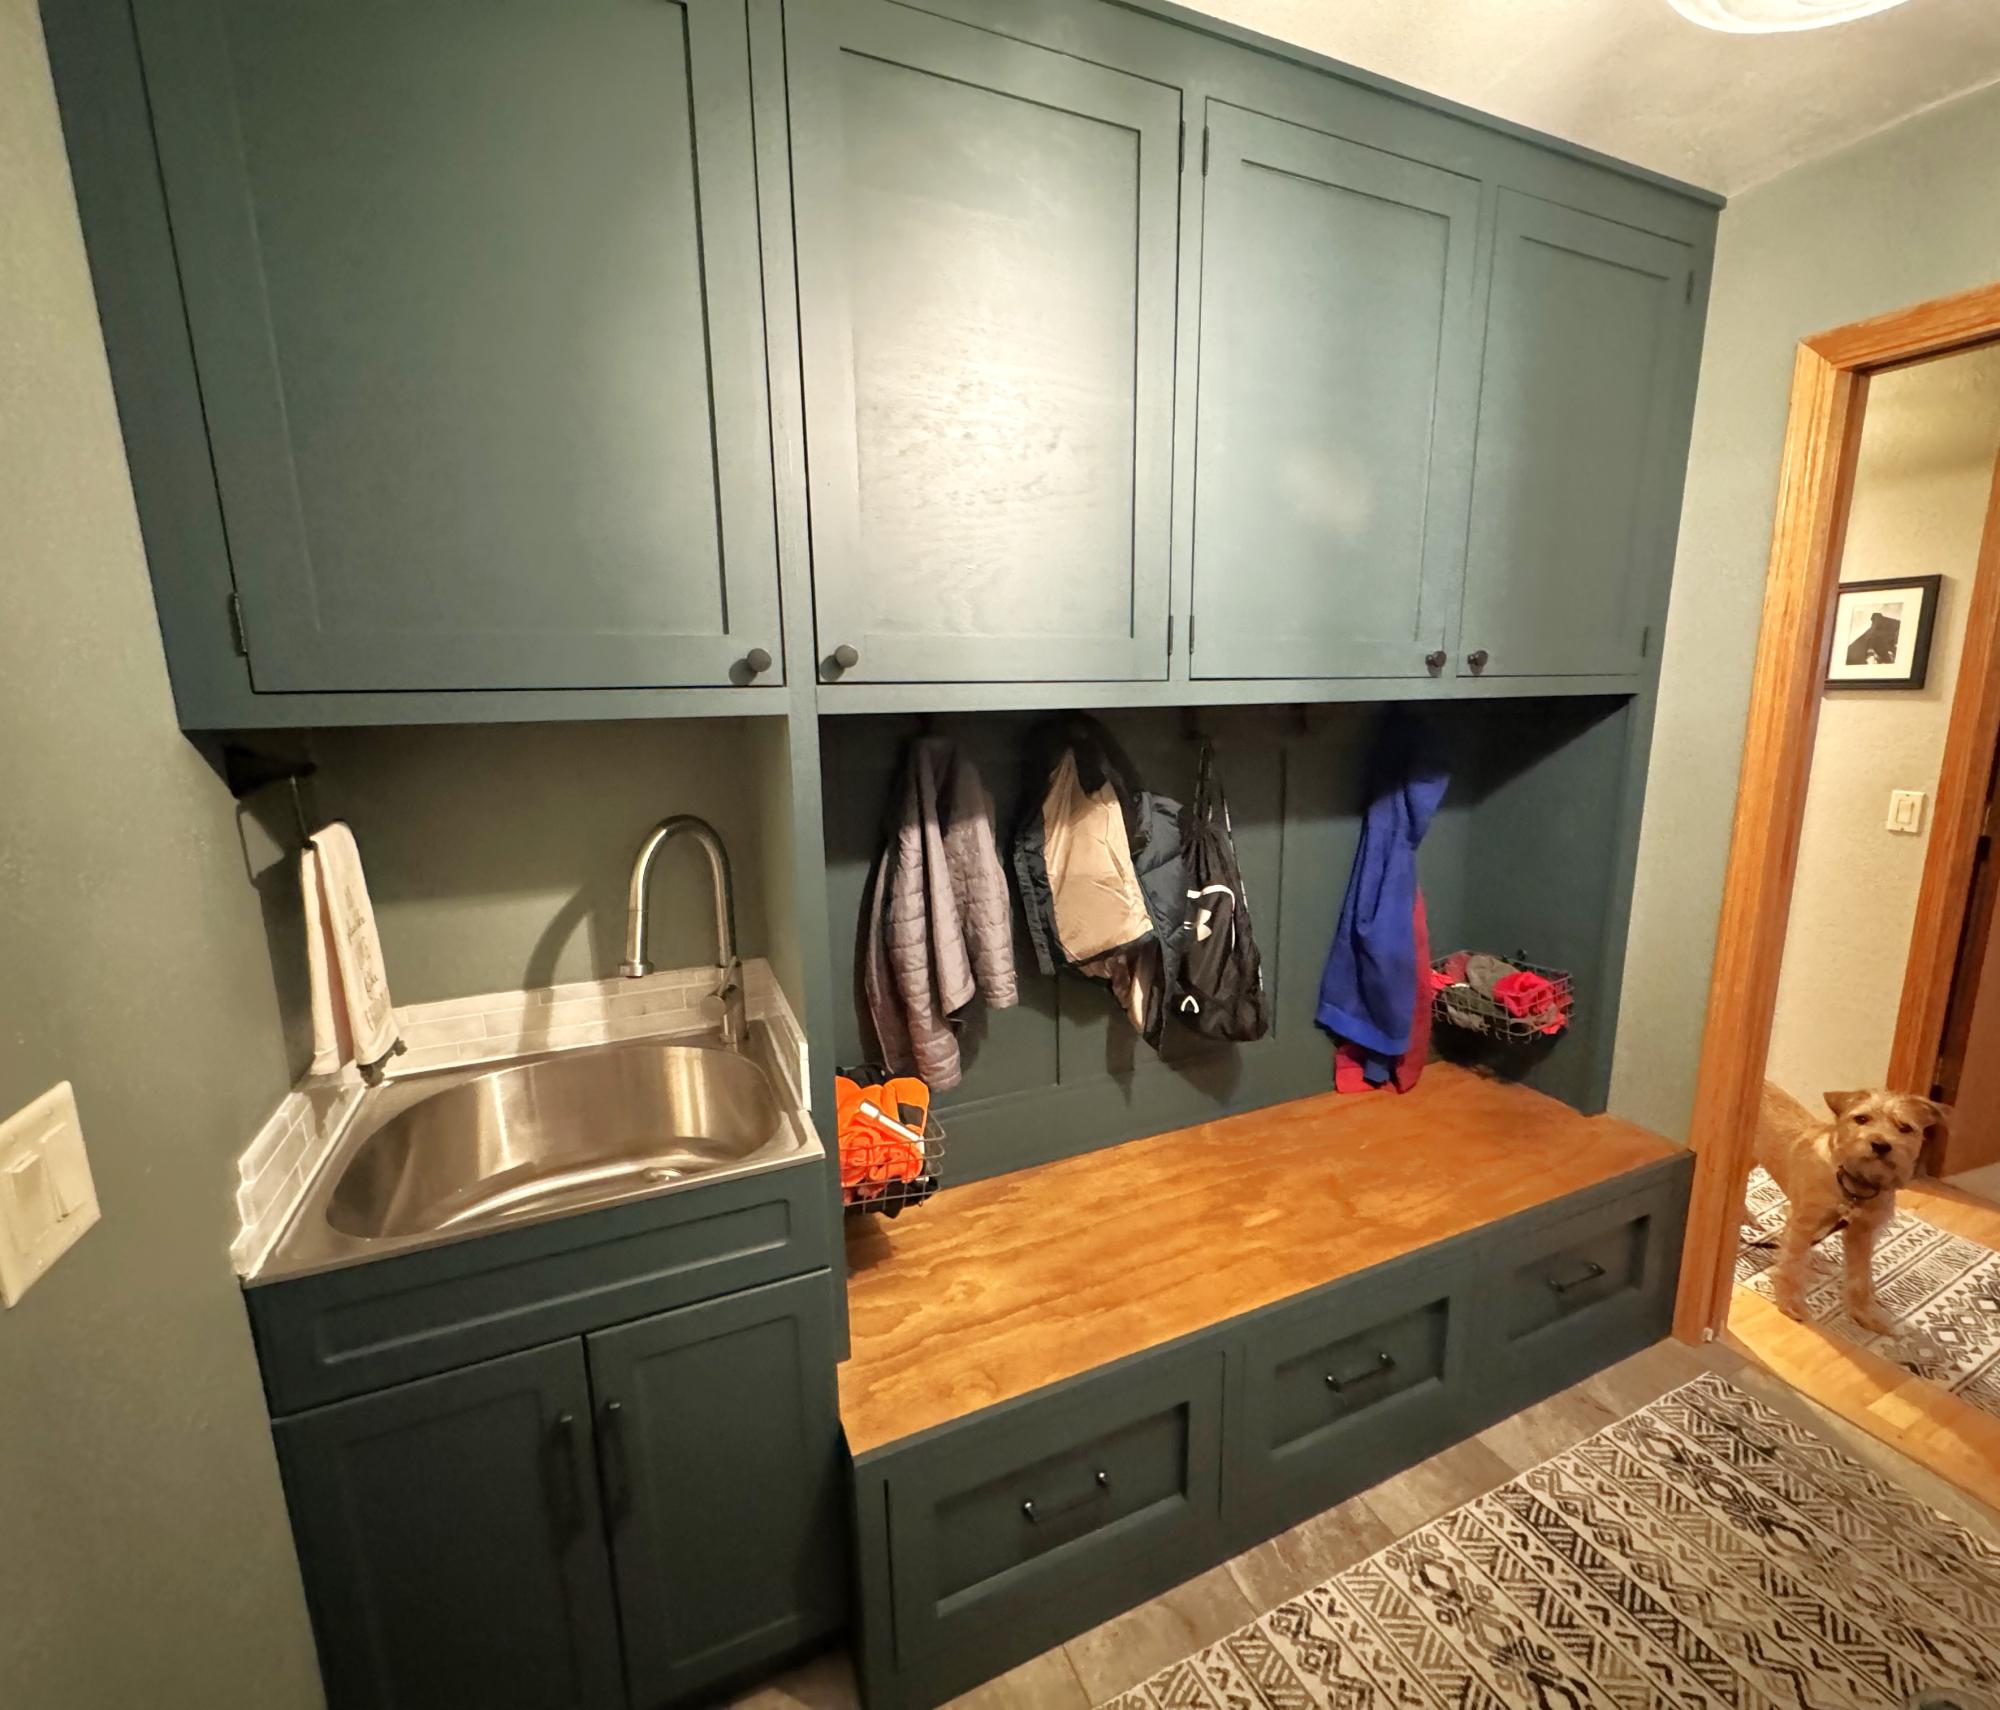
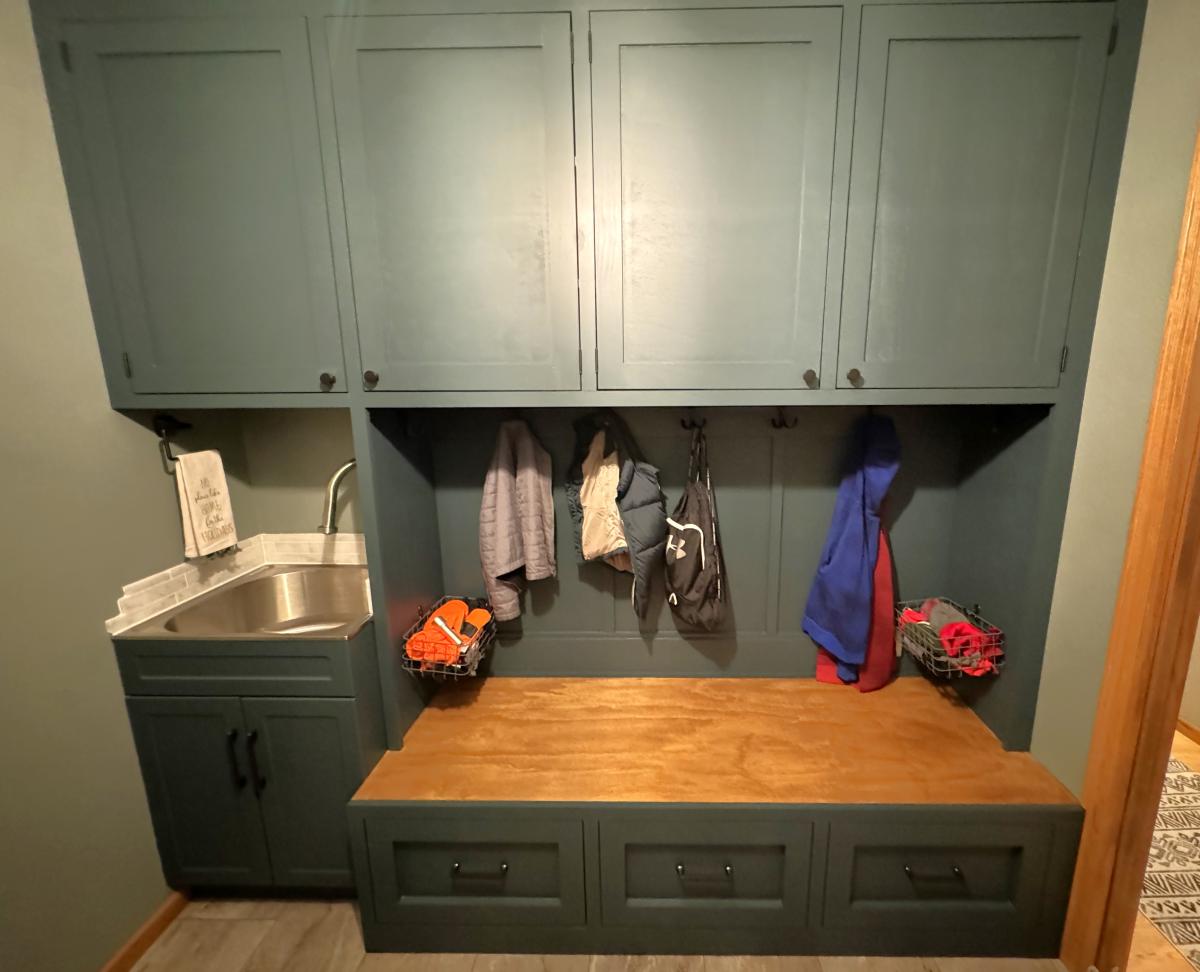
We totally gutted a former hallway and closet to make this huge Mudroom. We followed the bench and cabinet plans, plus added in a laundry sink!
Bethany Hoffmann
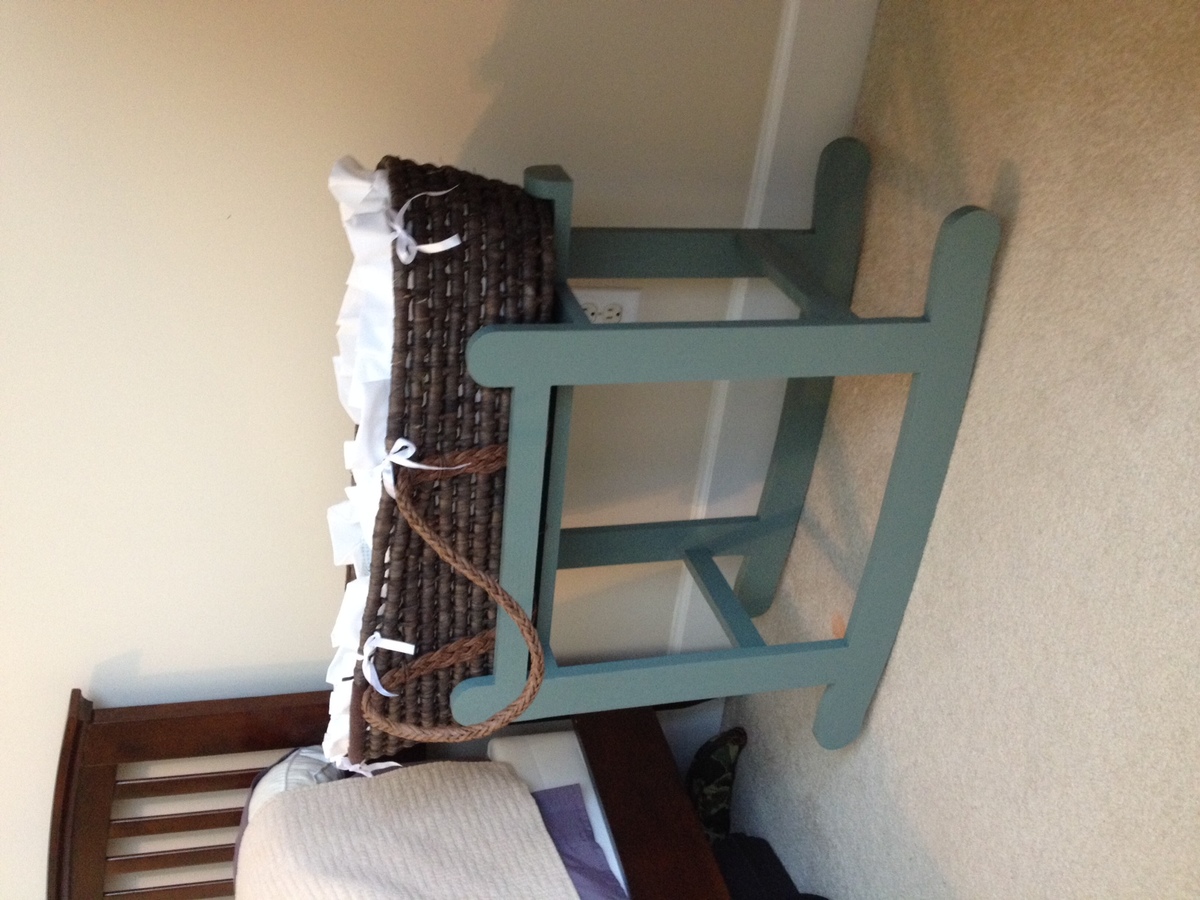
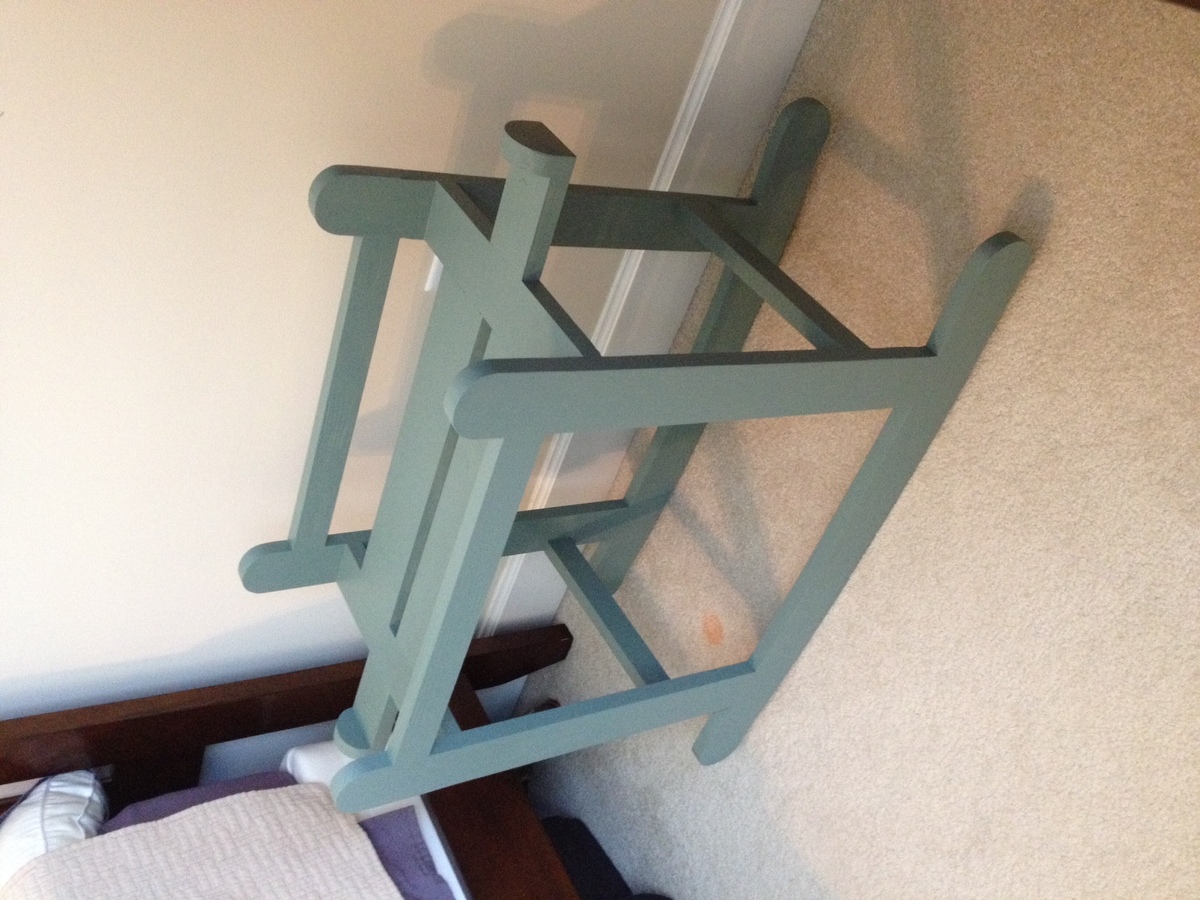
Pretty much followed the plan, except I raised the height of the platform. I intended to make the legs longer, but I forgot and cut them to the length on the plan. It looks like the sides of the basket aren't supported as well, but the basket stays in just fine.
I also added little wings on the end to support the ends of the basket. I wanted to be able to remove the basket from the cradle without screwing it in, but also wanted the basket to be secure so I added the little wings. It was easy.
Overall a pretty easy project, except the rockers are time consuming. They're not hard to make, you just need to take your time.
I adapted the Emerson console plans pretty extensively. I constructed the cabinet out of low grade playwood, and then clad it on all surfaces with faux painted cheap furring strip lumber of various widths. I changed the base and made it sit completely on the floor so that I would not be chasing dog fur dust bunnies that seem to accumulate under everything! I made the open storage wider to fit my componenets and added holes to pass the wires through the back.
It was very helpful to have the plans as a jumping off point. It takes me forever in the planning stage. I try to figure out my dimensions to hide as many raw edges as possible in every project. I also want to work with the widths of lumber avaialble to me since I have a fear of a tablesaw (which is still in the box after 3 years). Give me a chop saw and a circular saw and I'm your girl!
Very proud of this project. Thanks Ana!
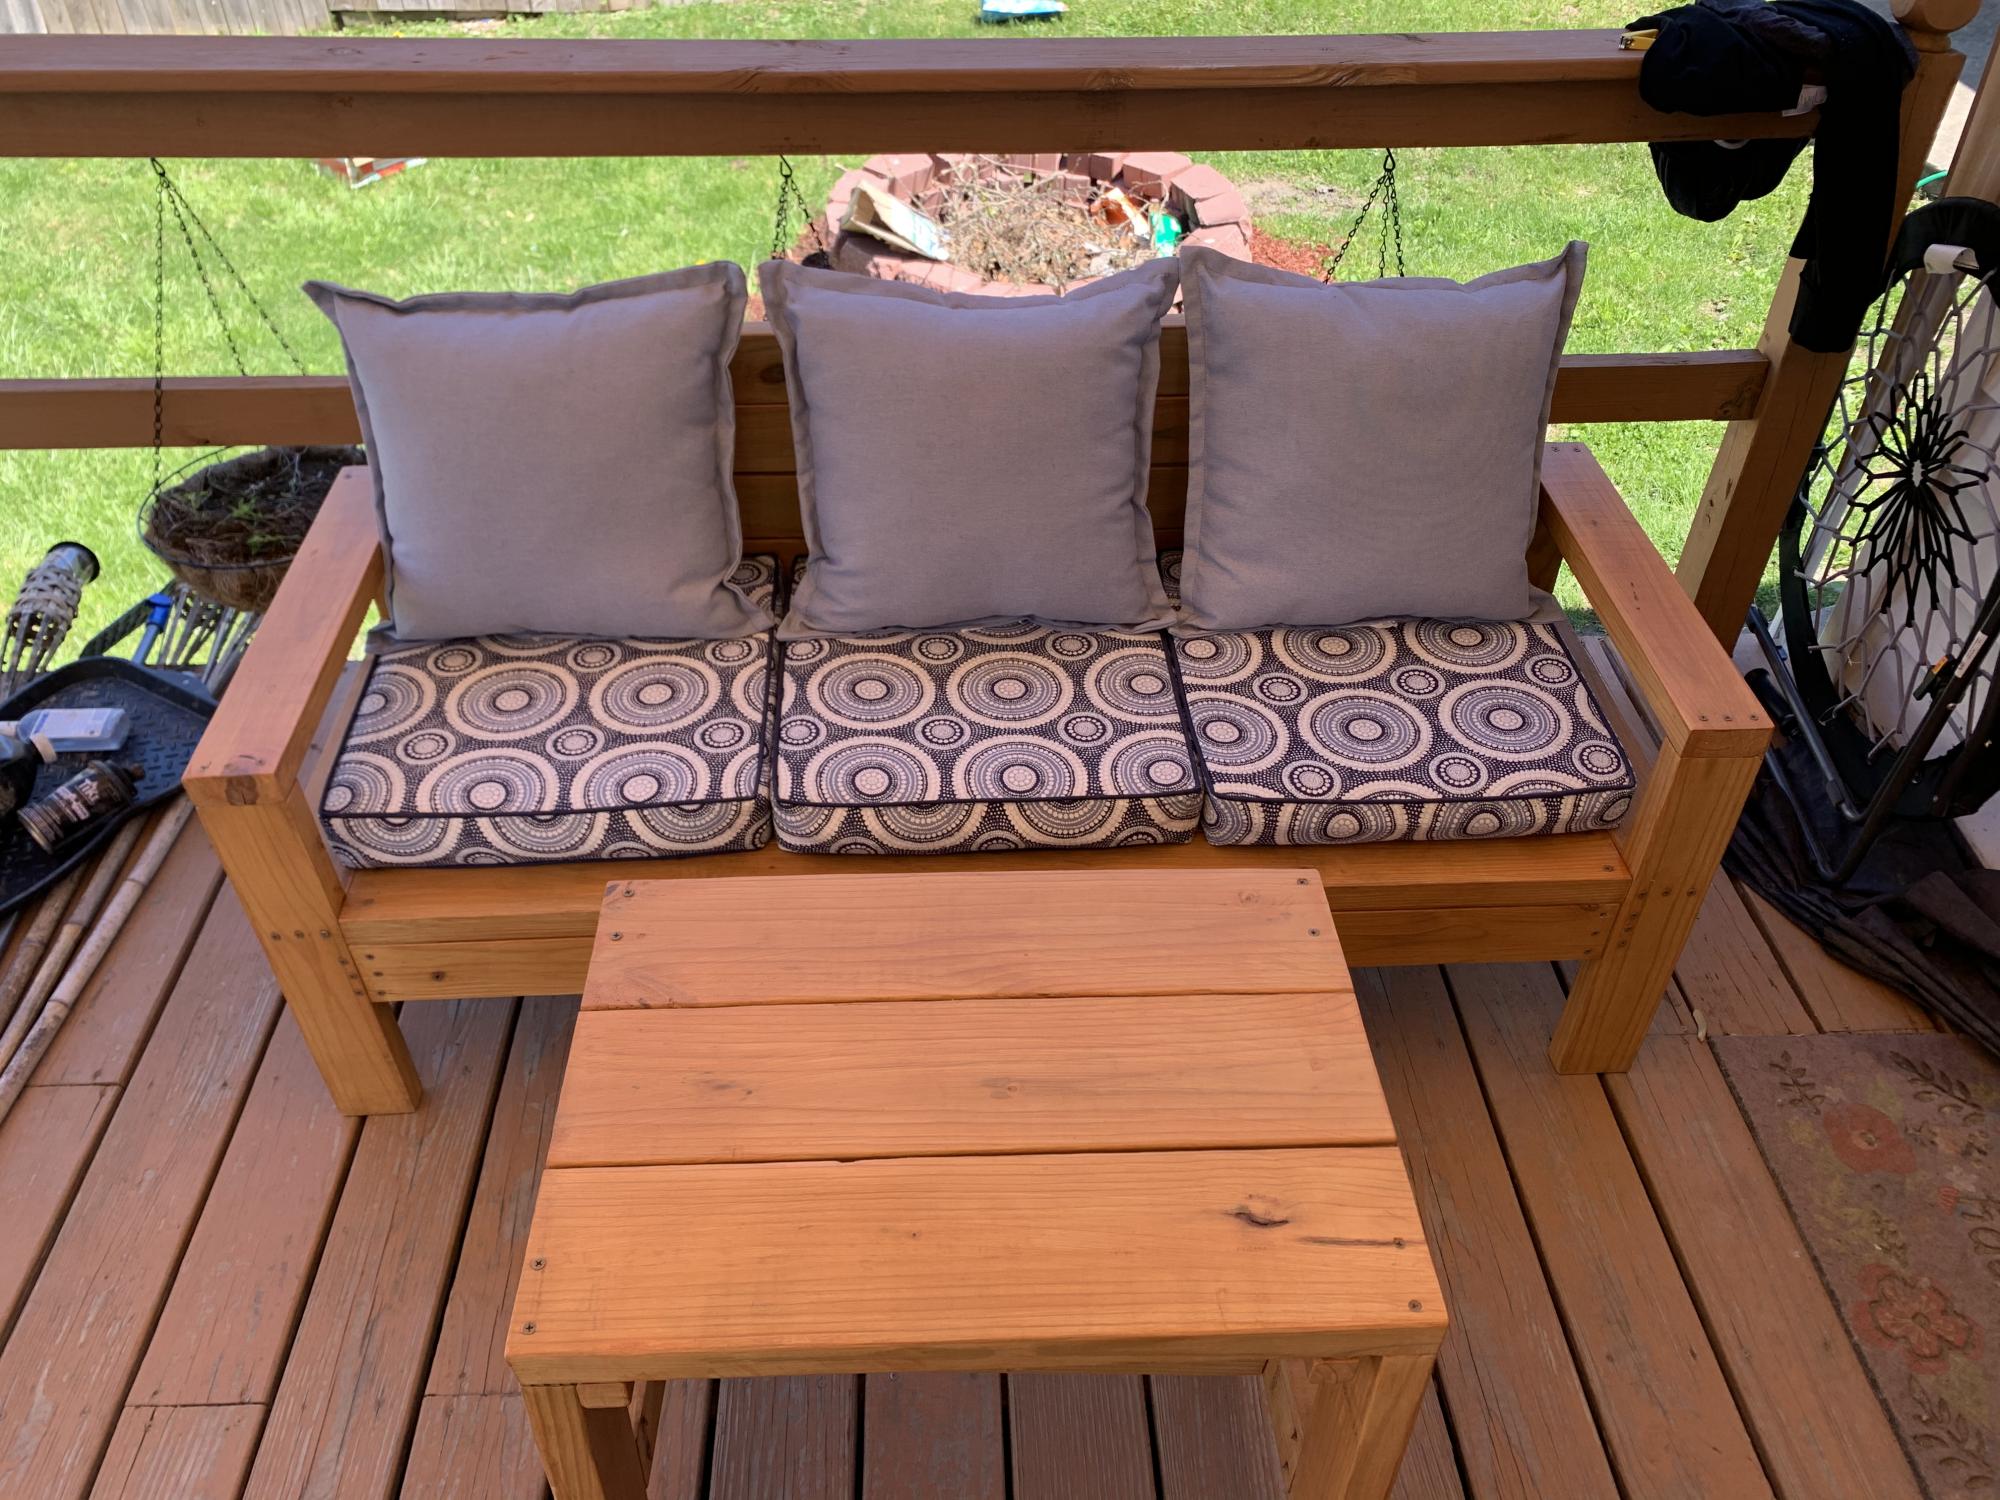
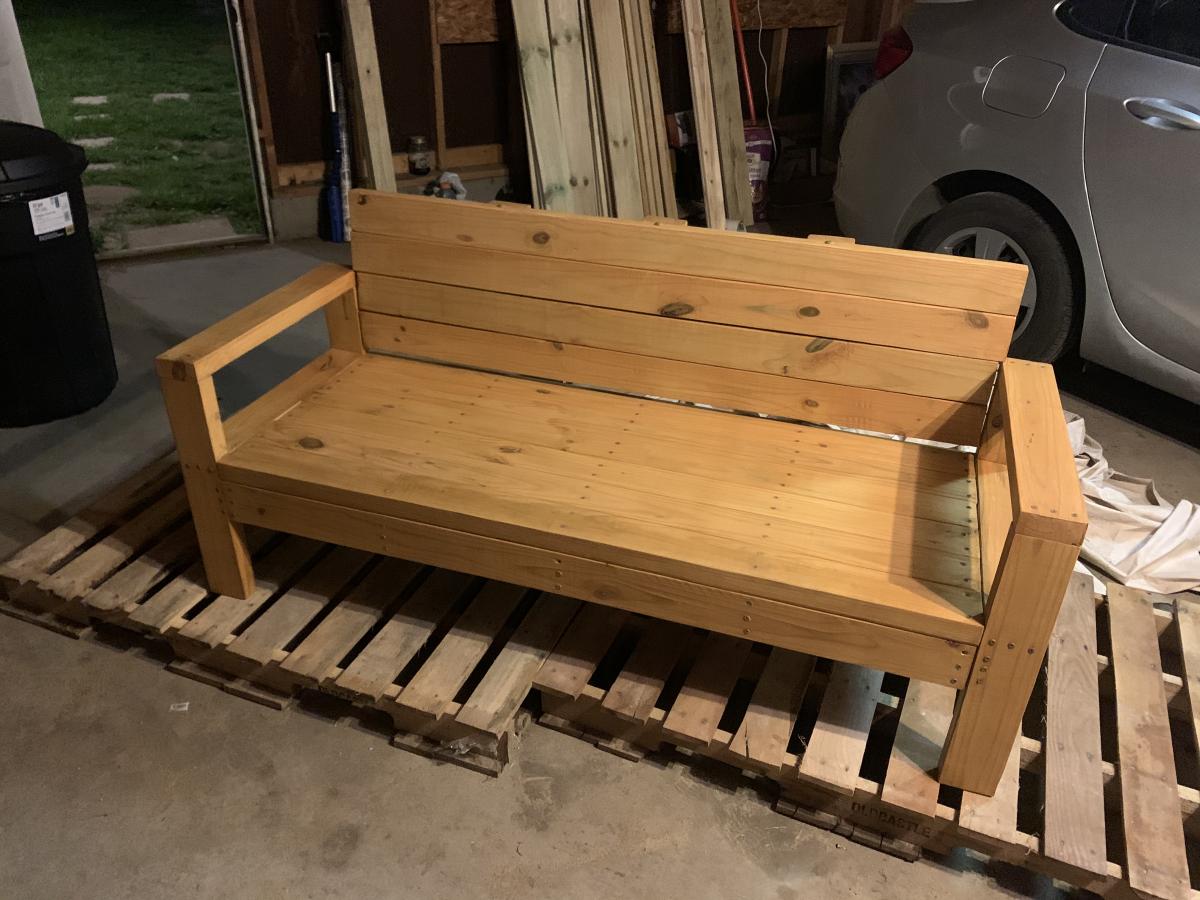
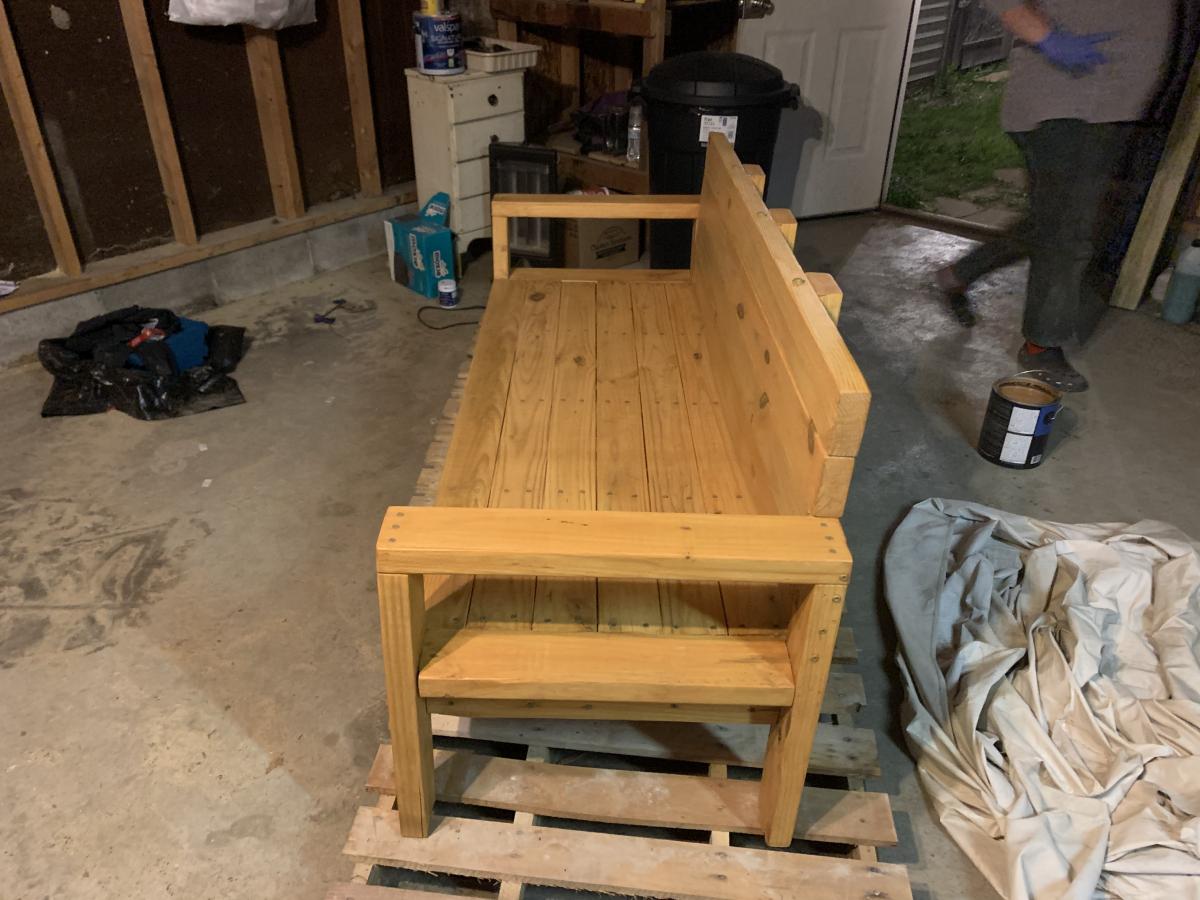
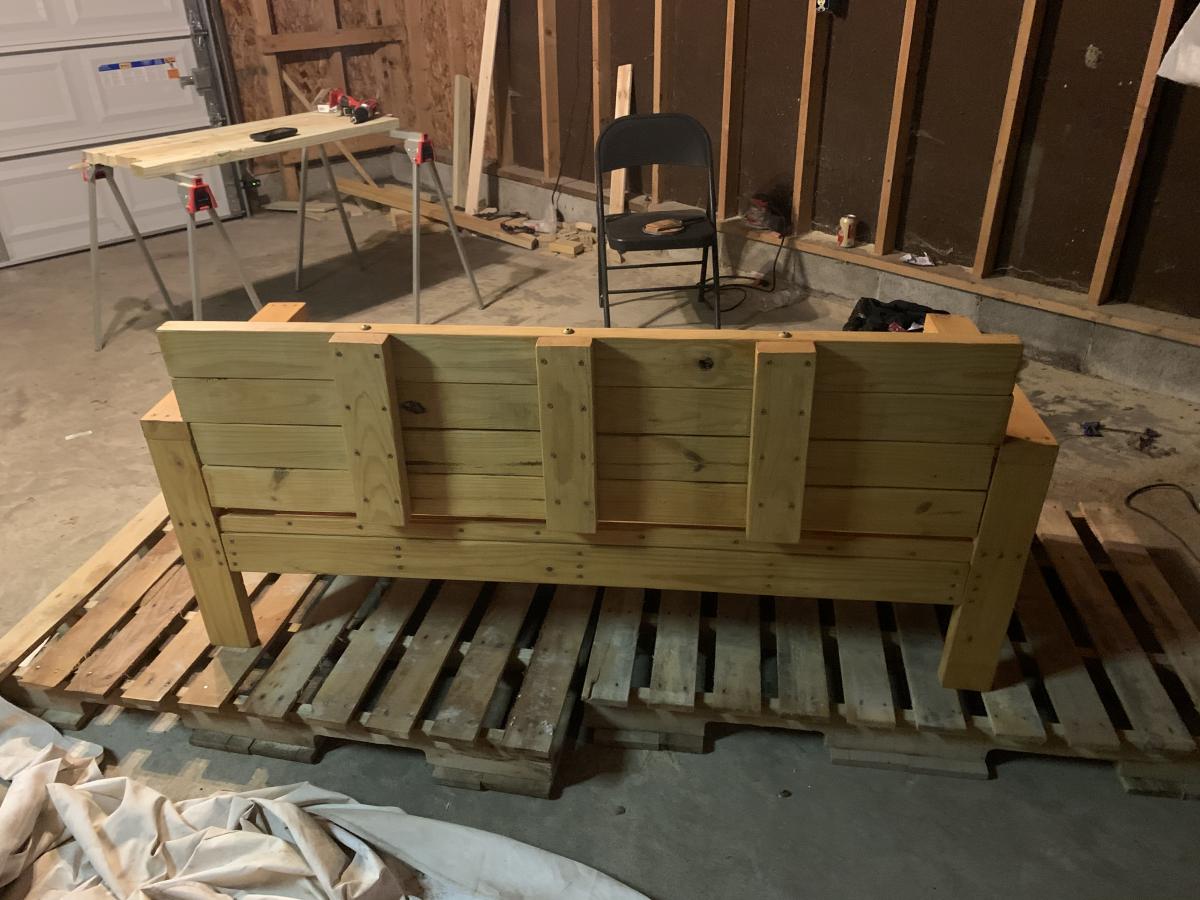
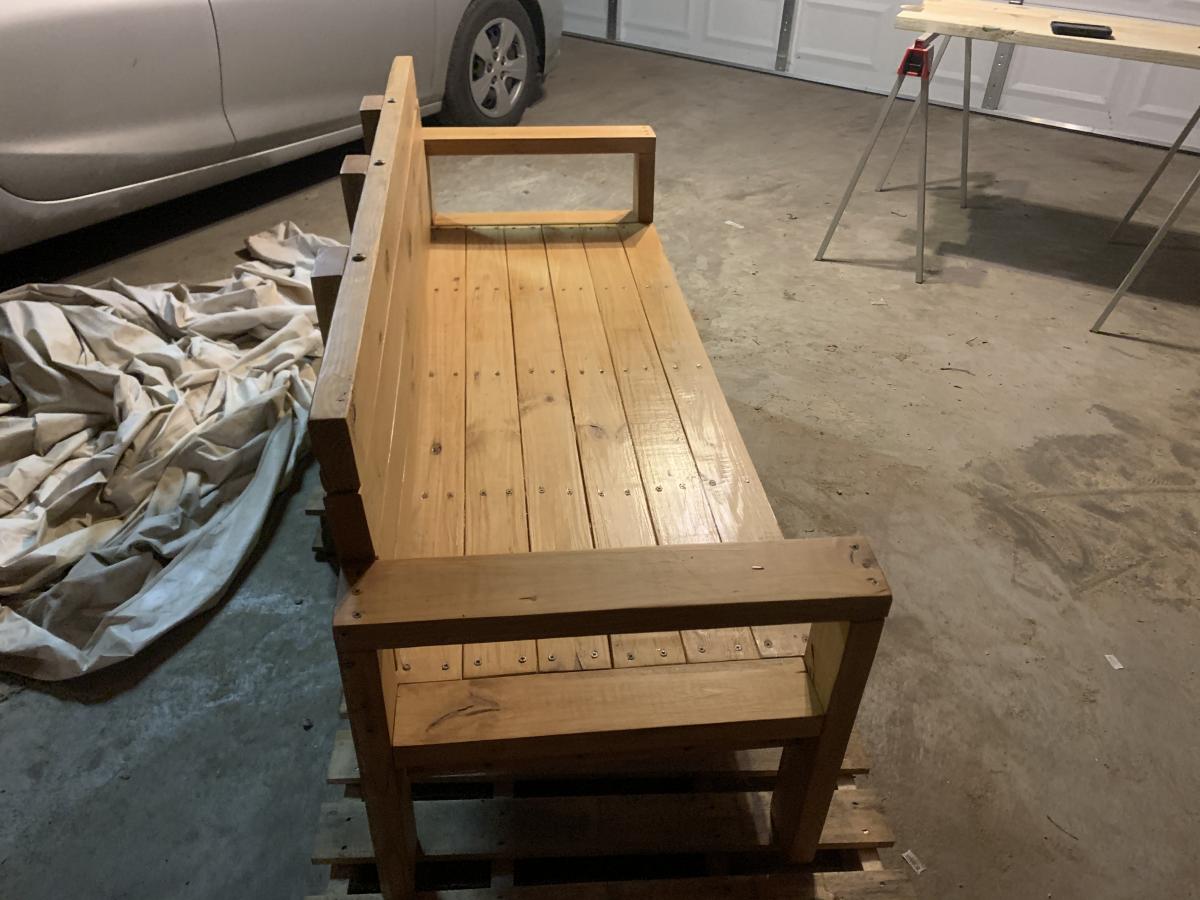
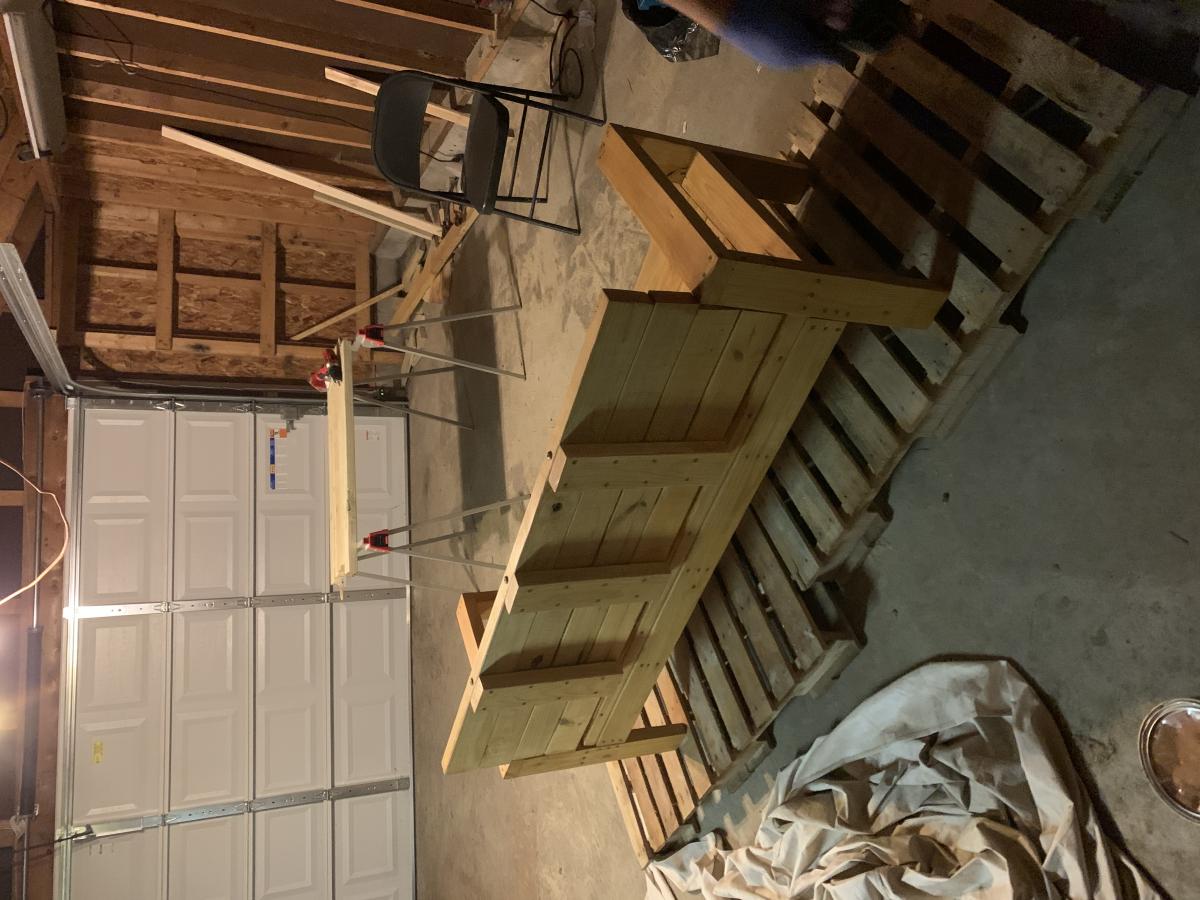
Made from the 2x4 outdoor sofa plans. Needed to make some outside furniture for our deck. 2x4 treated wood bench with a valspar stain. Free handed the end table with 2x4s, 2x6s and 2x2s. Also added height to the back by an additional 2 2x4s and had added some 2x4s perpendicularly for support. Added 3 6inch wood screws in the additional 2x4s vertically so it all ties in together. Made the measurements to fit the cushions. And added some outside throw pillows I found for $6 each
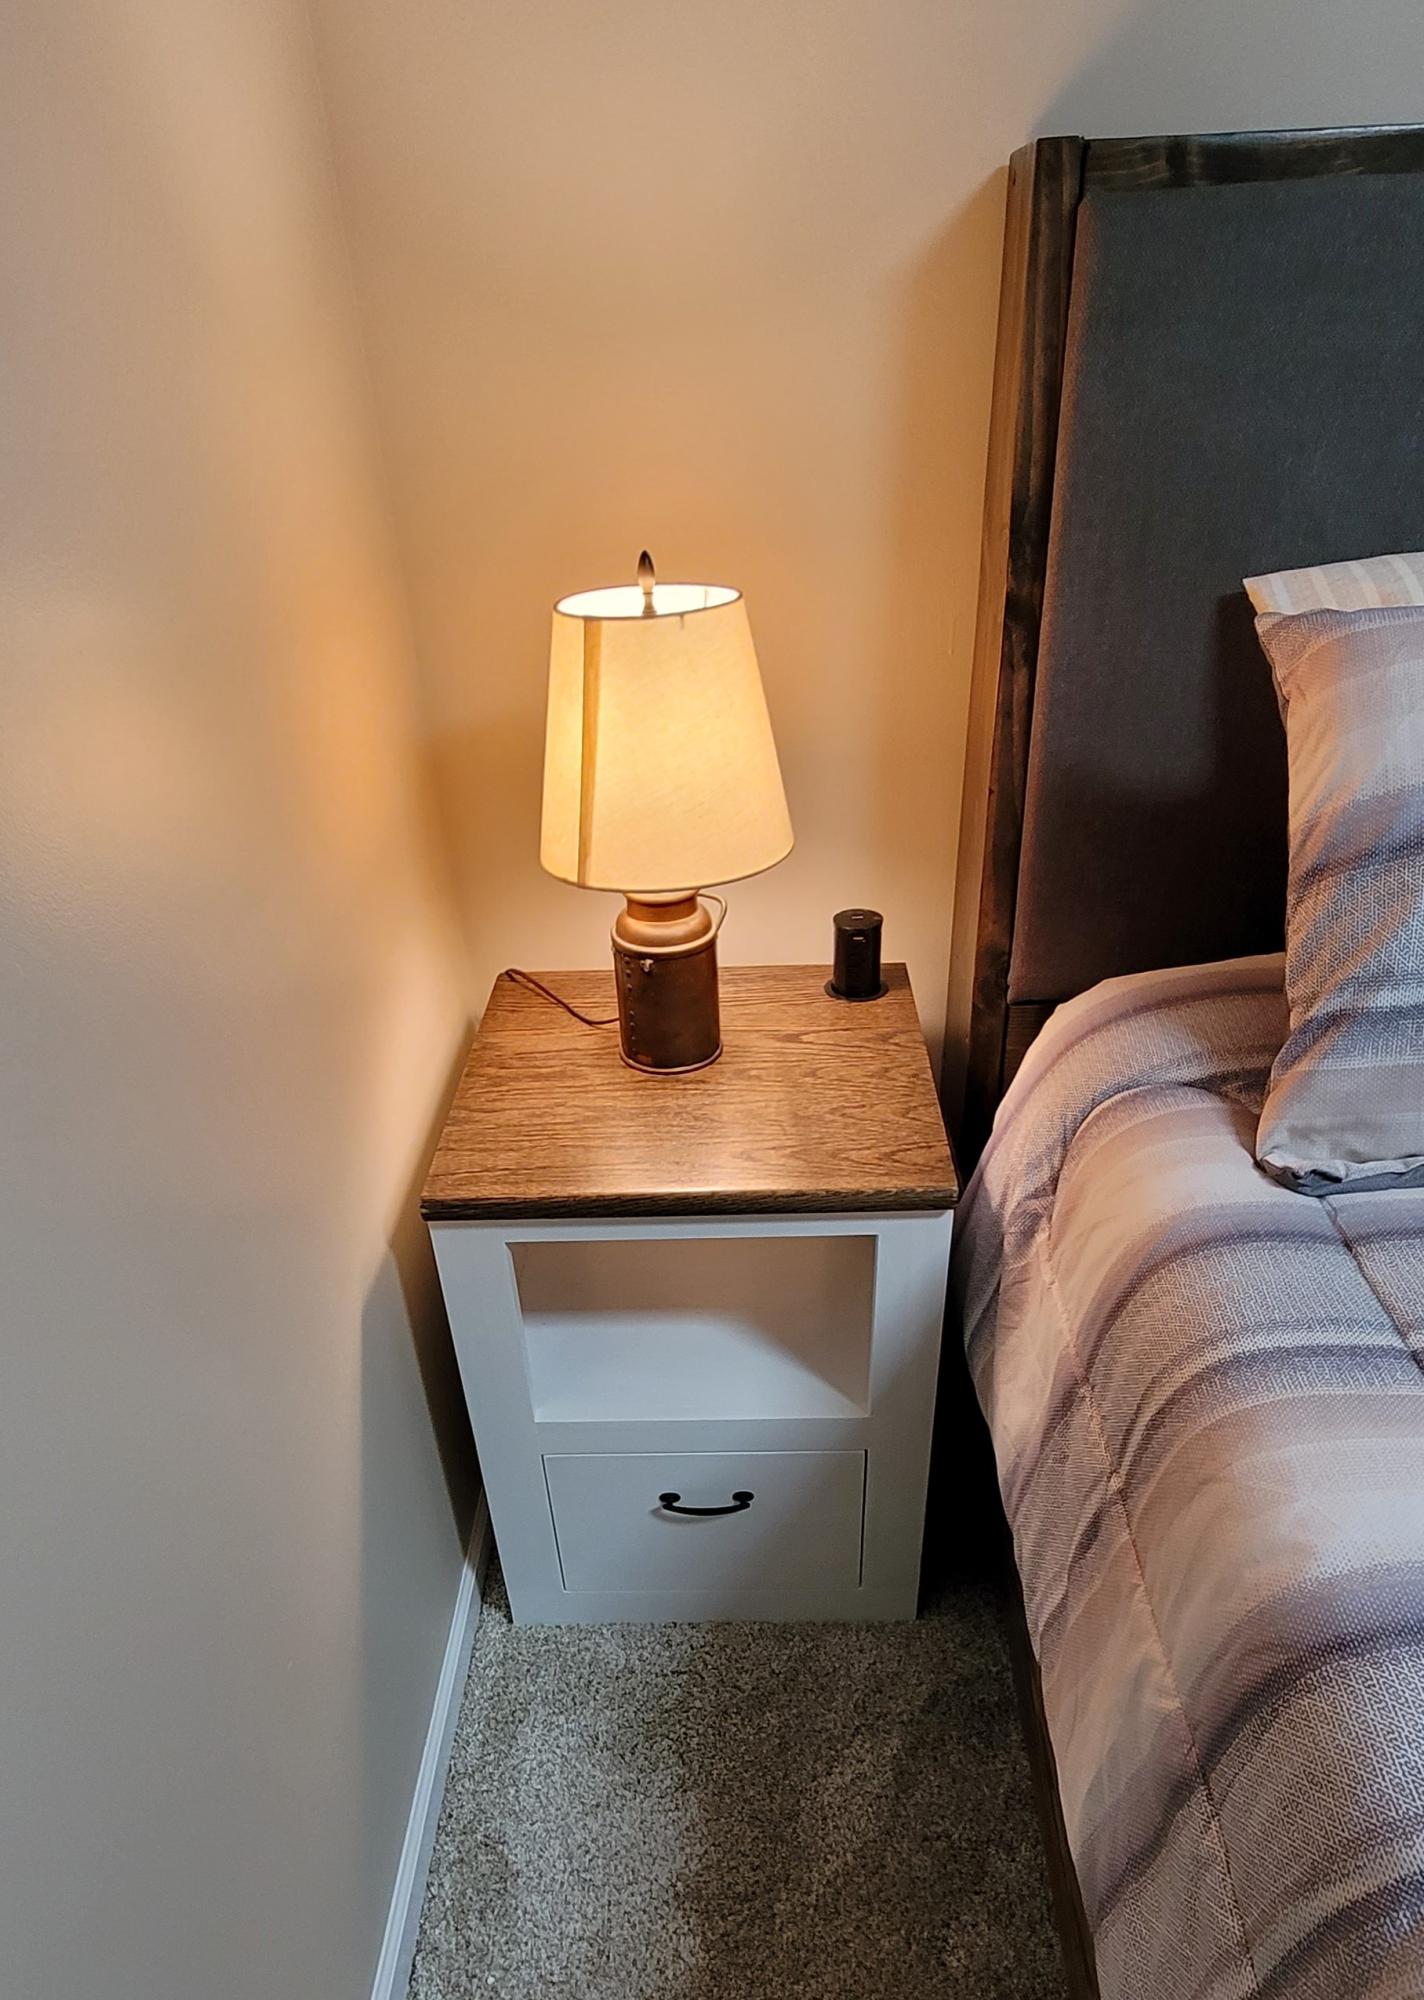
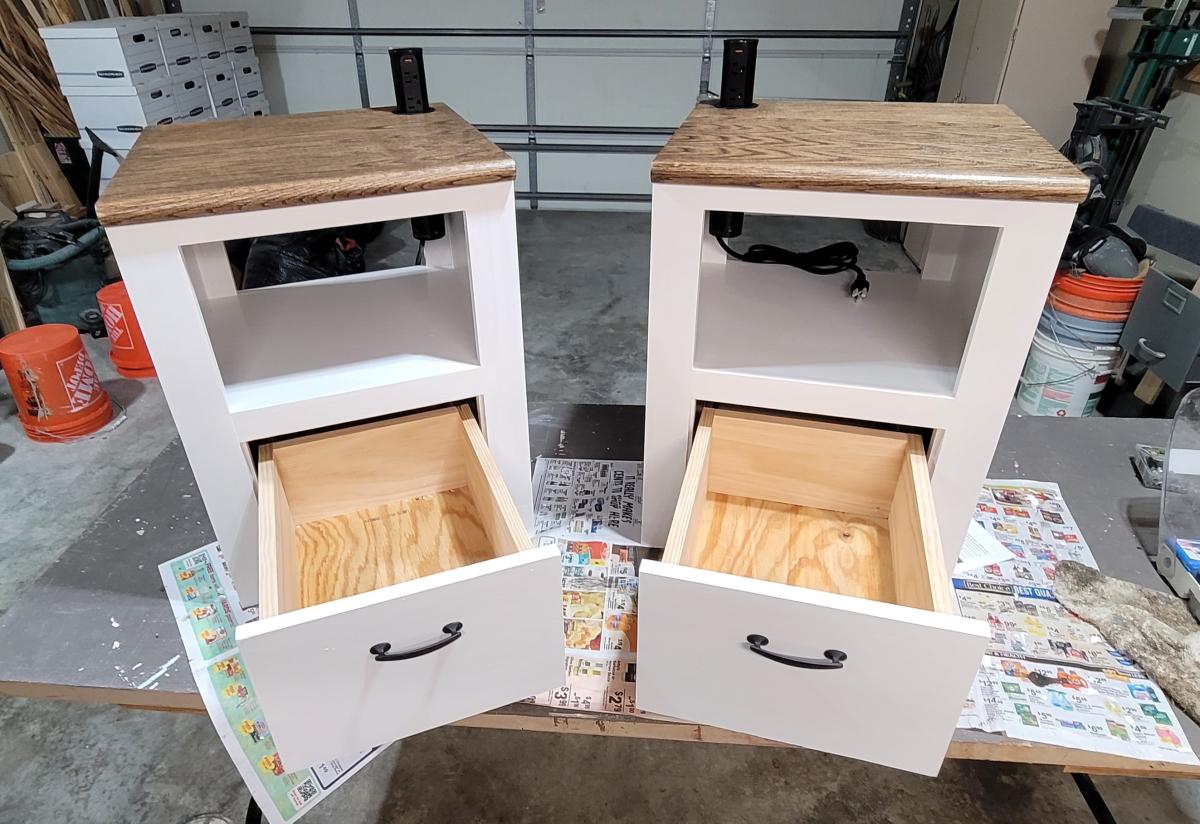
I downloaded th minimalist modern nightstand plans nearly a year ago and just got around to building them last week. Actually I modified them quite a bit because I had a small space to work with and because I wanted them to follow the design theme of some of the other furnishings and features I had made for my basement renovation. In particular I changed the top and made it out of oak stair treads. I also added pop-up electrical/USB sockets as well. I really appreciate the sequencing in the plans. Though I made some dimensional and design plans, I followed the sequencing steps. It made the project much easier to complete-particularly the drawer construction and fitting. If I had done it on my own, I would probably have permanently installed the middle shelf before fitting the drawer which would have made fitting the drawer and drawer front much harder. Thanks for teaching me that.
Craig Holstedt
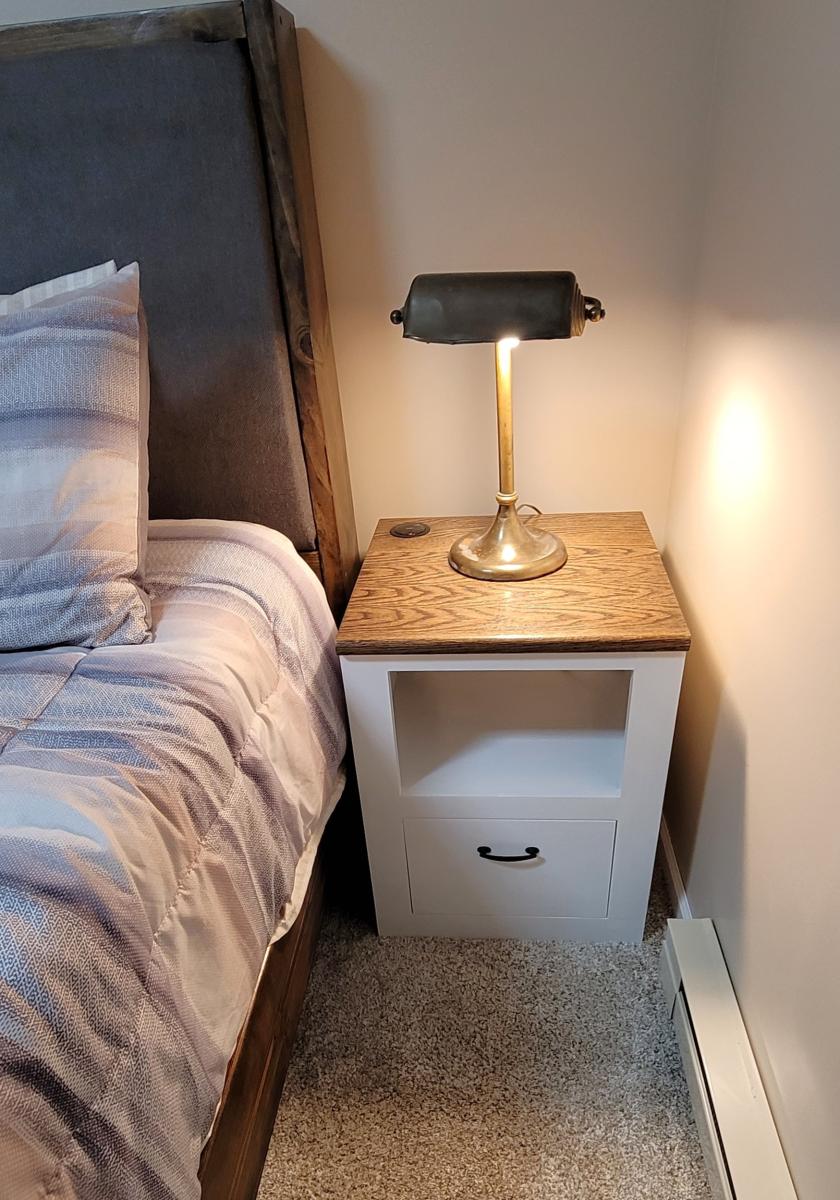
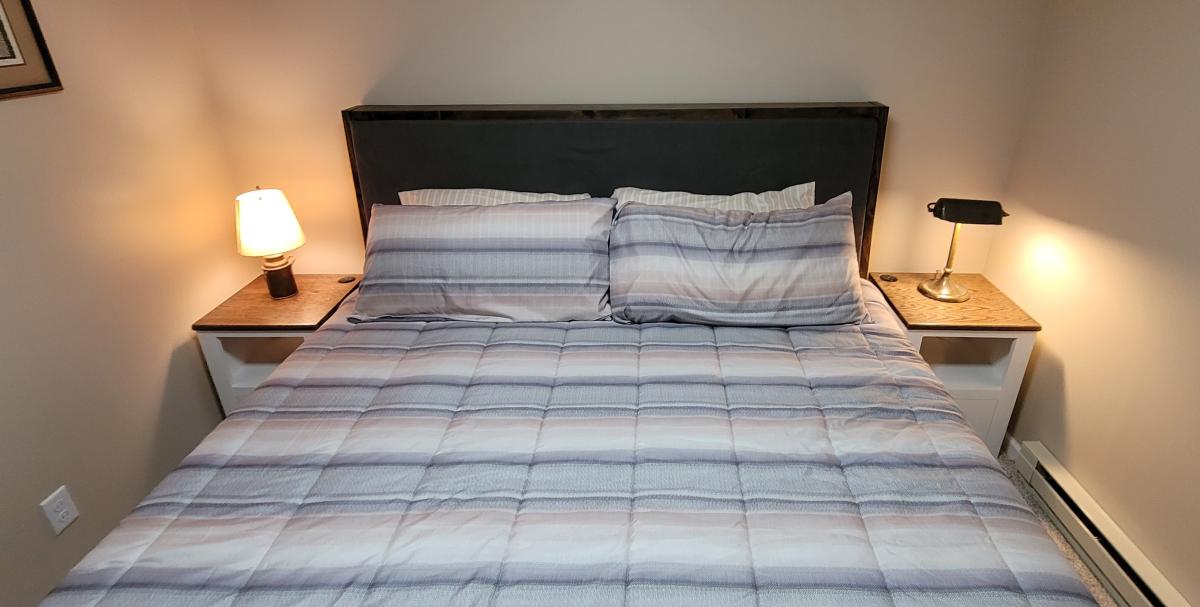
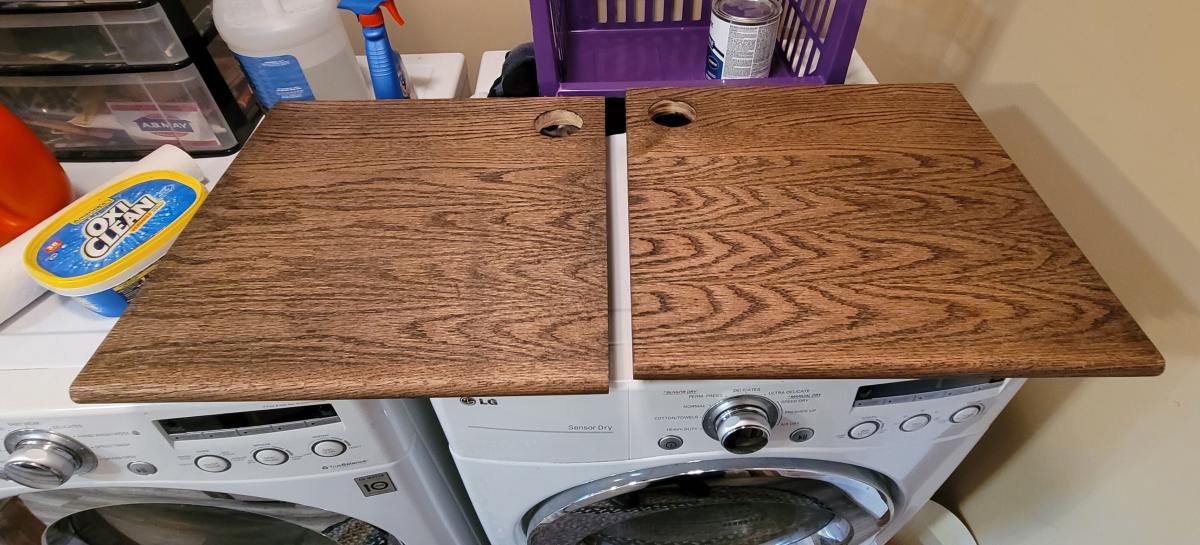
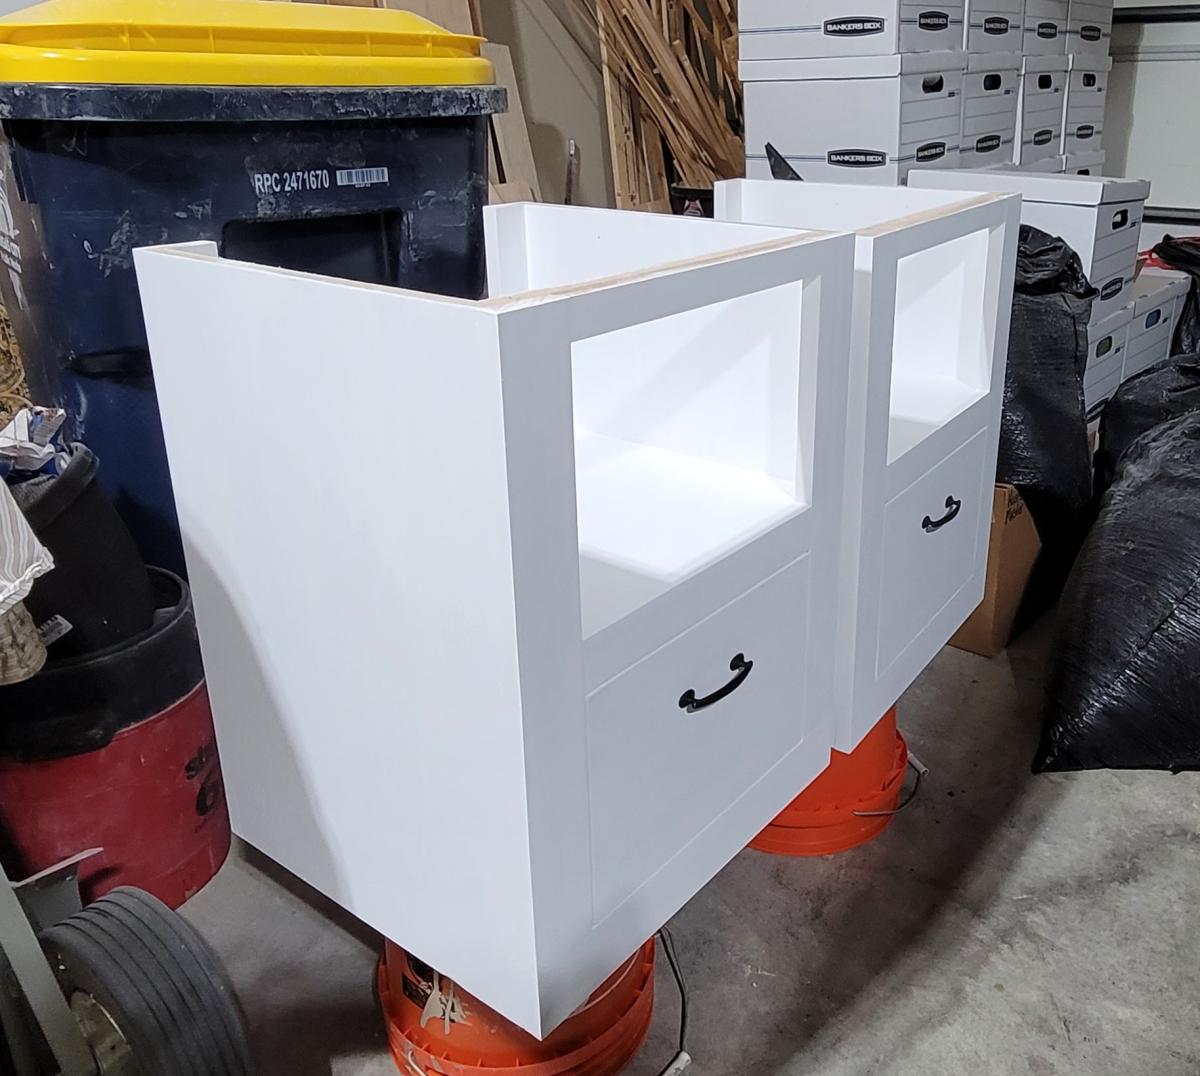
Tue, 01/09/2024 - 08:31
Thanks for sharing, love your finish choice and the pop up outlets are a great addition!
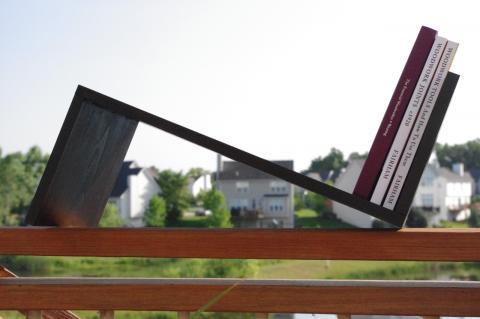
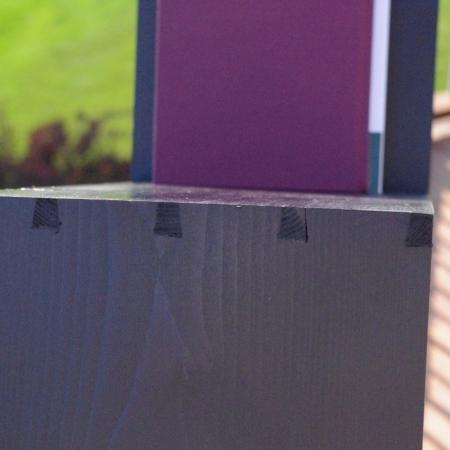
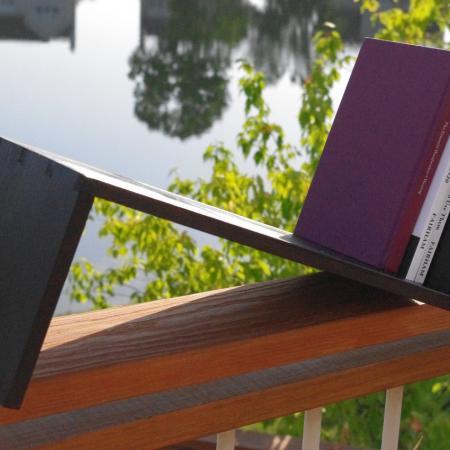
This is a simple shelf to hold the reference books I keep on my desk at work. That's now how it started out though. It was supposed to be a laptop stand, but a small mistake turned it into this. Rather than toss it as scrap, I decided to make lemonade.
I'd love to link a plan, but all you really need to do is take a 1x10, cut legs (mine are 8 inches long), and join them to the ends with pocket hole screws.
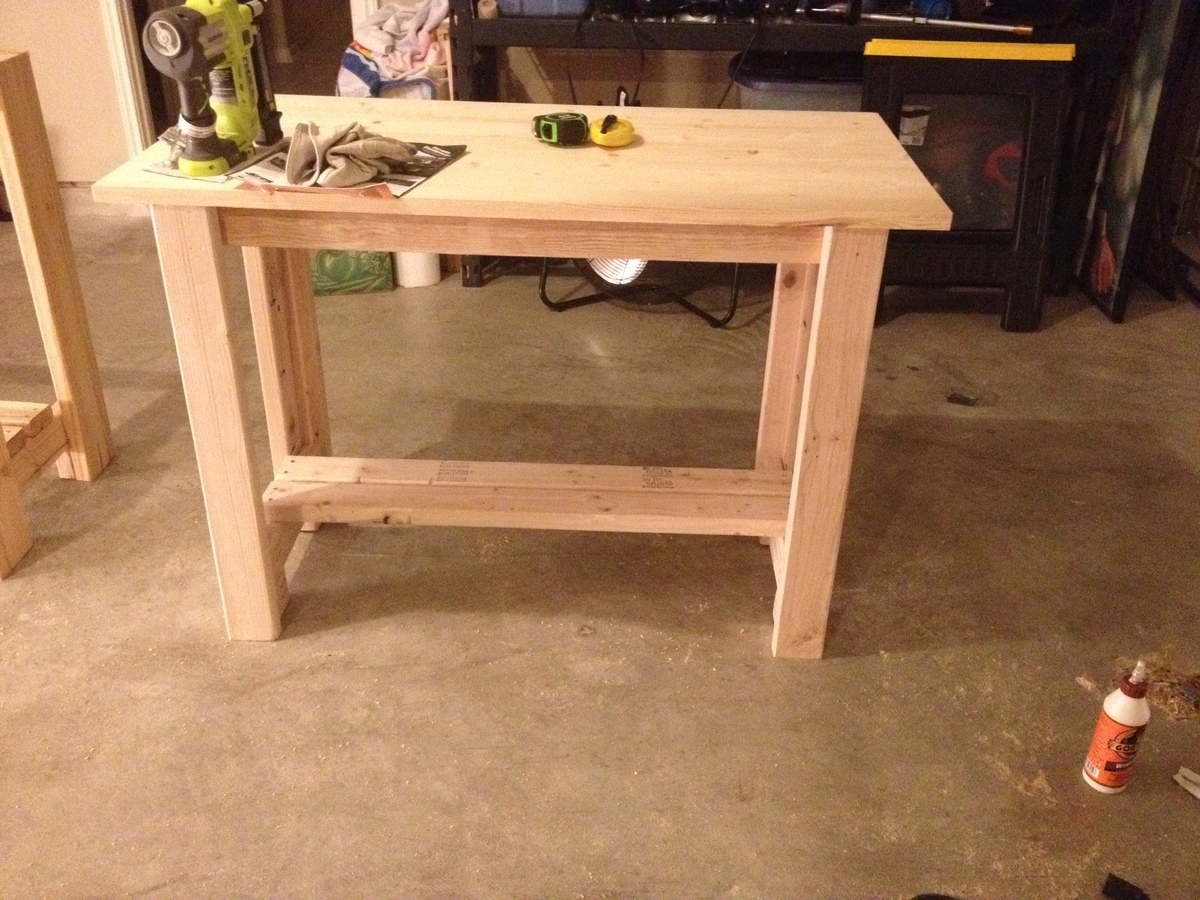
This was my very first build. I used all 2x4's except for the top with was a project board from Lowes. I also used pocket holes instead of 2in screws.
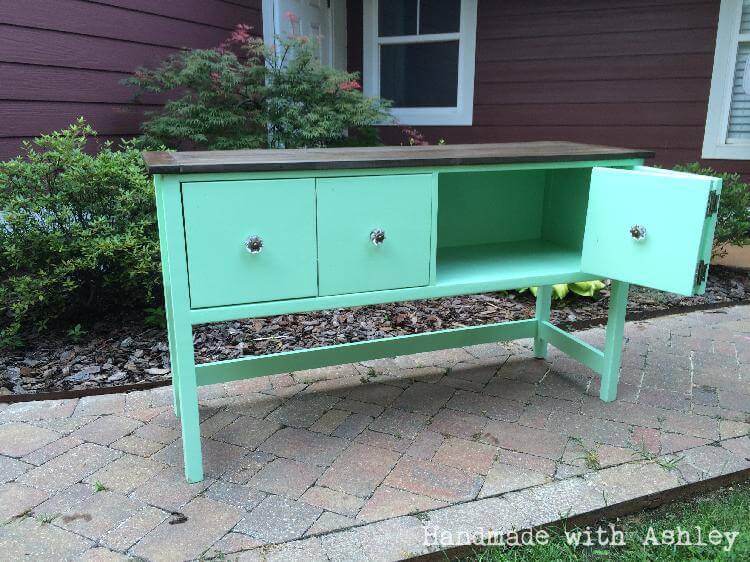
I had so much fun participating in the Instagram Builders Challenge! I look forward to participating in future challenges. :)
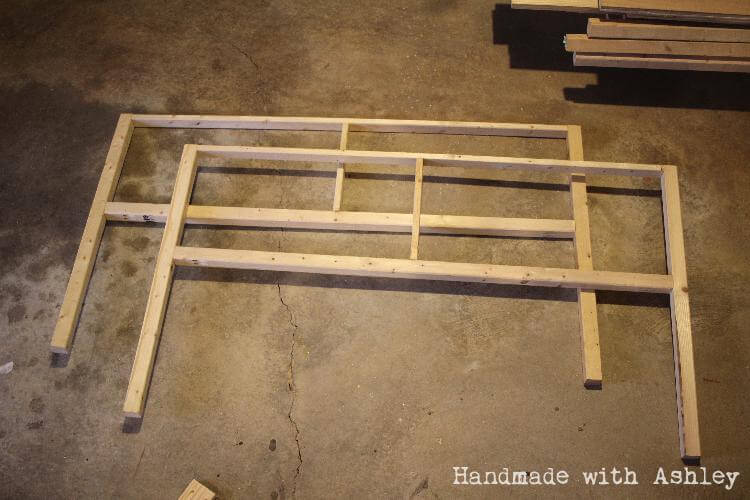
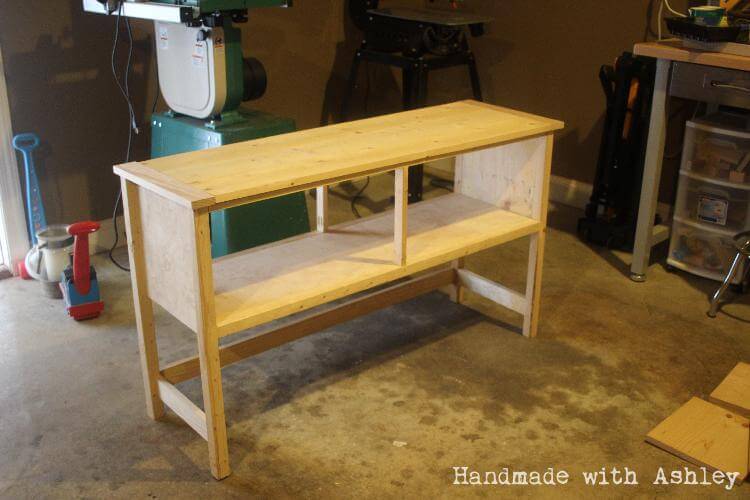
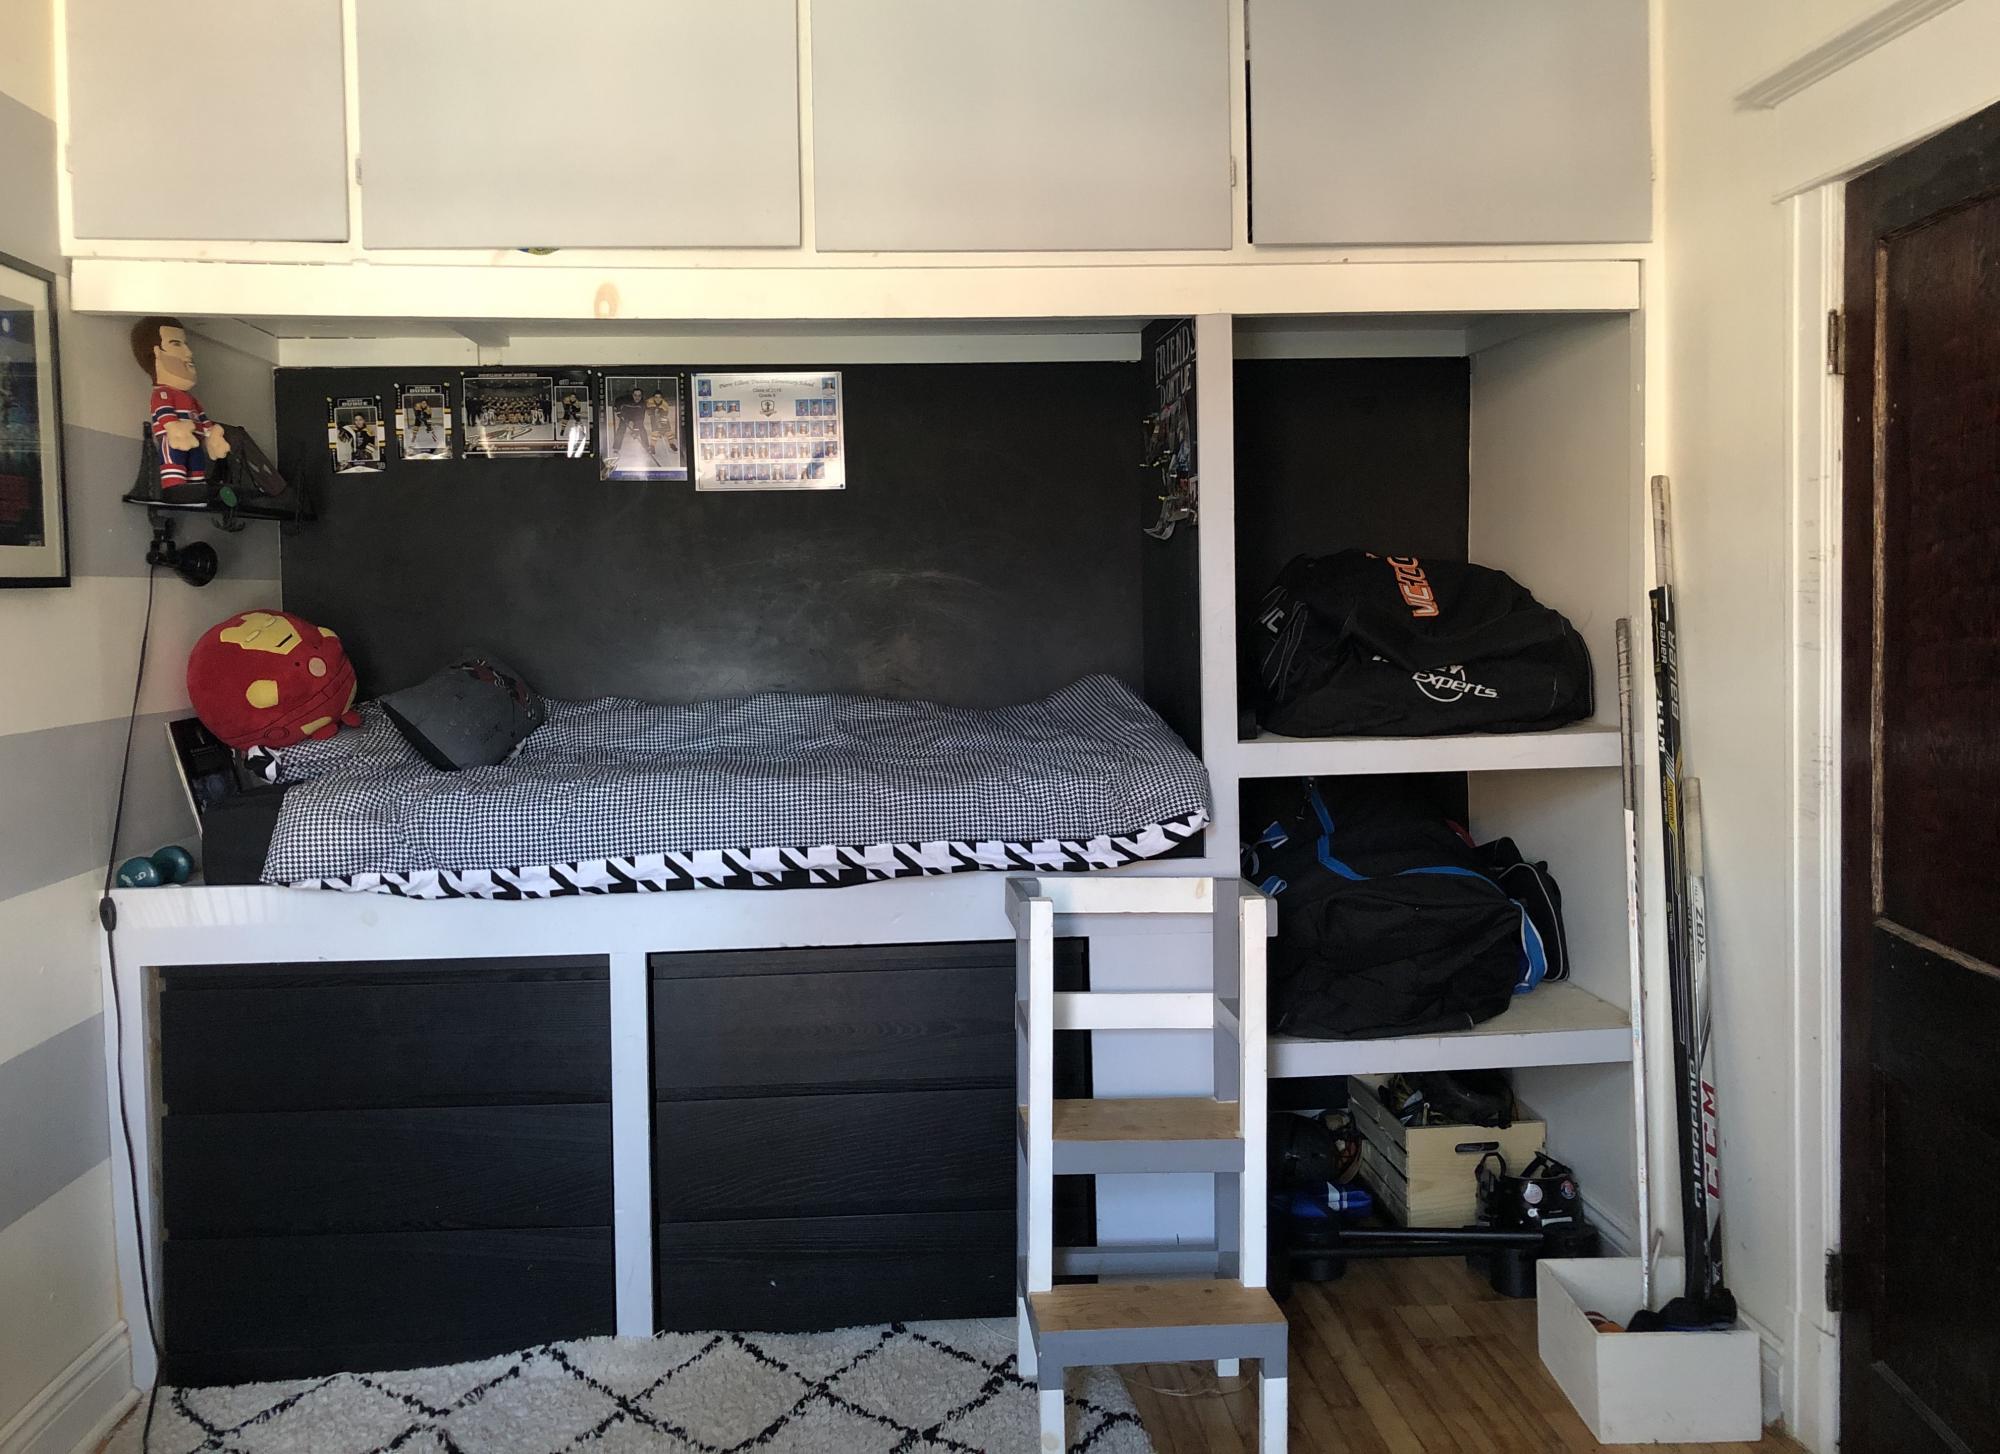
In this small teen bedroom (9-5' large), we had to fit clothes storage as well as room for the family hockey bags.
We decided to use 2 IKEA MALM dressers (one of which we already had) and we built a platform to elevate the bed. The space under the bed could then fit the 2 dressers.
After having measured the length of a single standard mattress, we used the remaining space to create very large shelves in order to place the hockey bags. We designed them open so that my 2 sons can come back from their hockey practices and drop their bag. We also made sure to not put the shelves too high so they can easily access them.
The upper storage (cupboards) were already existant in the house. They add even more storage.
The bed part is 6-7' long x 3-4' large
The locker part is a bit less than 3 feet long and 3-4' large
The little stool used to get up on the bed is a kitchen stool that we reused. It is movable.
Once the structure of the elevated bed was built, we finished the bedspring with a plywood sheet.
The rough 2 x 4 and plywood sheets that were used for the structure were then covered with nicer flat and smooth pine planks and mouldings, then painted grey. It makes for a nicer finish on the outside. But first of all, those mouldings hide the gaps between the dressers and the structure.
The cost of this project was very low: 264$ of wood + nails from Home Dépôt
PS: if you understand french there is a video on my blog that explains the building process in details.
Thank you !

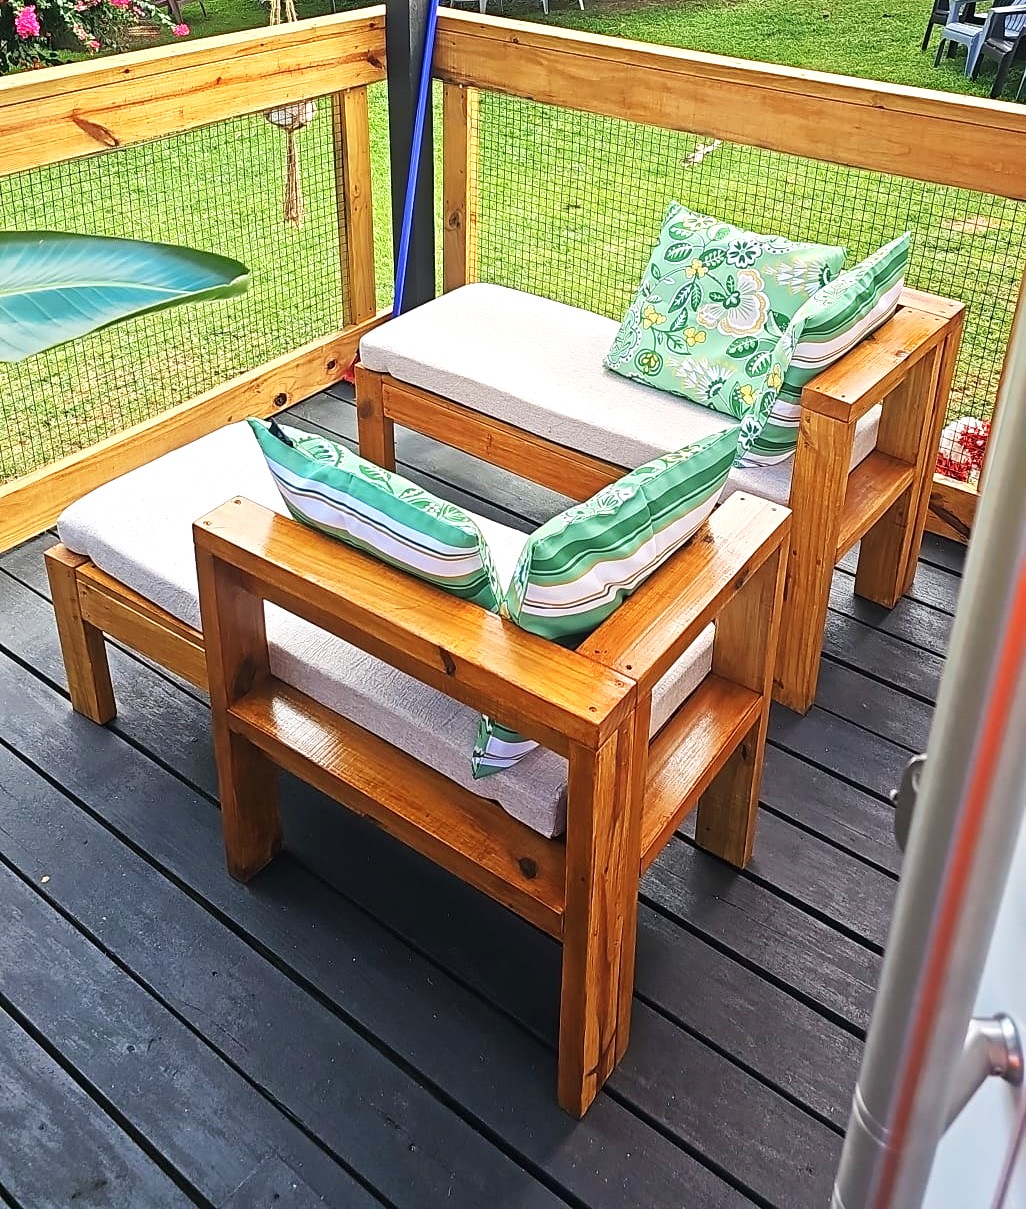
I had to really adjust the size due to not having enough space for the bigger one but I love how it came out. Your plans are amazing to follow.
Griselle from Puerto Rico
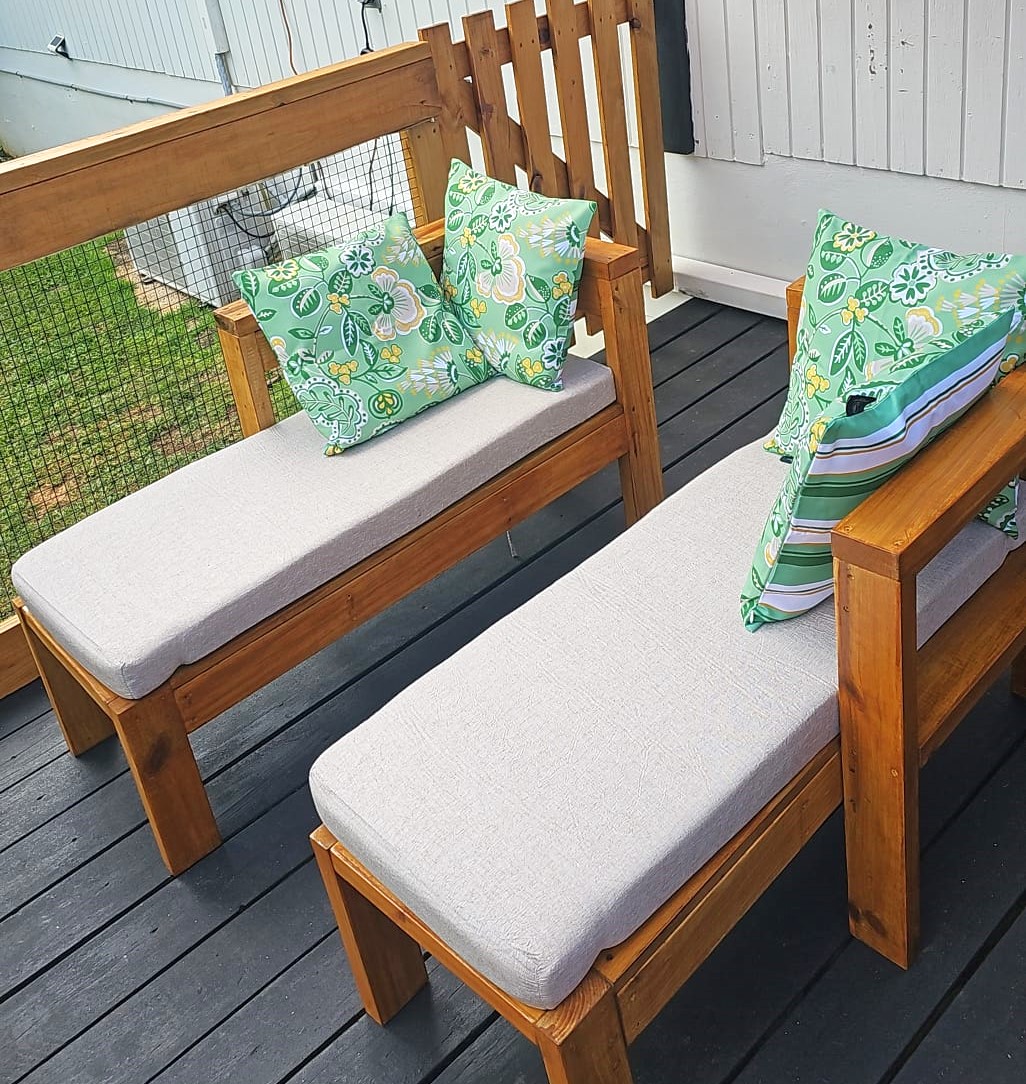
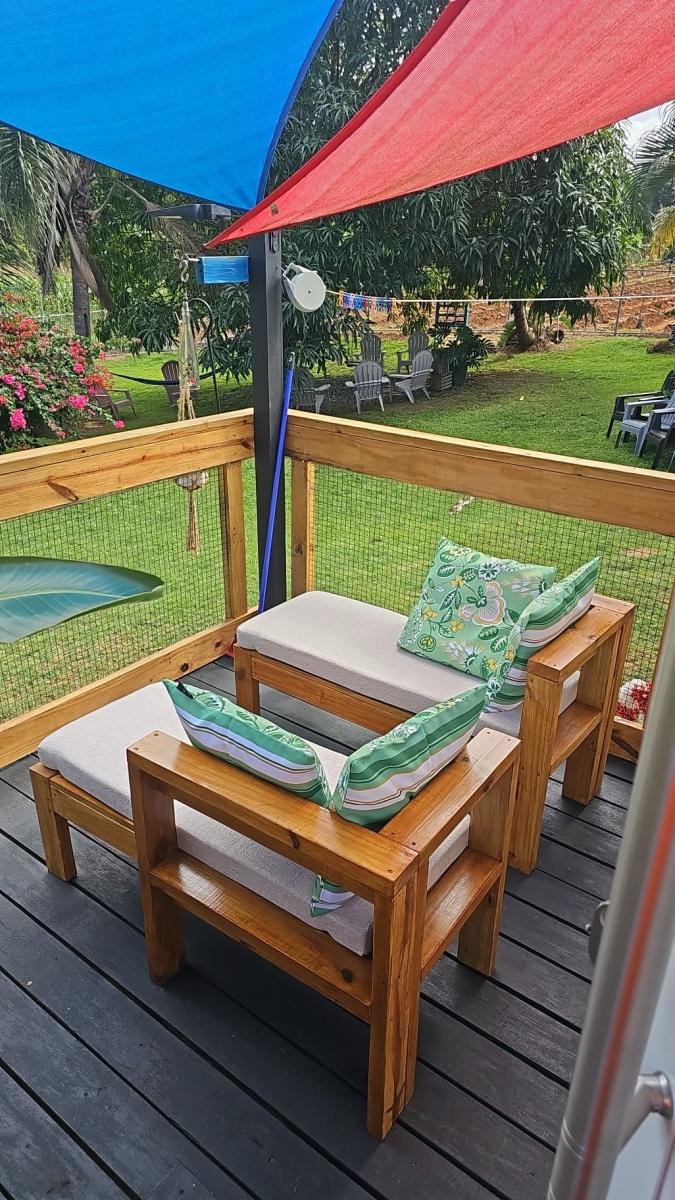
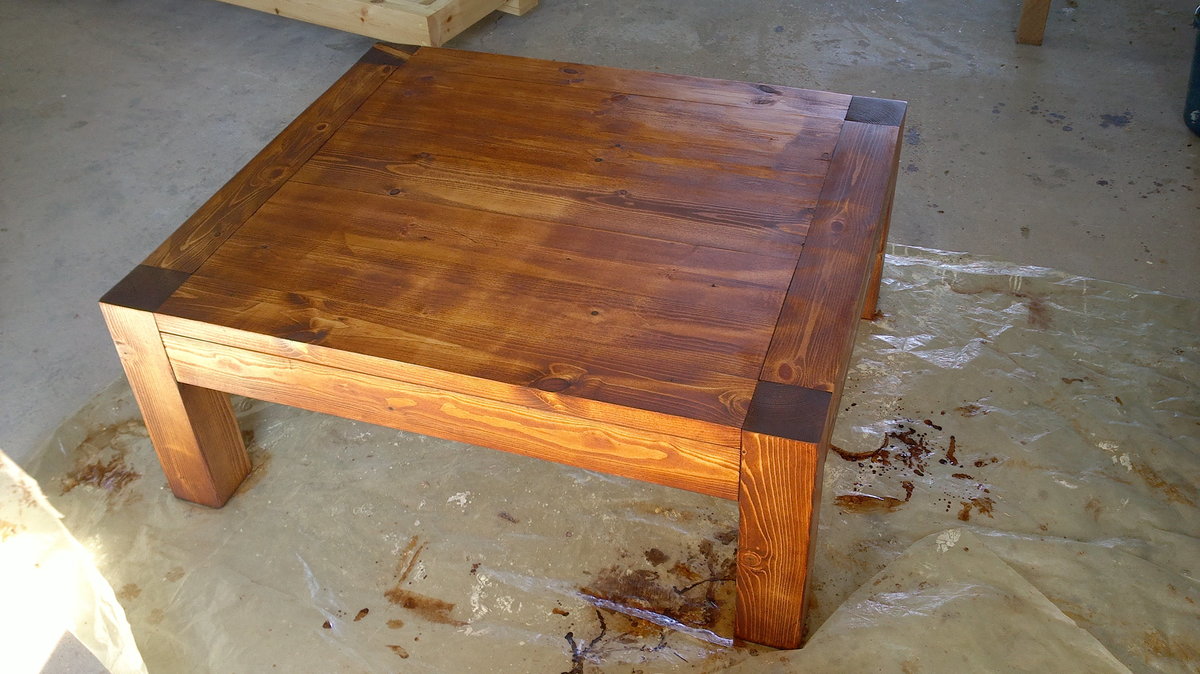
Easy build. Great and sturdy results.
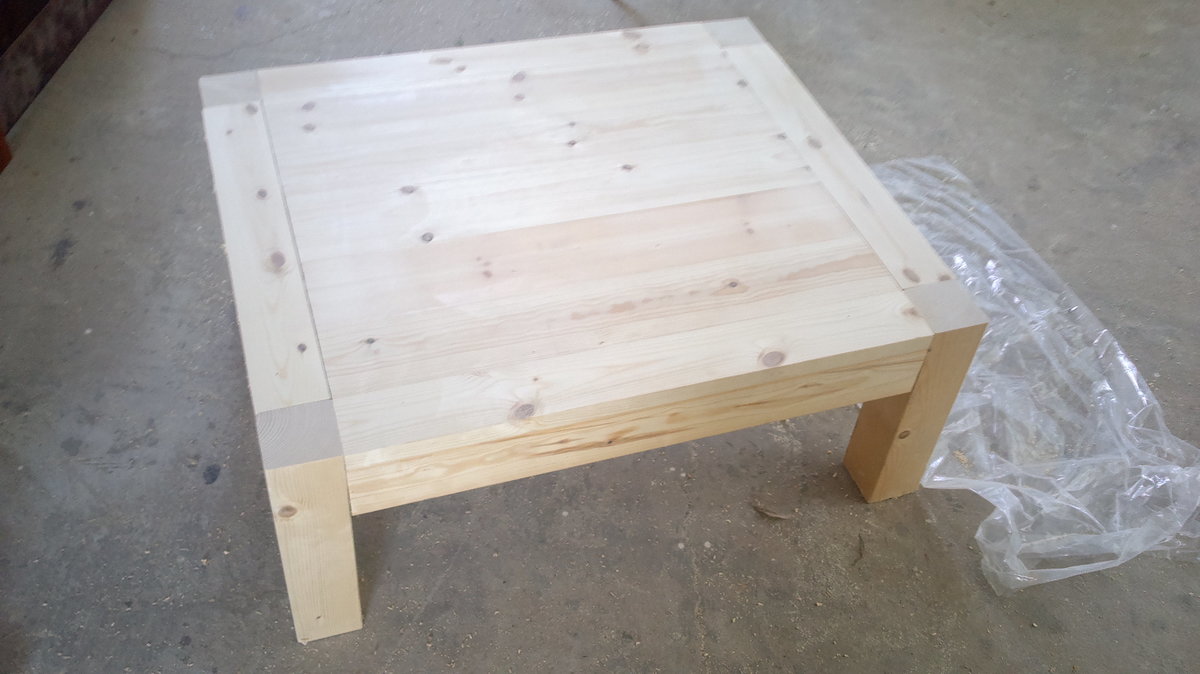
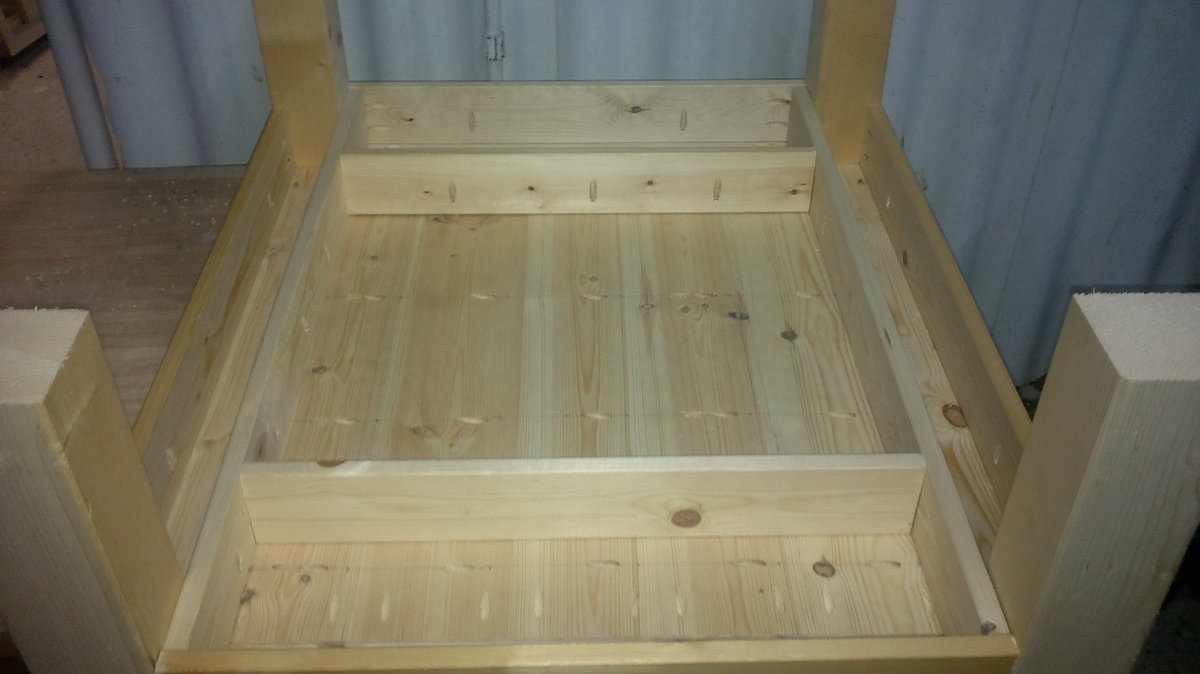
Great build for beginners and for some learning experience with a Kreg Jig. Table looks great and bulky.
Sun, 08/11/2013 - 21:15
I was wondering the same thing myself about the 4x4's. Where I live the treated ones are about $7 and the untreated about $30. Also I have heard that you may have trouble staining or painting your treated 4x4's. I want to make a coffee table from one of your plans but I do not want to spend that much just on a 4x4. :/ Beautiful table though!
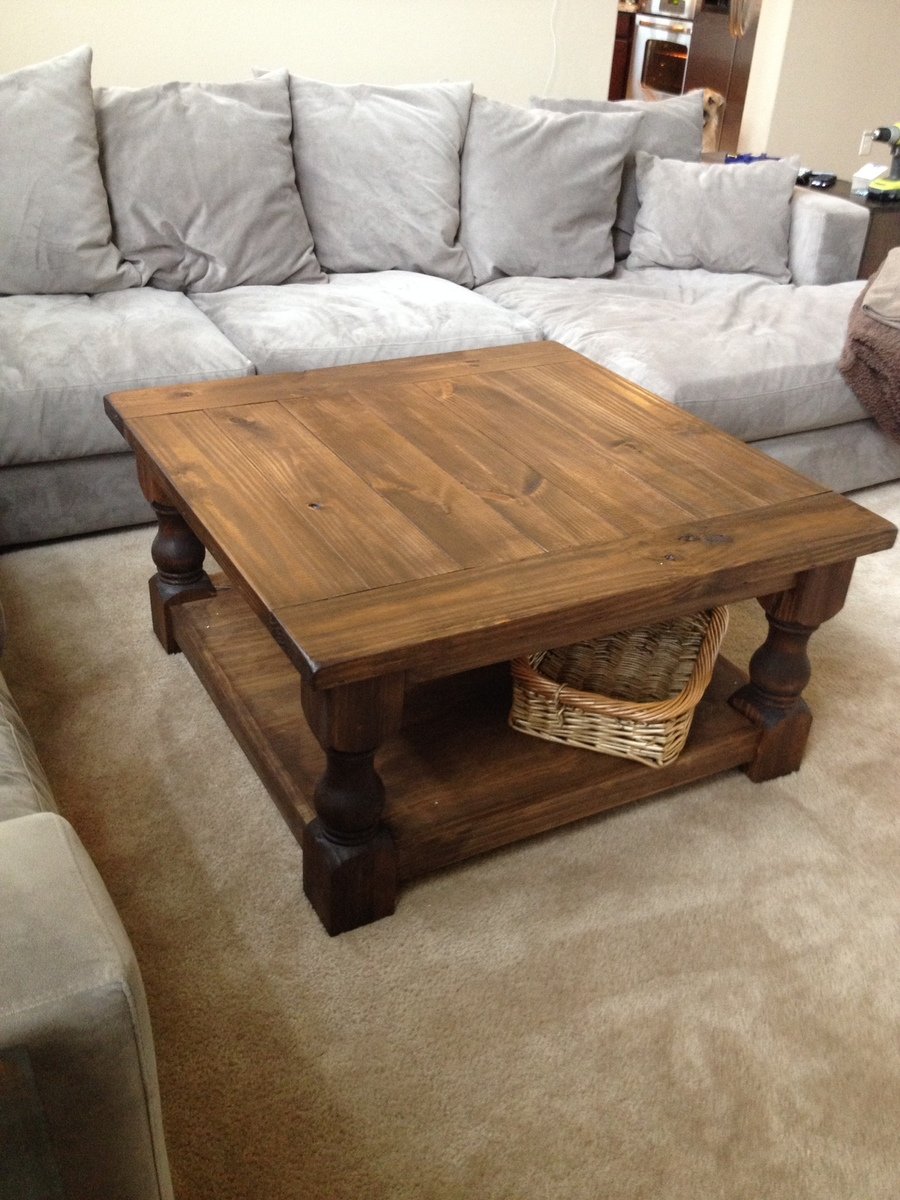
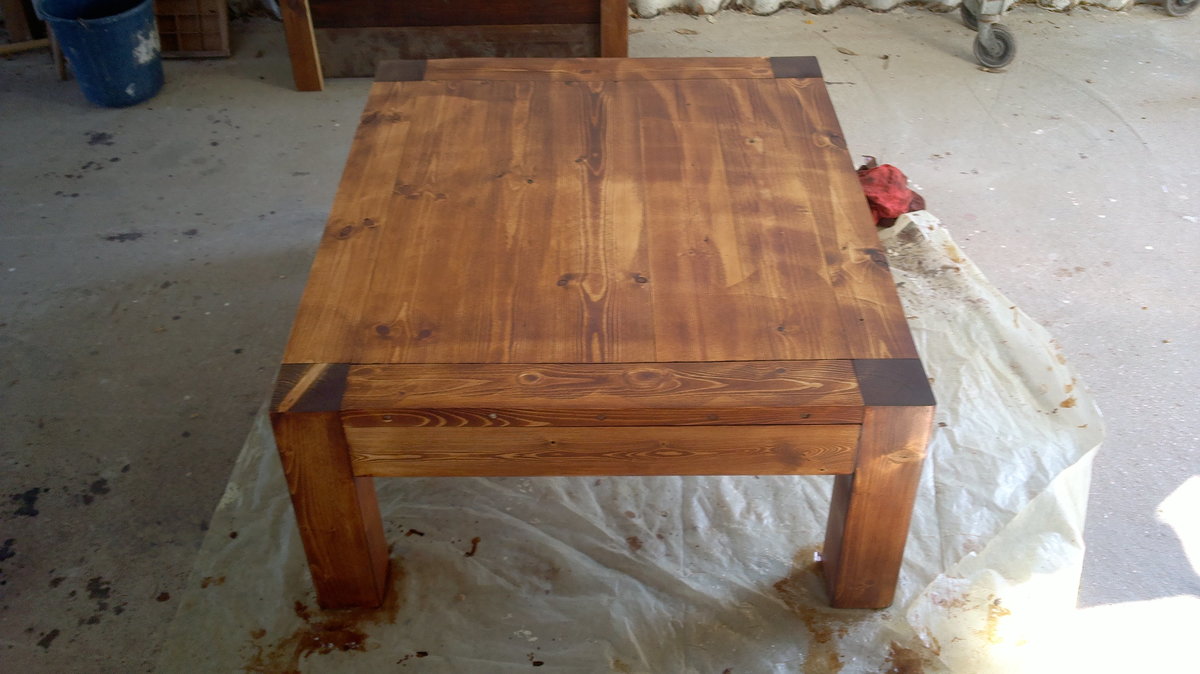
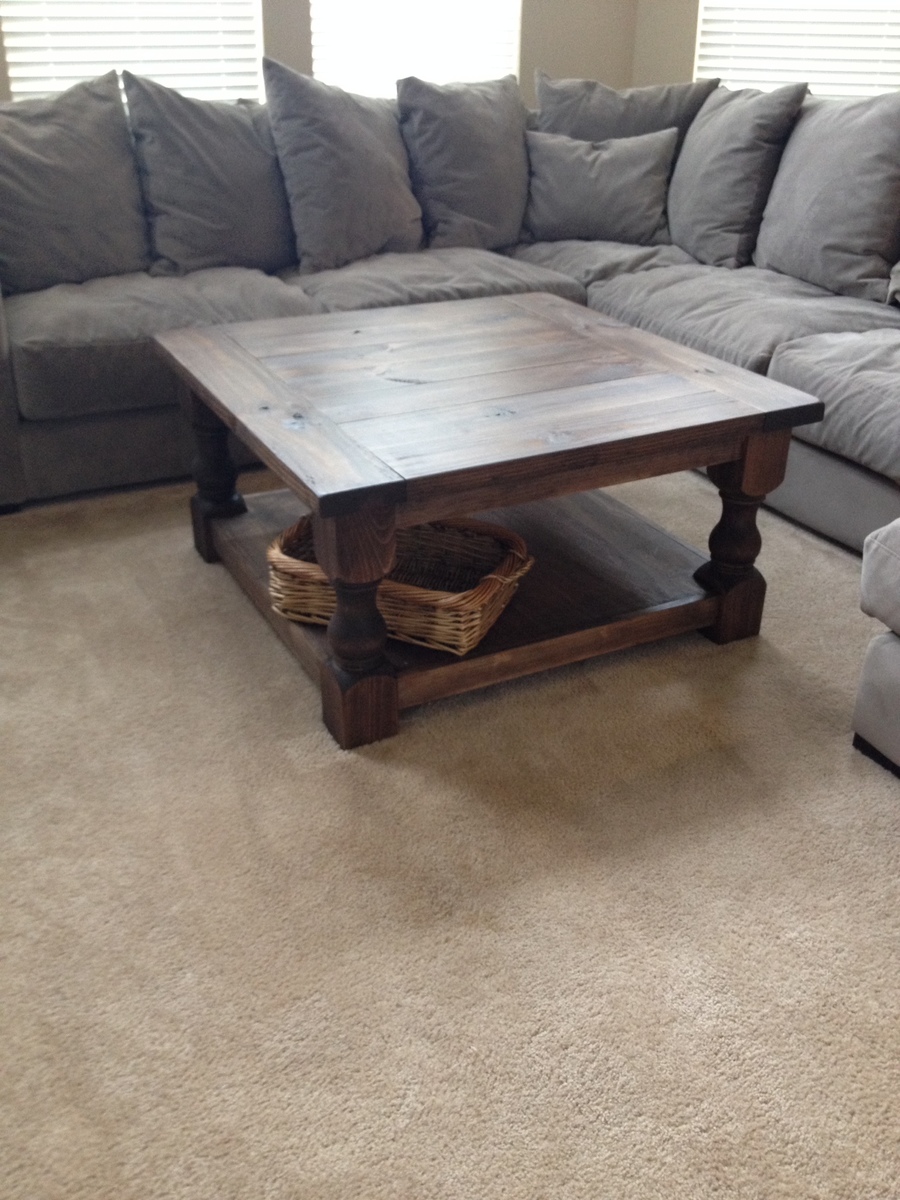
This was one of the easiest builds. When I saw this plan I knew it was perfect for my living room. Its a big coffee table but doesn't look that way in the pictures since it works well with my big sofa.
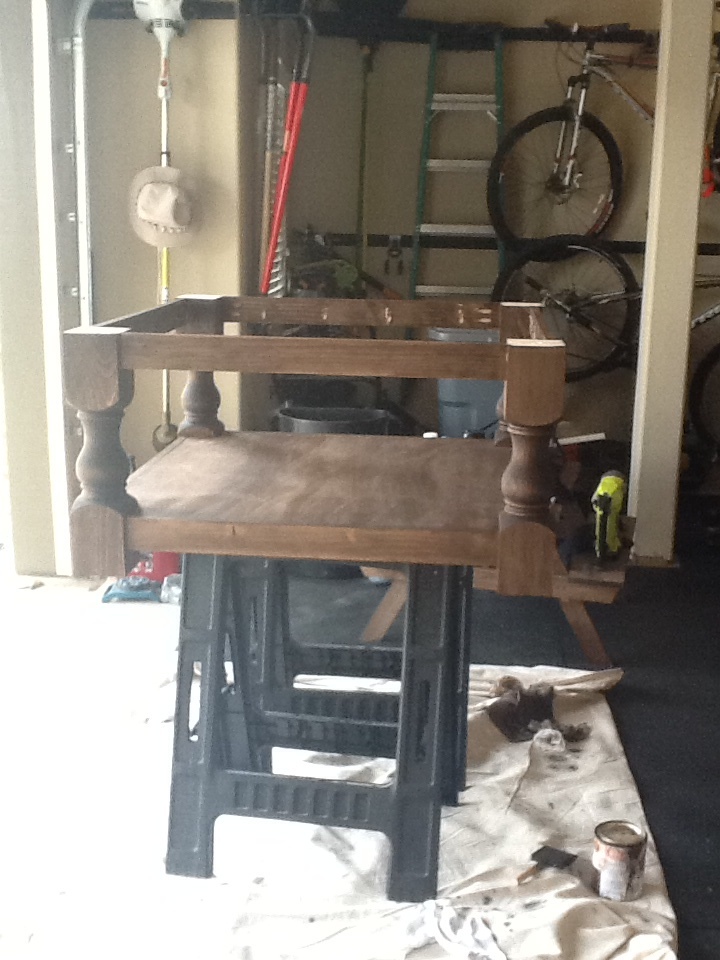
I stained the base before I attached the top which helped. I also didn't attach the top until it was in the living room since the top alone is pretty heavy. I also had my local HD cut the plywood.


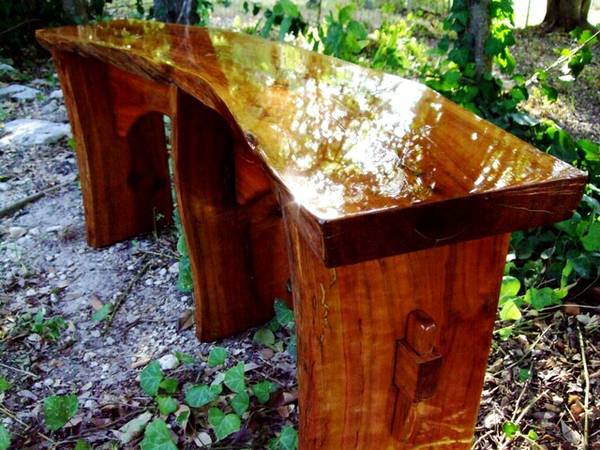
Live-edge garden bench made of solid black cherry. Bench top is made from a book-matched pair of 1-1/2 inch thick slabs. Leg and support pieces are made from the same log and feature pinned mortise & tenon joints on each end. The entire bench was treated with hand rubbed teak oil, and is finished in four layers of weather resistant oil-based polyurethane. Two round 1-1/4 inch chrome furniture glides are attached to the base of each leg.

Made the Toddler Tree House bed. My little human was still a bit small for the ladder so I added a Ramp to it. It works great and my toddler has already made a permanent transition to it from the crib. My wife wanted to make it more of a beach shack this the colors. Im exploring putting some small bookshelves or a pull out to chest underneath to maximize storage.

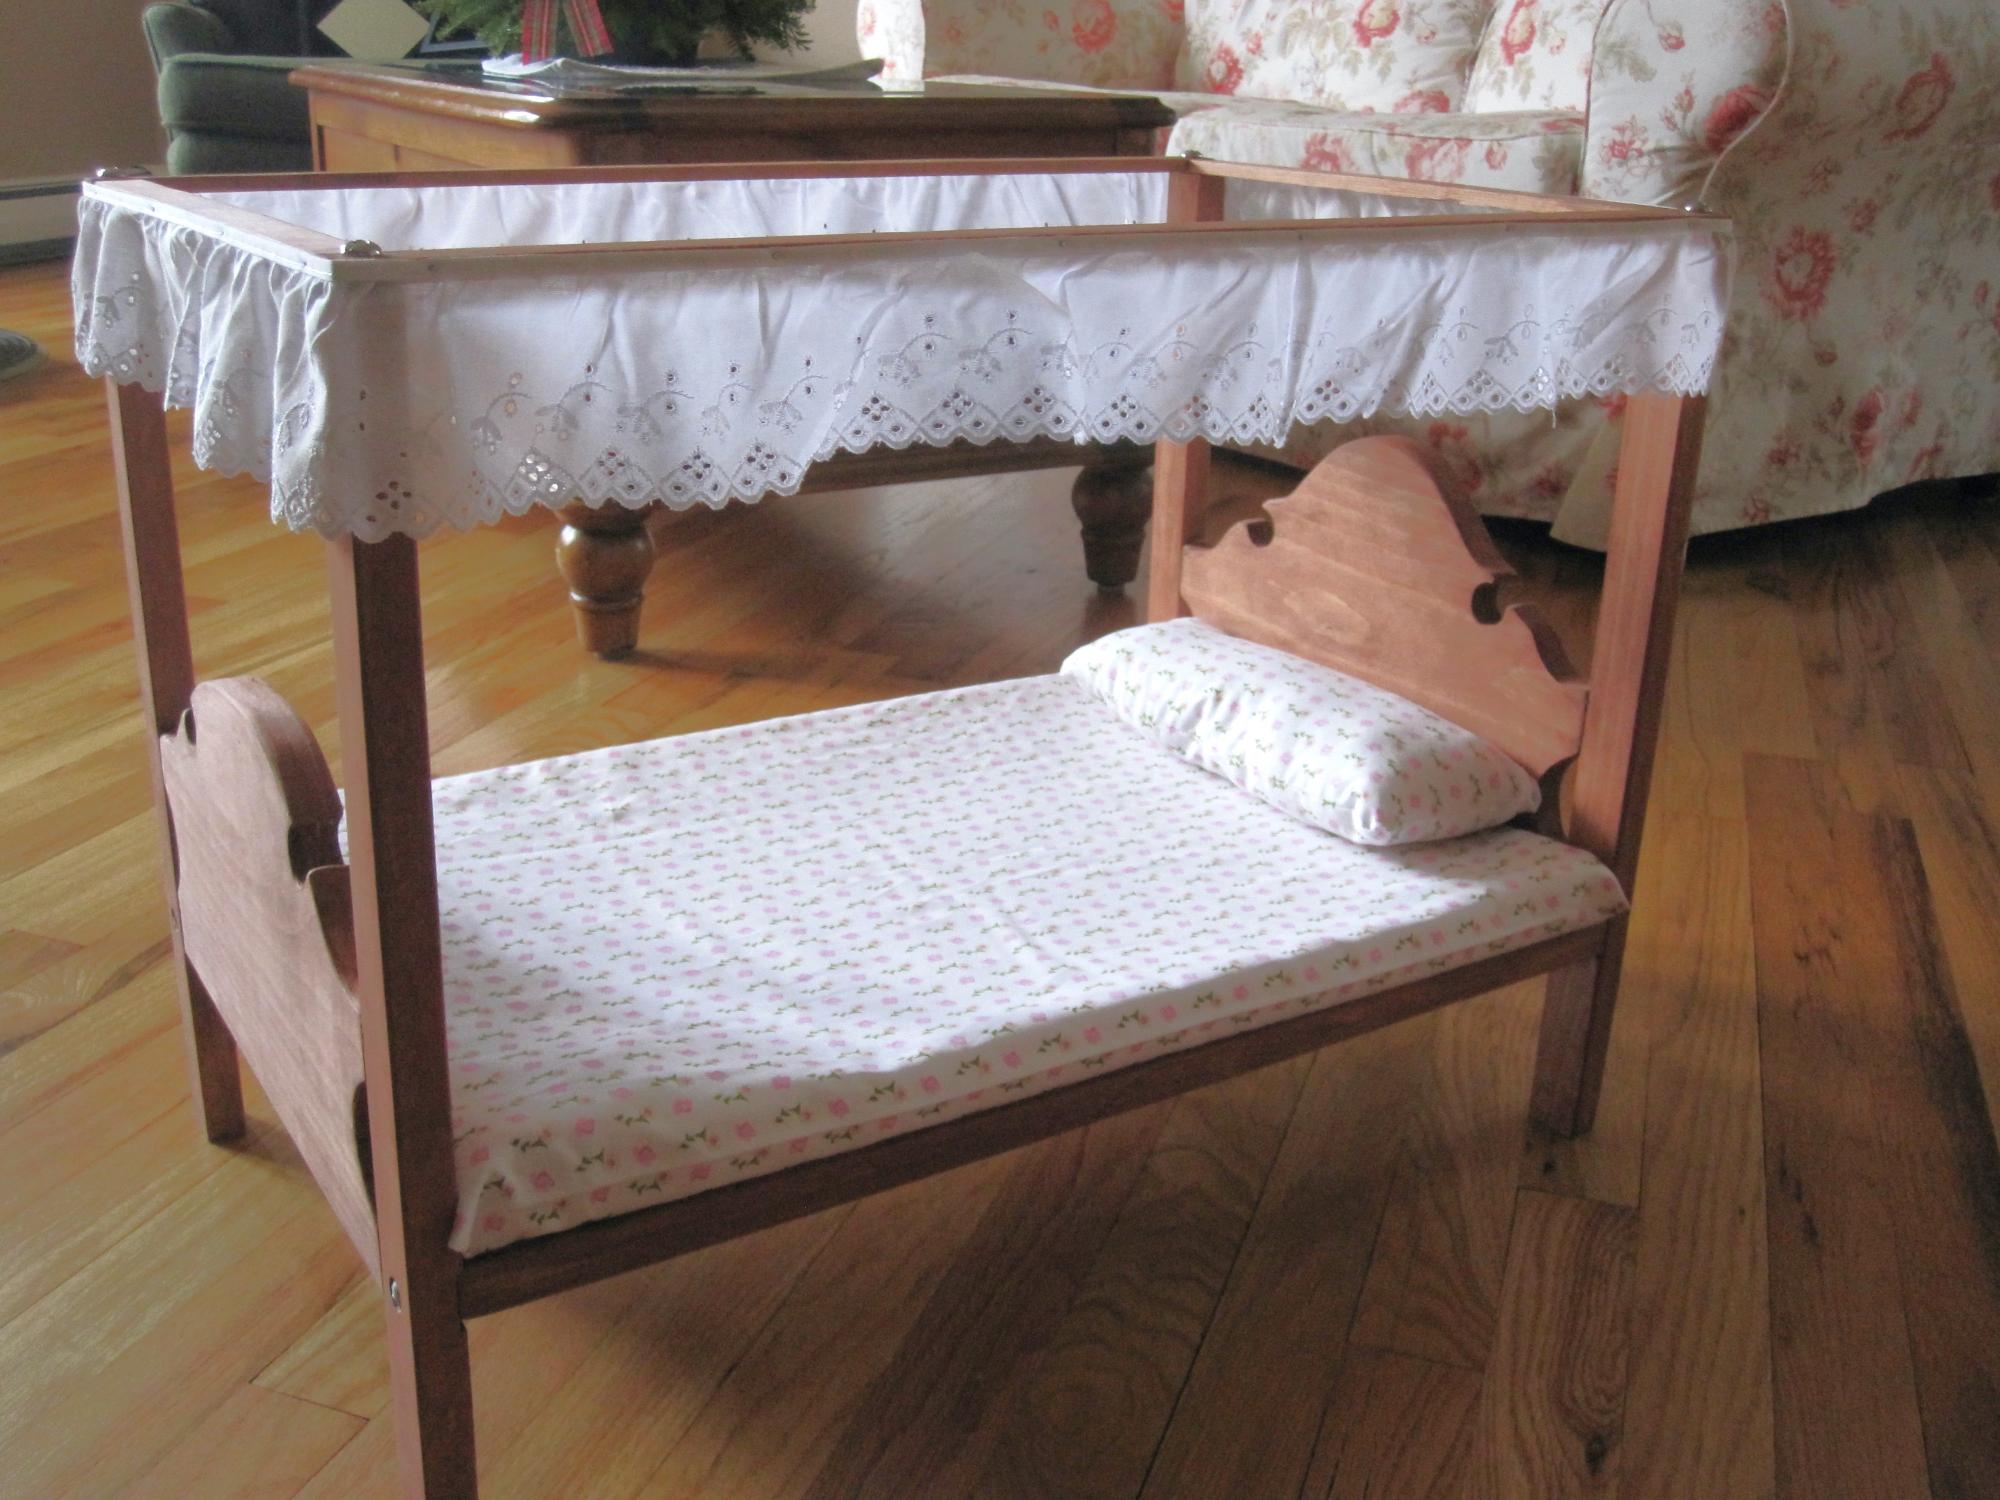
Our 1st granddaughter wanted doll crib so this is what I made for her. It has survived over the years and has been used by her two sisters.
Comments
cgray757
Mon, 06/01/2020 - 07:29
Do you have measurements for…
Do you have measurements for back rest addition?