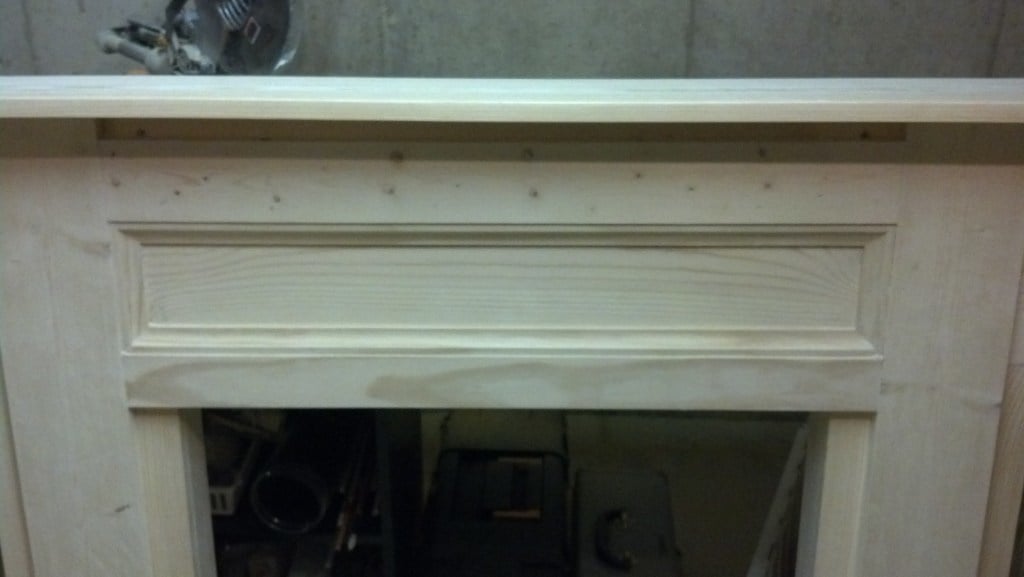
Bench with cross bracing
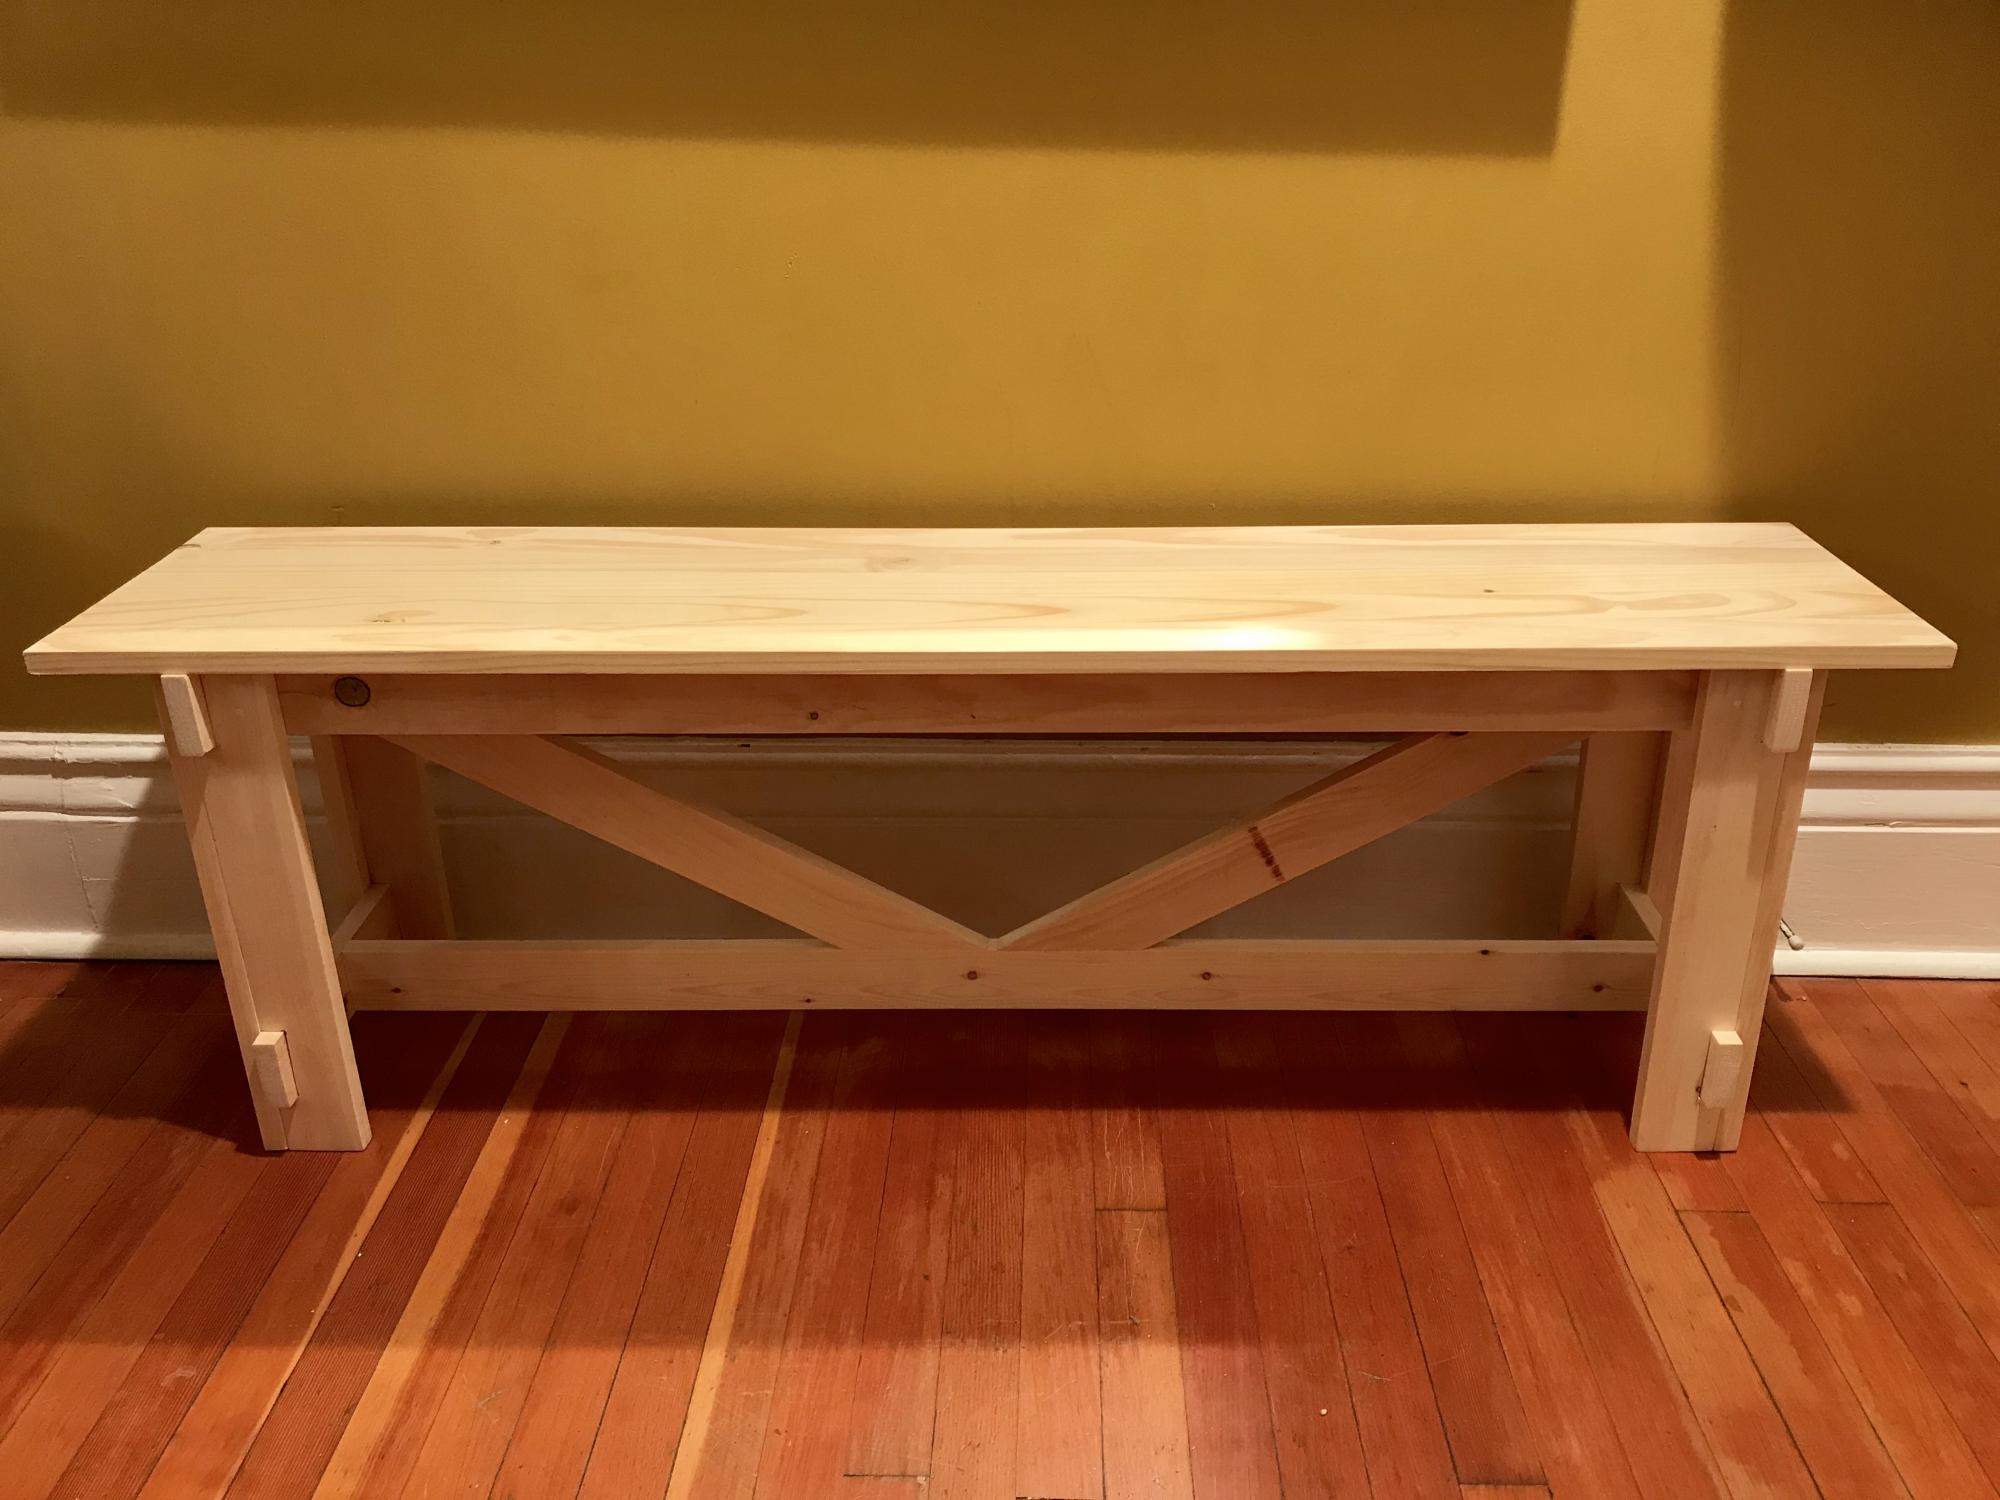
My friend asked me to make two benches for her dining room table. She mentioned the plans from your website. I followed your plans/ instructions.
She loves them!.
Thank you & big hello from Canada.
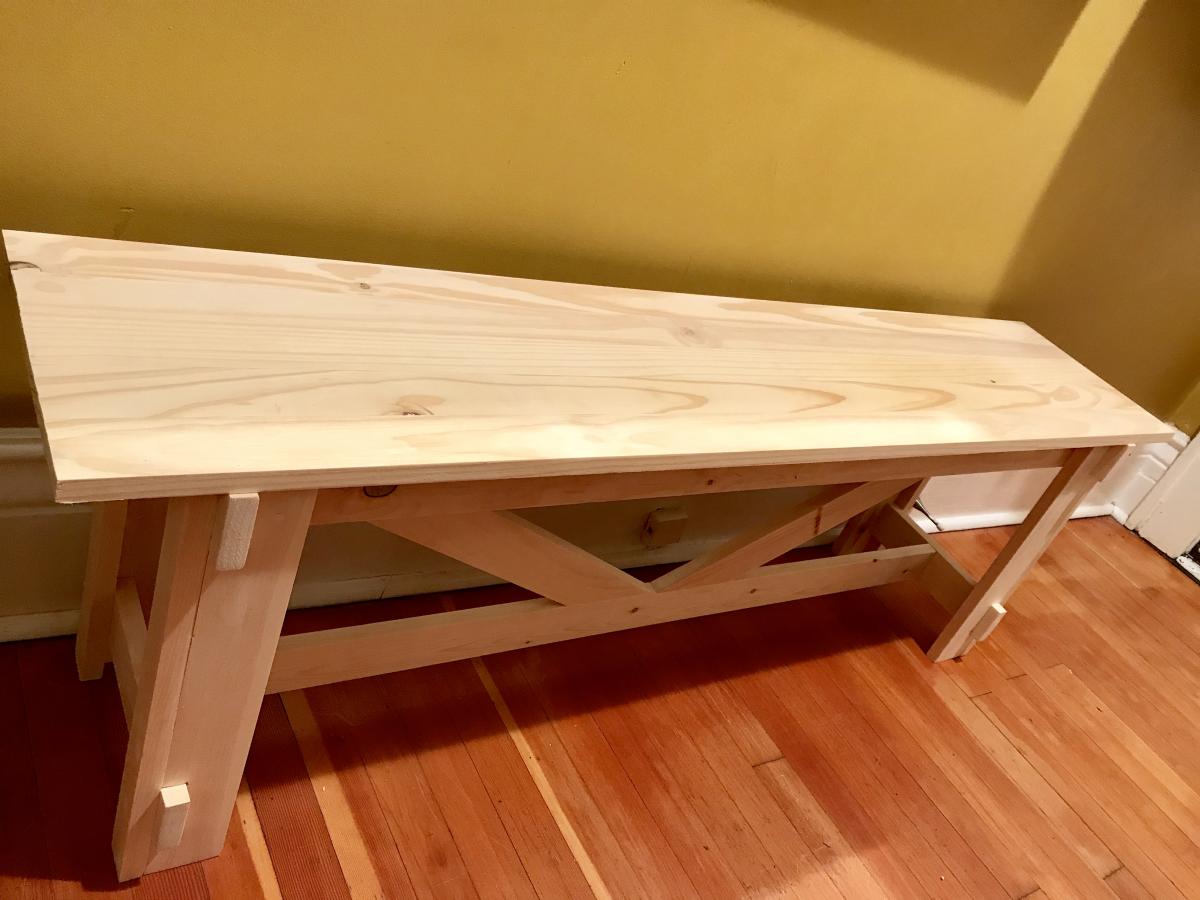

My friend asked me to make two benches for her dining room table. She mentioned the plans from your website. I followed your plans/ instructions.
She loves them!.
Thank you & big hello from Canada.

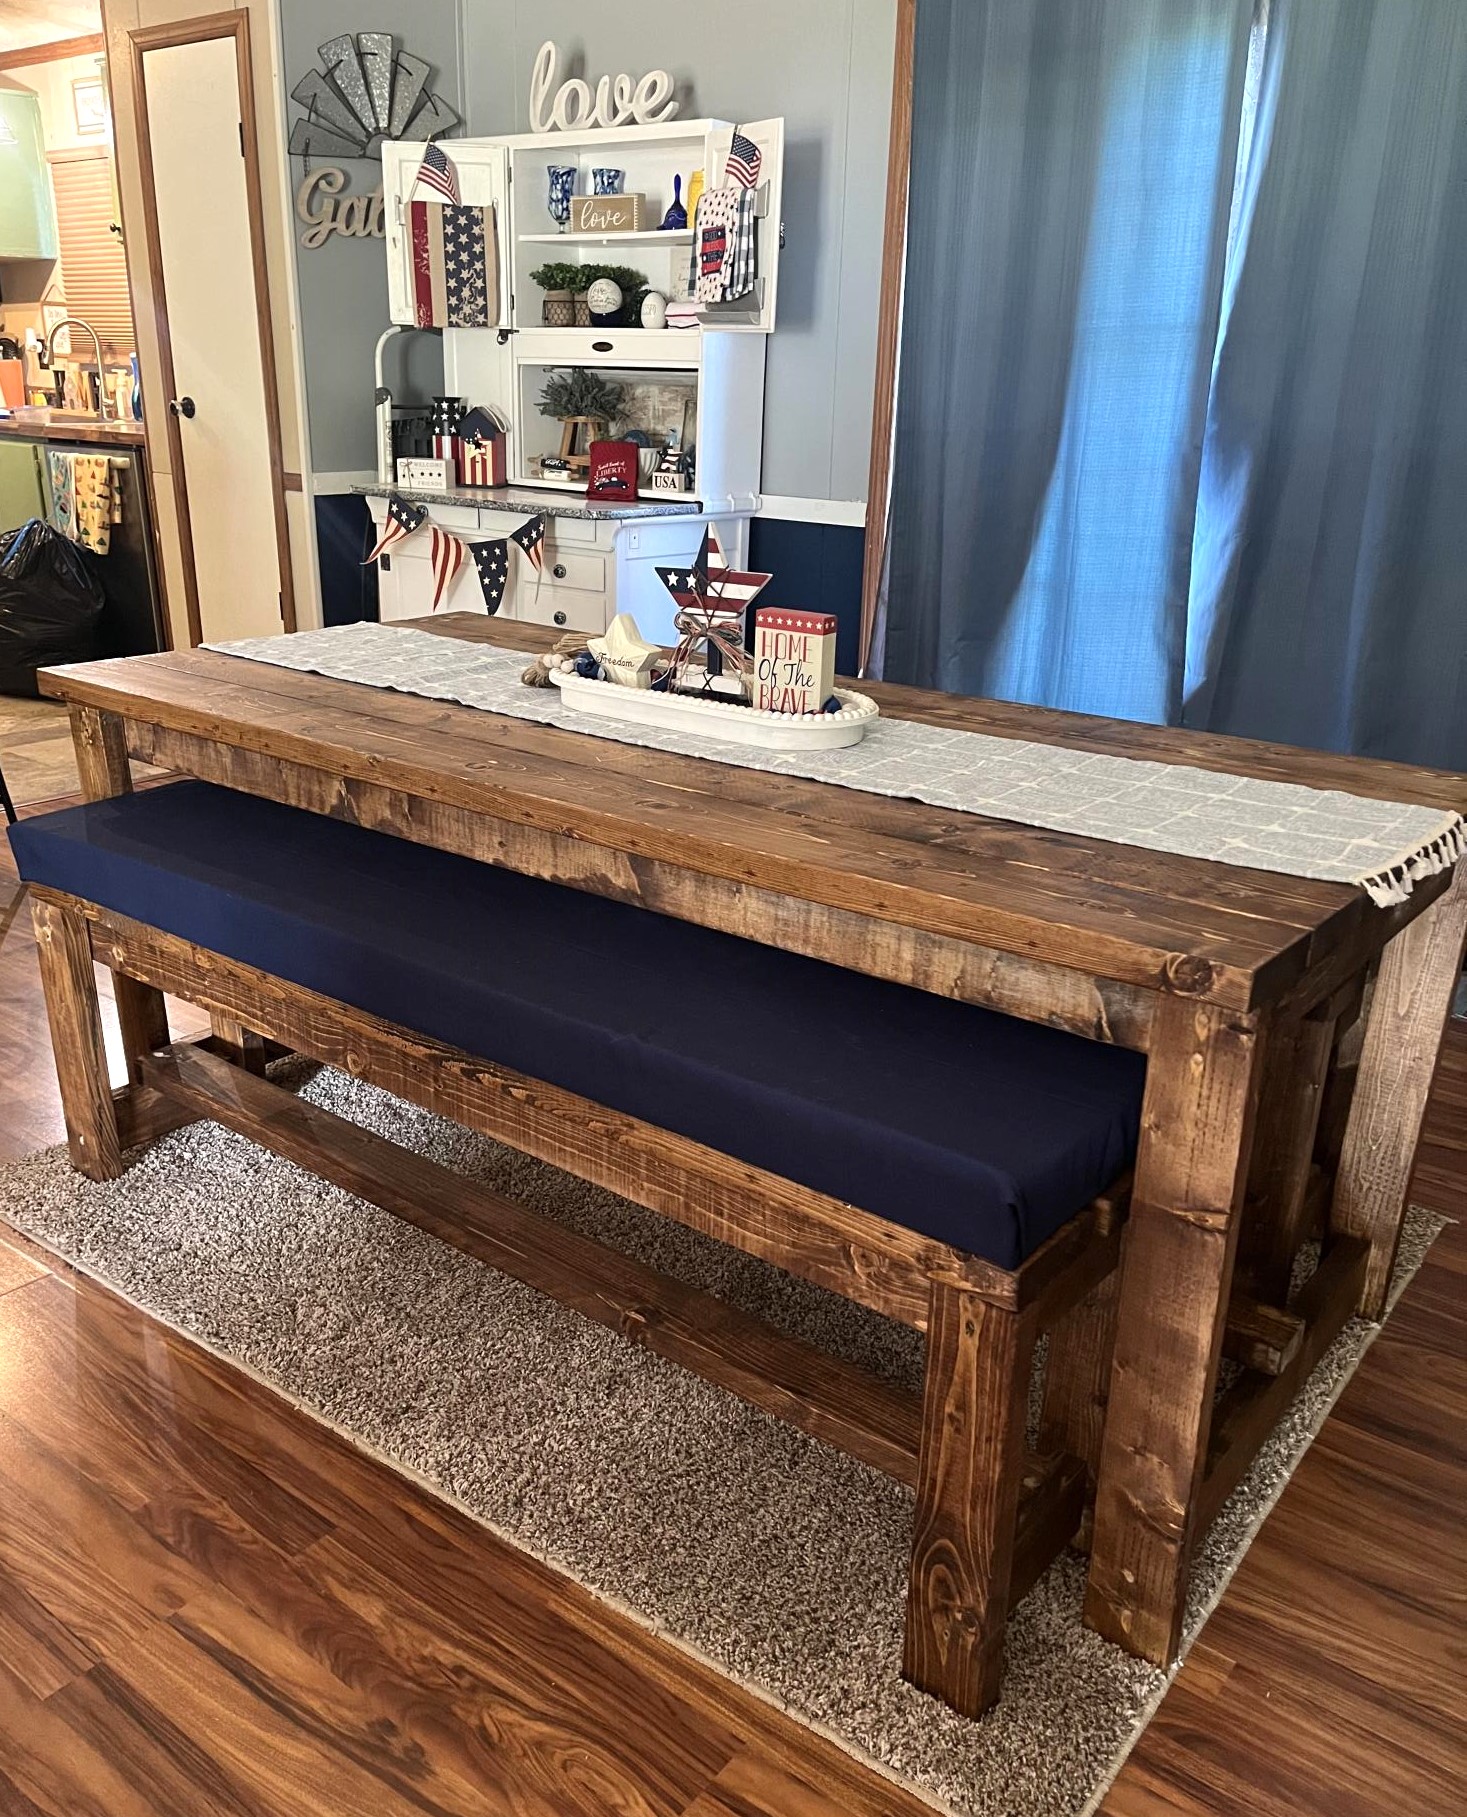
I fell in love with the simplicity of this table. I had been wanting a new table for a good while and when I stumbled on Ana’s YouTube video of this table, I knew this one was easy enough for my husband and I to tackle! Thank you, Ana!!!!
Mon, 05/22/2023 - 15:32
Way to go, it looks amazing in your space! Thanks for sharing.
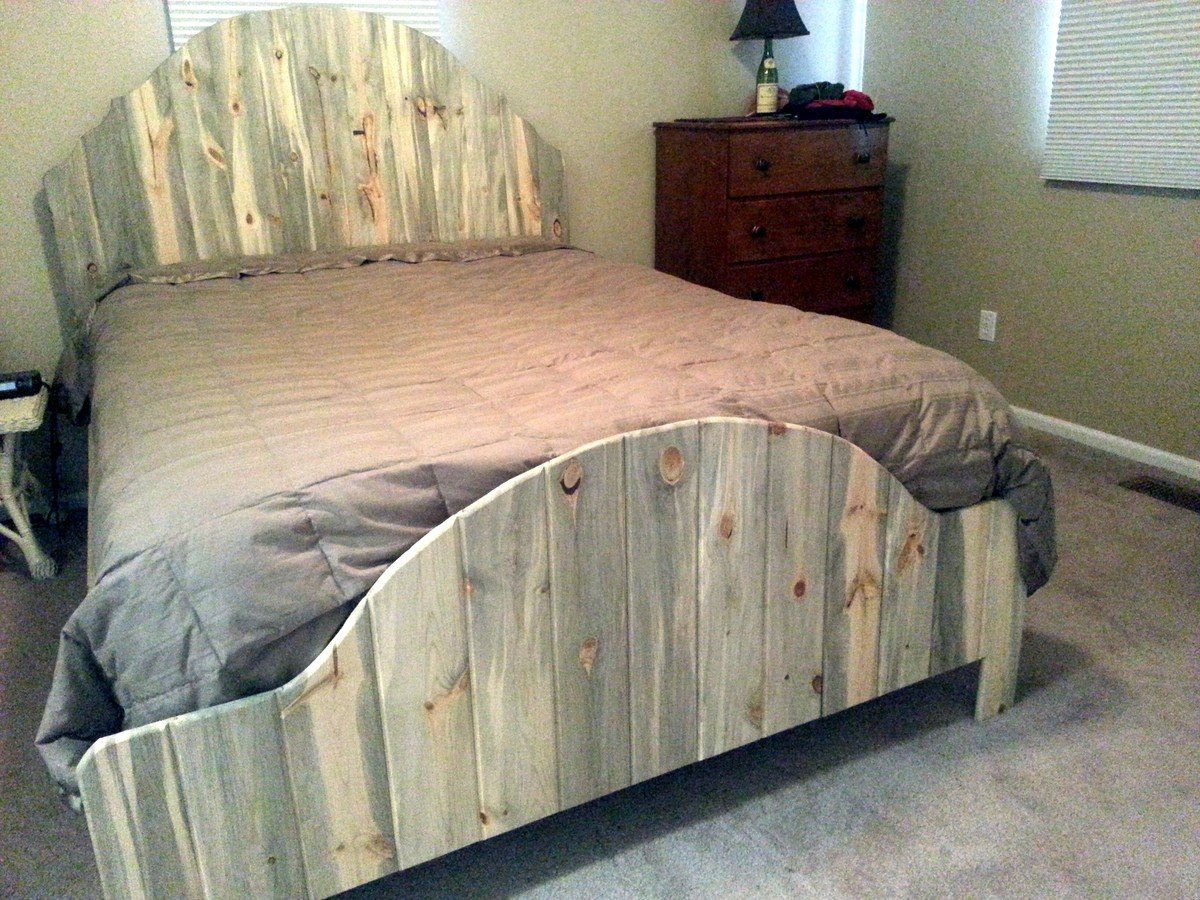
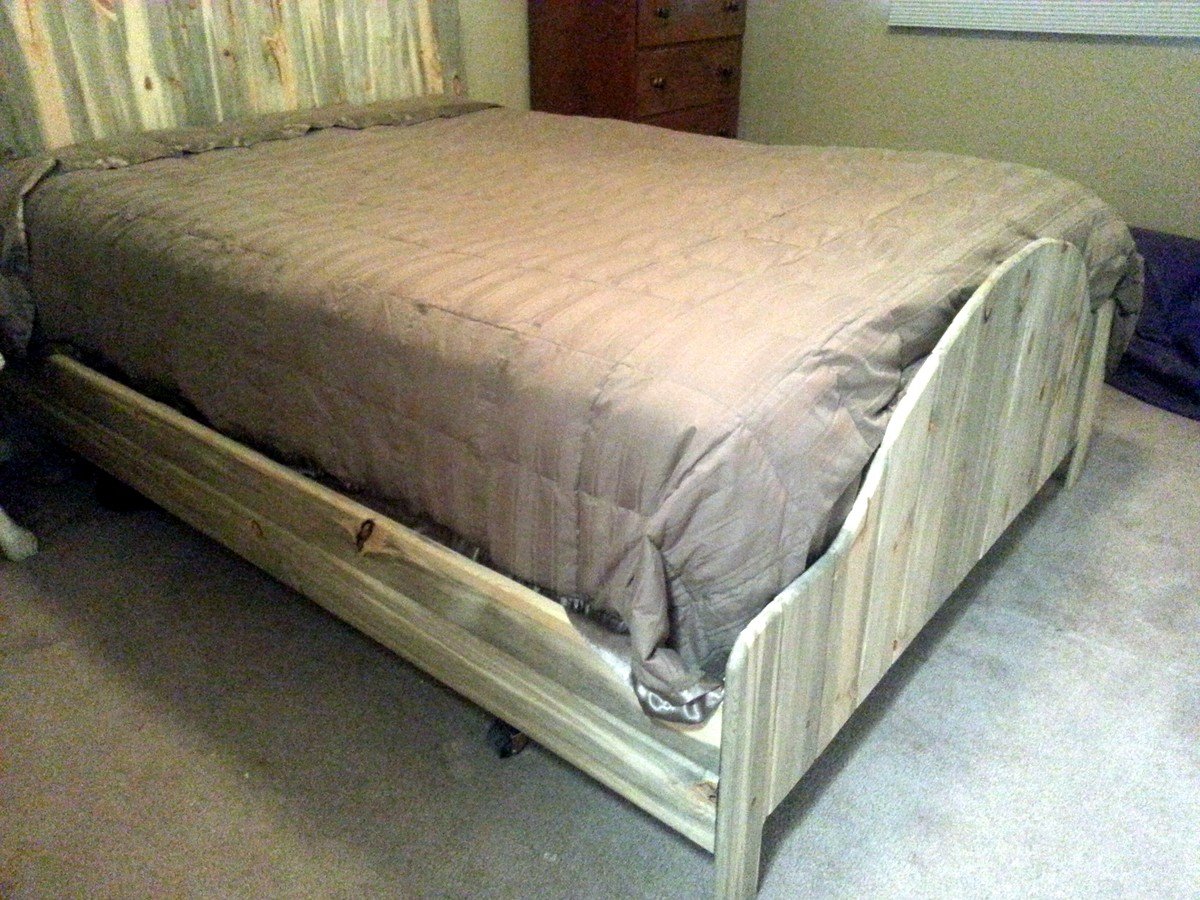
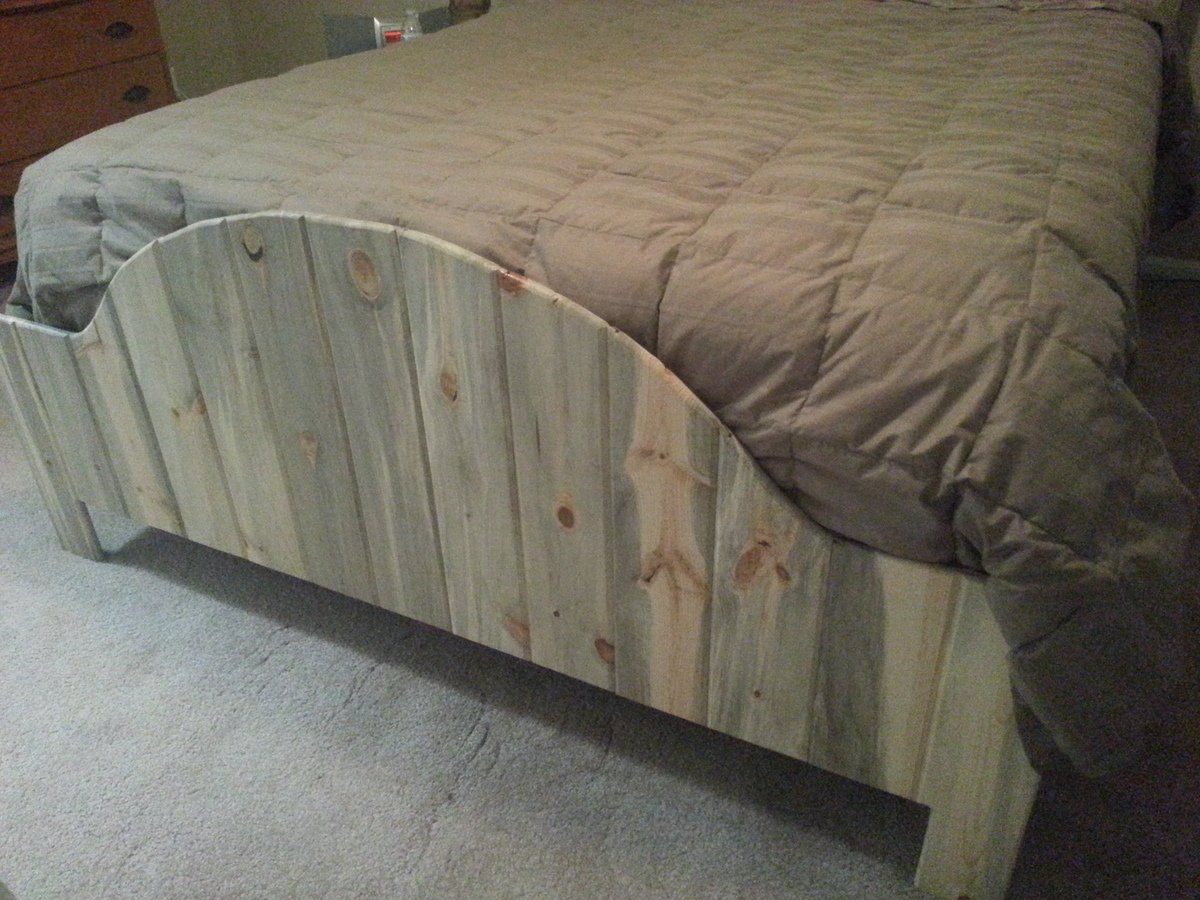
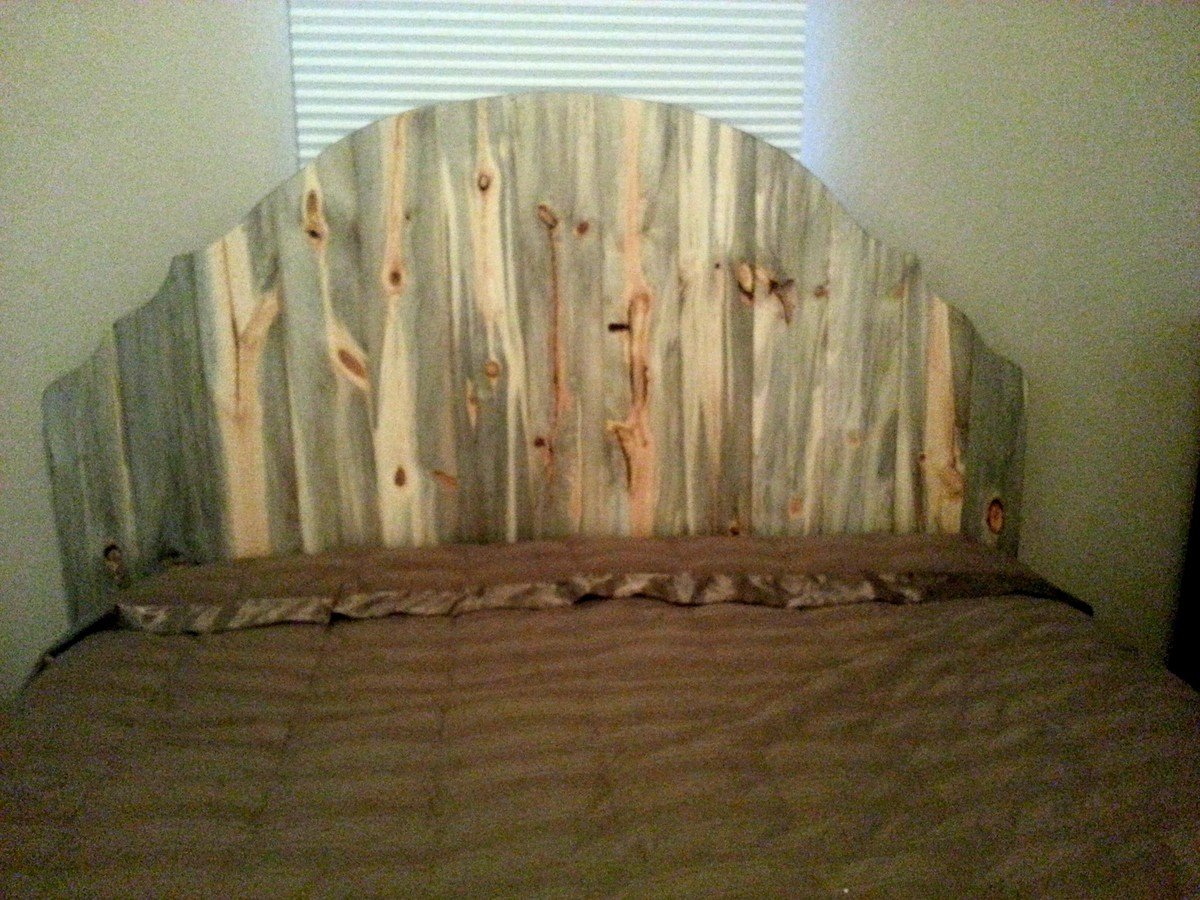
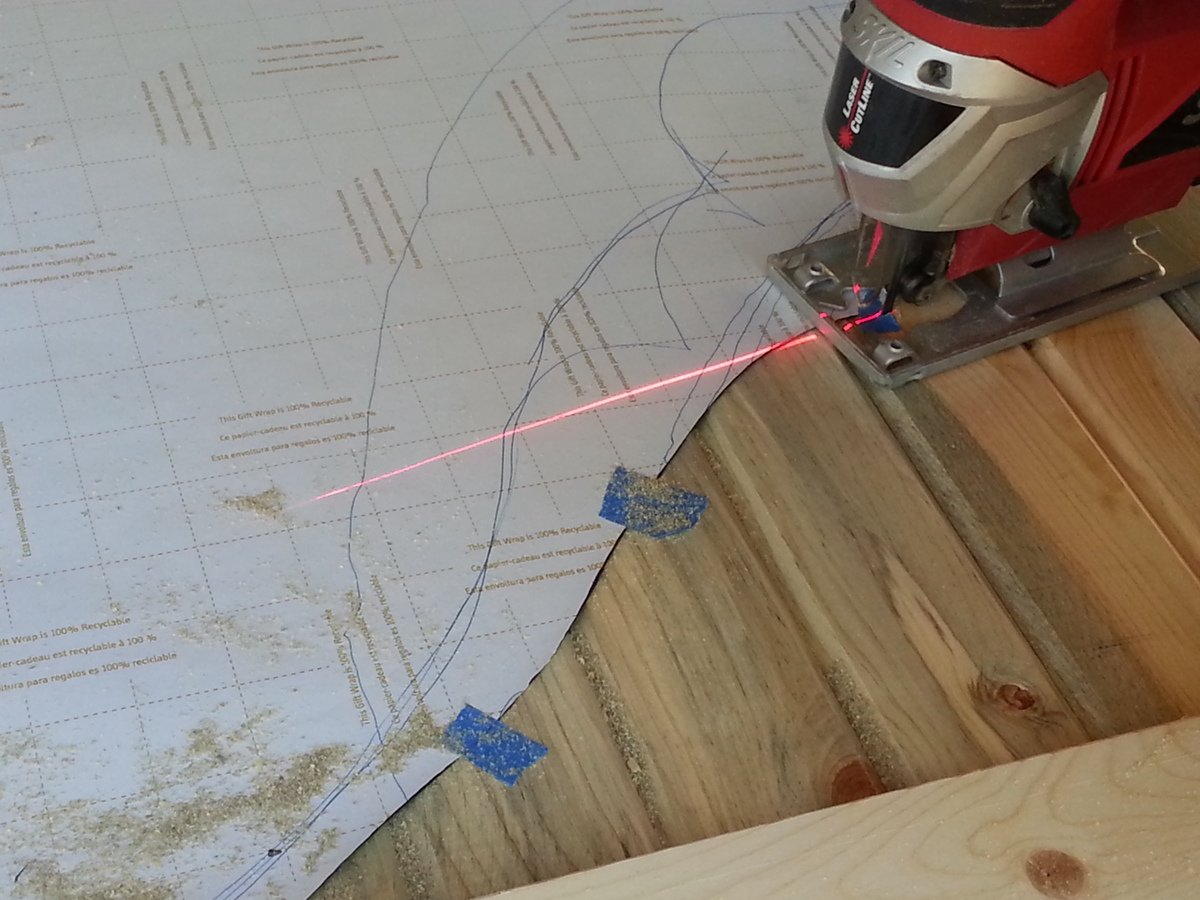
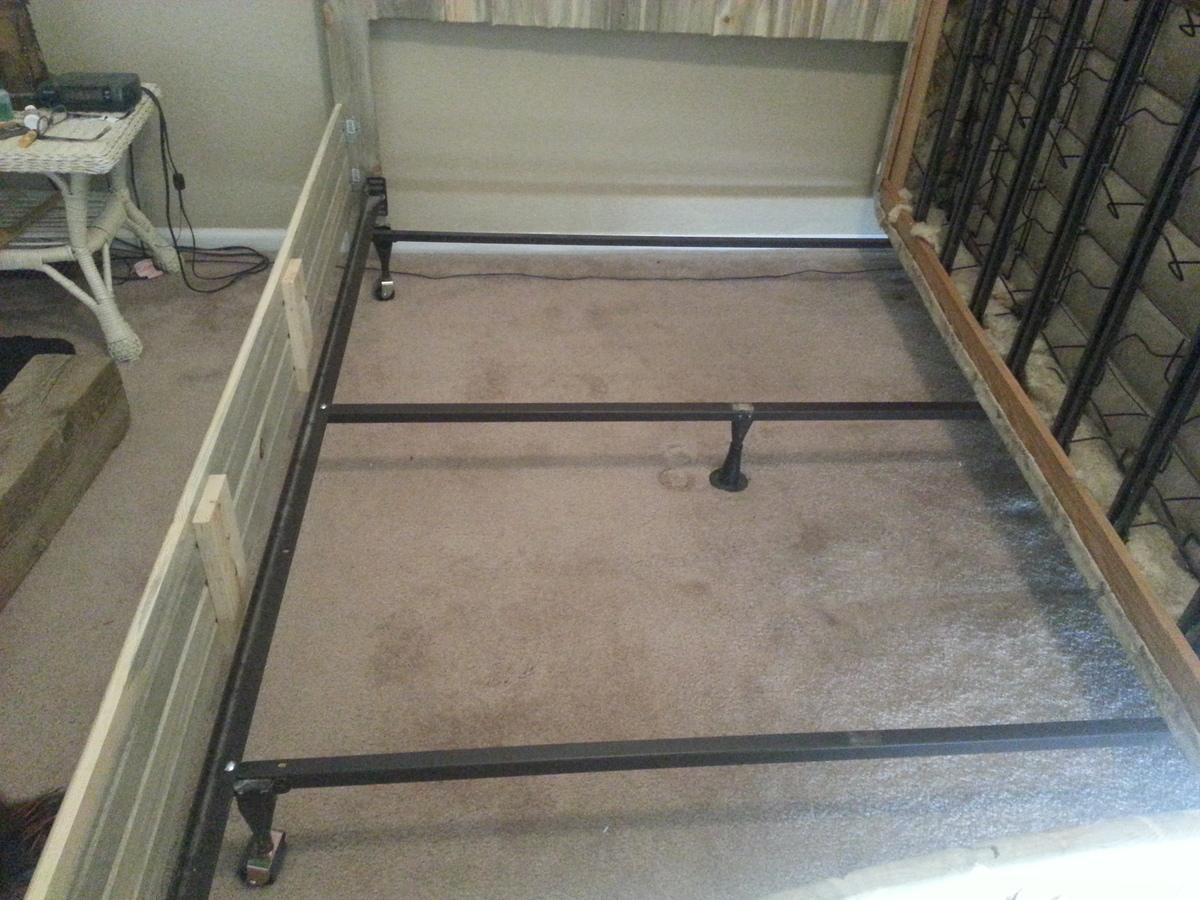
I saw this beautiful tongue & groove beetle kill wood at our local Home Depot and immediately knew I wanted to make a bed with it. I had seen several similar headboards on various websites, but just drew my own. I used wrapping paper that had 1" graphs on the reverse side. This time of year, I stock up on this paper and keep for projects. After we drew the headboard on the paper, we taped it to the wood and cut it out with a jigsaw. Then, we routed the edges to give it a more finished look and lightly sanded it. I didn't want the color to change any, so I just sanded it and used Minwax Polycrylic Satin (water based) for a finish). We just attached the side rails with metal braces. We decided to just use this as a frame on the outside of our metal bed frame, but you could put slats in it too. By making it a frame, it's easier to move the bed. We might eventually put slats in it. Anyway, I love it!
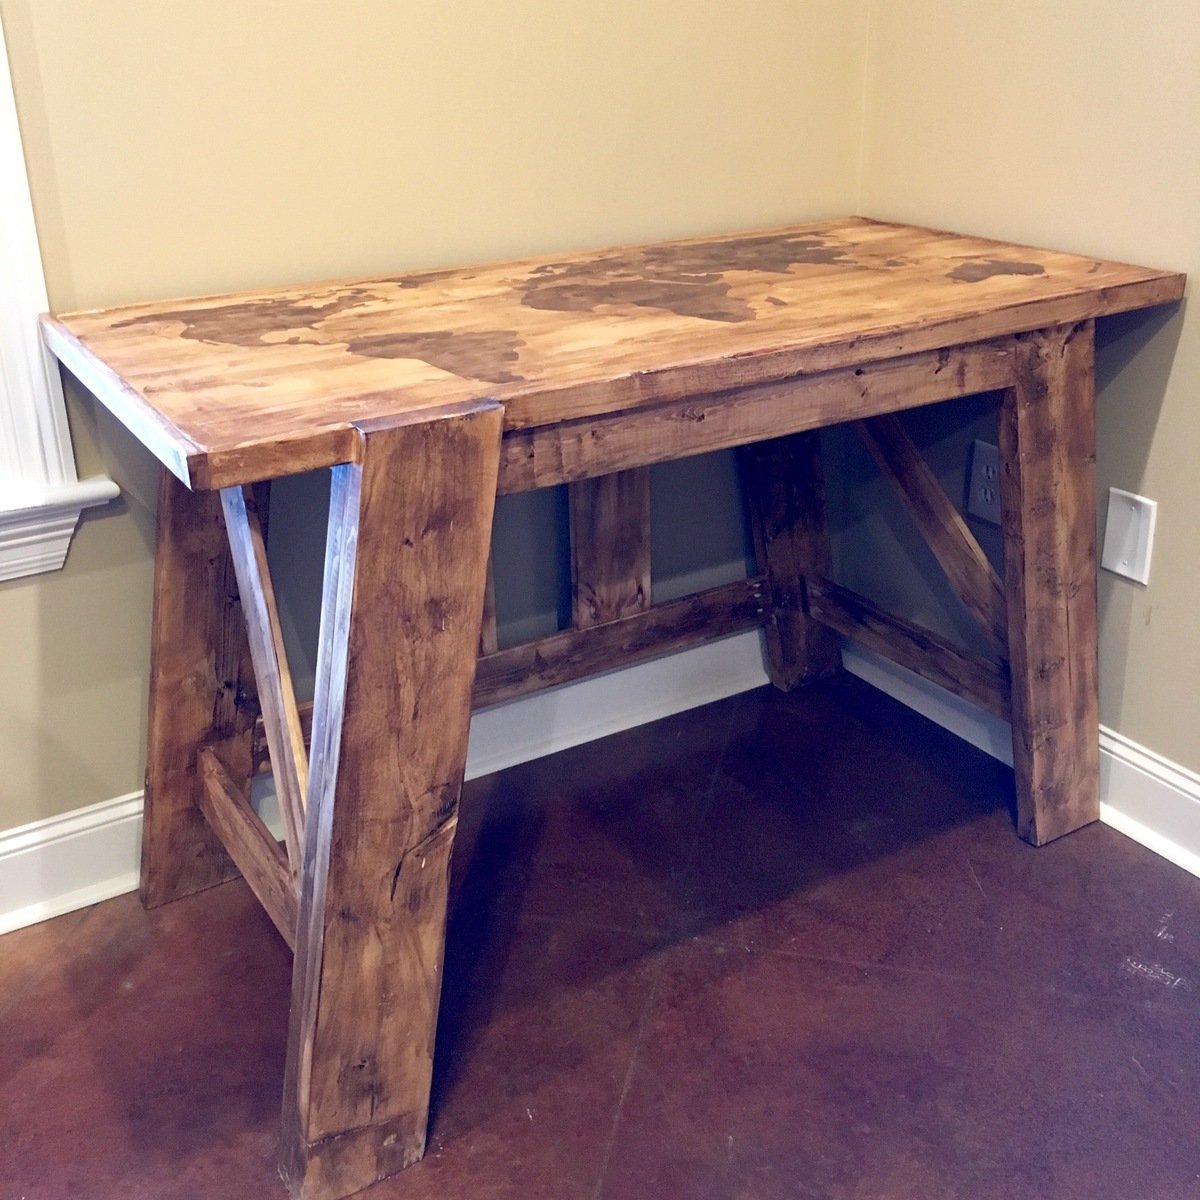
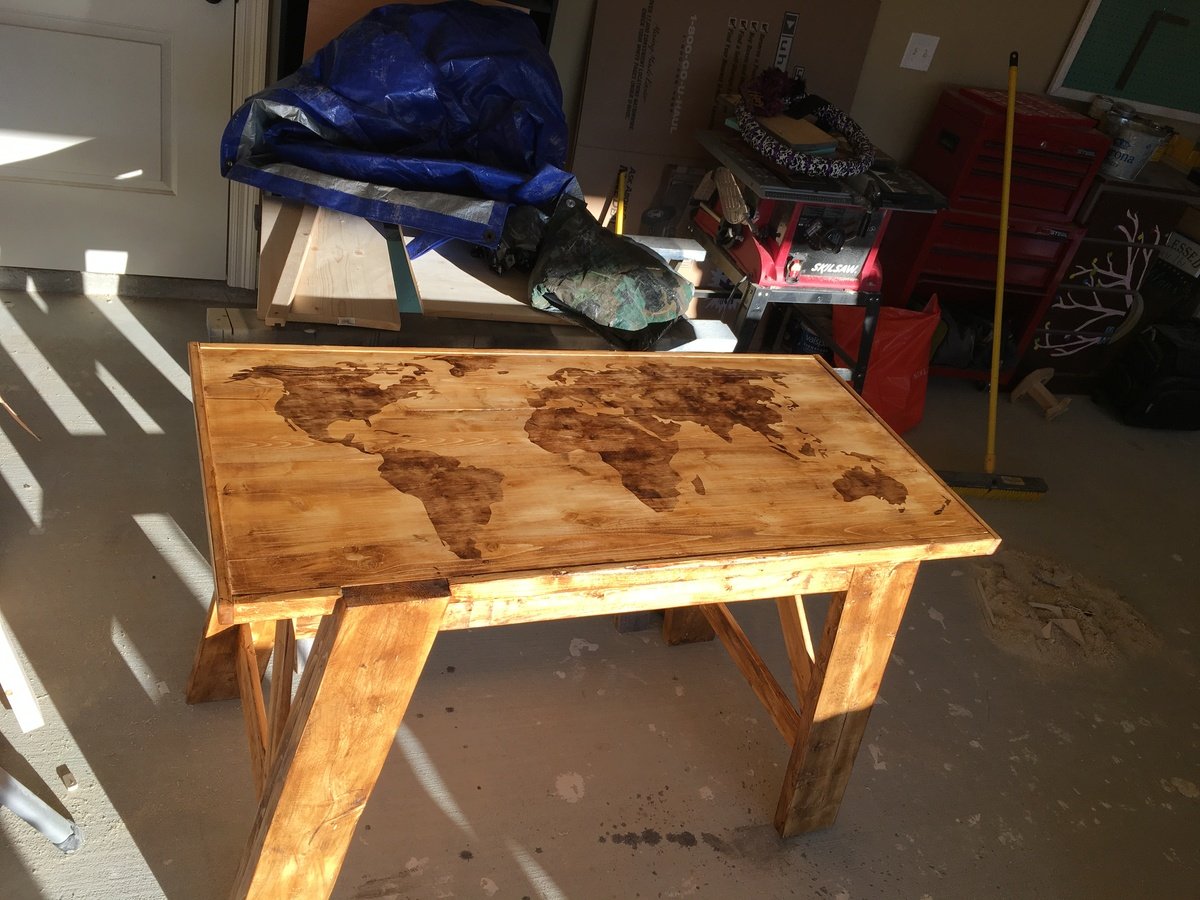
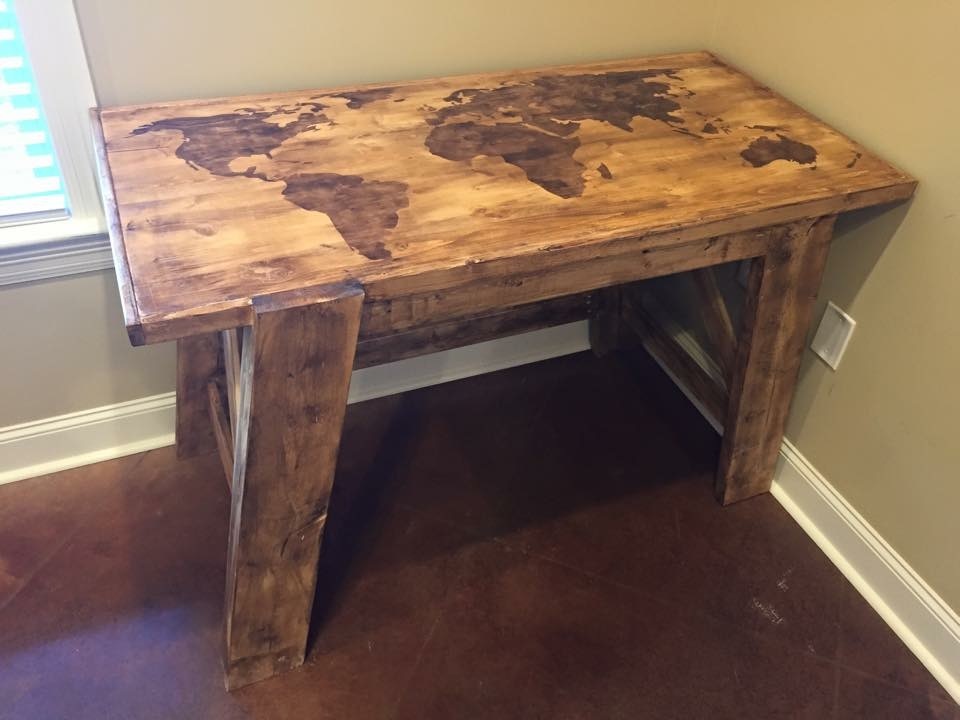
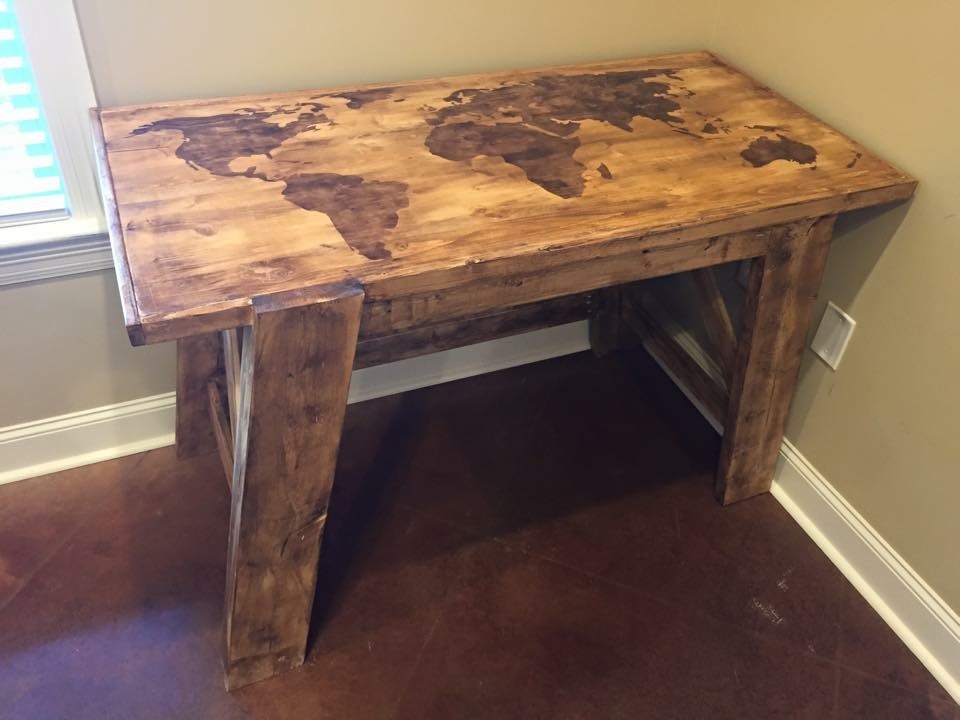
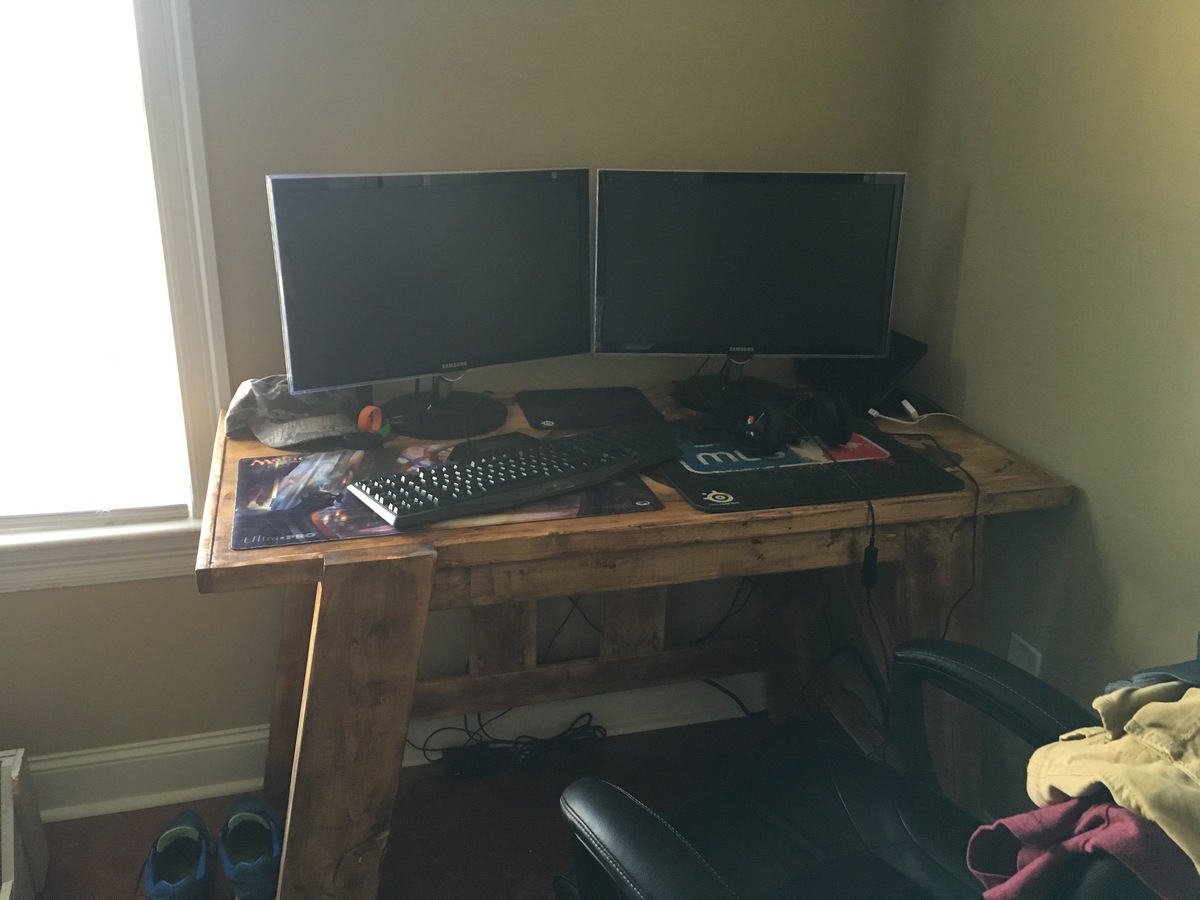
My husband had been using a sawed off dresser as a computer desk for almost year and was in desperate need of something nicer. I wanted to surprise him so while he was at drill one weekend I decided to build him this desk. I took the height up to 34 and decreased the length to 51 so it would fit in our space and his desk chair could fit under it. He was very surprised and LOVED it!
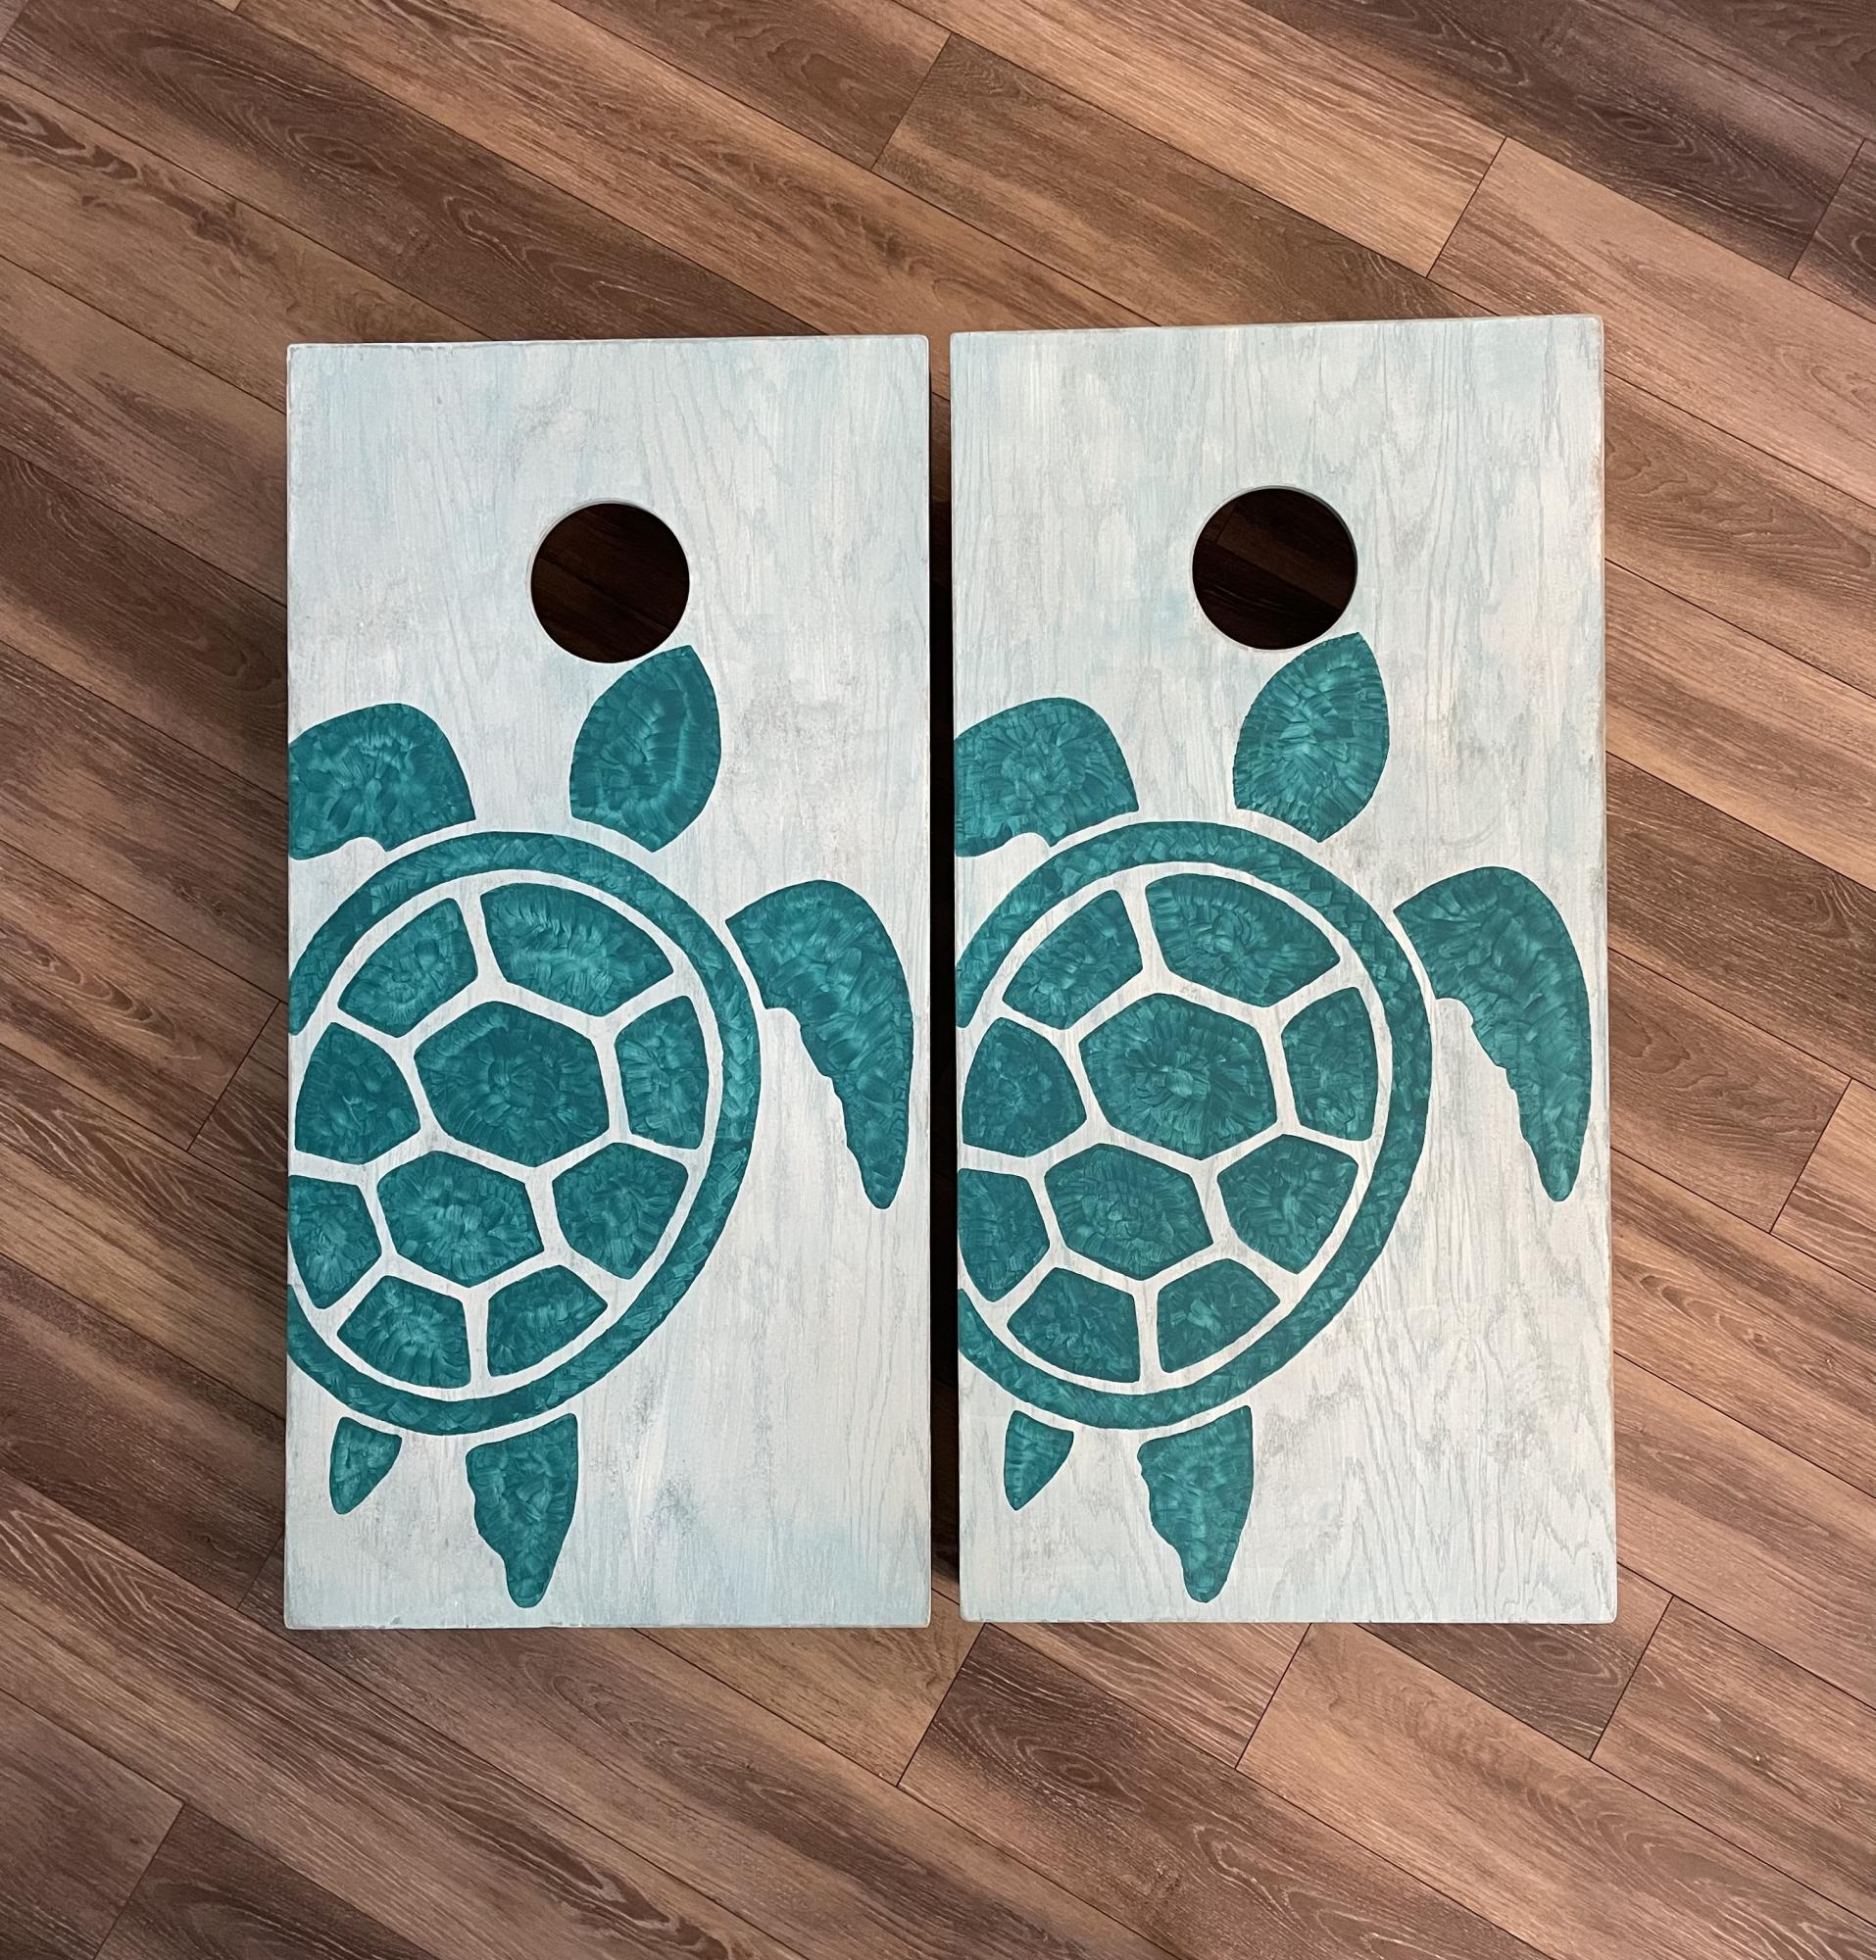
The Ana White corn hole board plans were straightforward and easy to understand. Building was a breeze. Our boards turned out great!
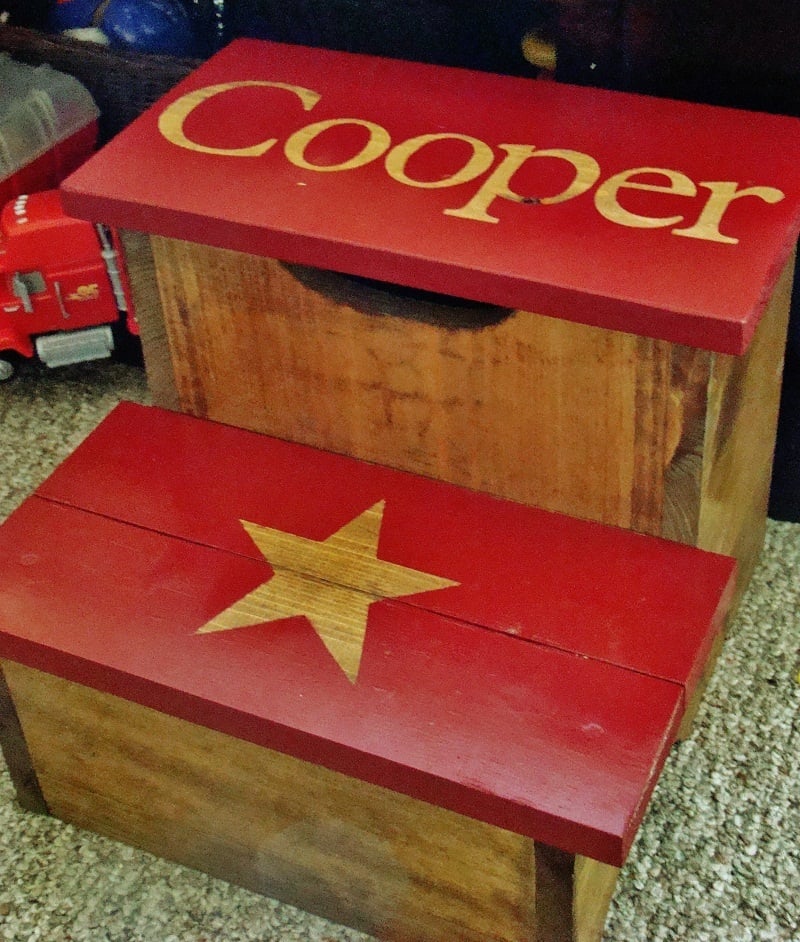
My wonderful hubby and I have done 4 projects from Ana-White.com (a bed, a chair, a shelf, and some storage crates). But this was my first solo project!!! I had a blast making it. And just an FYI - the storage area holds about 563 Hot Wheel Cars (give or take a hundred) lol. My little guy loves being able to climb into his big boy bed all by himself. Thanks Ana!!
Sat, 01/28/2012 - 10:02
And also, how did you do his name and the star? Thanks!
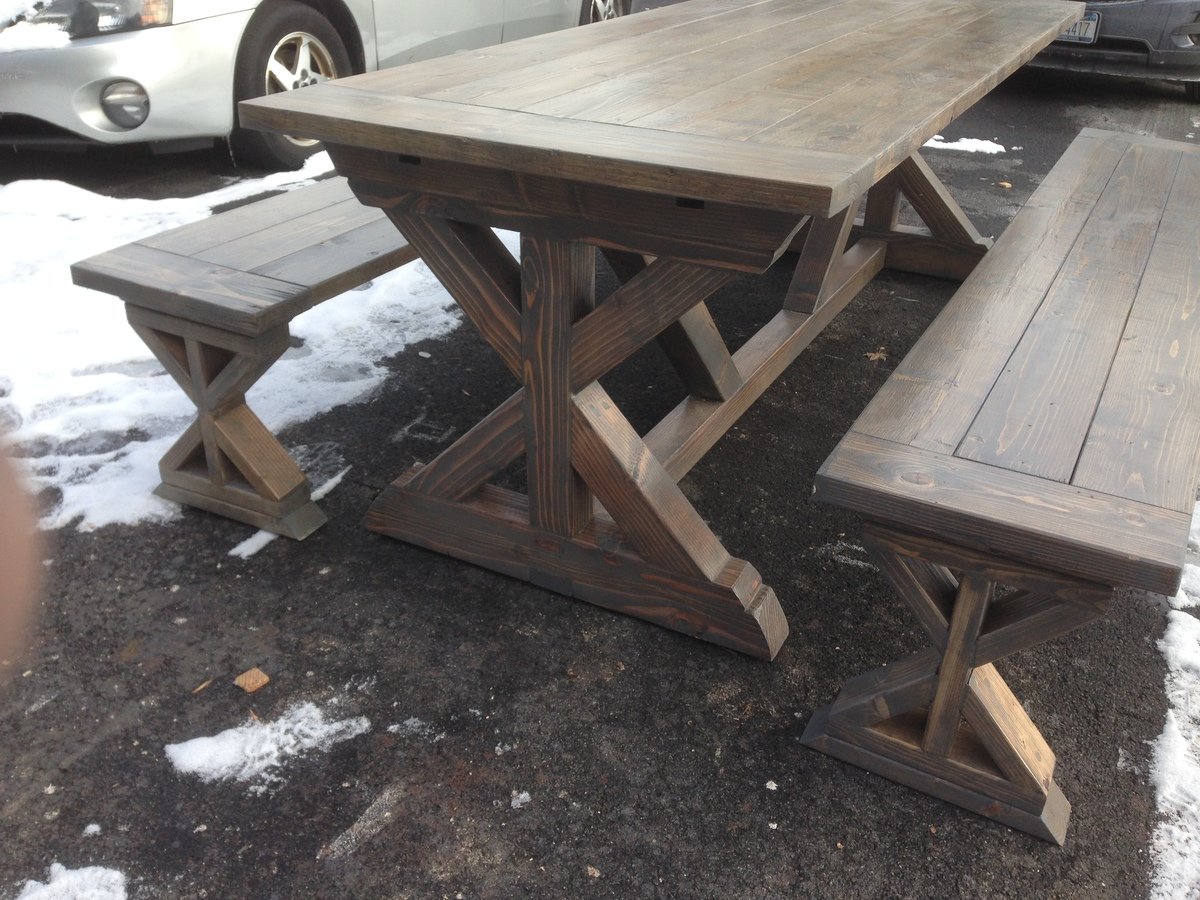
modeled after the Restoration Hardware Salvage Wood X Base Table which at this 8' table listed for $3395 just for the table. LOL
Used the Fancy x farm table plans and used all 4 x 4 on table, and followed plans for benches with 2x4
Mon, 07/14/2014 - 15:27
Can u tell me the dimensions of this table? I plan on using 4x4s with a concrete top and nervous it might feel too bulky at 6ft x 2.5ft table
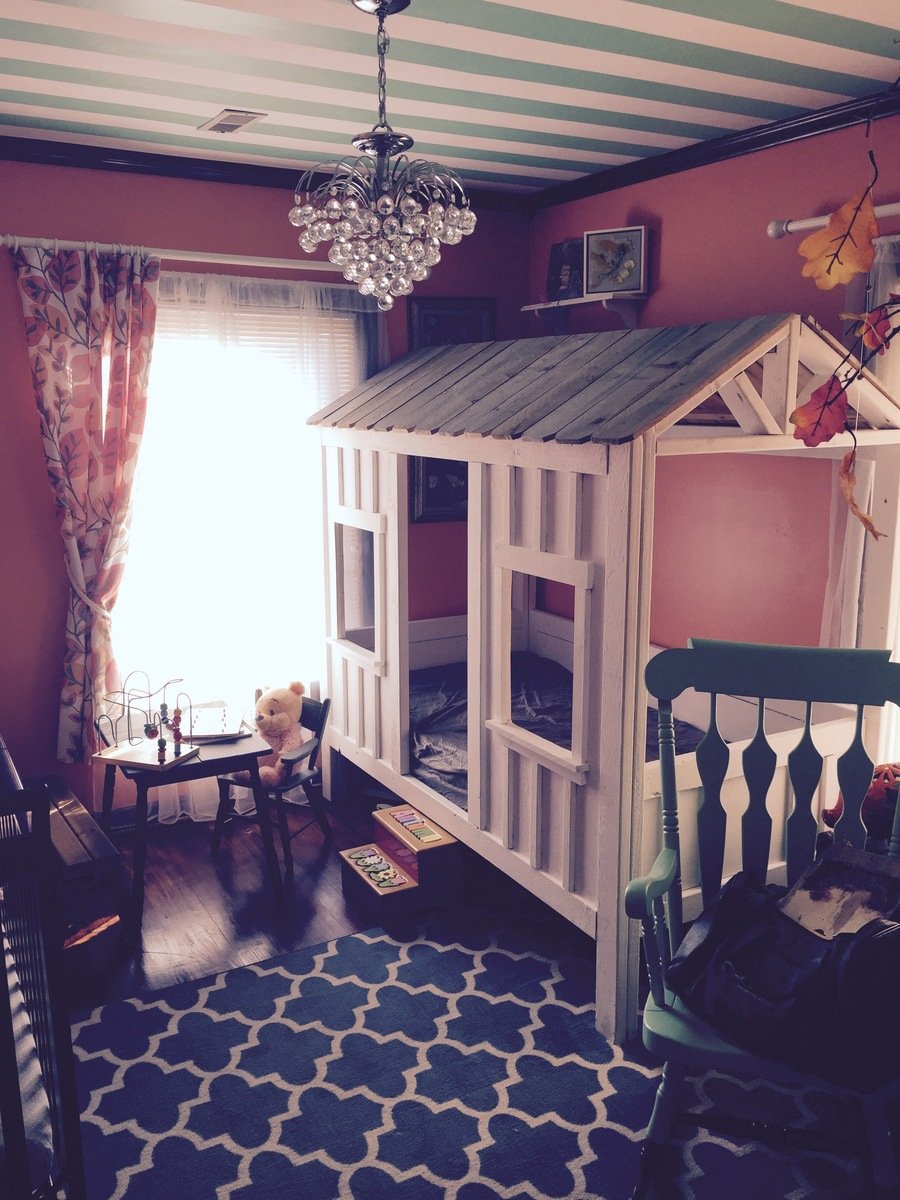
I saw this on Pinterest and immediately had to make it for my 2 year old daughter Autumn. It took only 1 weekend to do from start to finish. The instructions were very easy to follow. I did substitute 1 item though. I swapped out the 1x6 boards for the roof paneling and used cedar privacy fence pickets instead. The pickets were sitting outside at my local Home Depot and already had the great grey age to them. I simply cut them into 3 equal lengths and dog eared the ends to match.
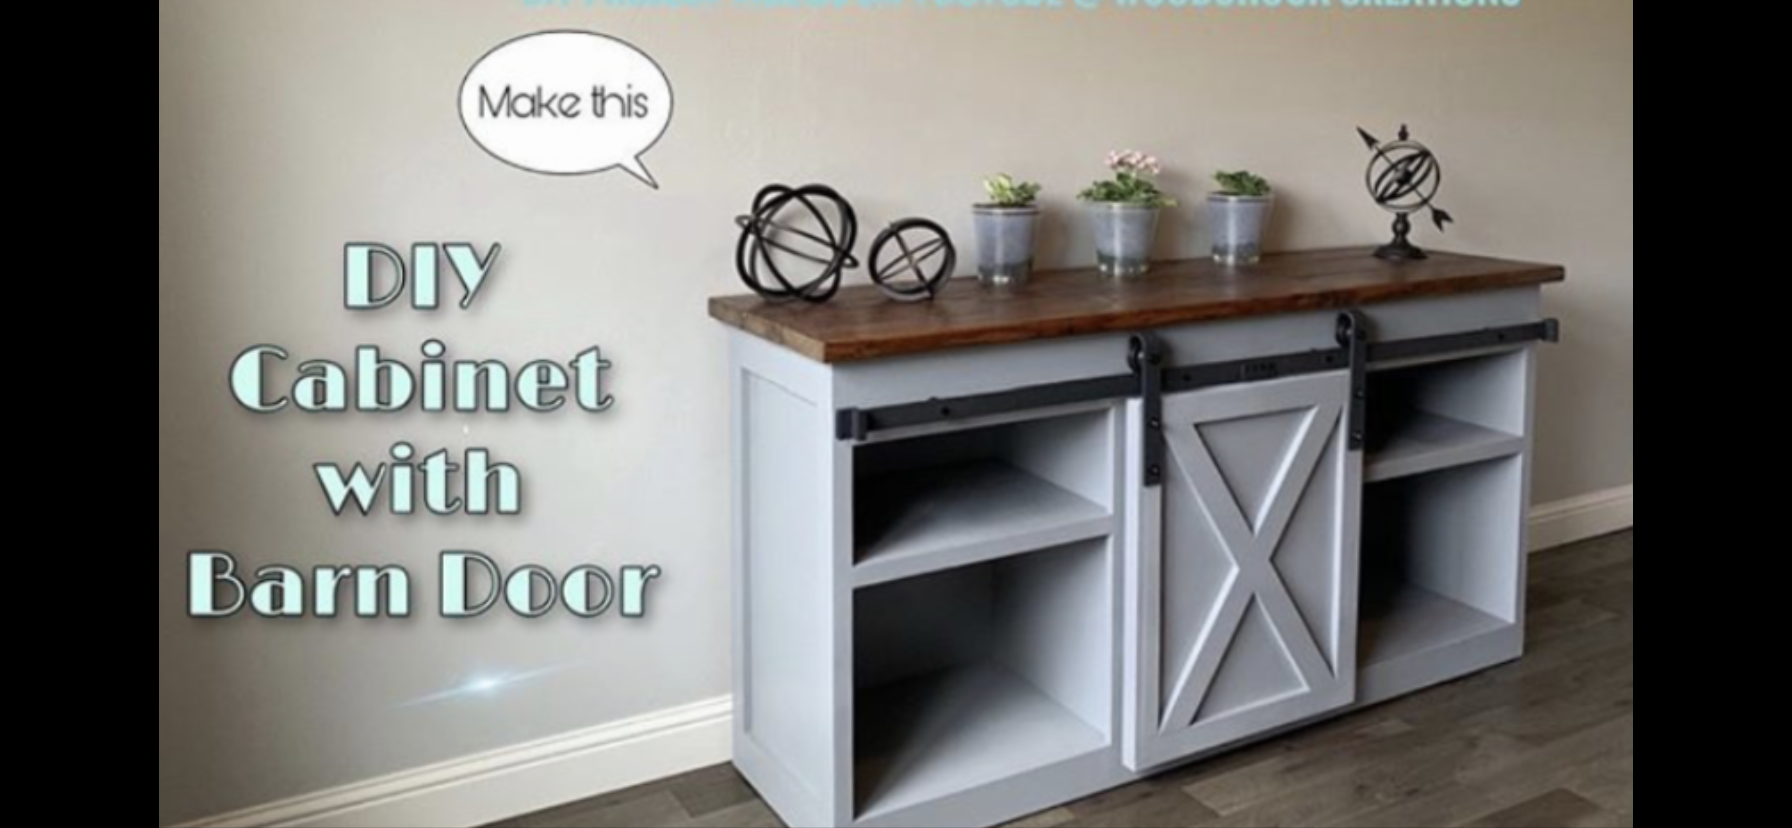
Barn door media cabinet with hidden pull out shelf for printer
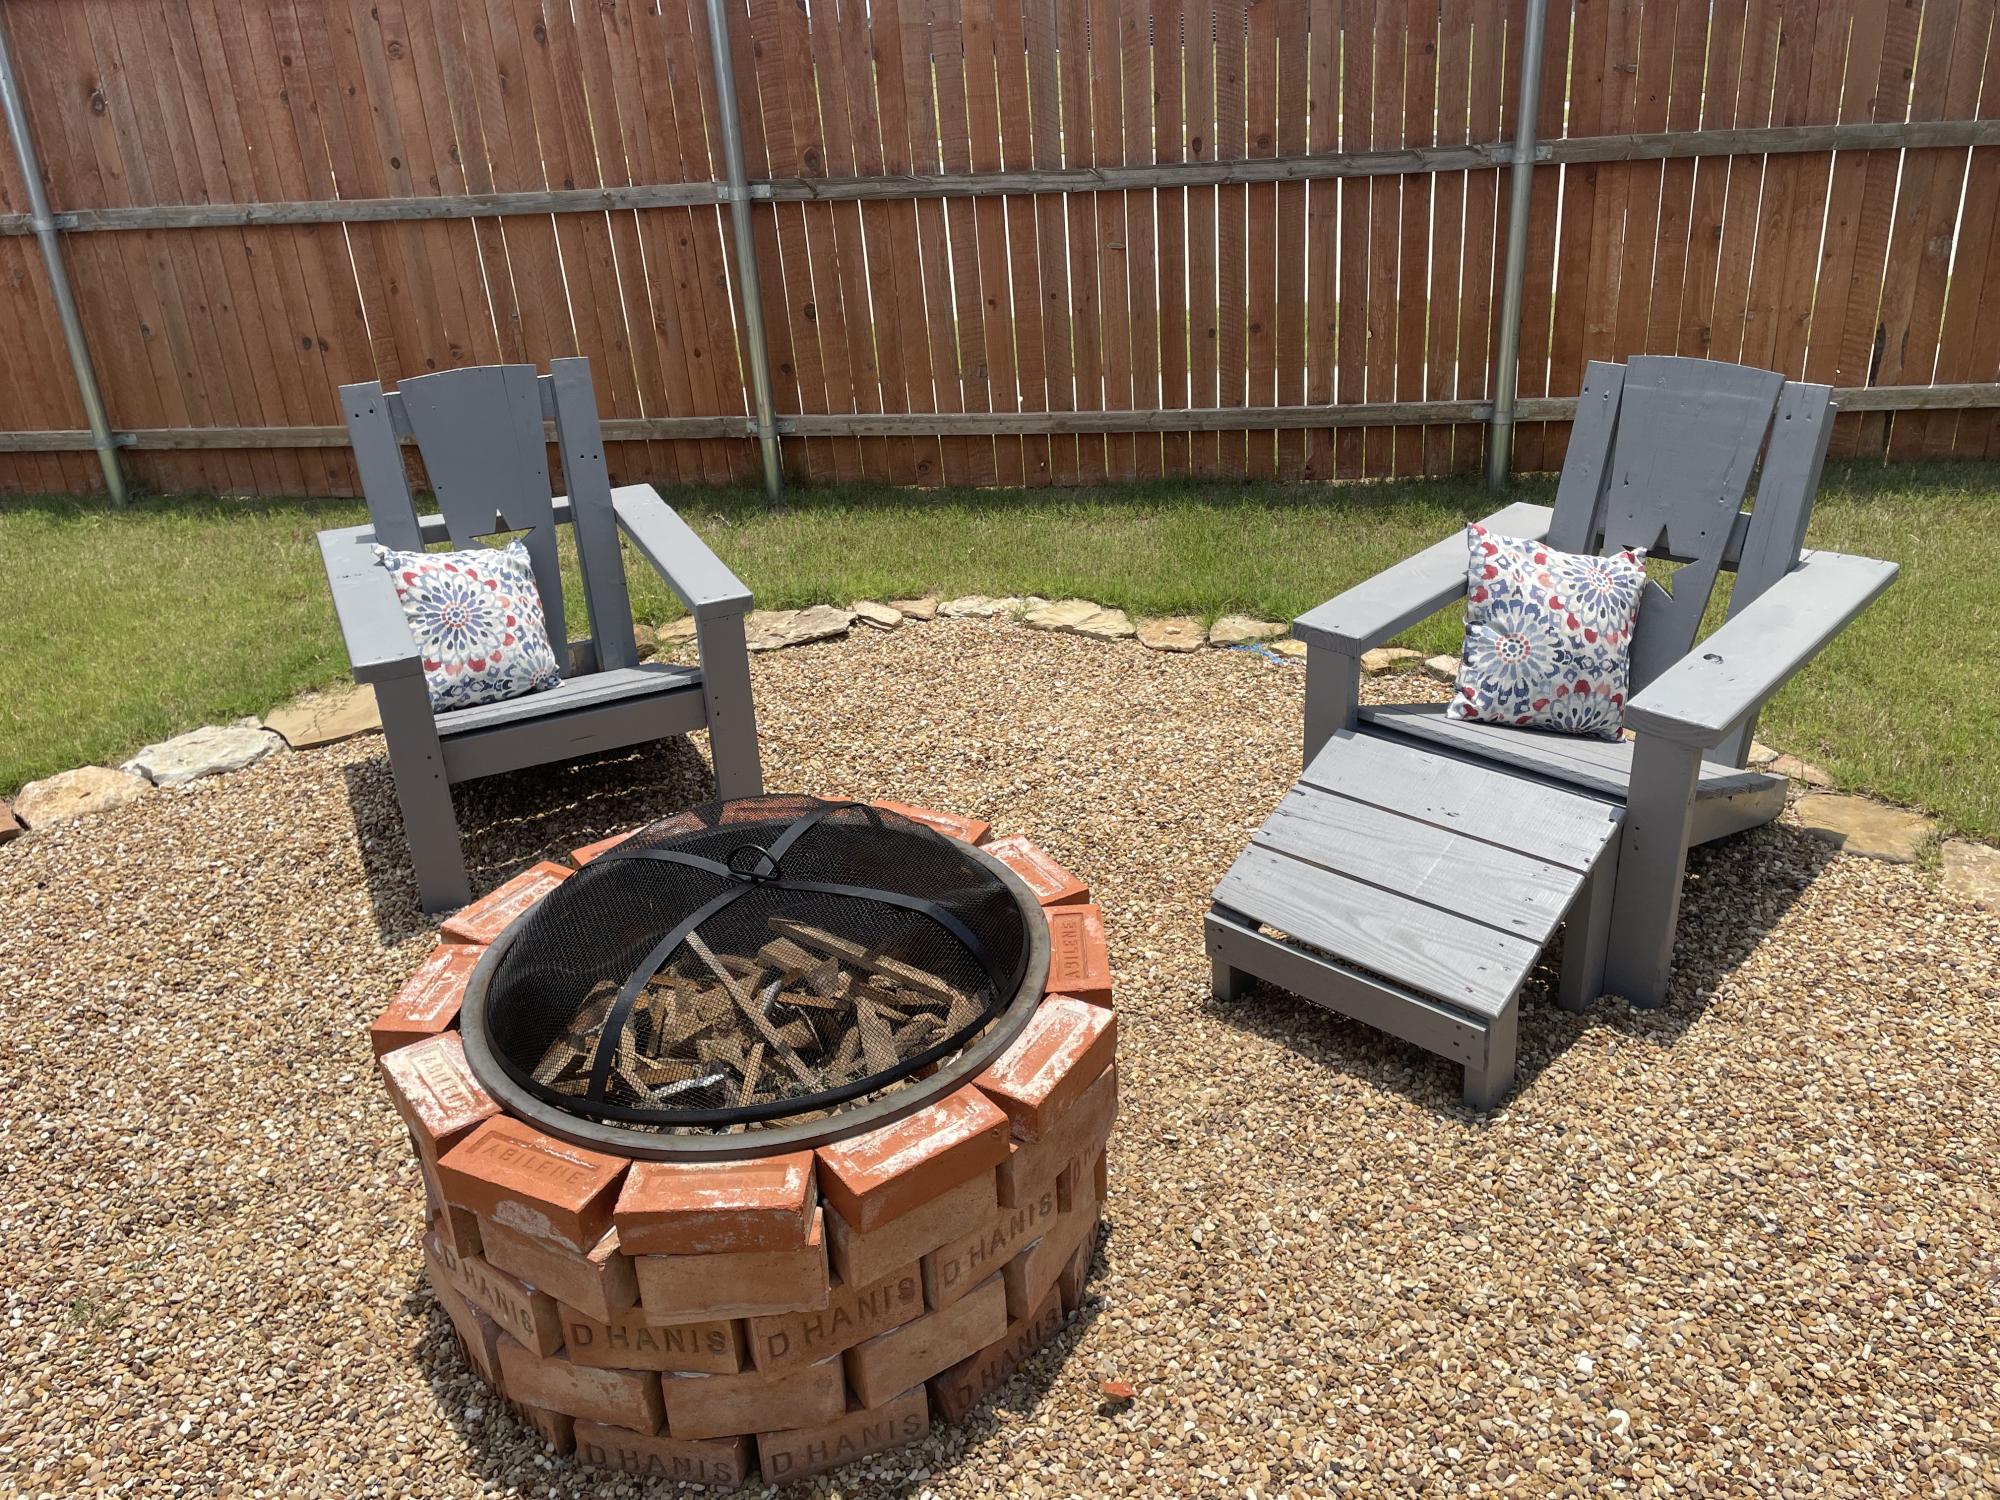
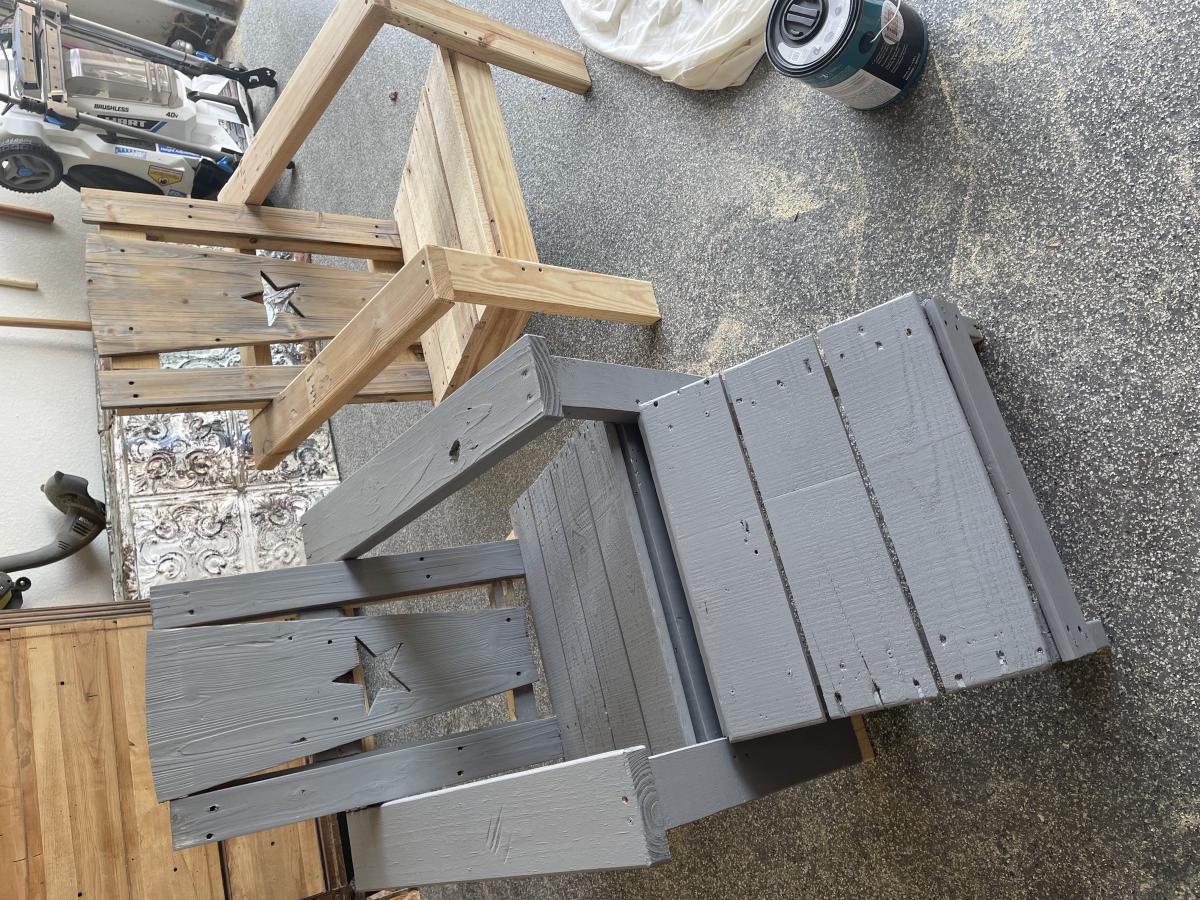
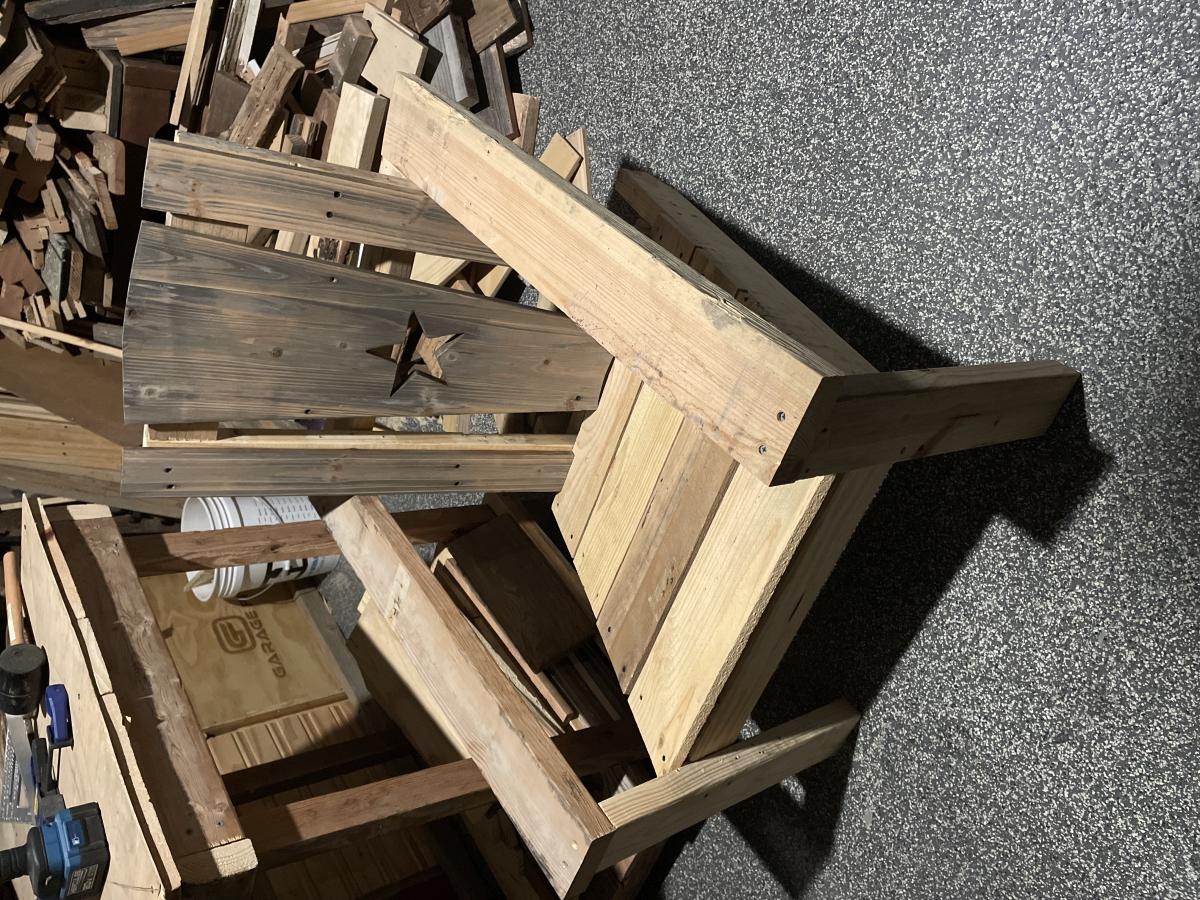
I've done a couple of things from plans on this site but this turned out awesome. We had some old weathered rocking chairs that I dismantled and was able to use some of the wood for these Adirondack chairs.
Could have gone with a dark stain but the gray really worked well on this. Pretty simple build and very sturdy chairs. I loved this project and will certainly be making more of these.
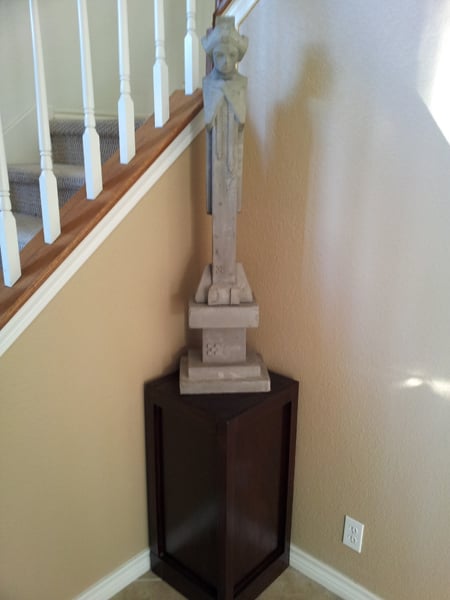
This isn't directly from a project but it was heavily influenced by the Benchmark Media Tower. I had made two of the towers (pictures coming soon) and had some left over wood. I used the same process to attach the 2x2 poplar boards to the 1x12 and added a 1x3 at the base to give it some visual weight at the bottom. I plan on digging through the rest of my scraps and make more of these to put vases and pots on. Why not! (sorry for the camera phone quality shots) :(
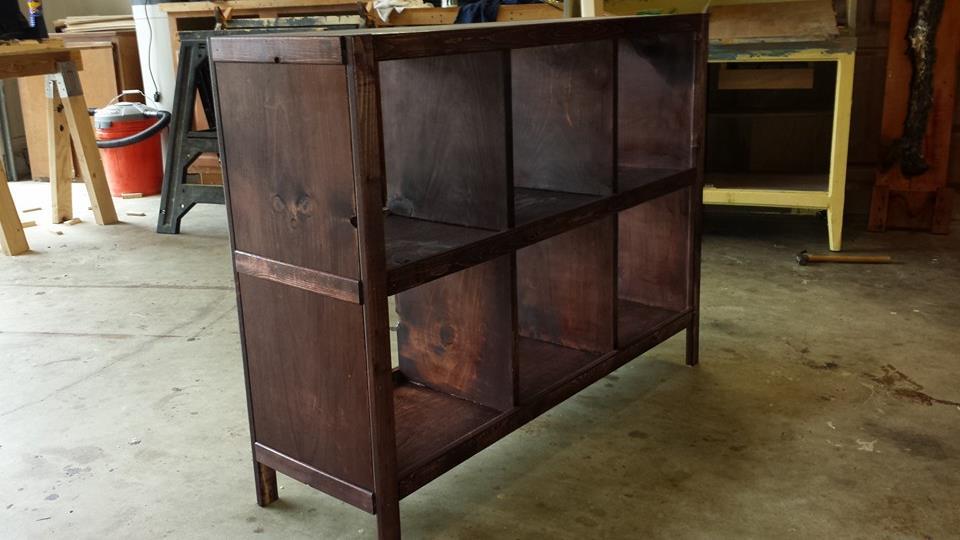
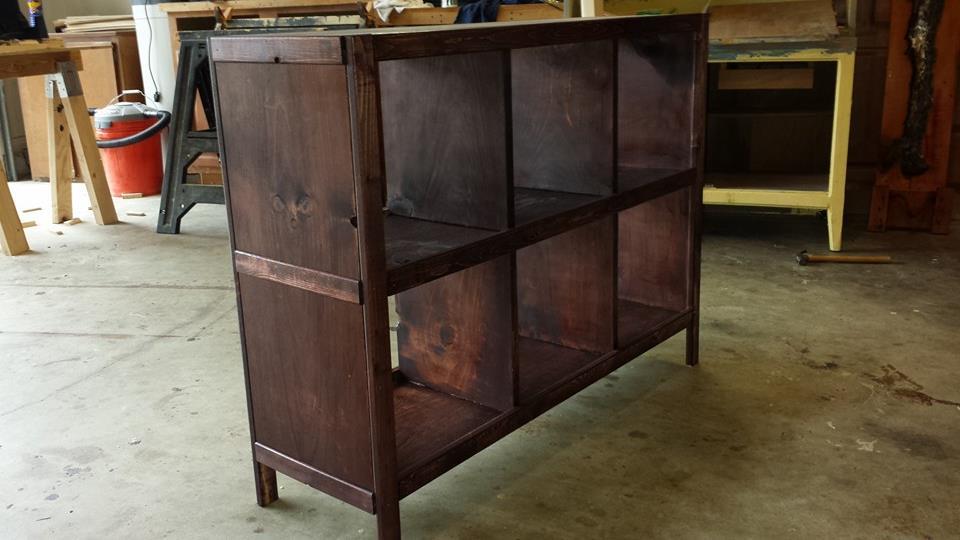
I made this more for baby clothes instead of books. I just got it done a few hours ago, but my wife did not want to wait for the bins to put all of the upcoming baby's clothes in there spot. I ended up ripping the 1x1 into 1/8ix11.5/8 strips to help cover up my screw holes. Thank you Ana for having these plans on your site
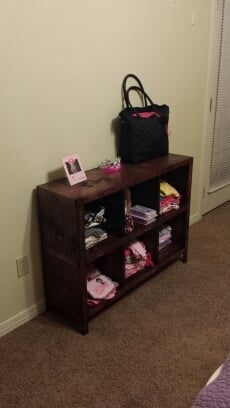
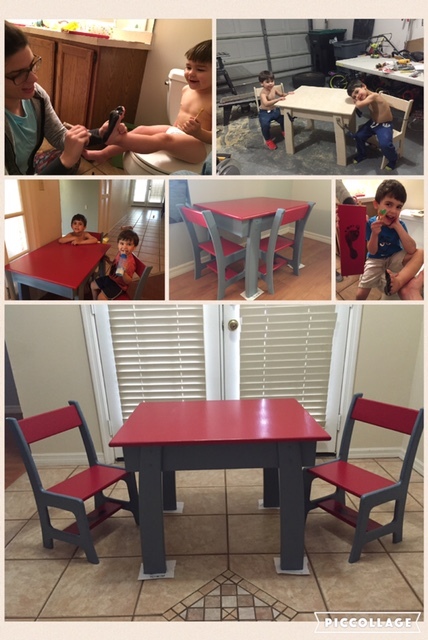
This was a really fun project. I wasn't able to build it int time for the WWFC donation but suggest everyone do it this year (2016) around November.
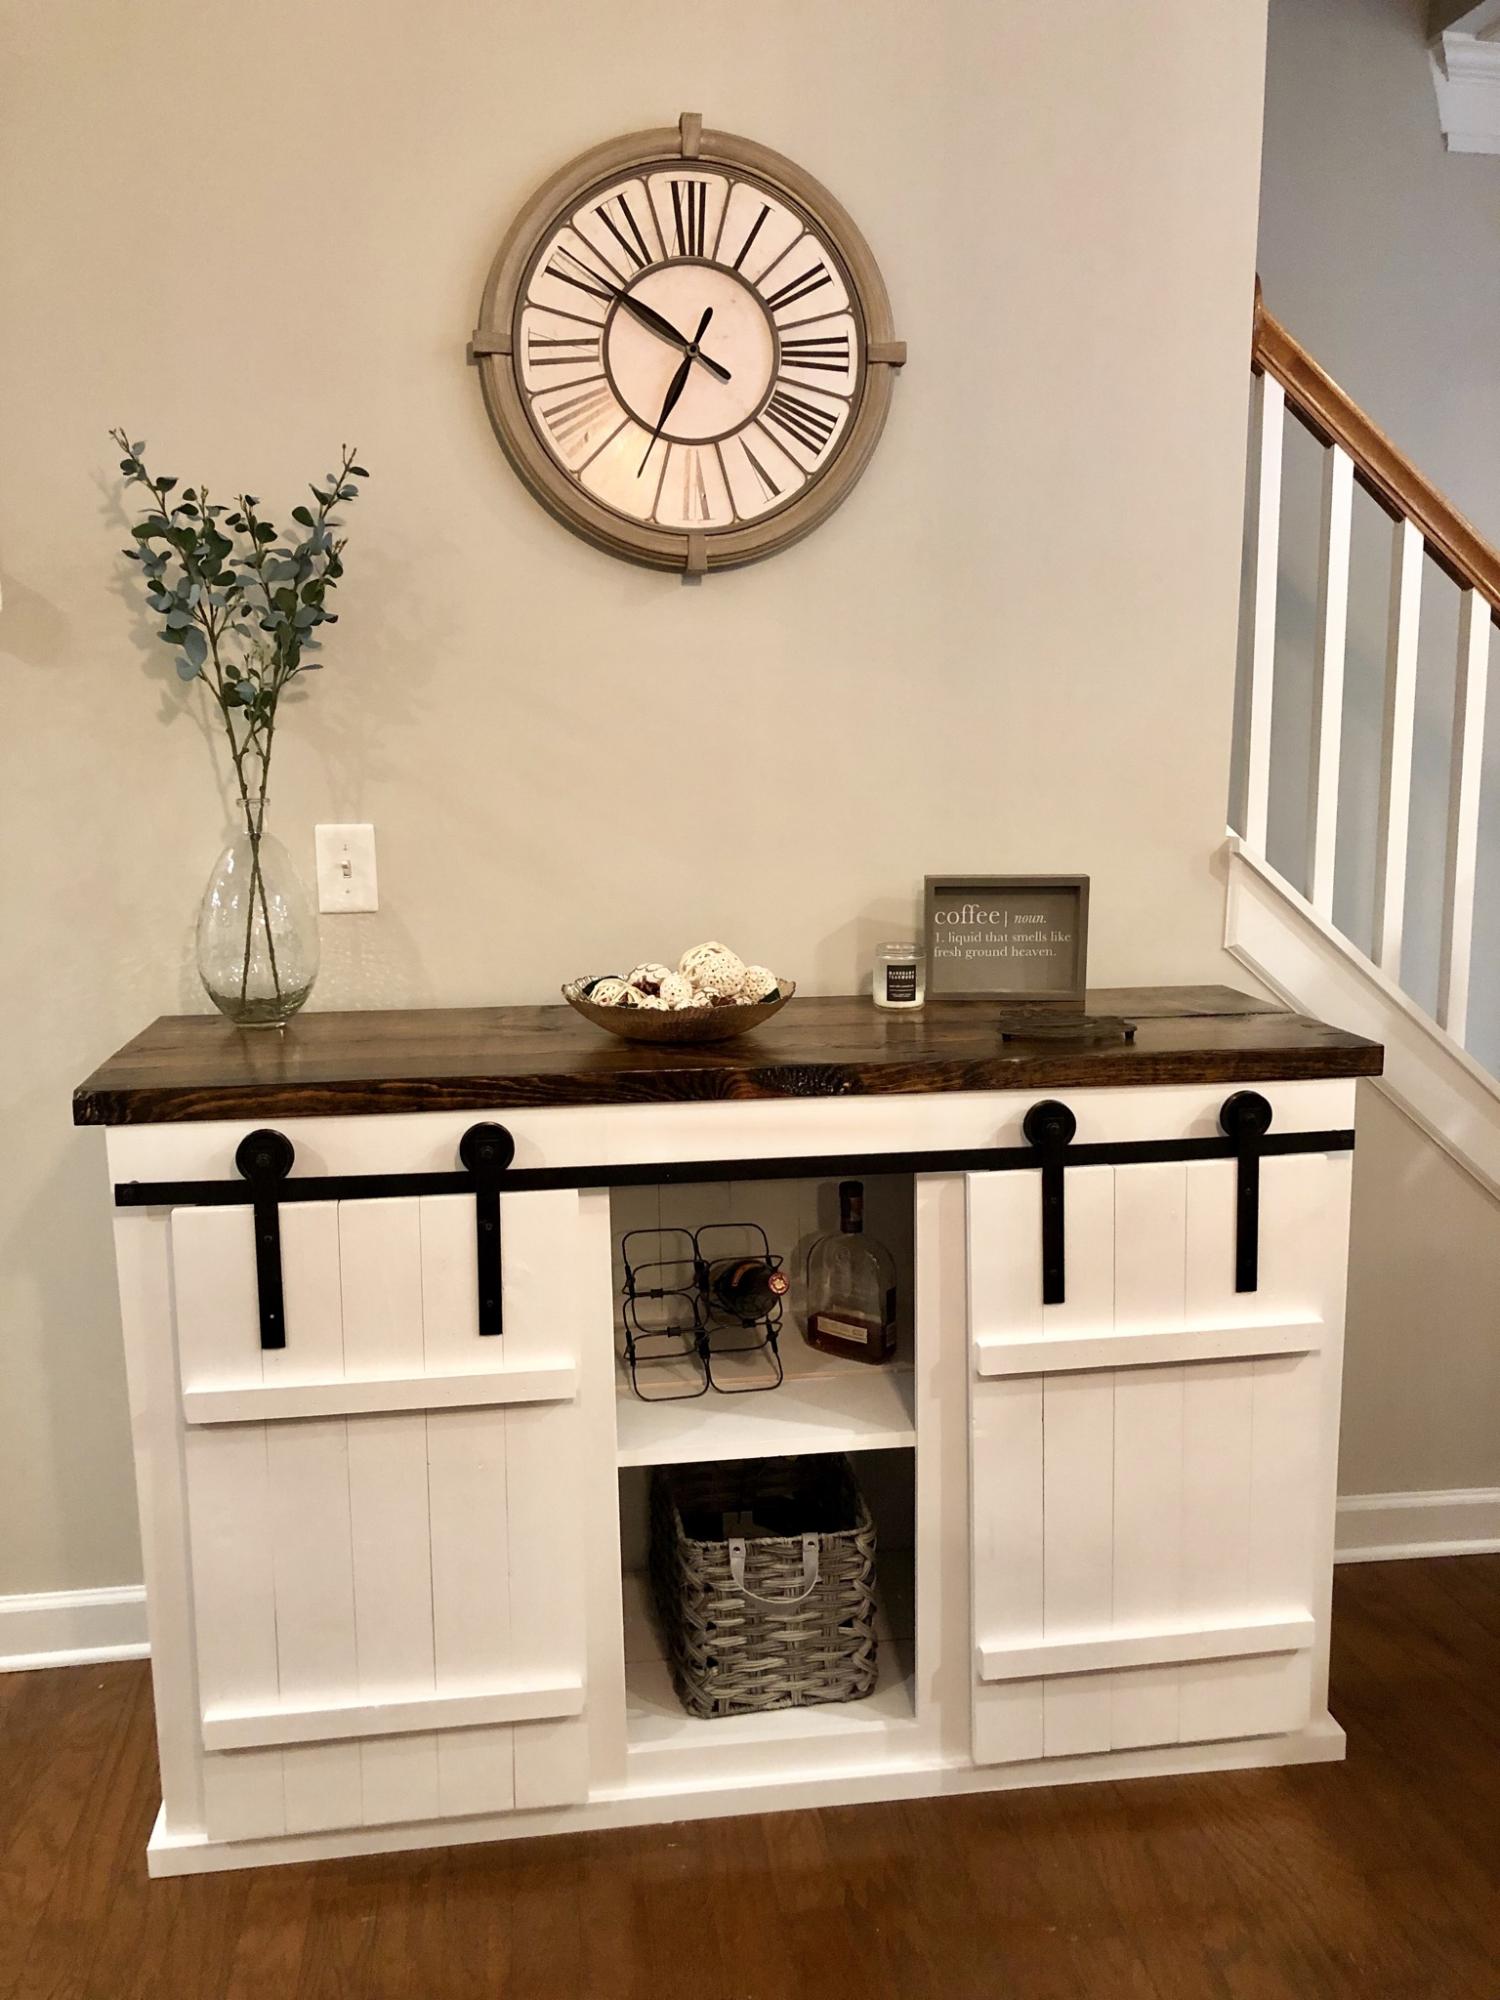
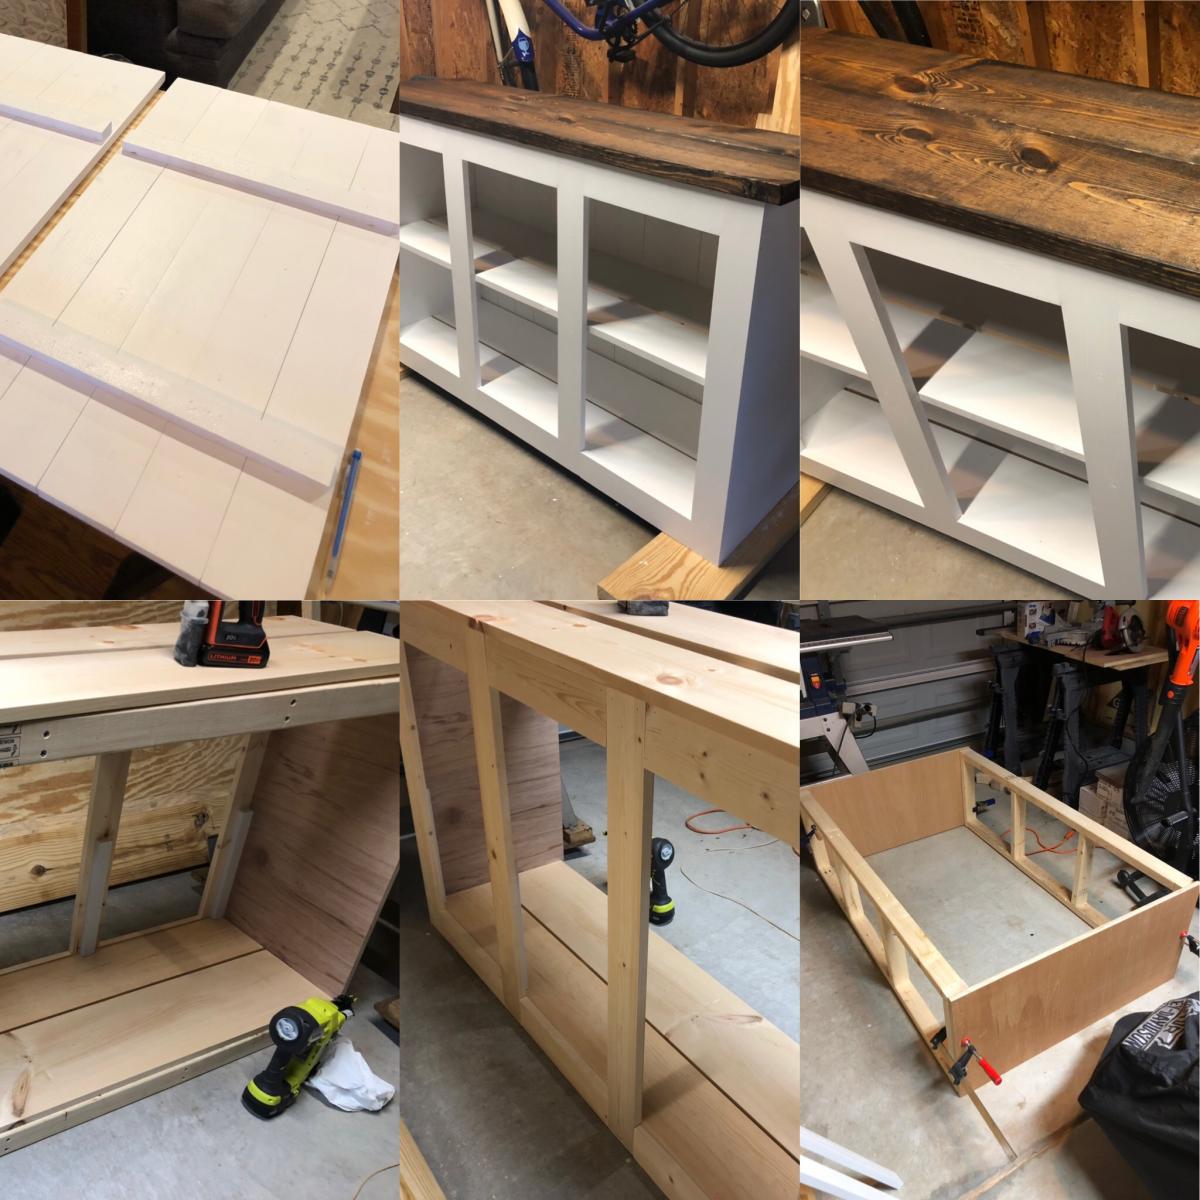
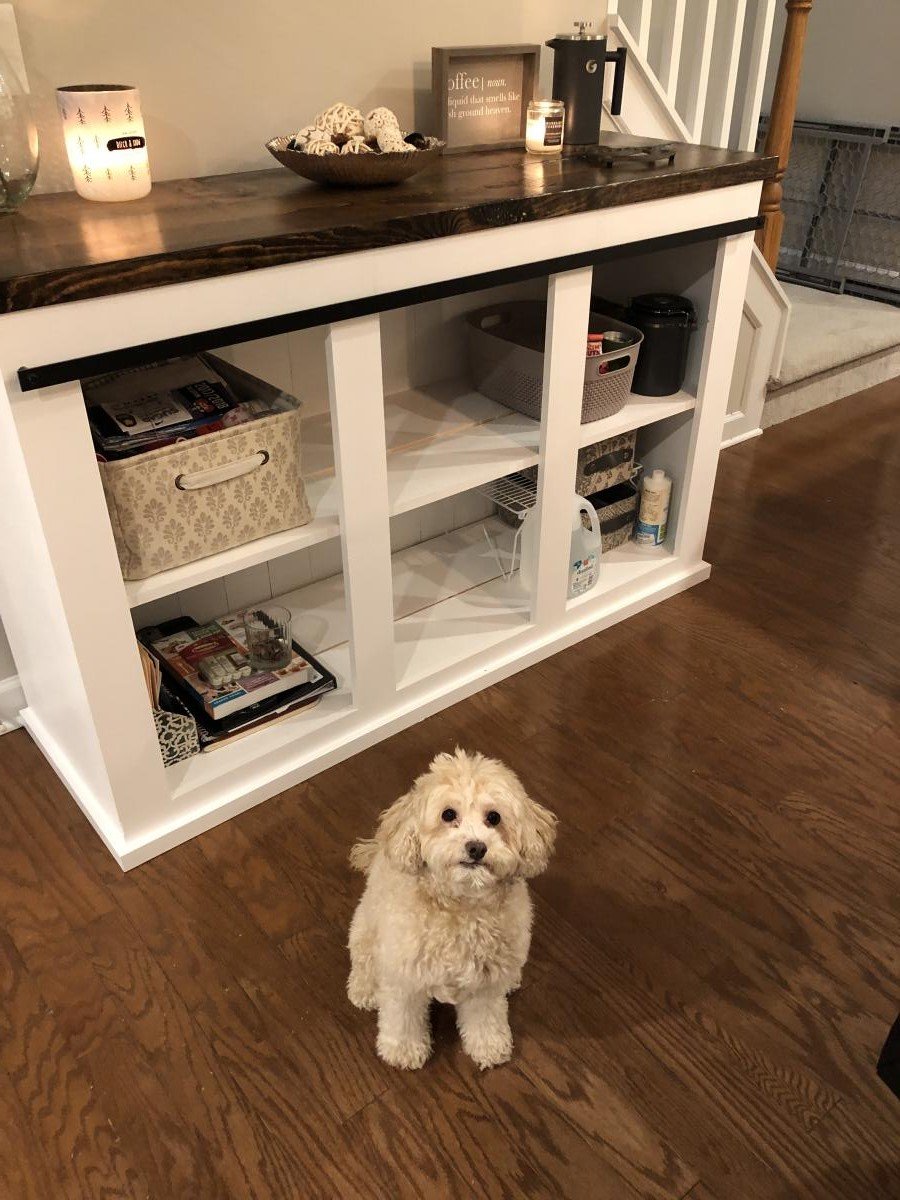
Tailored this to fit our space to provide us with more storage that is easy on the eyes 😍 took our time completing it and love how it turned out. First big woodworking project I’ve completed!! My furry assistant is featured in some of the pictures 🤩
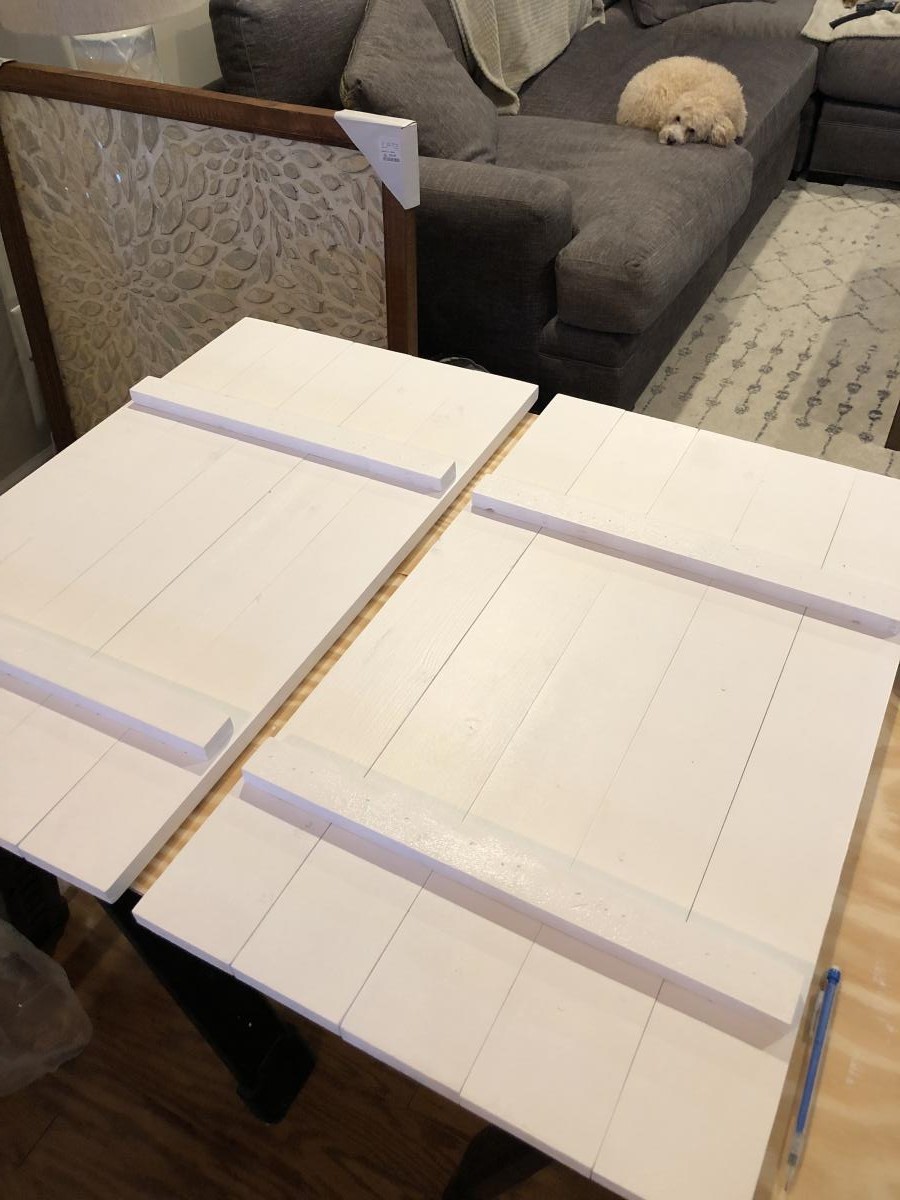
Wed, 10/02/2019 - 13:37
Beautiful! And what a cute pup!
I think we have the same living room setup too!

This is now my fourth project, I built it as a gift for my sisters wedding, she was very pleased! She wanted something white so I went with a Annie Sloan chalk paint, which is pretty pricy I found out ($30-40 per quart) and her clear soft wax to finish. For the top I used a Drift wood finish and a weathered drift wood wax. Because is was a media center I just did fold down faces instead of drawers as in the plan and added some trim that I made on my router table to give it a more antique look. The Build was quite simple however the finishing to give it the right look took quite a bit of playing around!


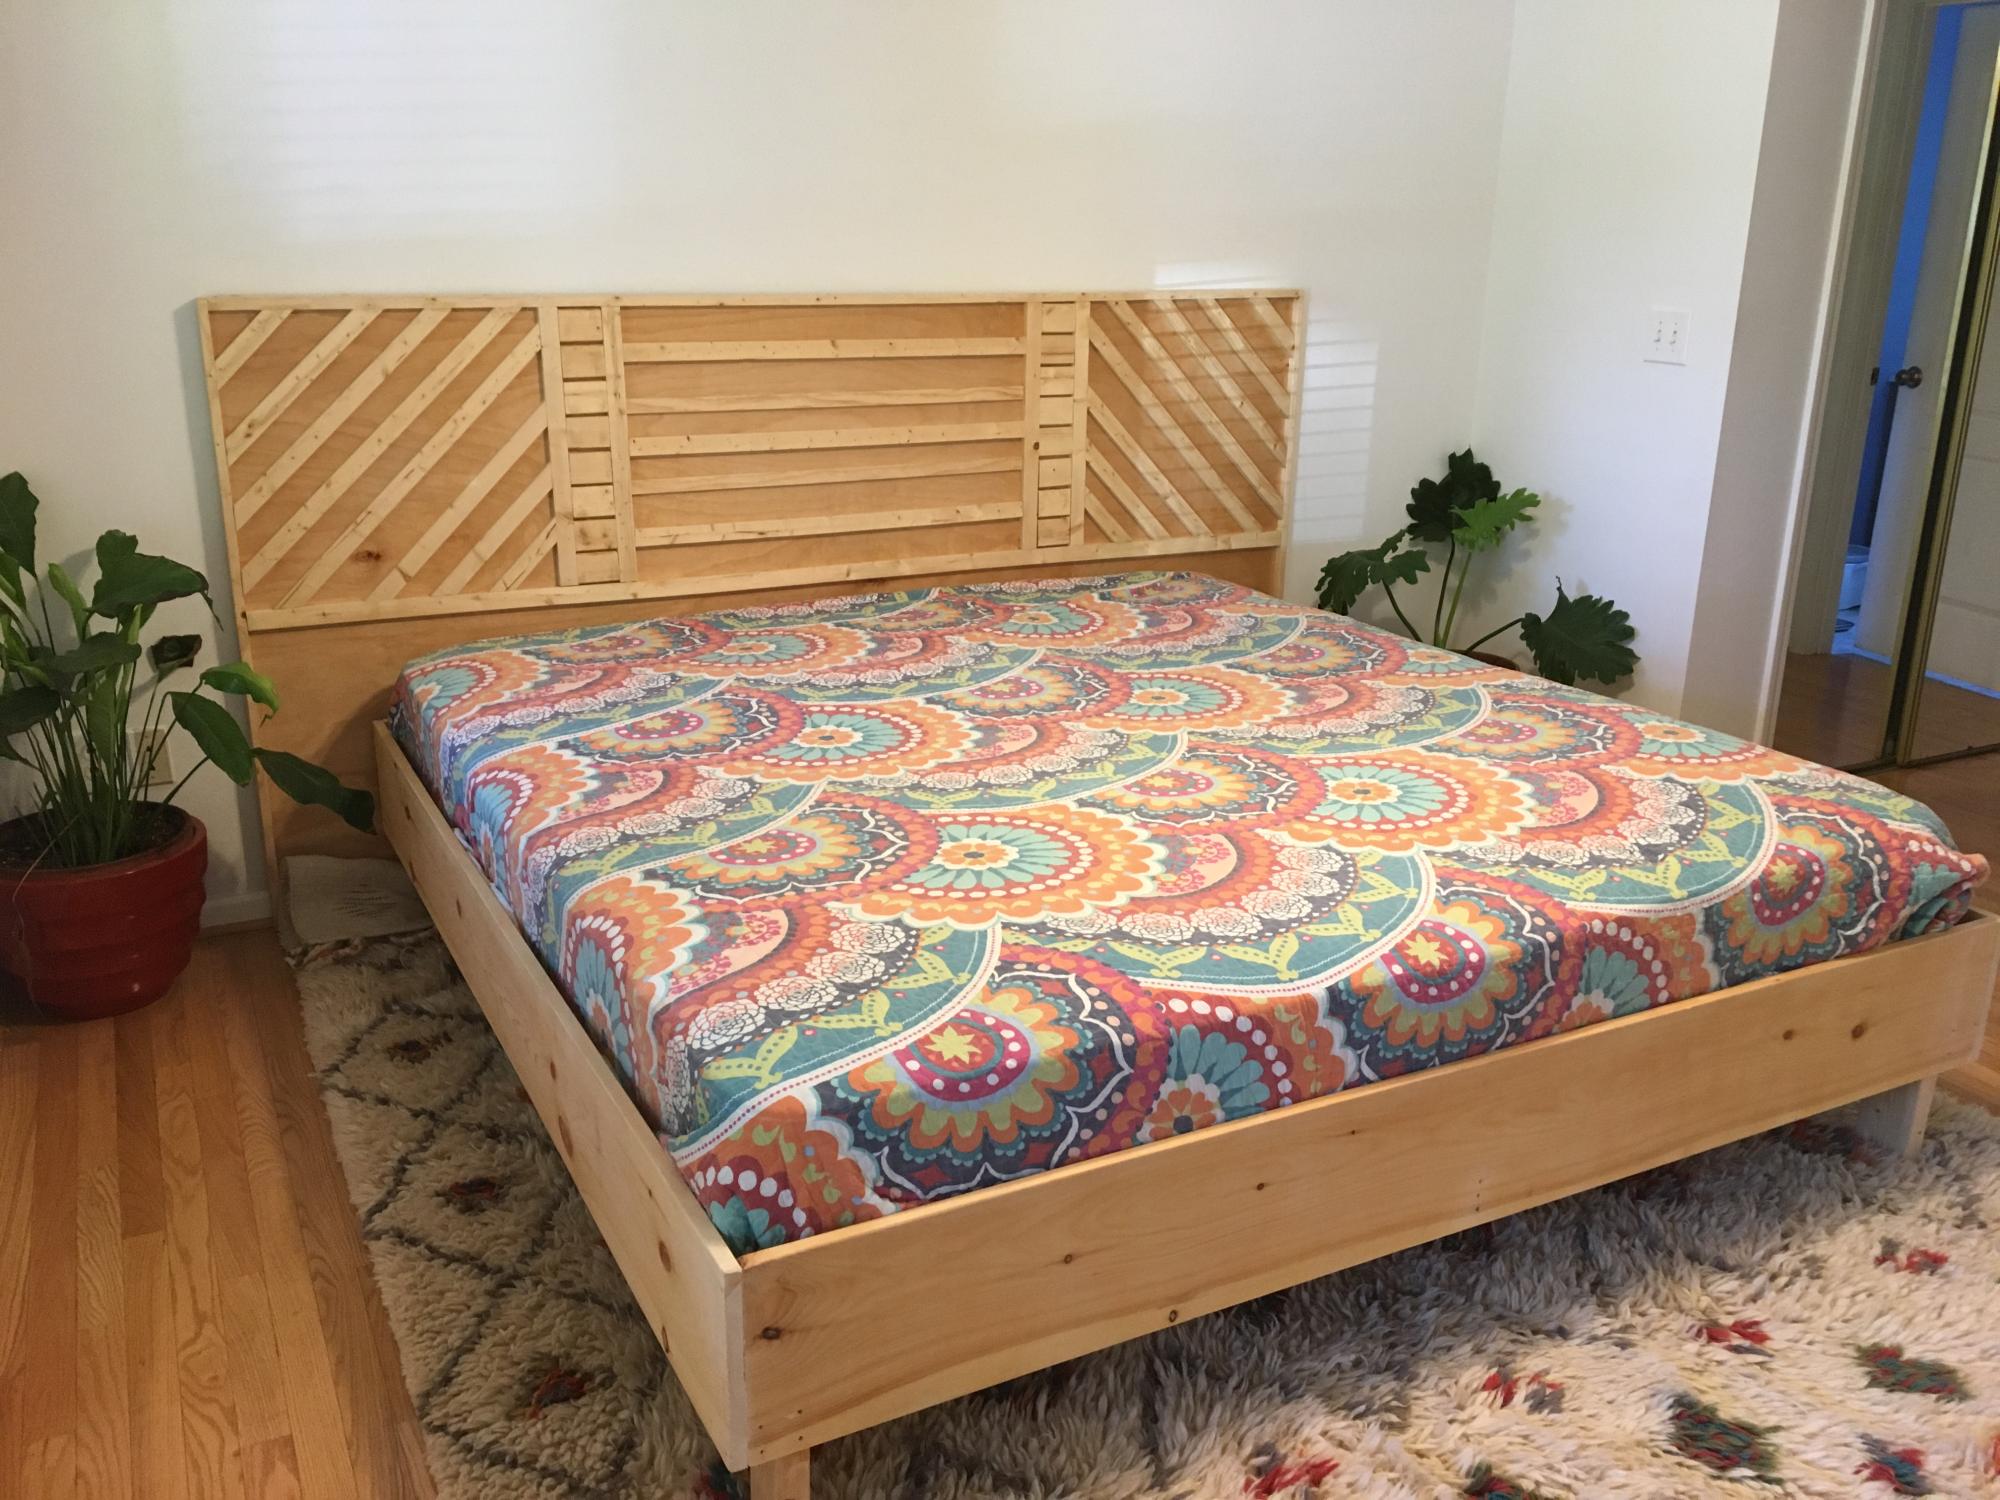
We decided to upgrade to a king sized bed and so my queen sized bed frame and headboard had to go. I based the whole idea off of Ana White’s modern headboard plans. Just using one sheet of plywood and some common board was super easy and made the geometric design fun and quick.
I tripped over some boards in my attic a few times before I realized how perfect they would be for my island! I planed, biscuited, poly'ed the boards and, along with a few other modifications, tada!! My new island! Love it. Now I just gotta get over the "new car smell" long enough to actually use it!
Wed, 02/08/2012 - 18:33
Super job! You gave those floor boards a new life in a beautiful island. This is sure to become a family heirloom. :)
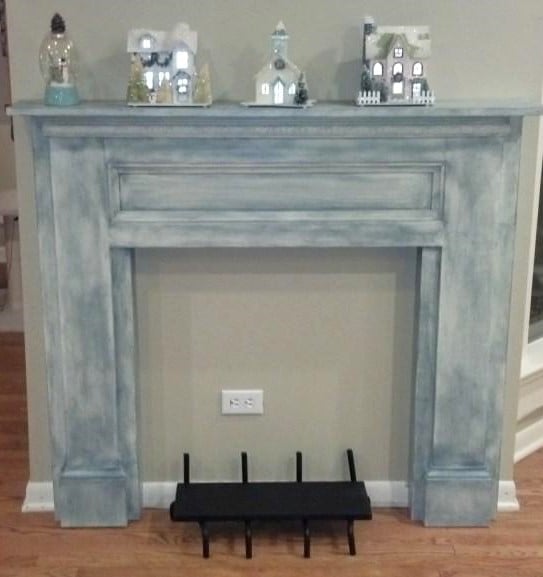
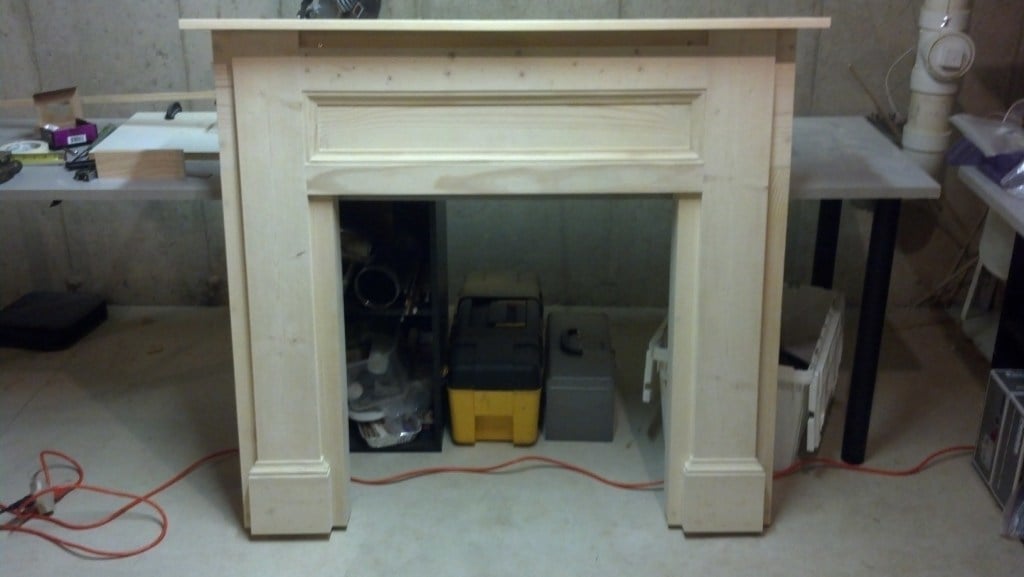
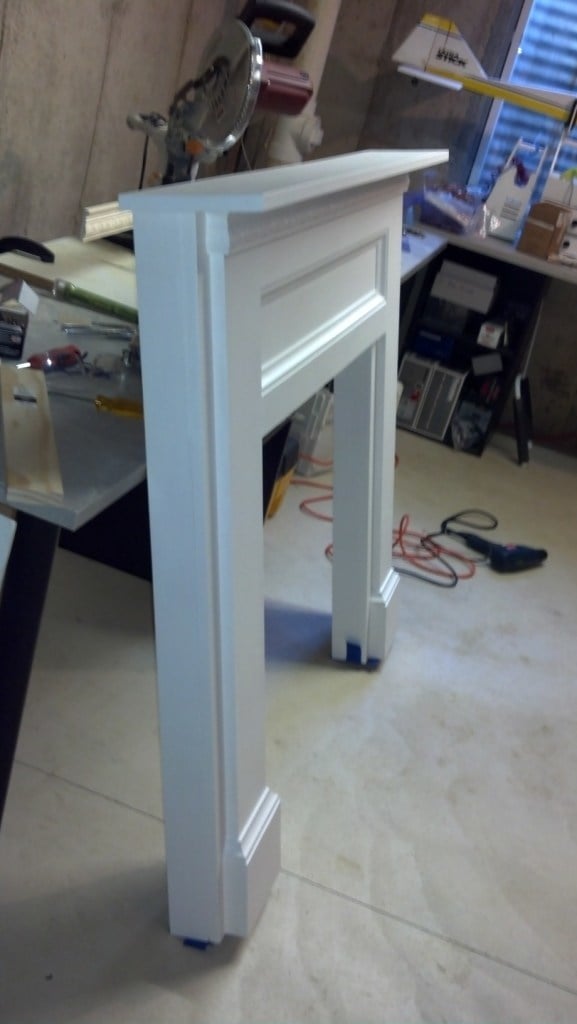
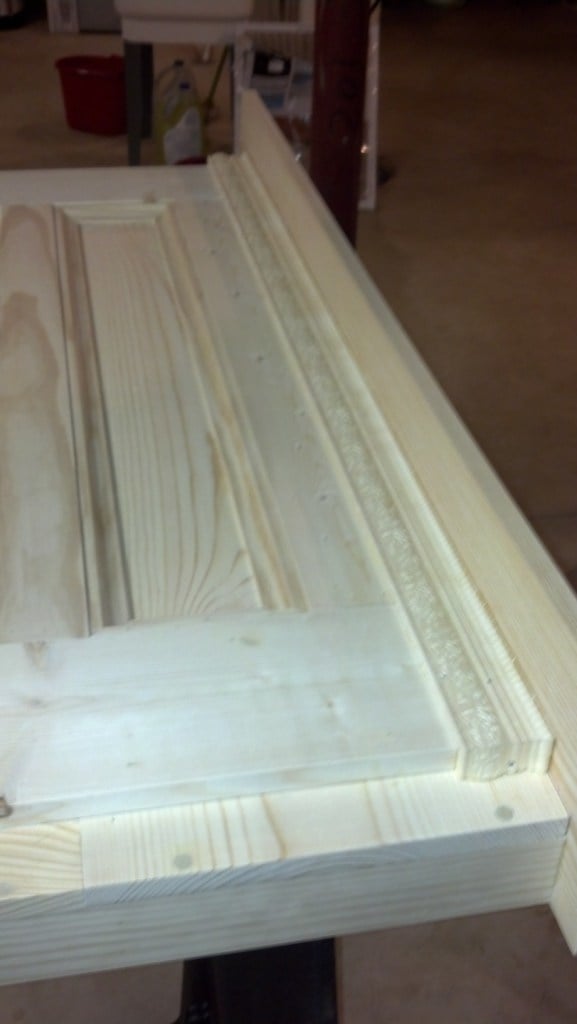
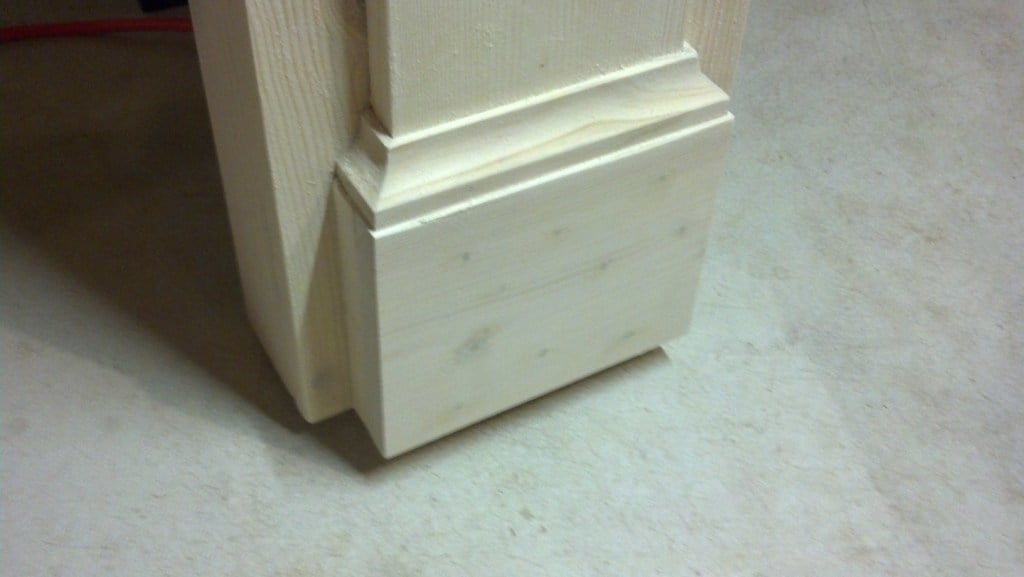
My daughter asked if we could build this together for her new apartment. We had fun putting it together over a month or so. I was easily able to duplicate the plans, even with my limited woodworking experience. I think it came out rather well. It was a lot of fun! We mounted it to the wall with a 1x4 board installed between the fireplace uprights and flush with the back edge of the mantle. I built a mounting bracket by overlapping two 1 inch thick, wide boards 50% and nailing them together. The width of the bracket boards were about 4 inches shorter than the mounting board on the fireplace to allow horizontal adjustment. I screwed the bracket to the wall. The bracket forms a pocket. The fireplace is lifted up and over the bracket so the fireplace mounting board slides into the pocket between the wall and the upper bracket board. I screwed the bracket a bit lower on the wall so the weight of the fireplace is supported by its legs. The bracket just keeps the fireplace snug against the wall. It worked great. Just be sure to screw the bracket into studs. I also removed the base board trim from the wall and cut it to fit around the fireplace. I also cleaned up an old fireplace log grate I had with a wire brush and flat black Rustoleum. I used a scrap piece of board painted flat black to put on the grate as a shelf for candles.
