Giant Awesome Sideboard!
Loved making this...conquered my fear of doors and drawers during naptimes!
Loved making this...conquered my fear of doors and drawers during naptimes!
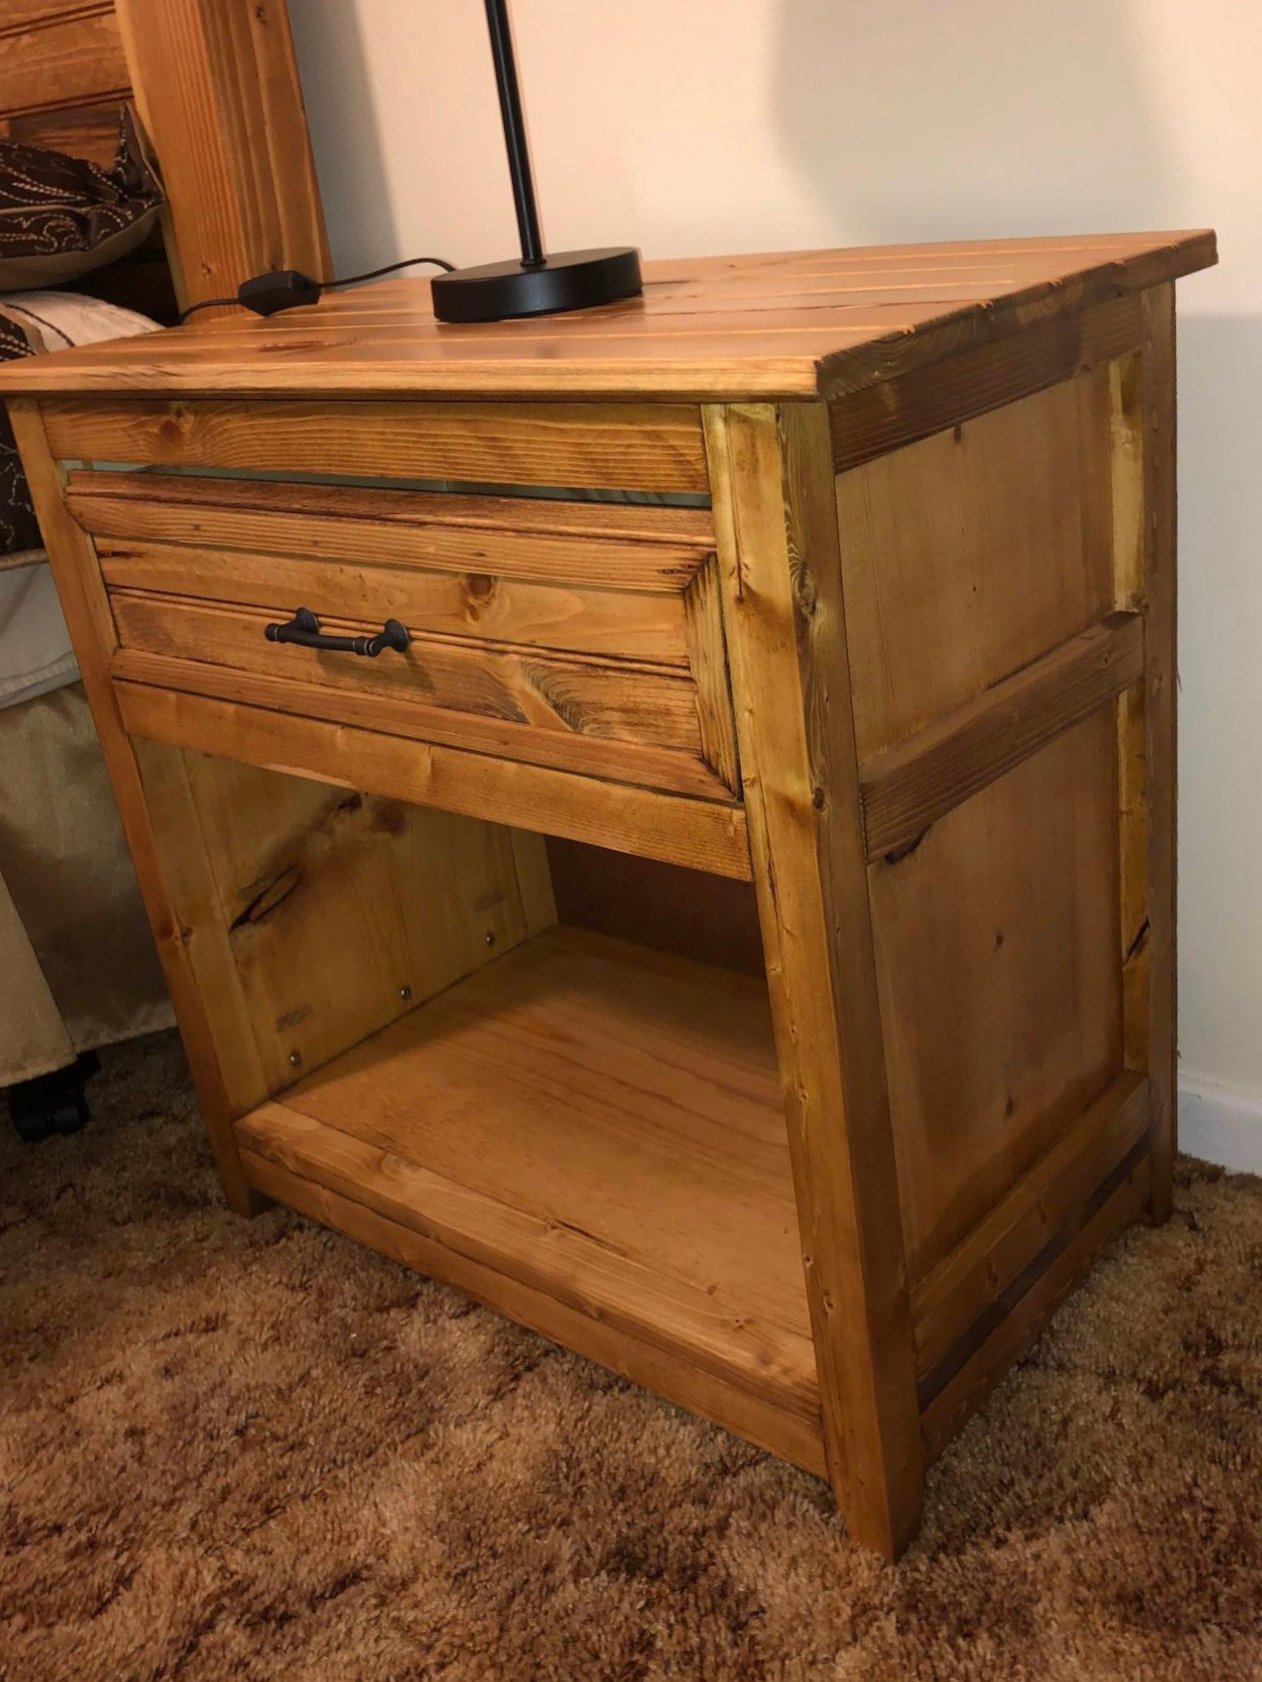
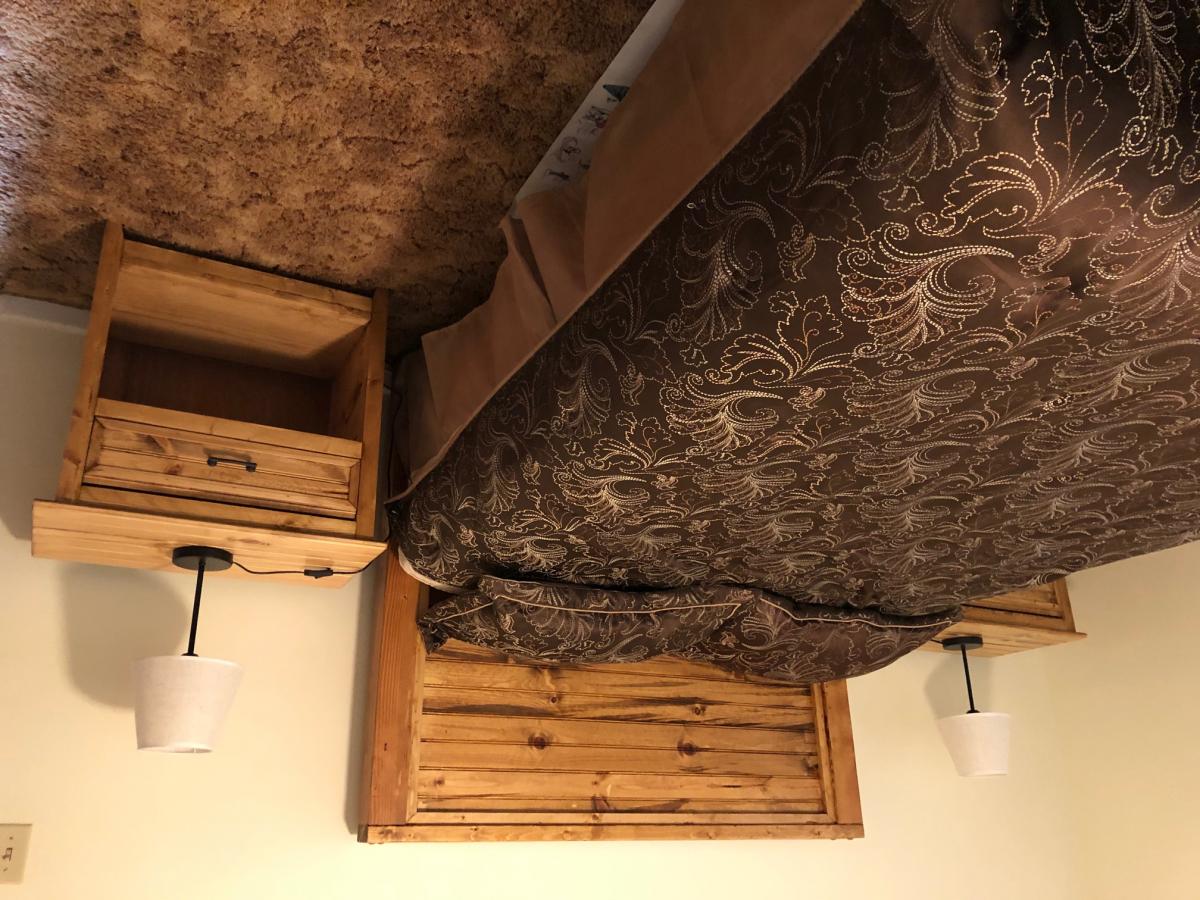
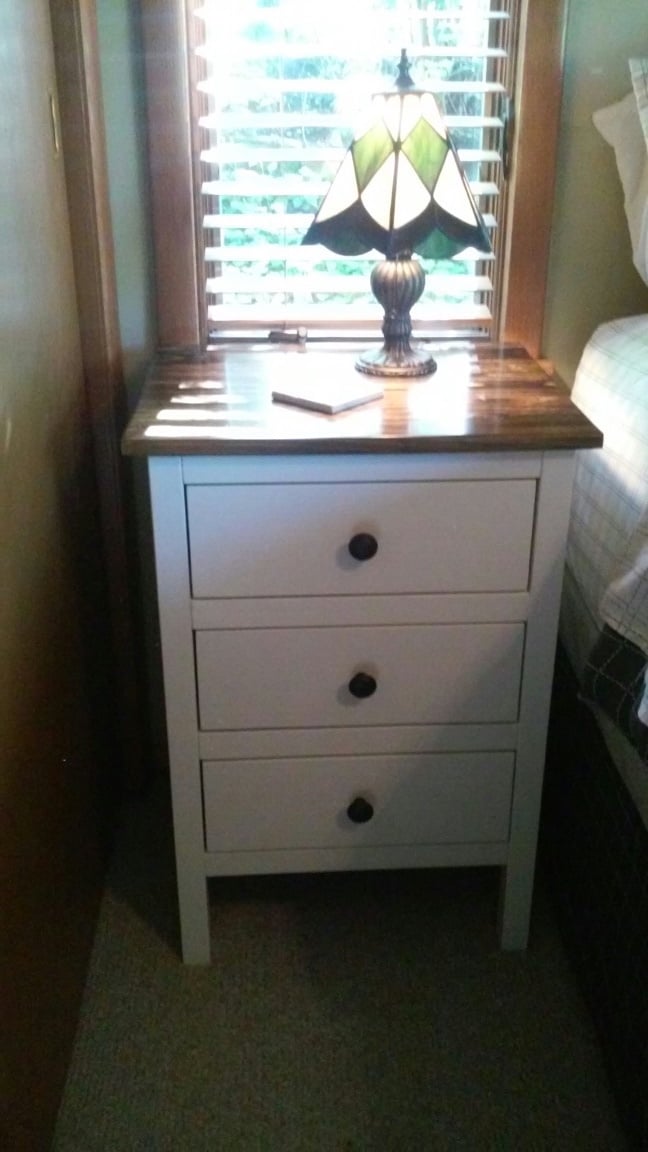
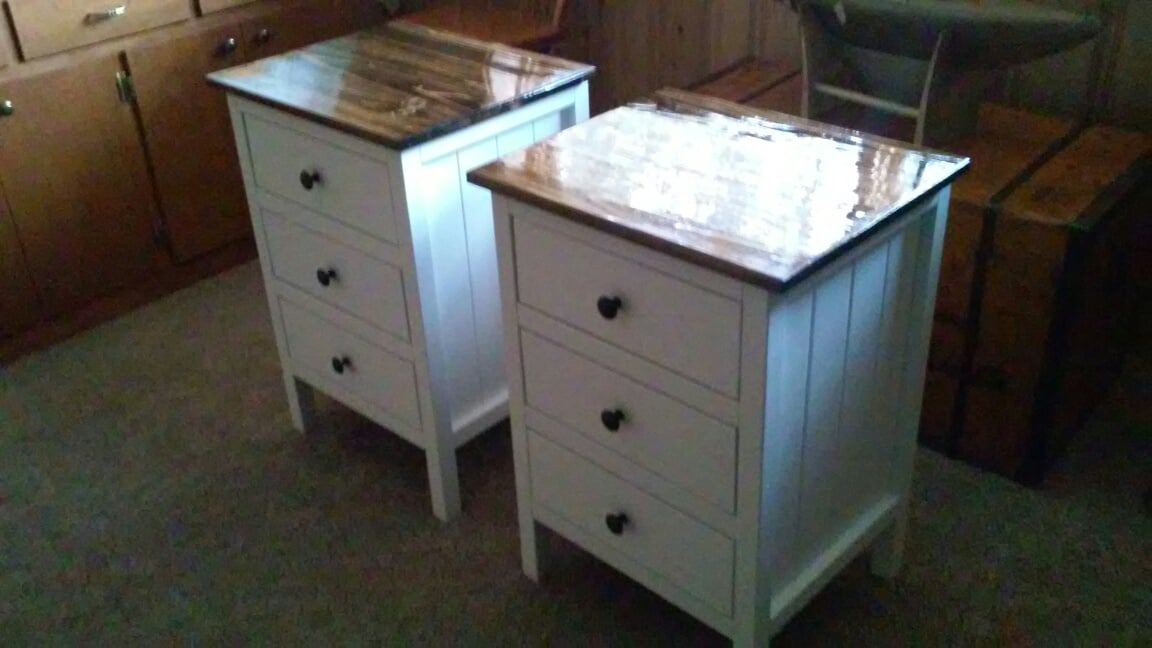
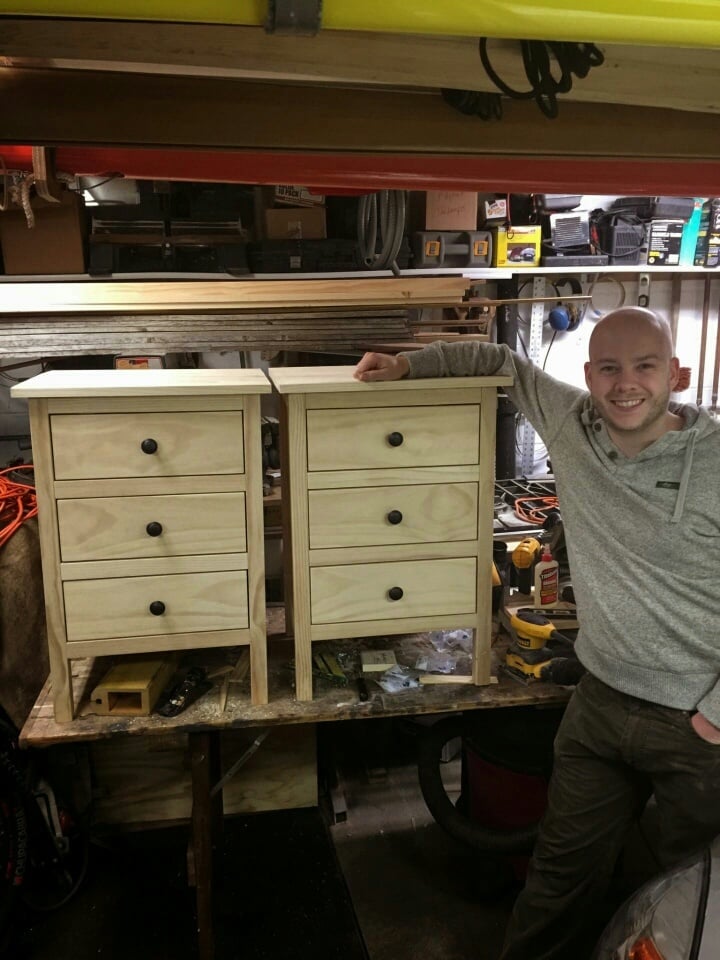
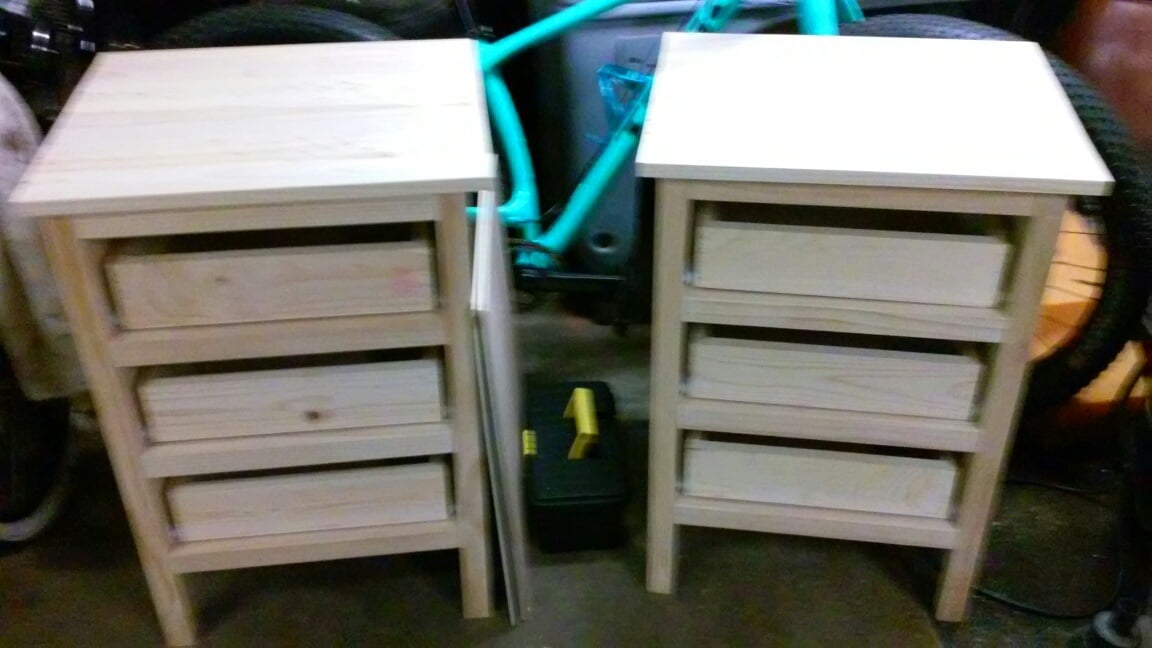
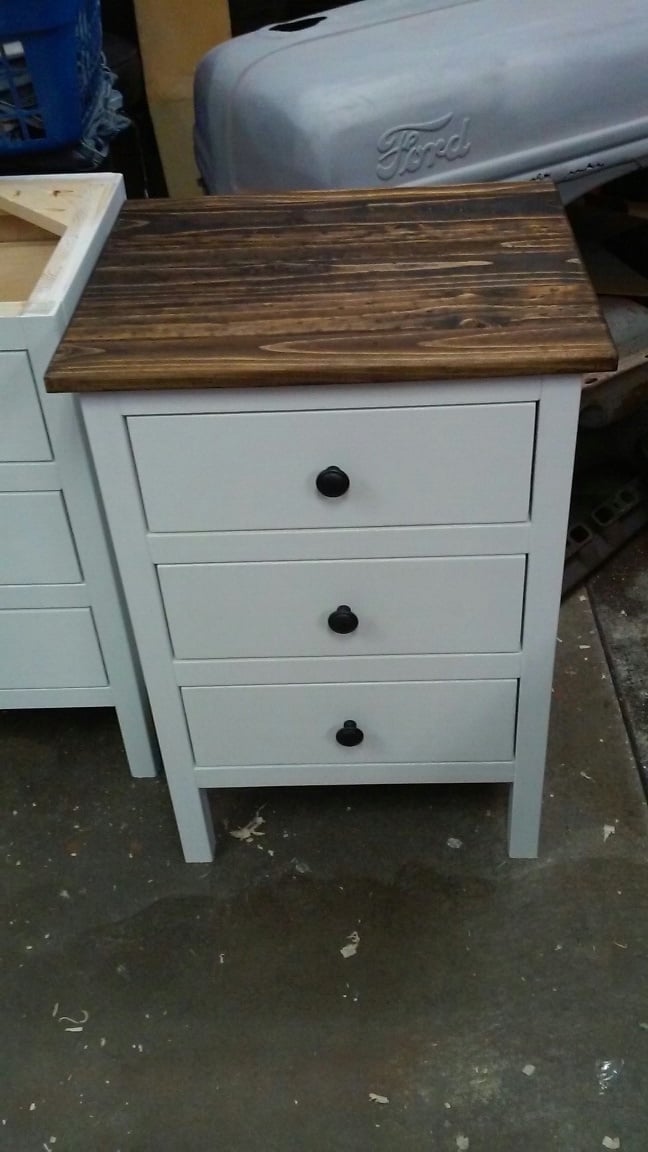
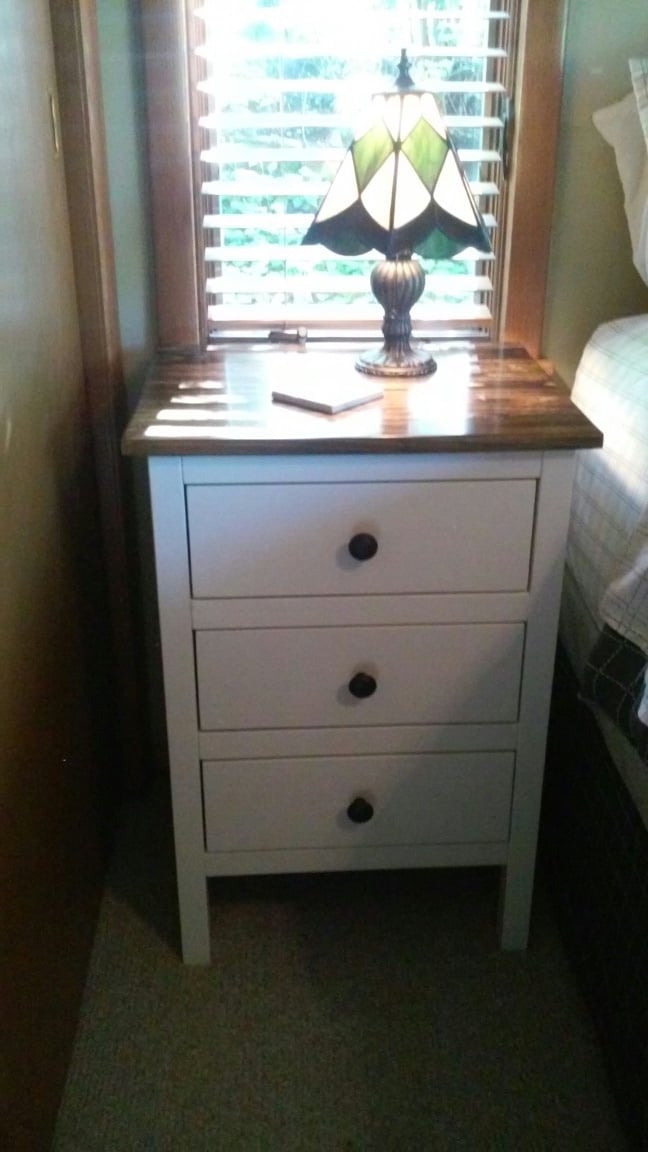
I built a pair of these nightstands to go with the Farmhouse Headboard that I made from plans elsewhere on this site.
I used tongue and groove bead board for the tops and drawer fronts.
Decent 2 x 2's are hard to find so I ripped down 2 x 4's for the legs on my table saw.
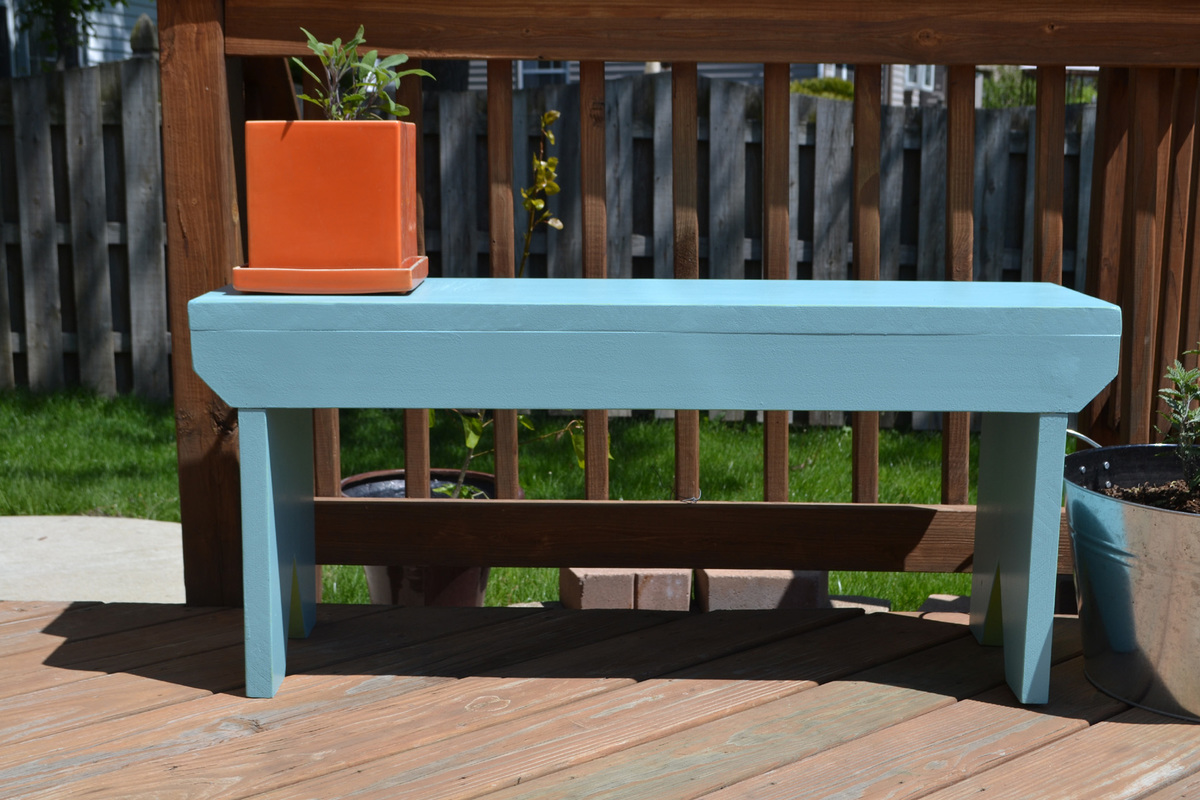
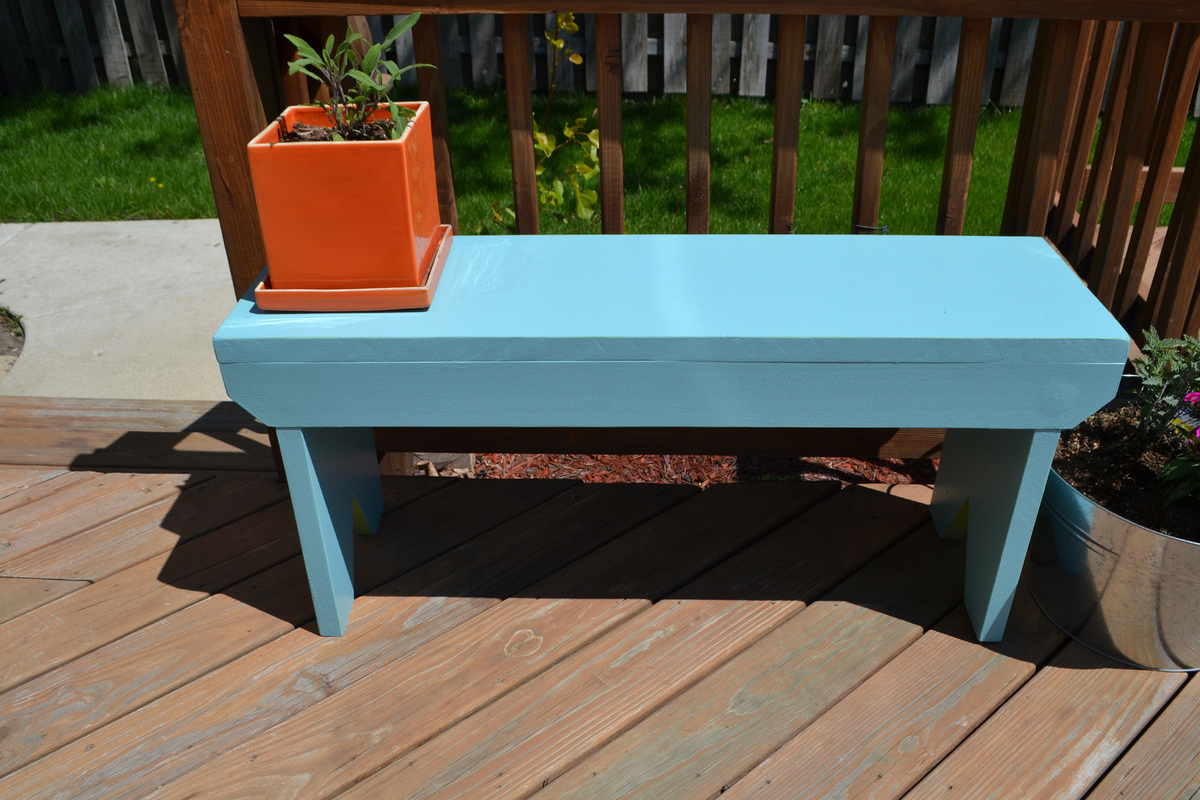
My partner purchased one of these benches for $100 at a shop in Michigan, but we gave up it over a year ago, and have missed it ever since. I decided to make one myself, using project board for the top and legs instead of 1x12s to make it sturdier. The bench will actually be used both indoors and out, but I applied Behr exterior paint to help it weather to elements.
Though it is tough to see in these pictures, the under layer of paint is actually a spring green, while the top coat is bright blue (both custom mixes), and the edges have been sanded. My partner wanted the V in the legs to remain green, and so they are. We're both very happy with the bench, and so glad we found the plans on this site. What a savings!
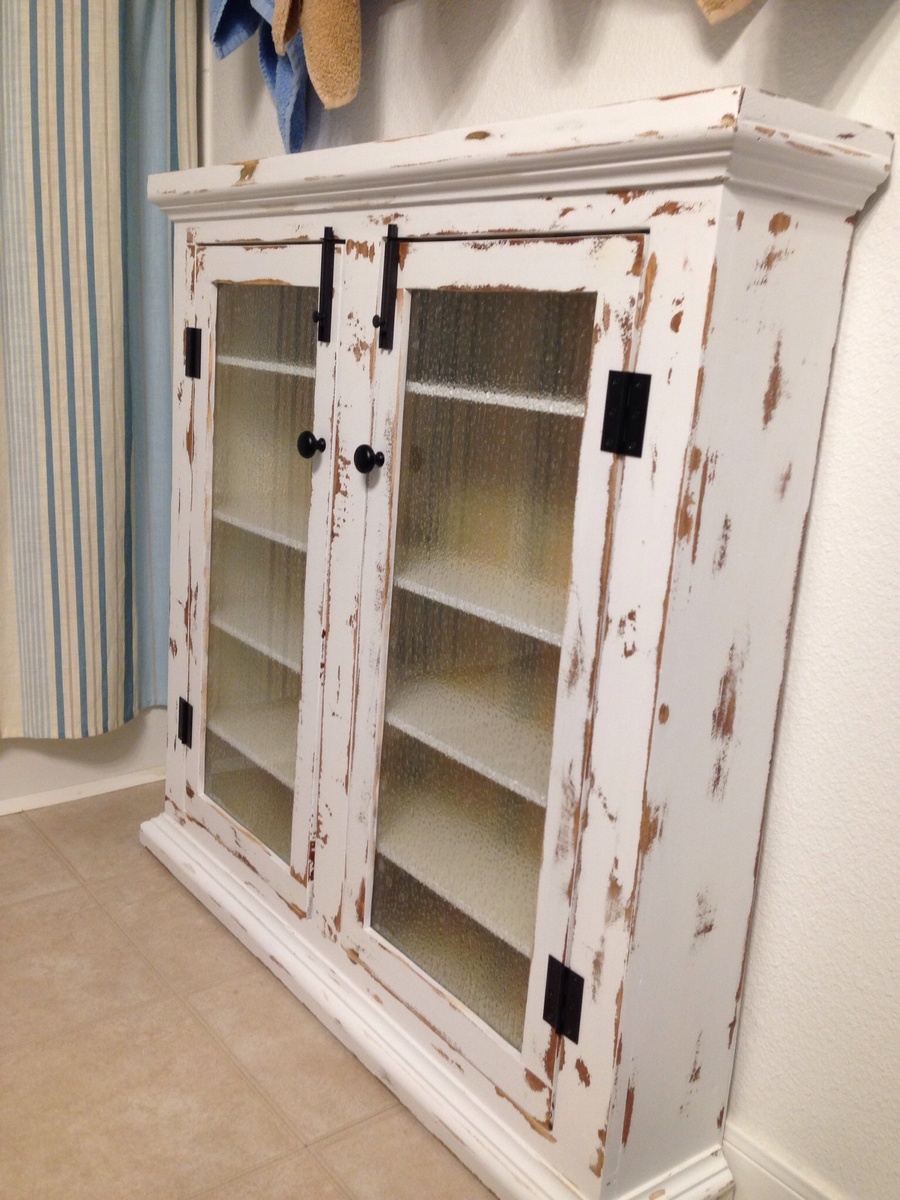
3'x3'x6".
Used to store all of those meds and vitamins and bandages for kids, adults, pets, etc.
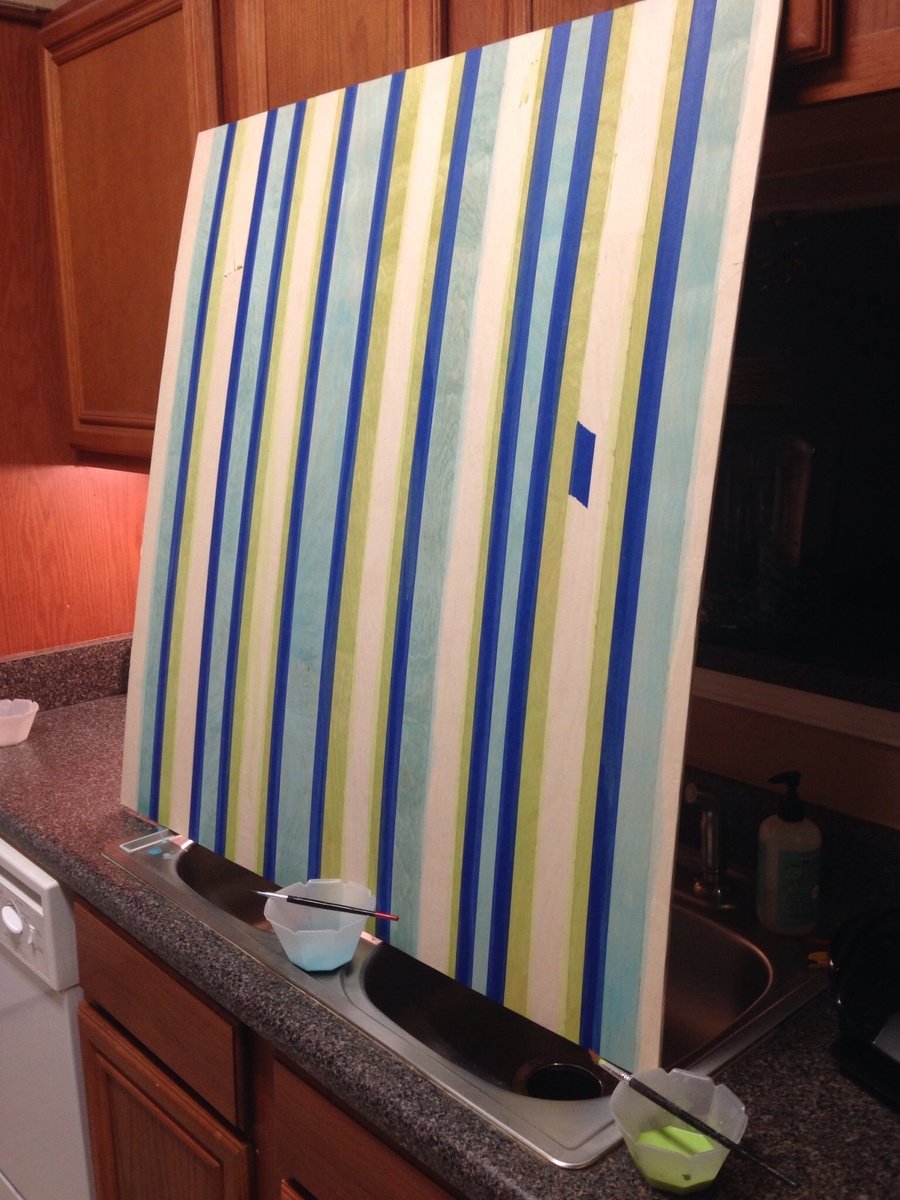
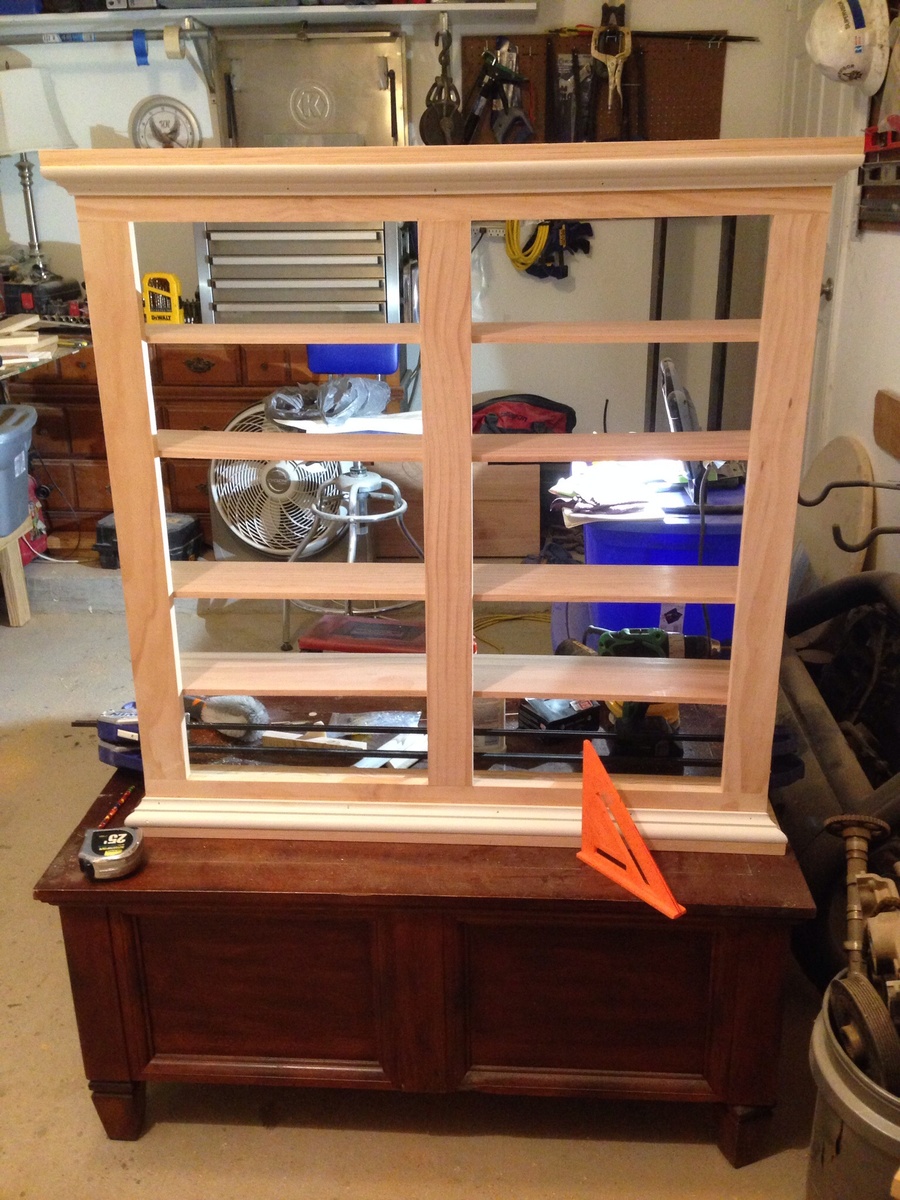
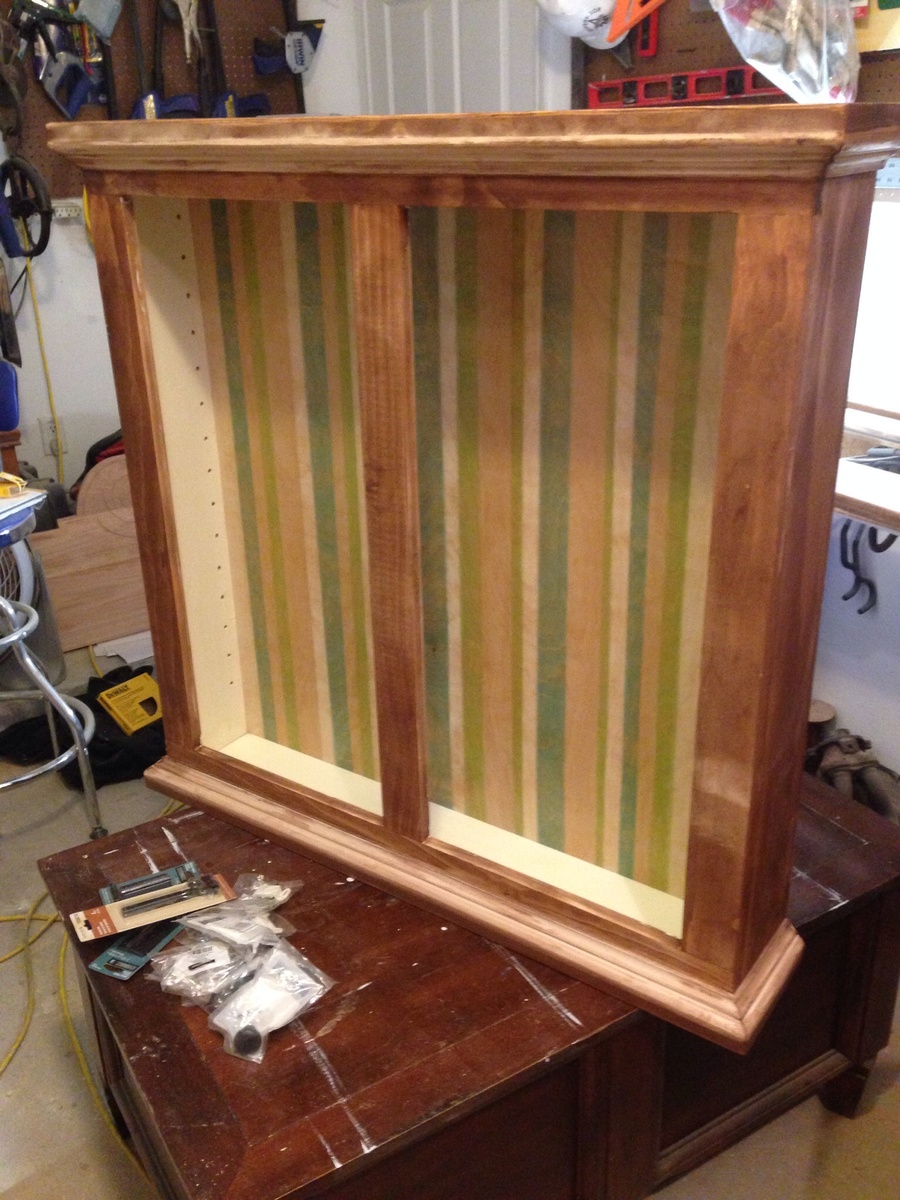
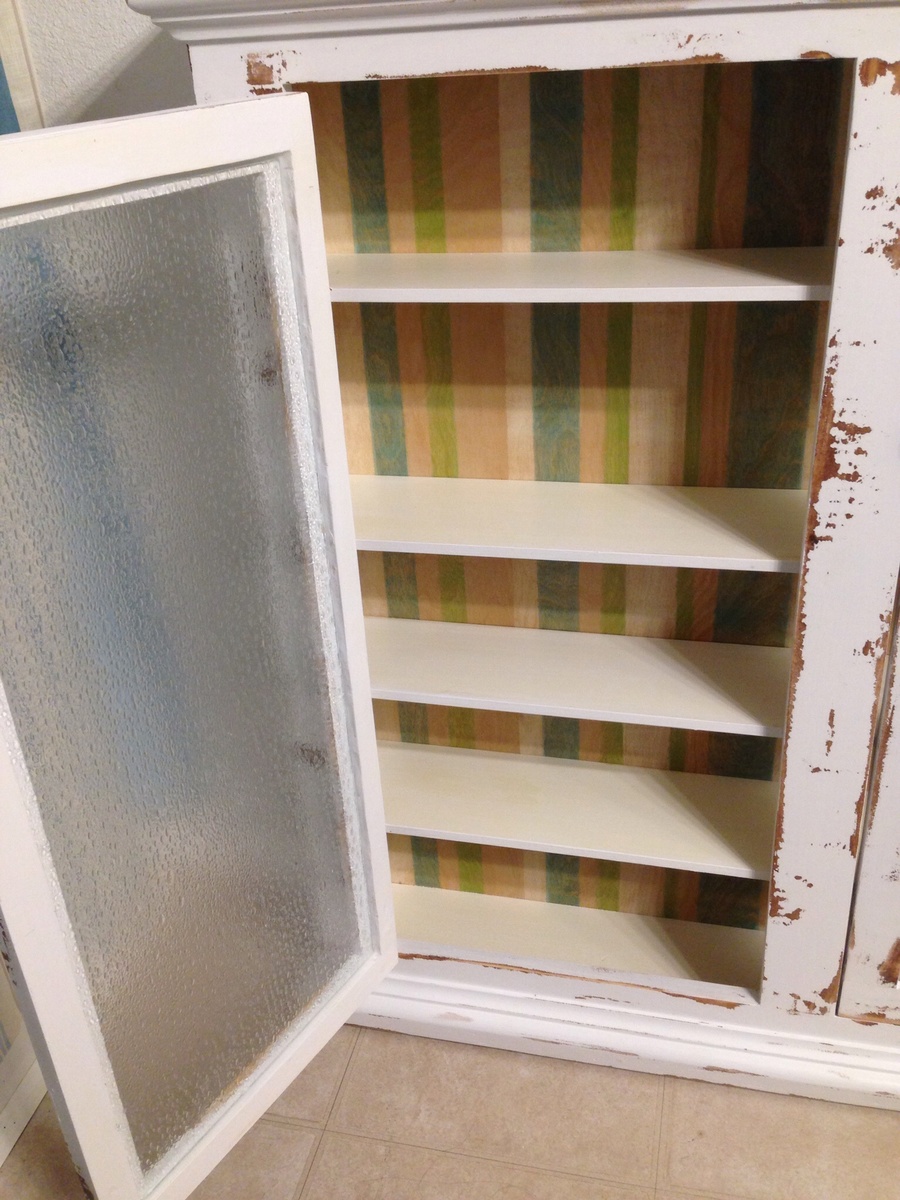
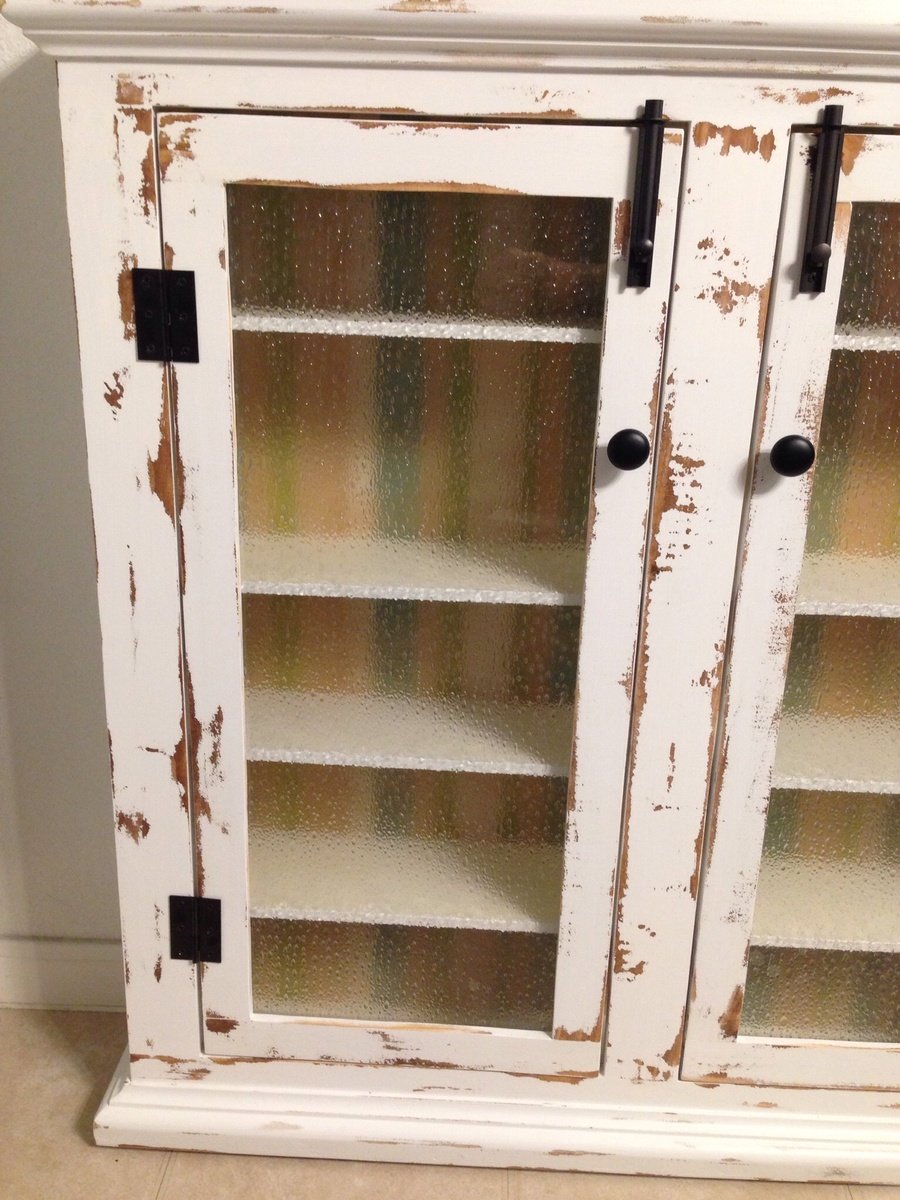
Pine wood, painted stripe backer board, rubbed bronze hardware, dark stain and distressed white finish, seeded glass, adjustable shelves.
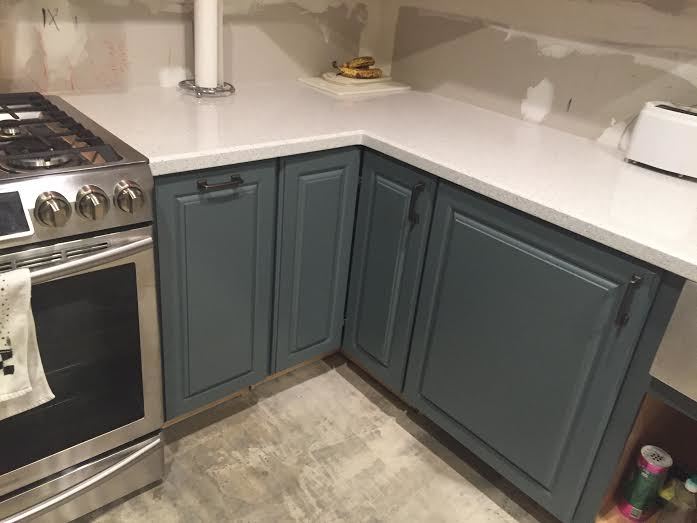
This was the first time my husband has build kitchen cabinets. We have used many wood working plans from this website. The cabinets are made of two sided prefinished maple wood.
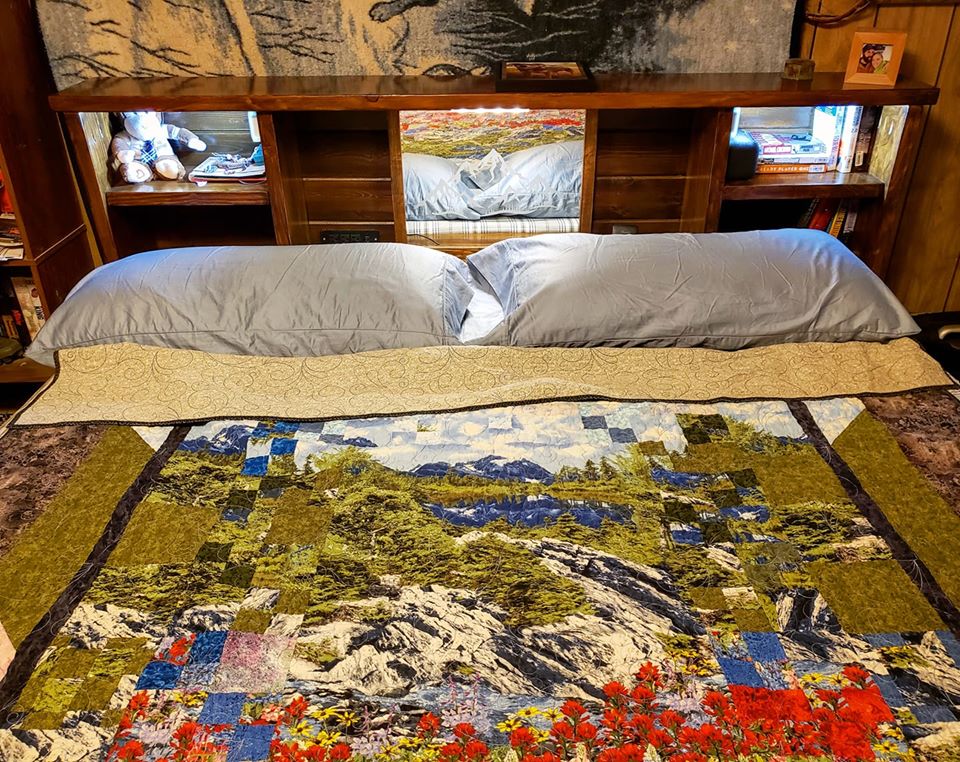
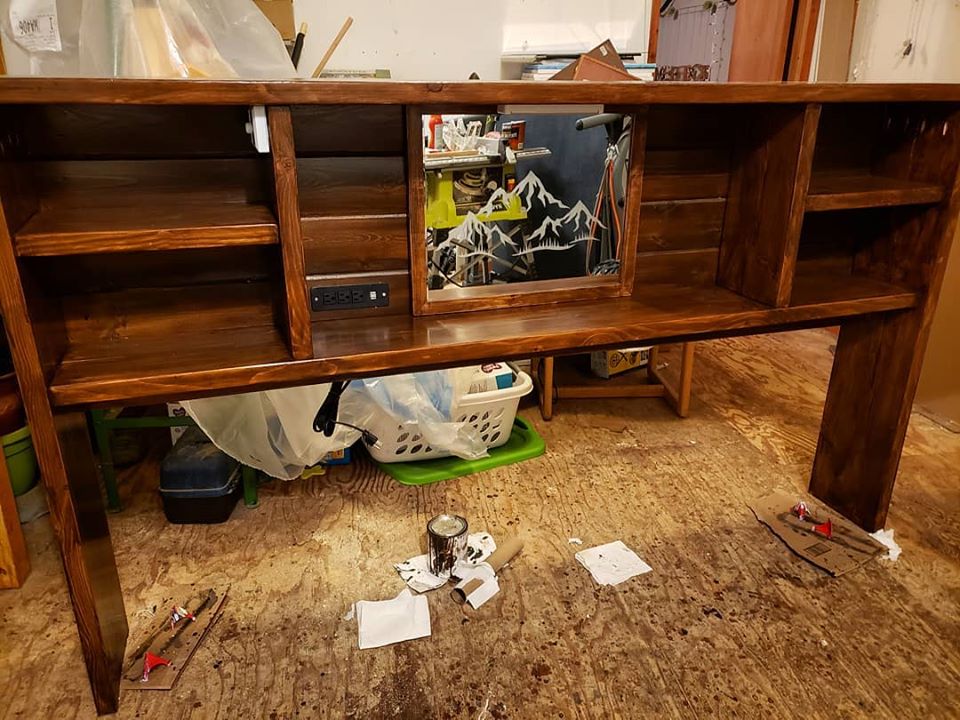
I designed this headboard on the back of a napkin, after we couldn't find one at a box store that met our needs. I used Douglas fir 2x10 for the headboard/shelves and Pine T&G for the backing. My fiance etched a mountain range into an unframed mirror, which I then framed from the scrap fir wood, and stained to match. Also attached an LED Lightbar above the mirror, Dimmer switch LEDs on each bookshelf, and a recessed USB/Plug port. This wasn't the cheapest project with the electrical accessories added, but we now have a custom wooden headboard with bookshelves, lighting and chargers that will last us years and be far beyond anything we could have bought at a big box store for the same cost.
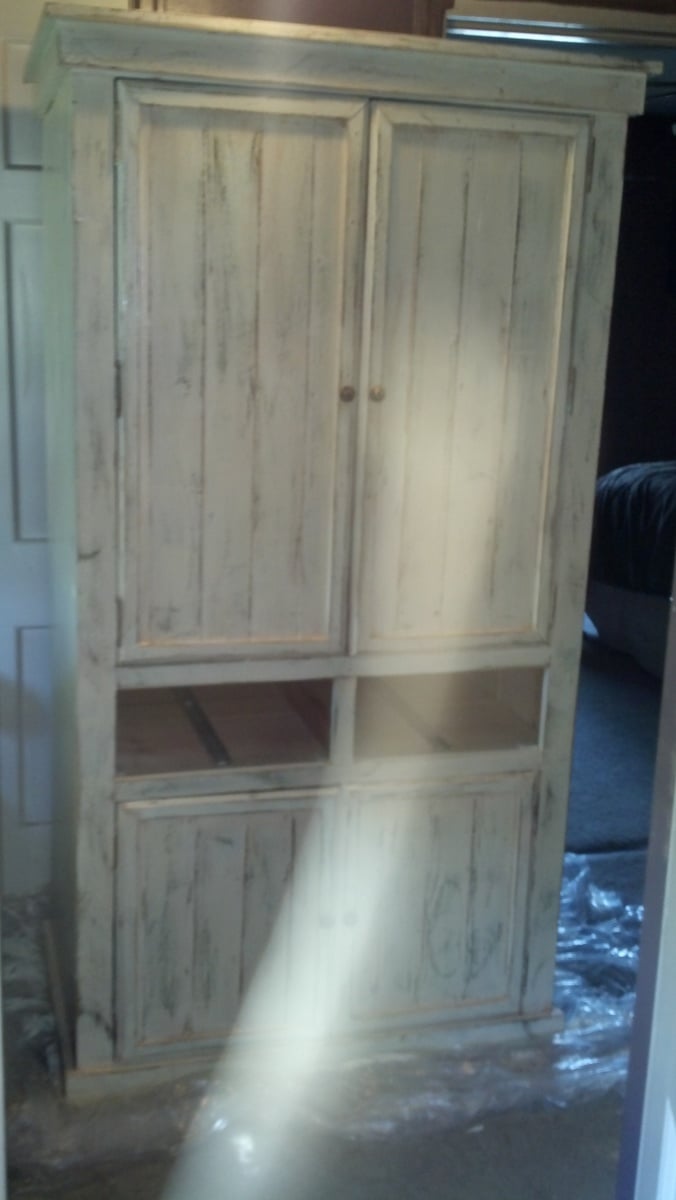
I altered the nursery armoire and made this!
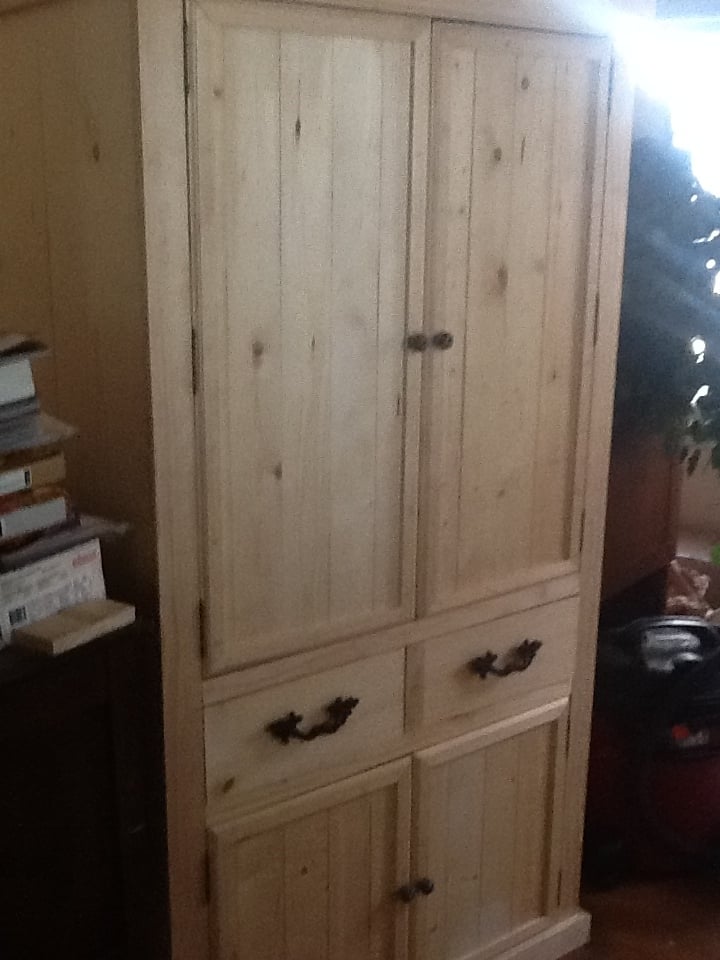
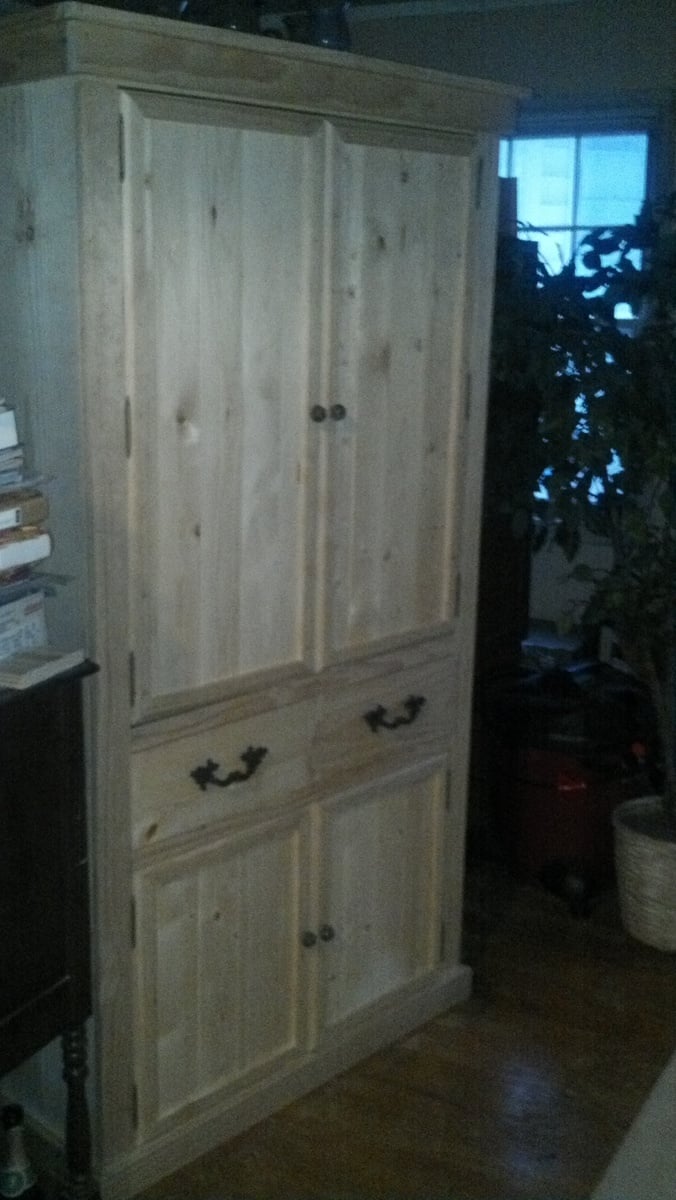
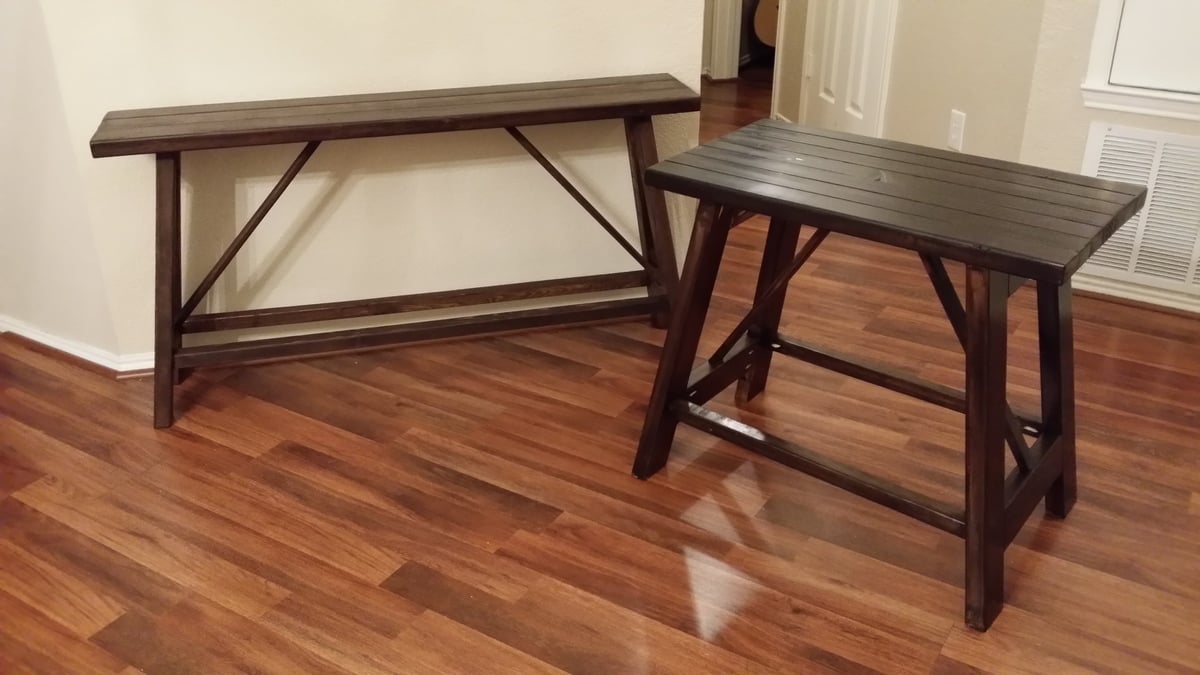
These were so easy to make. I actually messed up on the smaller one and used the 2x4's on the legs. By the time I realized it, I had to use the 2x3's on the top. I just used more of them. It still turned out great. My wife had me make another one for an empty space we had. I used the same basic layout and just modified my length and width. Thanks for the great plans.
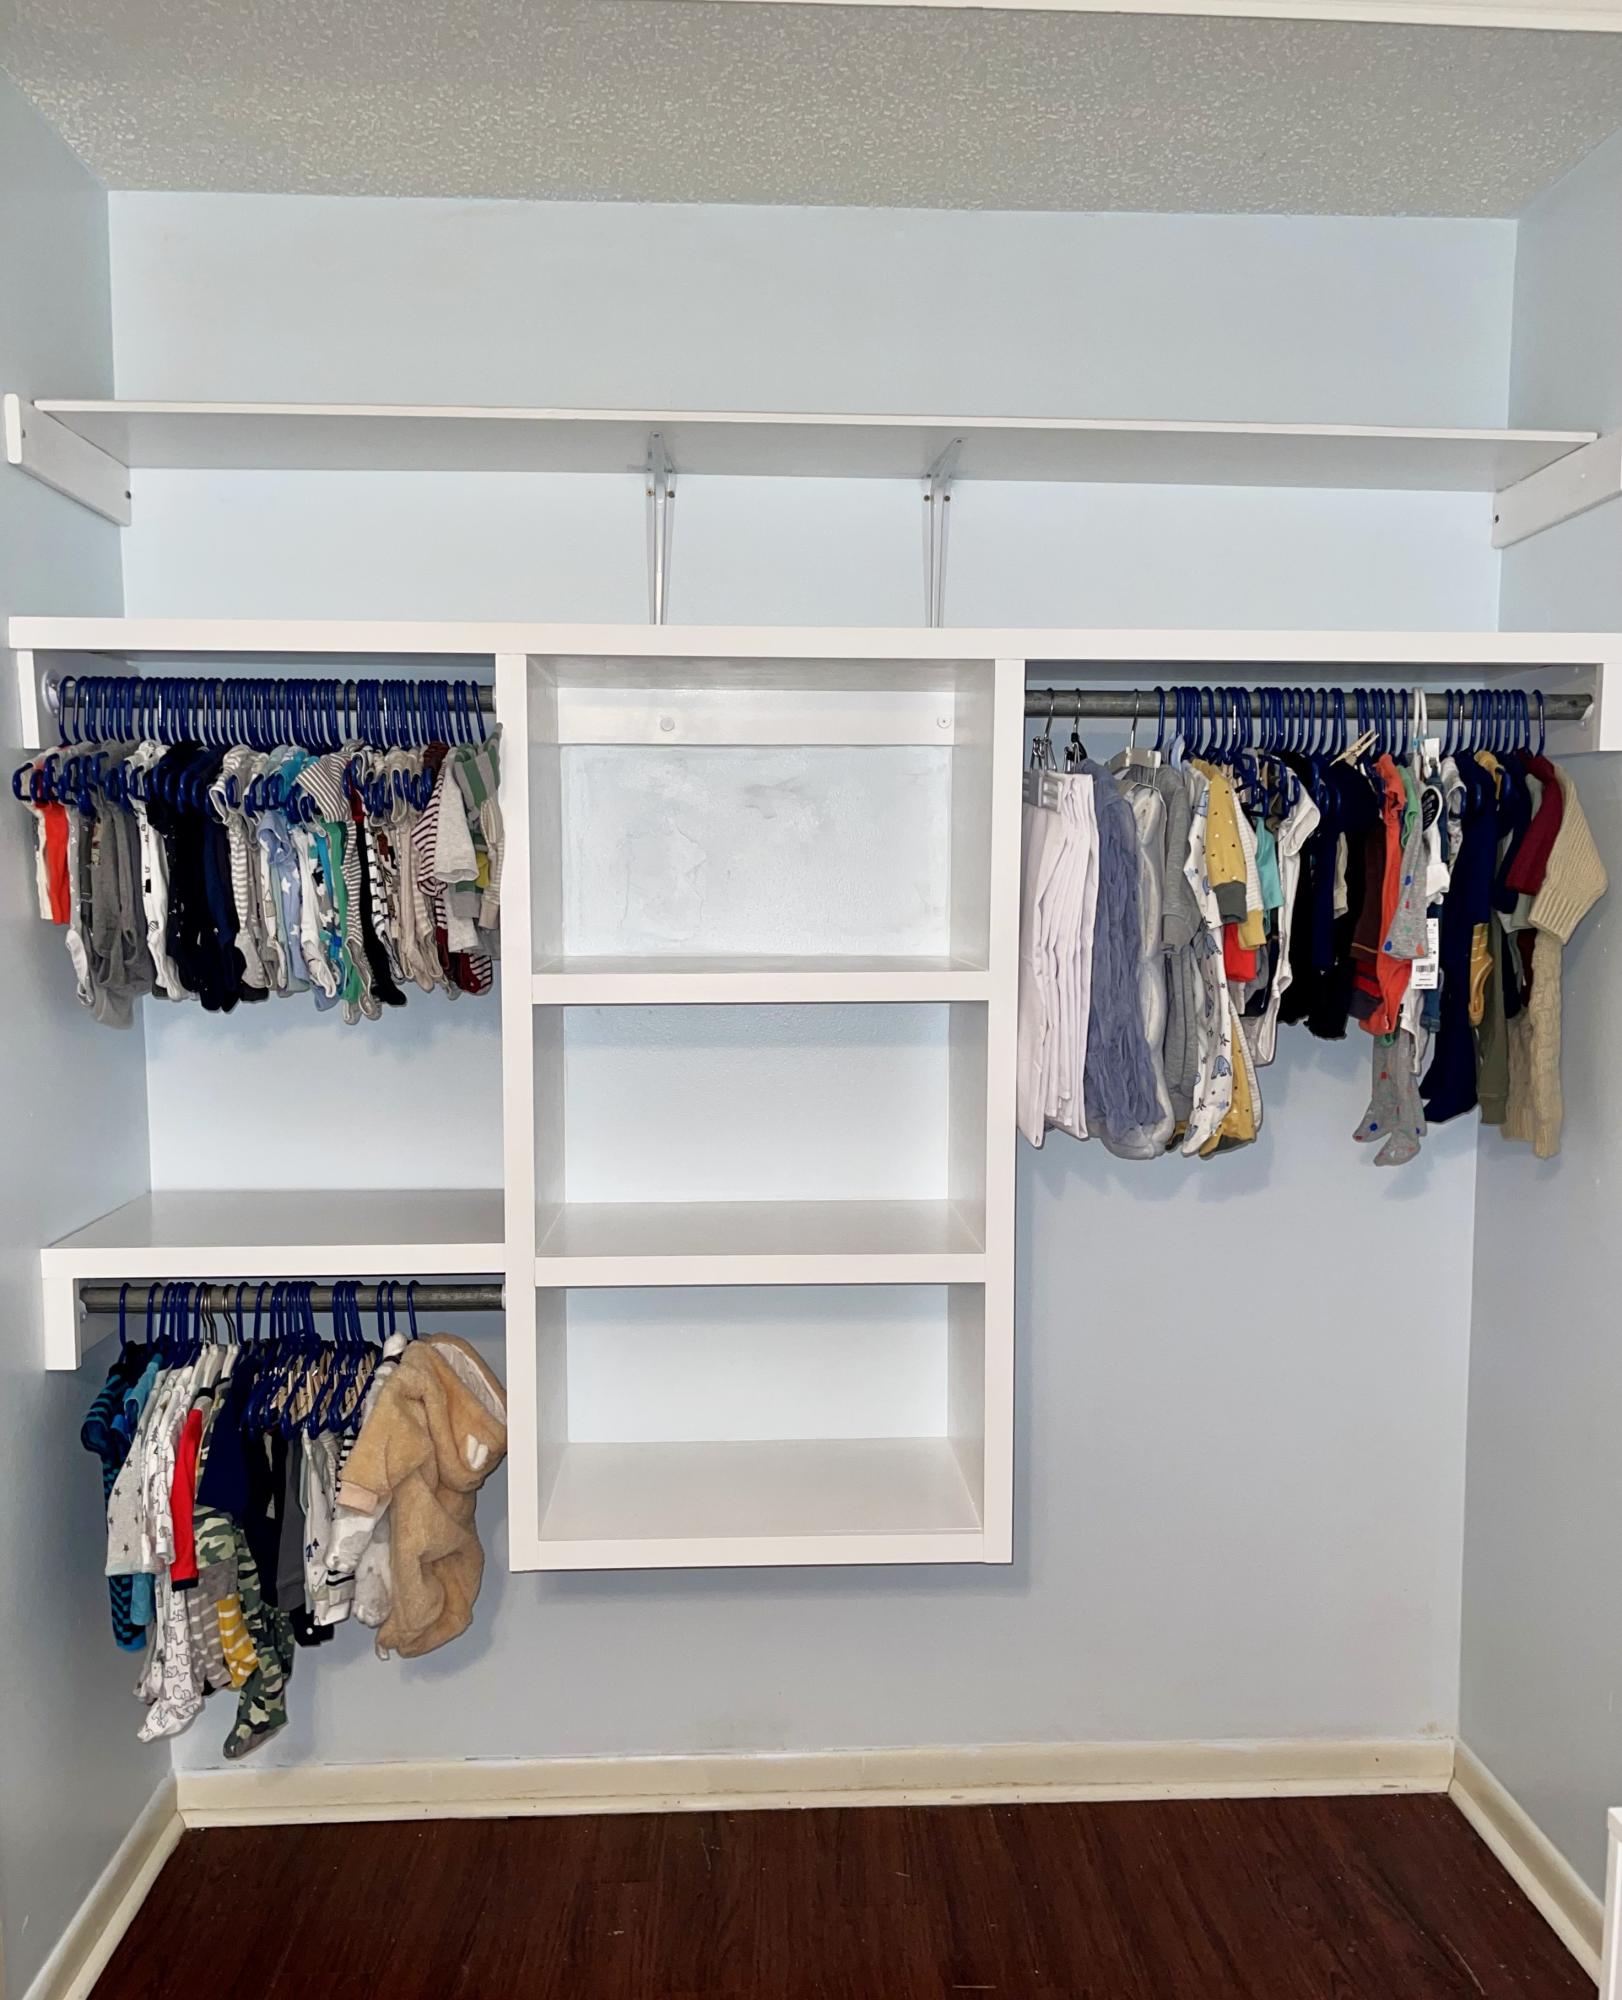
This project is based on the floating closet tower build. This is the first time I’ve attempted a renovation project of this size, and I feel satisfied with the results. I did not purchase my boards from shelf help, I cut mine from a sheet and a half of plywood. Thank you for providing your plans for free. They are very helpful for beginners like me!!
Charity P
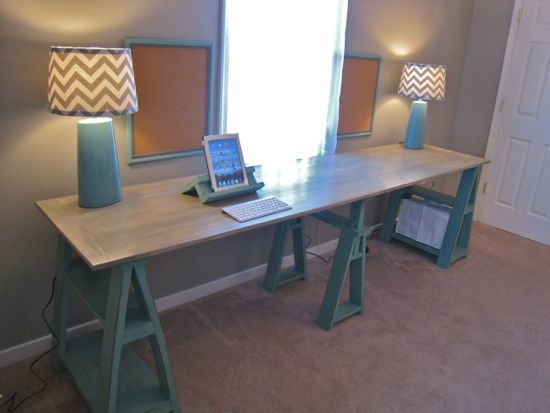
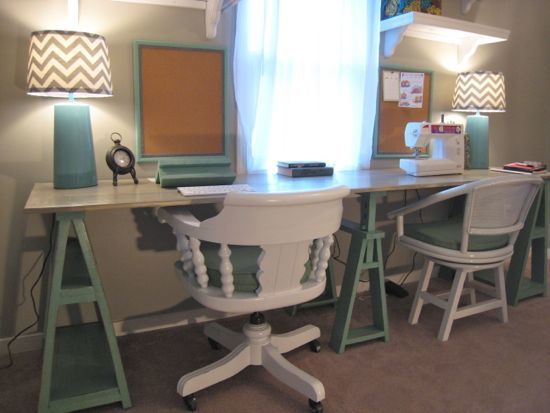
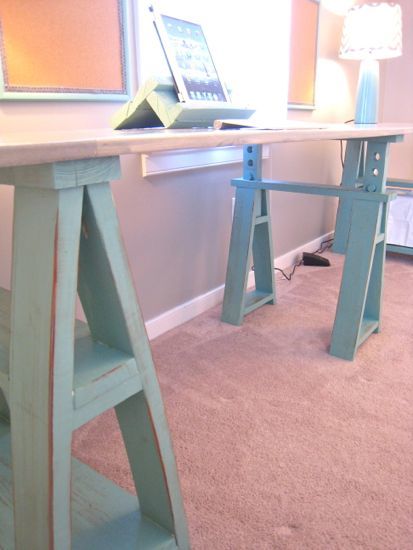
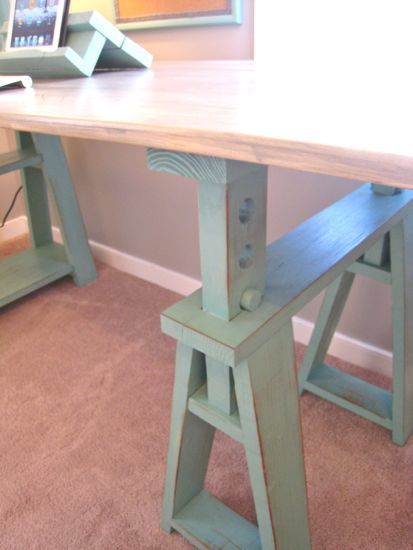
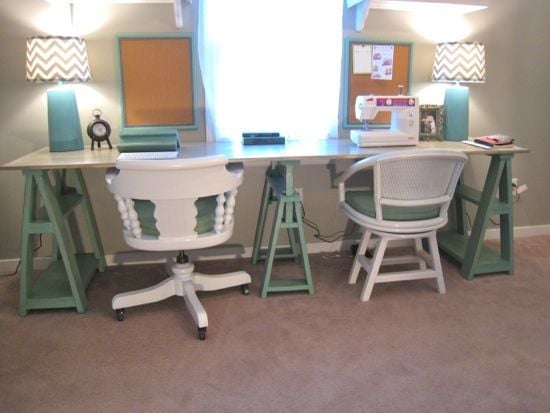
I started out following the plans to a "t" and was going to make two of them. I got about half way through the first and decided to just turn it into a double work station. I decided to make the middle sawhorse slightly different for visual interest. I was also worried about how the desktop would line up with our window sill.
I documented the whole build process here;
http://tommyandellie.com/index.php/2012/01/22/sawhorse-double-desk-deta…
The paint and distressing is in this post:
http://tommyandellie.com/index.php/2012/01/26/sawhorse-paint-and-distre…
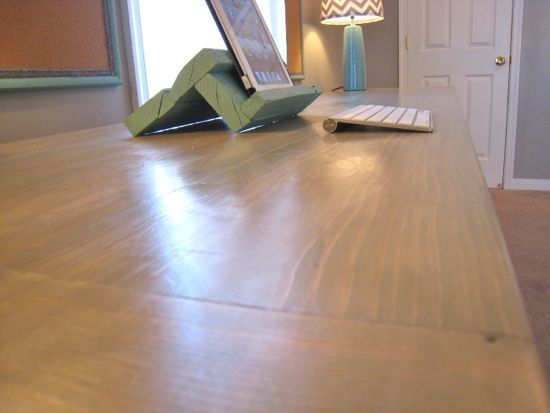
And the stain on the desktop is here;
http://tommyandellie.com/index.php/2012/01/28/sawhorse-steel-wool-aged-…
Sat, 04/28/2012 - 10:48
gorgeous room and styling. It looks straight out of a magazine! I love the shade of green/blue you used on the sawhorses.
Sun, 08/05/2012 - 05:19
Perfect for a schoolroom! My homeschool room to be eact. It's beautiful!
Sun, 08/05/2012 - 05:20
Perfect for a schoolroom! My homeschool room to be exact. It's beautiful! This might be the one for us. :-)
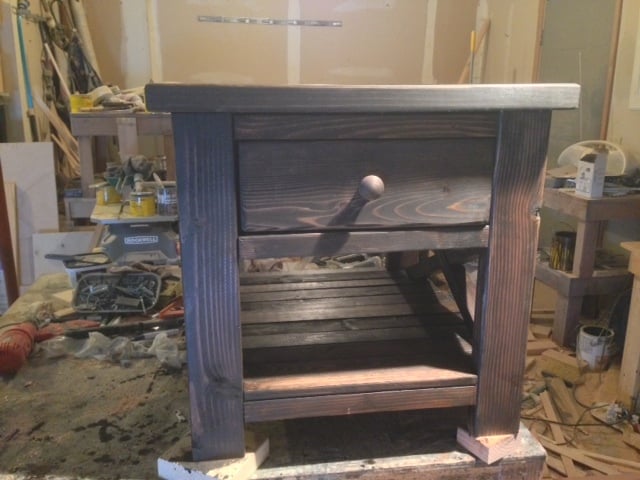
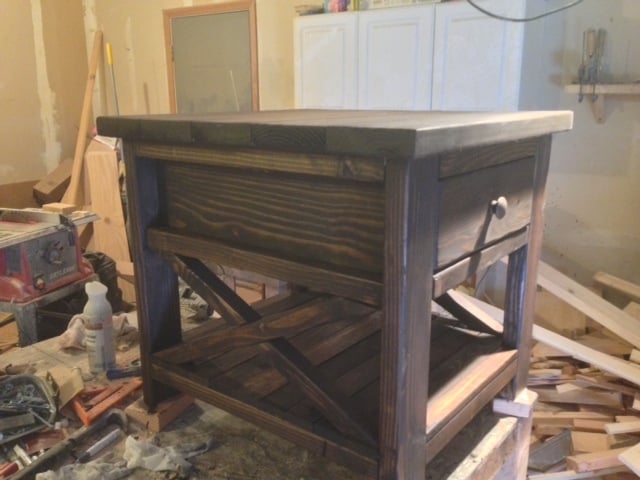
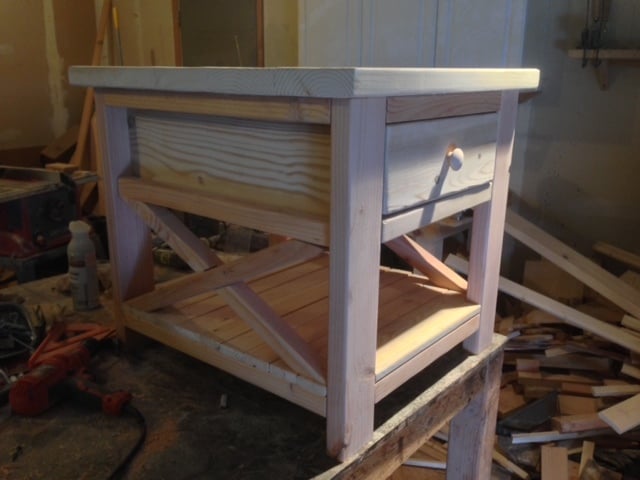
Well I combined the rustic x end table with the mimi nightstand and BAM! I had new end table. LOL
Tue, 03/11/2014 - 07:34
Dear Woodbuilder, would you happen to have any detailed info for this table. I really like it.
Zorro
This little puzzle was pretty fun to make and allowed me to use up some of the magnets from my last project. The goal of the puzzle is to remove the center piece from the tube. You will quickly notice that there isn’t much to the puzzle – no buttons, latches or any other obvious locking mechanism.
Build Instructions: https://www.instructables.com/id/Tube-Puzzle/
How it Works / Solution: https://youtu.be/N4ID3-wBdik
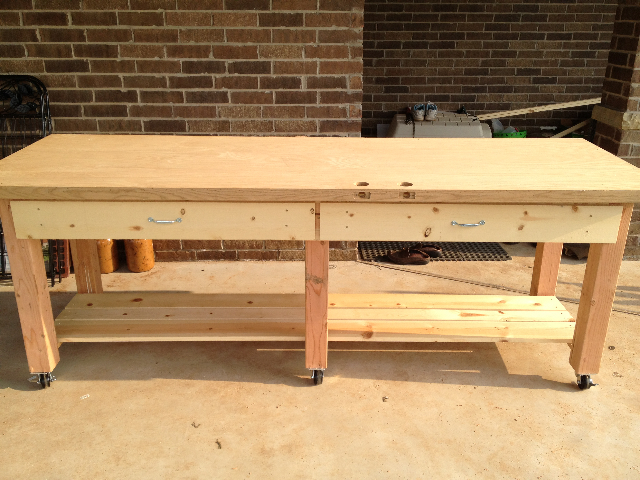
We had an extra door after building our house. We were not able to get store credit, so we found a some good use for it. After searching the plans here we saw the rolling workbench and decided what to do.
The door was so heavy and long so we modified the original plan and put a middle support. Our plan is based on the "Rolling Workbench with "Drill Holders"".
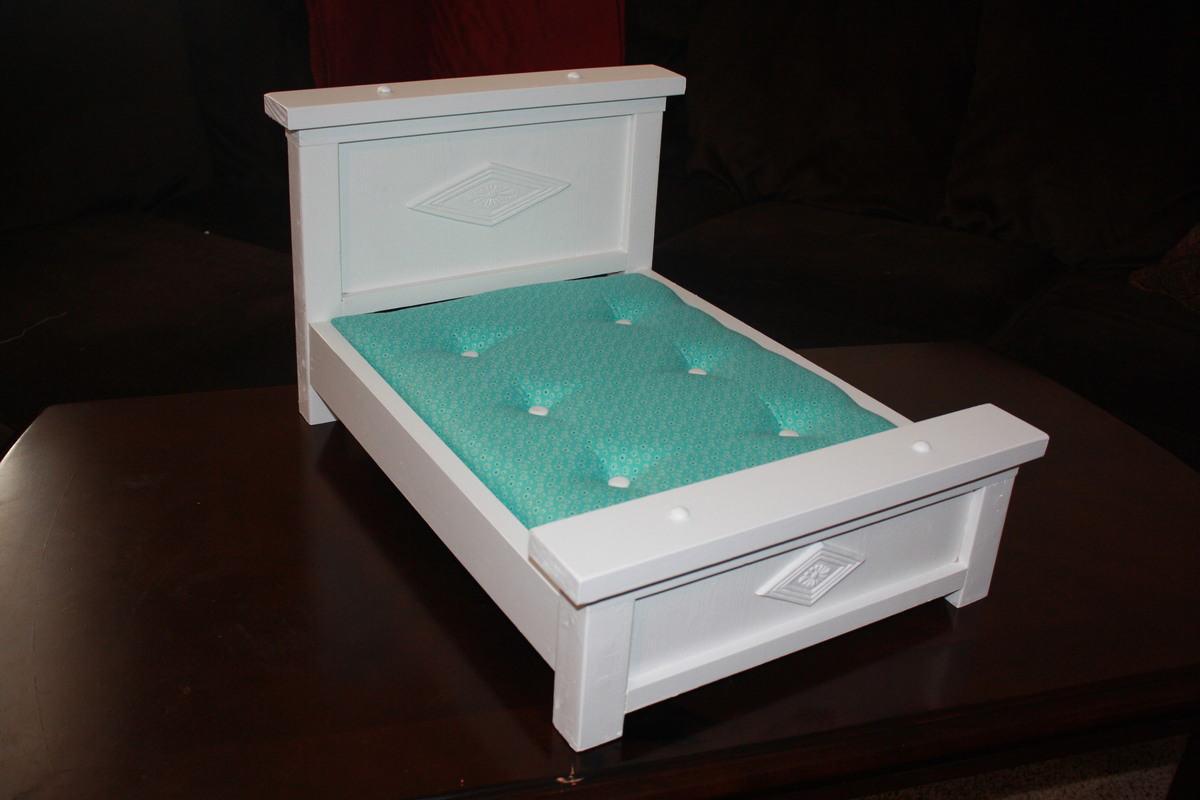
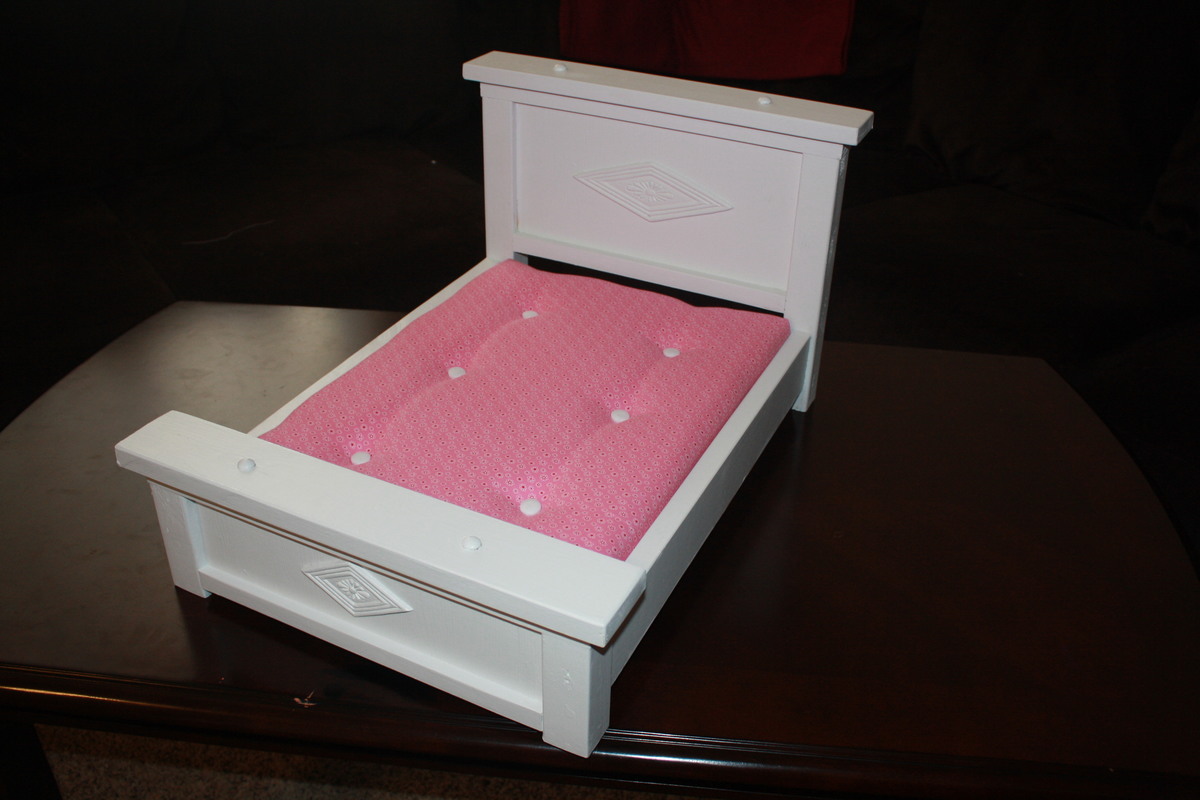
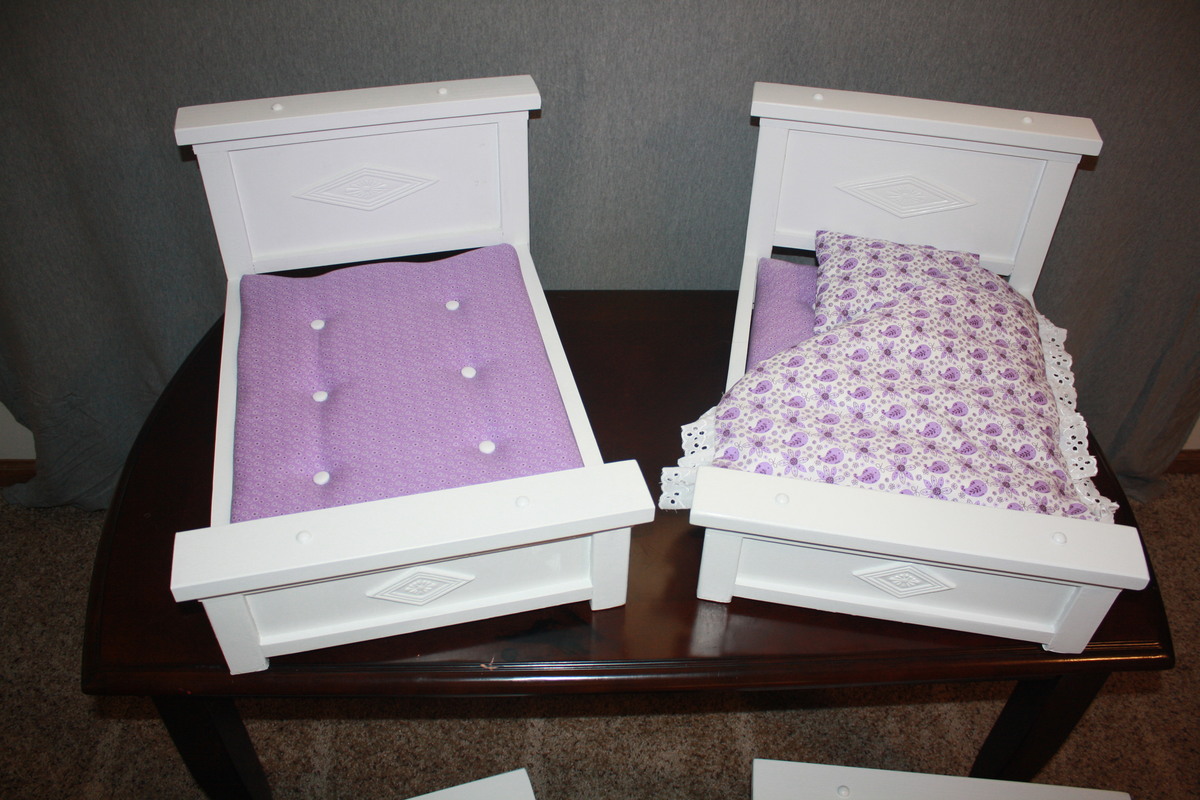
I saw the Farmhouse Doll Beds on Ana's Website and knew right away I wanted to make them for gifts for my daughter and my 3 great nieces!!!
I added a few touches to make them my own.
I am thrilled with the way the mattresses I made came out.. and my mom helped with making me the bedding!
In reply to Love it! by carongirls
Sun, 02/16/2014 - 17:29
Thanks, my mom is the one who made the bedding! I did the mattresses.. which was fun. Got my daughter involved and we even made the buttons. I found matching bedding for the beds.. just different colors! Thanks for the comment!
Tue, 02/18/2014 - 11:19
I cut the plywood to fit the bottom of the bed.. I had to drill 1/8 inch holes through the bottom of the plywood to coorespond with placement of the buttons. I then placed foam over the plywood and covered with the material. I pulled material tight over the foam and stapled it to the bottom of the plywood. Lastly I used a button making kit from Hobby Lobby and made the buttons - pulling the string through the mattress with the button attached and pulled it tight. After pulling it tight I used an offset screw underneath the mattress to tie off the string.
Tue, 02/18/2014 - 11:27
This was such a fun project that the next project on the list is making the Farmhouse twin size bed so my daughter can have a matching bed!!!
This was quite the project. It was the most fun and rewarding of the handful I've done so far. It took quite a while but now that it's finished I'm very satified. I would like to eventually build an extra large dresser that matches.
***The one thing that I am not totally happy with on this project are the euro drawer slides. They are loud and they have a cheap chinsy feel to them. When I build drawers in the future, I will either spend more and get fancy slides, or make some simple waxed wood slides for a more premium feel.

Needed a small desk for the vacation home - modified Ana’s plans slightly to use some wood I had sitting around. I am so happy with how this turned out!
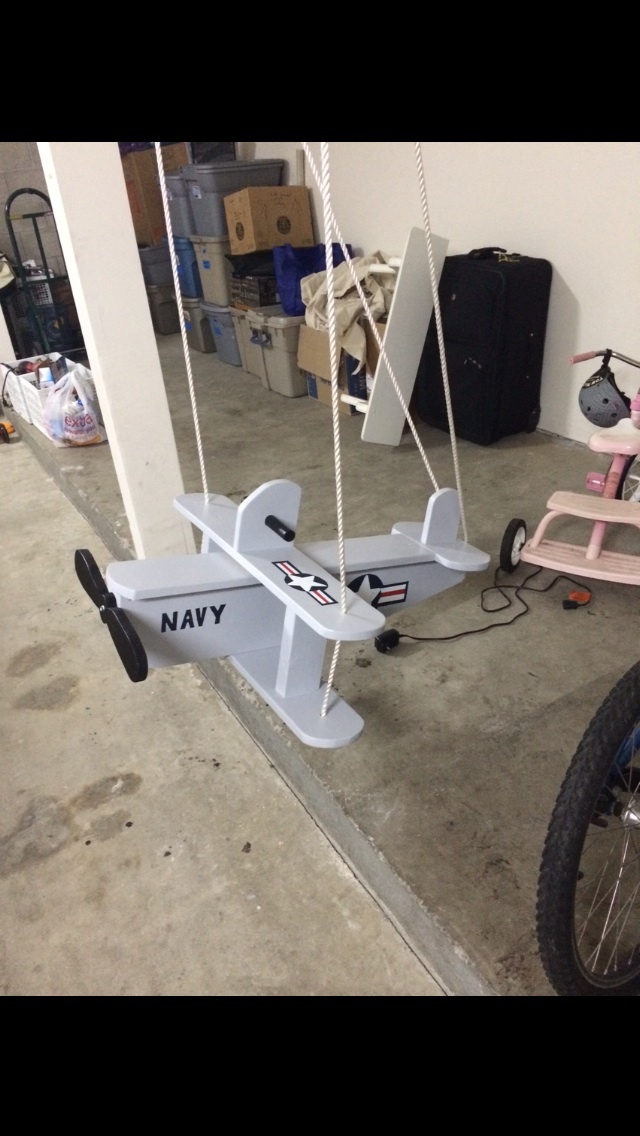
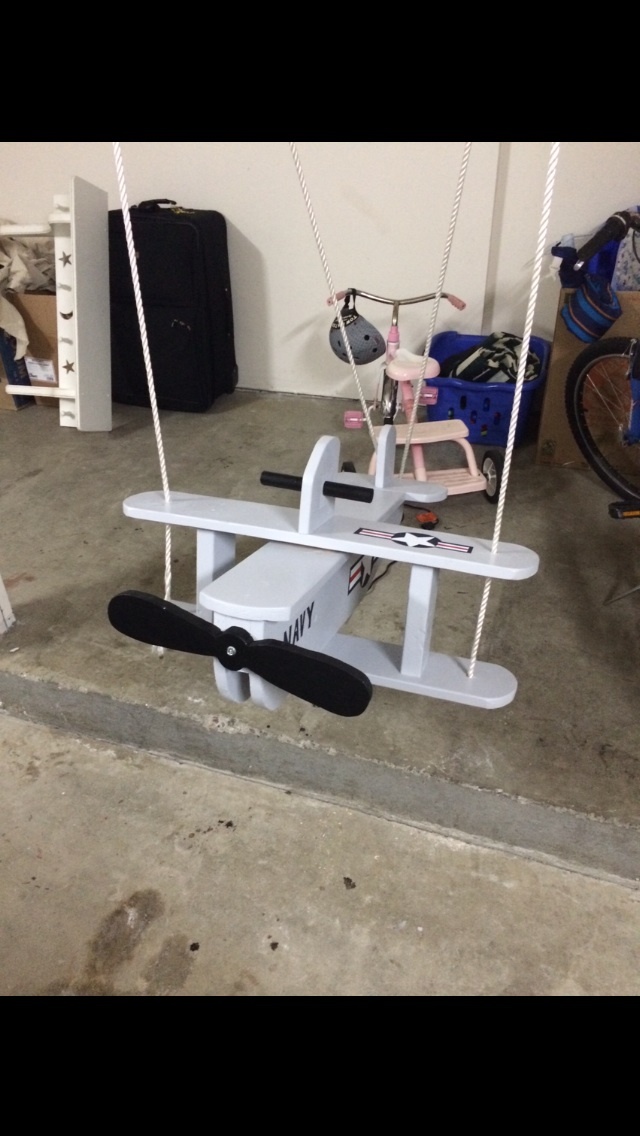
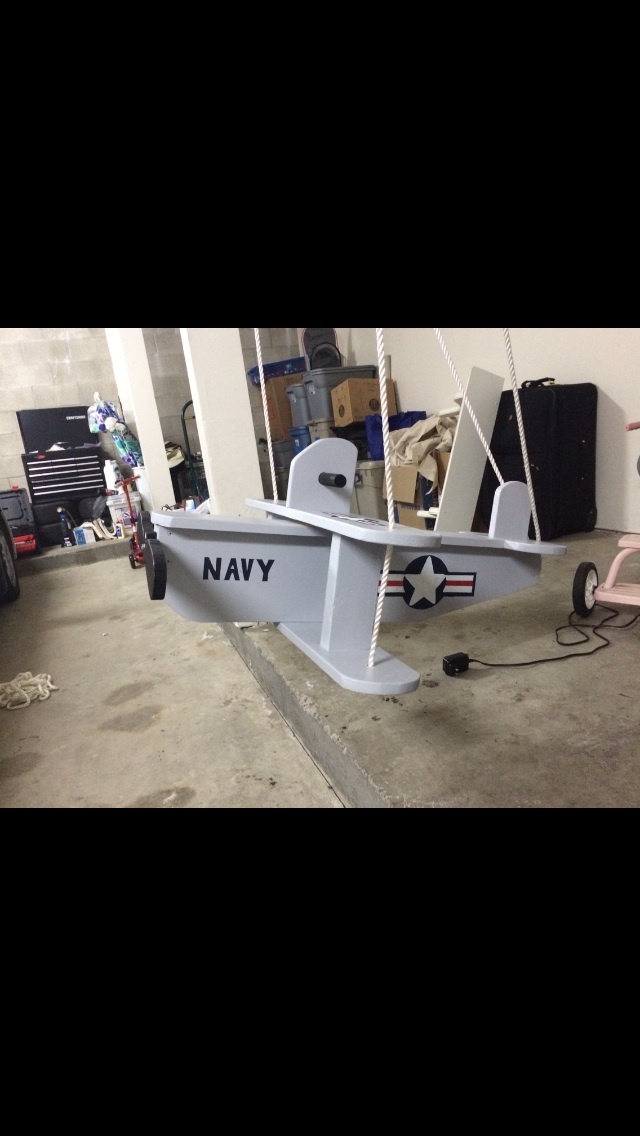
I made this for my 2 year old son who's Daddy is a Navy sailor aboard a Naval Aircraft Carrier. Our son LOVED this when I finished the project.
Built by Holli Peterson
Fri, 04/17/2020 - 09:30
Can someone post plans for this? Materials? Cost?
I love it!!!
Thanks!!
Thu, 08/31/2023 - 21:23
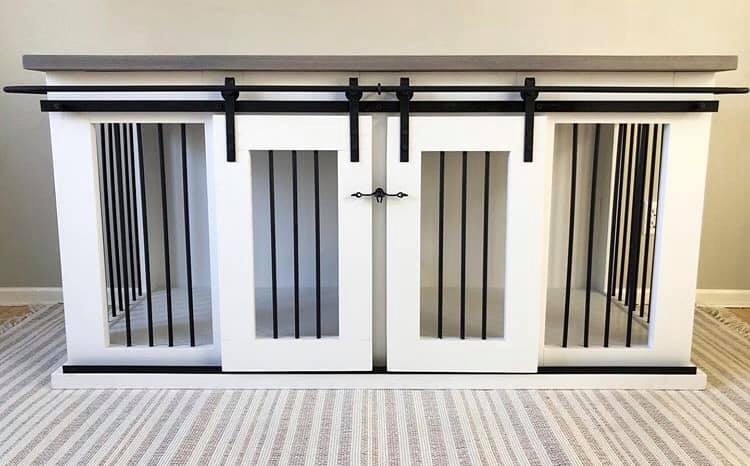
I’m looking to make one similar to this but looking to make it a little bigger for two Great Danes. Do you still have the plans and or cut list for this project to help me out. I’d greatly appreciate it if so.