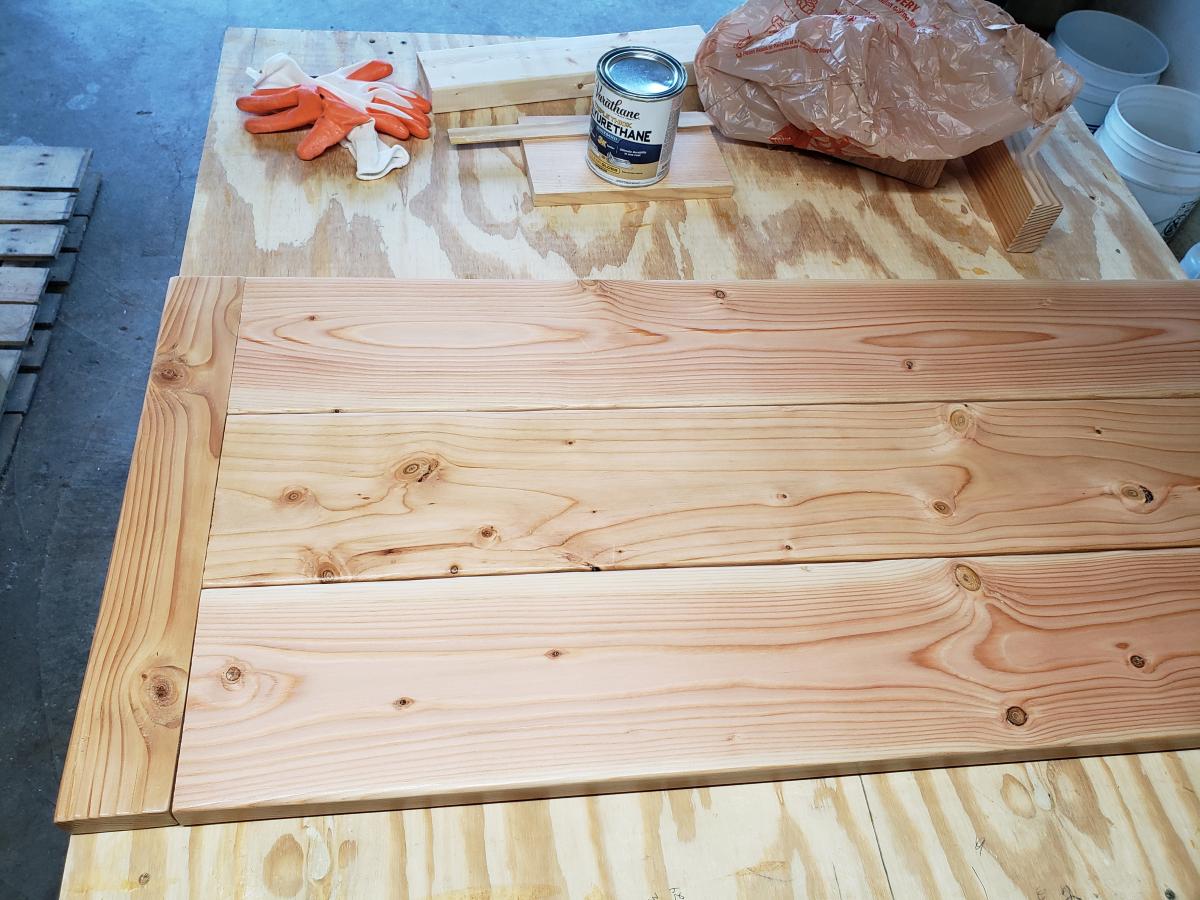
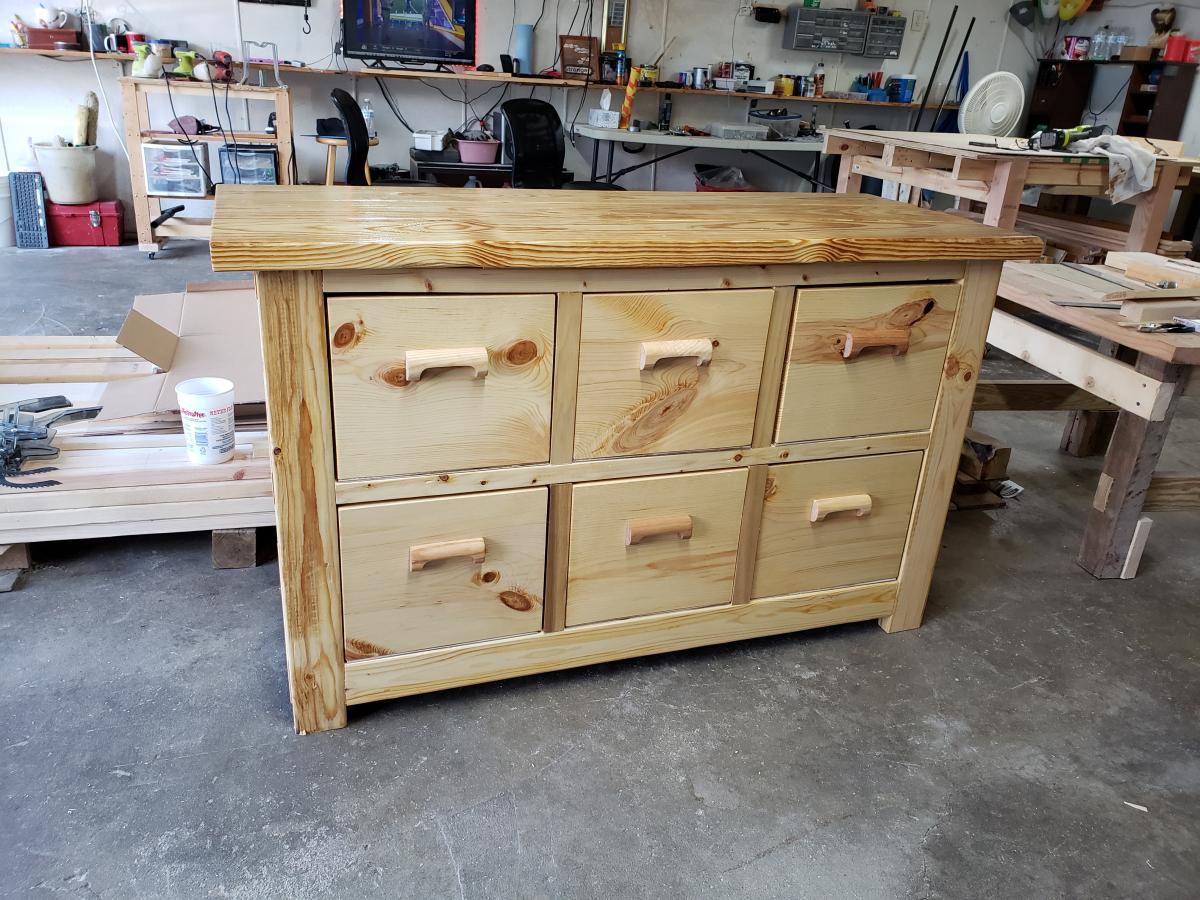
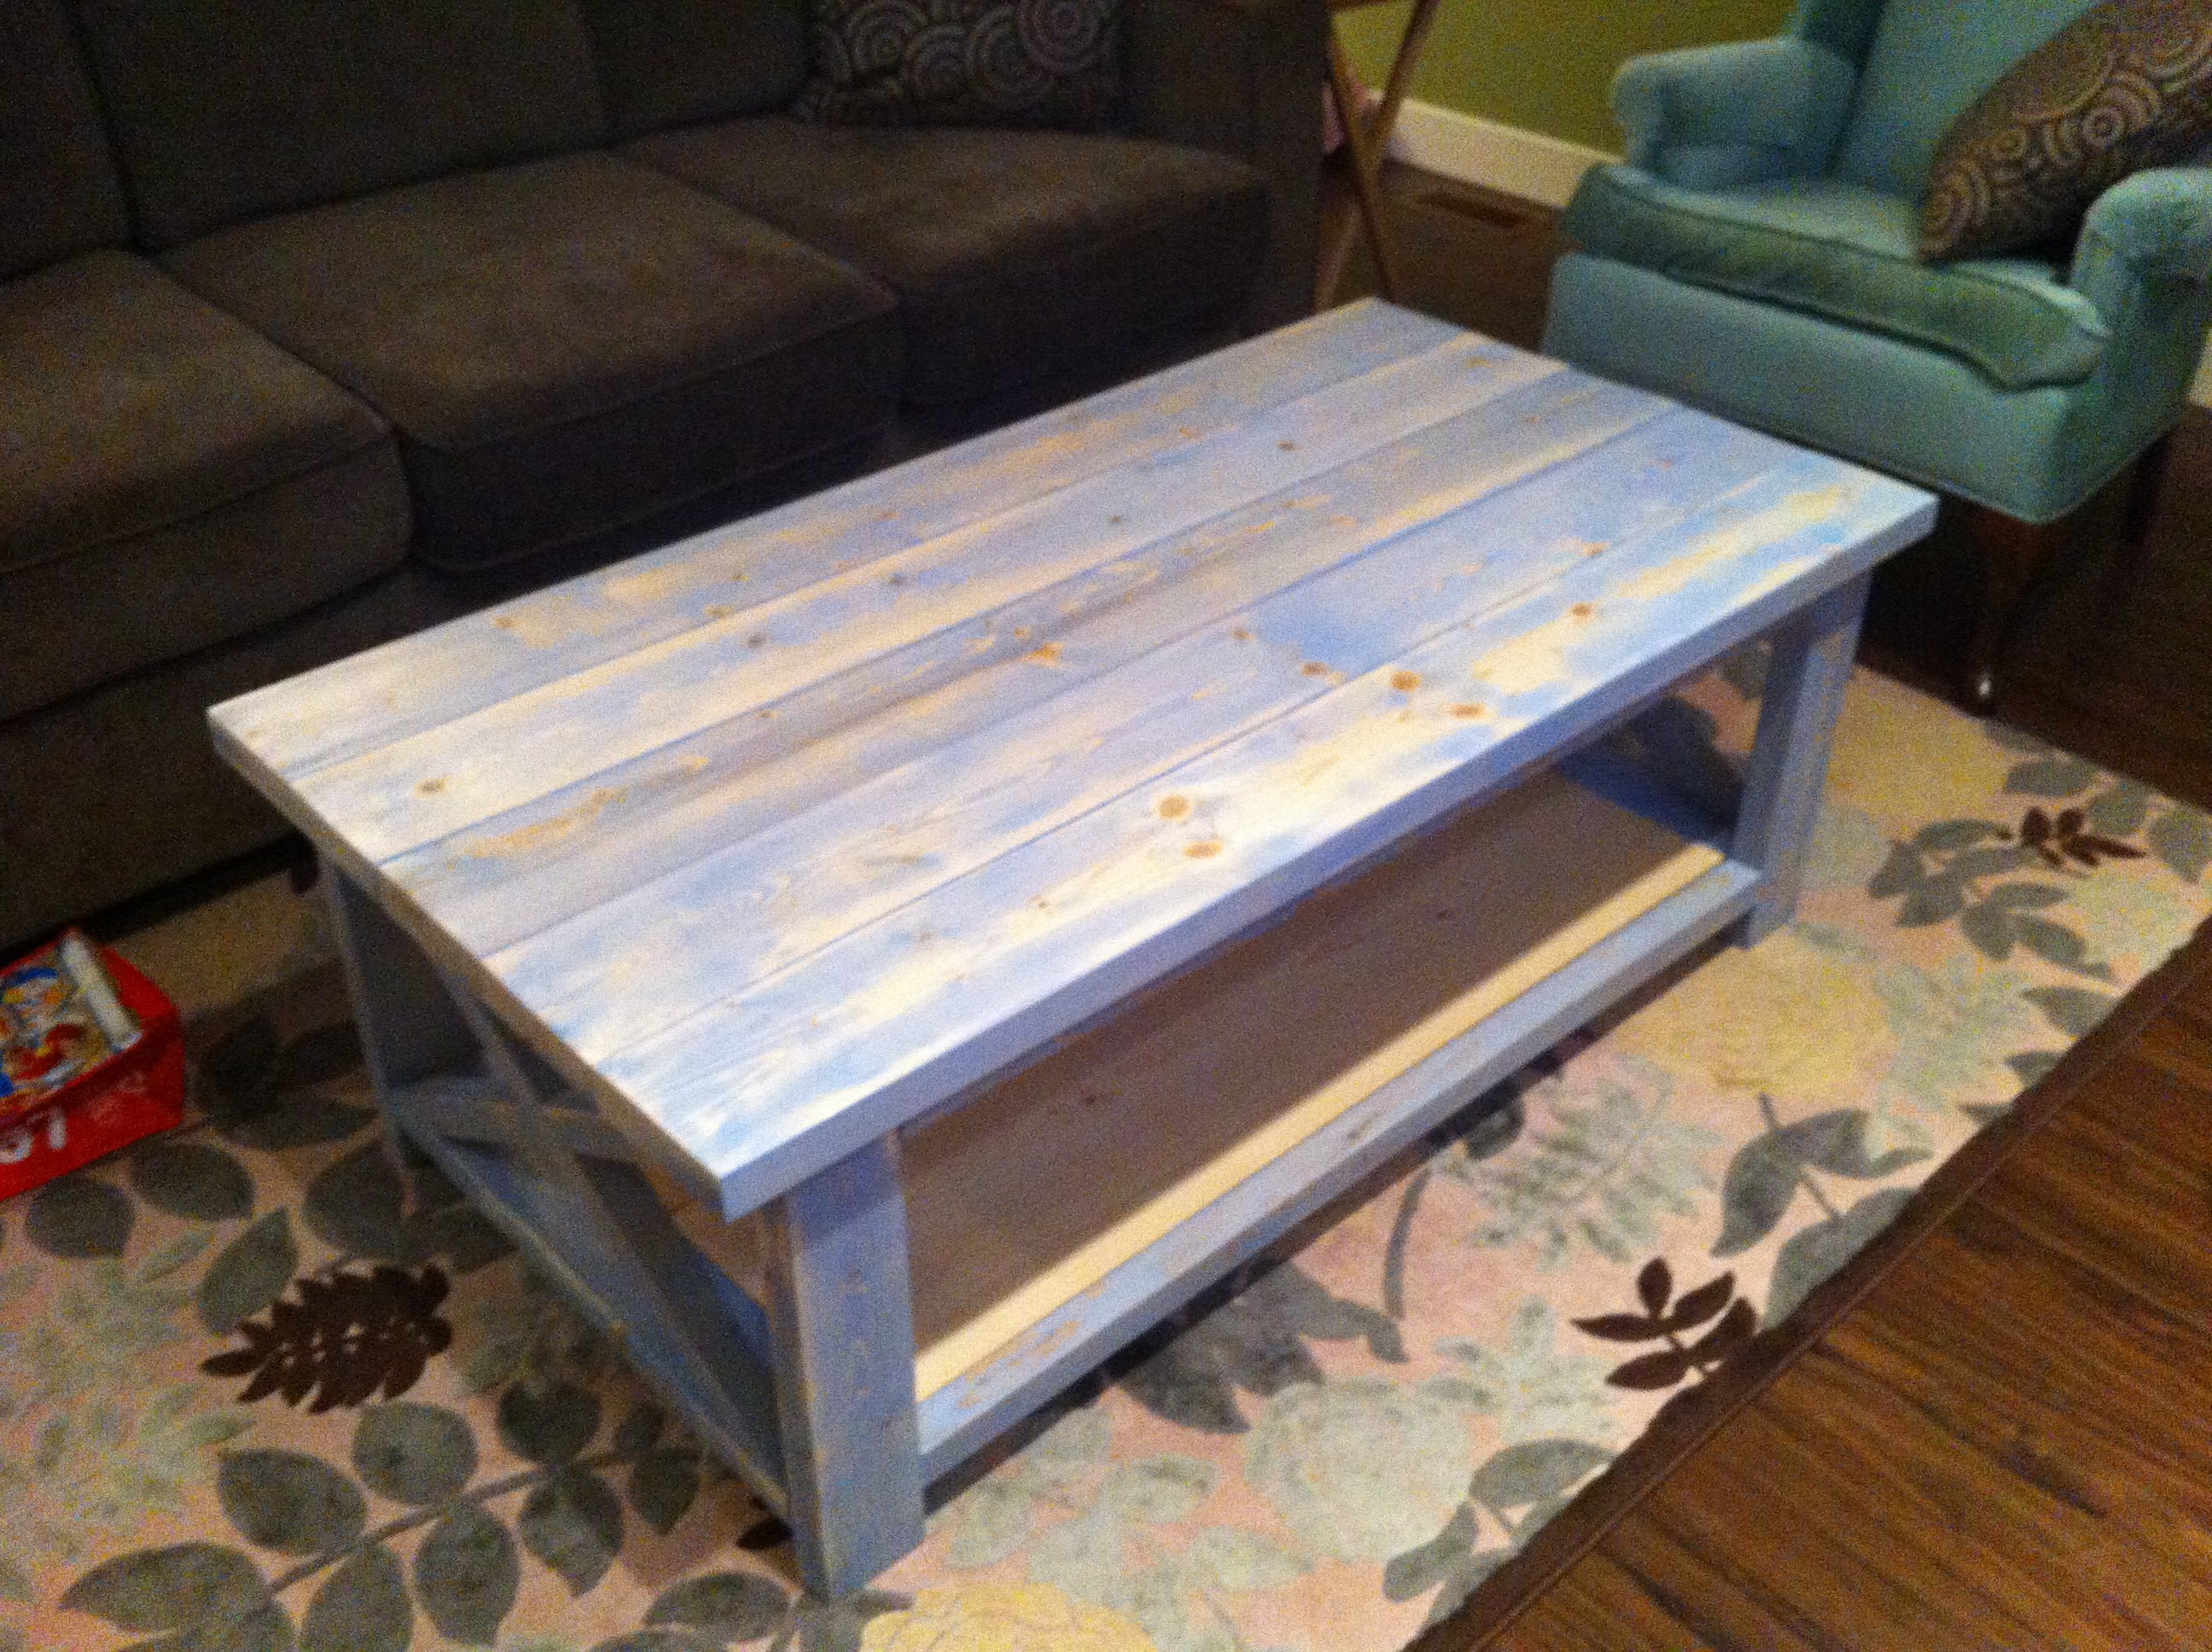
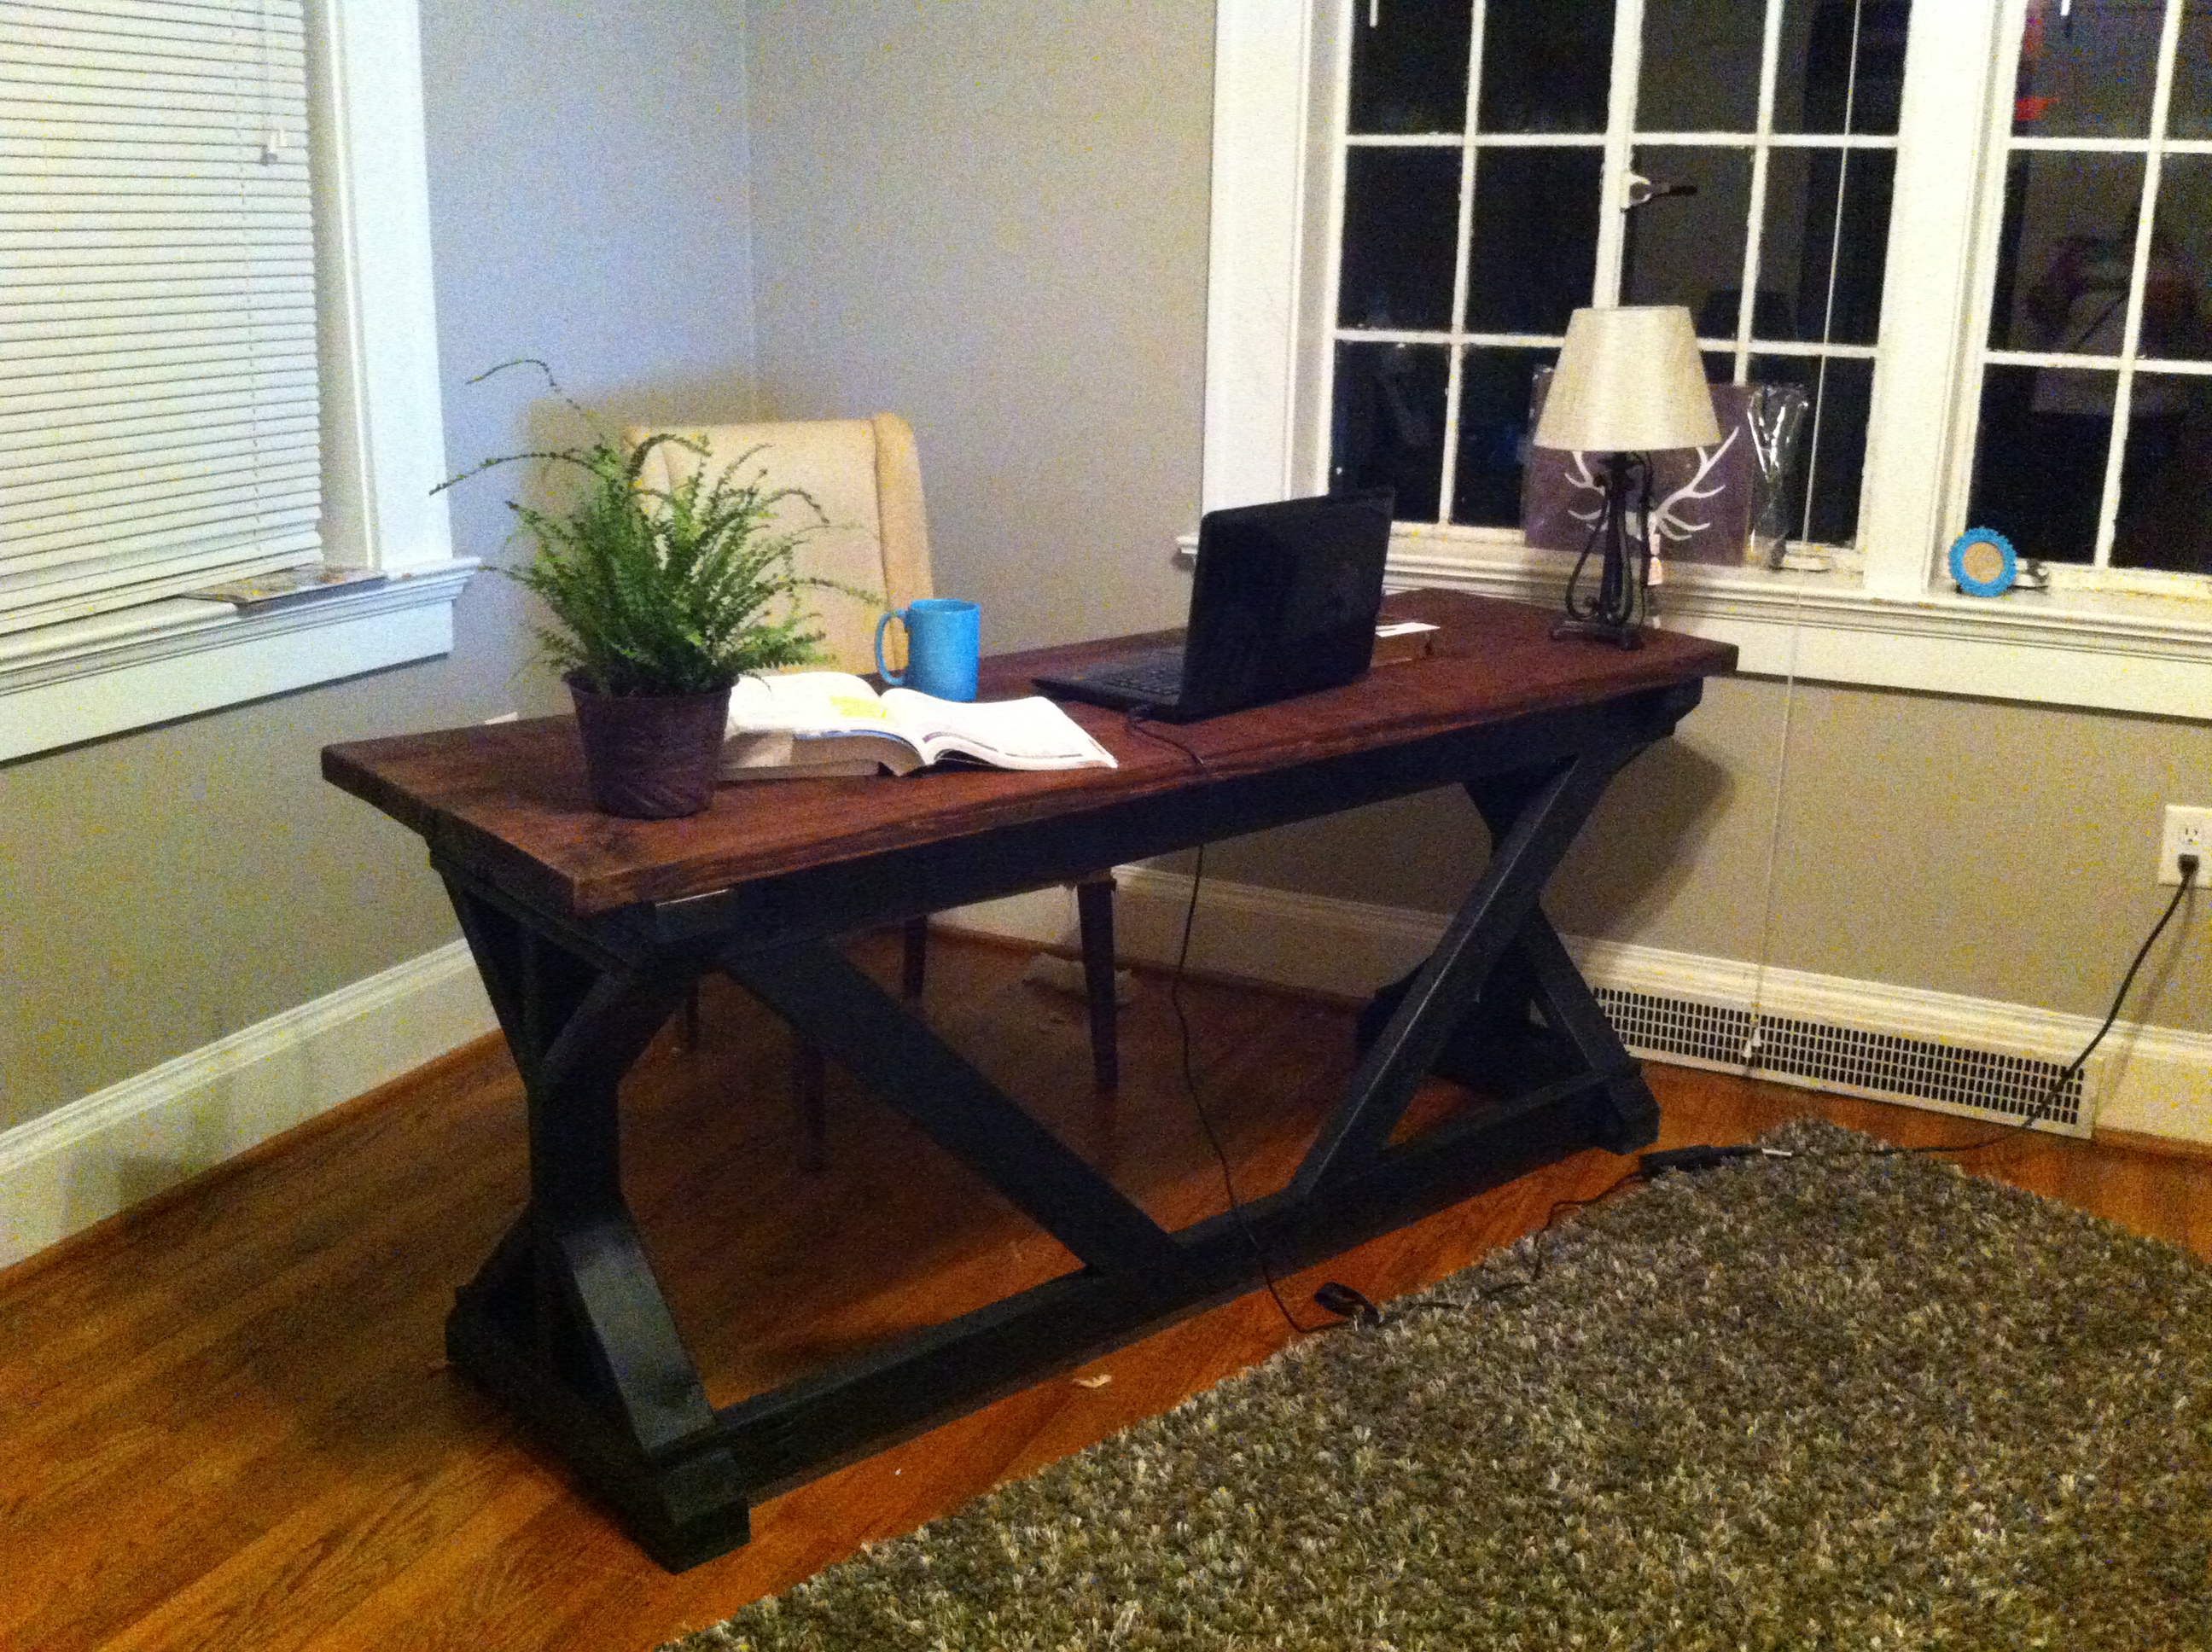
Coffee Table
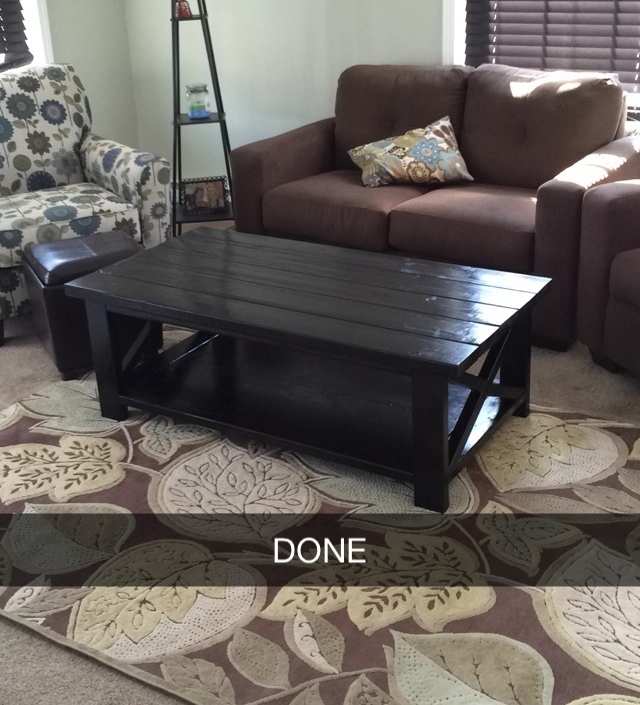
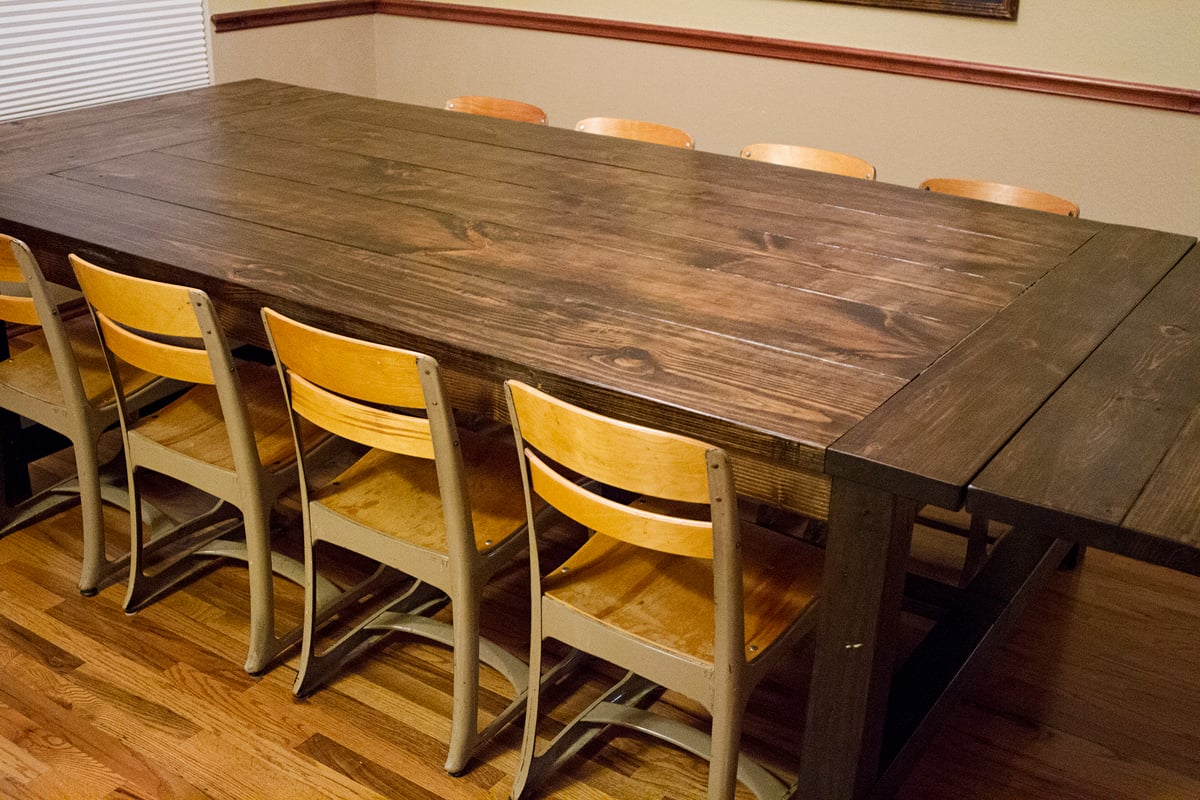
This was my first project and it turned out way better than I expected. One of the most time consuming parts was finding pieces of wood that were not warped from Home Depot. The Xs really make the table look amazing, and even though mine are not perfectly symmetrical, I think I did pretty well since my compound miter saw will only cut up to 45 degrees. I had to use a jig saw for the 60 degree cuts, which was kind of a nightmare.
Built from Plan(s)
Recommended Skill Level
Beginner


 so she won out.


Comments
jayheedan
Tue, 09/09/2014 - 09:46
60 degree cuts
MBuckson, nice job on the table, it looks great. A 60 degree cut is the same as a 30 degree cut, cut backwards. Because Miter saws work with a straight line (180 degrees) the middle postion is 0 (90 degrees) depending on which way you flip the board your are working with. So the 45 degree postions are half of the 90 degree (0 postion). If you want a sixty degree cut add fifteen degrees to the 45, which you would actually subtract the 15 to get 30 degrees since you are flipping the board and cutting it backwards. Or atleast that is how I understand it.
dbscott1
Wed, 09/24/2014 - 16:37
I used the 2x2 with the max
I used the 2x2 with the max length of the opening and just scribed it after clamping it down. I then duplicated it 3 more times (which included the half pieces for the X) for for the same length. I then scribed two that would be cut up... found it easier to cut the mini X pieces in half for easier handling on the mitre saw. Jays version works well also.
D