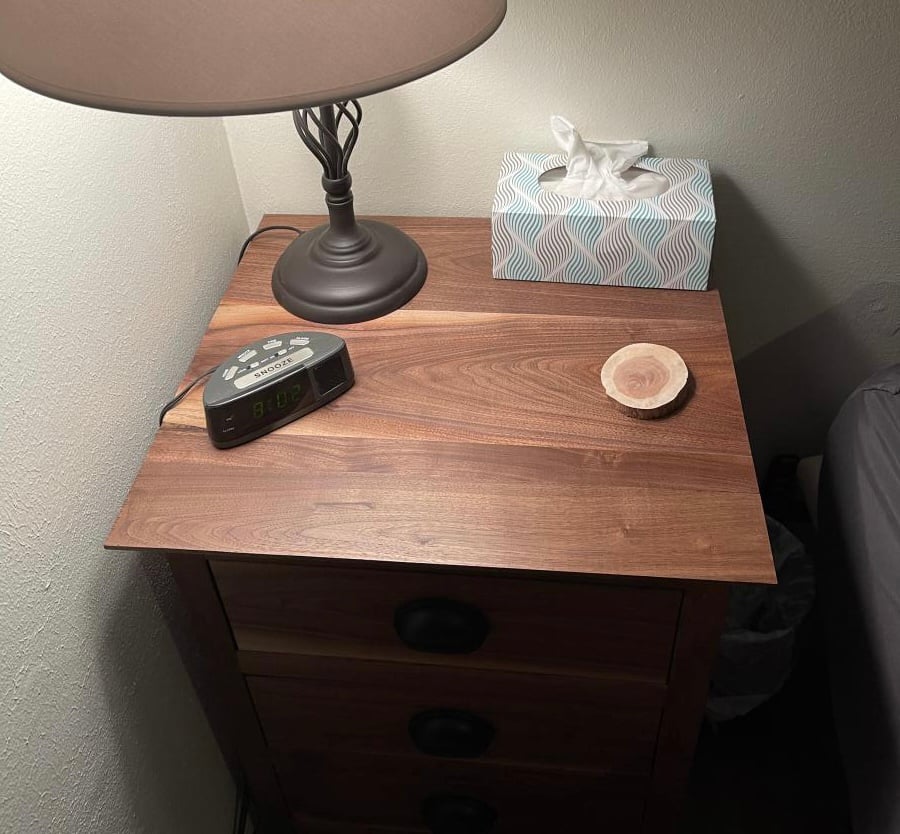
Nightstand
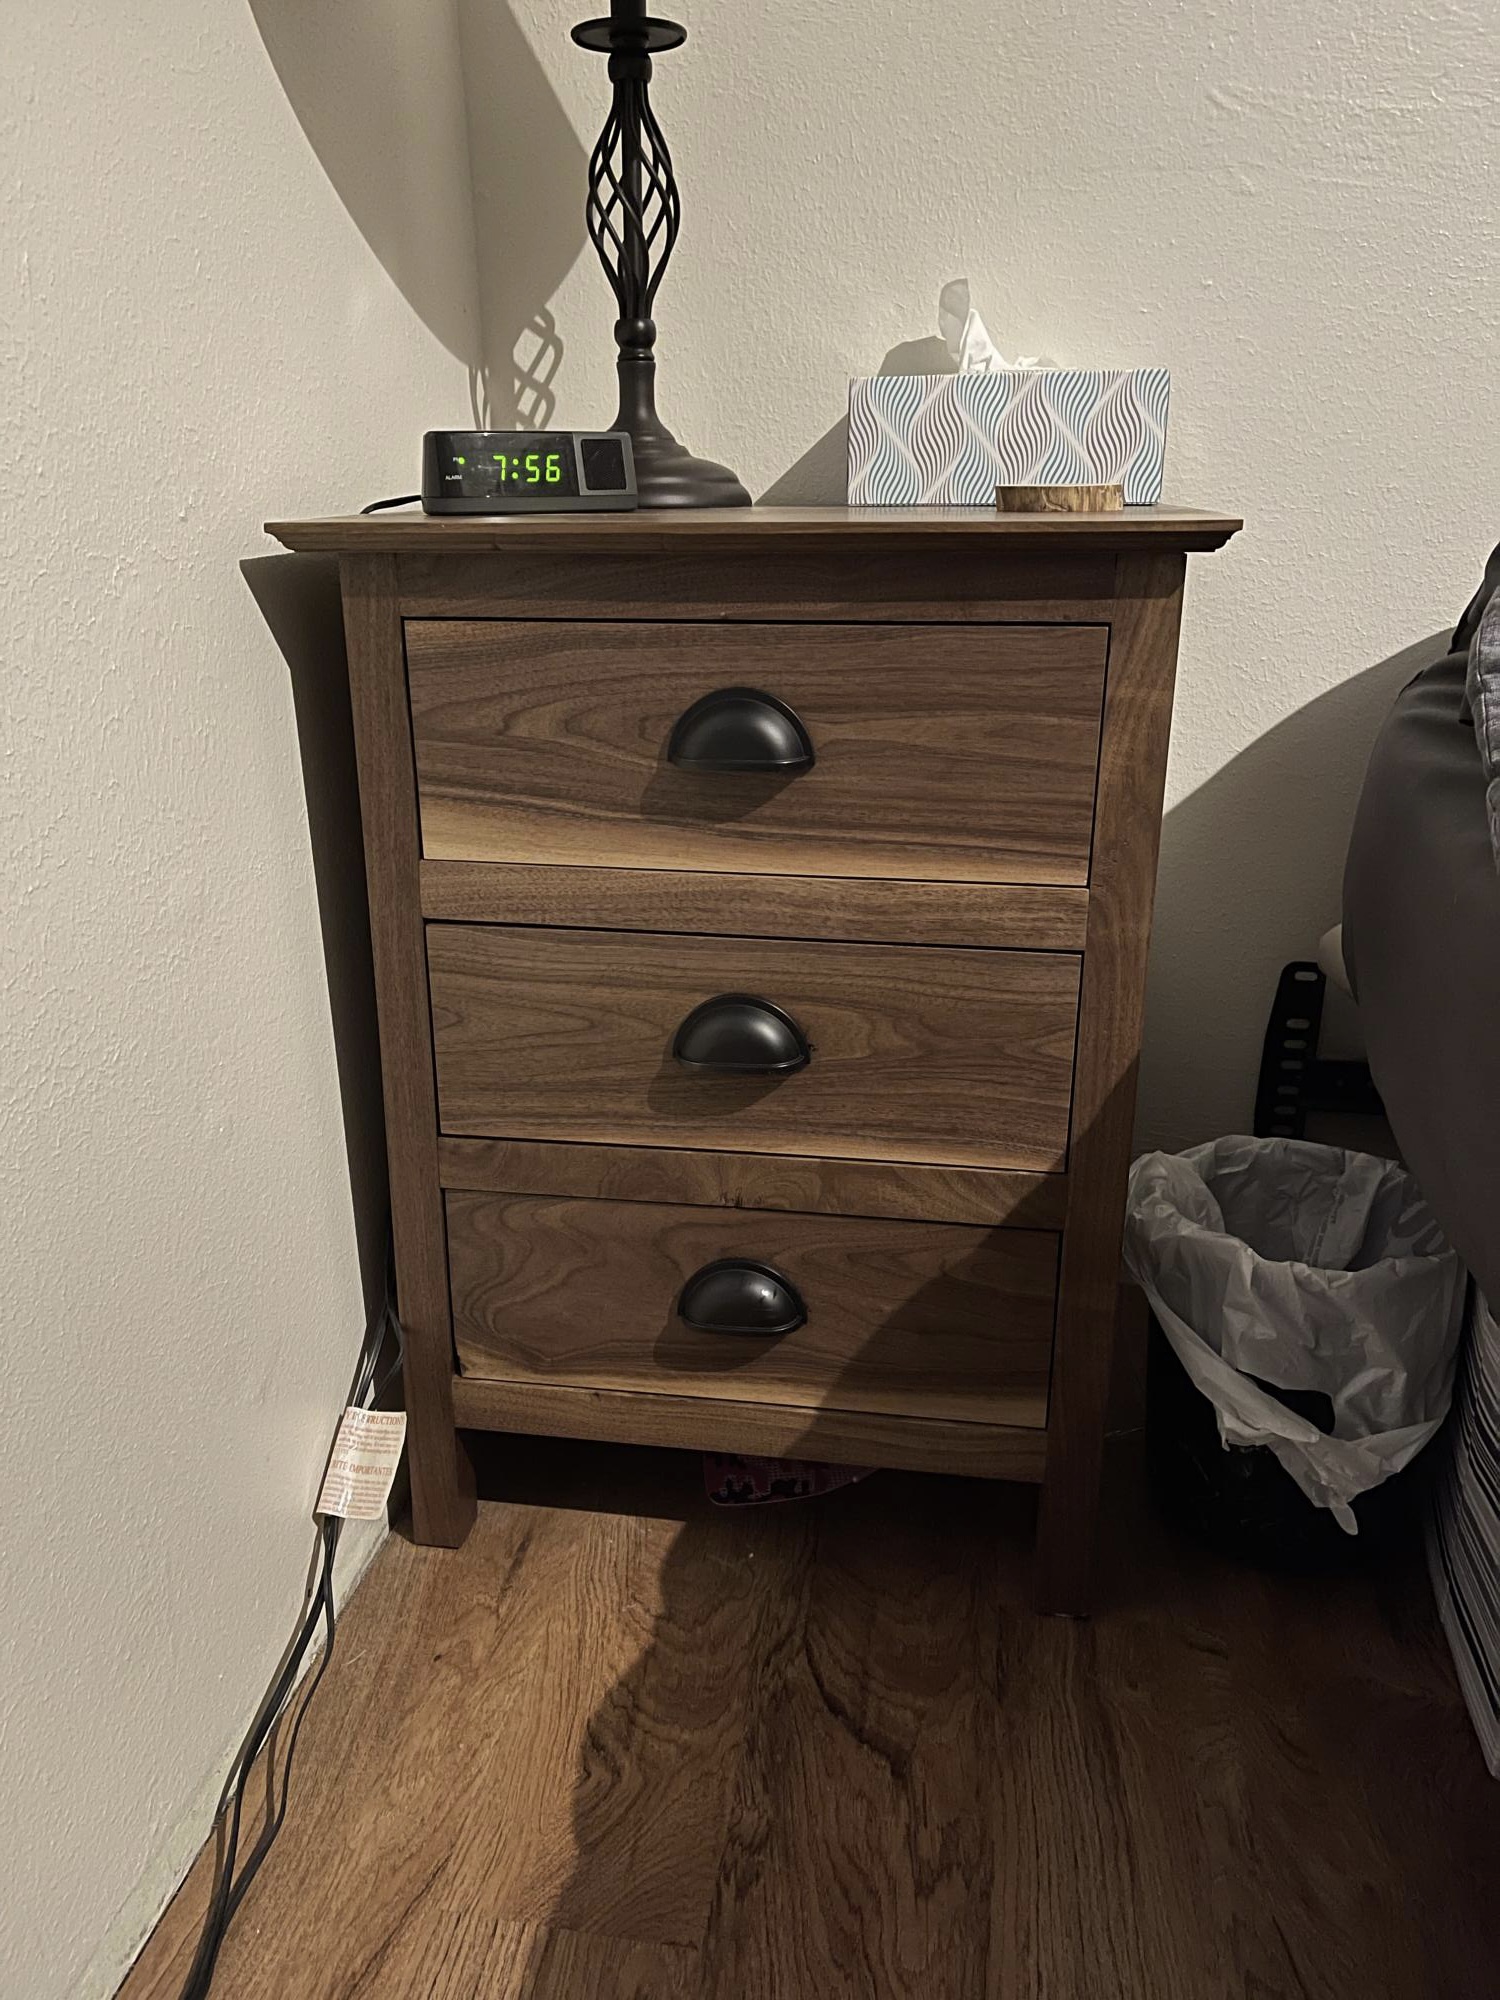
We made this out of walnut we milled a couple years ago. We didn’t stain just used Dixie Bell Gatorhide to seal it with. Not sure why the pictures turned sideways when they uploaded.

Built from Plan(s)
We made this out of walnut we milled a couple years ago. We didn’t stain just used Dixie Bell Gatorhide to seal it with. Not sure why the pictures turned sideways when they uploaded.
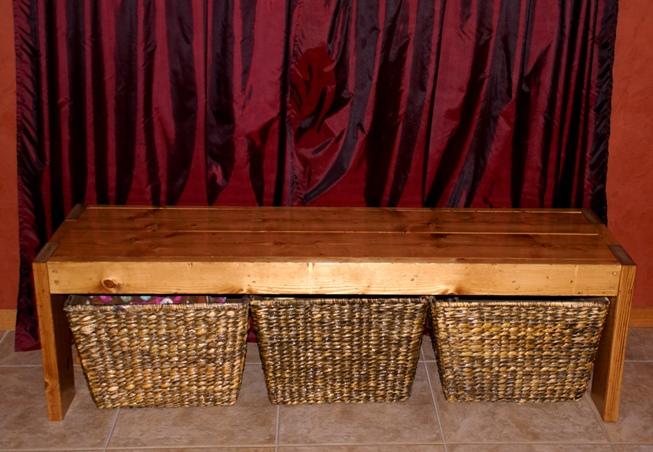
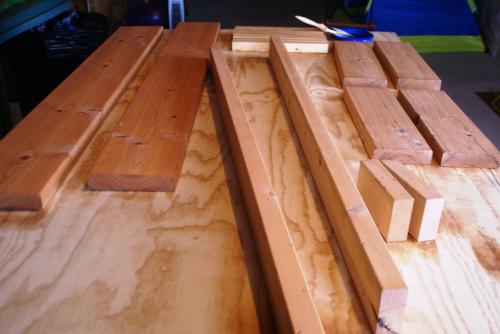
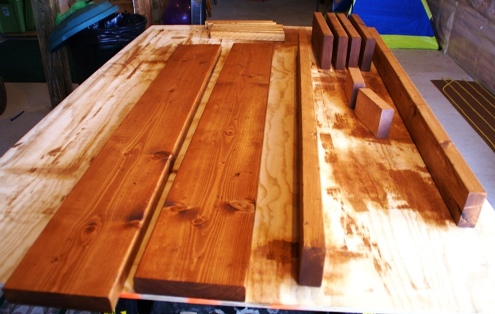
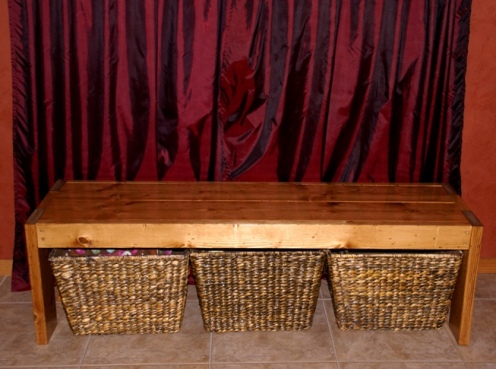
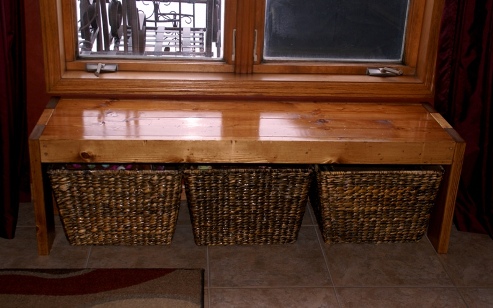
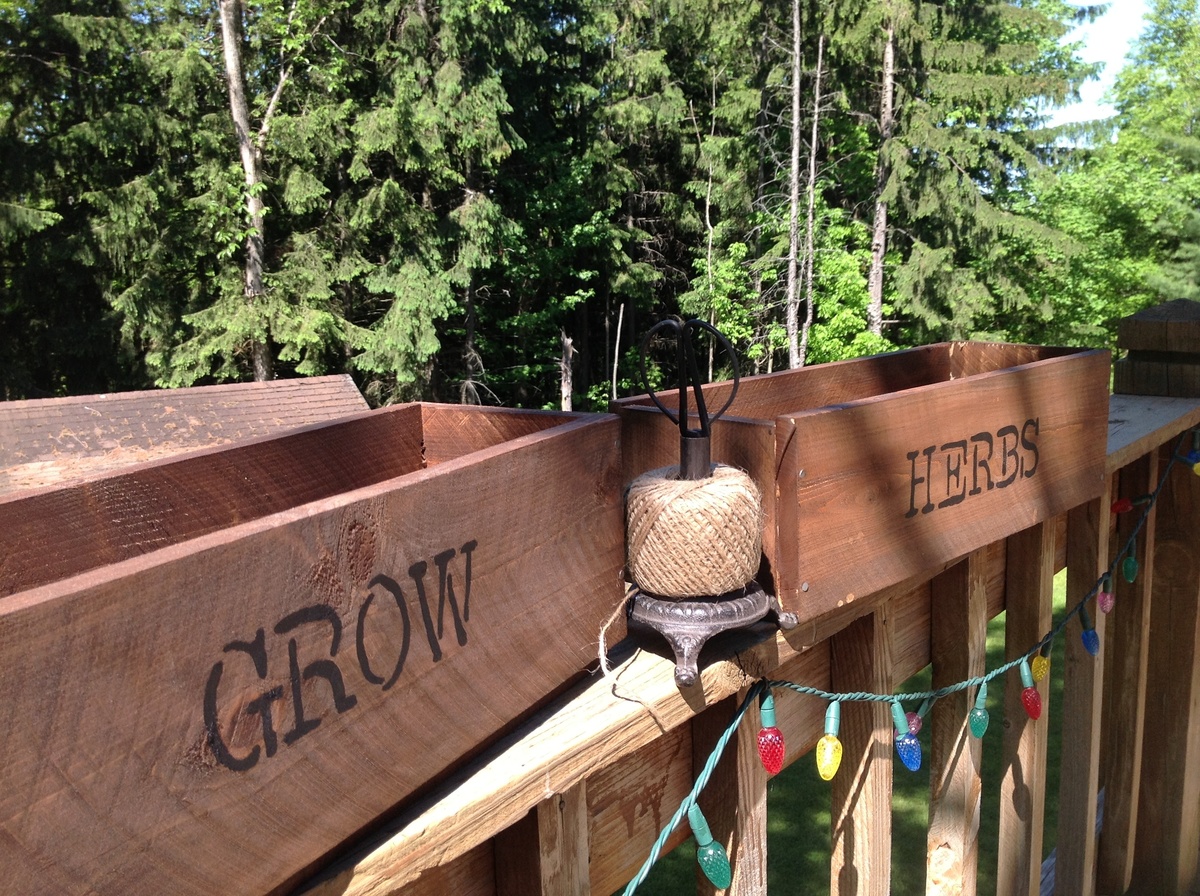
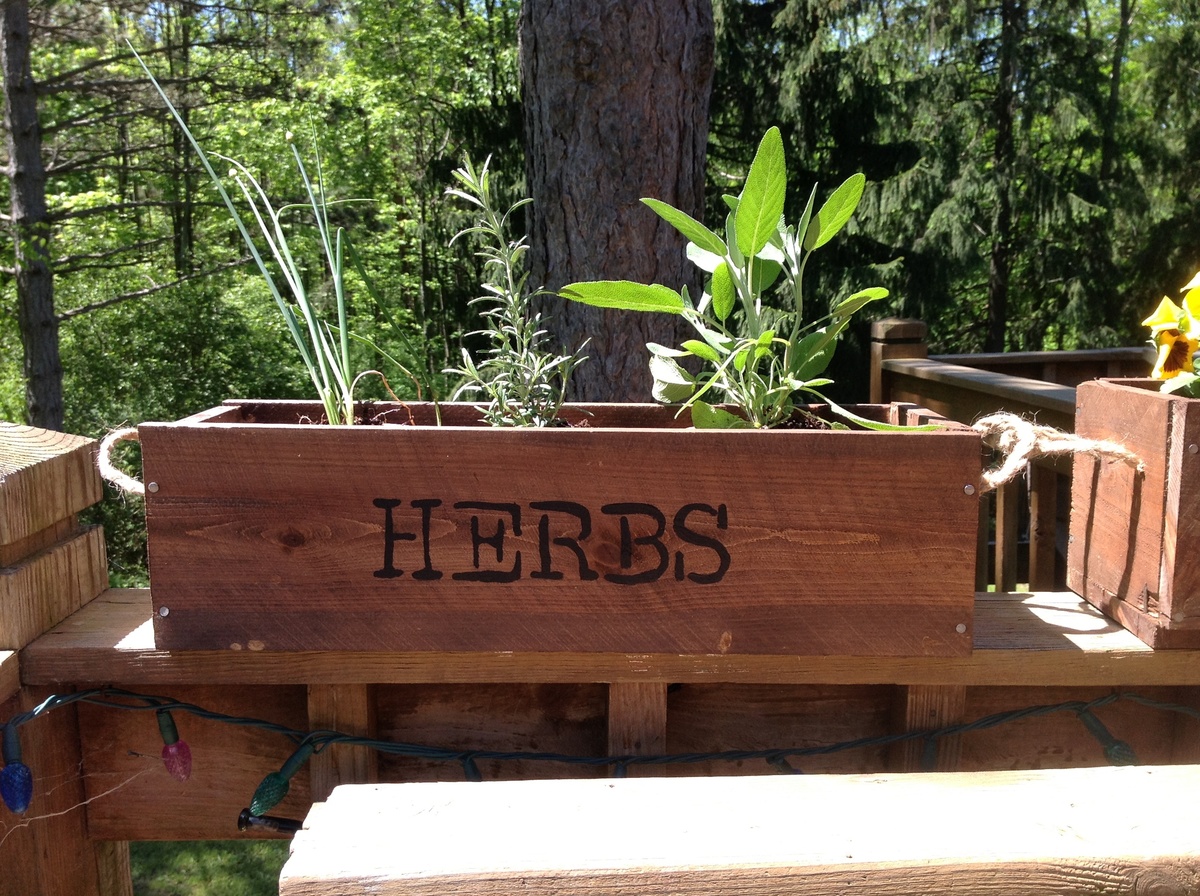
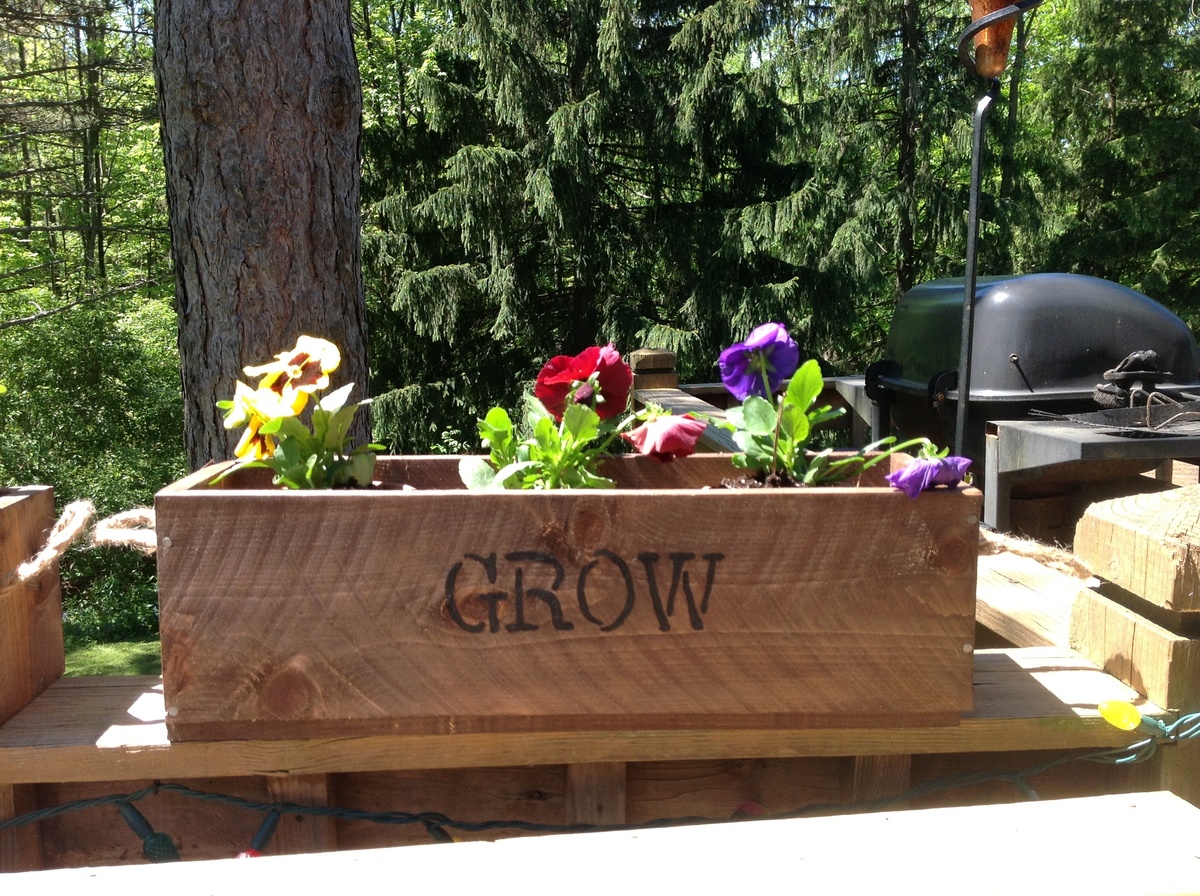
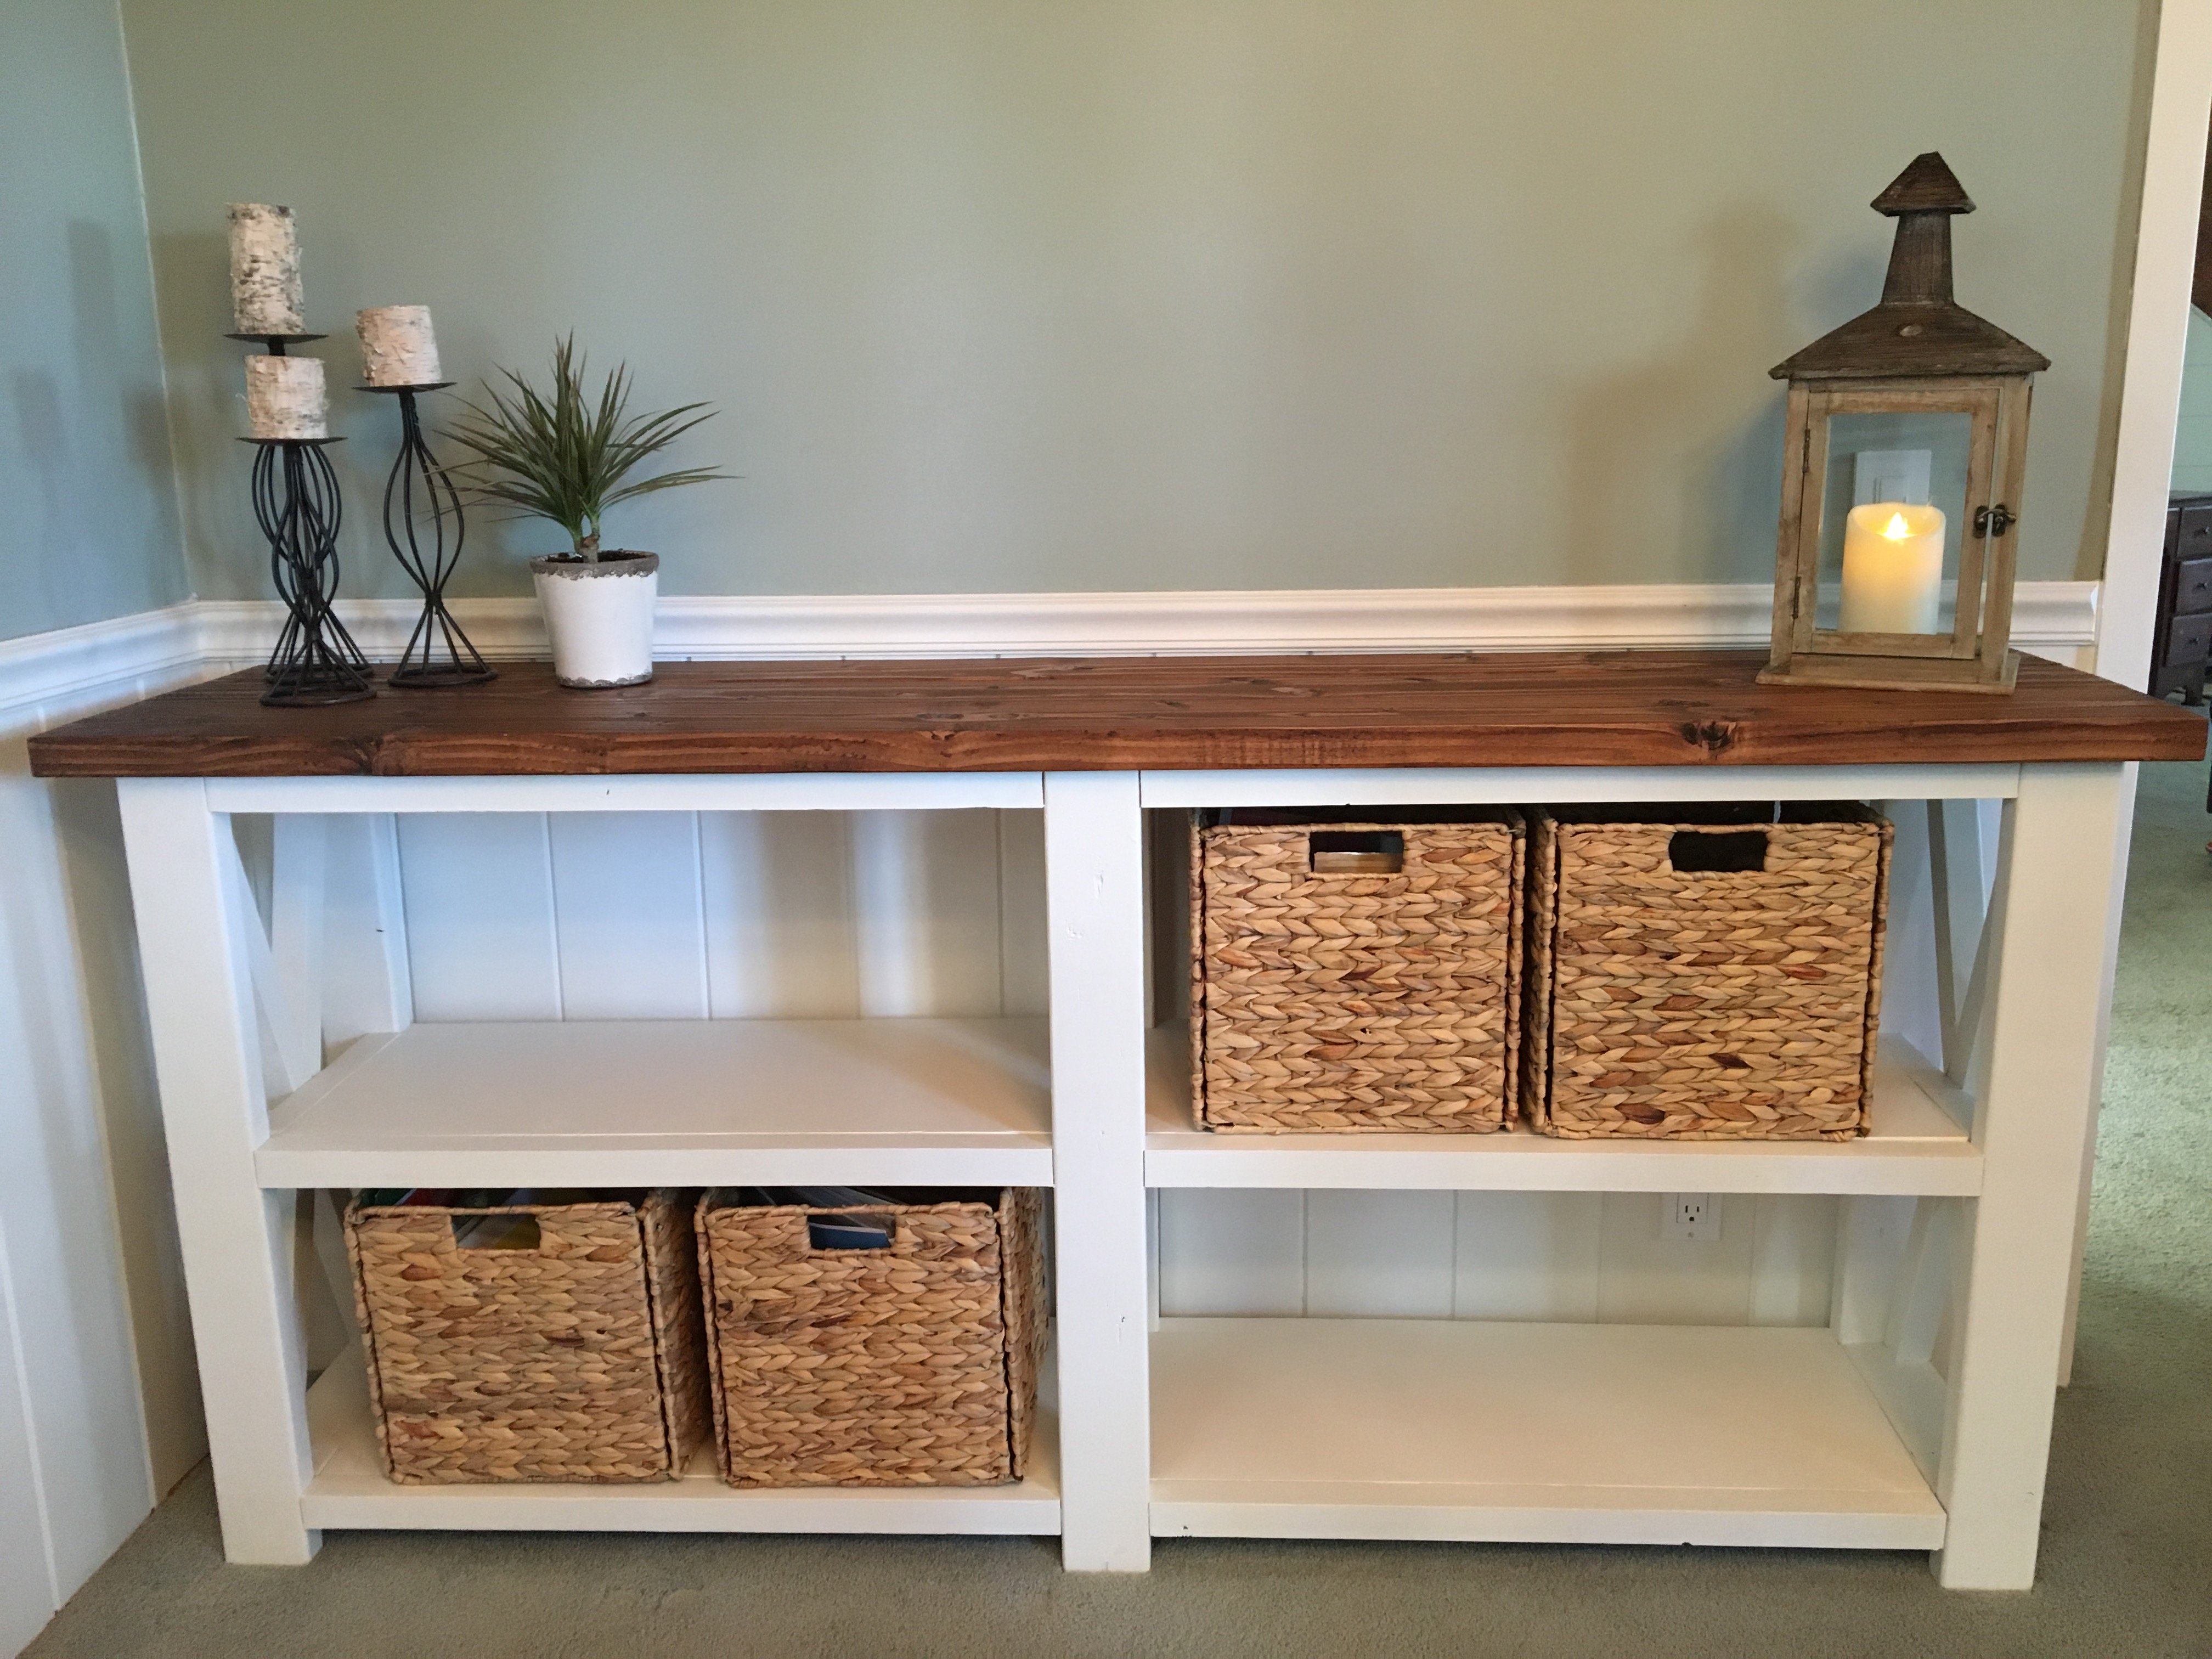
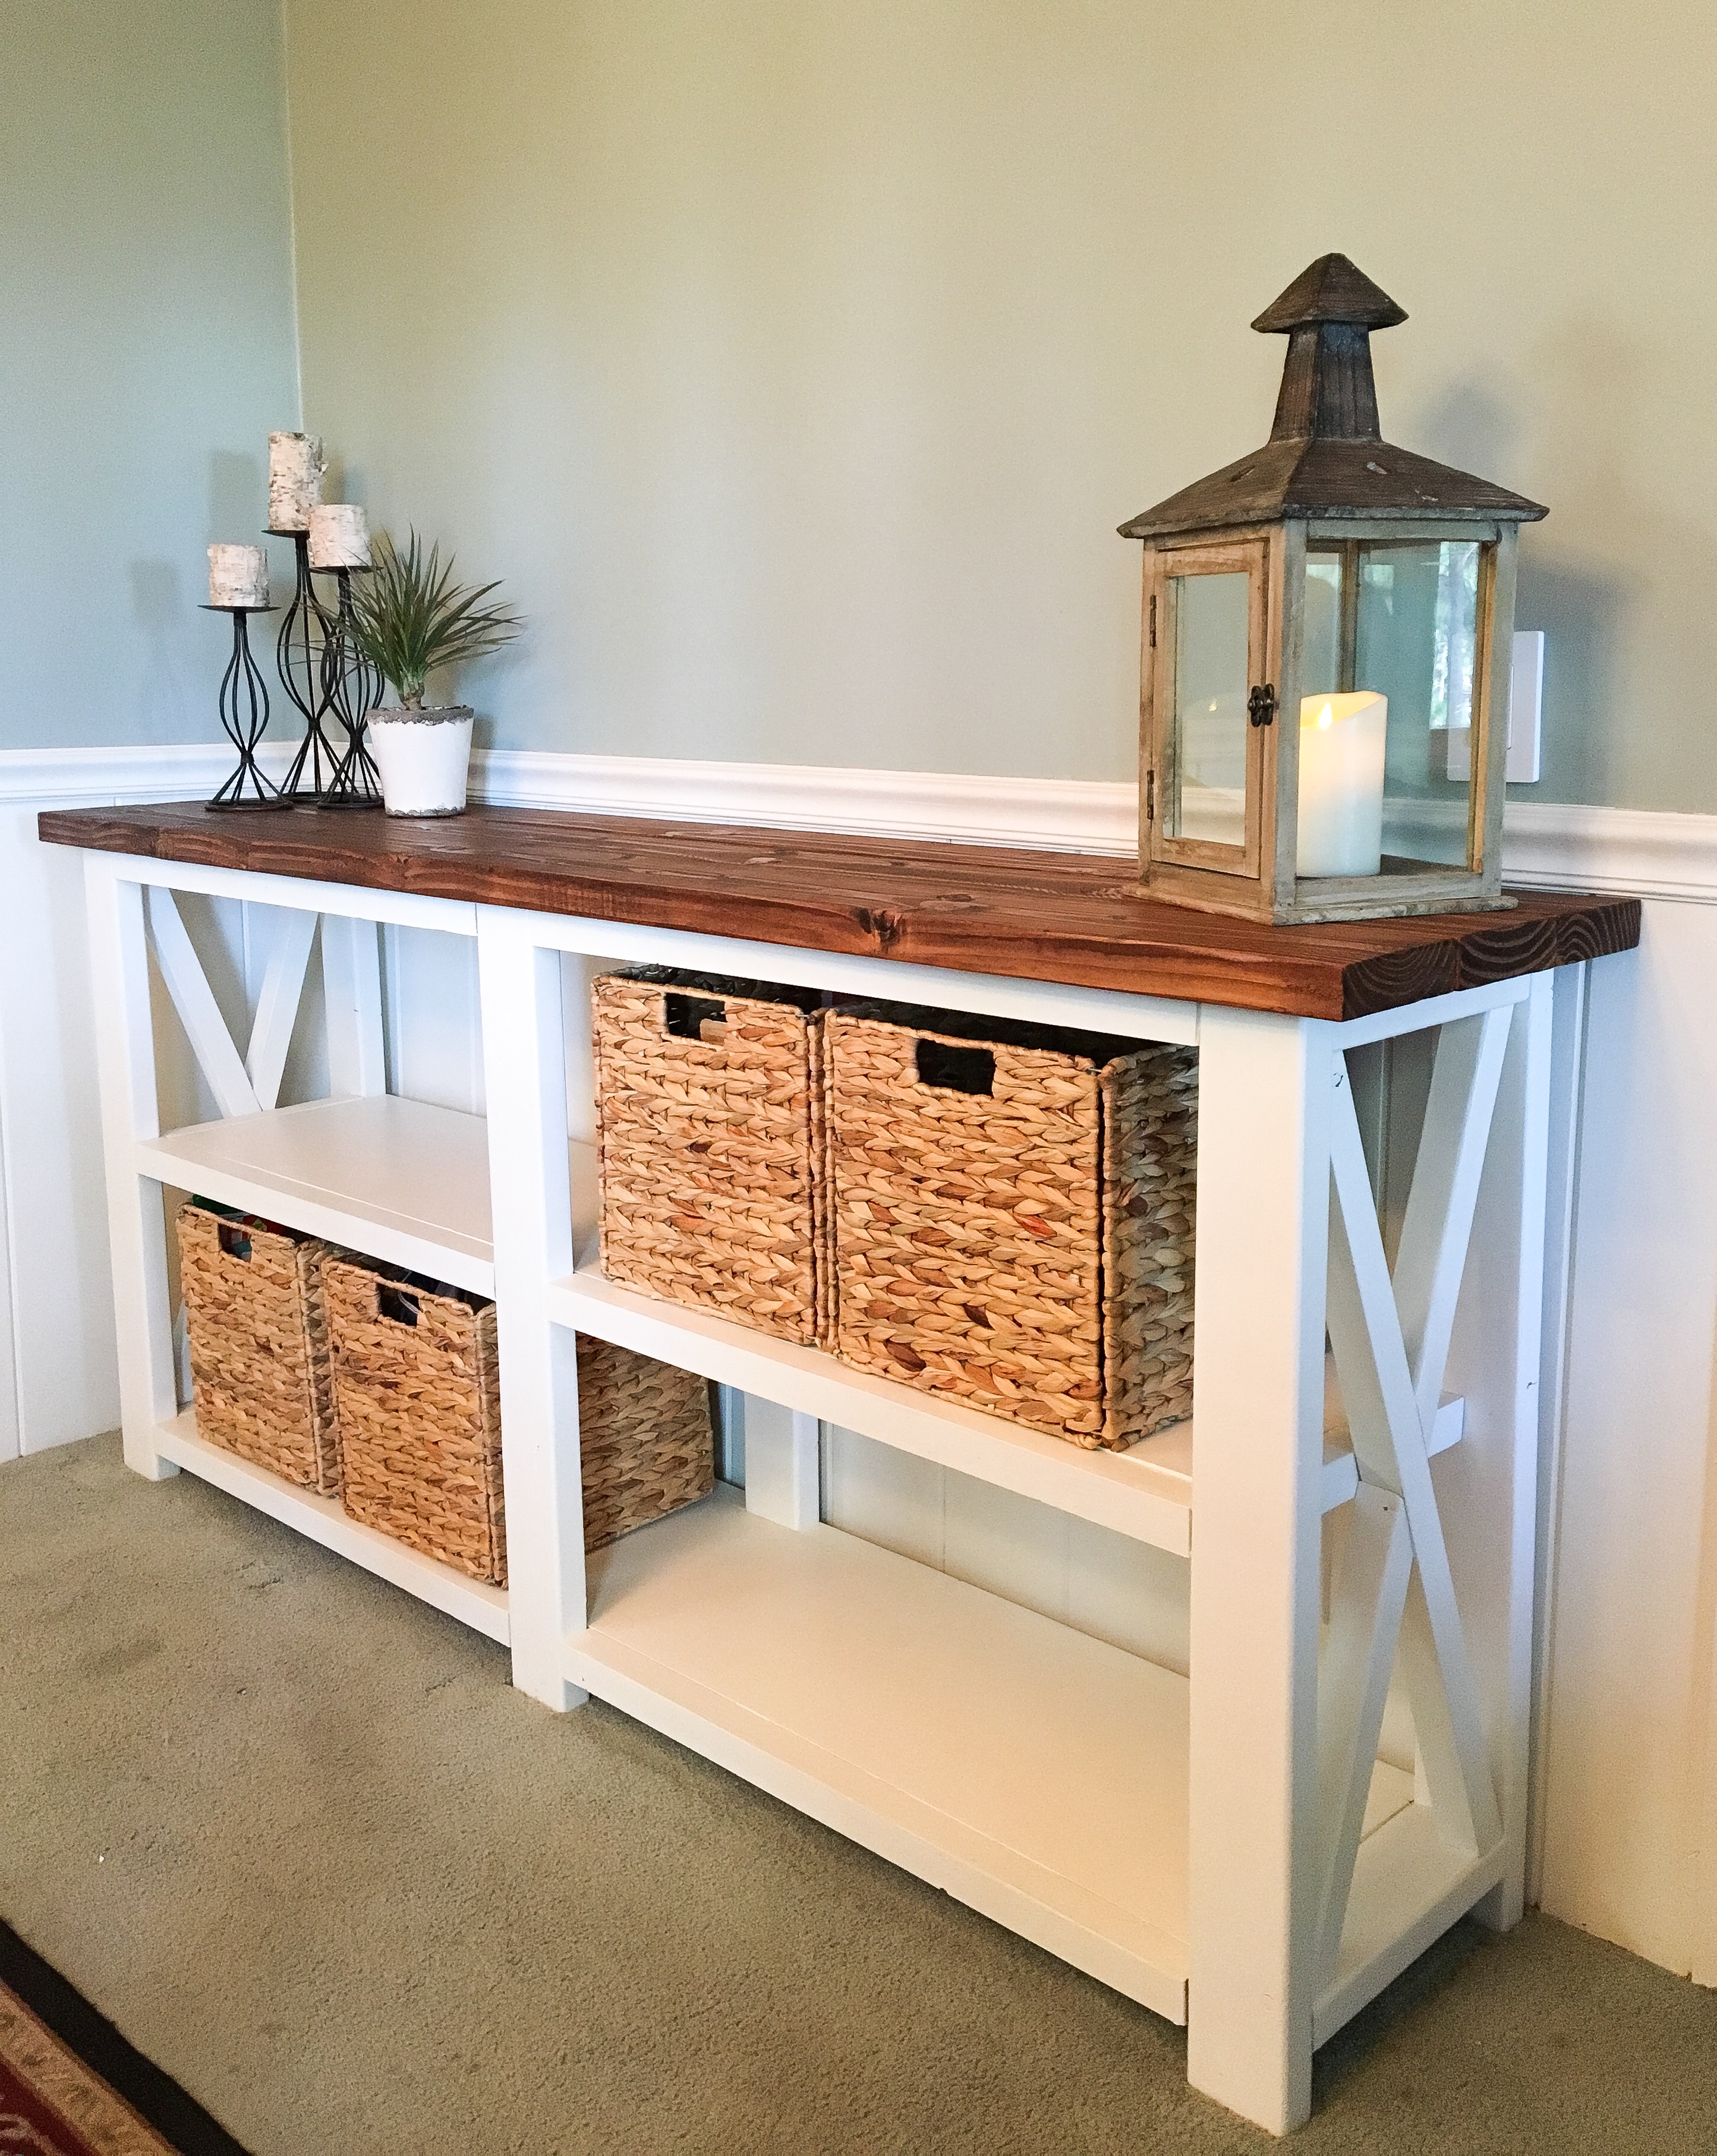
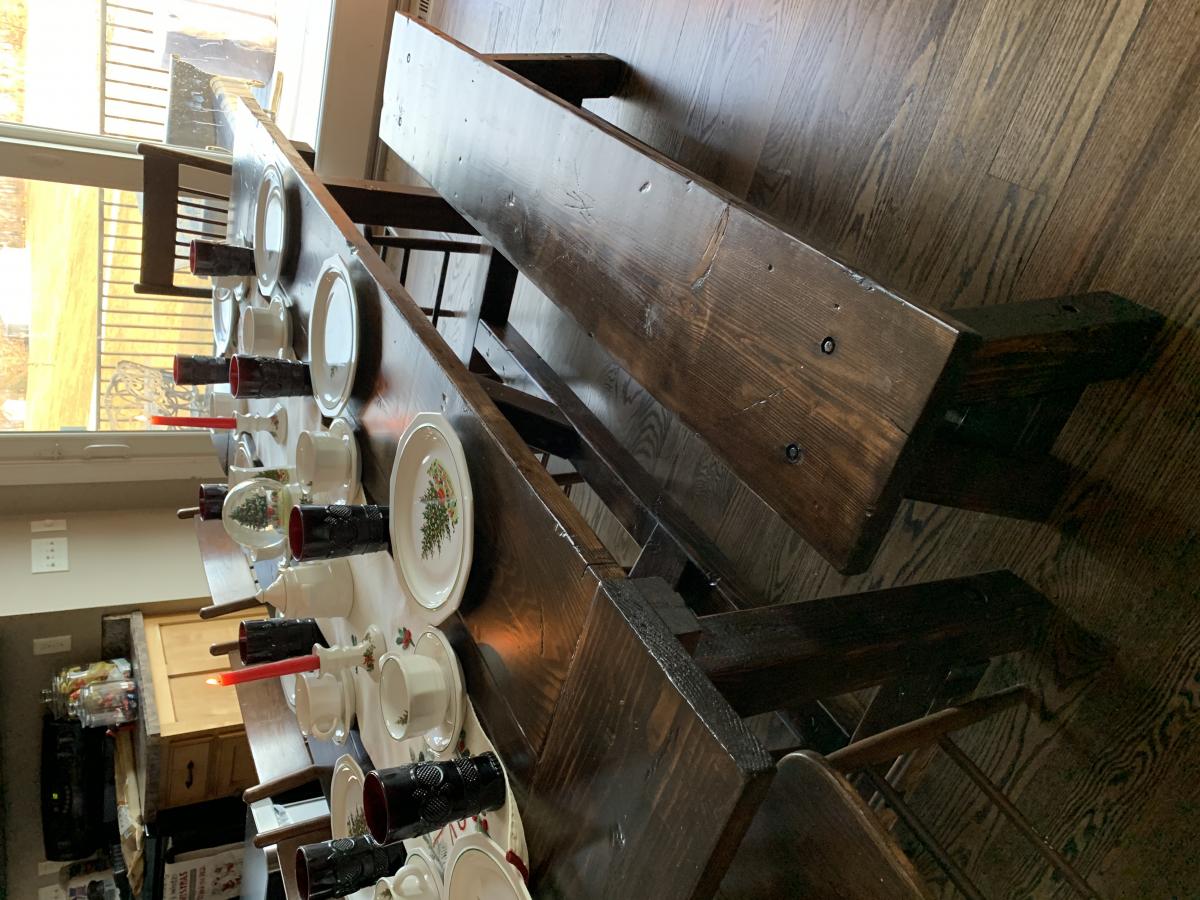
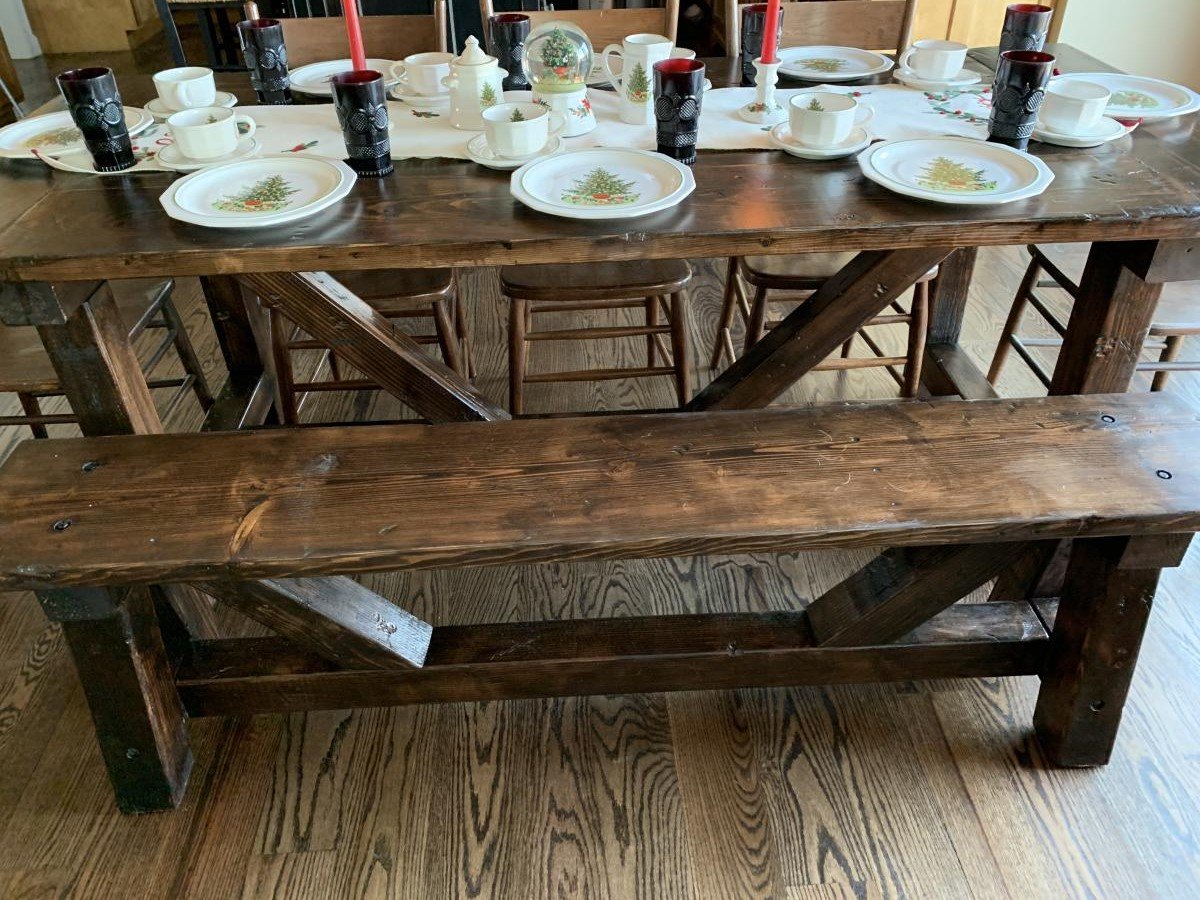
I have been wanting a bench for this space for years. I adapted the plans to fit the baskets I was already using. I used 2x8s to make the seat deeper. Final dimensions are 60" wide by 17.5 deep by 18" high.
My actual cut list:
2 - 2x4 by 57" front and back apron
4 - 2x6 by 18" legs
2 - 2x8 by 57" seat
6 - 2x2 by 14.5" seat supports
2 - 2x4 by 6.5" side spacer between legs
I used a Kreg jig for the first time to attach the support pieces to the side aprons. I used the same hollow made by the Kreg to add a few screws through the support pieces into the top.

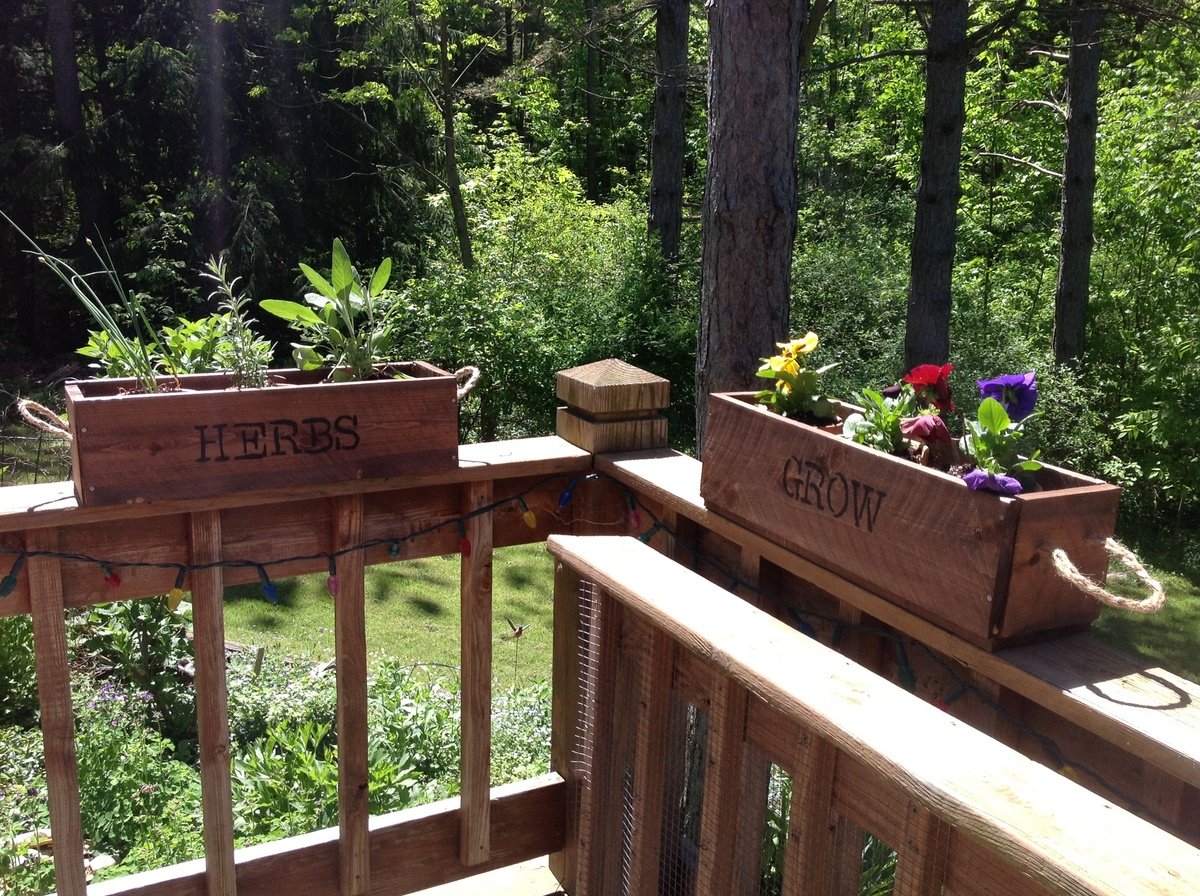
My very first woodworking project. I learned a lot. Most importantly, to watch my cuts more carefully. Also, a good stain and stencil dress up anything. I used braided jute for handles and love them!

Sun, 05/26/2013 - 22:47
I love your herb and flower planters! Now I'm inspired to do some up for my deck as well! Nice job!

This project allows your creativity to flow. It's a woodworking and art DIY project. These storage benches for children are inspired by my youth when I played with wooden alphabet blocks. It's the perfect accompaniment for this Alphabet Blocks Inspired Chalkboard Play Table.
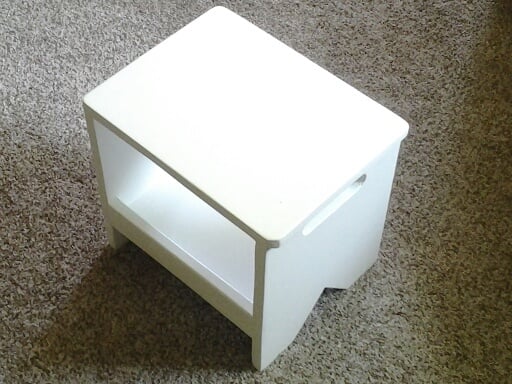
I built this bench for my niece on her birthday. It as easy and fun to build. My niece and everybody at the party loved it.
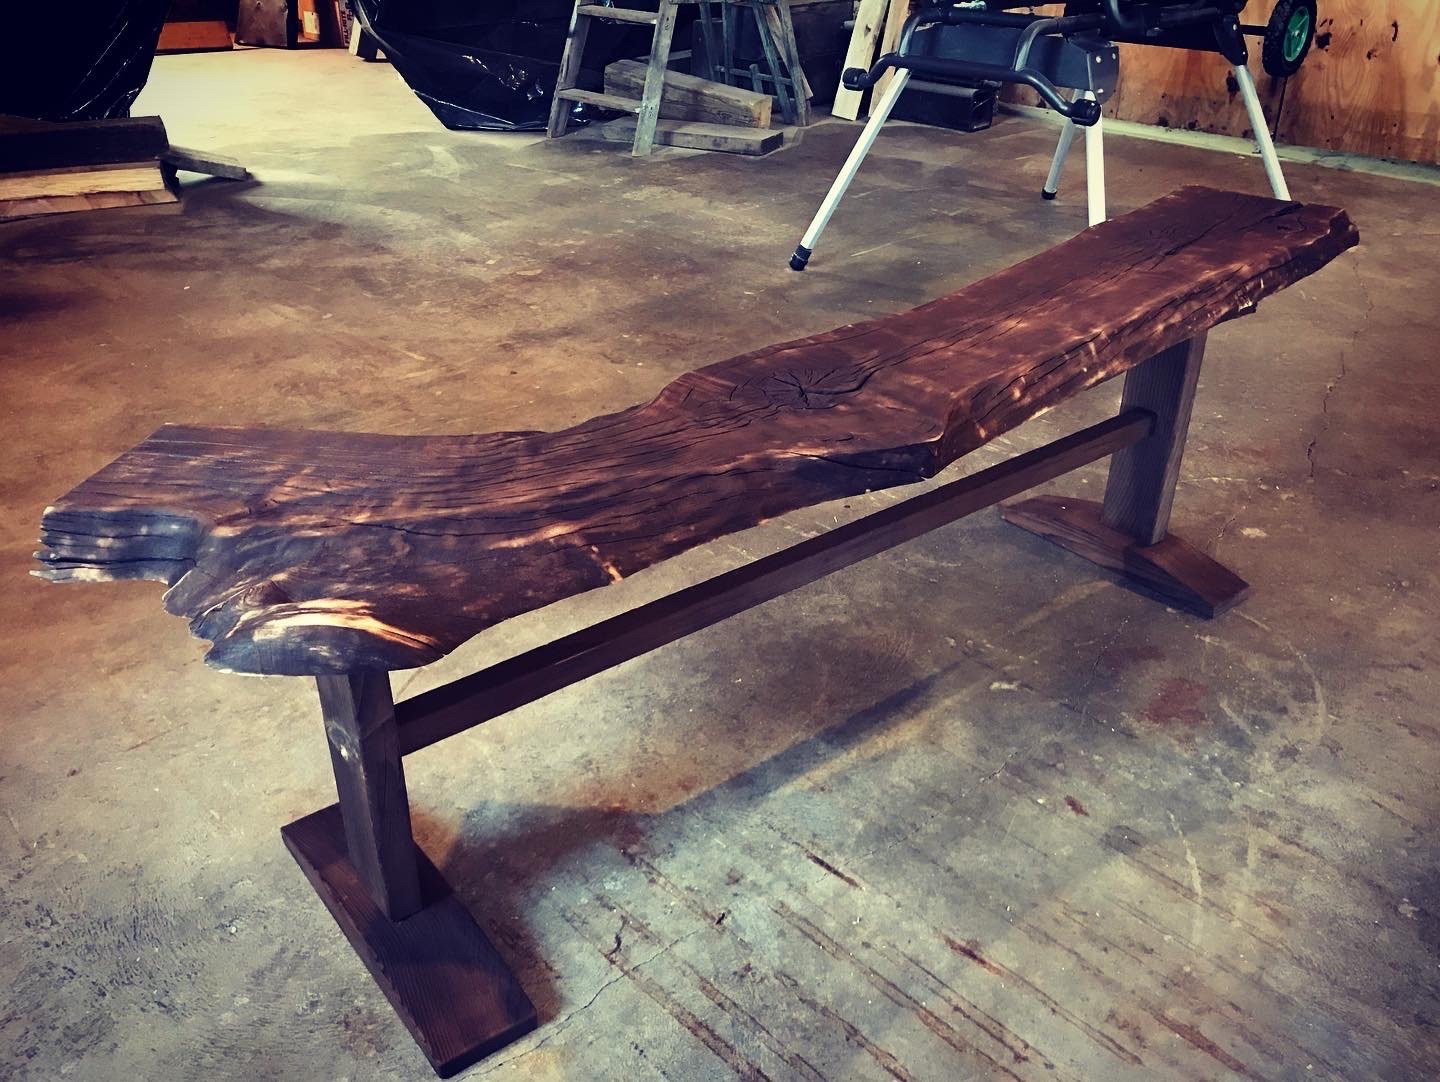
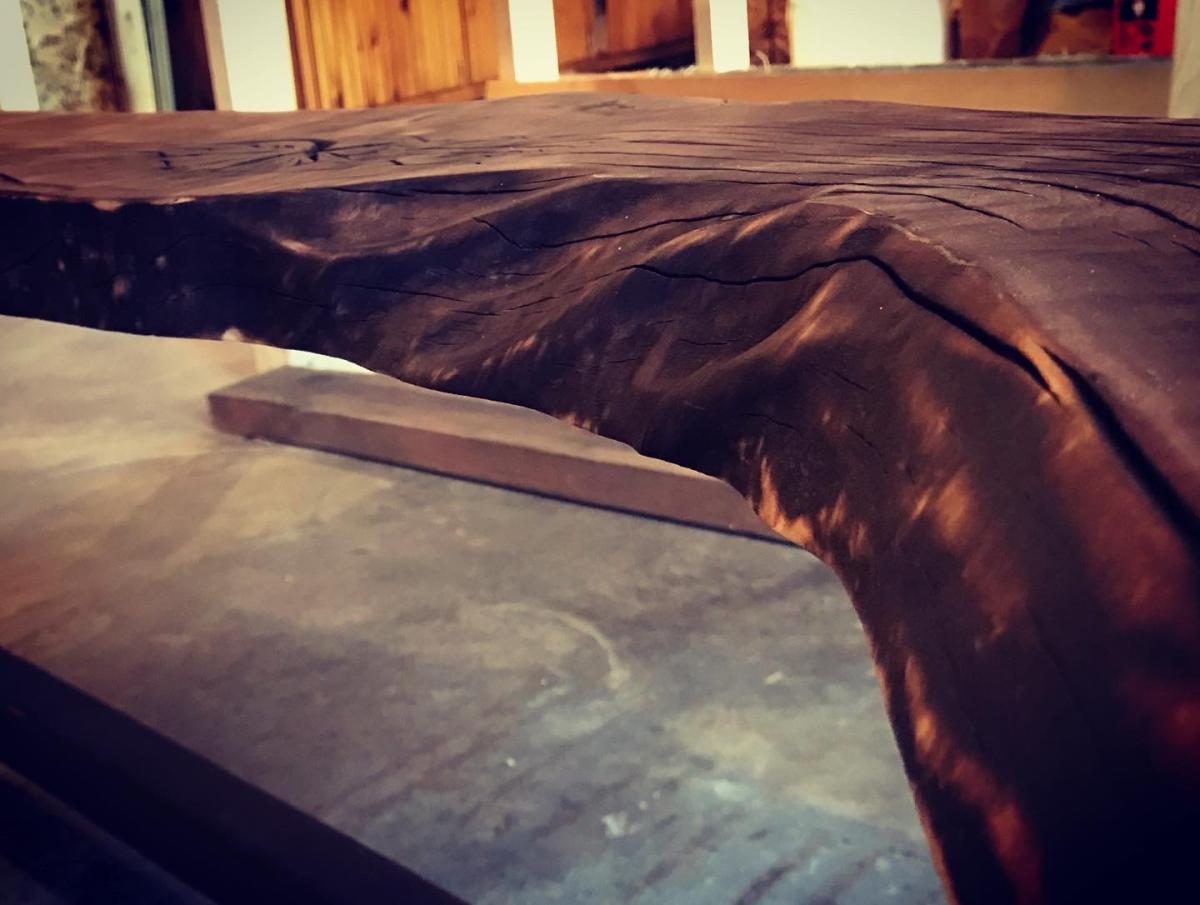
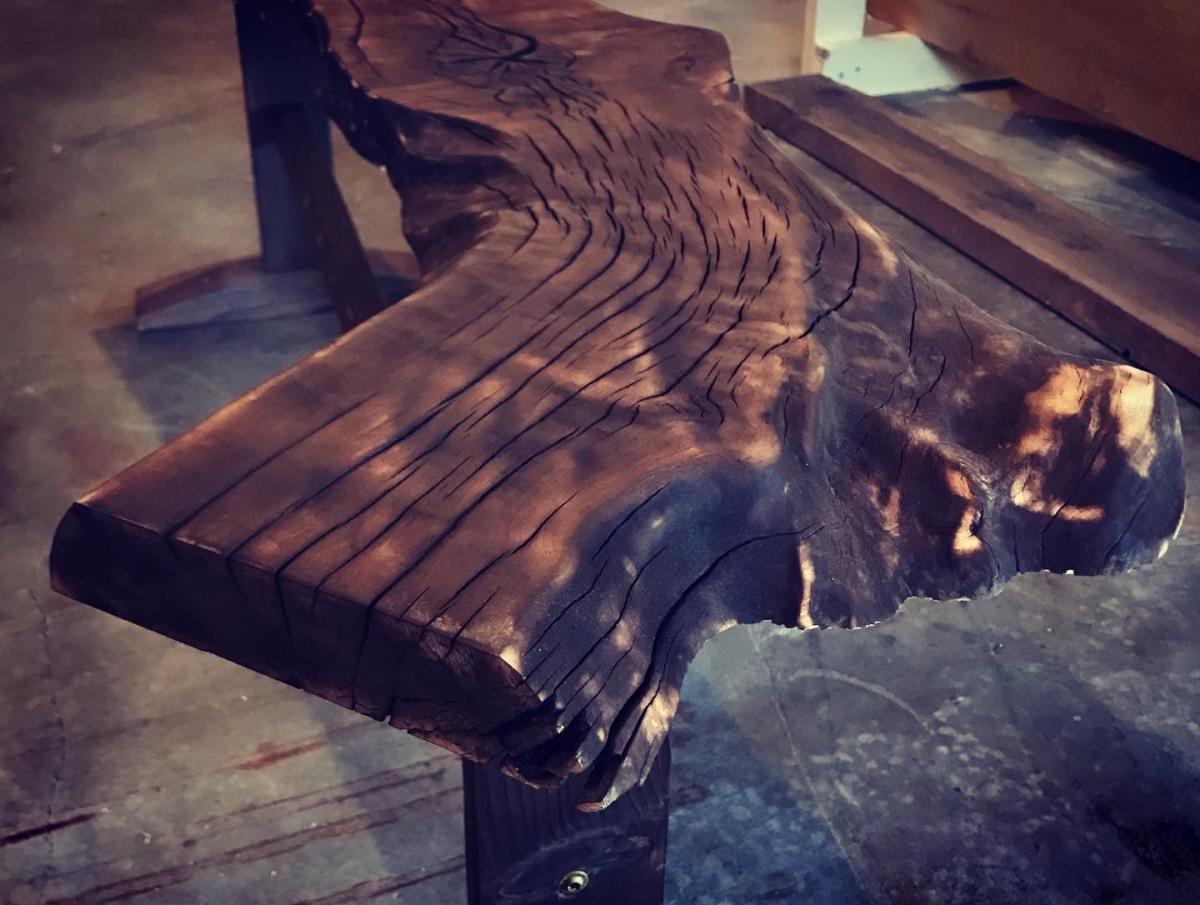
I found this oak character slab at a local lumber yard and fell in love with it. I loved it so much I bought a second one. After torching the slab using the Shou Sugi Ban method, I scraped away the charred surface and used tung oil to complete the finish. I added two more coats of tung oil allowing at least 24 hours in between each coat. The legs are made from rough cut pine from the same lumber yard (these guys take good care of me!). I also used the same charring method on the legs and feet along with tung oil. Check out all the detail and character of the edges! This bench could easily be used as a coffee table. It is approximately 6 feet long and 30 inches tall.
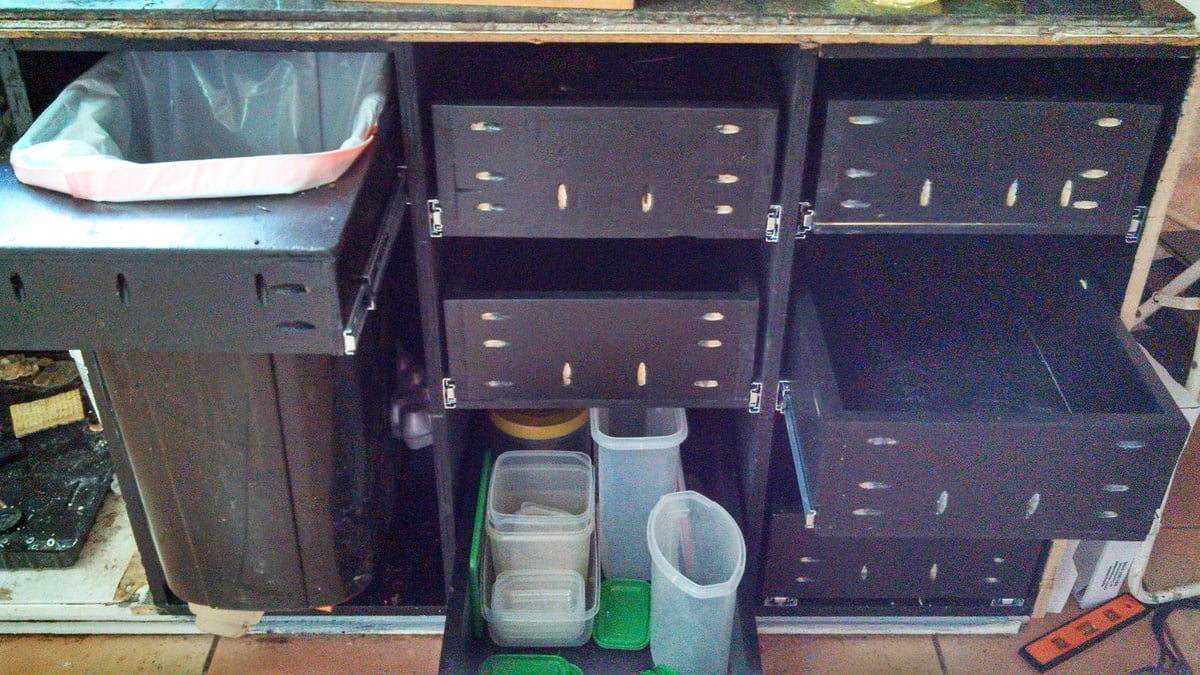
This was my first build, and it went really well. My dad helped me to cut the wood, and I was able to completely assemble, prime, and paint them by myself in the basement.
I decided not to use MDF, instead I used plywood, I think they turned out to be quite sturdy.
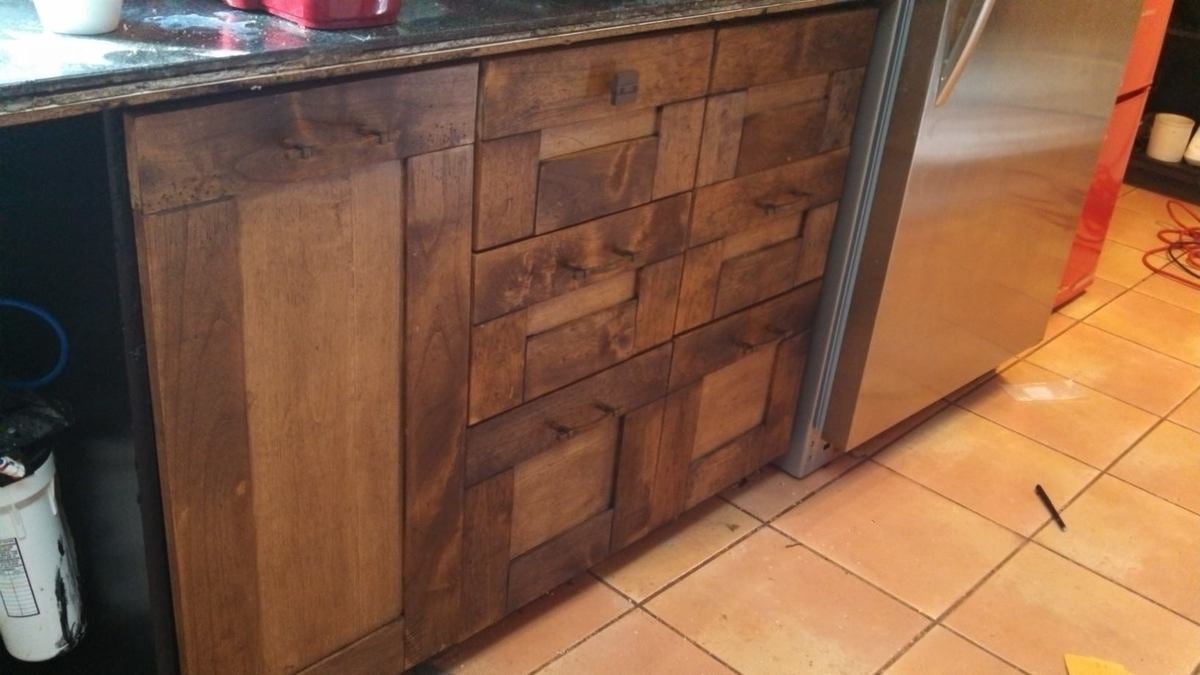
These are the original cabinets that were built with the house in 1971. They had small drawers at the top and 2 shelves. They weren't very efficient storage. I pulled everything out of the cabinet, pulled off the facing (euro-style) and restructured them to have full size pull out trash and 6 nice large heavy duty drawers. The drawer fronts I made from alder wood based on a design I saw online.

We built this bunk bed for our daughters (age 3 and 4) and they LOVE it! We are so happy with it.
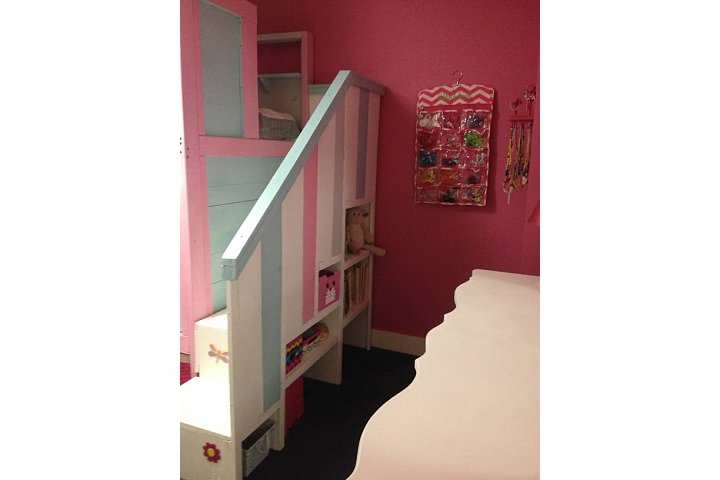
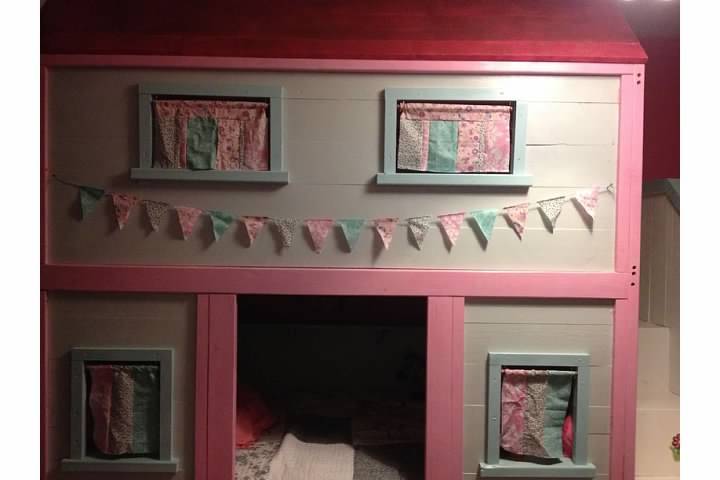
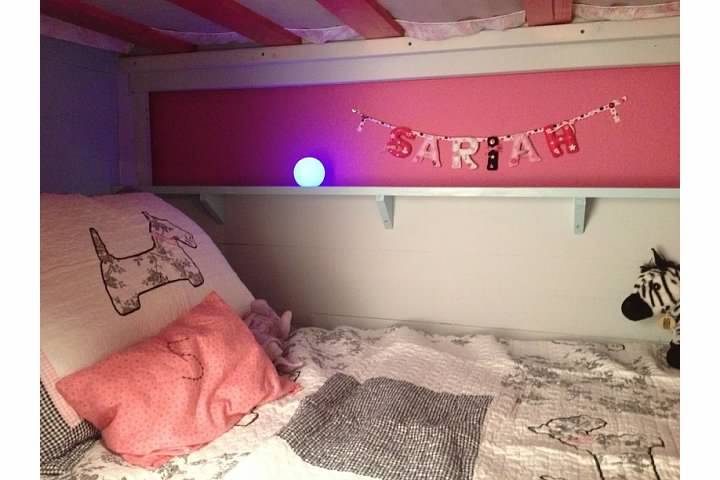
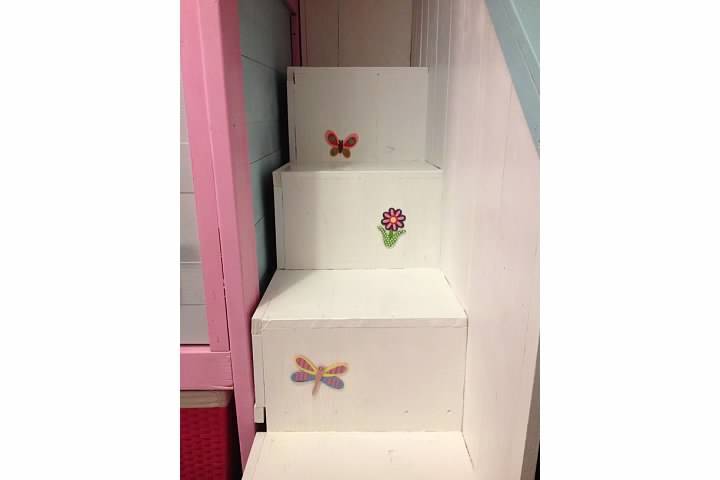
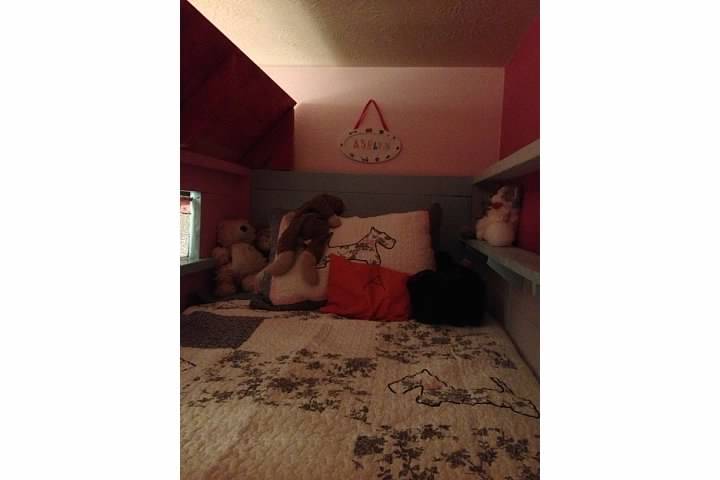
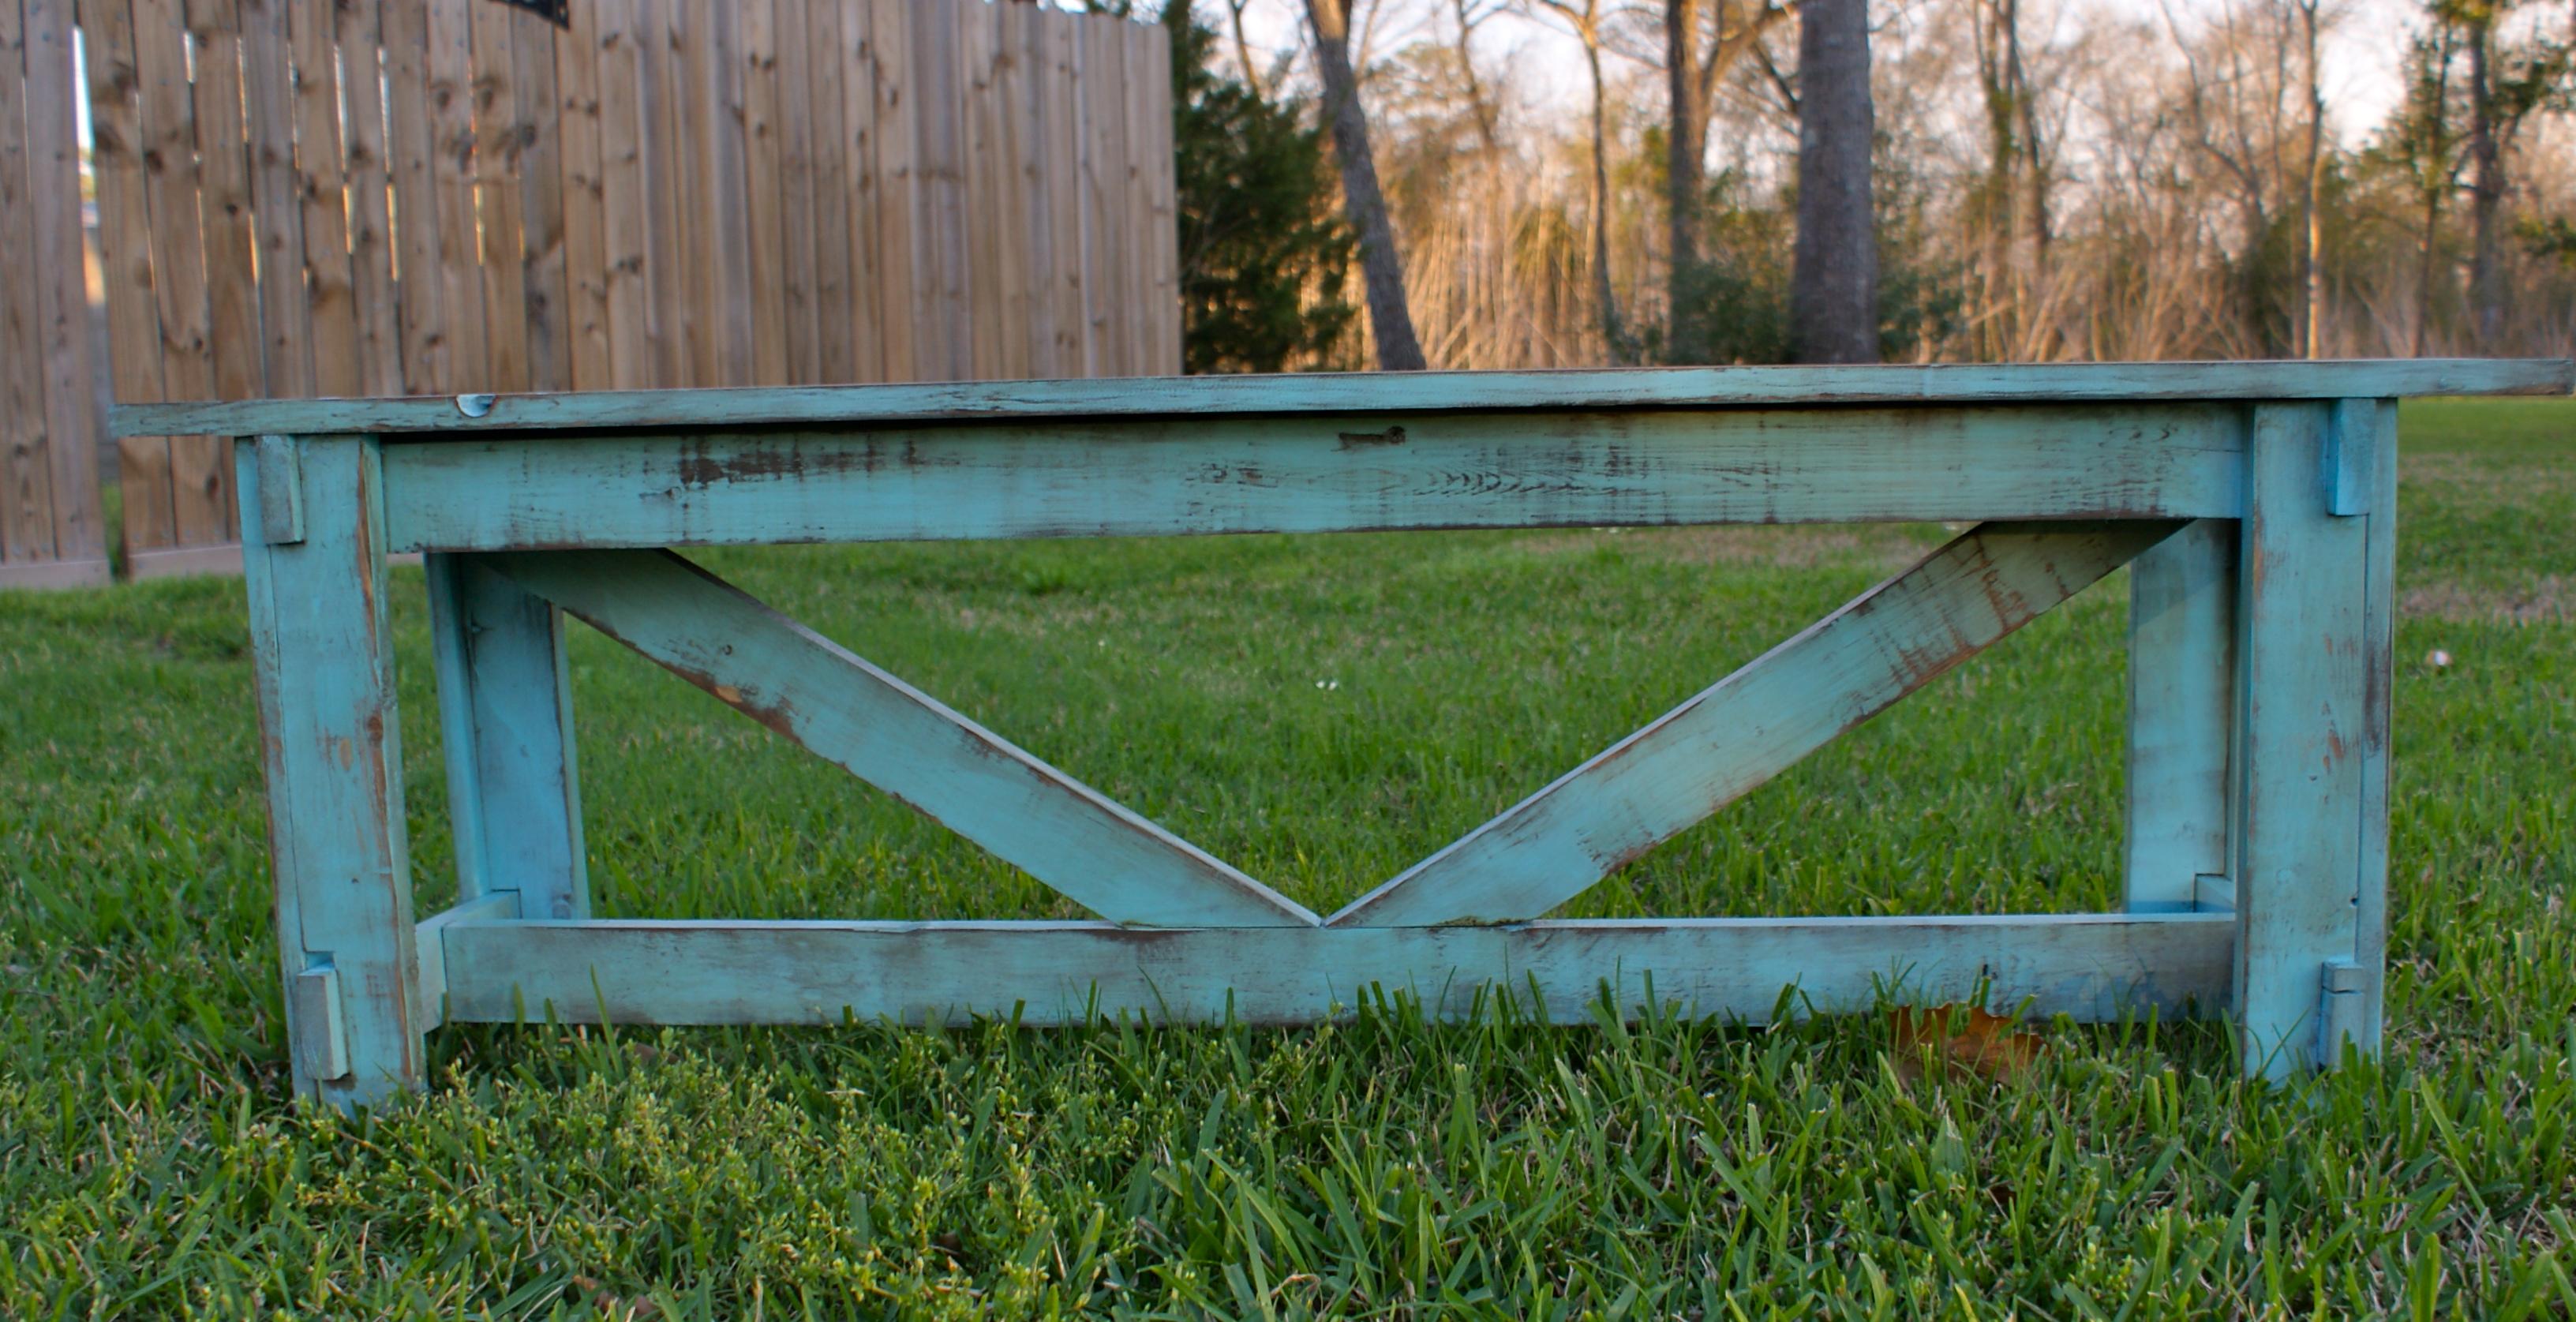
I made this all by myself, using a borrowed R3 kreg jig. It took me about four days, working several hours a day, in between babysitting sessions when the grandparents had my kids. I'm proud of how it turned out. I planned to put a back and solid sides on it because I need it to function as a bookshelf for the kids' books, but I couldn't figure out how to attach my panels and in the end I liked the airyness of the X sides.
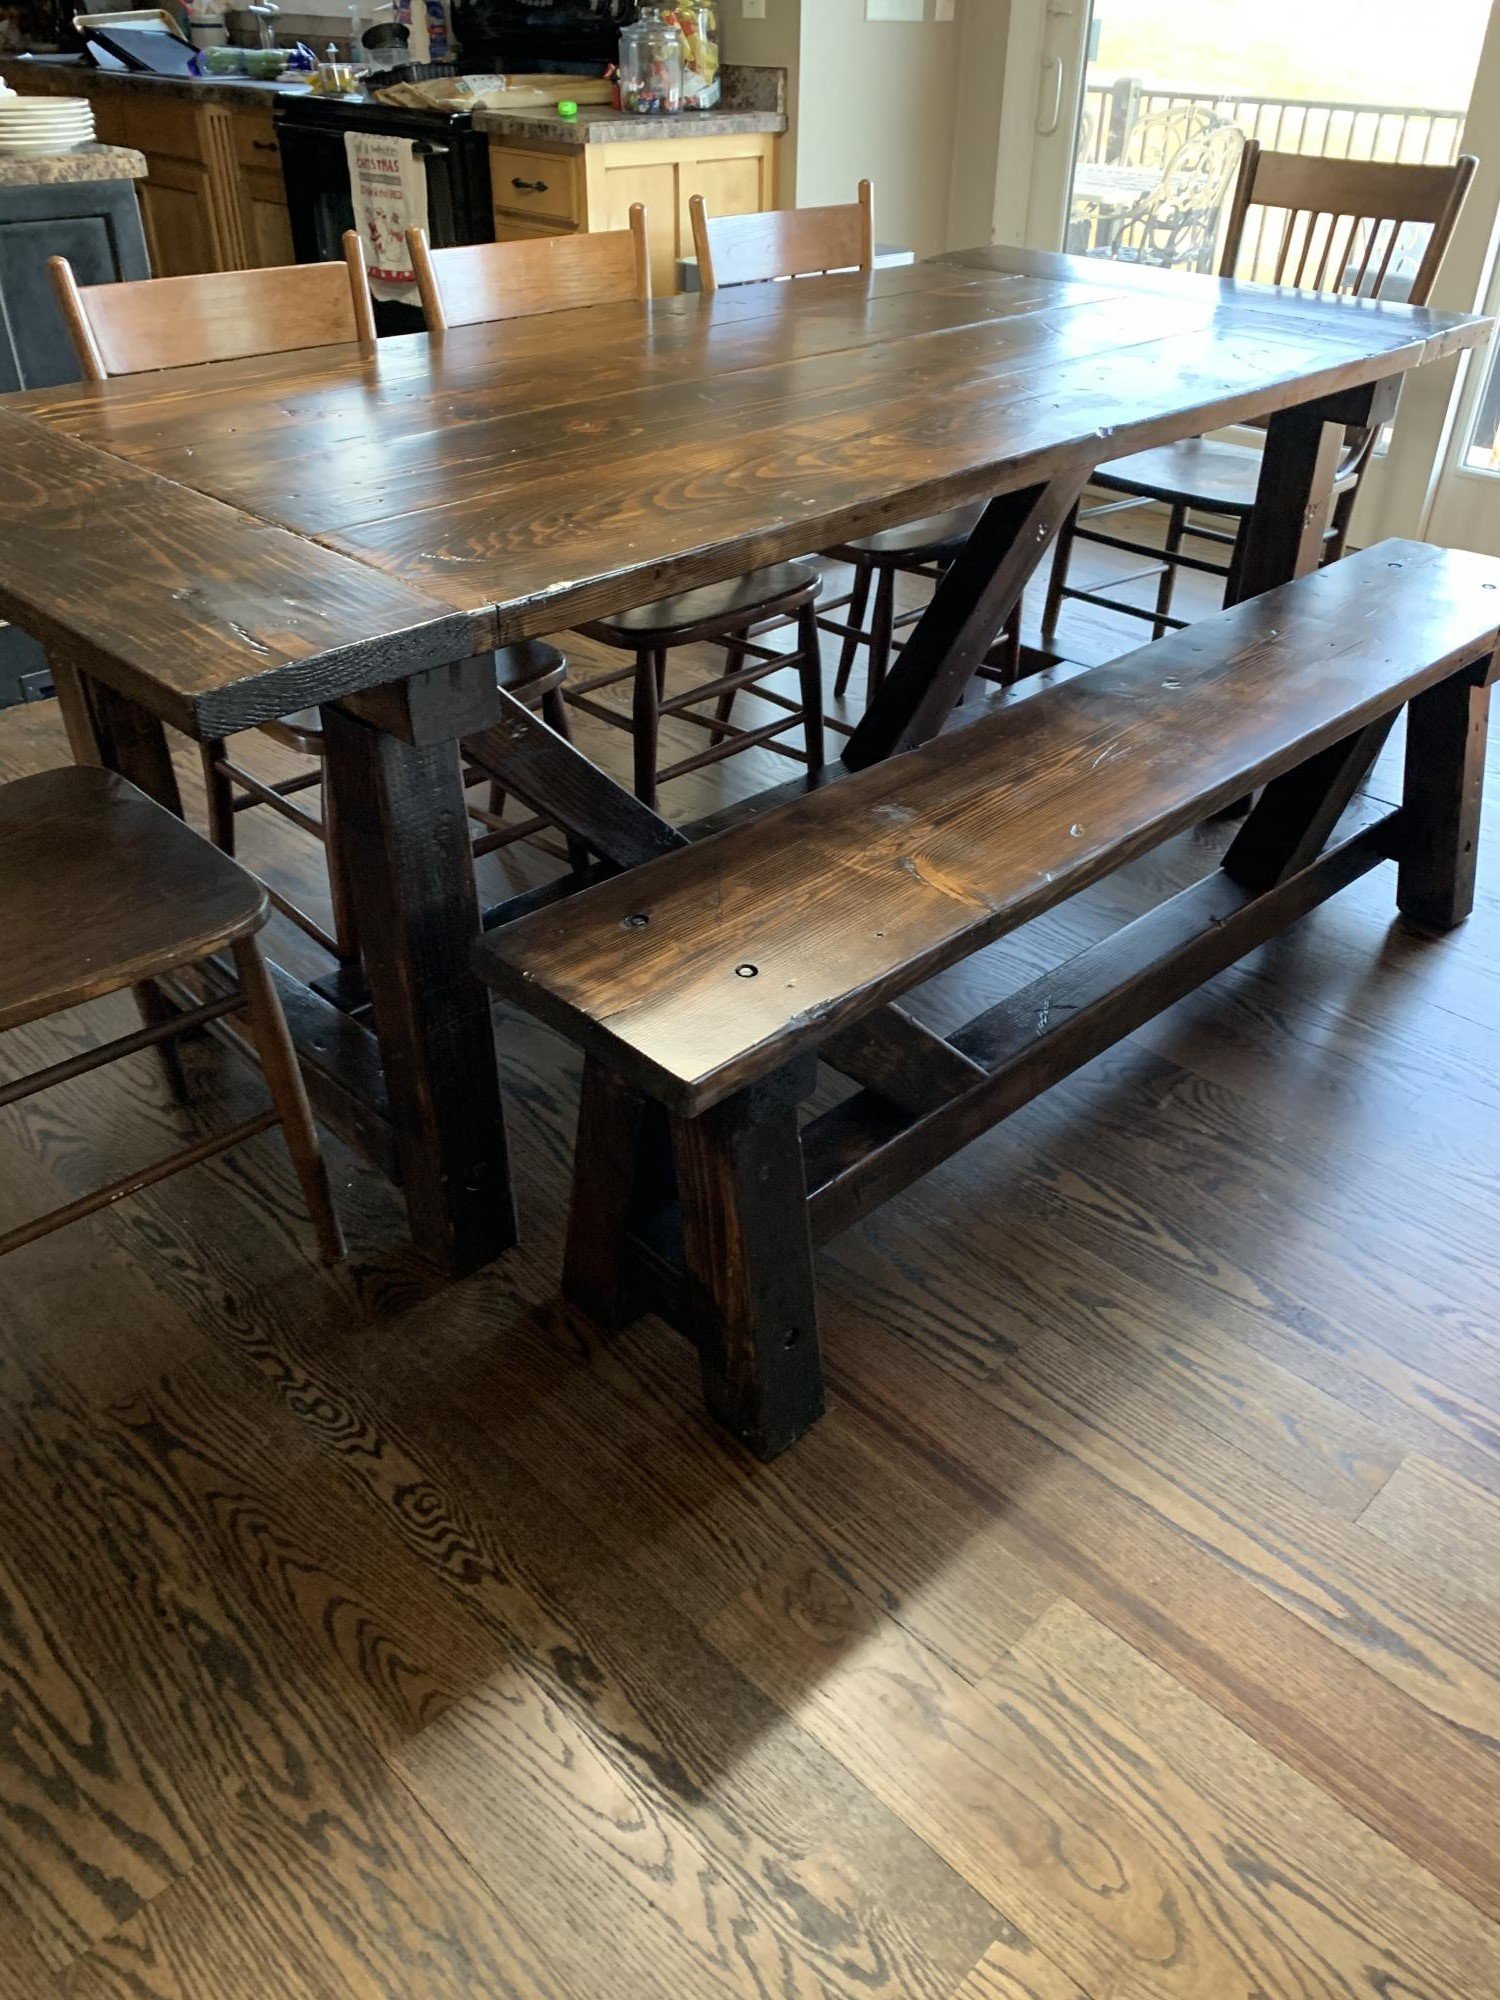
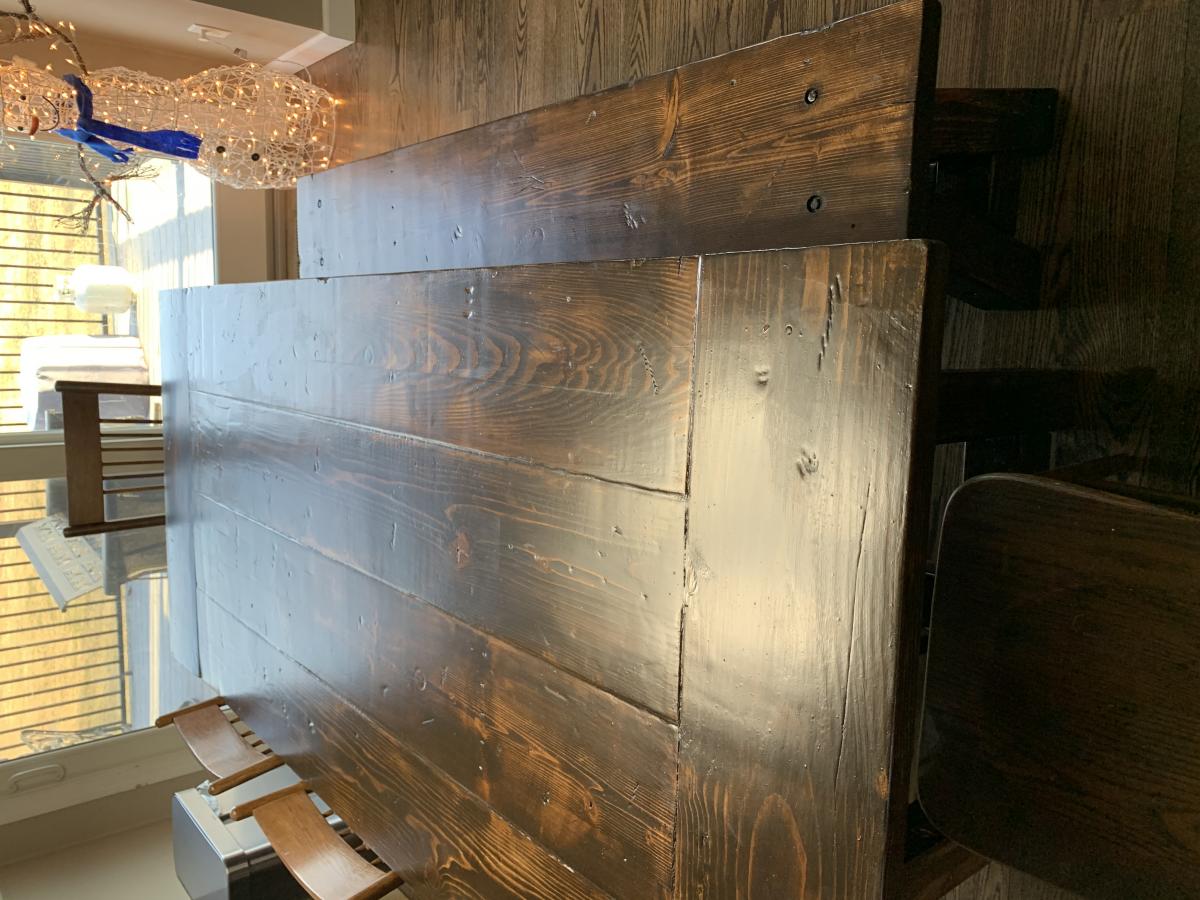
I modified the plan I got from this site to better fit the size we wanted (a bit longer) and to fit the style we wanted (without angled picnic table style legs). Sorry pics are sideways or upside down. They weren't on my end...

My husband built this loosely based off the plans and scrap wood we had in the garage. I stained it with Minwax in Winter Sky. Thanks Ana!
Thu, 05/30/2013 - 11:27
I love that you had scrap wood laying around and came up with this magnificent piece. Love that color!!!
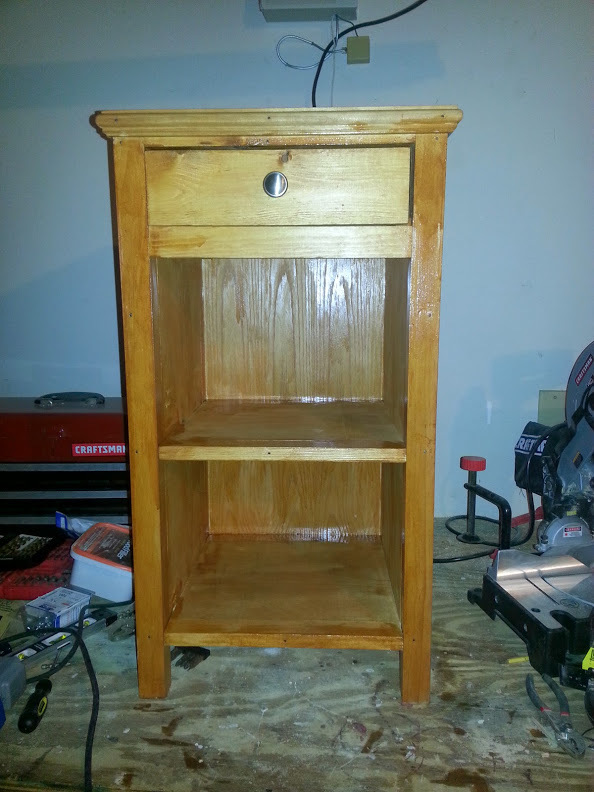
This was my first project for my new house. I think it turned out well. I added a middle shelf. I built two for our bedroom, one for both my wife and I.
This table turned out exactly as I had envisioned. I've gotten so many compliments over it. I'm now ready to build the side tables. I like how simple and clear the plan is for this table. Thank you Ana for such a simple but amazing piece of furniture. I'm a newbie at woodworking :)
We love this bench!! It was so easy and cheap to make. I spent $15 on the wood.
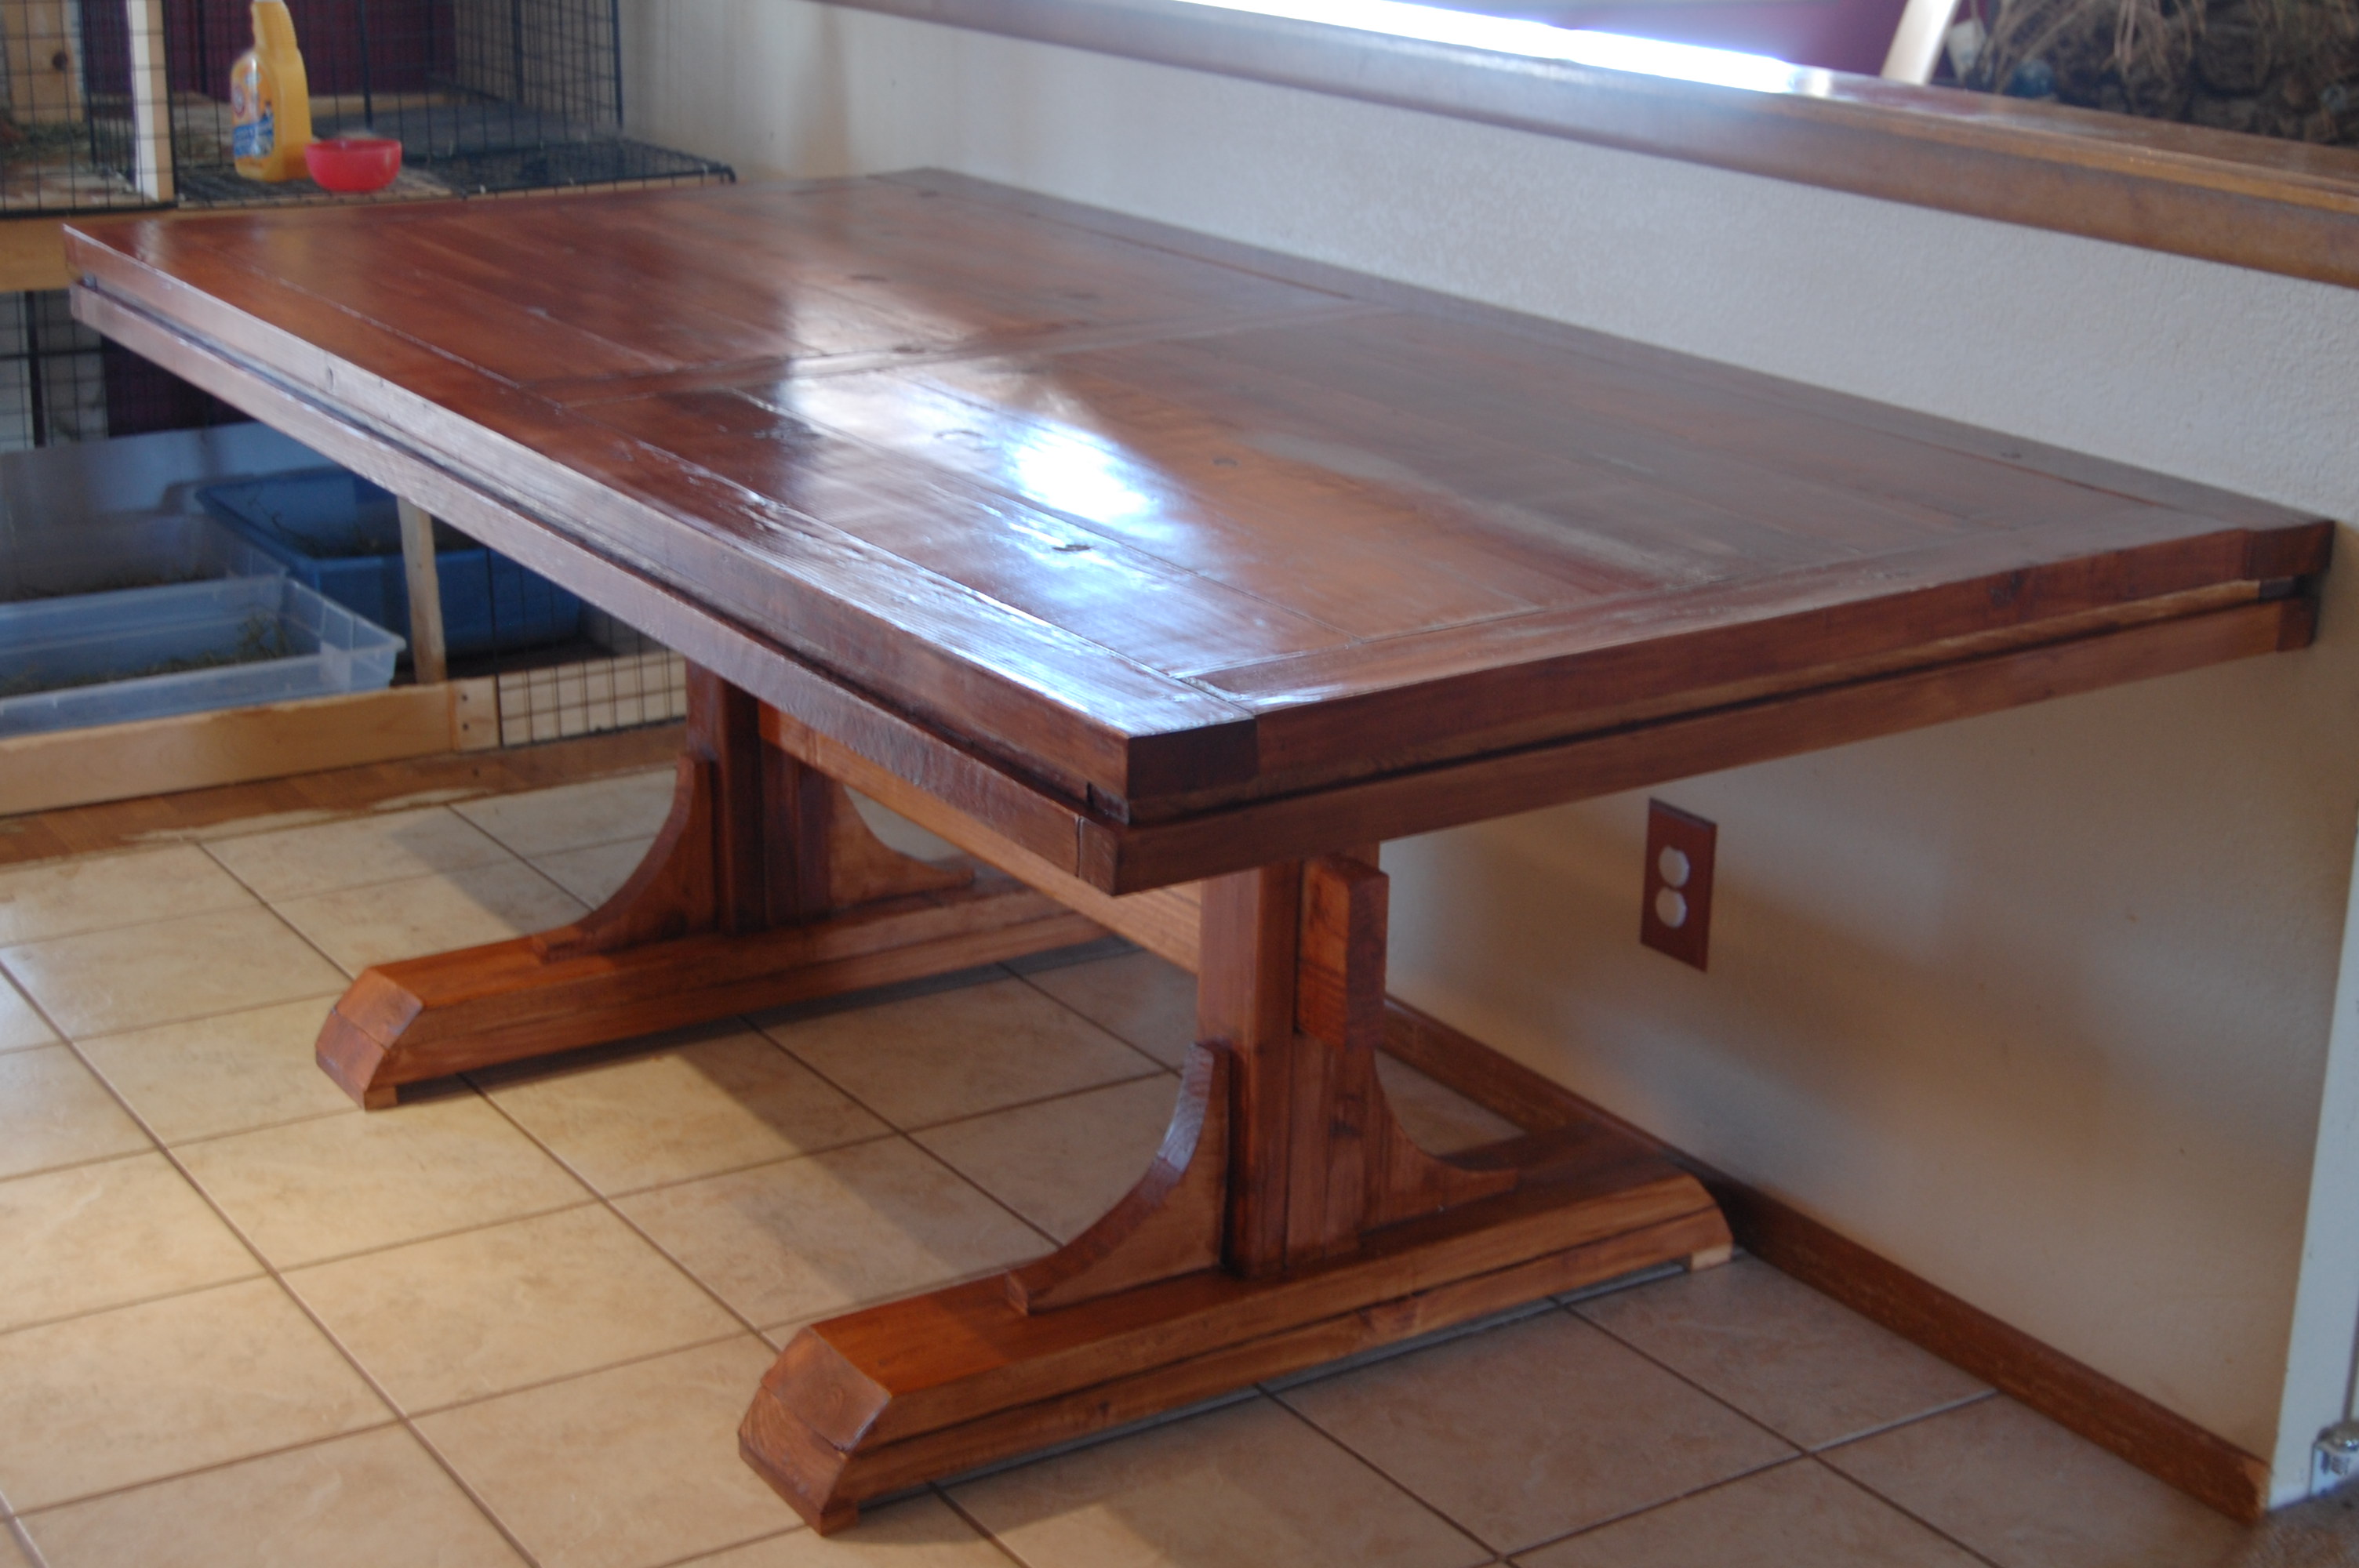
I used the Triple Pedestal Farmhouse plans, but that table would have been much too large for the space we have for a table; so I shortened the length a bit and only used two pedestals.
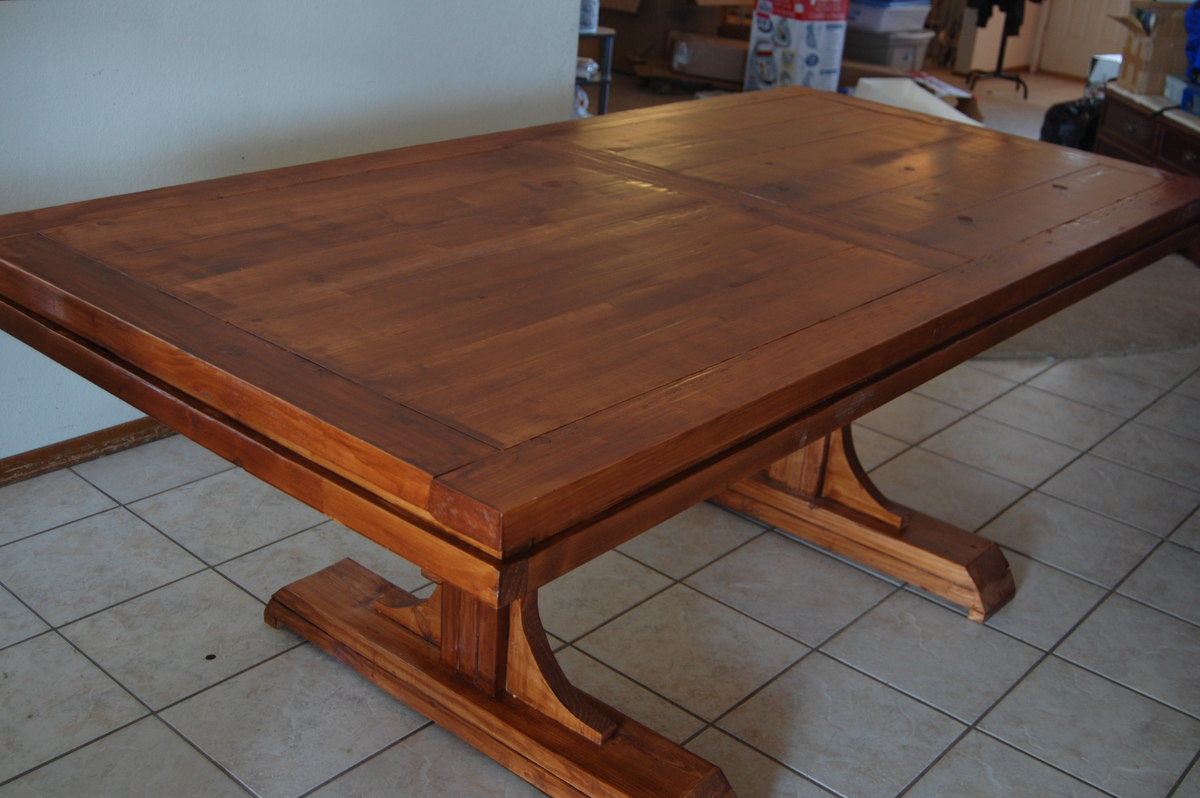
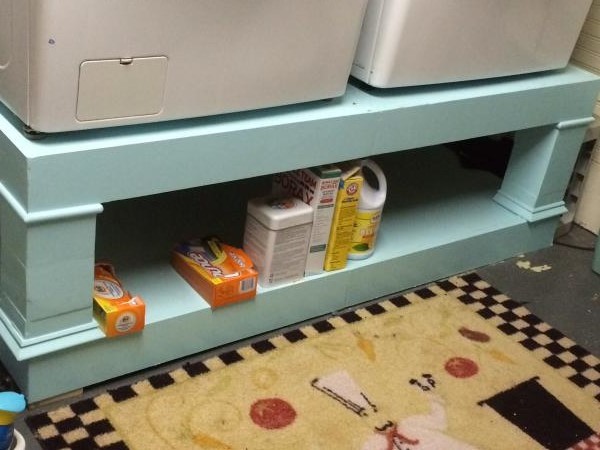
Fun project, took little time and we love not having to bend OR spend 279 per pedestal!!! Very strong and my machine stays put, doesn't dance around. Love!!!
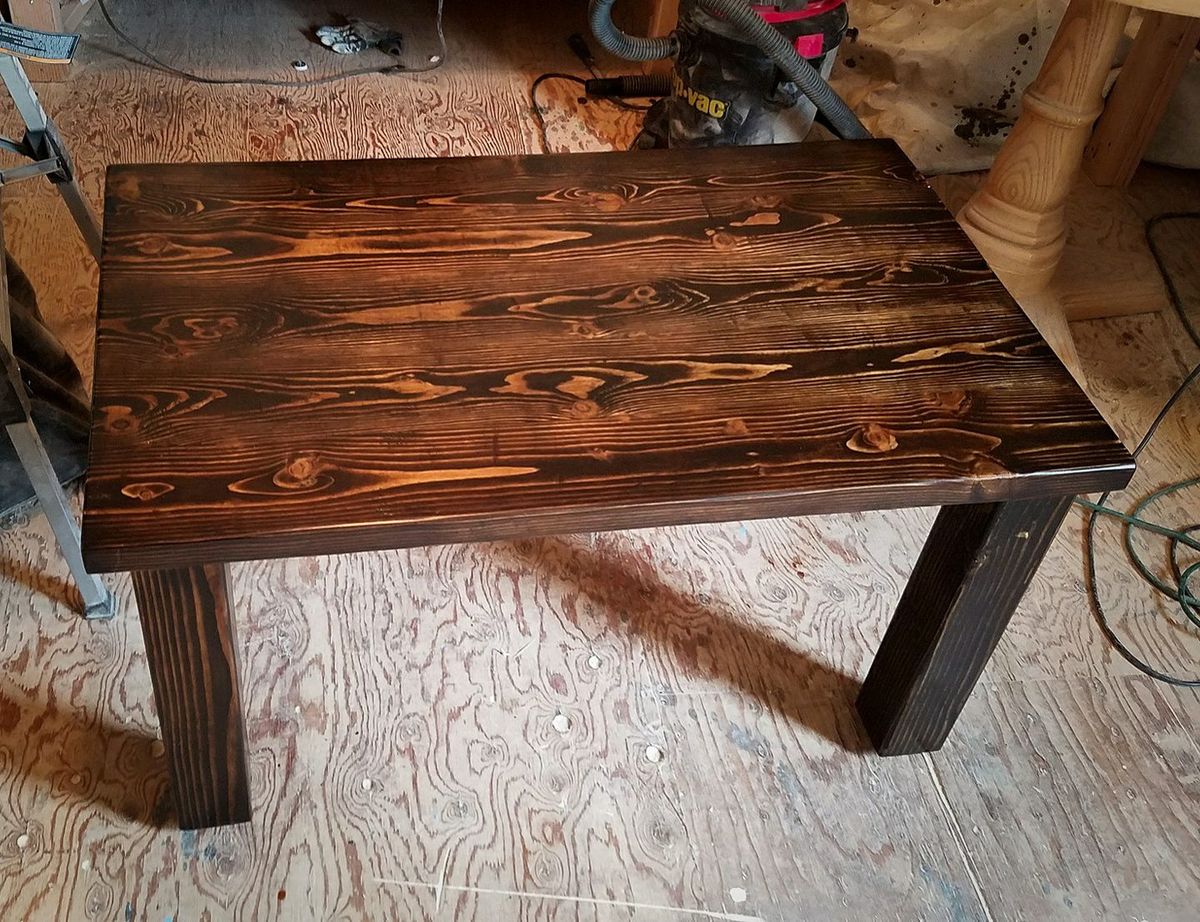
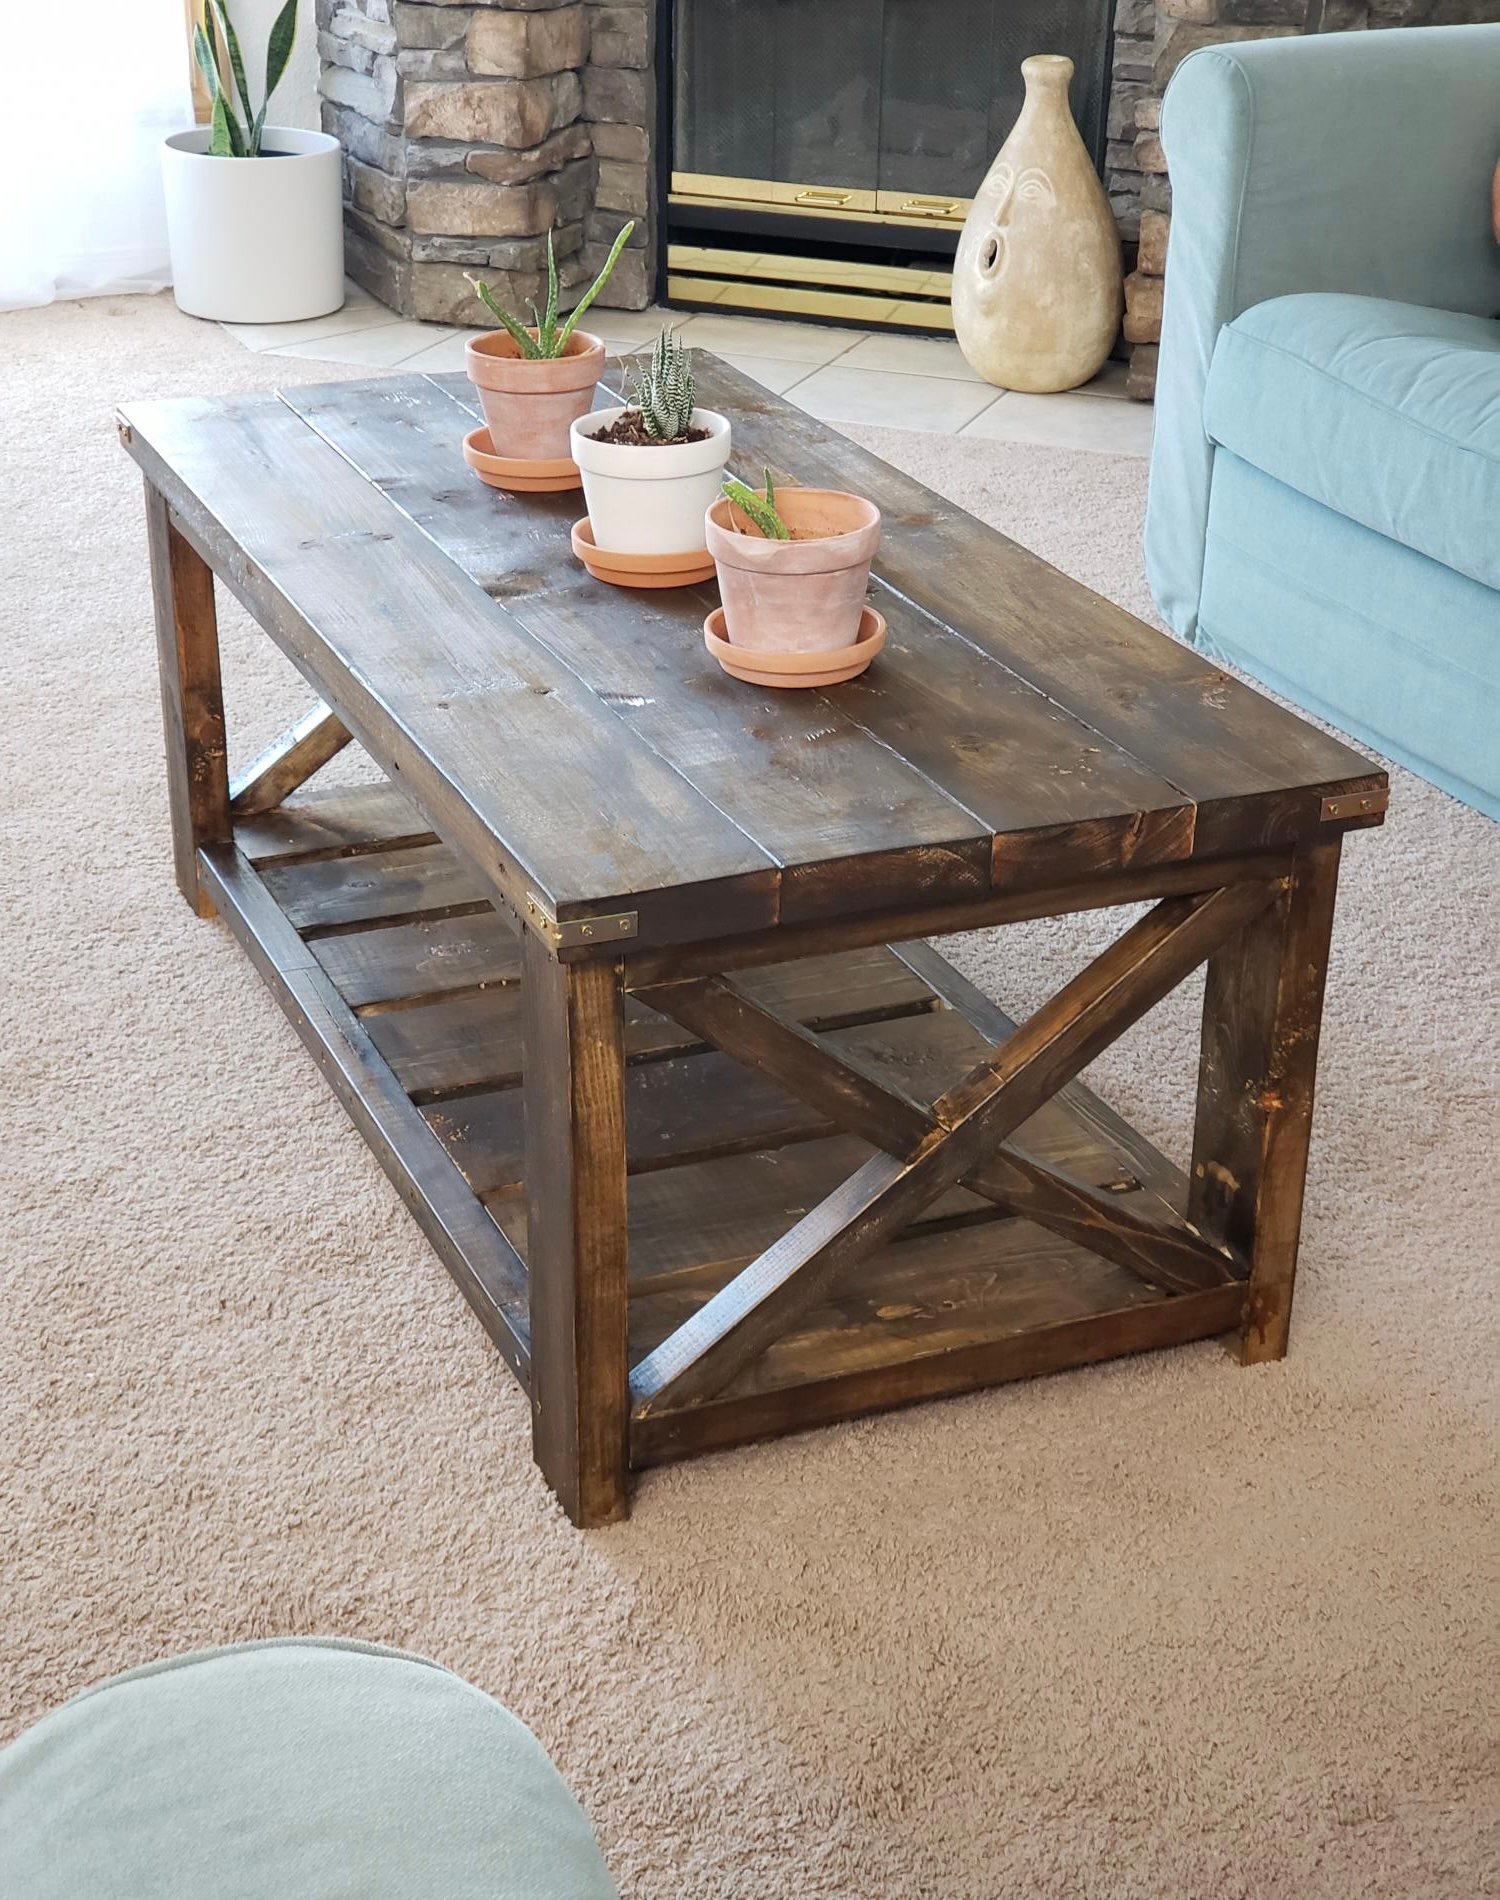
Coffee table stained in Jacobean, and finished with Minwax satin Poly.
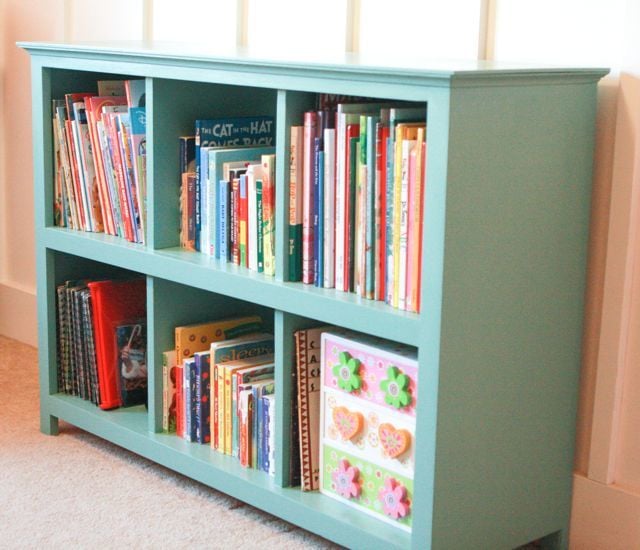
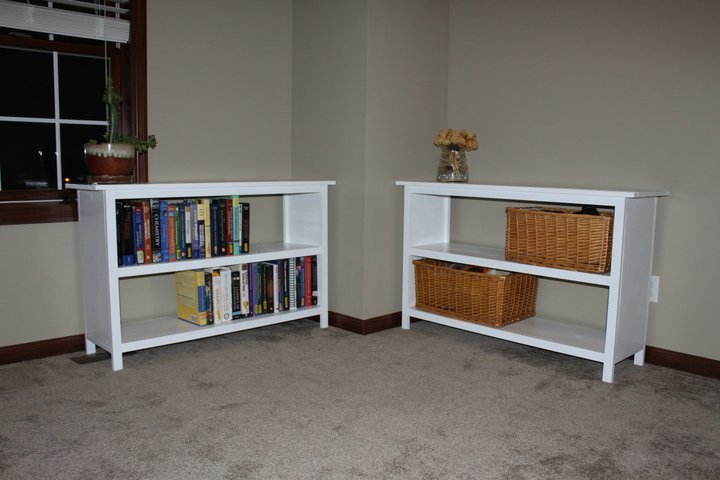
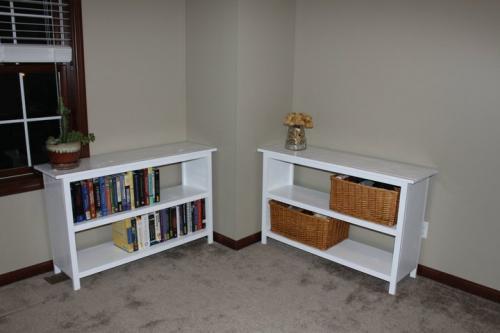
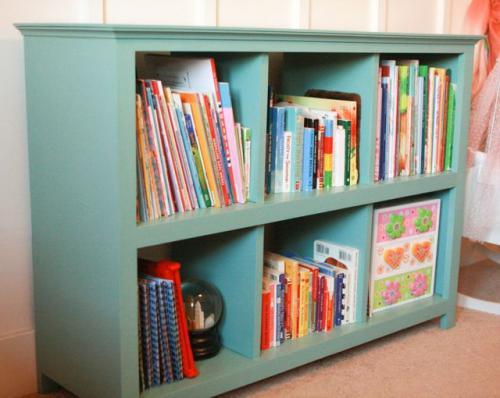
When I find clothes I like, I buy more of the same. Apparently this habit applies to furniture, too. This fall I built two cube bookcases for my 8 year old's bedroom. Last weekend, I built another, this time for my 6 year old. What can I say? The first two worked out so well I needed another!
For this bookcase, I had the lumber (at least the big boards, not the 1x2s) cut at Lowe's. The cuts were precise and square -- everything I want in a cut!
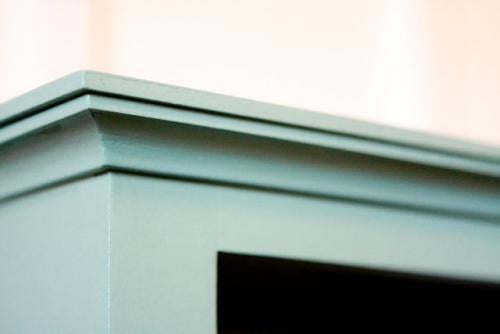
Just as I did with the first two bookcases, I used the Kreg Jig to put this one together and then I topped it with 1/4" MDF, attaching mitered cove molding underneath. At some point this winter I realized that my miter saw was out of square. I'm not good at fixing mechanical things, so my husband did me the favor of squaring the saw for me. Wow, what a difference! My cuts are so much more precise now that the saw is square again. Whew!
One change I made from the first two cube bookcases I built was in the finish. Instead of building and then finishing, I painted the surfaces that would end up on the inside of the bookcase before assembling the whole thing. Last time it was a bit of a nightmare getting into all the corners and inside tops of each cube. Painting the inside ahead of time was much simpler. Once the unit was put together, I sanded and painted the outside, touched up the inside, and then added two coats of poly to both the inside and the outside.

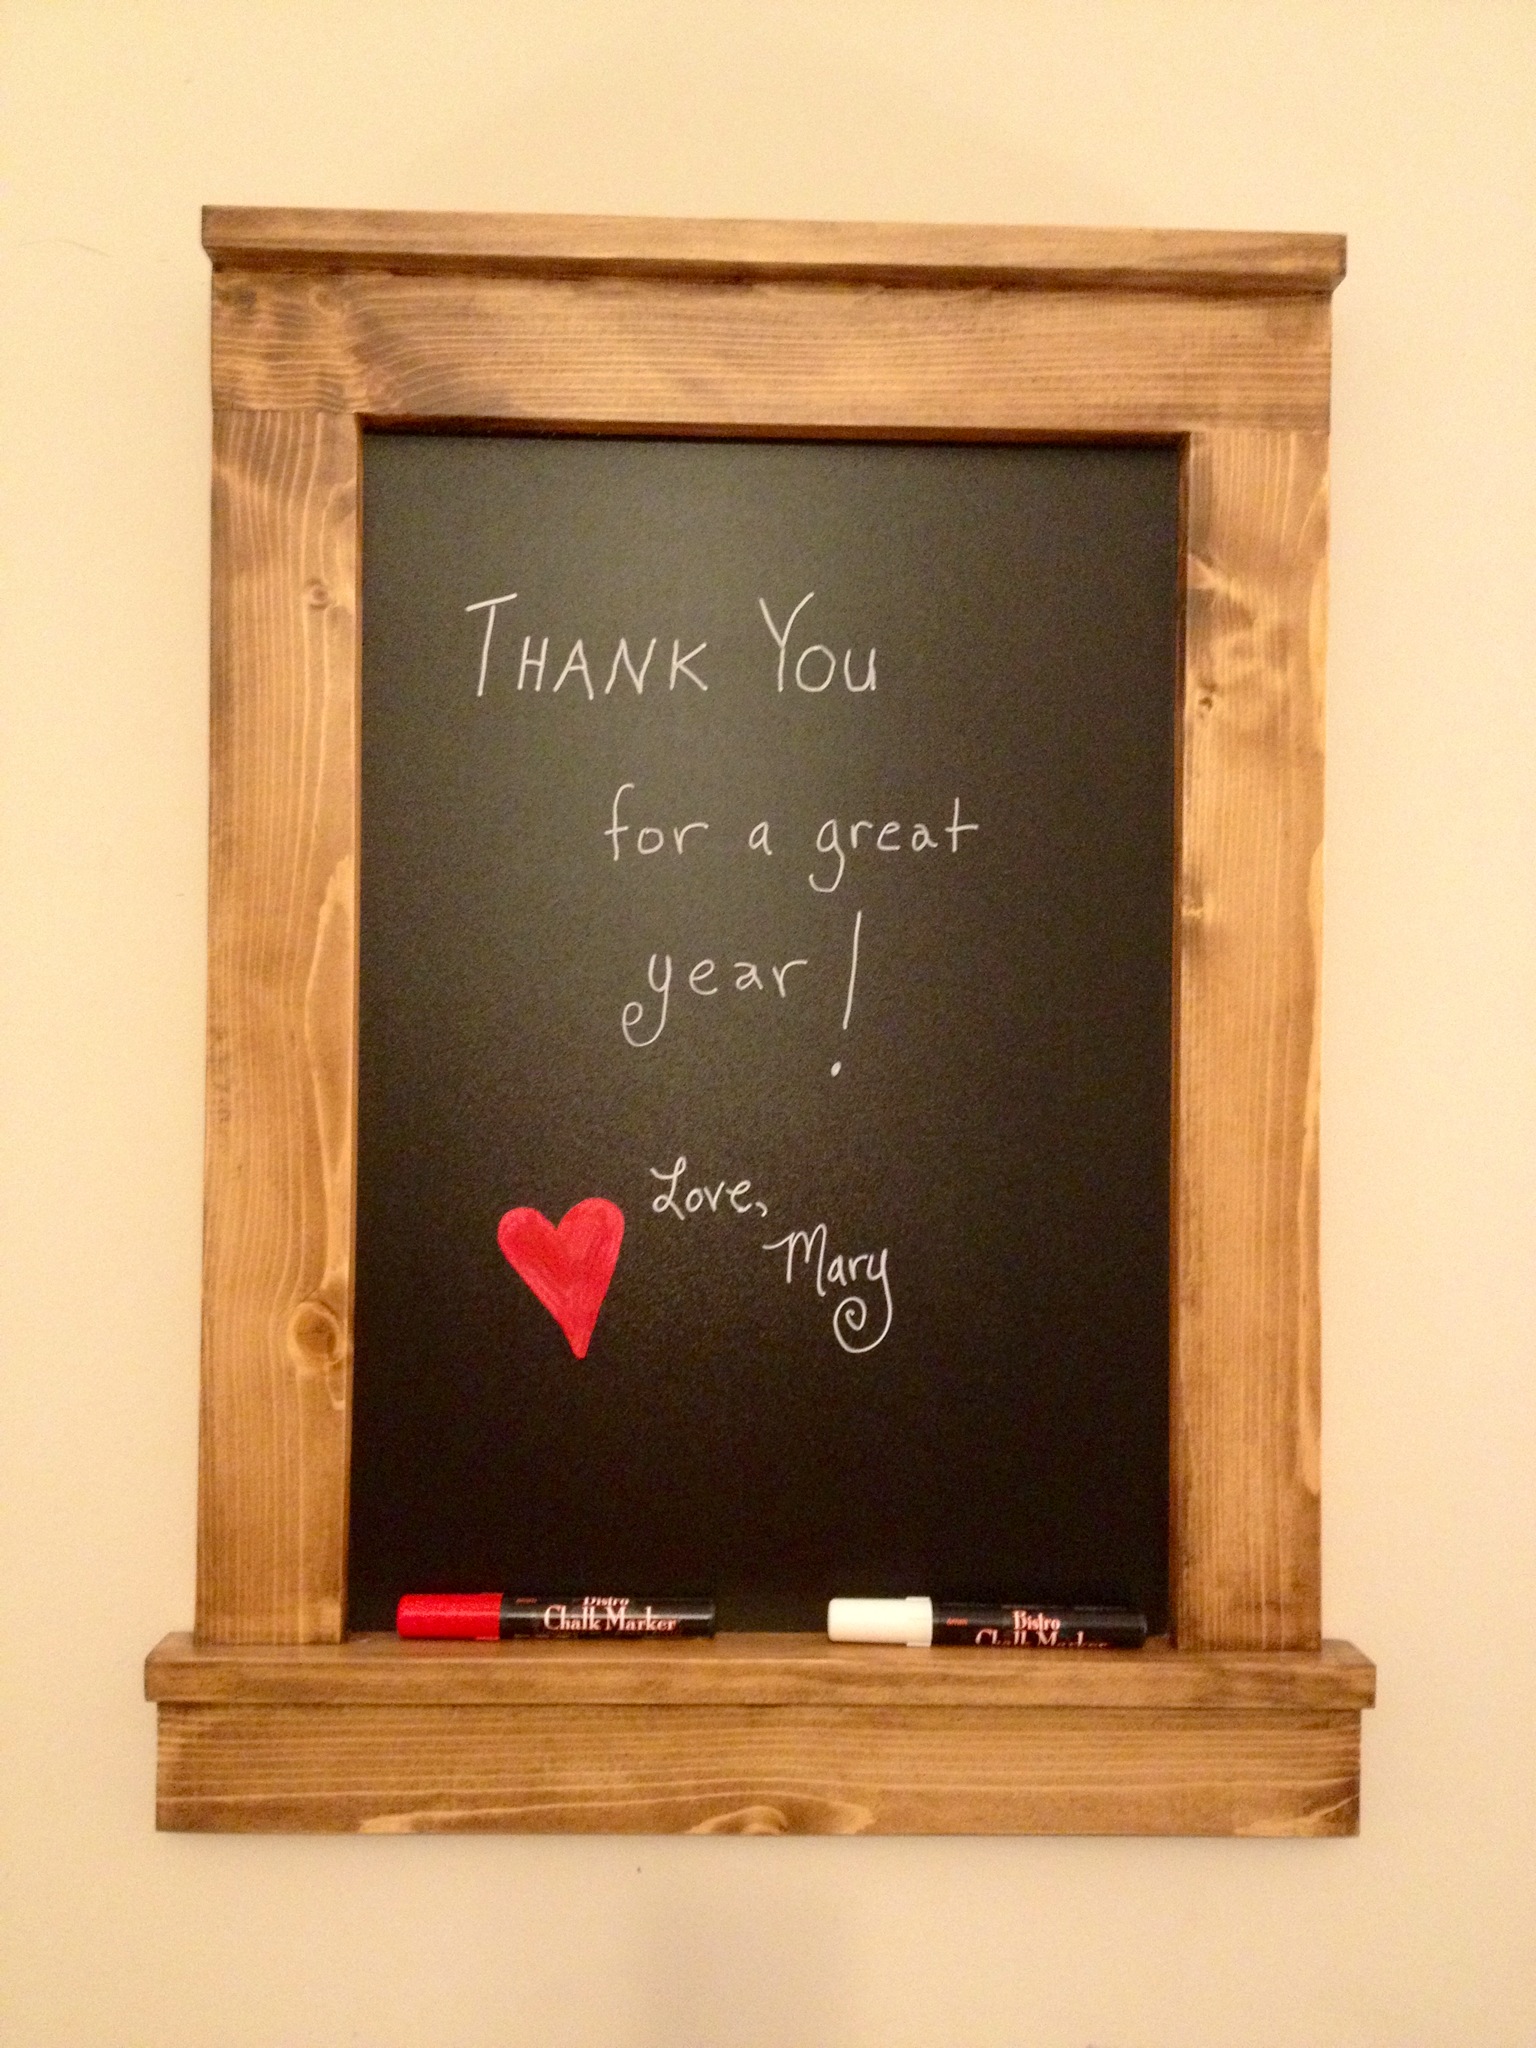
I followed Jamie's tutorial from "That's my letter" on how to make this frame fit an existing chalkboard piece.
It was easy peasy. Finishing took longer than building.
I had all the wood, just had to buy the chalkboard from Hobby Lobby and the chalk markers.

Patio Table. Made from pressure treated wood - hence not stained yet as waiting a while to season.
Measures 94 inches long by 49 inches wide.
Will post plans shortly.


Sat, 05/02/2015 - 15:34
This table has a beautiful top. Can't wait to see the plans, and please post again when you have finished staining.


Comments
Ana White Admin
Wed, 10/06/2021 - 20:12
Pretty!
Thank you for sharing, that is very beautiful!