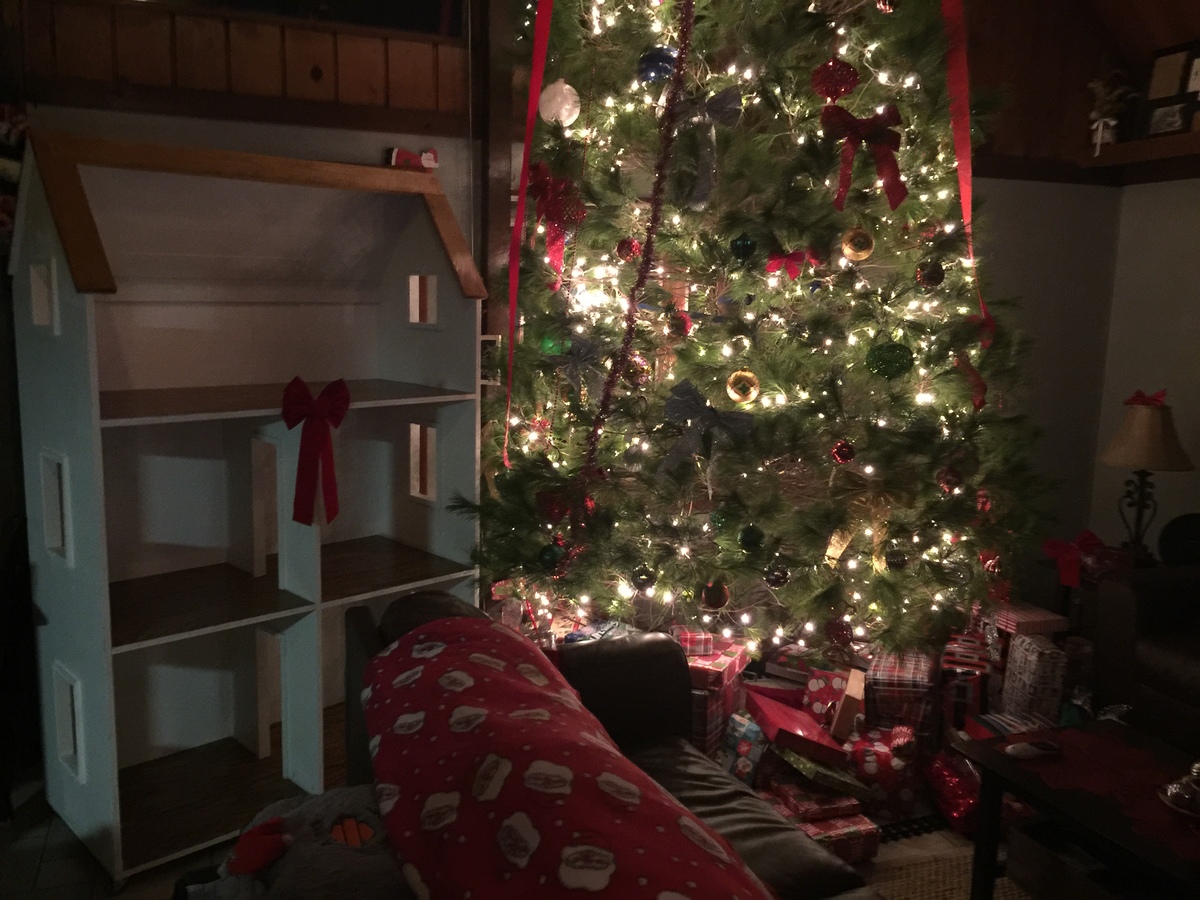
Dress up Center
Made it smaller to better fit my daughter's room.
Built from Plan(s)
Made it smaller to better fit my daughter's room.
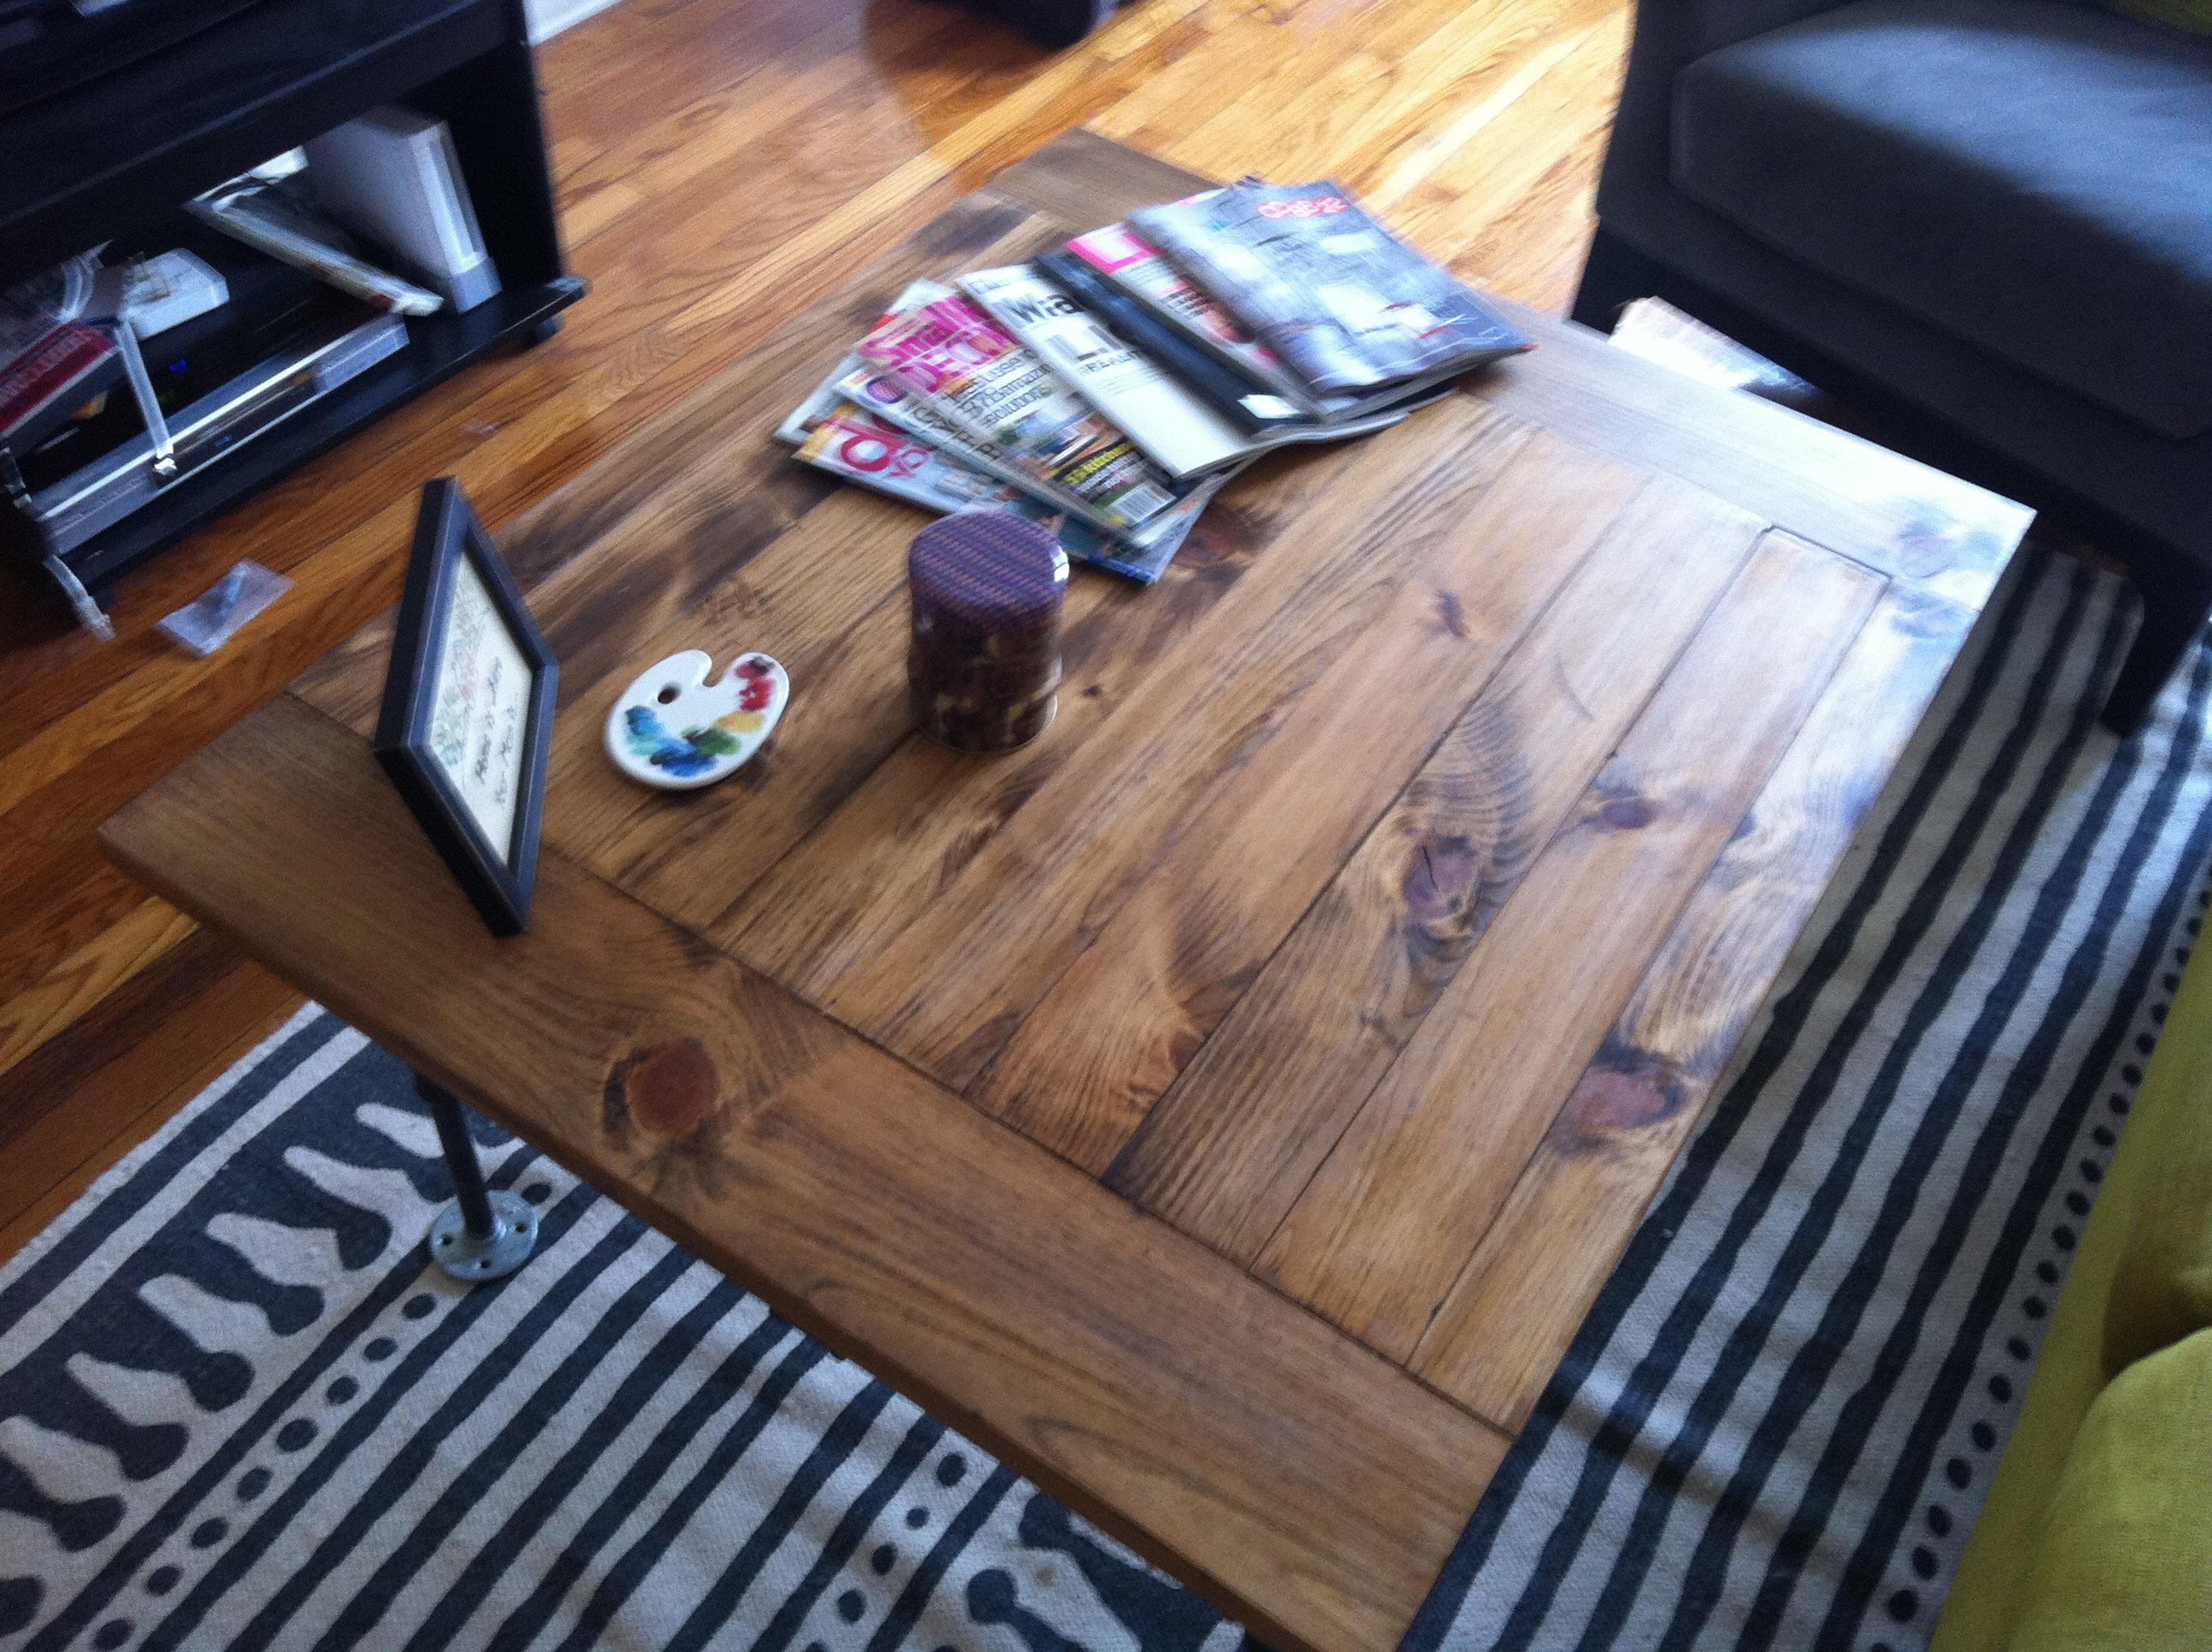
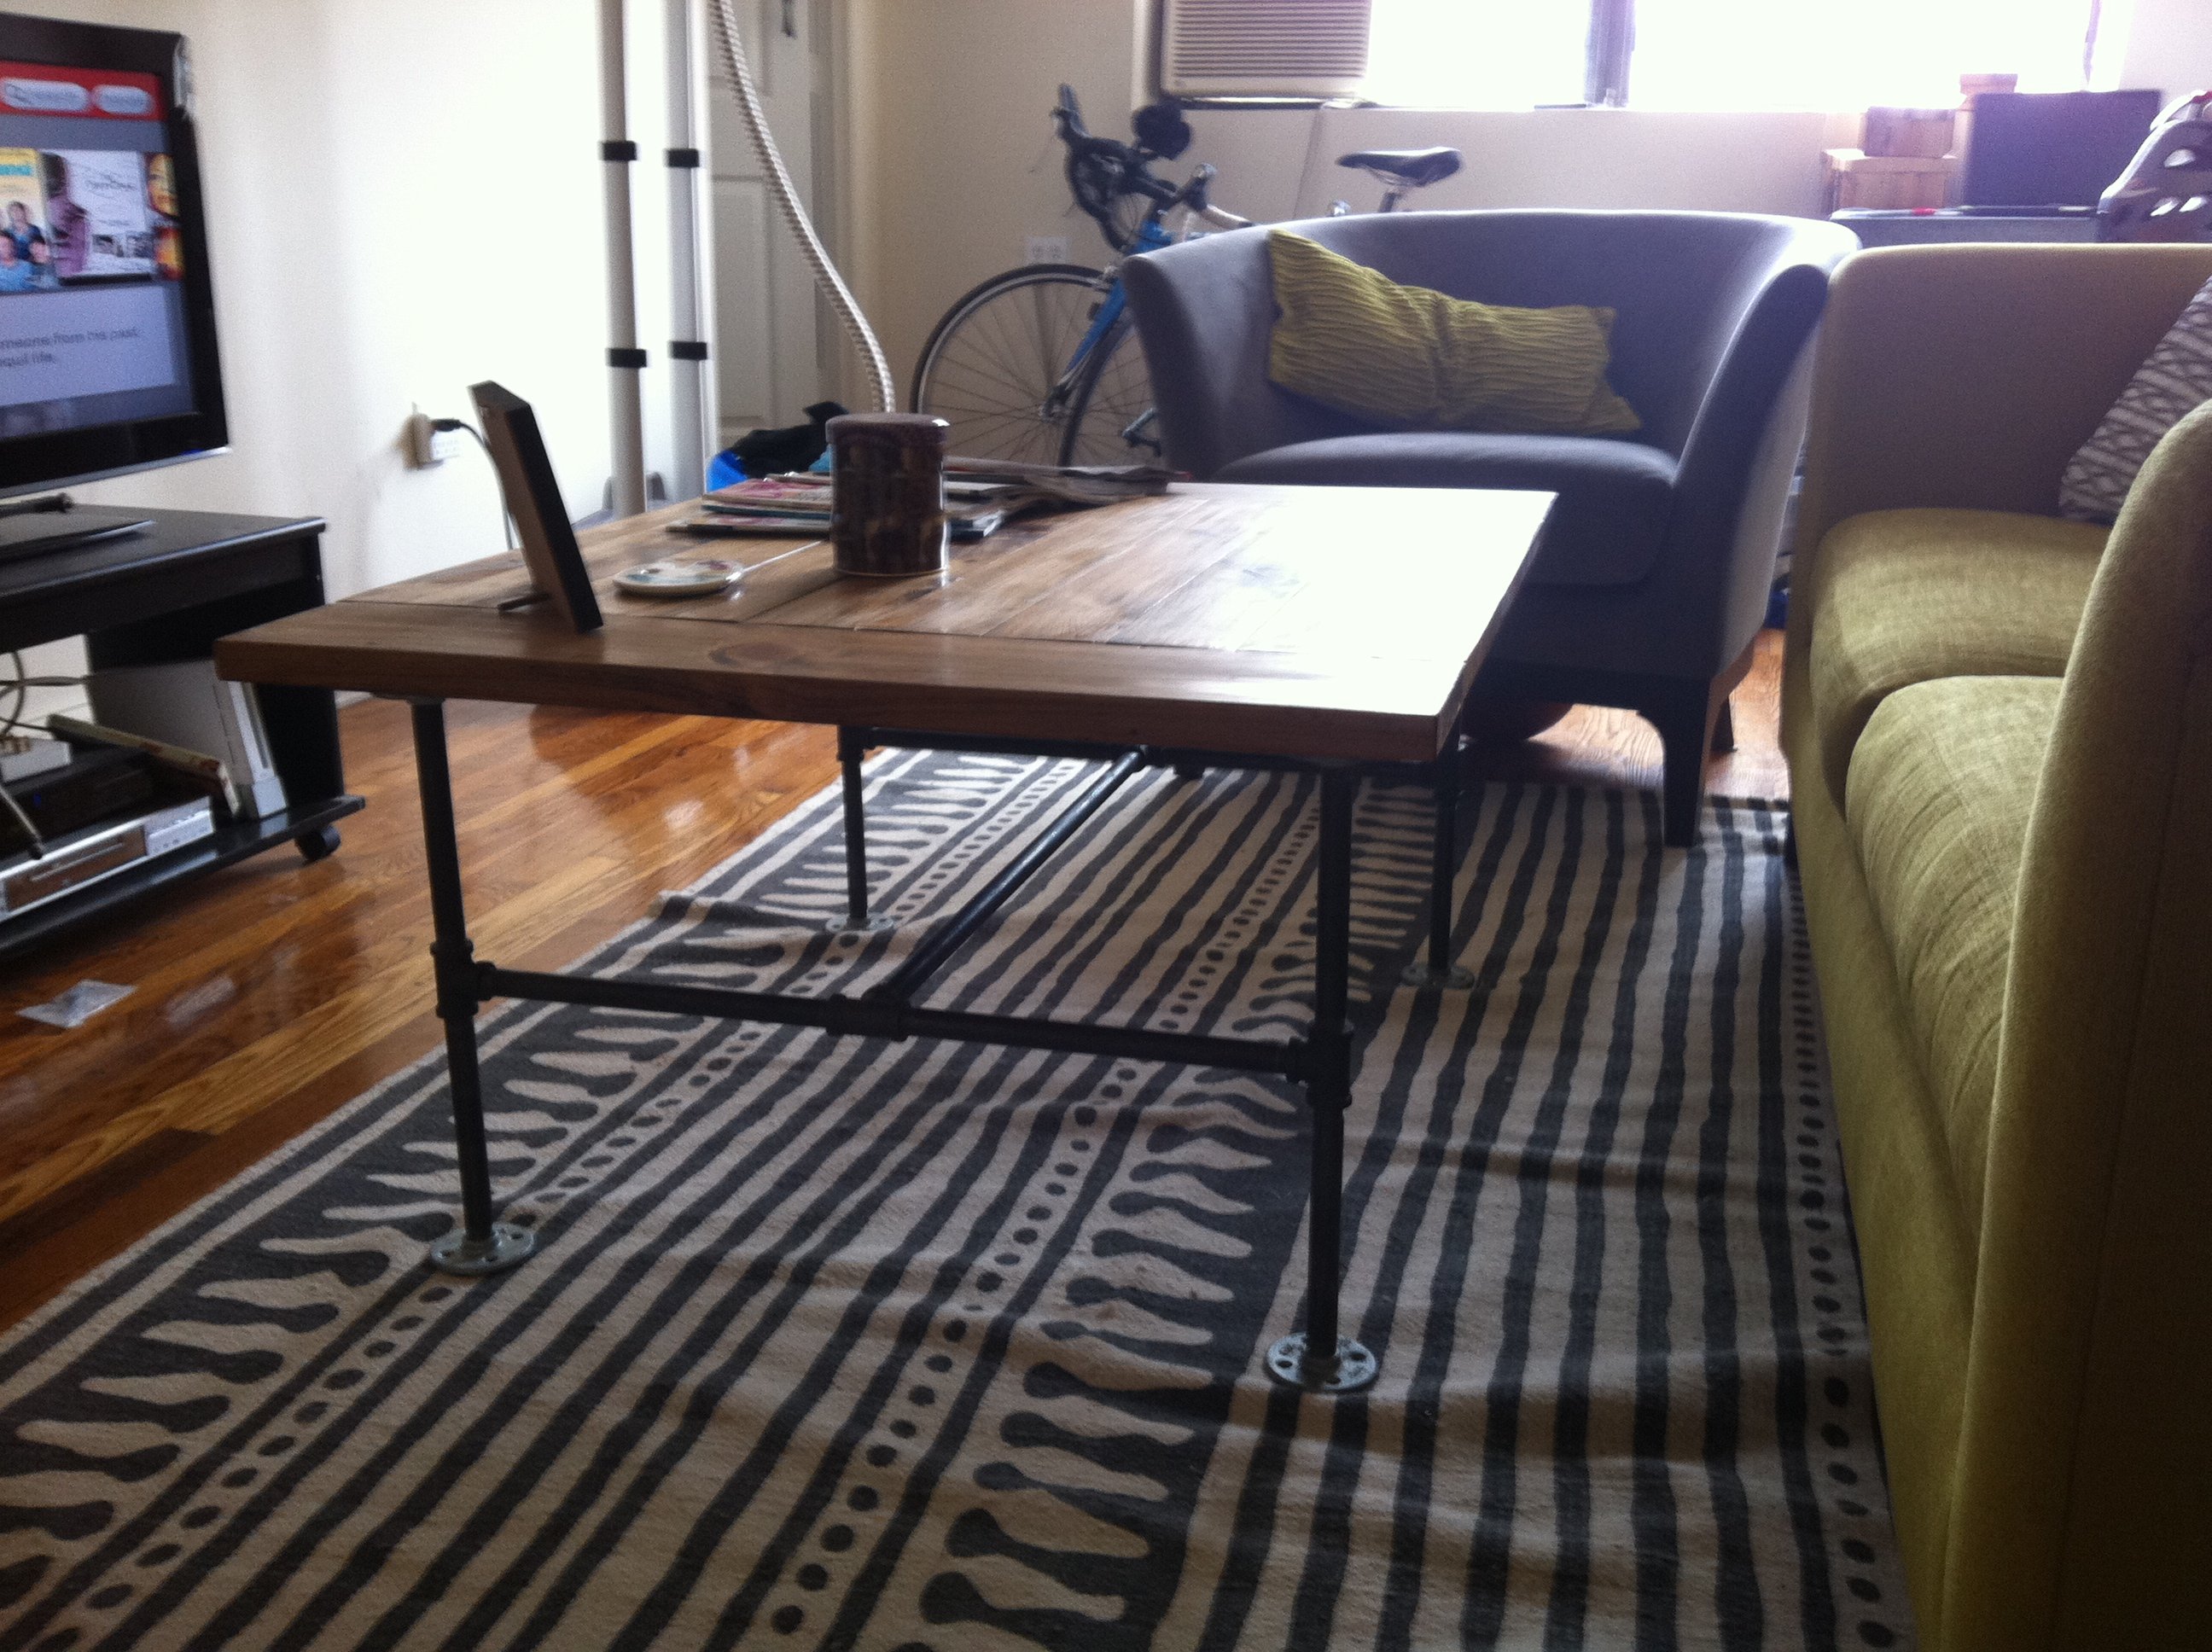
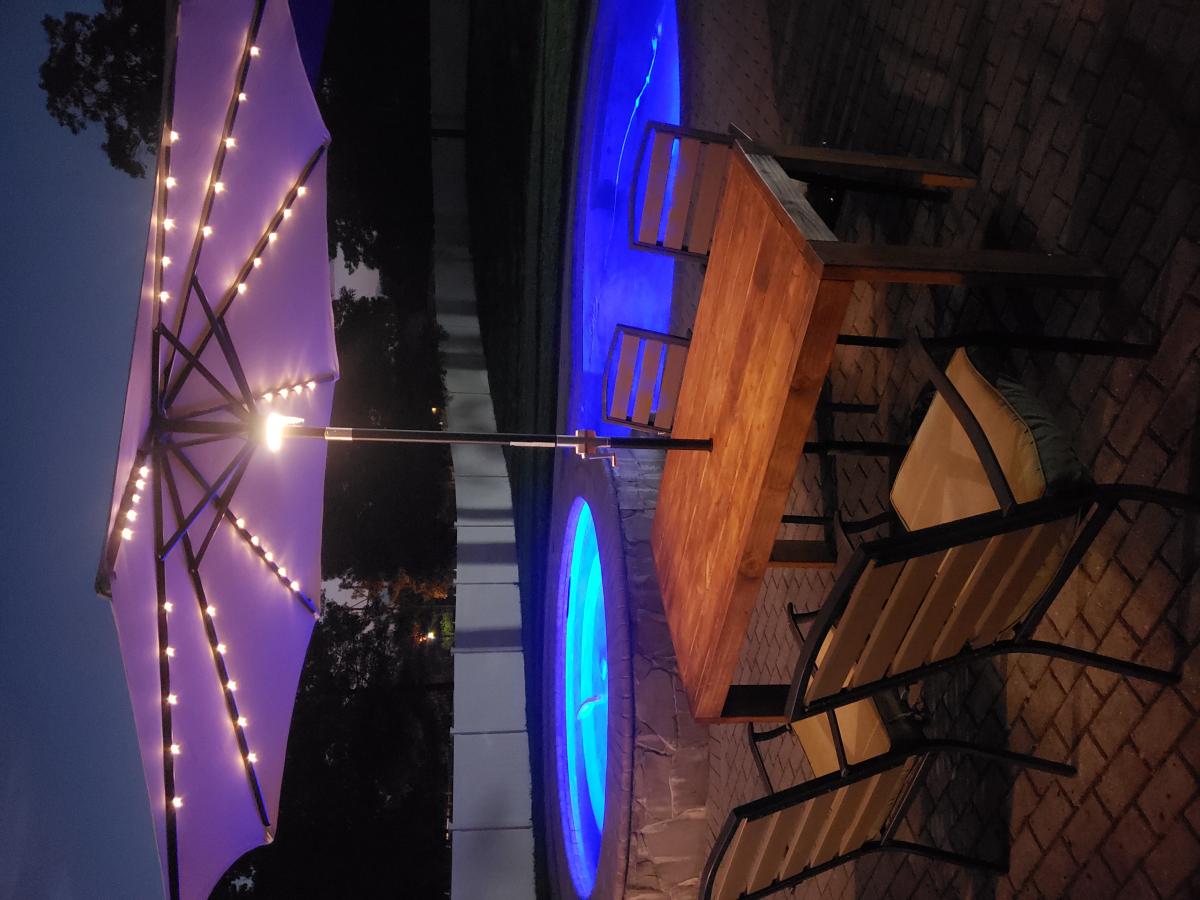
We loved the Tryde coffee table, but thought a more industrial look would fit better in our apartment. We saw some black iron pipes at Home Depot and decided to use these for the legs. It turned out great and looks really good with the rest of the furniture! Thanks for the plan!

Thu, 09/29/2011 - 09:54
That turned out so cool! LOVE, LOVE, LOVE the black pipe legs!
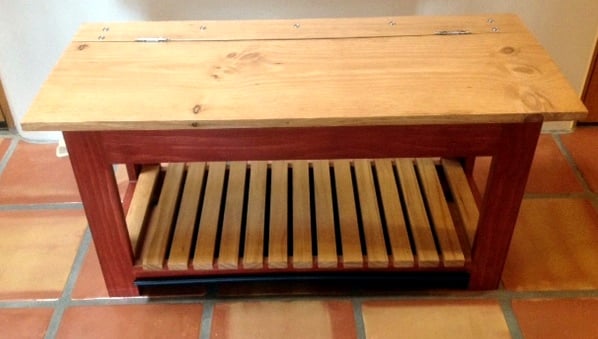
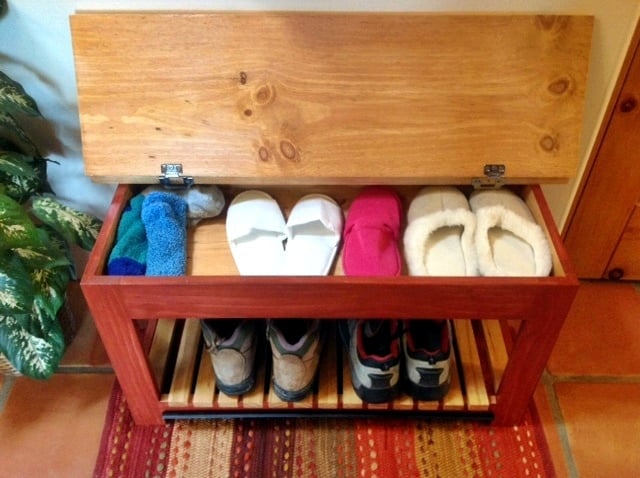
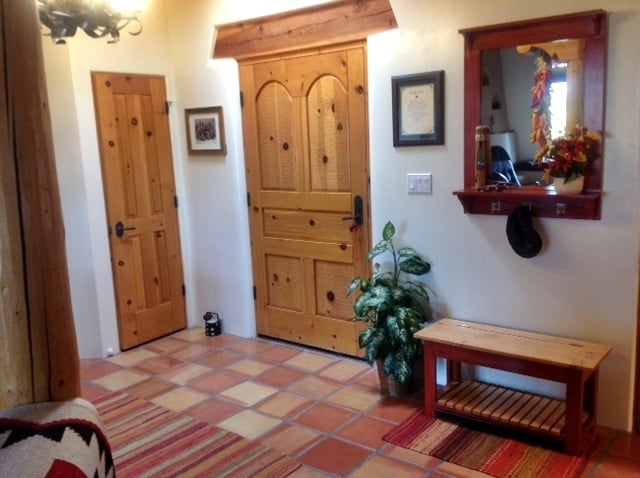
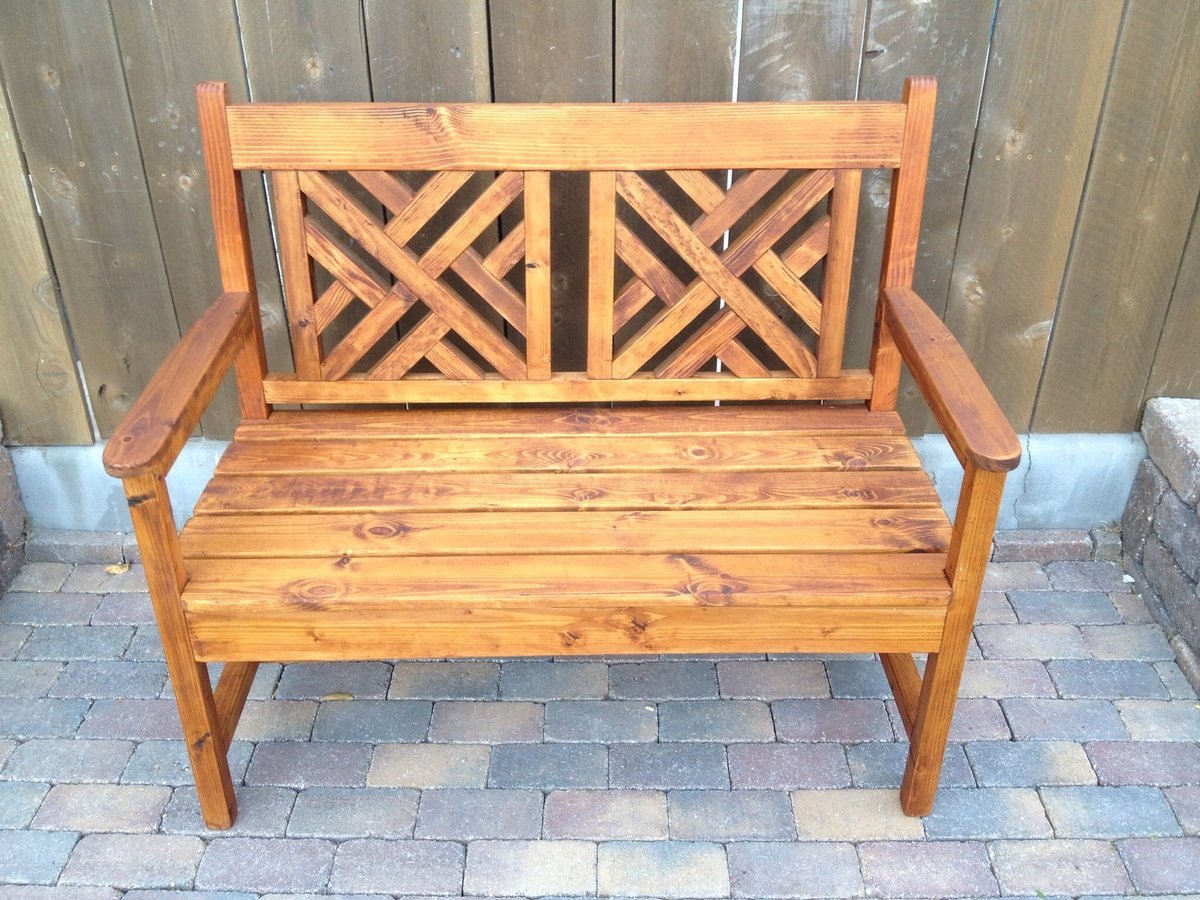
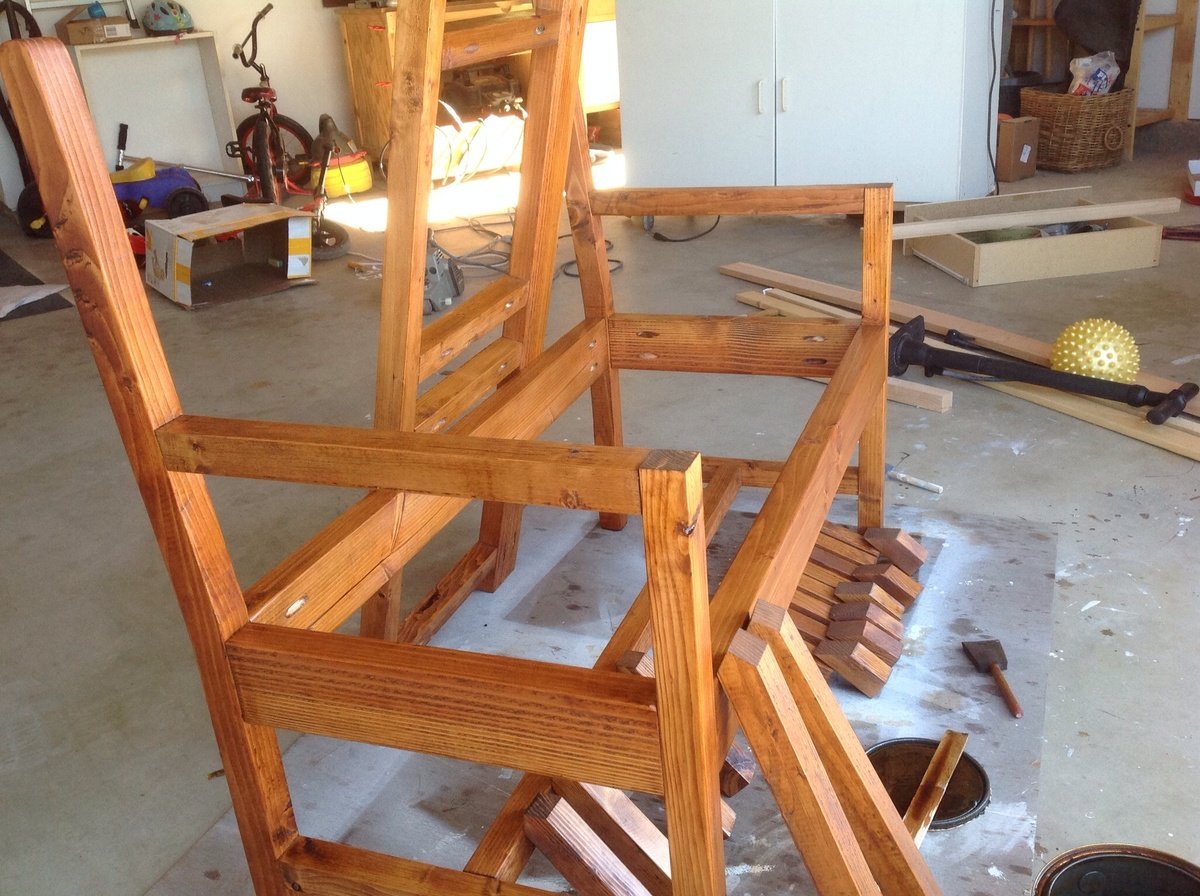
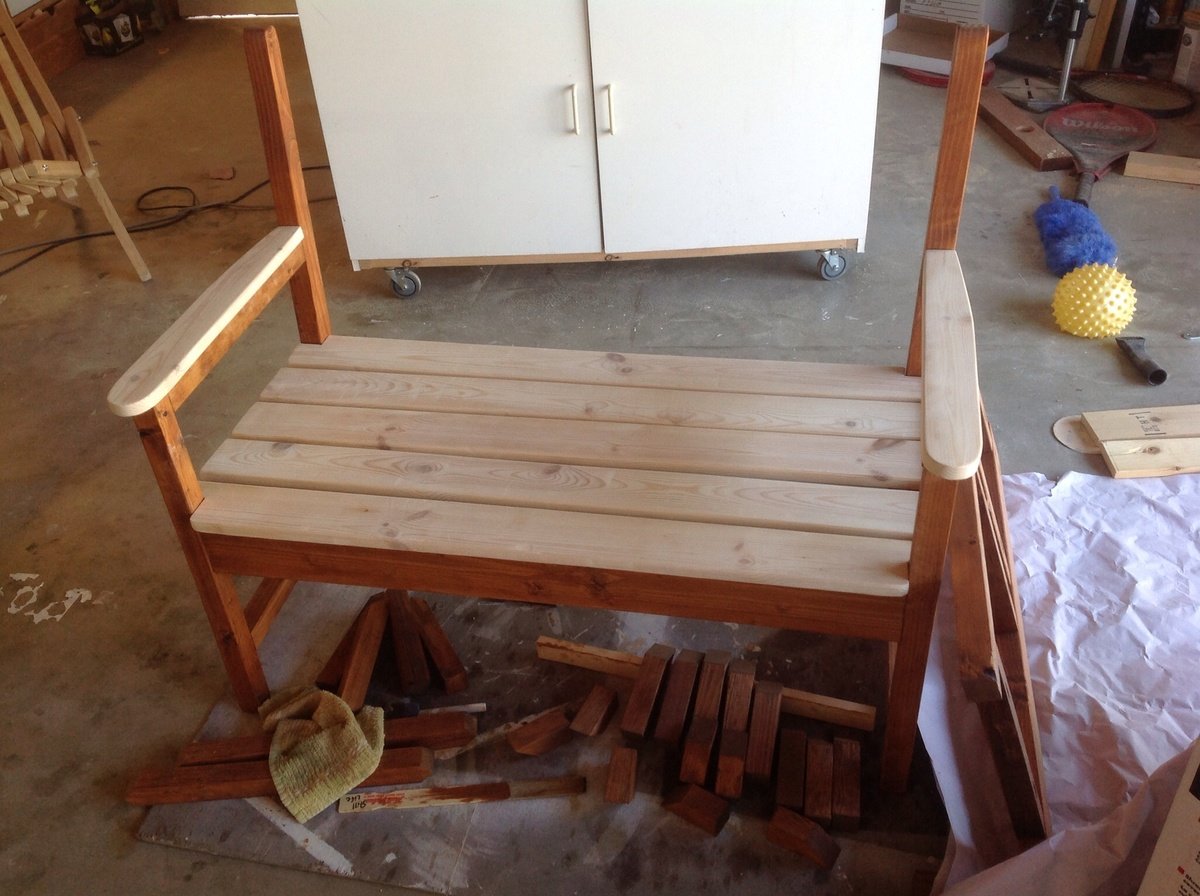
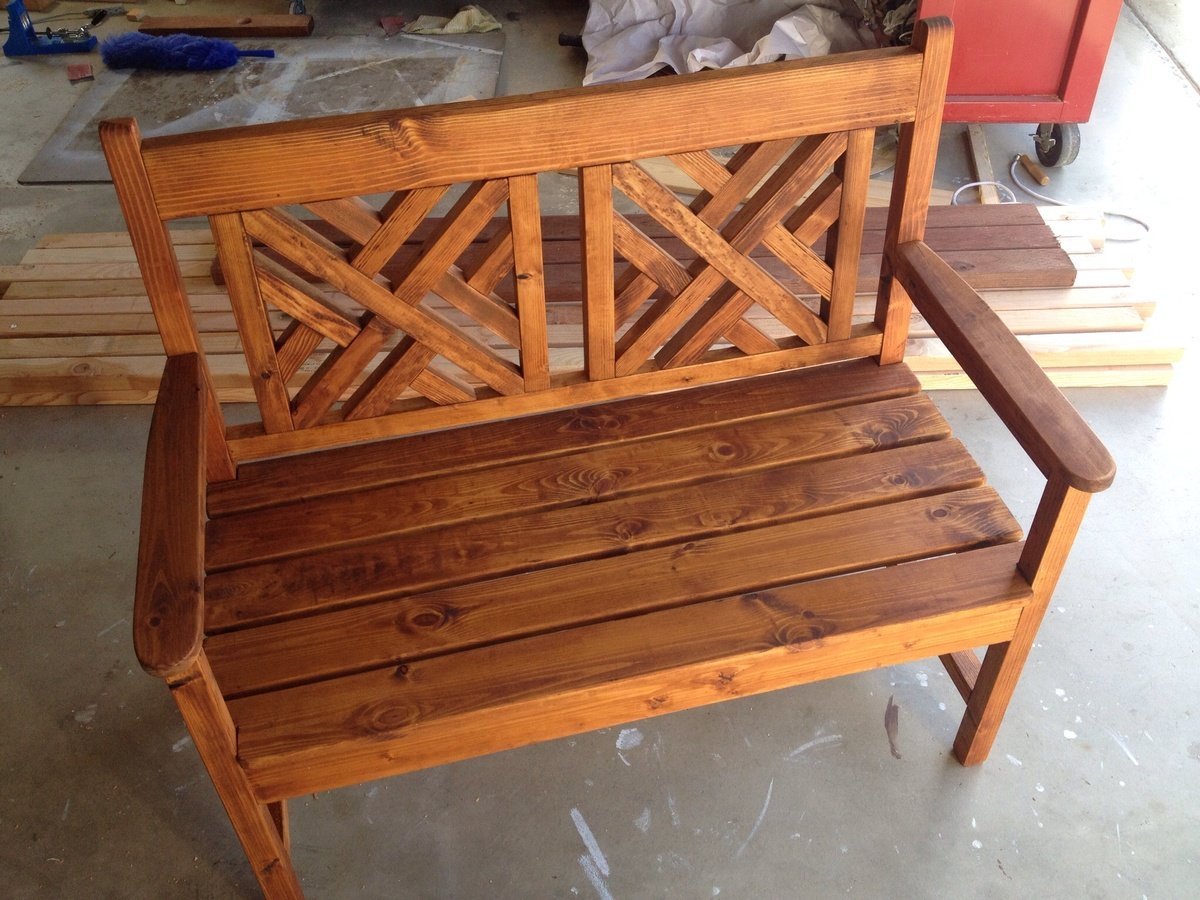
So my sister's house is on a rural, sandy lot. Did I mention sand...lots of sand. Her tile doesn't react well to sand-covered shoes , so they needed a place for guests to take off street shoes to replace them with spa booties. I offered to build them a storage bench for that purpose.
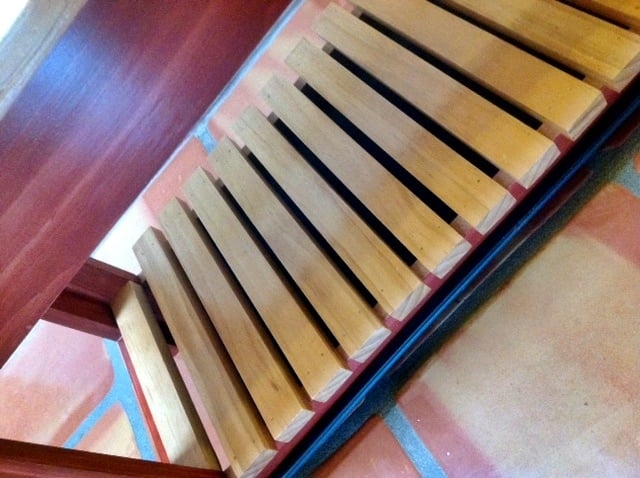
I modified the bench to make it shorter as per my sister's request. She also wanted the lower shelf modified to place a boot tray on it to catch the sand. I suggested replacing the lower shelf with rails to place the shoes on so the sand could fall off onto the boot tray. We nailed finish nails into the legs under the rails and slid the tray onto them. Now she can remove the tray easily to dispose of the...sand.
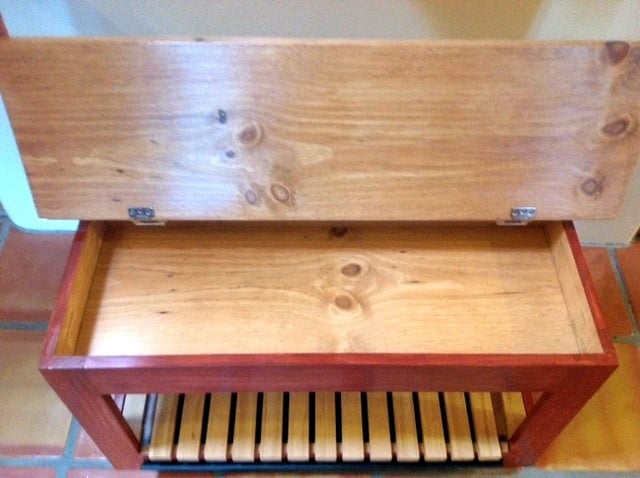
The finish on the body matches the mirror, which hangs above it. The lid of the bench was stained to match the finish on the doors, posts, etc. I used wrap around inset hinges from here: http://www.rocklerpro.com/product.cfm?page=5135&rrt=1
I checked this as a weekend project because of dry time for stain and poly.
Thank you, ANA for the awesome plans.
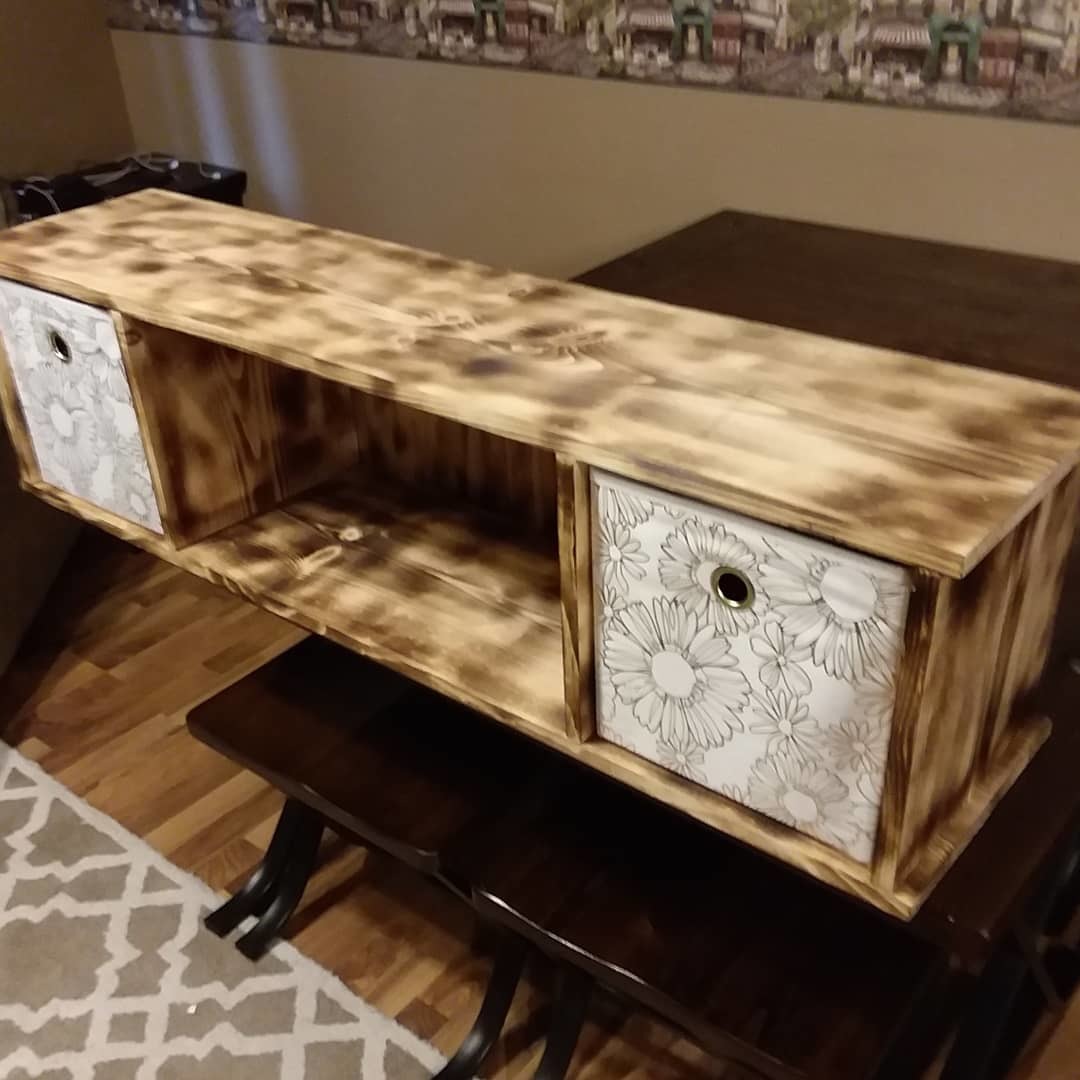
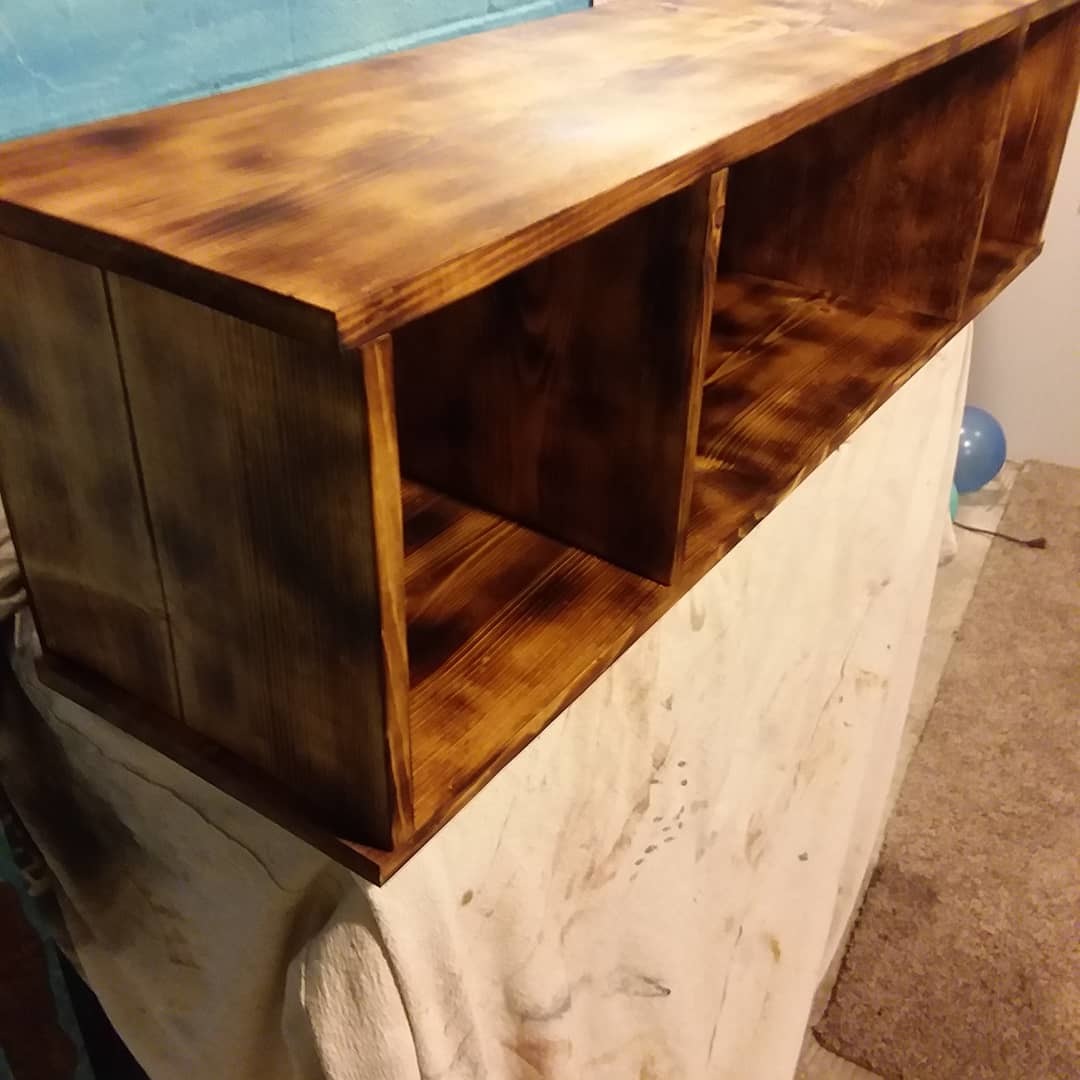
My wife, Krafty Kimmy Paperkrafts, needed a shelf to place in her booth at a local store. Obviously made out of pine, I burned and stained it for her. This weekend I'm making a ladder shelf to match.
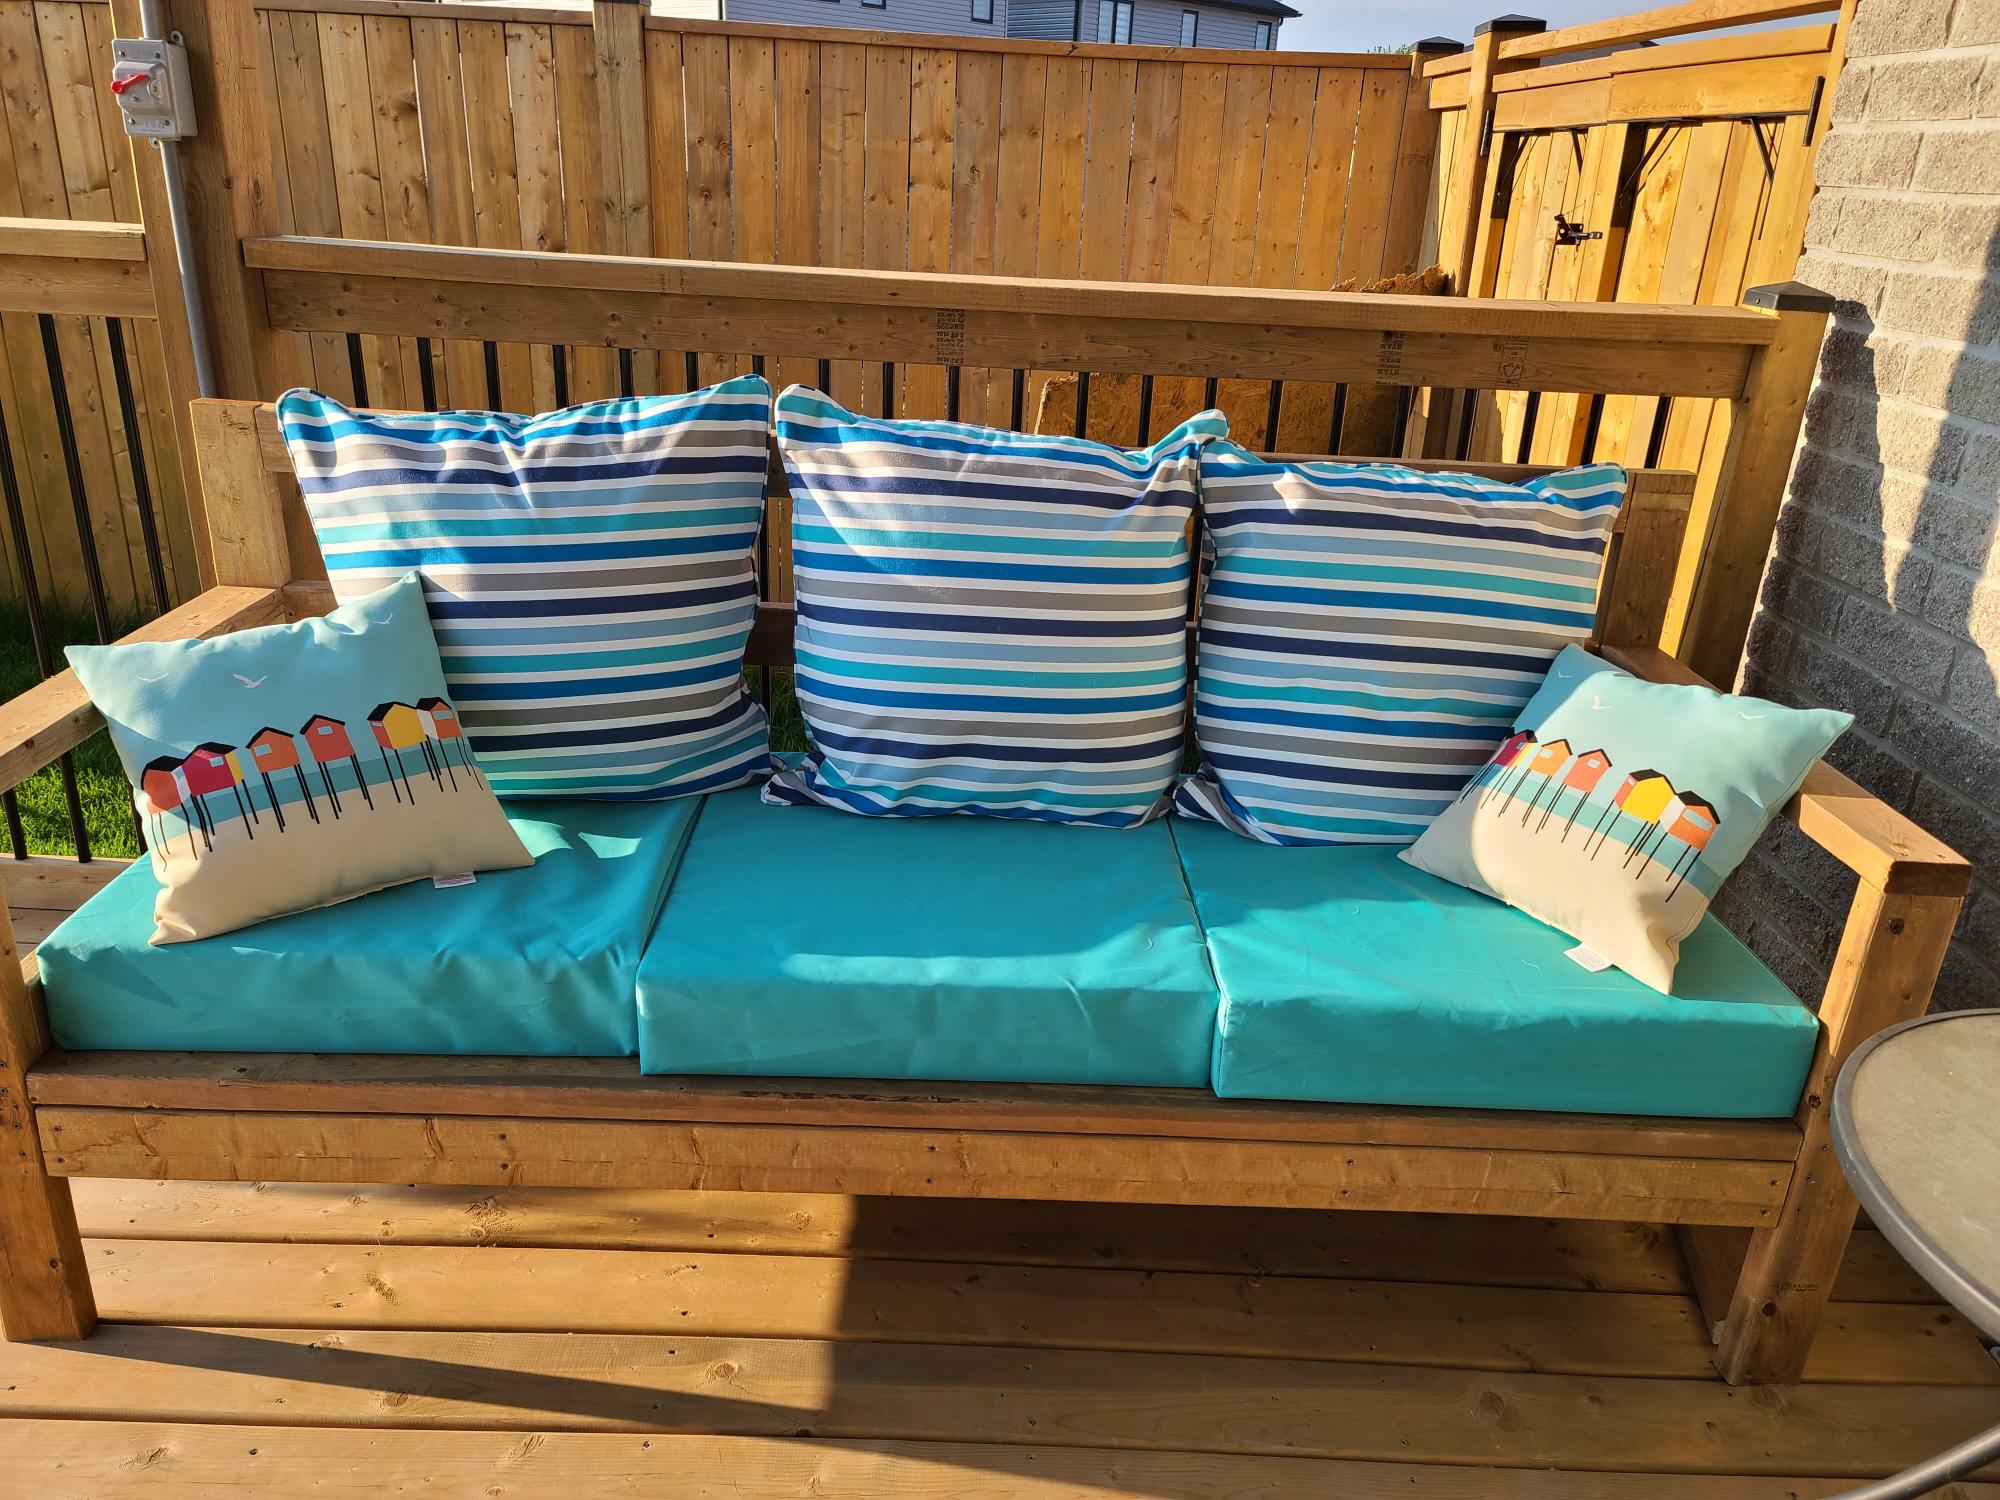
This was the first time I made a piece of furniture since I was in grade 8 shop class and it won't be the last. It was so kuch fun. I modified the plans slightly to have the back a bit higher. Love it!

This was my first furniture build & the plans were a great help. Learned a lot along the way, made a few minor changes (1x4 on front of seat gives a little overhang) & had a lot of fun with the project. Our 2 kids are equally proud.
Sat, 10/05/2013 - 19:08
This is beautiful! So jealous it's your 1st project!!

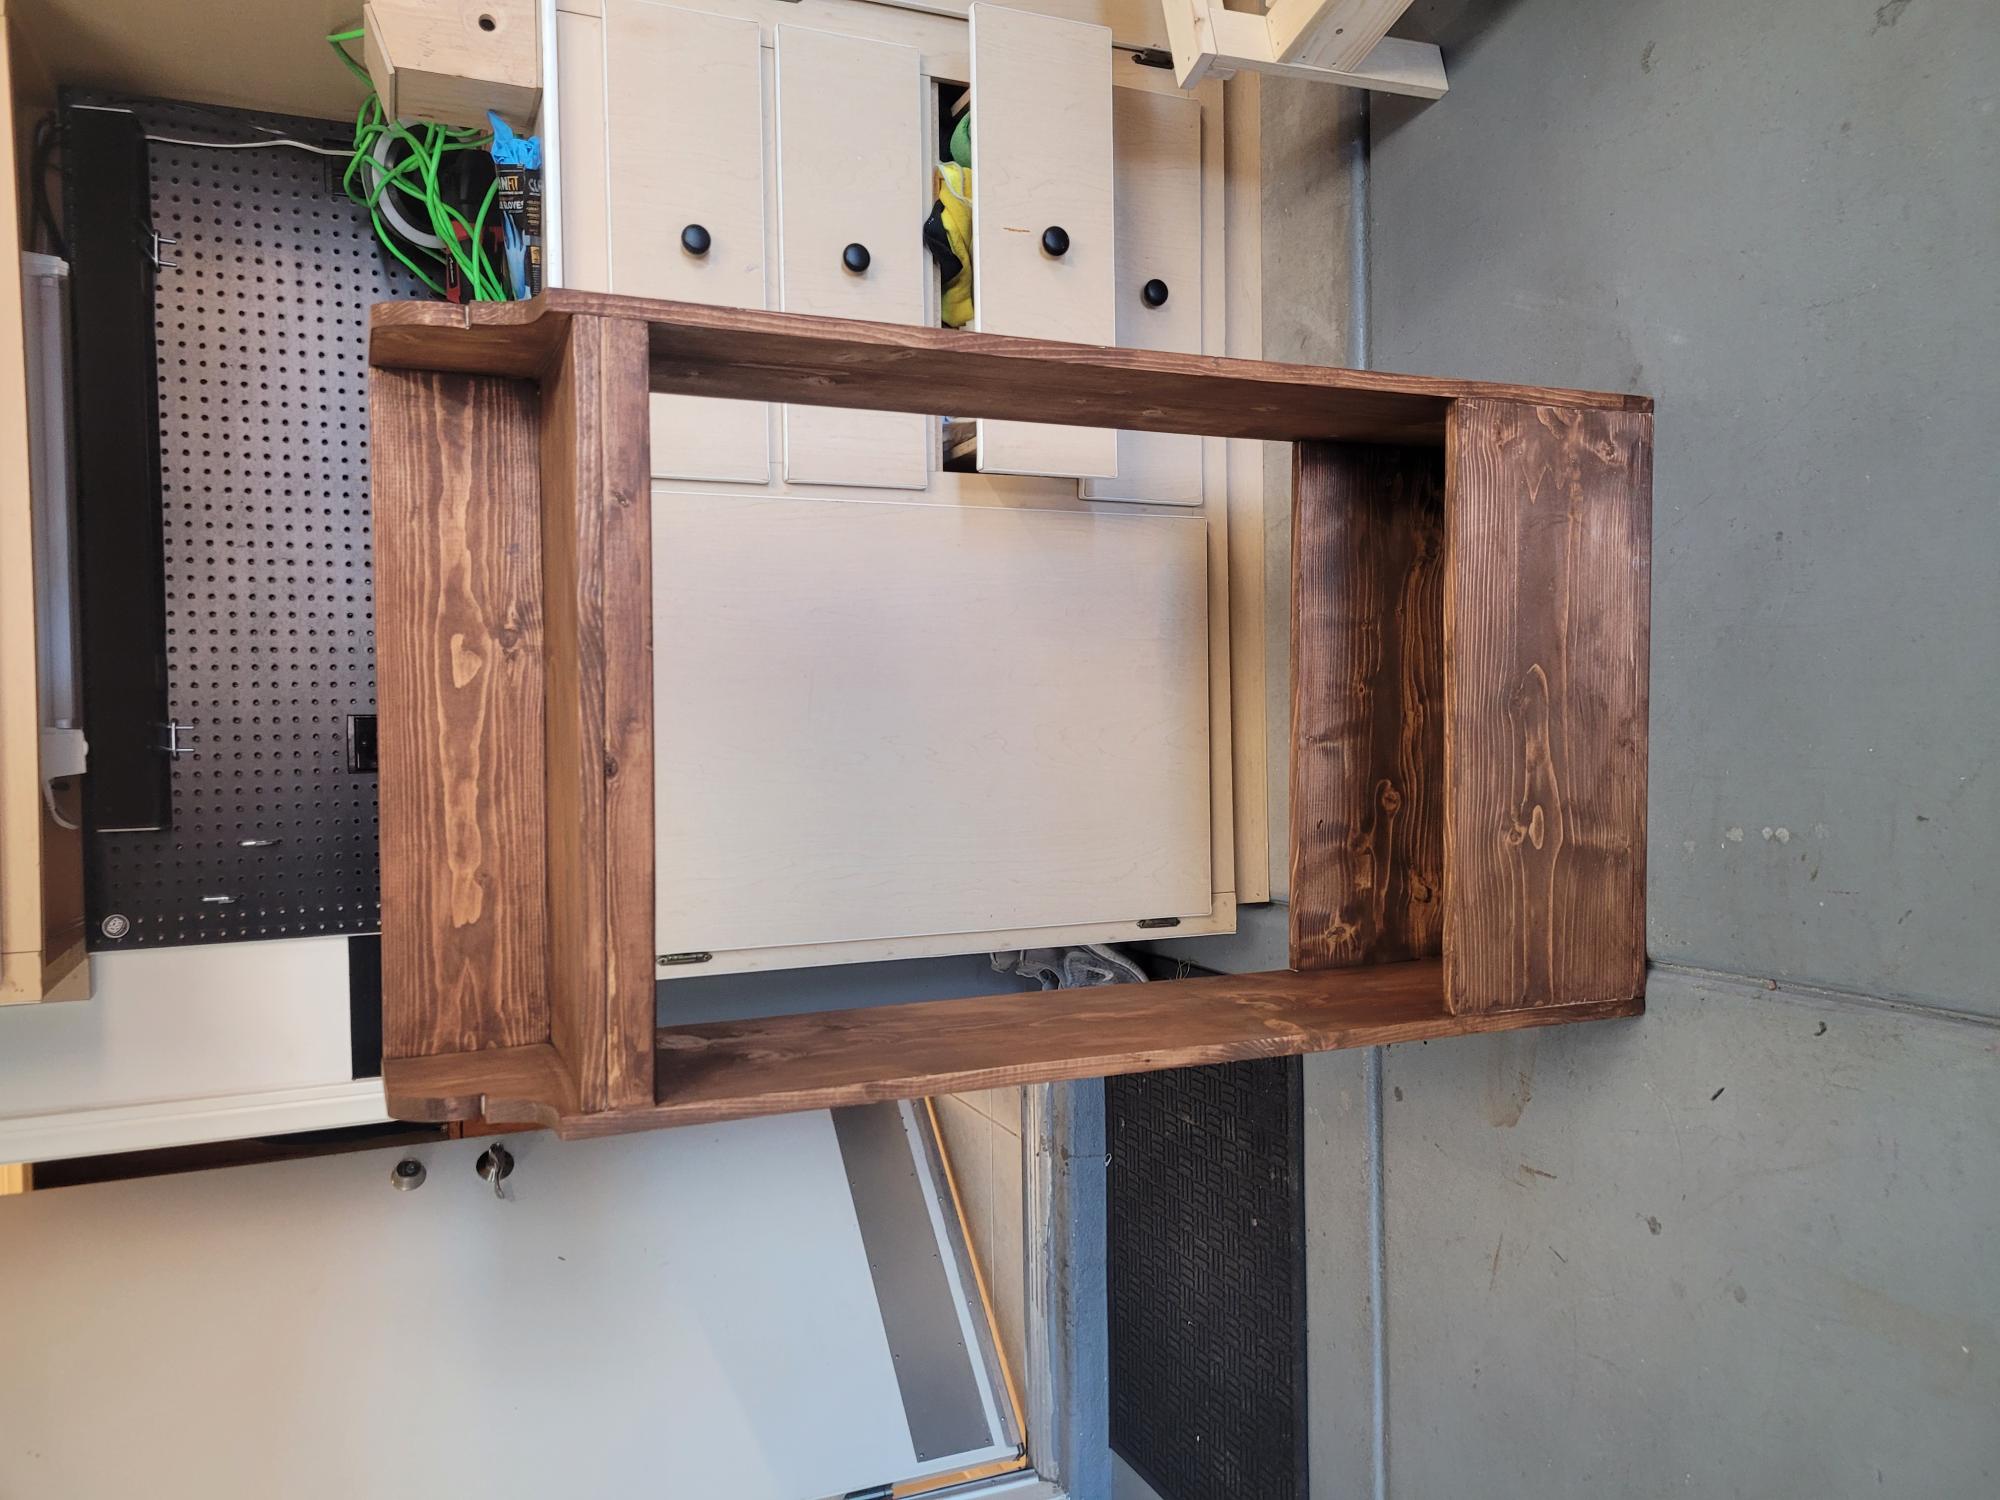
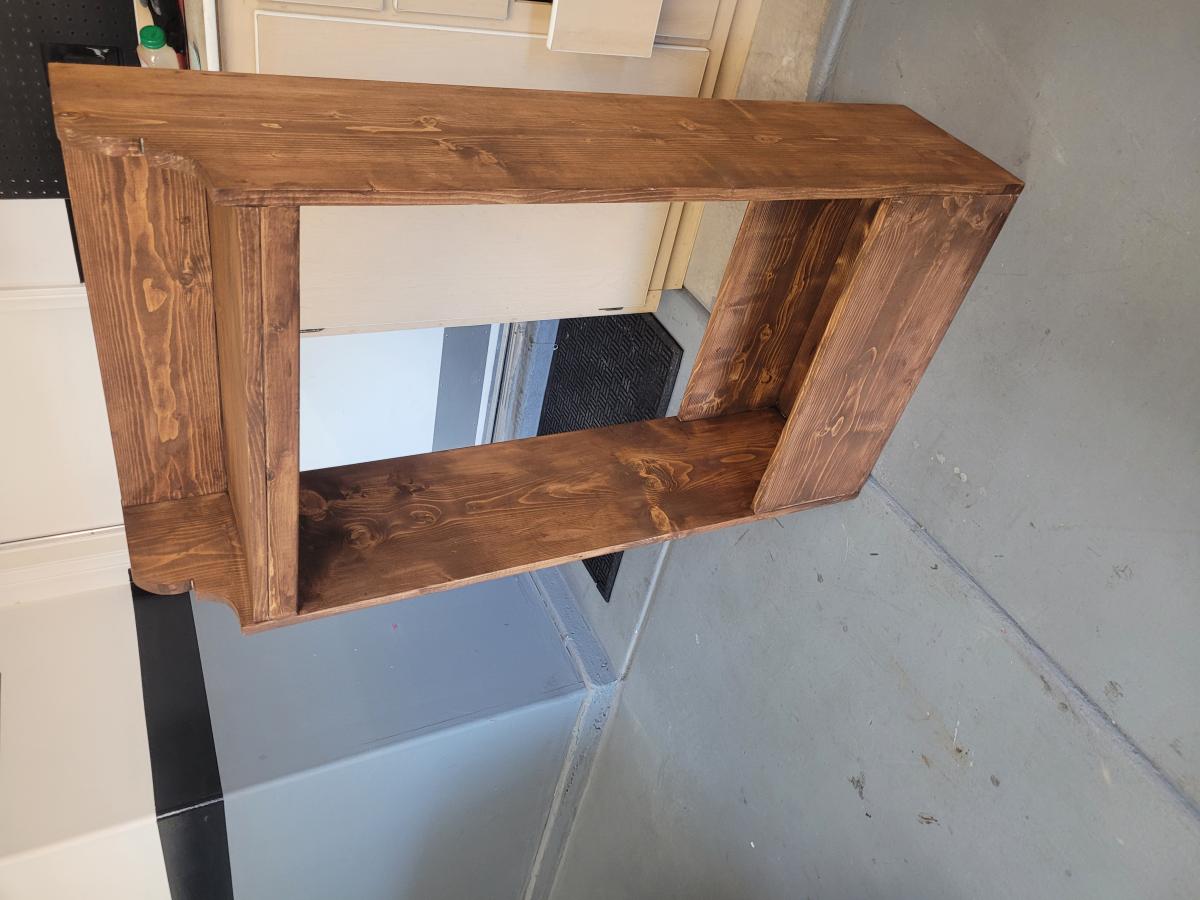
I built this above toilet cabinet for my son and his wife for Christmas. They needed a little extra bathroom storage. Turned out pretty good.

Used 4x4's for the legs to make it more "beefy" and therefore had to add an extra 2x6 on top. Also used a 2x4 for the upper side trip instead of 2x2. Used a dark walnut stain and several coats of clear gloss polyurethane.

This was so much fun to build. I couldn’t decide on a finish, so I used three different ones.
Thanks for the plans!
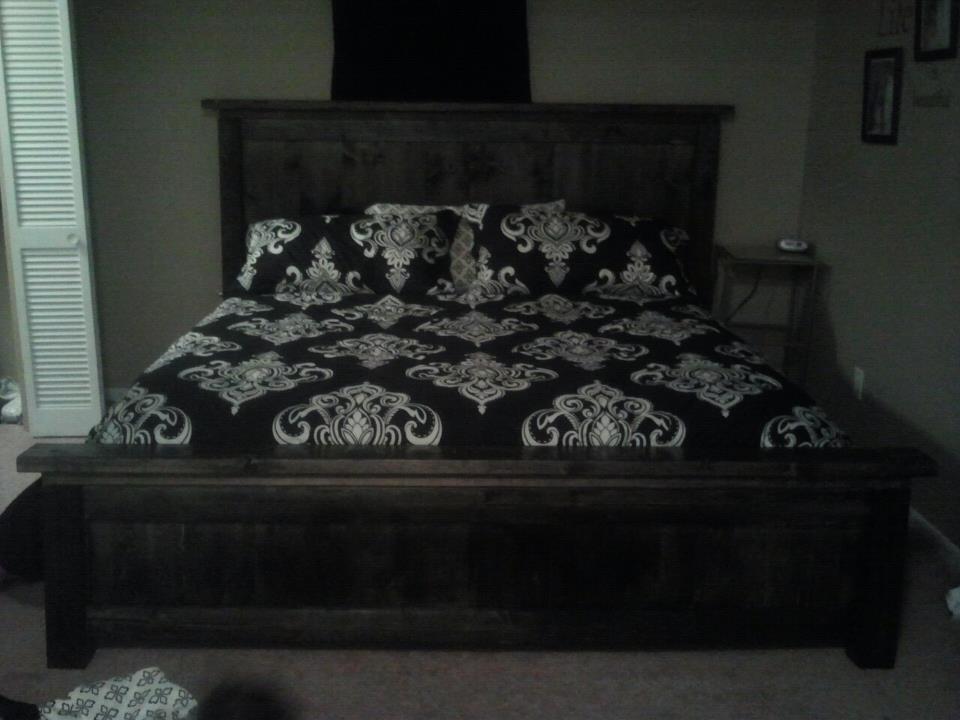
Me and my husband had only a hollywood frame forever and just never wanted to spend the money to buy one, then I found this website!! This is the first thing that I ever built I'm pretty proud of my self. Espically since I had the help of my one and two year old it took a little longer but i got it done.
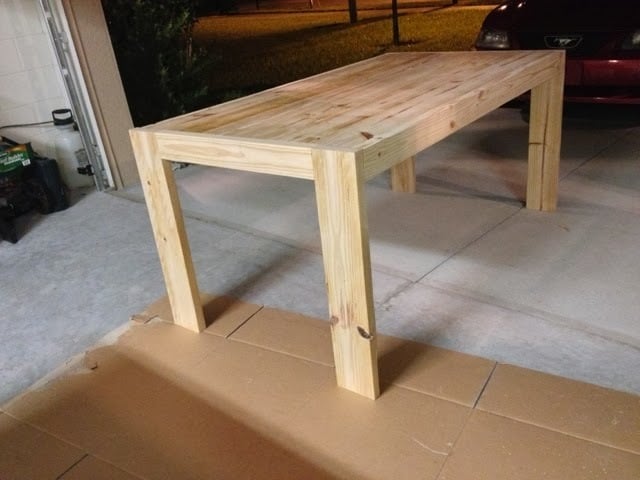
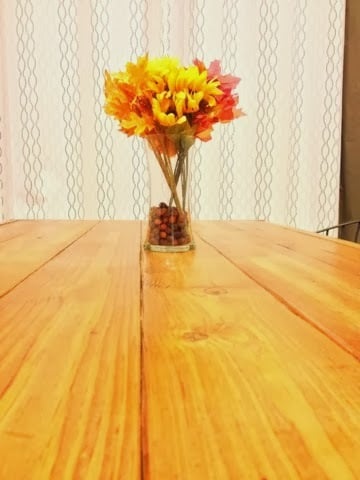
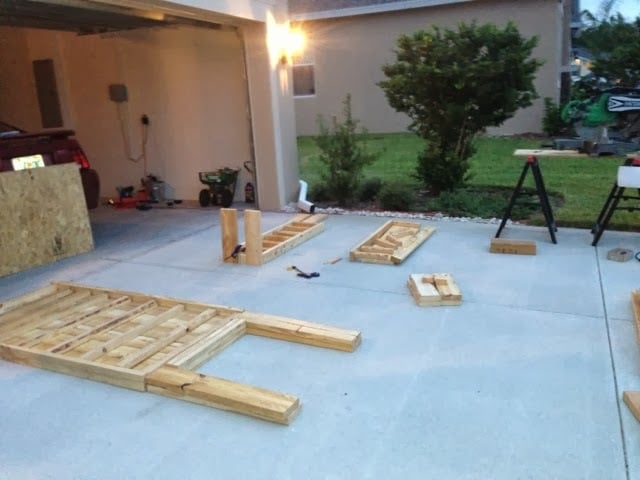
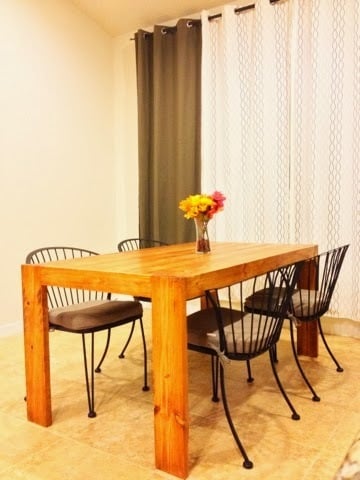
This project was a true labor of love by a first timer. We are first time homeowners and built our home, which was completed spring of this year. Like most wives, I wanted all the bells and whistles in this home. The bells and whistles add up, and next thing you know, we're eating most of our meals on our granite island upgrade, instead of a new dining set. My husband took it upon himself to purchase tools off of Craigslist and research online for modern farm table plans. He came across Ana's site and loved how she broke everything down in her plans. This was the plan he used http://ana-white.com/2009/11/plan-modern-farmhouse-table-knock-off.html The cutting, sanding, and putting the table together took about four to five hours, but staining and waiting around made the project about twenty hours. Also, everything cost $50 on our end, whereas, the West Elm table I wanted is $700. I'm one happy lady, especially since I think our table looks way better than the one from West Elm. I'm excited to report that my husband is currently refurbishing chairs to go with this beautiful table! Thanks a million for your easy to comprehend plans, Ana. You're the best. Here is a post where I featured my favorite piece of furniture http://www.AnnieAtoZ.com/2013/09/diy-modern-farmhouse-table.html

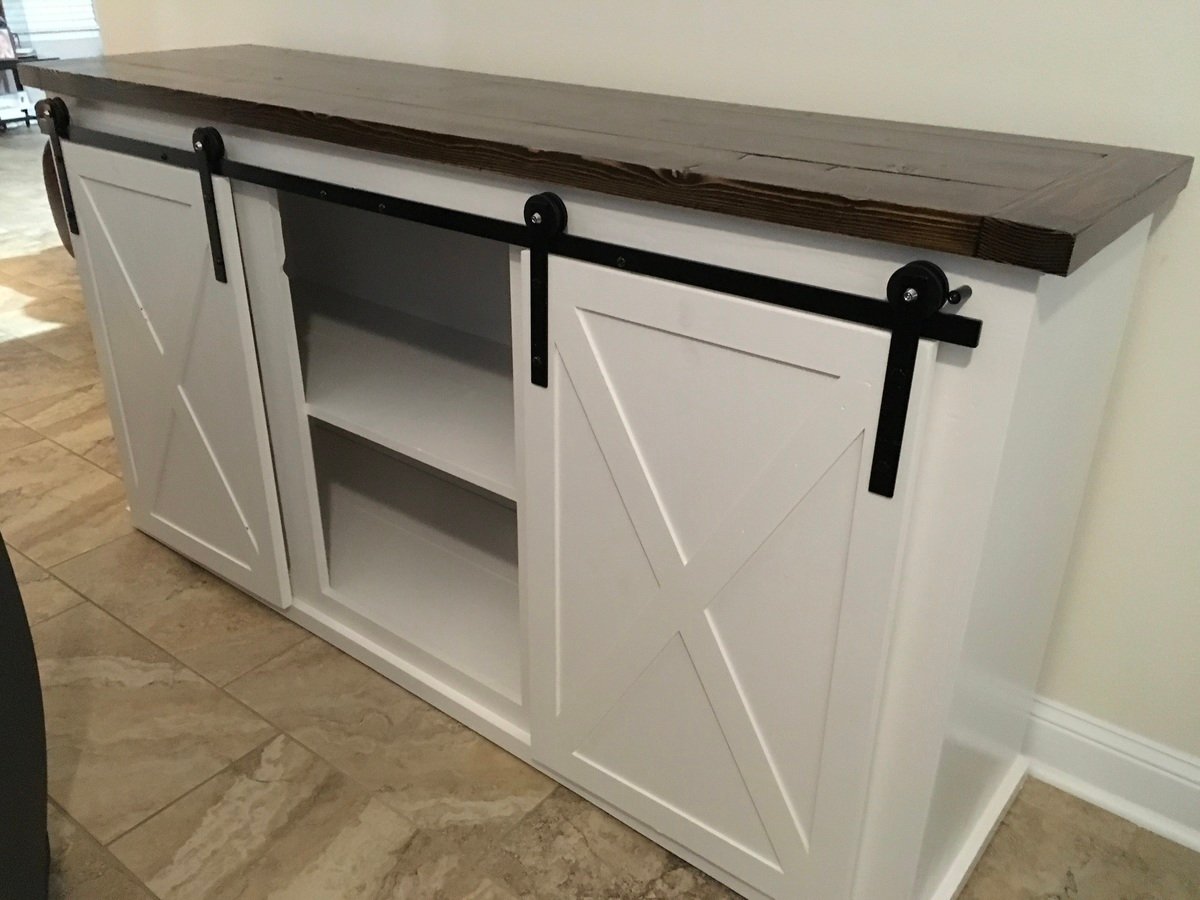
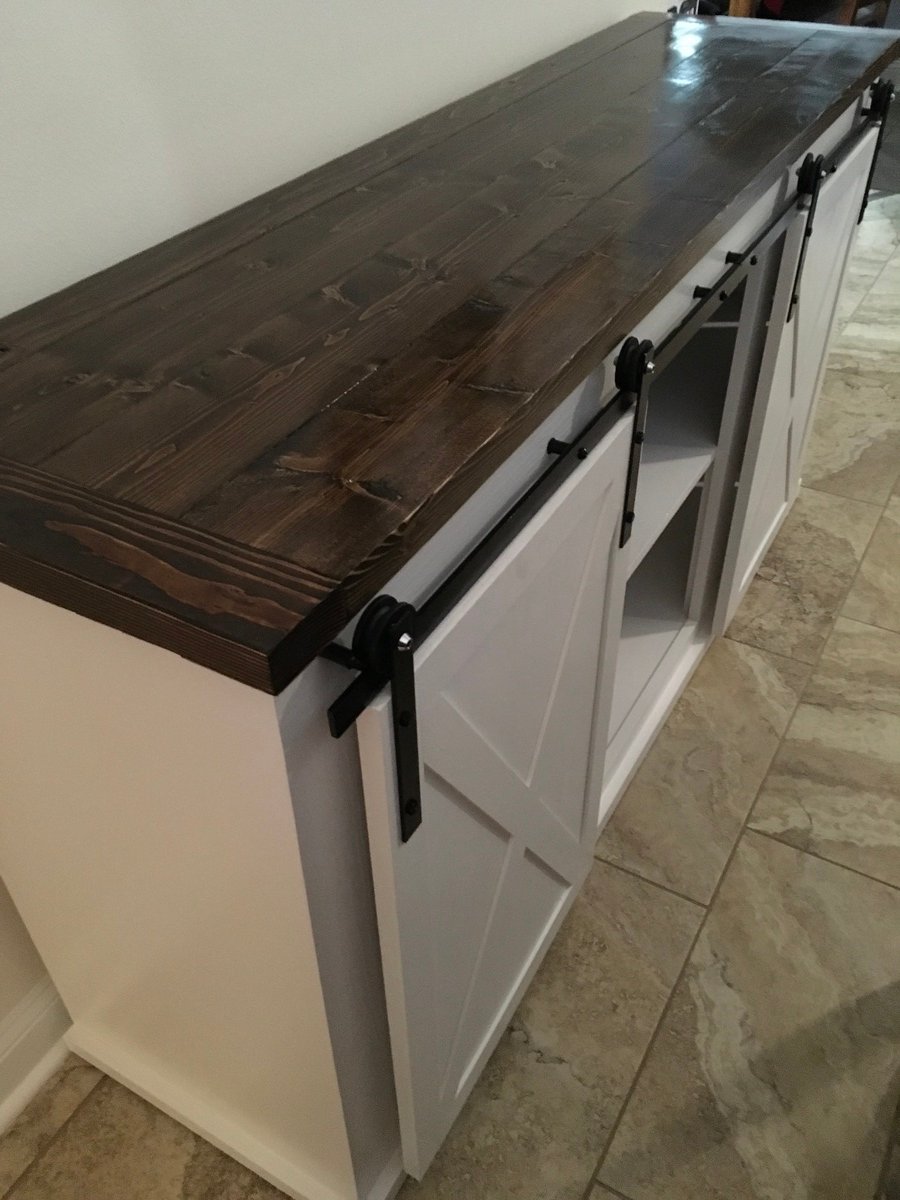
I had to rescale the Ana White plan to an overall length of 72 inches. All joints are Kreg pocket holes.
The most difficult component was engineering the barn door slides. I used:
1/8” aluminum flat bar for the door mounts
1/4” aluminum flat bar for the fixed bar
Polyurethane spacers from Lowe’s
Lind Kitchen Mute Pulley block from Amazon.com 4 each
The pulley blocks were disassembled and only the wheels and axles were used. Thin poly washers from Lowe’s were used as shims to take up play after being mounted to the flat bar.
Inspired from outdoor sofa and farmhouse table

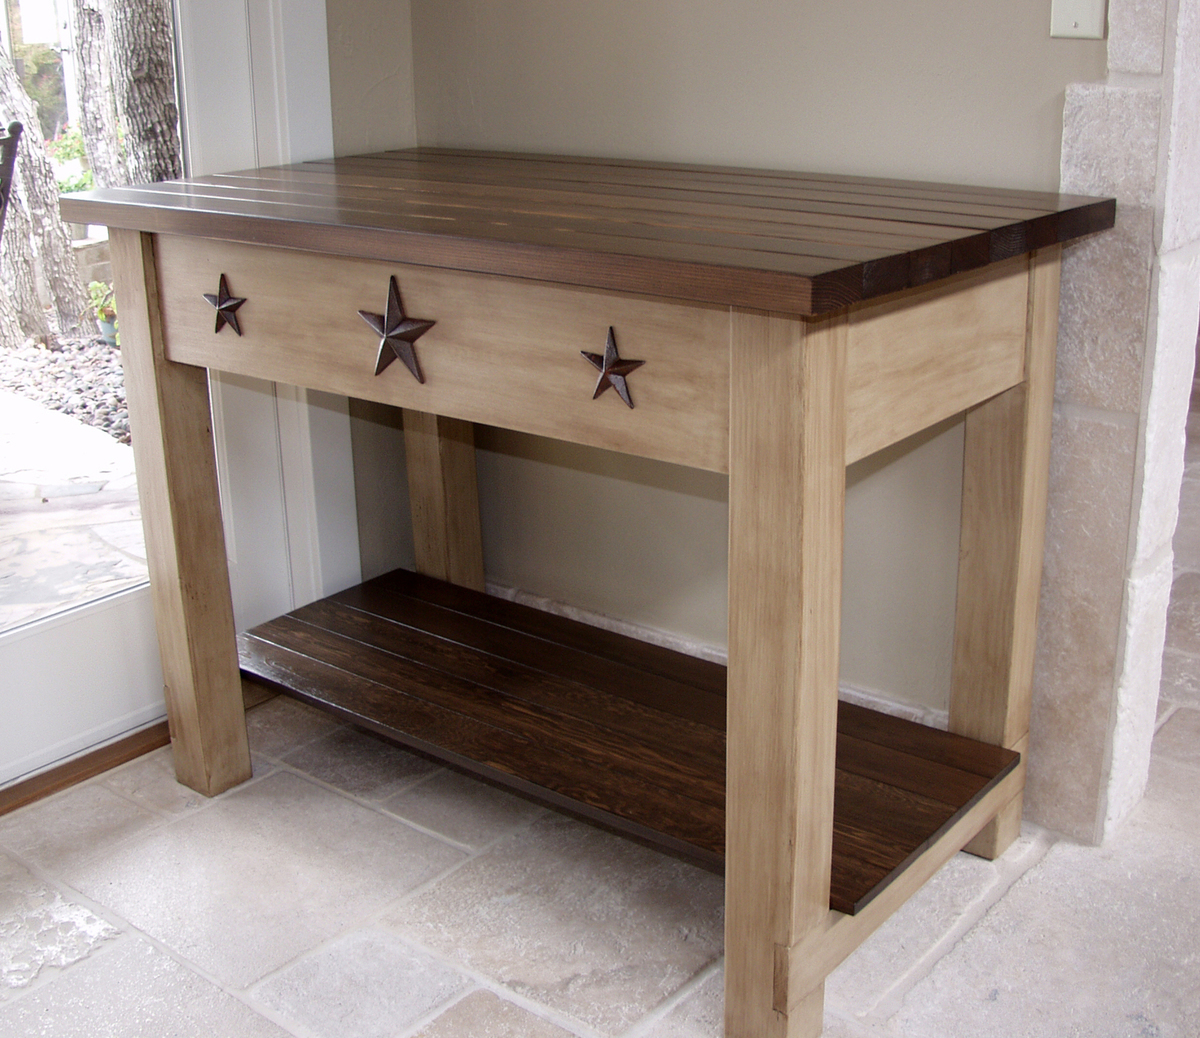
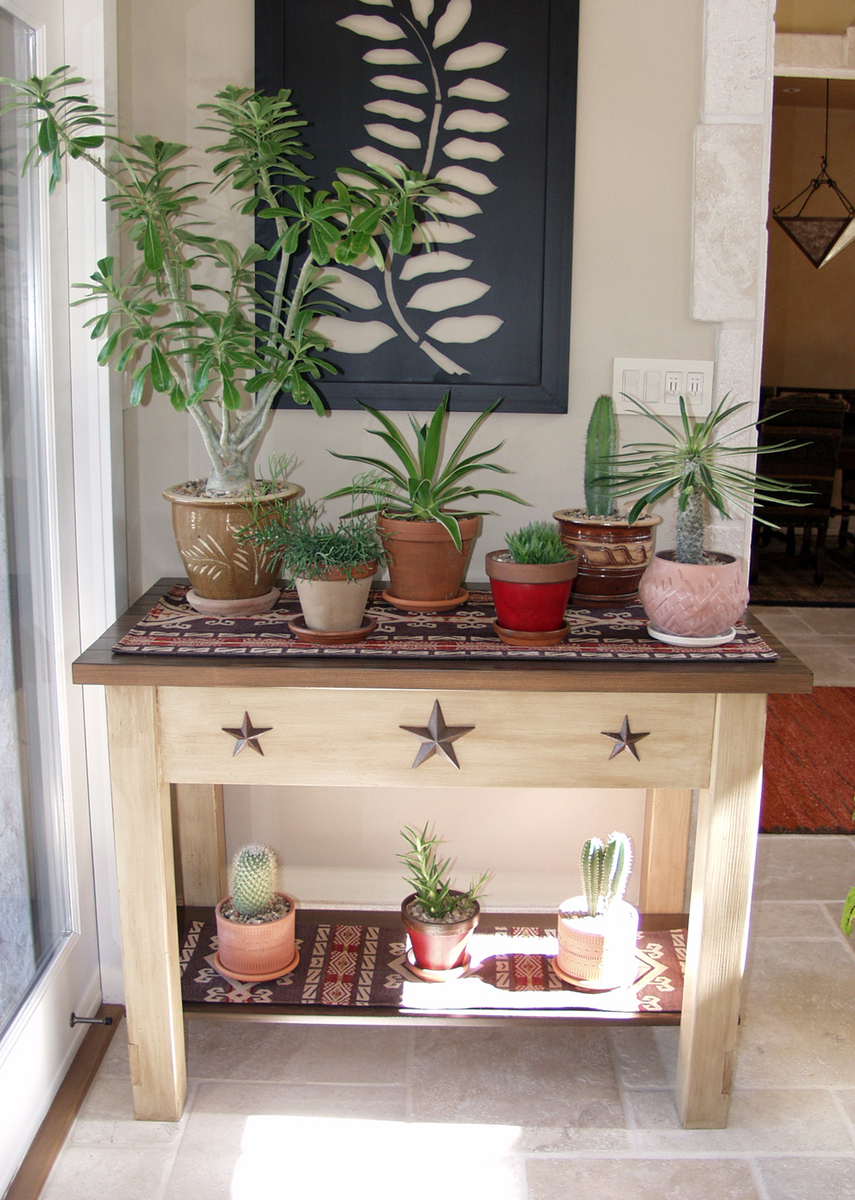
I absolutely loved Michaela's Kitchen Island (http://ana-white.com/2010/03/plans-michaelas-kitchen-island.html), so I modified it to suit my needs of having a table to place my cacti in the winter months. I modified the size, removed one of the shelves, and left the drawers out so that I could put my Texas stars.
Sat, 05/17/2014 - 11:09
Love your version of this project! we are using your version for a bathroom vanity...any input as to the modifications you made would be appreciated!
Sat, 03/26/2016 - 14:58
Trying the painting techniques on a different table ... love the glazing
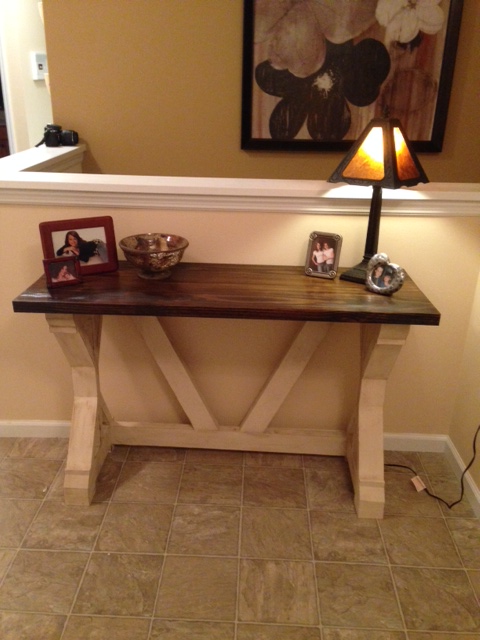
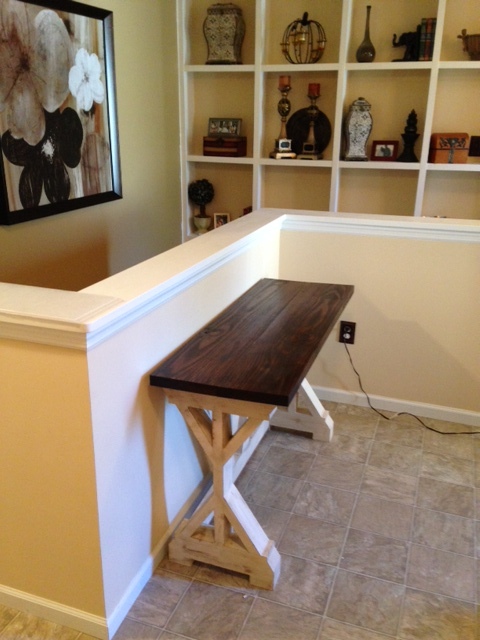
Fancy X Desk goes Entryway table. Built this with instructions for the Fancy X Desk. Shortened the desk down to 4 feet. Love the way it came out - mixed my own stain color for the top and used homemade wood filler made of the planed wood chips and gorilla glue. The stain on the top is so amazing you cannot even tell where the wood was joined. Loved the plans Ana! Will be sharing later on my blog www.HelloILiveHere.com
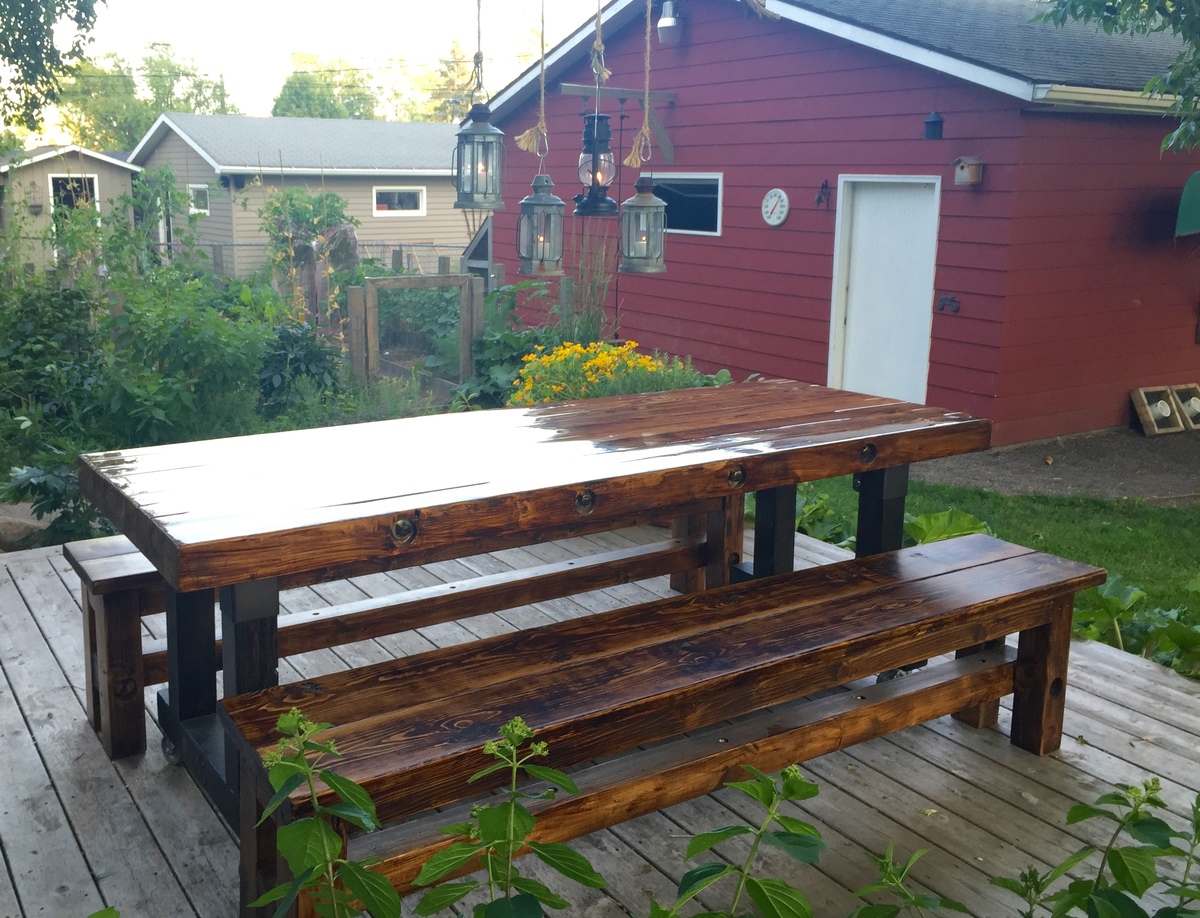
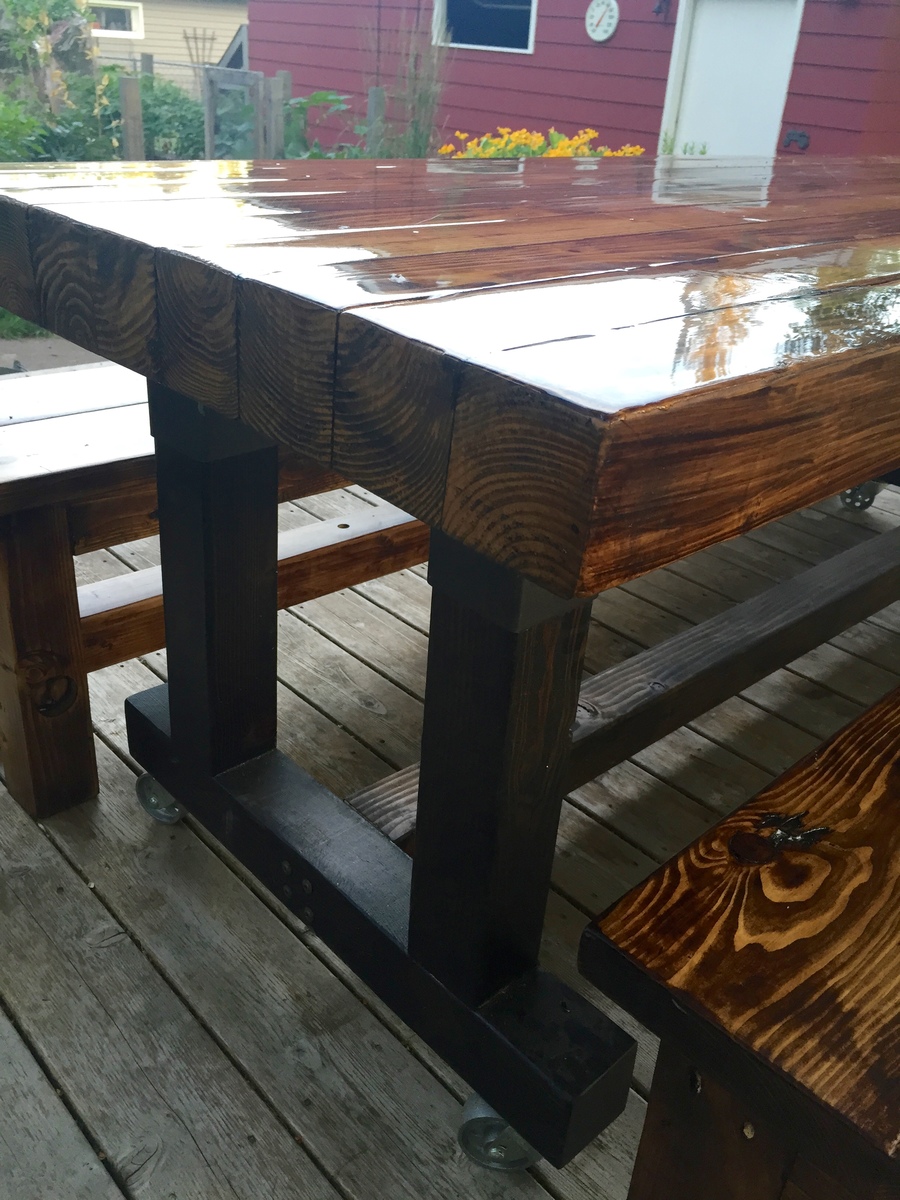
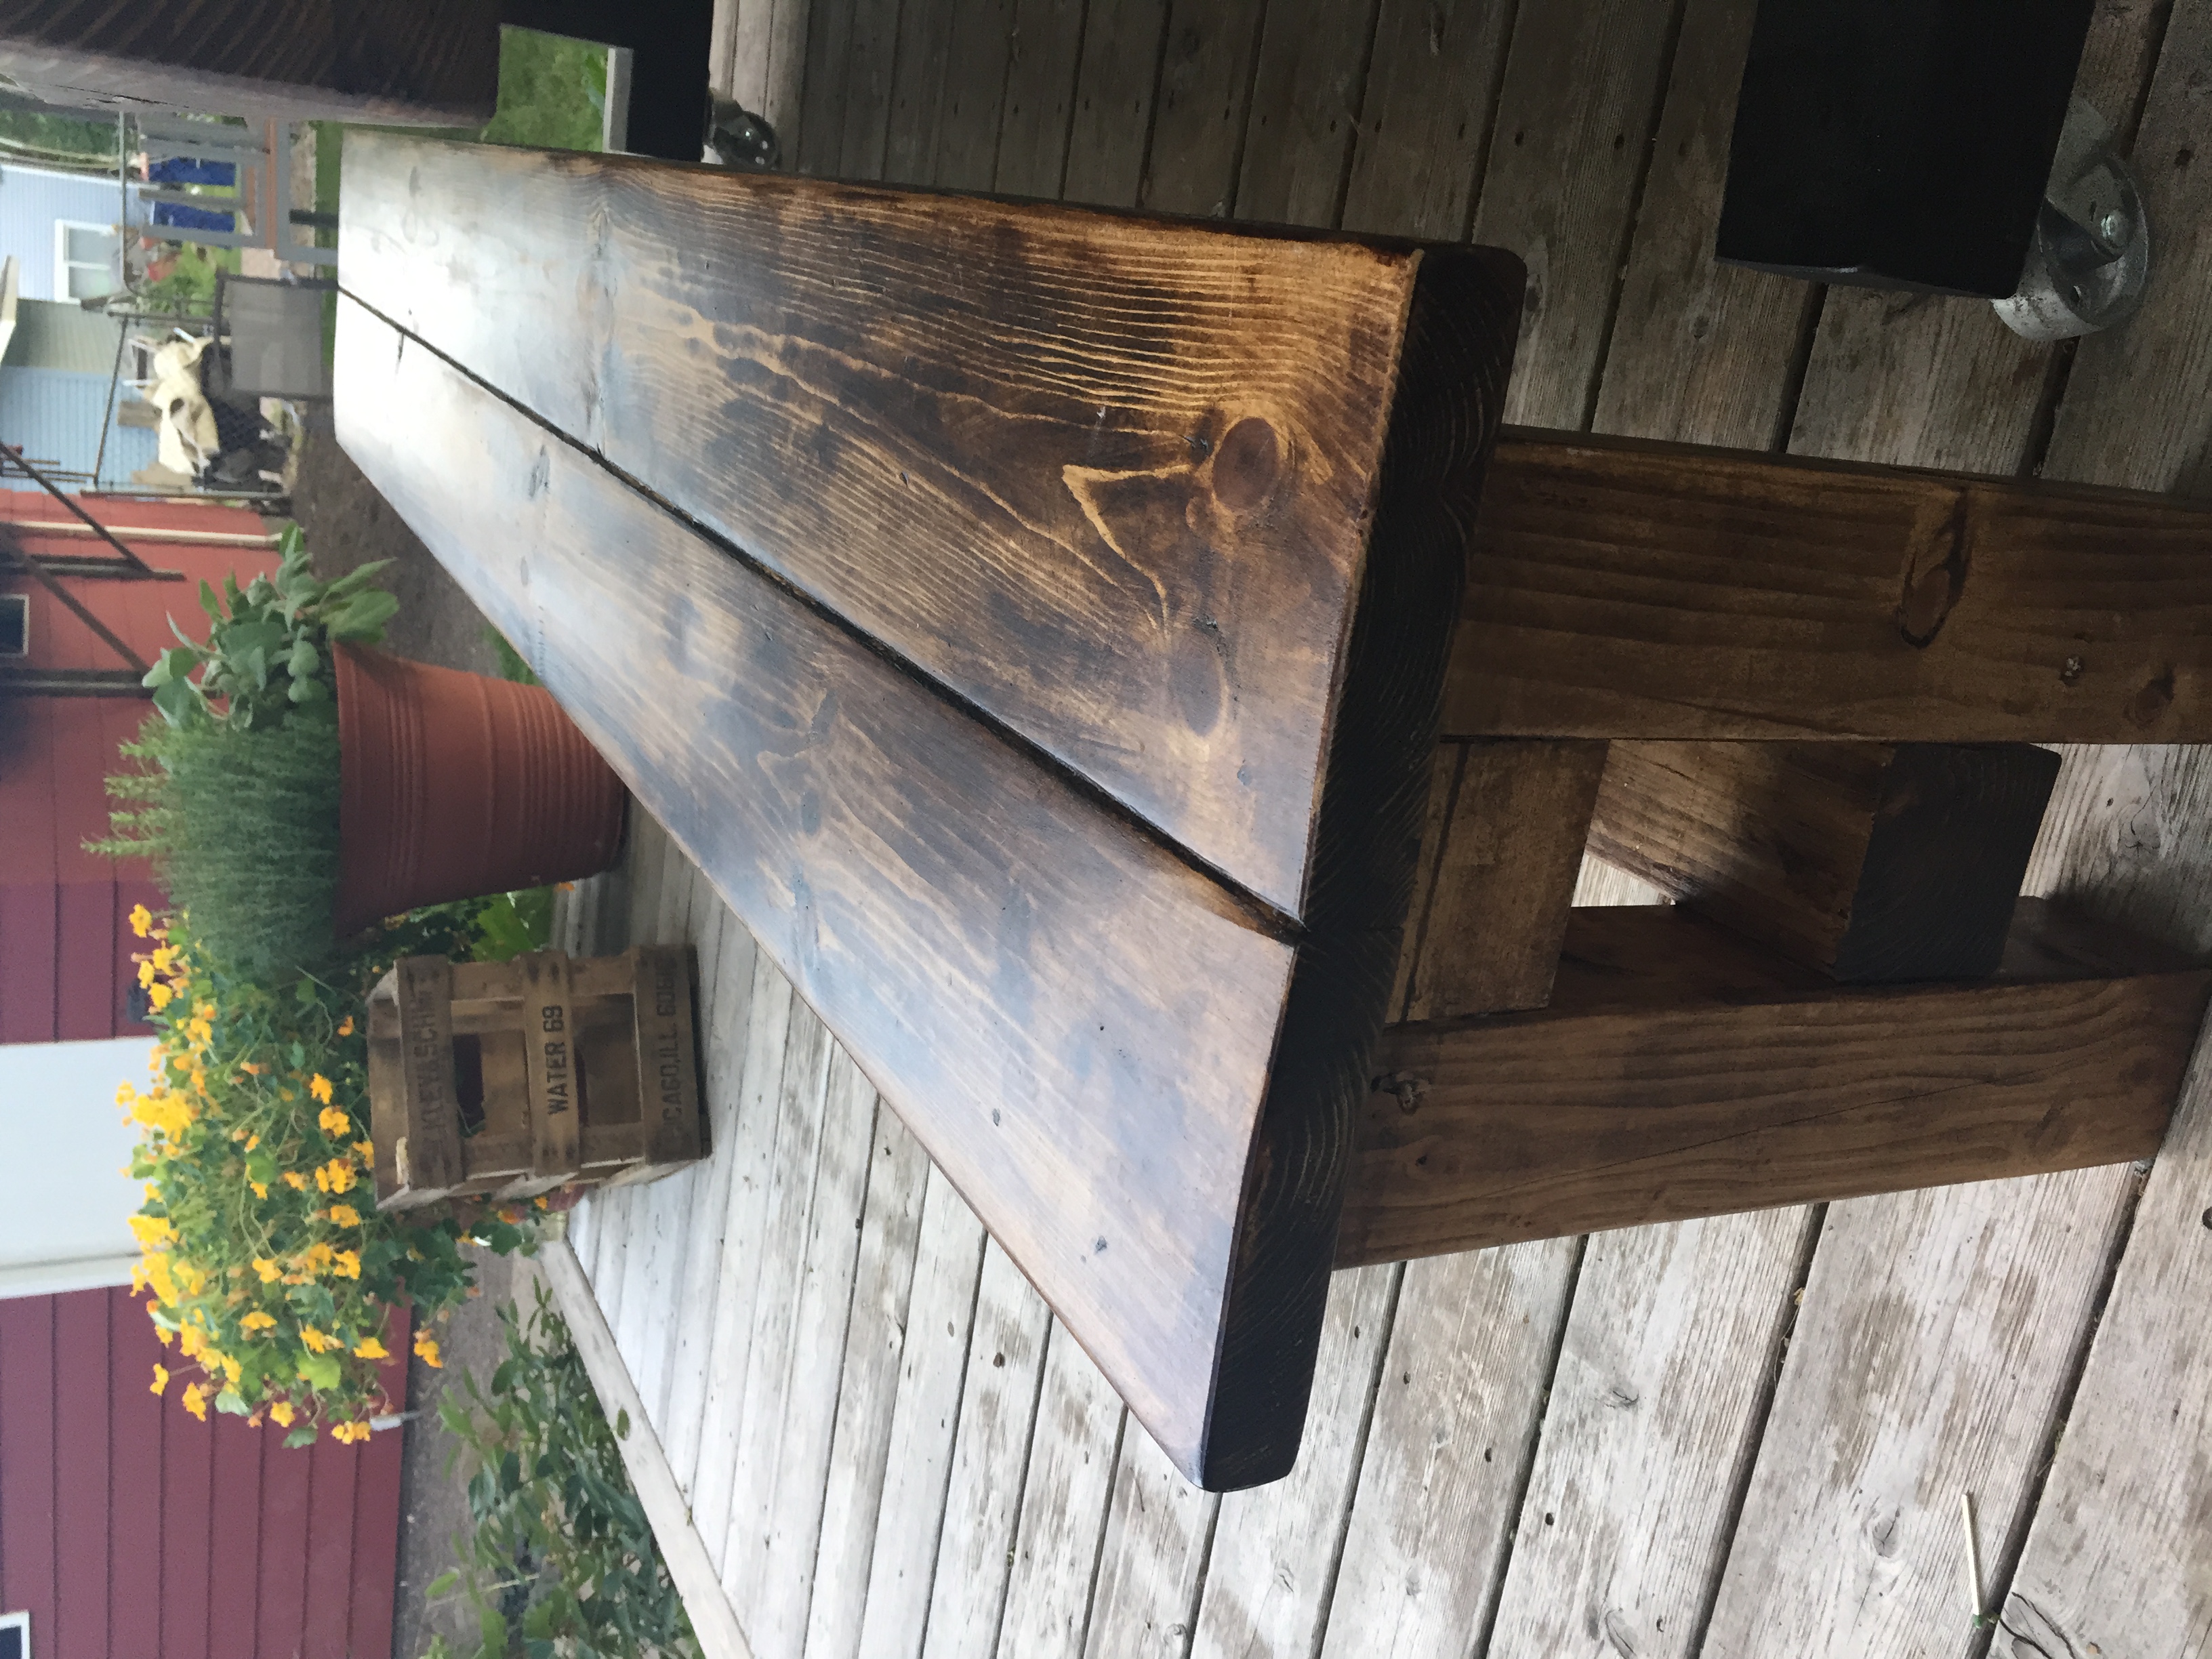
My parents needed a table for their newly expanded dining room at our cabin. I love the look of butcher-block, and wondered how I could design a table with the thick chunky look. I decided on using 4x4's for the majority of the build. This project took me a while to complete because in the middle of it, I twisted my ankle while lifting the table! Ha, building can cause some damage. Although, the ankle did slow me down, I was still able to deliver the table and benches to the cabin in time to give it to them for their anniversary present.

Giant version of our adironadack chair plan by Ryan Zielinski


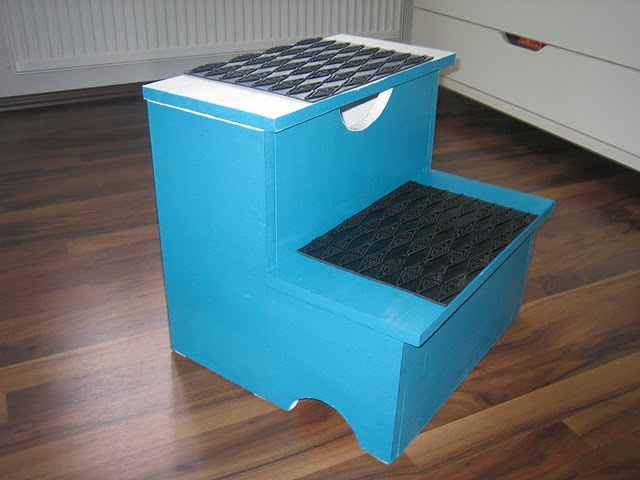
I built the storage step using my own measurements as it's designed for adults. It is used for reaching the very highest shelves in my floor-to-ceiling wardrobe system.
It was my first project using my jigsaw and am very happy with how it turned out.
I added some rubber non-slip mats stuck down so no one goes flying when stretching for clothes!
Have a look at my blog for more pictures and information.
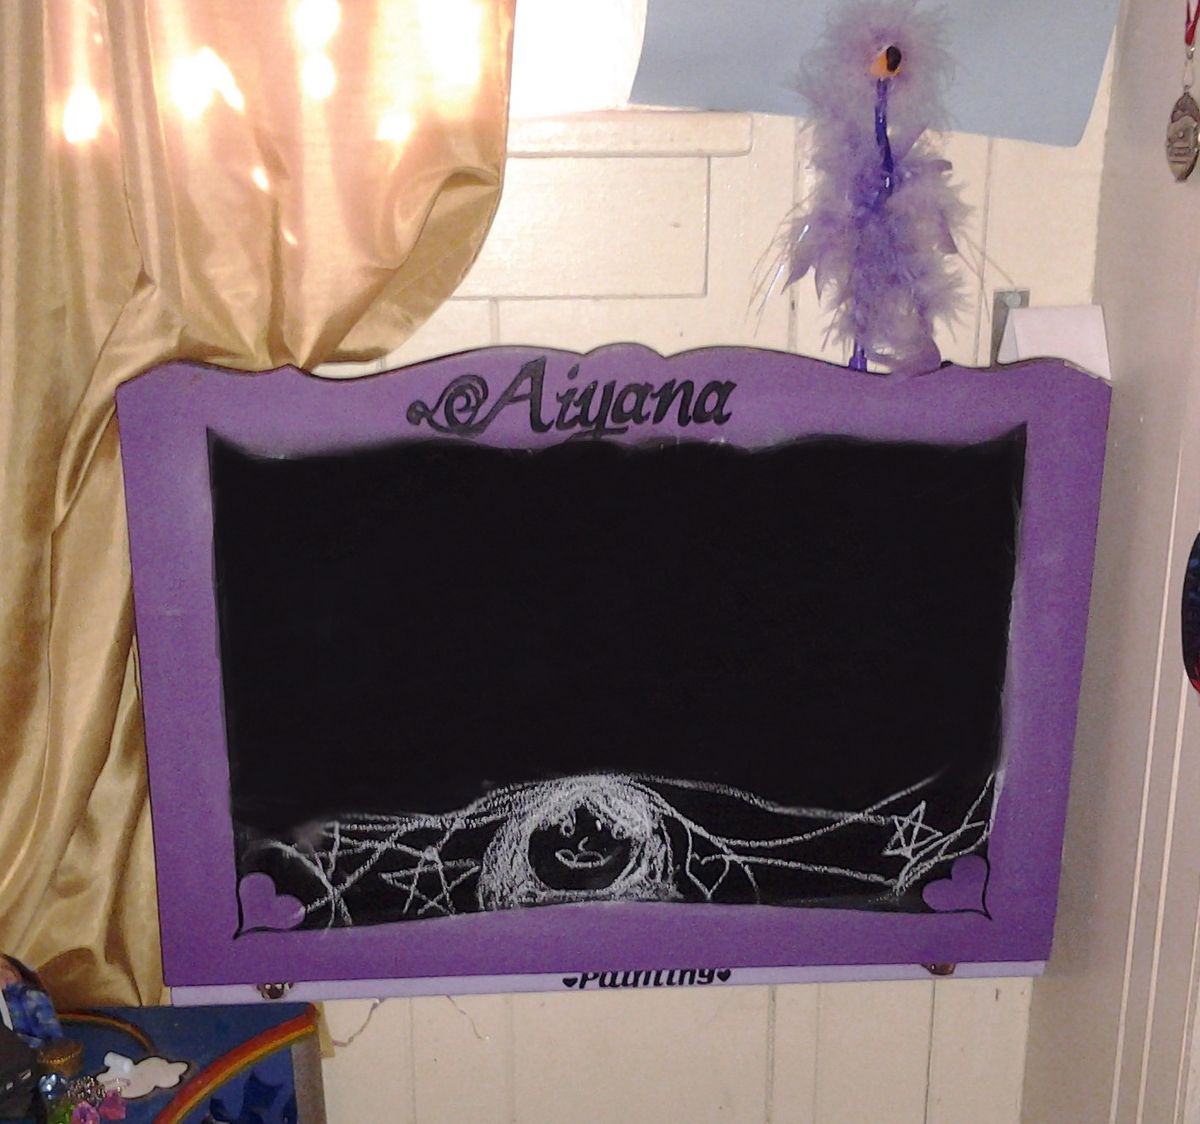
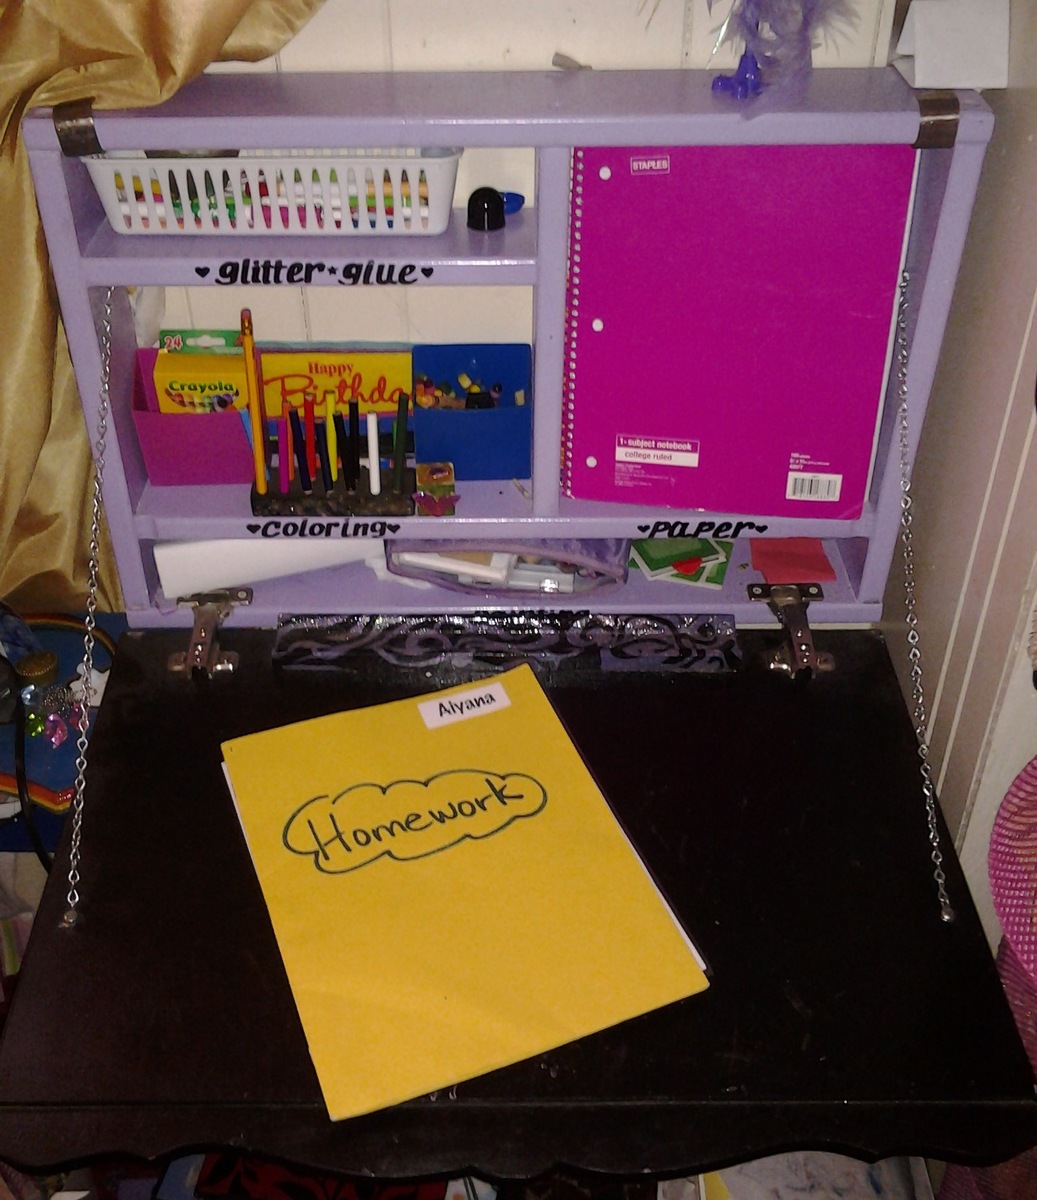
I was able to construct this art desk out of scrap wood I had after breaking down an old futon and dresser from which I decided to add a nice piece of molding to create the more "elegant" essence that my daughter likes. I had been given some purple chalkboard paint and bought some black chalkboard spray for the front and freehand wrote her name. I also decided to add a pencil holder and "gutter" (a place for them to rest while in between colors - like on a school desk). She absolutely loves it and I find her creating more art since I gave it to her, plus she is able to do her homework here too. Thank You Ana for the awesome Ideas and plans you offer us! It saves me a ton of money and enables my household to have things when we'd otherwise have to do without. Thank you, Thank you, Thank you!


Comments
Ana White Admin
Sun, 01/08/2023 - 10:42
Super cute dress up center!
Thanks for sharing, it looks darling.