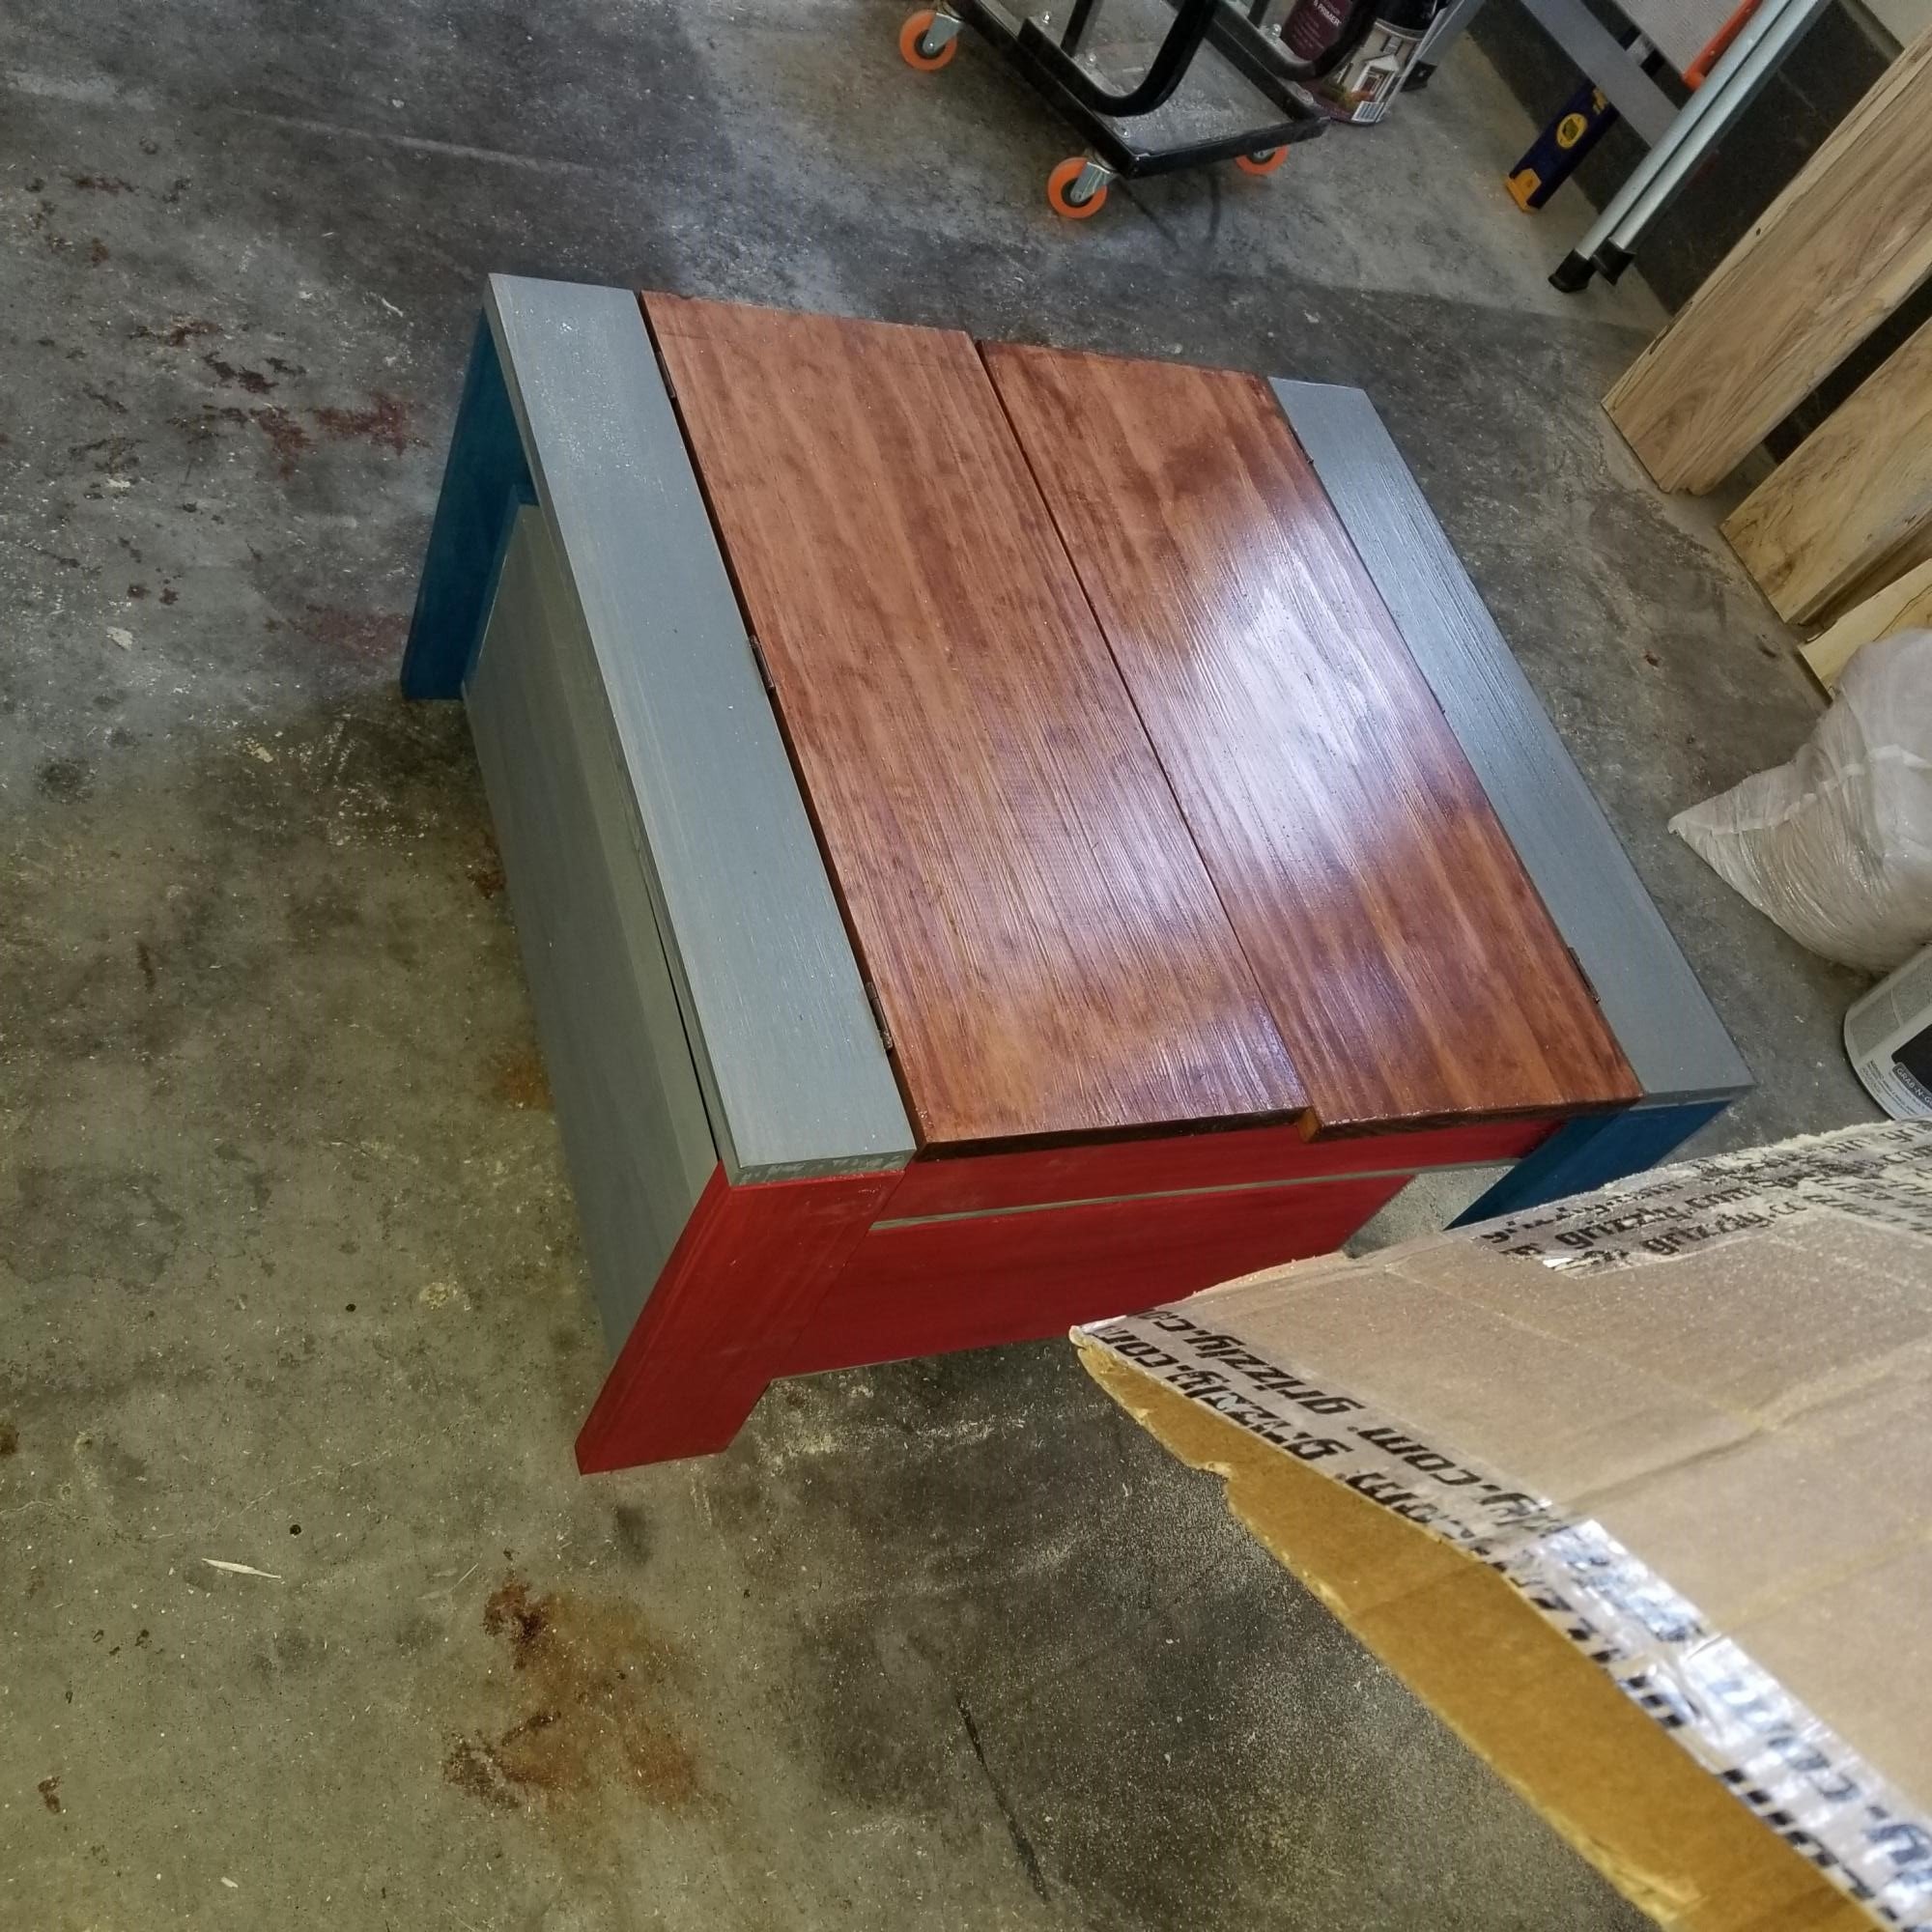
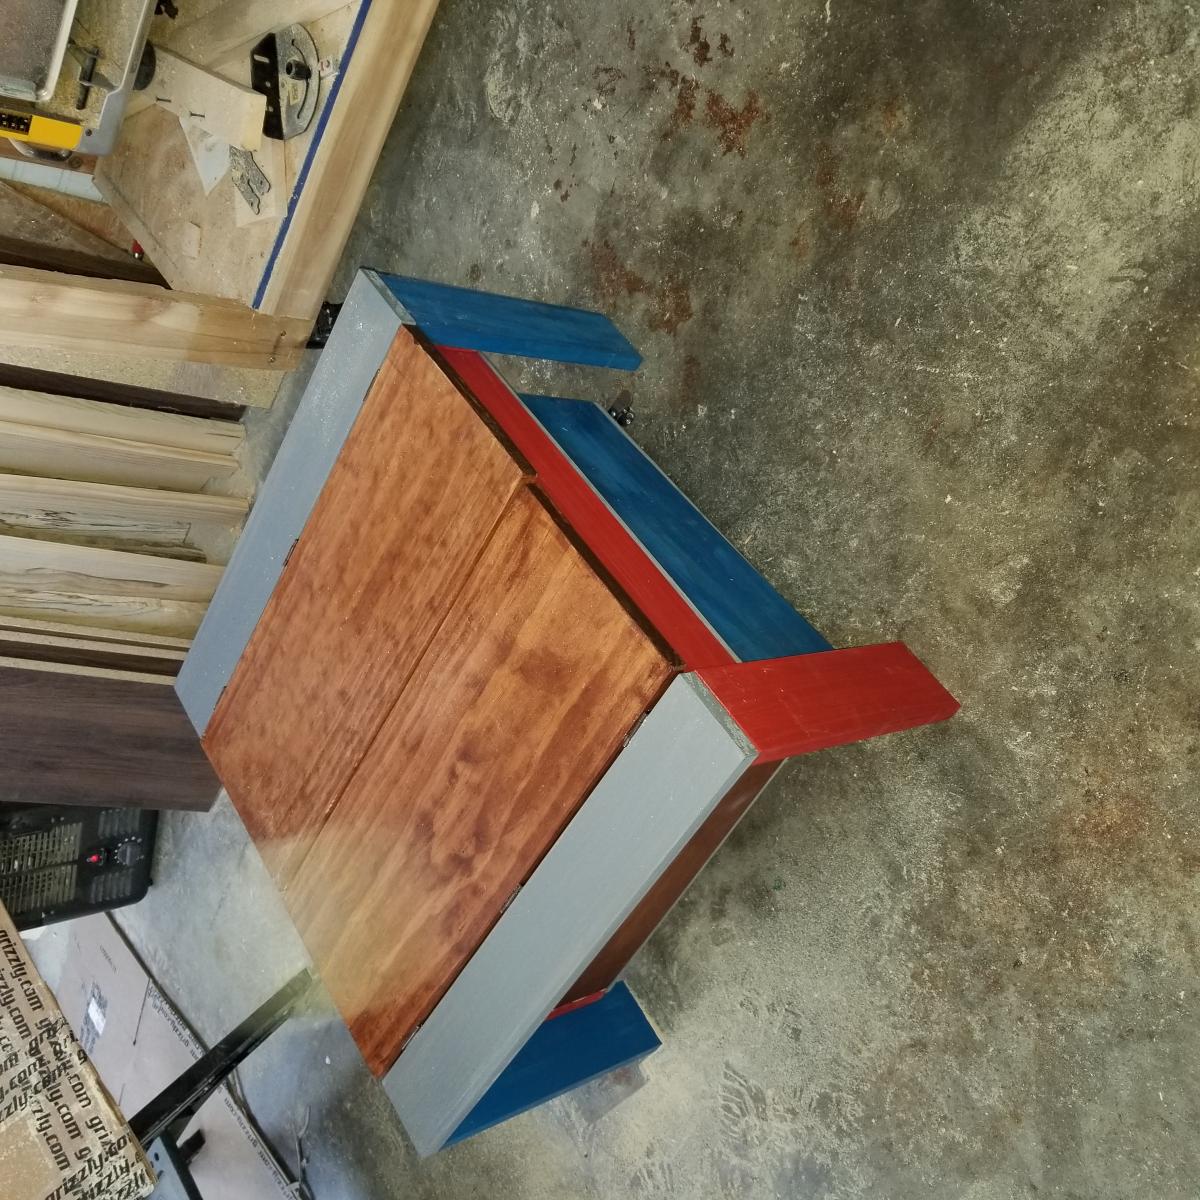
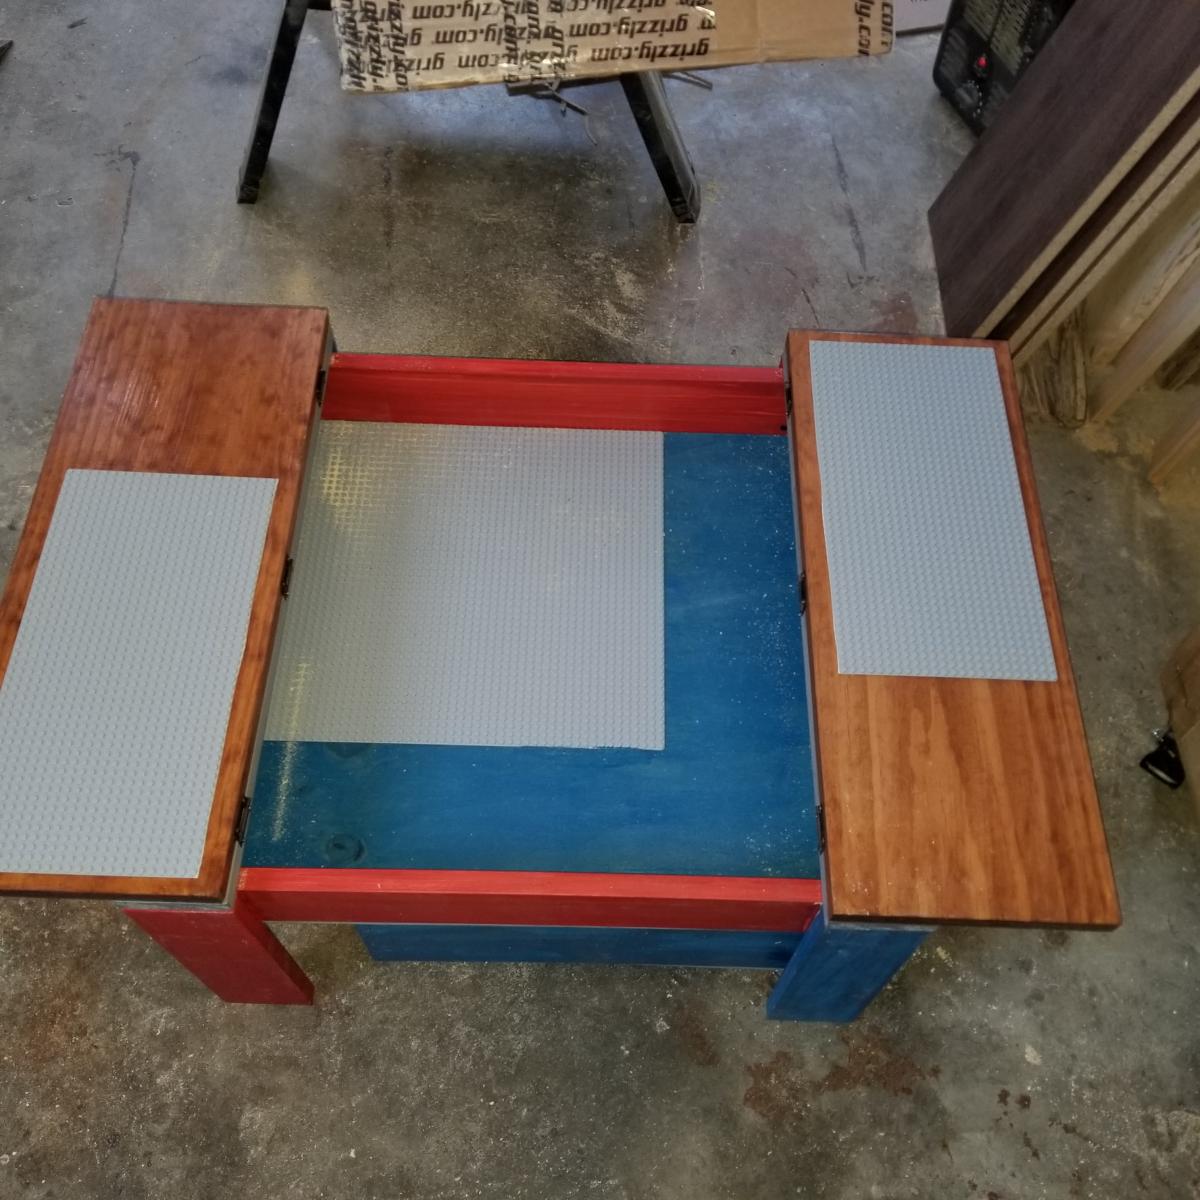
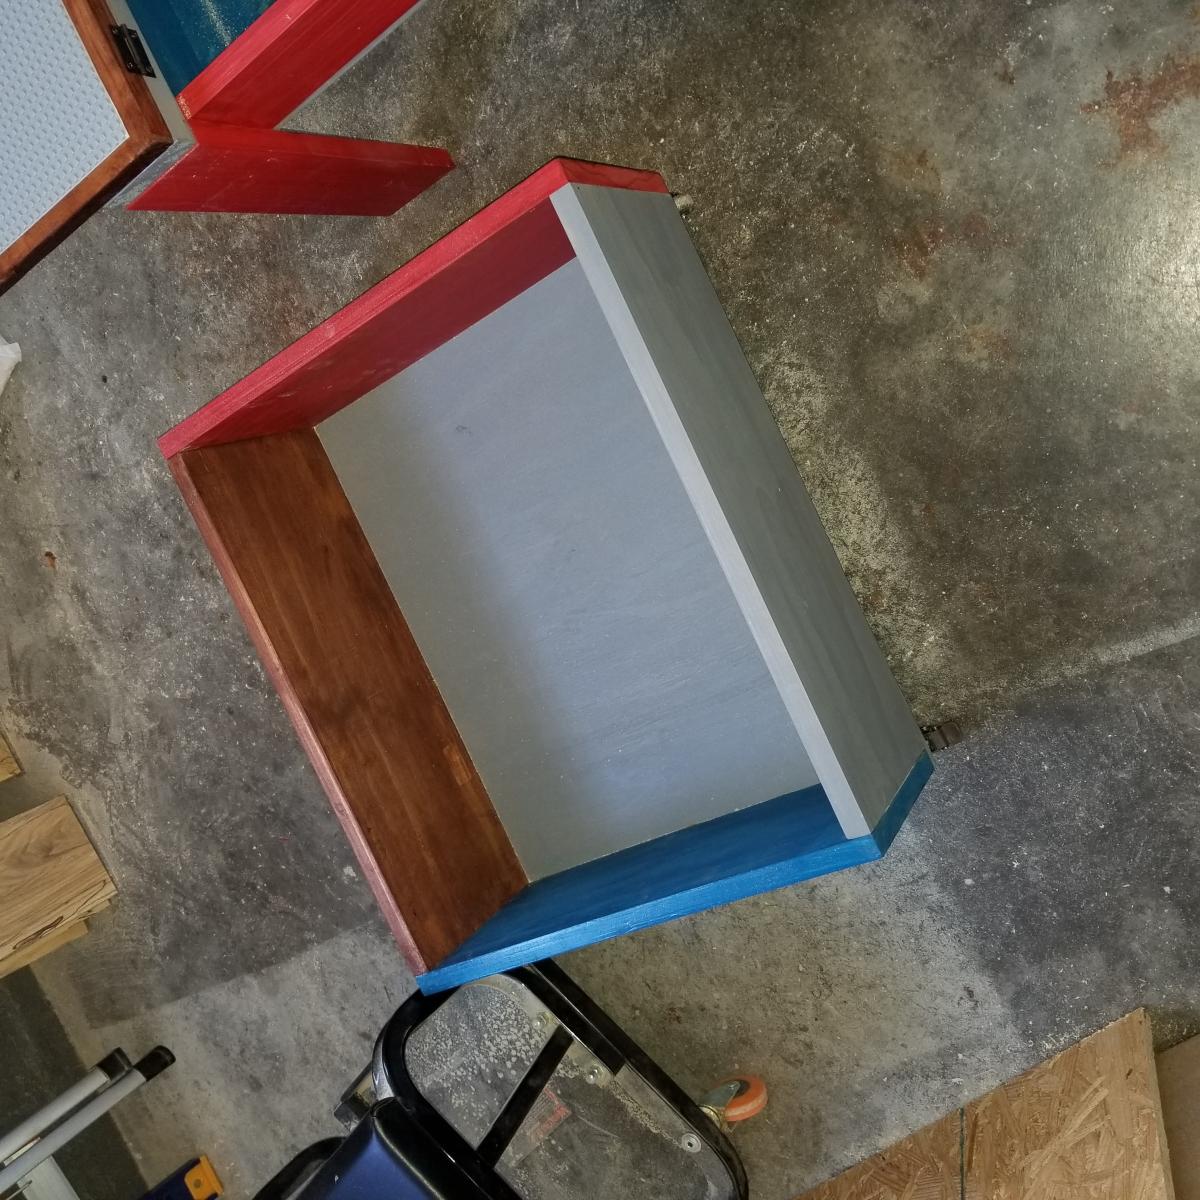
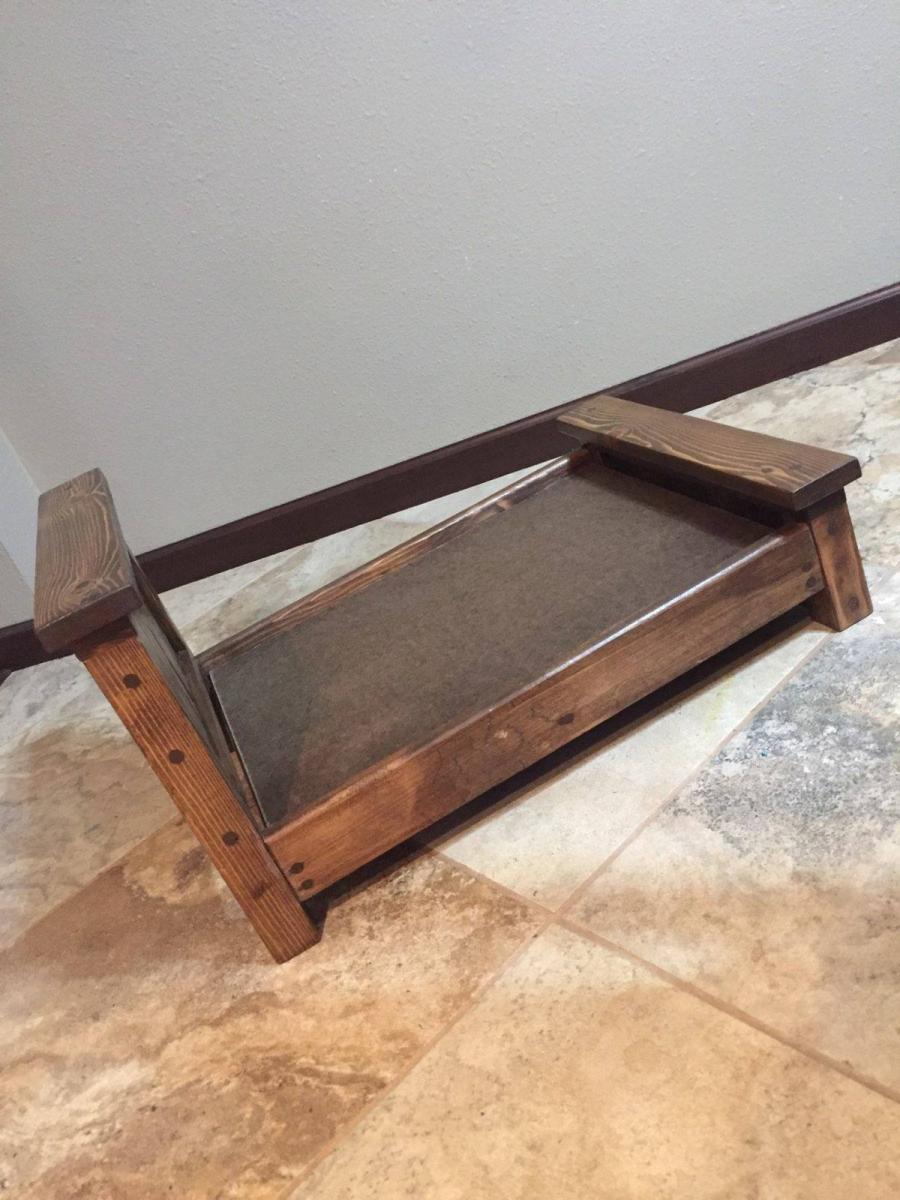
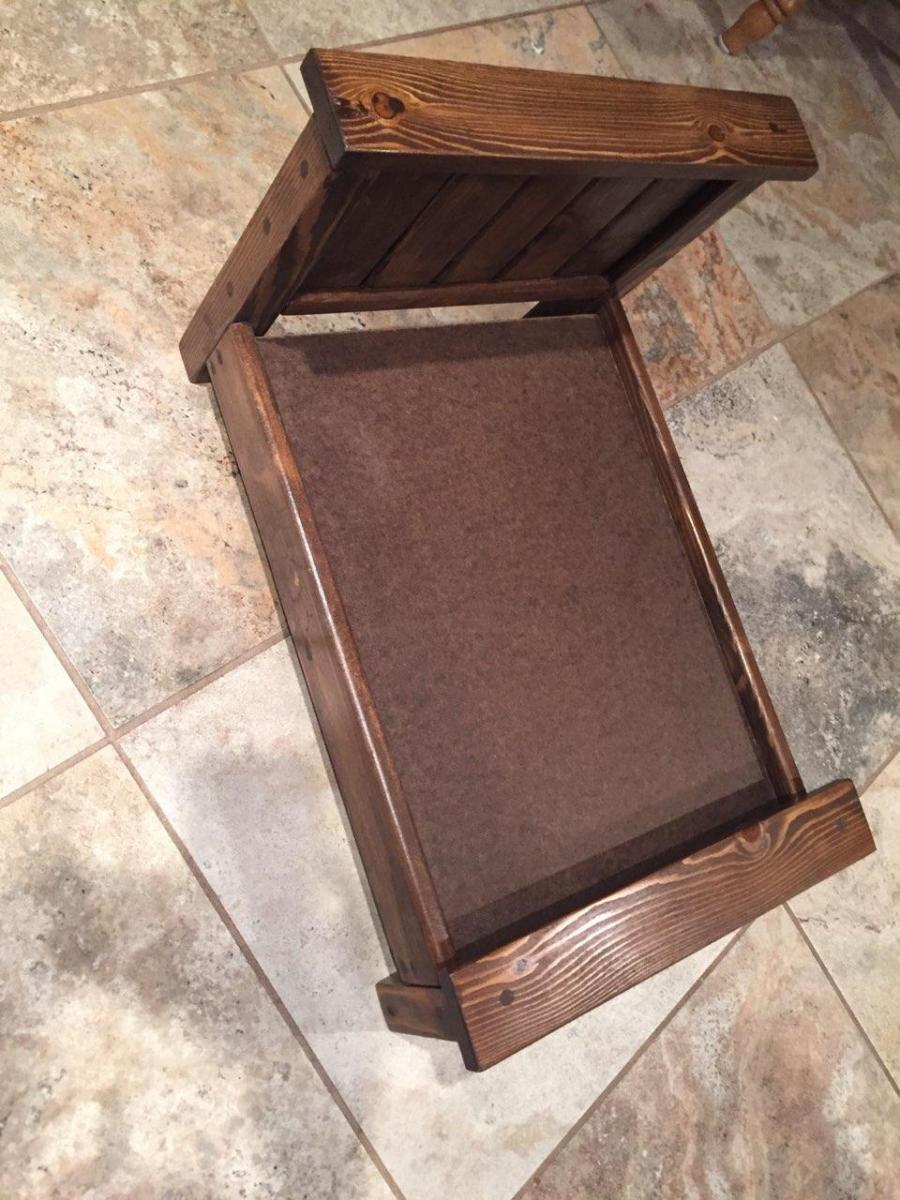
Baxter's elevated feeding station
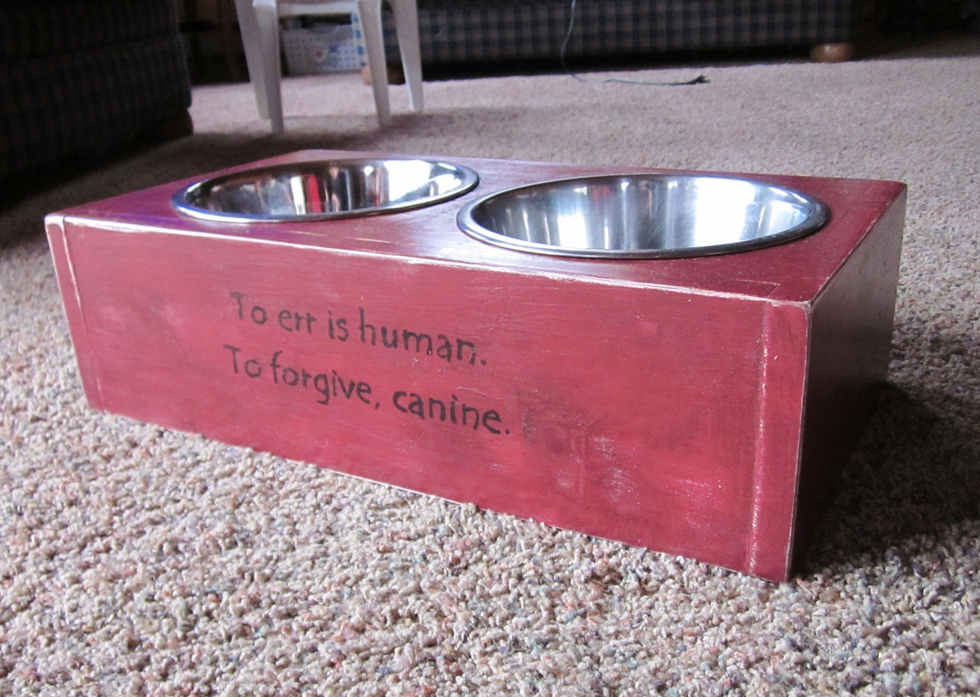
I saw Ana's plan for an elevated dog dish, but our little cockapoo (still a puppy) wasn't really ready for that height. So I made a basic box and cut out the holes in the top for the bowls. He is still growing, so when he's a little taller, I'm going to put tennis balls on the bottom as feet which will raise it up a little more. Thought I would dress it up with a quote I found somewhere online.
Used some leftover paint and glaze from making the pantry and finished the same way.
Estimated Cost
Scraps used . . . . estimated at less than $10
Estimated Time Investment
An Hour or Two (0-2 Hours)
Finish Used
Valspar Red Cabin paint
Valspar Antiquing Glaze
Valspar Antiquing Glaze
Recommended Skill Level
Starter Project