Community Brag Posts

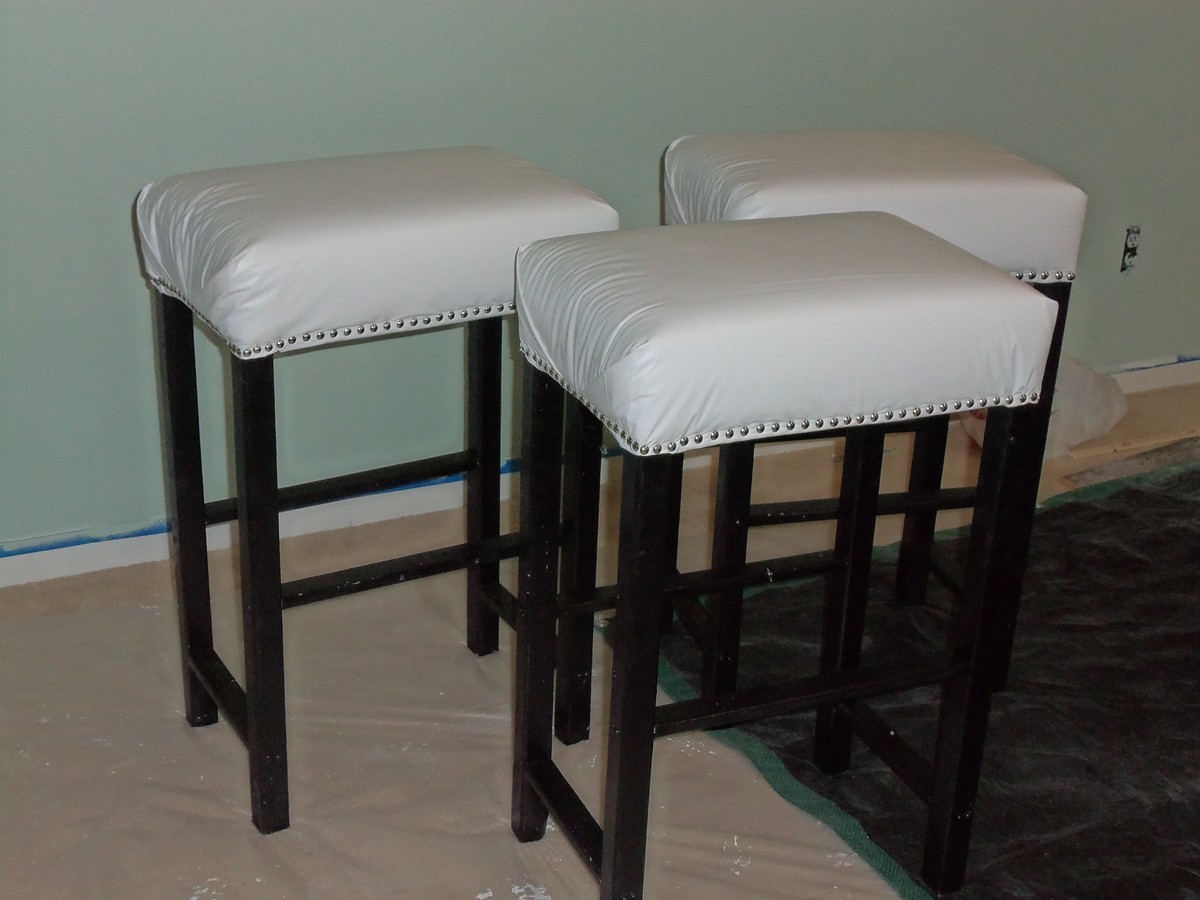
Custom Bar Stools

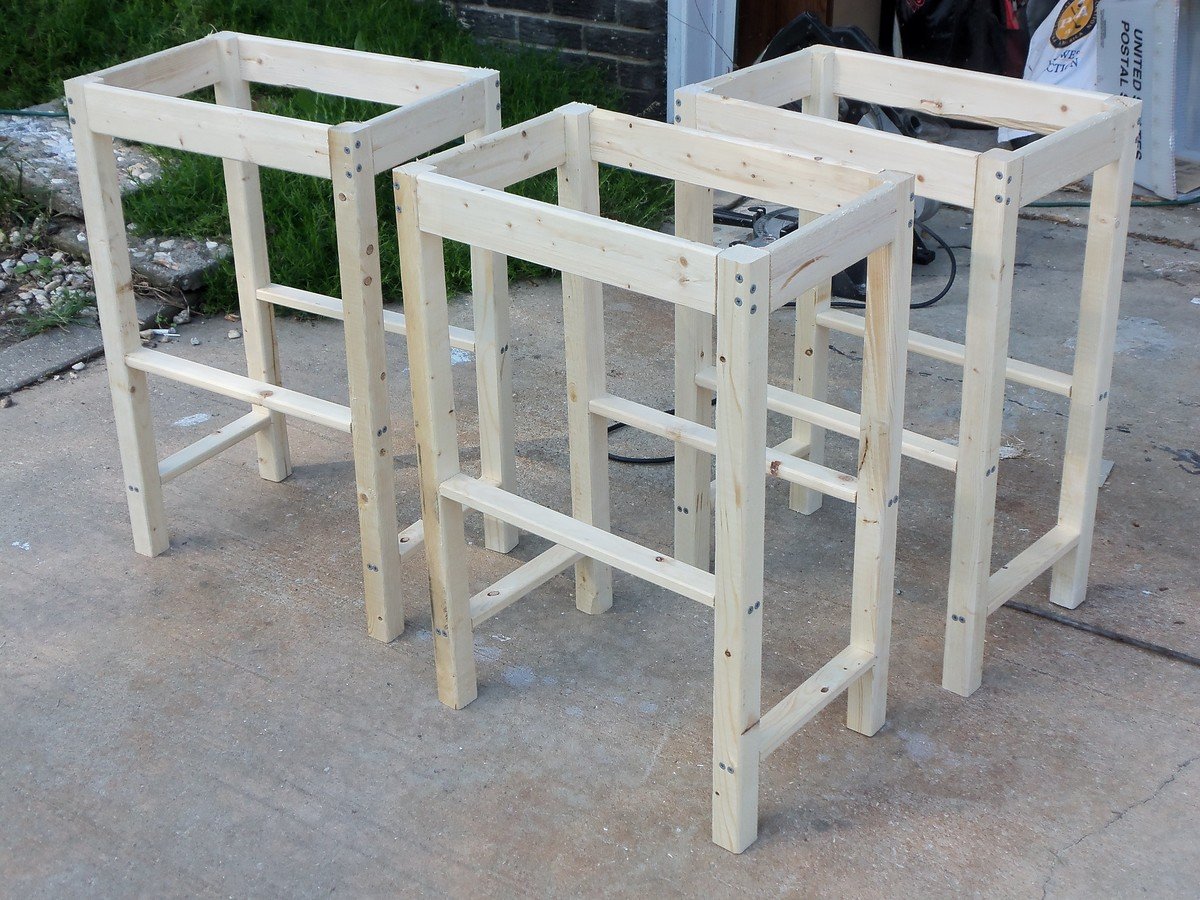
We really liked the look of this stool with the nail heads, and we customized the stools to bar stool height by extending the length of the 2x2s to 27.5". We also bound the legs together before we started to put the stools together and sanded down the ends to make sure that they sat flush and wouldn't wobble...I would definitely recommend doing that because they are sturdy and don't wobble at all.

Estimated Time Investment
Afternoon Project (3-6 Hours)
Finish Used
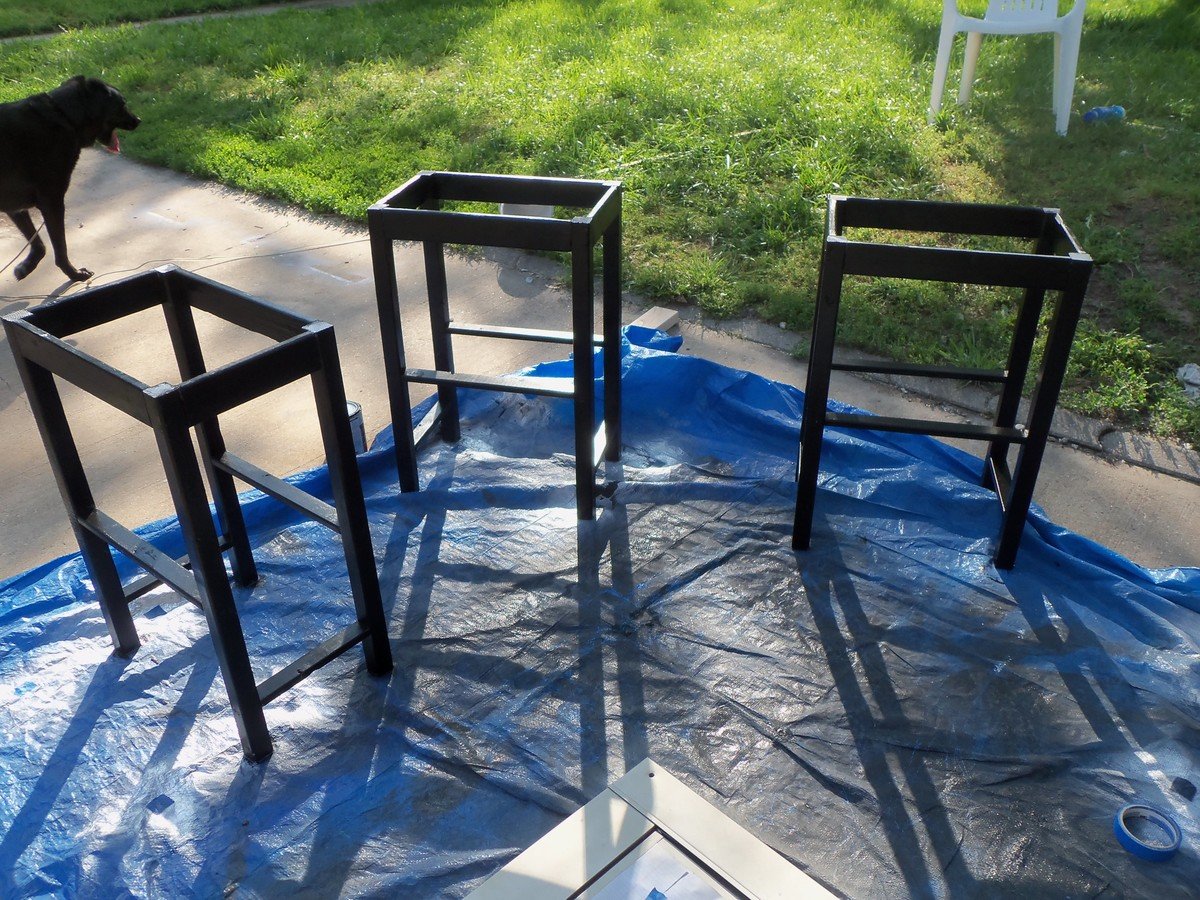
We painted the base with a black enamel paint. Then we added batting and foam for the cushion and wrapped the tops with a faux leather. We then trimmed everything with nail head pins.
Recommended Skill Level
Beginner

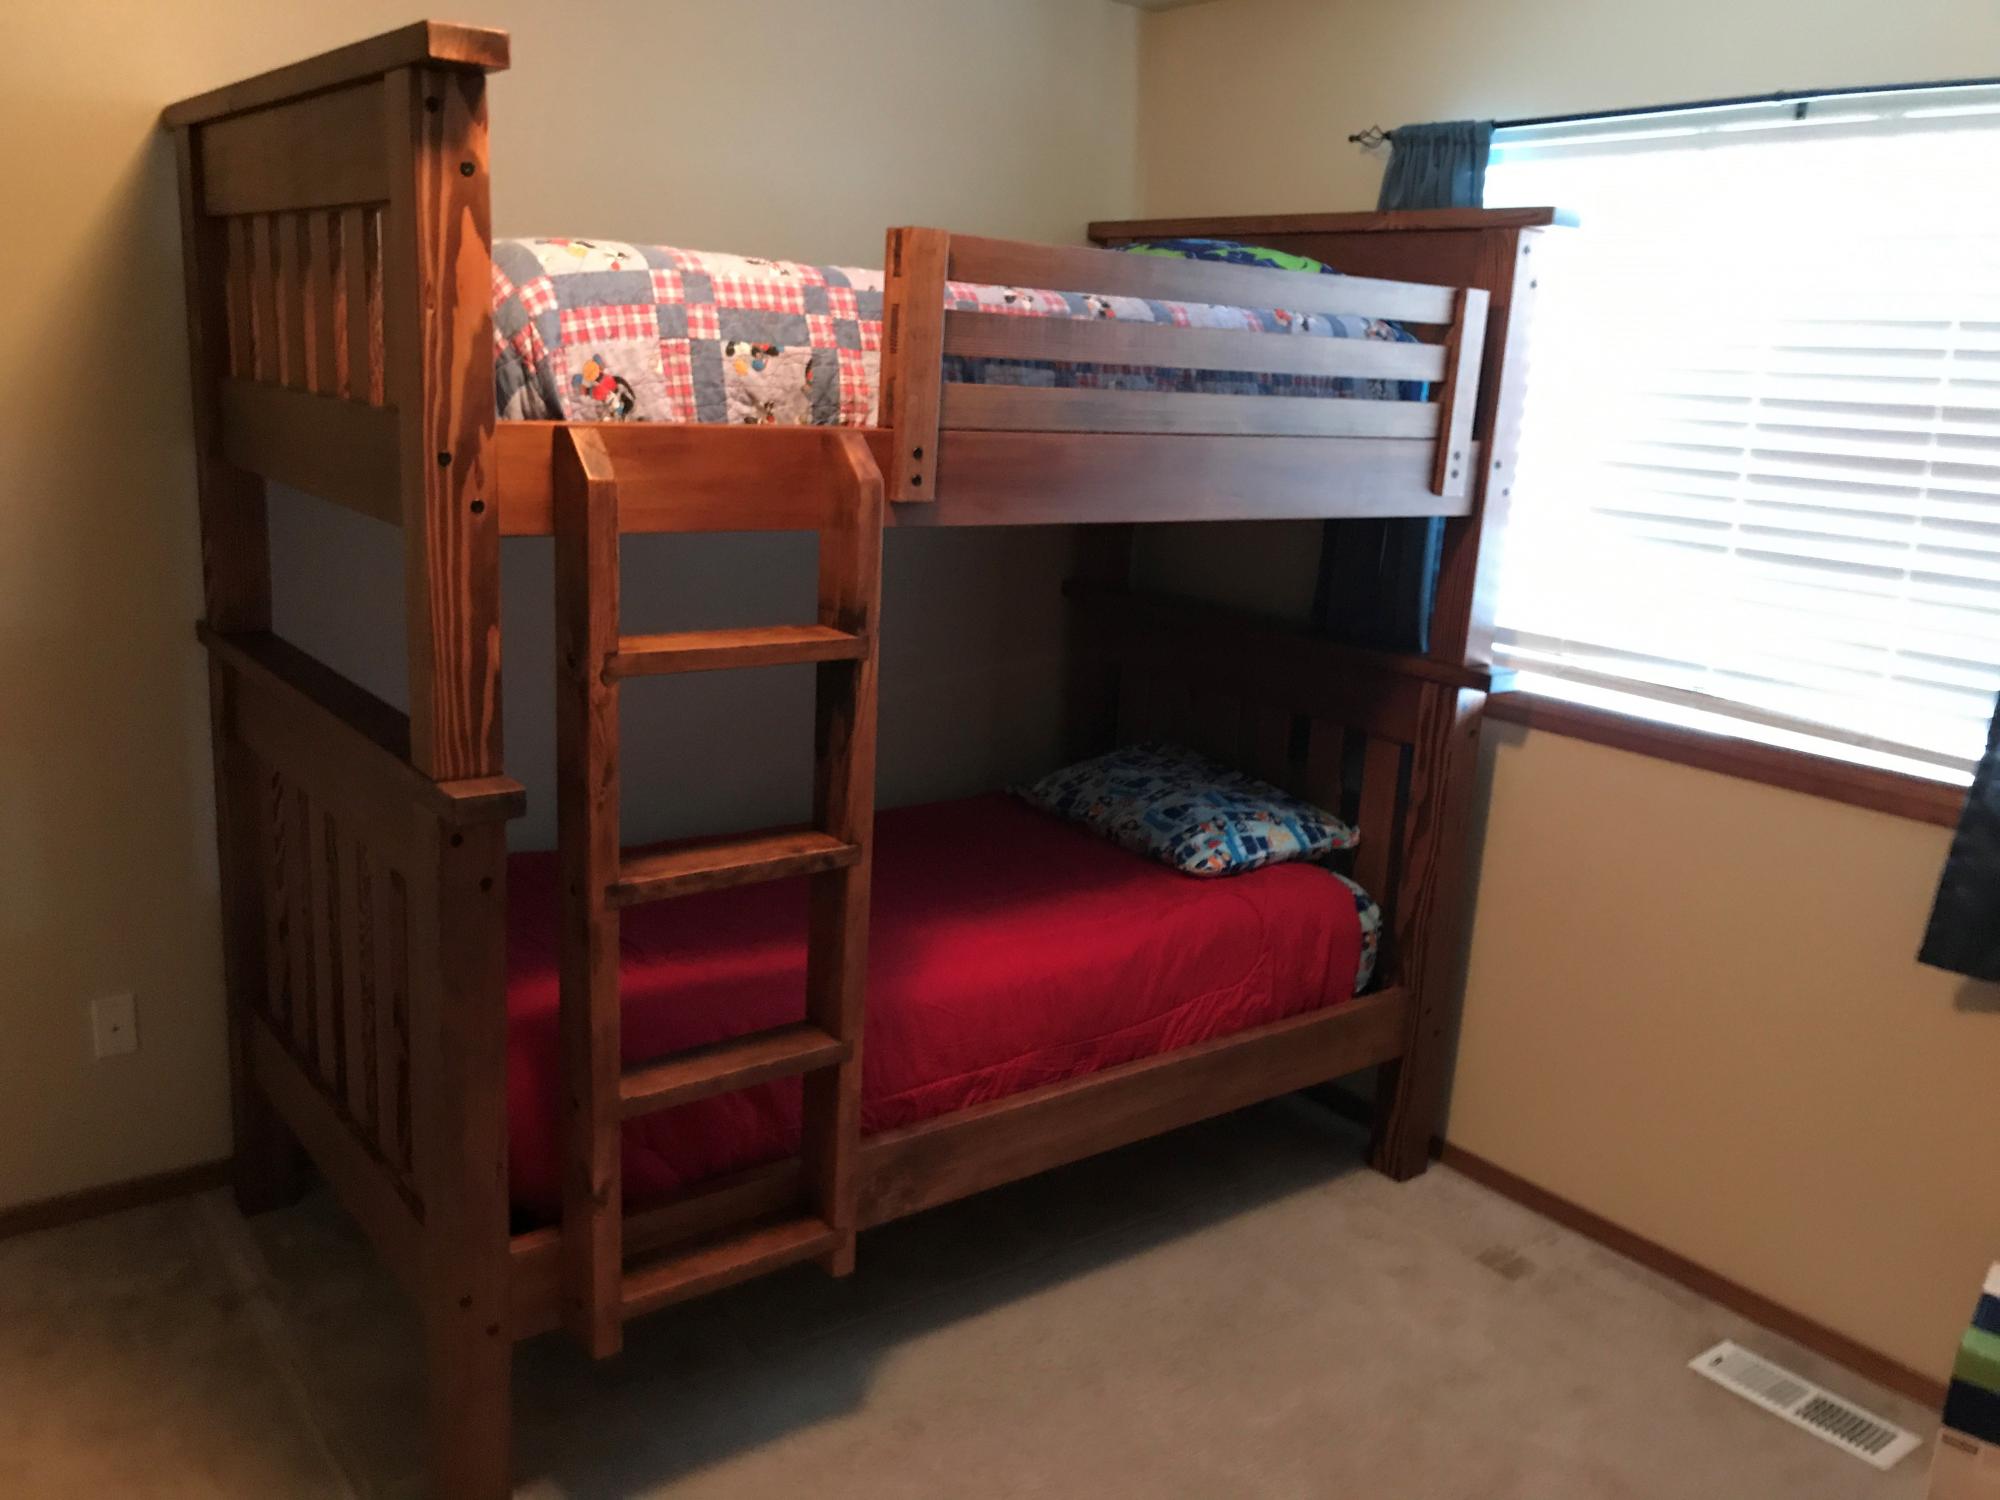
Simple Bunk Beds

A variation of the simple bunk beds made with old growth lumber stained with "honey" minwax stain and topped with 2 coats of satin minwax polyurethane .  Each step on the ladder made with dado cuts, glued, and screwed and secured to each bed to add strength and take up less floor space. Used 8 inch HeadLOK screws to attach head and foot boards to posts and 2 7/8 inch to secure steps on the ladder as well as top boards to the head and foot boards. I cut down x4 HeadLOK bolts to 2 inches to secure rail to top bed so they didn't go through other side. Utilized non mortise bed rail brackets for easy assembly and disassembly; holds strong with no wobble even before ladder and plywood bottom. 3/4 plywood bottom screwed to the rails to better support mattress and add ridgidity. I screwed them so the bottom child doesn't push up on the mattress for the top child. All screws with the exception of the HeadLOK were counter sunk for a flush finish. All to say? This thing is strong and turned out beautifully. 

Estimated Time Investment
Week Long Project (20 Hours or More)
Finish Used
Bunk Beds
Recommended Skill Level
Intermediate

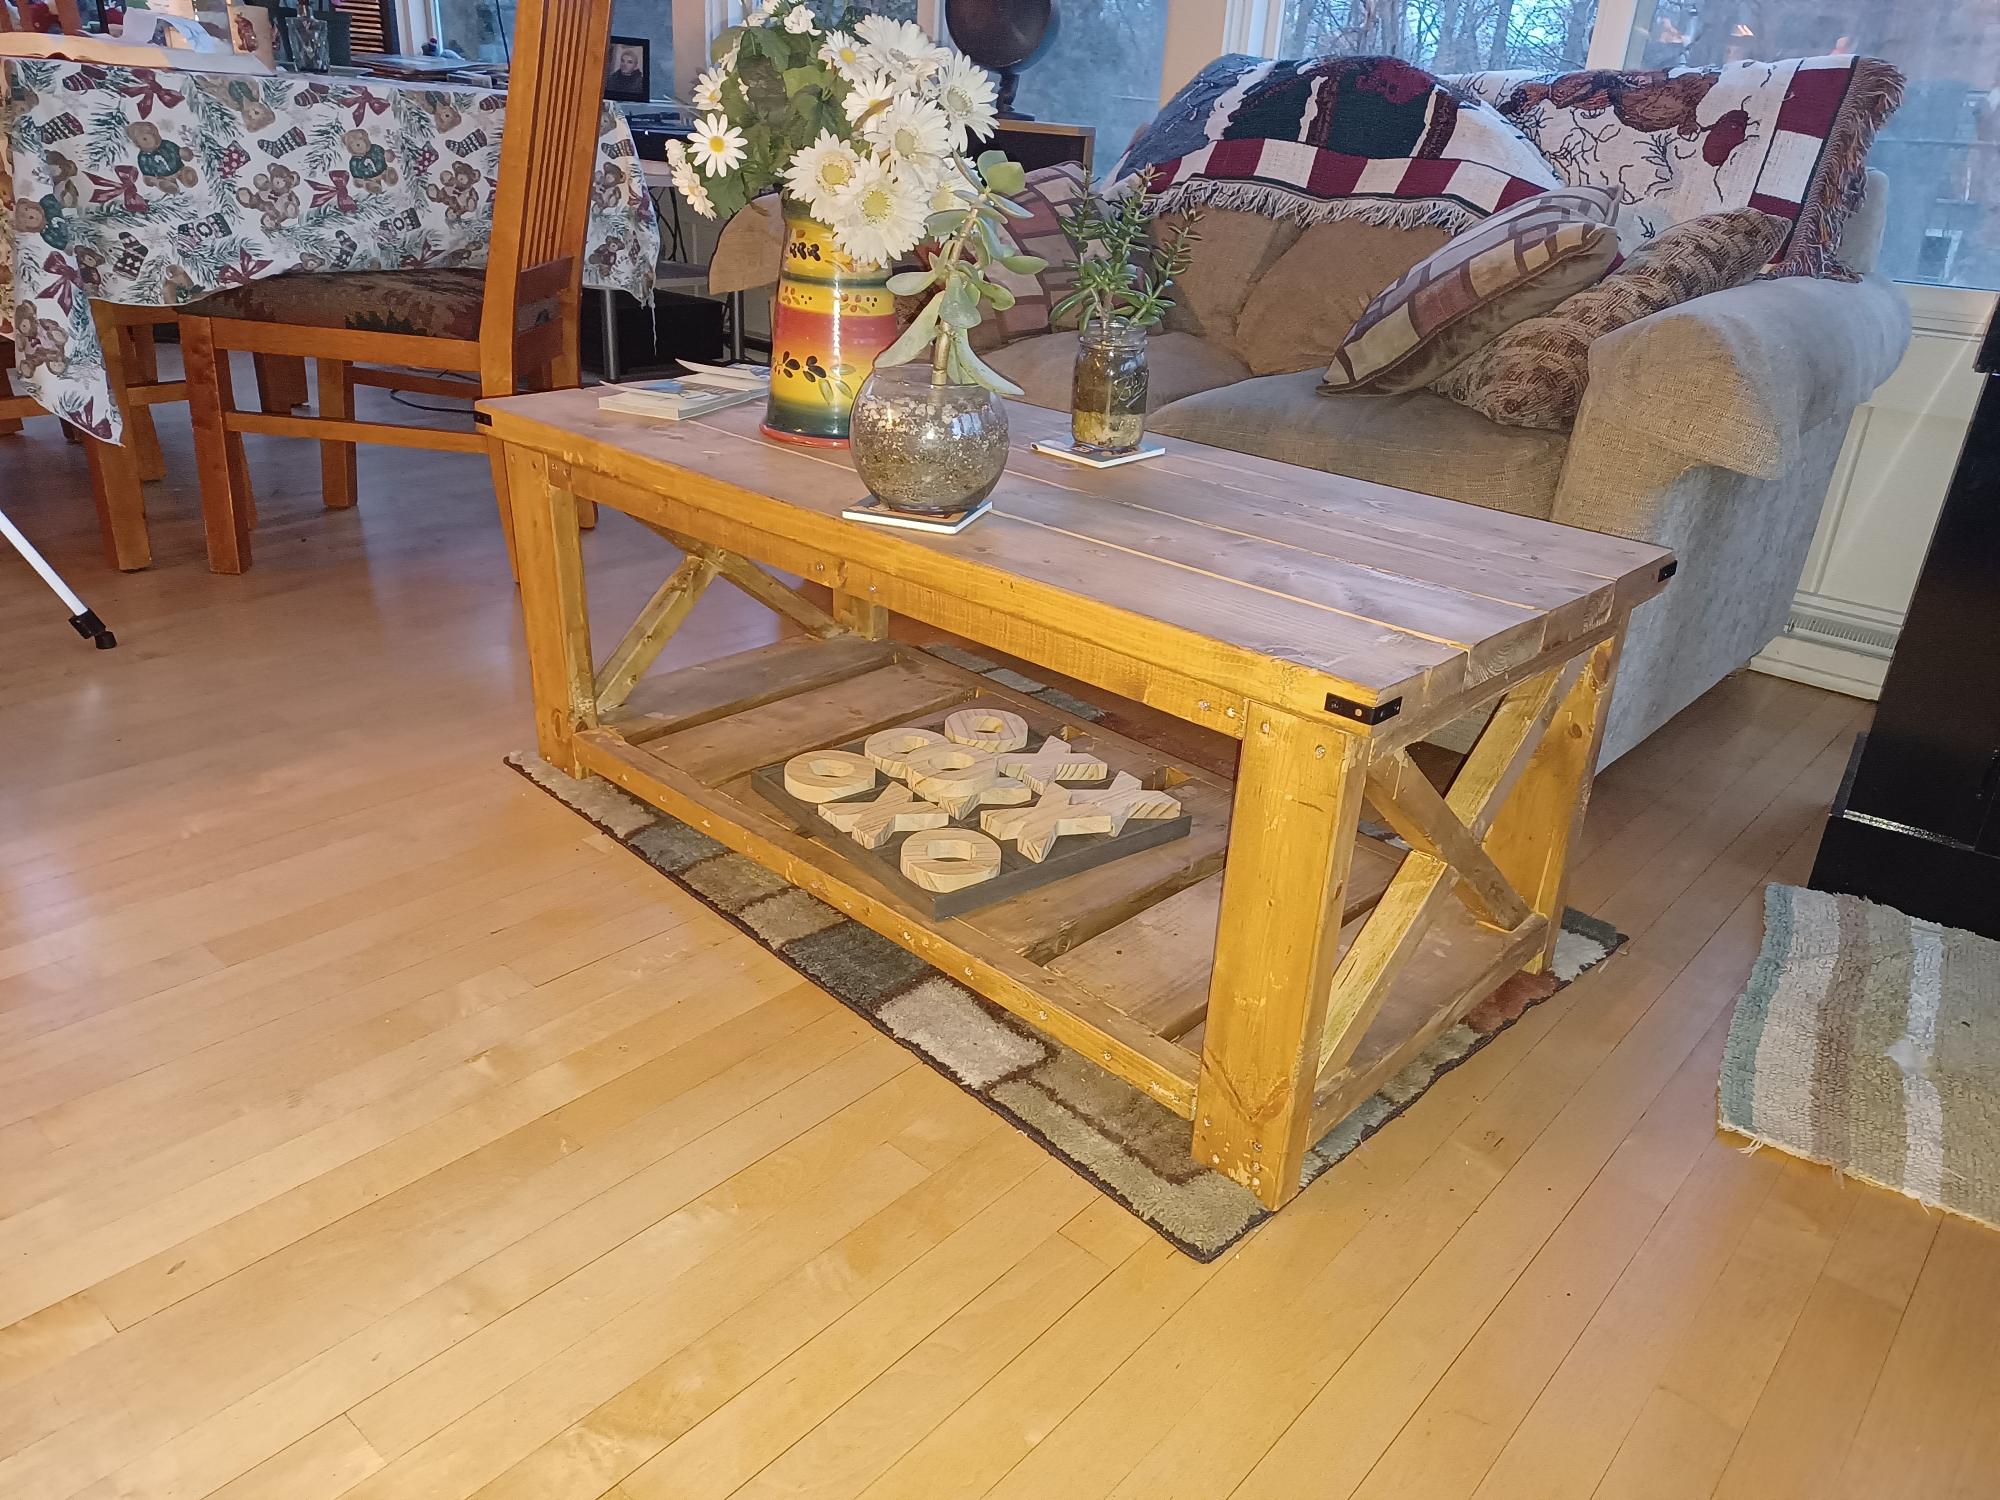
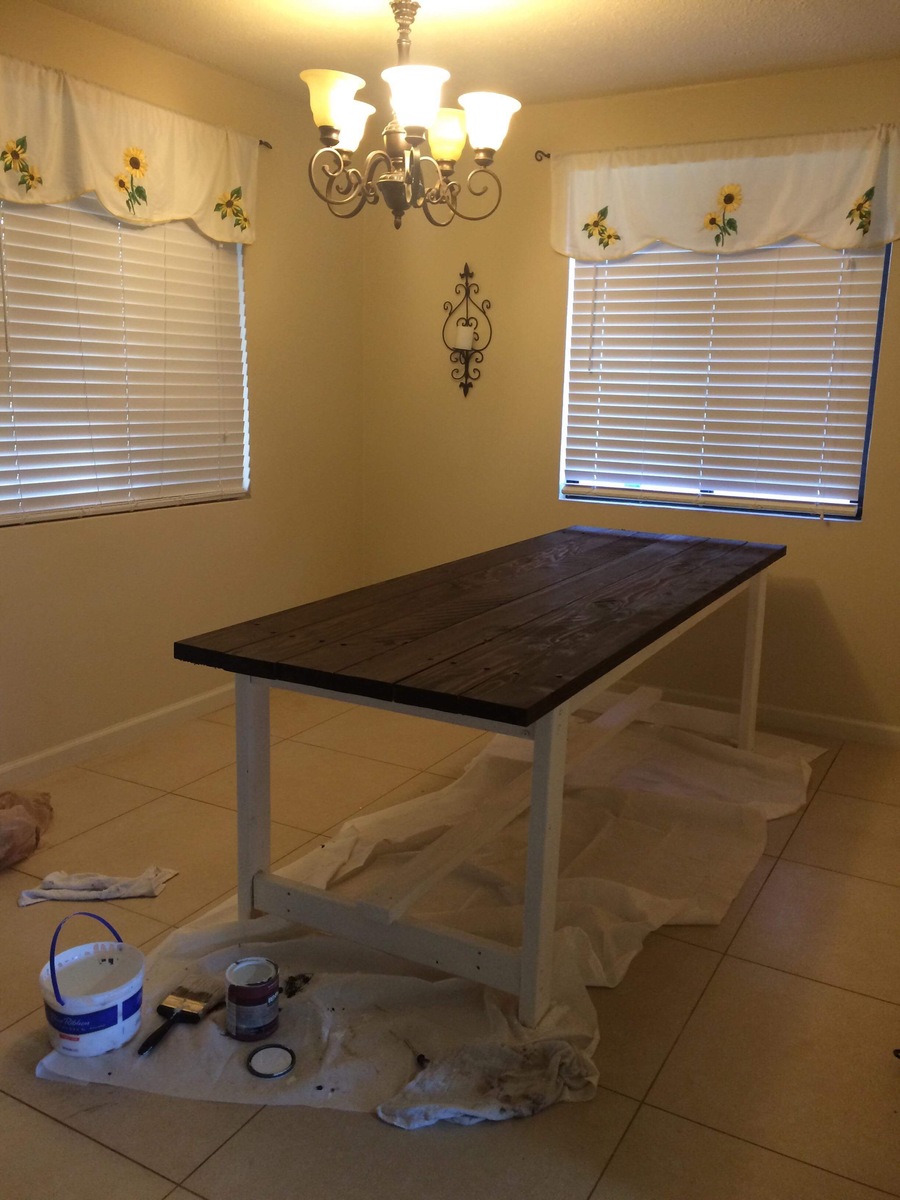
Farmhouse table

Submitted by Anonymous (not verified) on Sun, 12/26/2021 - 14:23

The directions on all of Ana's projects are great. This farmhouse table is in my sunroom and is a perfect addition.

Comments

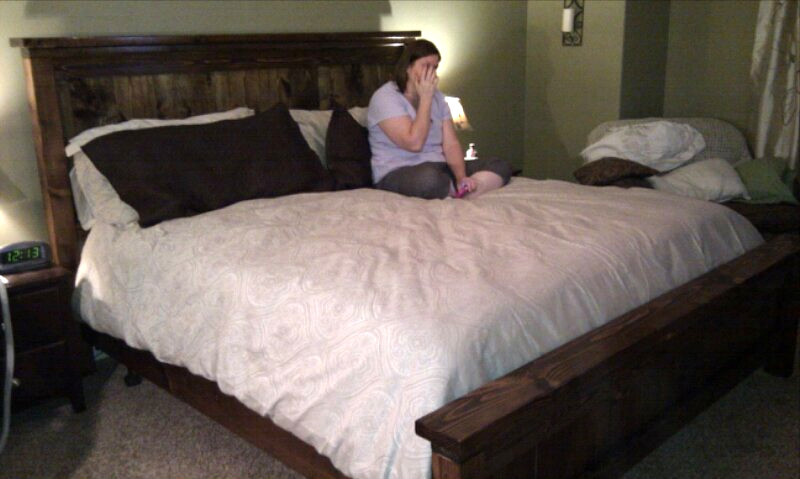
King Sized Farmhouse Bed

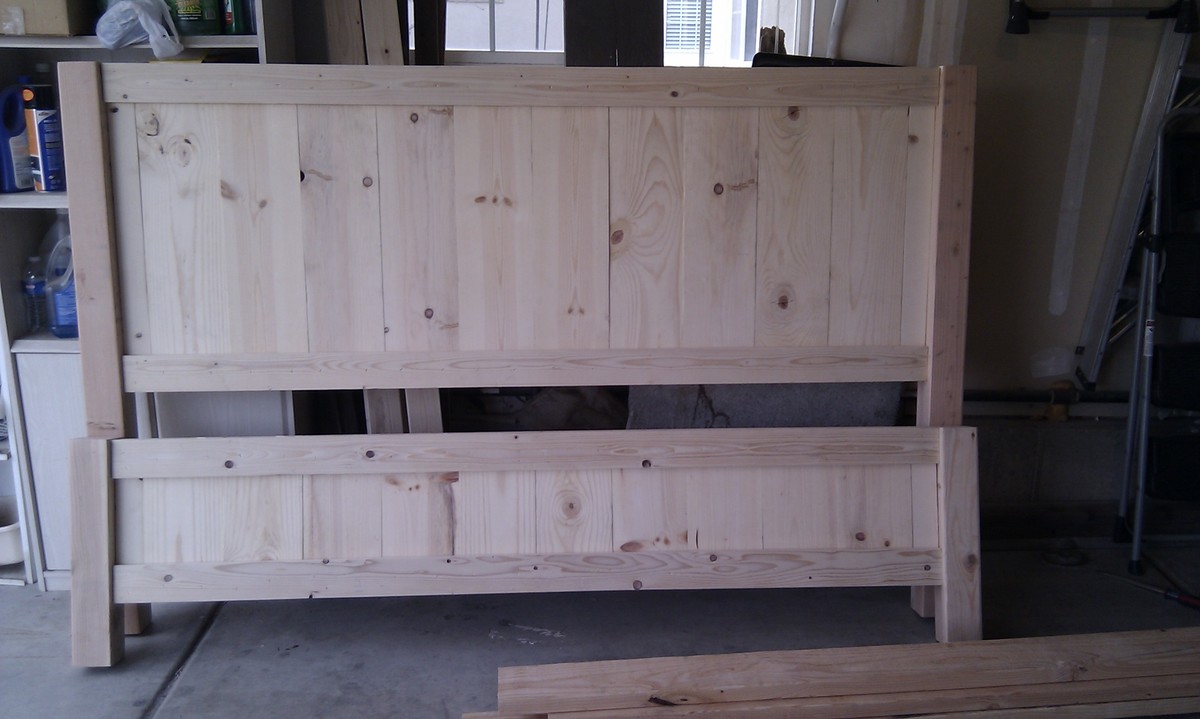
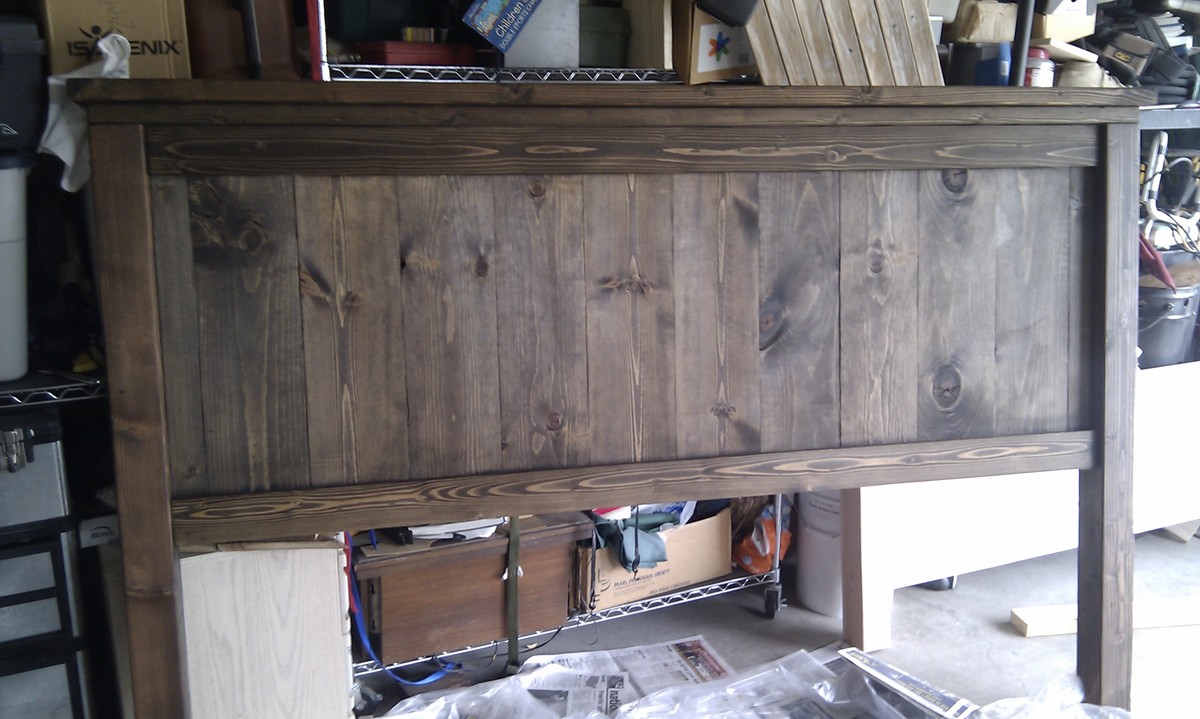
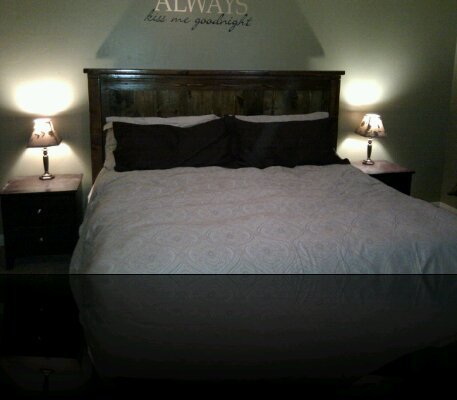
My first attempt at one of Ana's beautiful projects, and it turned out better than I (and my wife) could have imagined. I made this for our 14th anniversary as we have not had a bed during that time. I used Jacobean colored stain, which I wasn't sure of, but as luck would have it, a neighbor who is a professional painter drove by and stopped to check it out. He offered to lacquer it in a satin finish for free!!! and it made a world of difference. I have received several comments on how it looks showroom quality. My wife is very happy. Only problem is she now wants the Farmhouse nightstand and a matching dresser. Looks like I have many more weekends worth of work ahead of me. Wouldn't have it any other way though. Had a blast!

Estimated Cost
$180
Estimated Time Investment
Weekend Project (10-20 Hours)
Finish Used
Min-Wax Jacobean and Satin Lacquer
Recommended Skill Level
Beginner

Scrap wood rustic boat

Submitted by AndyH on Mon, 06/08/2015 - 19:29

Rustic simple looking boats I have made for my Great Nephews

Chalkboard roof to write their names on and hand drawn windows by my step daughter.

I really like the rustic simple look.

Used A grey stain on the main part first. Then three coats of satin white each time sanding back with 400 grit until smooth.

Used a Forstner bit to drill a hole for the mast. I didnt want any screws or nails since it is being handled by a child.

Estimated Cost
$5 scrap wood and sample paints.
Estimated Time Investment
Afternoon Project (3-6 Hours)
Recommended Skill Level
Starter Project

Doll Bunk Beds

Submitted by Anonymous (not verified) on Sun, 12/26/2021 - 15:31

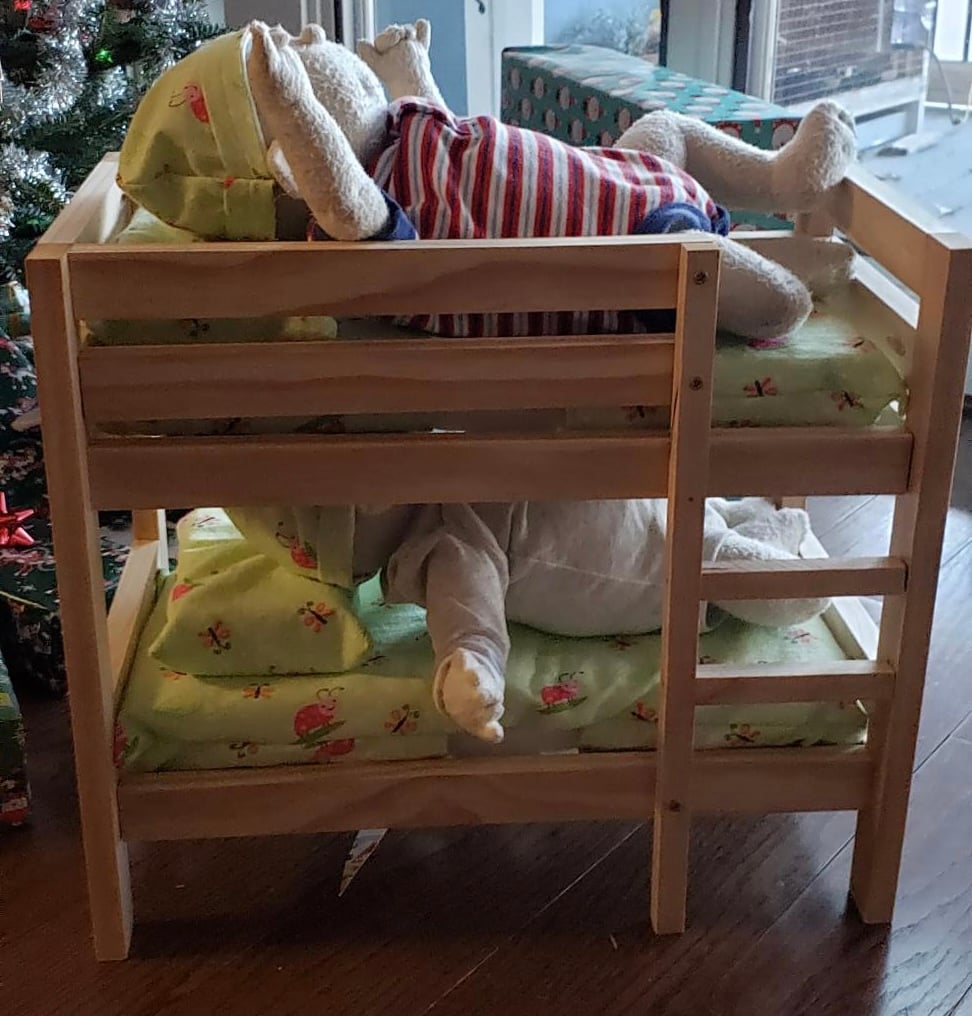
Built this with plans found on site. I left it unfinished to match the furniture in their room. My daughter helped by sewing the mattress and pillow covers. The girls loved it!

Comments

Ledge Lovin'

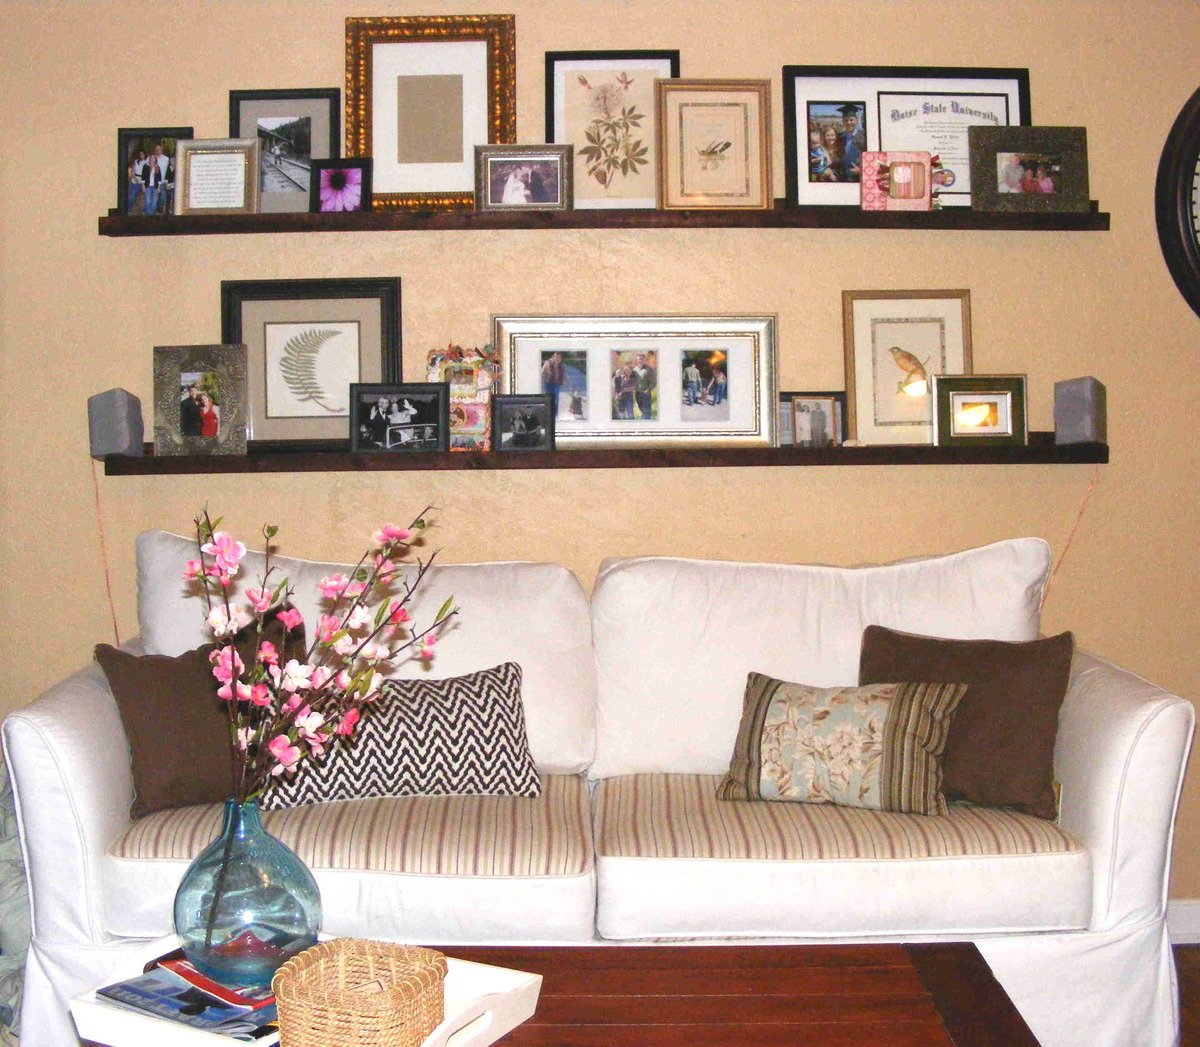
This was my first project from a list of many...so simple, it was perfect for getting started after a long winter's rest.

Thank you Ana for the plan! I really wanted the floating shelves from Pottery Barn, but they were super pricey. I searched out the fancy hardware that PB uses to mount them and it would have cost as much for the mounting hardware alone than to buy them finished from Pottery Barn.

These shelves were an easy solution for the same look, without the hassle of having to build a sleeve to fit over cleats like other more seamless designs.

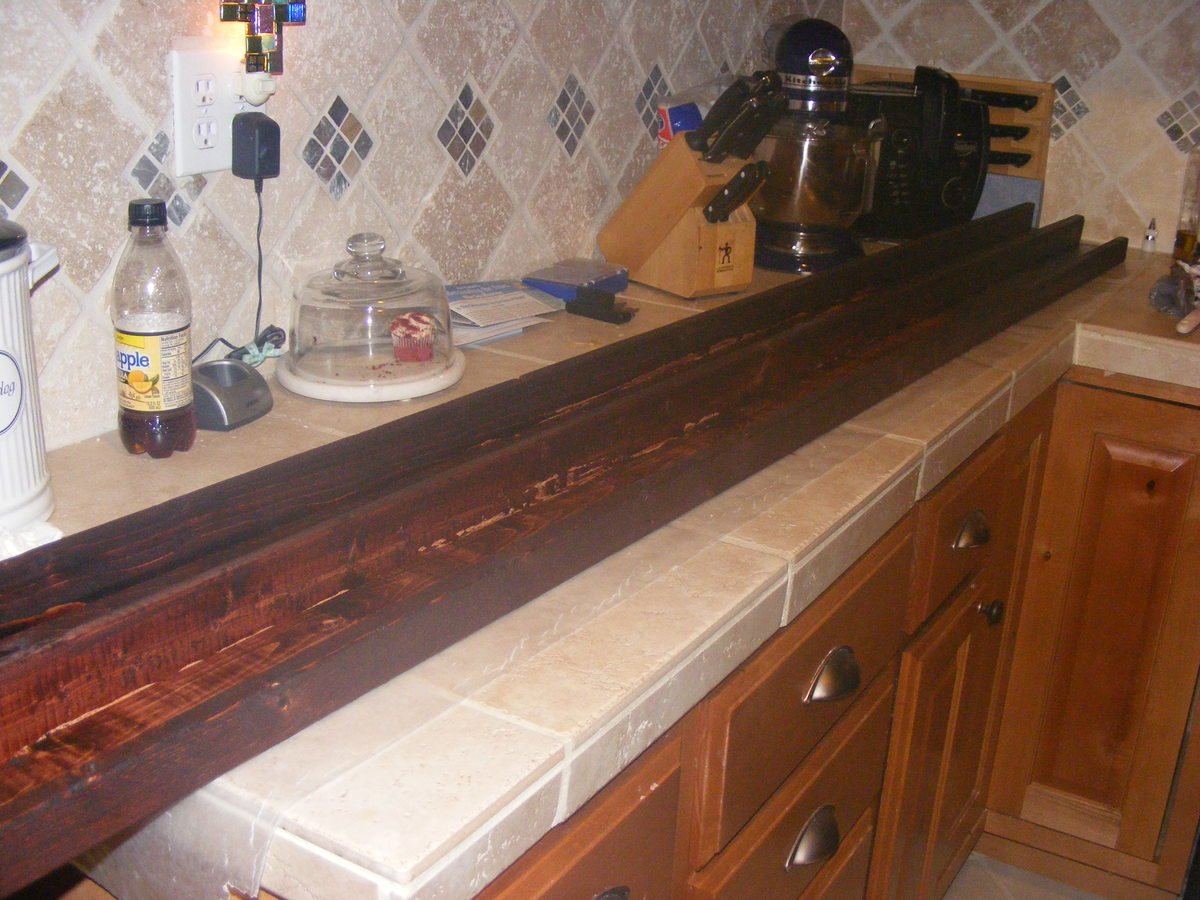
For my ledges, I chose to use 1x3s instead of 1x4s for the rear and base of the ledges. I didn't want them to protrude from the wall as far, nor did I want the rear of the ledges to be as visible (I'm wierded out by the contrast of the thick, dark line behind the pics. I would have chosen 1x2s for the back, but I didn't think it would be sturdy enough and it might be a little trickier to drill. I measured them to be a little smaller than the length of my sofa and they turned out just right. I built them in an hour or two and brought them in and stained them on my kitchen counter ( placed waxed paper underneath). It was February and too cold to do outside.

The best advice I have is to be really choosy about the lumber you buy. The "top choice," as they call it, should be renamed "crappiest choice." I guess that's what you get for cheap pine, right!

It fit just right for my budget and it was worth sifting through to make sure I wasn't getting a piece that was warped or twisted. I live in an old house and I'm sure the walls aren't exactly even (as you can see in the pic, the floor even slants a little to the right) but one of my ledges is not fully flush against the wall on one side because the board bows out a little (or maybe my wall bows in?).

Whatever. I'm thrilled with the look and love how I can display so many pics at one time. I'm thinking I want to put at least 4 pictures in each frame, and rotate them out seasonally. That way my display will go with the season. Yep, I'm a genius like that, hehe.

Built from Plan(s)
Estimated Cost
$15 w/ stain
Estimated Time Investment
An Hour or Two (0-2 Hours)
Finish Used
Red Mahogany stain from Minwax.
Recommended Skill Level
Starter Project

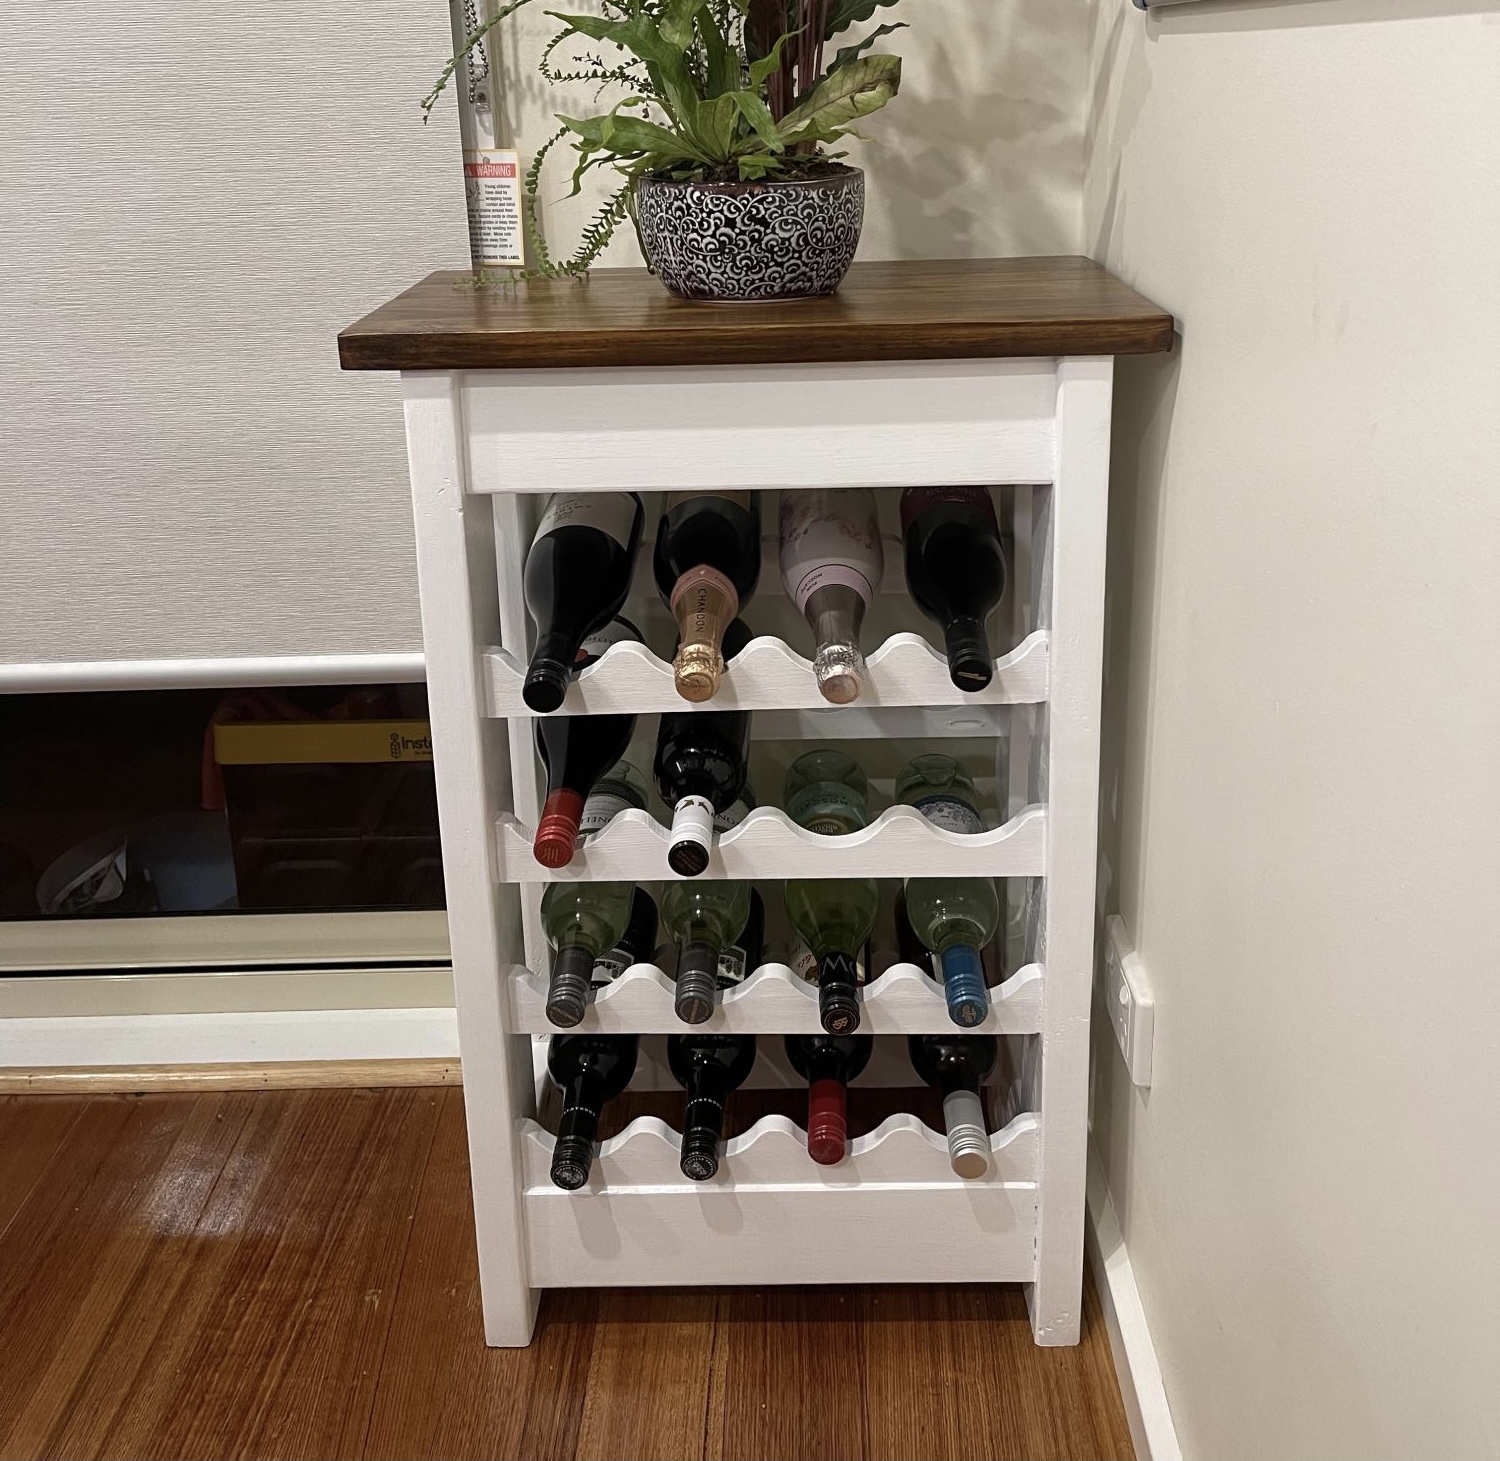
Mr ricky chur

Submitted by Anonymous (not verified) on Sun, 12/26/2021 - 18:38

This wine rack project was built during 5th lockdown in Melbourne Victoria, Australia. Timber size is 35mm by 90mm. Table top is treated pine.

Comments

Backpack Locker

Submitted by Ambesi on Tue, 05/03/2011 - 10:31

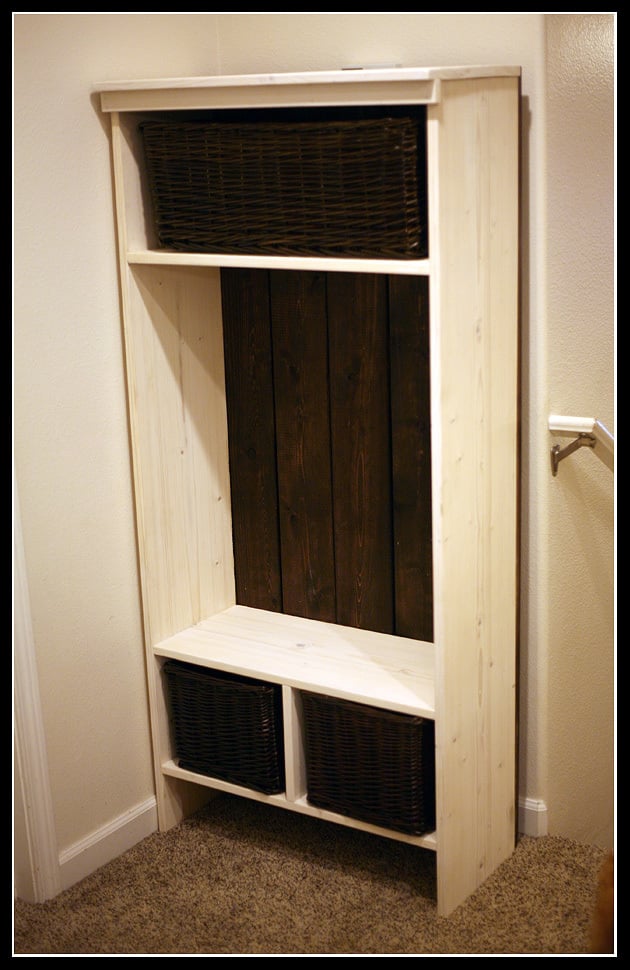
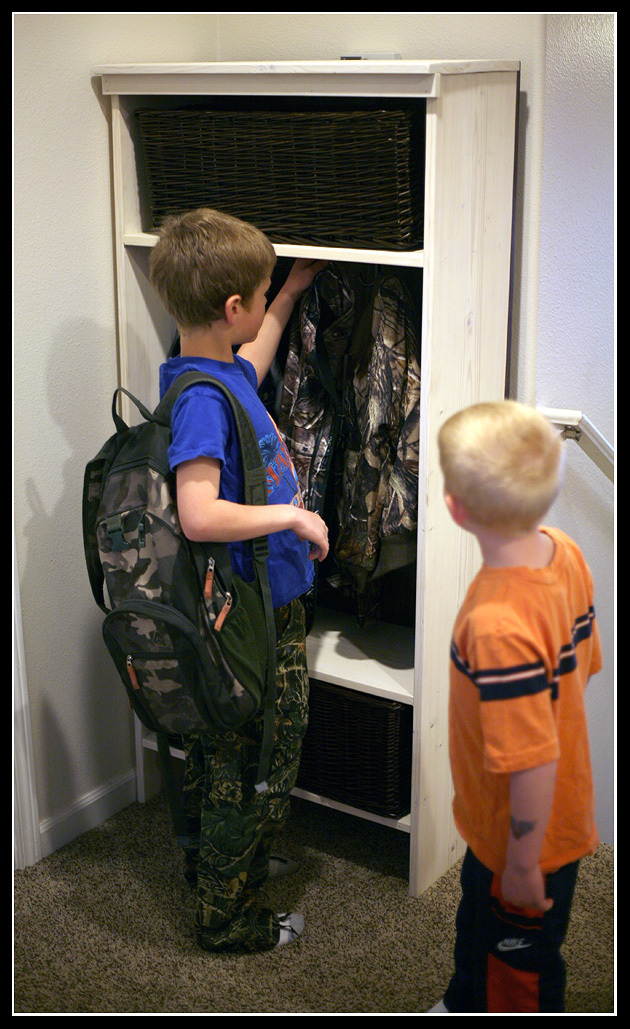
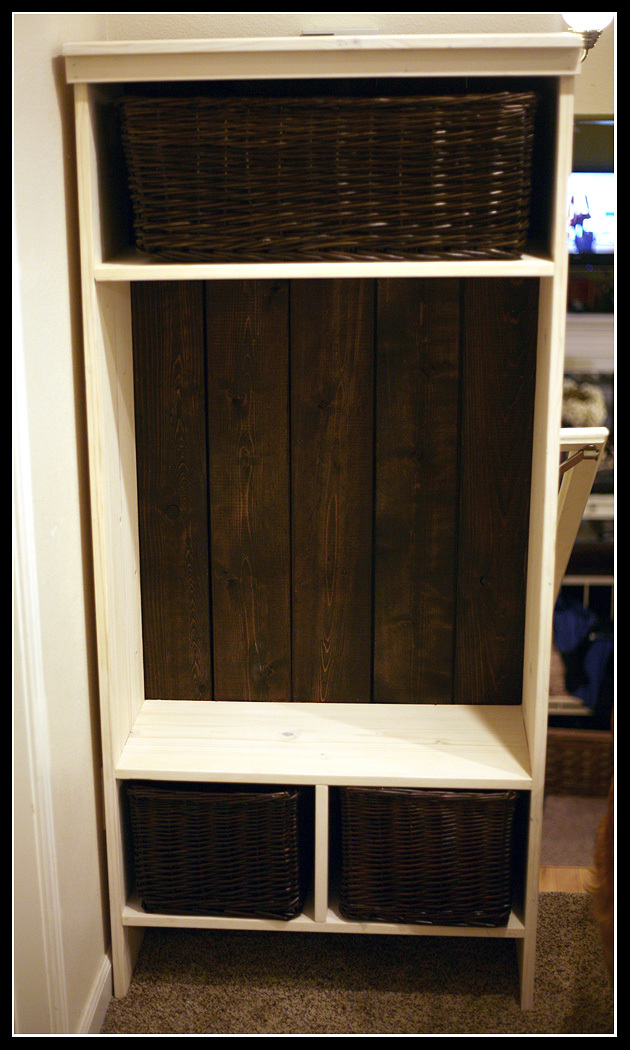
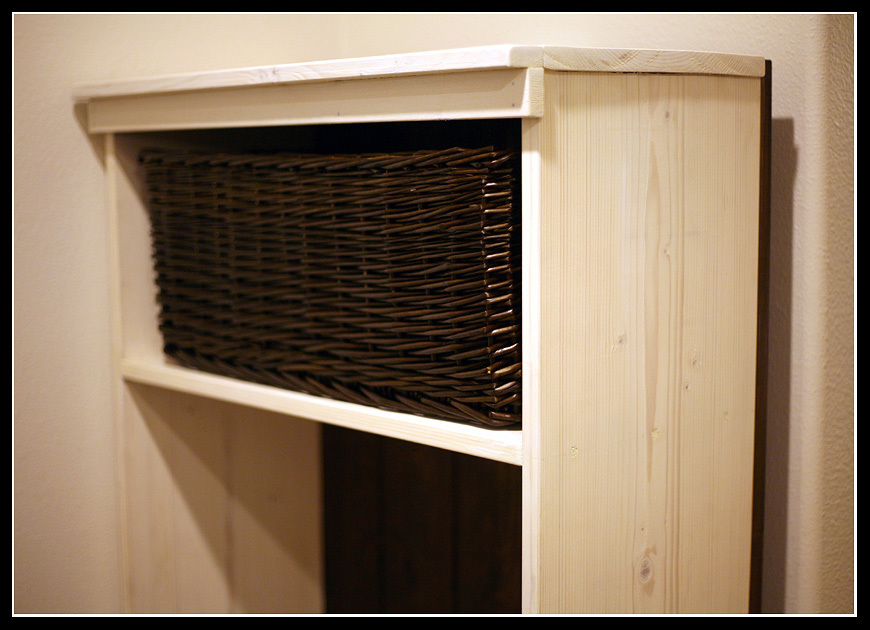
I made this using the single locker plans and modifying them for the size I needed to fit the landing wall at the top of my stairs. I created this for my boys' backpacks and jackets. I used pine for the sides and shelves and I used some cedar planks that I already had for the back.
I used a white stain for the sides and shelves and stained the cedar back darker to match the dark baskets I found.
I love how this turned out, and I love how easy it was to make!

Built from Plan(s)
Estimated Cost
$90
Estimated Time Investment
Afternoon Project (3-6 Hours)
Finish Used
white wash stain and jamocha stain
Recommended Skill Level
Beginner

Wedding Presents

Submitted by aceranic on Fri, 06/19/2015 - 08:33

Built these two chairs for a coworker who got married last weekend. I had inherited a wood burning tool from my late grandfather and engraved their last name into each of the arm rests. “Her” chair is written in cursive font and “His” chair is written in old English font. I made some minor modifications on the chair to get everything lined up perfectly. I love these chairs and can't wait to make another set for someone else!

Built from Plan(s)
Estimated Cost
When I went to Menards I ended up getting material for three chairs including stain, screws and sandpaper for about $60. I would estimate cost to be around $45 for the two chairs.
Estimated Time Investment
Weekend Project (10-20 Hours)
Recommended Skill Level
Beginner

Front Facing Bookrack

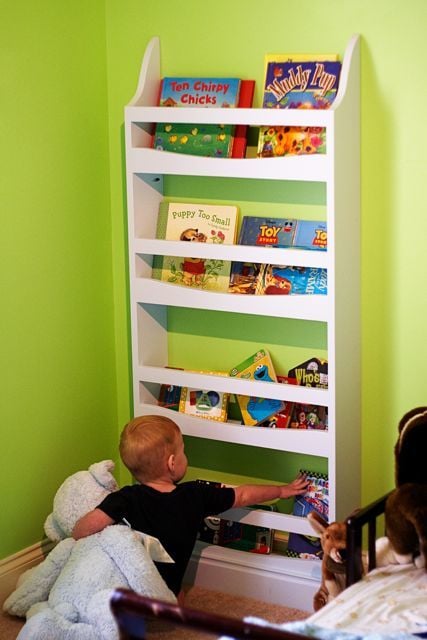
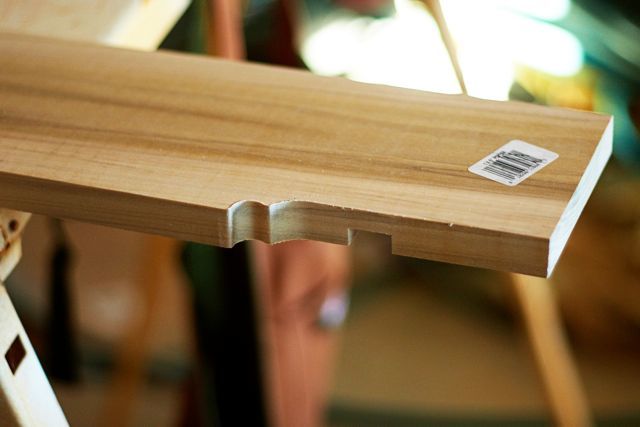
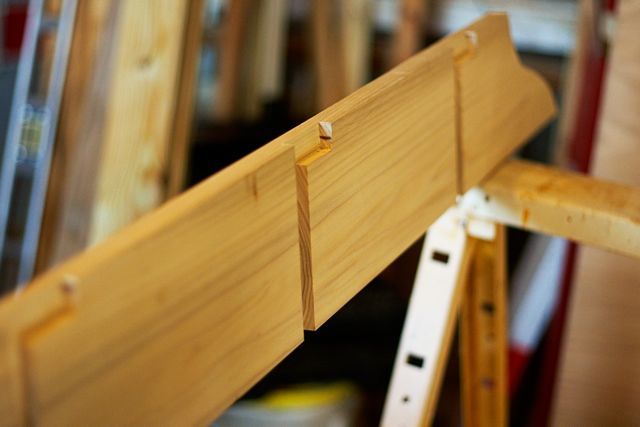
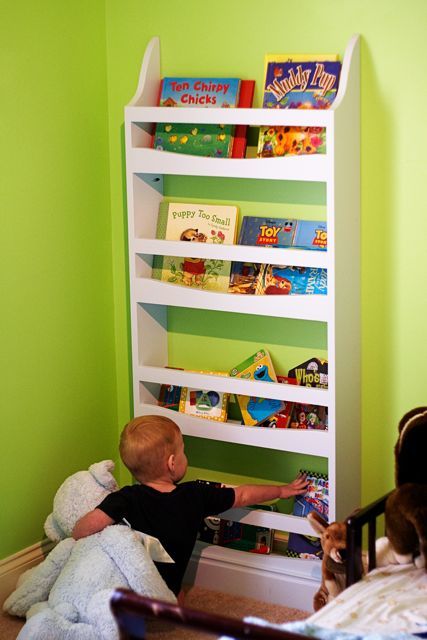
My Husband built this rack using Ana's plans and made a few changes to put his own spin on it. Love this site, great way to get inspired and gain the confidence to actually START projects. She breaks things down in such a simple and easy to understand way.

Built from Plan(s)
Estimated Cost
$35
Estimated Time Investment
Weekend Project (10-20 Hours)
Finish Used
Paint.
Recommended Skill Level
Starter Project

First Project

Submitted by deannac51 on Tue, 07/02/2013 - 19:18

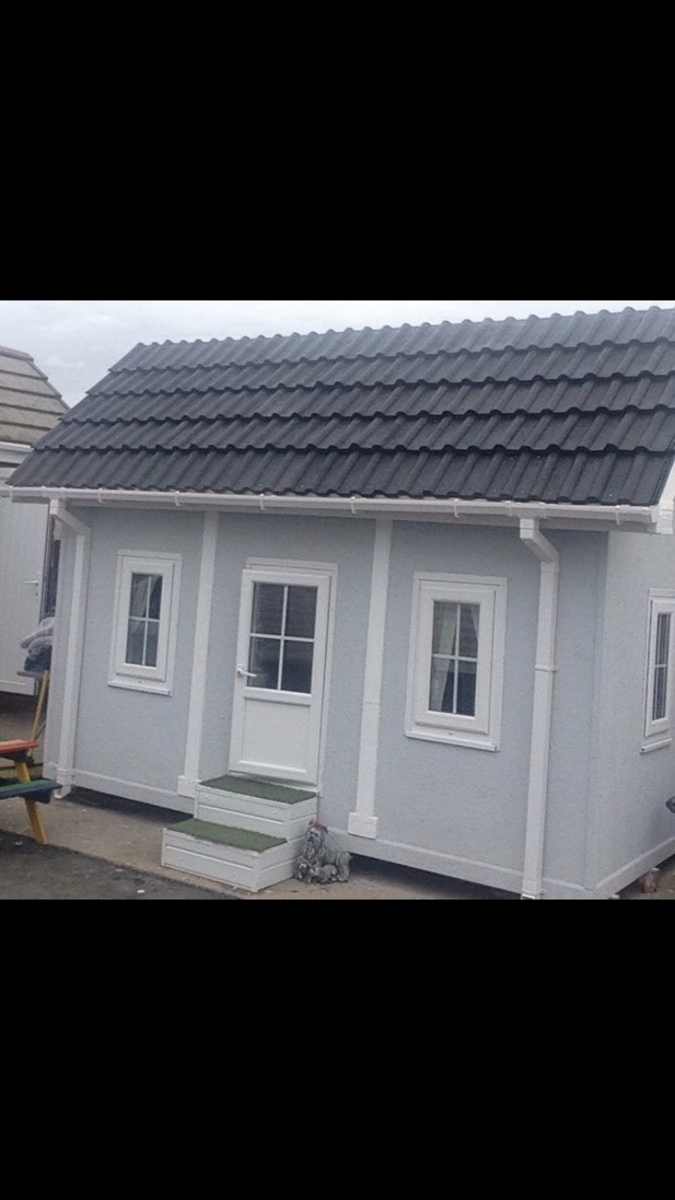
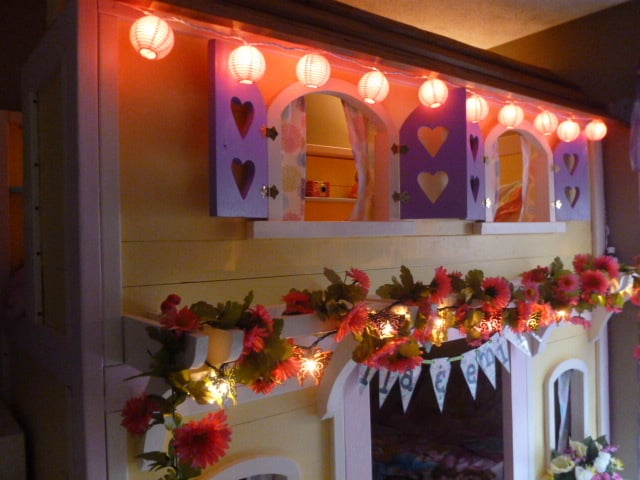
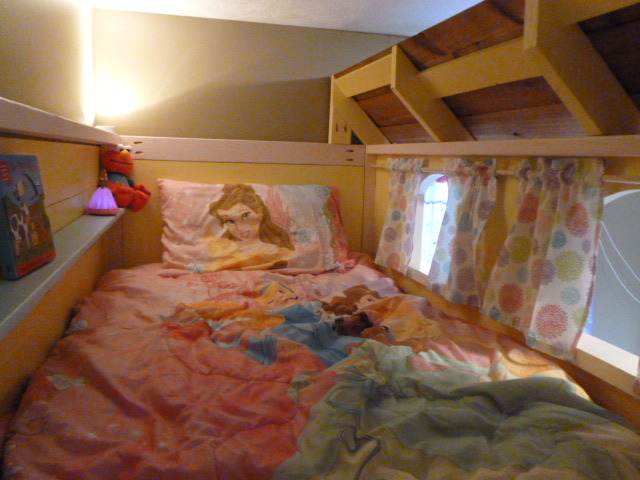
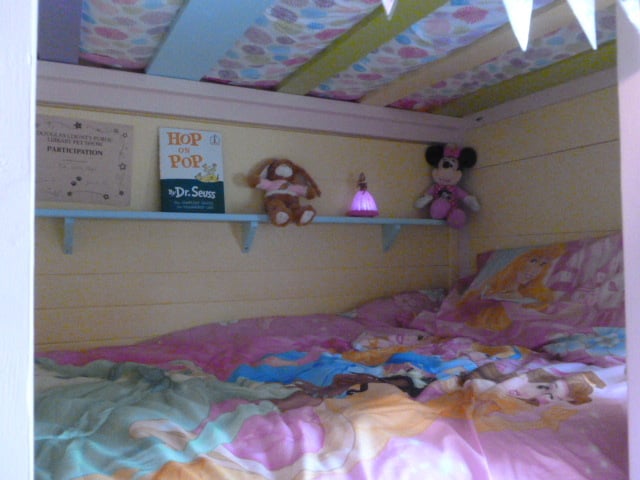
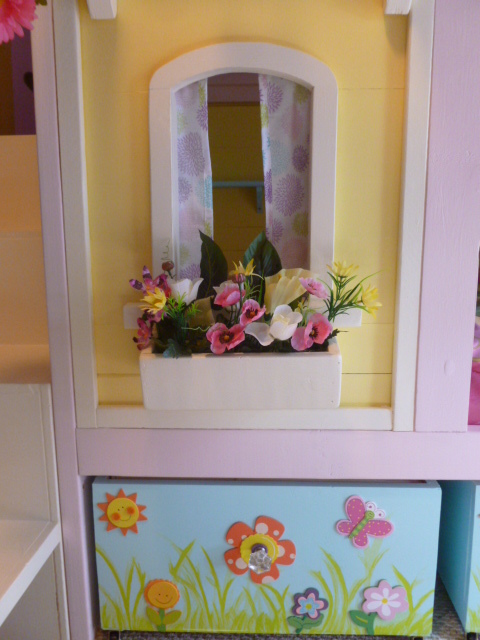
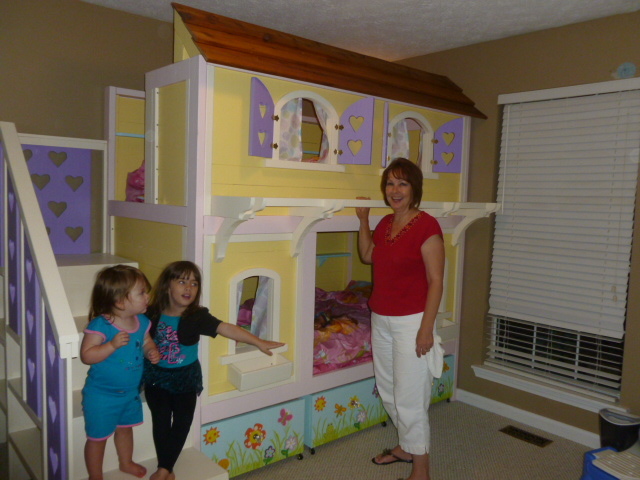
This was my first ever project. Prior to this, I had used a hammer and drill, so I learned ALOT here. Thank you so much, Jenny for your wonderful detailed plans. You are just awesome. I'm convinced that if this had been designed by a man and the instructions detailed by a man, I would have never been able to do this for my granddaughters. My husband helped with the painting and whenever I needed extra hands and muscles, and I didn't do anything on moving day. The whole family pitched in to move it to their house and set it up. My oldest son helped me with the roof rafters, since I had a bit of a problem figuring those out, but other than that, I managed quite nicely with such wonderful instructions. I learned how to use all the necessary power tools, too! I changed the width of the stairs to 24 inches, rounded off the shelves, and added lights for reading, which can be regulated with a timer we purchased. Ella and Emily are very excited and absolutely love their room, now.

It was fun to challenge myself with this project. Again, thank you Jenny, and thanks Ana for your wonderful website and inspirations! You can see more uploaded pictures on my facebook page (I sited Ana's web page and Jenny's for appropriate credit). Just look me up (Deanna Carter in Georgia USA) on facebook and send me a friend request.
Built from Plan(s)
Estimated Cost
Approximately $500.00
Estimated Time Investment
Week Long Project (20 Hours or More)
Finish Used
Paint
Recommended Skill Level
Beginner

Comments

birdsandsoap

Sat, 07/06/2013 - 09:30

Deanna, it turned out so amazing! I can't believe this was your first project. I am so impressed.
The color scheme is great. What is your next project?

deannac51

Sun, 07/07/2013 - 17:37

Thank you all. Jenny, I told everyone it was because you said I could do it. A little bit of encouragement goes a long way. Hmmmm. Next Project? I would love to do so many things that I see on both web sites, but I imagine I will have to do at least 2 more bunk bed sets, since we have grandsons, Noah and Elijah who will be old enough for a set in a little while, and another grandson (Samuel) who will need a loft bed in a few years. I think I may use the same basic plan, but modify it to create a medival castle for the loft bed and a saloon bed for Noah and Elijah. Our oldest son is excited about Noah and Elijah's bed so he has already sketched the saloon bed and wants to do the building on that, but I hope I get to help. I REALLY enjoy this kind of work. Thanks again for offering your plan and inspiration.

In reply to by deannac51

birdsandsoap

Fri, 07/19/2013 - 00:56

I'm so glad you have fallen in love with building! ...and now the project list just keeps on growing. I look forward to seeing your projects. There have been a few boy style versions of this bed that are awesome. I am currently pregnant and we recently found out we're having a boy; I just know a cowboy bed will be in my future! For some reason, beds seem to be a constant on my project list!

deannac51

Sat, 07/20/2013 - 11:17

Now, THAT is exciting news! Congratulations on your new adventure of becoming a mommy to a son. Our children and grandchildren are our best projects! It is the most difficult one but most rewarding, though. Enjoy every minute. The time passes so quickly.

deannac51

Sun, 08/11/2013 - 20:25

I don't know off hand what specific yellow it is, because my daughter has it at her house. She is using the same paints to color coordinate an accessory item for their room. I will try to get the name of it this week. OK?

Erin Ens

Sat, 09/28/2013 - 11:22

Deanna, this is gorgeous! I showed my husband Jenny's plans & I think we'll be giving it a go for our girls in a few months (when our youngest is ready to transition out of the crib). Your style and paint choices are spot on to what I'd like to do. I searched for you on Facebook to see more photos but couldn't find ya! Maybe you can add me if you're still a member? My name is Erin Ens (California).

Rachael8

Mon, 03/17/2014 - 11:21

This is so gorgeous! I love the yellow! Do you happen to have the PDF copy of the instructions? I cannot open the one provided on the main page? If you could email them to me I would greatly appreciate it!! [email protected]

Rachael8

Mon, 03/17/2014 - 11:21

This is so gorgeous! I love the yellow! Do you happen to have the PDF copy of the instructions? I cannot open the one provided on the main page? If you could email them to me I would greatly appreciate it!! [email protected]

Modified Bristrol Lounge Chair

Submitted by aceranic on Tue, 06/23/2015 - 08:04

Here is a modified version of the Bristol Lounge Chair. It is more narrow than the original about 4-6 inches shorter and off the width. I actually made an error while attempting to attach the back slats and ended up creating the two verticle slats instead which I kind of like :-)

Estimated Cost
eh $40 maybe
Estimated Time Investment
Afternoon Project (3-6 Hours)
Finish Used
none yet
Recommended Skill Level
Beginner

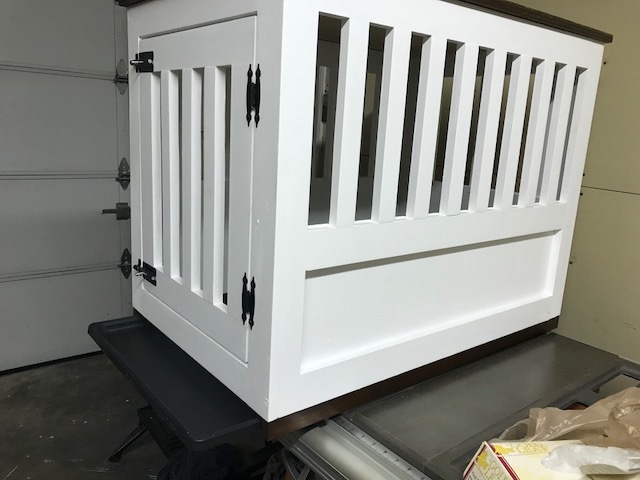
First Build-Dog Kennel

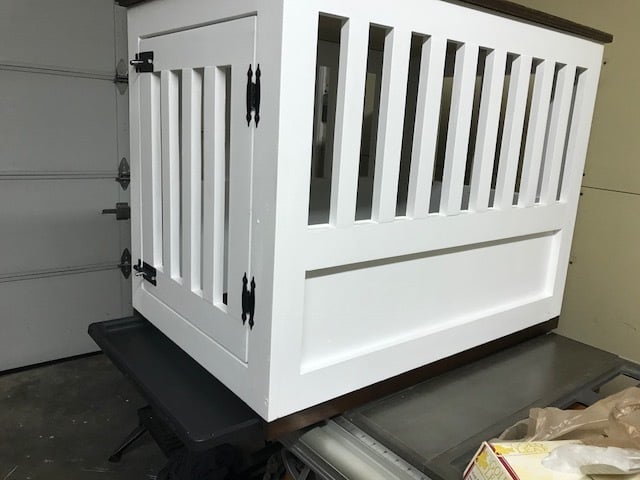
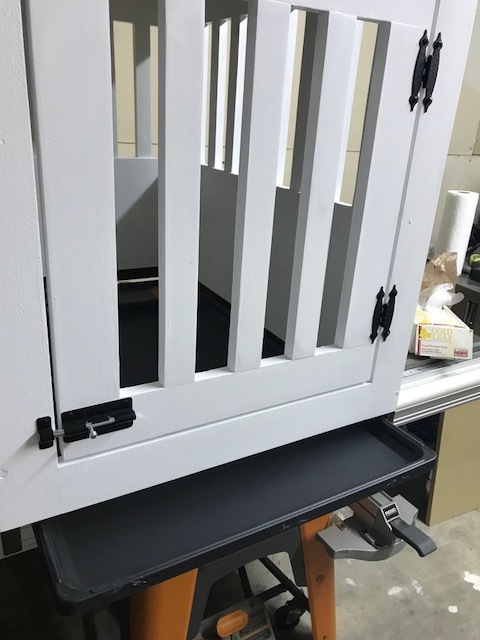
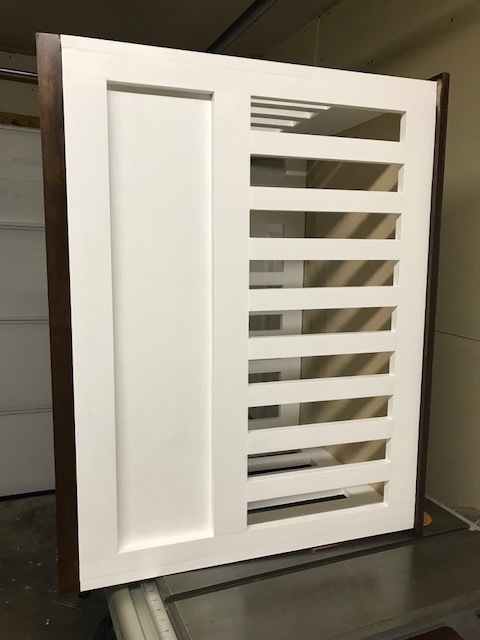
Made the kennel following the Large Wood Pet Kennel End Table plans as a gift for my mother in law, put a 1x2 rim at bottom cut to 1 1/4" to allow for a pan/liner to be slid in and out as needed. Mother in law was surprized and Extremely pleased.


Built from Plan(s)
Estimated Time Investment
Weekend Project (10-20 Hours)
Finish Used
Top and Trim mahogany gel stain, Frame white paint
Recommended Skill Level
Intermediate

Christmas tree build

Submitted by Anonymous (not verified) on Tue, 12/28/2021 - 05:11

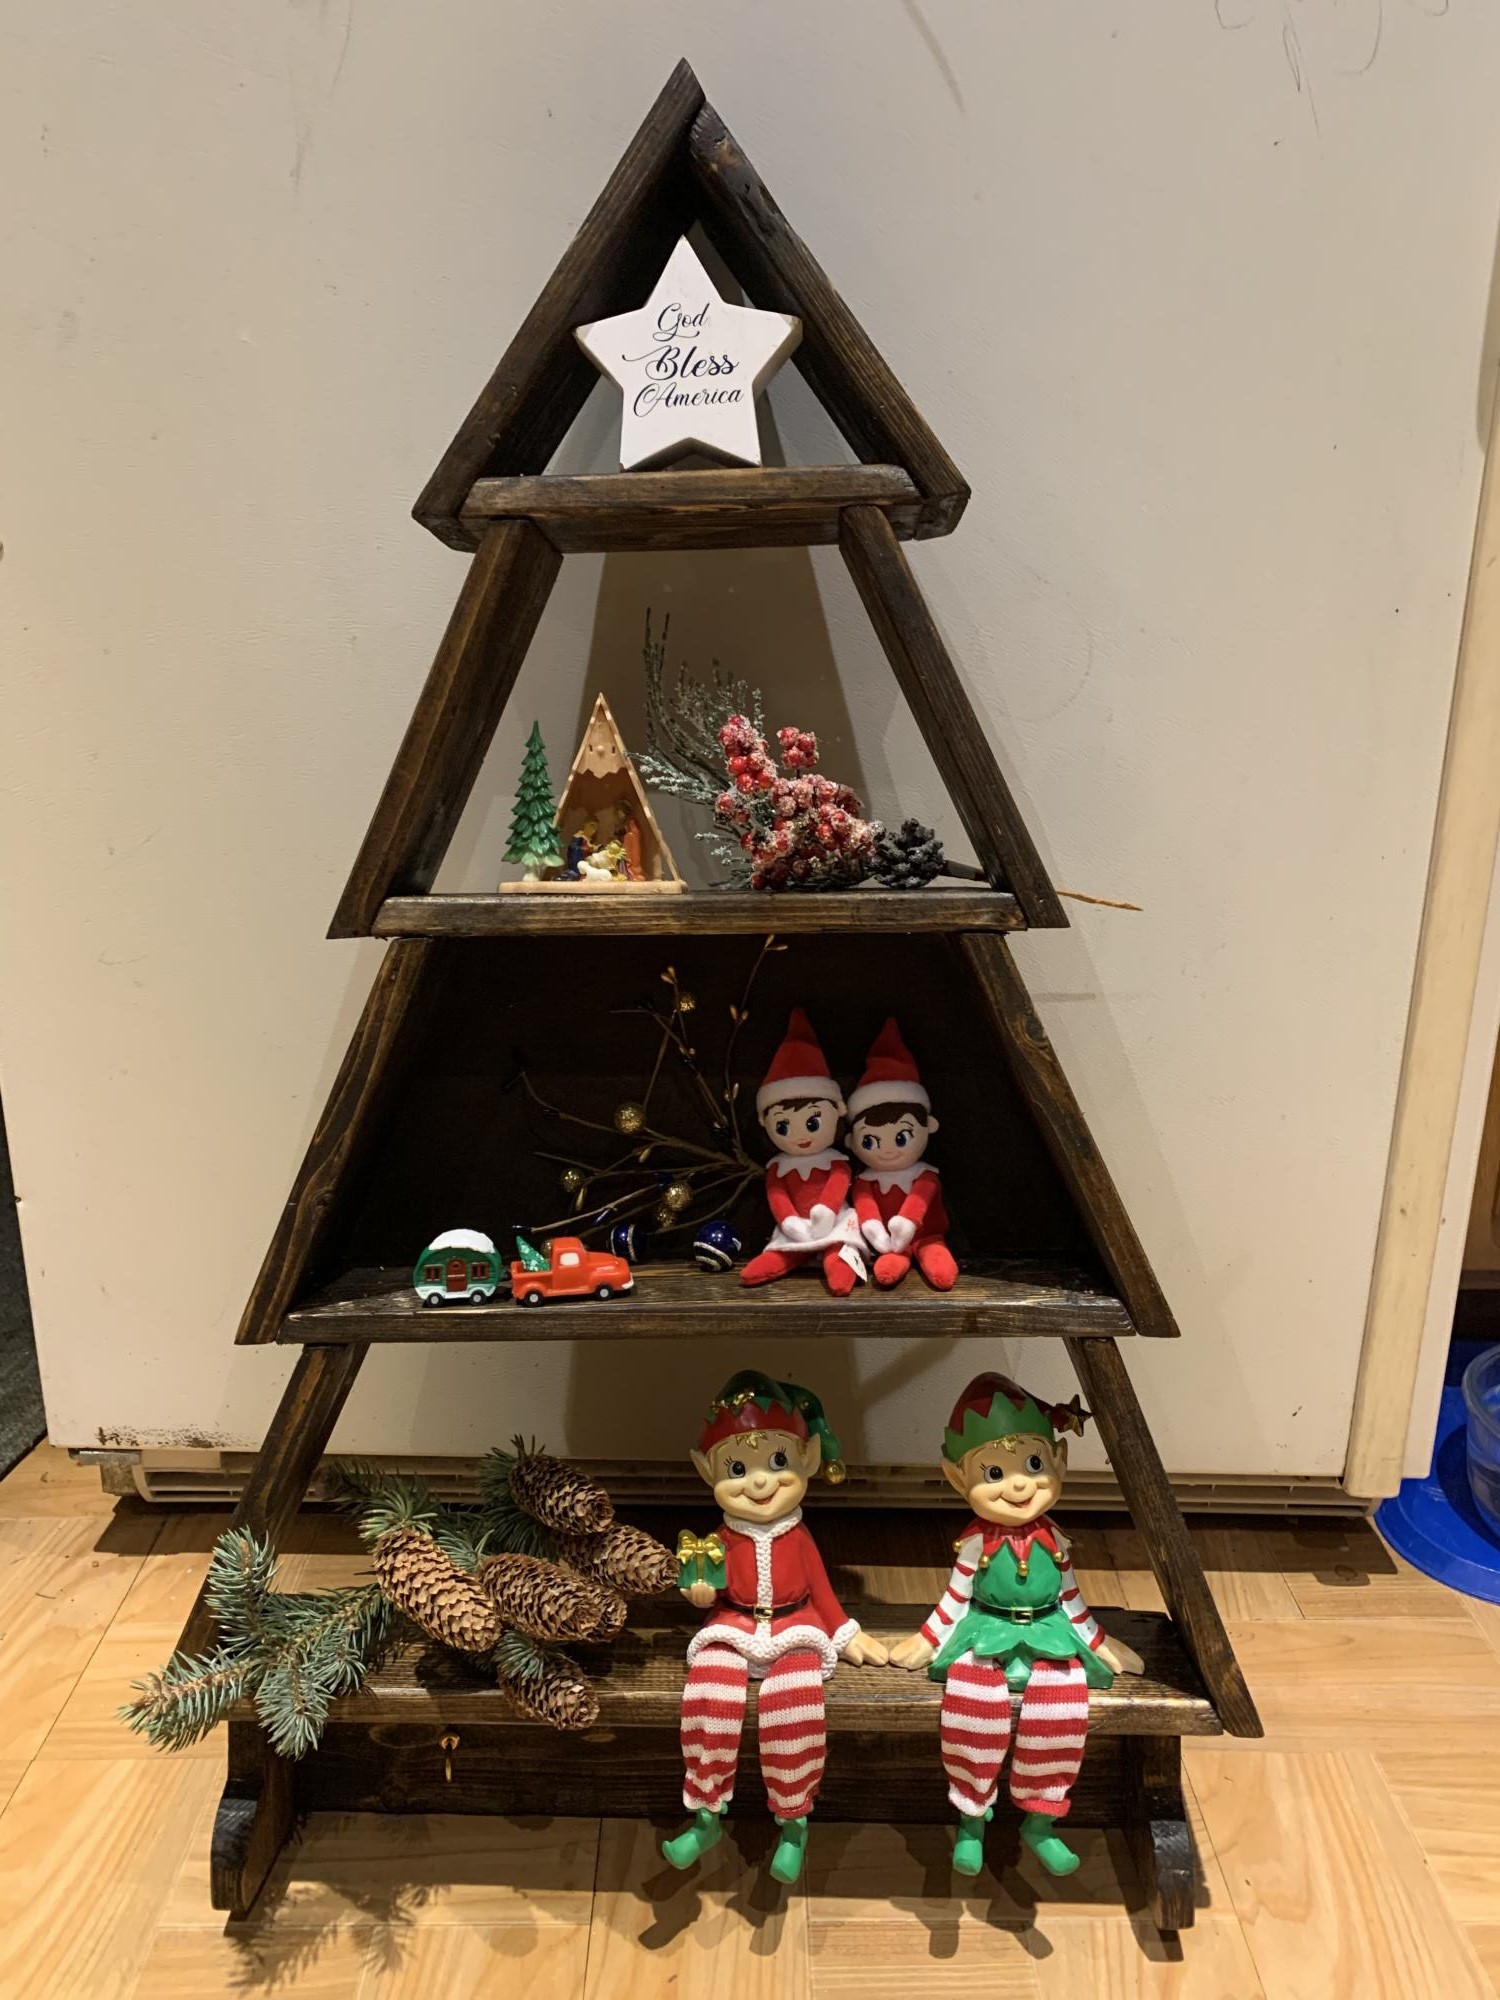
Made the Christmas tree build from your plans . Made it for a Christmas present.

Comments

Outdoor Sectional

Submitted by Jehaws on Fri, 06/26/2015 - 19:05

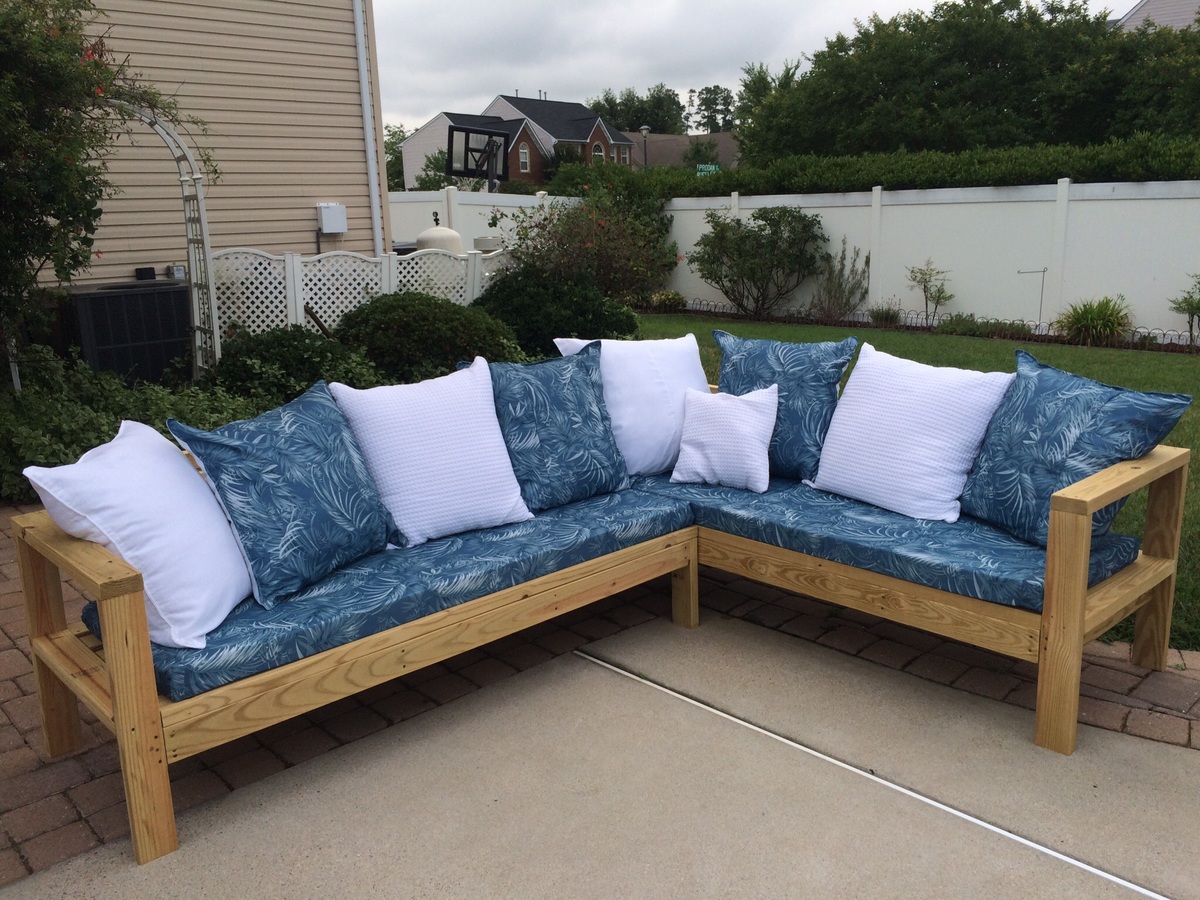
I made the cushions and pillows myself using shower curtains as a cheap and water-resistant fabric alternative. I also ordered the foam and pillow forms on-line. This was a great Father's Day project completed with help from my son and husband. Great plans!

Estimated Cost
$300.00
Estimated Time Investment
Weekend Project (10-20 Hours)
Recommended Skill Level
Beginner

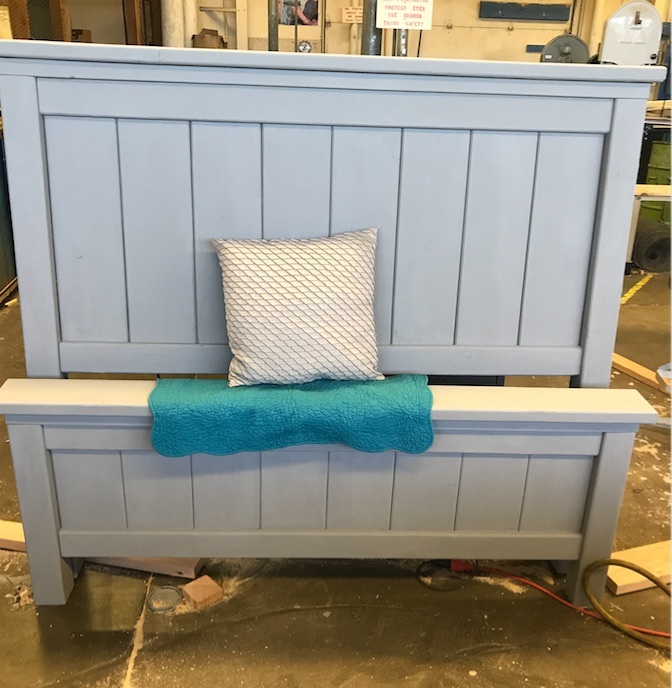
Farmhouse Queen Bed

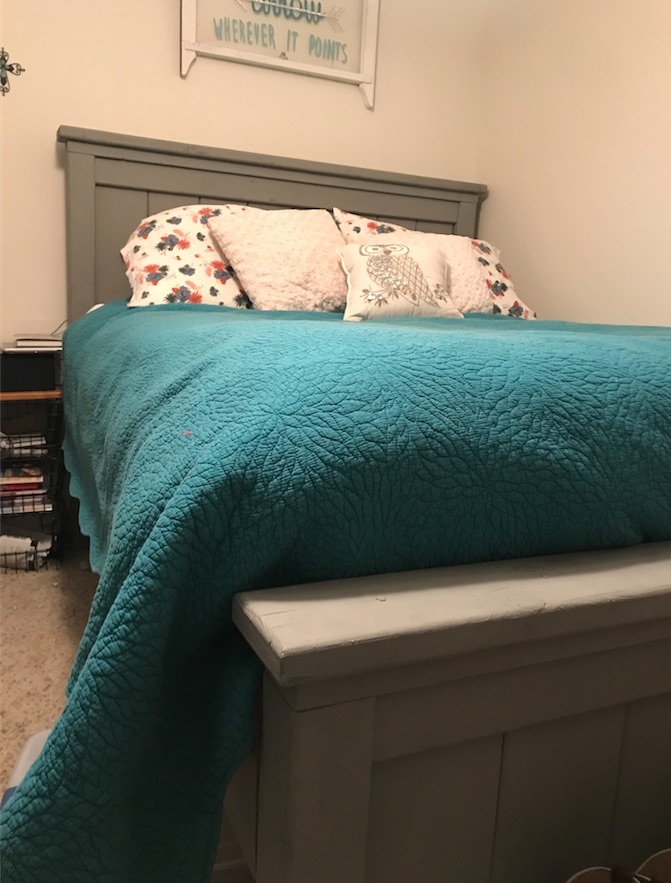
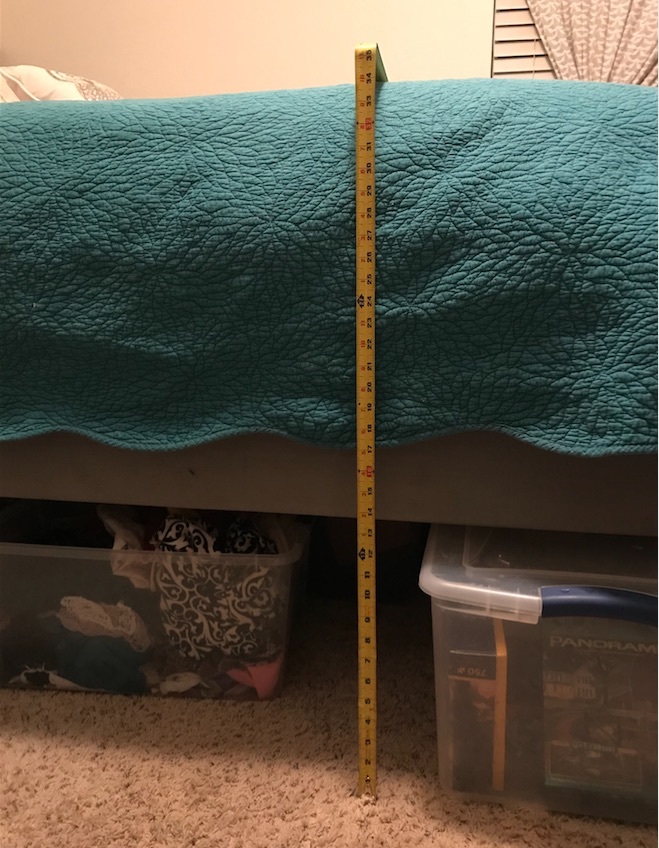
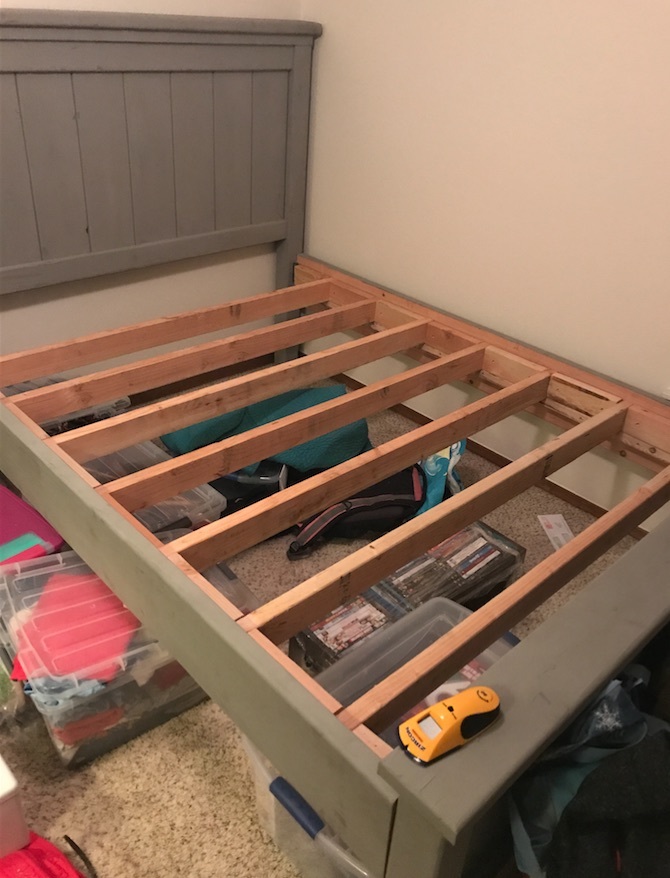
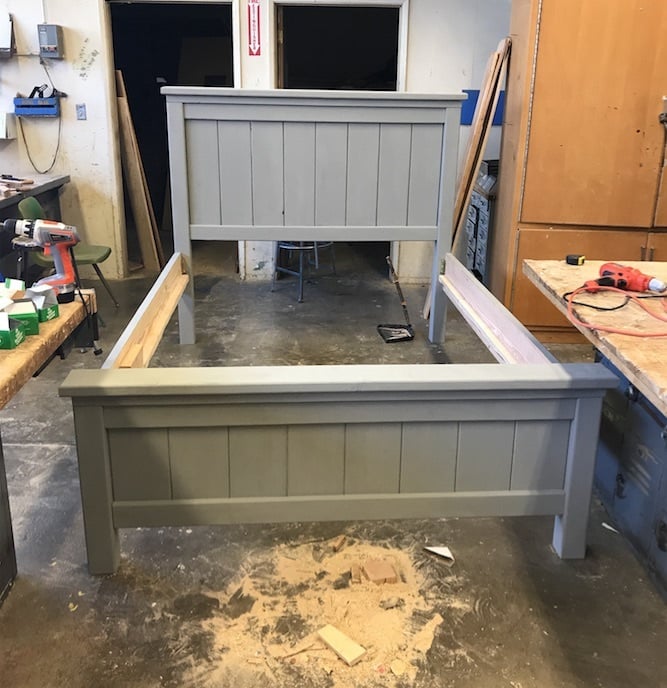
I came across the Farmhouse Bed Project and knew immediately I wanted to make this bed.  I ran into a bit of a snag though when I realized I needed at least 12 inches of clearance for my storage totes.  With some fixed math and a whole lot of “go with the flow” I changed the plans to fit my needs.  I definitely went over kill on the mattress support system, but I know this bed will last me forever with the sturdiness of how it was built. 

Built from Plan(s)
Estimated Cost
$300
Estimated Time Investment
Week Long Project (20 Hours or More)
Finish Used
Chalk Paint
Recommended Skill Level
Beginner

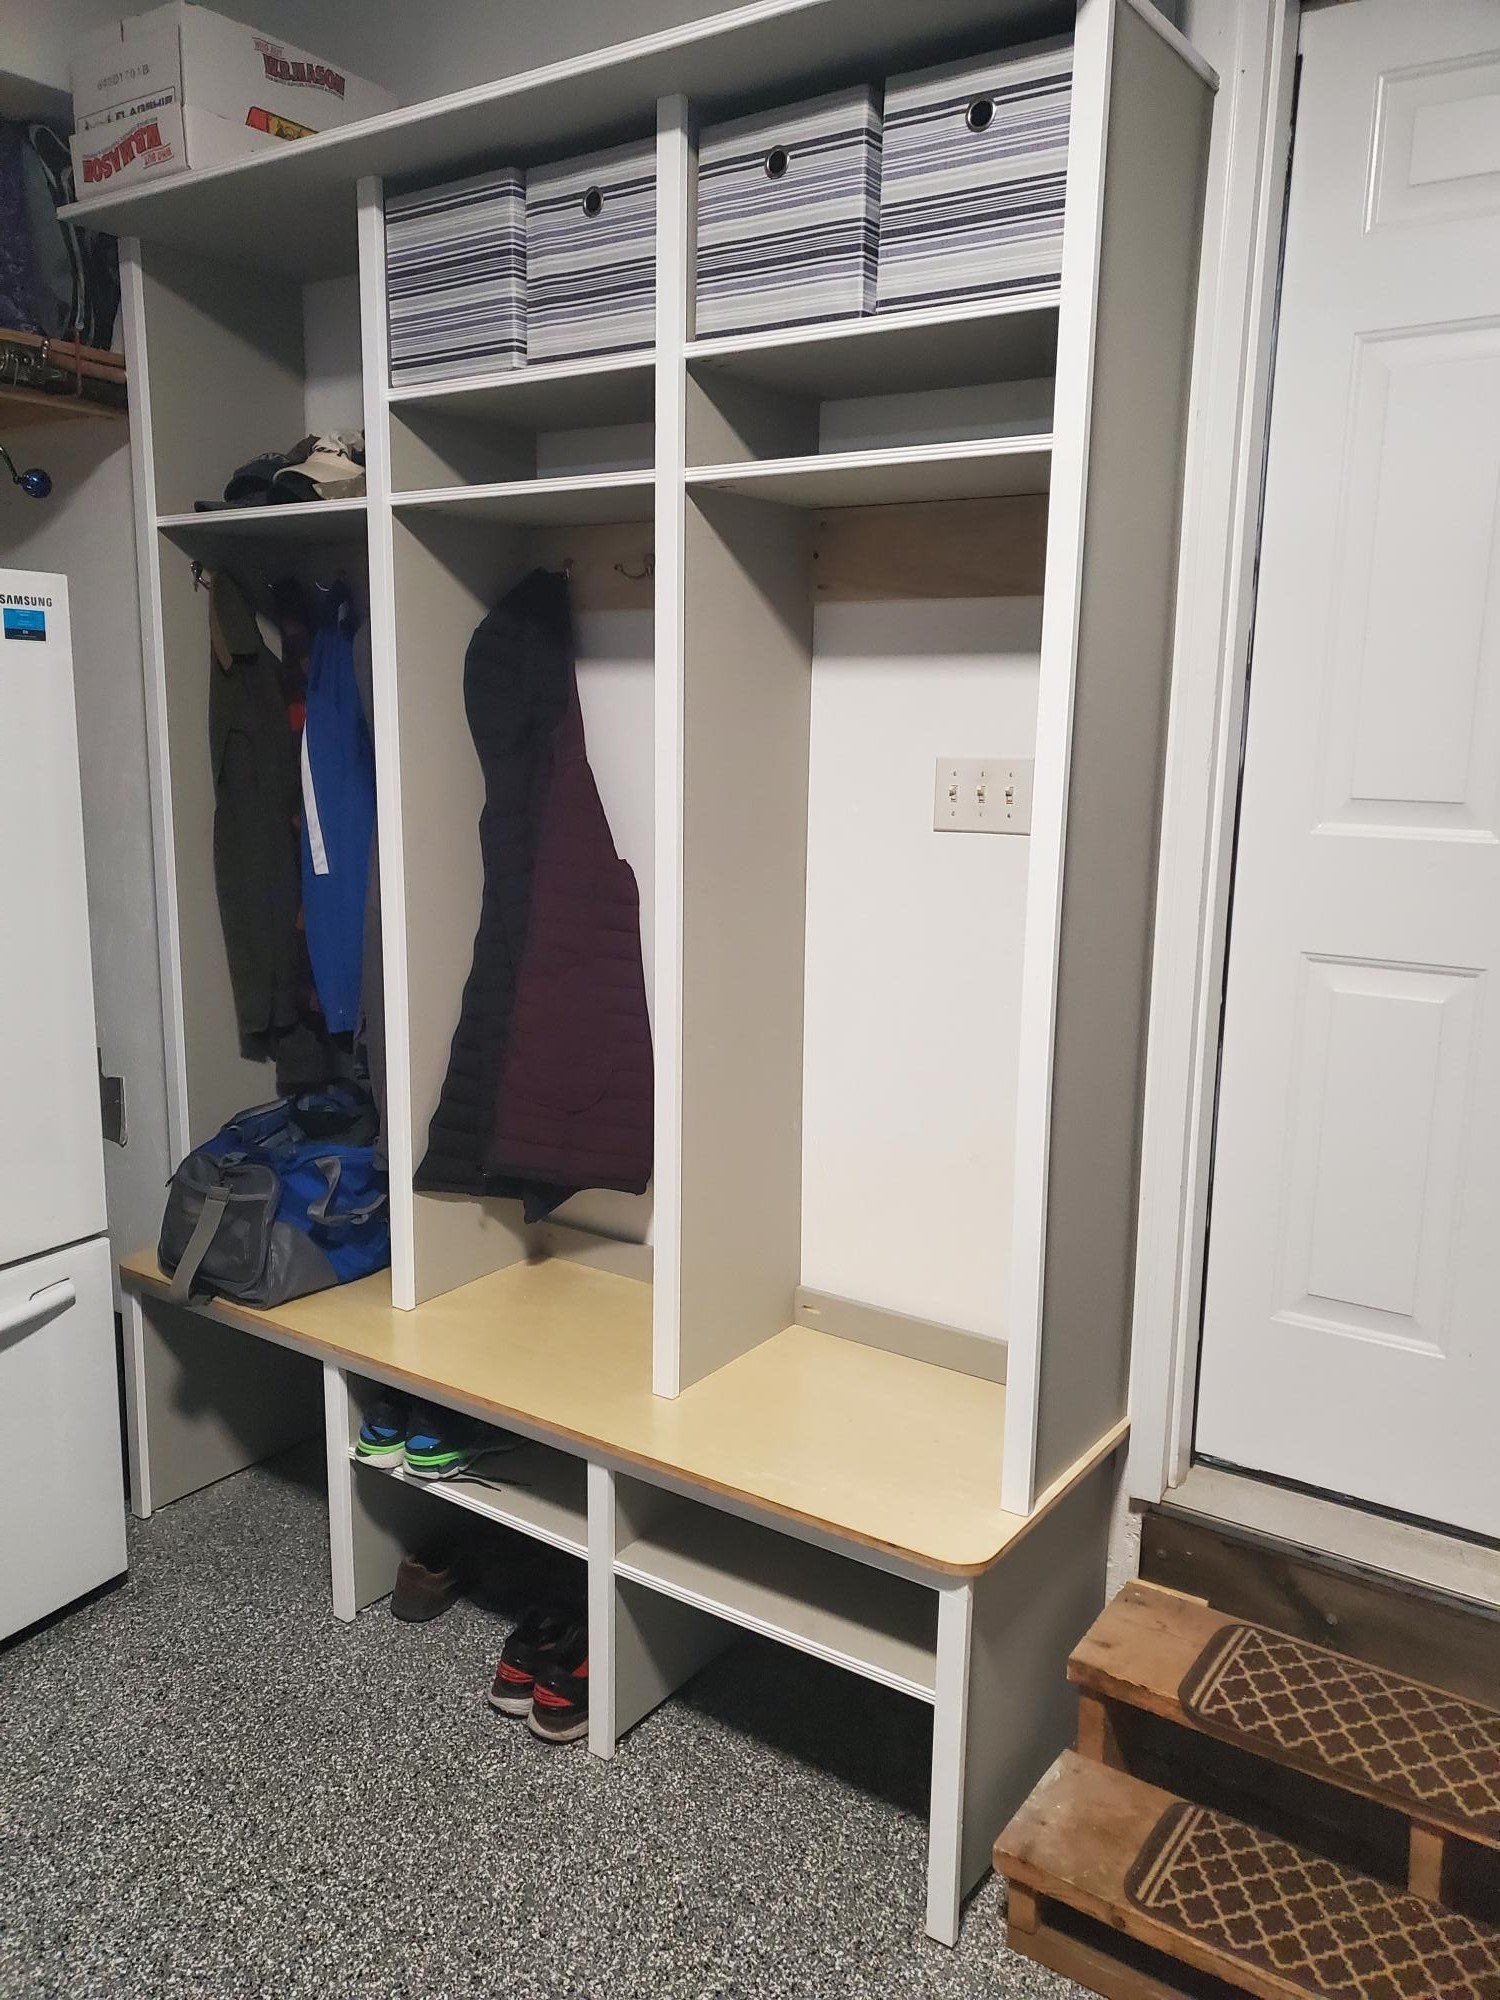
Mudroom/garage storage

Submitted by Anonymous (not verified) on Fri, 12/31/2021 - 07:39

Thanks for the inspiration to add great storage to my garage.
Just downsized into a much smaller house after 20 years and I lost my mudroom area.
This mudroom/garage locker bench and hutch is a great looking unit!
Looking forward to seeing more on your site.
Thank you!
Mike

Comments