Community Brag Posts

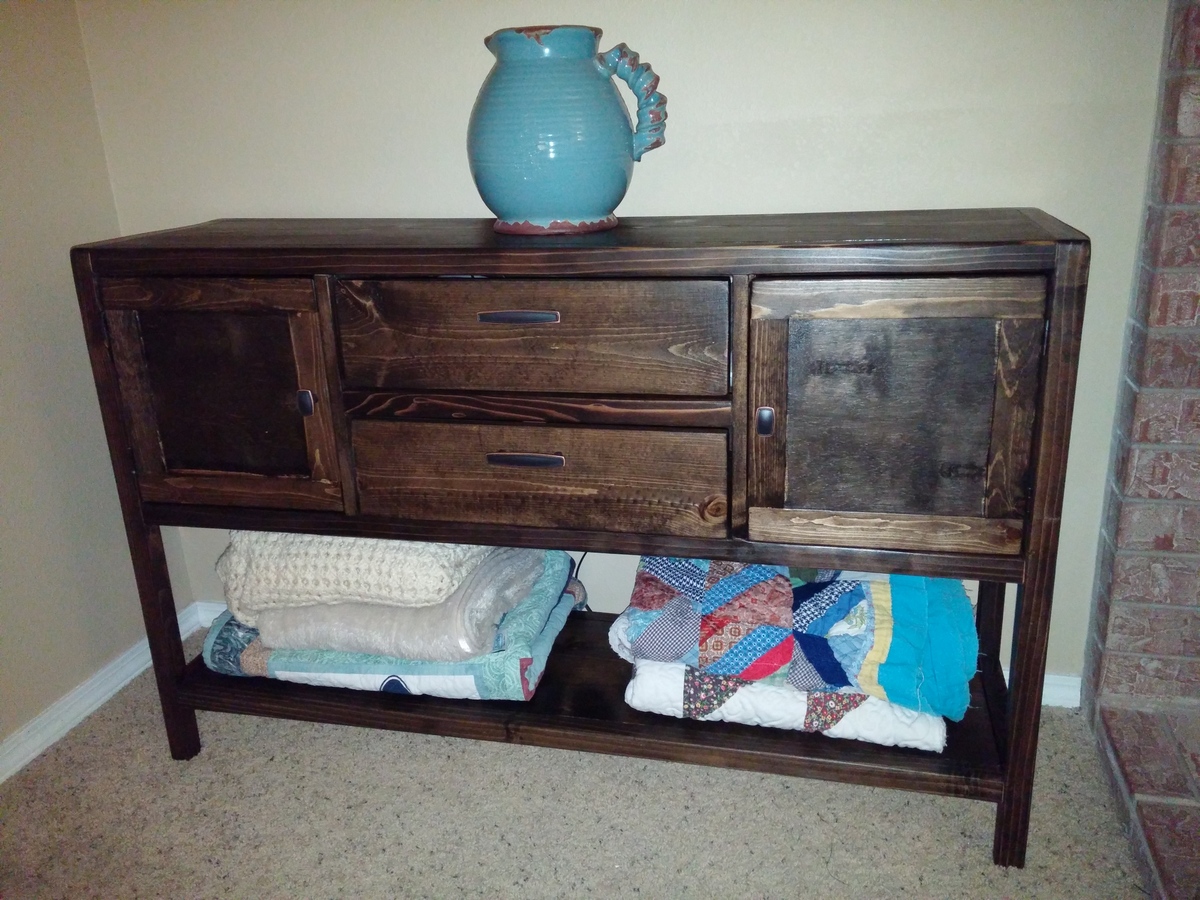
Country Entertainment Center

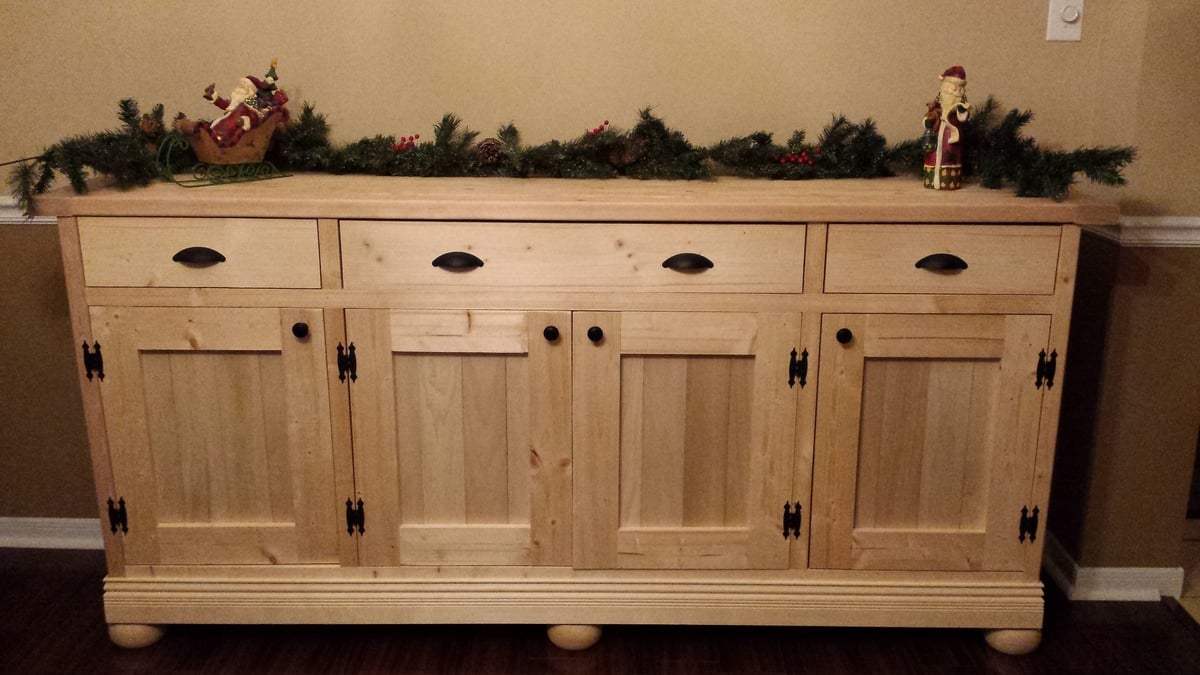
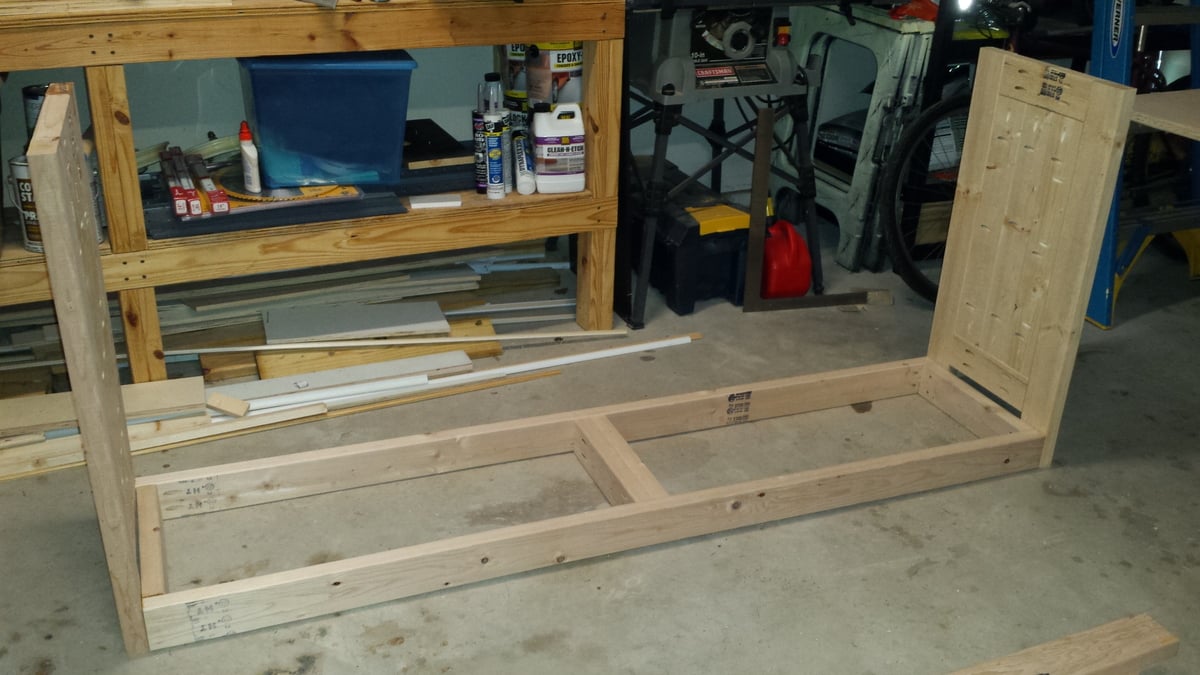
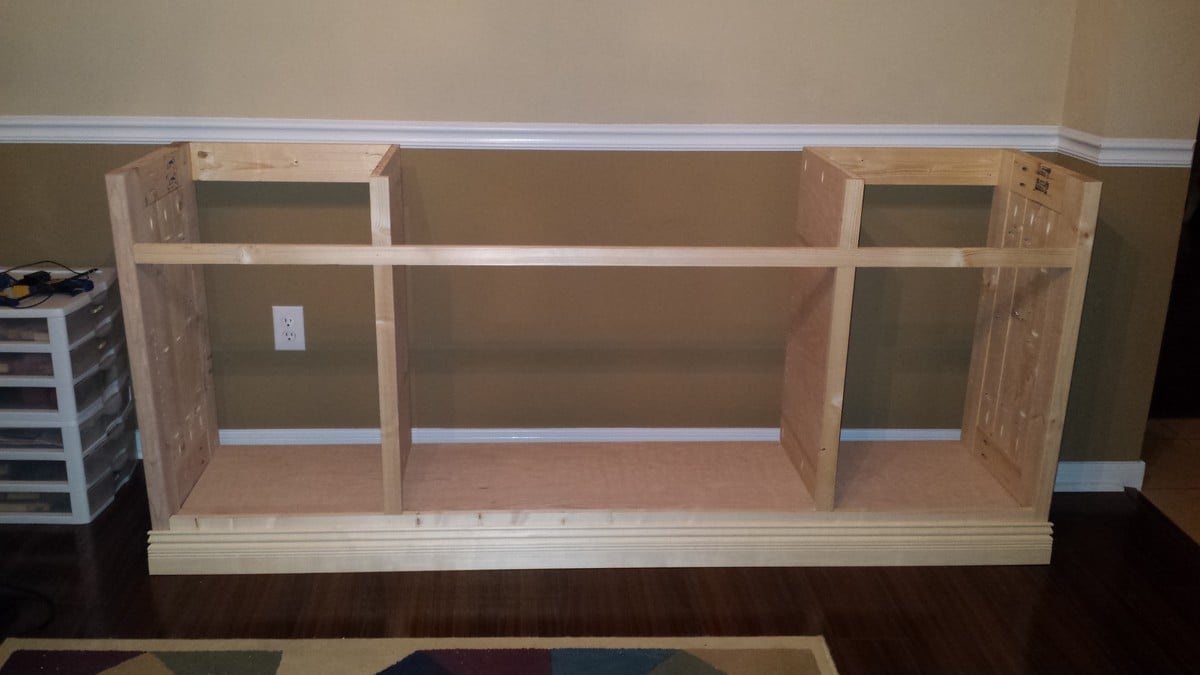
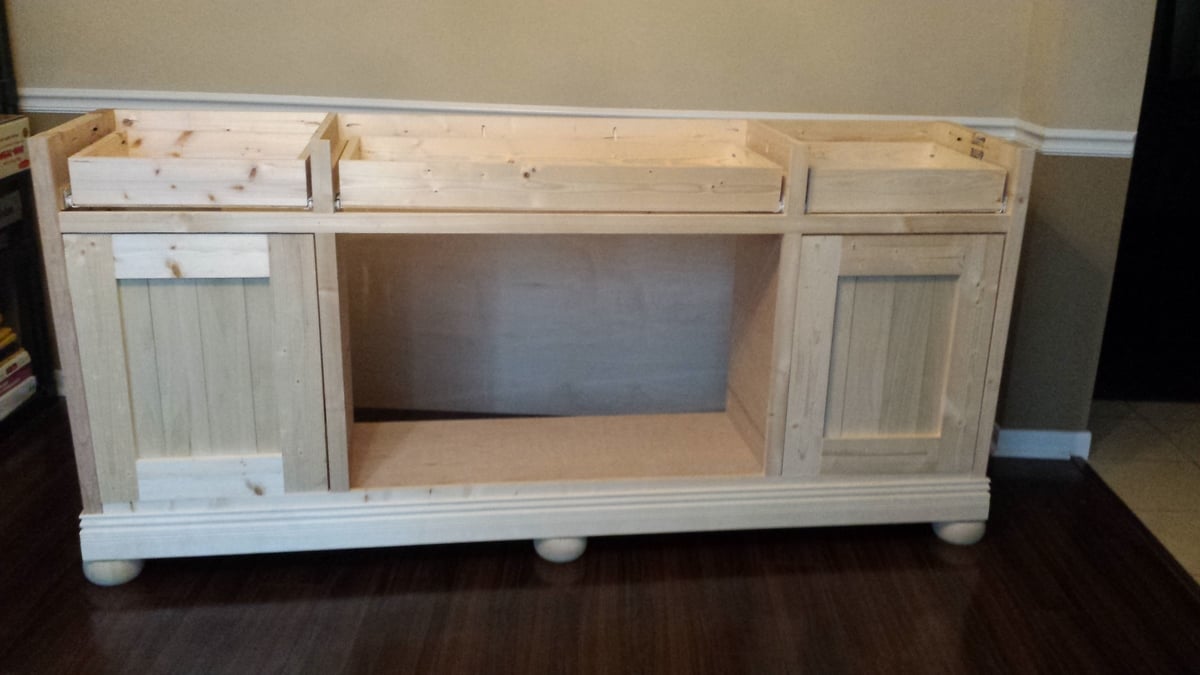
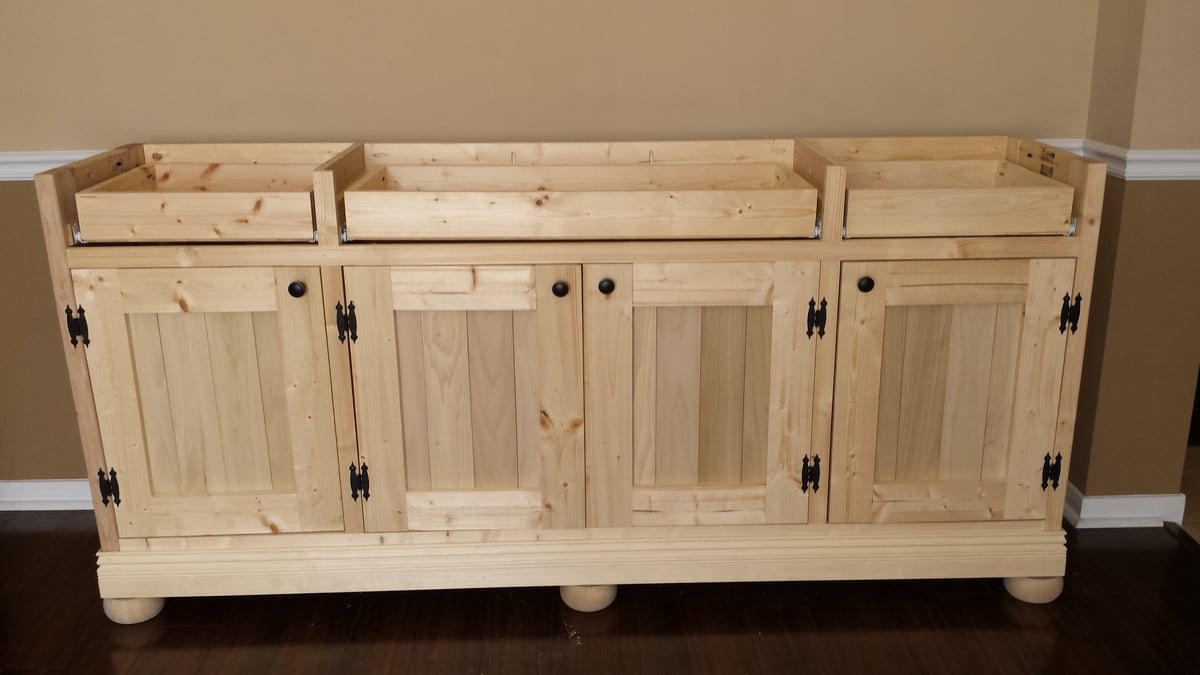
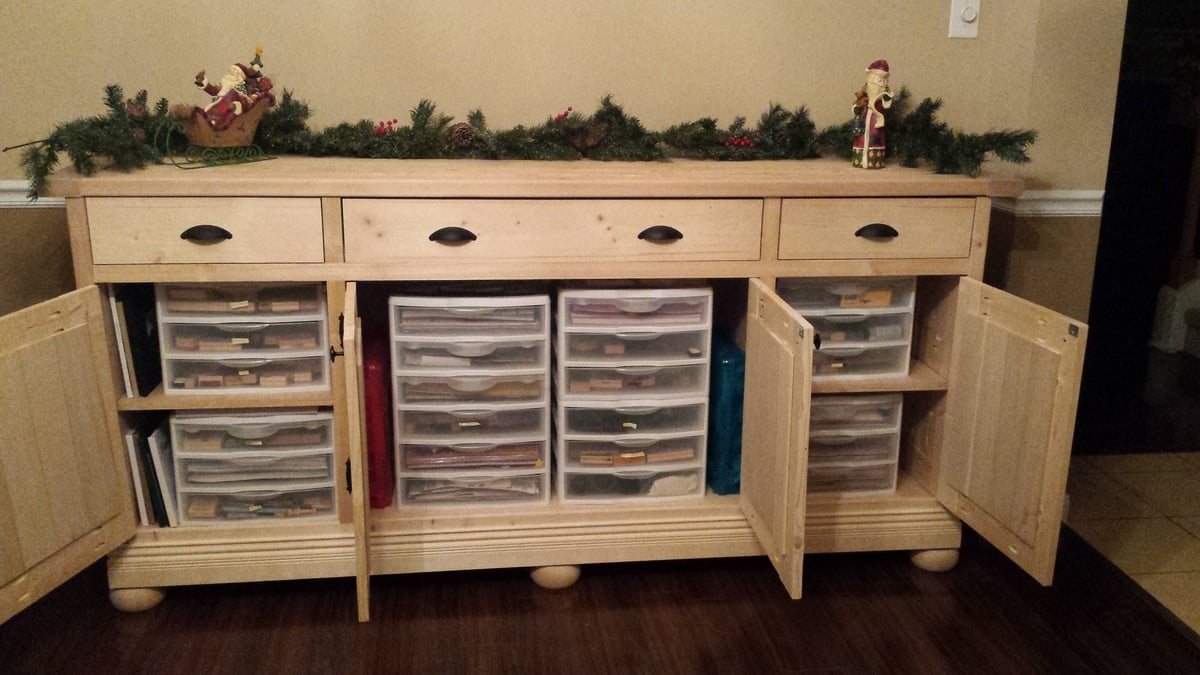
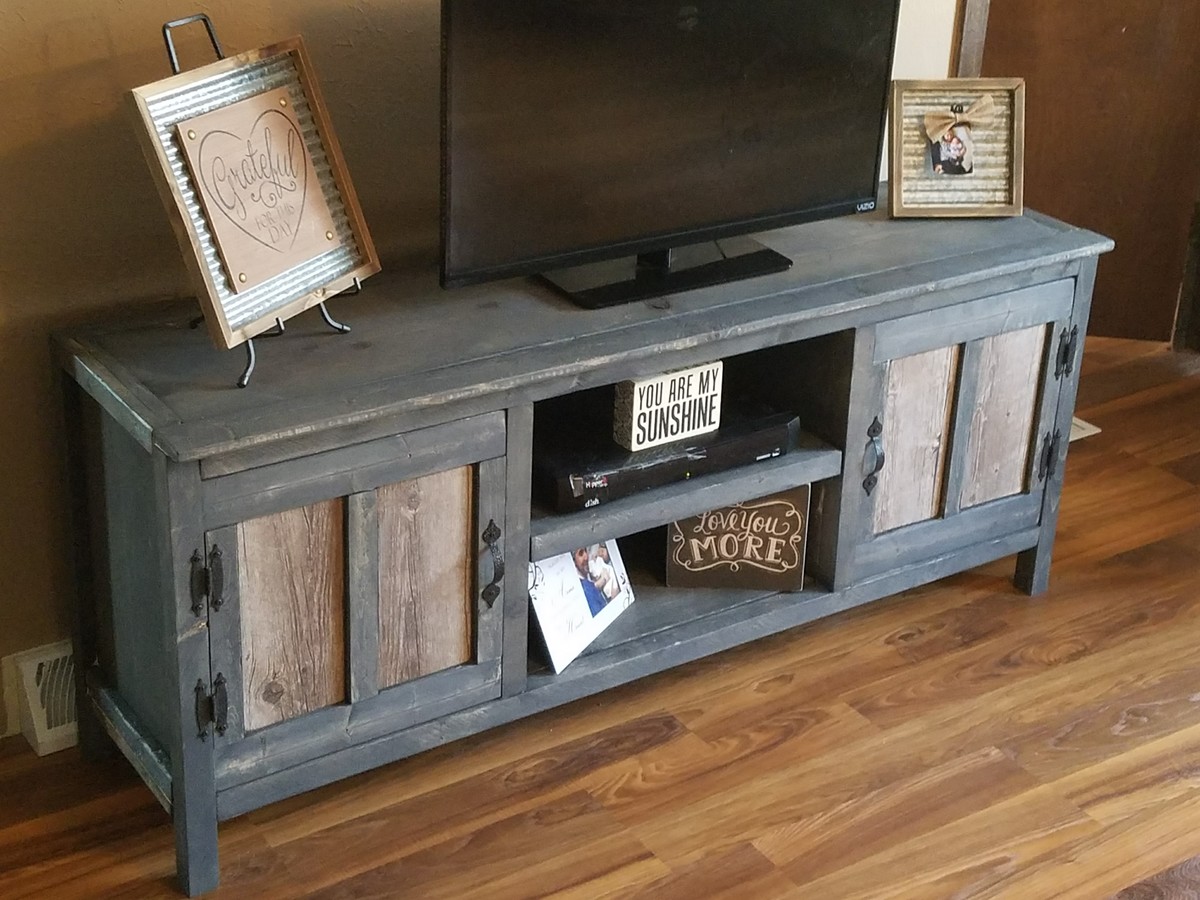
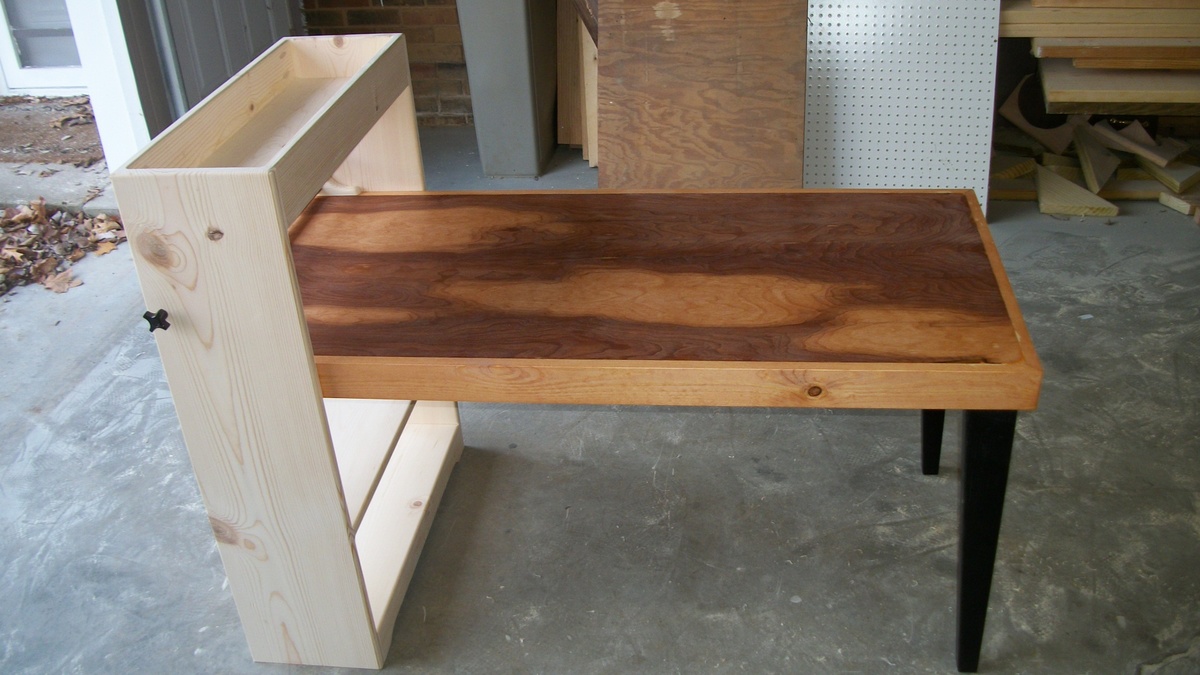
Another piece that my wife saw online that she liked. We wanted a new entertainment center for the house. I looked at the photo and drew up the plans in my head and got to building. This was a one day build and came together really nice.
Estimated Cost
$60.00
Estimated Time Investment
Day Project (6-9 Hours)
Finish Used
Burgundy Behr paint, Minwax Special Walnut stain, and Antique white with stain wiped
Recommended Skill Level
Intermediate

Finishing project

Submitted by Medickep on Tue, 03/04/2014 - 14:16

I decided to post this project as I know there is room for more information on finishing. I know I can be overwhelmed with all the different types of finish work out there as well as their associated tips/tricks, which are often not on the manufacture's directions!

My wife and I had some black furniture, which we were tired of. Some of it started from my bachelor days and some came later just to match things we already have. I really wanted to build new stuff for our living room, but it seemed like a little a bit of a waste, considering we liked it, minus the color!

Even though it was all sold as "better that Ikea" furniture, it was all pretty cheaply made with weak quarter turn screw joints and MDF.

The first thing I did was to take each piece apart and glue, pocket screw and nail the heck out of each piece.

I than scuff up the finish (committed now :-) ) with some 220 sandpaper. While my wife and I decided what color we wanted I looked into oil based paint. Even though it usually can't be found at HD or Lowe's a guy who worked in the paint department and was a professional painter for 30 years advised me to find some.

We both agreed that Latex paint never really seems to dry all the way, especially for a surface, which will have glasses and what not placed on them.

I got some oil based paint from a "paint store" and also bought a product called Penetrol to put in the paint. The Penetrol "watered down" the paint to allow more working time and avoid brush marks. I really tried to avoid usually a brush, and mainly used a very tight , high quality foam roller. It really work great and I just made sure I covered each area all the way from one side to the other. I would start with less Penetrol than they say. My paint was like soup and although it worked great, I figured you can always add more, but you can't take it out!!

The oil paint took about two days to dry in my garage (very cold now) and than I moved it into my house for the rest of the time. Once it was "cured" 3-4 days, it formed a shell like surface, which did not require any poly at all!

I feel it's about as good as you can get without having a sprayer. It was definitely more clean up as I needed paint thinner for the brushes I did use, but I stored them in zip loc bags in my garage refrigerator in between coats, until I was completely done!!

I hope this post helps someone out there!!

Estimated Cost
47.00 for one gallon of oil based paint
Estimated Time Investment
Weekend Project (10-20 Hours)
Finish Used
Oil based paint
Recommended Skill Level
Intermediate

Surfer Shack

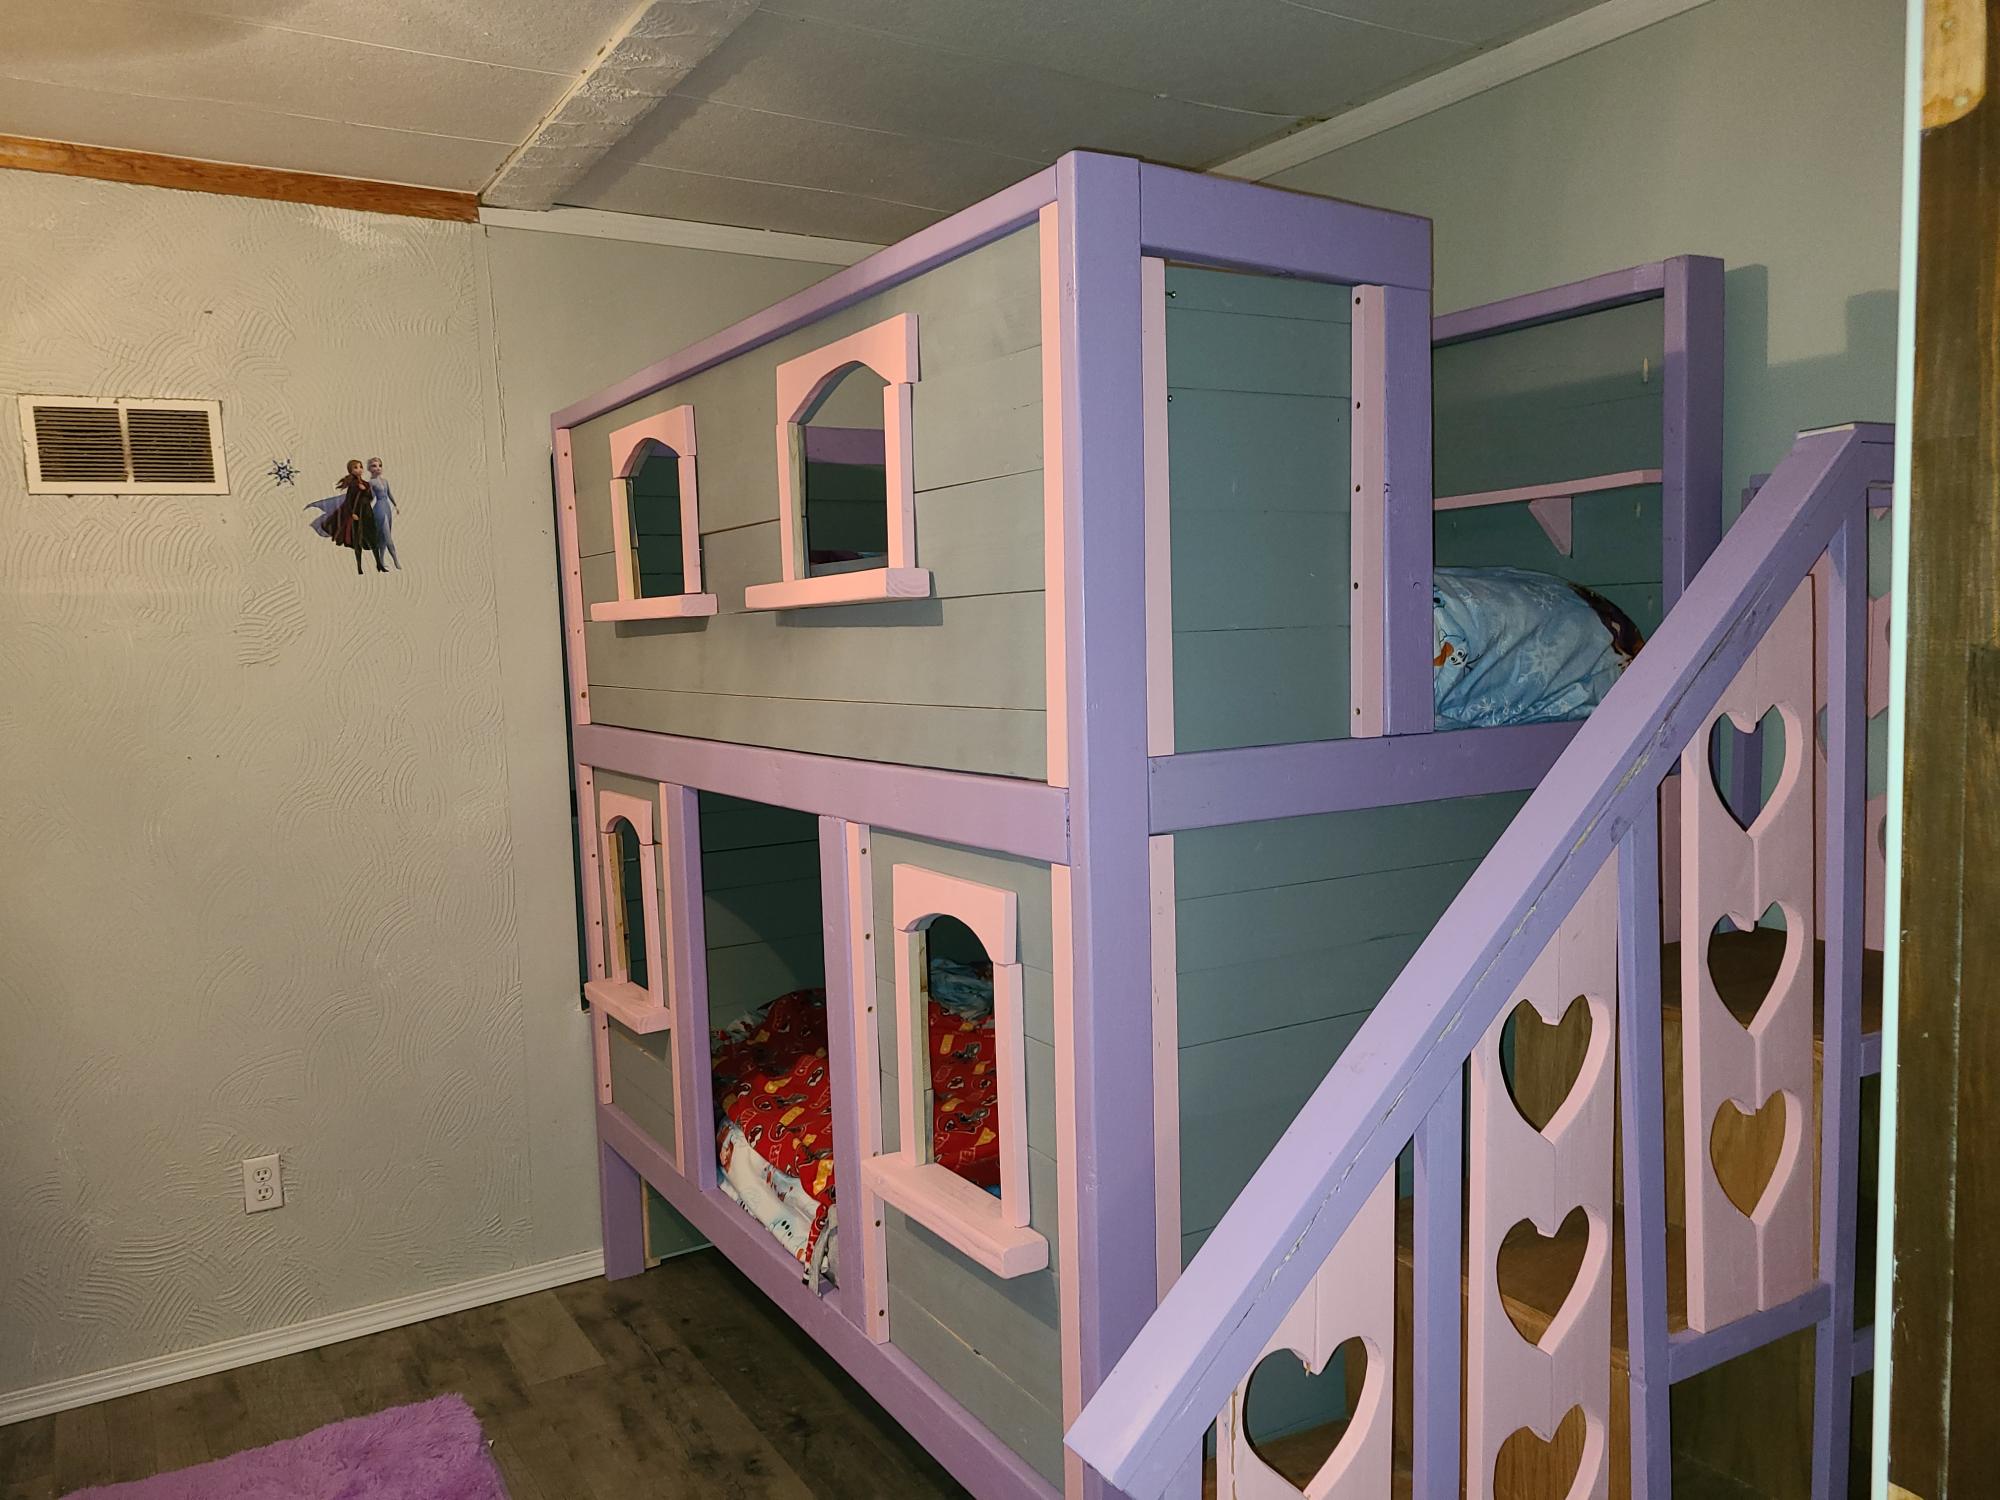
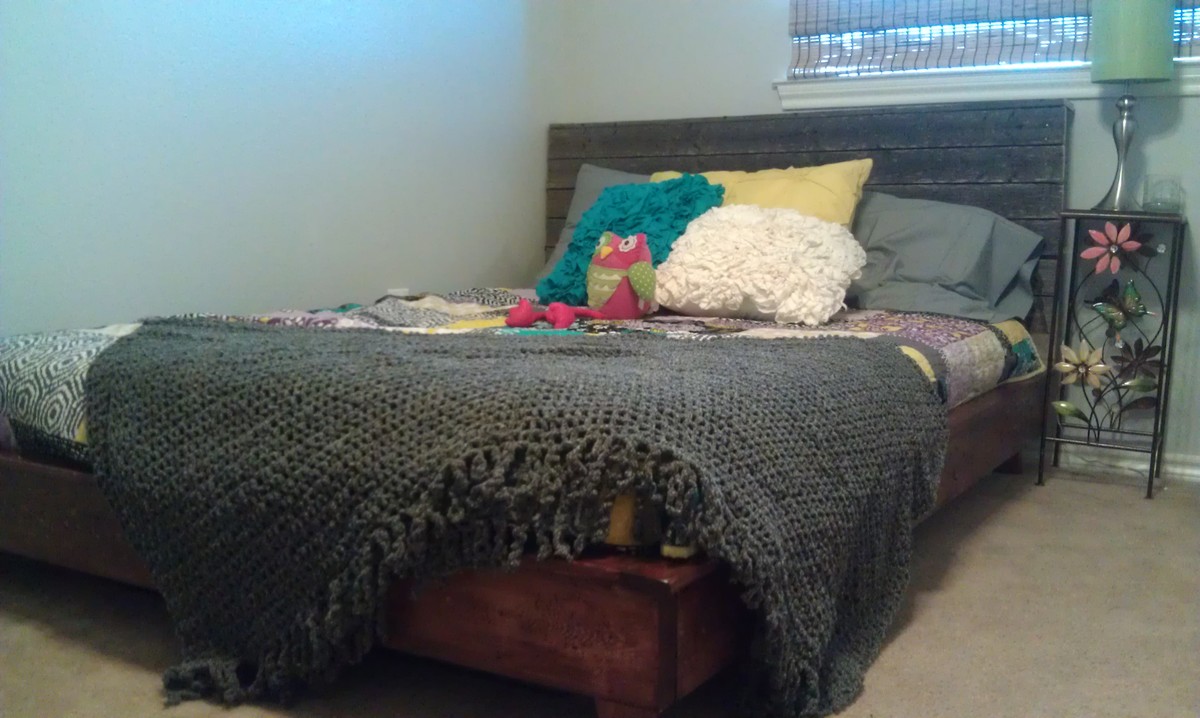
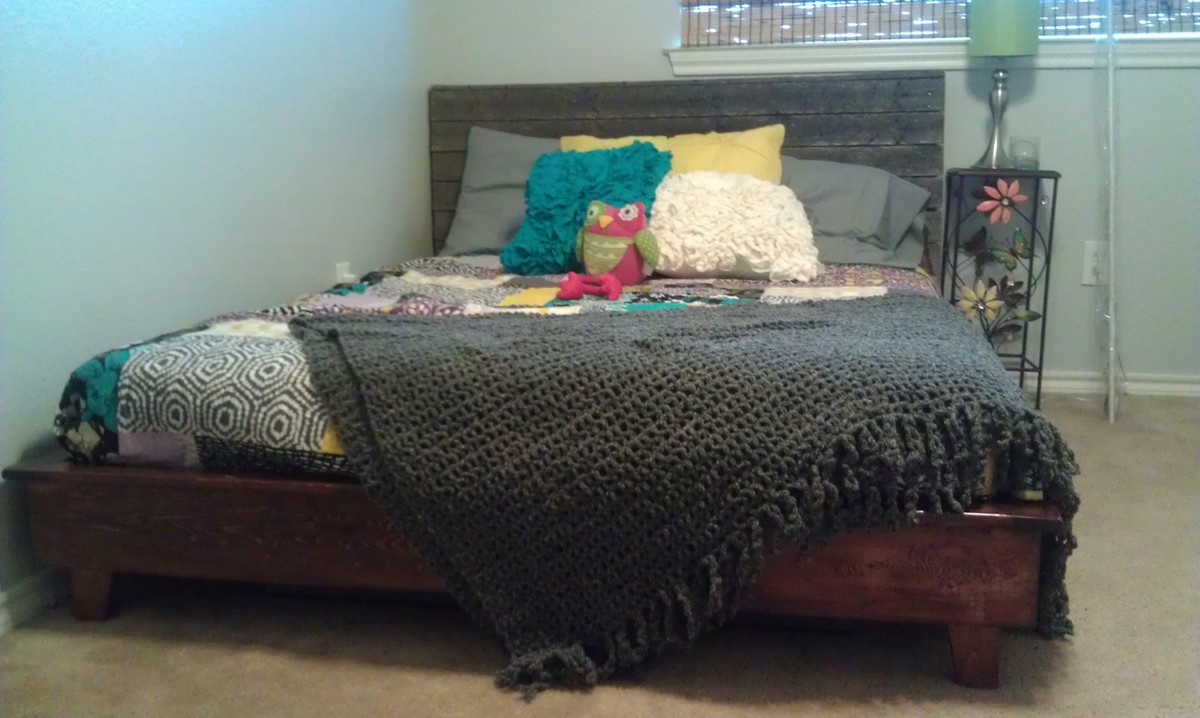
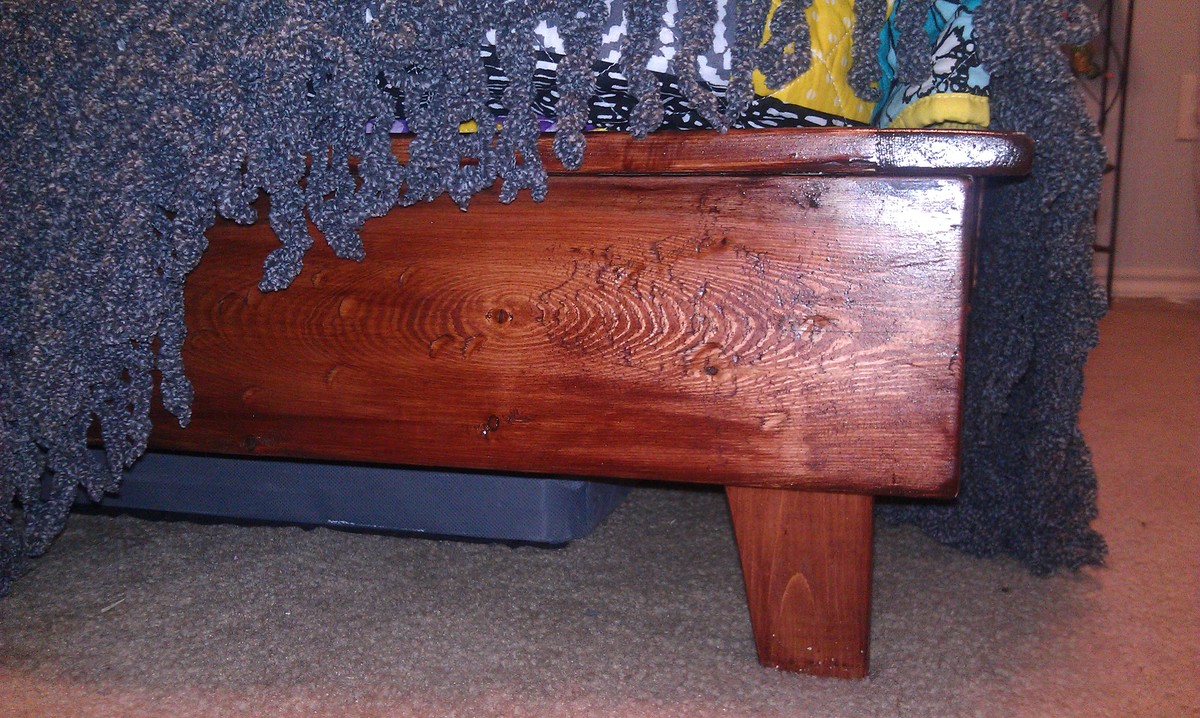
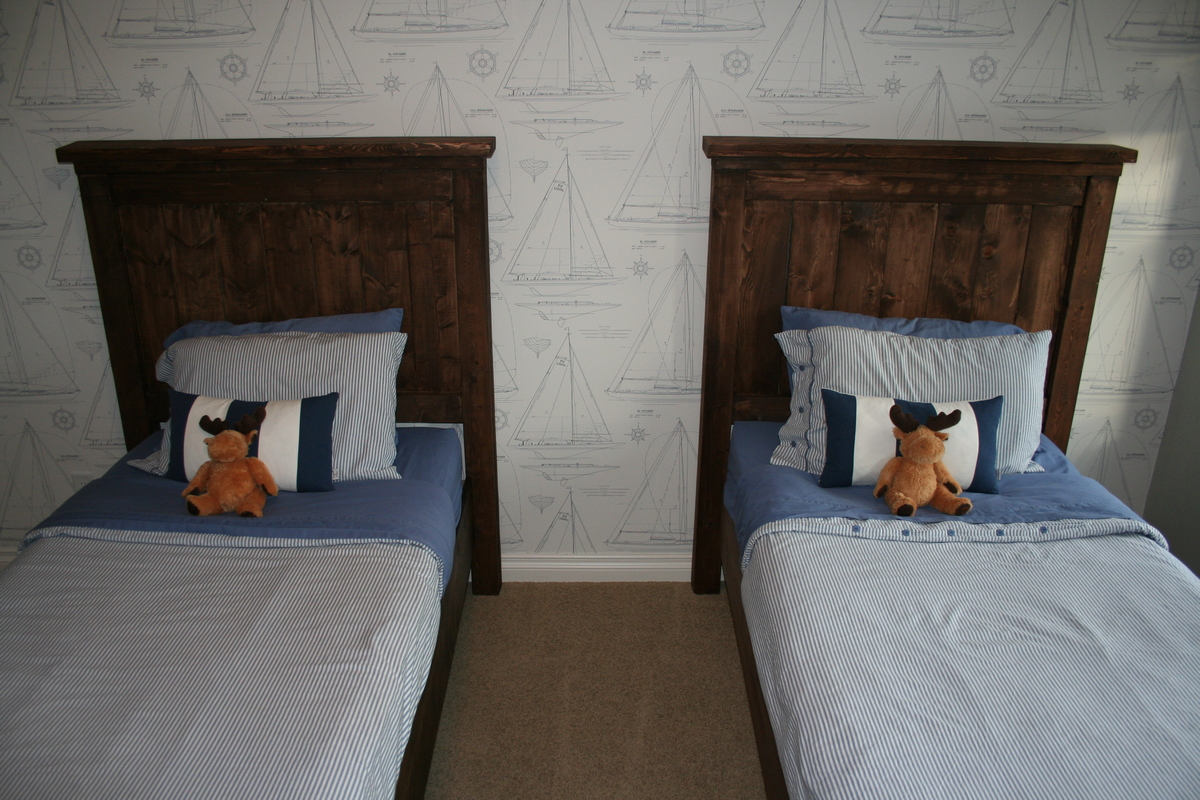
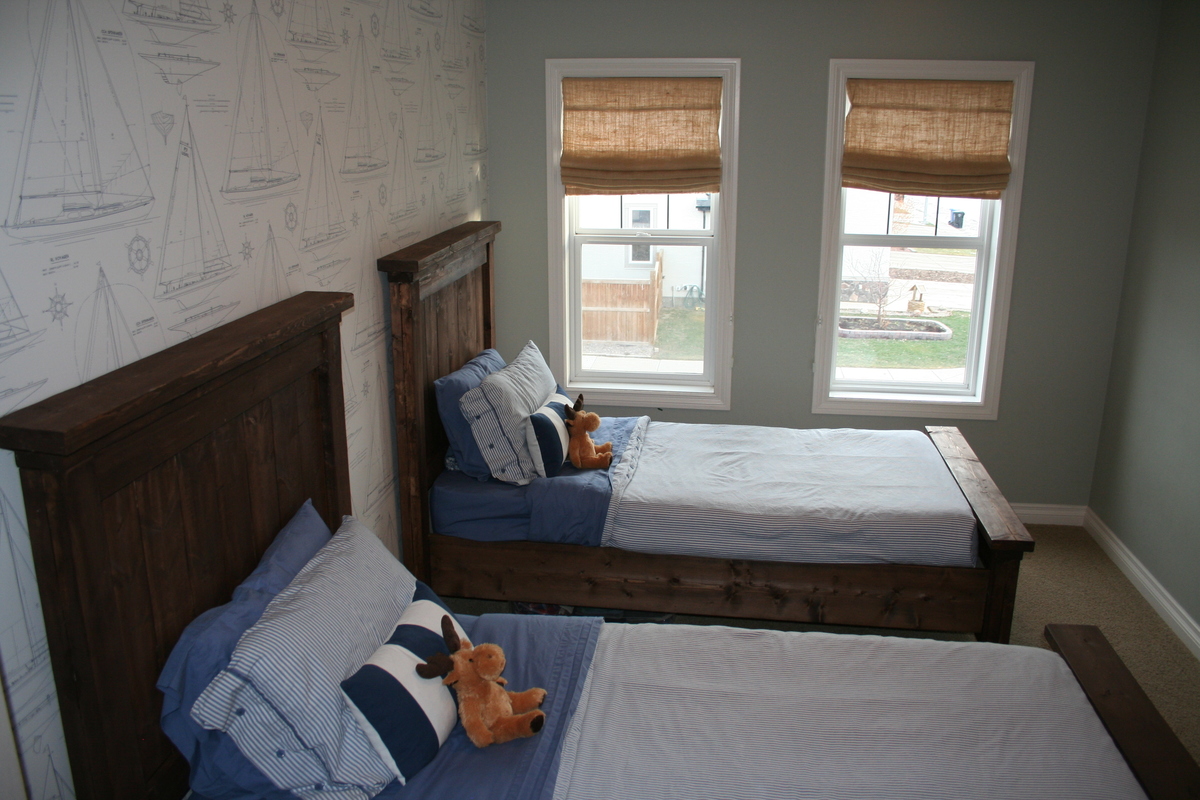
My buddy wanted this bed from Pottery Barn Kids but didn't want to spend $1300. It cost him $250 in materials and i built it for $300. So you DIY'ers could do it for $250. We also adjusted the size to fit a full size mattress.

Built from Plan(s)
Estimated Cost
$250
Estimated Time Investment
Weekend Project (10-20 Hours)
Finish Used
Kona wood stain
Recommended Skill Level
Intermediate

Comments

Rachael Cabos (not verified)

Wed, 06/06/2012 - 16:35

What were the dimensions?

Alexis buchanan (not verified)

Sun, 09/23/2012 - 14:42

Both my boys want to sleep up top I have a nice corner window seal that I'd like to put the l shaped loft at mid height double twin any suggestions also would like the entry on both ends so my 9 yr old can descend without waking my middle son would like a detachable slide in the middle

Recycle Console

Submitted by Jennybeth on Fri, 03/07/2014 - 06:47

This is my attempt at Ana's recycle console project from her new book "The Handbuilt Home". I made a couple of small changes to the pattern but for the most part stayed on course with her plans.

This piece of furniture is now being used at our cottage. I used 3/4 inch birch plywood for the cabinet and shelf and i used 1/2 inch MDF for the foldout compartment. I decided to use the MDF as it was a bit lighter than the plywood so not as much weight on the door when tilting it out.

The color is from Martha Stewart and is called Cayman Blue.

Estimated Cost
$75.00
Estimated Time Investment
Weekend Project (10-20 Hours)
Finish Used
latex primer and paint
Recommended Skill Level
Intermediate

Cement top modification

Submitted by Anonymous (not verified) on Tue, 06/07/2016 - 00:31

Instead of a wood top I used 2x 3/4" sheets of plywood plus 1/2" backer board to create a thicker top and used Ardex feather finish cement in 4 coats sanded and finished with Mexeseal sealant, recommended 4 coats of semi-gloss plus 2 coats of satin to get a matte finish (recommended by manufacturer) I followed the concrete countertop blog from "Young House Love" but used a different sealant when I contacted the safe coat manufacturer and they recommended their Mexeseal product. 

Built from Plan(s)
Estimated Time Investment
Week Long Project (20 Hours or More)
Finish Used
Ardex Feather Finish Cement
Safe coat Mexeseal Sealant (4 coats semi-gloss plus 2 coats satin for a matte finish)
Stain on base: Minwax weathered oak and dark walnut
Poly on base: 2 coats of Minwax satin poly
Recommended Skill Level
Beginner

Hall Tree Bench with Shiplap Back

I made this for a cousin, but now I think I am going to need to make one for myself too!  I used shiplap for the back instead of plywood. It cost a little more but was less effort than cutting the lines into the plywood. Plus it was already finished. 

Built from Plan(s)

Adirondack Stool or End Table

Submitted by Tammy MT on Sat, 05/26/2012 - 09:06

We made 4 of these end tables using all the leftover scrap wood from the loungers. We painted them white so the backyard would look bright.

We made all 4 of them in about 30 minutes. They were so simple. We should have started with them, instead of the loungers since they were a little more difficult for us beginners.

Built from Plan(s)
Estimated Cost
Used scraps
Finish Used
Painted white
Recommended Skill Level
Starter Project

Double Tilt-Out Trash & Recycle Bin – DIY

When we built our small mudroom and pantry addition, I new I needed a tilt out trash bin, nothing on the market fit the space the way I wanted. So I of course came here to Ana-white.com :) the "wood tilt out trash can or recycling cabinet plans" were perfect with a bit of hacking I made it fit exactly!

I made 2 cabinets into 1 unit,
used salvage/old cabinet door fronts I cut to size
Painted the box red and kept the oak cabinets all wood grain
Added handles
Added ball chain to keep the doors from falling over.

LOVE this! fits perfect in our mudroom and it was a pretty quick project too!

Estimated Cost
$60
Estimated Time Investment
Day Project (6-9 Hours)
Finish Used
red satin house paint, polyurethane satin finish for door fronts.
Recommended Skill Level
Intermediate

DIY Printer's Console

Submitted by Anonymous (not verified) on Thu, 11/16/2023 - 11:49

Built from printers triple console plan. 

Jkindle

Built from Plan(s)

Comments

PALLET PROJECTS COMPLETE :)

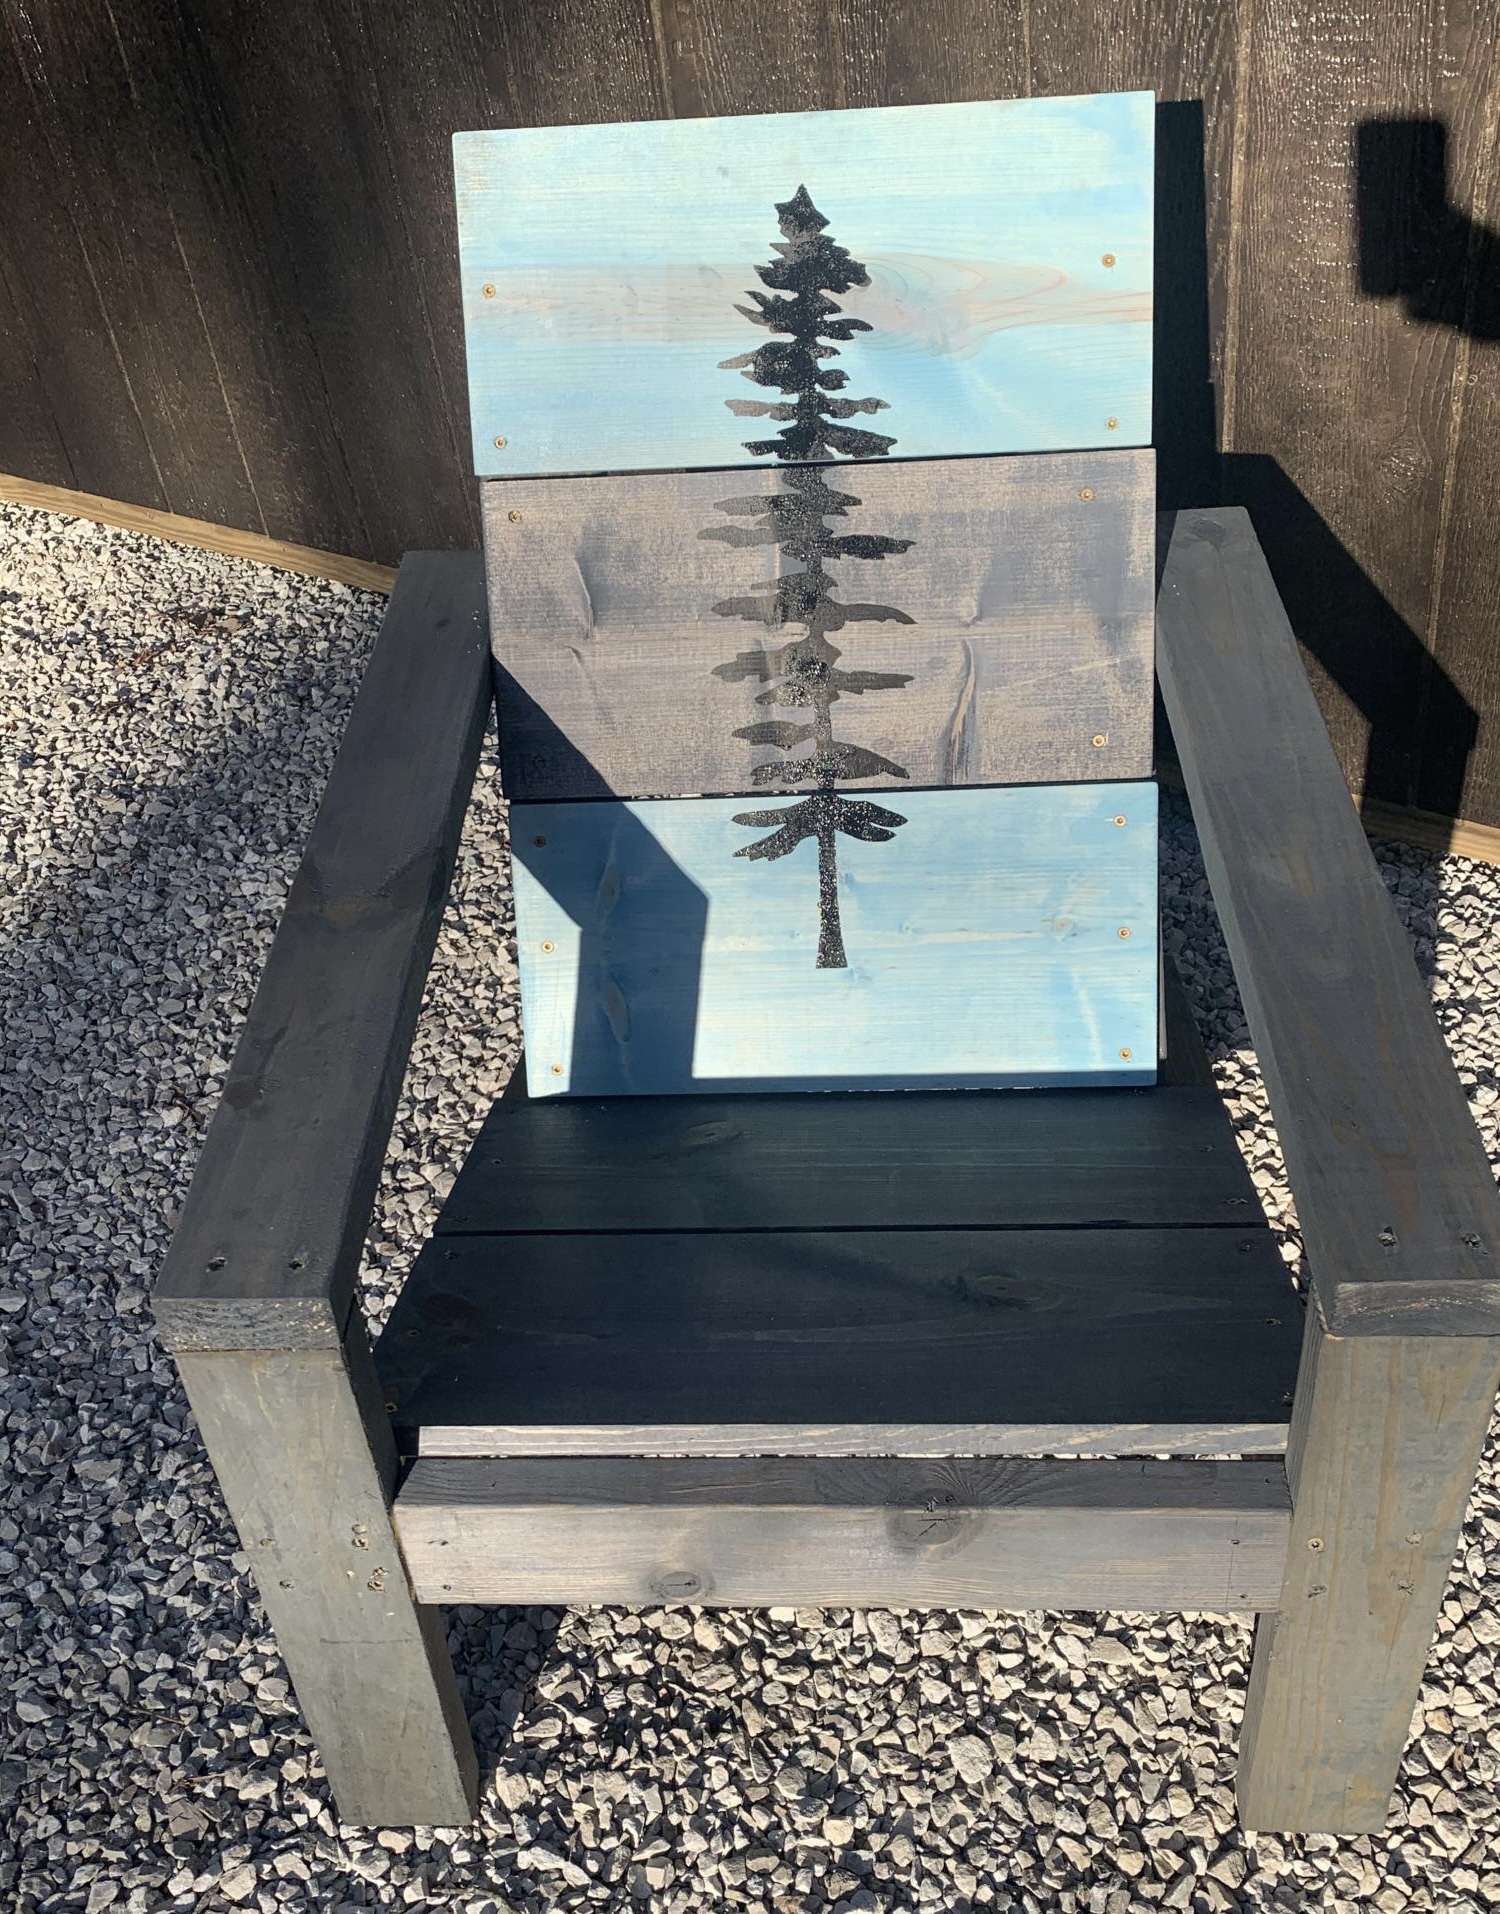
MY PALLET PROJECTS FINALLY COMPLETE!! TOOK SOME TIME TO GET DONE SINCE I HAD TO TAKE APART N DO TONES OF SANDING.. COMPLETELY WORTH IT THOUGH.. THE ADIRONDACK CHAIR I USED PLANS FROM THIS VERY HELPFUL SIGHT. THE STORAGE TABLE BENCH I HONESTLY JUST STARTED BUILDING WITH NO PLANS. FIGURED ITS A BOX WITH A LID, I CAN HANDLE THAT.. LOL WELL I DID AND CANT WAIT FOR THE START OF THE NEXT PROJECT. AND YES IT WILL BE FROM PALLETS AS WELL.

Built from Plan(s)
Estimated Cost
20$ FOR BOTH
Estimated Time Investment
Weekend Project (10-20 Hours)
Finish Used
STAIN AND PAINT
Recommended Skill Level
Beginner

Mommas First

Submitted by msburnz on Sat, 03/15/2014 - 18:01

I got scared in the middle of the project and feared that my drawers would not work. I opted for a drawer and a shelf instead of three drawers. I wish now I would have followed through with the plans because the drawer works GREAT! I had a lot of learning opportunities with this project...but all in all, for my first big build...I LOVE IT!!

Estimated Cost
$100
Estimated Time Investment
Weekend Project (10-20 Hours)
Finish Used
Minwax Polyshades. I used two stain colors: I stained the first layer with a black stain (minwax) and the top layer I used the polyshades.
Recommended Skill Level
Beginner

Modern Bench - School Colors

Submitted by Anonymous (not verified) on Wed, 06/15/2016 - 09:29

Great design and project!  I am working on the second one in my wife's school colors.  Thanks!

Estimated Time Investment
Afternoon Project (3-6 Hours)
Finish Used
Outdoor paint
Recommended Skill Level
Beginner

X Console

I built this X console for my kitchen, to replace an ugly cheap wardrobe that previously held my kitchen appliances. This made space for a kitchen organization space too- with calendars above, and bins for the kids' schoolwork etc.
The plan was easy to customize, and a great afternoon build.

Built from Plan(s)
Estimated Cost
$25
Estimated Time Investment
Afternoon Project (3-6 Hours)
Finish Used
Minwax gel stains in Rosewood and Black
Minwax Polyacrylic
Recommended Skill Level
Beginner

Kitchen Island or Peninsula

Submitted by ktjoy86 on Thu, 05/31/2012 - 09:09

We needed more counter and storage space in our rental house kitchen. We used this kitchen island plan to build a "kitchen peninsula." When it came time to stain the shelves it would have been a lot easier to stain the pieces before we put it together. The tiny space between the slats was difficult to get a paint brush in.

Built from Plan(s)
Estimated Cost
$100
Estimated Time Investment
Week Long Project (20 Hours or More)
Finish Used
White semi-gloss on the legs and trim. 4 coats of stain on the countertop and shelves.
Recommended Skill Level
Beginner

Farmhouse Bedside Table

Submitted by jager456 on Mon, 03/17/2014 - 16:40

I built a narrow version to fit in our bathroom. We also decided not to add the drawer to this one. We really like this open style for this purpose.
I had all of the wood leftover from other projects so my cost was only for the stain I used.
This is the second time I have used the tapered legs on a project, and I am getting better at making them.

Built from Plan(s)
Estimated Time Investment
Weekend Project (10-20 Hours)
Finish Used
MinWax Dark Walnut Stain, @ 2coats. Then Watco Spray on Lacquer Satin, @ several coats.
Recommended Skill Level
Intermediate
Back