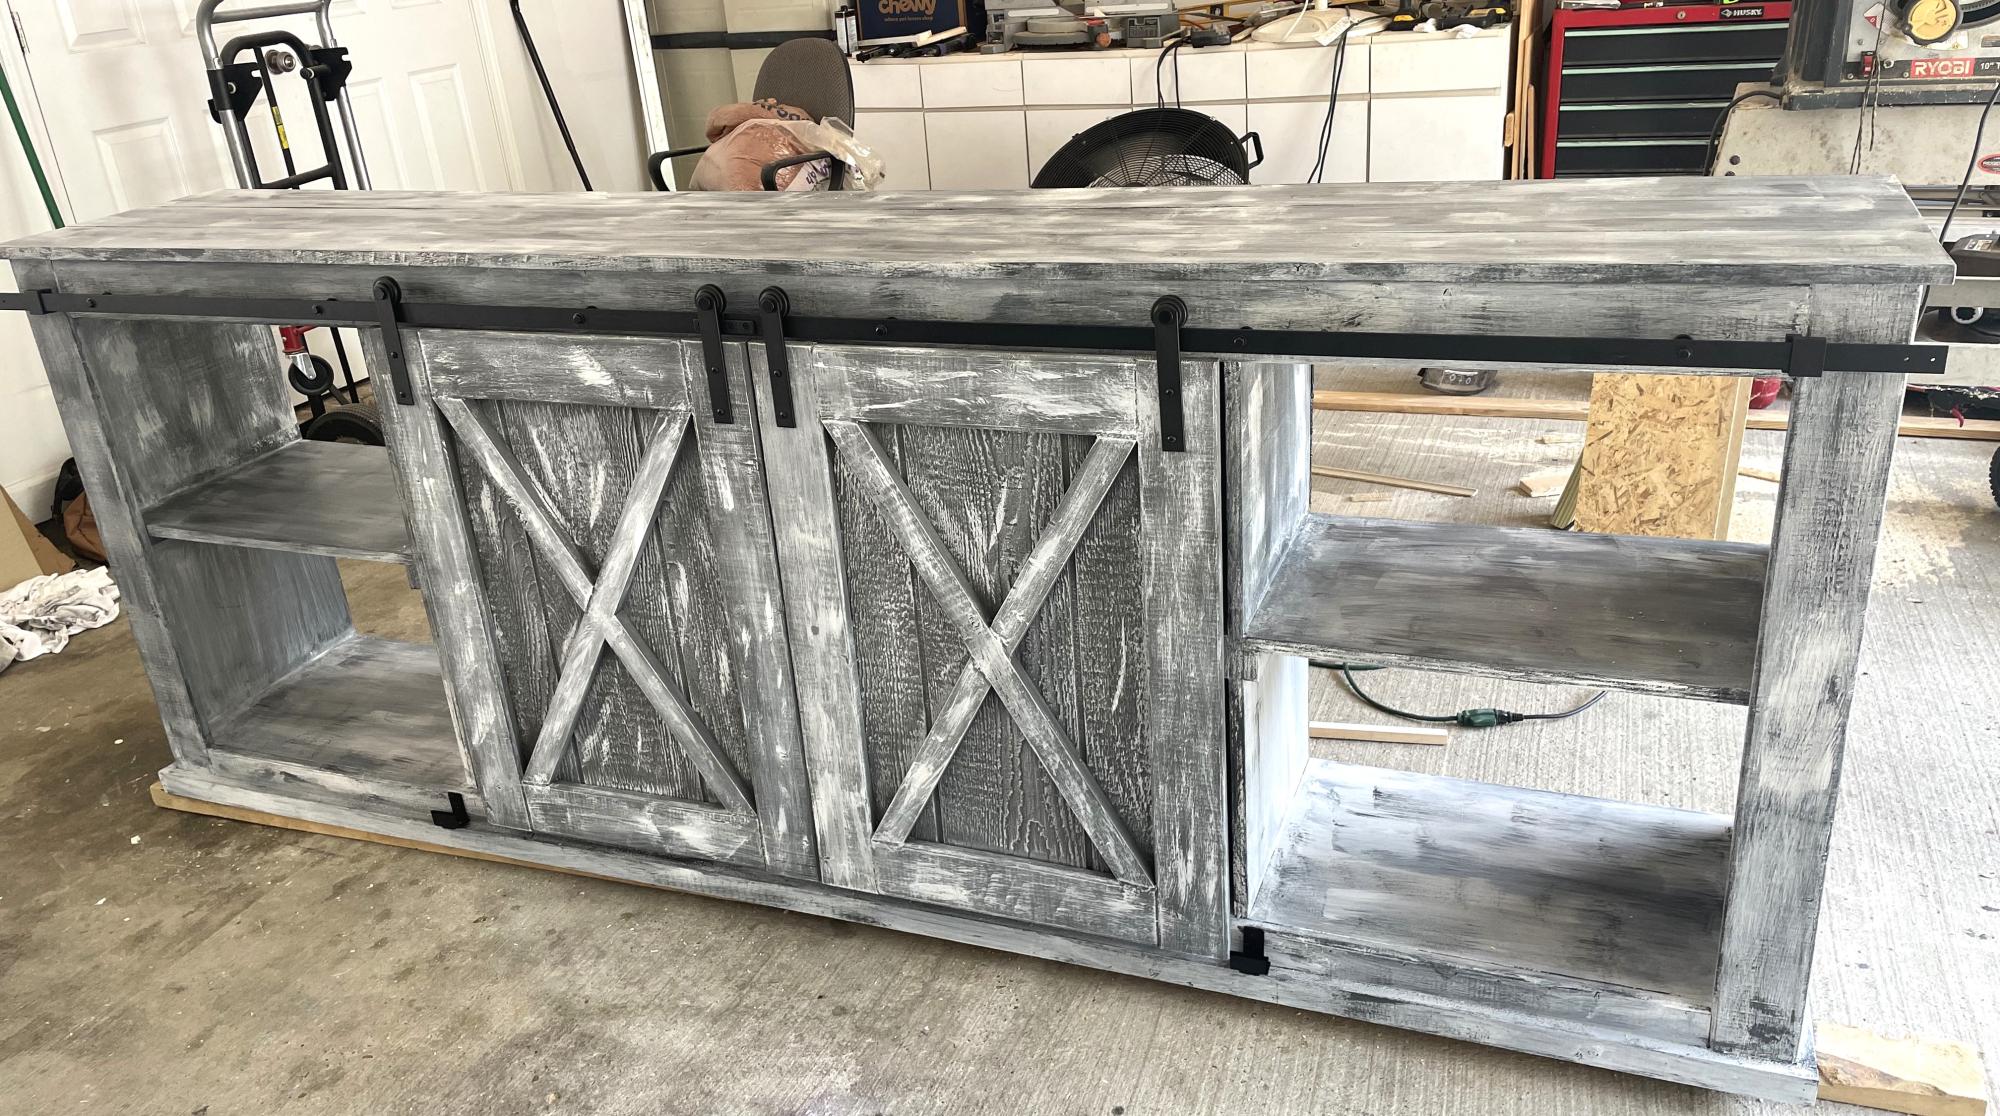
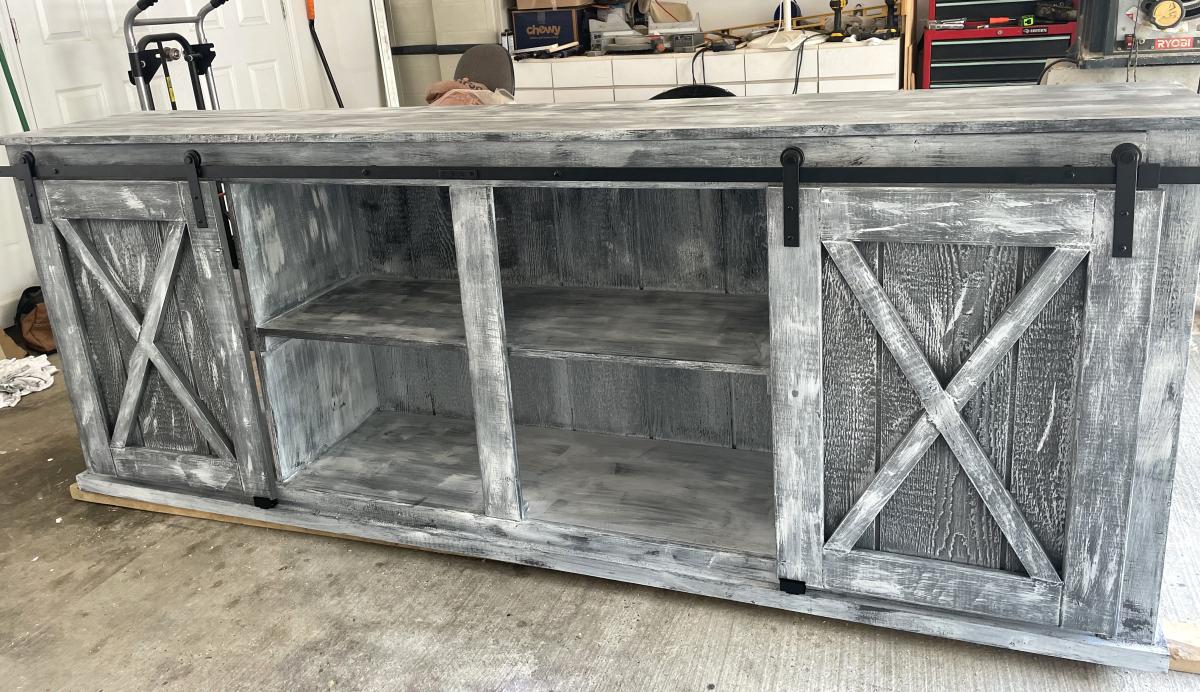
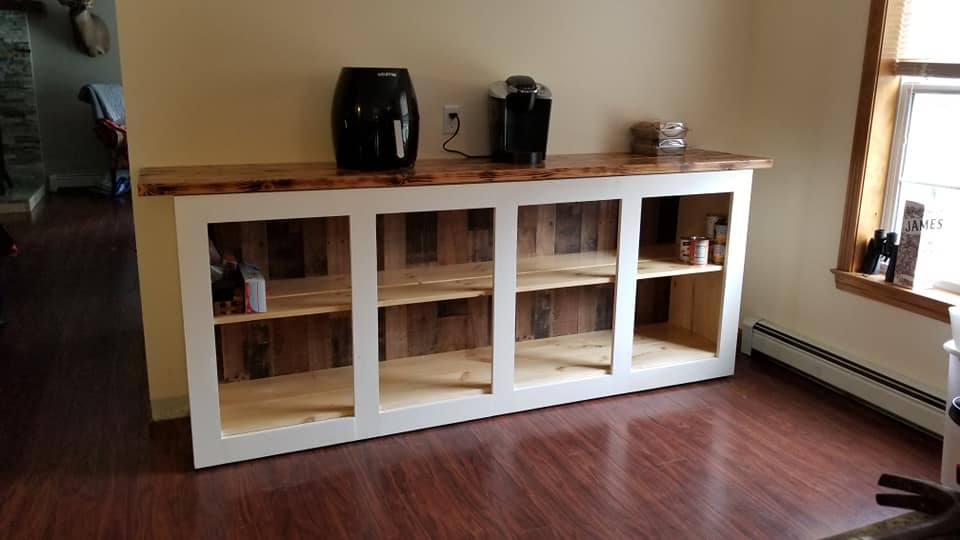
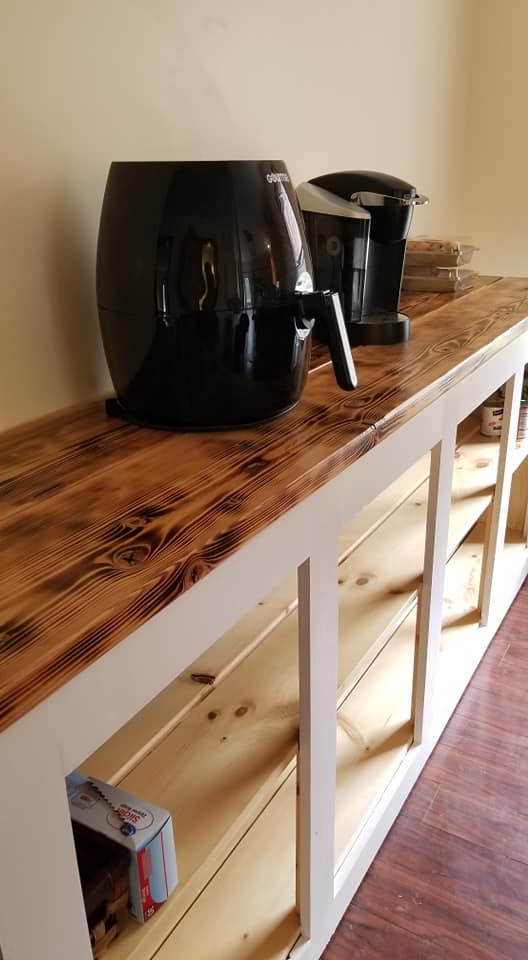
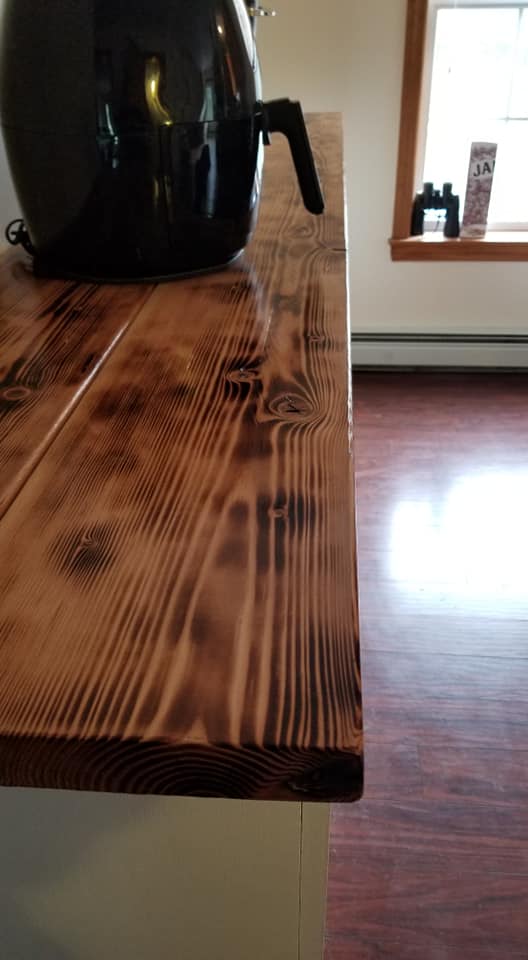
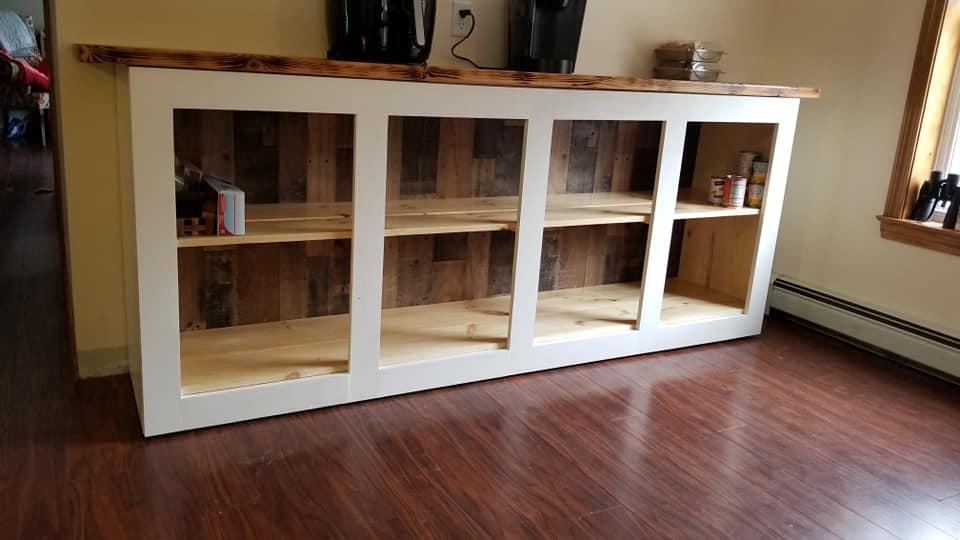
Rustic Concrete Island

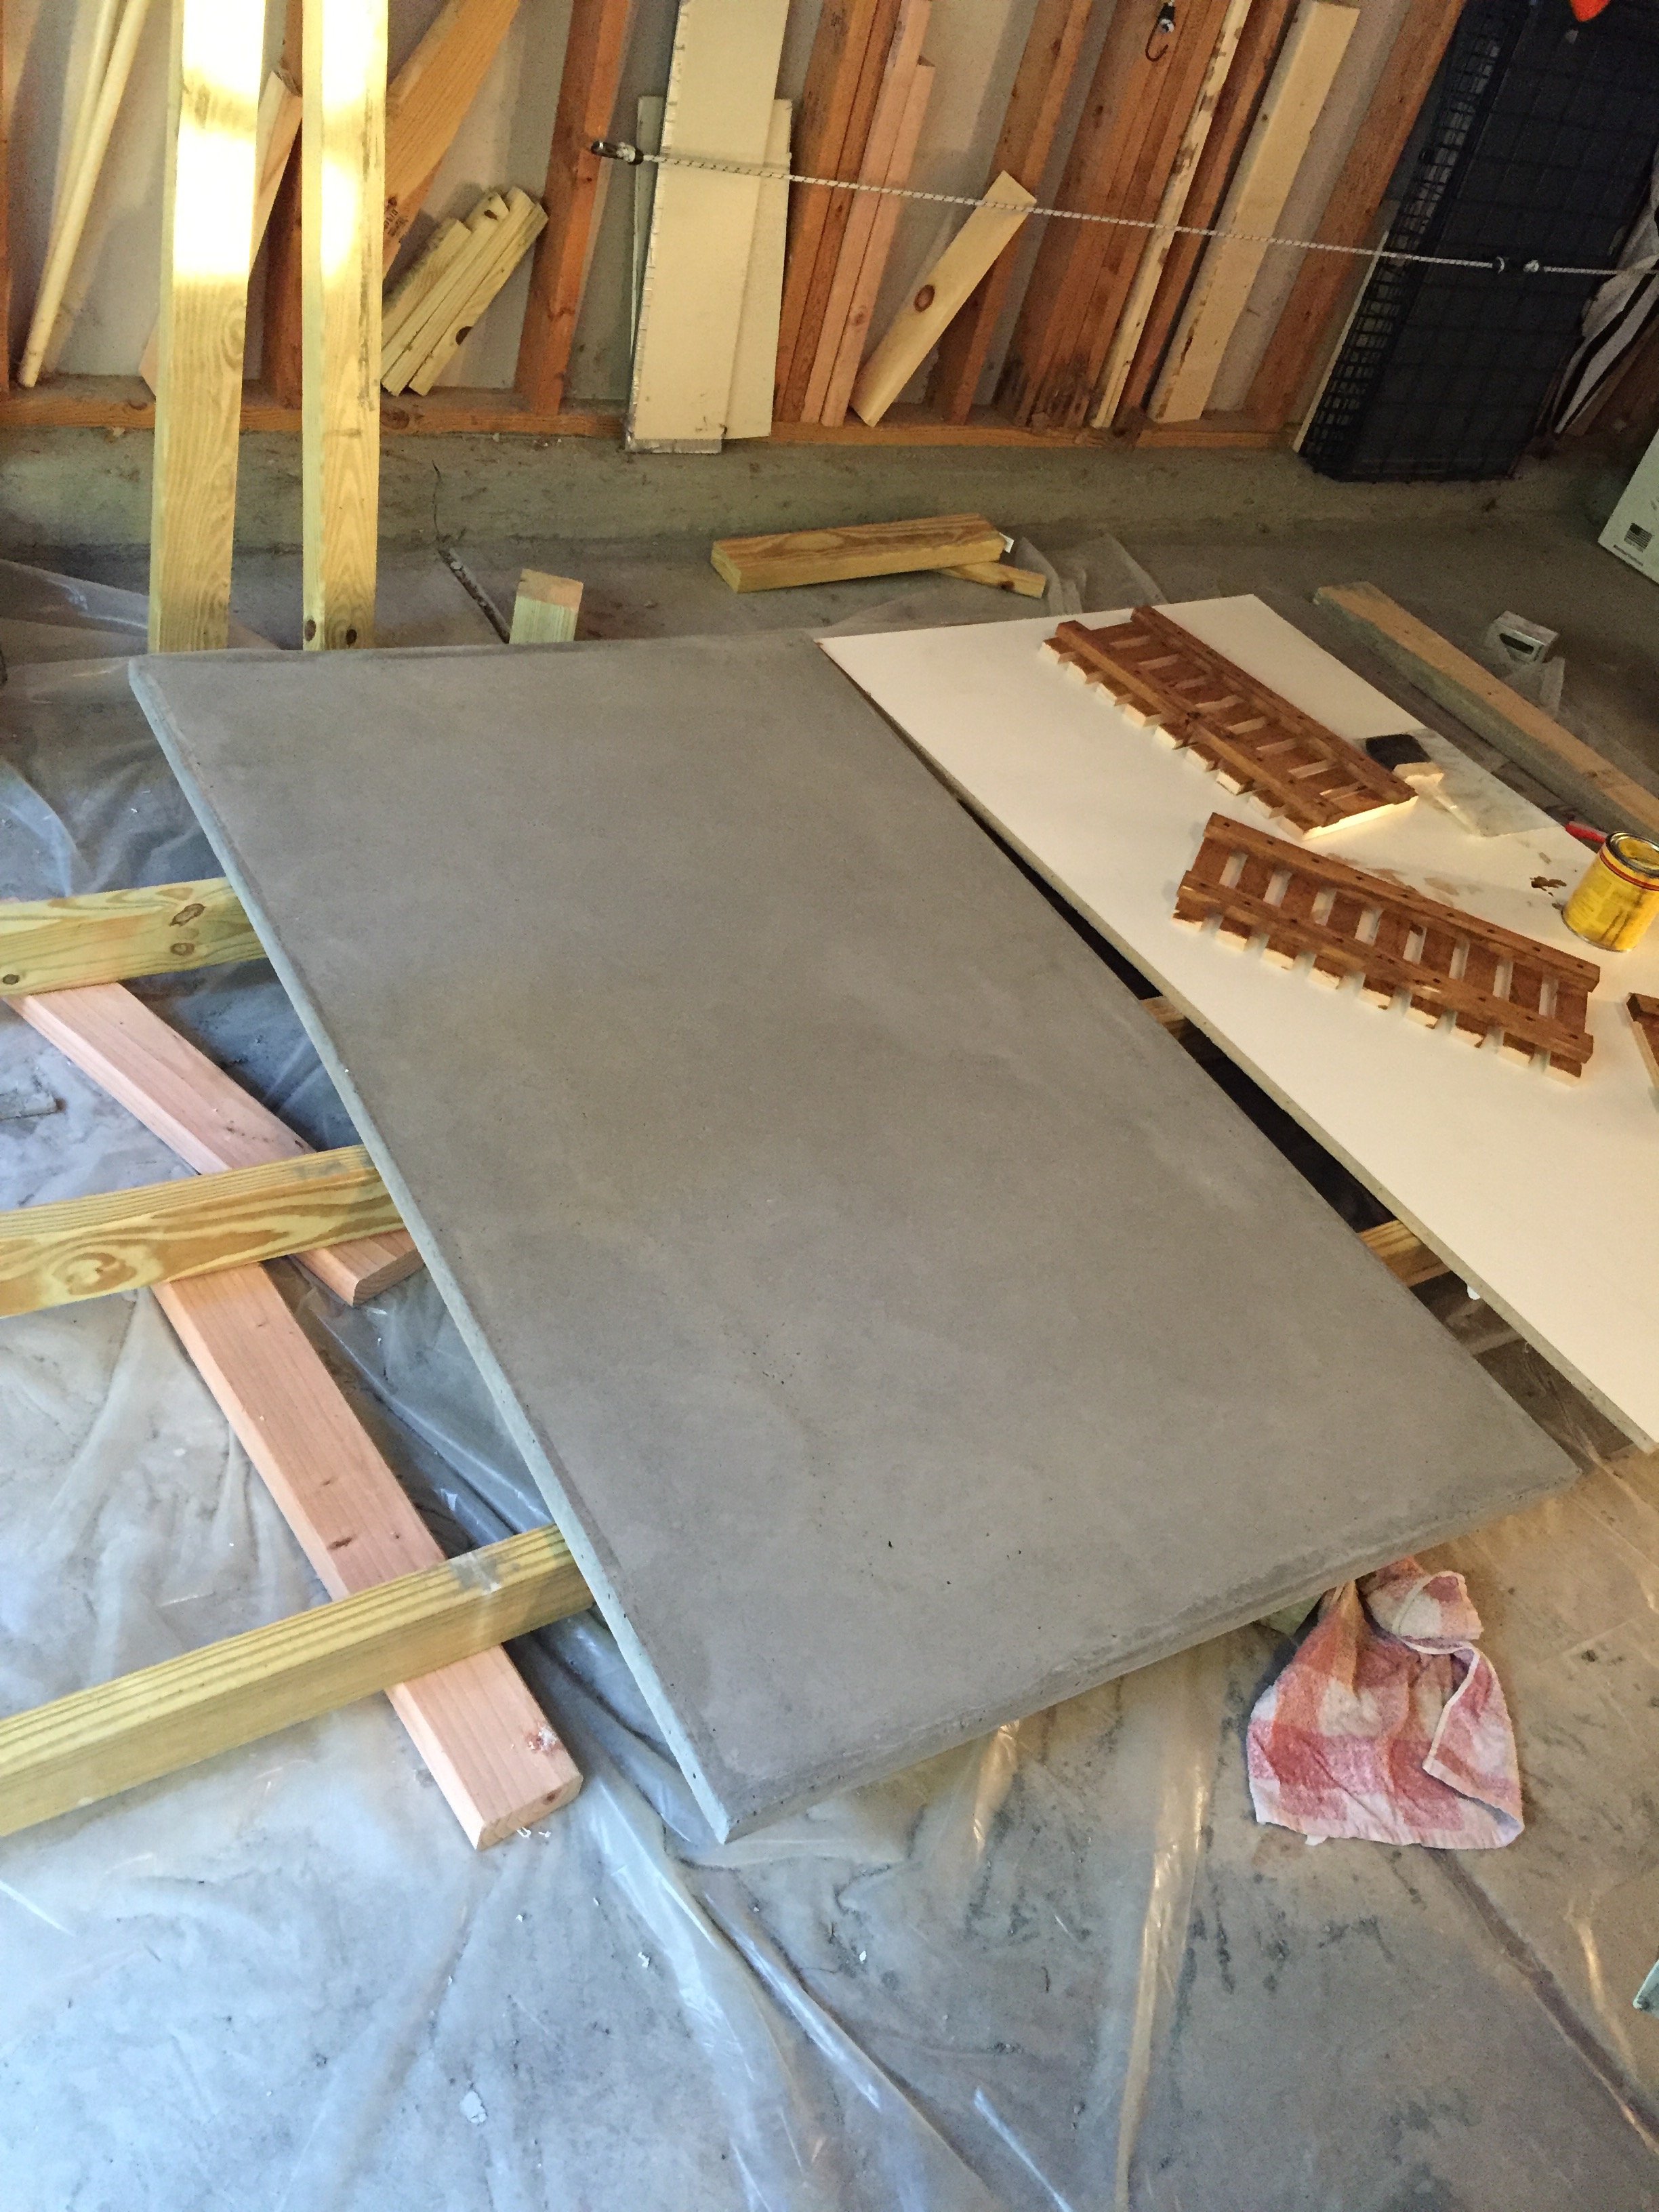
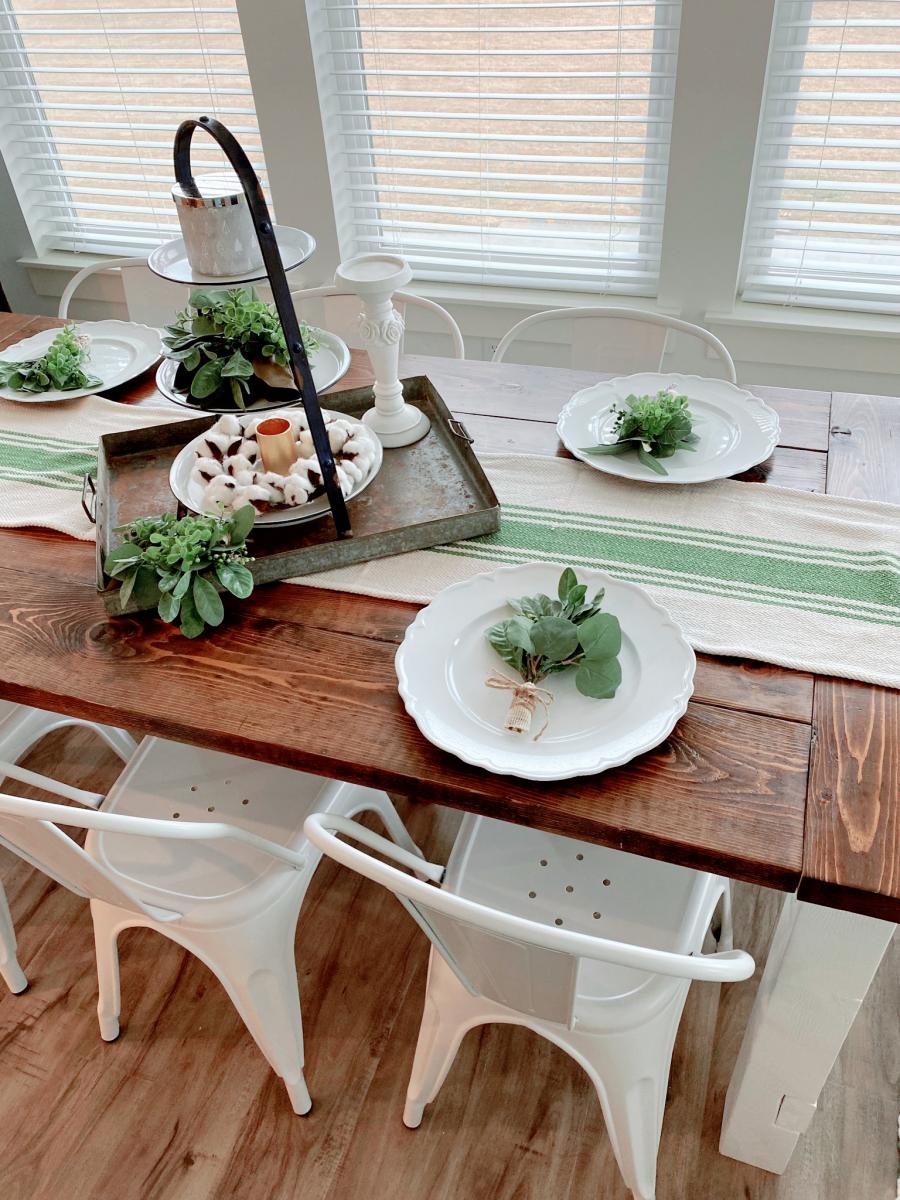
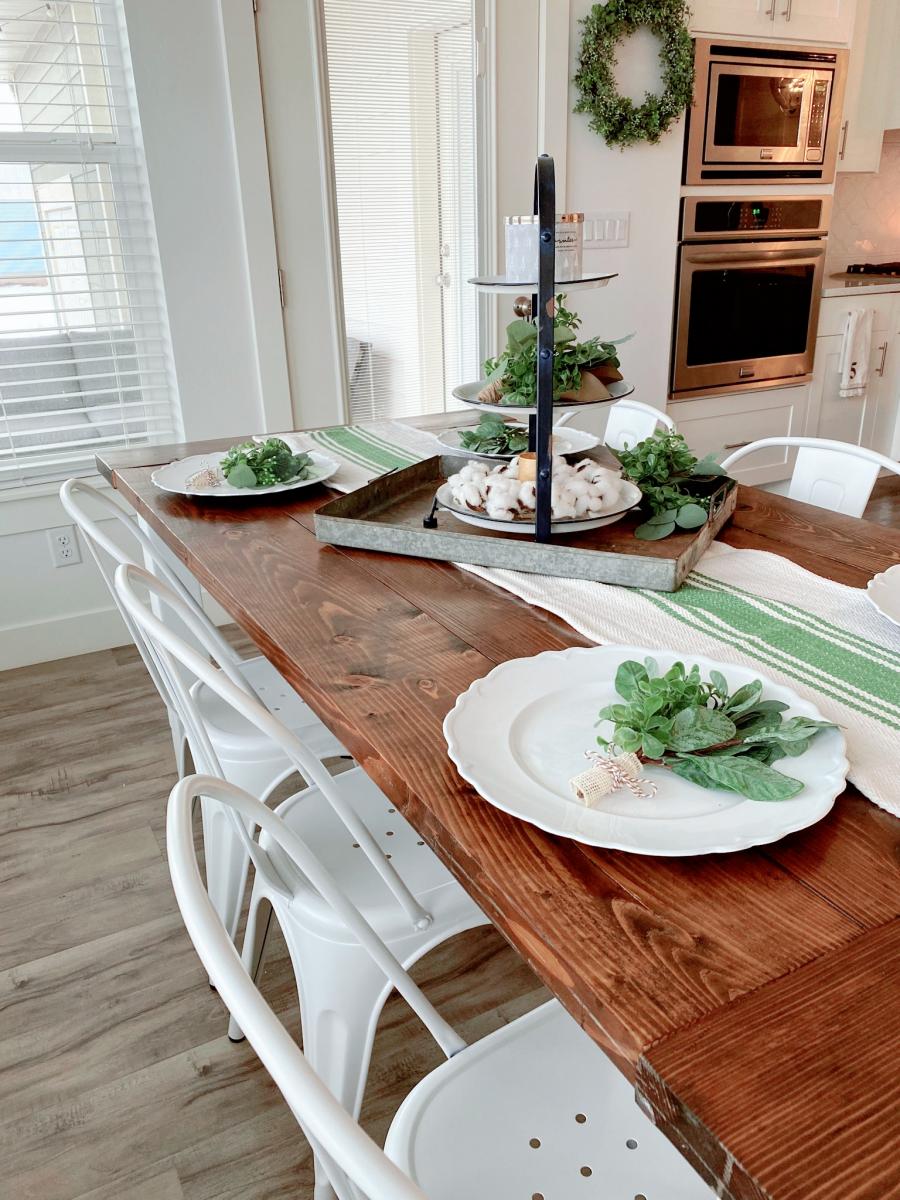
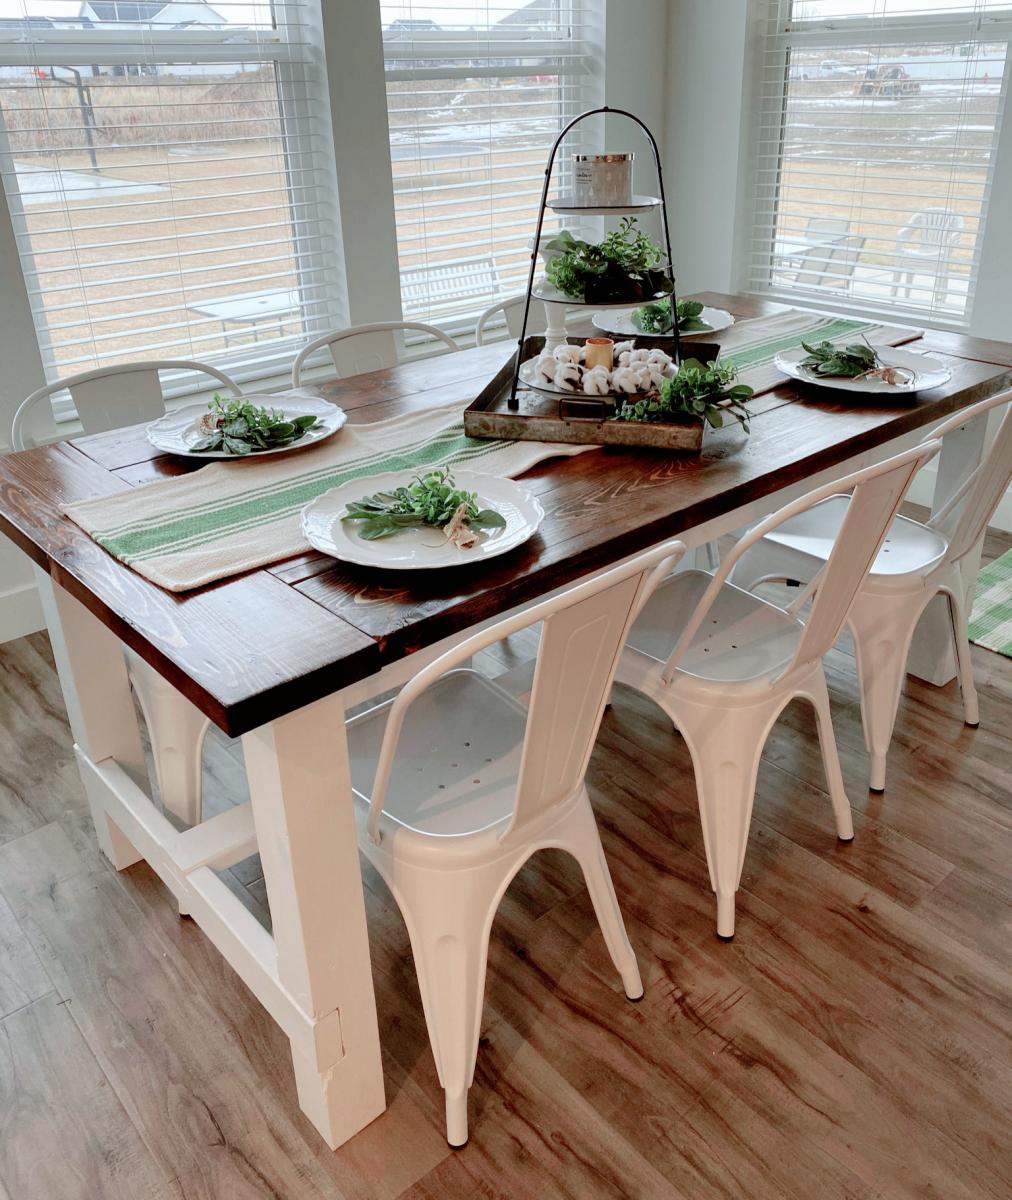
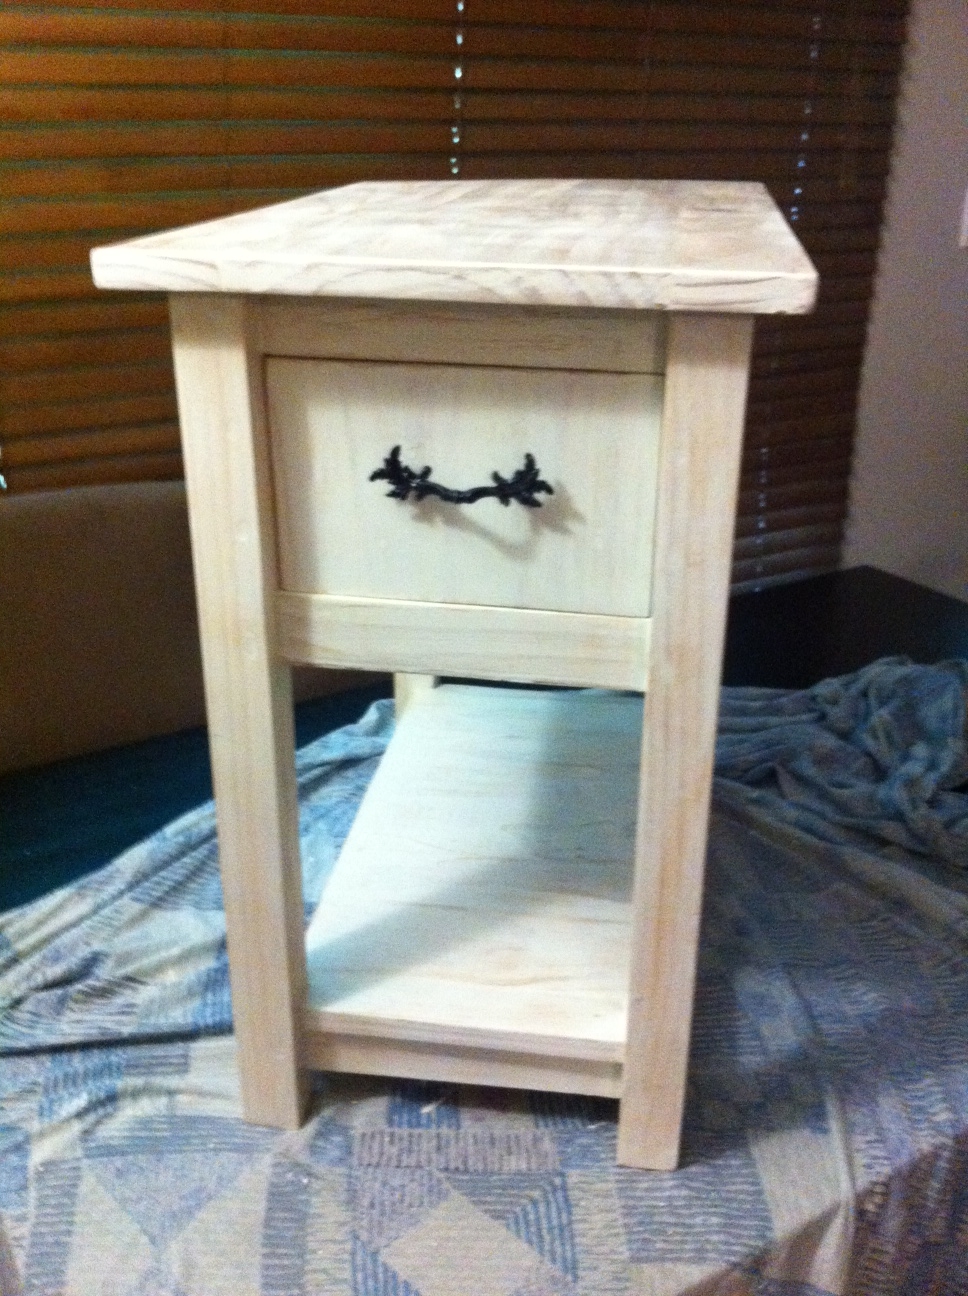
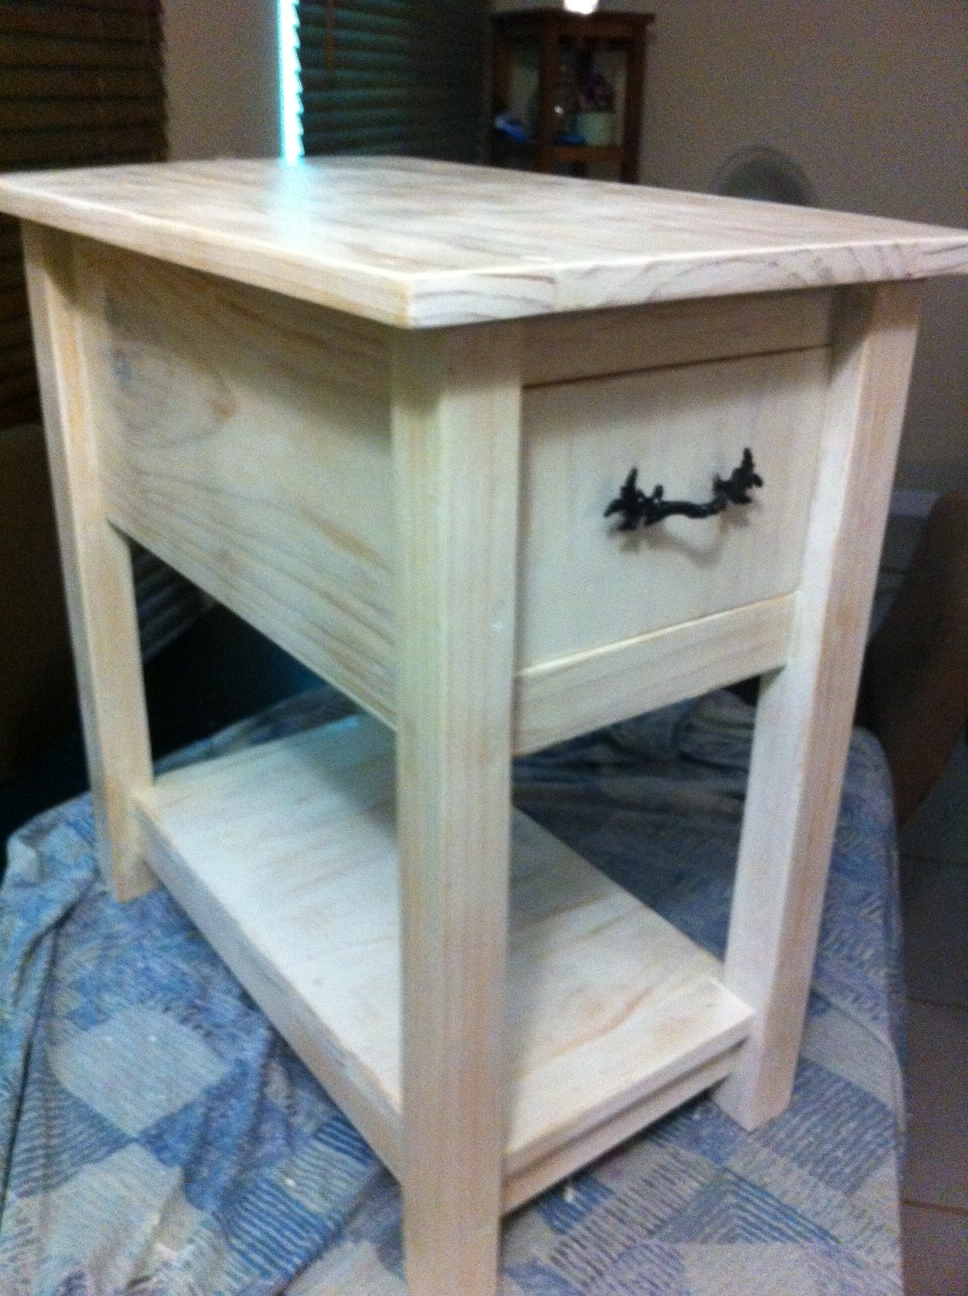
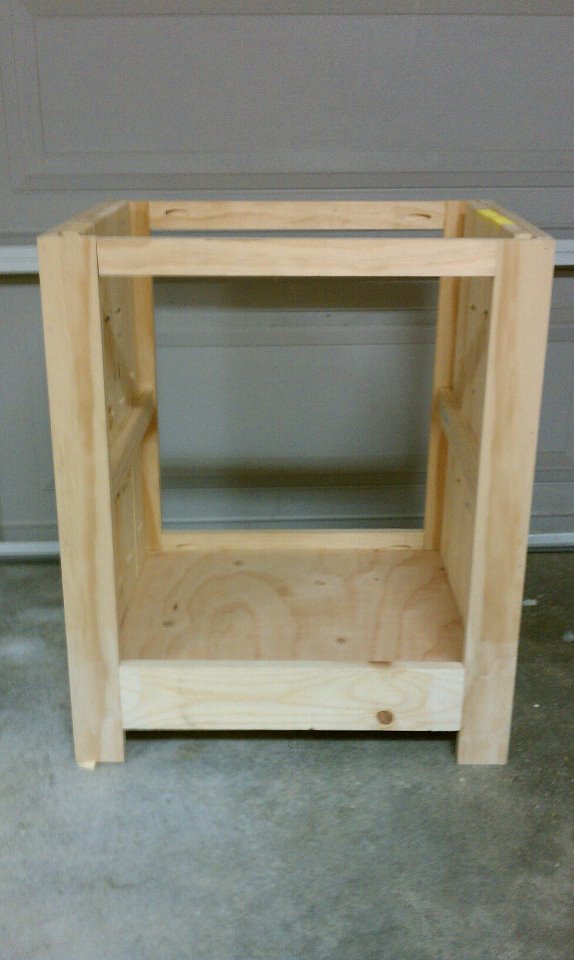
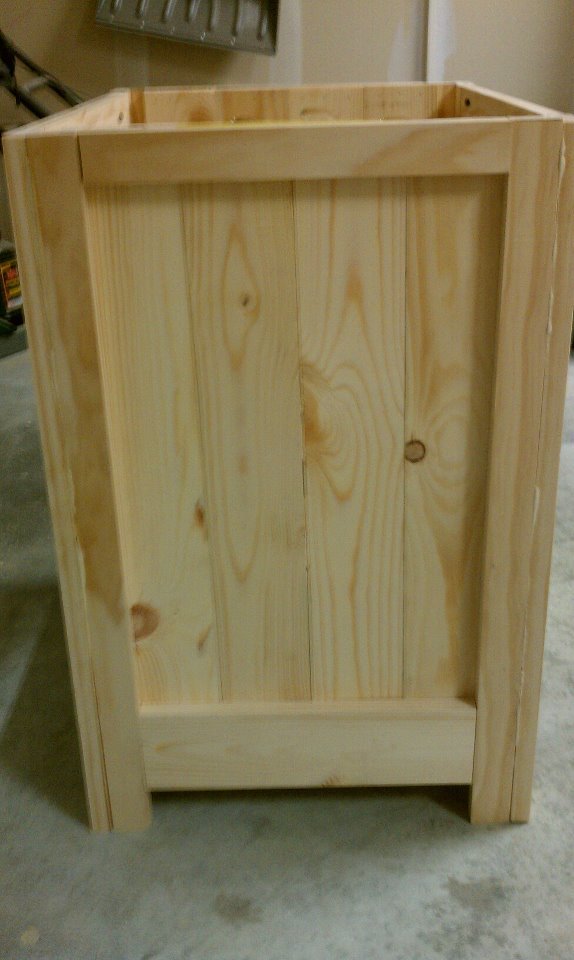
I used the Farmhouse Table plans as inspiration for my concrete kitchen island. I doubled up on the stretchers to add additional support for the 3x5 (275lb) cast concrete top and reversed the legs to expose the notches which were cut using a table saw. I used two coats of Minwax Golden Oak stain and two coats of Minwax polyurethane for the finish. The galvanized lag screws on the end supports are decorative, not structural. I used galvanized plumbing pipe to support the shelves and accessorized with bottle/wine openers. The top required 3 80lb bags of Quikrete 5000 and was sealed and waxed using Cheng concrete products. Because the concrete top was cast off-site, I had to build an A-frame to transport it safely to the installation site.


Built from Plan(s)
Estimated Cost
$350
Estimated Time Investment
Week Long Project (20 Hours or More)
Finish Used
Minwax Golden Oak (2 coats)
Minwax Polyurethane (2 coats)
Cheng Concrete Sealer (5 coats)
Cheng Concrete Wax
Minwax Polyurethane (2 coats)
Cheng Concrete Sealer (5 coats)
Cheng Concrete Wax
Recommended Skill Level
Intermediate


Comments
Malka
Tue, 05/17/2016 - 03:55
Great build
This might be one of the coolest builds I've seen yet! Love the combination of wood, metal and concrete!