Community Brag Posts
Tool Organizer
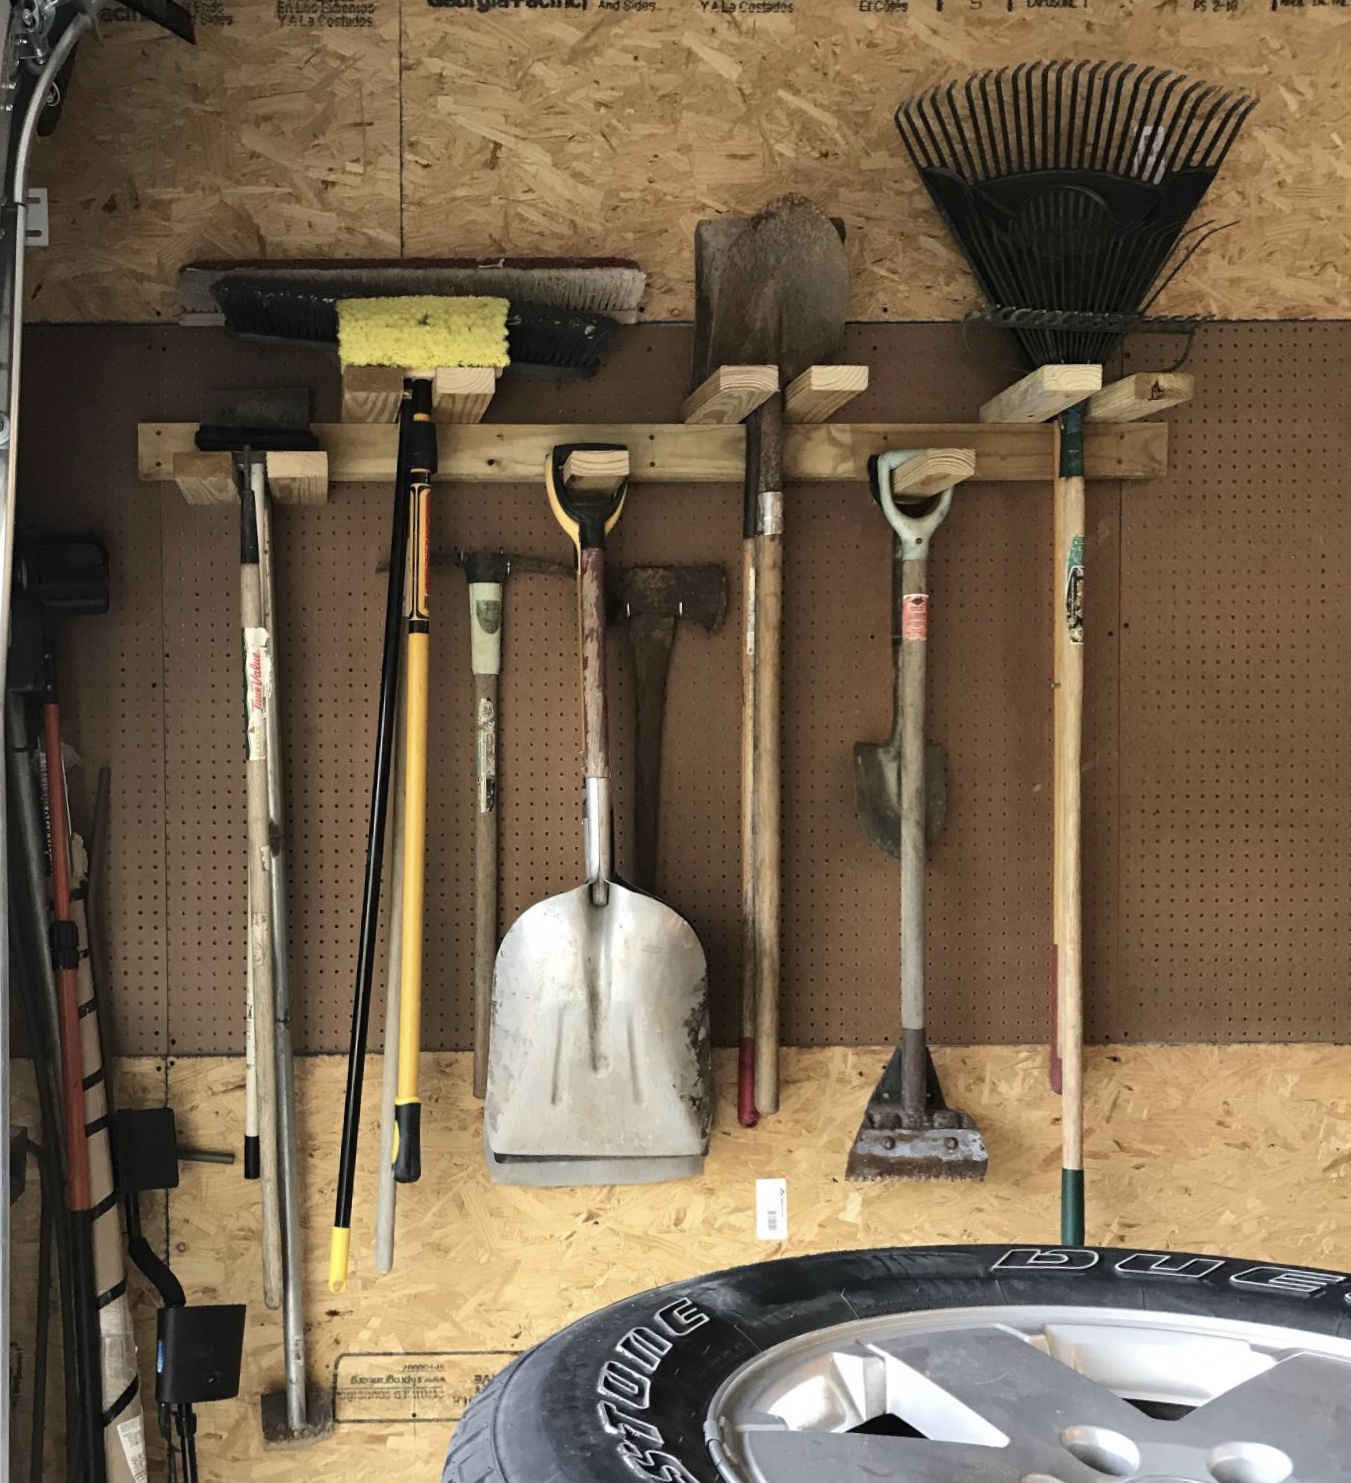
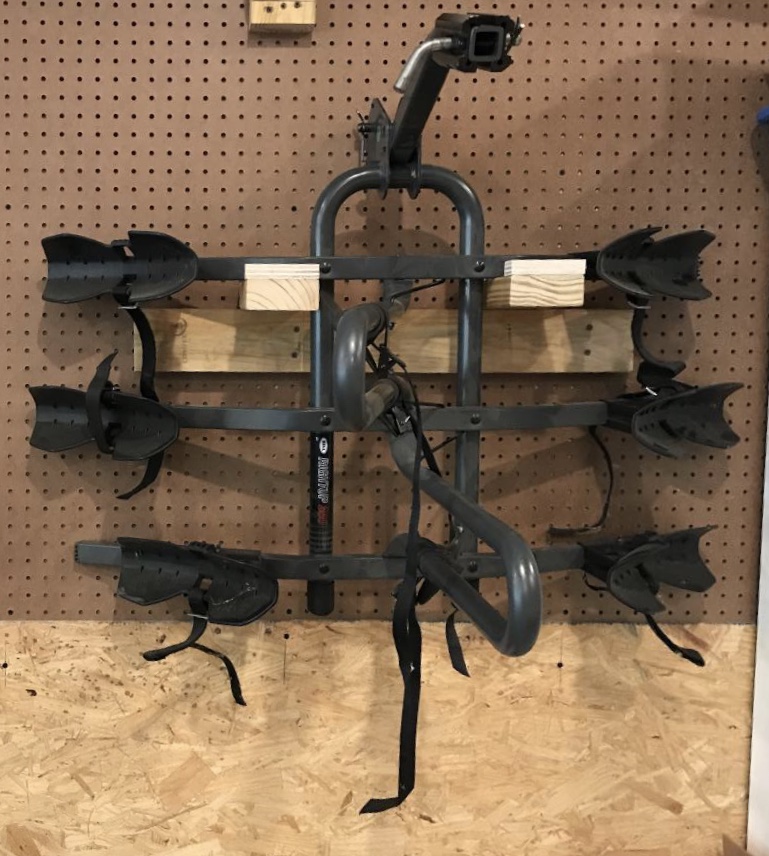
I’m very happy with my tool organizer. I also used the tool organizer idea for bracket to hang our bicycle rack. We love the way it all came out. Thank you so much for sharing!
We run a fence company. The best thing about this project is that it cost me $0!! I used 2X4 cutoffs that we were going to trash!
Tapered Wood Planter
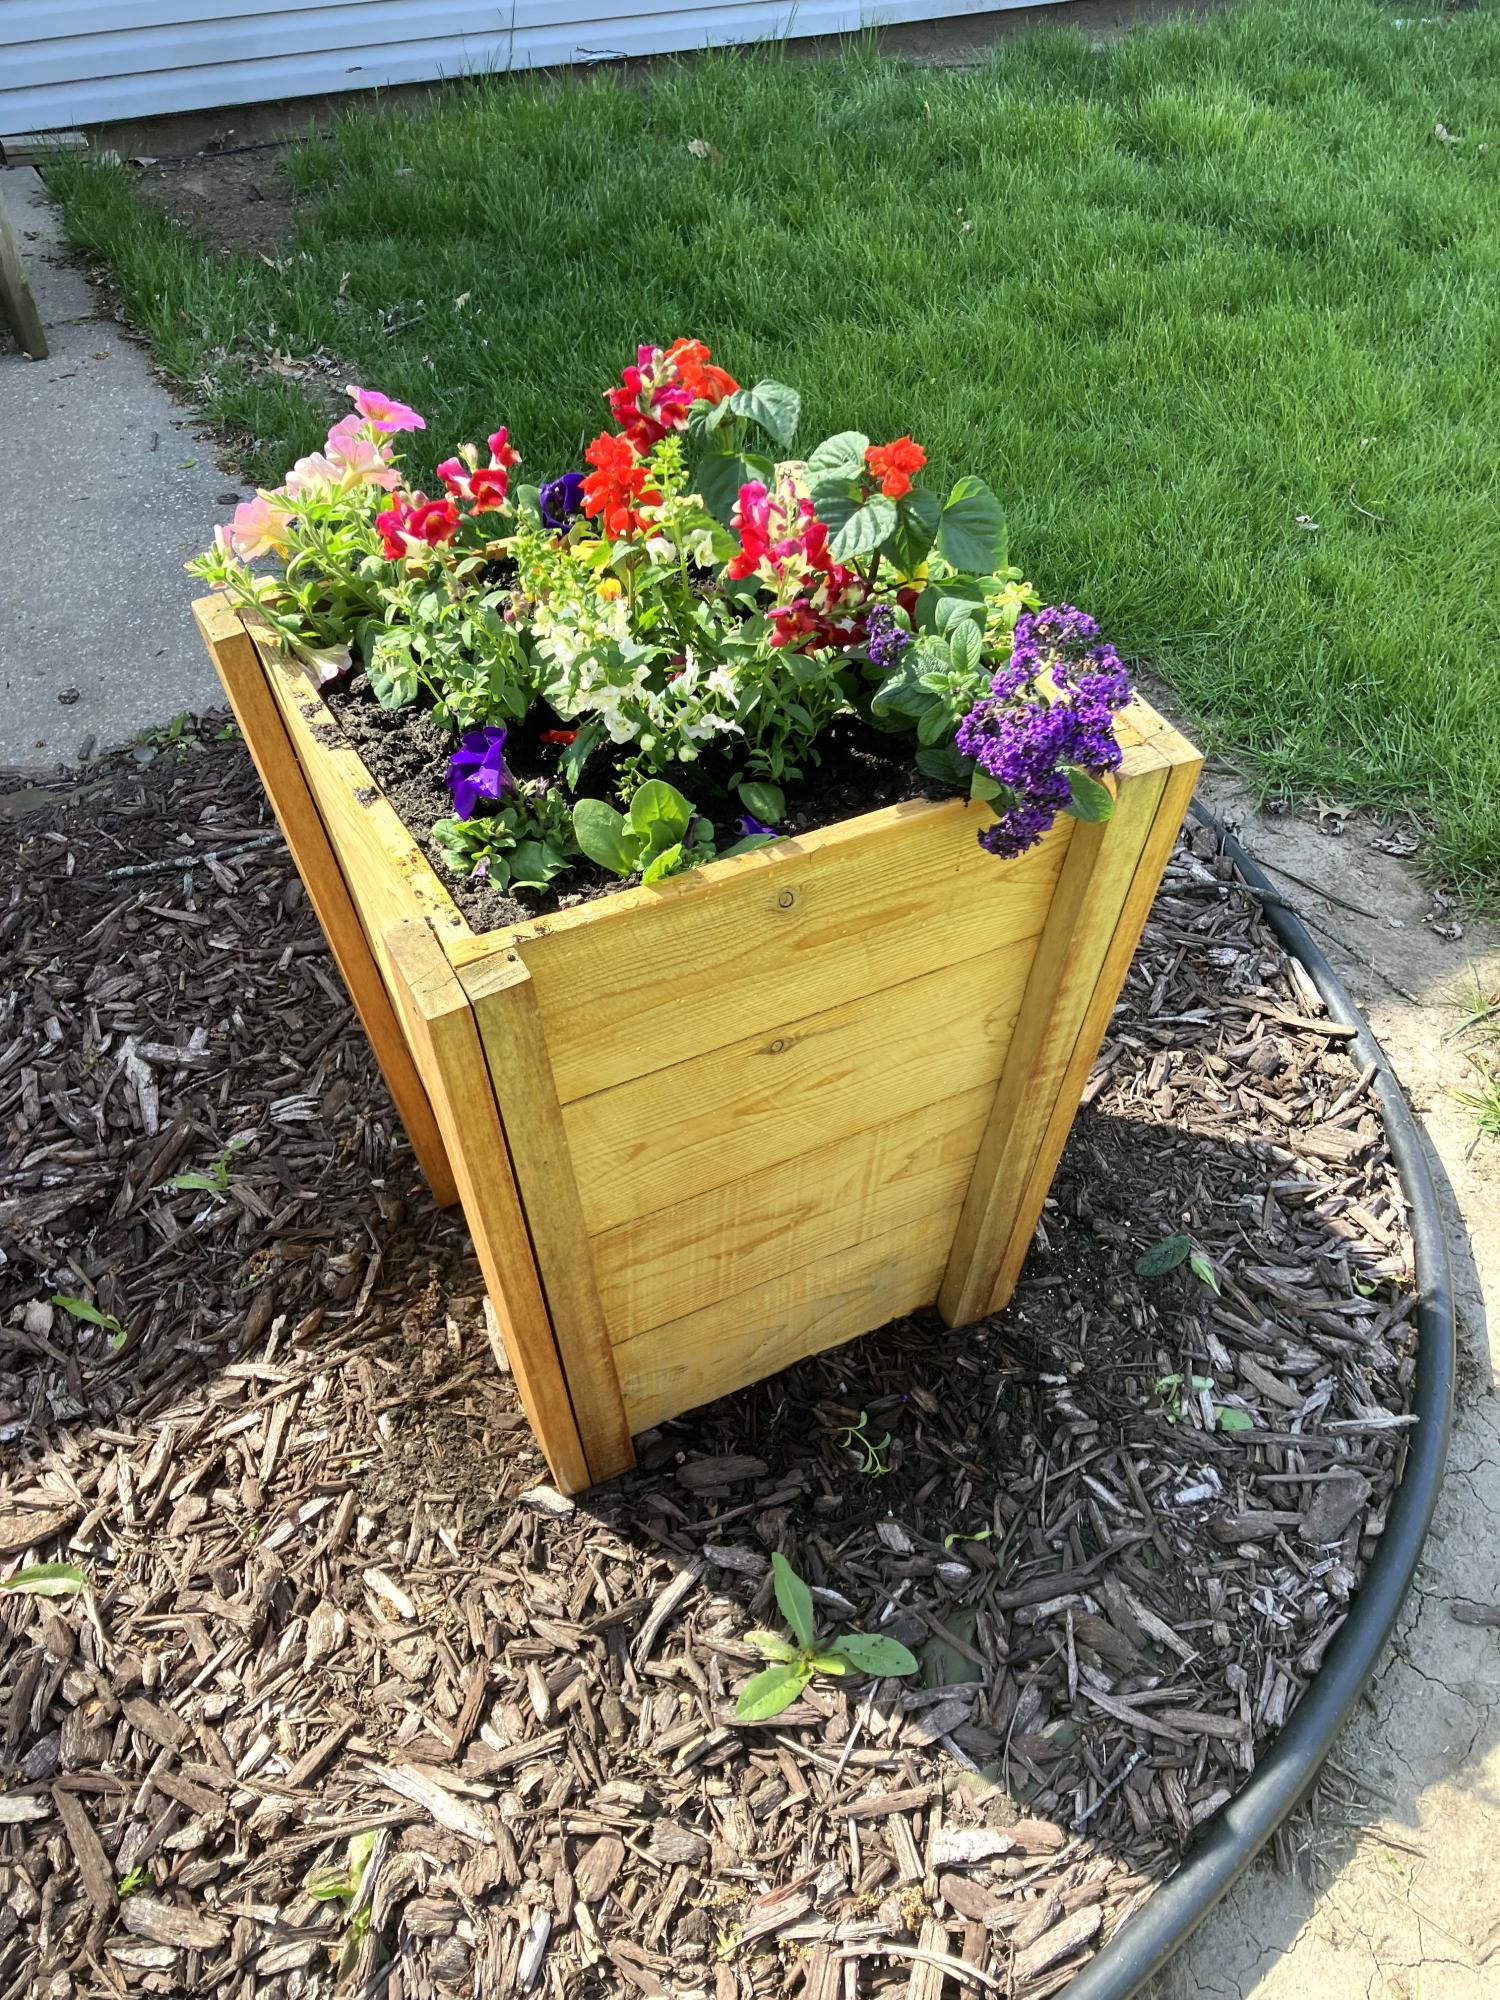
Made this for our patio area very fun build, my wife loves it so of course she wants another one! Back to the wood stove.
Blair K
Rhyan Console table
This is my second project. It went really well. I wanted to do something different with the handles so I used an old bicycle chain that I took it apart to make the handles.

simple outdoor lounge chair
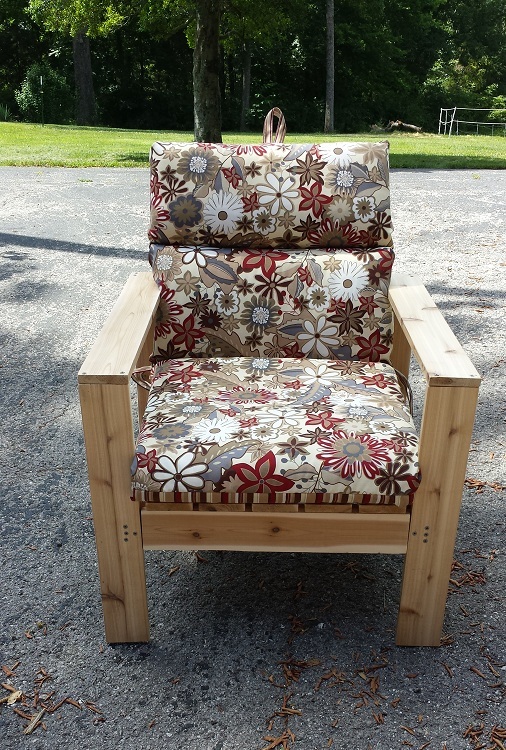
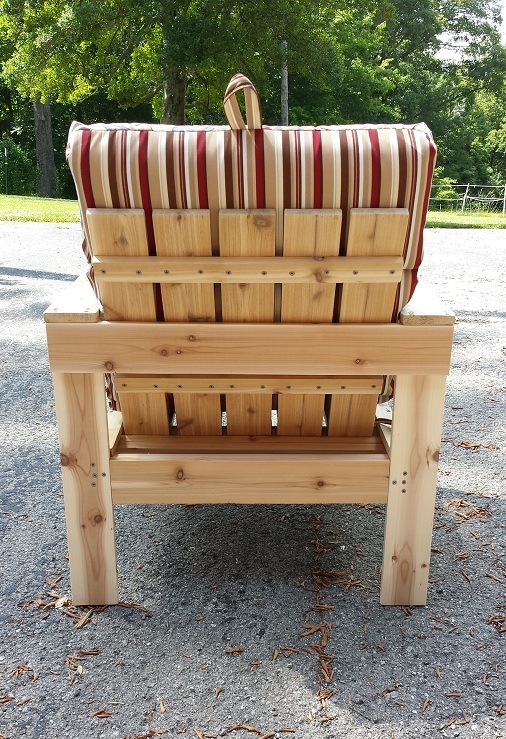
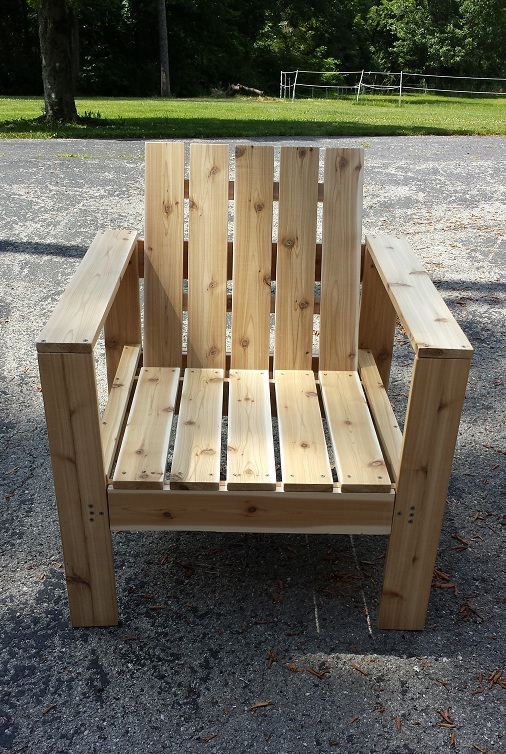
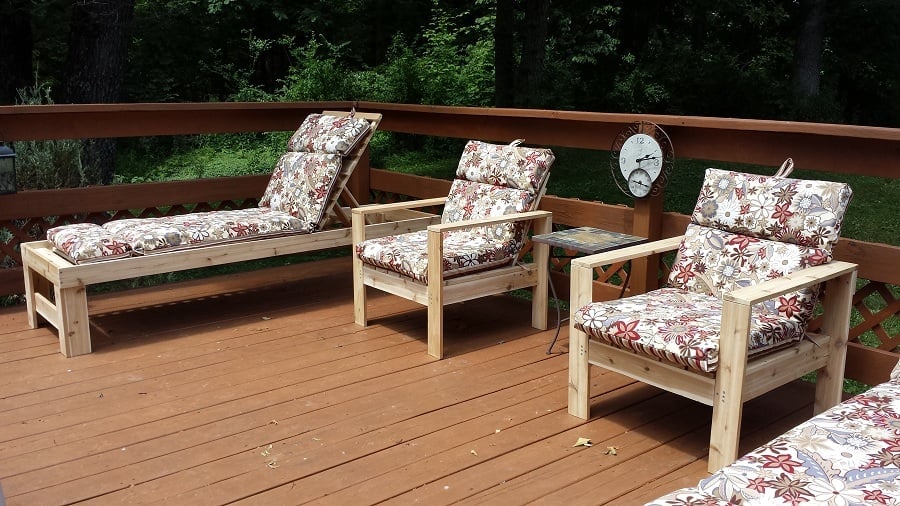
I made two lounge chairs and two chaise lounge chairs for my pool deck. I think they look great as a set! I did use a 1 x 4 for the back brace instead of a 1 x 2.
Comments
Fri, 06/26/2020 - 20:53
Building plans
I love them. How can i get the plans to build this?
Thank you..
Milk Paint Bookshelves
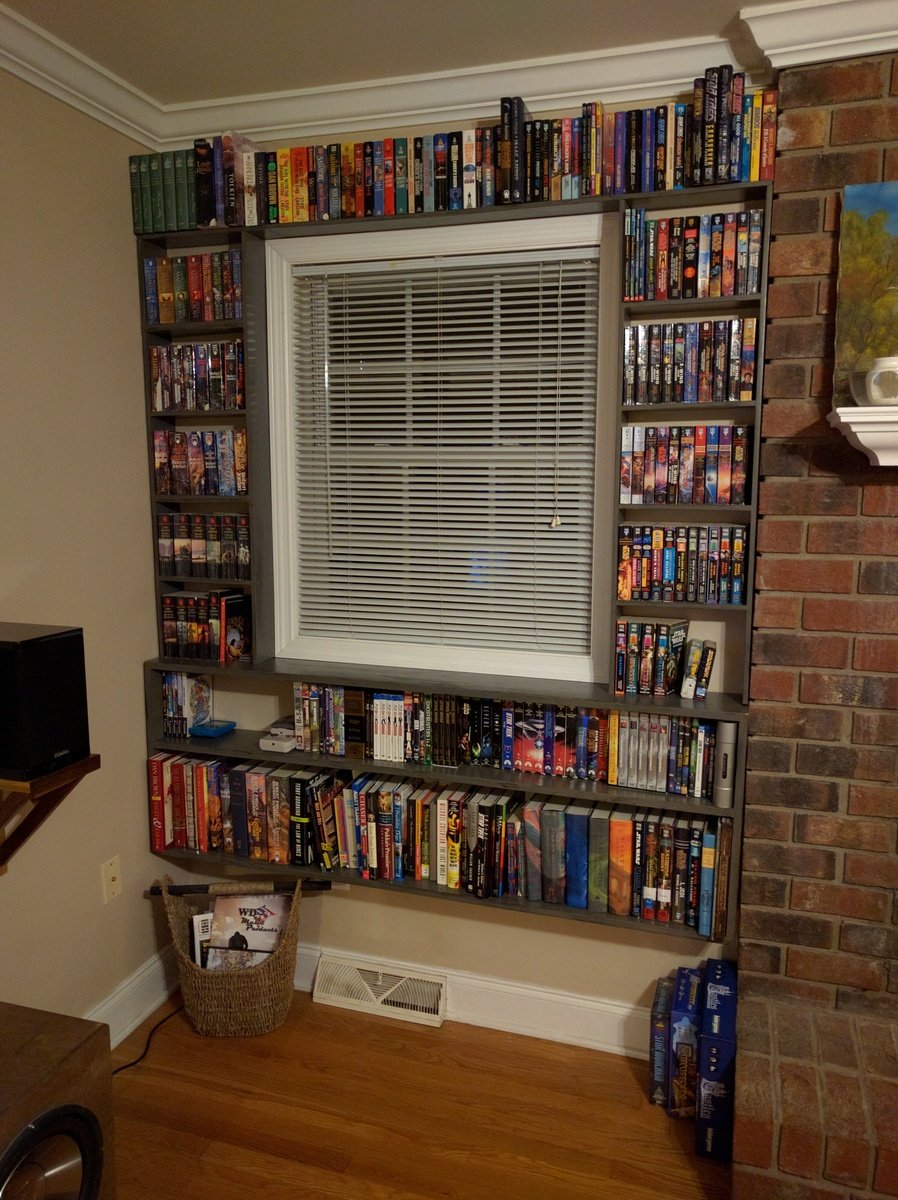
Some built-in bookshelves finished using milk paint.
General Finishes 'Lamp Black' base coat + 'Driftwood' top coat, sanded down so 'Lamp Black' showes through. Yellow Ochre Glaze coat to add an aged look, then a quick coat of polycrylic for protection
Comments
Sat, 09/24/2016 - 10:35
What a great way to add
What a great way to add custom storage to your home! These look awesome!
Tiered planter
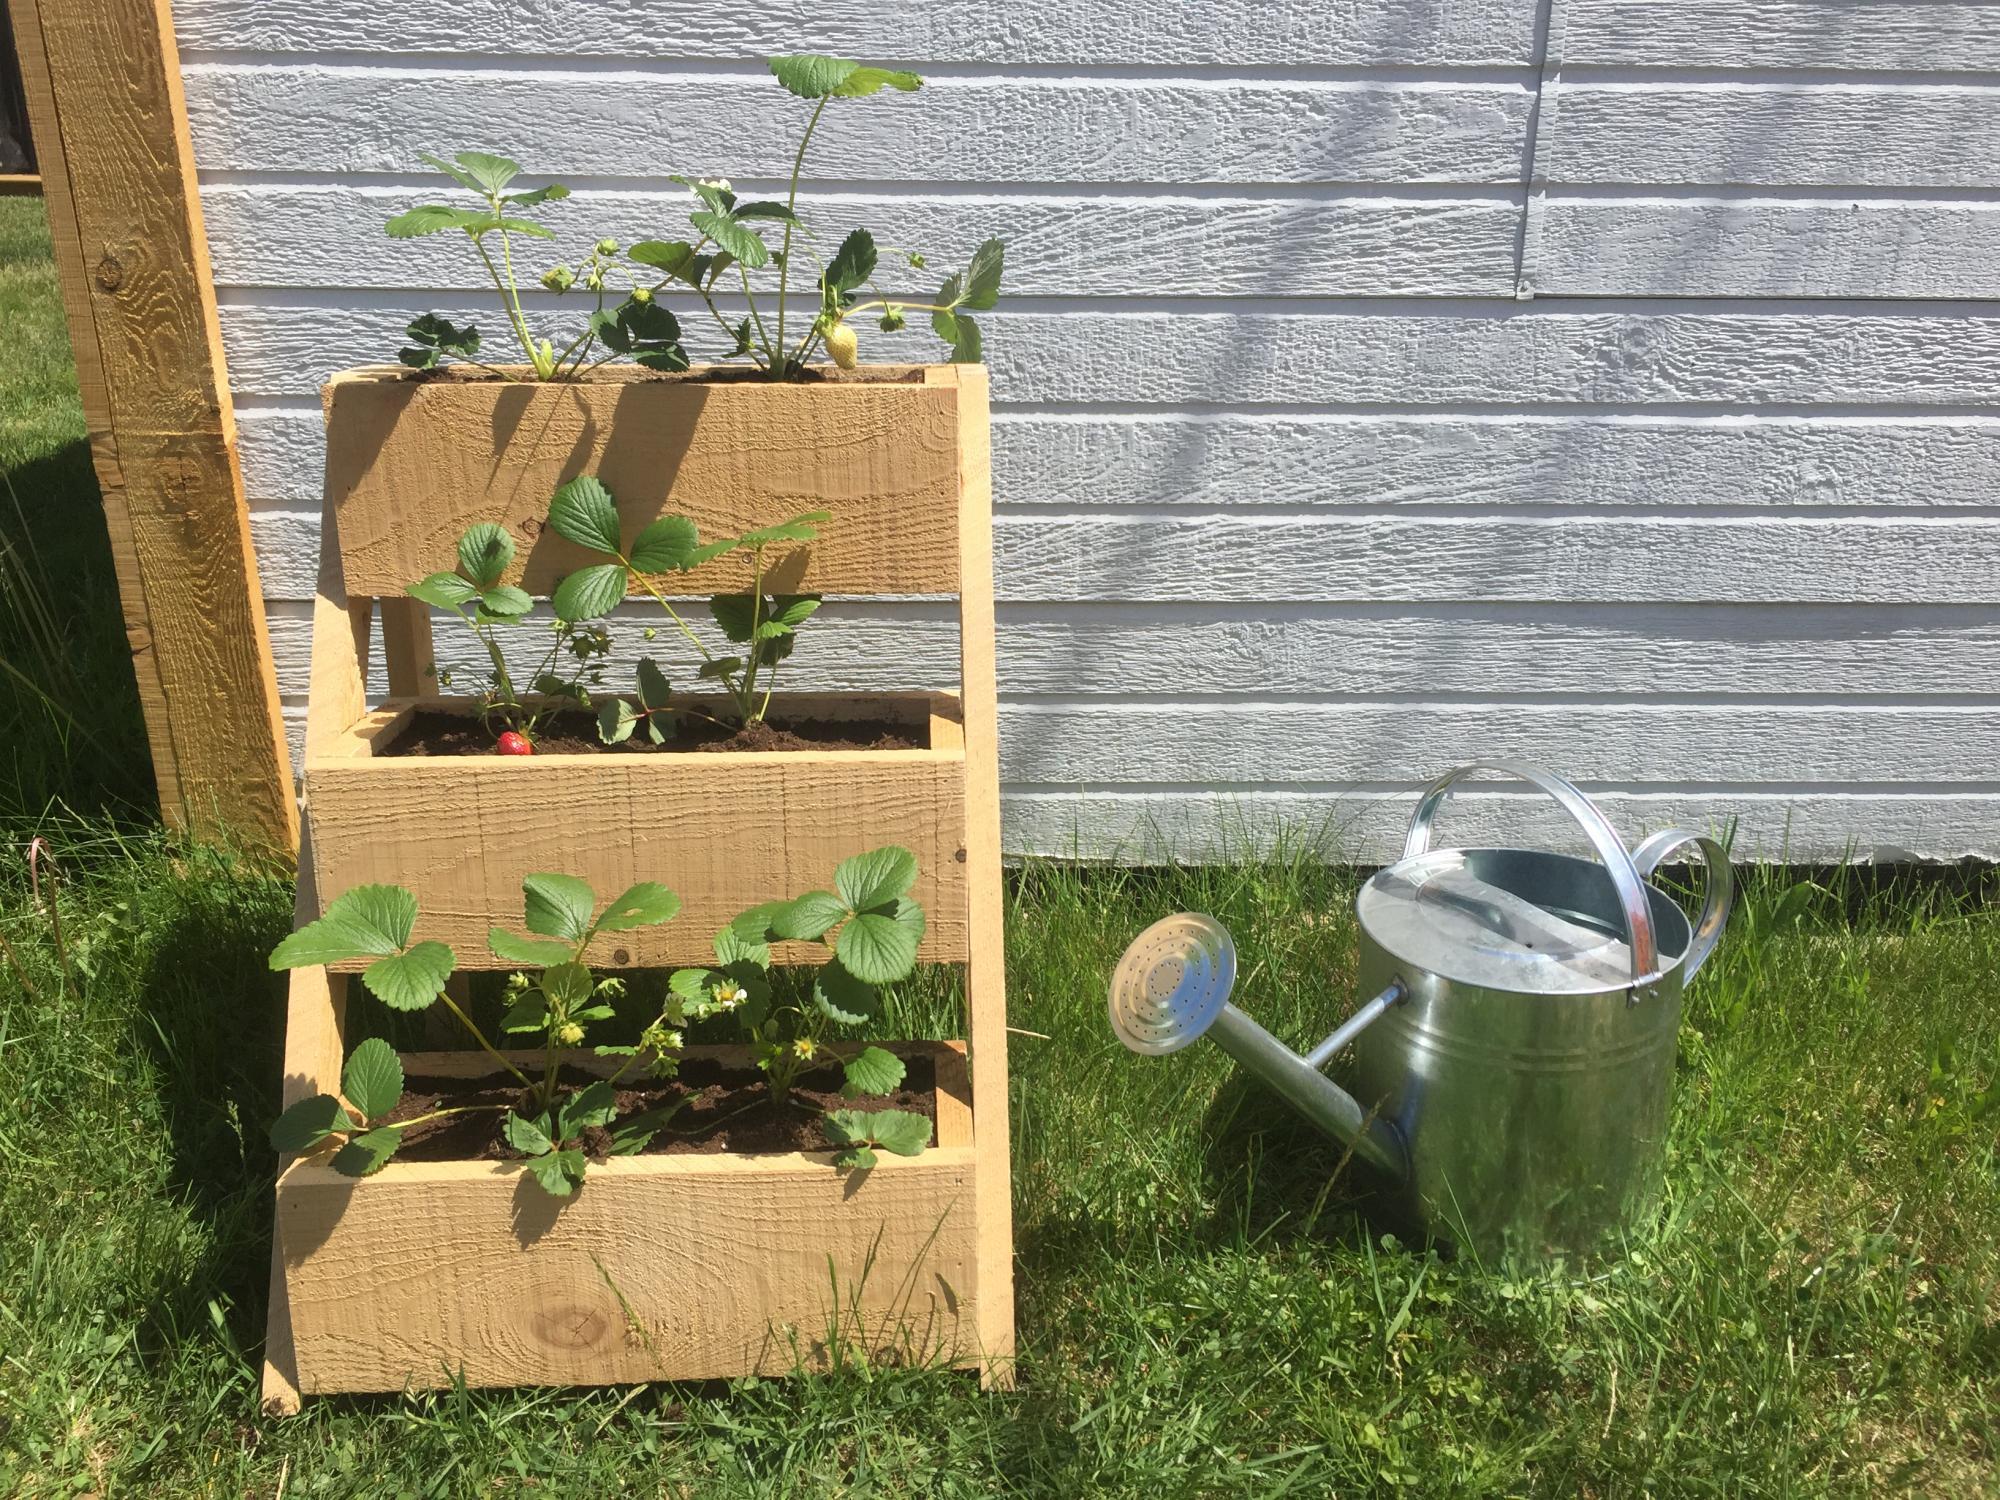
I built this tiered planter for my strawberry plants.
Custom Toy Box
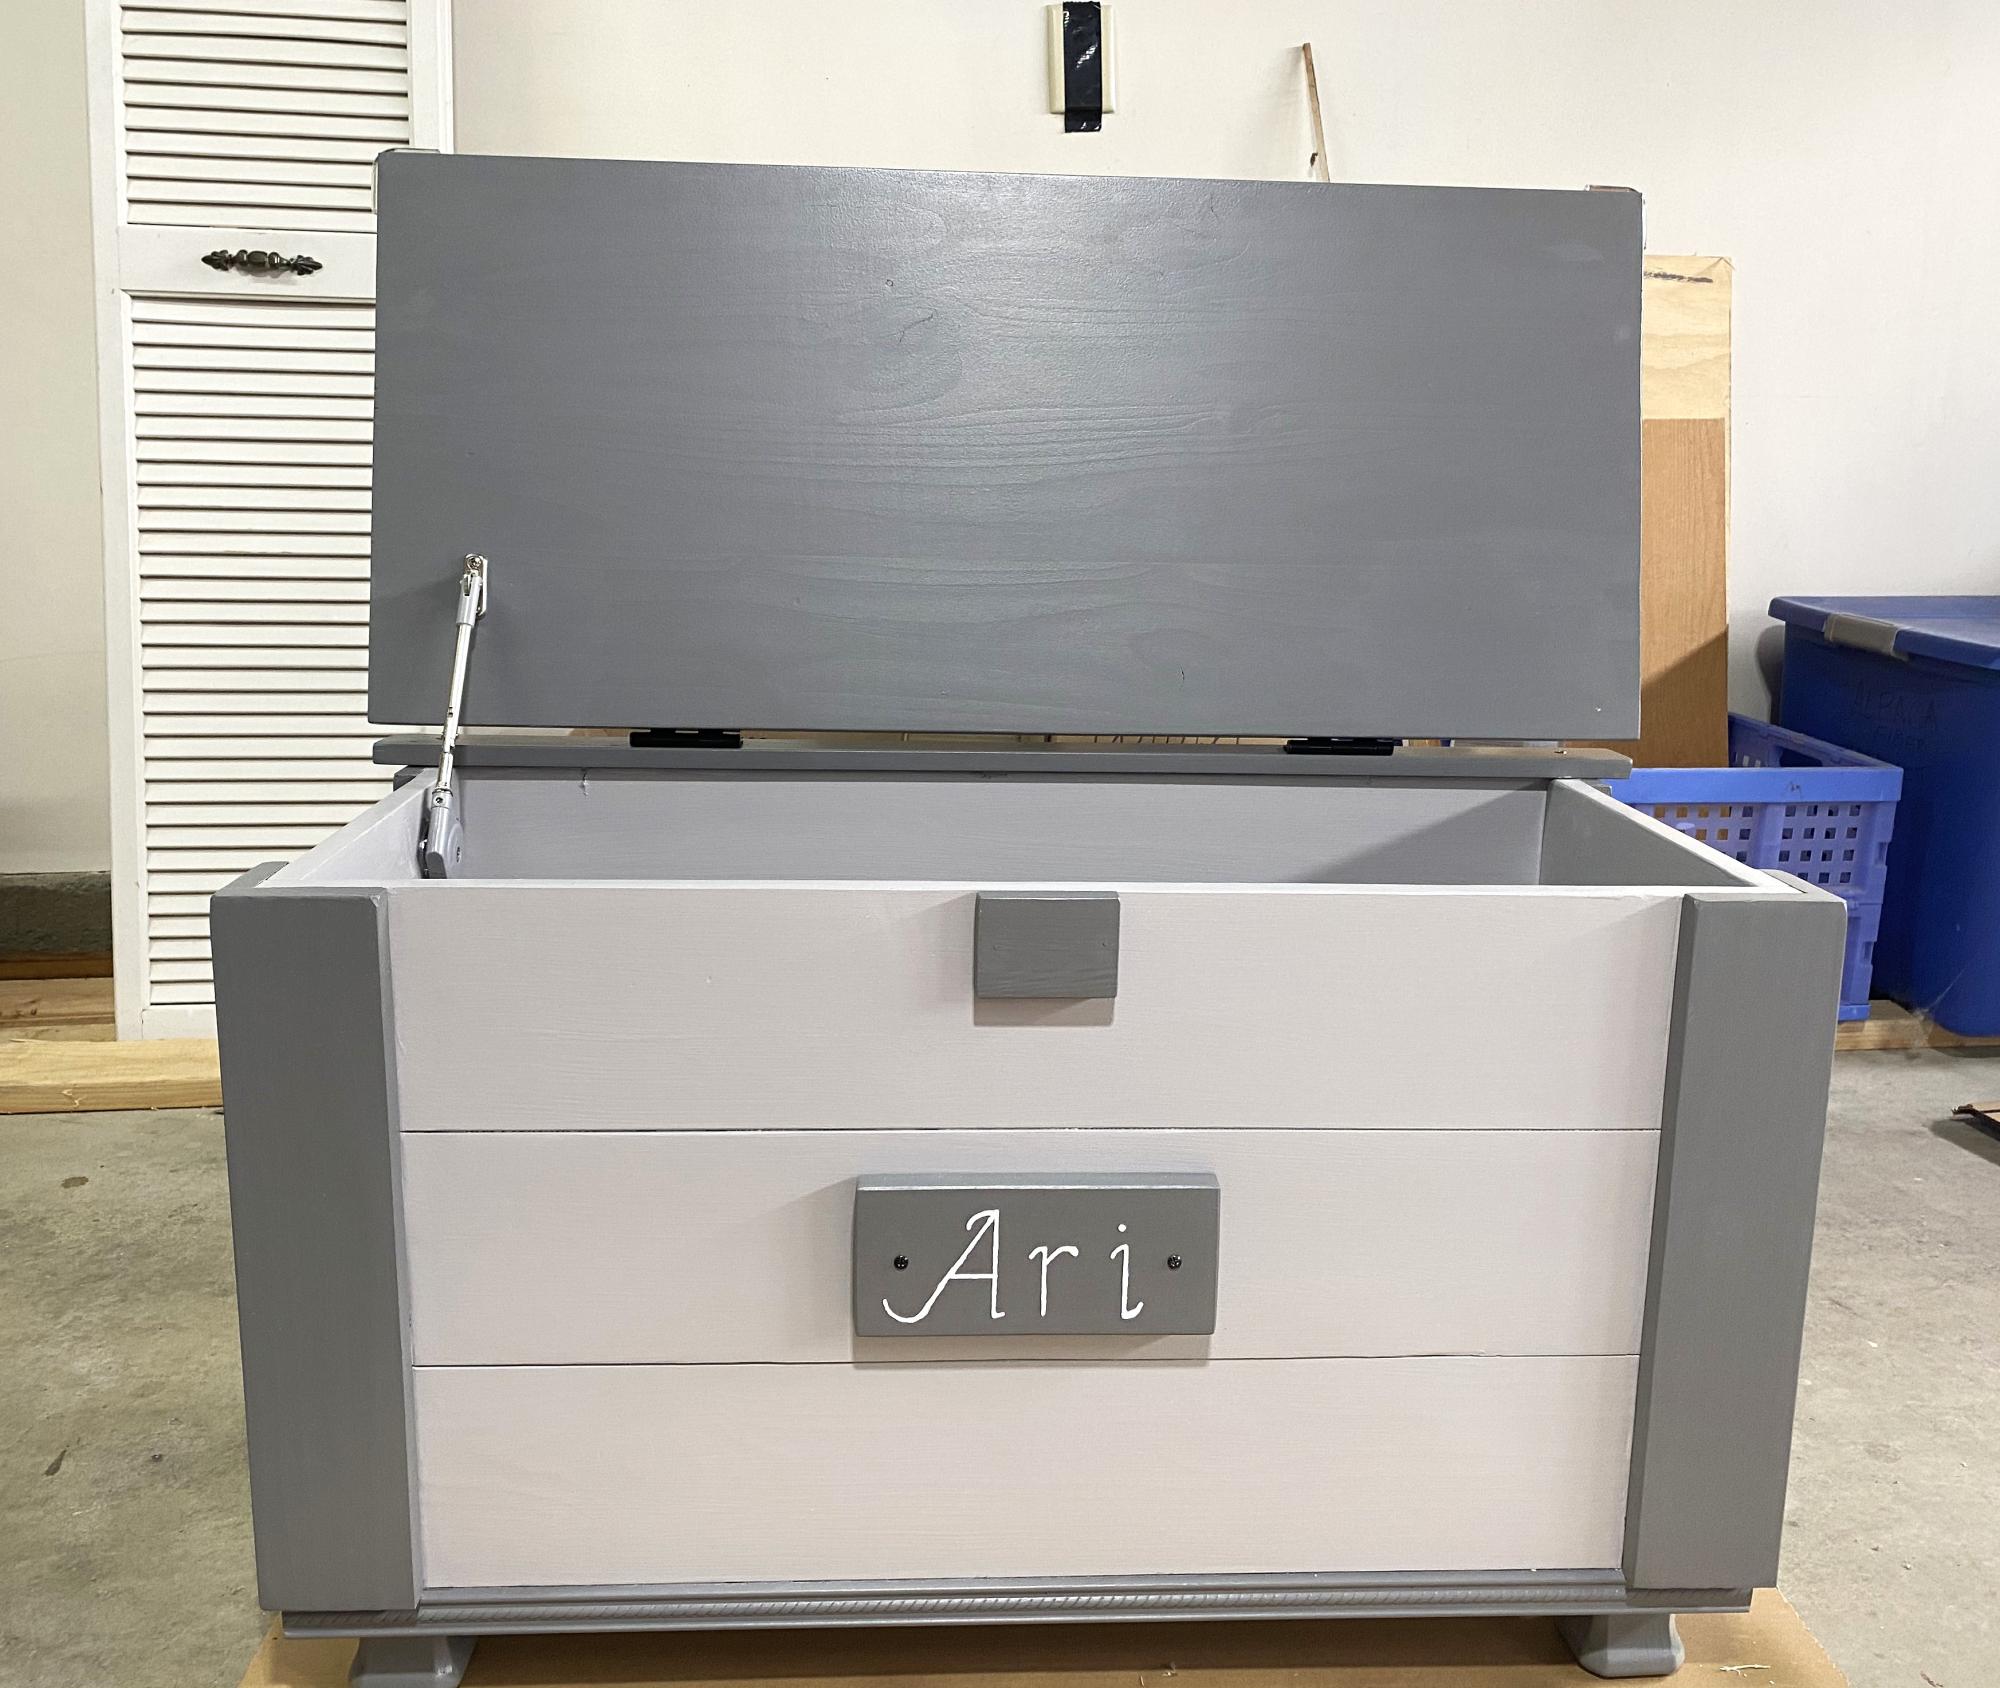
Your plan for this toy box was sooo easy to follow, but I added the feet. My grandson loved it. I have 2 other projects from your plans for him as well.
Charlene
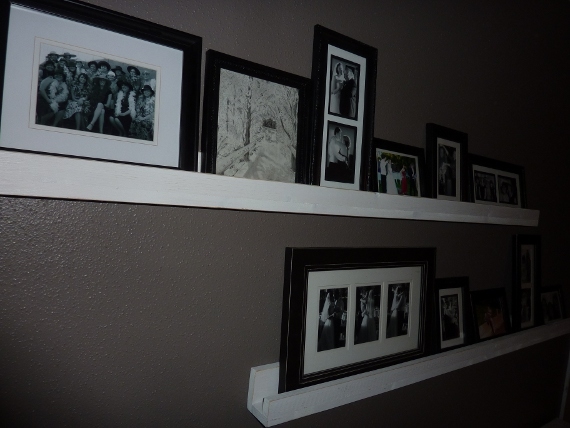
Ten Dollar Picture ledges
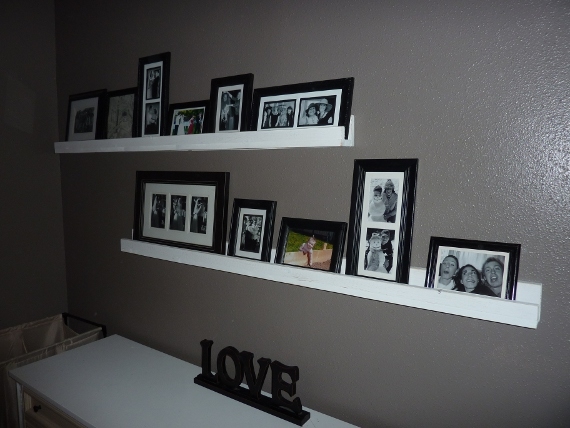
I LOVE how these turned out. So simple...but a huge statement in our room!
I used the other half of the 8ft pieces I used to make the book ledges in our daughter's room.
Now I am starting on some for the living room!!
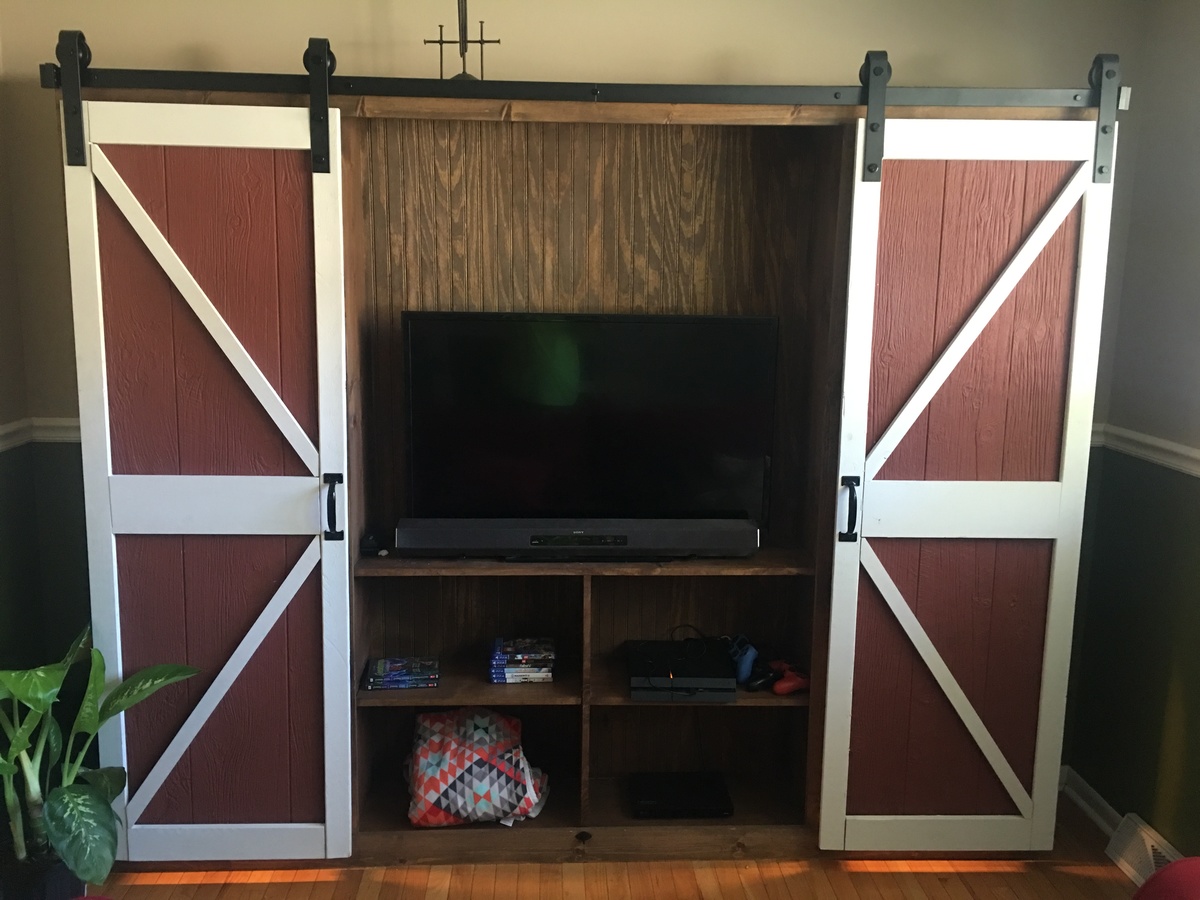
Barn door media wall suite
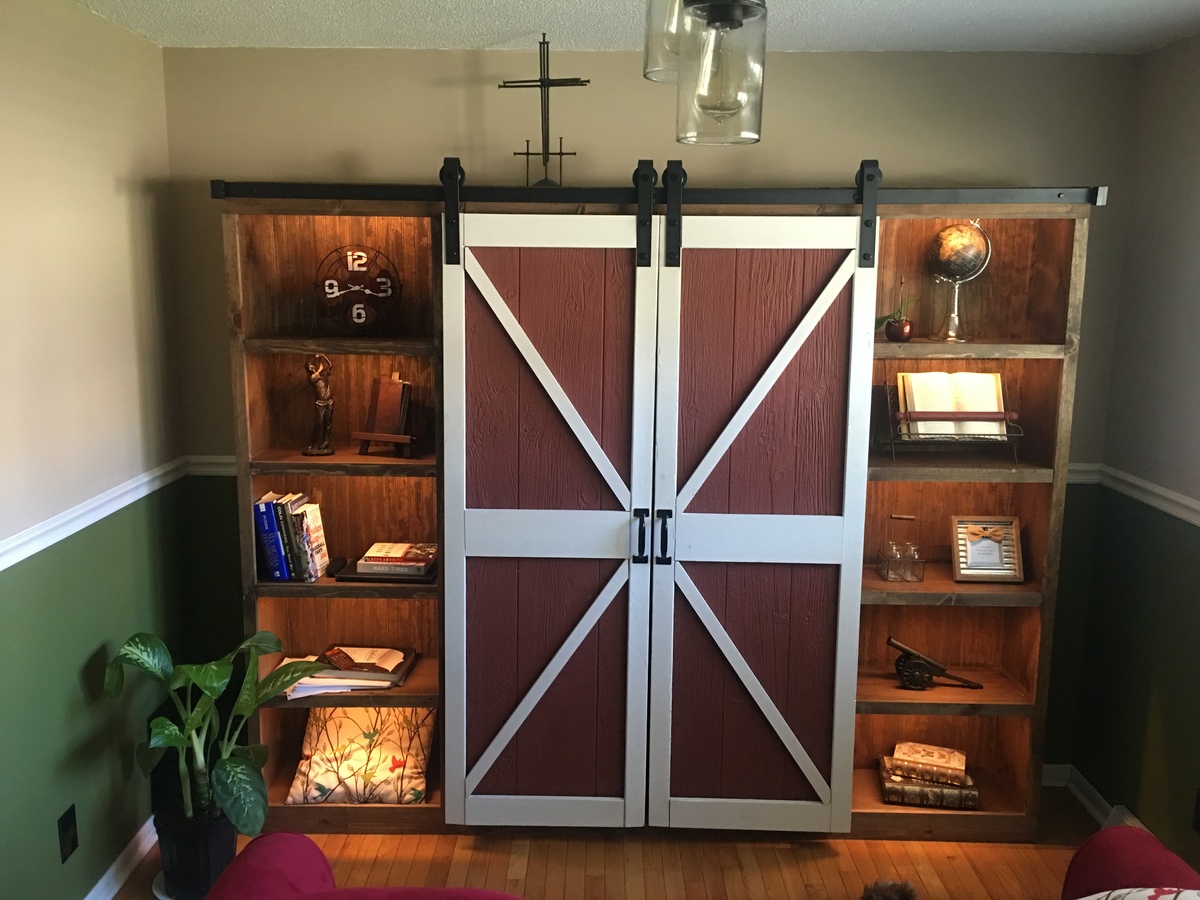
This was the first thing my husband has EVER built. He's the kind of guy that's better with his mind than his hands, so this is a huge accomplishment for him. We truly love this piece and are proud to have it in our home.
We would like to add crown molding to the top in the near future. Also debating on adding a shelf in the middle to raise the TV so that the TV will sit in the center of the opening.
Modern Outdoor Sofa
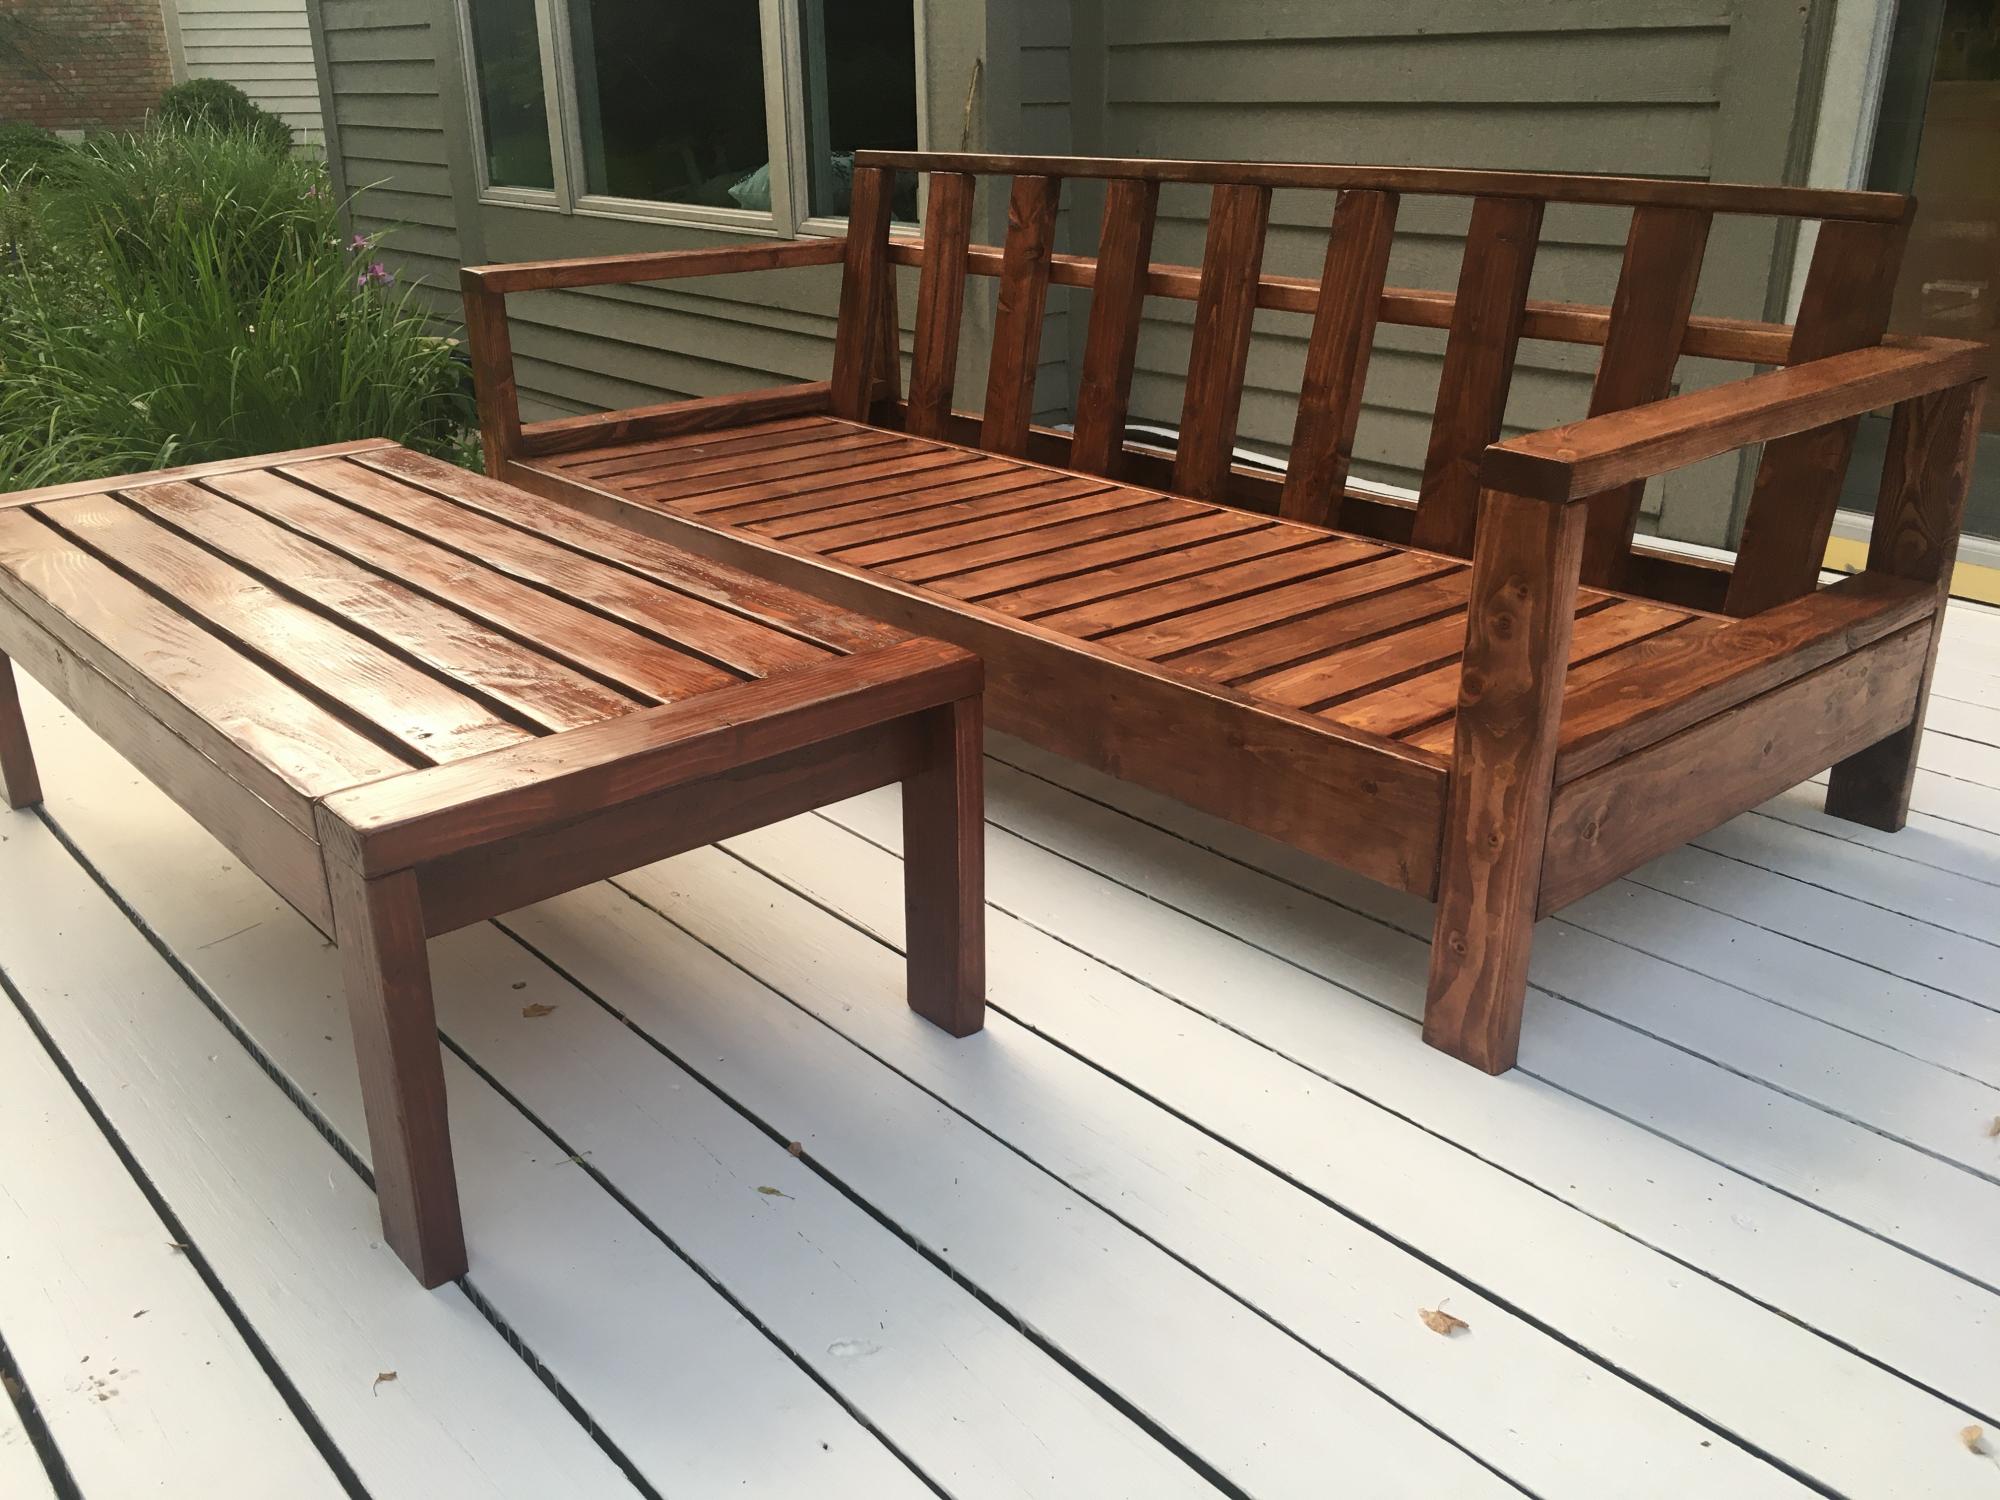
We are building memories and patio furniture! We're total beginners and we built an outdoor sofa and coffee table! My husband and I have never built furniture before and really needed some patio furniture as we prepare to host our son and his sweetheart's wedding reception! We learned that it's a lot of work, but so worth it!
The plans we used are from Ana White's website (Ana, you've made a wanna-be carpenter out of me!) https://www.ana-white.com/woodworking-projects/outdoor-sofa-modern-comf…
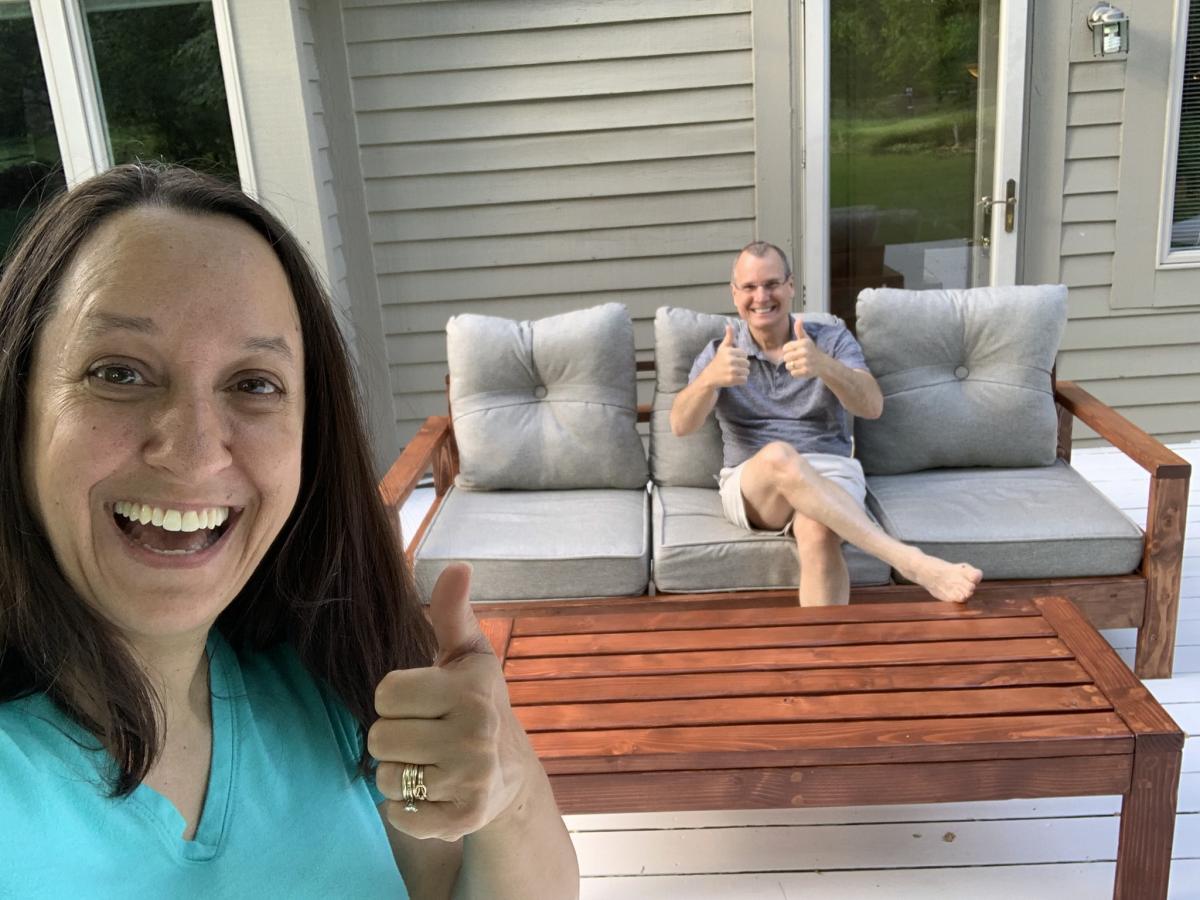
Lightly sanded between coats and applied 2 coats all over and 3 coats on arms
Toy Story 2 Loft Bed
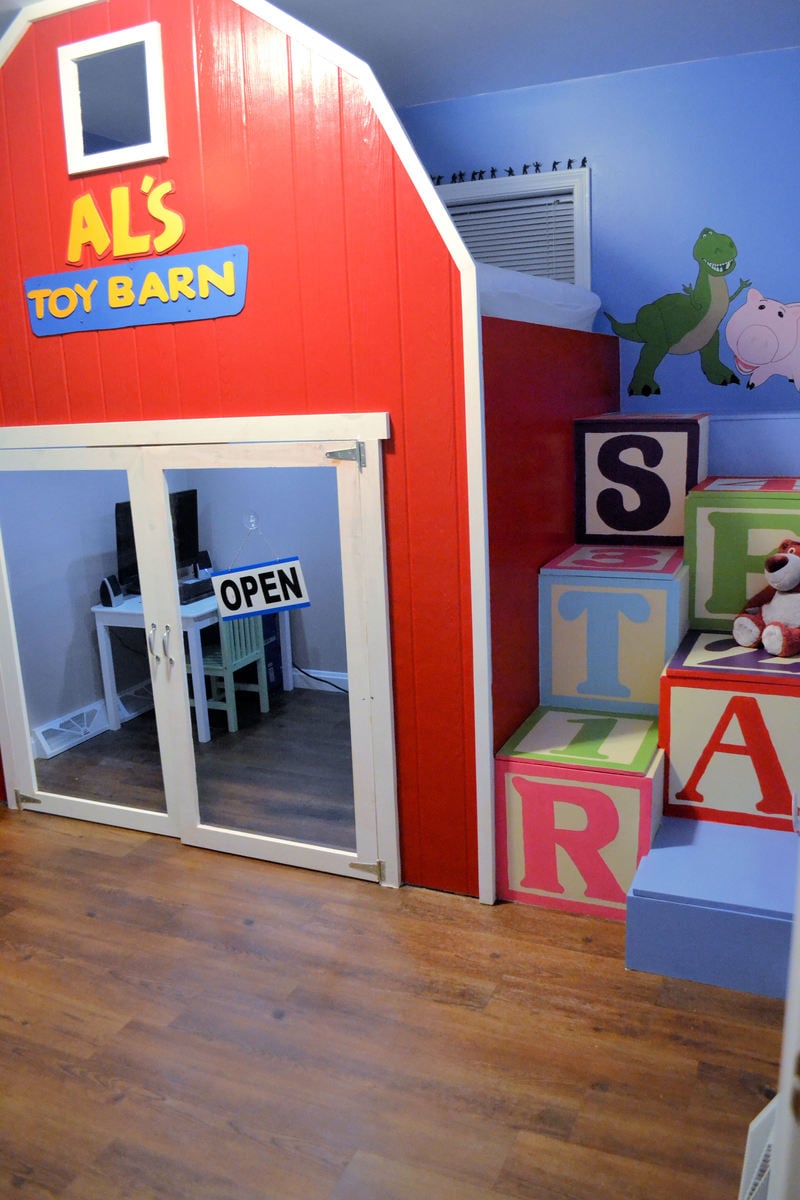
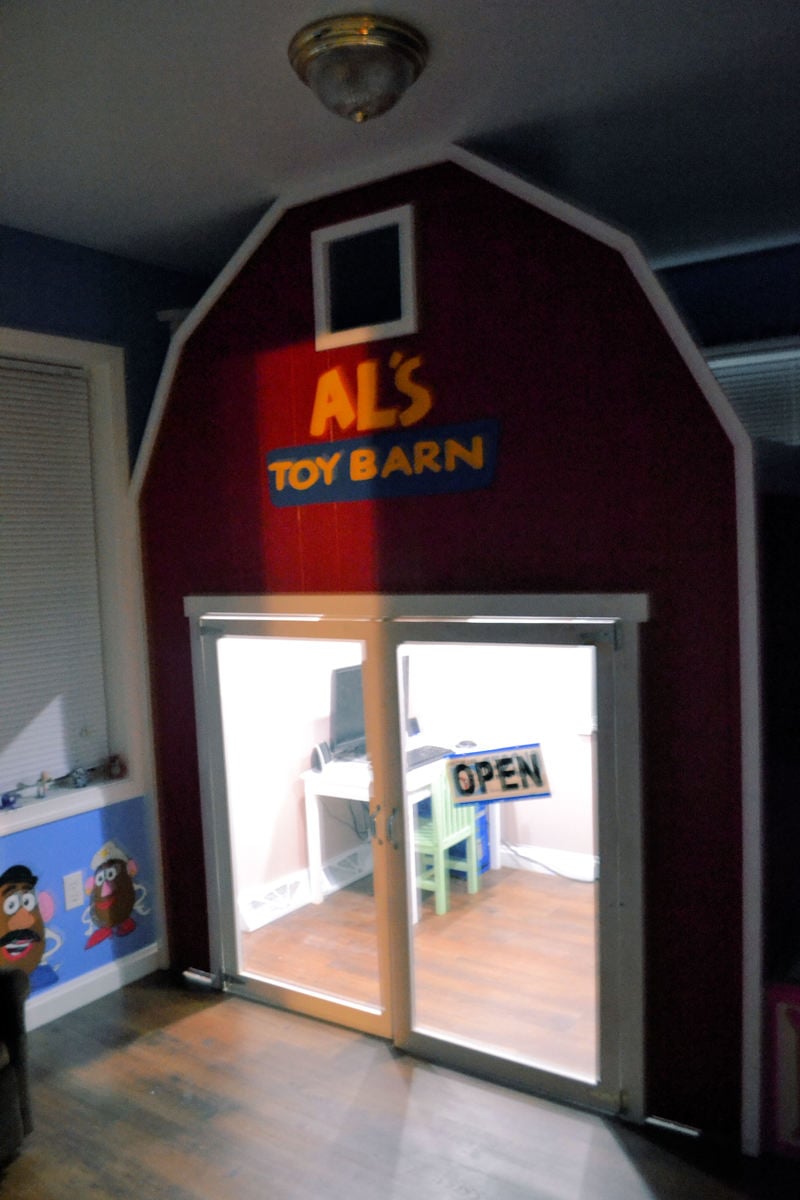
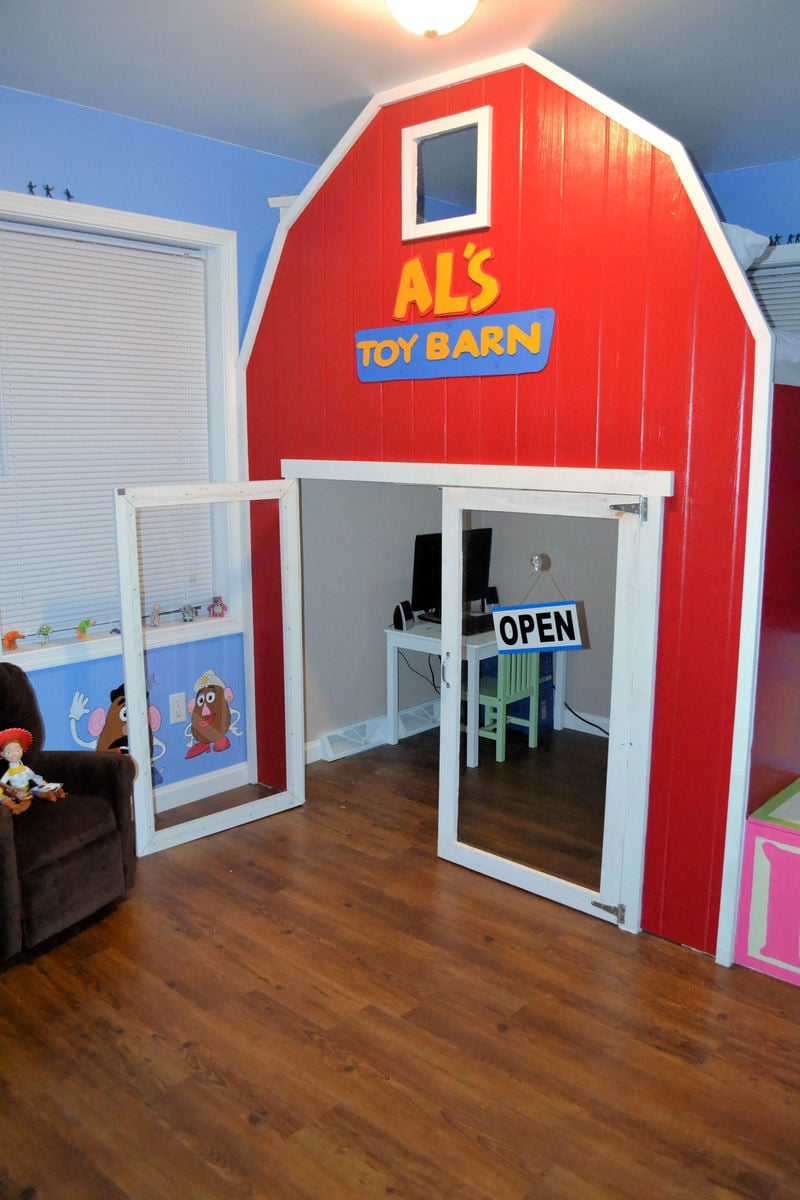
This was a big project to tackle. I'm not very good at modifying building plans, so my husband was frustrated during the beginning of this build. But we are very happy with the way it turned out.
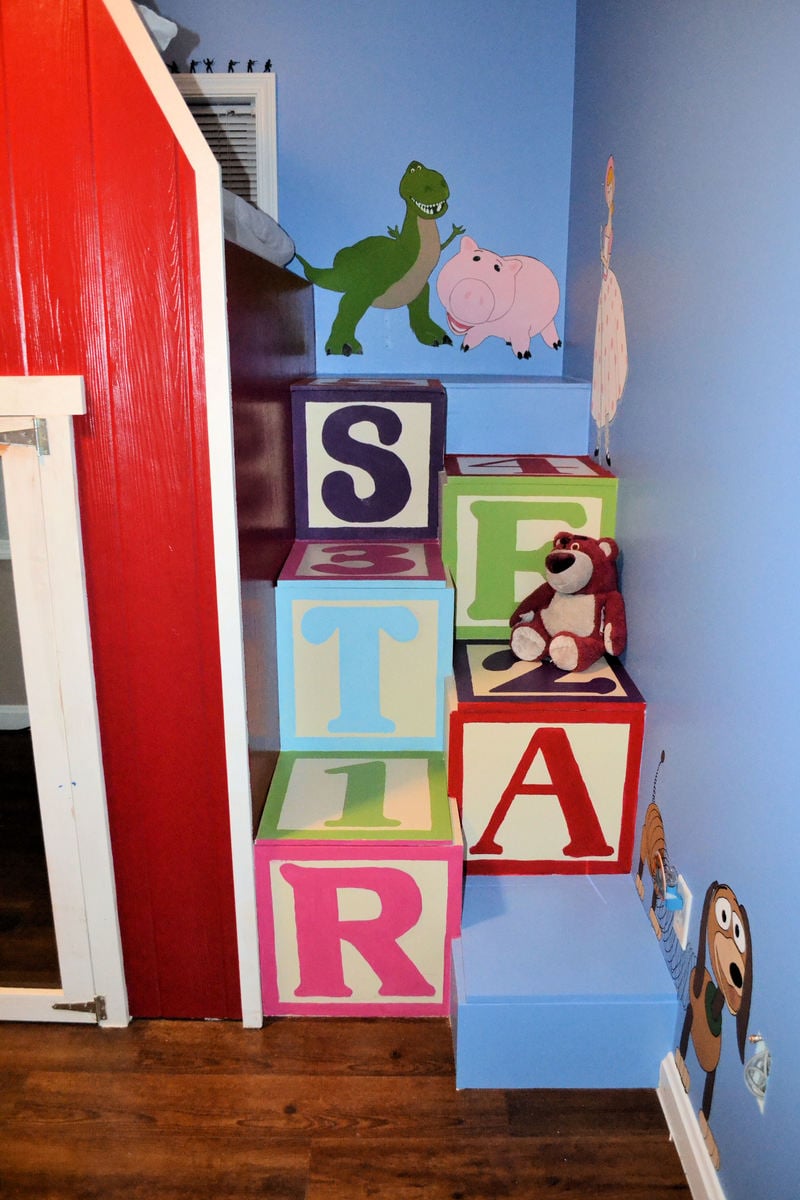
The hardest part of the build was the steps. We modified them to look like blocks, so getting the dimensions equal was tough. We also made it a full size bed so that there was more room under the bed.
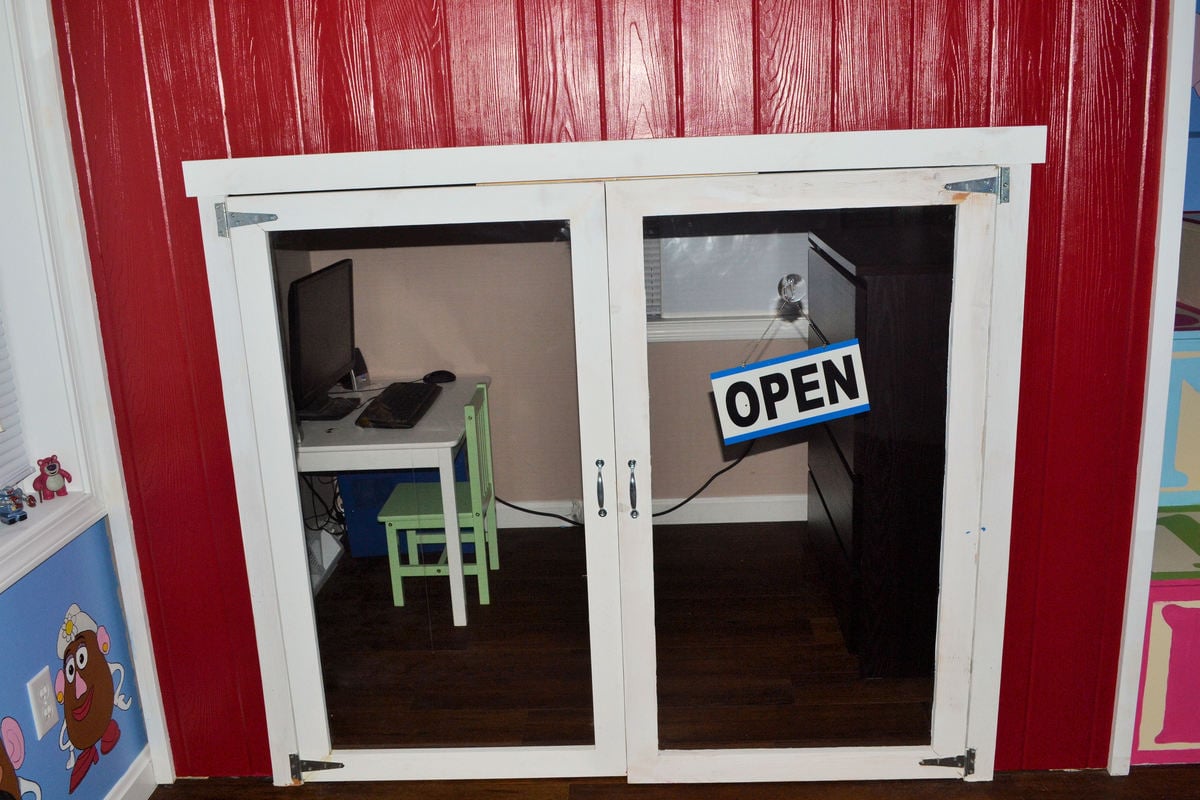
We used plexiglass for the doors and LED lighting under the bed.
Comments
Sat, 09/01/2012 - 08:52
Love the stairs!
Maybe I can build something like this for my grandson when he gets older.
Sat, 09/01/2012 - 11:47
I love it!!! Very cool. We
I love it!!! Very cool. We just started a Toy Story room for my son who will be 3 next month. He would love this.
Rustic-Bohemian end table
After 3 years staring at the empty space beneath my dining room window, I decided it was time for a buffet end table. I went to Pintrist for some ideas and found this awesome design by Ana White.
I decided to modify the dimensions and do a multi-stain pattern to give the table a more bohemian look.
Here's a link to the step by step instructions:
http://rusticcedar.blogspot.com


Colonial Maple Miniwax - A soft, woodsy stain
Summer Oak Rustoleum - A very light, subtle stain
Driftwood Rustoleum - My new favorite stain - very modern
Dark Walnut Rustoleum - Should always have this handy
Mineral Green Rustoleum - A little too light, but okay here
Classic Storage Bench
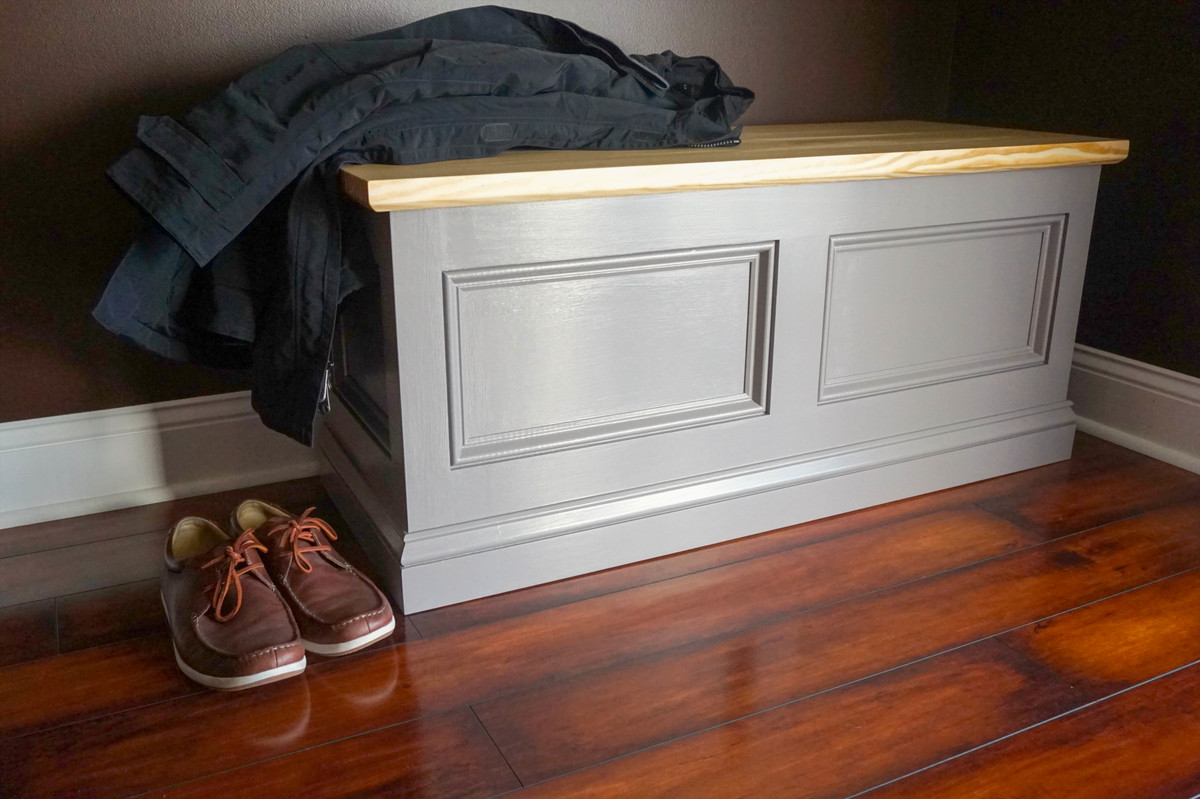
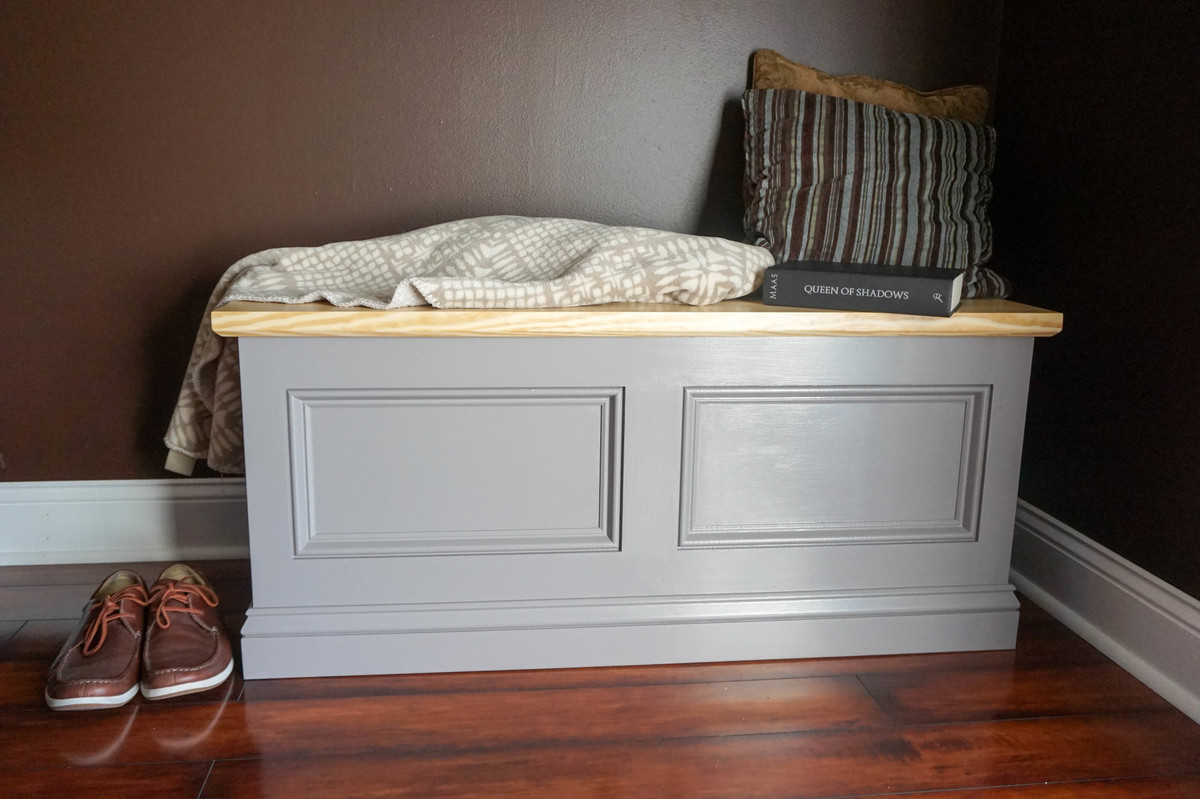
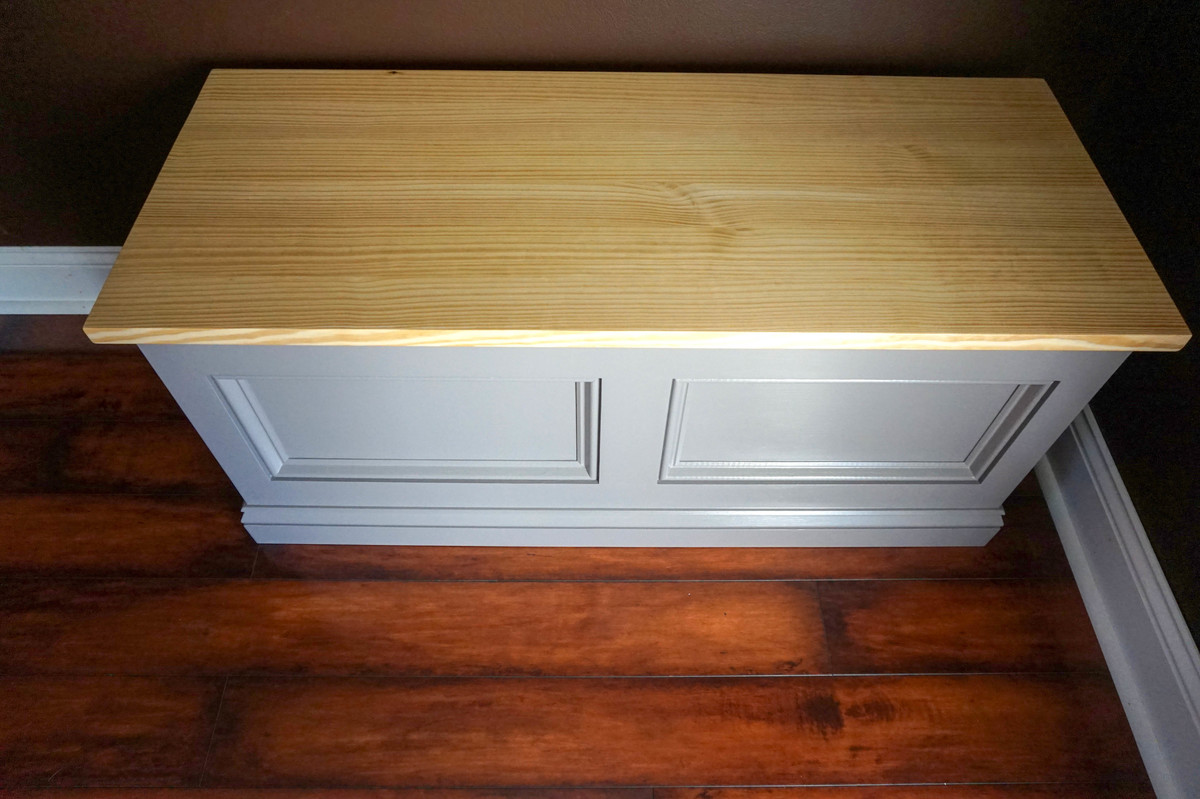
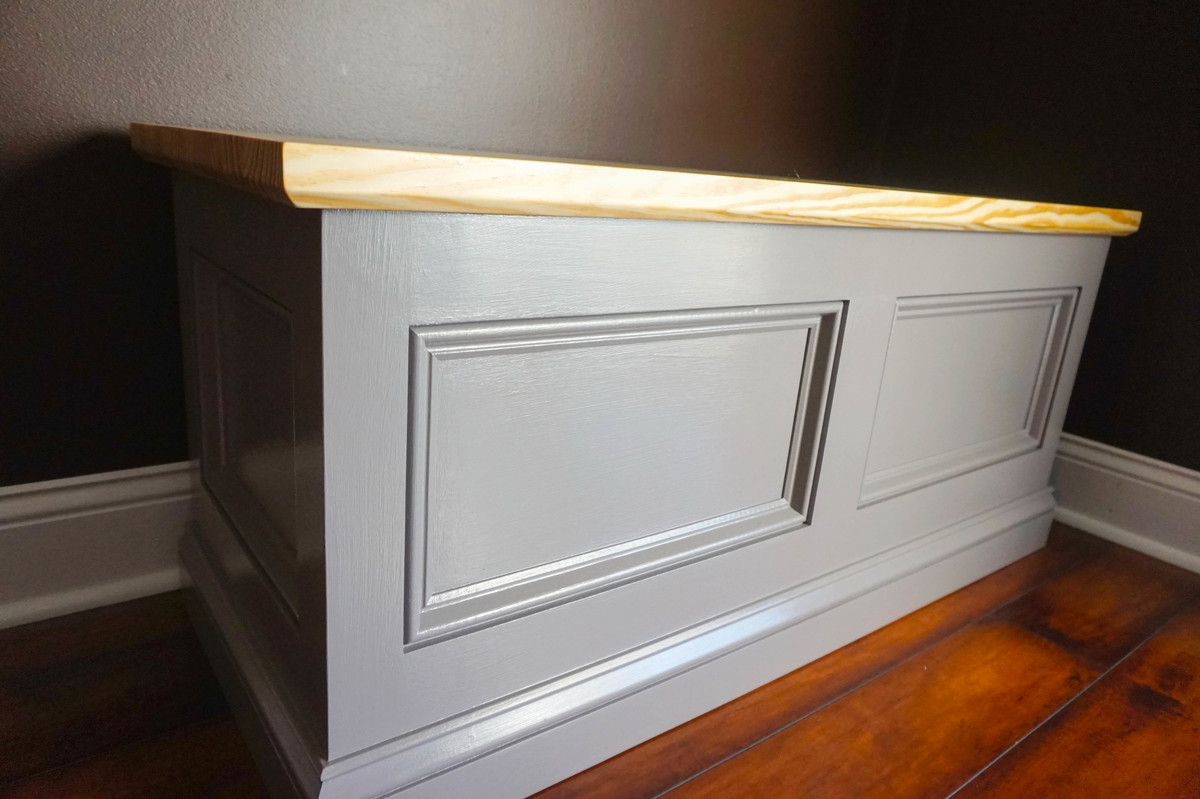
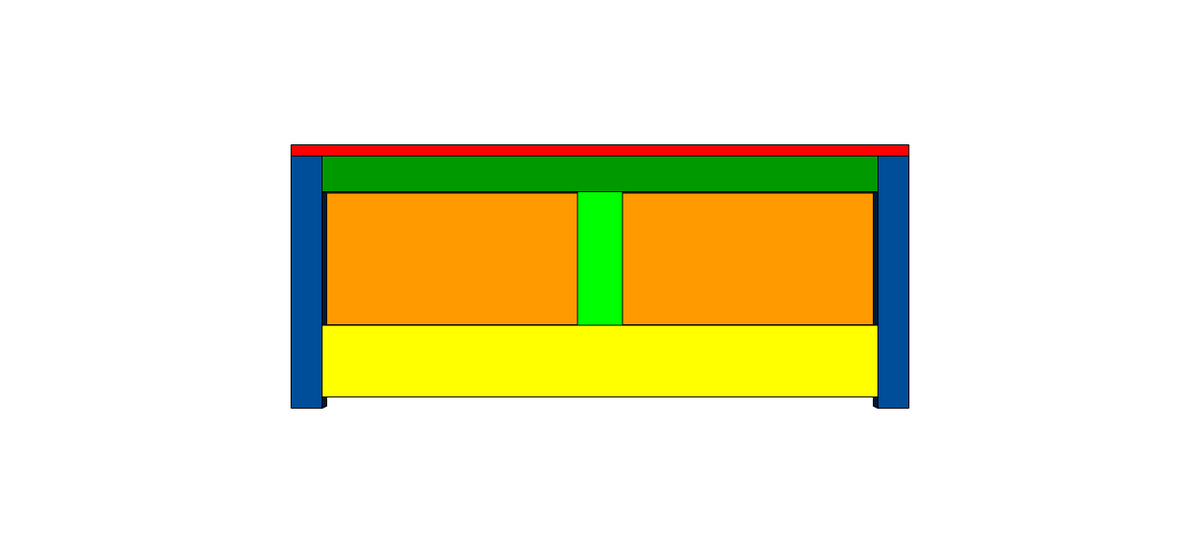
I've had this idea to build some sort of storage bench or blanket chest for quite a while now. I knew I wanted a classic look with detailed moldings and a solid wood top.
I have plans for this build avaliable HERE.
You can check out my detailed video tutorial :
First project side table
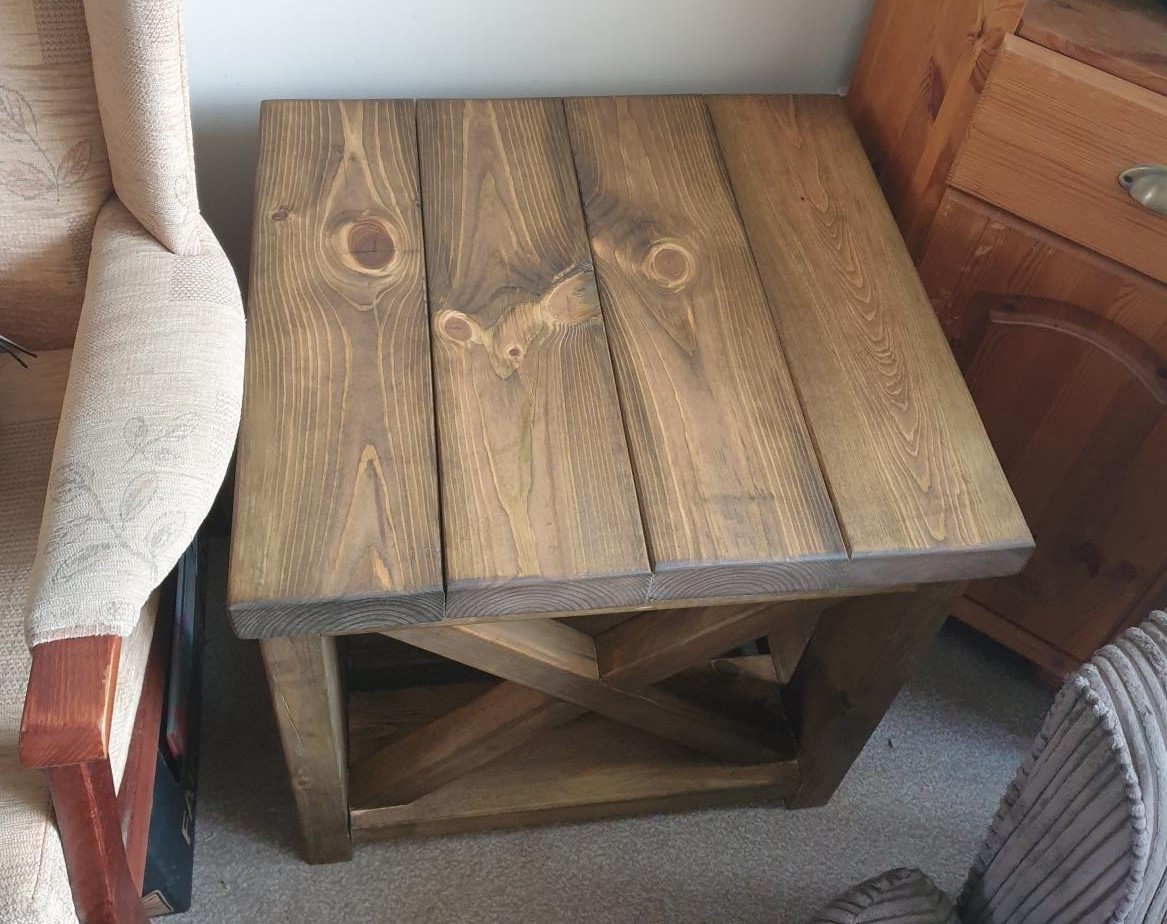
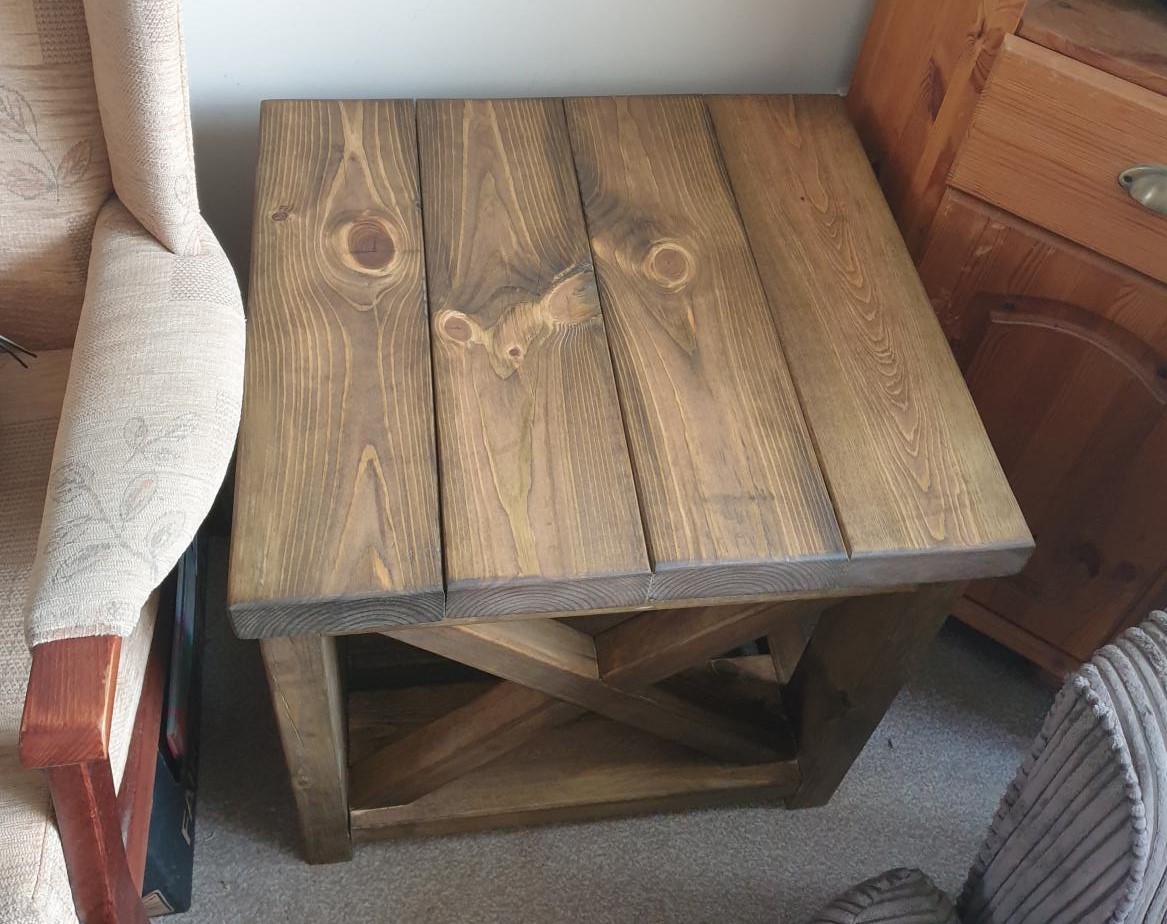
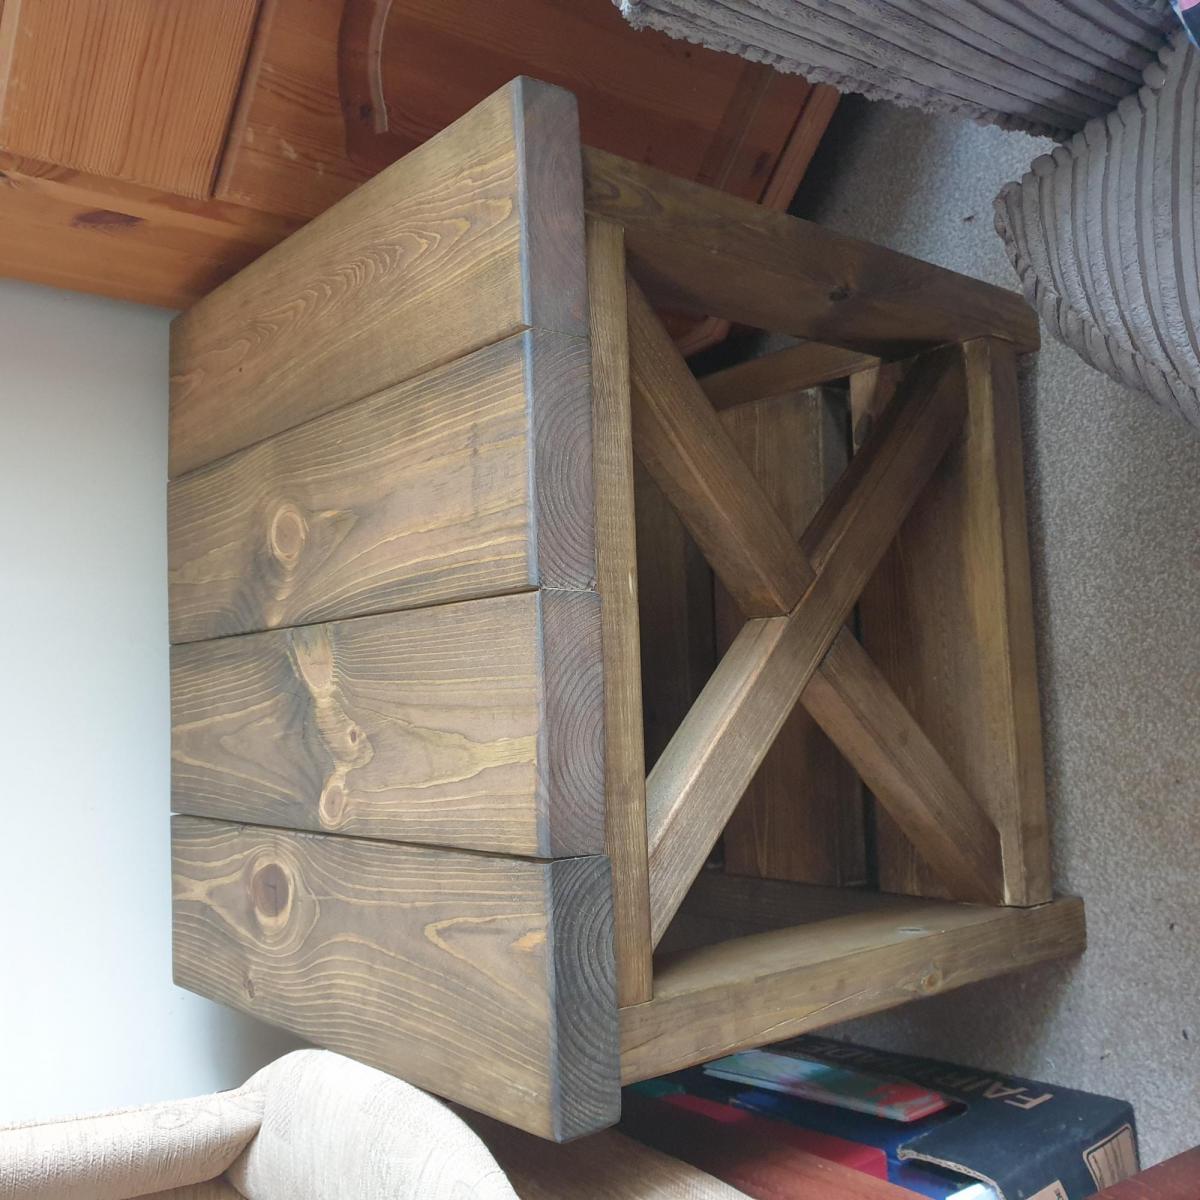
Lovely easy to follow plans even if i had to change all measurements into metric and wood just slightly different size. Really happy how it turned out
Cedar Outdoor Sofa
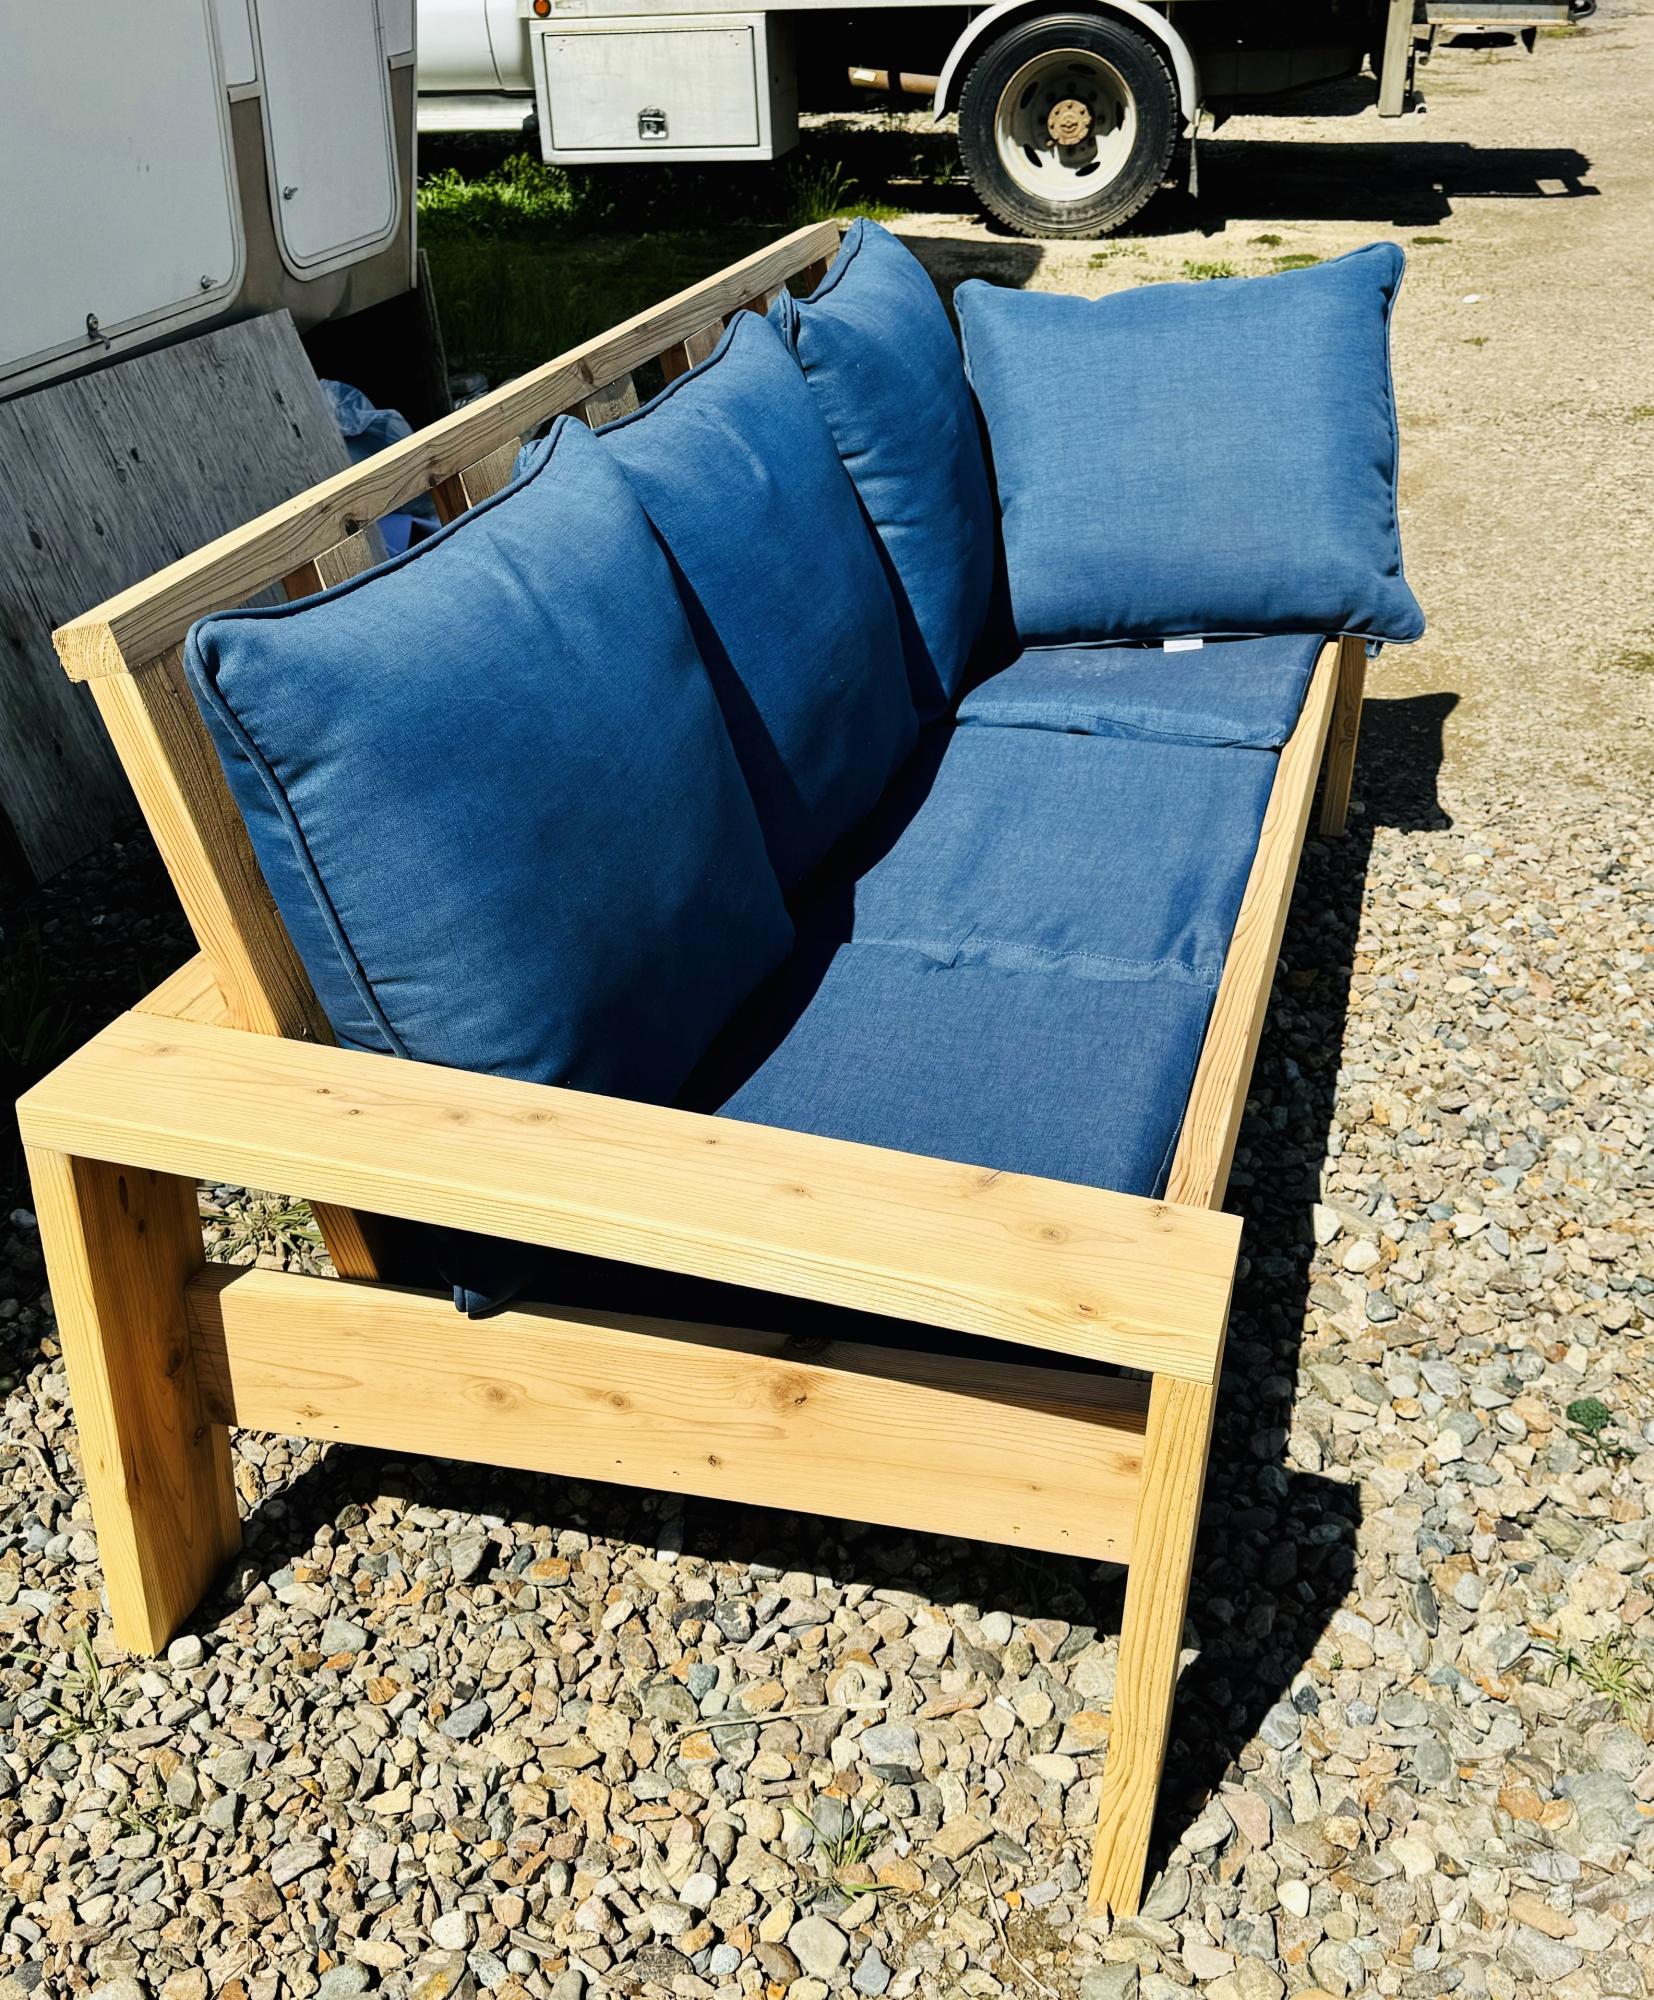
Two projects that I recently built for my wife and my daughter. My wife wanted a tea bar and a beach vibe, my daughter wanted an outdoor couch so it is made out of cedar. They both loved them.
Todd Springer
Dining Table 4x4 Truss Bench
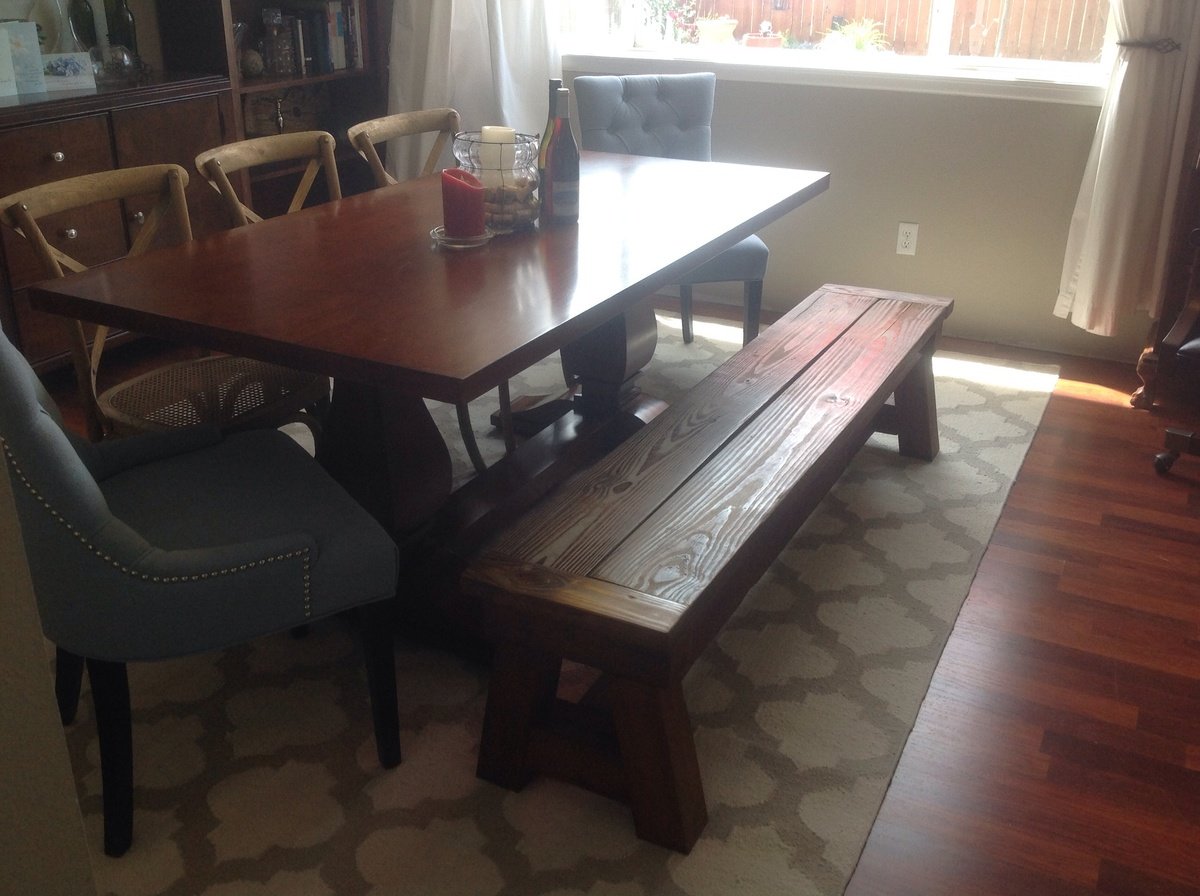
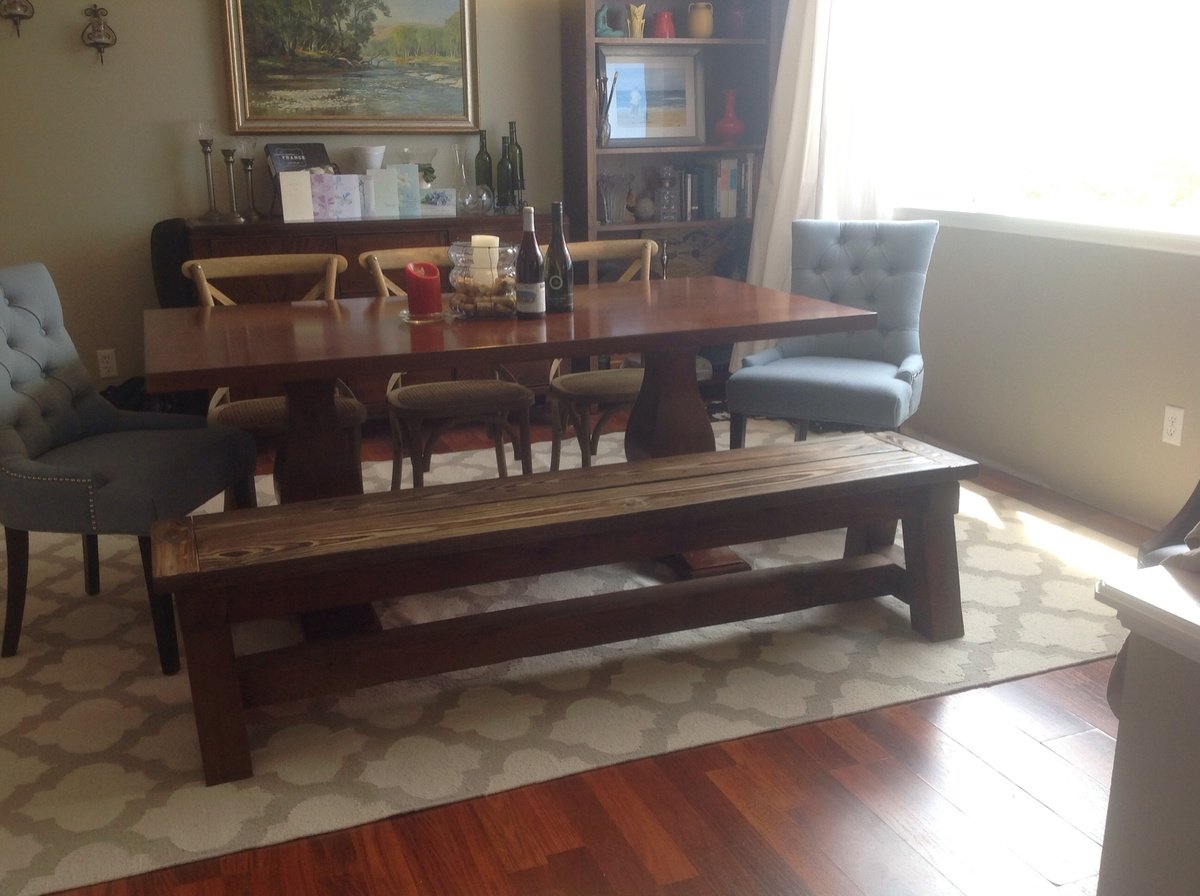
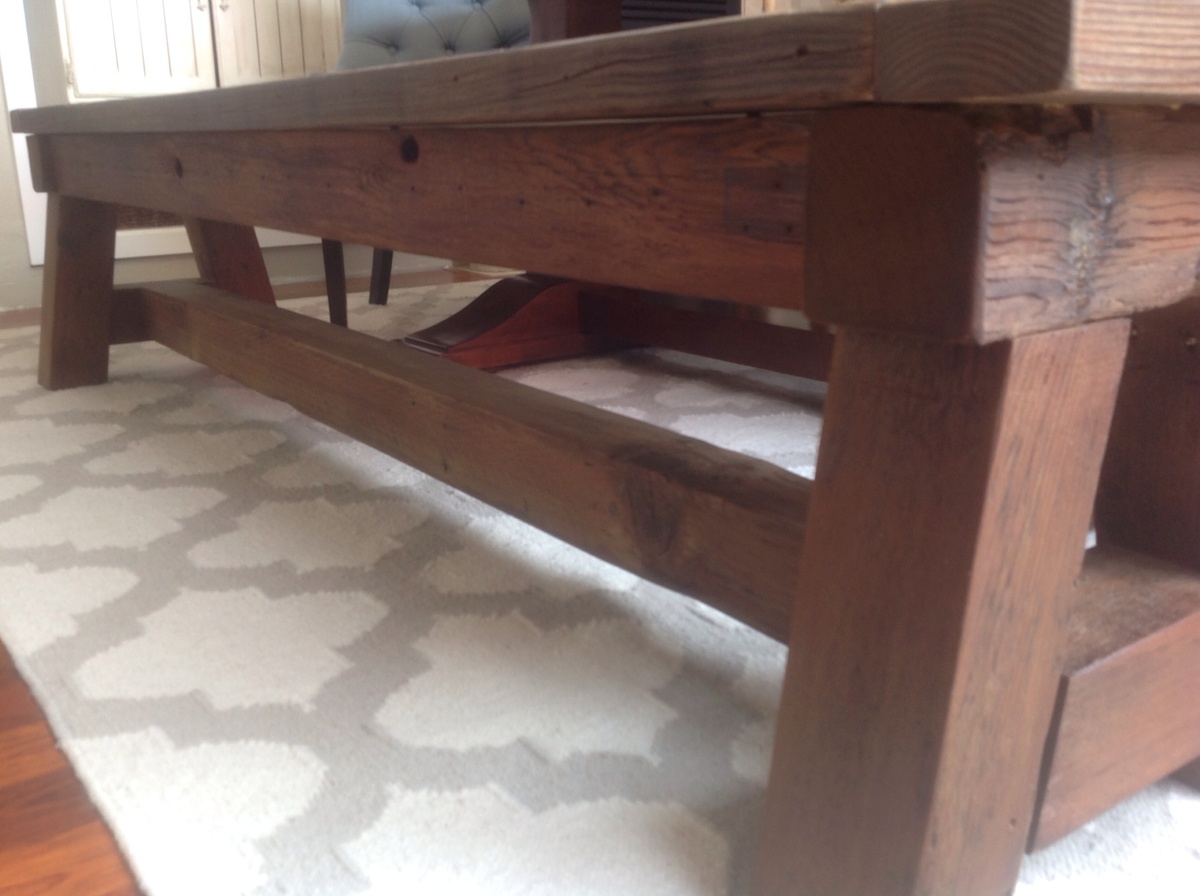
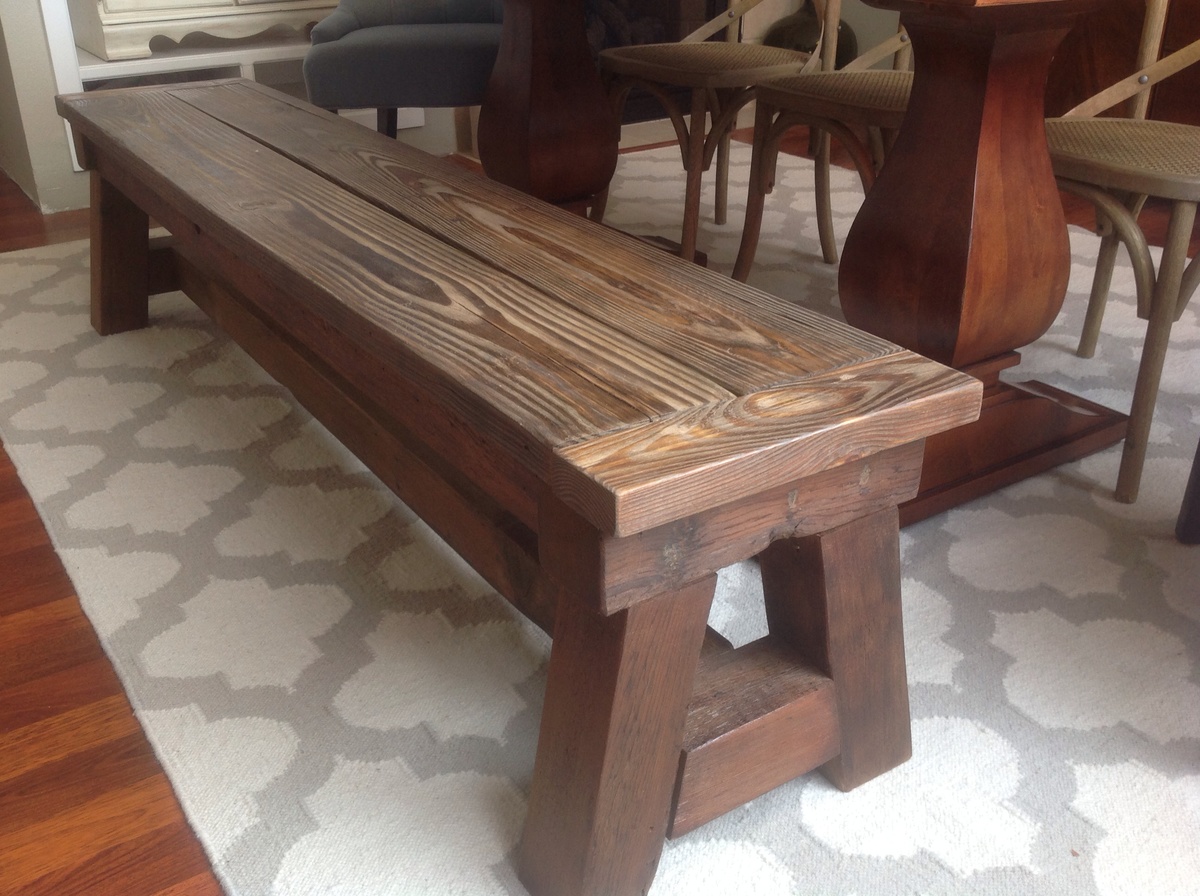
Using the 4x4 Truss Bench plan (http://ana-white.com/2013/10/plans/4x4-truss-benches), we built this bench using entirely reclaimed lumber. (We had removed an old patio and part of a fence.) We already had all of the lumber, screws, etc. so the only cost to us for this project was the cost of the stain.
We modified the plan slightly, using 2x4s on the ends.
My husband is obsessed with decking screws. Thus the entire bench is held together with 2 1/2 inch decking screws. (Unfortunately, we purchased our Kreg Jig a day following the completion of this project.)
Because the lumber was very old and weathered, there is a lot of character to the wood. There were some incredibly soft spots which made sanding a challenge, and some of the boards were somewhat warped. However, we still really like the way it turned out.
I sanded (and sanded and sanded) using 60 grit, then 80... then 120... then 220. I filled the screw holes with wood filler (and sanded again). I then conditioned the wood with Minwax pre-stain wood conditioner. I used Minwax Early American oil based stain on the entire project. I then went over the top only with Minwax Weathered Oak. After about 36 hours of drying time, I used 2 coats of Minwax Fast-Drying clear semi-gloss polyurethane.
This bench is a beast! I'm sure it weighs over 75 pounds. It is extremely solid, and quite beautiful in our dining room. The plans were easy to follow, and the whole thing went together fairly quickly. (It would have been completed even more quickly had we had our Kreg Jig at the time. Lesson learned.)
Hannah canopy bed full tufted

I loved he Hannah canopy bed for my daughter but felt like it was missing something. I decided to tuft the headboard and I used rhinestone buttons to give it that girly look with a small pop of glam. The tufting took probably 12 hours in total but totally worth it. We then followed all the instructions on how to build the bed with the exception of having any screws go in through the sides of the fabric on the headboard. We used plates to hold the headboard in place and screwed around the edges. It was time consuming but we love how it came together.
Narrow Cottage End Tables
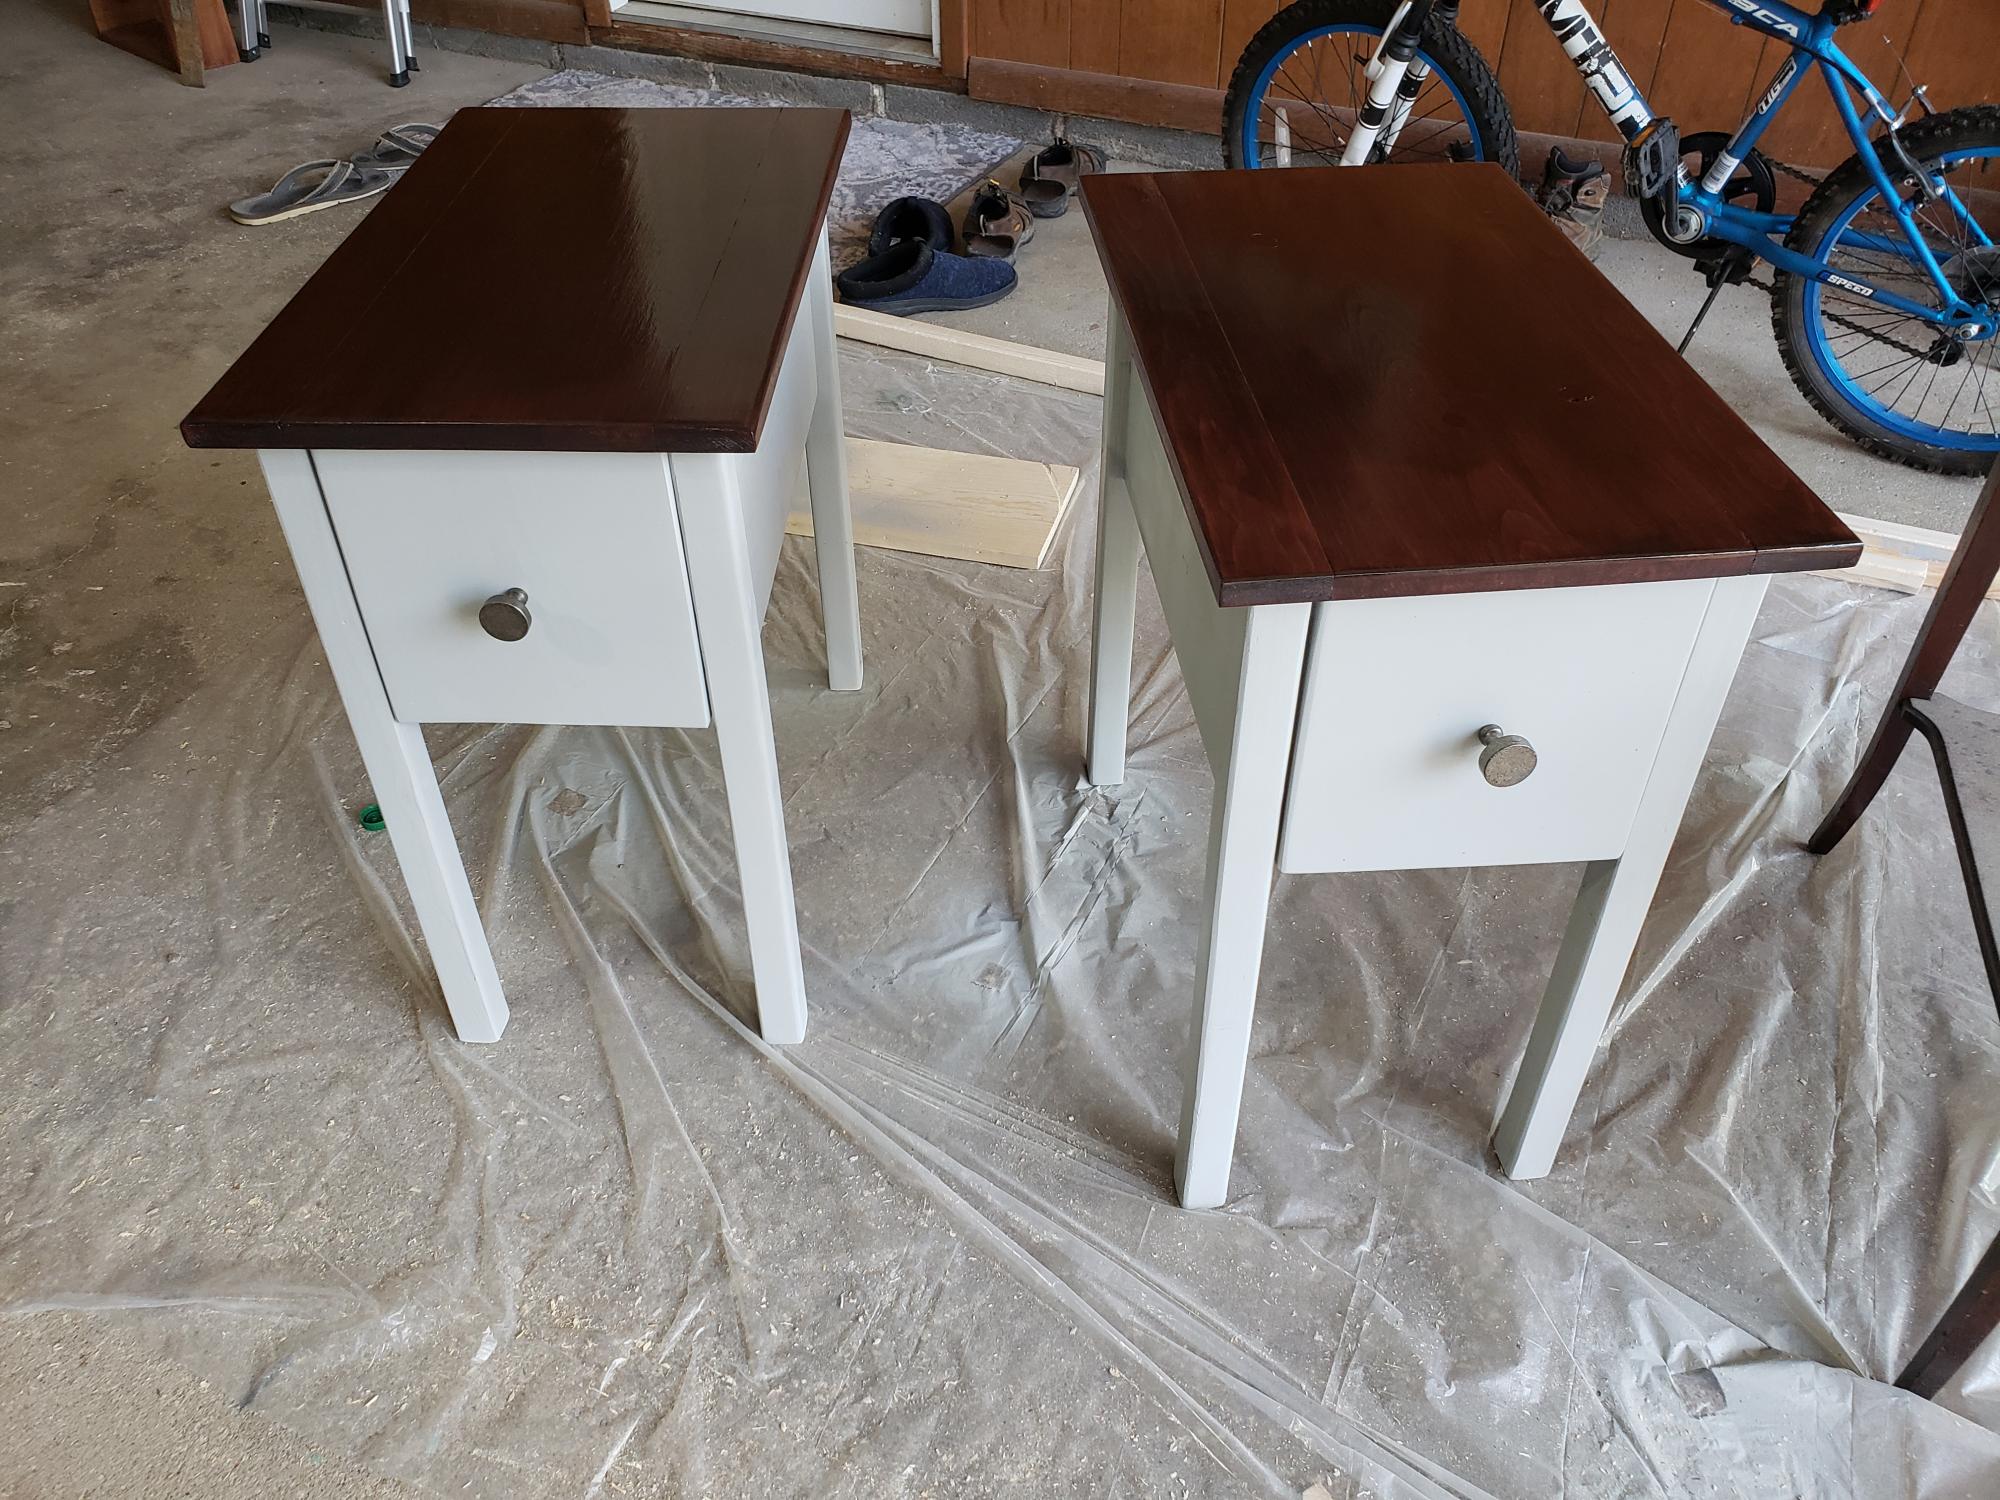
Perfect for for my living room
