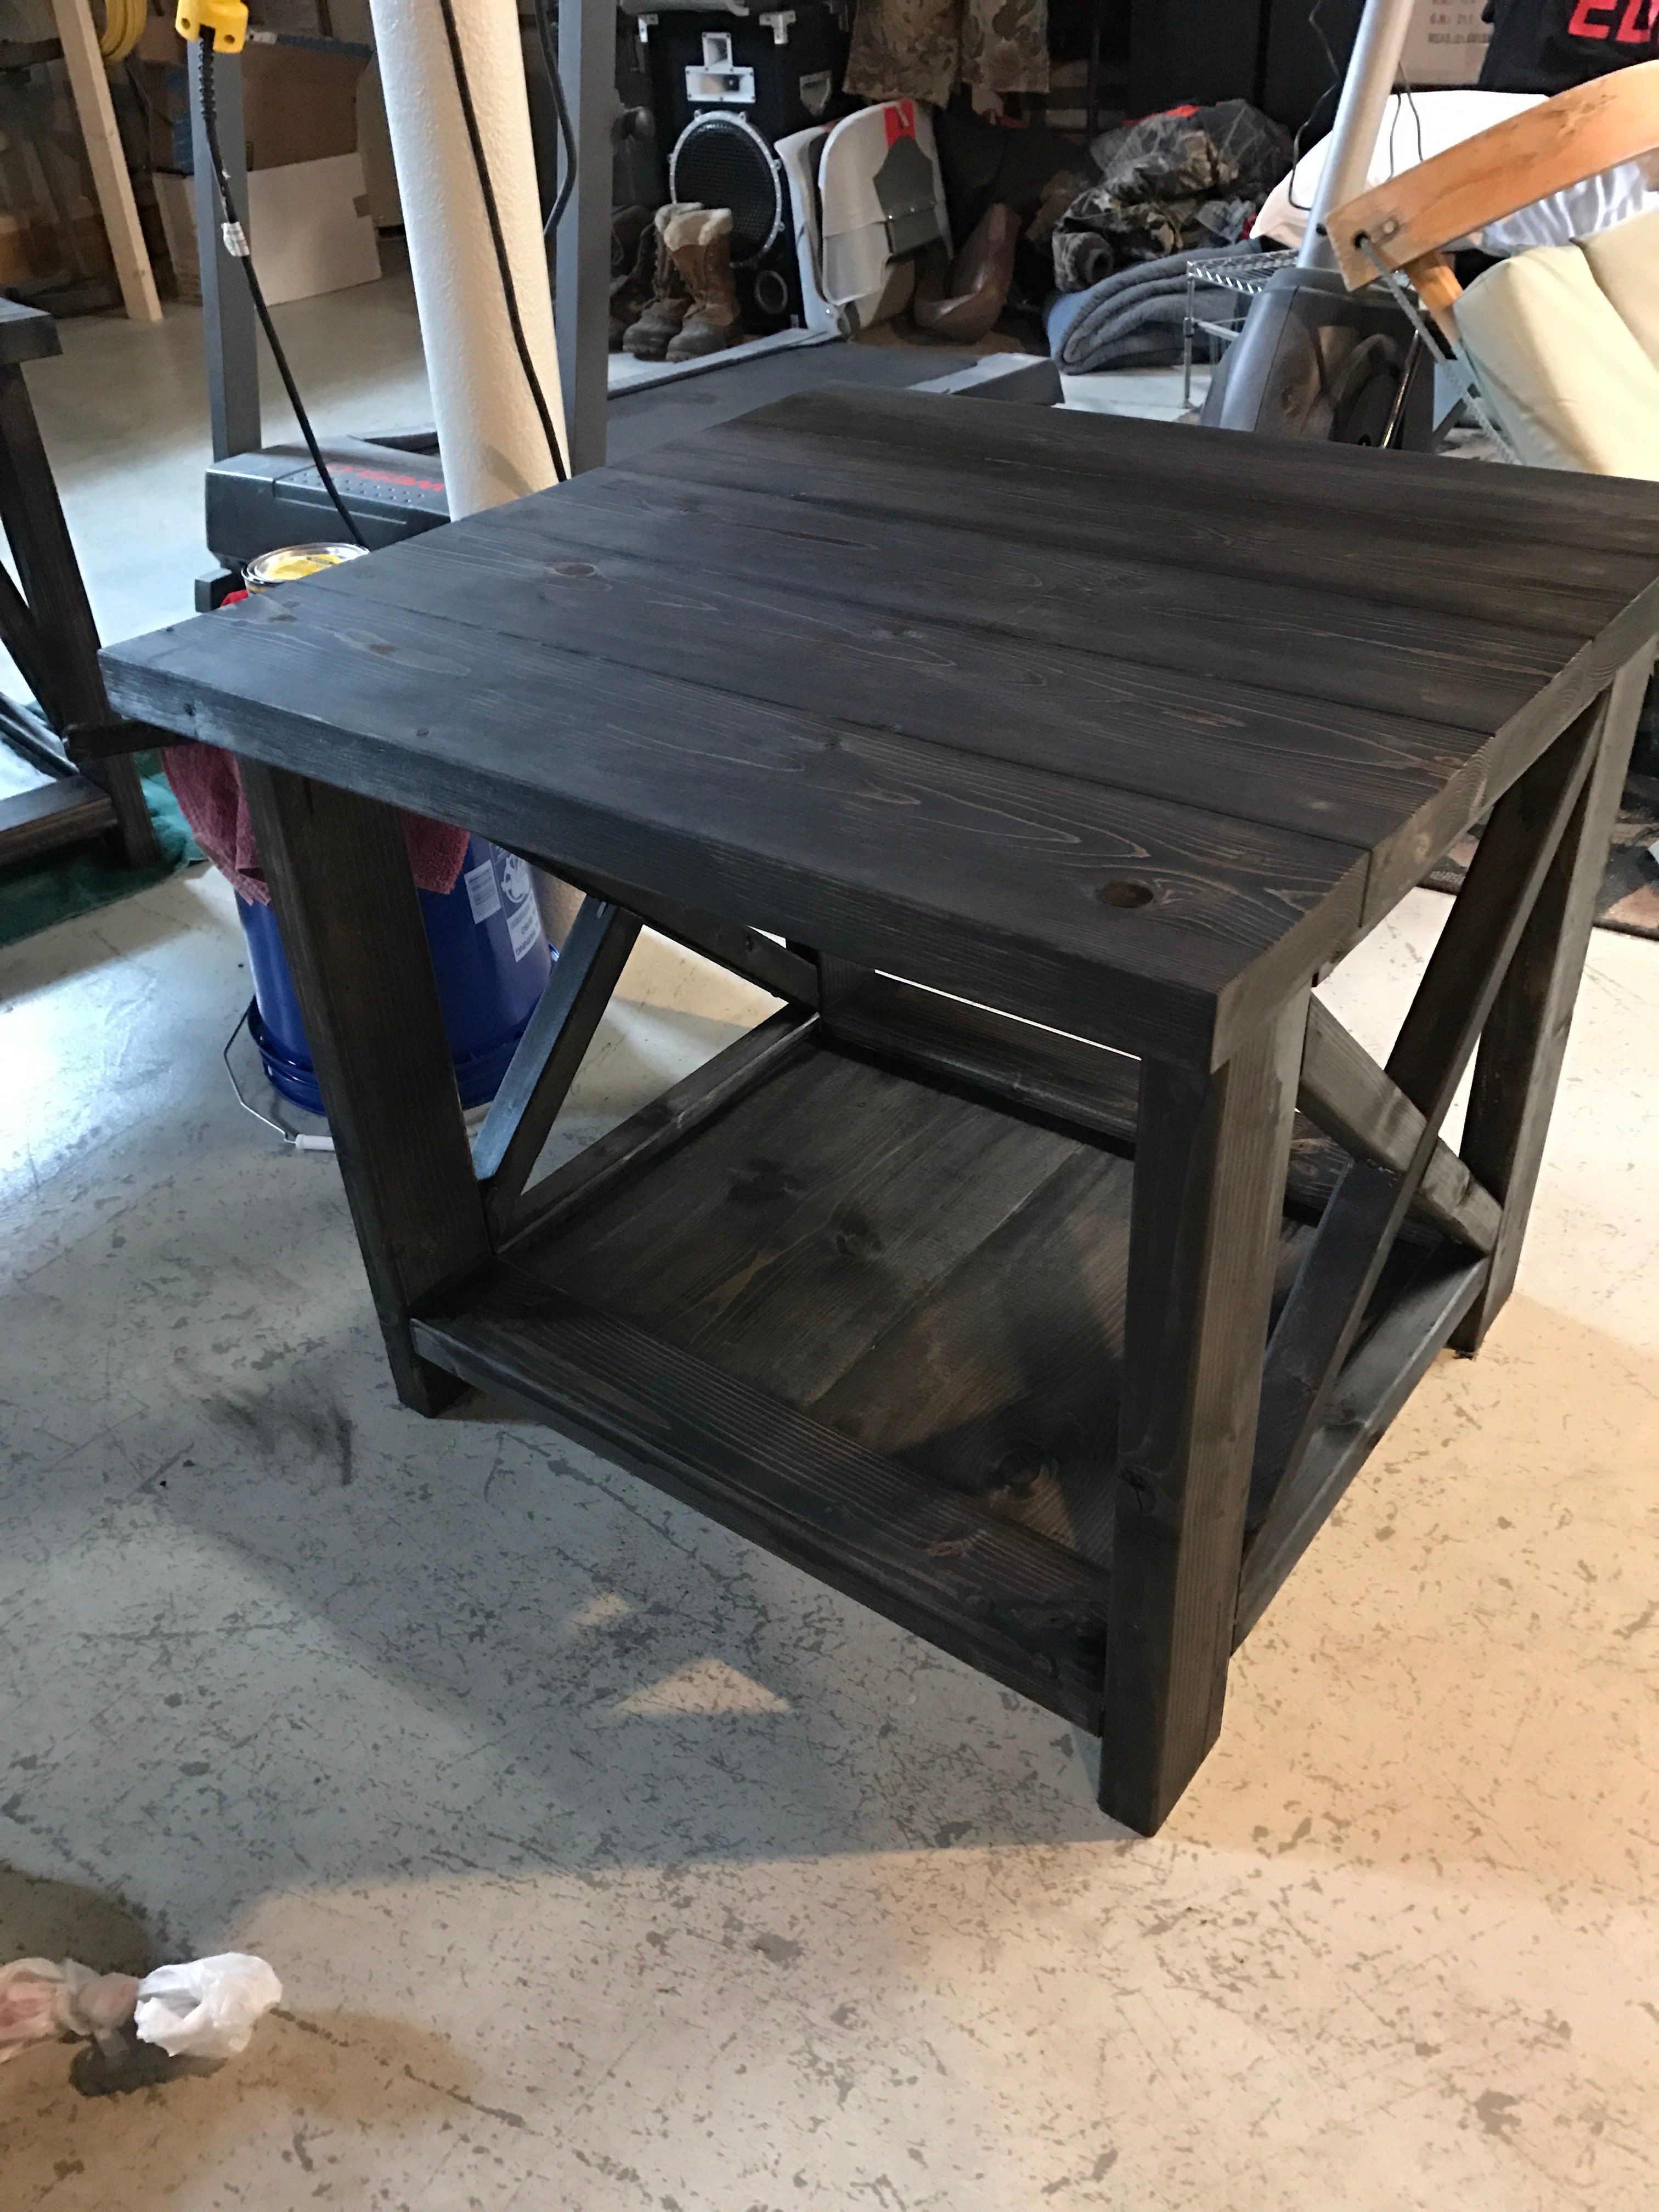
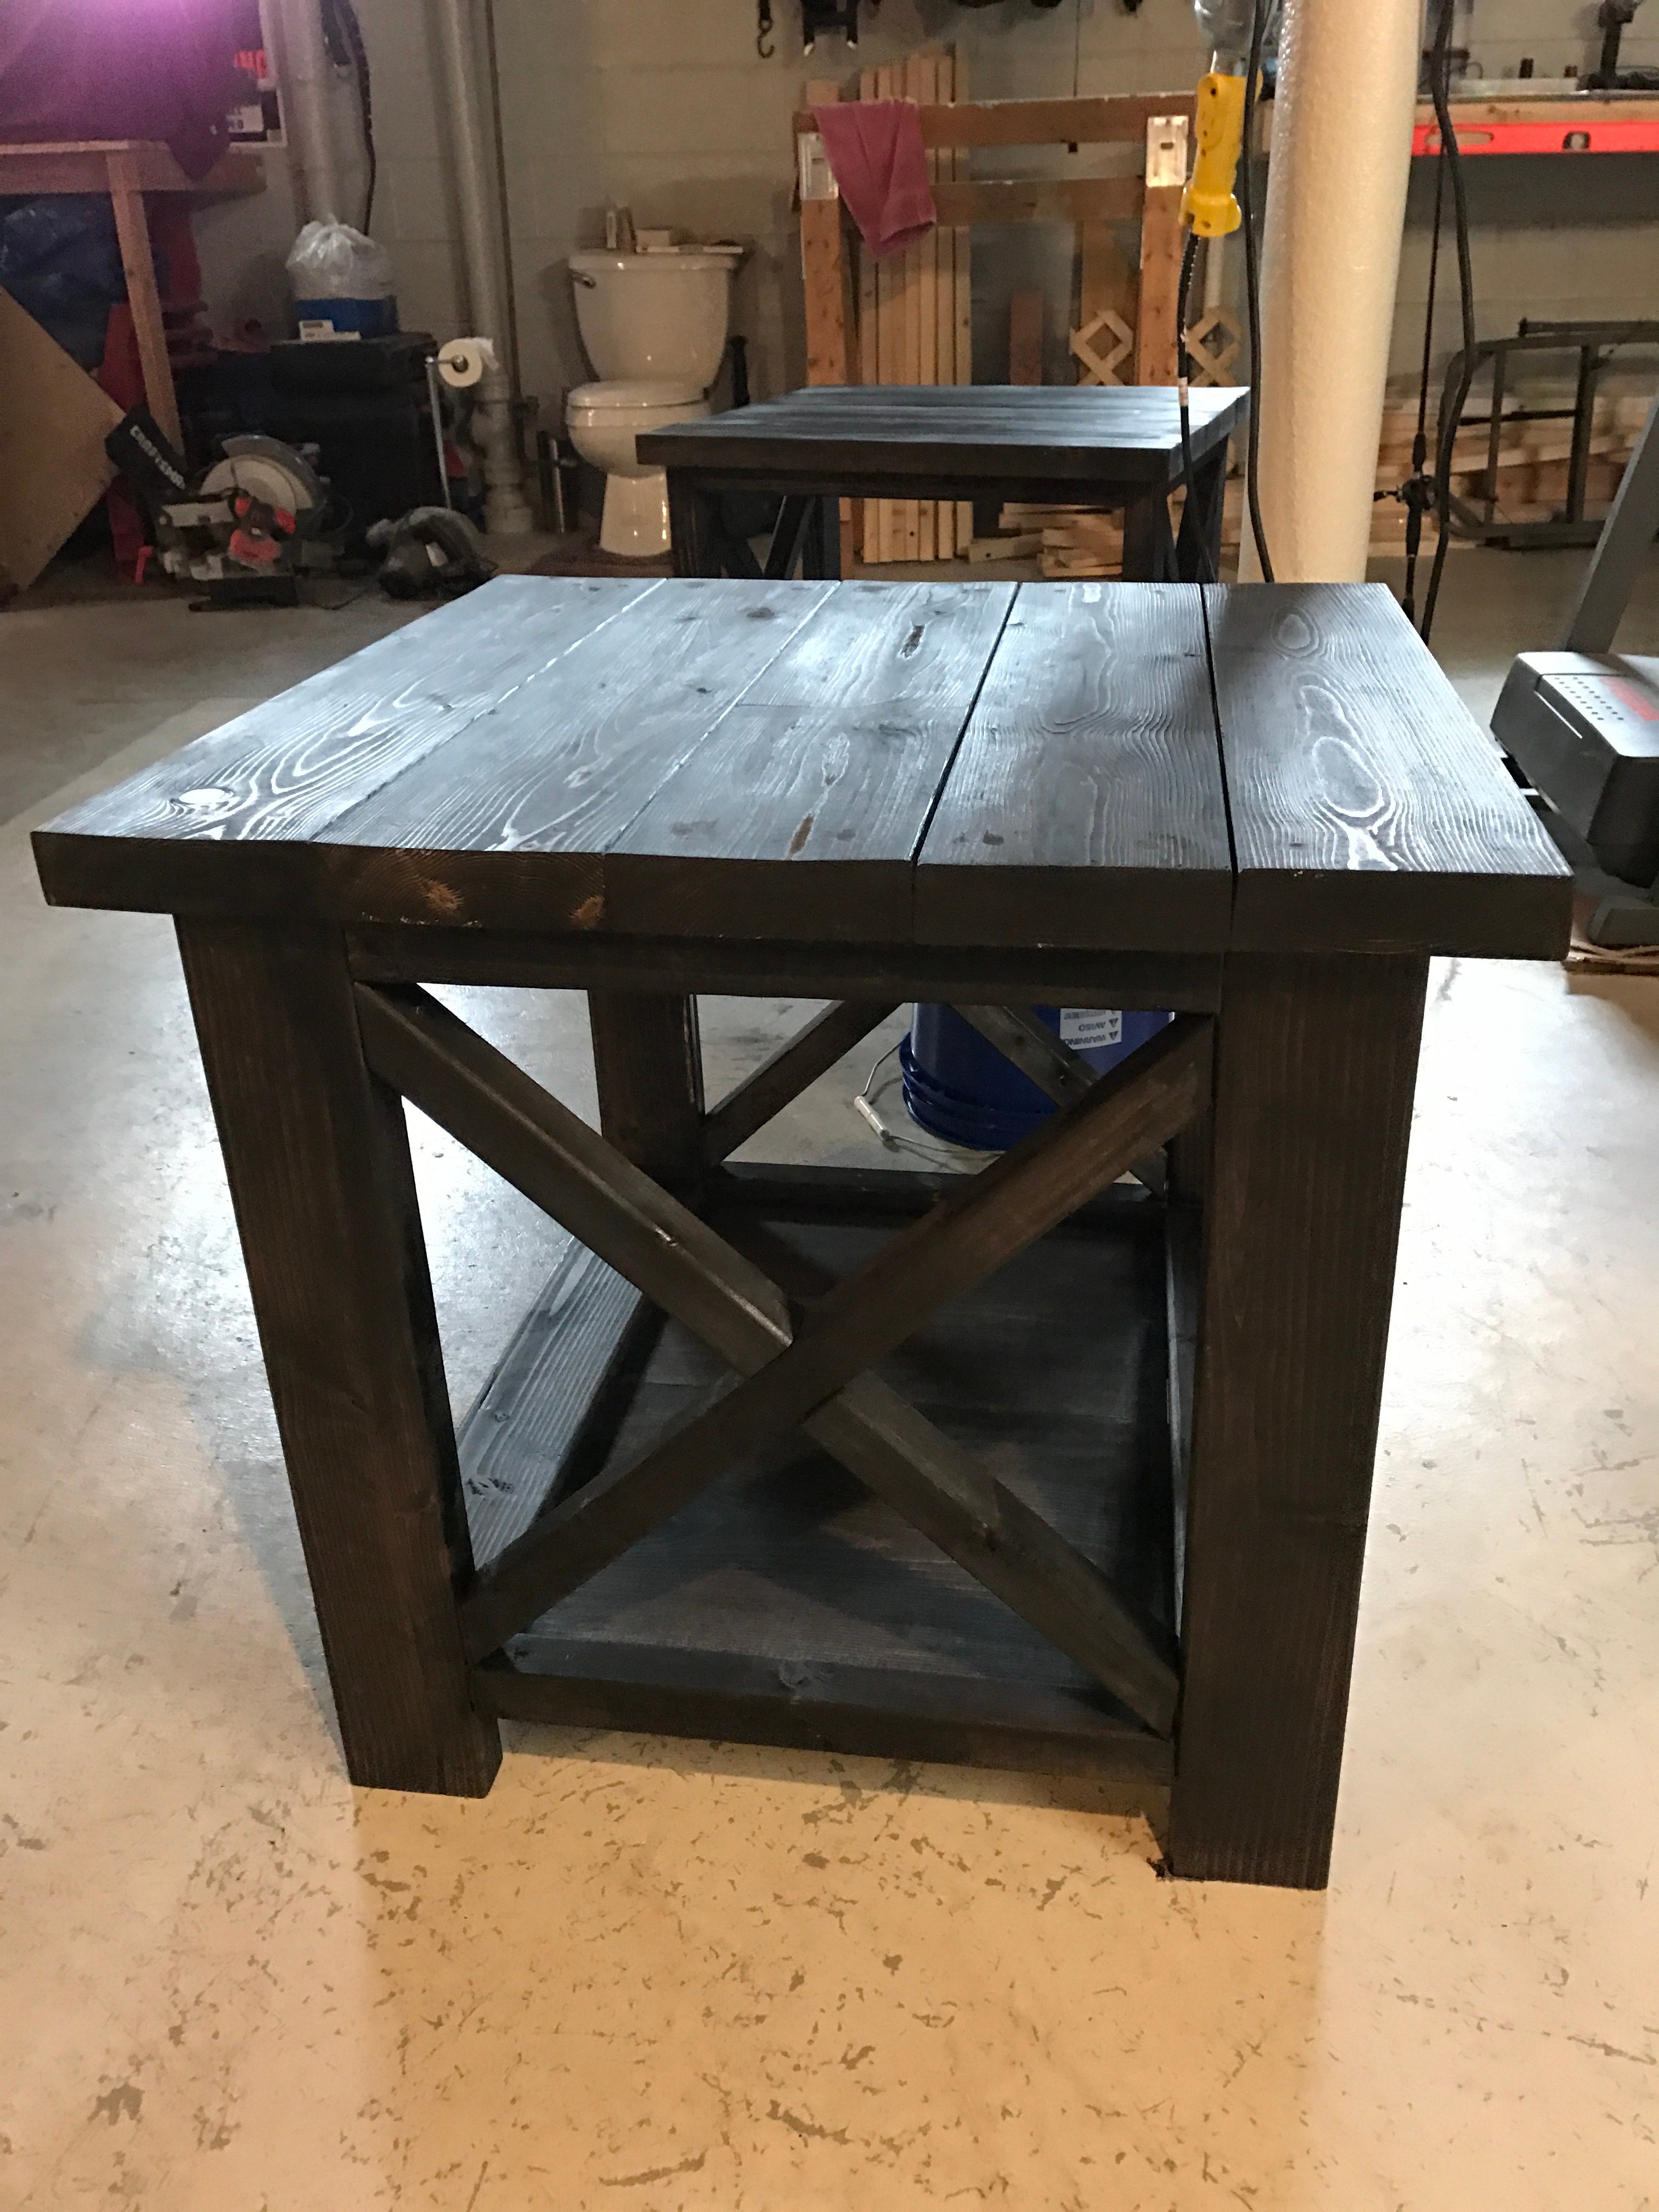
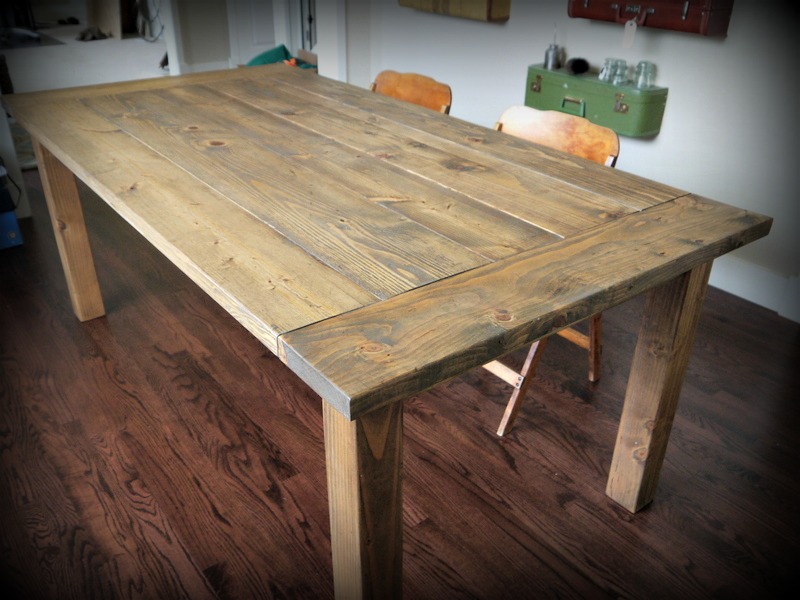
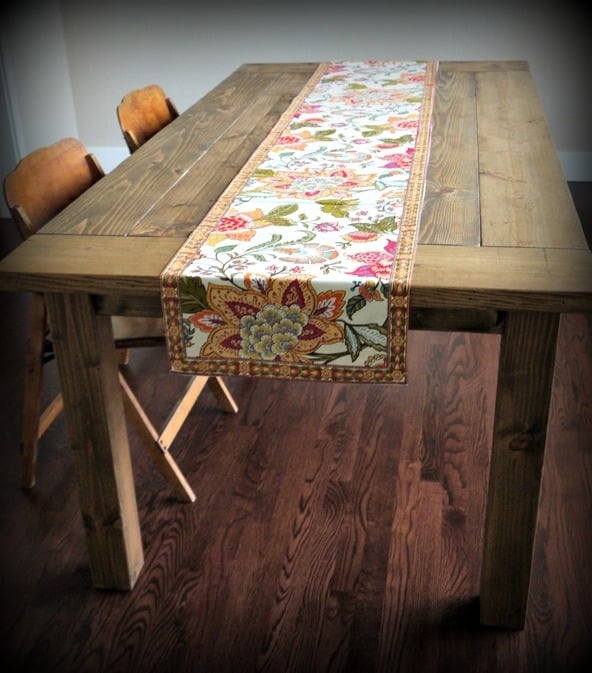
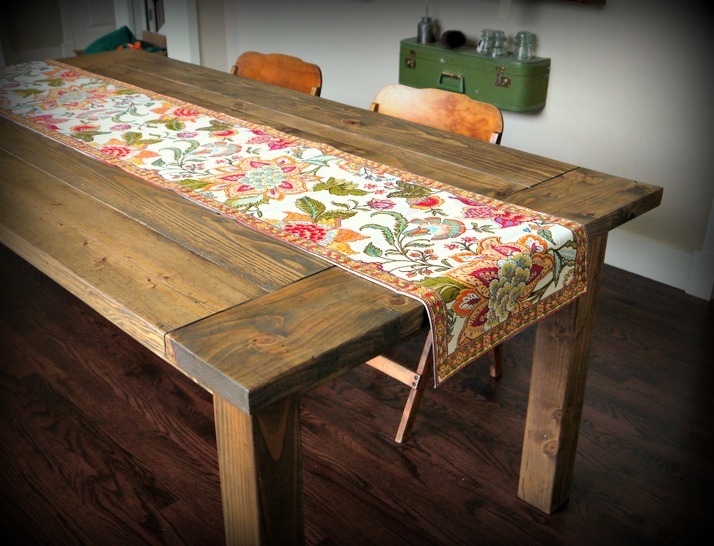
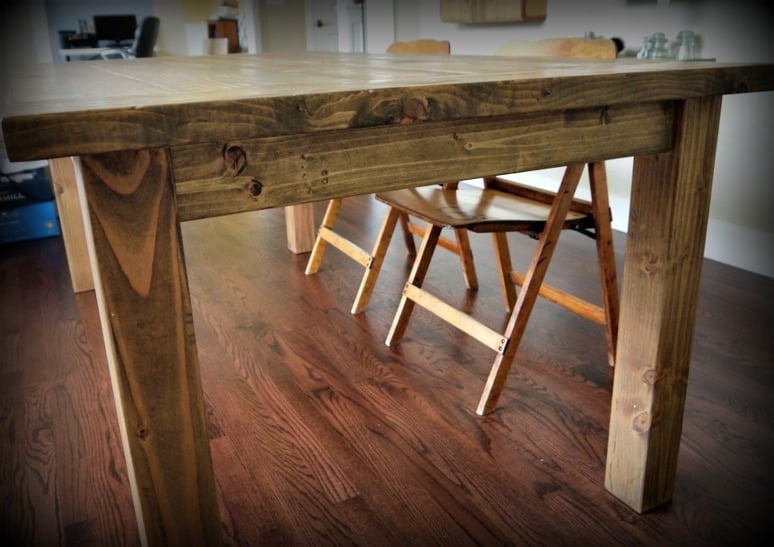
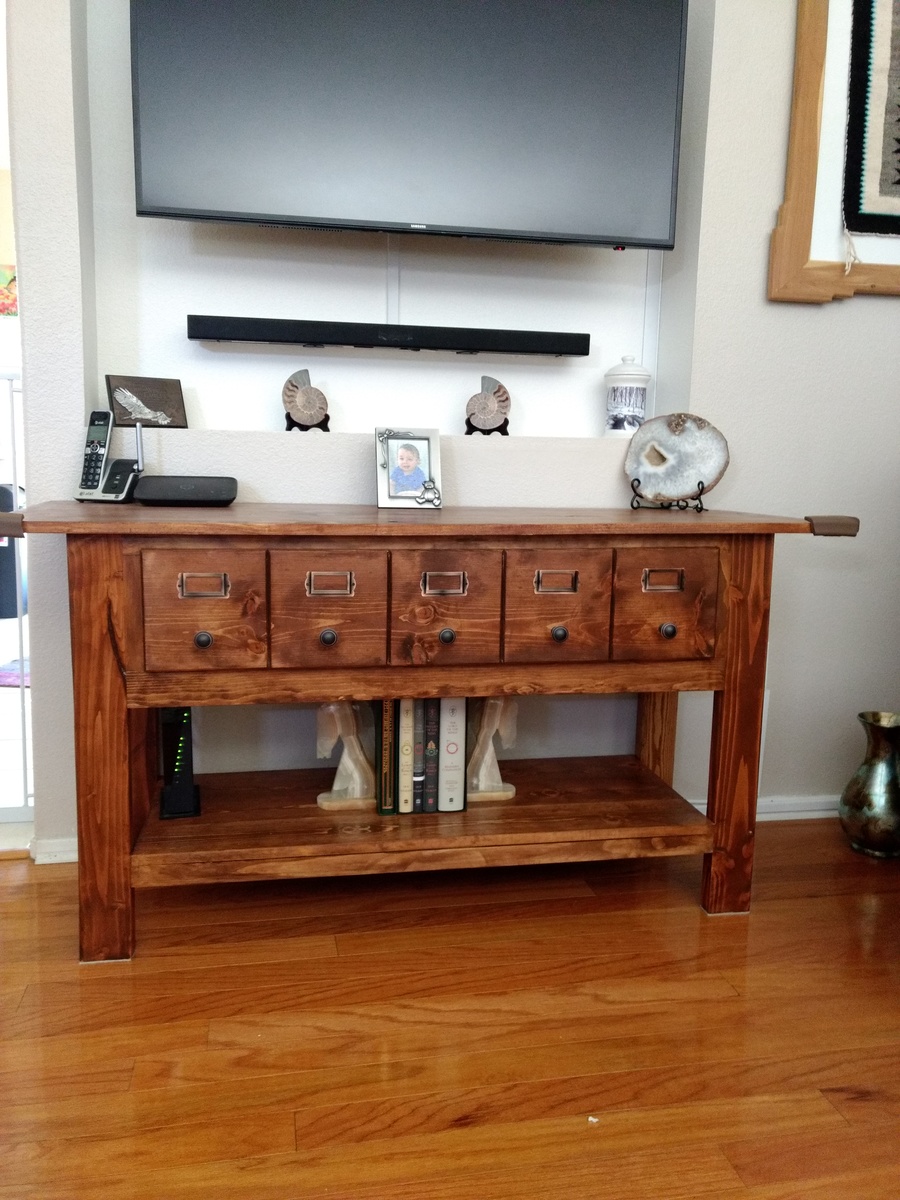
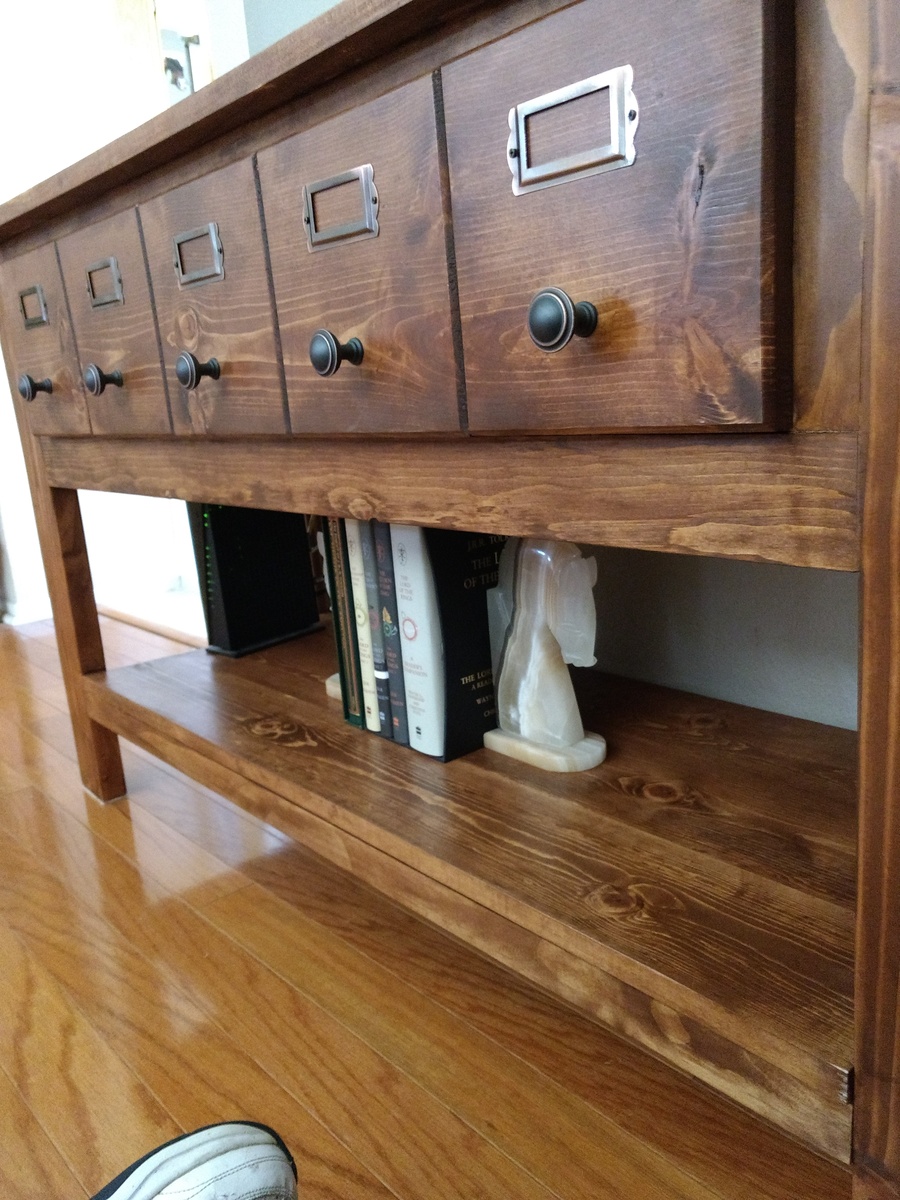
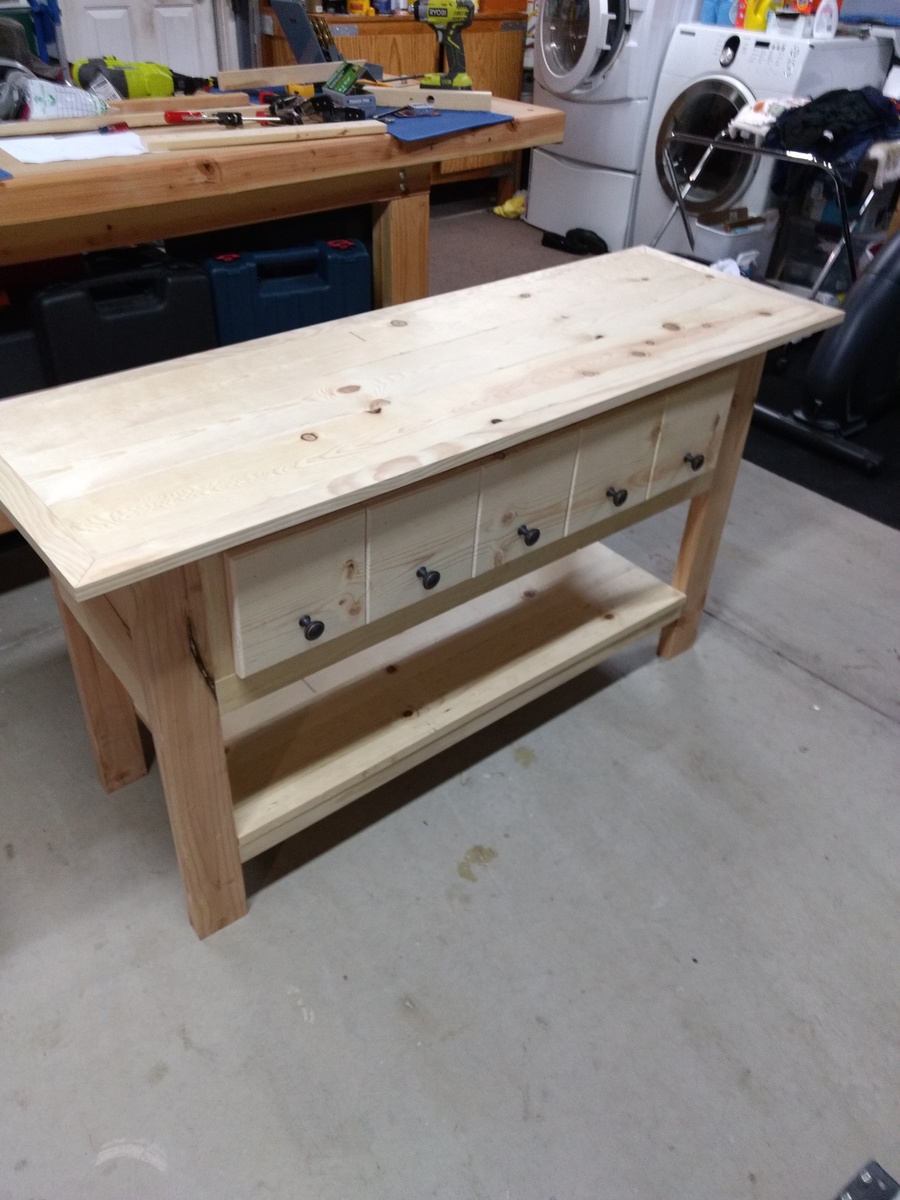
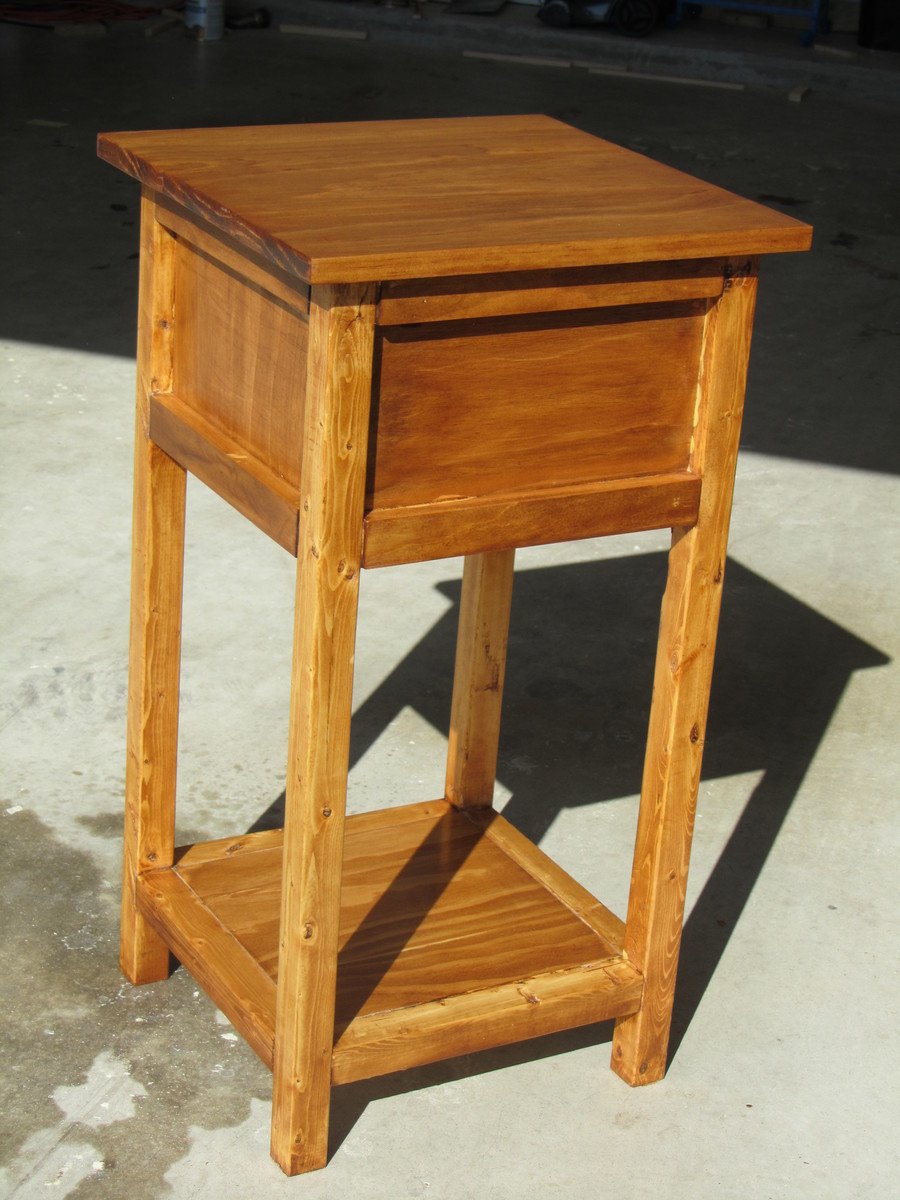
Pub table
![](/sites/default/files/IMG_2239.jpg)
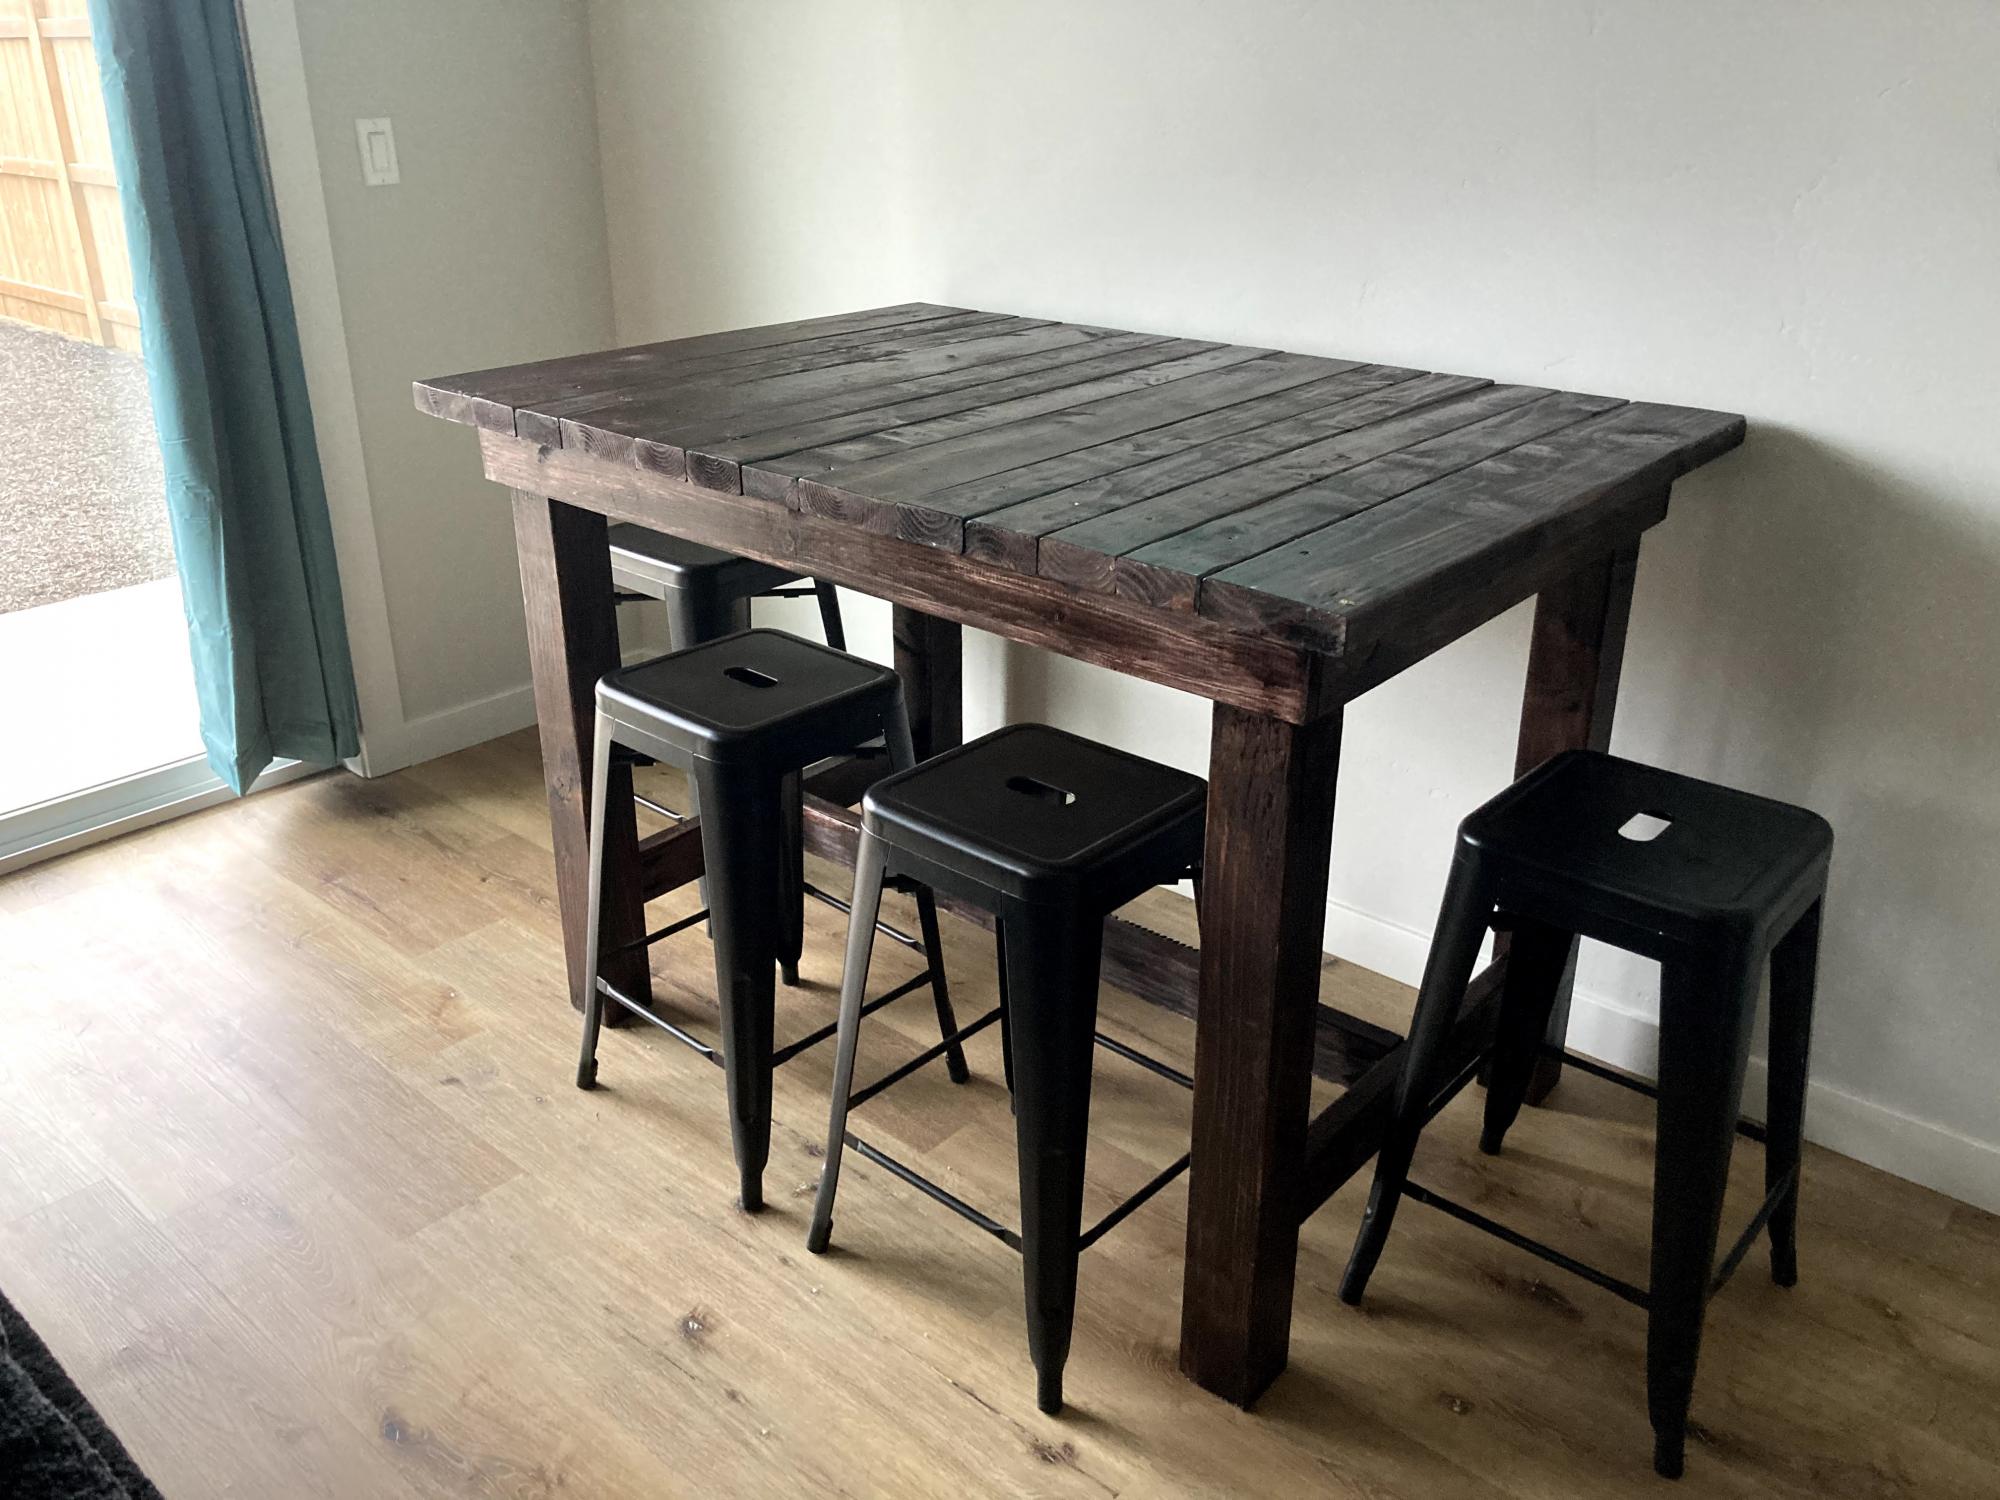
Easy weekend build. Turned out great. Needed a small table for my small space. Stain turned out fine, but I tried the poly/stain combo and don't like how it applies. Will go back to stain then poly in the future.
I zigzag stitched vintage neckties to plain canvas and used these directions to construct the stool frame. I used 1 5/8" screws.
Fri, 02/15/2013 - 19:23
Cool idea! Now I'm going to be looking for ties at rummage sales!
Based this wagon on plans found on Ana White's site. I built this for a 2 year old girl of a co-worker. She is right now using it to pull around her dolls.
Thank you Ana White! This is the first piece of furniture I built! Finding your plans opened up a whole new world for me!
This was pretty easy and inexpensive to make. I'm going to make the coffee table this weekend, but converting it to a chest with a lift top. Purchased some cantilever hinges for that on Amazon for about $35. Will post pics of that once it's done. Sorry the photos came out sideways....They keep uploading that way even though they are right side up on my iPad......
I was told about the site from my neighbor. Little did I know I would find myself wanting to build everything on this site. So I started with the 6 cube bookshelf leaving out the dividers on top to allow the kids to use it as a bookshelf. I also wanted them to have a place to store their dress up clothes when they weren't in them. So, I turned the 6 cube bookshelf on its side and added a couple of inches to allow for small dress up outfits. I am going to put the storage bins in the squares once I find some.
I followed the plan for making the shell of the house, but since I have access to help and the on-post woodshop I made a few changes. We cut a 2x4 to fit the doorway, and then used the lazer cutter to make the panels, after sanding and painting, I used a necklace bead as the doorknob. We also cut some 1" square blocks and drilled the center, the used the grinder to round them out to make a holder for the dowl curtain rod. I also used scrap frame wood for the window/door trim. Then I covered the entire house in wallpaper! The outside is a brick wallpaper, the inside is a gray/silver with sparkles, and the ceiling is white with sparkles. I used cork for the floor so it would be soft and warm feeling. It took me a long time, but I am very happy with the results. My daughter was thrilled to recieve this on Christmas morning!
Built a pair of these for the master bedroom as my first project... Not too bad, very functional, and I was able to use mostly wood I had laying around...
This build has been (thus far) my biggest and most ambitious yet. This is not only for the size of the build but the techniques I used. While I did use pocket holes in many spots I changed the design by using two stretchers to span between the sides and provide support for both side walls and bed slats. To reduce the number of pocket holes the original plan called for I used my stacked dado kit and created to dado cuts in the stretchers to support the bed slats and side walls.
But I can't say enough good things about Ana and this site. The original plans where a inspiration to build this bed and continue to inspire me to build other projects around the house. All of our friends who have seen pictures of our Sons Ski Patrol Shack bed have raved about it and I can even see a little pride in my sons face when other kids are ranting about how "cool" his bed is.
So while I didn't follow the plans exactly the end result can't be disputed; its an awesome feeling to give your child such a great bed! My son came up to me and hugged me and said he loved his bed. So from a plan I downloaded to that moment of my son telling me he loved it was all worth the effort!! Thank you Ana for posting this and all the other plans. They are not just building plans to download they are happy memories waiting to be built!! Cheers from Colorado!
We made this bed in the king size. DEFINITELY sand each shim prior to gluing it down. It is definitely no fun rolling over in the night and hurting my hand on the rough shims. I would also recommend staining the headboard (the base for the shims) prior to gluing down shims so that any holes between shims blend in with the stain color underneath. We did not and there are a couple spots that you can see the plain wood under the shims. Also, we did what they recommended in the plans to secure the side rails. The bed is not very stable and squeaks. We keep talking about altering it somewhat, but it's so dang heavy that we have been putting it off. One other thing that I wish we had done would have been to sand off the corners of the end of the footboard. We've gotten a few bruises from walking into the ends. It cost more than we expected and it took longer. But overall, we love it and are very happy with it. Just wish we had known now to do some things differently.
Finished this in no time and wow did it create a lot of space. I was able to get rid of my knife block because there’s now room for my knives in my drawer. Thank you Ana for sharing your wood work with us! This was well worth the $25 I spent!
This is my first furniture build! I modified the Farmhouse Table mainly by removing the stretcher, so that someone could sit comfortably at the ends of the table. I used all pocket-hole construction, so the top is one piece, made out of alternating 2x8s and 2x10s. Overall size of this table was 78" long x 40" wide, to comfortably accommodate 8 people.
Sun, 02/24/2013 - 12:46
I like the changes you made! Where did you find the 4"x4" legs, or did you build them yourself?
Sun, 03/17/2013 - 10:04
Both Blue and Orange carry 4x4 pine boards. One 10' length will make all the legs.
Thu, 03/21/2013 - 17:46
I love this table! You did a wonderful job! Can you explain a little more about your modifications? Did you add any other support when you took away the stretcher? I want to make a table just like yours. I need to get rid of the stretcher too so that I can seat people on the ends.
In reply to This is exactly what I've been looking for! by smitty22
Tue, 07/02/2013 - 10:29
There are cross supports under the table top, to help support the top and keep the base square. I made them out of 2x2s. Email me at redhenhome AT gmail DOT com if you have any other questions--I don't see these comments in a timely fashion!
This was my first project using Ana's plans. It's a combination between the smiling mudroom and the shoe shrine altered to fit sneakers and boots. I was very happy with how it turned out and couldn't wait to get on with my second project which was the planked sideboard. We were doing renos at the time and I was able to build the closet organizer before enclosing the closet. That thing is never moving.
Fri, 01/02/2015 - 11:14
Great work. I love the scroll work. I really wished I had mudroom for a storage system like this.
Made media center for new TV / speaker from Jen Woodhouse design I found on Ana White. Turned out well. Changed some aspects to fit my situation. I changed some of the joinery, and used a 12 inch piece of pine on the back to allow for stability and ample space for cord management. I used three hinges due to weight of the front and put some corner cushions for grandson's sake (toddler). Most items bought at local home improvement store but index card holders bought on ebay for very reasonable price.
Mon, 11/20/2023 - 06:40
Sorry, I mistakenly reversed identities. It's a Ana White design I found on Jen Woodhouses' site. Mea Culpa
Farmhouse bed
This was our second project from Ana's site. There were some bumps in the road (oh, the perils of getting warped 2 by 8 boards to line up perfectly side by side with the Kreg jig). All in all, this table isn't perfect, but it is ours and we love it.
The size of the table in the plans is quite perfect, I'd say. It is long, but fairly narrow. We can sit across from each other as a family of four and still feel cozy, but the table will seat ten if need be.
It is also very, very sturdy....which as a mother to two young boys I appreciate.
This was a 10-20 hour project for us, but we had two children under the age of 5 "helping" and are new to building furniture. I'm certain someone else could build the entire table in an afternoon.
I really liked the look of the kitchen island in the plans, but we needed something longer, so I added 2' to the length, an extra drawer, and some supports in the center (worried the shelves might sag otherwise). We also wanted an overhang for stools, so I added a foot to the width and some decorative corbels. For the top we used reclaimed bowling alley wood. A really fun project and were really happy with it. Thanks for the plans!
My dad has been looking to buy an outdoor soda cooler for the summer, and when I came across this plan I knew I had to make it! The design is so pretty, and the plans are very easy to follow. It is time consuming to complete but the end result is worth it! The biggest challenge I found was getting the spigot to attach to the cooler. Make sure your cooler lid is glued in level too because I learned the hard way it is a pain to fix after the fact! I personalized it to my dad's favorite soda and photo shopped him into a vintage moxie ad because it's something he would get a kick out of! He loved it! Thanks for the plans!
Mon, 02/22/2021 - 11:30
The sweet build and customization is what building is all about! Thank you for sharing, he is a proud father indeed.
This is my first time attempt at building a piece of furniture. There are definitely some mistakes but, think it still came out okay. Guess it is a learning experience.