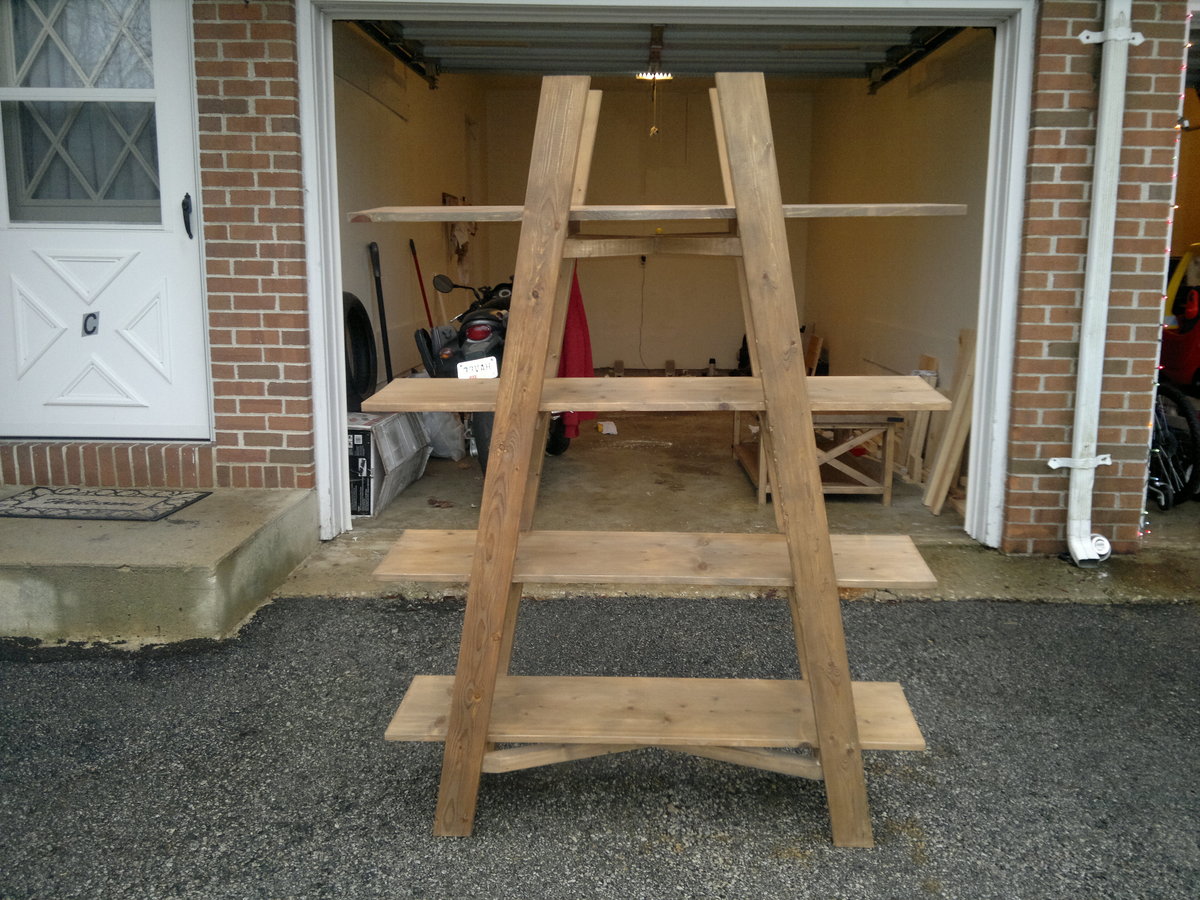
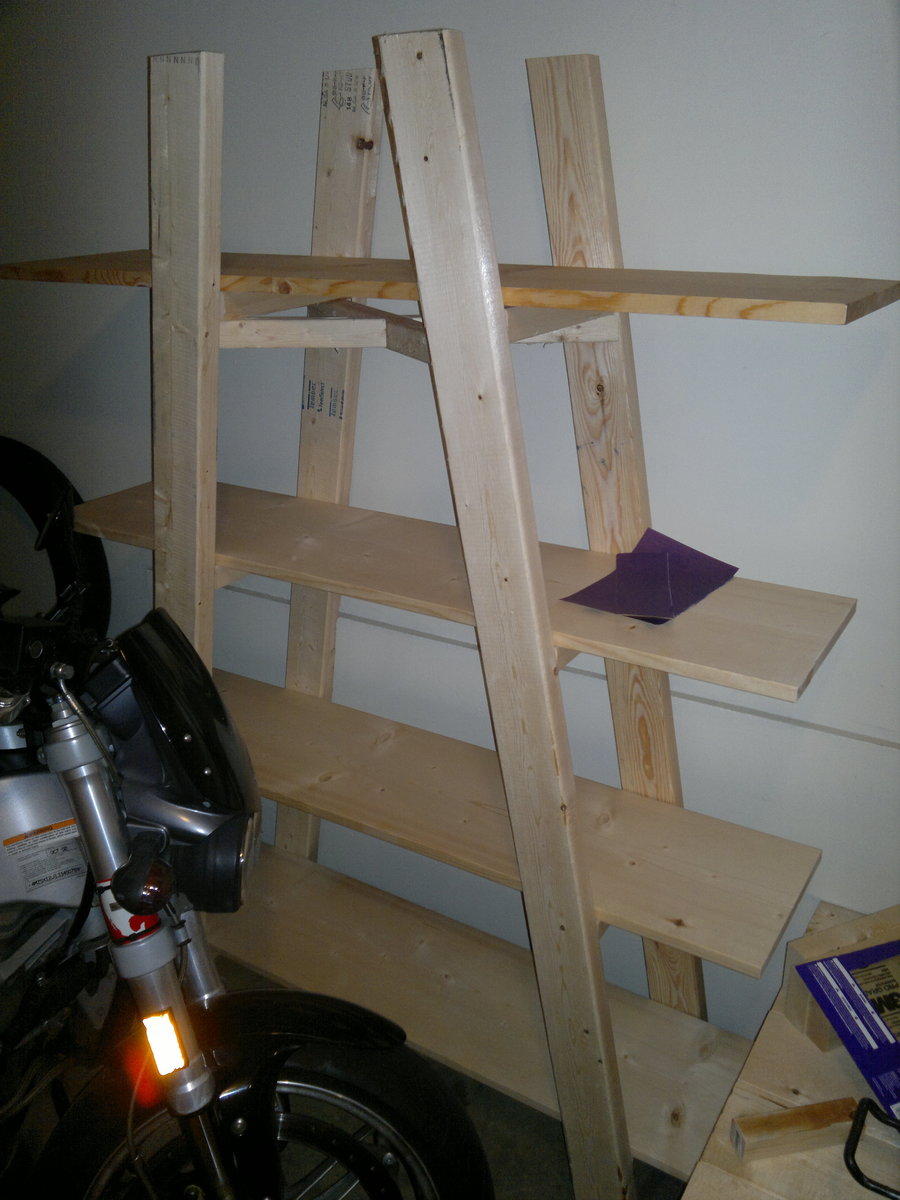
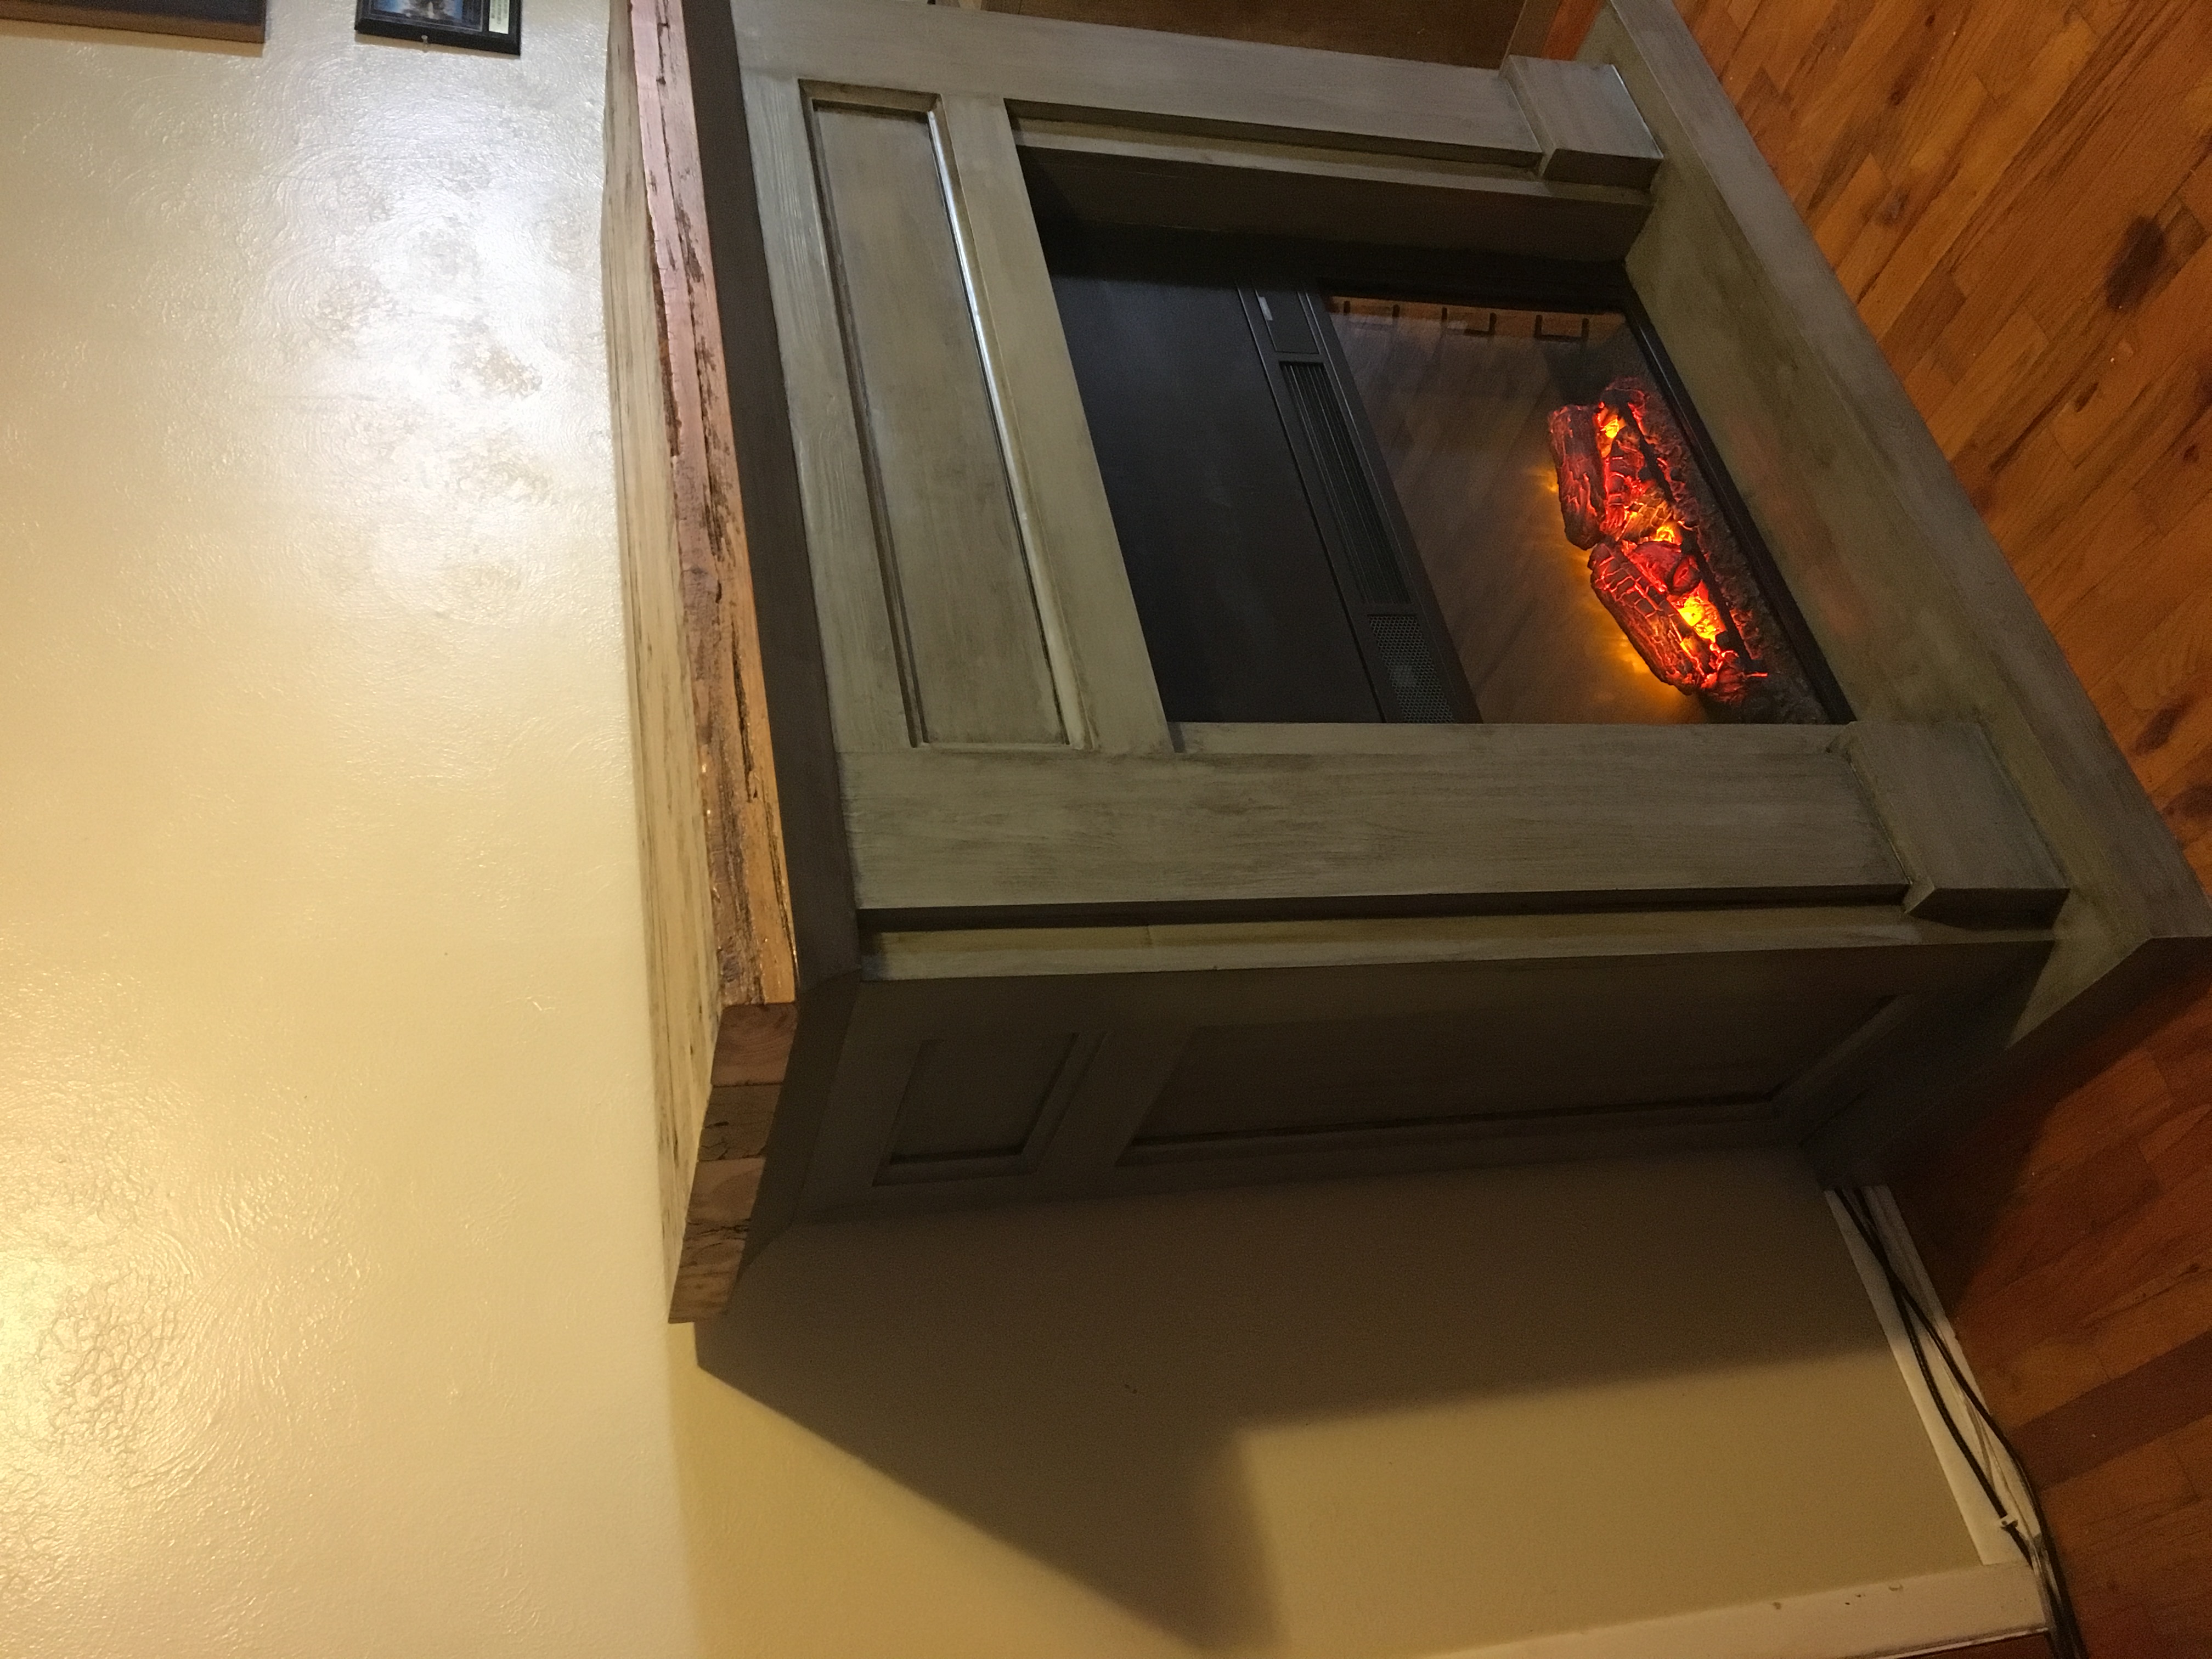
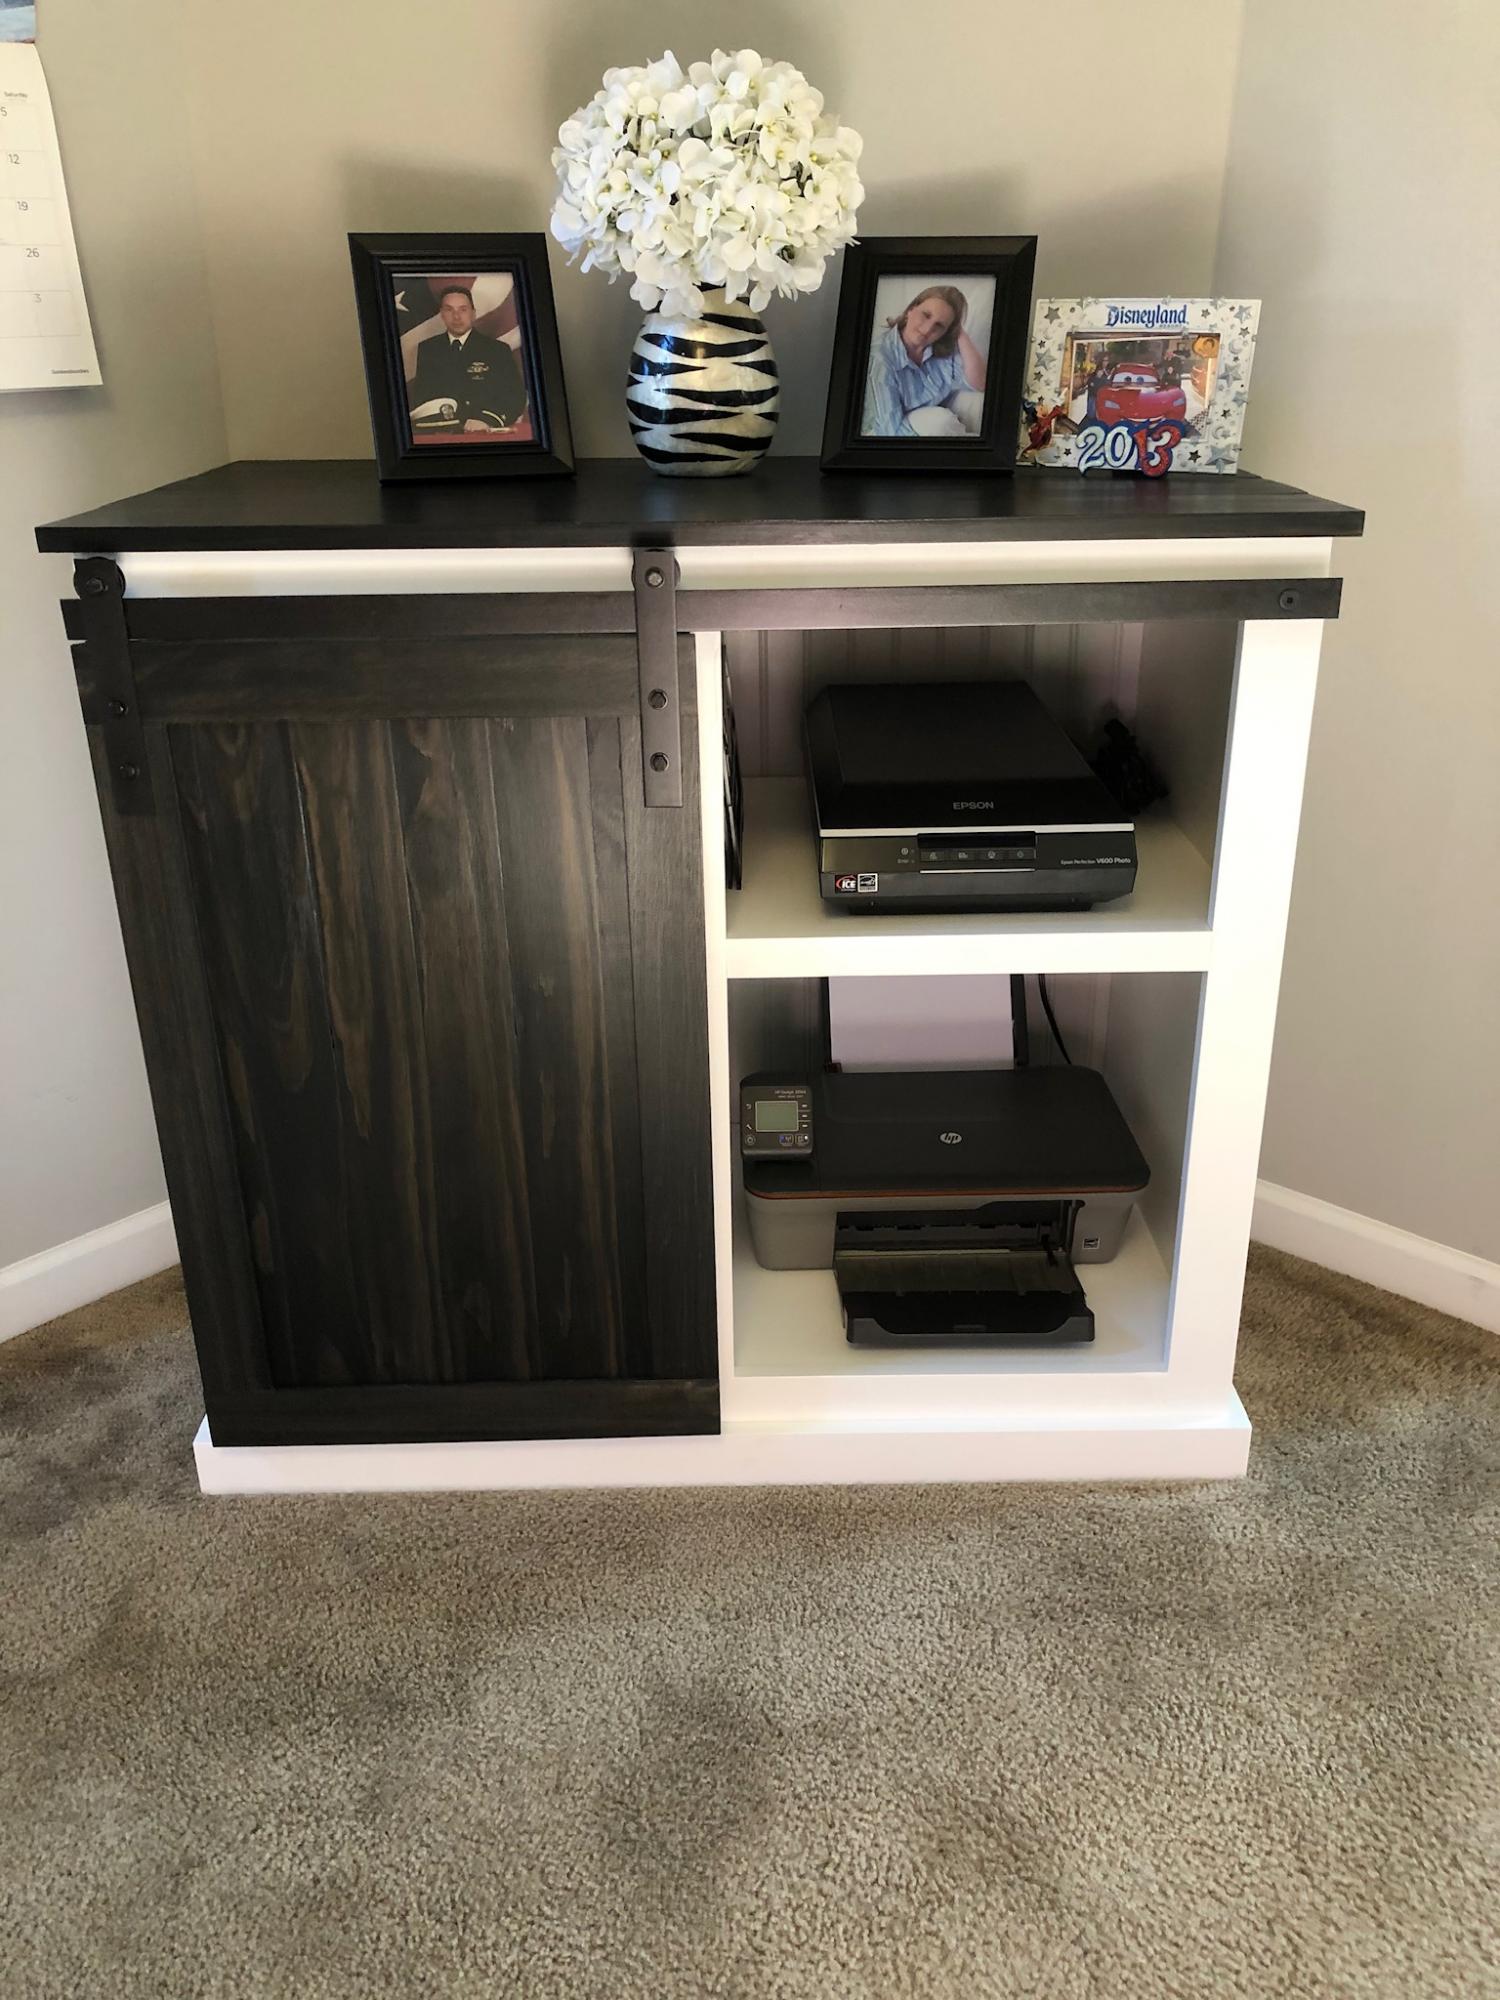
Modified Mimi's faux mantle
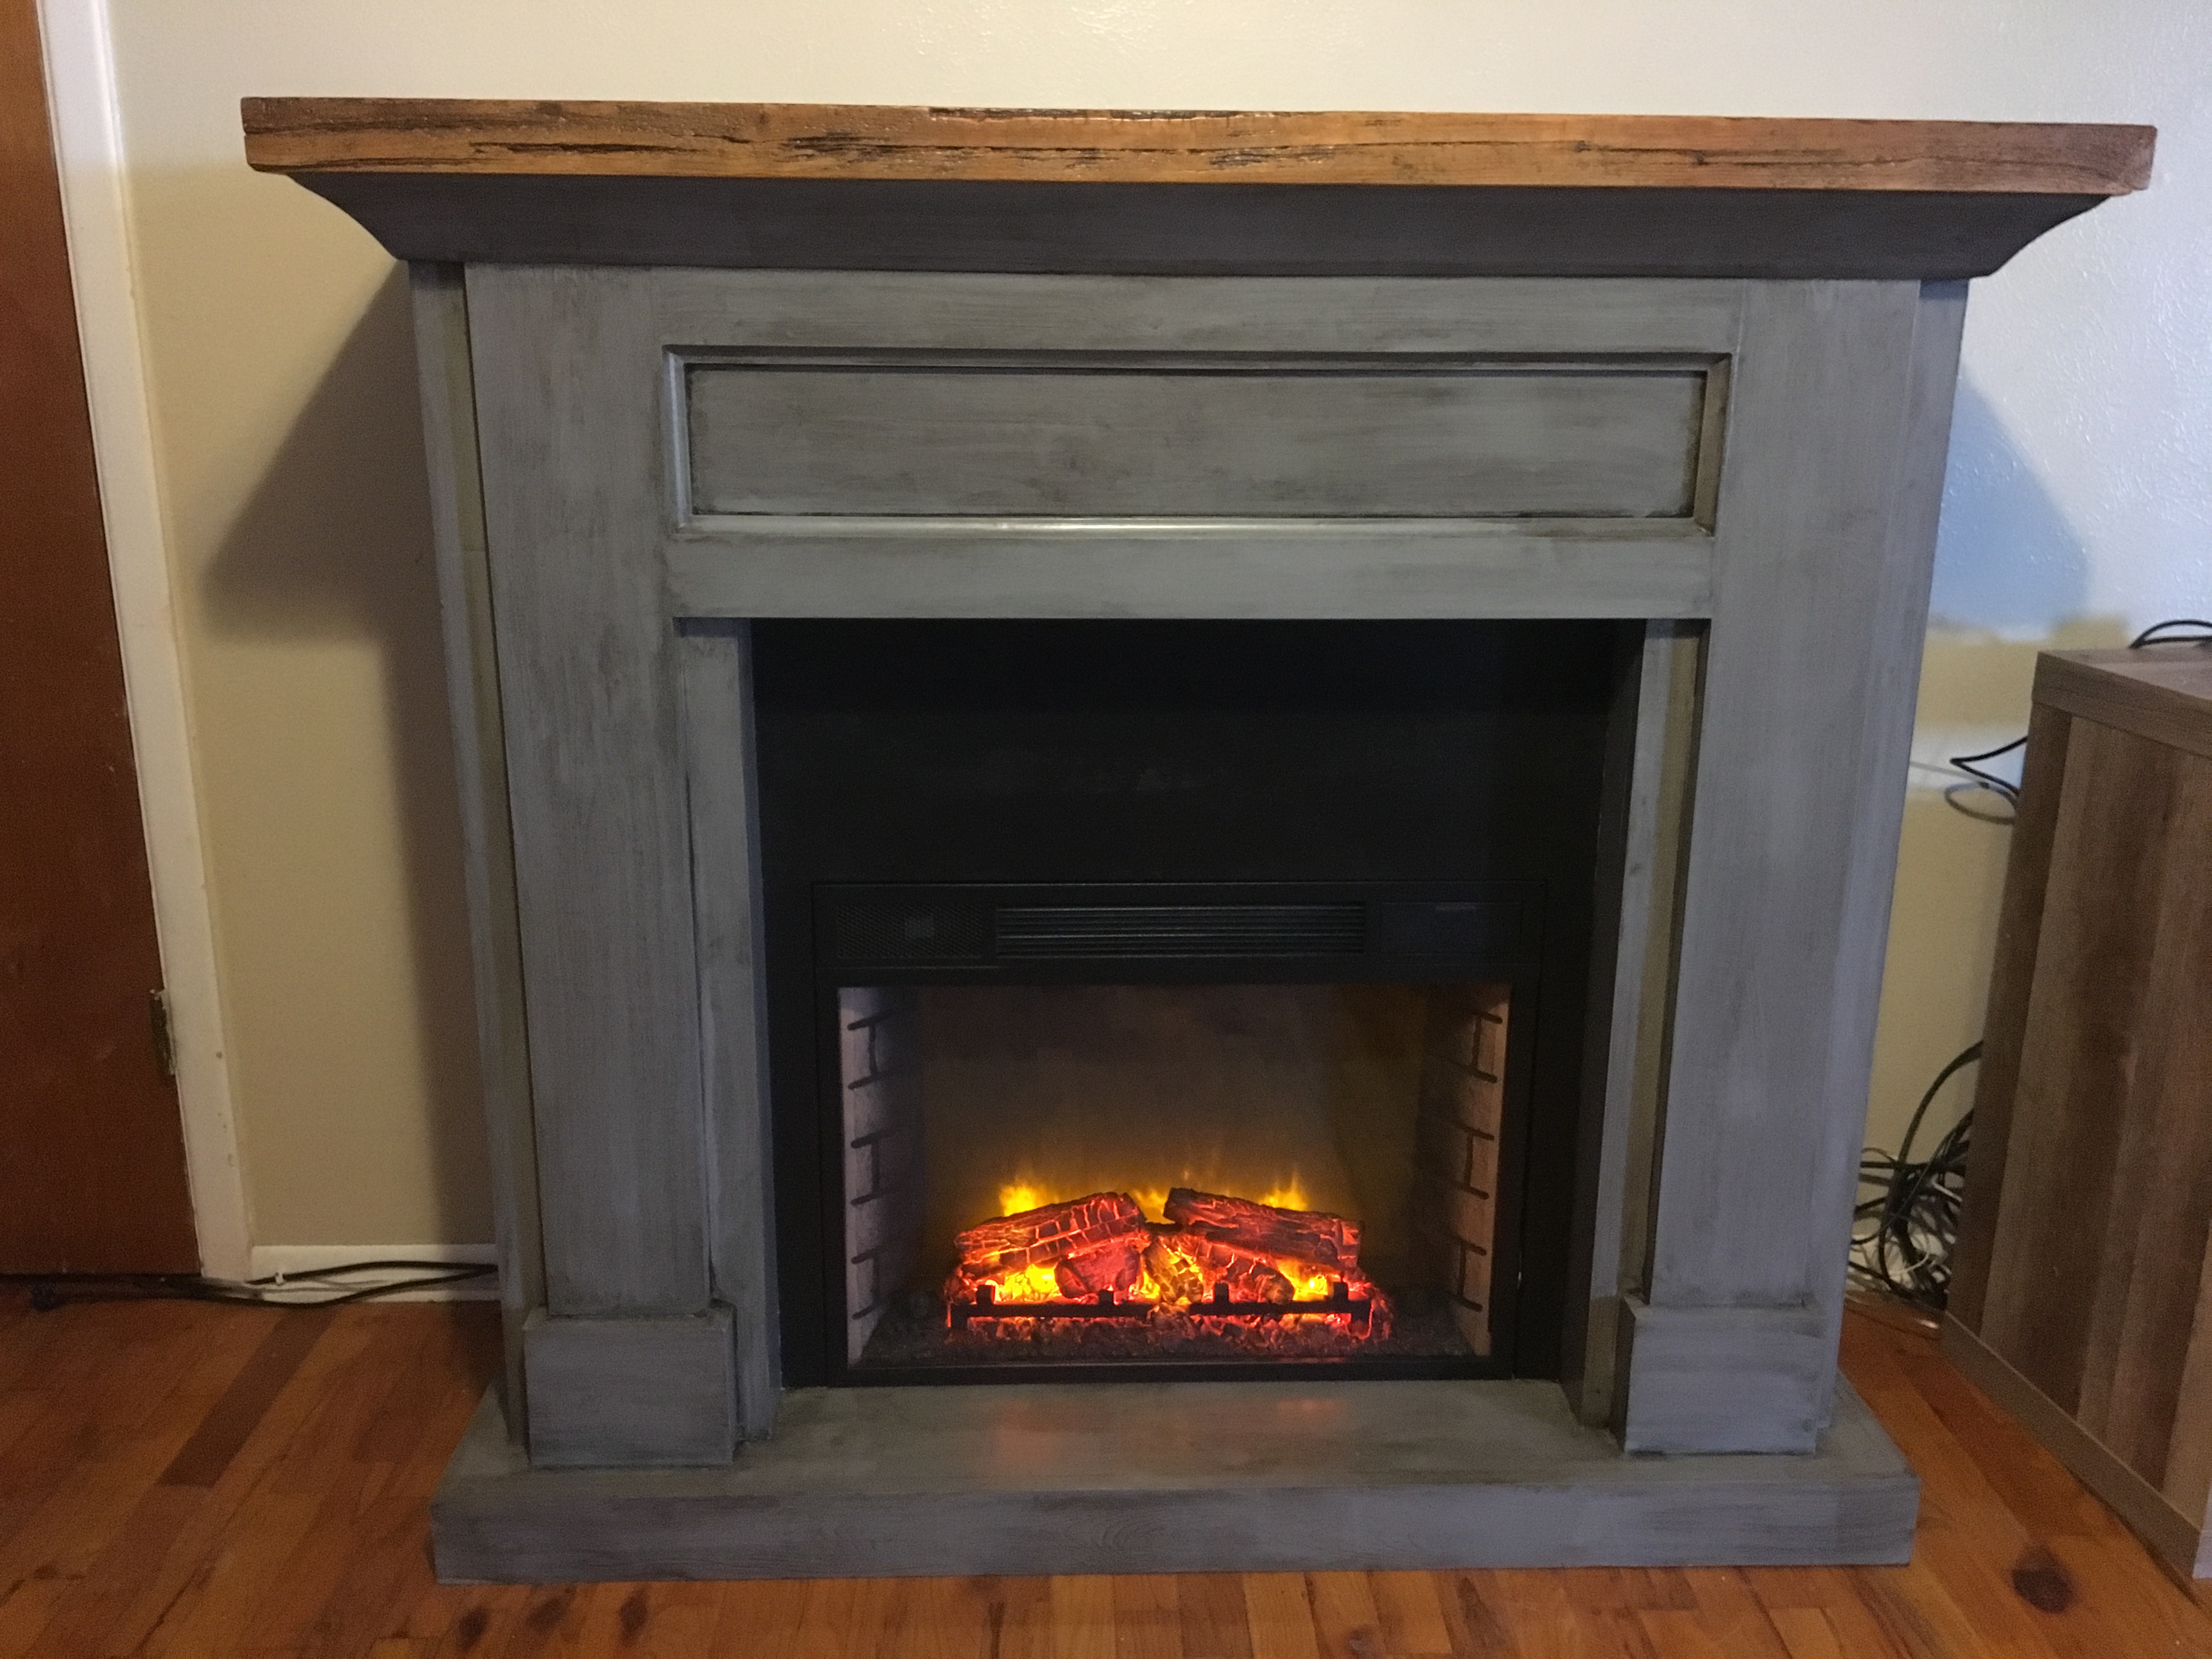
Added deeper sides to the project so I could fit an electric fireplace into it
Built from Plan(s)
Estimated Cost
$175 for the fireplace
$350 in wood and finish supplies
$350 in wood and finish supplies
Estimated Time Investment
Week Long Project (20 Hours or More)
Finish Used
Valspar furniture paint in Mark Twain Ombra Gray
Valspar Antiquing Glaze
Valspar Antiquing Glaze
Recommended Skill Level
Intermediate


 so she won out.