Doll Pram
This was such a fun project and my daughter loves her baby carriage.
My first project, I built it out of rough cut lumber that I cut on my parents portable sawmill. Took me three weekends to build, turned out pretty good, but I would change how I did a few things.
This is one of three doll beds I made for my nieces and their AG dolls.
Tue, 10/07/2014 - 10:05
Very cute beds! And the comforters are adorable. (I have enjoyed building baby doll beds and high chairs for the granddaughter and great nieces. They're older and now and have the AG dolls, so need to get busy on this bed for them.)
Took me about 2.5 weeks to finish this project (working on it mainly on the weekends when I had some time)! This build was modified to fit our dining space I made the table a little wider at 44" and a little longer at almost 11'!! This was my first furniture build and I am very happy how it turned out! I look forward to building more projects! Please pay no mind that as soon as it came in the house it was being used to fold laundry LOL!! This is the beginning of a new life for my dining room!
Using Ana's Rustic X Hall tree - I modified the size to fit this small space in the cottage in my backyard. It was impossible to find something to fit this space -- and this is one of my first indoor projects; I am a beginner. It was so much fun building! I used pine from a big box store mostly but opted for Bead board for the backing to achieve a farmhouse type look. My daughter lives in the cottage and loves it!! Thanks Ana for the sweet plans!!
Here is my fist whack at this bed for my son. I am starting the one for my daughter as well, but am modifying the design to have storage stairs.
This took only two hours! I couldn't believe how easy it was. I used cabinet grade plywood from another project and left over paint. The shelves are actually six inches rather than four inches and they feel very sturdy.
We ended up making the foot board about 12 inches taller as we prefer a taller foot board. We opted to make this platform bed as you'll see in the photos. It turned out great and was fairly simple due to the DIY plans provided here and all the friendly posts by others with their hurdles, etc. This is an amazing site, THANK YOU Ana!
This winter brought gloves, snow boots and snow pants spread throughout my kitchen. This mama was going insane. Storage before was one hook per child at their height and 4 hooks for mom and dad with a pile of coats and shoes at the bottom. It took me about 3 days to complete while the kids were on Christmas break, which is pretty amazing :) This project was pretty easy once I got the hang of the Kreg Jig. The only issue I ran into was our corner wall is not square which gave me a gigantic headache.
Thank you Ana for these plans!
From a mama who is a little less insane, Tonya in Kansas
I am a hobby woodworker having a PhD in computer science; quite the combination I wonder. To my advantage, before start working I usually build the project in software like Google Sketchup etc. This gives me the precise picture and dimensions of the different components of project.
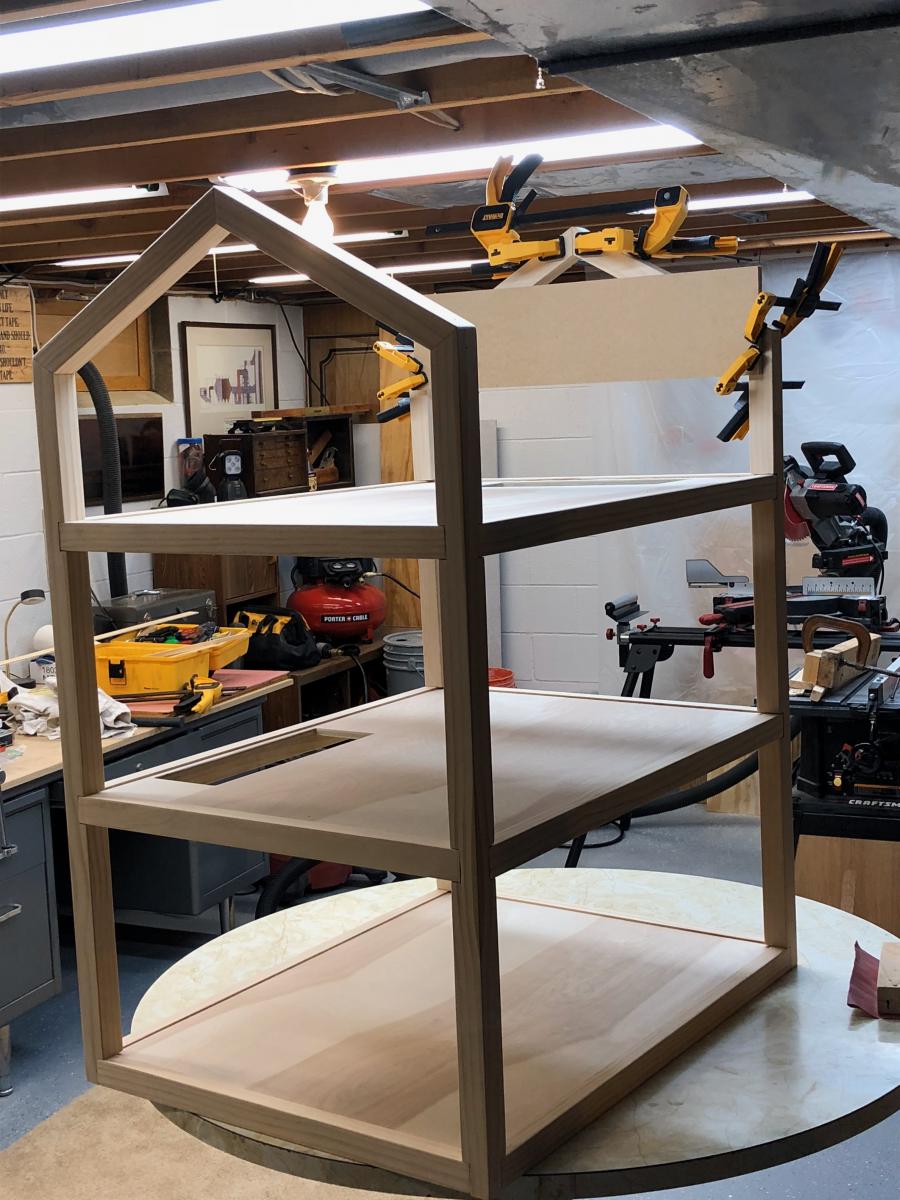
I usually work in my backyard of house which is used for variety of purposes. I so happens that whenever I was working, I used to go inside the house each time to fetch the tool I forgot. Big trouble!
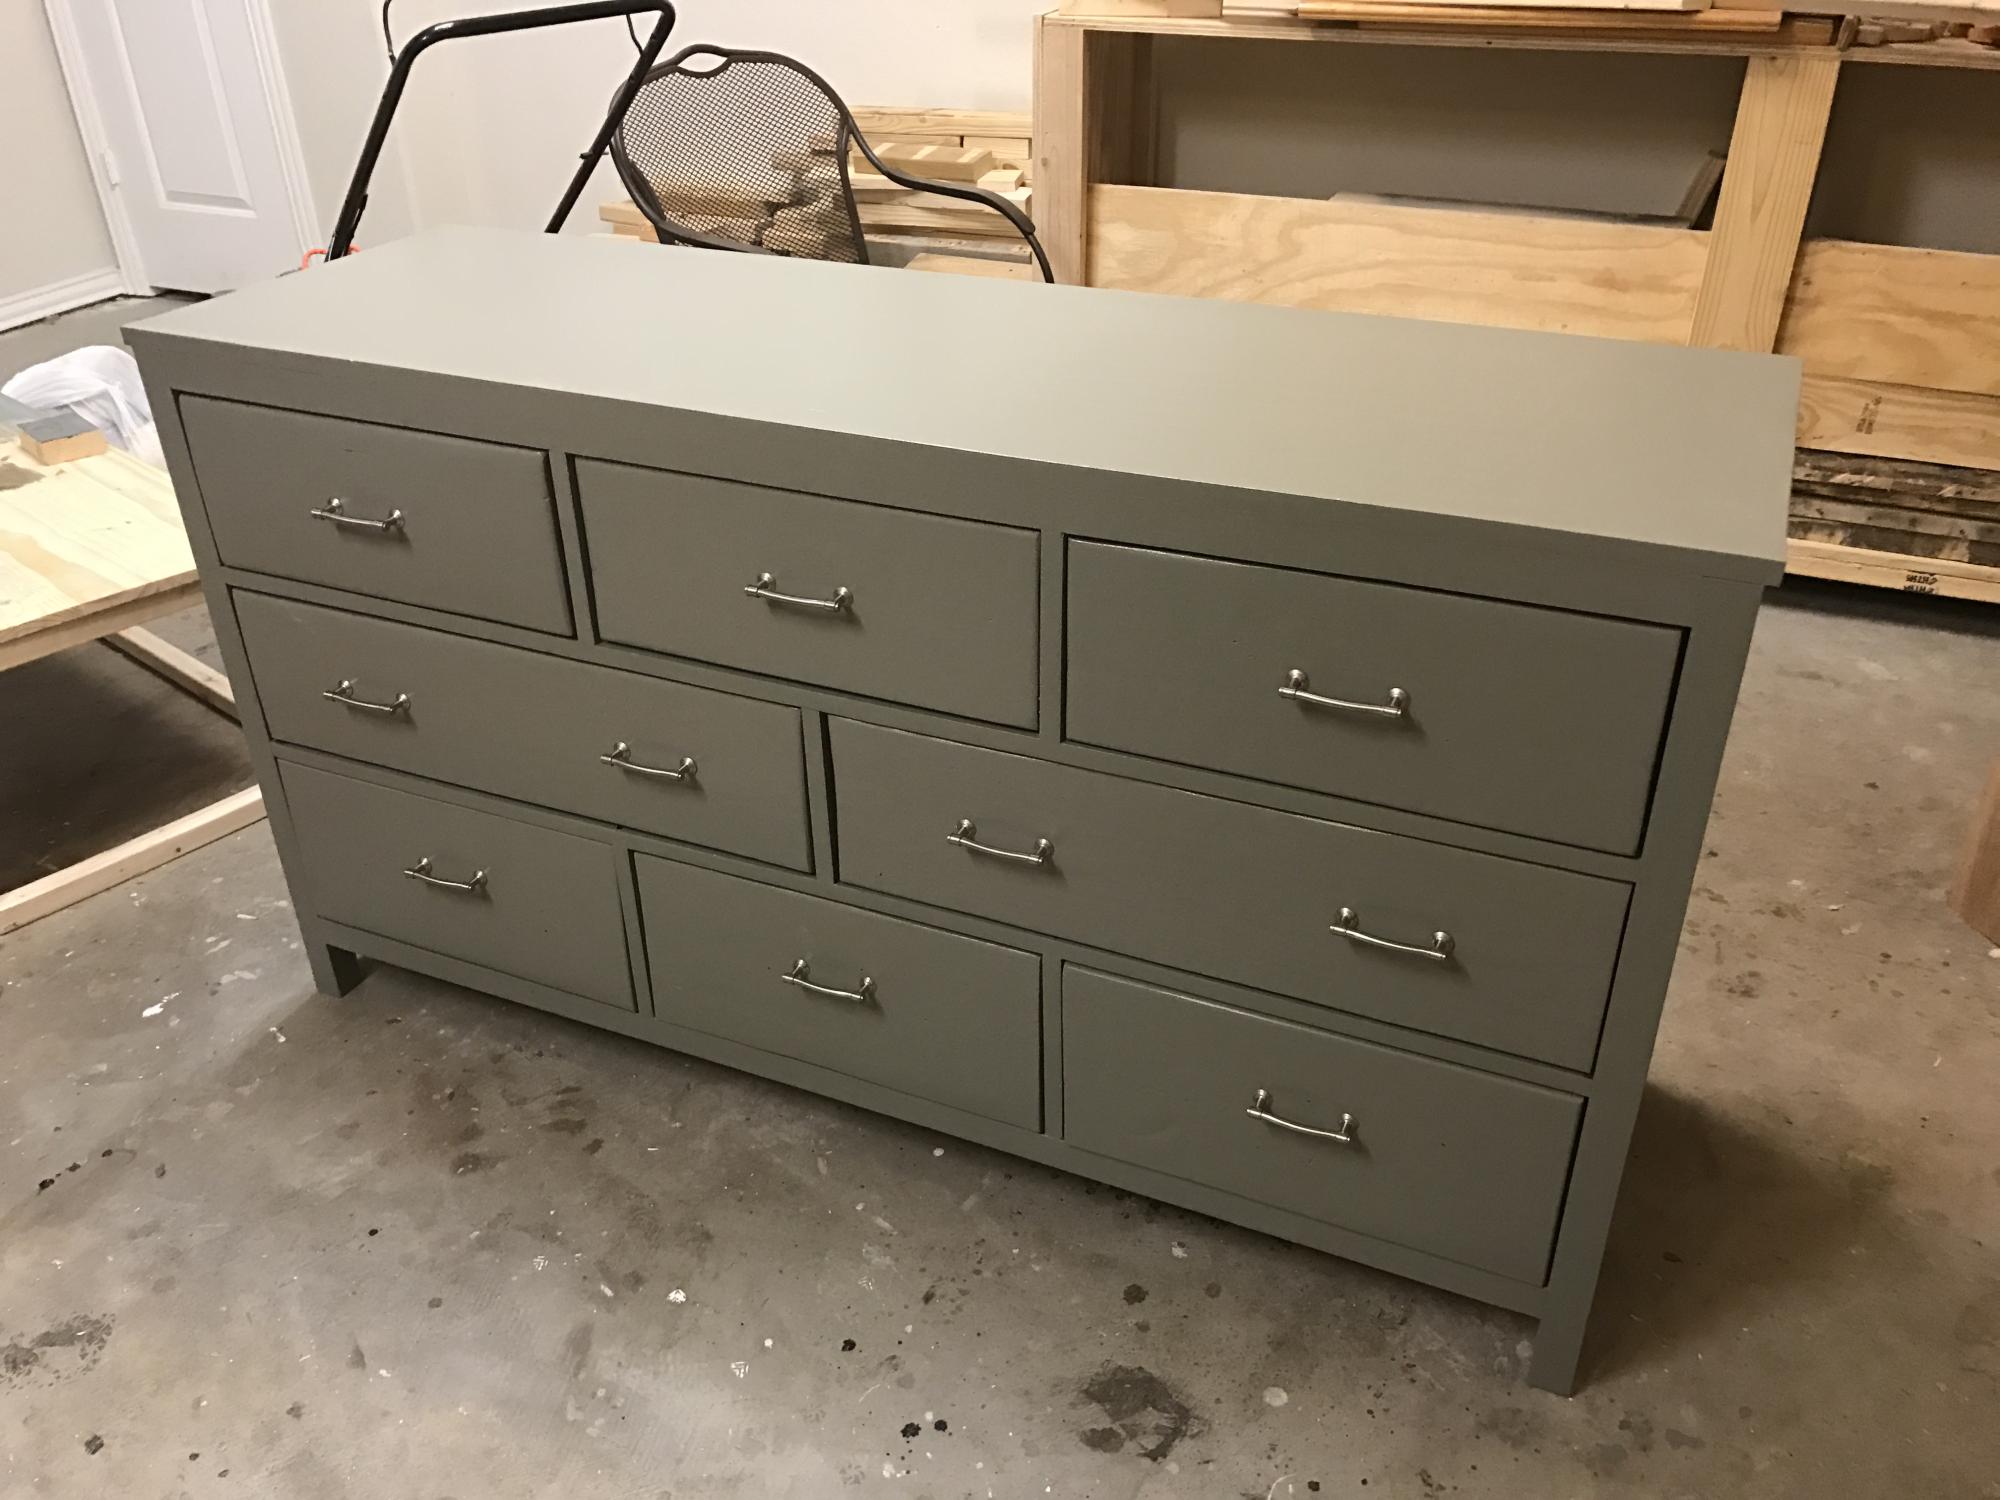
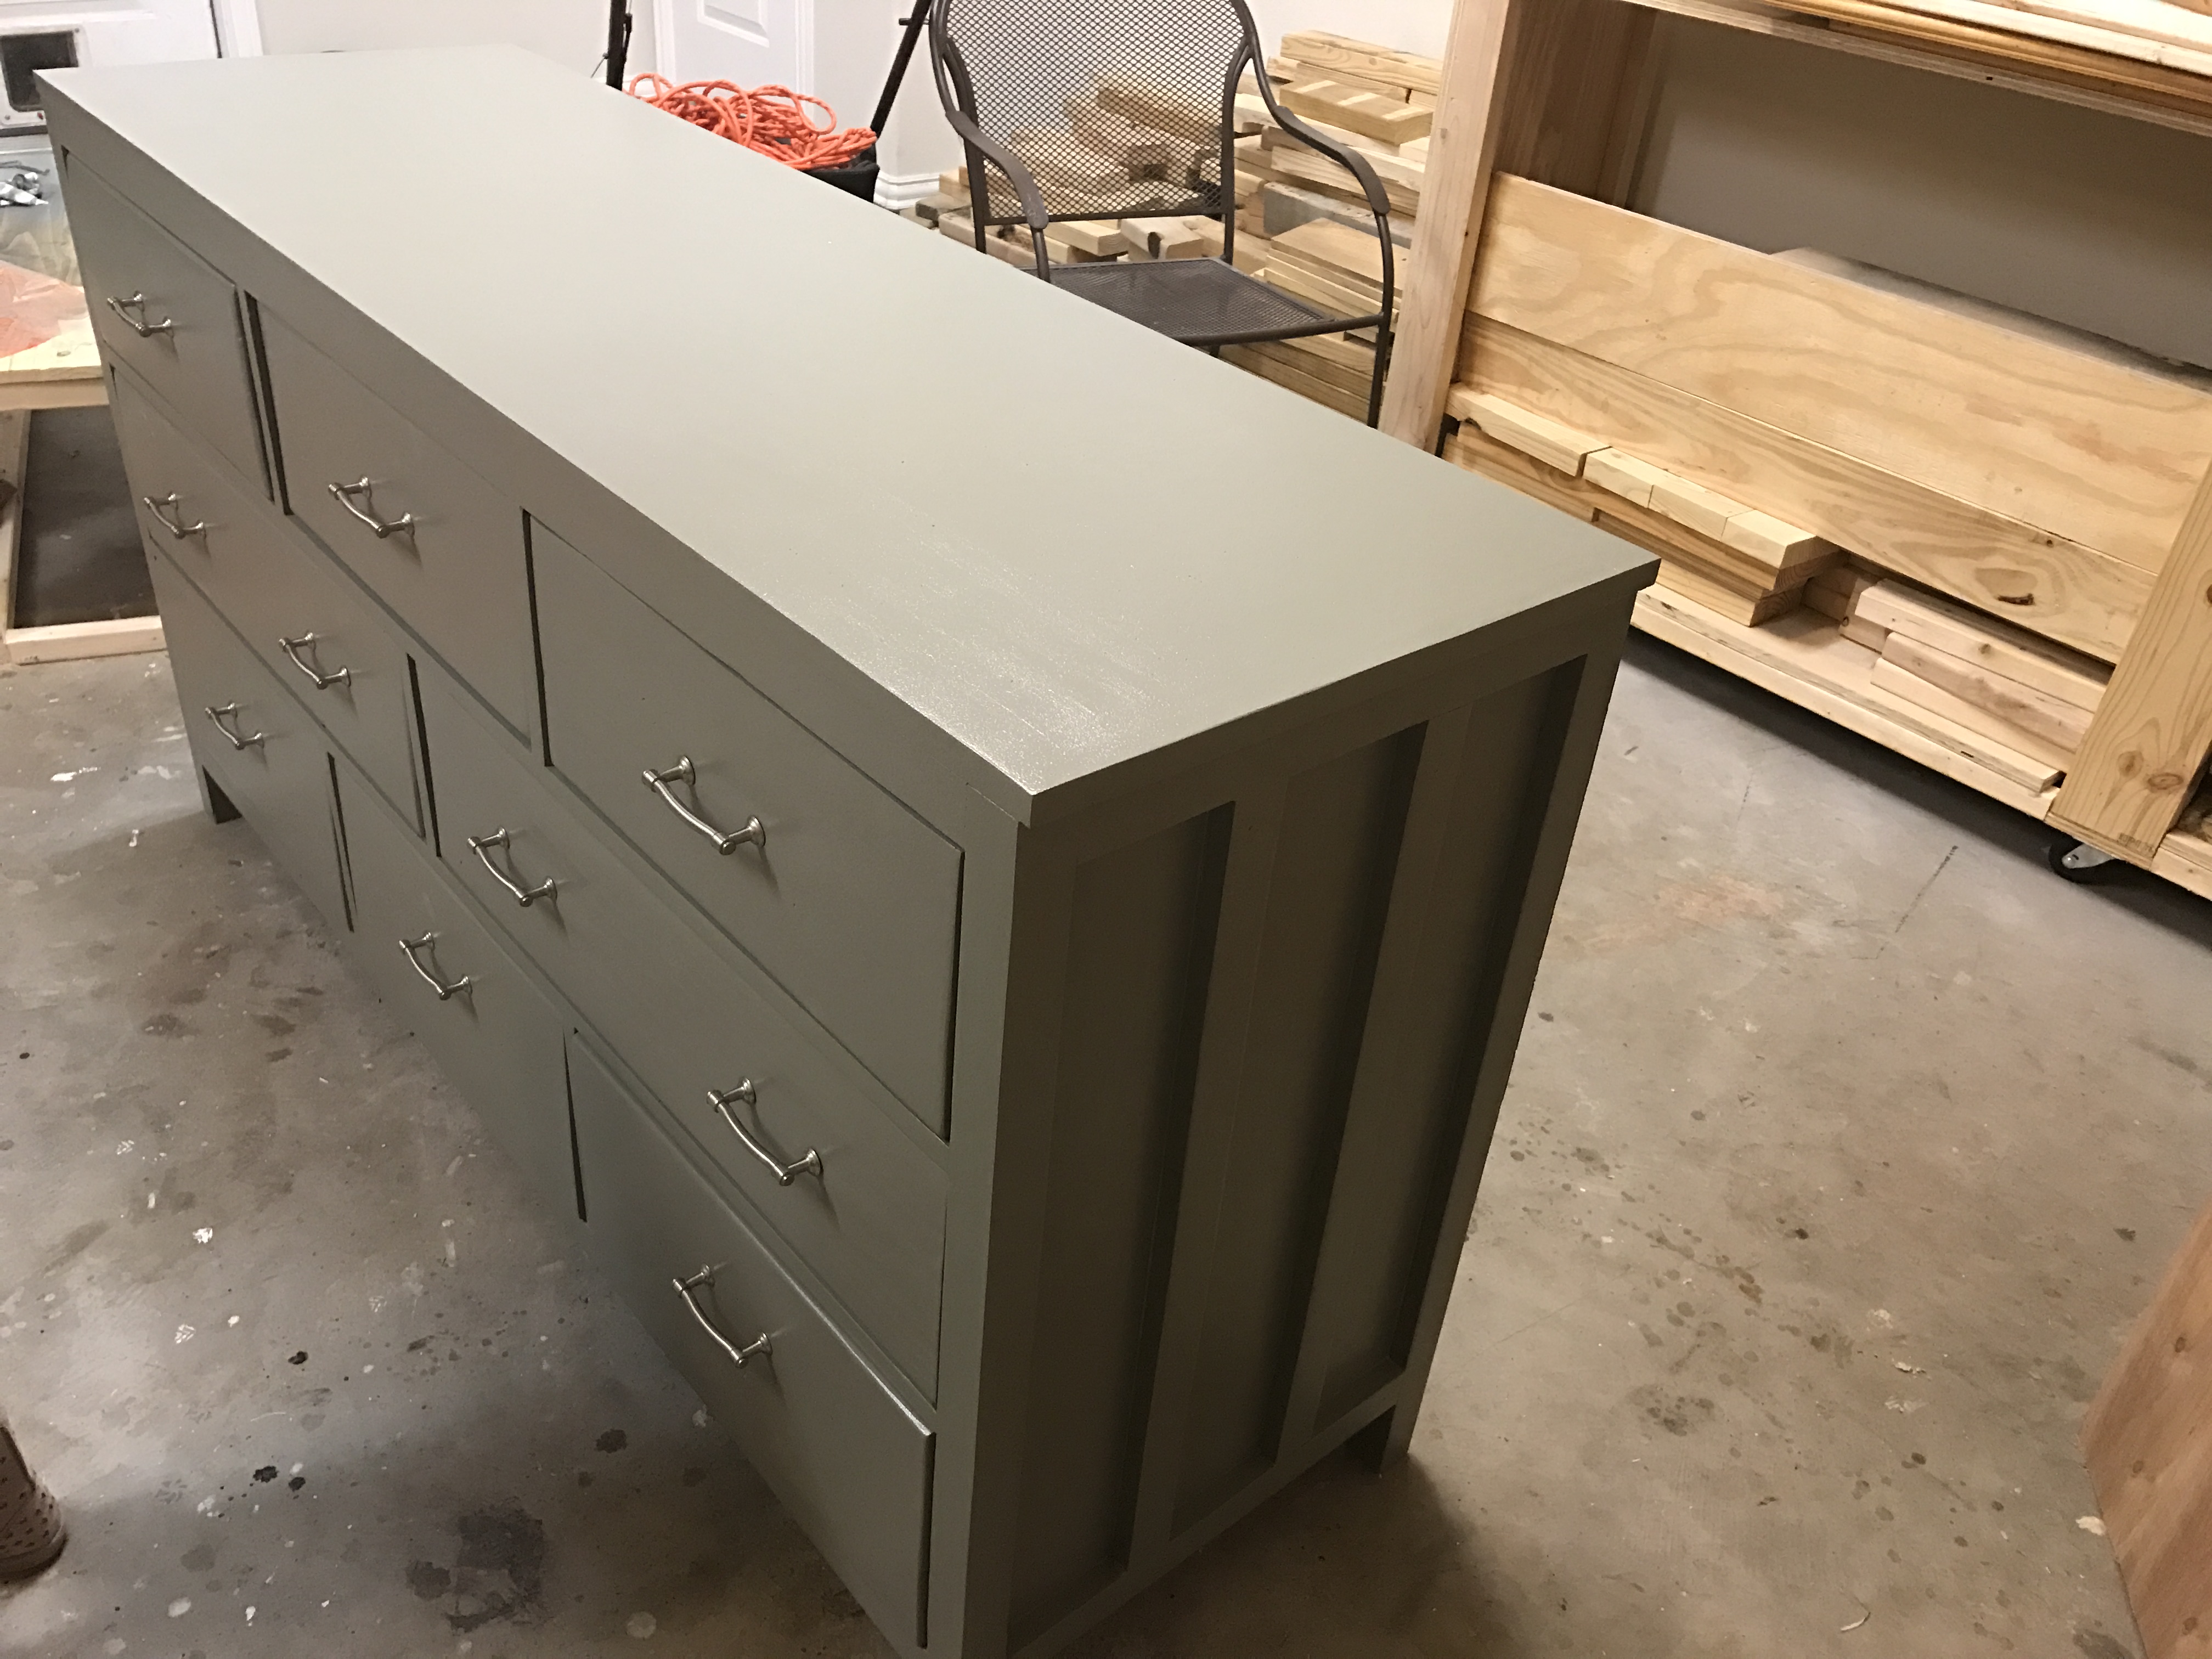
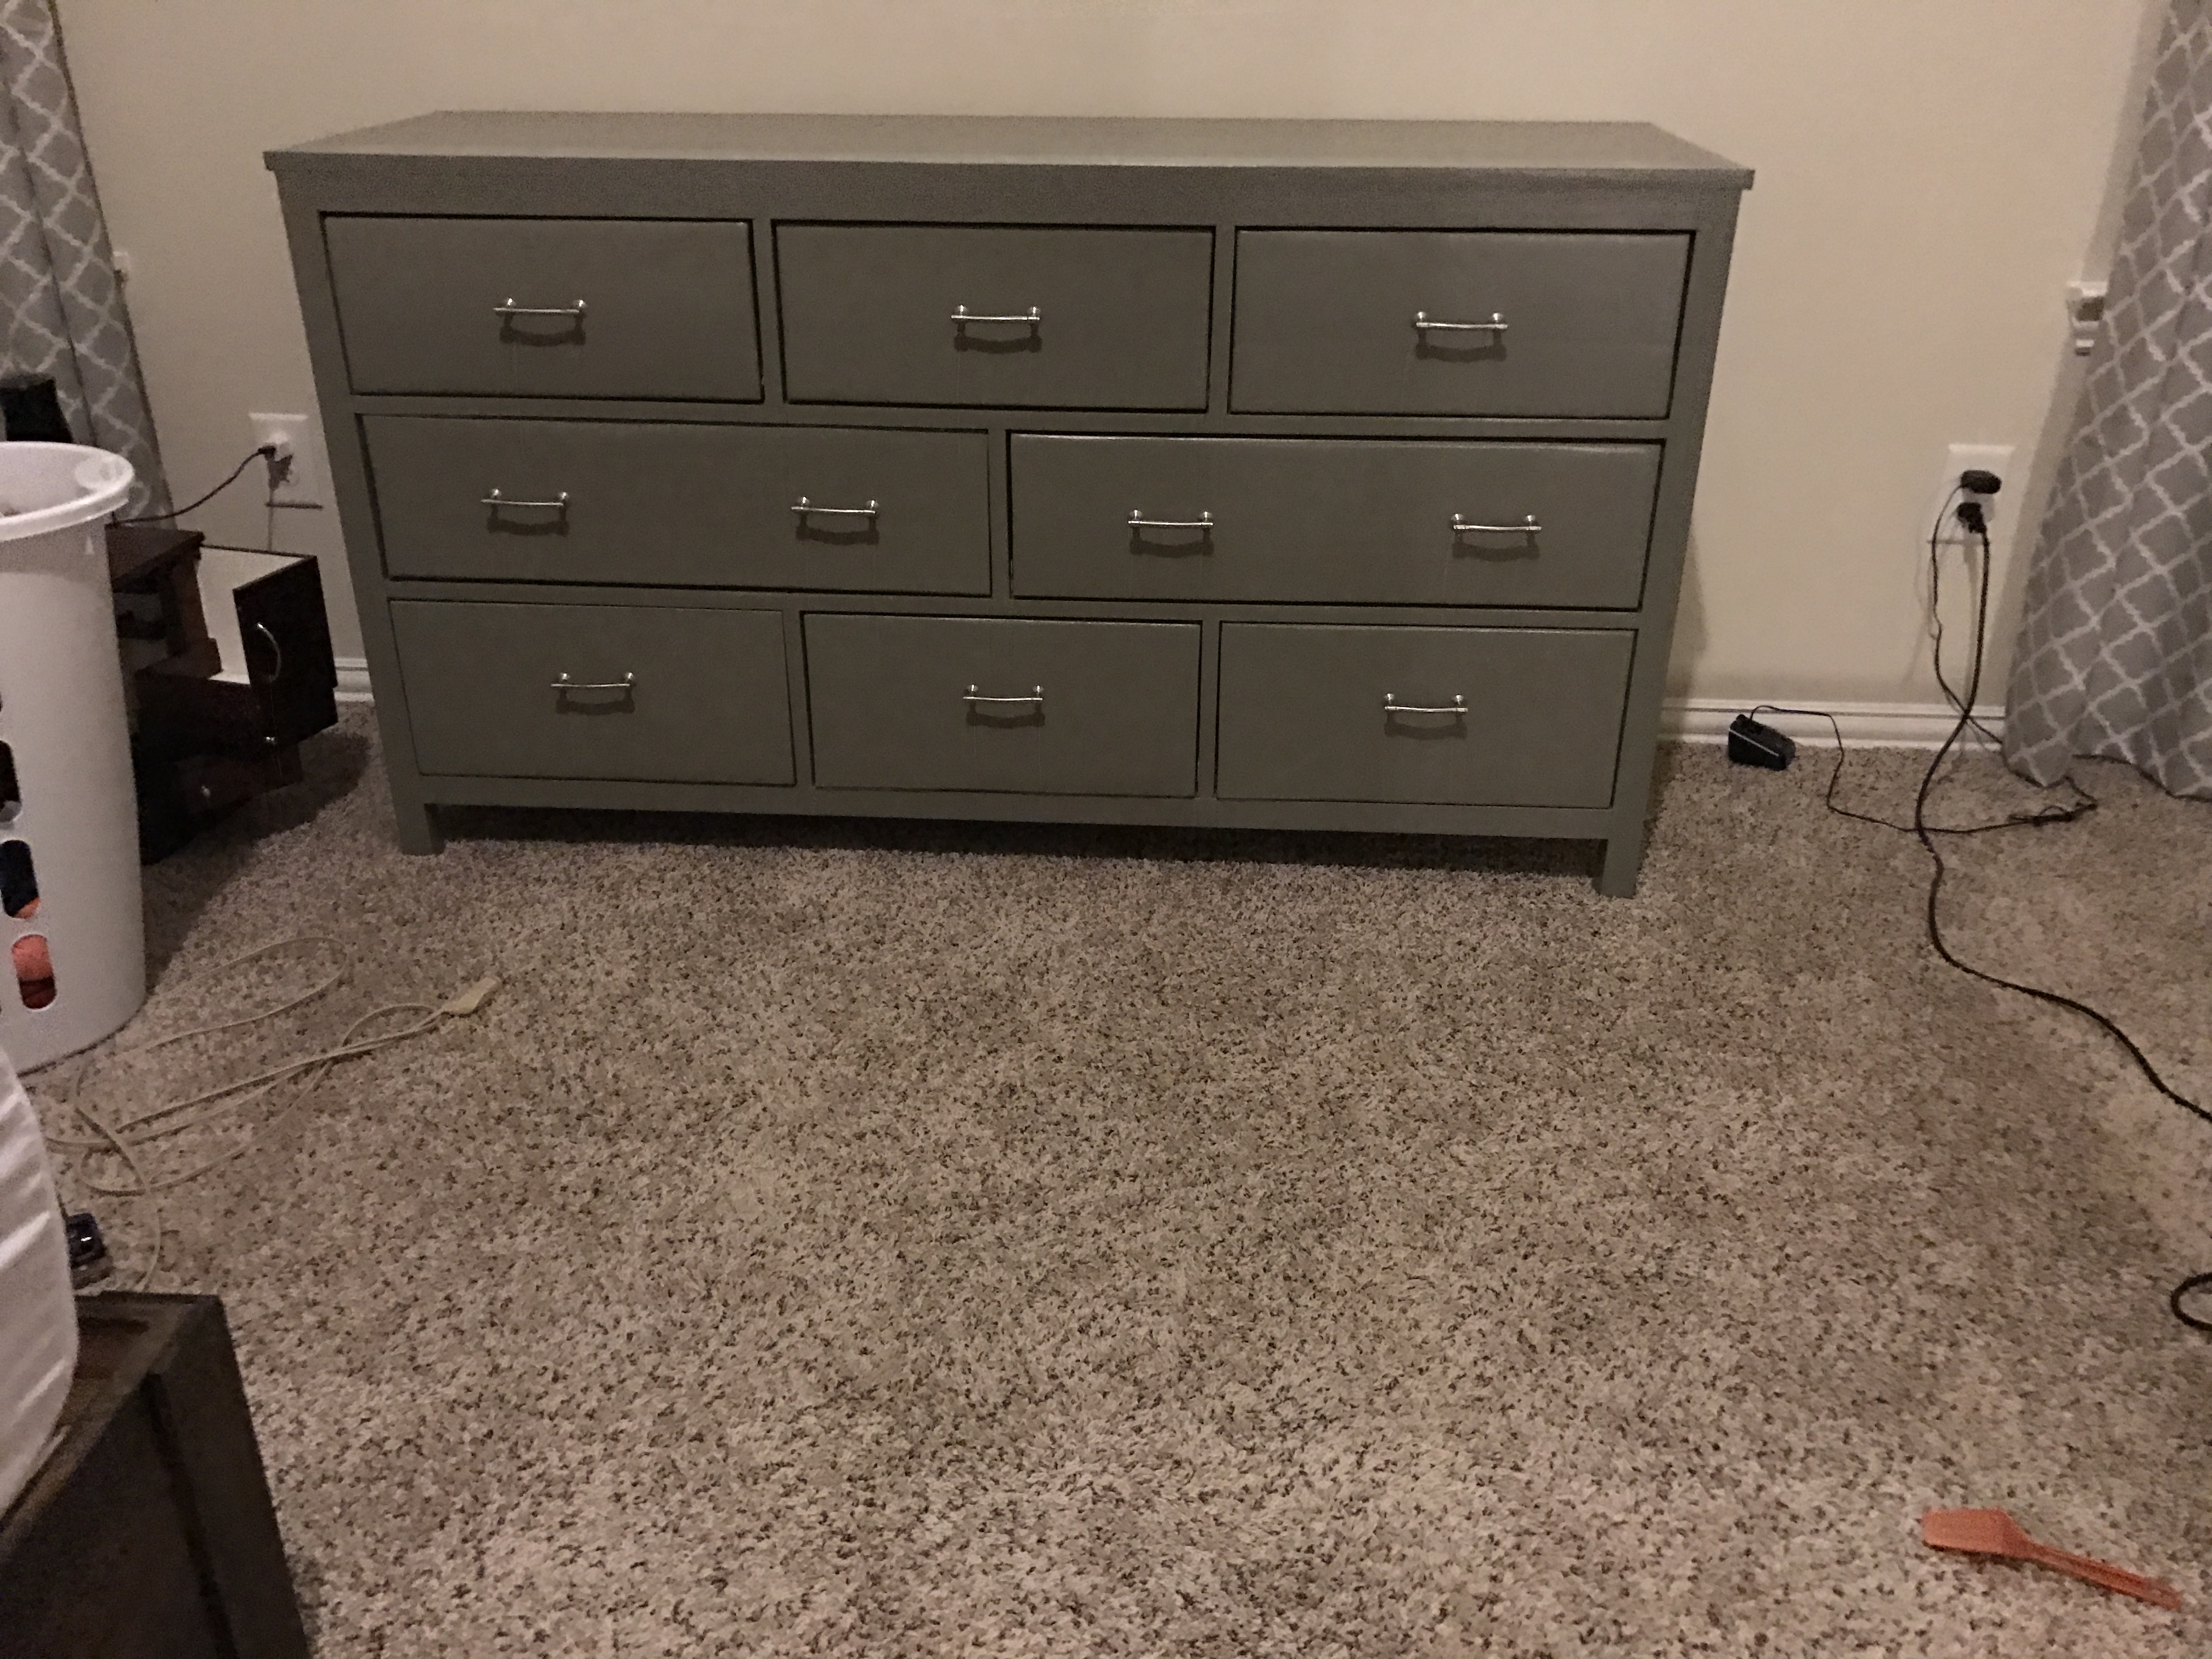
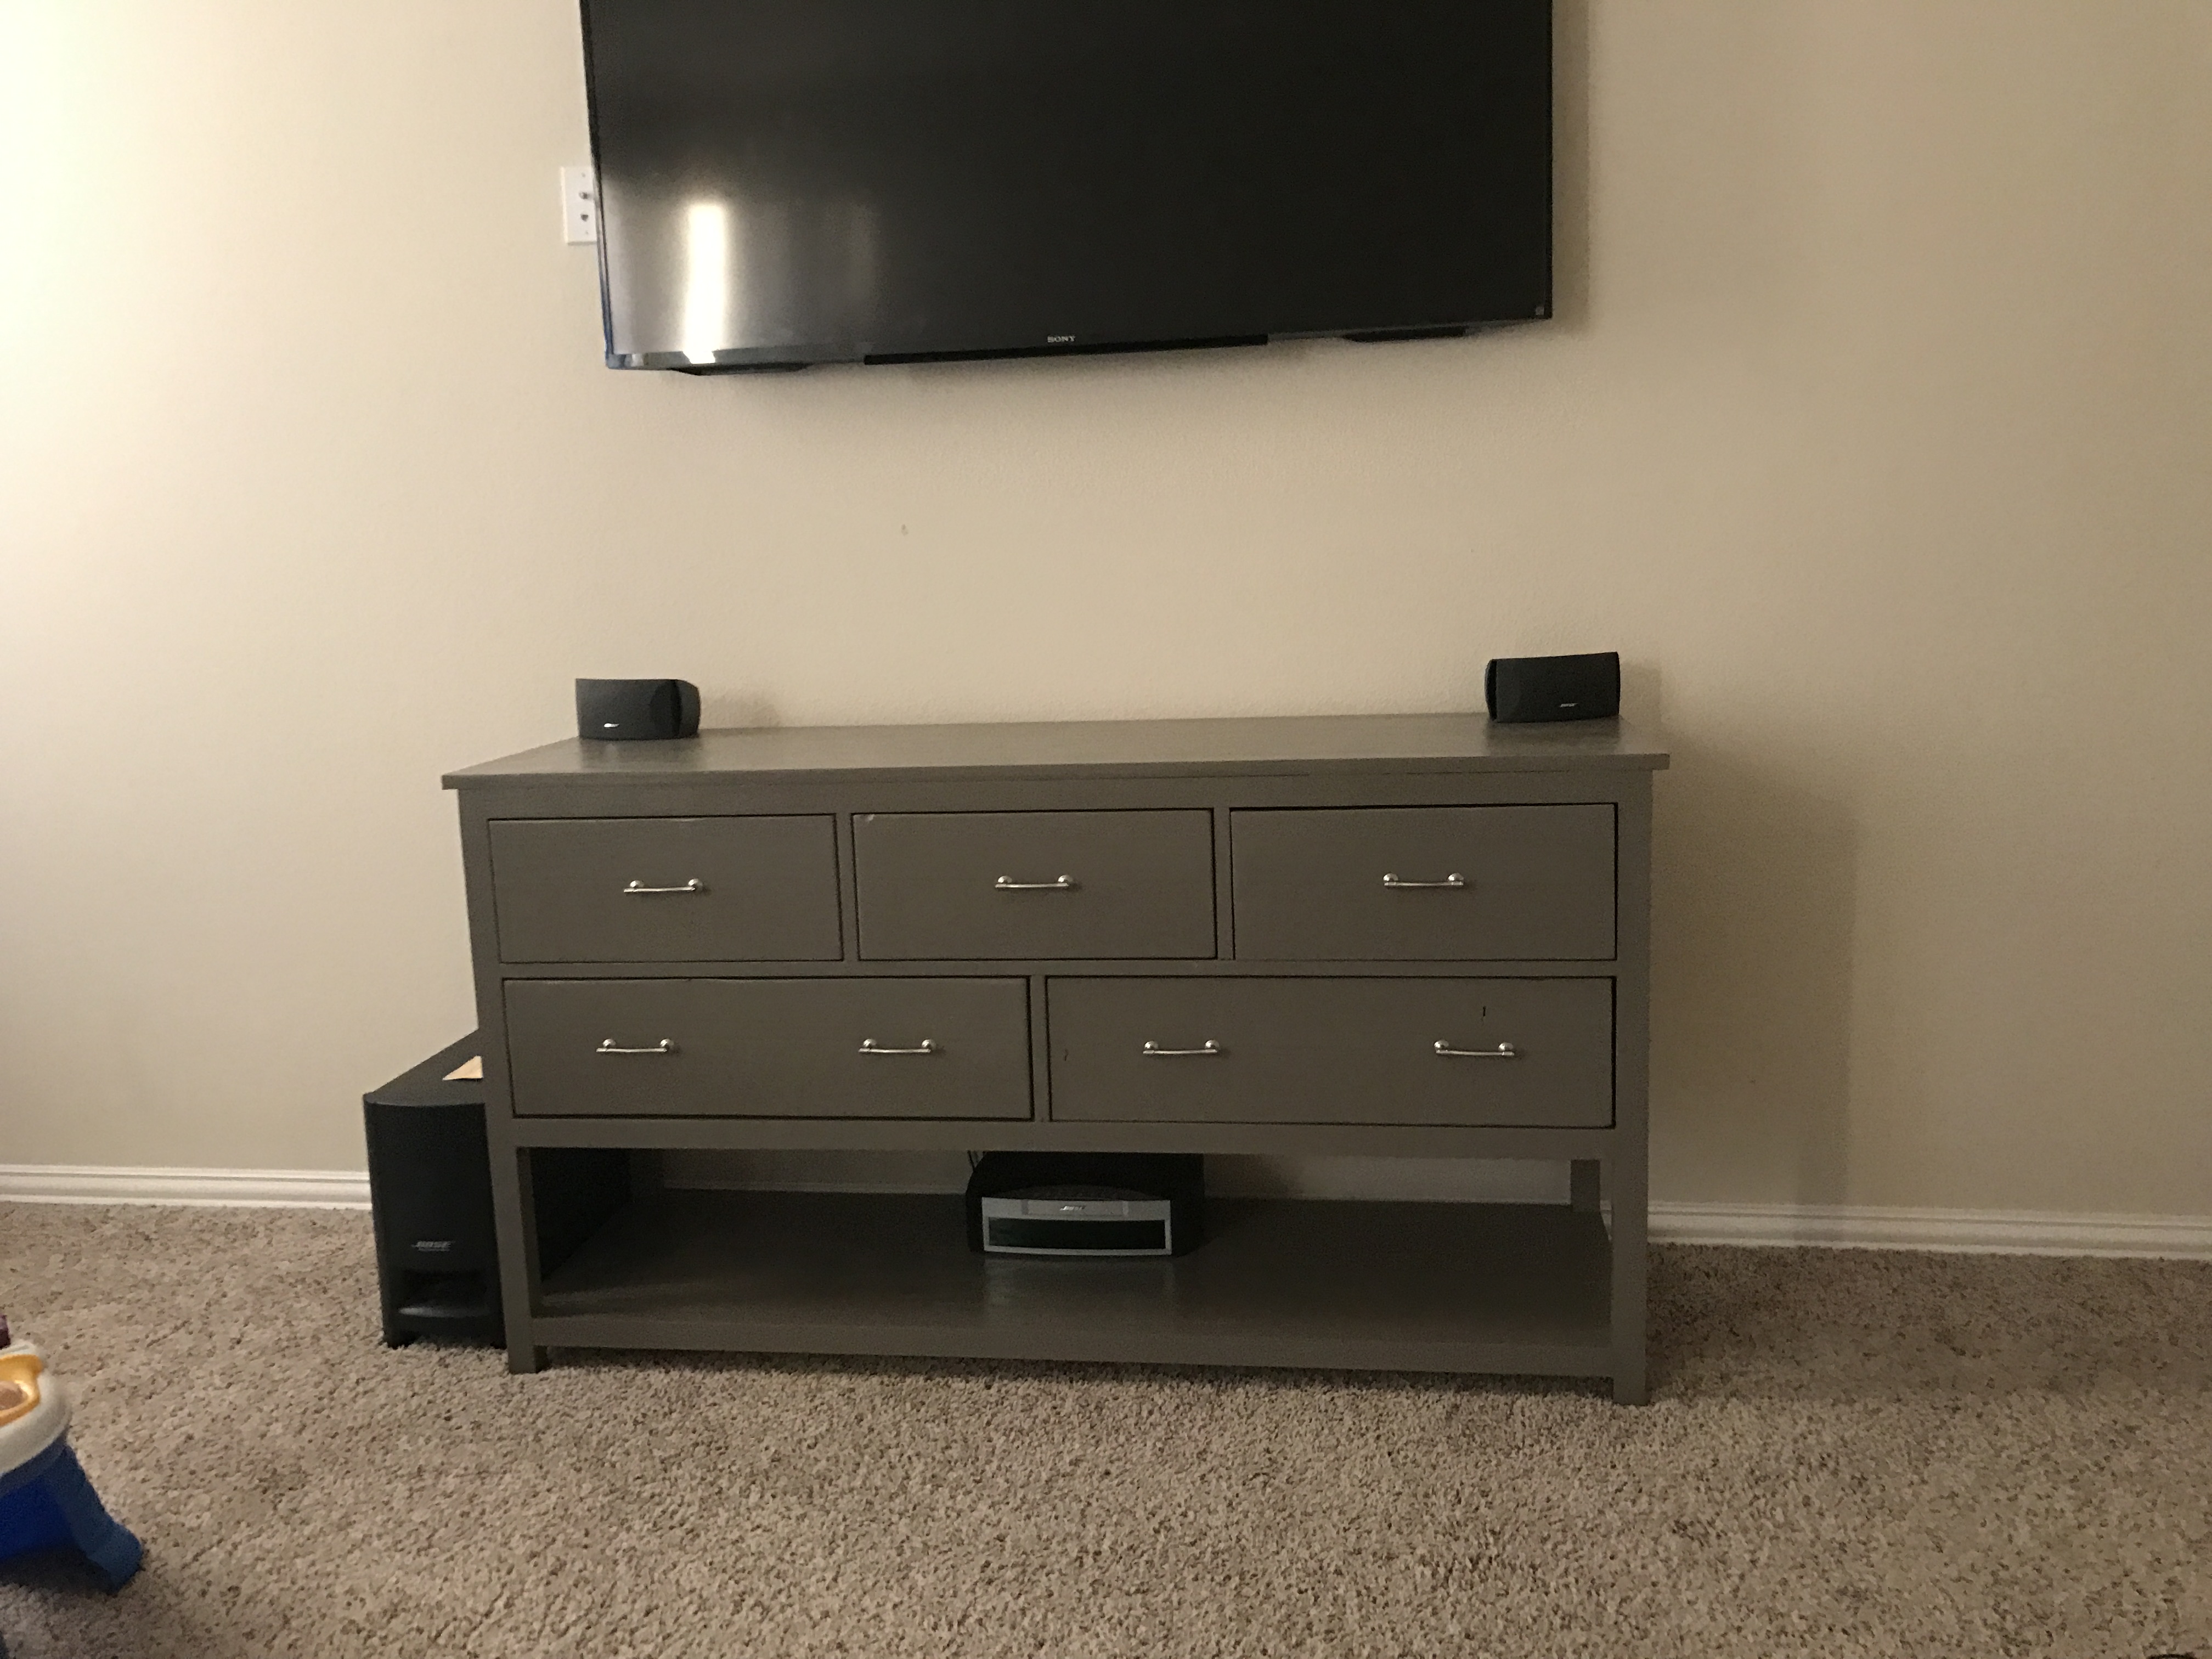
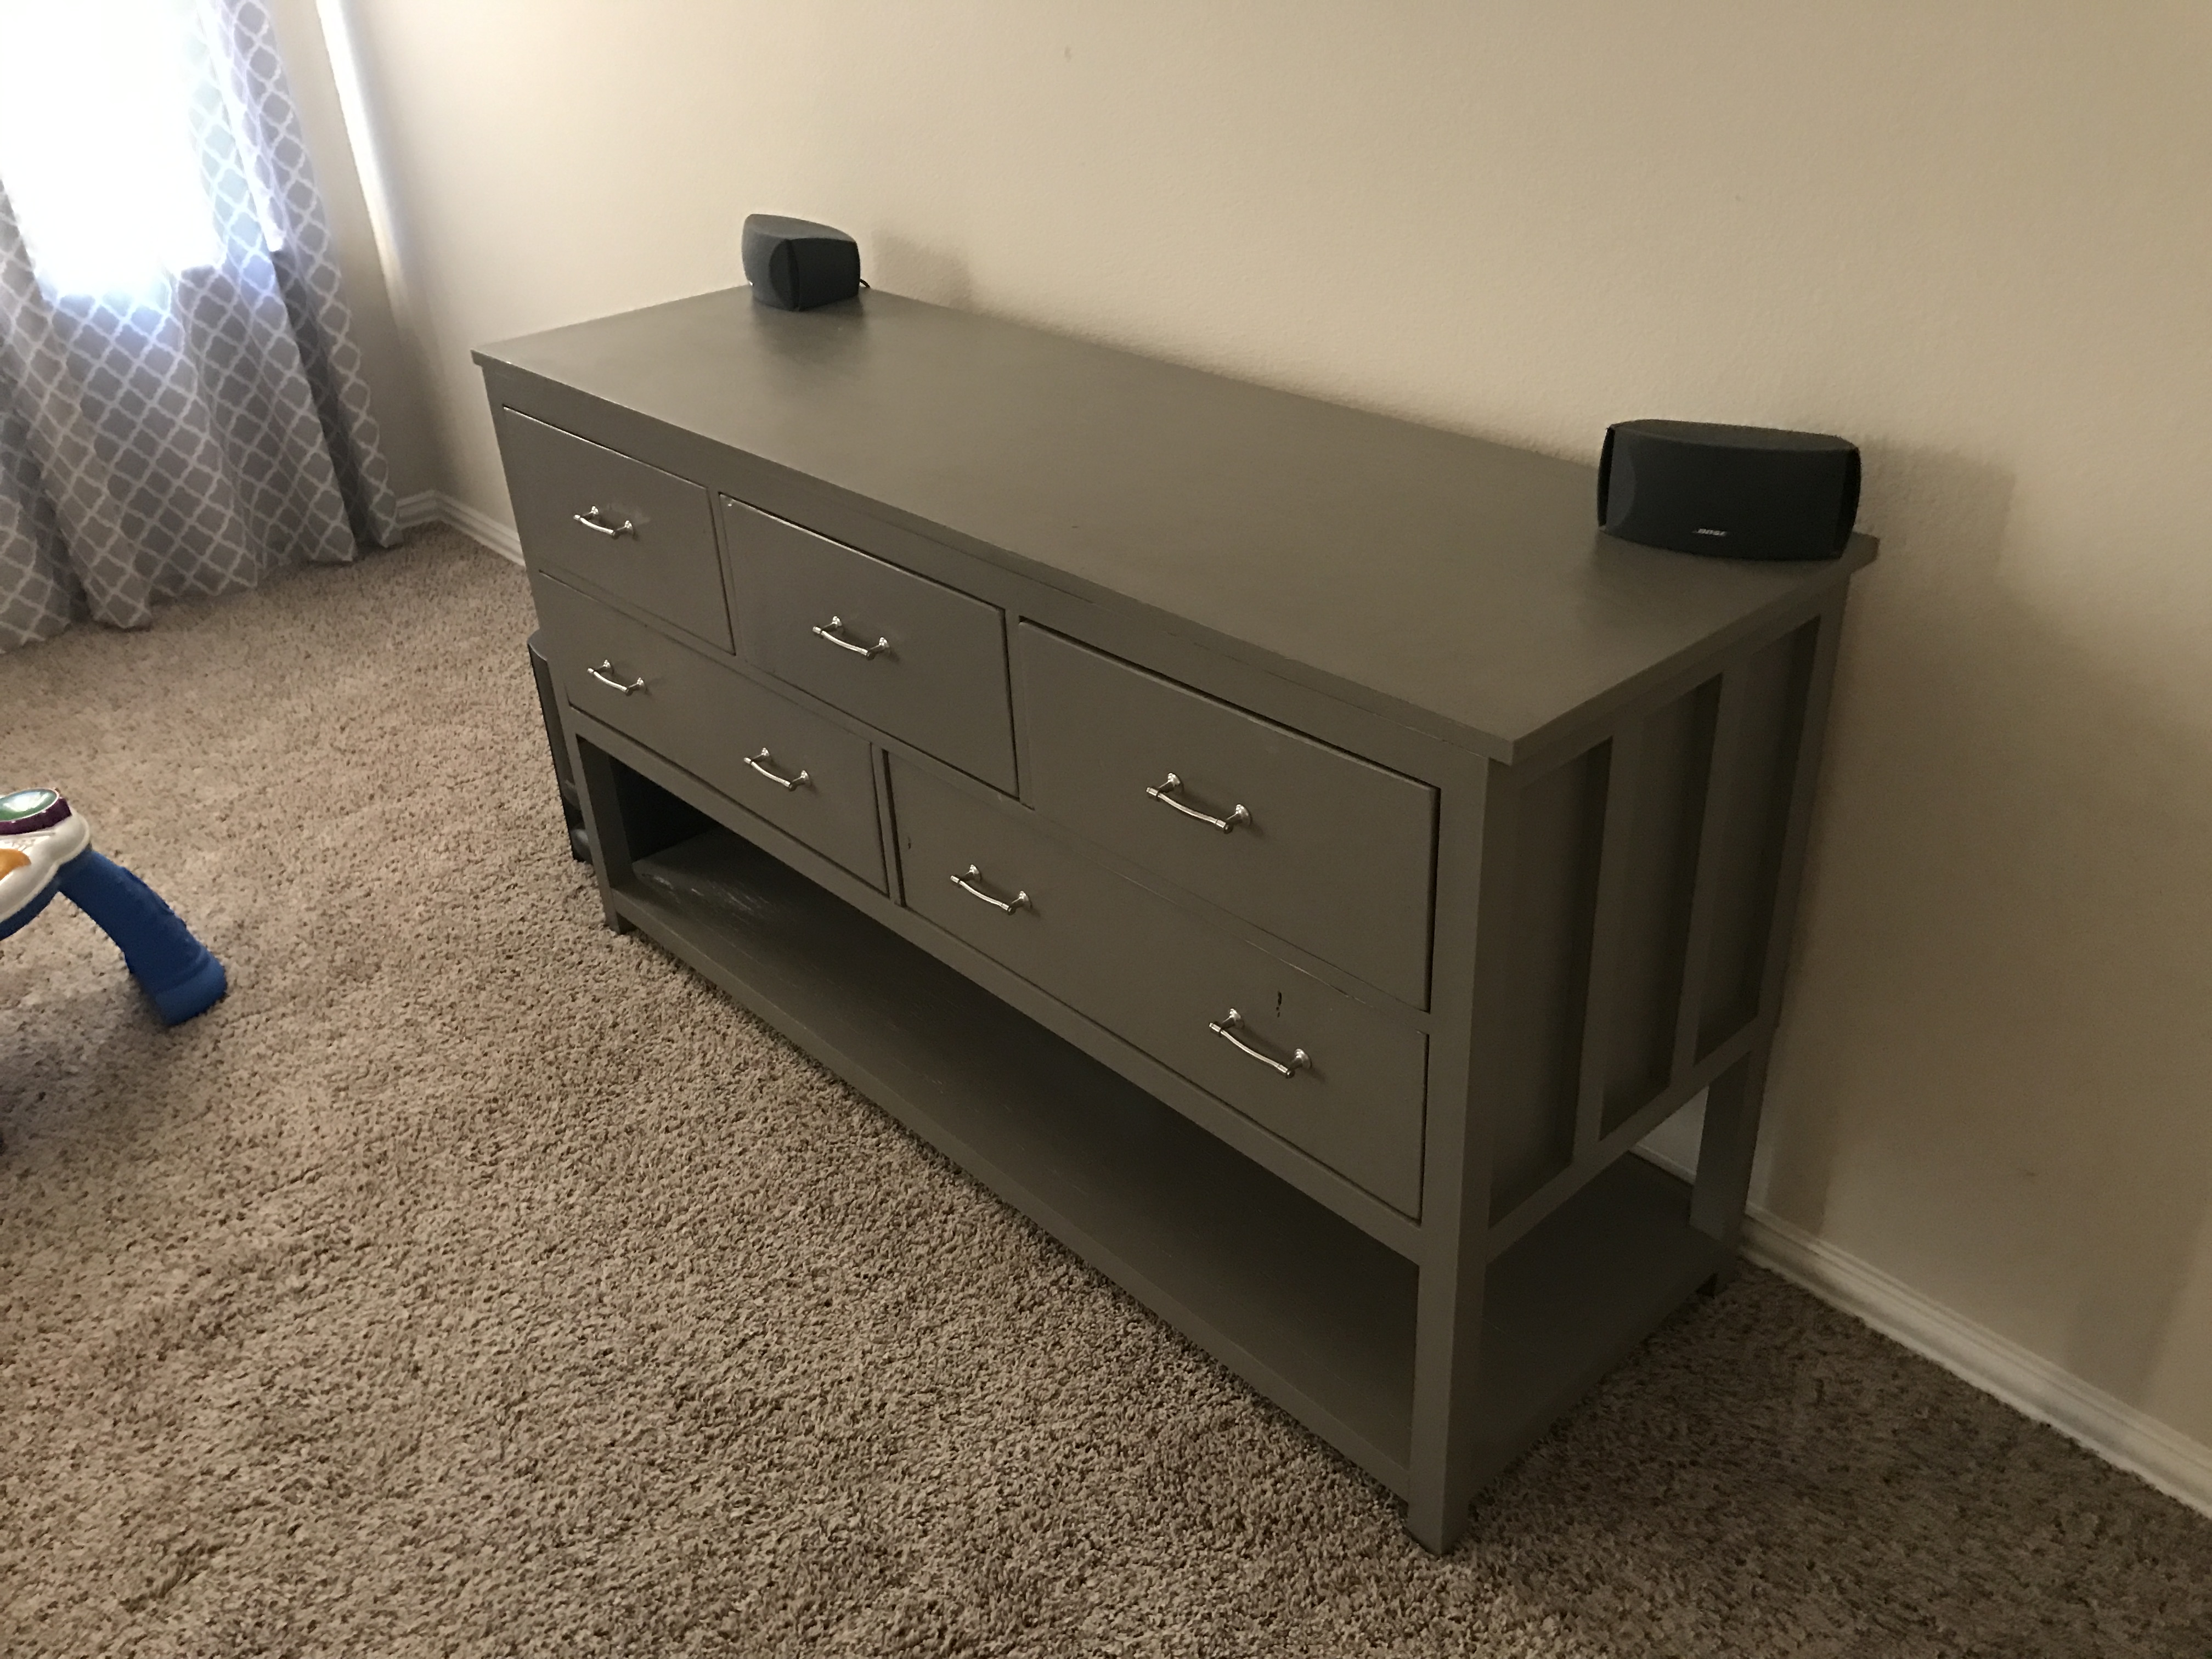
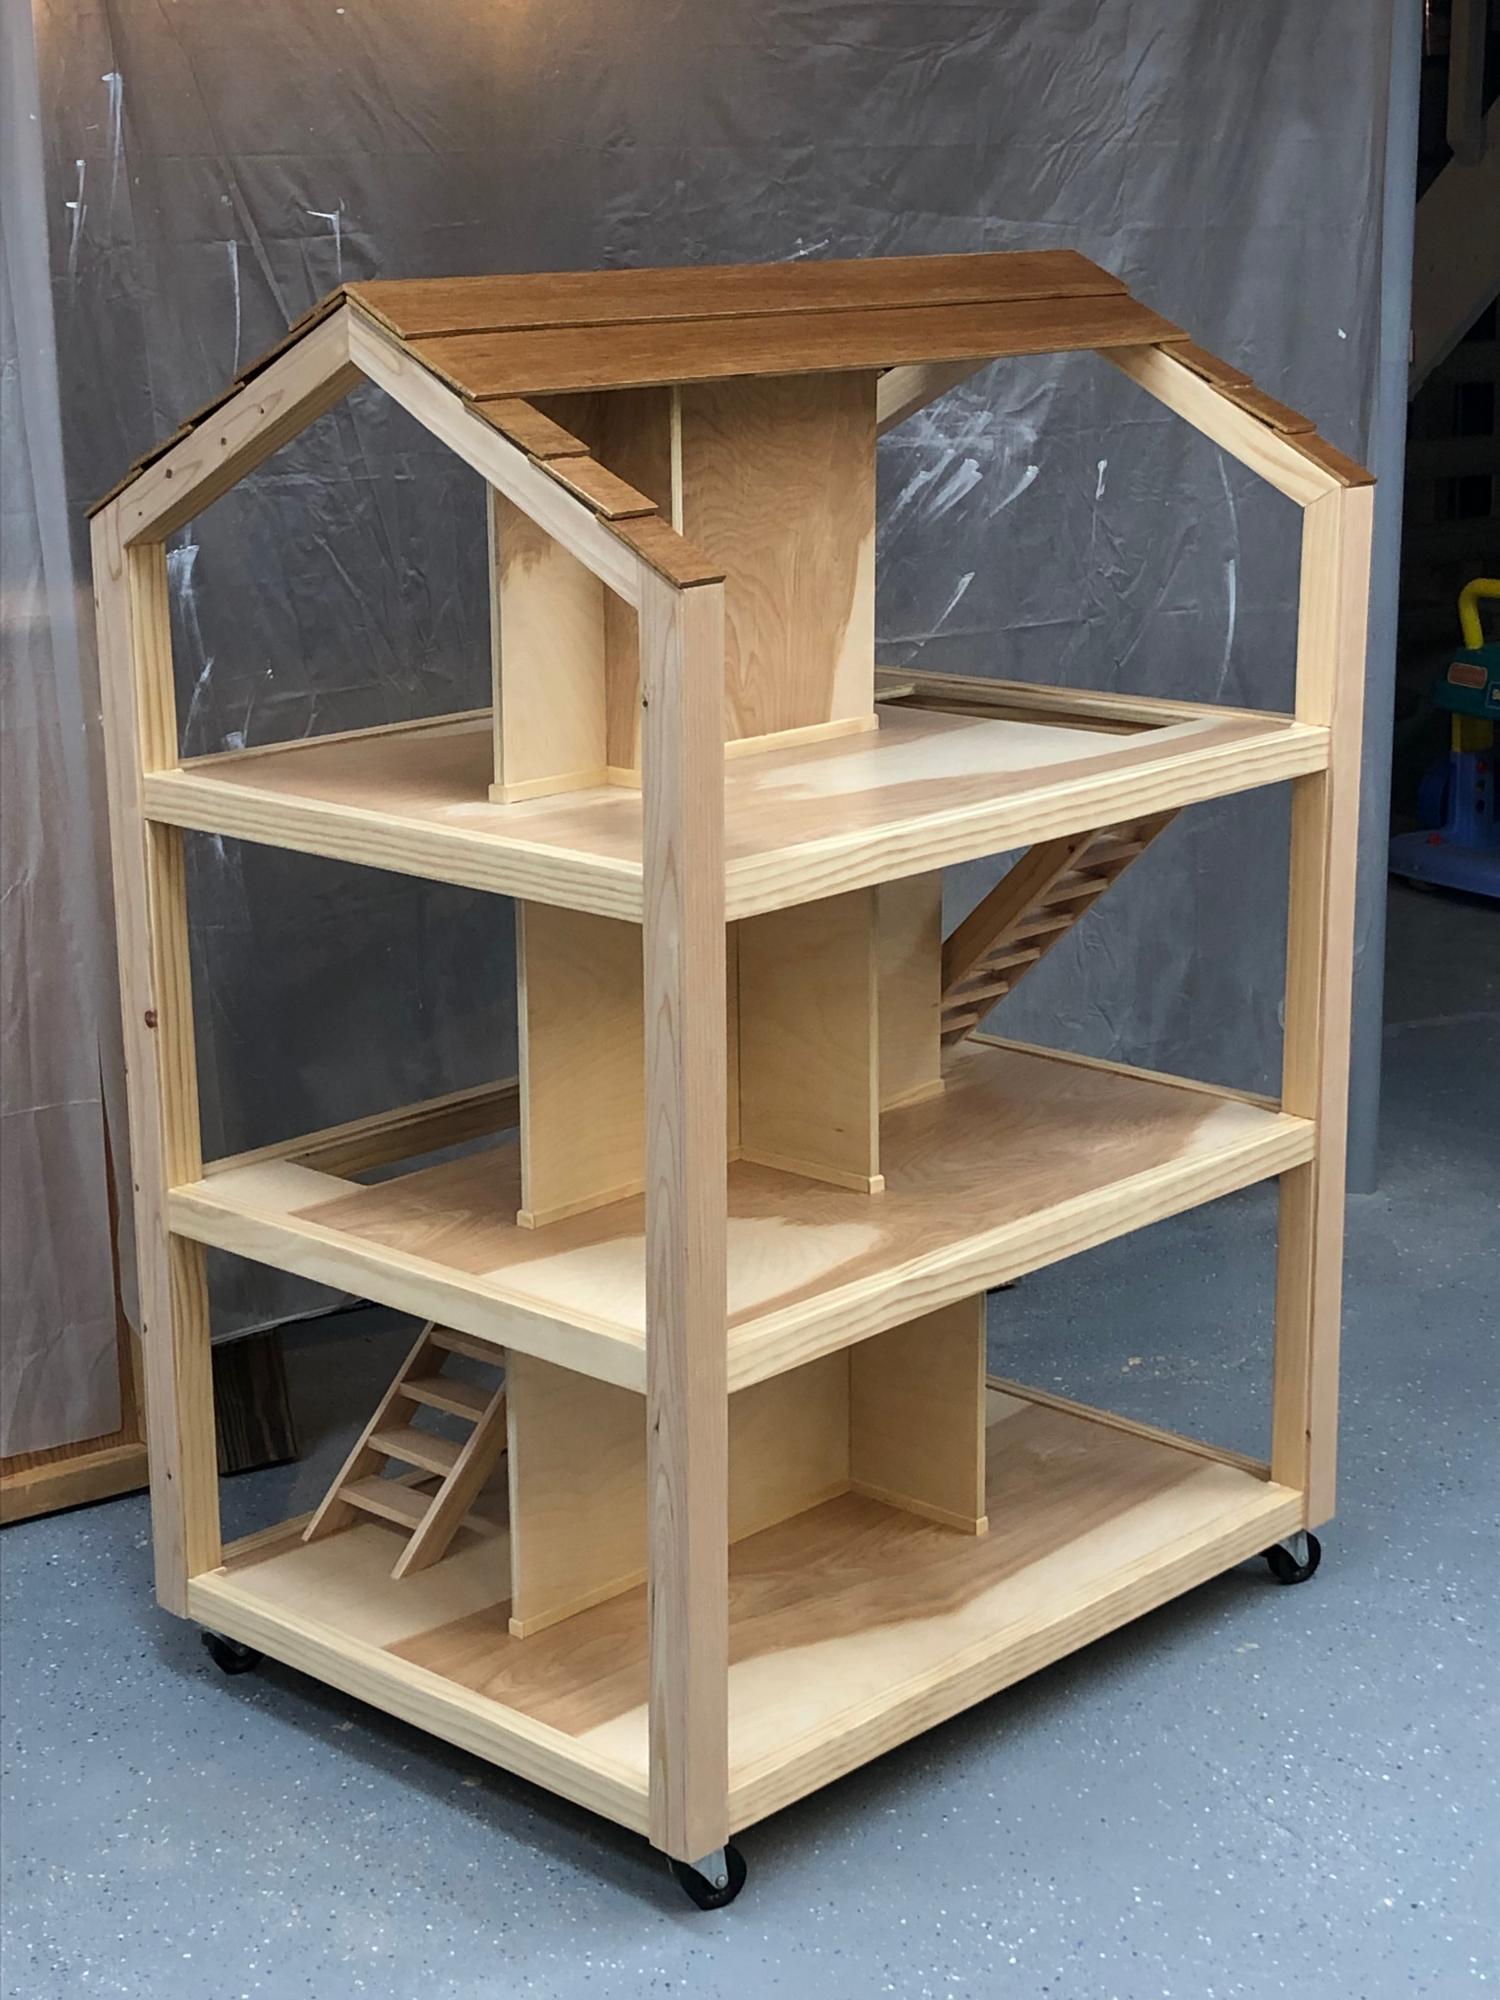
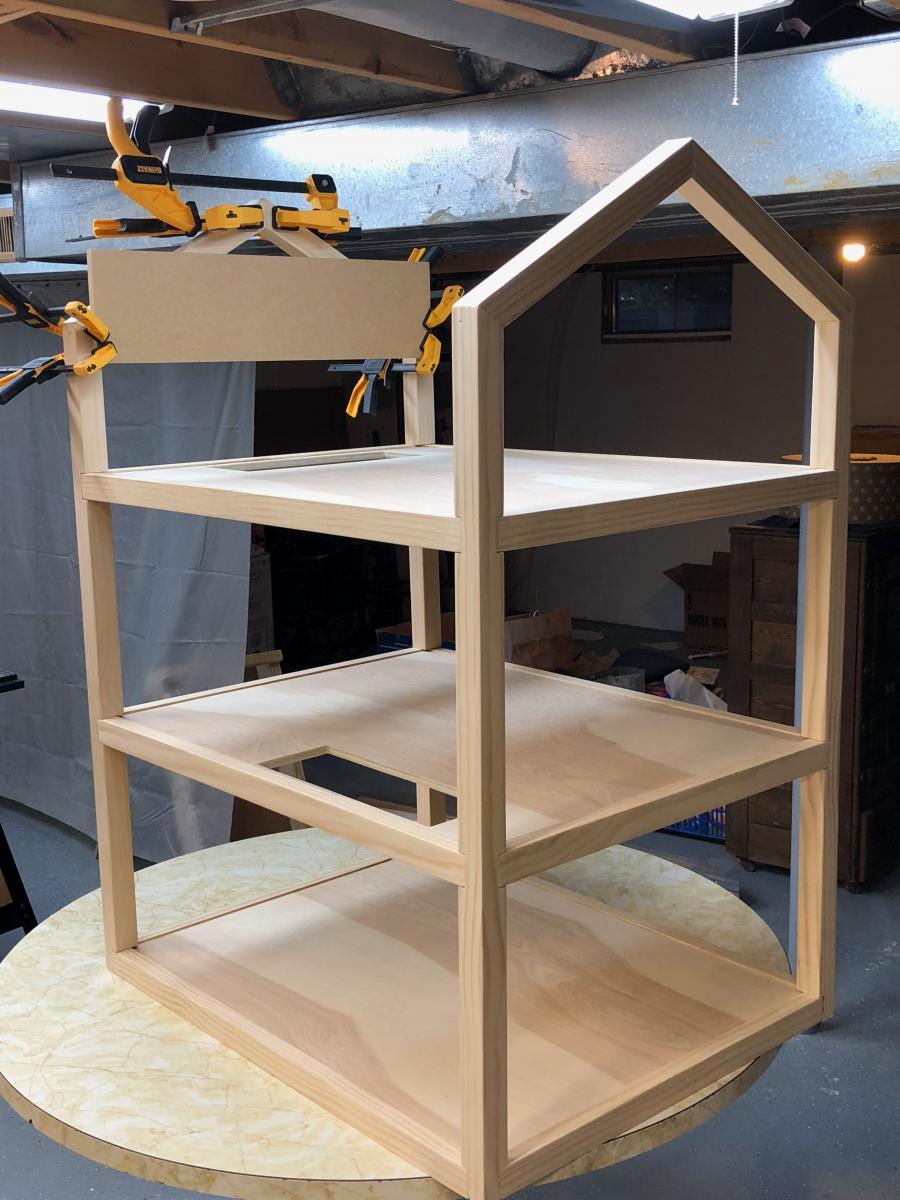
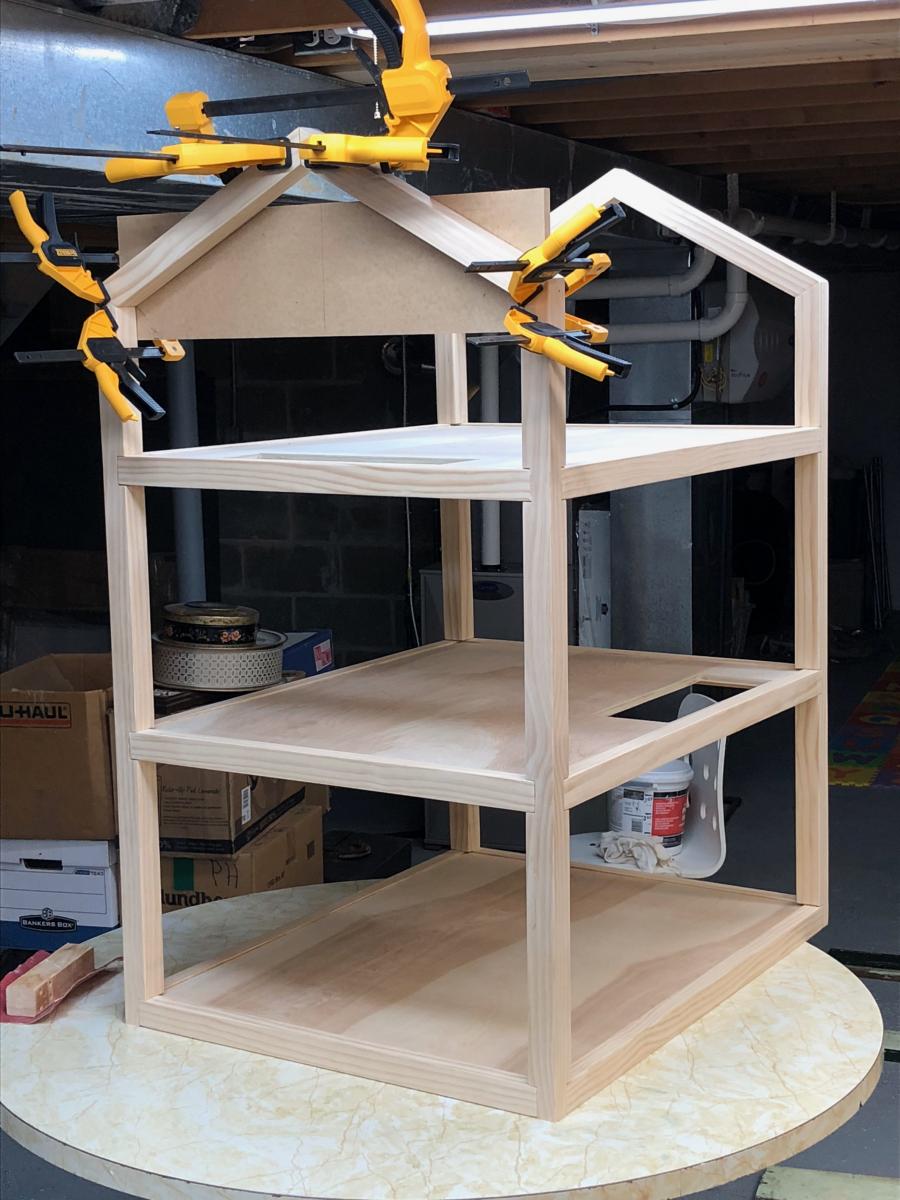
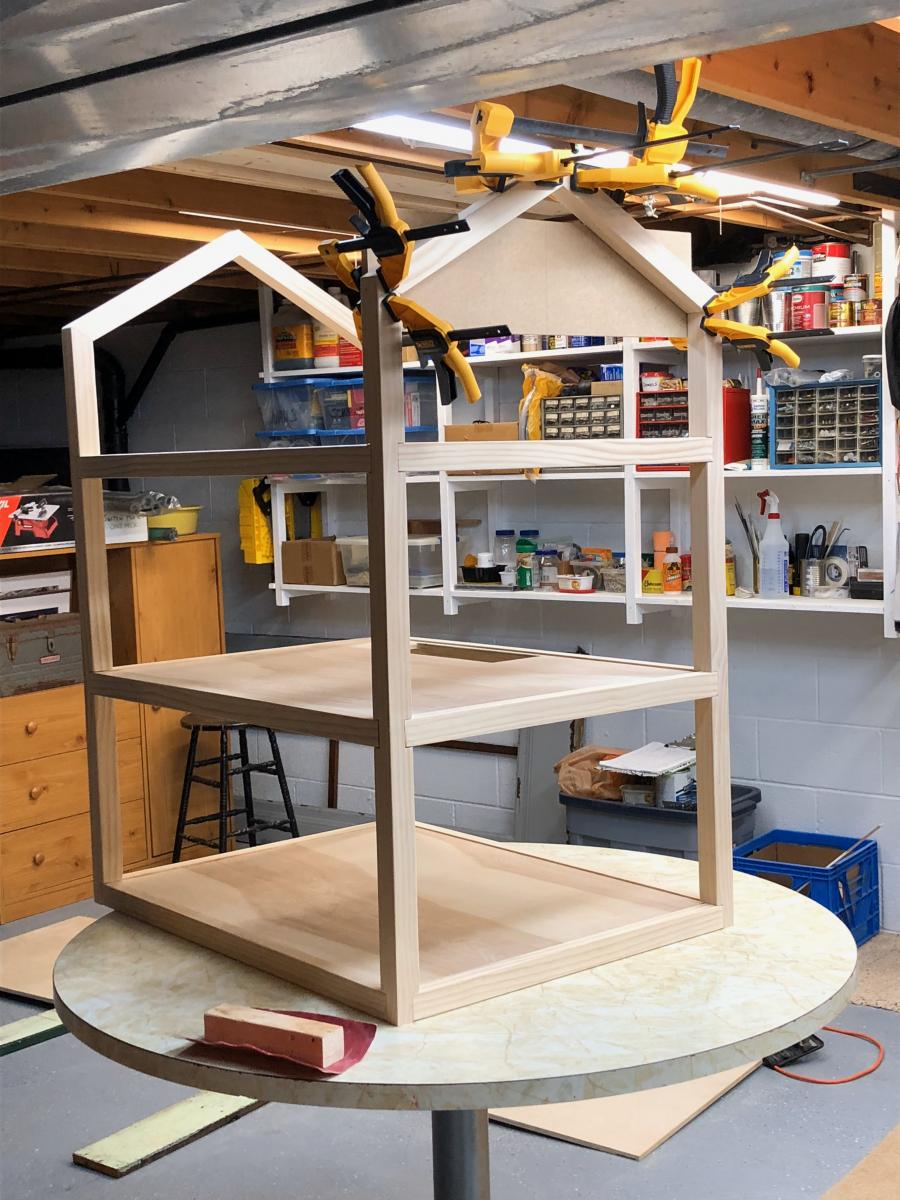
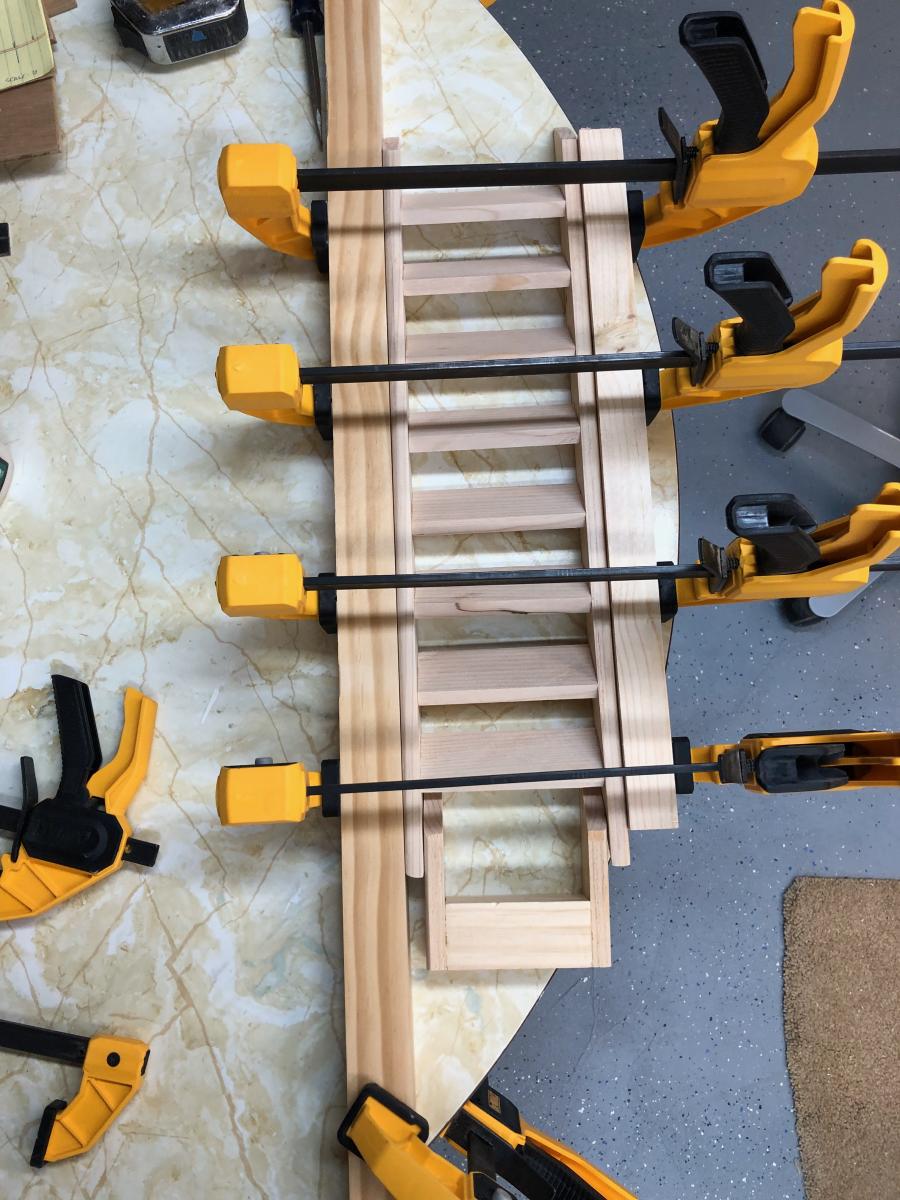
To rid myself of this problem, I built me a toolcart to my liking. It has cabinets, drawers and of course shelves. It also serves me a second table to put my tools on during working. Alas, I do not have the amazing kreg jig so it took me more time than usual to build this. Anyhow feel free to comment.
Wed, 10/15/2014 - 09:08
Could you upload the google sketchup for this. Very interested in your plans, especially your layout on the drawers and locking mechanism.
Saw this was done by modifying the Woven Back Bench so I decided to give it a go. Added center 2x4 for support under the 1x4 slats. To make this bench modified the woven back bench shopping list to the following.
2-2x4 Studs
3-2x2x8
2-1x4x8
1-1x2x8
1-1x3x8
1-1x16x6 edge glue board.
Cut list was modified:
4-2x2 @ 16”
3-2x4@16”
2-2x4@37”
3-2x2@37”
2-1x3@19 1/4”
1-1x16@32”
All other instructions were followed from the woven back bench.
I did 4 shelves spaced 18 inches and made with 12ft long pieces cut in half. The total for my project was $26. I already had the stain and tools on hand.
I had so much fun with this! I followed the plans exactly and made up the nightstand as I went along.
Sun, 10/19/2014 - 15:25
Oh, this is super cute! Love the stained trim and that little nightstand is darling!
I have used 1/2 inch thick plywood, 2x3 instead of 2x2, and 1x3. I don't have any miter saw or table saw. I used hand saw (comes with miter box) and circular saw to cut all the materials. It isn't perfect but I like it.
This was my first ever building project and I love it! I made 2 for my living room and have since made a few more things. Thanks Ana for an amazing website!
This is my second project. I sanded, primed, painted, sanded to distress the paint, then stained the whole thing just long enough for the stain to soak in to the sanded spots (5 minutes or less), then wiped it off.
Here's my version of the Dream Doll House. Three stories, made with birch plywood and pine, featuring realistic stairs, baseboards, crown molding, exterior corner battens, and left in the natural state with just a few coats of water-based poly. Put the whole thing on casters for ease of rolling around the playroom. Fun project and the hugs were all the reward I needed!
Fri, 10/23/2020 - 13:32
I am sure your granddaughter will cherish this for her lifetime!
I built this without the current plans with the pocket holes in the bottom. I also made the width a little smaller, by 2 boards. This is very sturdy, my daughter uses it as a platform to perform all the time. I have even stood on it many times. Plus, it can be used as a bench if needed.
I used a darker stain on it and roughed up some of the edges a bit.
B-day present for my niece