Community Brag Posts

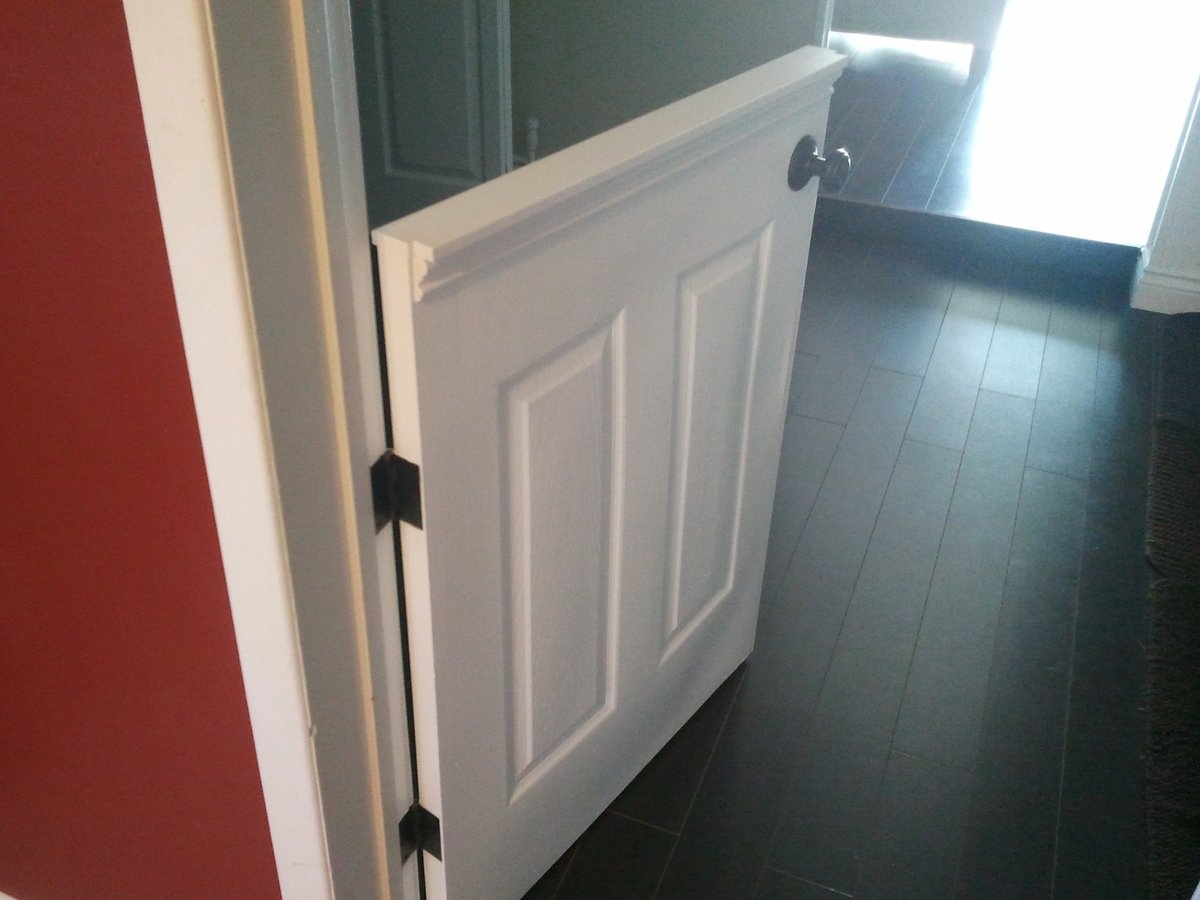
Doggy Door or Baby Gate

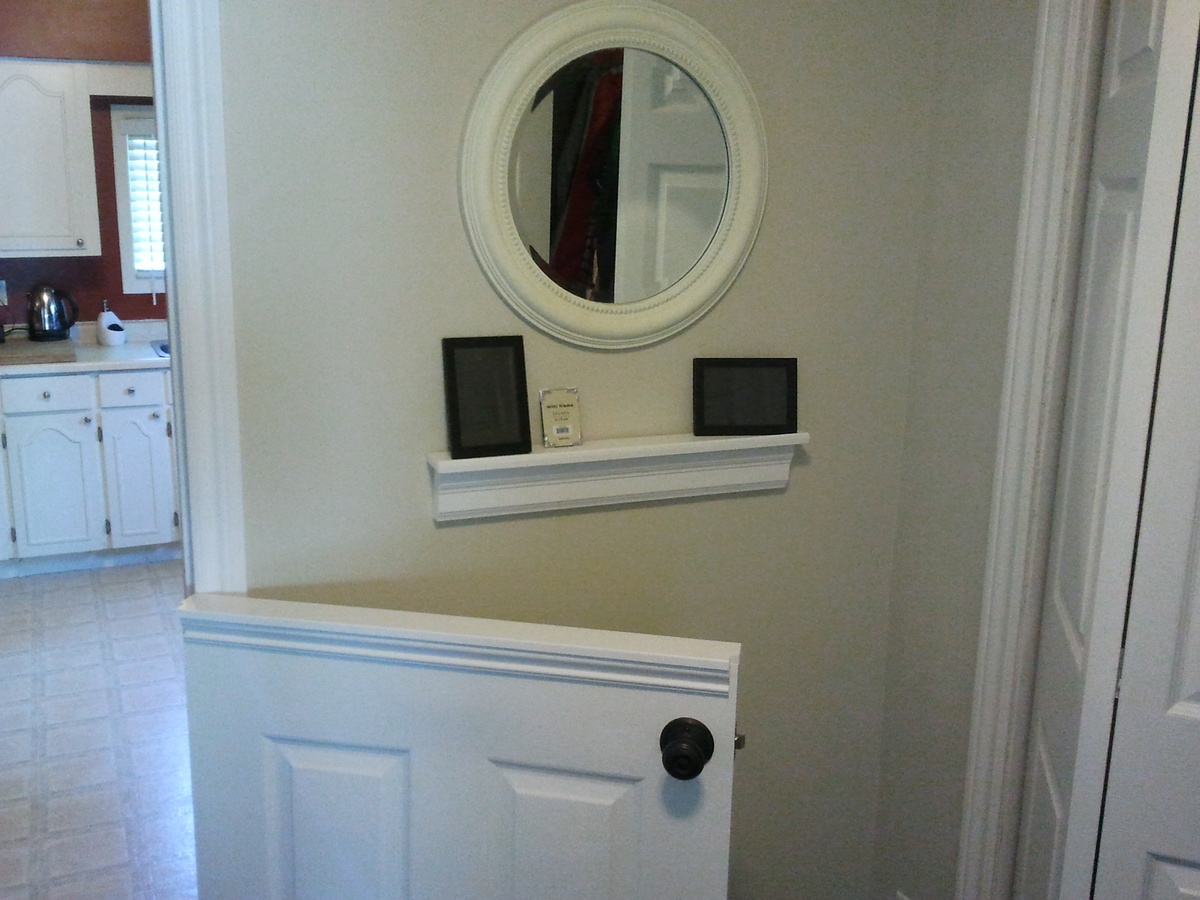
I installed a half door to isolate our dog from the laminate flooring when he sleeps at night.

It was only $25 for the hollow core 6 panel door from HD, which got cut in half.
$25 for the passage knob.
$10 for top plate and trim
Less than $5 for the hinges.

Not having to replace the laminate flooring priceless!

Some Tips:

The $25 door is not prehung. Buy the $14 dollar irwin door jig to install the door "http://www.homedepot.ca/product/door-lock-installation-kit-carbon/904157" It will come in handy if you are remodeling and installing new doors to replace those old flat panel doors. You will also have to chisel out the hinges.

When installing and marking the hinge locations in the door frame shim the door a 1/4" off the floor.

Estimated Cost
$65 materials + $15 jig = $80
Estimated Time Investment
Day Project (6-9 Hours)
Finish Used
White paint
Recommended Skill Level
Intermediate

Comments

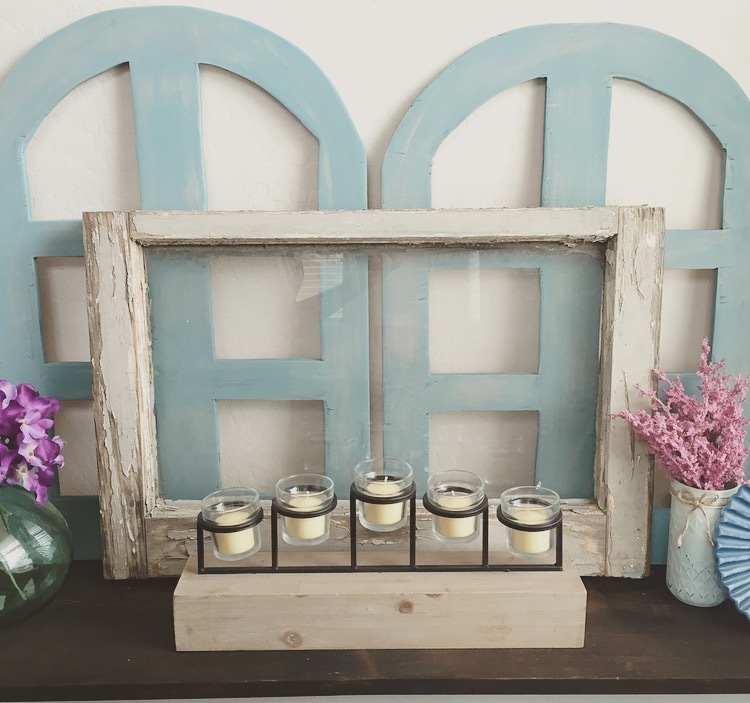
Faux Antique Arched Windows

Submitted by sraper2 on Thu, 08/11/2016 - 19:02

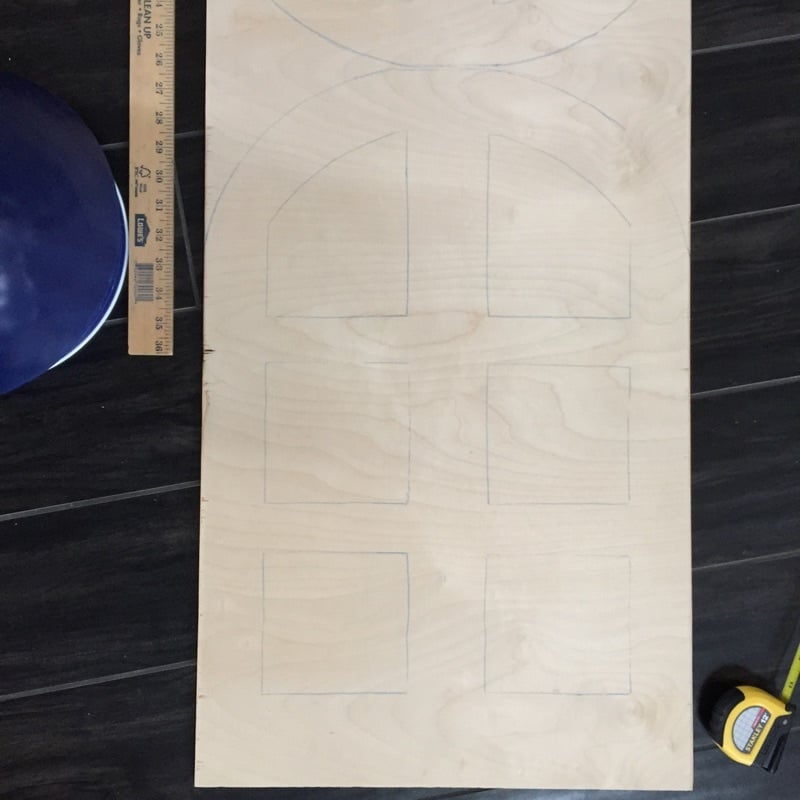
I made these windows to layer with an actual antique window I have.  I made a template out of kraft paper, traced it on wood, and cut it out with a jigsaw.  There are step by step instructions for making the template on my blog!

Estimated Cost
$10
Estimated Time Investment
An Hour or Two (0-2 Hours)
Finish Used
Chalk Paint
Recommended Skill Level
Beginner

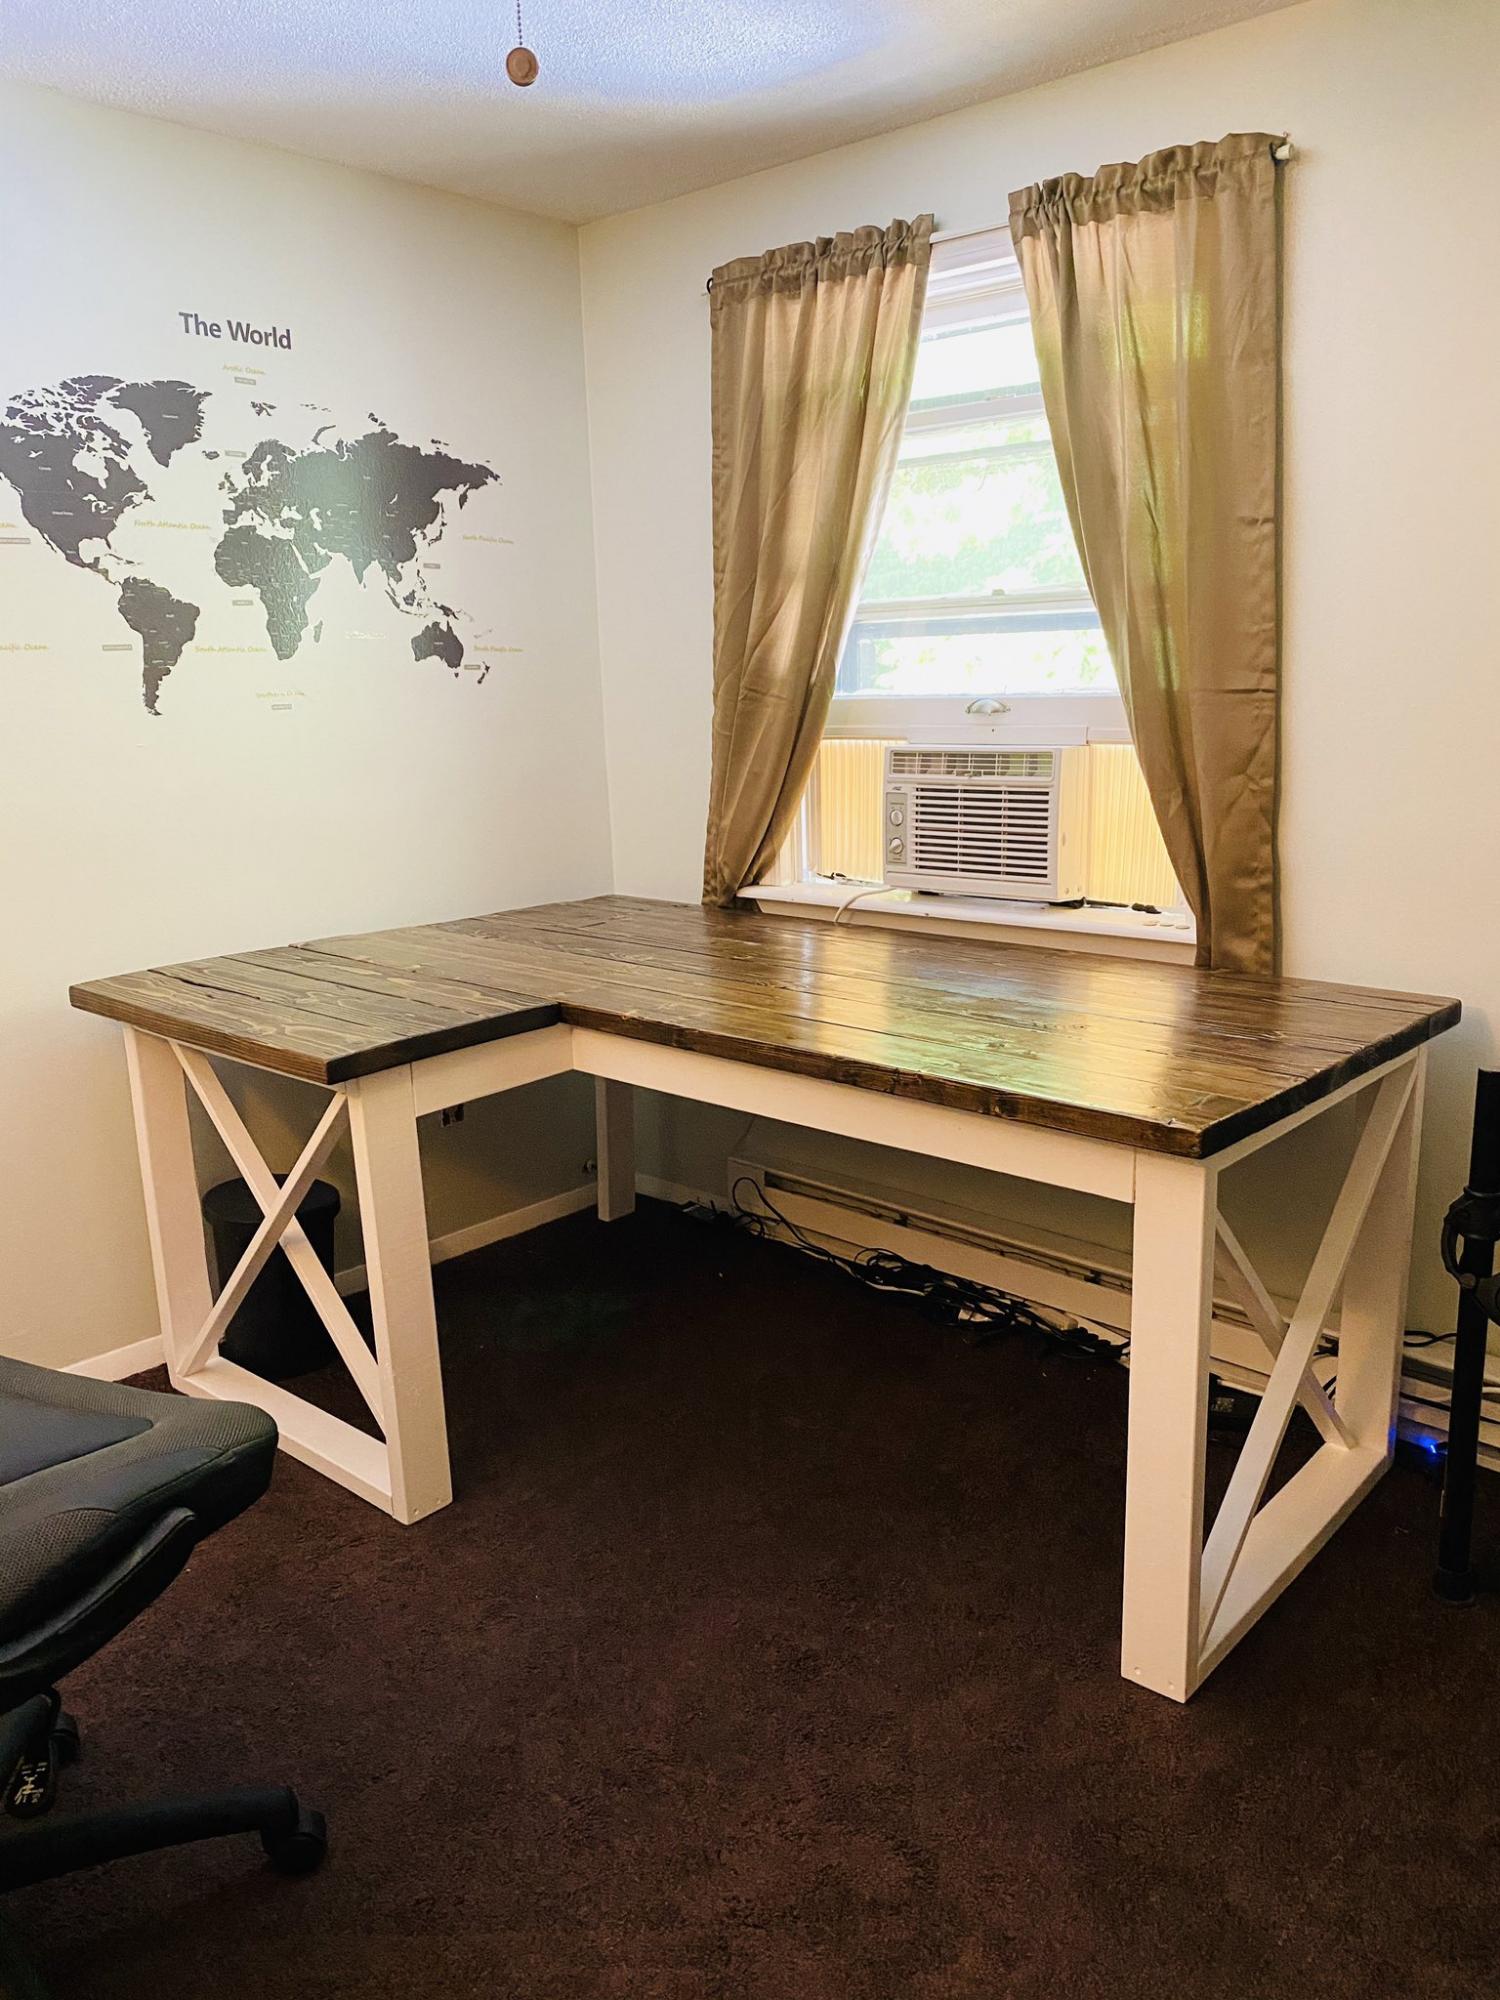
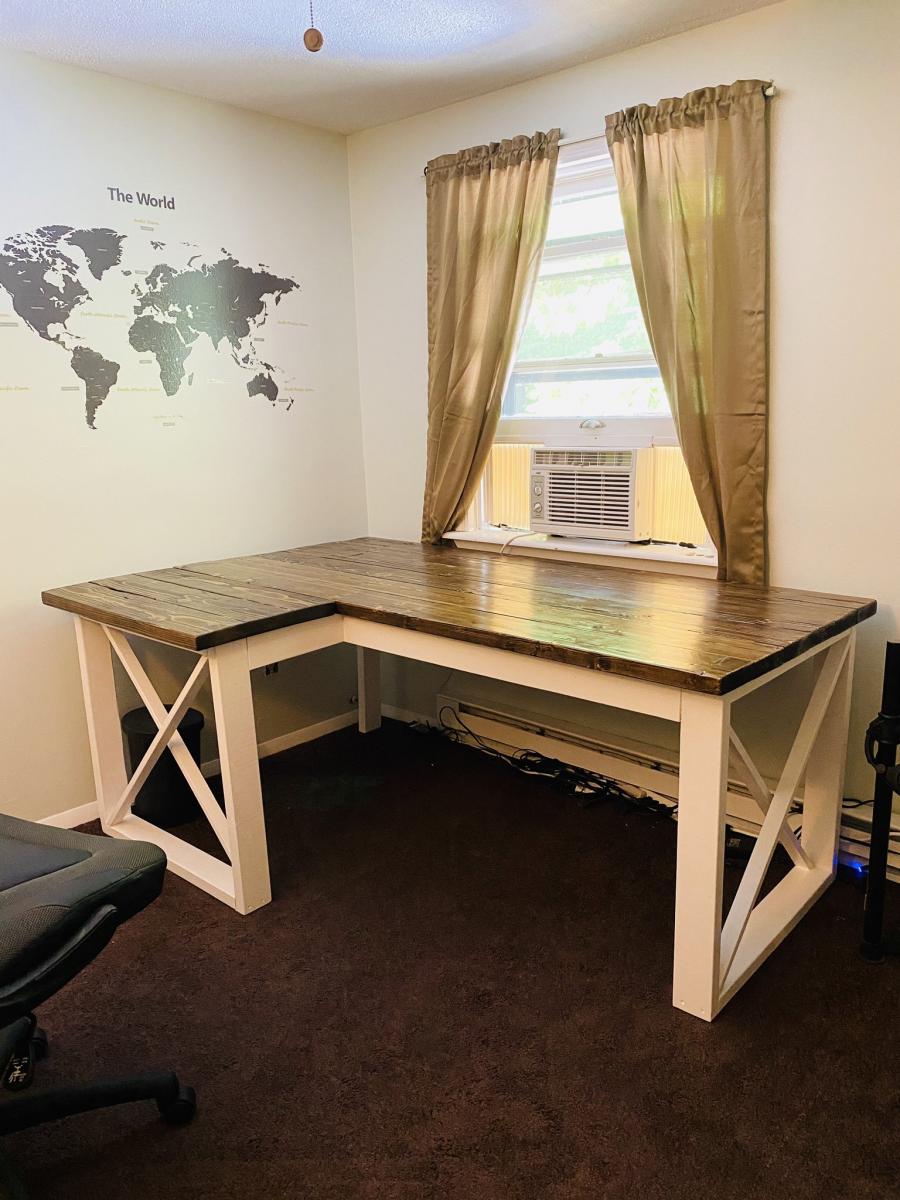
L Shaped Double X Desk

Submitted by JamieLynn on Tue, 05/26/2020 - 09:35

Made the move to working from home because of the pandemic. After 2 months and no end in sight, I decided I needed a better workstation. Built this in about 5 days. Really nice sturdy desk but make sure you measure how big it is first, I think I could have shrank this down by one less 2x6 on the top. It's a very large desk from the plans.

Estimated Cost
$40
Estimated Time Investment
Weekend Project (10-20 Hours)
Finish Used
Jacobean stain
Recommended Skill Level
Beginner

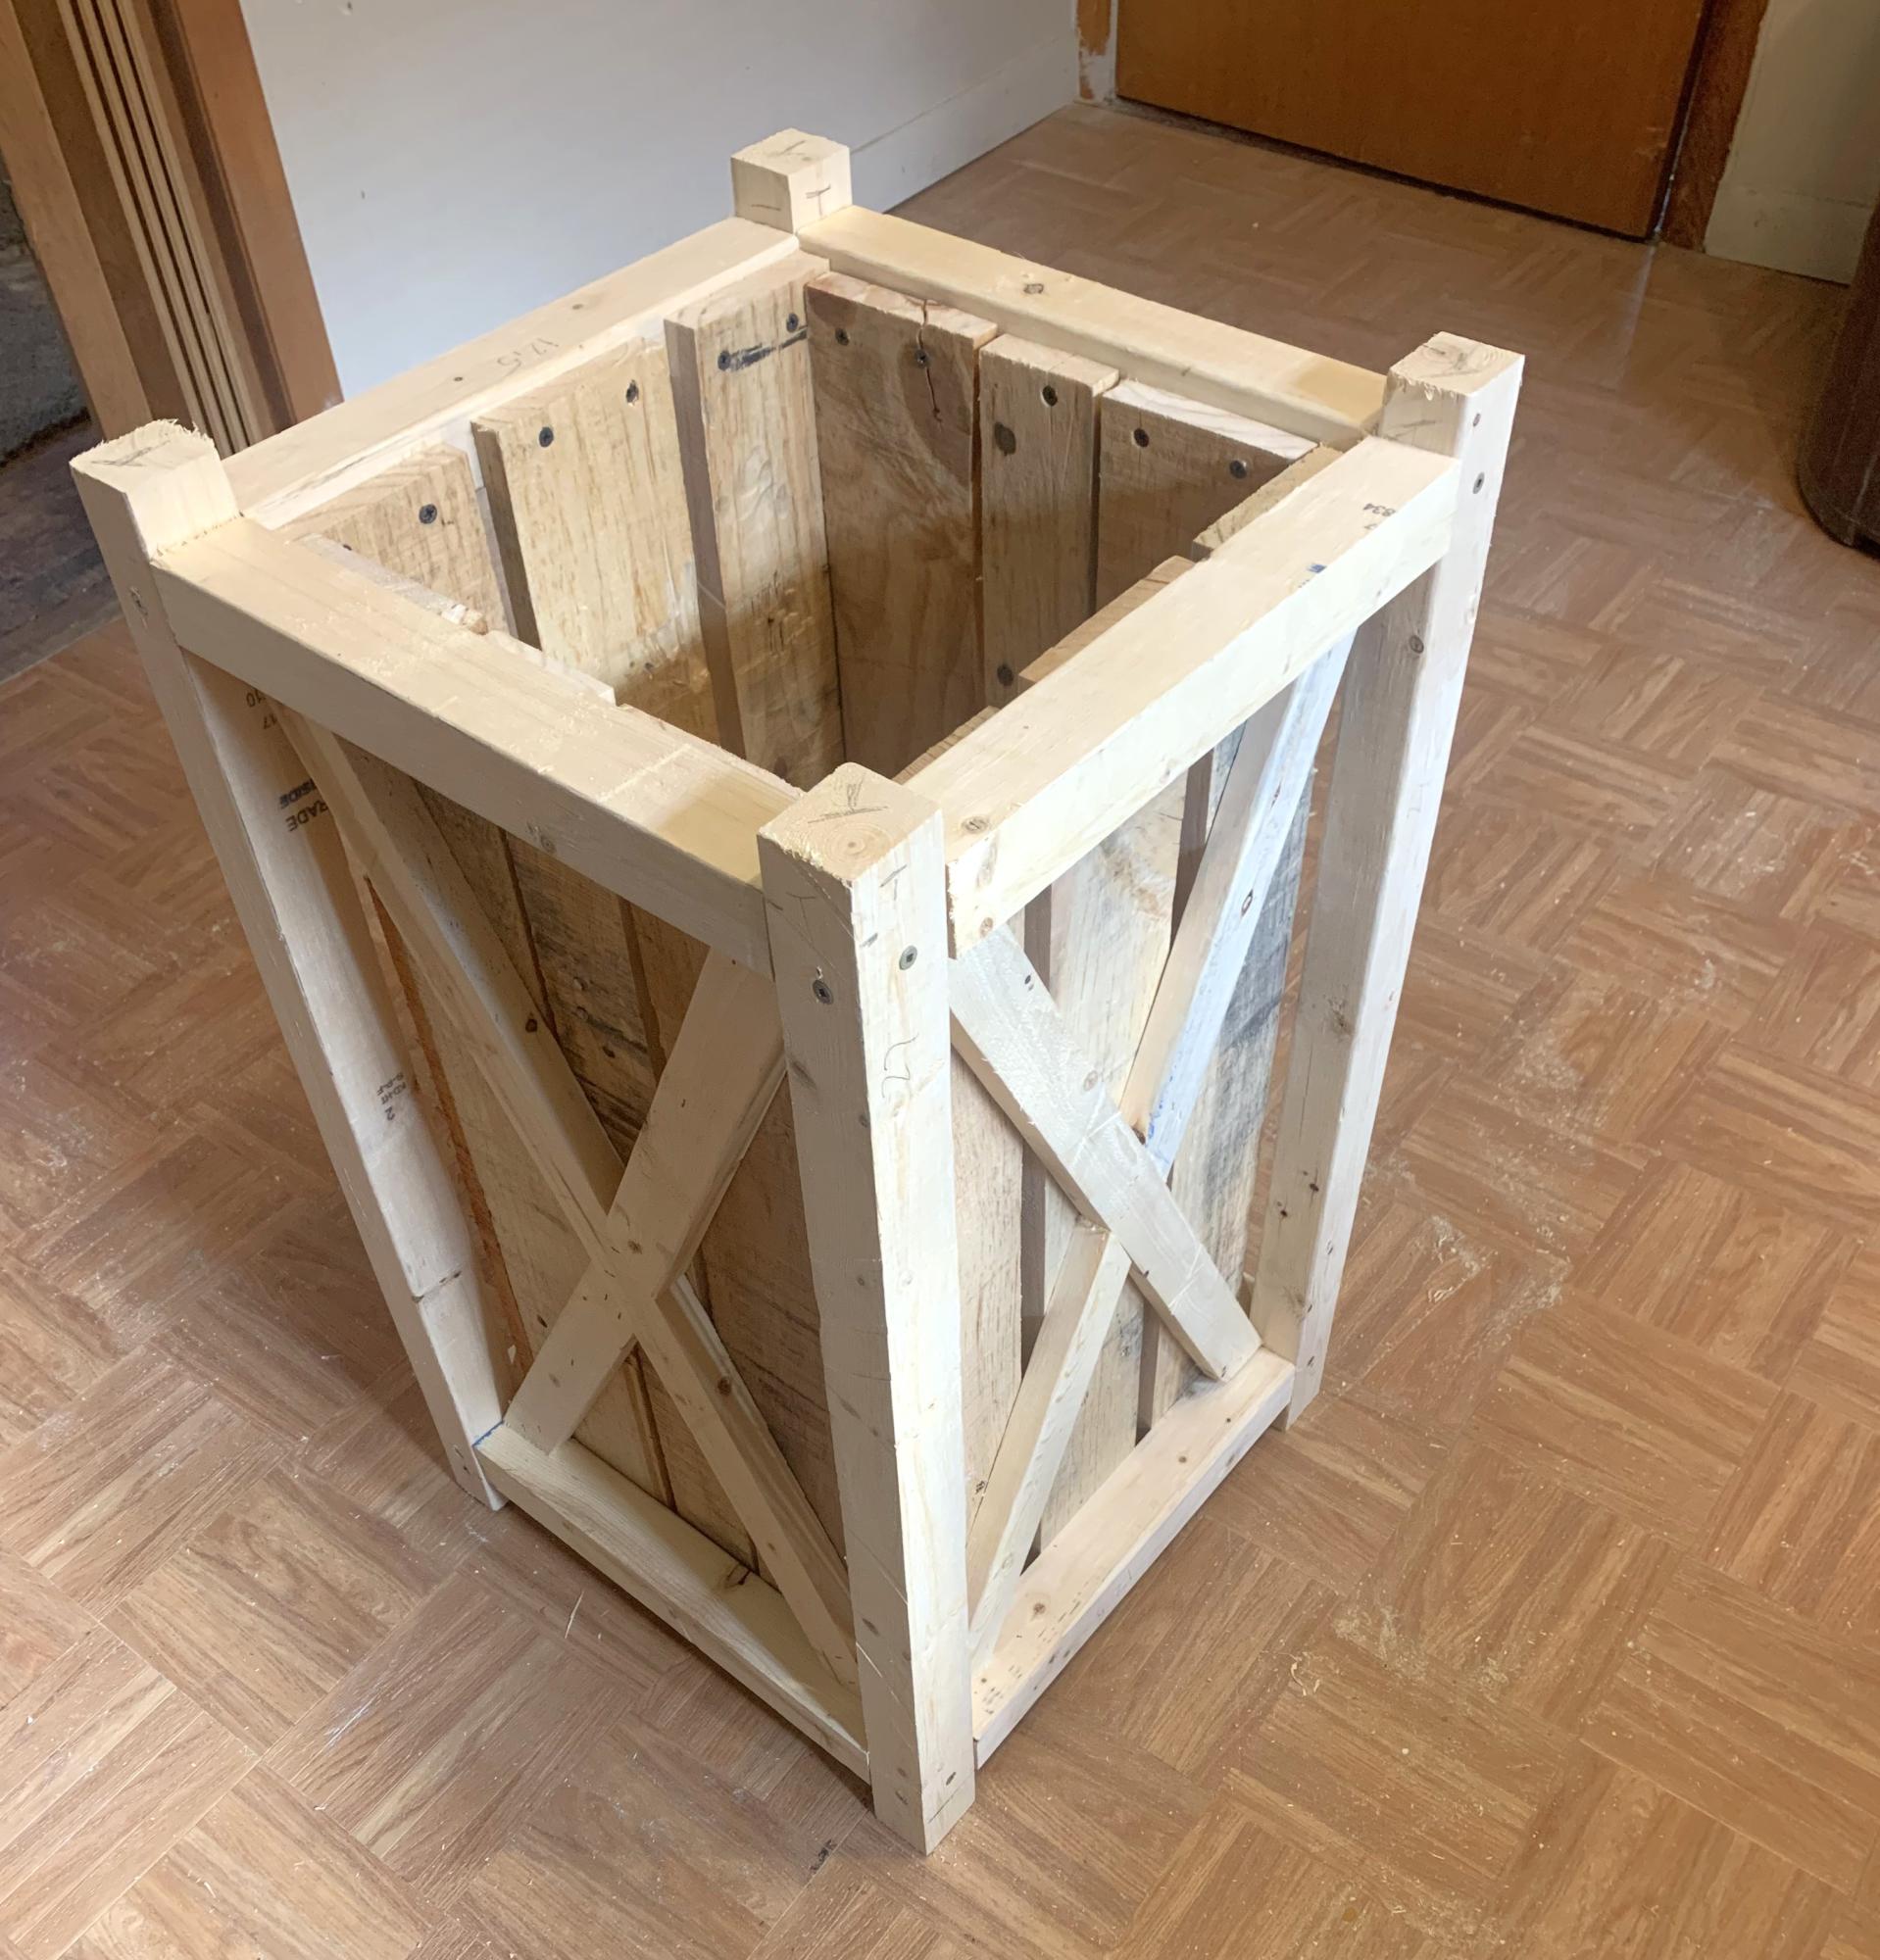
Tall Pallet Planter

Submitted by Anonymous (not verified) on Tue, 02/13/2024 - 13:02

Planter box for mums or small x mas tree made from pallet.

Led

Cottage loft bed

Submitted by svs1442 on Sun, 07/22/2012 - 11:07

This project is the first of many FUN KIDS rooms by Breckenshear Designs. We started out using the plans for the cottage loft bed and allowed the bed design to evolve to meet the needs of our two children. Our room space was limited to 10x11 so the function of this bed was extremely important. Our daughters LOVE their new space and my partner and I look forward to creating many more fantastic rooms! Thanks Ana White for the cottage loft bed plans!

Estimated Cost
$3000.00
Estimated Time Investment
Week Long Project (20 Hours or More)
Finish Used
Paint
Recommended Skill Level
Advanced

Comments

$.59 Birdhouses!

Submitted by jaime19861 on Mon, 05/12/2014 - 19:56

I needed a couple more birdhouses and this plan was perfect! They were super easy and quick to build and the pickets were on sale for $1.18, so it only cost $.59 for each house!

Estimated Cost
$1.18 for two houses
Estimated Time Investment
An Hour or Two (0-2 Hours)
Recommended Skill Level
Starter Project

Cabin Bed

Submitted by Gorm63 on Mon, 08/15/2016 - 08:57

This was so much fun to build and it turned out really great. It was the perfect gift for my son on his fourth birthday.

Built from Plan(s)
Estimated Cost
$350-$400
Estimated Time Investment
Week Long Project (20 Hours or More)
Finish Used
Milk paint
Recommended Skill Level
Intermediate

Comments

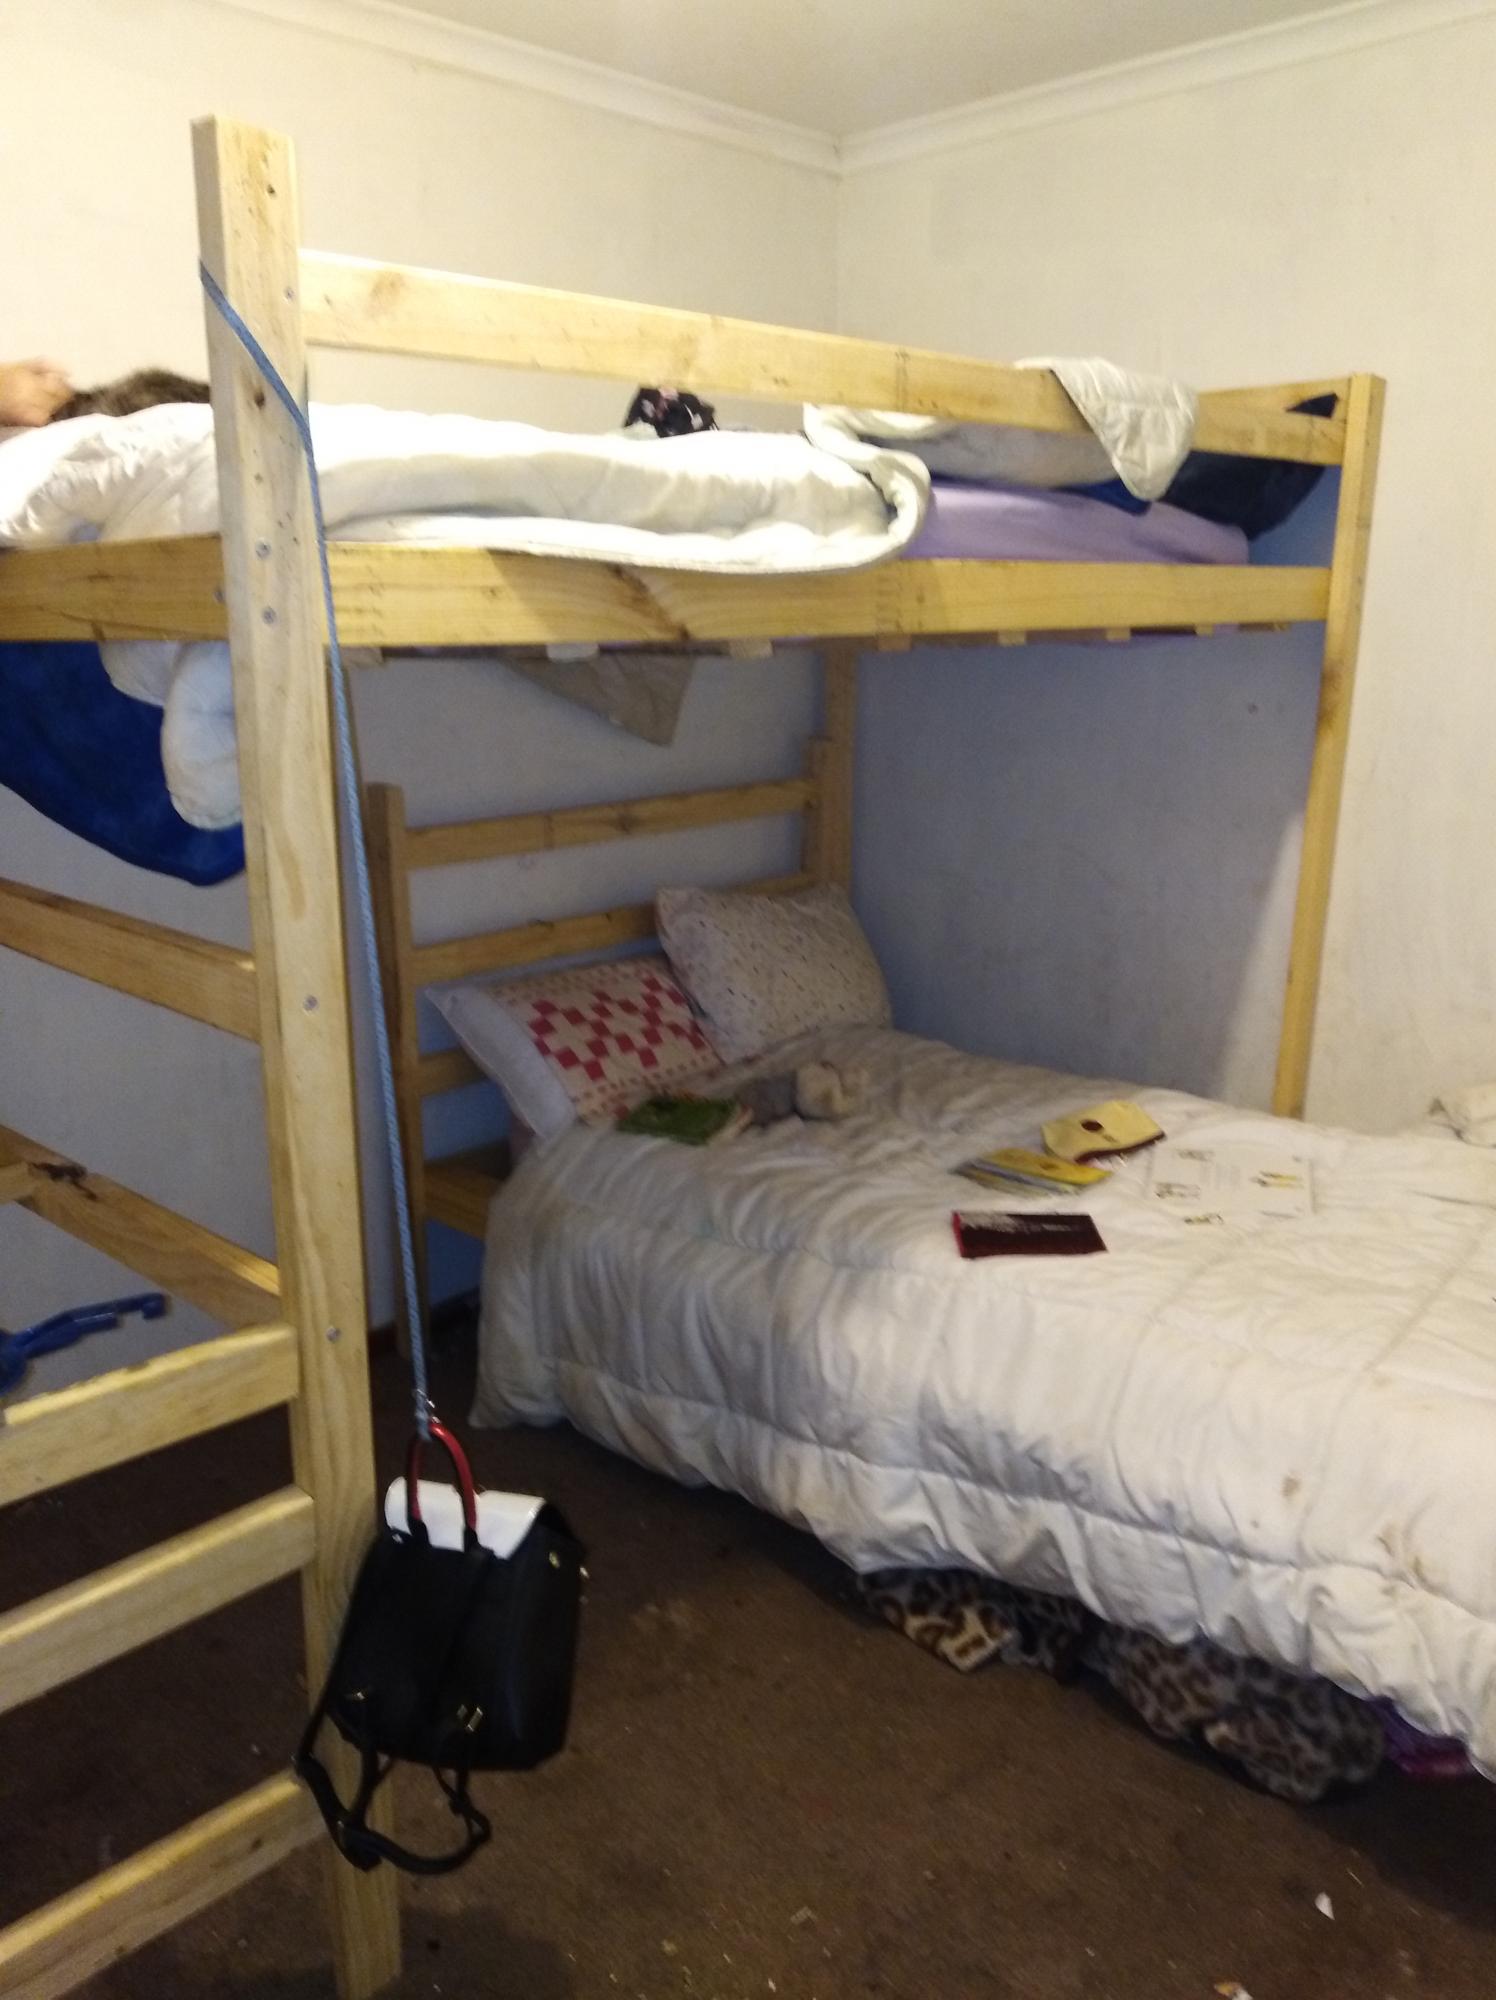
Loft bed and camp bed

Submitted by Anonymous (not verified) on Sat, 05/30/2020 - 00:20

We changed the bed sizes and the height but my 14 yo built these for his sister

Built from Plan(s)
Estimated Cost
$250 aud
Estimated Time Investment
Weekend Project (10-20 Hours)
Recommended Skill Level
Beginner

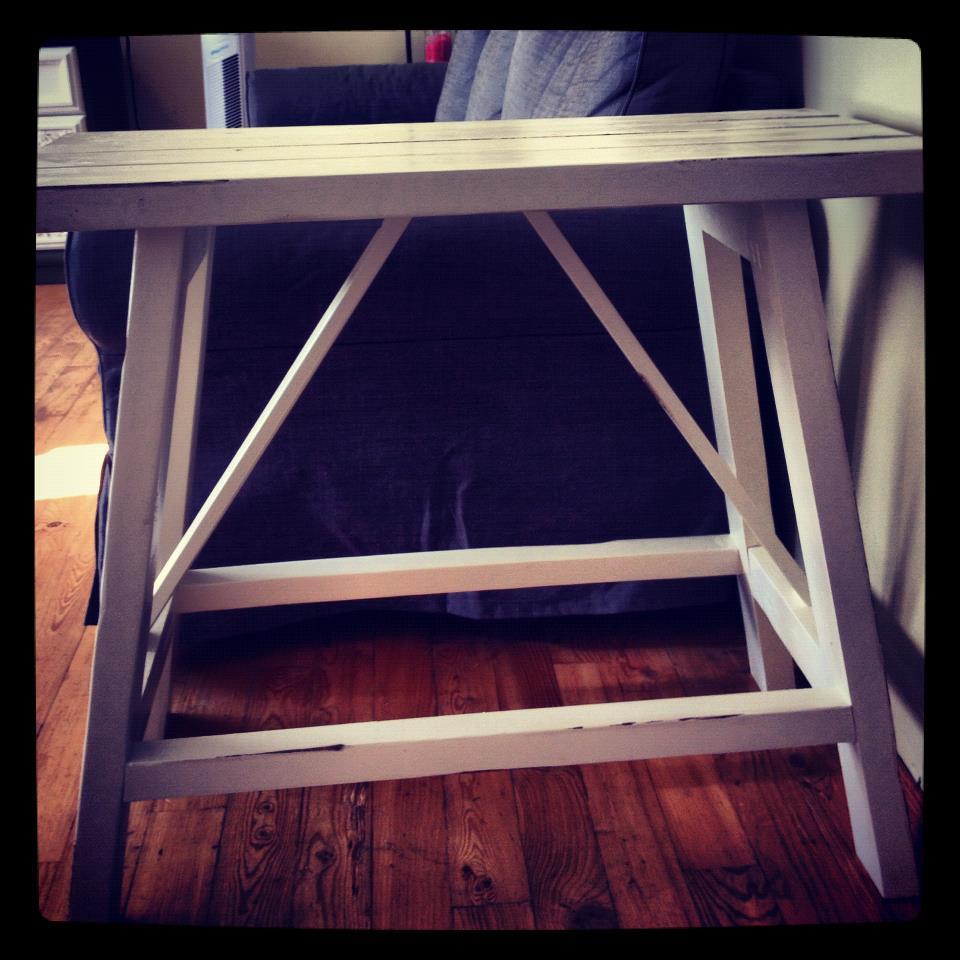
Truss End Tables

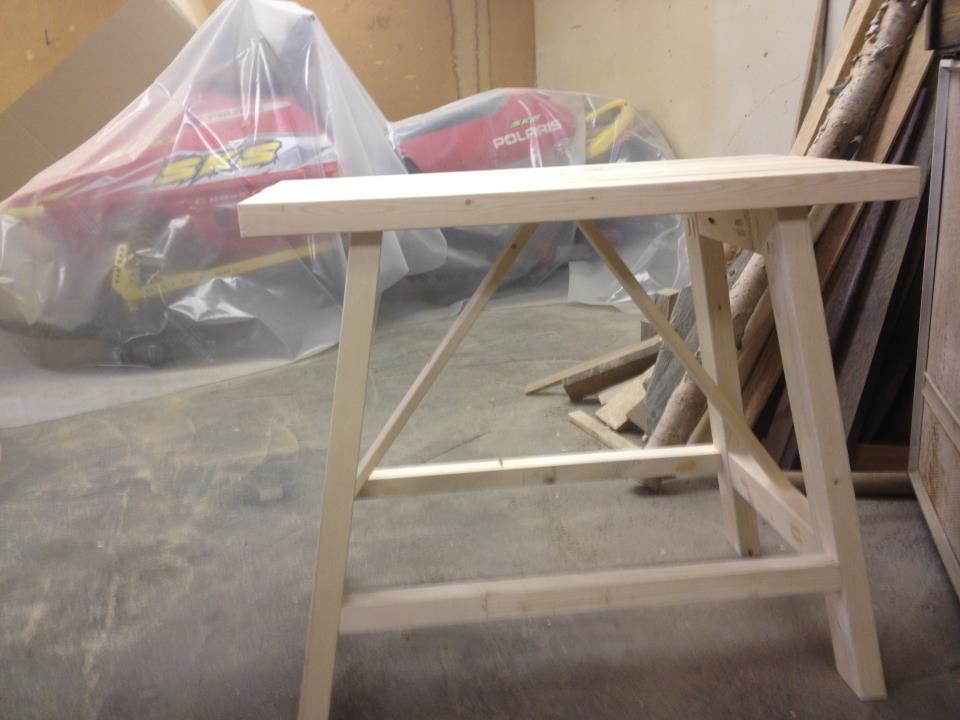
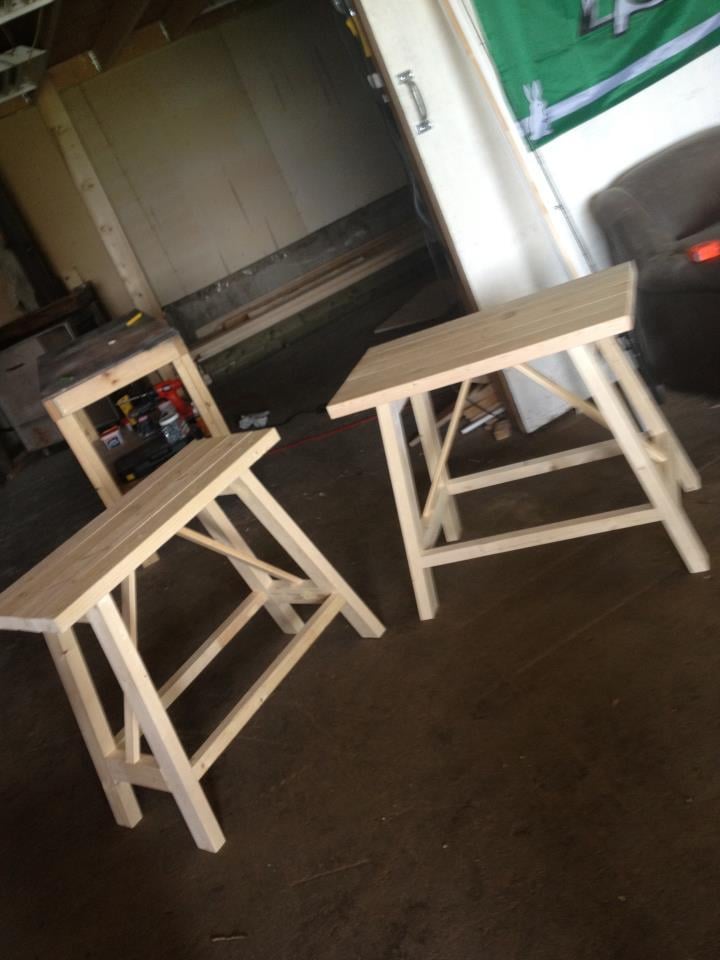
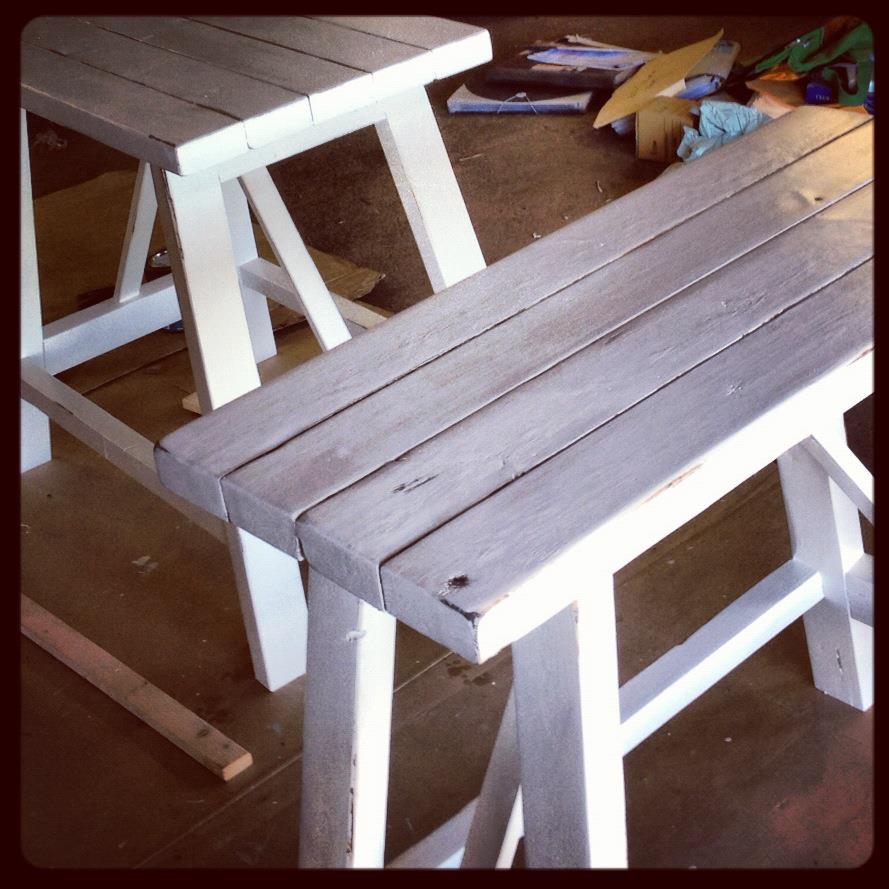
I built these as end tables in my living room. I made one narrower (only 14") by subtracting 3 1/2" from the end measurements and only using 4 2x4's on the top. Quick build, only about 2 hours to put together ( :) ), but the finishing took a while.

Built from Plan(s)
Estimated Time Investment
Day Project (6-9 Hours)
Finish Used
Primer, 2 coats of an off-white Beautitone Matte finish paint, distressed by sanding and gouging with a 9-in-one tool and rubbing Miniwax Dark Walnut stain in the gouges with a Q-tip, then wiping off. Finally 2 coats of Miniwax Polyacrylic.
Recommended Skill Level
Intermediate

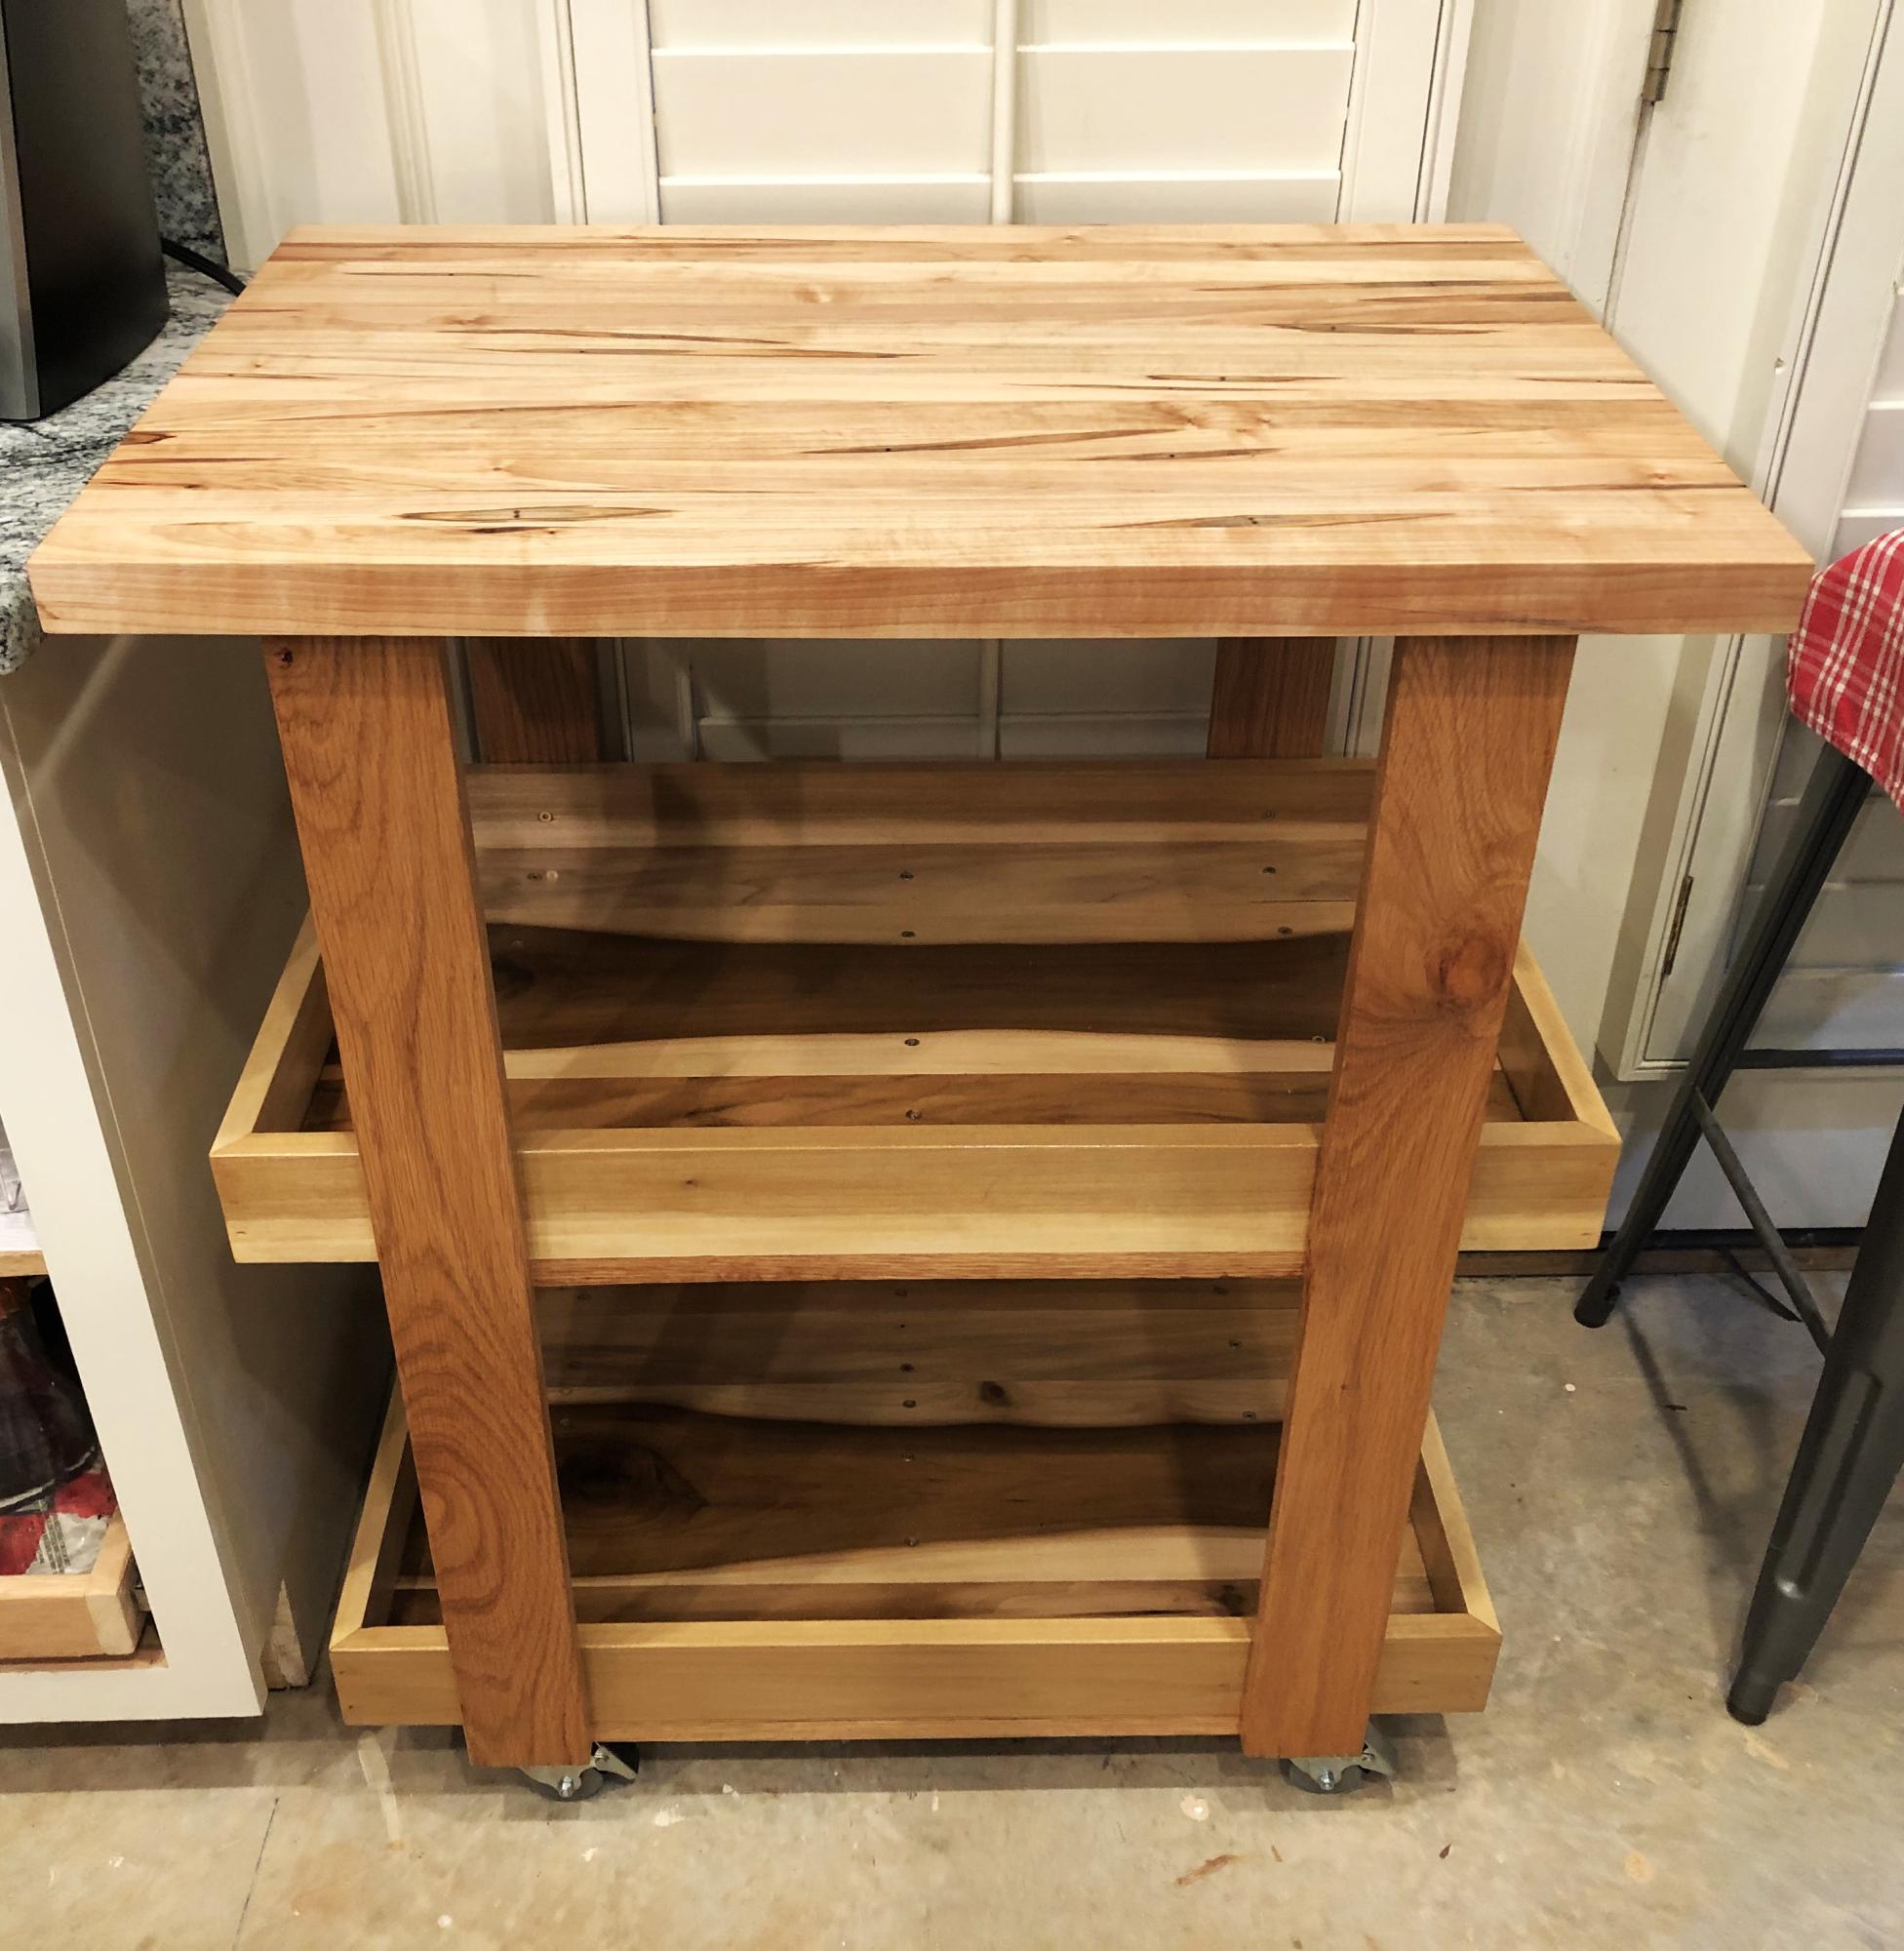
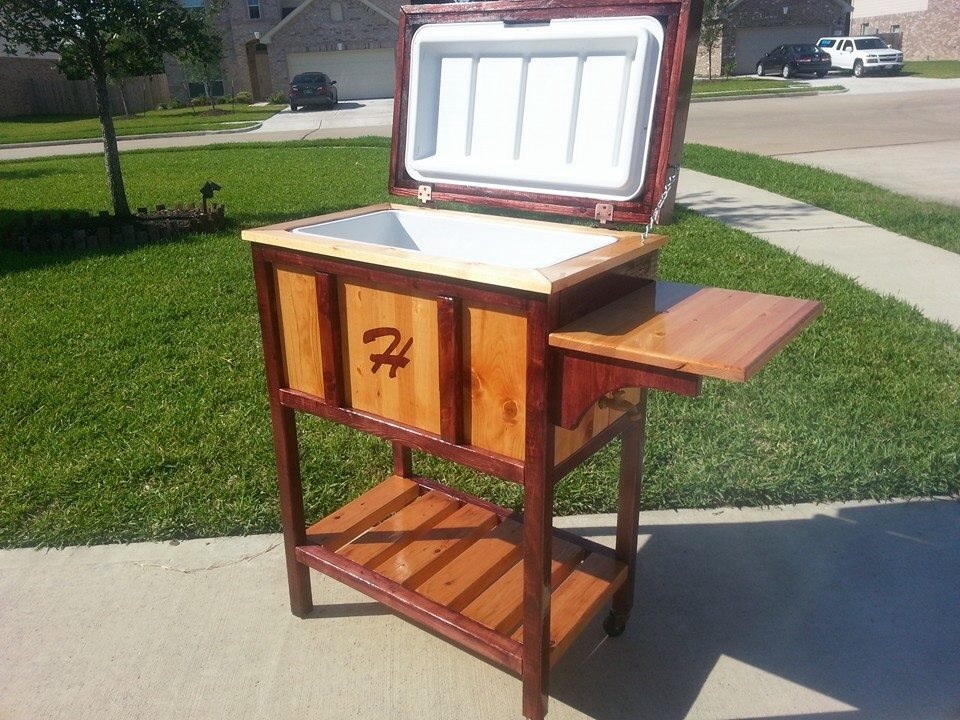
Cool cooler box!

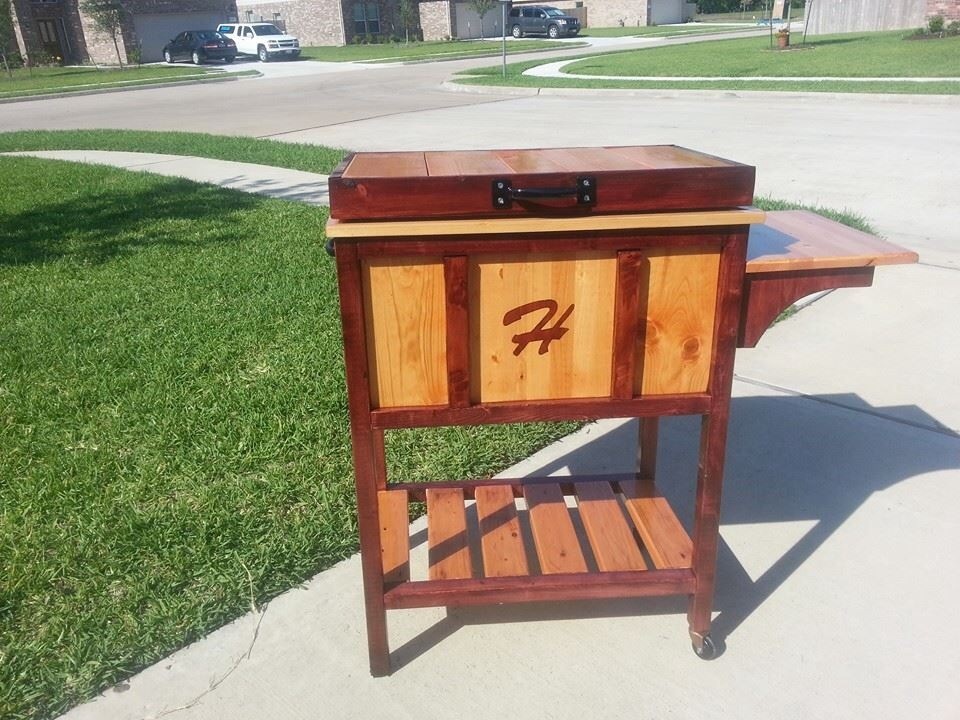
Thanks so much for the plans for this project. It was a lot of fun, and it turned out great!

Built from Plan(s)
Estimated Cost
75.00
Finish Used
Red Oak gel stain and Golden Pecan stain. Clear coated by spraying high impact clearcoat
Recommended Skill Level
Beginner

Comments

Linda7

Tue, 09/30/2014 - 13:32

Very nice color scheme. Your initial in the middle panel gave me the idea to use my son's brand. We used it on a bench I made last year, so this will blend in great. Thanks for sharing your awesome build.


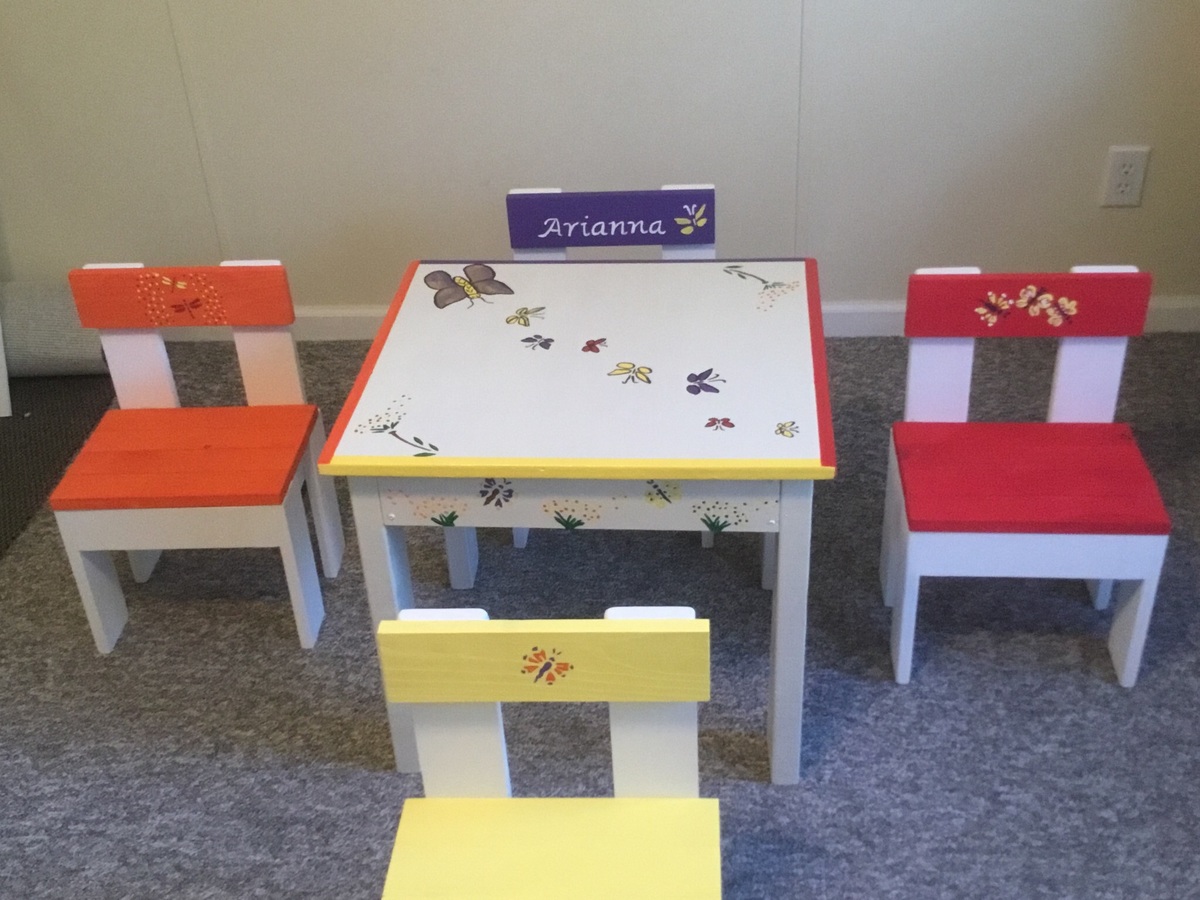
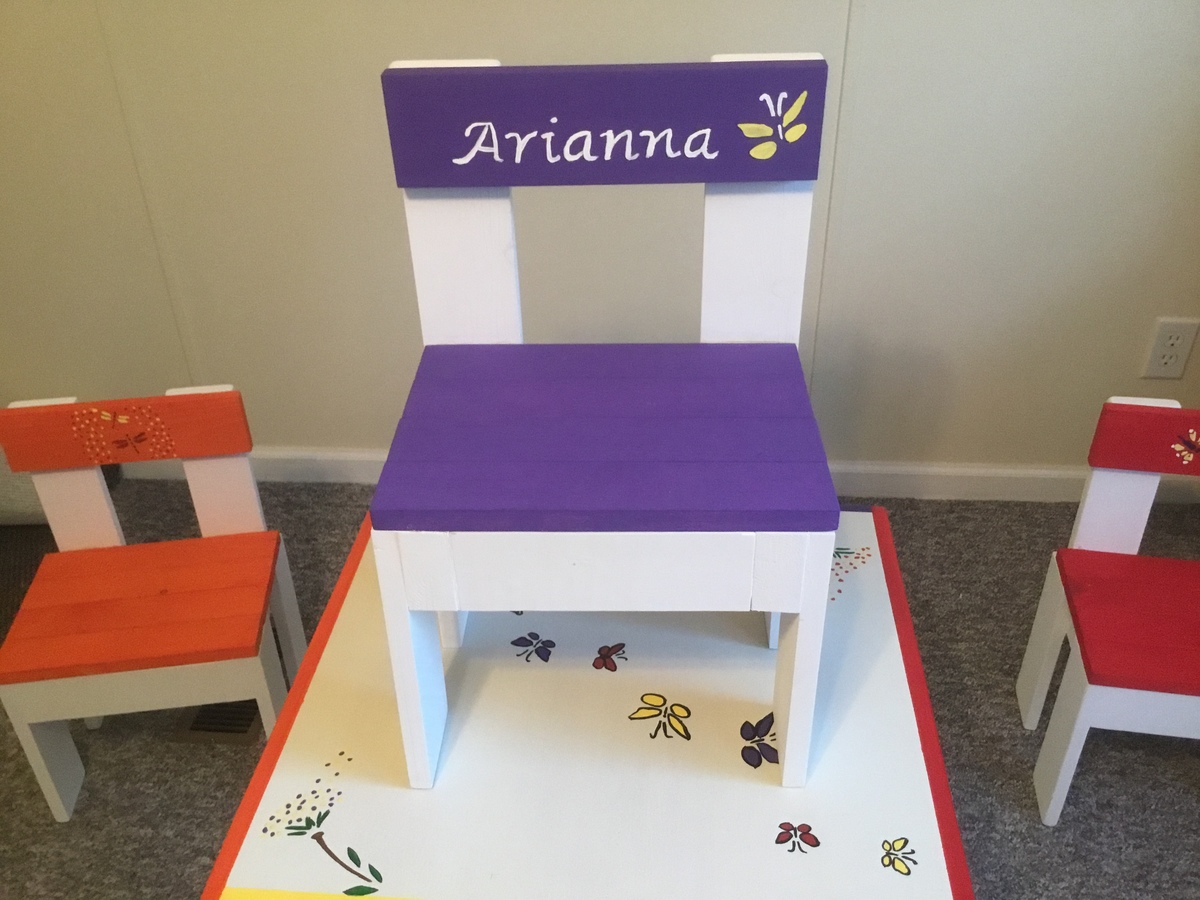
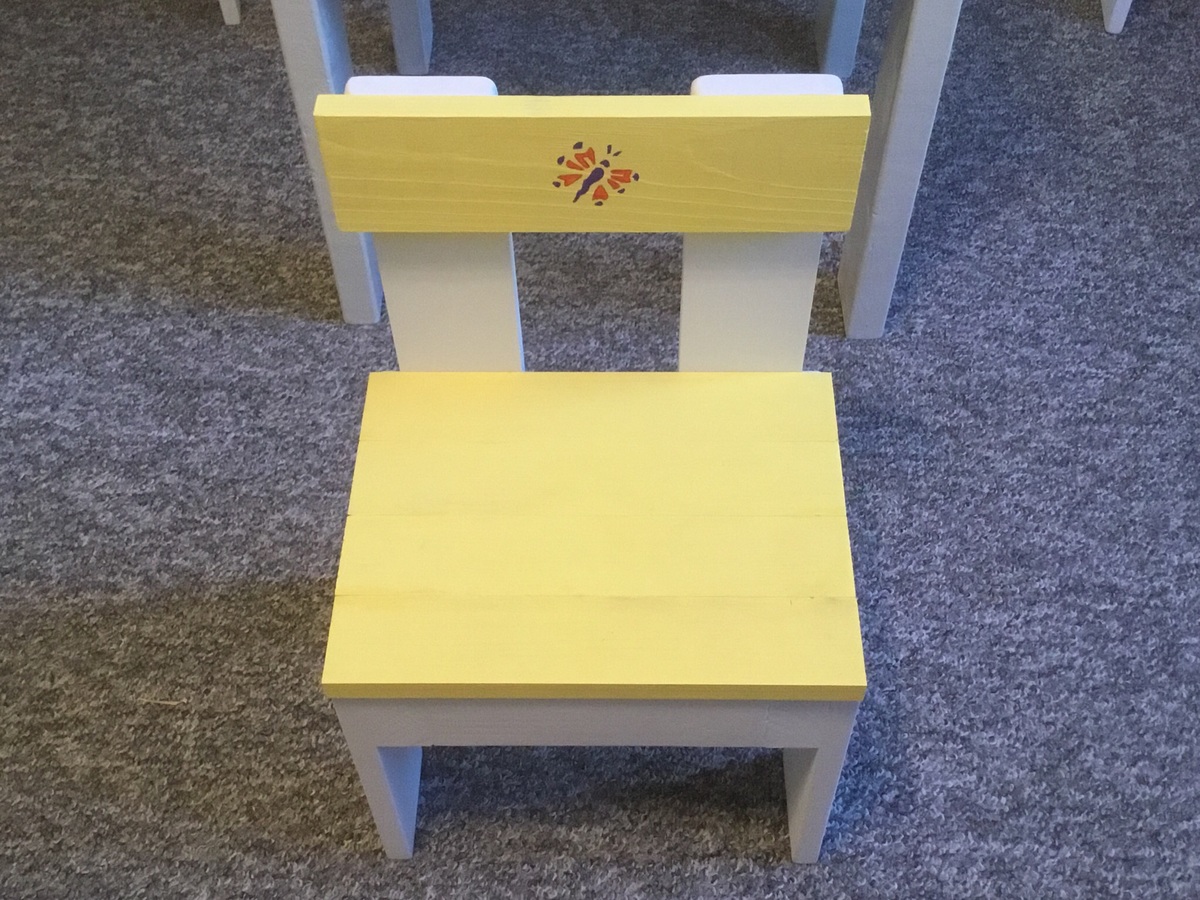
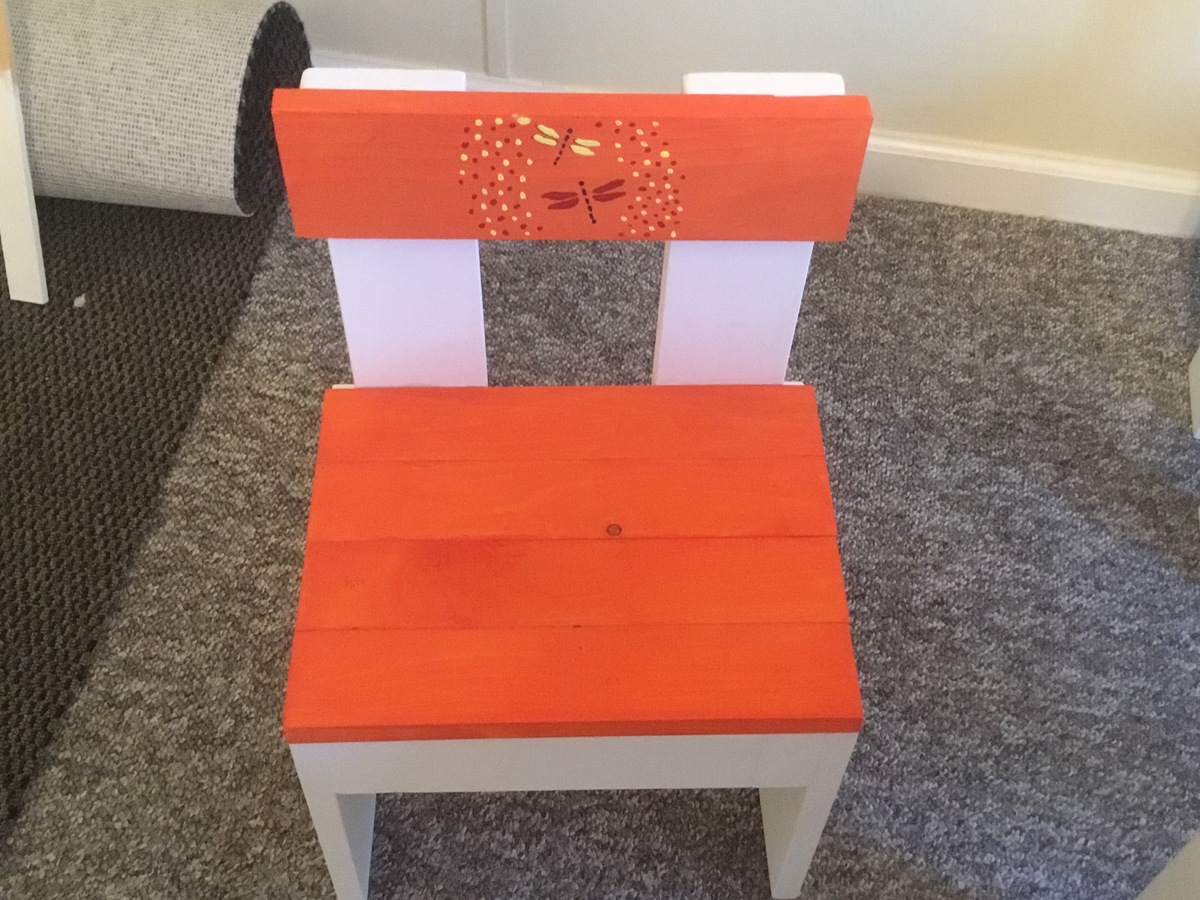
Kids table and chairs

Submitted by Anonymous (not verified) on Thu, 08/18/2016 - 12:58

Love the plans. Thank you

Estimated Cost
$30
Estimated Time Investment
Weekend Project (10-20 Hours)
Recommended Skill Level
Beginner

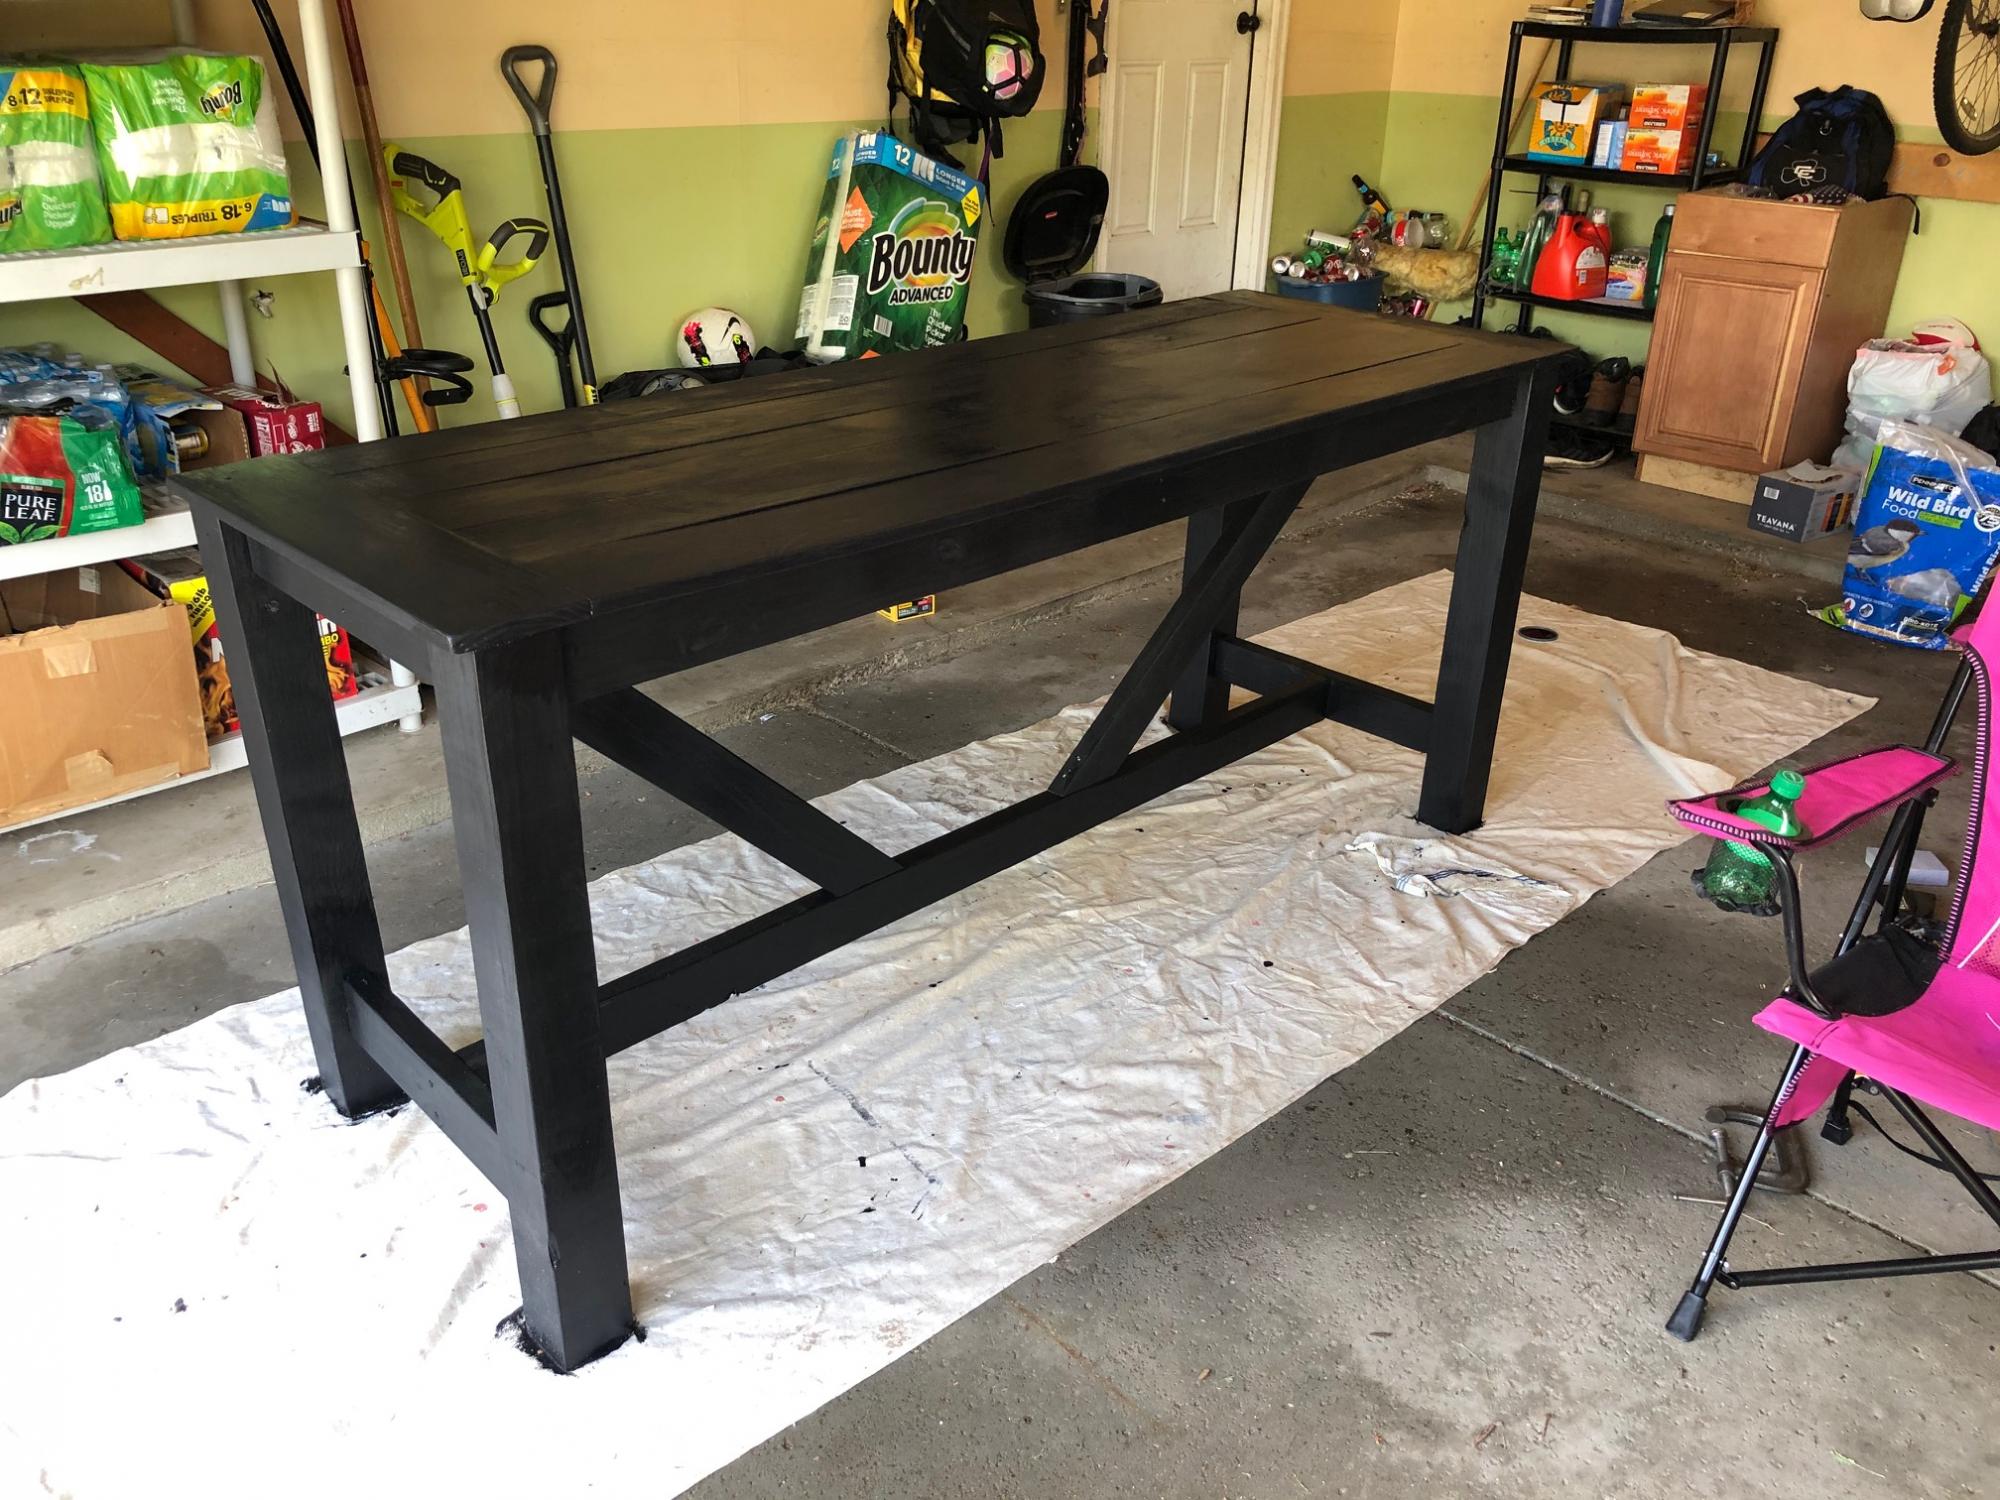
My Outdoor Bar Table

Submitted by schackjw on Mon, 06/01/2020 - 09:46

This is my first project, based on your outdoor bar table plan. Great design. I changed the top a little, still needs a little work.

Built from Plan(s)
Estimated Cost
$150
Estimated Time Investment
Weekend Project (10-20 Hours)
Finish Used
Painted with the Limousine Black in the plans.
Recommended Skill Level
Beginner

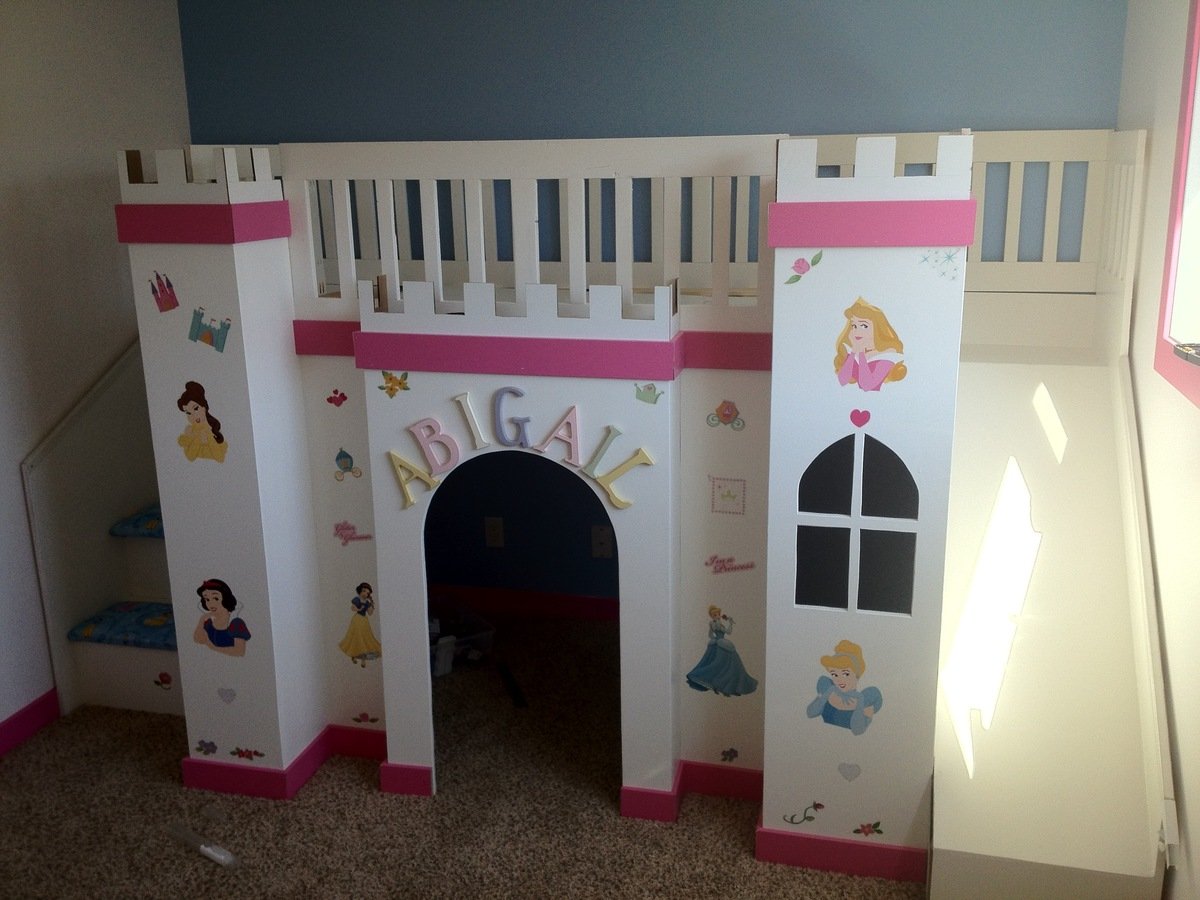
Abi's Castle Loft Bed

Submitted by Cmcisaac on Wed, 07/25/2012 - 19:46

I took on this project about 3-months, I was inspired by the excellent plans provided by fsmumford. I made a couple of modifications, adding a small bump out in the middle, to enhance the castle look, fabric covered seat cushions on the stairs, and an added 2x2 in the middle of the bed to add extra support.

Thanks to fsmumford for the awesome inspirations and great step by step guide.

Estimated Cost
$500
Estimated Time Investment
Week Long Project (20 Hours or More)
Finish Used
Sprayed on Paint.
Recommended Skill Level
Intermediate

Comments

Tina Mccarthy (not verified)

Fri, 09/28/2012 - 01:49

Hello,i am a 9 year old girl who would like a castle for my bedroom so it can be cleaner :) how much does it coast?? thank you Bye!:)

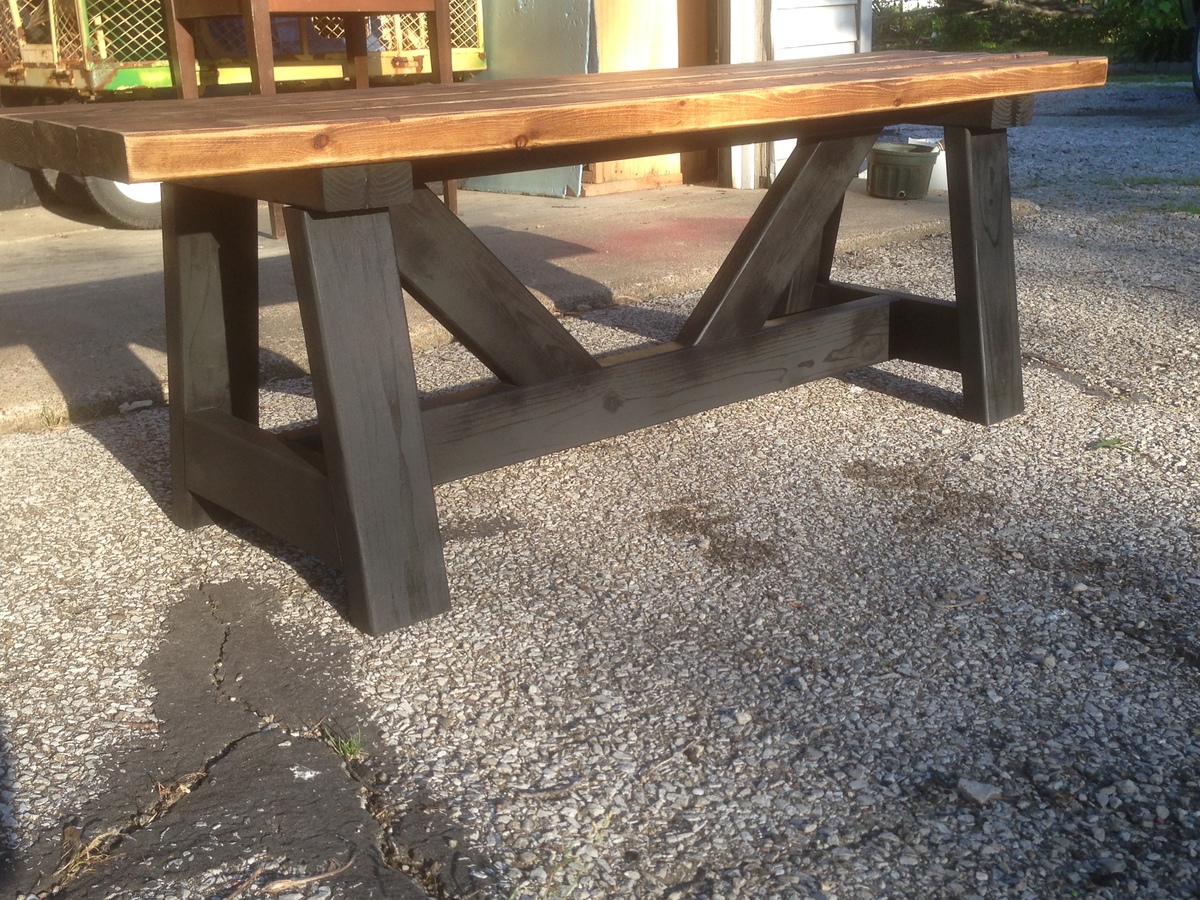
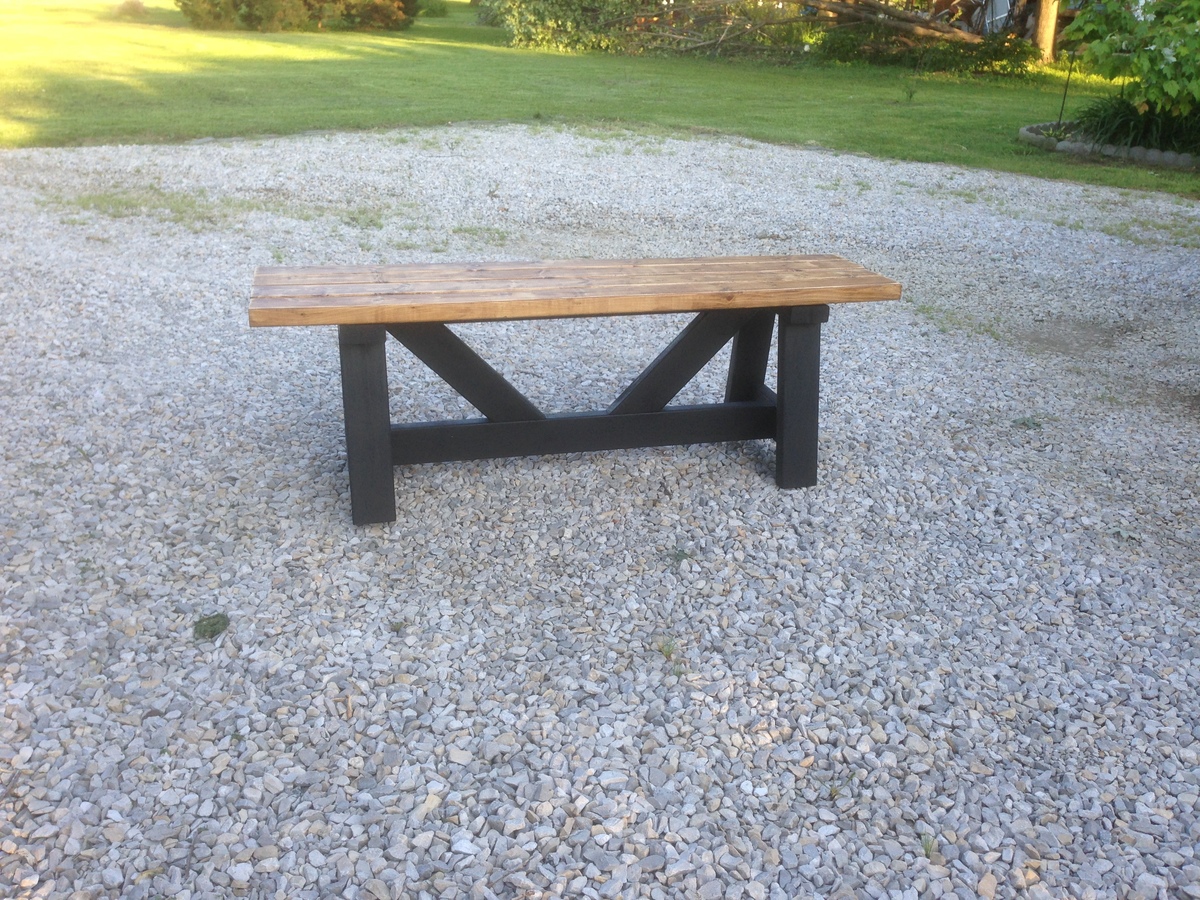
Providence Bench

Submitted by ltodd on Mon, 05/19/2014 - 23:12

This can be put together pretty quick. The finishing is what takes the longest. And I used the Kreg plugs to fill the pocket holes, which meant extra time for gluing and sanding, But they work nicely.

Built from Plan(s)
Estimated Cost
$20
Estimated Time Investment
Weekend Project (10-20 Hours)
Finish Used
Minwax golden oak and Rustoleum flat black spray paint.
Recommended Skill Level
Beginner

Comments

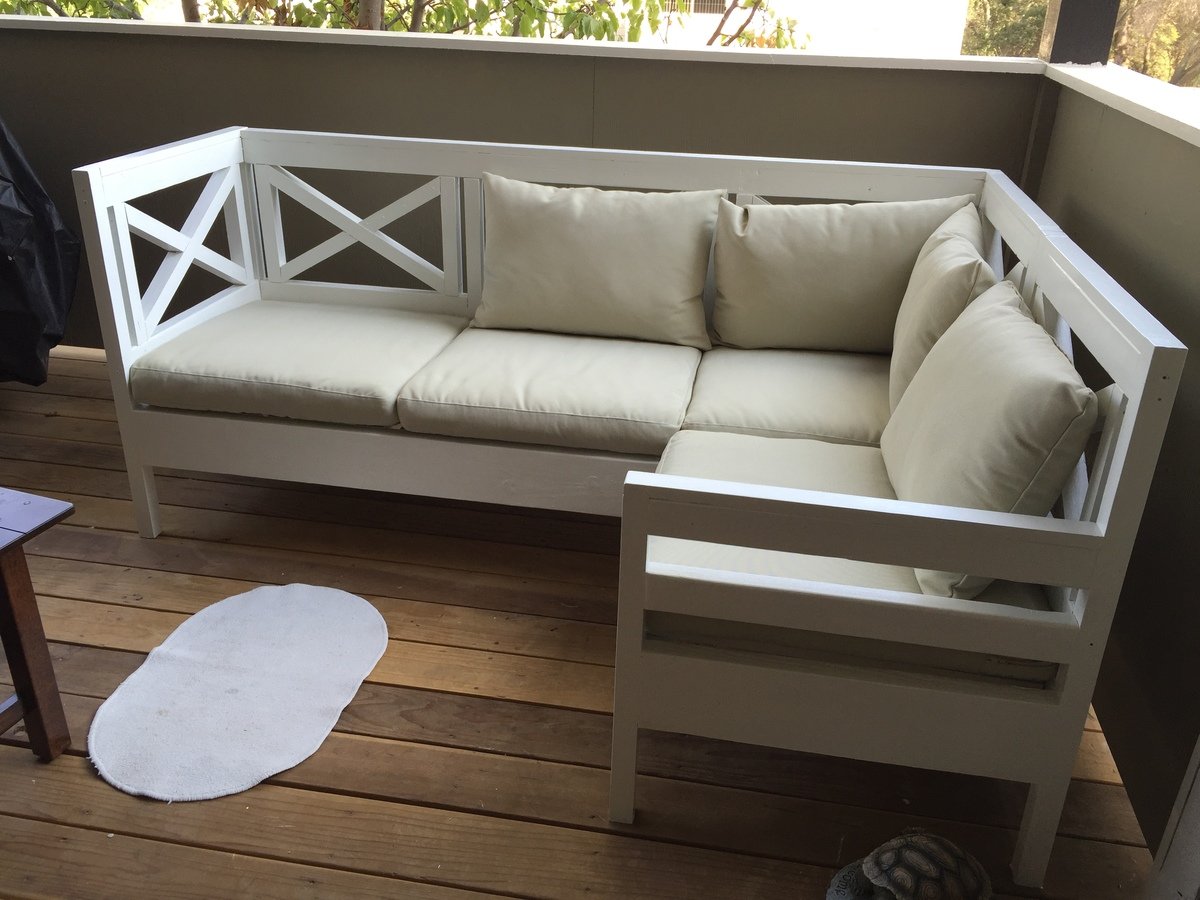
Weatherly outdoor sectional

Submitted by Anonymous (not verified) on Sat, 08/20/2016 - 22:56

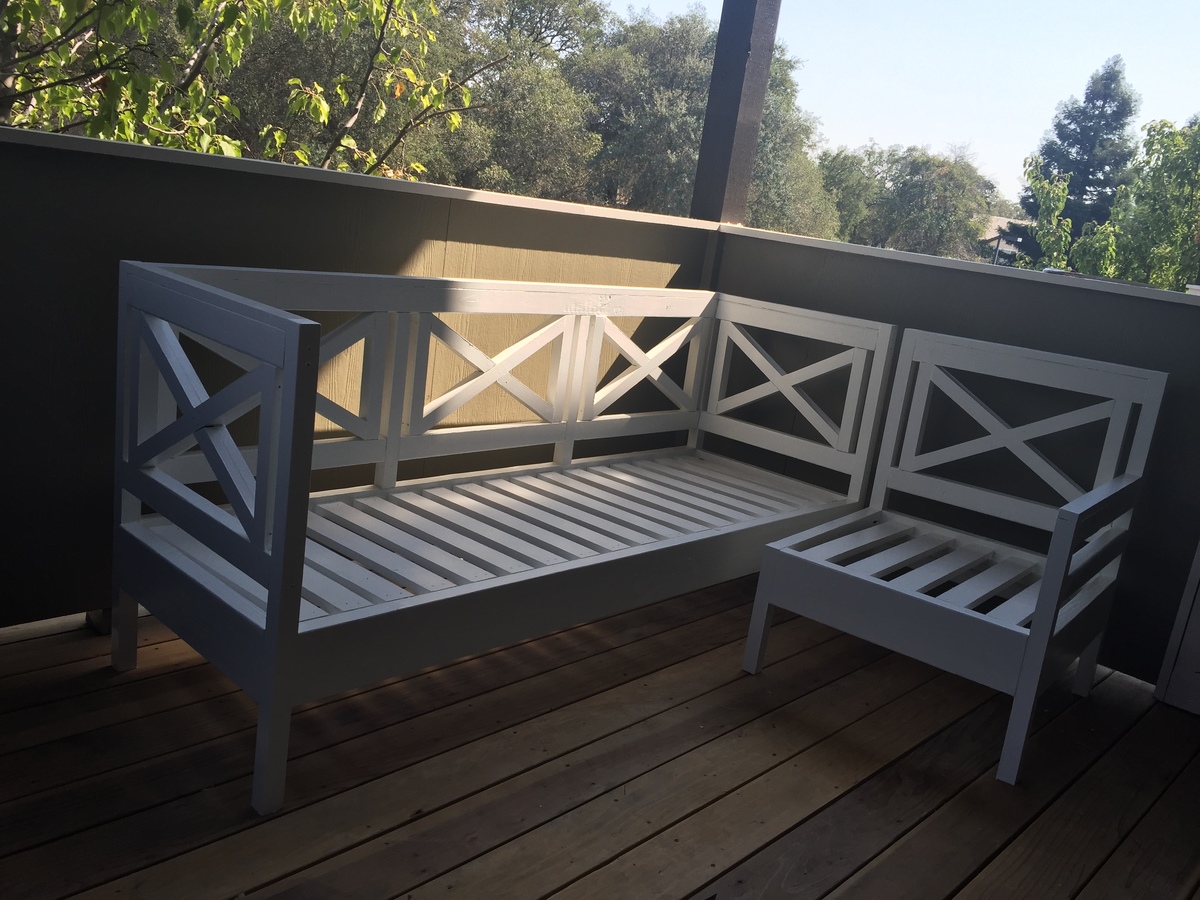
This was my first project, and it took me about 2 weeks to complete it. I don't have a lot of tools, so there were many frequent little trips to Home Depot (by now I think I definitely have the basics down). I would put in an hour here and there, and was finally able to paint the beautiful thing today. I am extremely happy with how it turned out. Thank you Ana for the wonderful plans. My family and I are looking forward to many evenings on the patio on the new sofa. 

Built from Plan(s)
Estimated Cost
I don't have a final cost for the project as I had to buy quite a few things to make this happen (saw, dovetail saw to trim pocket hole plugs, clamp, sander, etc).
Estimated Time Investment
Weekend Project (10-20 Hours)
Finish Used
Followed the instructions on Ana's plans (primer and two coats of white paint) as this is my first project and I am not feeling very experimental to do my own thing.
Recommended Skill Level
Intermediate

2x4 Sofa w/ Chaise and Coffee Table

Submitted by Anonymous (not verified) on Wed, 06/03/2020 - 10:09

Just finished this to make the most of the little good weather we get in the UK. 2x4 sofa with sectional Chaise section and coffee table

Estimated Cost
£200
Estimated Time Investment
Weekend Project (10-20 Hours)
Finish Used
Natural wood stain
Recommended Skill Level
Beginner

king size bed with `reclaimed' headboard

It was time for a new mattress - as it so happened, the store had a sale on: any size for the price of a single. So I couldn't resist and got the king rather than the queen size. Rather than buying the the bottom of the ensemble as well I decided to try and build a bed.
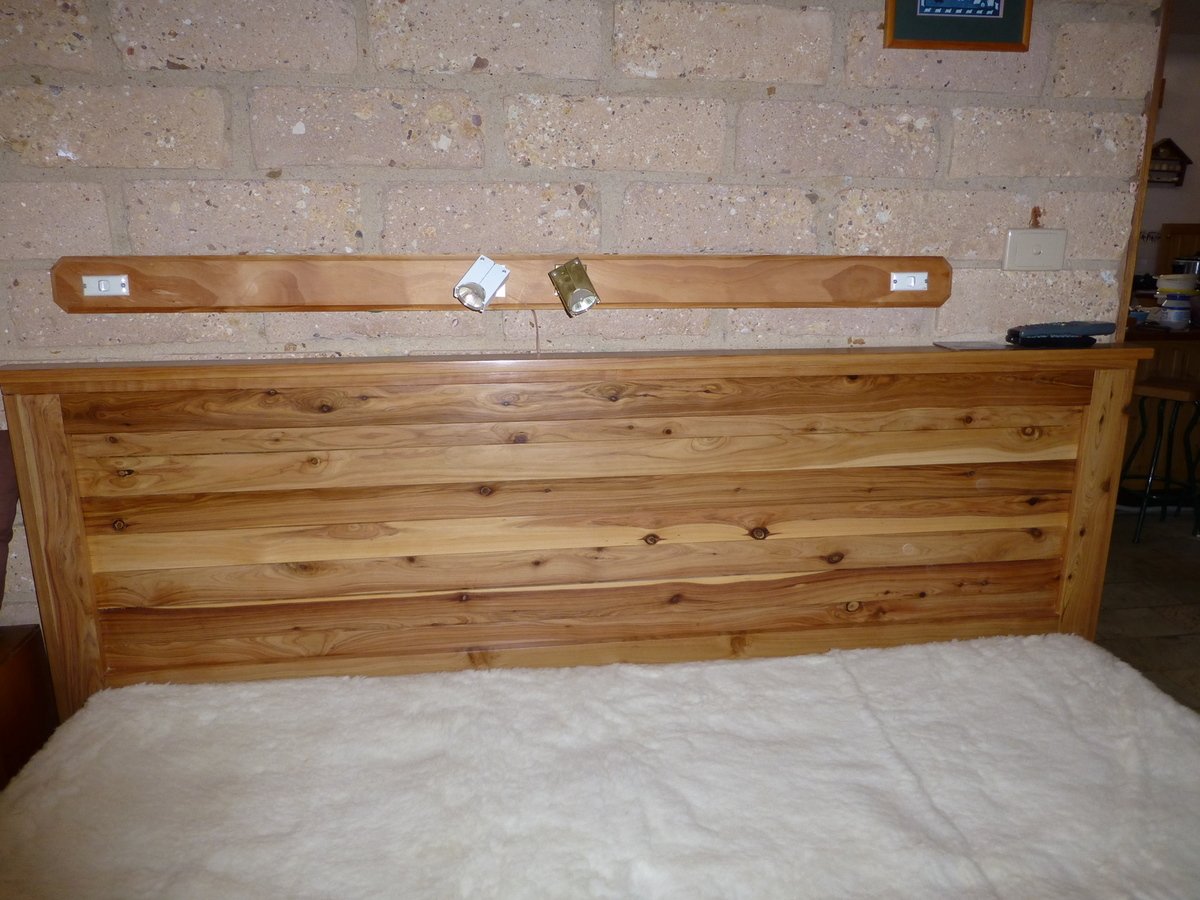
Would have loved a farmhouse bed, but the bedroom is tiny, the king only just fits in, so no foot end or chunky posts. Mom's fine farmhouse bed was the initial choice - but I like my timber `natural' and couldn't get pine mouldings. So ended up building the reclaimed headboard - out of cypress pine fence pickets: these come in 65x19mm (i.e. close to a 1x3 pine board) and up to 1800mm long, but used pine for the bits which are not visible (easier to work with & lighter). I wanted a bed where my feet touch the ground when I sit on the edge and which don't need to climb up to, so shortened everything to make the top of the mattress at 550mm from the floor.
The bed itself is from Mom's farmhouse bed plans, modified for a King (72 inches wide) with a middle rail. The sides are made from two length of cypress tongue and groove floorboards each, joined together with pocket hole screws and with the top tongues ripped off. The slats are fence pickets as well - managed to find enough of the nominally 1800mm ones which were just long enough to fit across after squaring off the ends, the most economical option. To hold them in place, I glued on spacer blocks cut from a 1x2 length of pine - the slats sit between them snugly & making the slats removable makes it much easier to move the bed.
I sealed the timber with a base coat of oil-based polyurethane and the applied furniture wax (carnauba) and buffed it to a soft glow.
This was a big project, it took me the best part of 4 weekends - lack of space & winter weather didn't help (ended up assembling the bed in the lounge room). It cost me almost $300 all up, about $220 for timber, the rest for screws, nails, sandpaper, glue, varnish, woodfiller and wax - half the price of what the commercial base alone would have been.

Estimated Cost
$300
Estimated Time Investment
Week Long Project (20 Hours or More)
Finish Used
one coat oil-based clear polyurethane (satin), followed by carnauba wax
Recommended Skill Level
Beginner

Loft Bed In Natural Hardwood

Submitted by Anonymous (not verified) on Wed, 08/24/2016 - 14:12

I needed to build a loft bed for a small room that has a nine foot ceiling, I wanted to have ample storage room below, but was concerned about a ladder that would stick out at an angle taking up a little too much precious real estate in the small room.  Using Ana's great Sketch Up plans, I modified the design by incorporating a fifth leg as a permant addition to attach the ladder to.  Part of the appeal of Ana's design was the ability to take apart the bed if it ever needed to be taken out of the room it is installed in, and the ladder became a part of the foot board end, perhaps a little unwieldy, but still able for two people to lift and move.

As a self-taught woodworker, I wanted something a little nicer than standard pine boards, and since we have a nice local hardwood supplier in our town, I was able to buy some nice red oak in a 13/16" thickness.  This project gave me the opportunity to use the planer that I bought some time ago but hadn't really used very much, so I ended up milling all of the wood to bring all to a uniform thickness.  In gluing up the legs, I used a spreader and a lot of clamps so that there are no screws, staples or nails joining the boards, just a lot of Titebond II.   

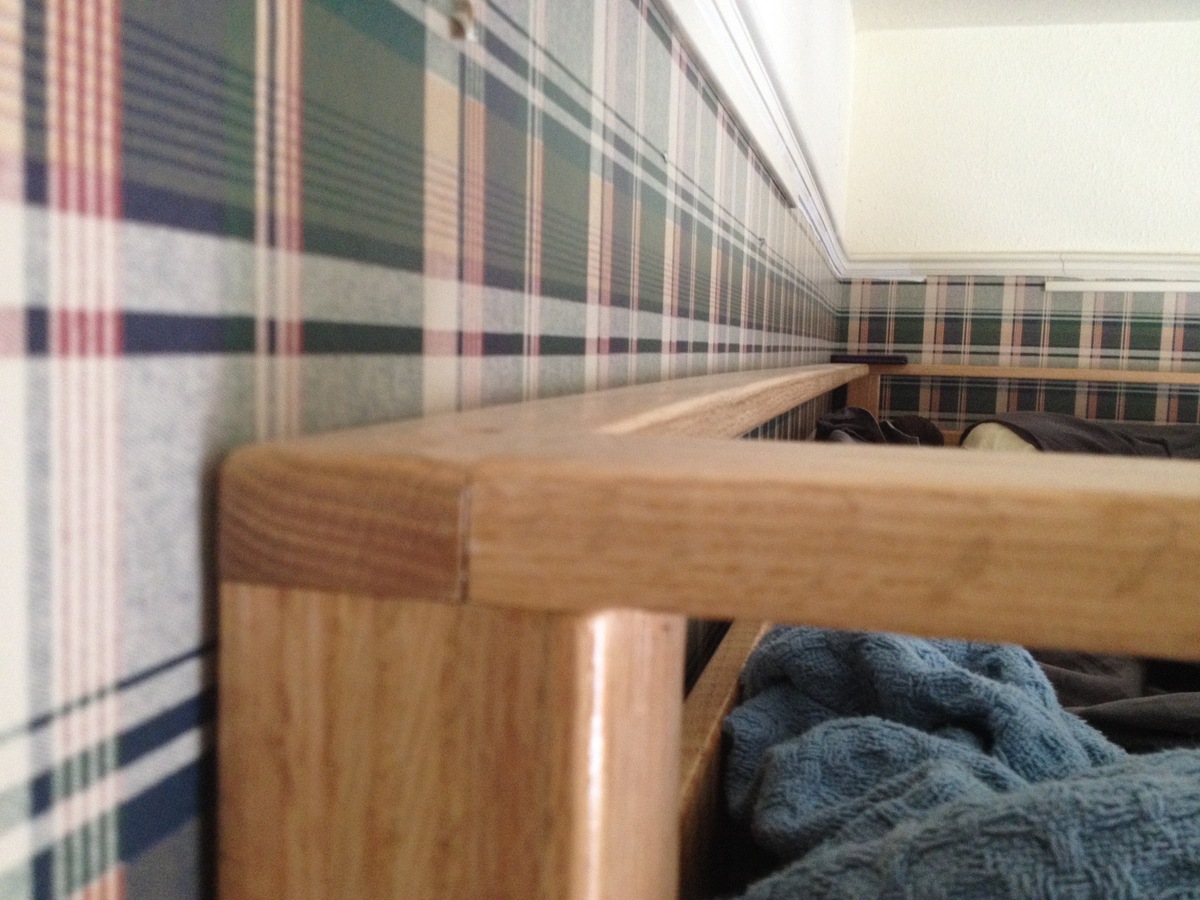
For the ladder itself, I cut dados in the upright edges of the ladder and attached the treads with 2" wood screws along with a liberal amount of glue.  I had a slight miscaculation on the width of the ladder, so in order for it to fit in between the two legs, I had to plane away a small amount of wood, which you can see the end of in the last picture, the close up of the ladder.

After a fair amount of sanding and a round over bit in my palm router to break all the exposed edges, I finished with three coats of polyurethene.  The bed was assembled in the room using 2" wood screws which I had pre-drilled when I dry-fitted the bed out on my driveway.  There are three screws in each corner of the mattress board and two screws in each corner of the railing.  The short section of the front rail is also attached with screws so it can be removed as well if the bed is ever moved.  I finished the installation with three, six inch lag bolts, two higher up going into wall studs, one near the bottom bolting into the wall plate on the floor.  The bed was very solid, but has been made even more so with the addition of a bookshelf spanning the width of the footboard, and it is as deep as the ladder is wide.  I offset the side of the bookshelf on the ladder side to allow for a two inch gap so your toes can overhand the ladder treads when climbing up or down.
Built from Plan(s)
Estimated Cost
$375
Estimated Time Investment
Week Long Project (20 Hours or More)
Finish Used
Minwax Polyurethane
Recommended Skill Level
Intermediate
Back